Forum Replies Created
-
AuthorPosts
-
rovineye
ParticipantI had no issues with fiberglass running out or having to be patched. If you do screw up it is fairly easy to get that weight cloth at any marine supply store, like West Marine, if there is one near you.
ParticipantIt’s the total wattage that matters, not the voltage. If a device runs on half the voltage but draws twice the current you haven’t gained anything.
ParticipantIt’s just vinyl lettering made for boats. It is installed just using soapy water and a stiff squeegee kind of scraper. Super easy. They can be ordered at CLC or many marine supply places. No sealant required. Easiest part of the entire project!
CLC link and installation video. http://www.clcboats.com/shop/boat-building-supplies-epoxy-fiberglass-plywood/vinyl-boat-lettering/
ParticipantSame fan, the only difference being the 1250 has reversible flow direction.
ParticipantMine is Fantastic Vent model 1250. There is a discussion here of a lower profile model, but I have not followed that as mine is built and have no issues.
ParticipantI filled the existing holes and drilled new ones to match my trailer bunks.
My floor sits just barely above the wheels. Any higher and the galley flat could be too high for some.
ParticipantJust got back from a 3500 mile road trip. Absolutely nothing came loose, broke or failed. I did have a few modifications I need to make.
There is a gap in my insulation at the bulkhead, which I need to fill to reduce condensation in that area. I will also make some inserts for the door/window to reduce condensation there when conditions require. We just stuck pillows between the window and strap which did great to reduce condensation and a bit more insulation when it was 26 deg. We had no heat but used sleeping bags then, and that did fine. Wife won’t let me run the fan because she just hates fans, so condensation was always present but not extreme or too bothersome. Later I left my door unlatched which let a bit more air in and really made a difference. All in all we were very cozy from 26 in Rogue River to the 70s at the San Diego beaches.
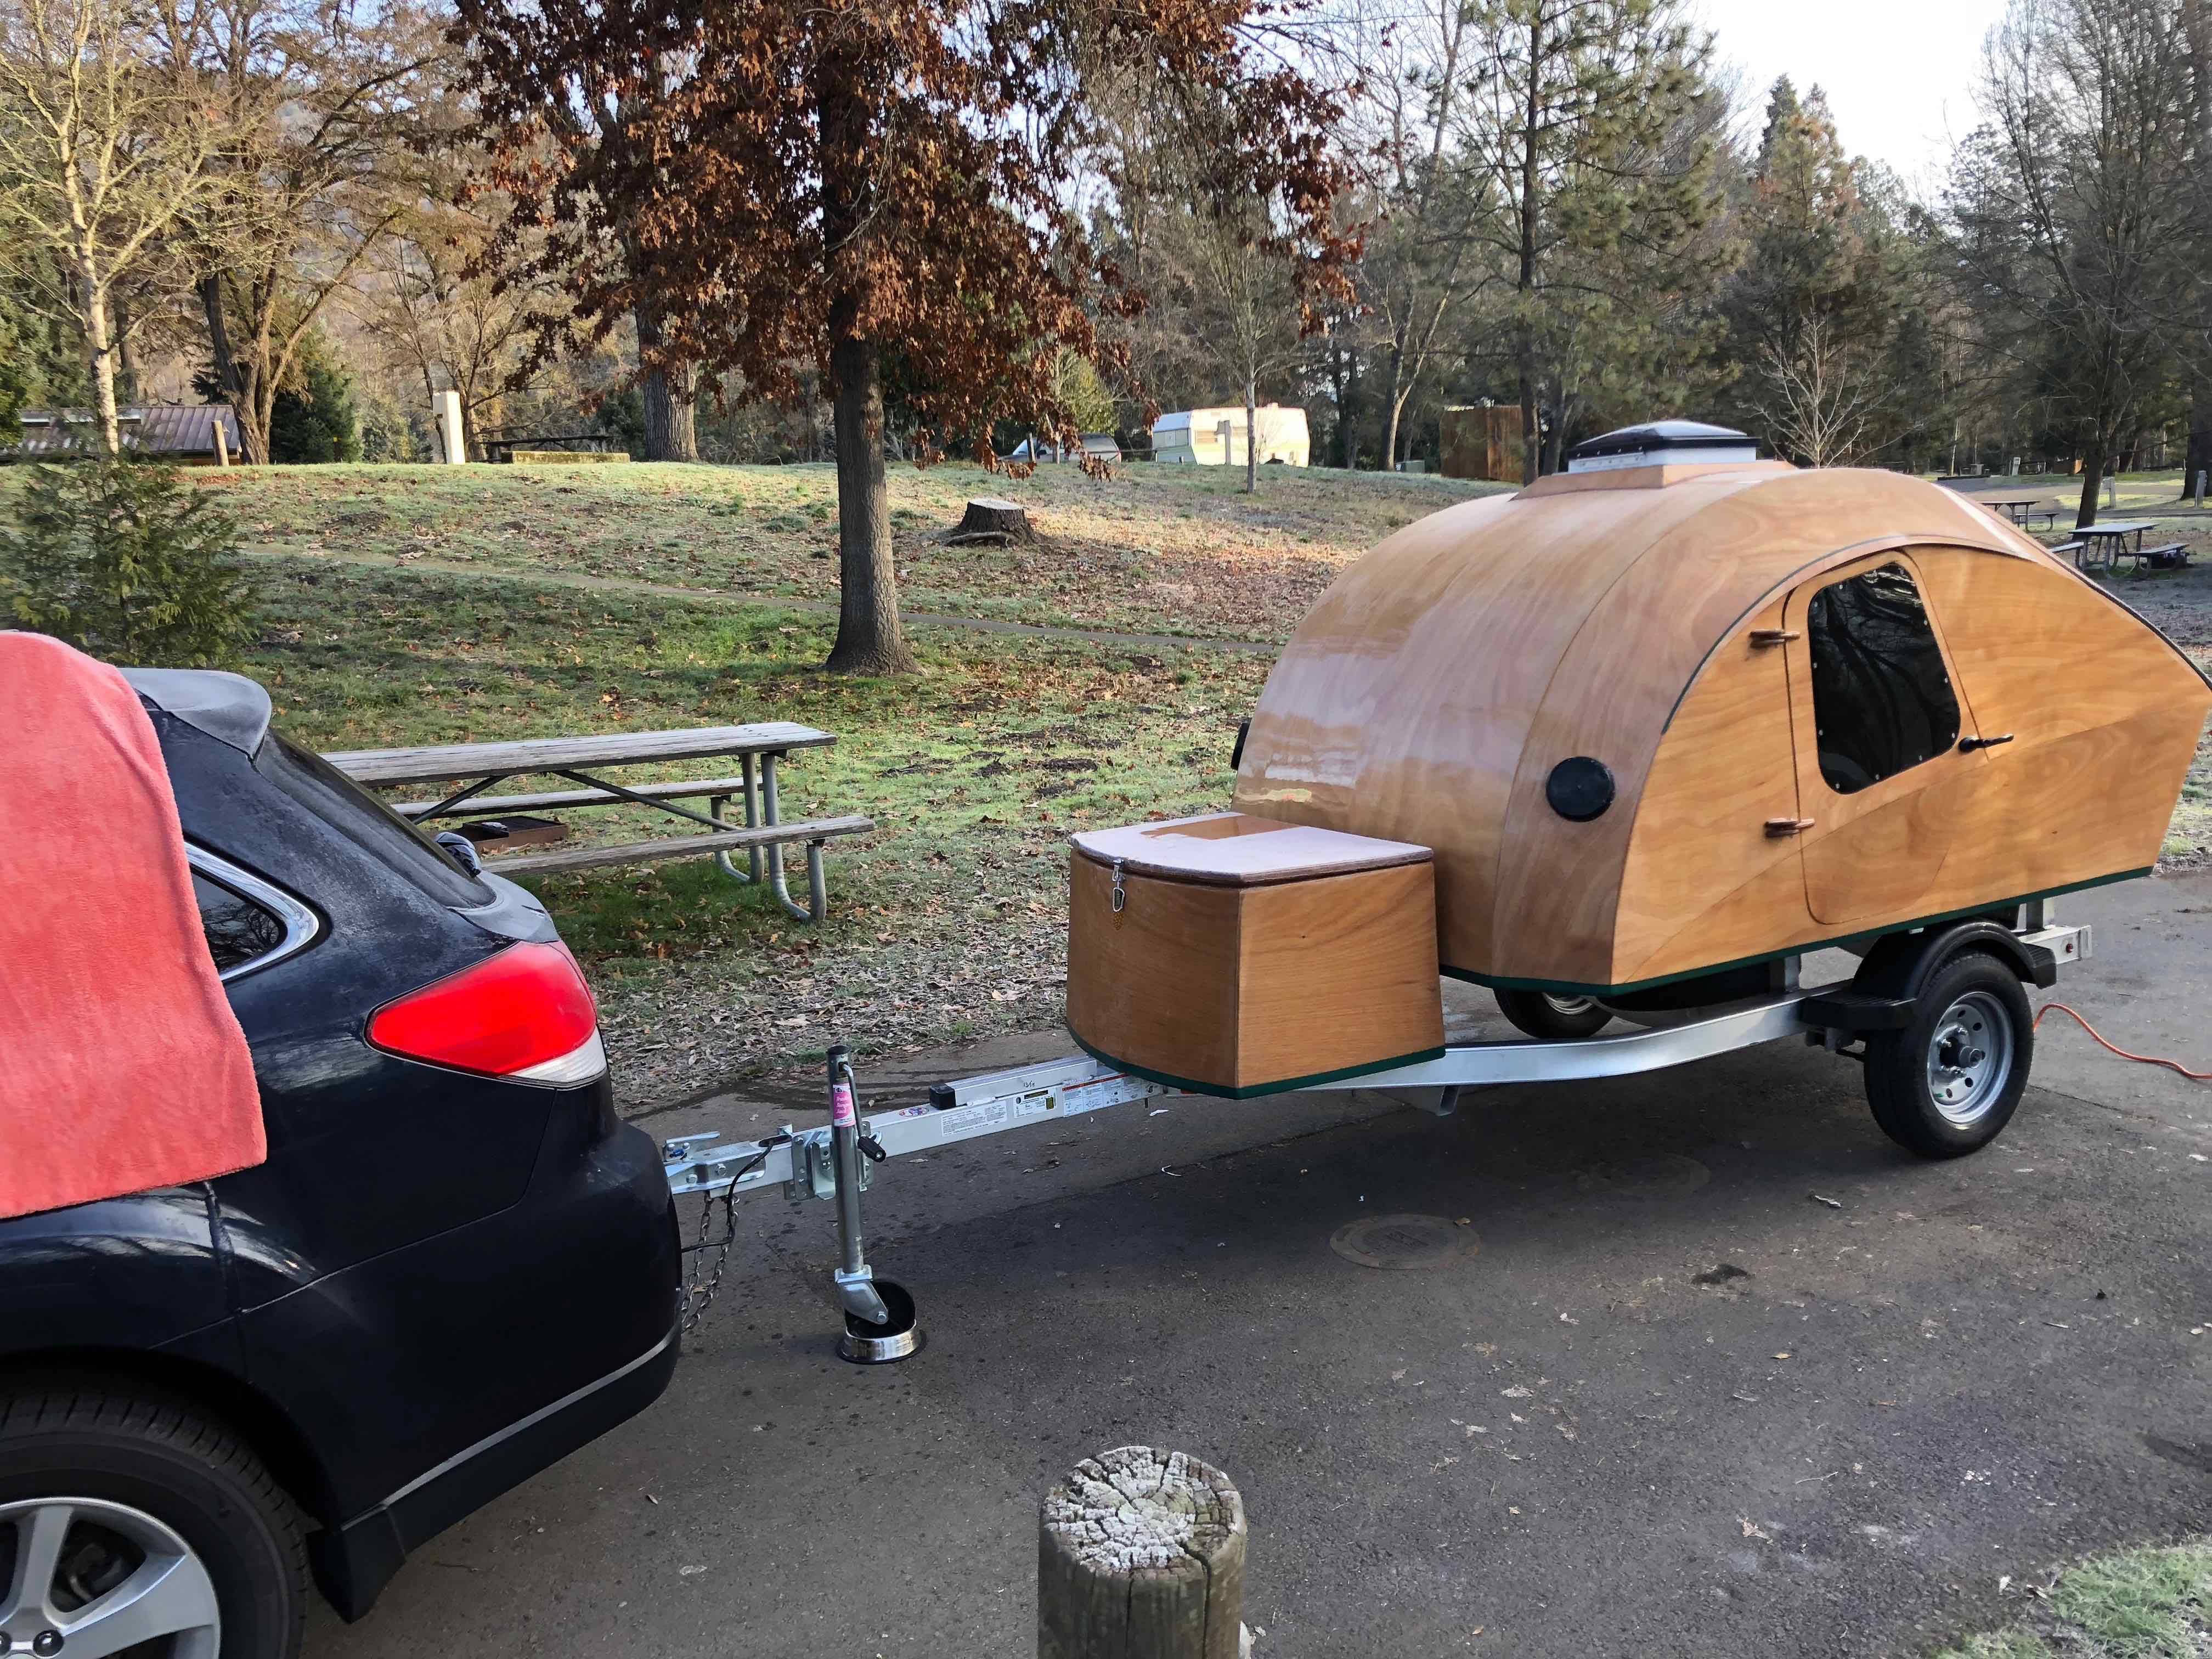
I am also going to add some yellow side running lights to make the trailer more visible in miserable road conditions. And we did hit some of those conditions. Hundreds of miles of snow and then slush on the freeway. The trailer pulled like a champ behind our subaru outback.
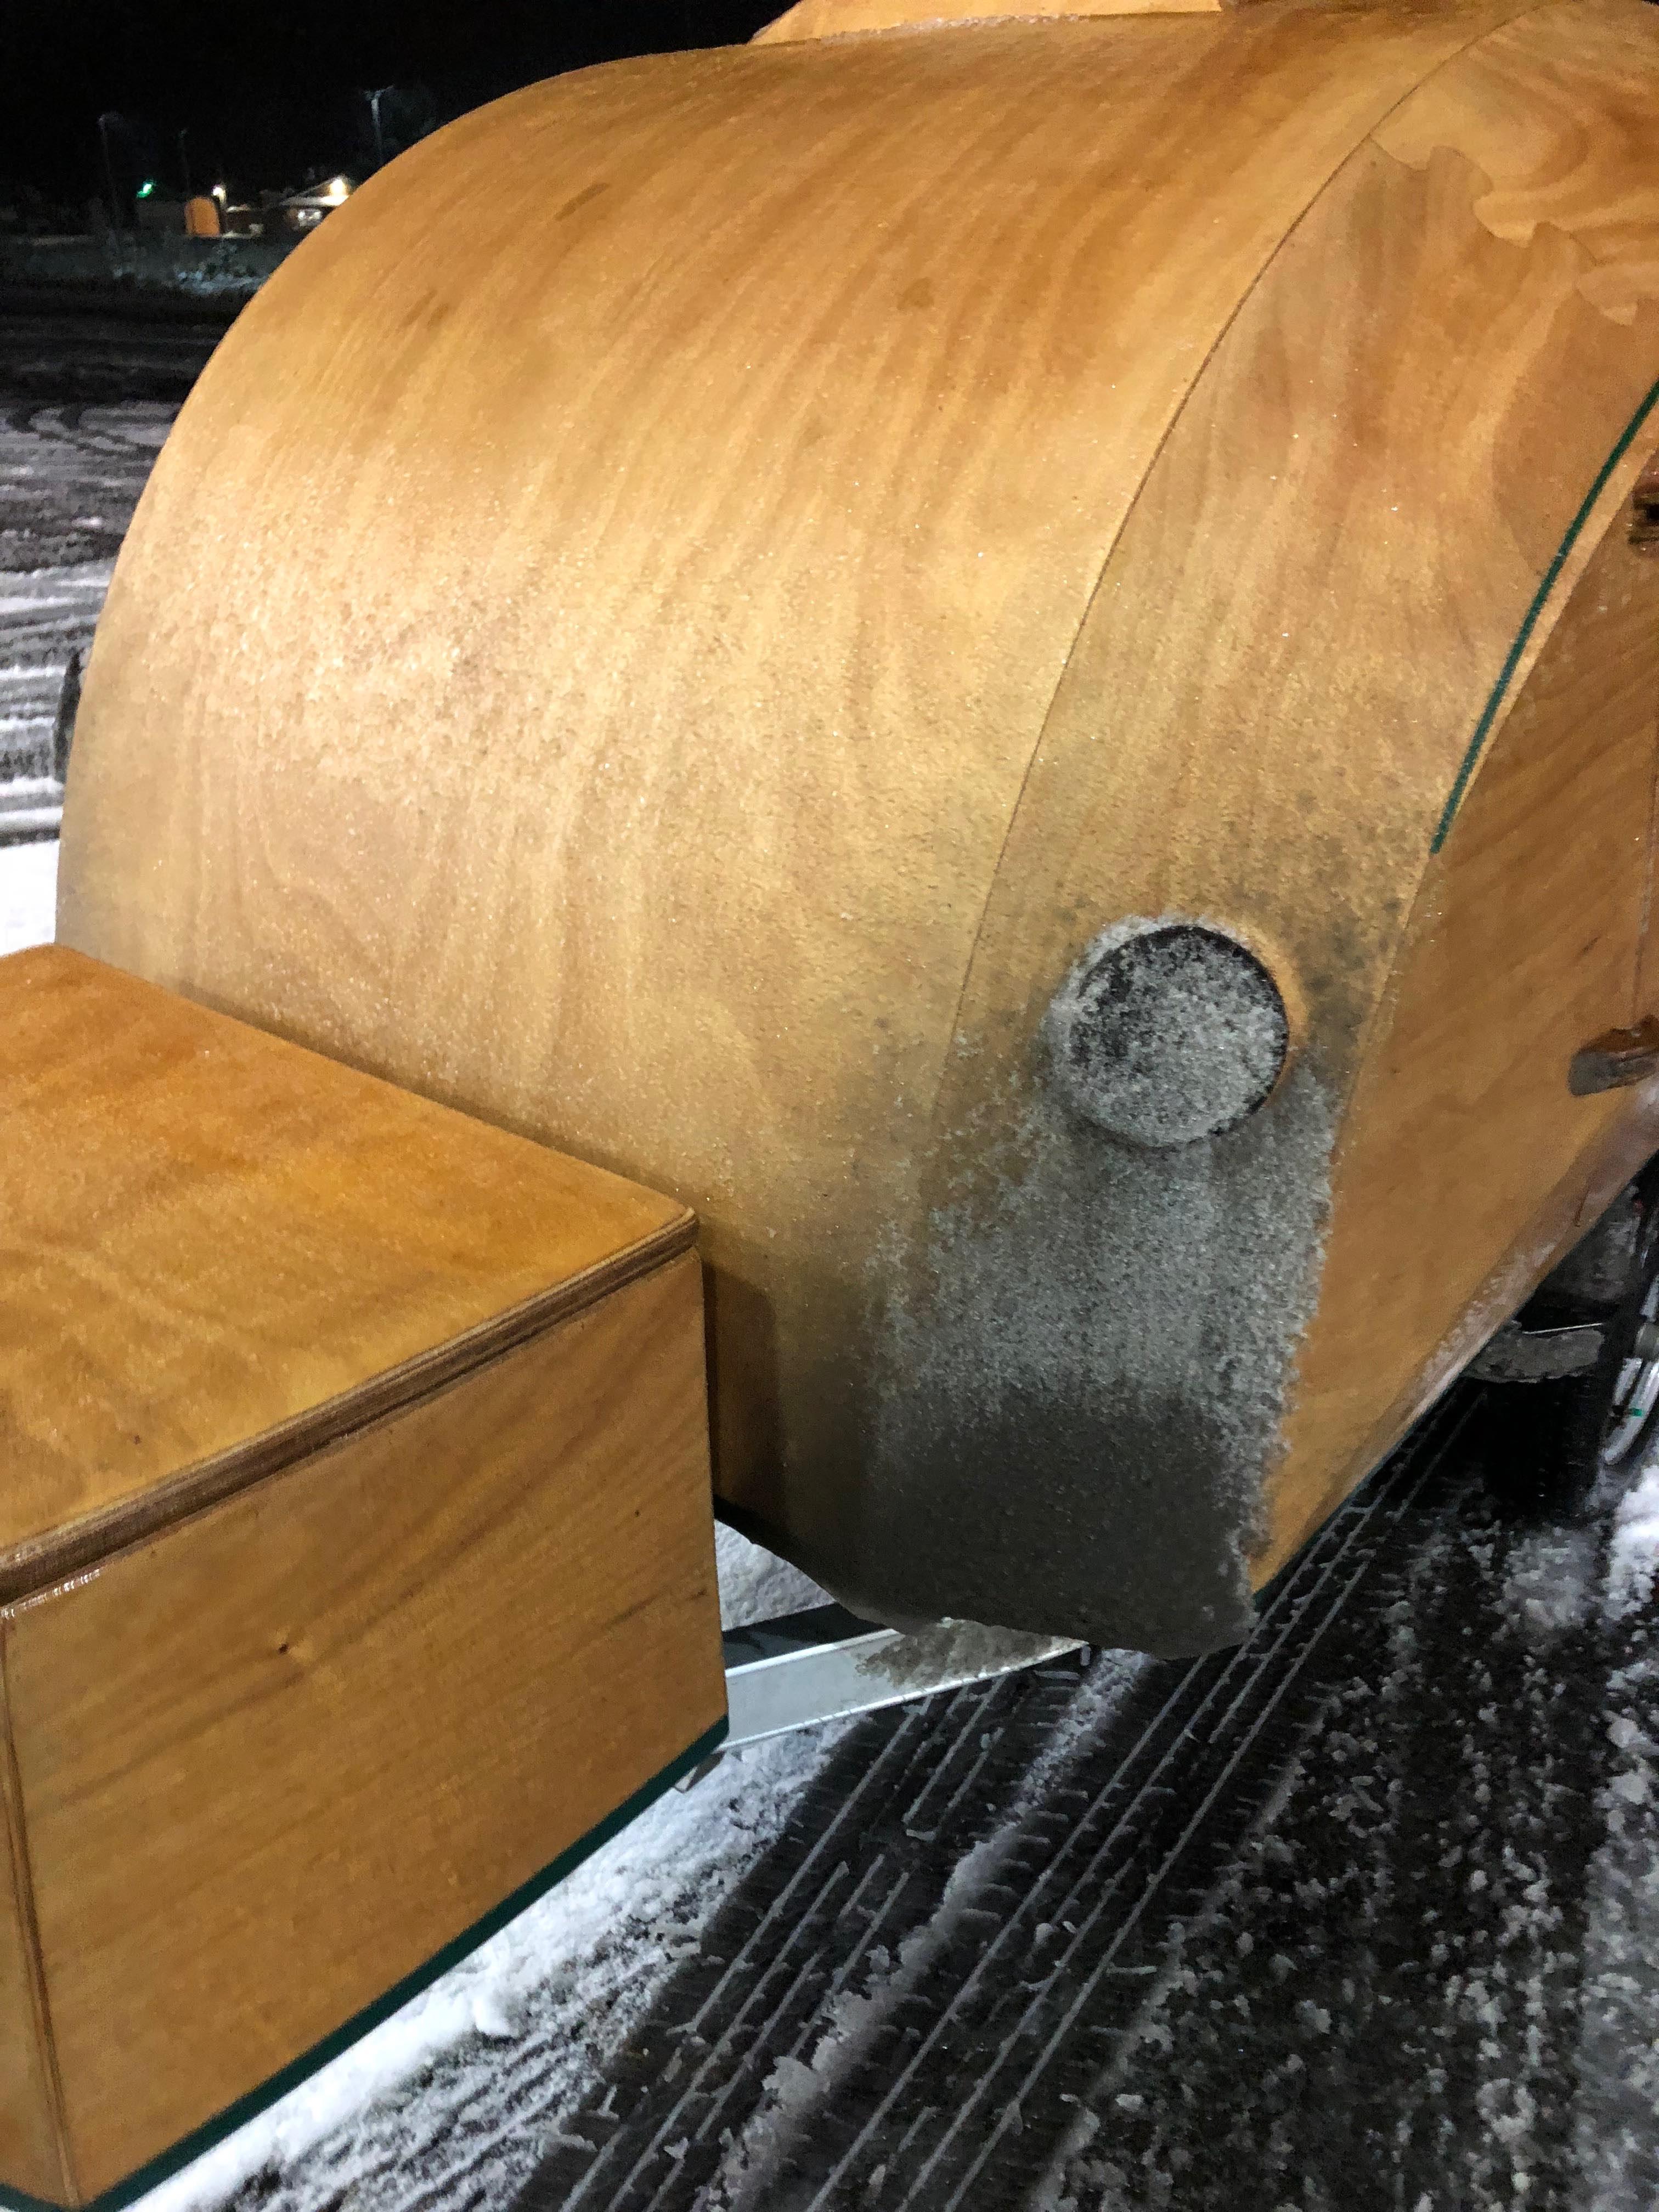
I had mounted the front mushroom vents on #2 vice #1 panels, to make sure they didn’t get blocked by the wife’s mountain of pillows, and I thought they looked better there. Well that put them right in the slush zone! In the end there was only a few ounces of water that came through doors and vents, I assume from snow buildup mostly. I was OK with that. When I washed the Hopitat today, I really soaked it and nothing leaked, with the exception of a tablespoon or so in the back corner of the galley. Really happy about that and will not change anything.
 Participant
The plywood is 6mm (1/4″) from memory. There was no point in the process that needed heat or steam to bend the panels. That all went extremely easy for me. Maybe in extreme cold that would be required, but the epoxy couldn’t be used in the cold anyway.
The mold protects the panels quite nicely. You could damage it by dropping tools on it and the like, but that would only be aesthetic. I recall one person on this board did crack one plywood panel but the fix was pretty straightforward.
This aspect of the build really is nothing to worry about.
ParticipantJim,
Thanks for the link to the wash tub.
I have 3M adhesive hooks in galley and inside the teardrop. For towels, I find something similar to these (https://www.amazon.com/Spectrum-Adhesive-Towel-Grabber-Hooks/dp/B000WW1G4A) work better.
ParticipantFor sure I chamfered the lowering edge and bowed the galley flat to get it in , forcing it with light hand on rubber mallet when scraping against wires. In the end the fillet covers up the deformations. No issues in the end but it was the worst fitting of the project.
ParticipantI added insurance today, collision and comprehensive thru Hartford. $500 deductible, $52 annual premium increase to the auto policy. They used $13k valuation that I gave them, but as with all losses I would need to prove replacement/repair cost. That would be the trailer, kit, parts, and someone else building it.
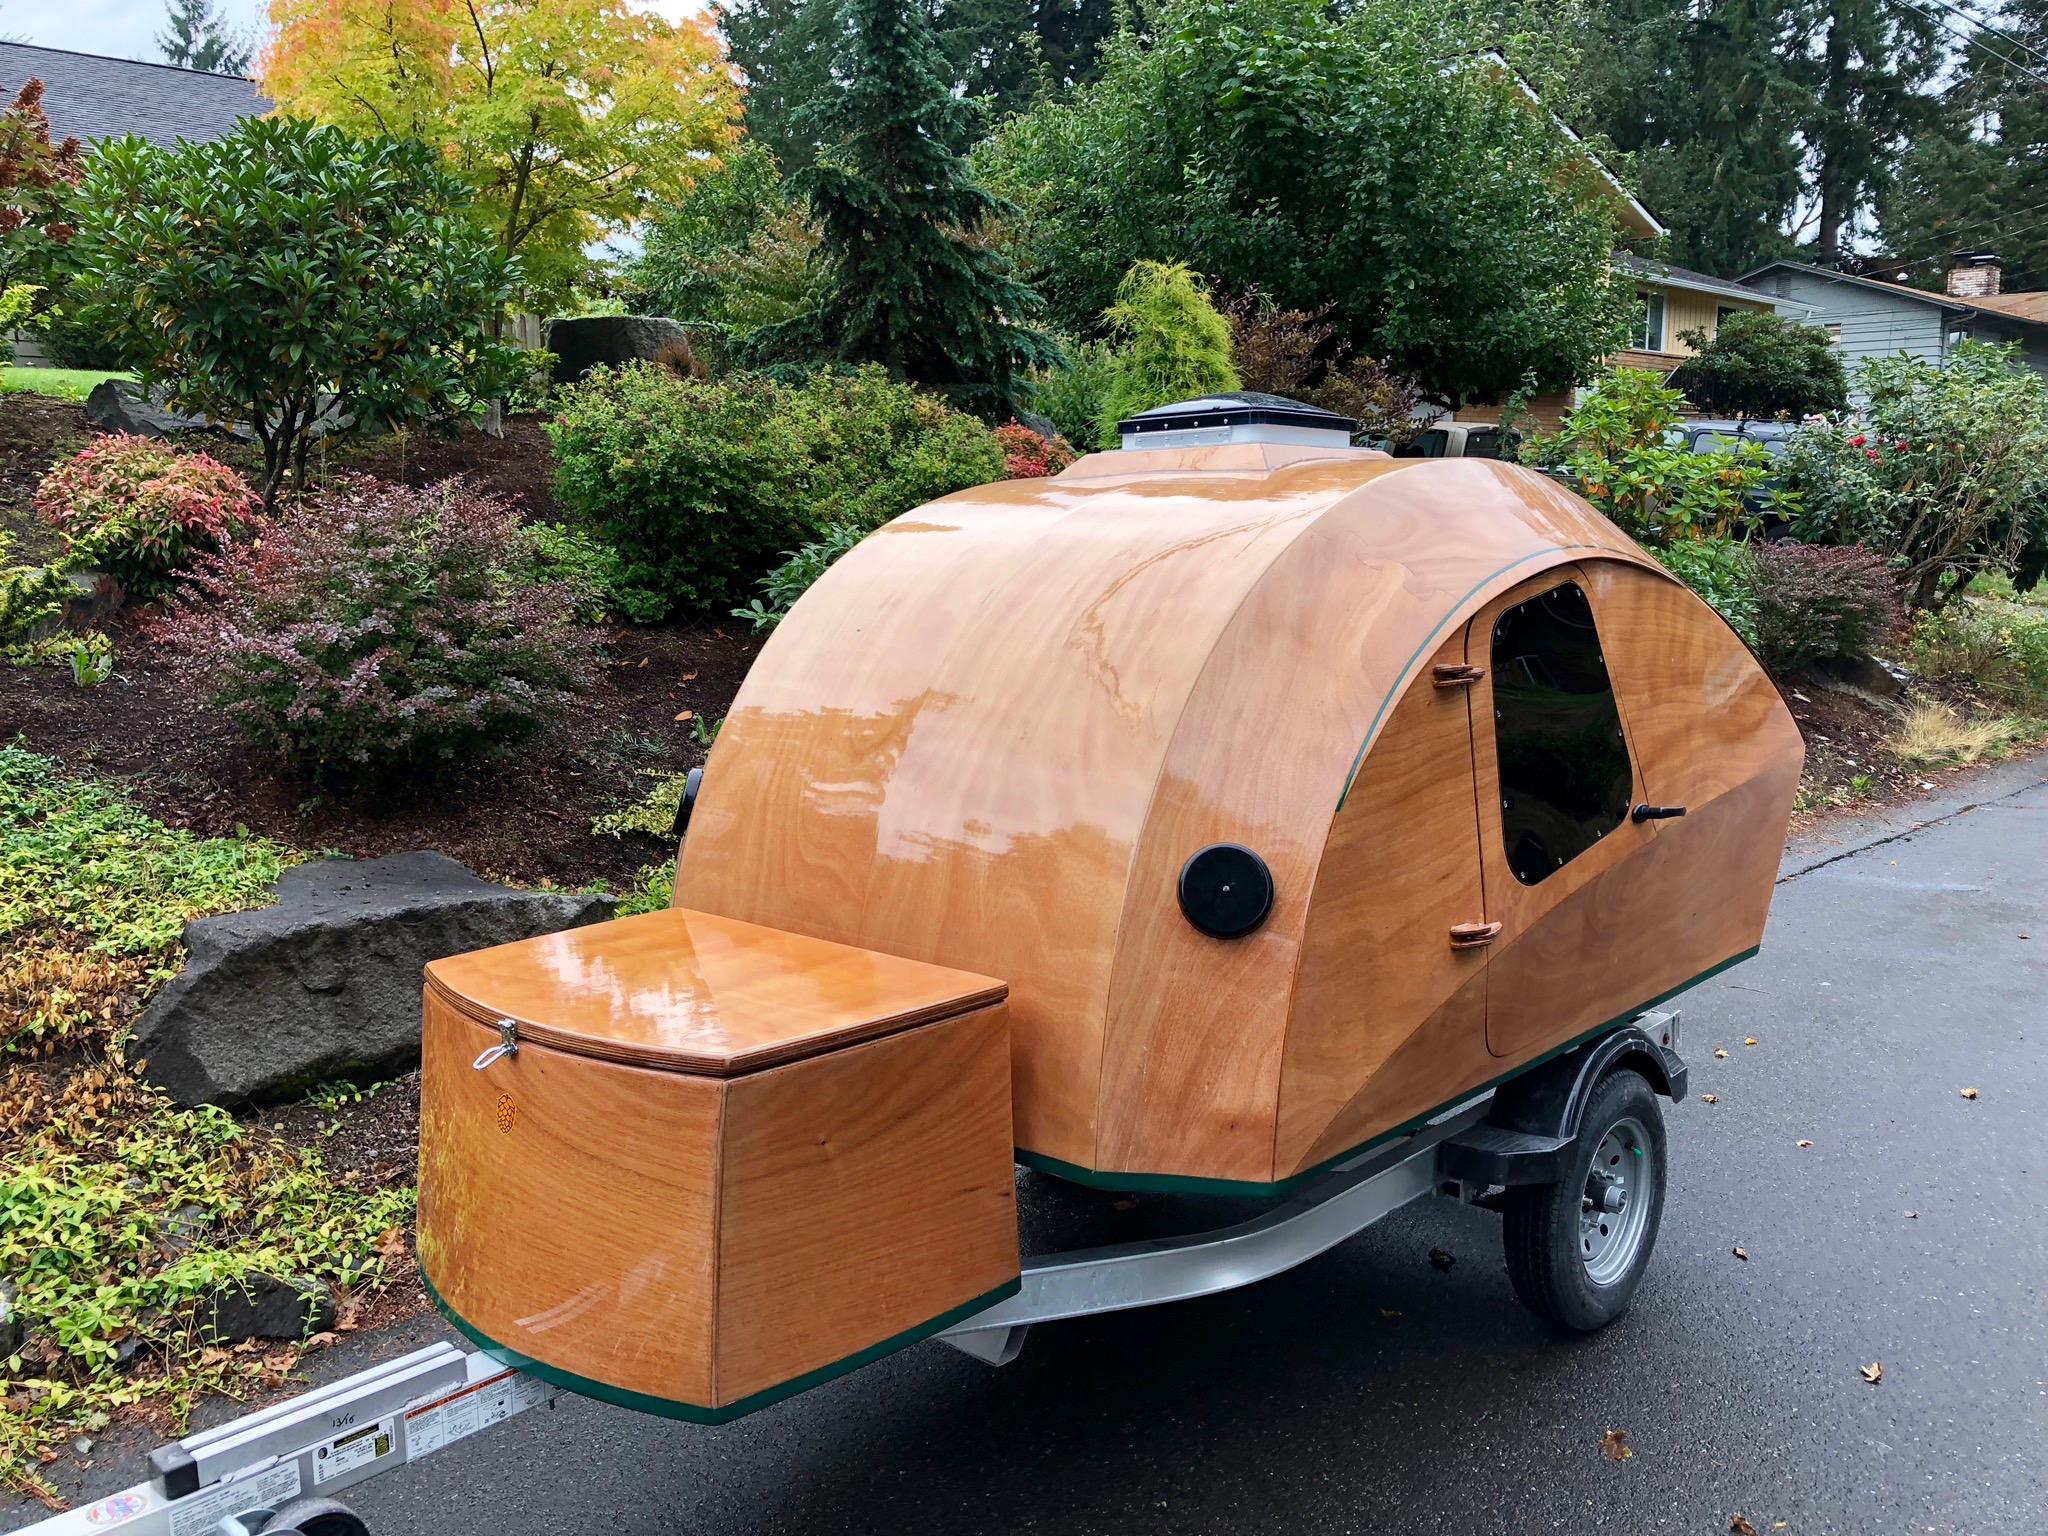
ParticipantThe HOPITAT is complete.
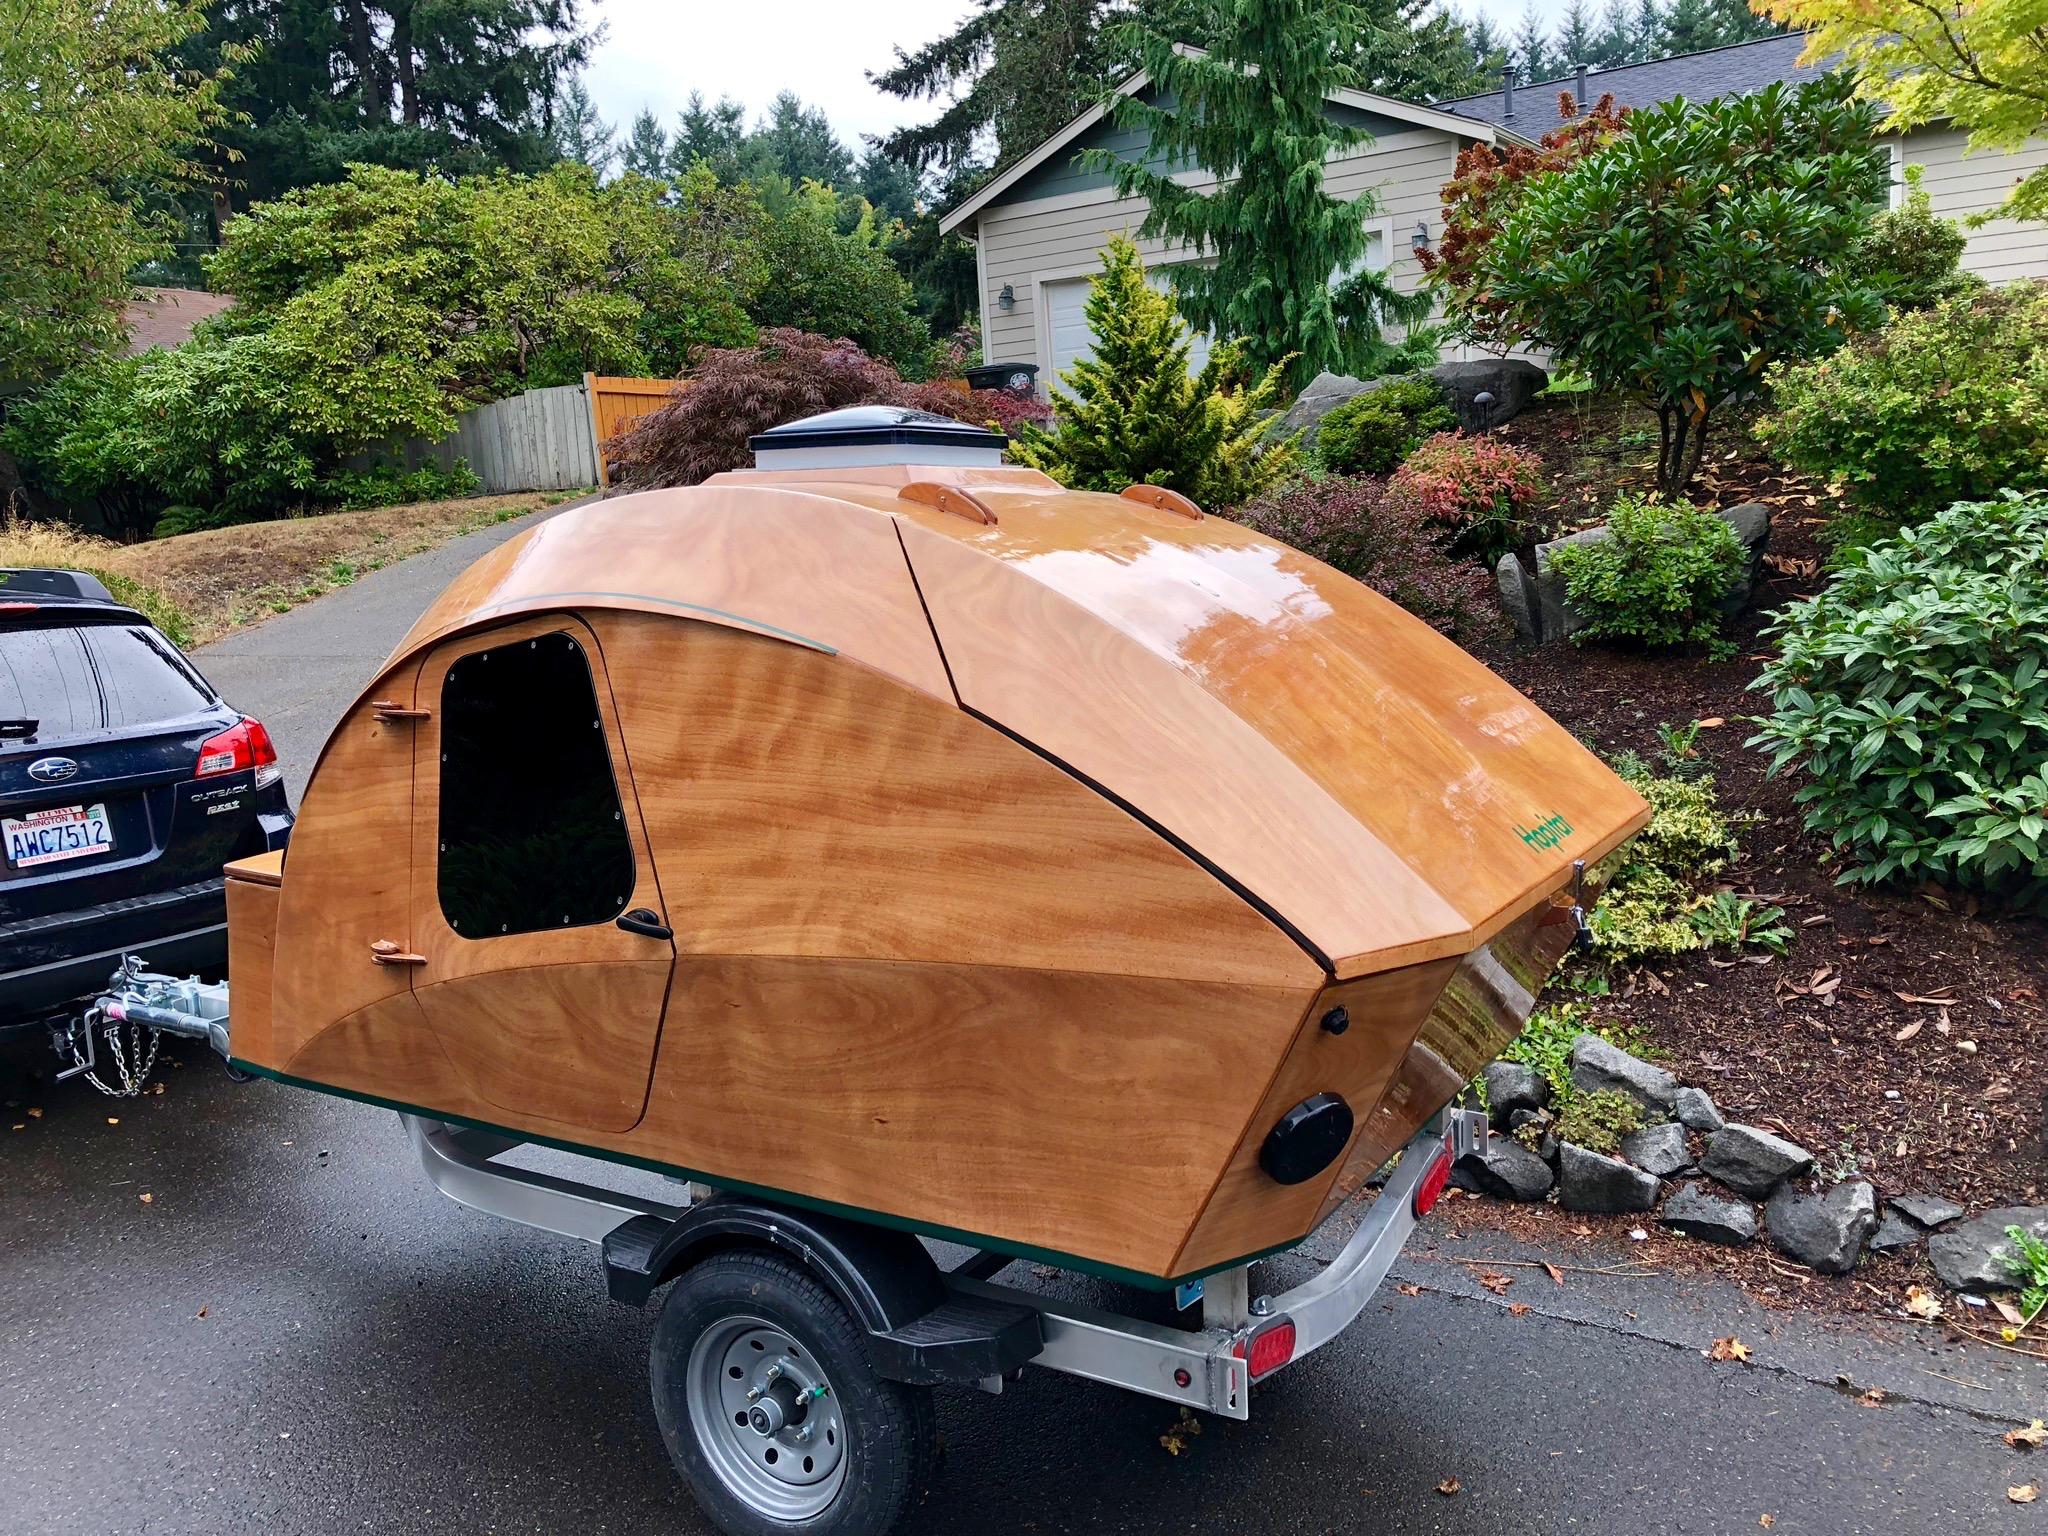
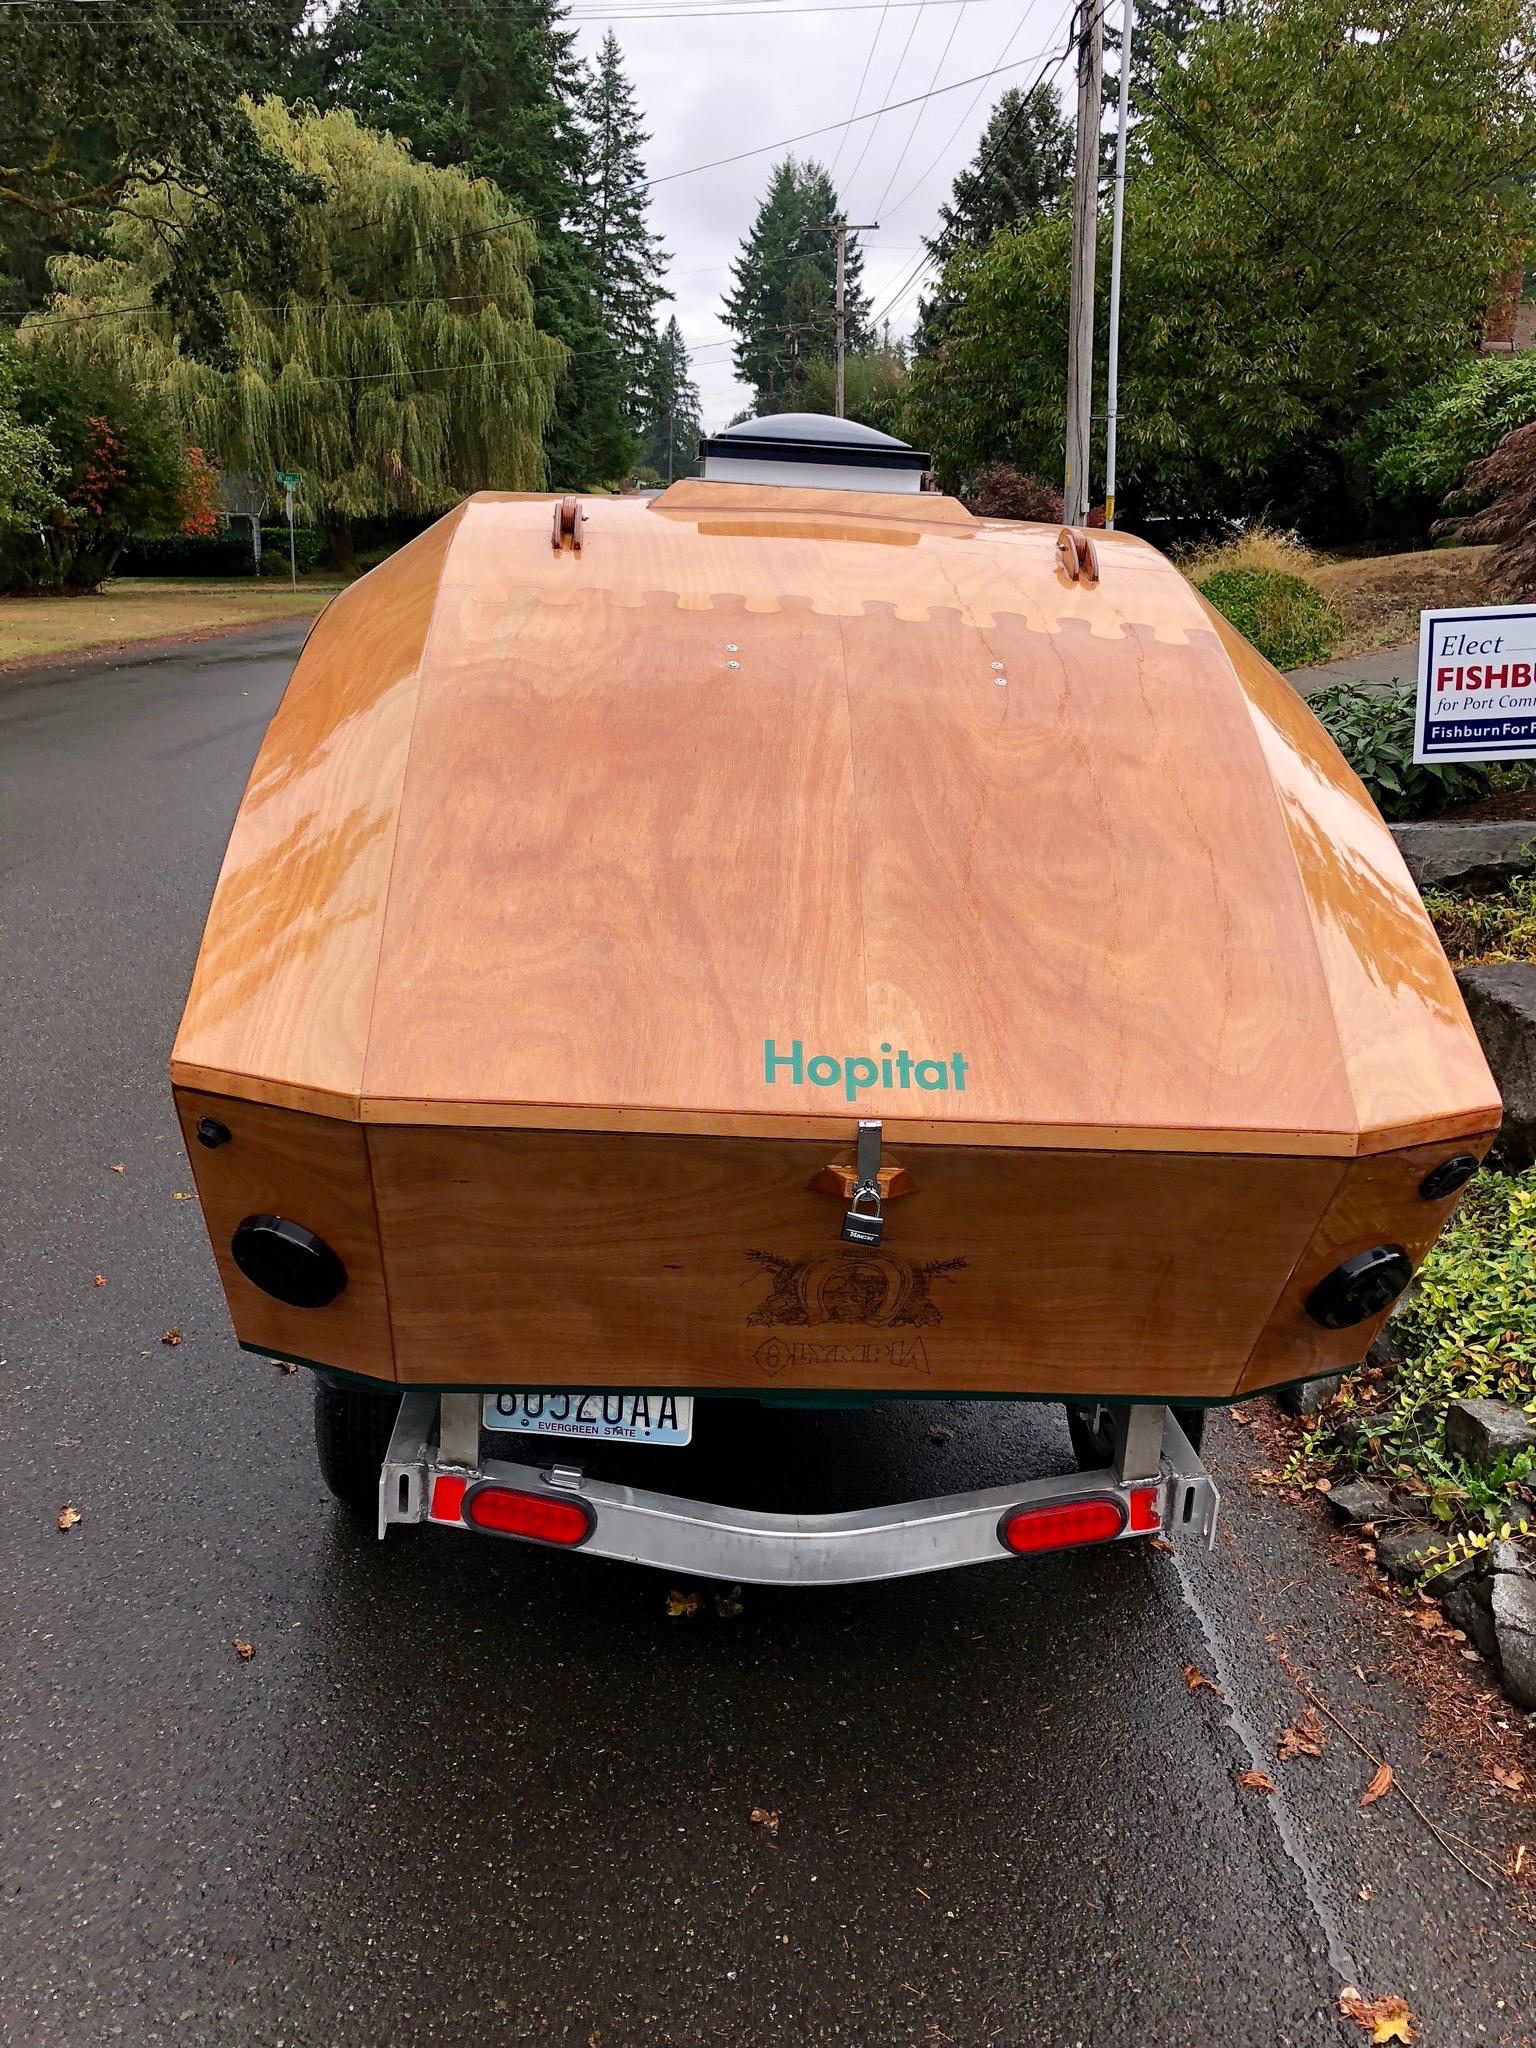
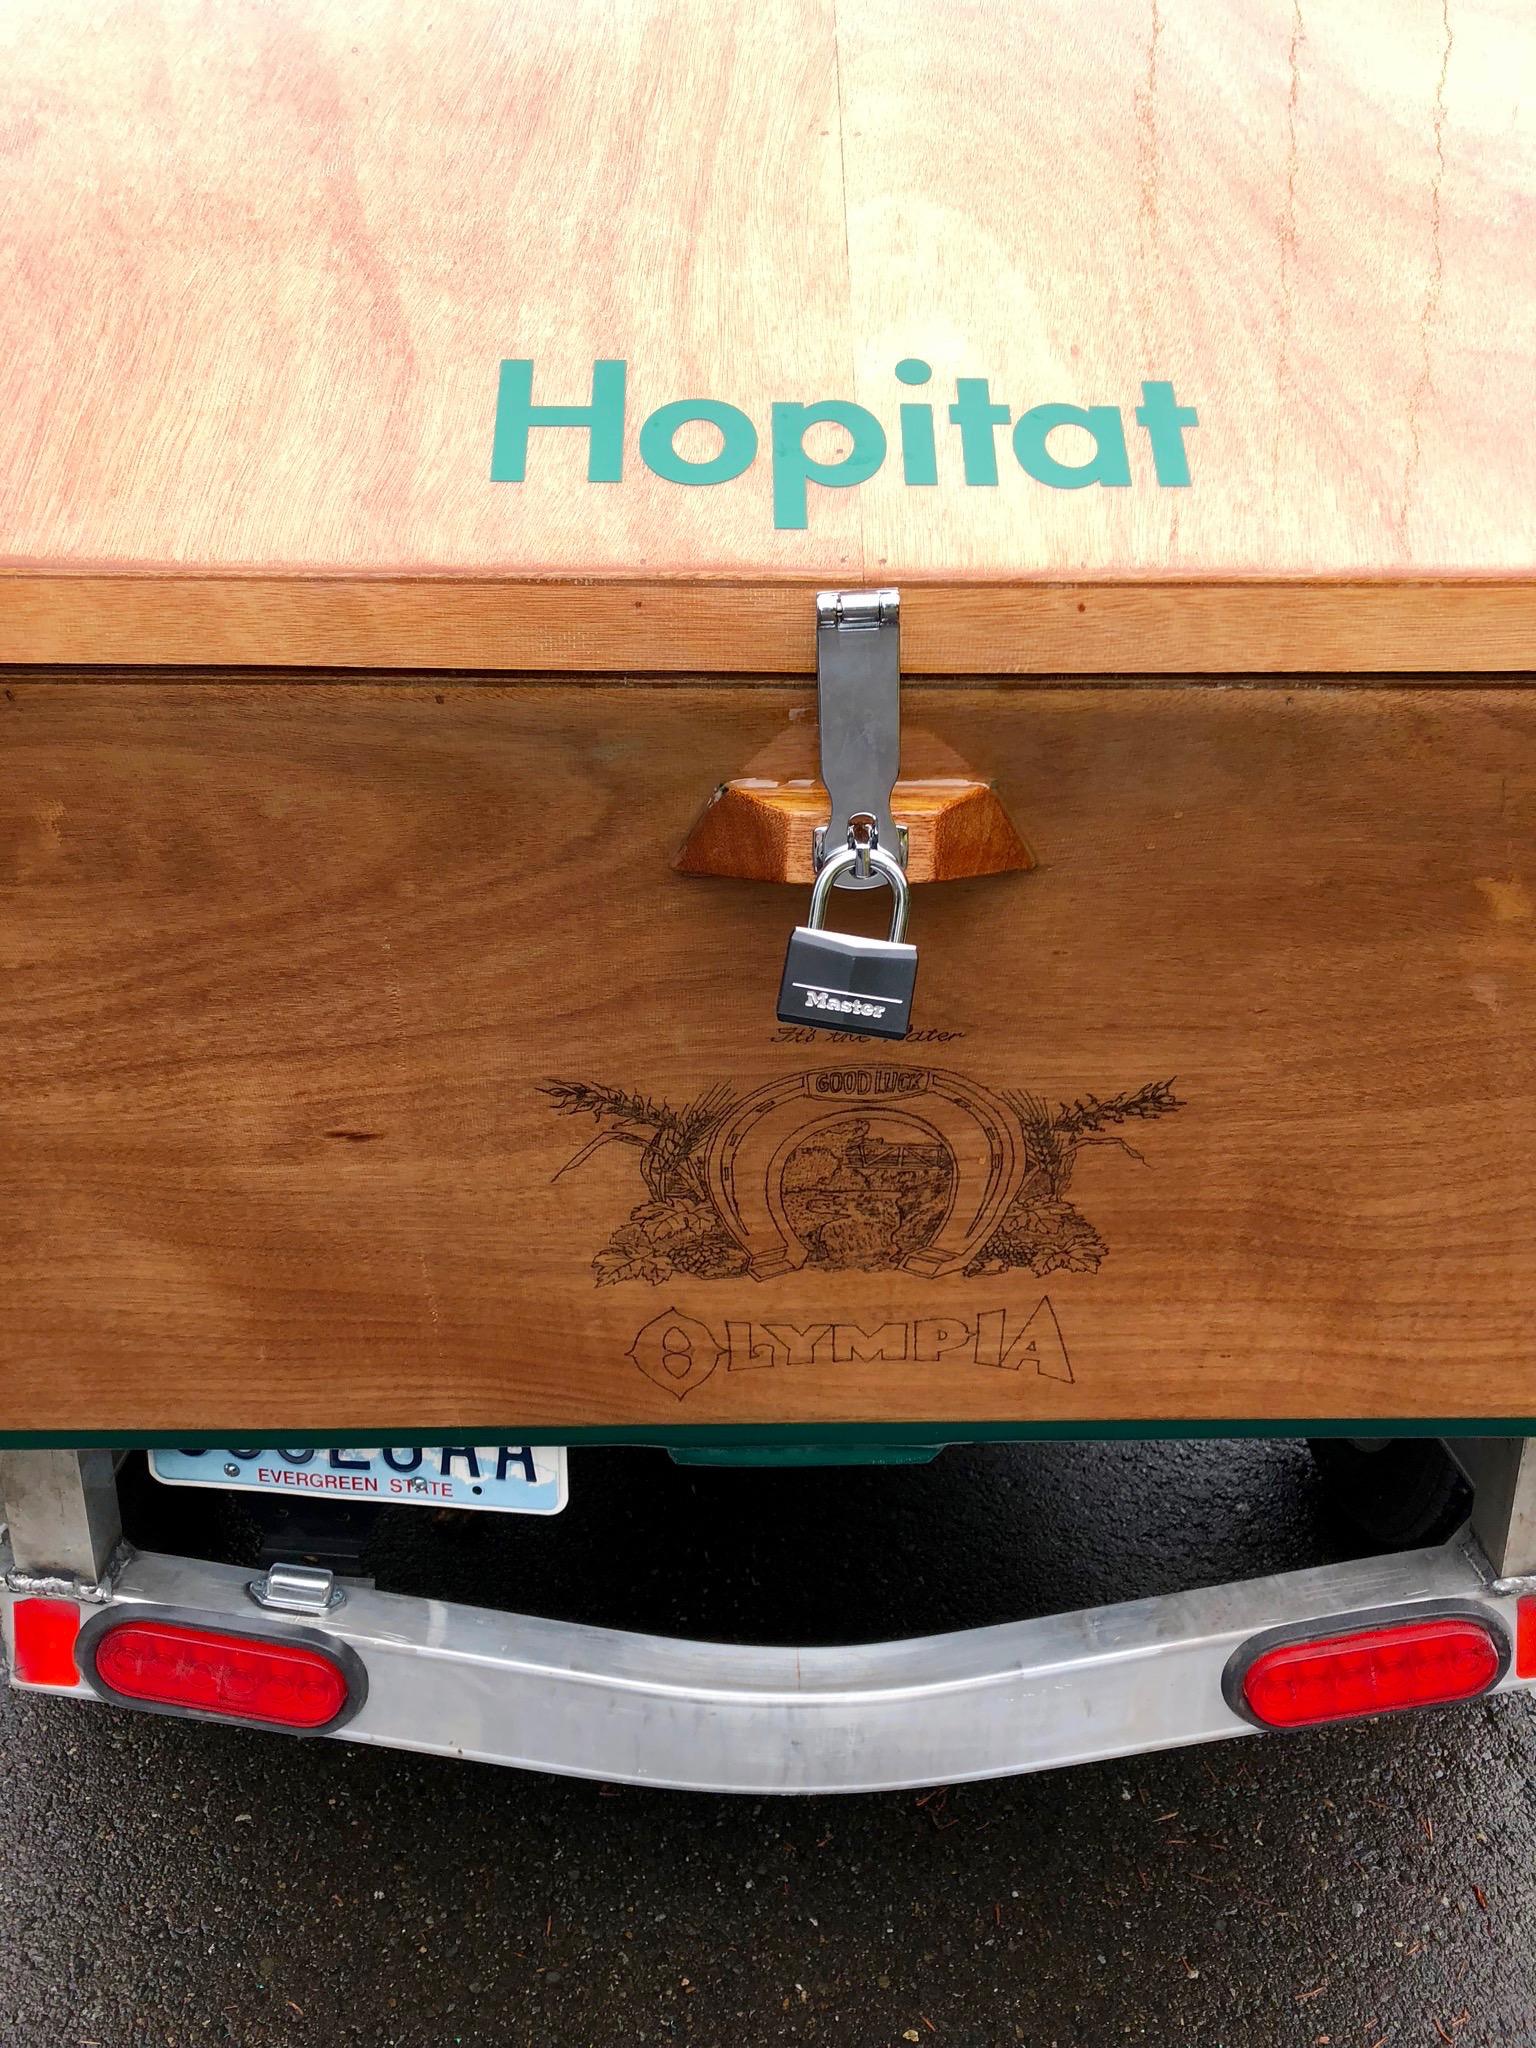 Not my kind of beer, but my home town! Wood burned logo before fiberglass.
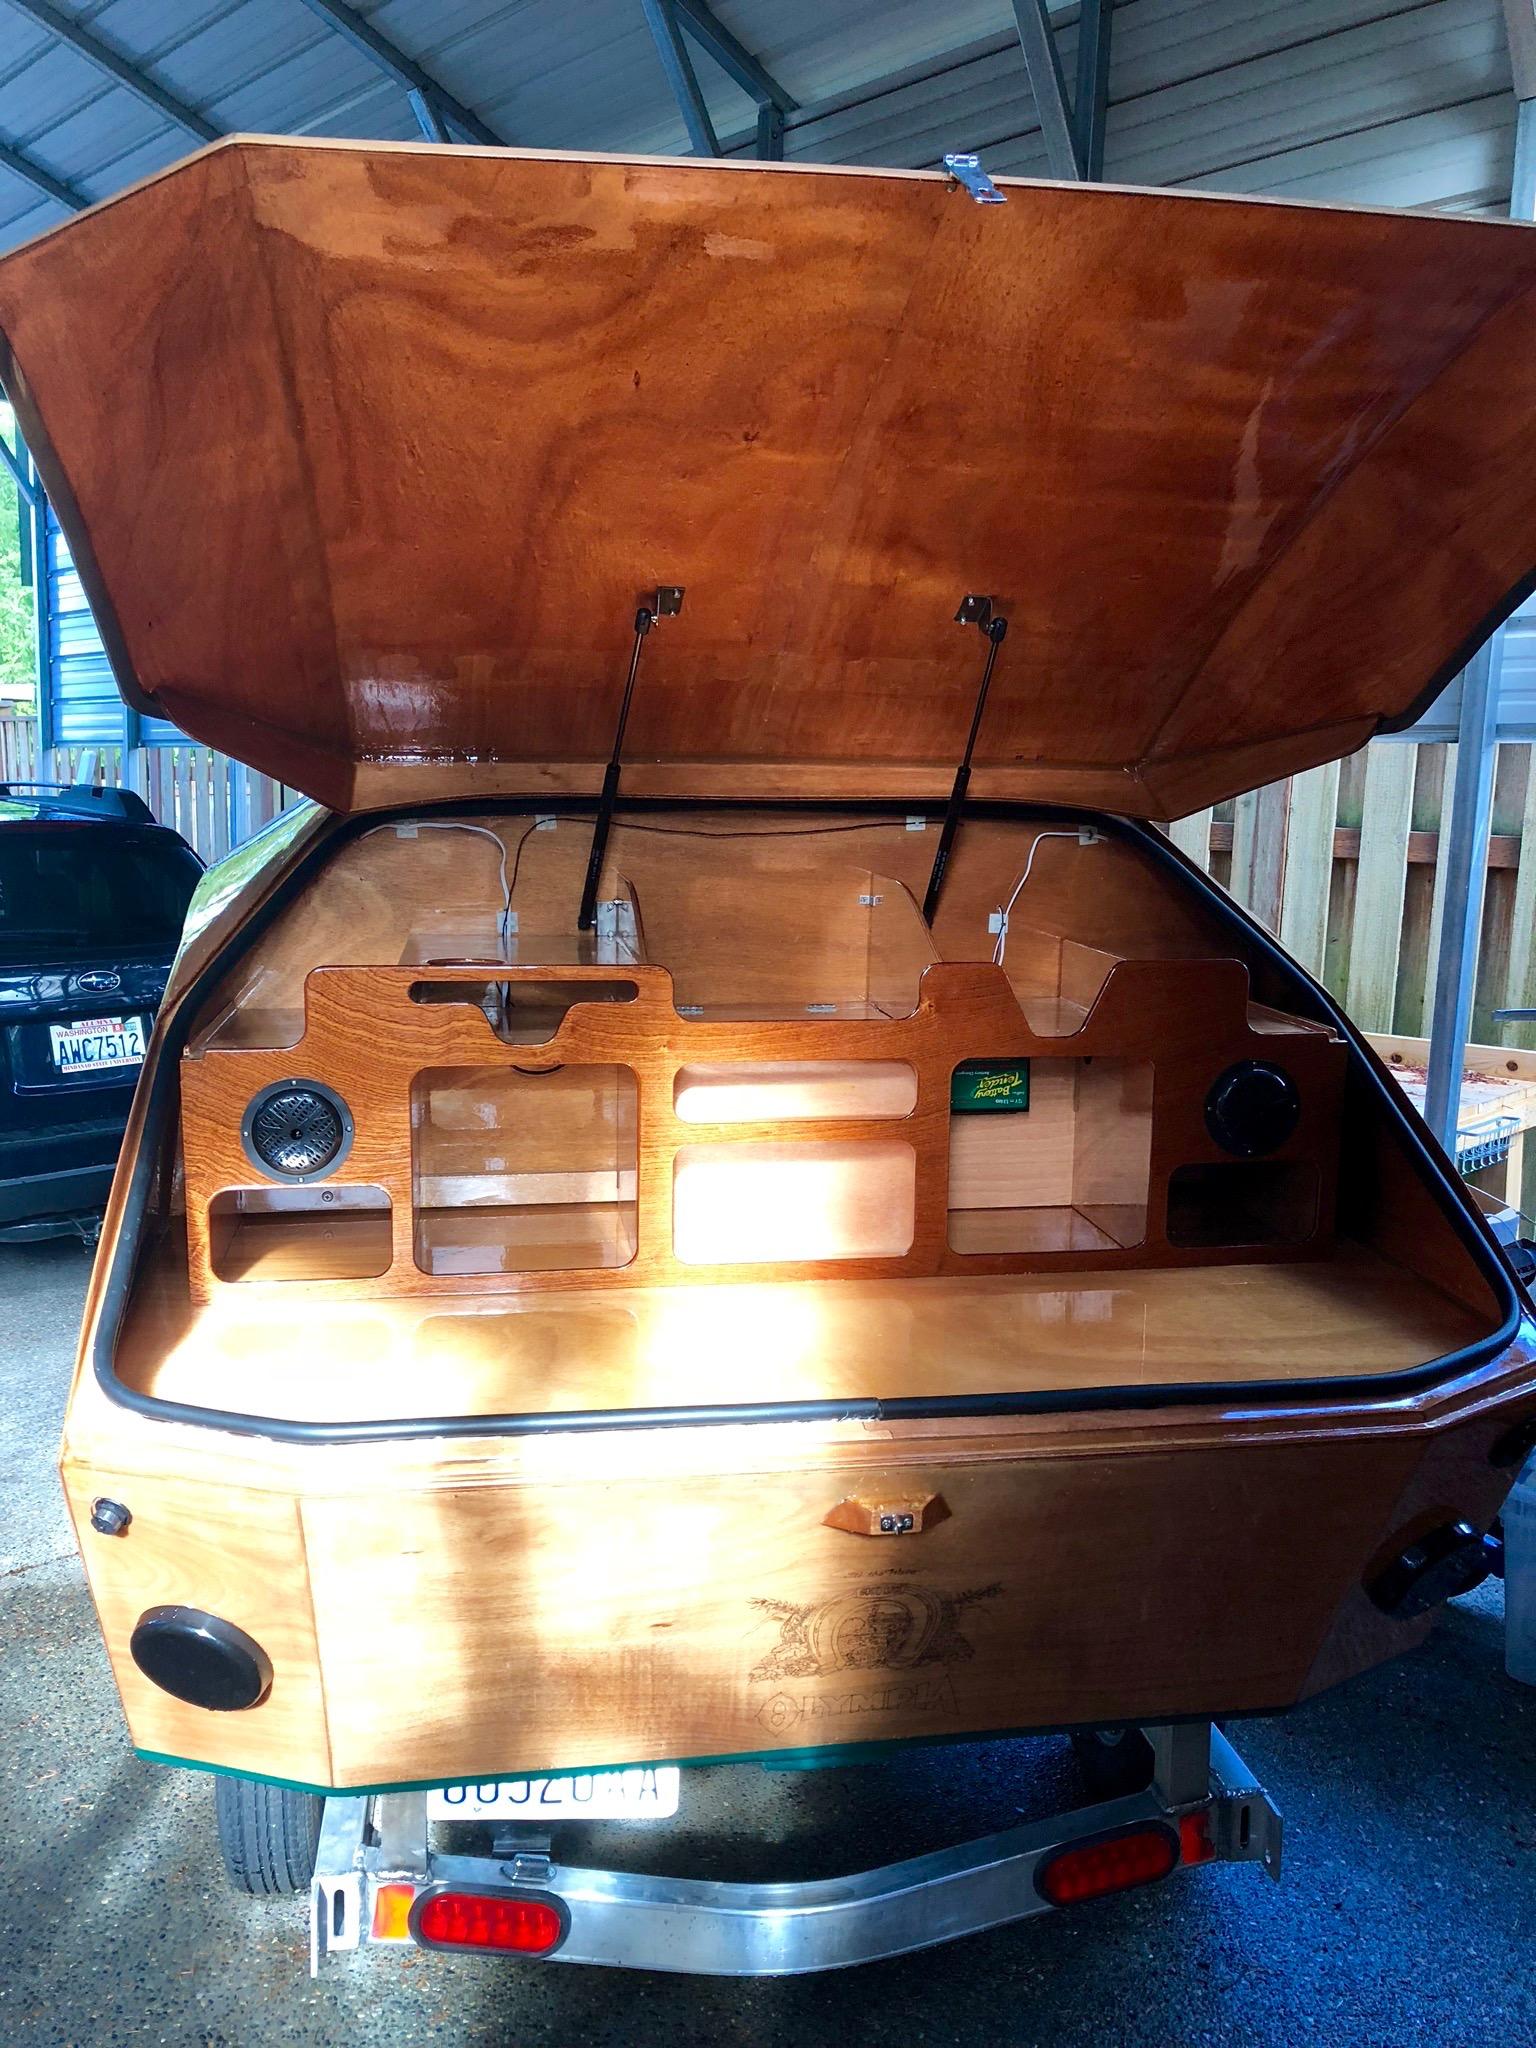
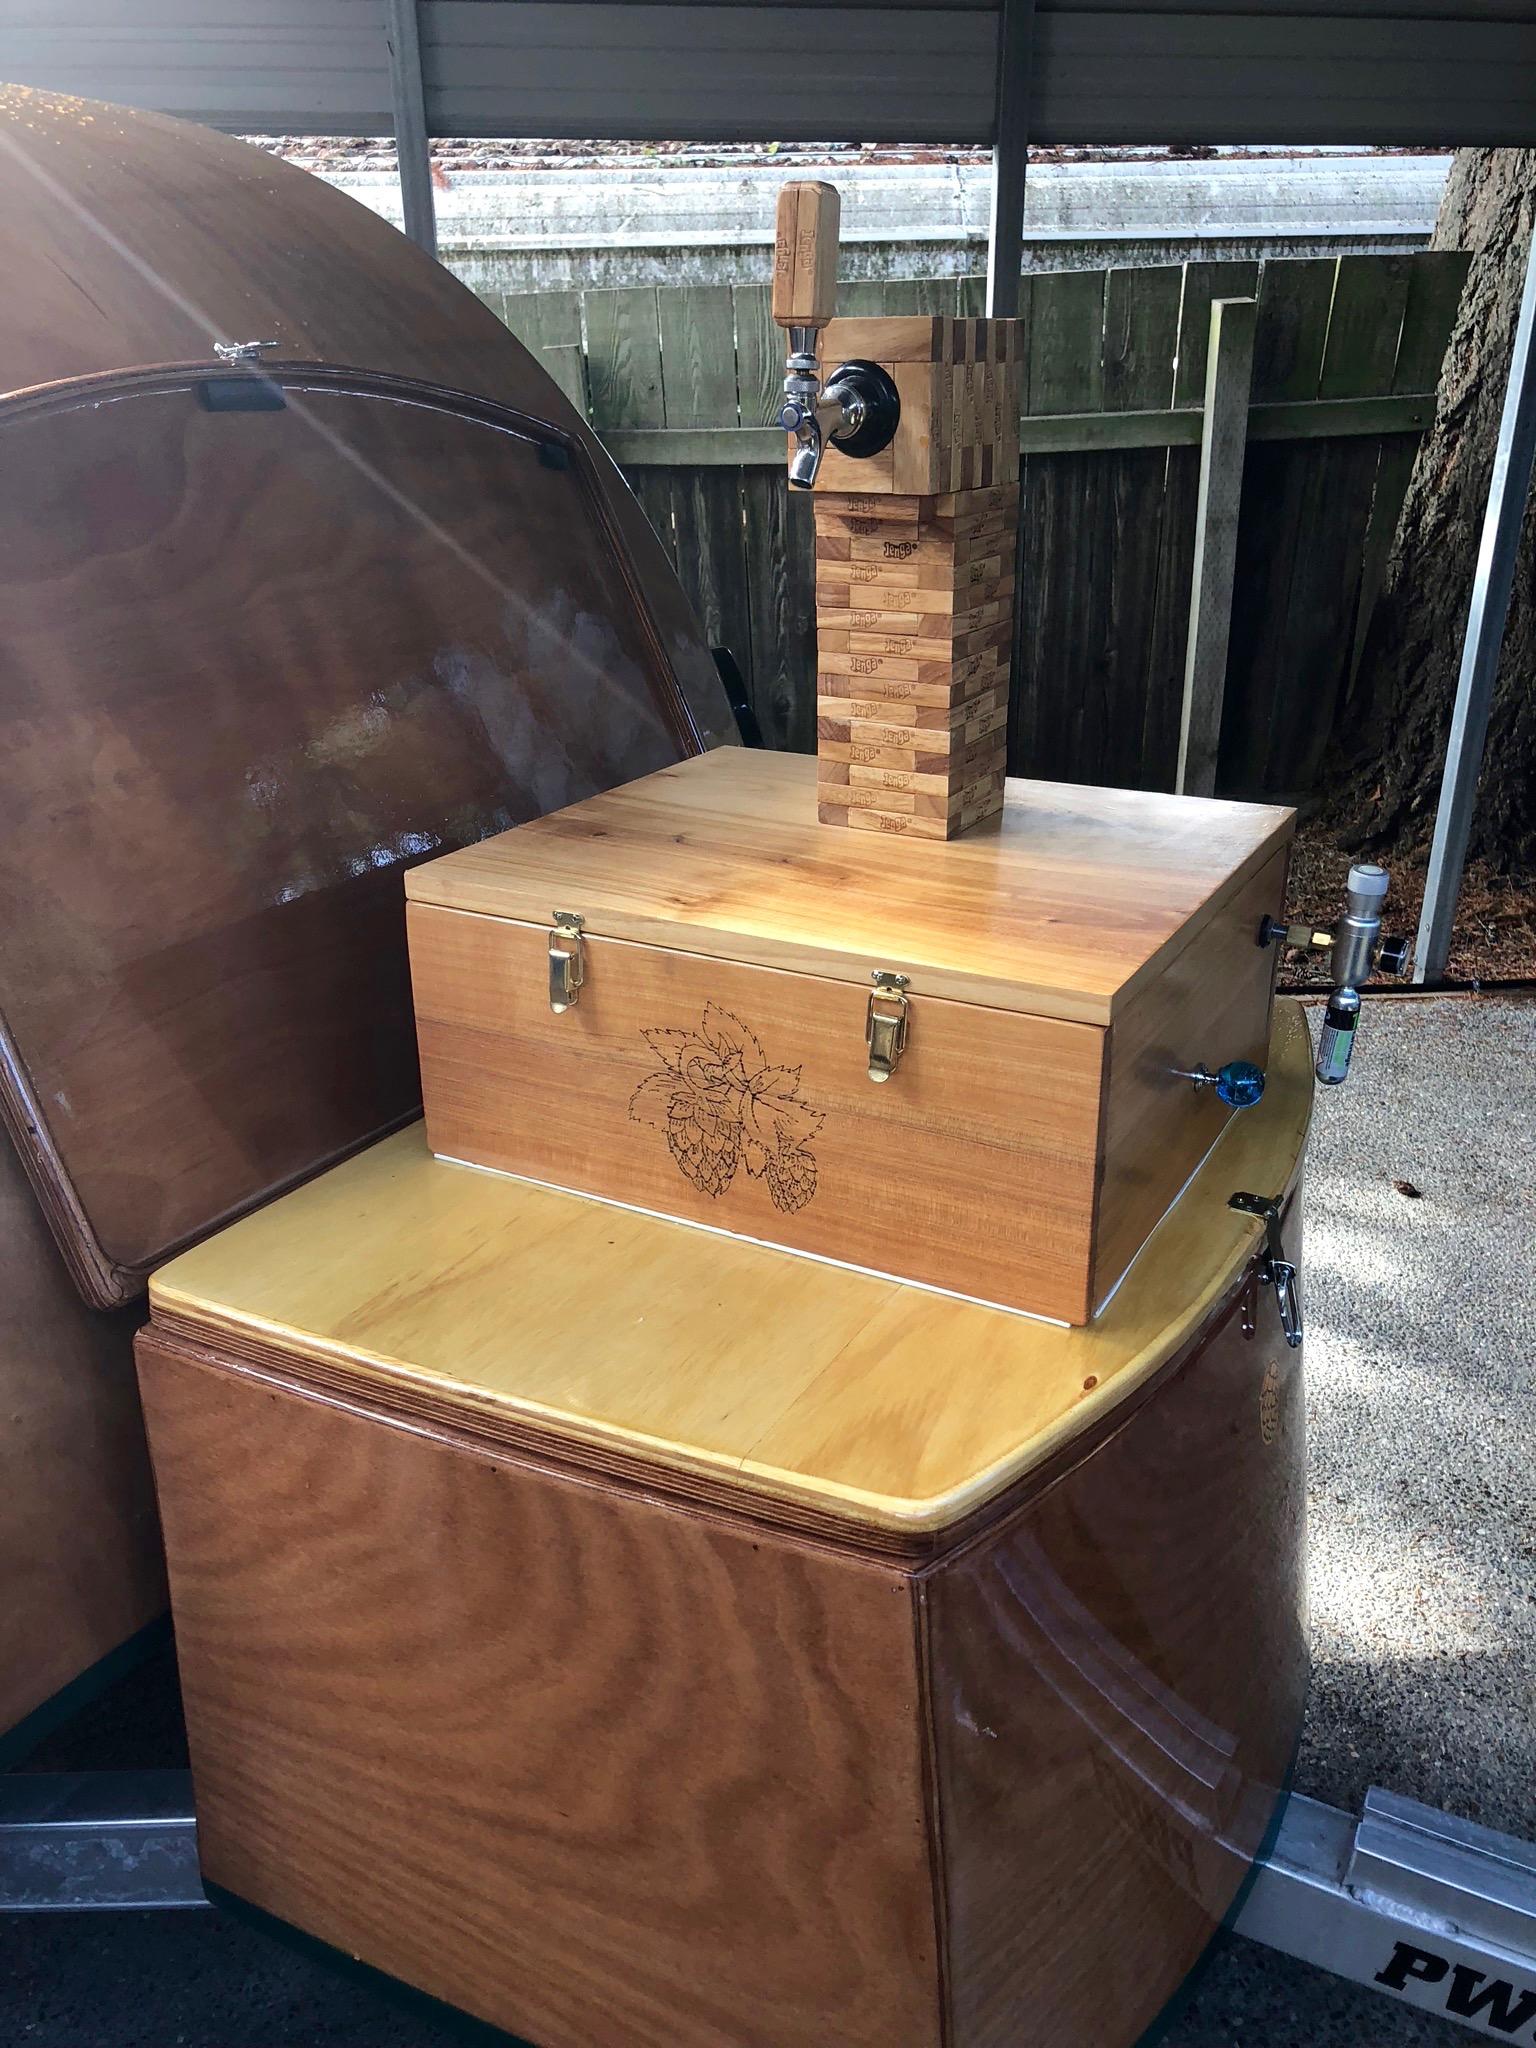 A modular addition to the box
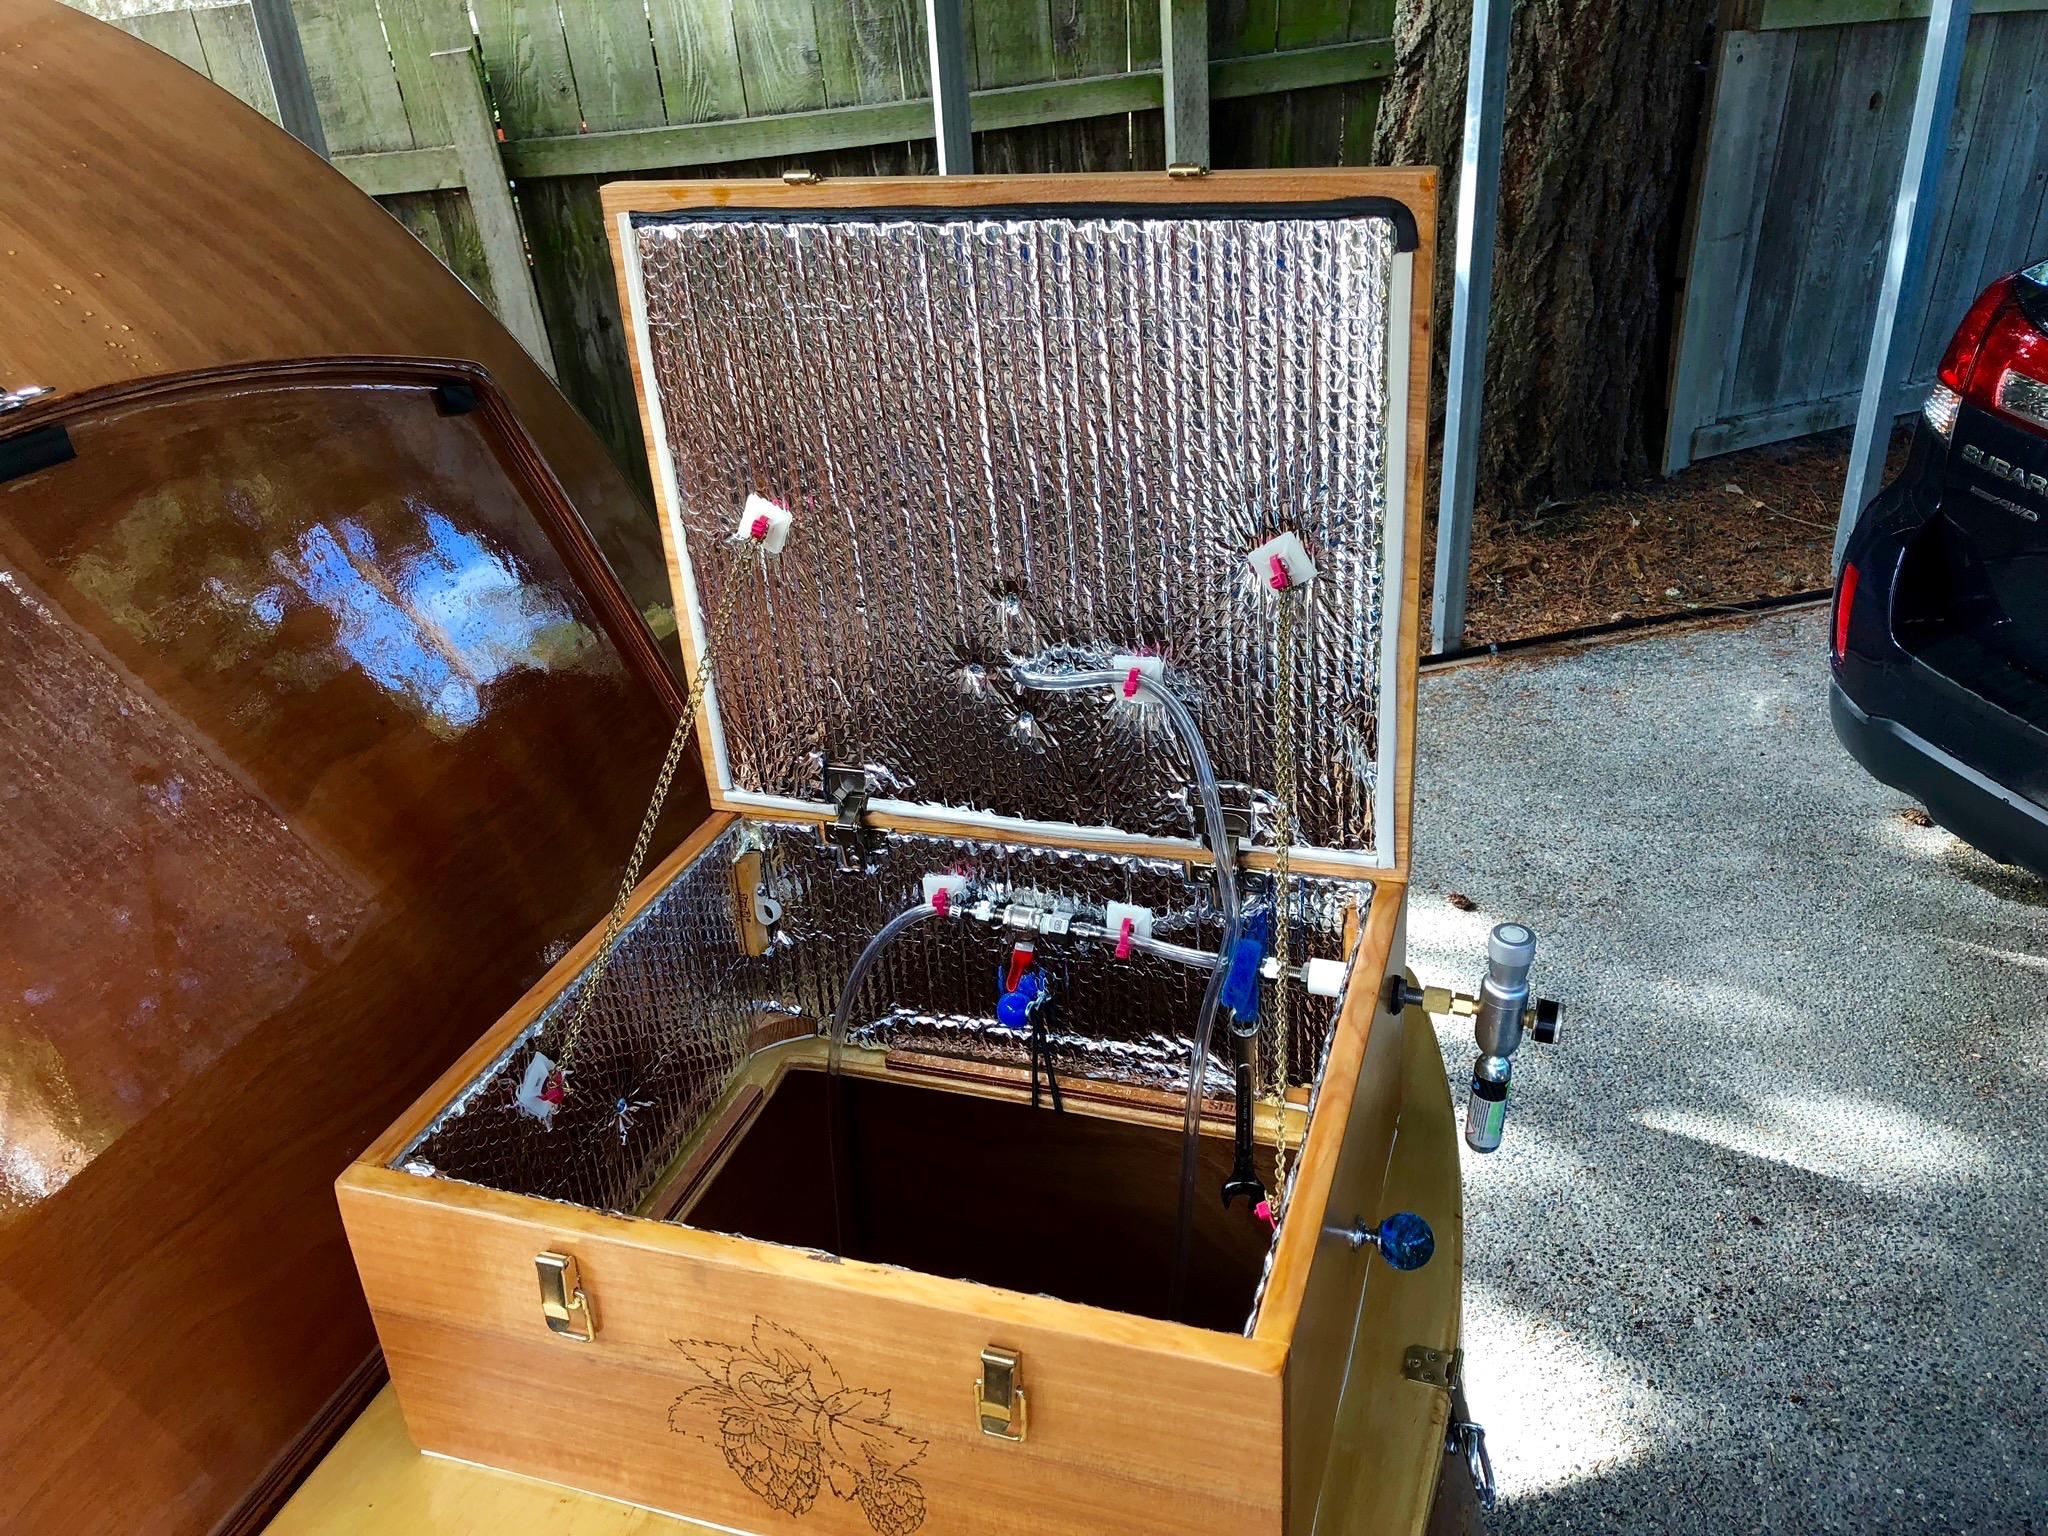 Holds a variety of 2 and 3 gallon kegs. 4 at least.
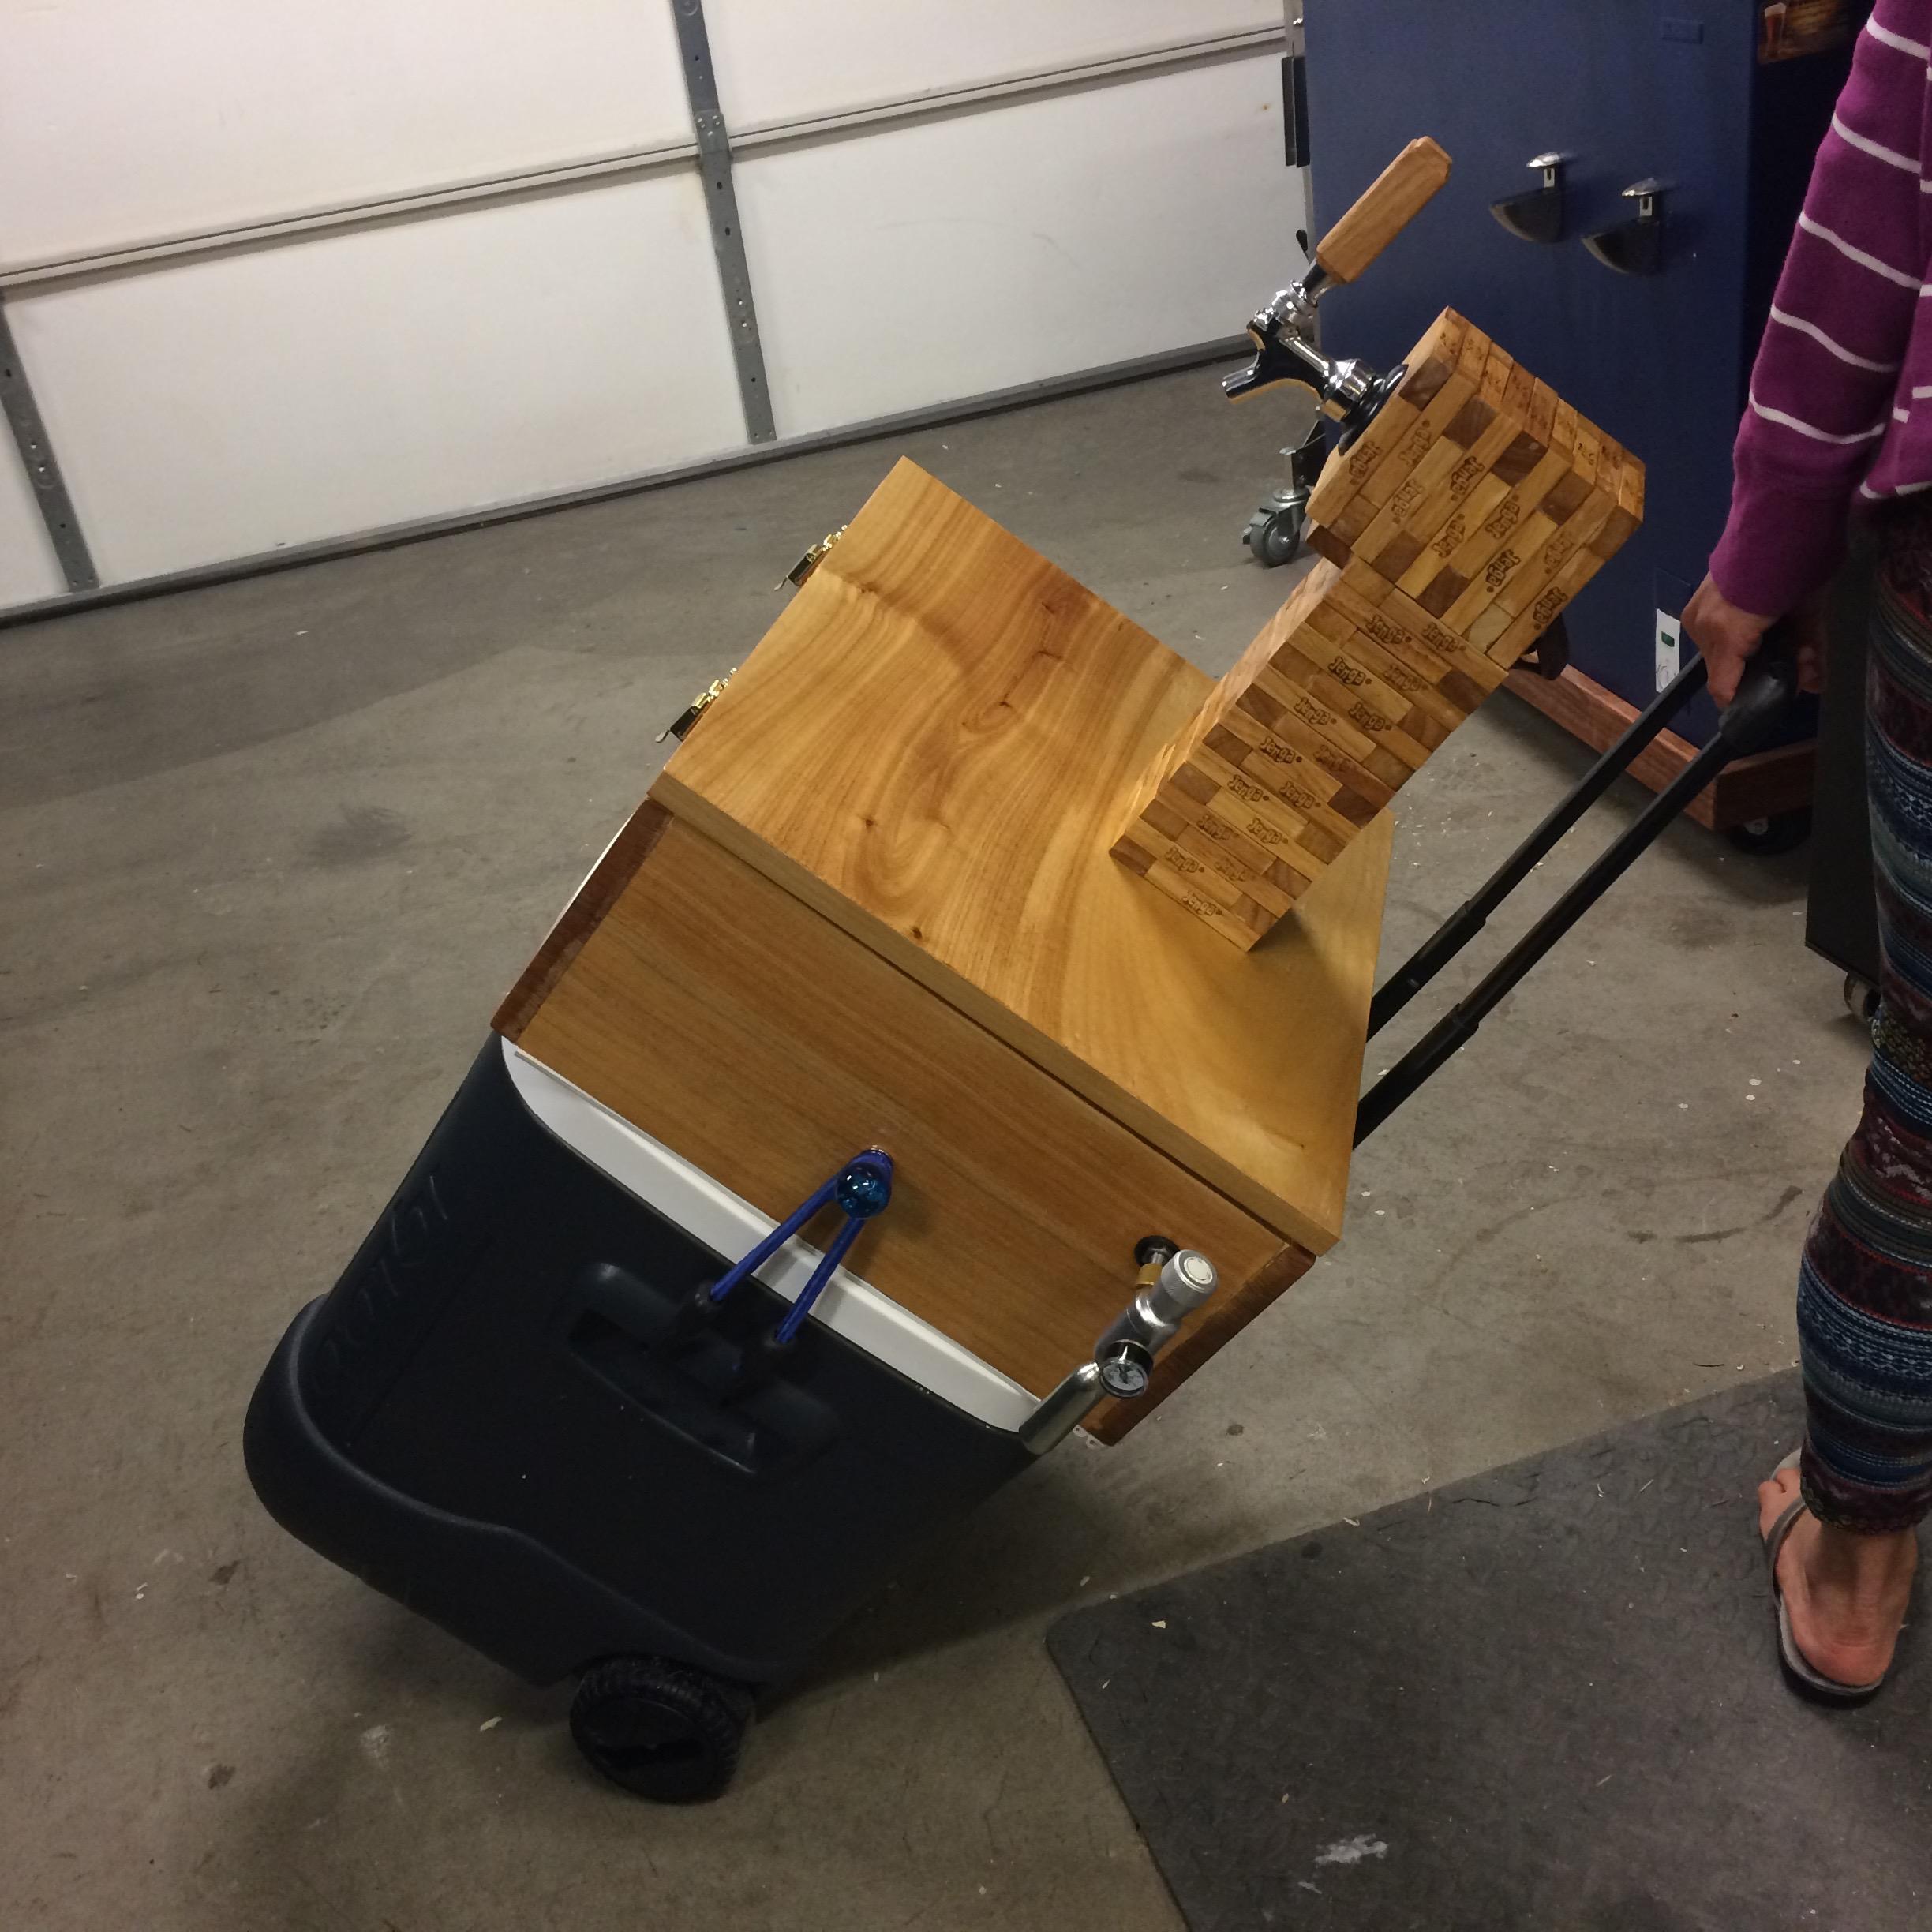 But even more portable and modular for the lush-on-the-go!
Thanks for looking!
ParticipantI licensed my teardrop yesterday.
My trailer was already licensed, hence already had a VIN#. If yours doesn’t, sequence will be different.
1. Went to Licensing Agent (where you get your car tabs etc.) Got an inspection request. No cost.
2. Made appointment on line at WSP. My category was OTHER and under comments I put repurposing trailer. If you have no VIN, there is a different category for that. Appointments are a few weeks out, so plan for that. If you have no VIN or registration, you can get a $5 on day Transit Permit to get you ton WSP inspection site.
3. Had teardrop weighed. and movers certified scale. $20, Weighed 520 lbs.
4. Inspection was straight forward, took about 1/2 hour of the one hour allotted. Patrolman measured and looked around teardrop, he was very complimentary. Suggested engraving VIN number under teardrop. I already have it under headliner with photo to show where it is if stolen. Have trailer title, registration (if you have one) and receipt for trailer and shipping docs from CLC for kit or receipt for parts if not from kit.
5. Took Inspection slip to Licensing agent (valid for 60 days), and got new registration and title will be mailer, changing from Trailer to Camper/Teardrop. $31.
That’s all folks!
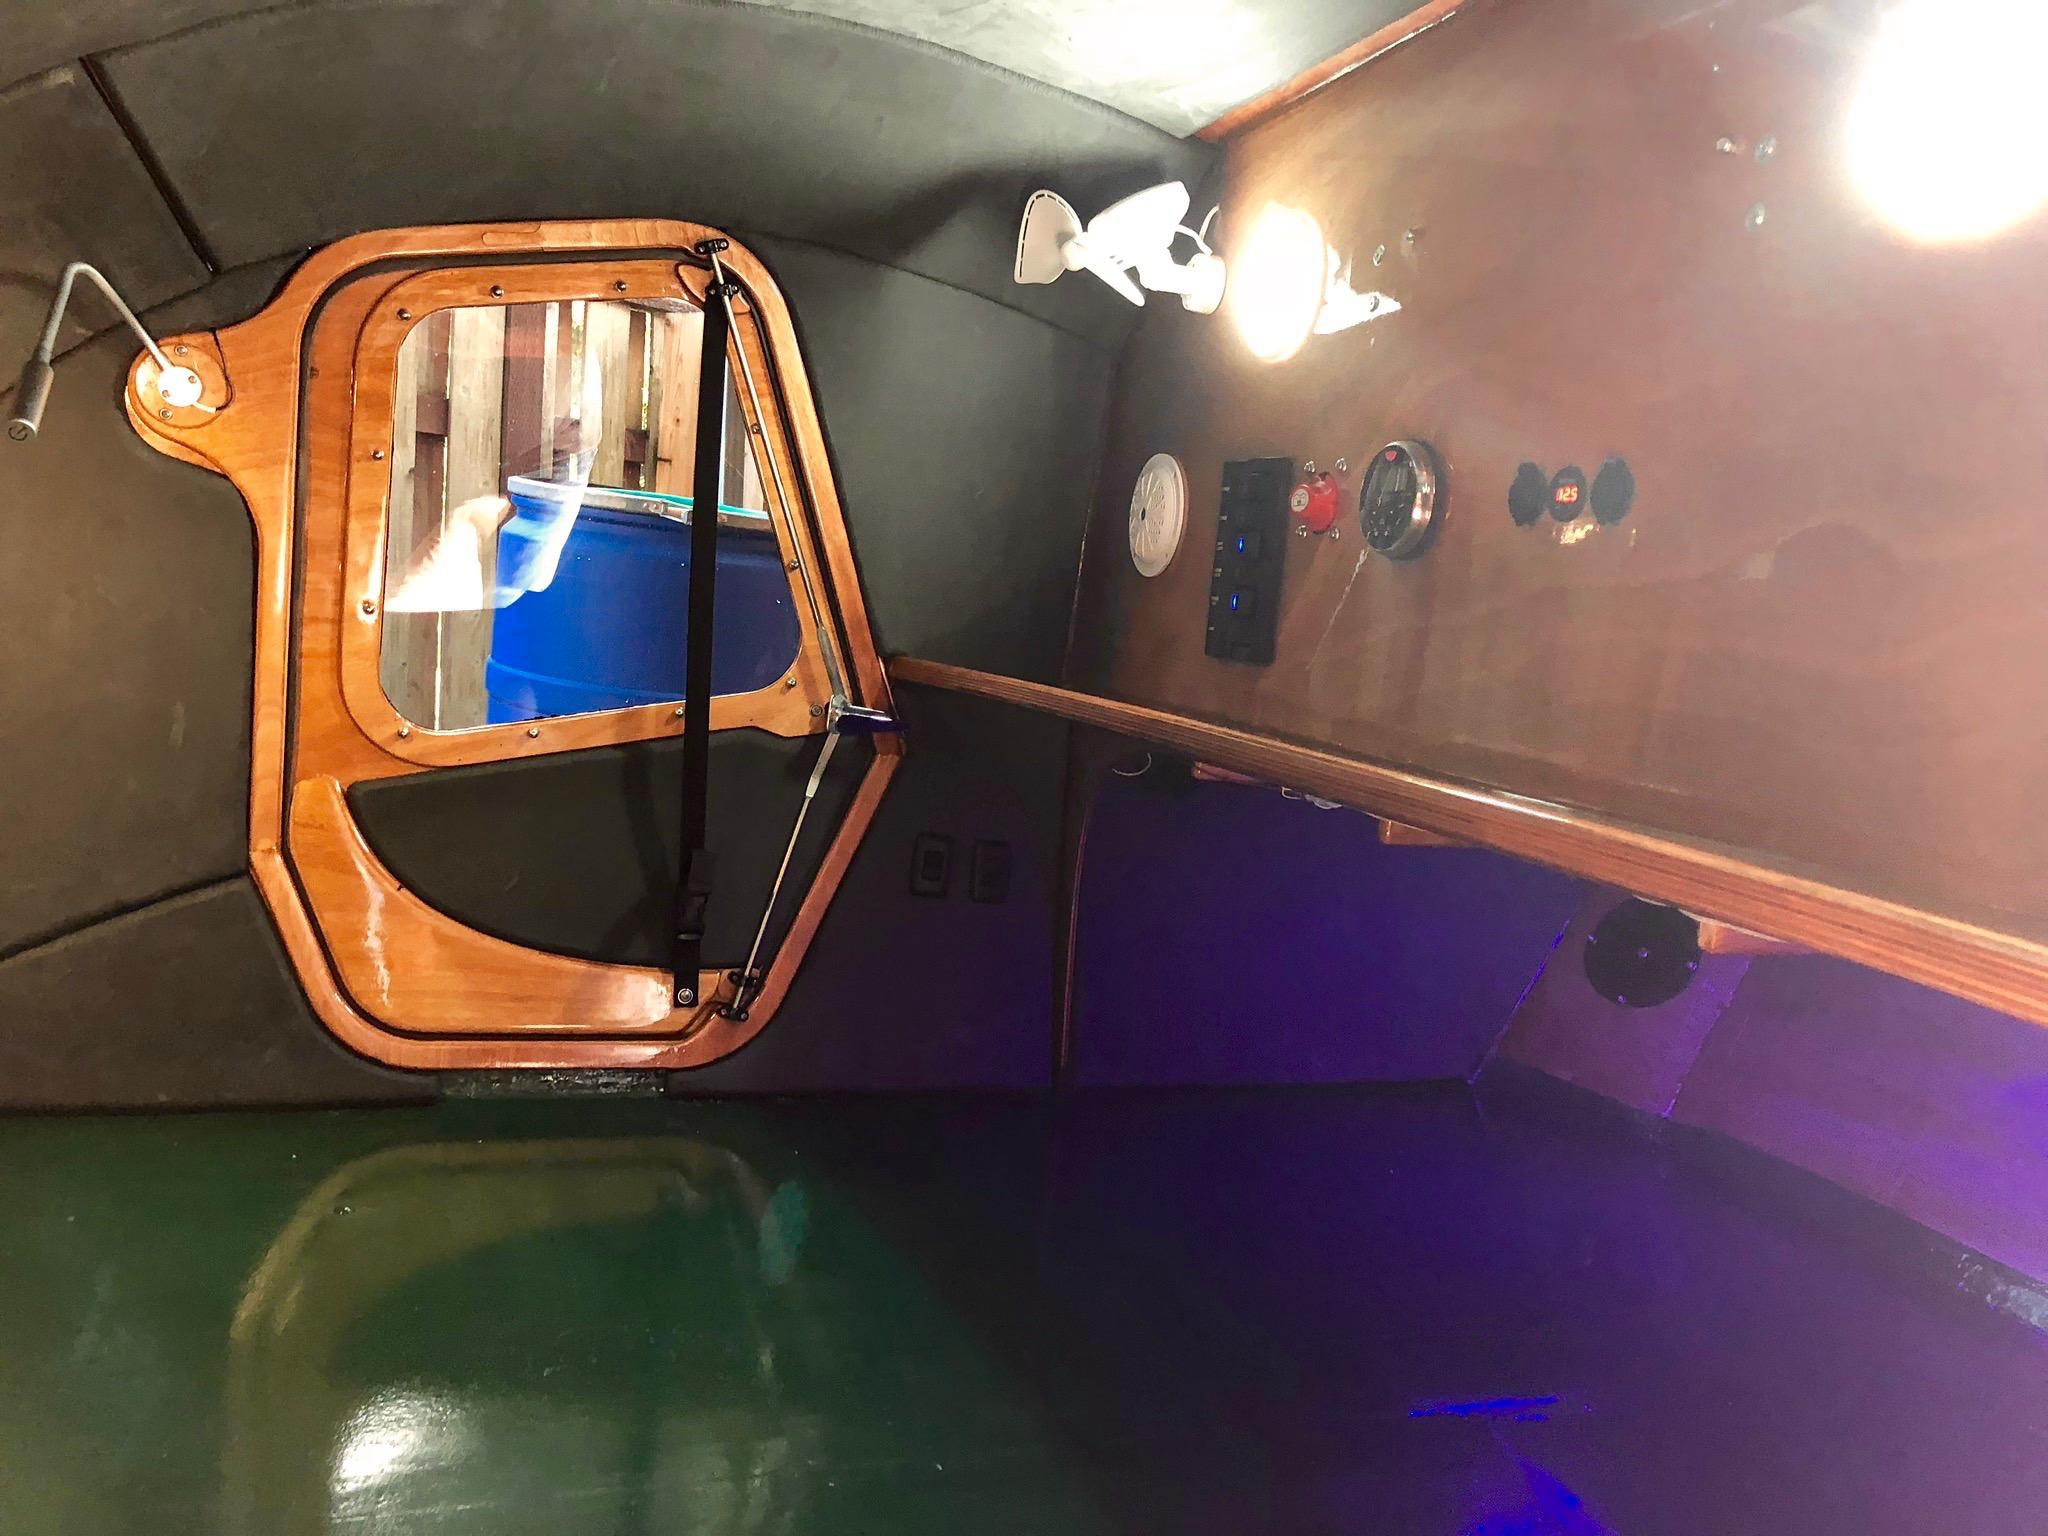
ParticipantI installed headliner yesterday. It went easier than I thought it would. I dry fit one side, trimmed with scissors, 1/2″ routered (3/8 would have been ideal) edge. I glued that side in place with can of contact cement applied with roller, and chip brush in corners, then went to the other side.
I started with middle and worked out and down. Pieces can be trimmed a little on the large size as they can be wedge in easily. I had newspaper on hand to place pieces during final attachment but didn’t need them.
Only one gap, and it was the very first pieces I attached, and pretty small. I may fill in, or not. Took less than 4 hours and more than a quart of glue.
ParticipantI opened my half can of varnish that I sealed with a crude CO2 purge about 5 days ago. Barely any sign of skinning over. So anyone with beer on tap may want to try that. If you don’t keg, and only have bottles or cans, just drink those while filtering the varnish!
-
AuthorPosts