Welcome to TeardropForum.com › Forums › Teardrop Builders’ Forum › Building the hopitat
- This topic has 19 replies, 5 voices, and was last updated 6 years, 6 months ago by
burlinghamburger.
-
AuthorPosts
-
June 14, 2017 at 6:15 pm #920
rovineye
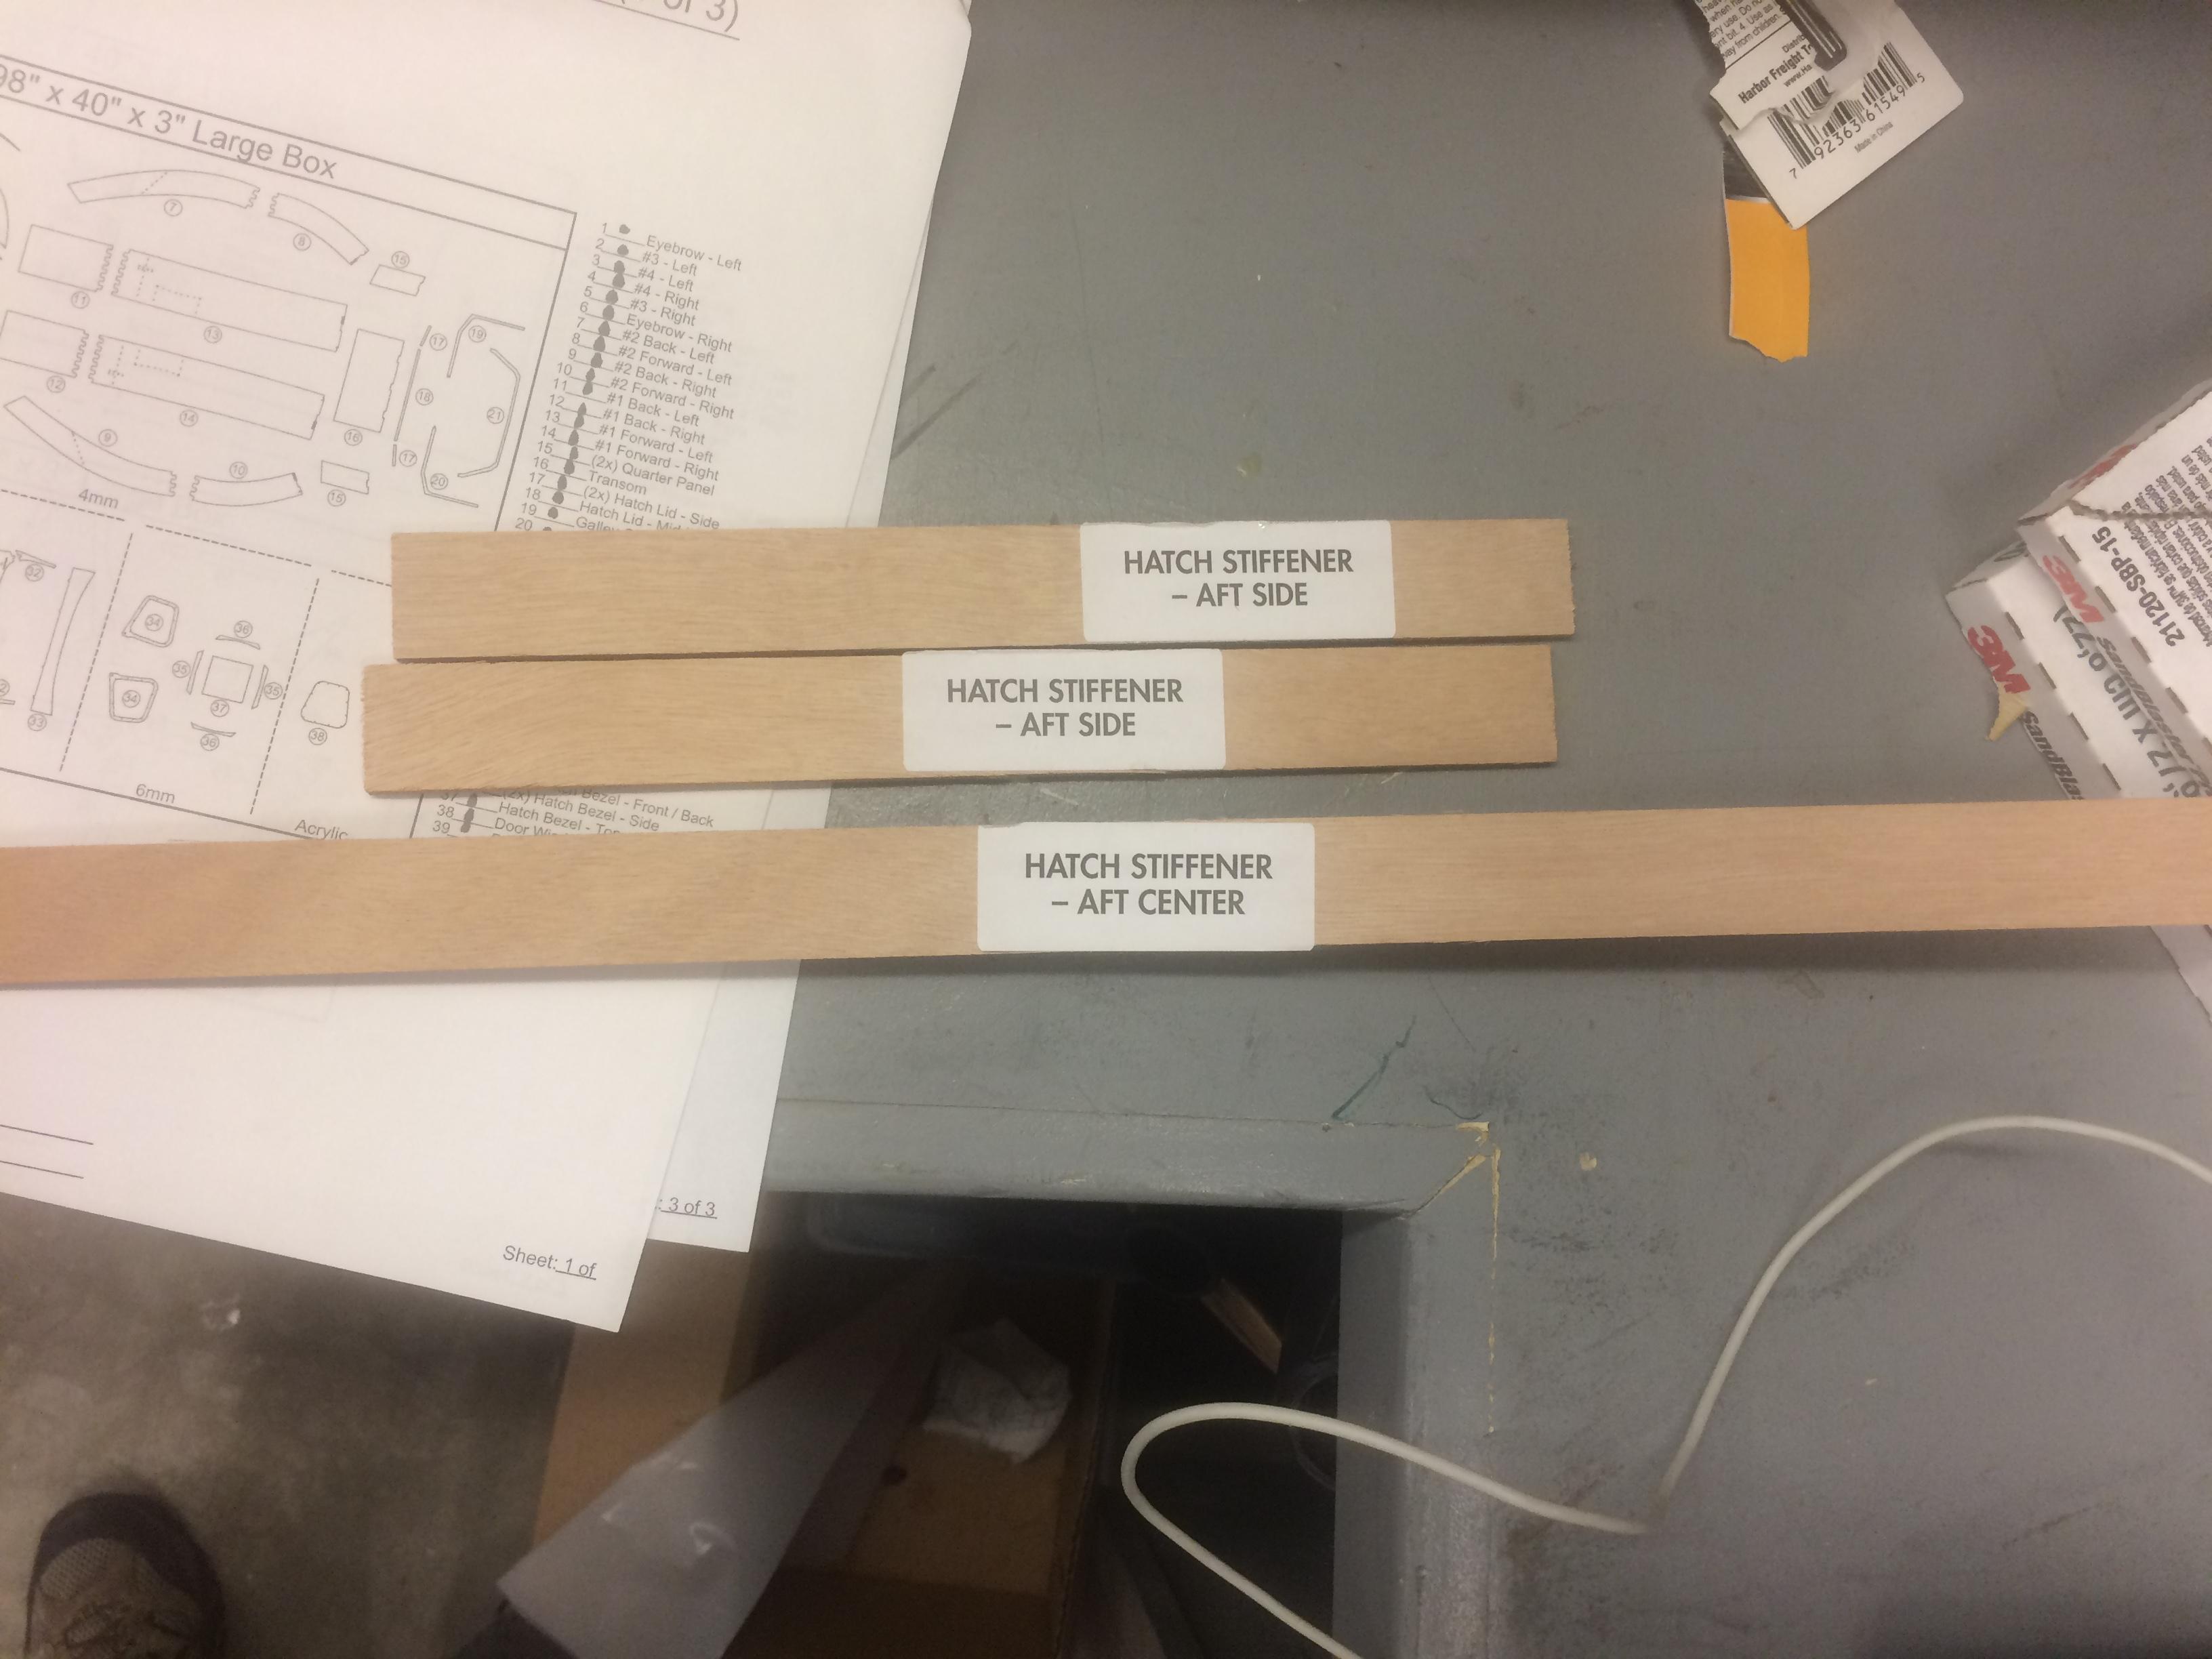
ParticipantI started the build process last week. The kit has been sitting since October, waiting for the PNW to warm up!
So far no issues really. I am glad I have long arms tho to reach these seams. I have installed the hatch stiffener and and next is the “hatch lid”. After a few minutes of head scratching, I realized the hatch lid parts are labeled hatch stiffener.
None of my work is perfect and that’s alright. It’s headed for the hills not a museum.
 July 10, 2017 at 3:23 pm #1023Participant
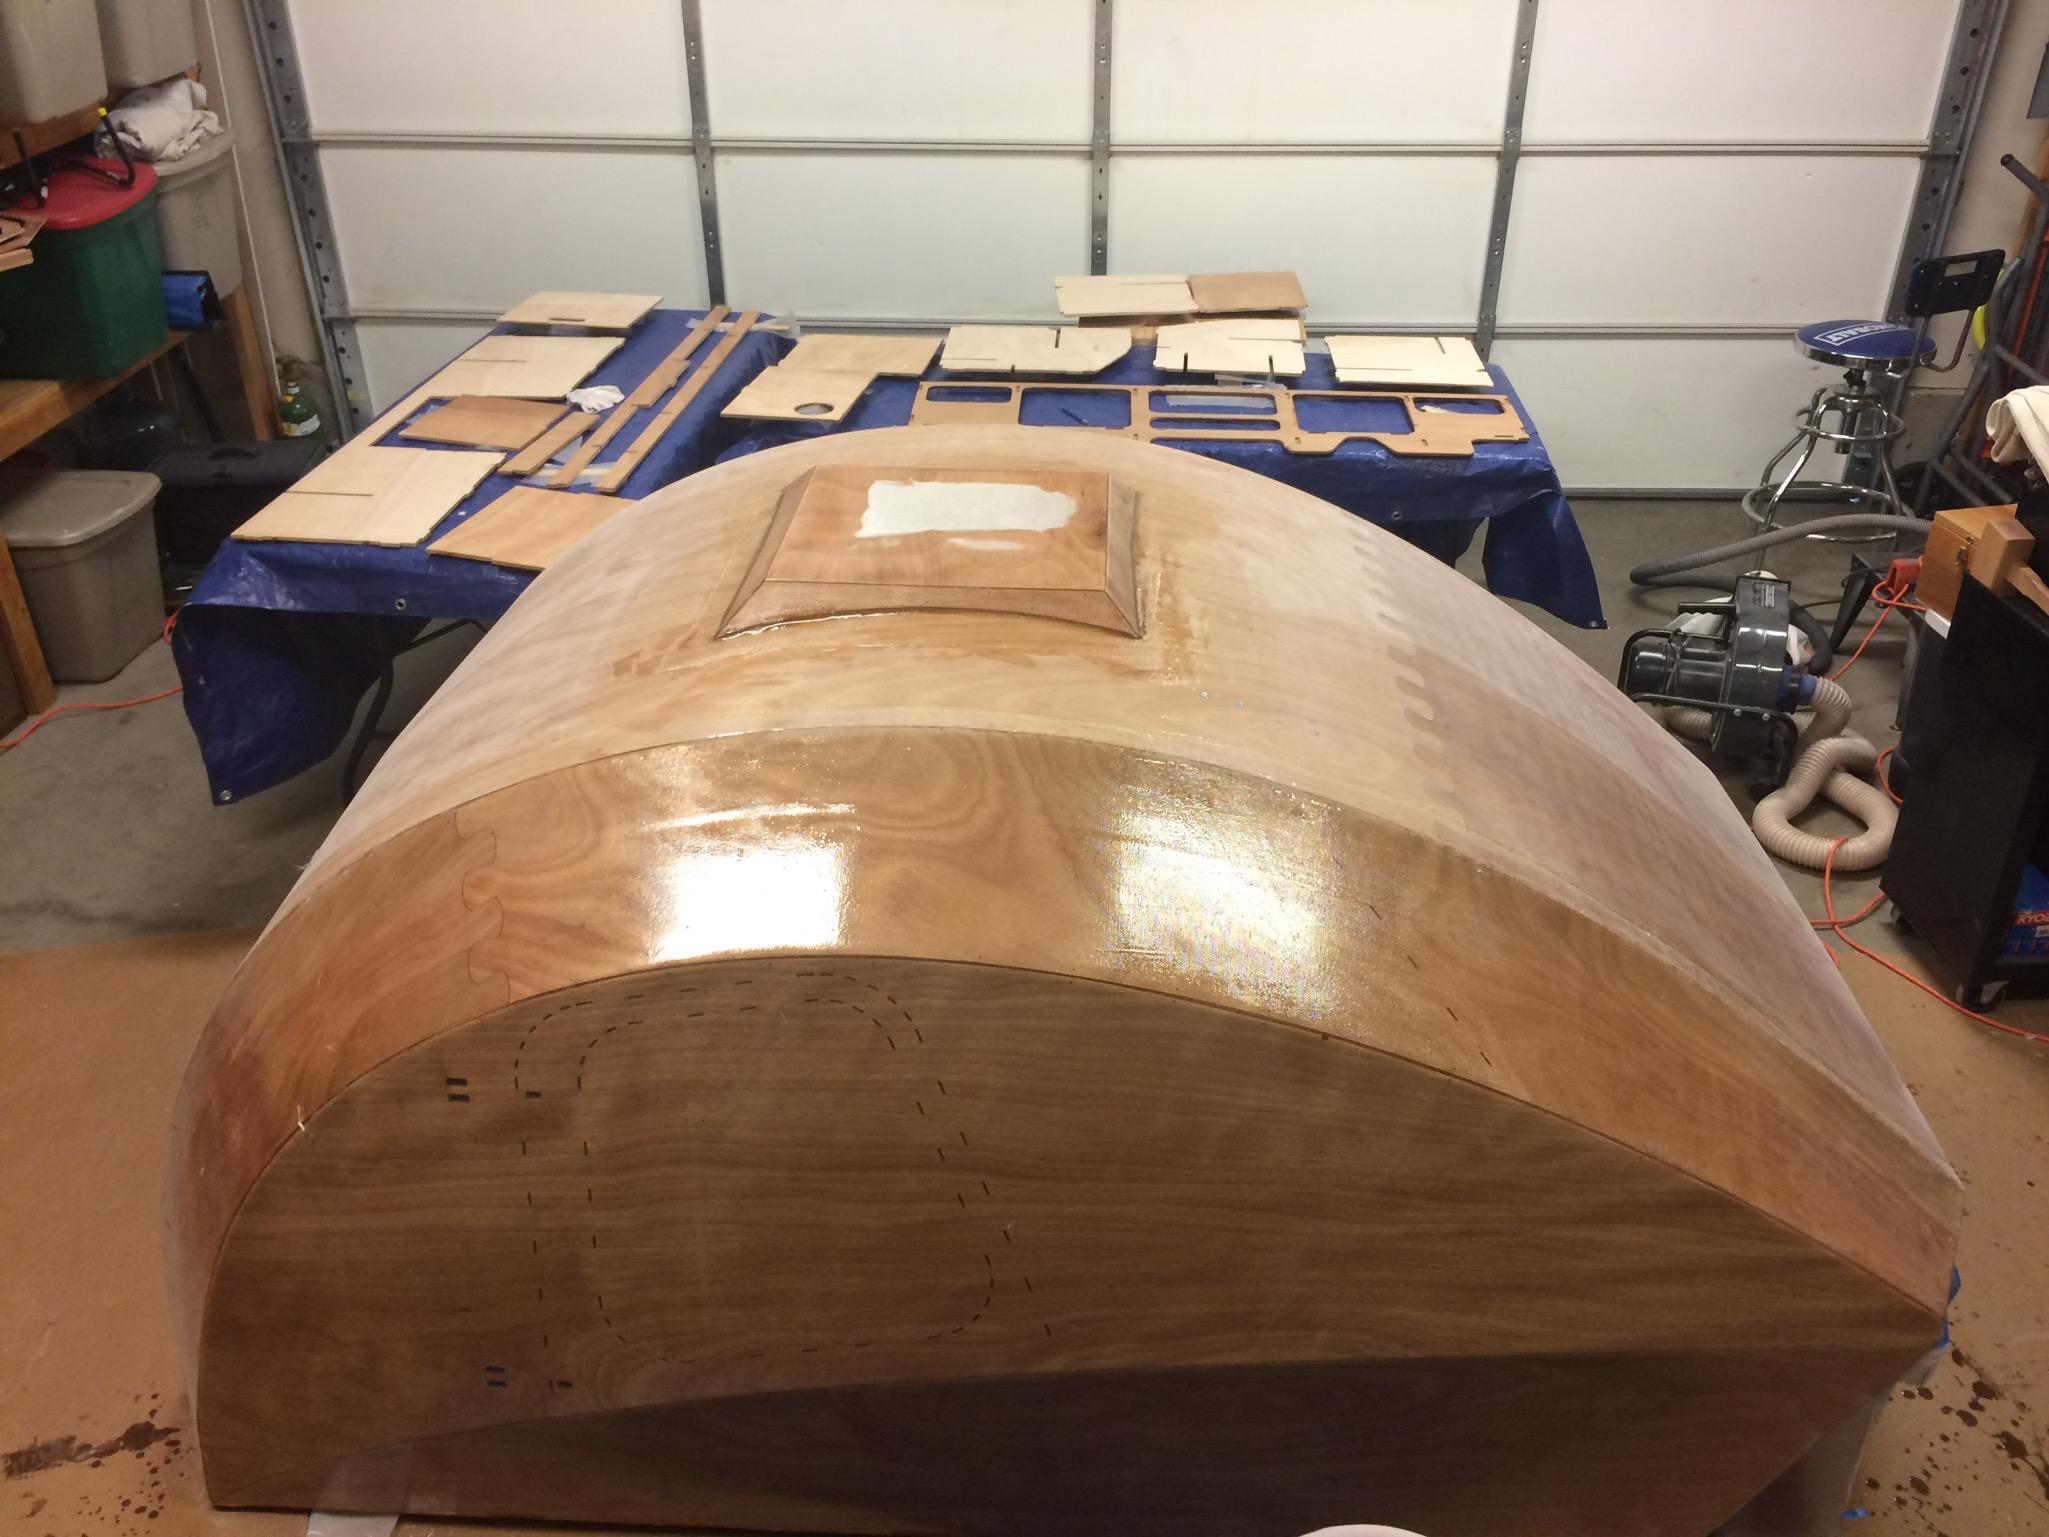
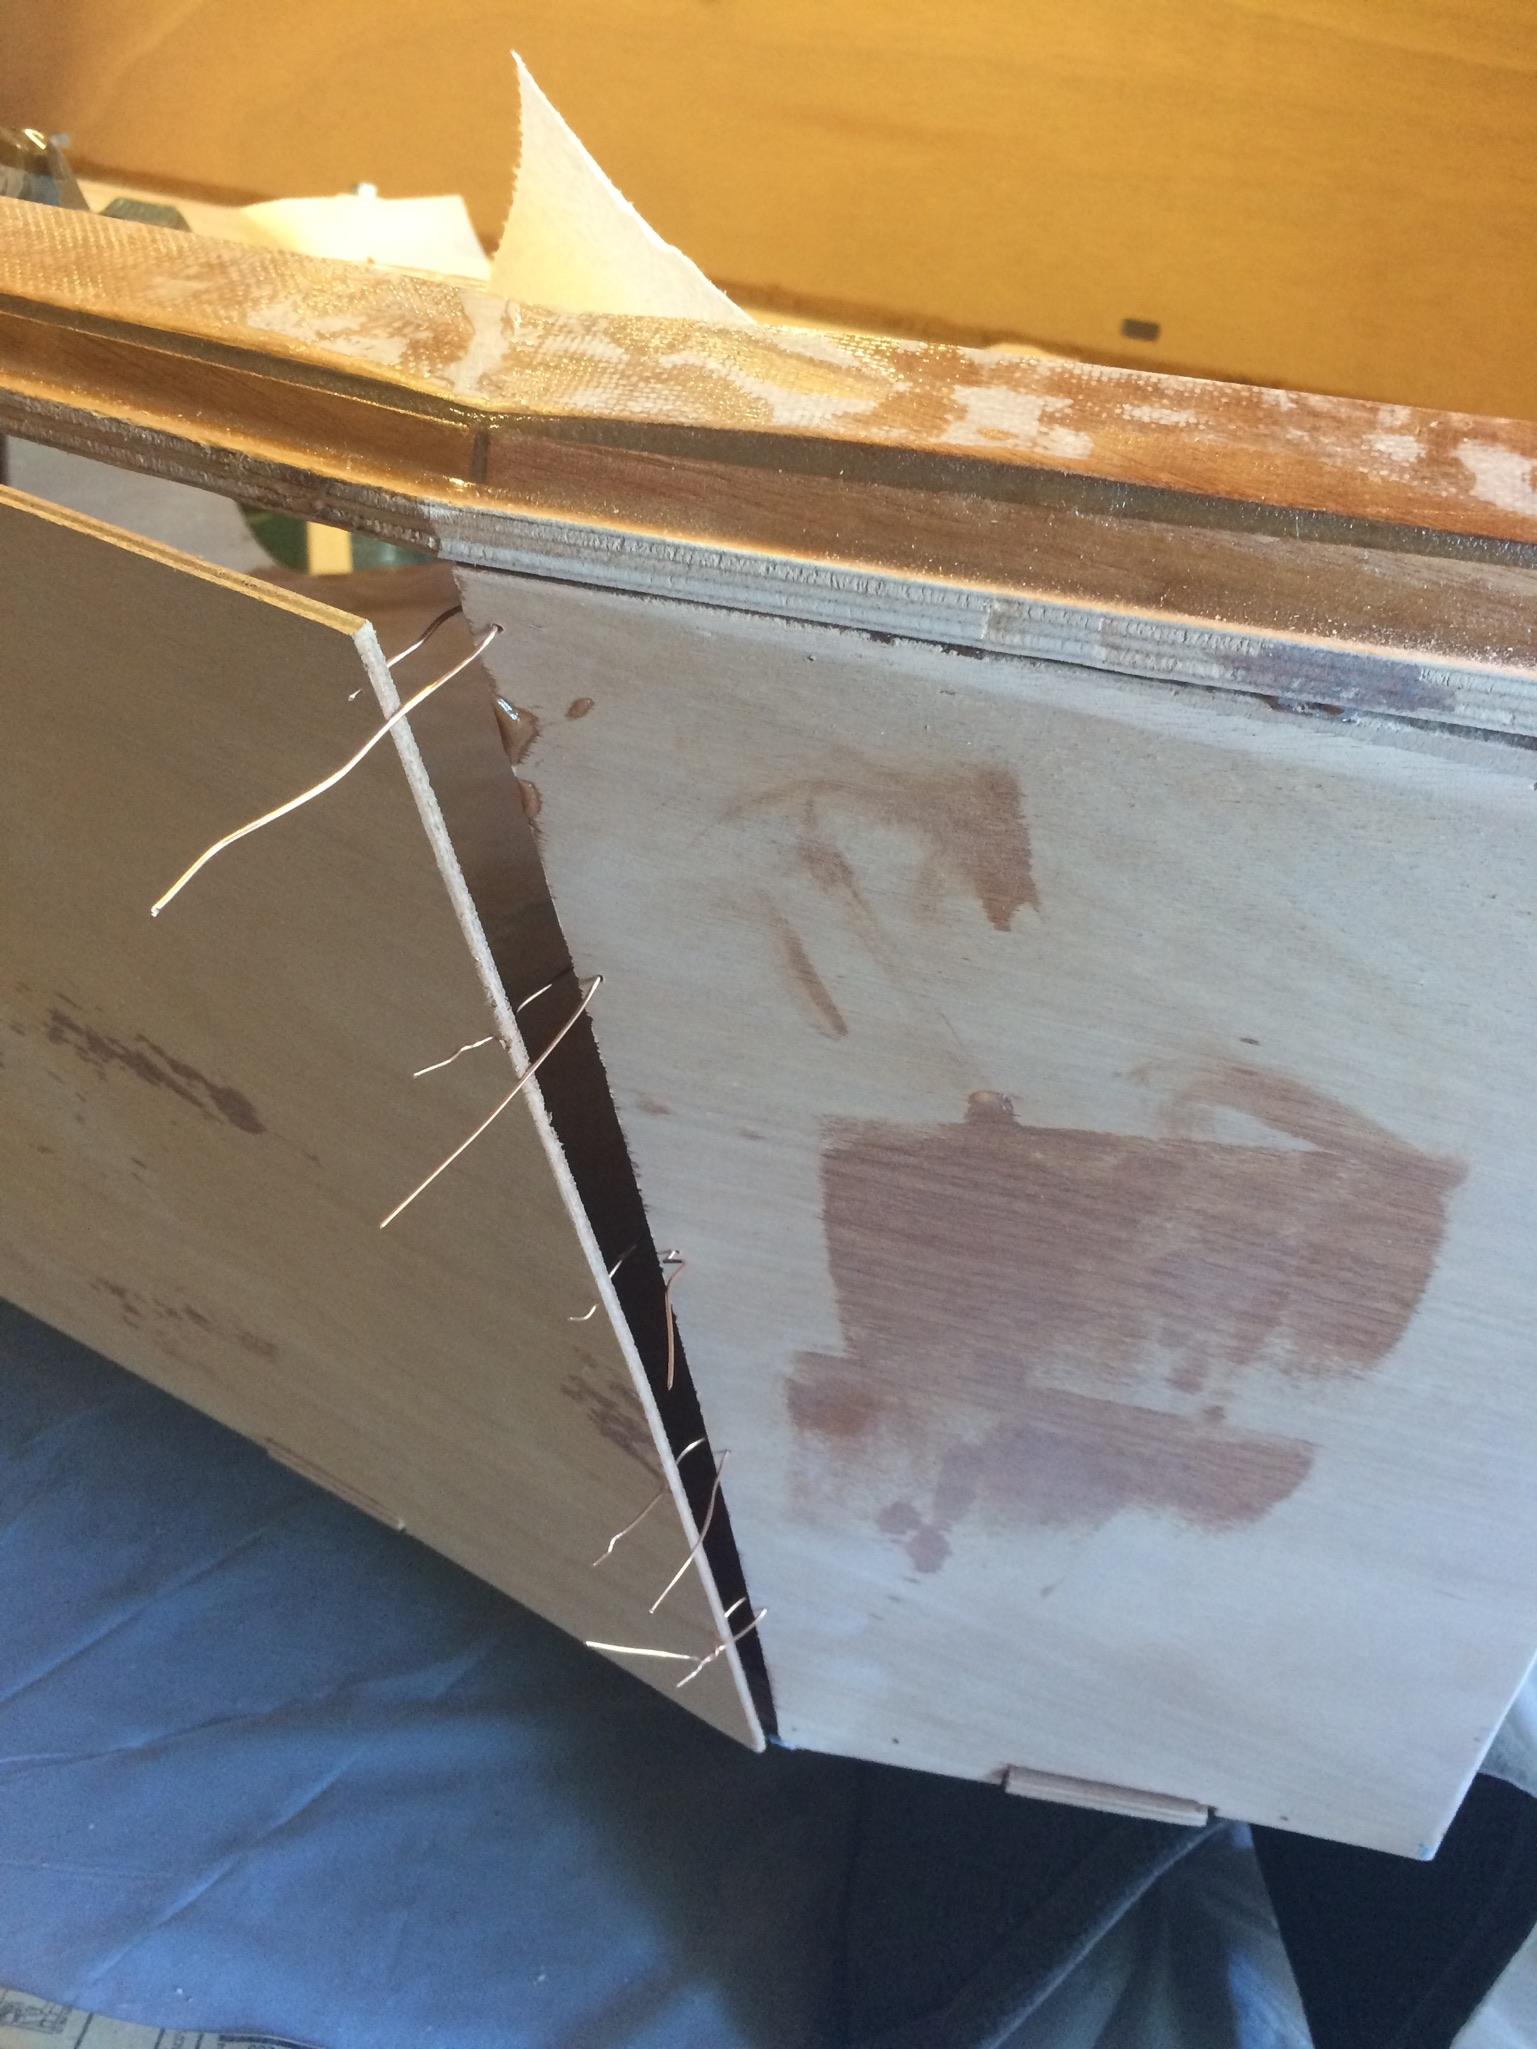
Like several others, I mounted my vent hatch bezel early. I had sanded the top and one side already. You can see the near side isn’t sanded yet.
I cut the hole small, but it still barely fit without falling in. Yesterday I re-drilled sealed stitch holes and wired them to hold in place, added a bead of thickened epoxy except at wires, and tightened them from inside (last time crawling I hope!). This morning I sanded some rough epoxy drops, eased the edges of the bezel, fine sanded, filleted, and fiberglassed. Piece of cake compared to fiberglassing top of shell. Used spreader, no darts needed.
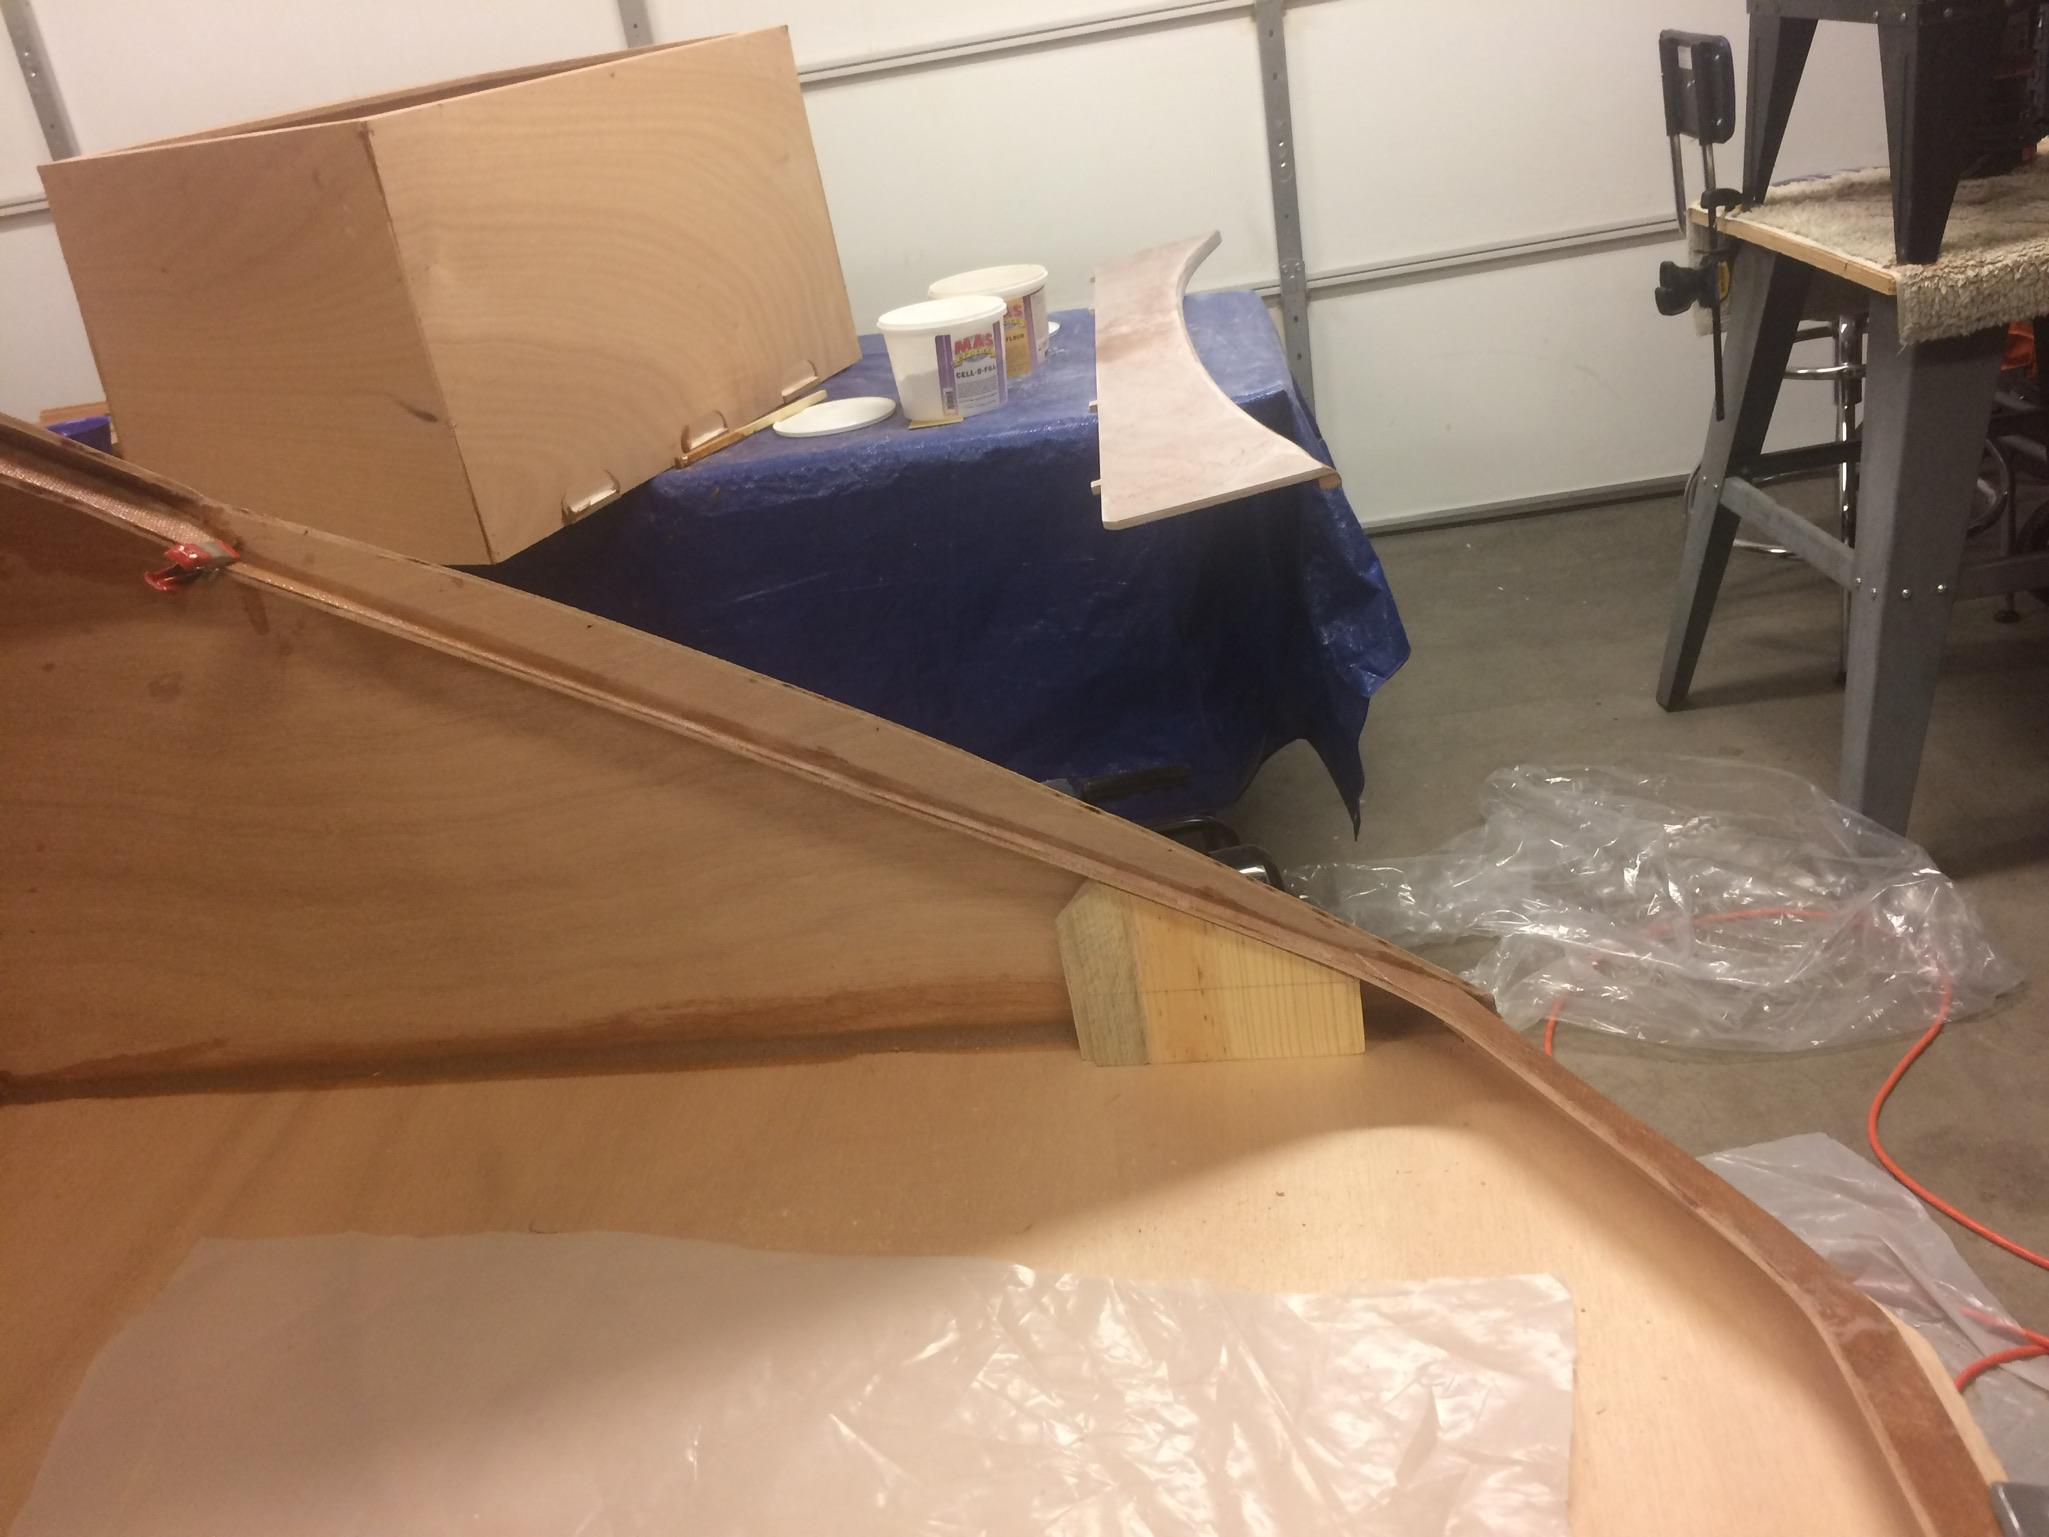
Behind the TD you can see galley pieces always ready to use up extra epoxy. I sanded a few pieces after epoxy, and I only plan on one coat of epoxy and two of varnish. It isn’t exposed much and of all the TD parts this is the easiest to take off and refurbish if need be.
Pinking shears, pinking shears, my kingdom for pinking shears. I should have started with a sacrificial pair but kept forgetting to pick one up. I think it would have helped with stray fiberglass strands. Next up, more sanding on this big bass drum.
 July 10, 2017 at 4:21 pm #1029
faithie999
Participantpinking shears would have been great! you should add that tip to the “Bob’s tips and tricks” thread. also for folks whose mothers didn’t sew, you might describe what pinking shears are!
July 11, 2017 at 9:27 am #1031Bob D.
ParticipantI use surgical scissors for that. eBay.
July 11, 2017 at 11:33 am #1033ParticipantI don’t have any problem cutting the fiberglass. Pinking shears have a zig-zag cut that prevents strands from unravelling.
July 11, 2017 at 11:38 am #1034ParticipantI picked up some more foam brushes today. I have lots of chip brushes left but they are pretty much useless. Hairs come out constantly and embed in the epoxy. That little expense put me over the $20K for this project so far. Rough estimate
In order to use the garage, which is where my wife parked, I had to pave the long back driveway at our house and add gates. $10K.
The other side of the garage was shop and brewing equipment. That stayed, but it was also my serving keezer. That had to go, so I had to build a cedar he-shed. All decked out that was about $3K.
Wife didn’t want to get out of her car to open back gates at new driveway. Solar powered gate openers $1K.
CLC kit $3.5K.
Tools, some I needed, most I just wanted (excuse) $1K
Electronics $.6K
Stuff: cups, rags, table, plastic, sand paper $.3K
Trailer $1.2K.
Too busy for happy hour -$.5K
July 11, 2017 at 1:44 pm #1035friz
ParticipantI’m at 3.5 K on mine.
I brew in the house 0.0K
Shoved model airplane stuff into corner to make room in garage 0.0K
Kit 2.3K, trailer .7K, all other misc BS 1K = 4K
Have slept in it 5 nights saving about .1k per night = -.5K
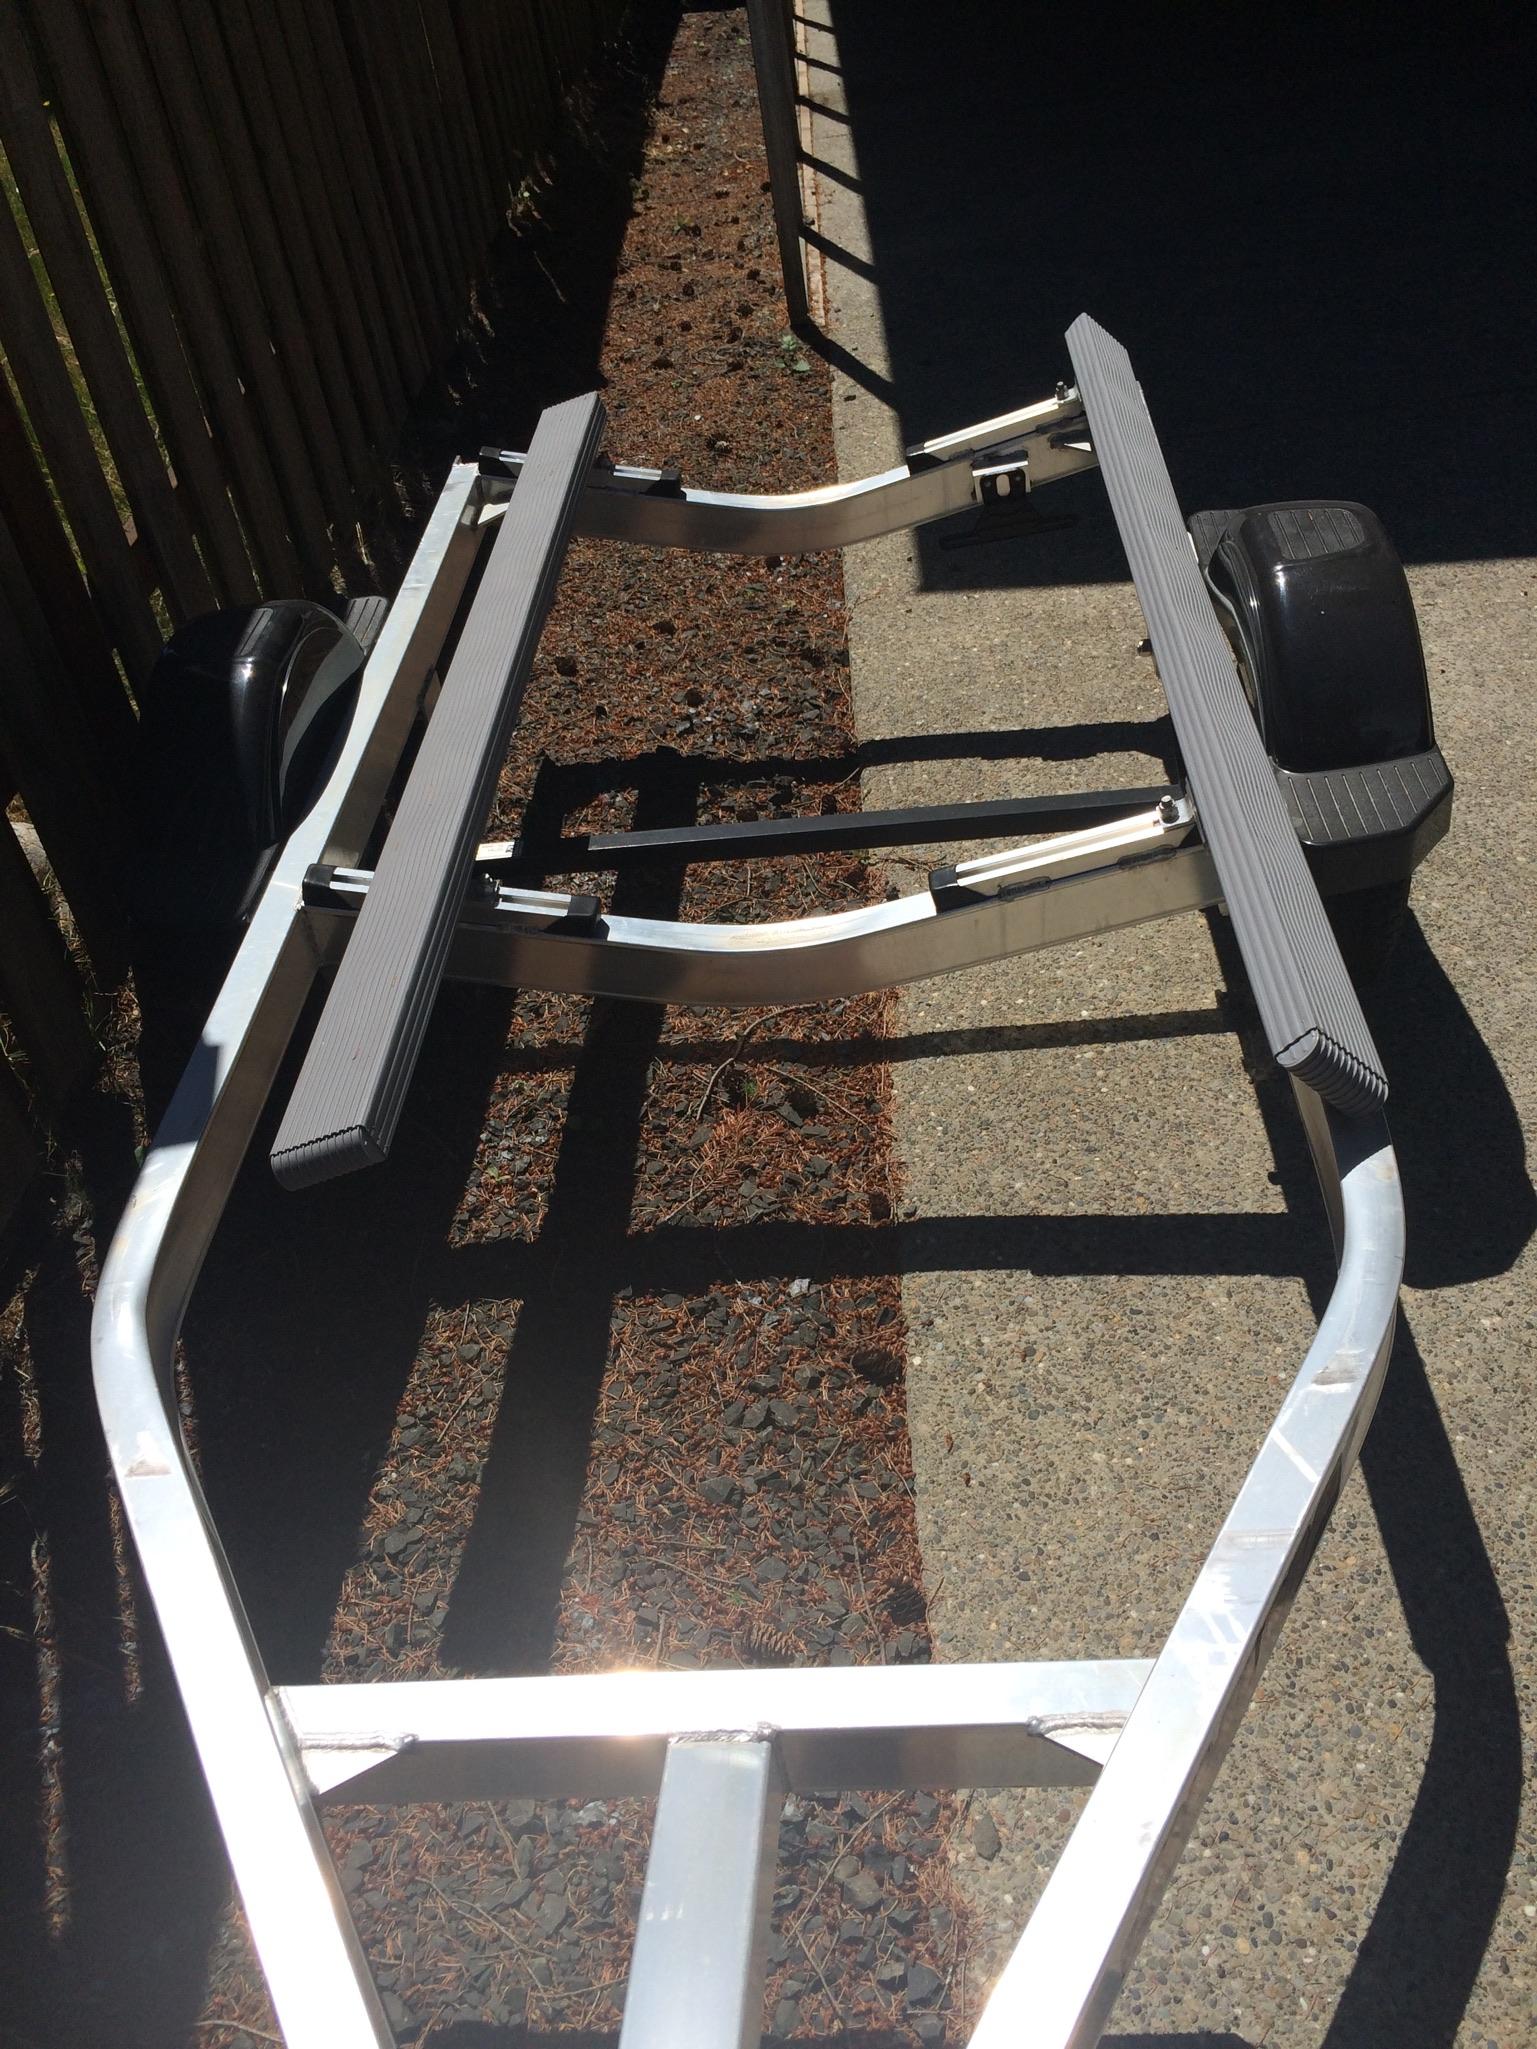
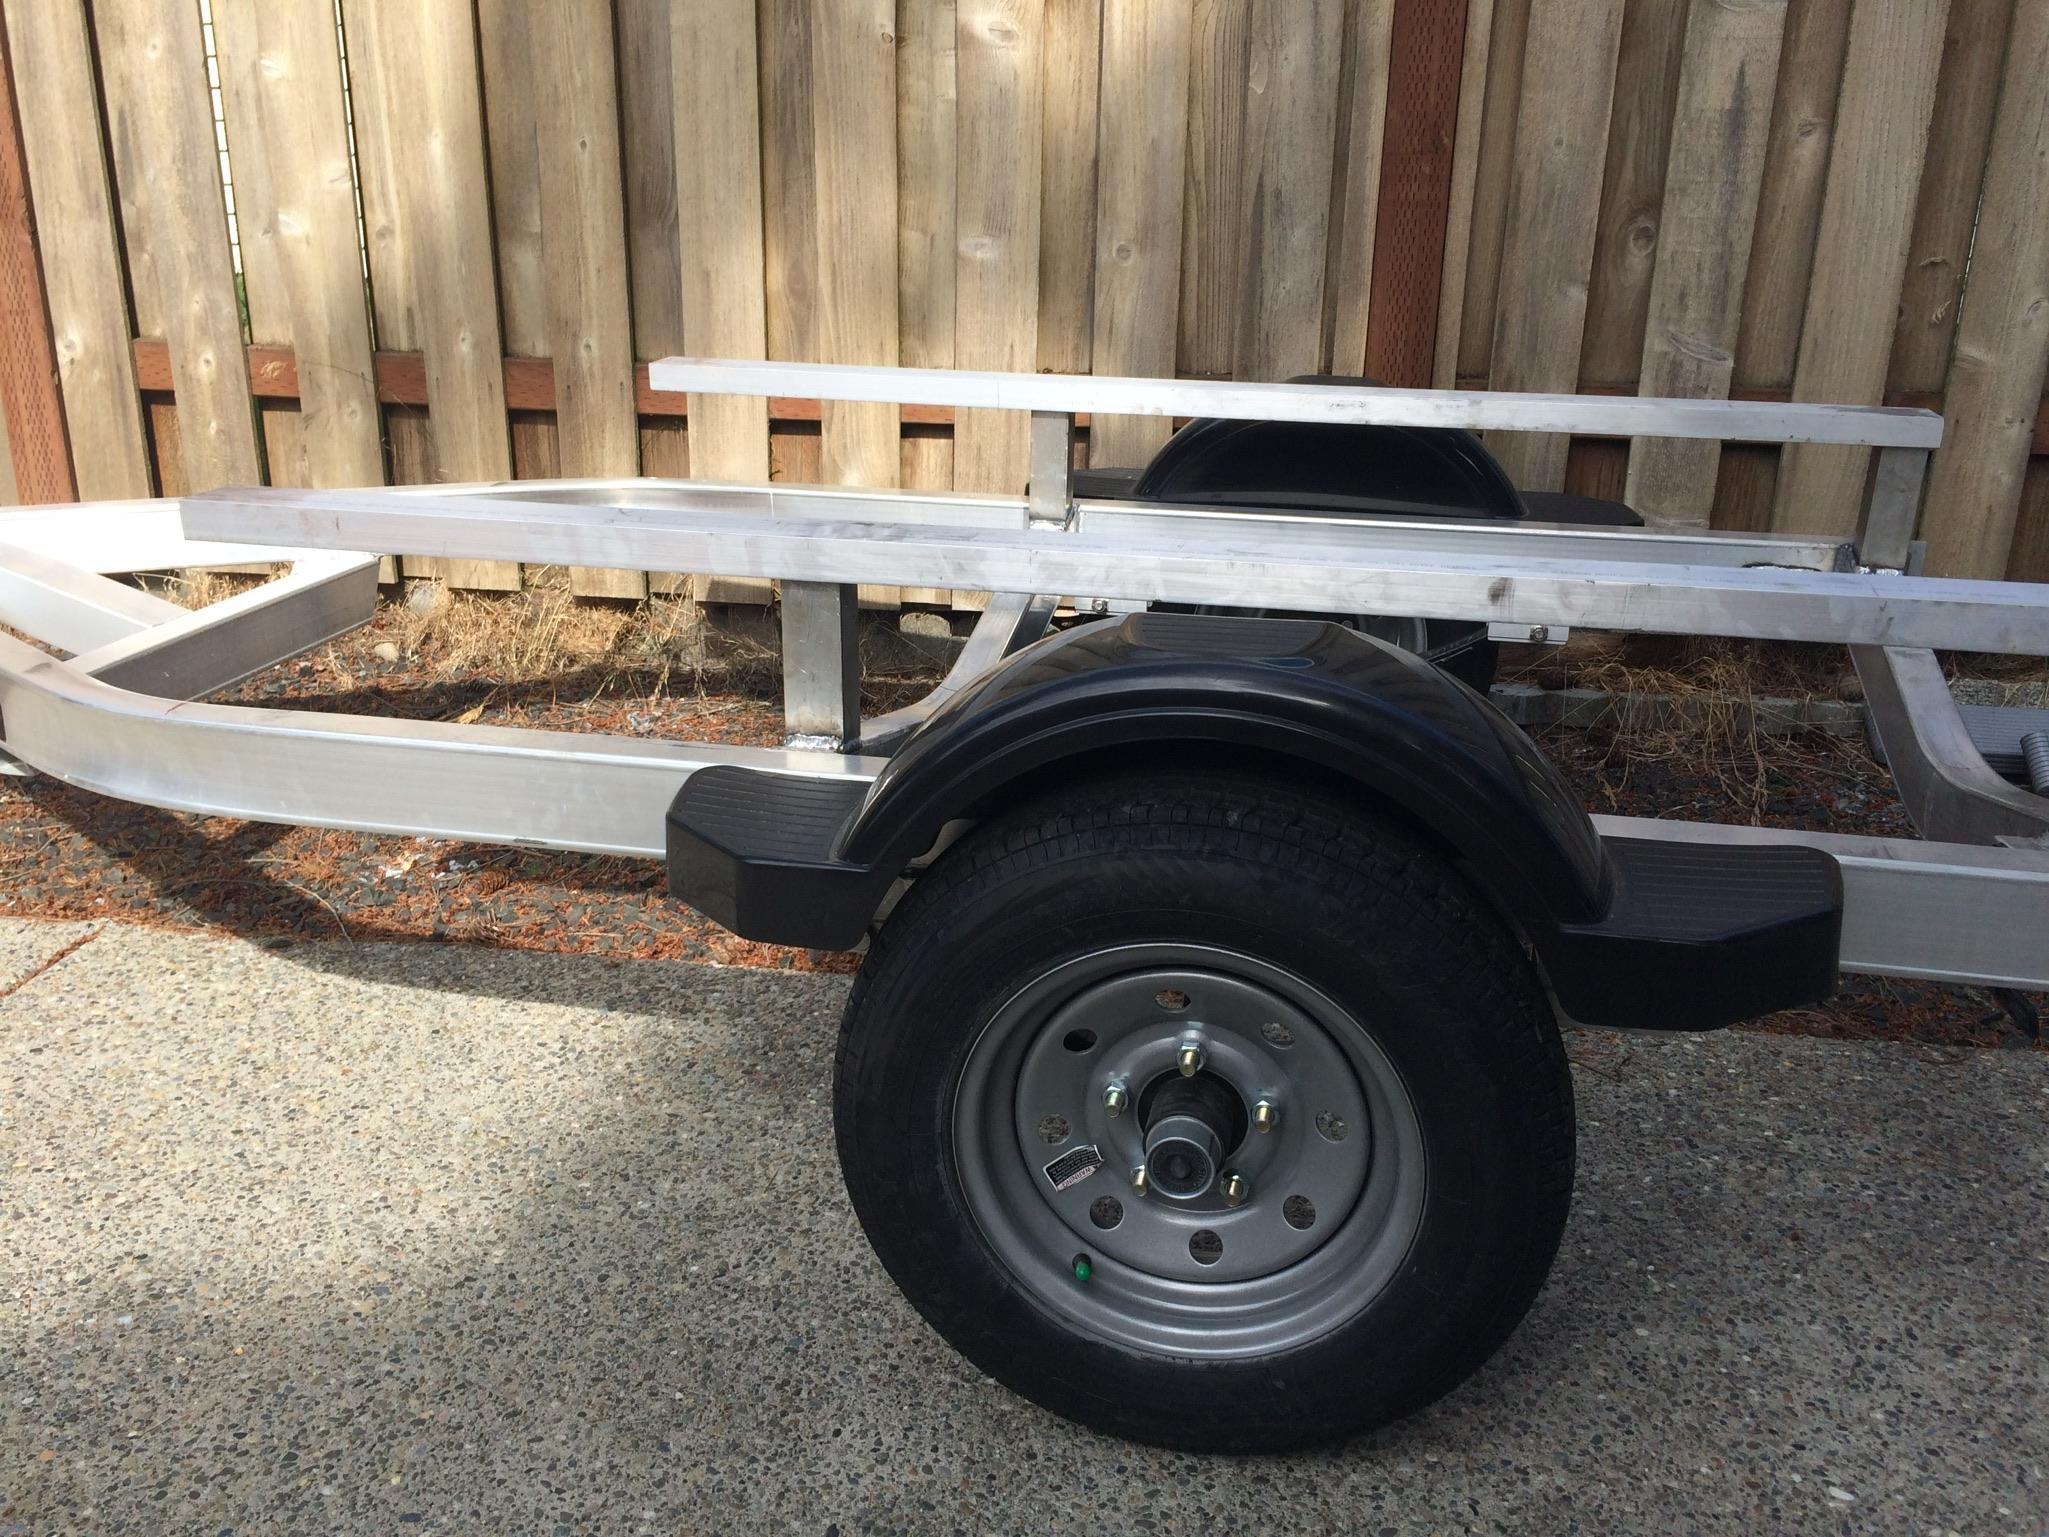
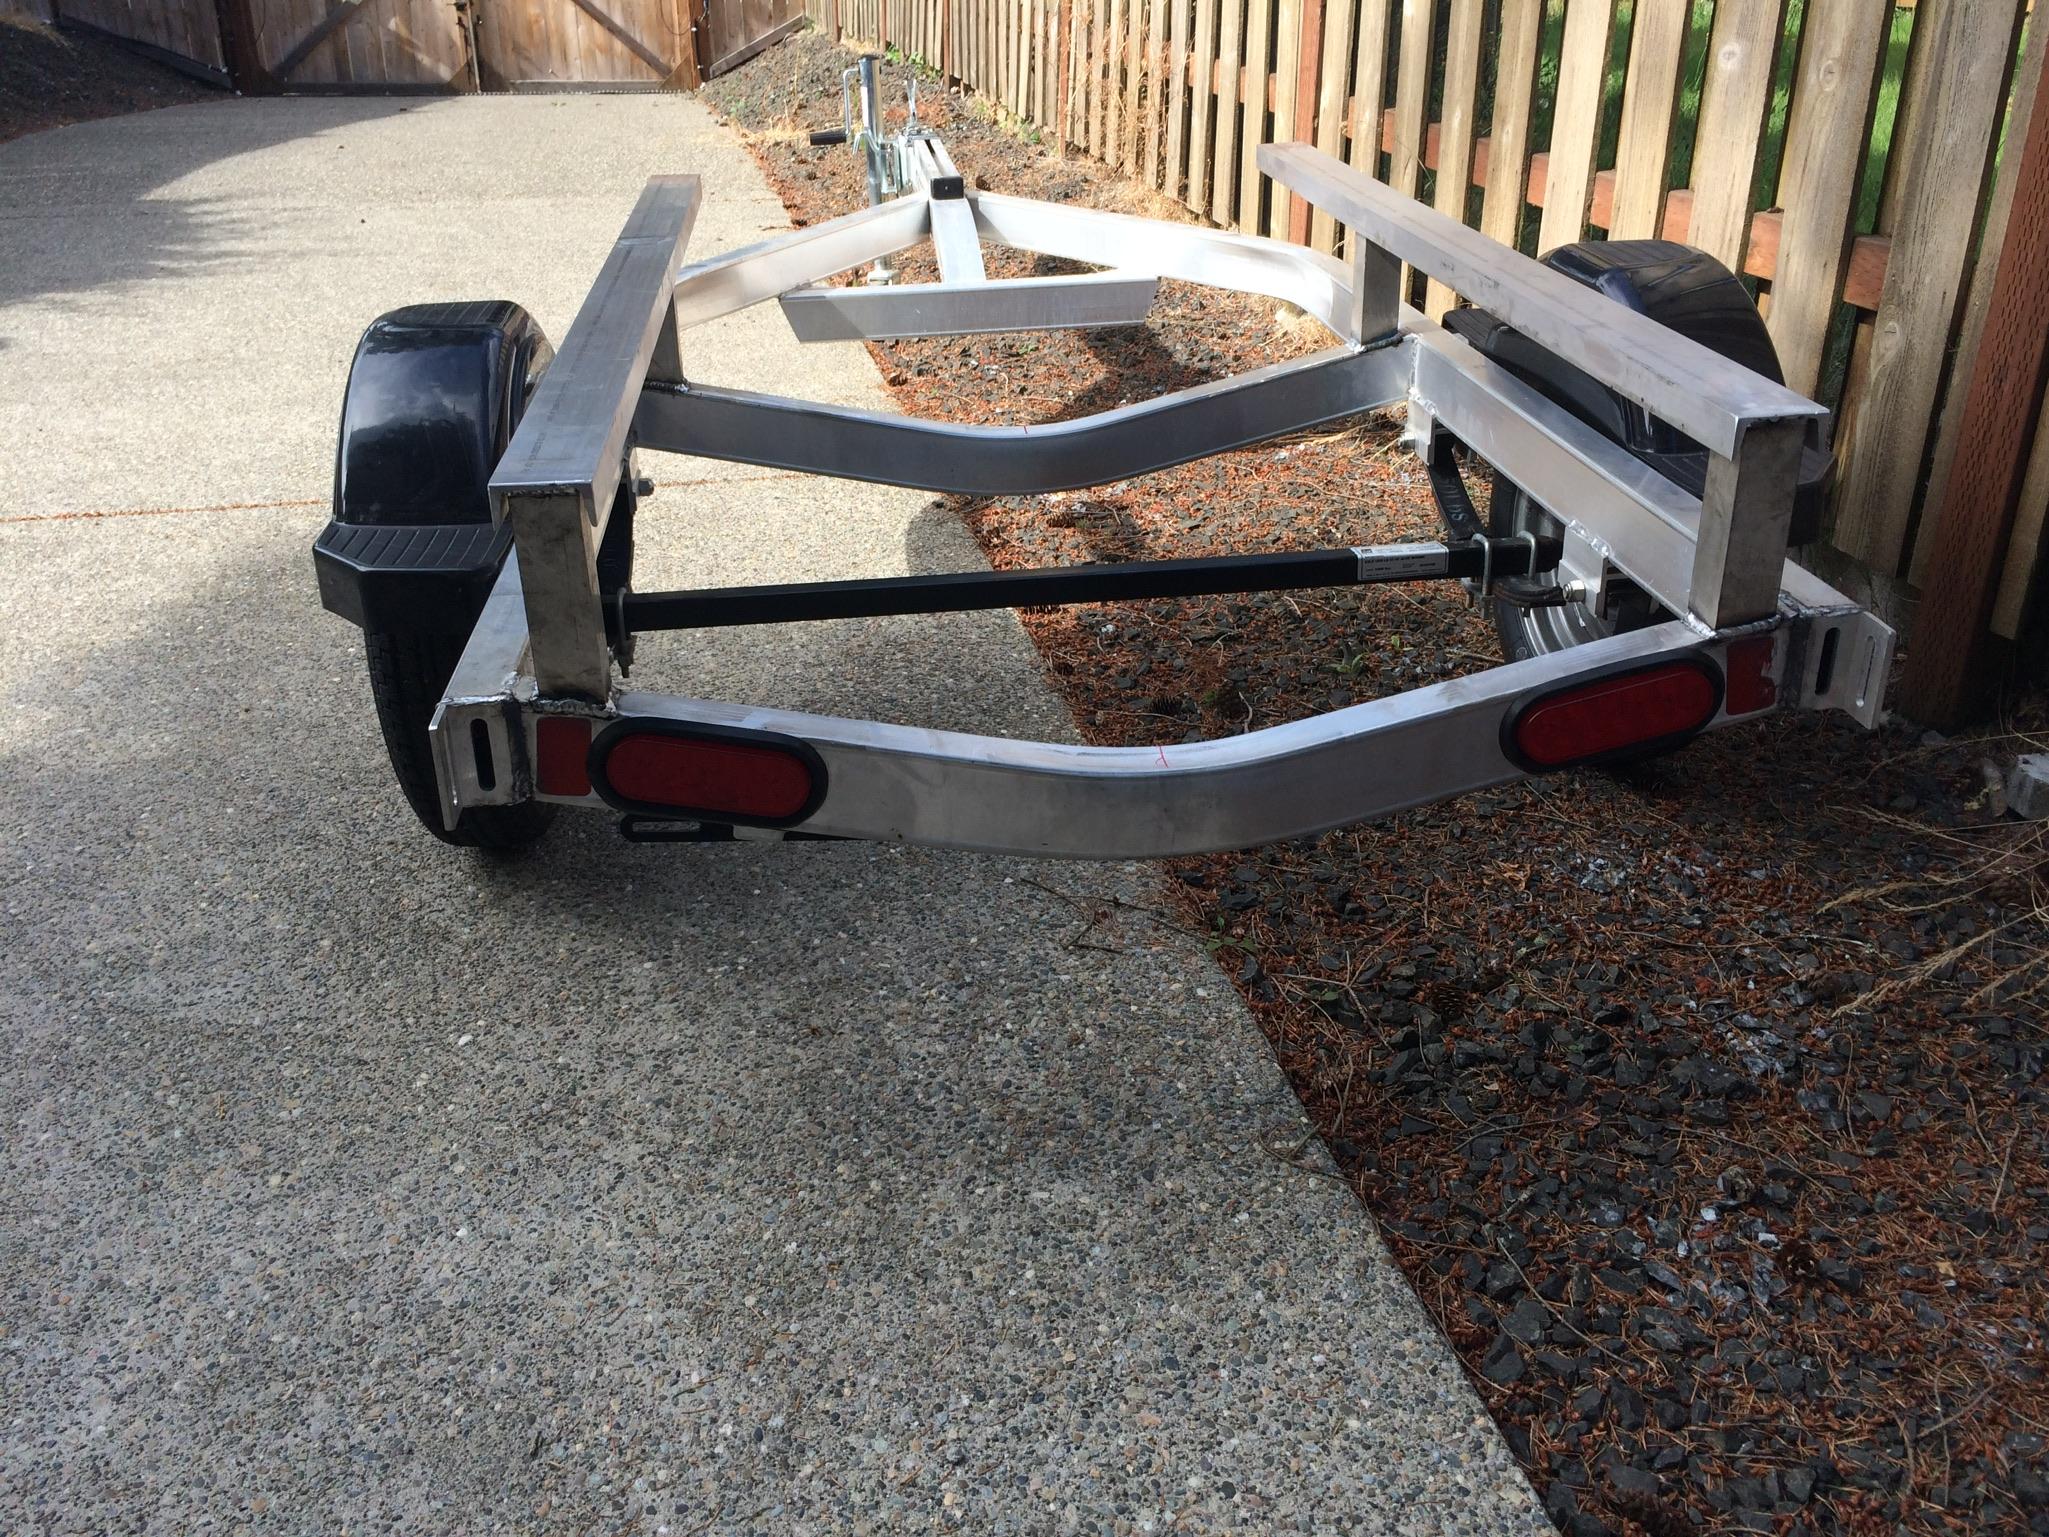
July 20, 2017 at 11:57 am #1068ParticipantBought a personal watercraft trailer, removed wood bunks and added aluminum bunks at wheel height. Also shortened the portion aft of the axel.
 July 27, 2017 at 3:37 pm #1105Participant
For the galley gutters, I cut a 29 degree angle template to rest the lower section on as I tacked it in place. Wasn’t too difficult, but as others have mentioned, I don’t understand the gat at the sides of the upper gutter where it transitions after the cut channel. I filled it with thickened epoxy, as I filleted the underside of the rest of the gutter. Glad those fillets won’t show!
 July 31, 2017 at 8:00 pm #1134Participant
Installed the transom. Wasn’t looking forward to it, but so much easier than I was anticipating.
The fit only required a minutes worth of adjusting with my tiny finishing plane on one area. There were some largish gaps between some other areas, but no so large that I needed to dam them up before fillets. Height was perfect.
I wired it in place from the outside which went pretty easy, reaching in with needle nose pliers. At the bottom I only put a temporary screw into the floor at one point, no wires.
15 pump epoxy with thickener was perfect. Not a pretty fillet on the top, but alright. Qtr panels not so good either as the angle is so flat, and I did not remove any wires, so there are lumps.
The glass tape was easy peasy. I cut and epoxied the tape, rolled it up and unrolled in place. No problem there other than a few errant strands flying around. After the fillets had set for several hours I pulled out the wires from the outside.
I really thought this part would be more awkward,recalling shimmying in through the transom hole before, but the access is really super easy now.
 August 19, 2017 at 1:39 pm #1217Participant
Rolling the TD over was easy and it was easily supported with a bit of foam on the vent and a sawhorse under galley. It rocked around as I leaned inside to sand, glass vent bezel, install shelf, but not so much that I did anything about it.
I rounded over bottom with router. The butt block was too short to use the bearing on the bit (should have rounded before installing), so I removed bearing and free handed. Went well and I did what I never do, ran with the direction of the blade spin rather than against it. Tis caused the router to run and definitely limited going too deep into the block. Very happy with that.
Bottom takes a butt load of epoxy as expected. No real issues here, but as others have done I had to cut and patch come corners that just wouldn’t stay down and really need to be strong.
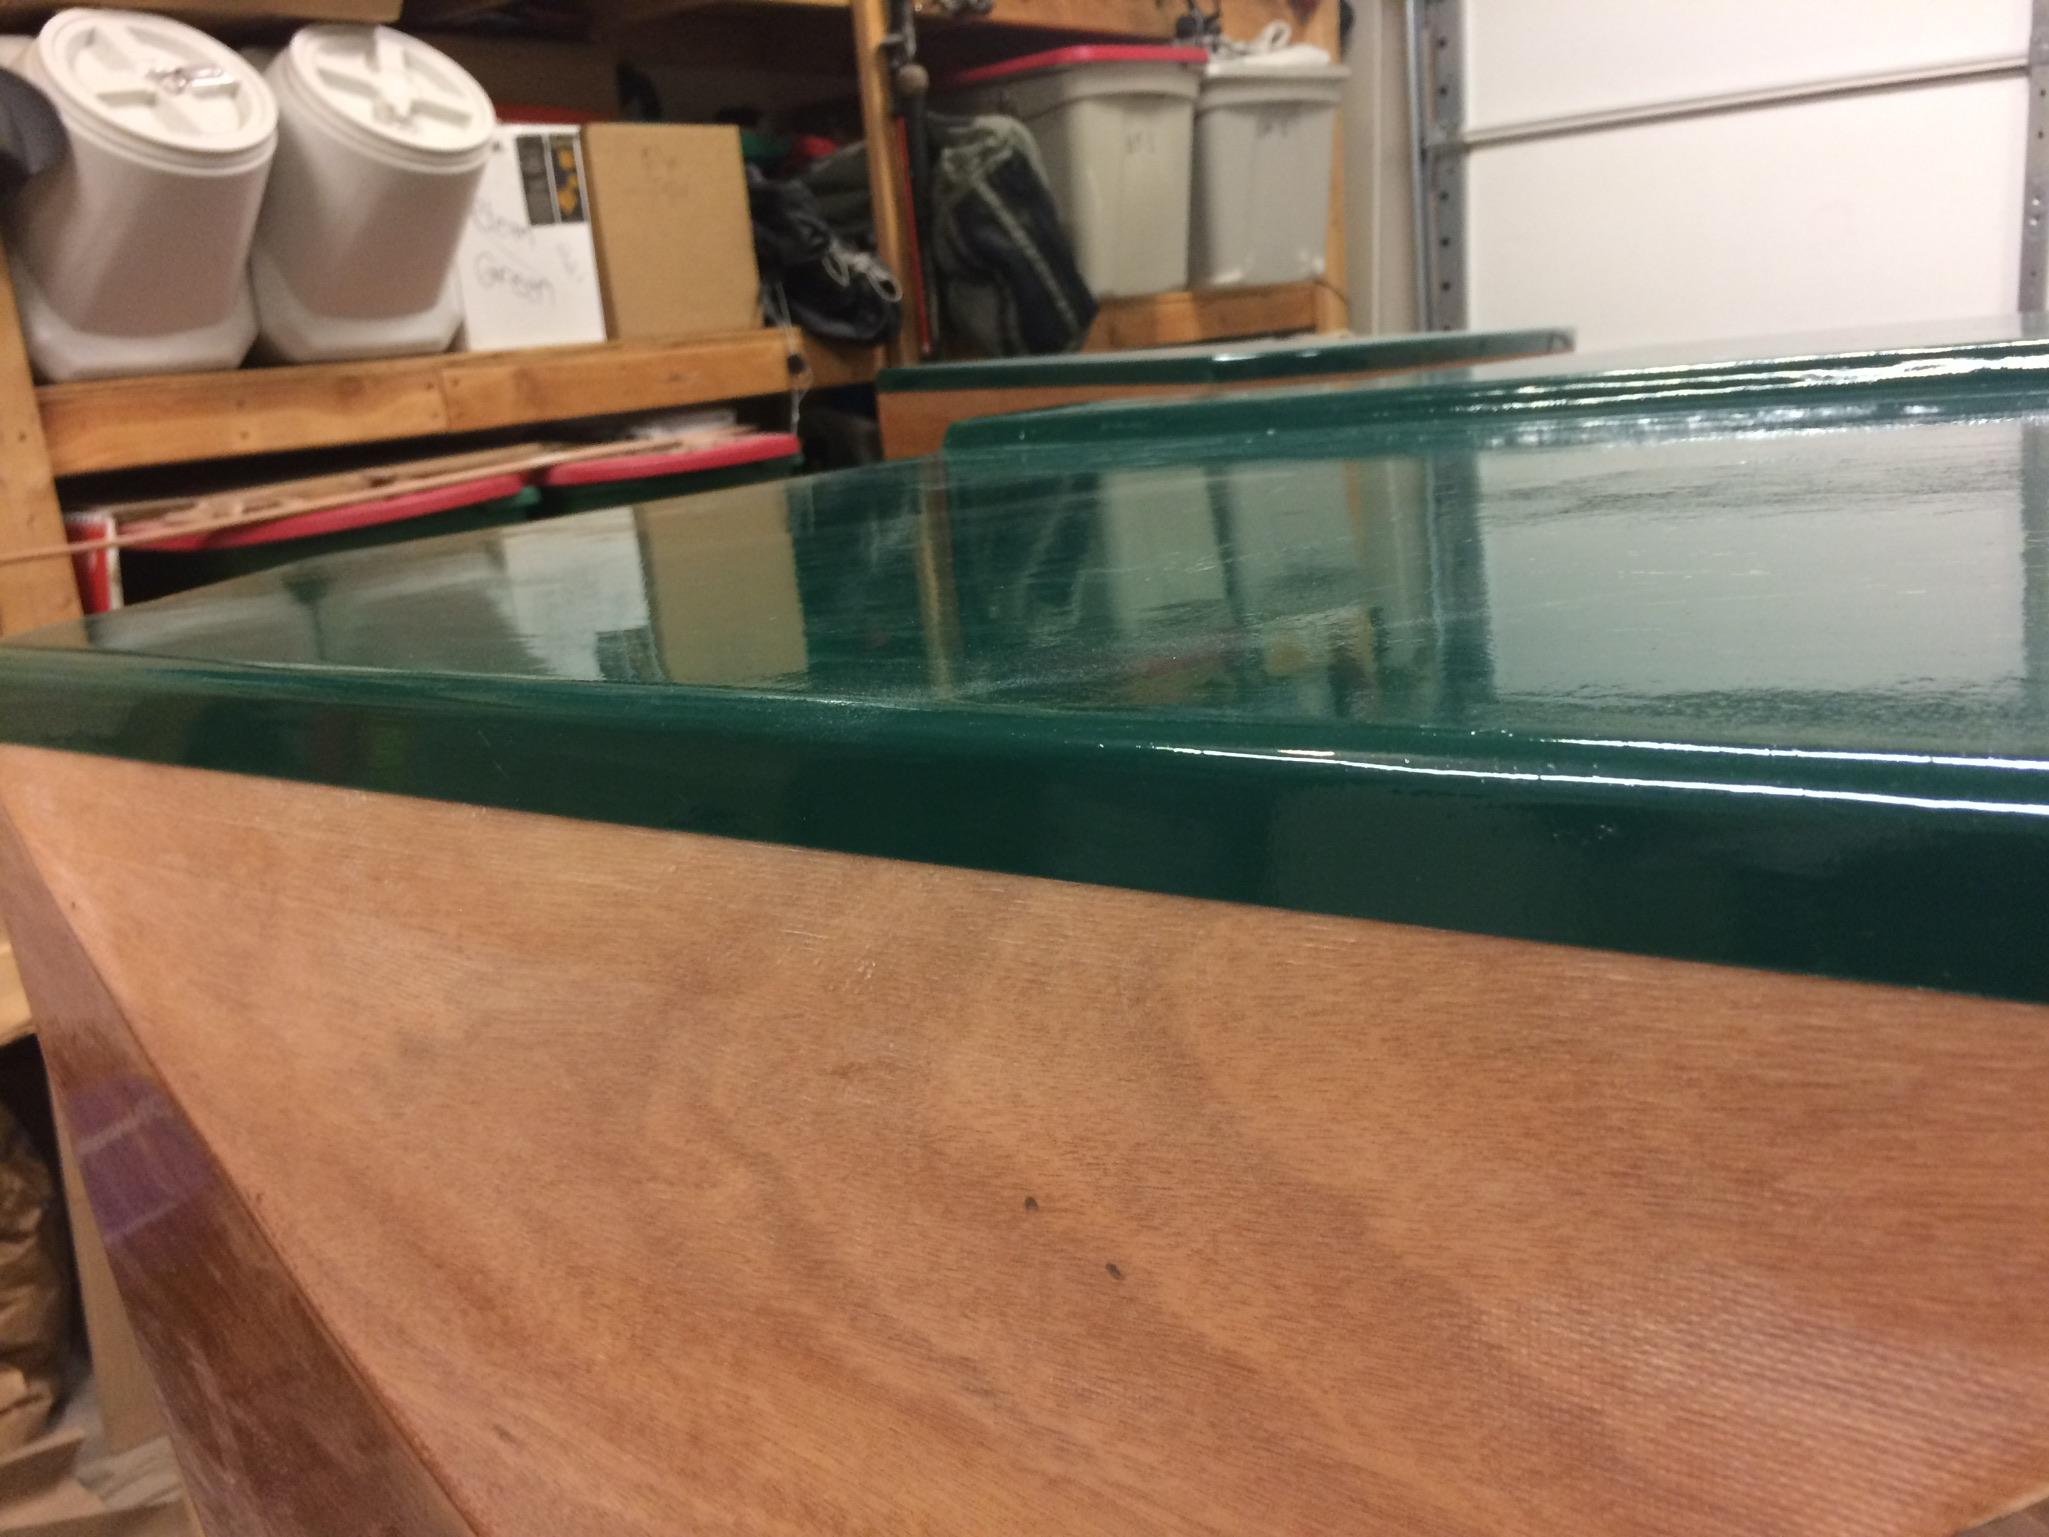
2nd epoxy coat on bottom, some sanding but not OCD on this area, and painted with 2 coats of Interlux sea green. Good coverage and only one little corner of storage box needs touch-up. The tape from CLC made for a super clean line!
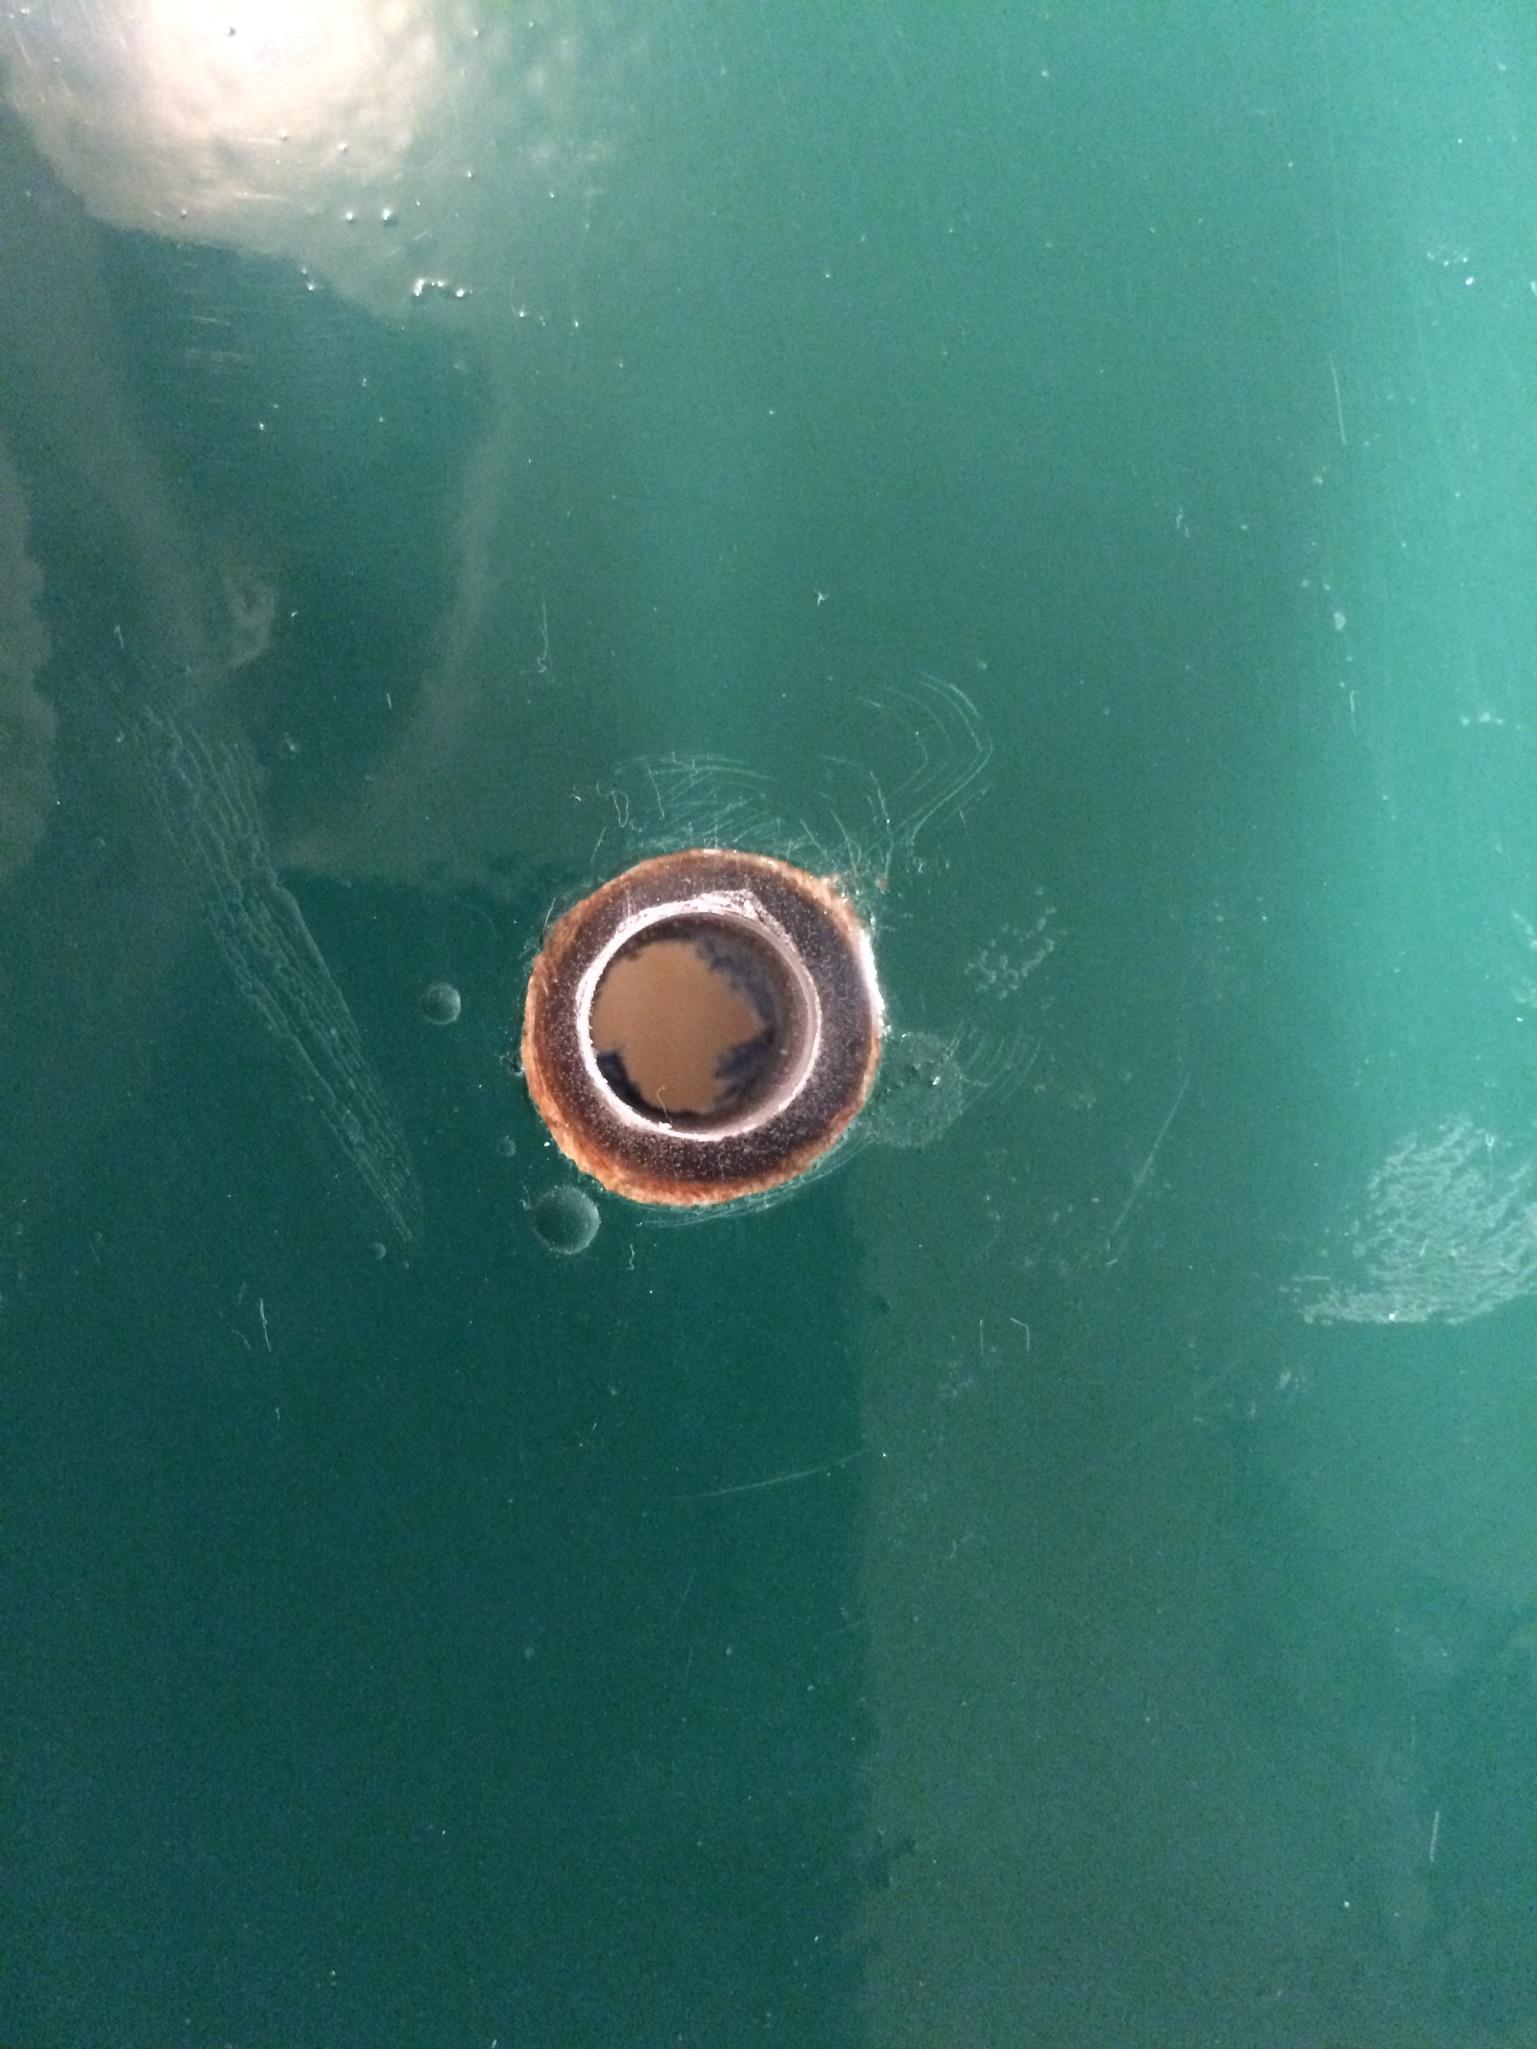
Drill 1/2″, fill (fill more than once as epoxy absorbed and shrank), drill 3/8″ for 5/16″ bolts.
I will flop it over onto trailer this weekend and drill through trailers aluminum bunks and bolt through. I have some textured rubber strips from the original wood bunks I think I will sandwich in between to dampen vibration. It may not be needed, may not help, but I don’t see a down side.
August 23, 2017 at 6:21 am #1234Participantyou’ve probably attached your shell to the trailer already, but if not, friz pioneered the idea of using hockey pucks as vibration dampers. several of us have done the same. they are the right thickness in my case to elevate the shell above some of the bolts that hold the trailer together.
August 27, 2017 at 9:20 pm #1250ParticipantI used rubber gasket from a garage door on the bunks. I wanted more surface contact than 4 pucks and my bunks are already above the wheels. Mounting to the trailer was a breeze, mostly because I had 4 helpers to center it on my marks. Then I drilled down through predrilled holes in floor, through aluminum bunks and bolted. Took less than an hour. Now I can push it around to clean and move stuff around garage. Easier to get inside and work too.
Pile of parts and materials is getting pretty small, a true sign of progress.
September 15, 2017 at 2:19 pm #1313ParticipantJust like climbing a mountain: eventually you look up and there is nothing left to fillet, no more parts to attach with thickened epoxy, and no more epoxy coats! I still have epoxy left, probably because storage box comes with more than it required, and I was pretty careful about not over-mixing batches.
I will probably still need a few squirts to coat the electrical cutouts in the bulkhead, but that should be my last mix,
knock on wood.September 15, 2017 at 6:45 pm #1314Participantcongratulations on finishing your TD!
I finished mine just before the eclipse and took it on a 600 mile round trip to view it. every nut that wasn’t a lock nut vibrated loose.
my son just returned from a 2000+ mile trip, and the lock nuts on the machine screws acting as hinge pins on both doors vibrated off. the hinge screws stayed in place. I had noticed when I installed them that the screws were not quite long enough for the lock nuts to get a good bite on. I replaced them with the next longer size. (Home Depot has a wide selection of stainless screws, bolts, nuts, washers, etc at reasonable prices.)
other than that everything held together well.
ken
-
AuthorPosts
- You must be logged in to reply to this topic.