Forum Replies Created
-
AuthorPosts
-
September 28, 2017 at 7:07 pm in reply to: double checking about dashes before doing the main glassing job #1350
rovineye
ParticipantKenn,
You would have had no problem seeing the dashes, but that is irrelevant now. There is no downside to putting blue tape in unless you embed it, which won’t happen in this case. Blue tape to dam up can save a lot of sanding time later, especially with fillets in big gaps.
ParticipantThat was about where I was thinking of putting the strip, horizontally. I will try both and see which works best. I am mounting them with VHB tape, so not too difficult to reposition if I change my mind.
ParticipantGood to know and I will send you mine if I cut them short!
ParticipantI noticed that about the door screws as well. I thought maybe I didn’t place hinge parts close enough , who knows. I live next to a Tacoma Screw store, so I have good access to hardware. I am undecided if I will get longer ones or use locktite.
ParticipantJust like climbing a mountain: eventually you look up and there is nothing left to fillet, no more parts to attach with thickened epoxy, and no more epoxy coats! I still have epoxy left, probably because storage box comes with more than it required, and I was pretty careful about not over-mixing batches.
I will probably still need a few squirts to coat the electrical cutouts in the bulkhead, but that should be my last mix,
knock on wood.ParticipantI thought of staining mine early on, but I had already joined a few puzzle pieces so it was really too late.
For sure you will have to tough up areas, especially where you round over or rasp to make panels fit such as the transom. Those end grains would always be darker once stained anyway.
ParticipantOne end of the strap is double back tape, and it is industrial strong! I think you will find it has plenty or grip. The other end has grommets that you could screw or bolt onto the module or bulkhead or galley deck.
I would leave the rubber feet on as well.
ParticipantWhat about some earthquake velcro straps at the sides? Those things have a really good grip.
ParticipantKen,
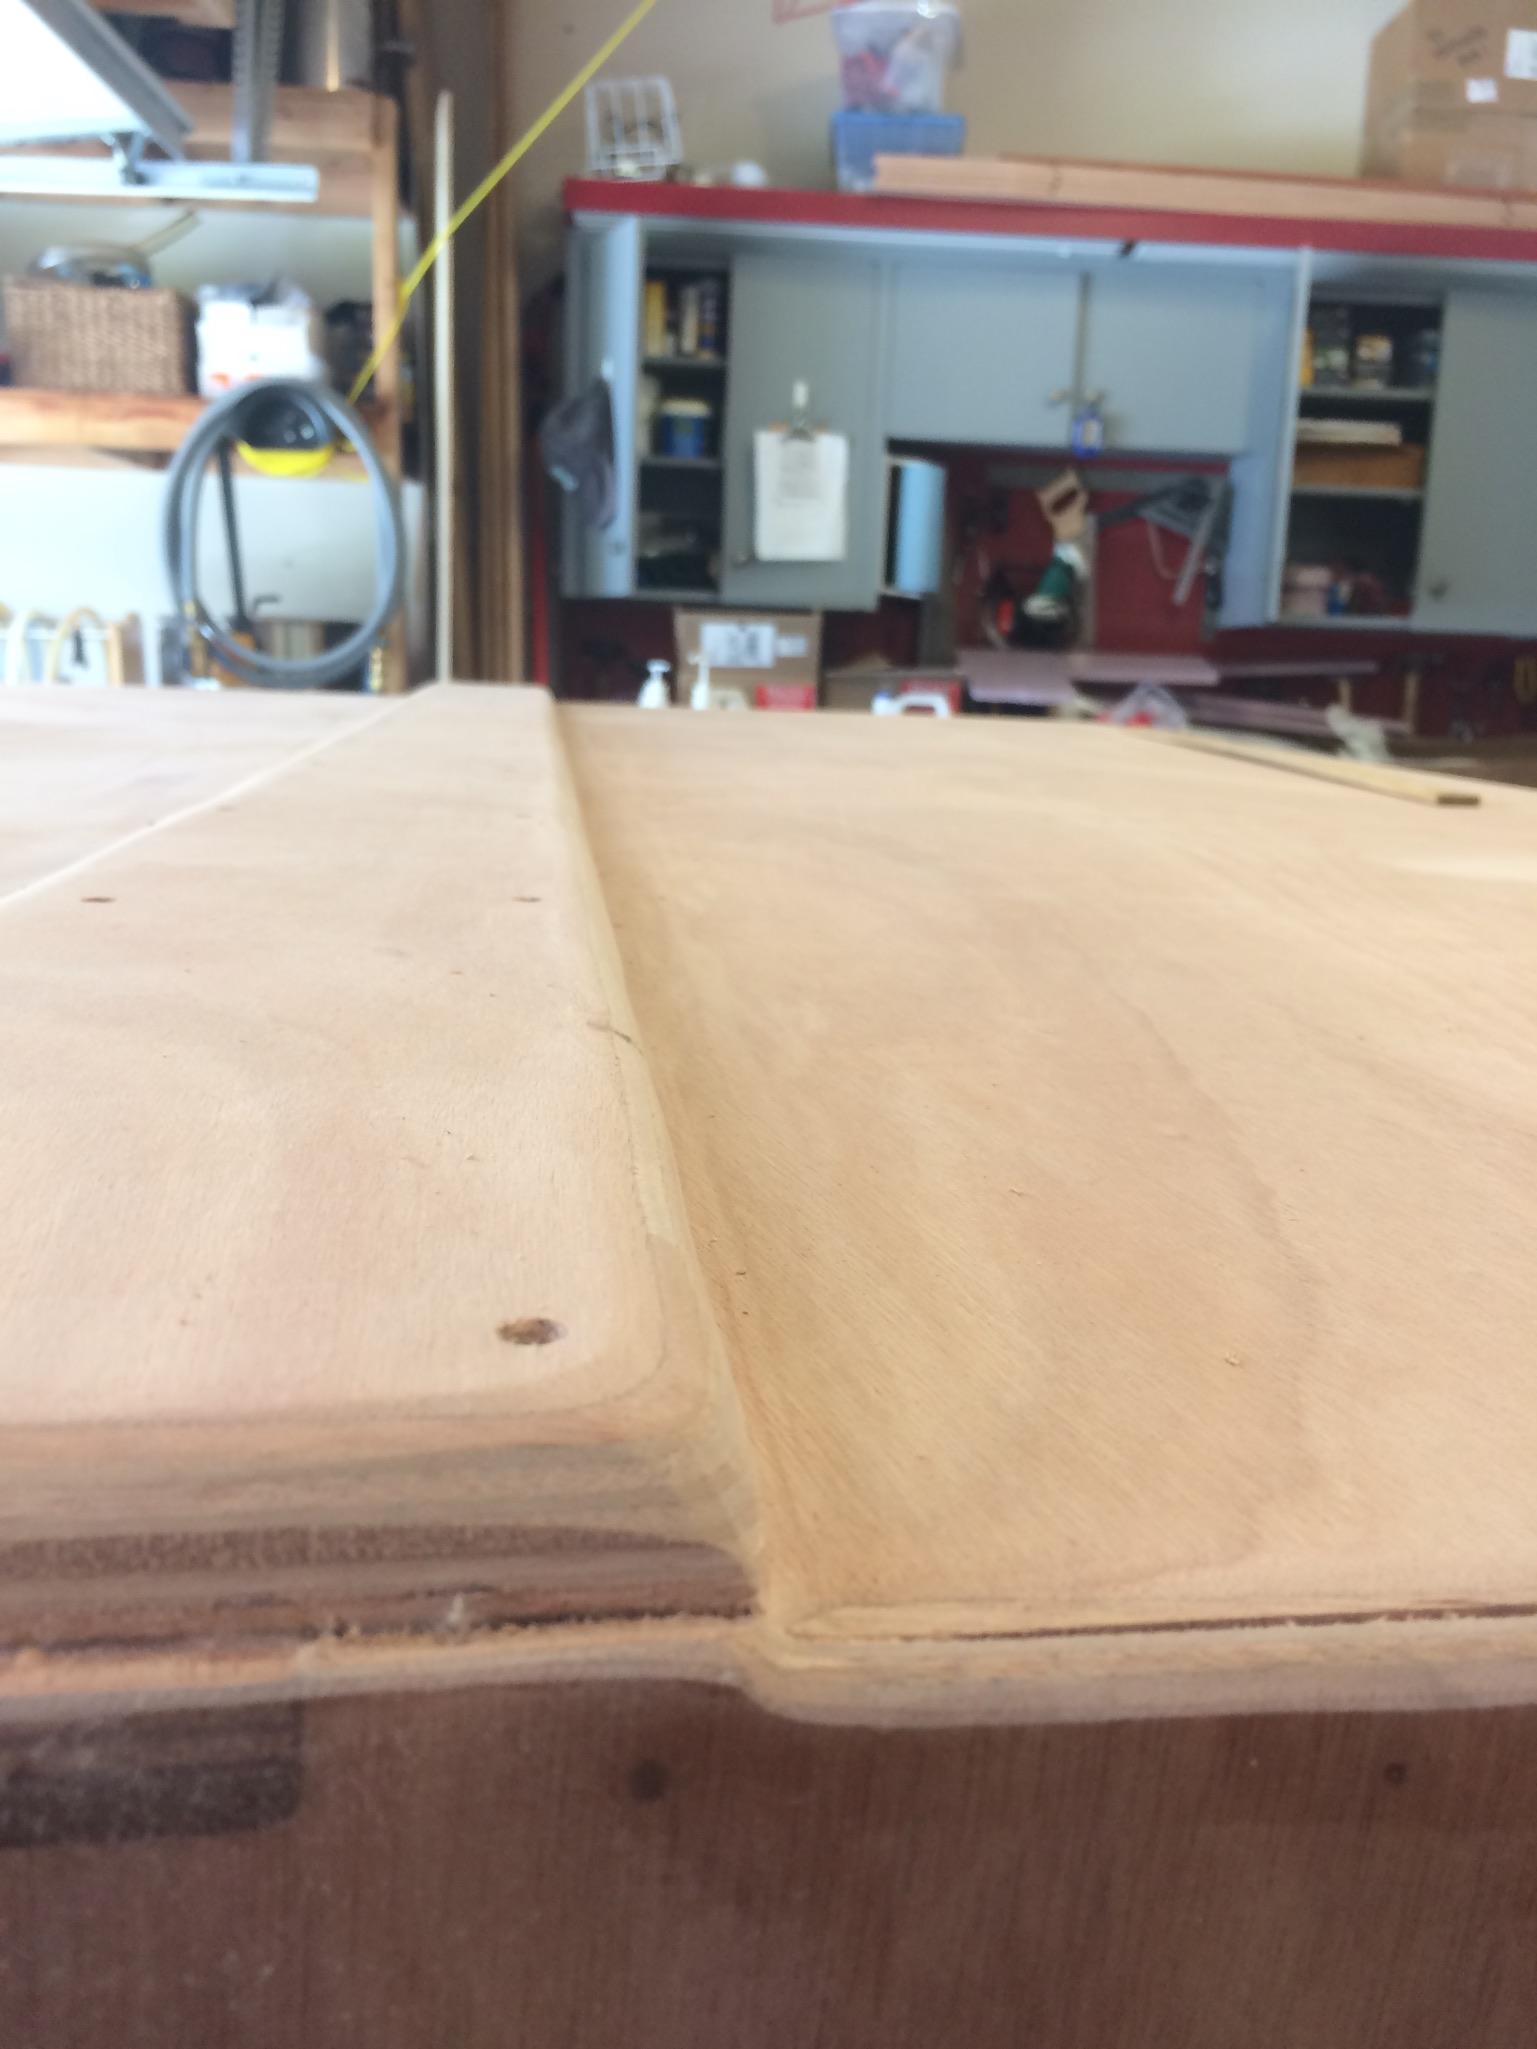
Looks to be 11mm, but kind of hard to tell with all the sanding and epoxy layers. I sure don’t remember.
The top rim is about 1 1/2″ all around except 2 1/2″ at back corner radius and 2″ at front corner radius.
Participanthttp://www.rvstuff.com/ez-catalog/X325604/17/17480AW-1
Cap only, $9 free shipping. Same make and part number.
ParticipantRough dimensions as I can get them, box is wet right now.
Sides 6mm, bottom 9mm, lid something around 11 12 or 13 mm.
Base of box is:
width; 31 1/2″ at front, 34 at back
depth; 22″ at sides, 25 1/2 at middle
Top of of box is:
width; 30 1/2″ at front, 33 at back
depth; 22″ at sides, 23 at middle
height 19 1/4″
Cheers
ParticipantI used rubber gasket from a garage door on the bunks. I wanted more surface contact than 4 pucks and my bunks are already above the wheels. Mounting to the trailer was a breeze, mostly because I had 4 helpers to center it on my marks. Then I drilled down through predrilled holes in floor, through aluminum bunks and bolted. Took less than an hour. Now I can push it around to clean and move stuff around garage. Easier to get inside and work too.
Pile of parts and materials is getting pretty small, a true sign of progress.
ParticipantRolling the TD over was easy and it was easily supported with a bit of foam on the vent and a sawhorse under galley. It rocked around as I leaned inside to sand, glass vent bezel, install shelf, but not so much that I did anything about it.
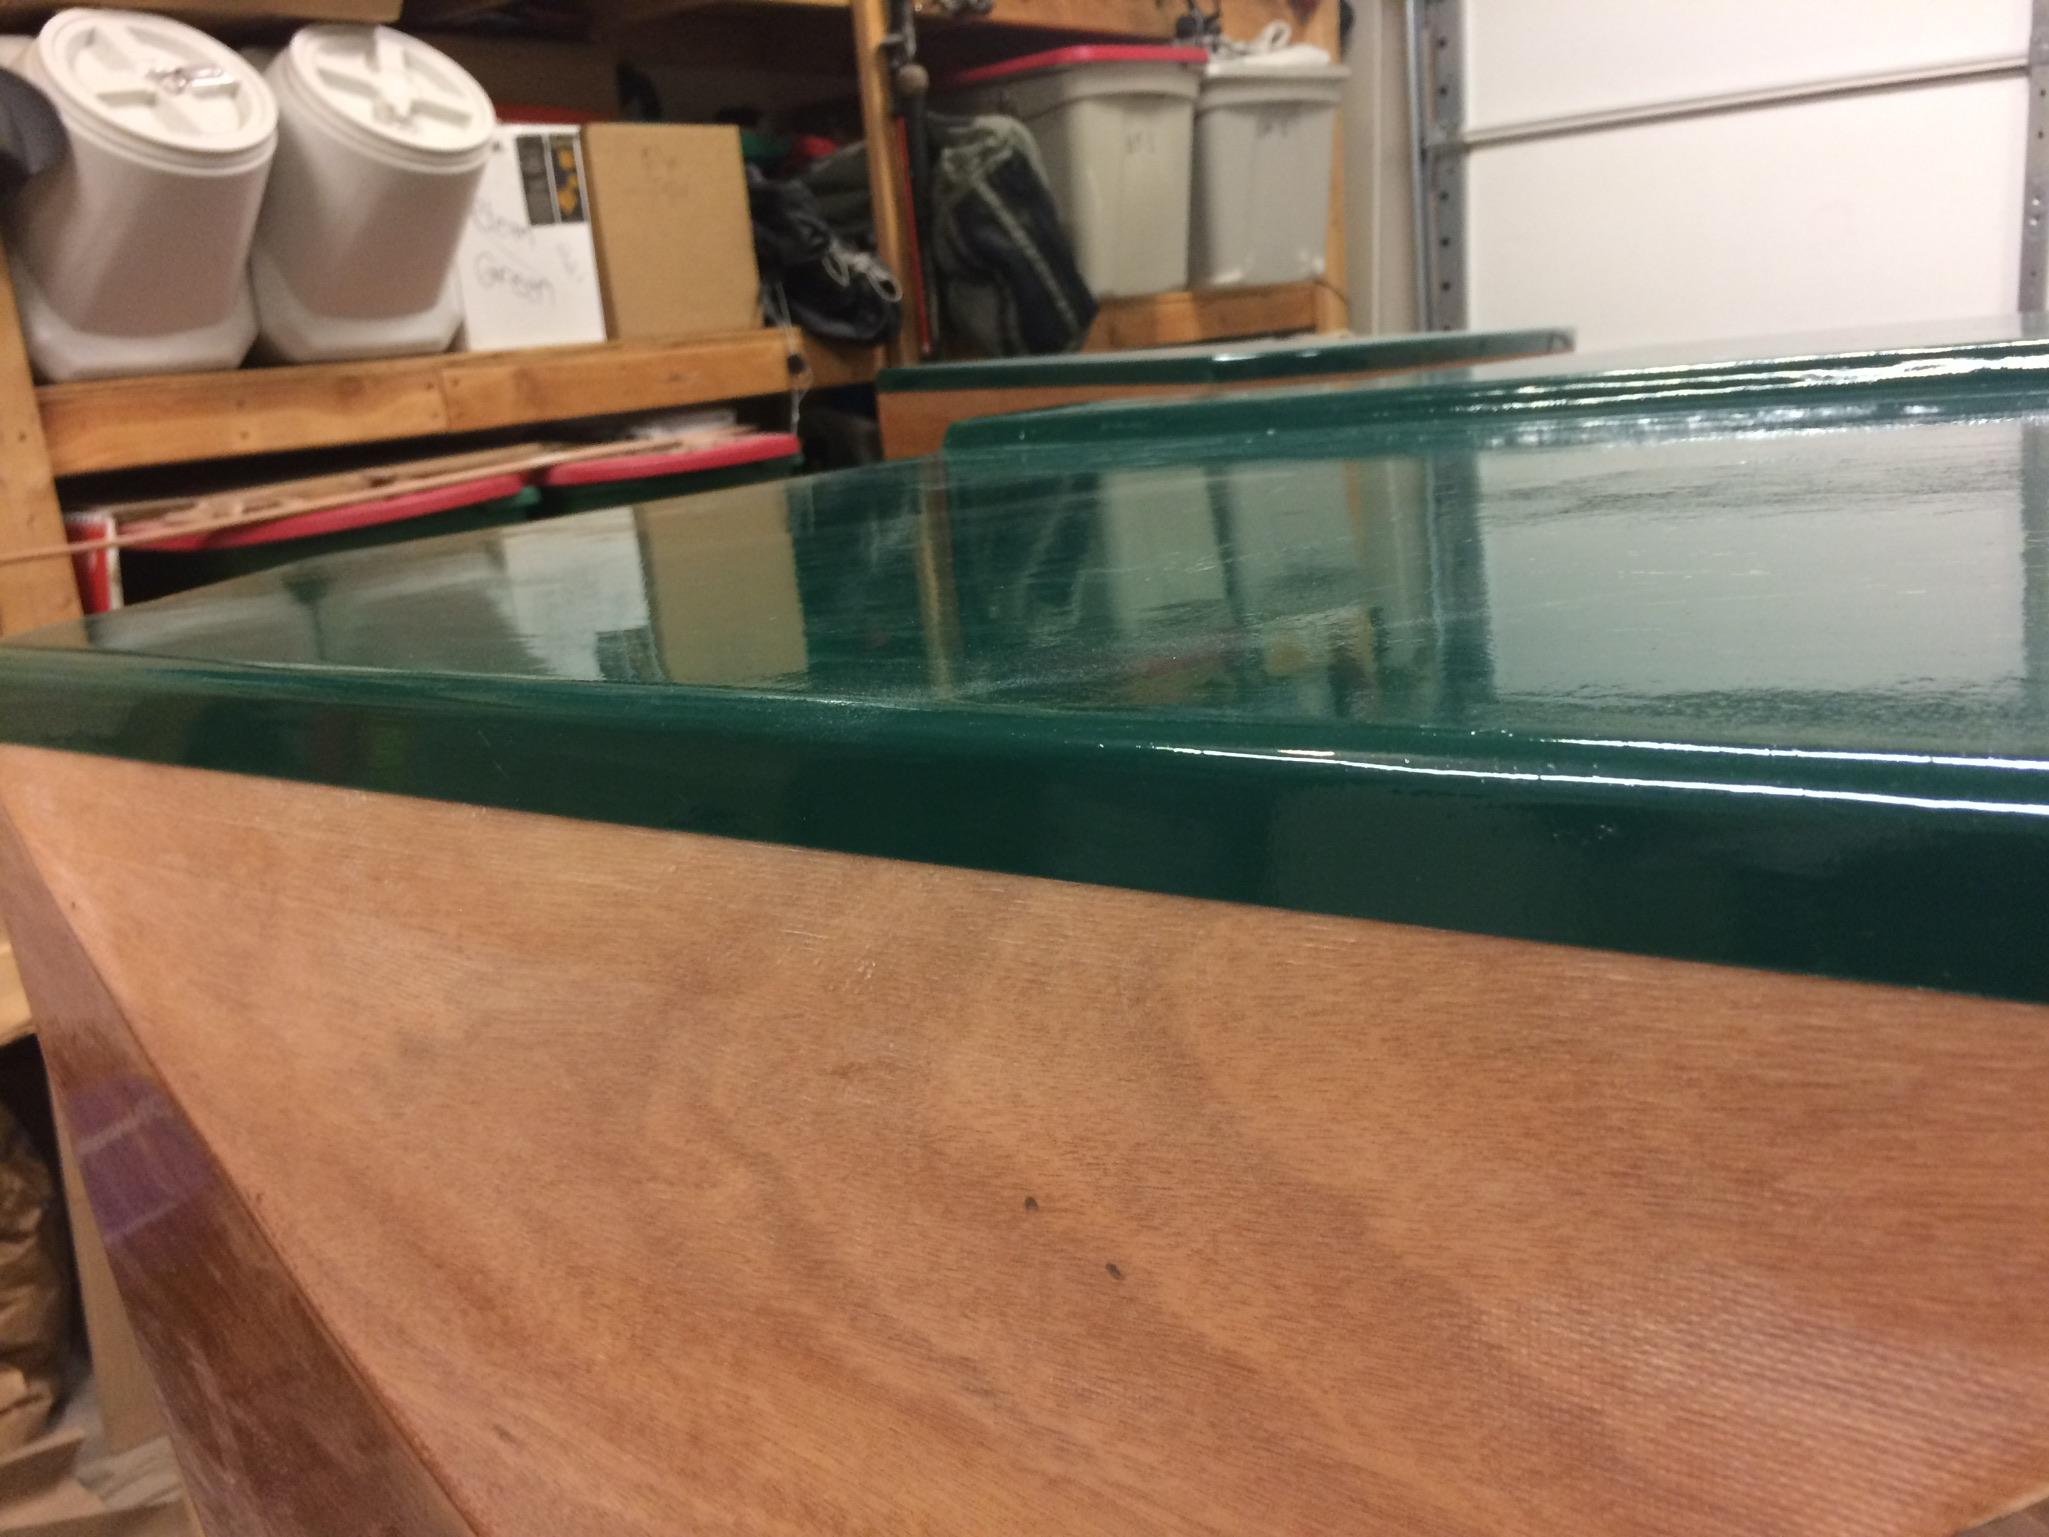
I rounded over bottom with router. The butt block was too short to use the bearing on the bit (should have rounded before installing), so I removed bearing and free handed. Went well and I did what I never do, ran with the direction of the blade spin rather than against it. Tis caused the router to run and definitely limited going too deep into the block. Very happy with that.
Bottom takes a butt load of epoxy as expected. No real issues here, but as others have done I had to cut and patch come corners that just wouldn’t stay down and really need to be strong.
2nd epoxy coat on bottom, some sanding but not OCD on this area, and painted with 2 coats of Interlux sea green. Good coverage and only one little corner of storage box needs touch-up. The tape from CLC made for a super clean line!
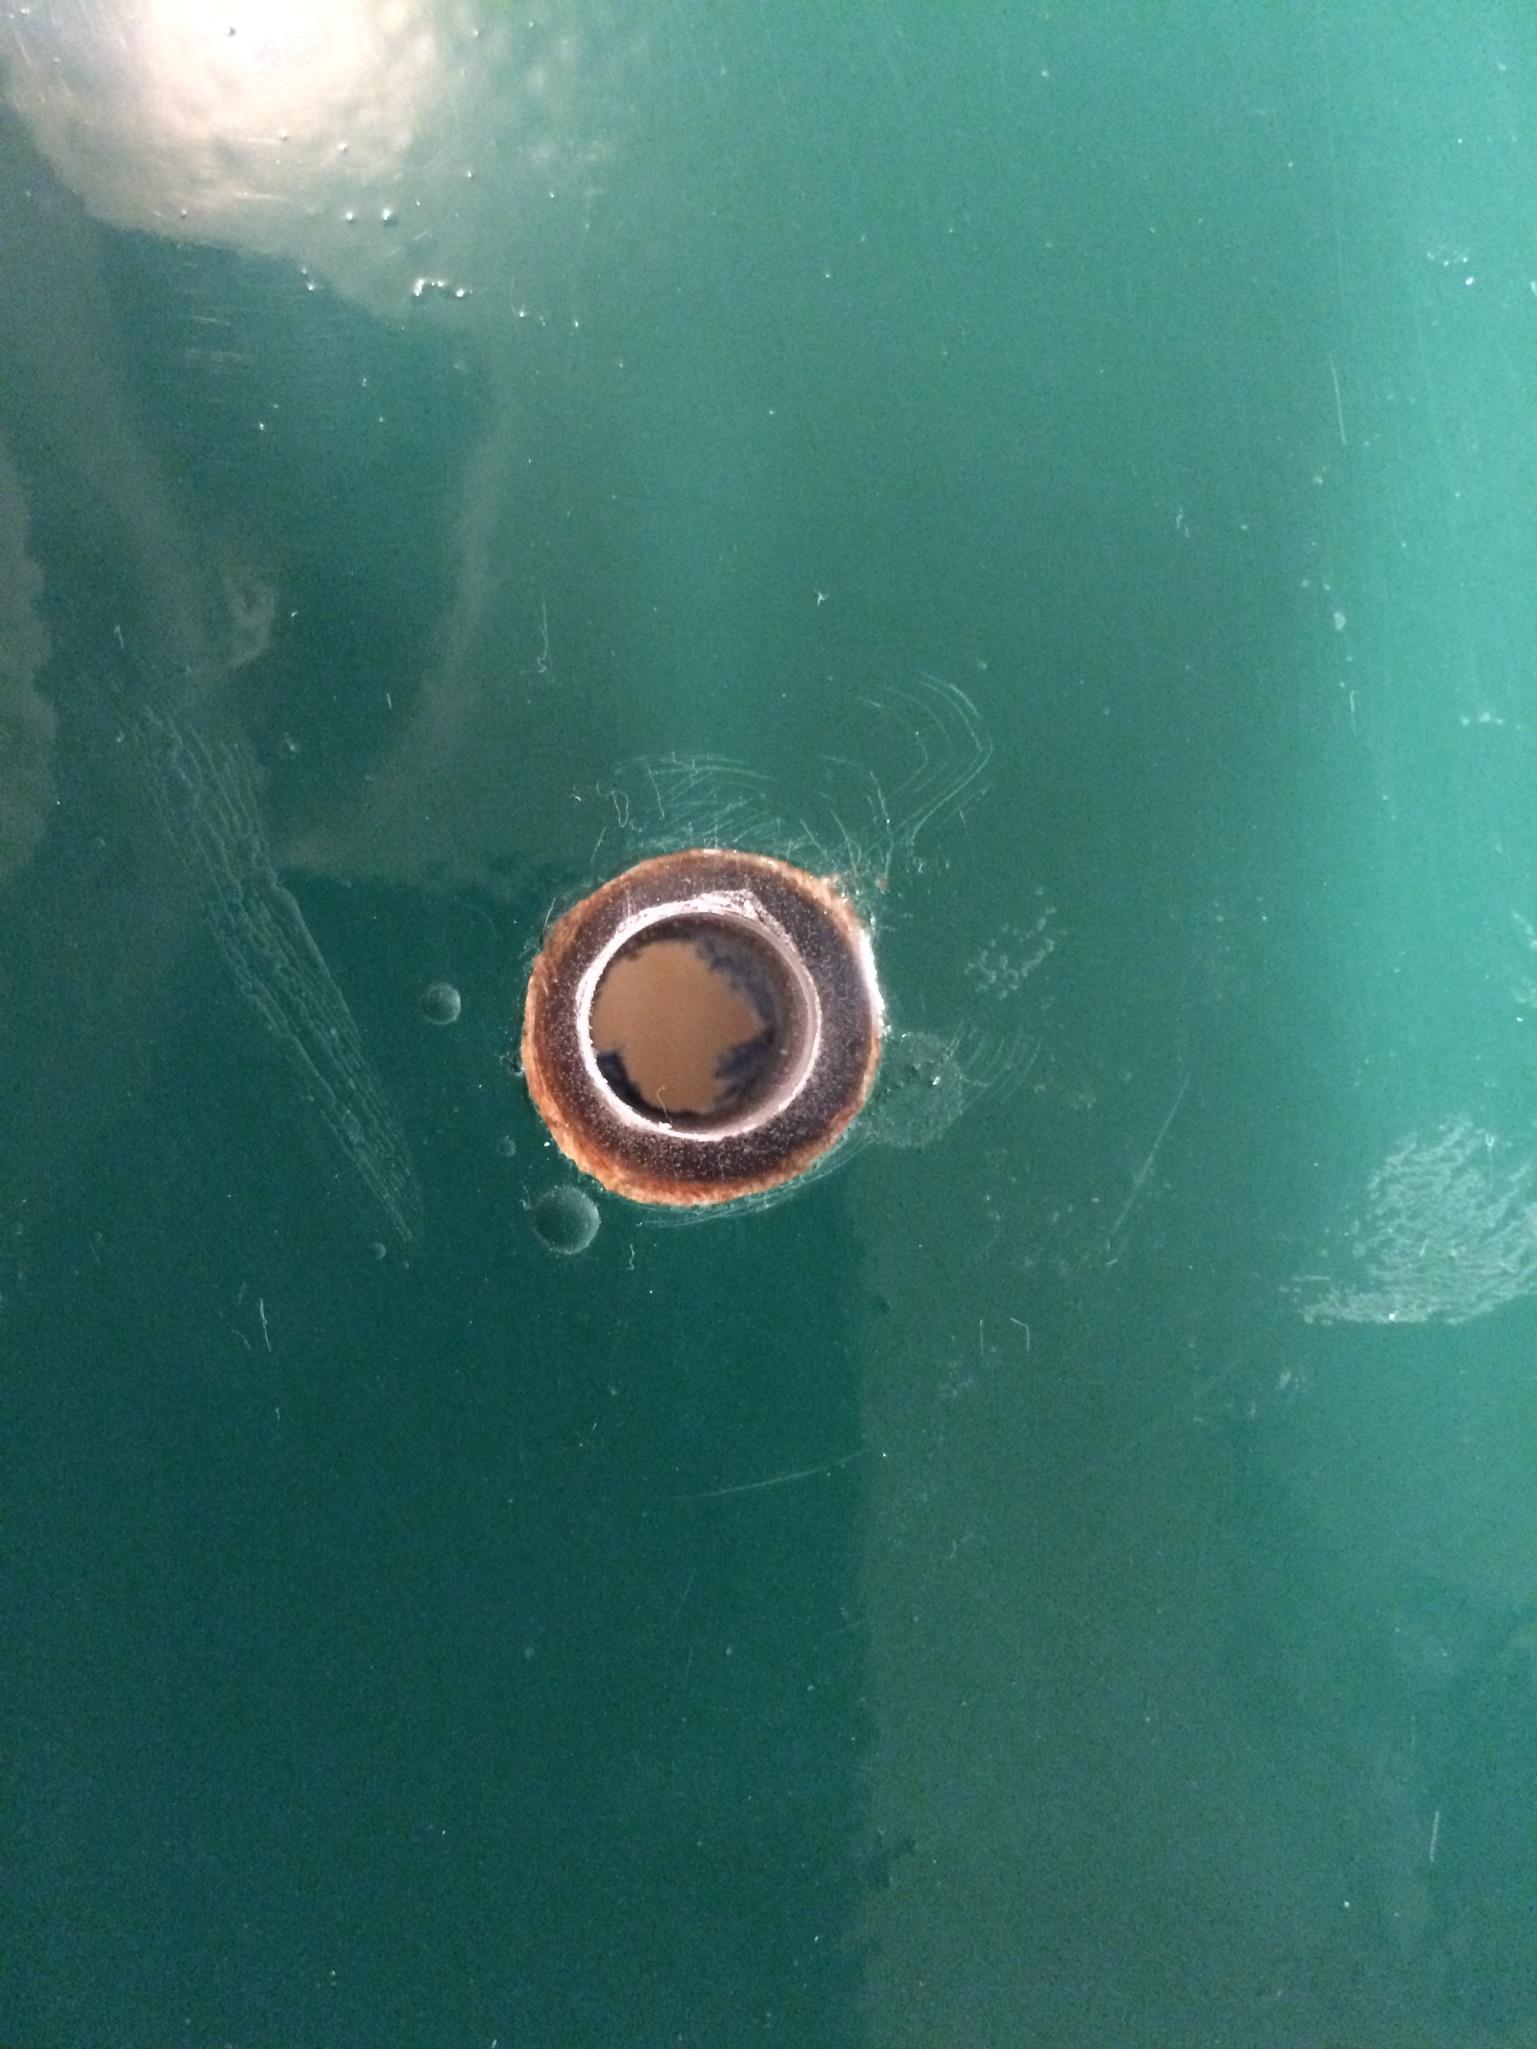
Drill 1/2″, fill (fill more than once as epoxy absorbed and shrank), drill 3/8″ for 5/16″ bolts.
I will flop it over onto trailer this weekend and drill through trailers aluminum bunks and bolt through. I have some textured rubber strips from the original wood bunks I think I will sandwich in between to dampen vibration. It may not be needed, may not help, but I don’t see a down side.
ParticipantI don’t need temperature compensation in this application. At the highest temperature I can imagine while charging, say 110 deg F, the compensation is somewhere between .3 and .4 volts typically. At the lower end where undercharging is possible, I just don’t care.
Maybe others have larger or more sensitive loads, or are planning on charging in a very hot environment. Anyway, not much of downside to having the compensation, but I don’t want my charger in my battery box so I can see the indicators.
ParticipantBob,
That advice is not universally true. It depends on the battery type and charger brand. Battery Tender recommends mounting the charger as far away from the battery as the DC leads allow. I suspect this is to avoid corrosion from gassing, but that would not normally occur if using a sealed AGM battery for instance.
I am a few weeks away from mounting my charger and am 52% sure I will mount it in the location shown in the hymnal.
-
AuthorPosts