Forum Replies Created
-
AuthorPosts
-
rovineye
ParticipantI took the bearing off my router bit and freehanded the 1/2″ radius. After practicing on scrap, it was not too hard to feel the right bite to the bit. The outcome was very good. Even with that radius, it was one of the more difficult places to get the cloth to lay down, and in the area where I was most concerned about since it isn’t visible and most exposed the environment.
I did both sides at the same time. Not sure one layer would have been any easier to get to lay down. Sure felt good to get that part done!
Participant
Is this the shot you want?
ParticipantFillets are VERY strong. Panels won’t pop off after that.
The box front cover was maybe the most difficult part of the project as far as getting the glue to hold once you cut off the wire stitches before fillets. Lots of stress and not a perfect fit. At least for me. Looked great in the end.
ParticipantHi wcammac,
You need to back off the nut at the handle and the same with the nut against the door, to bring the latch mechanism out from the frame. If that doesn’t make sense, shout out again.

 Participant
There are epoxy syringes you can fill the bubble with. I’ve never used them and don’t know much about them, I just know they are out there.
ParticipantAs I was building I kept thinking of all those imperfections that were piling up, not quite noticing the awesomeness in total that I was producing. Bad fillets, drilled a hole through the side, white spots, visible weave…. Now I just look at it and think “Oh hell yeah!”
ParticipantI’m not from Iowa, but just returned this evening from Dubuque. Just to let you know, there is a thing we have on the west coast called spring. You should try it!
ParticipantI think they might be a bit too restrictive to movement. The slop in the wood door hinge pins kind of allow the door to move and seal against the gasket as you close it and these may bind up. Maybe one the gasket is compressed a few times it won’t be an issue, or not at all from the start, but that would be my concern.
The galley hatch hinges, when hatch is closed, are a bit beyond 180 degrees, and can’t tell if these can go beyond horizontal. Worst case you could add a pad to bring hatch side level.
ParticipantI like it and think I will do the same.
Participant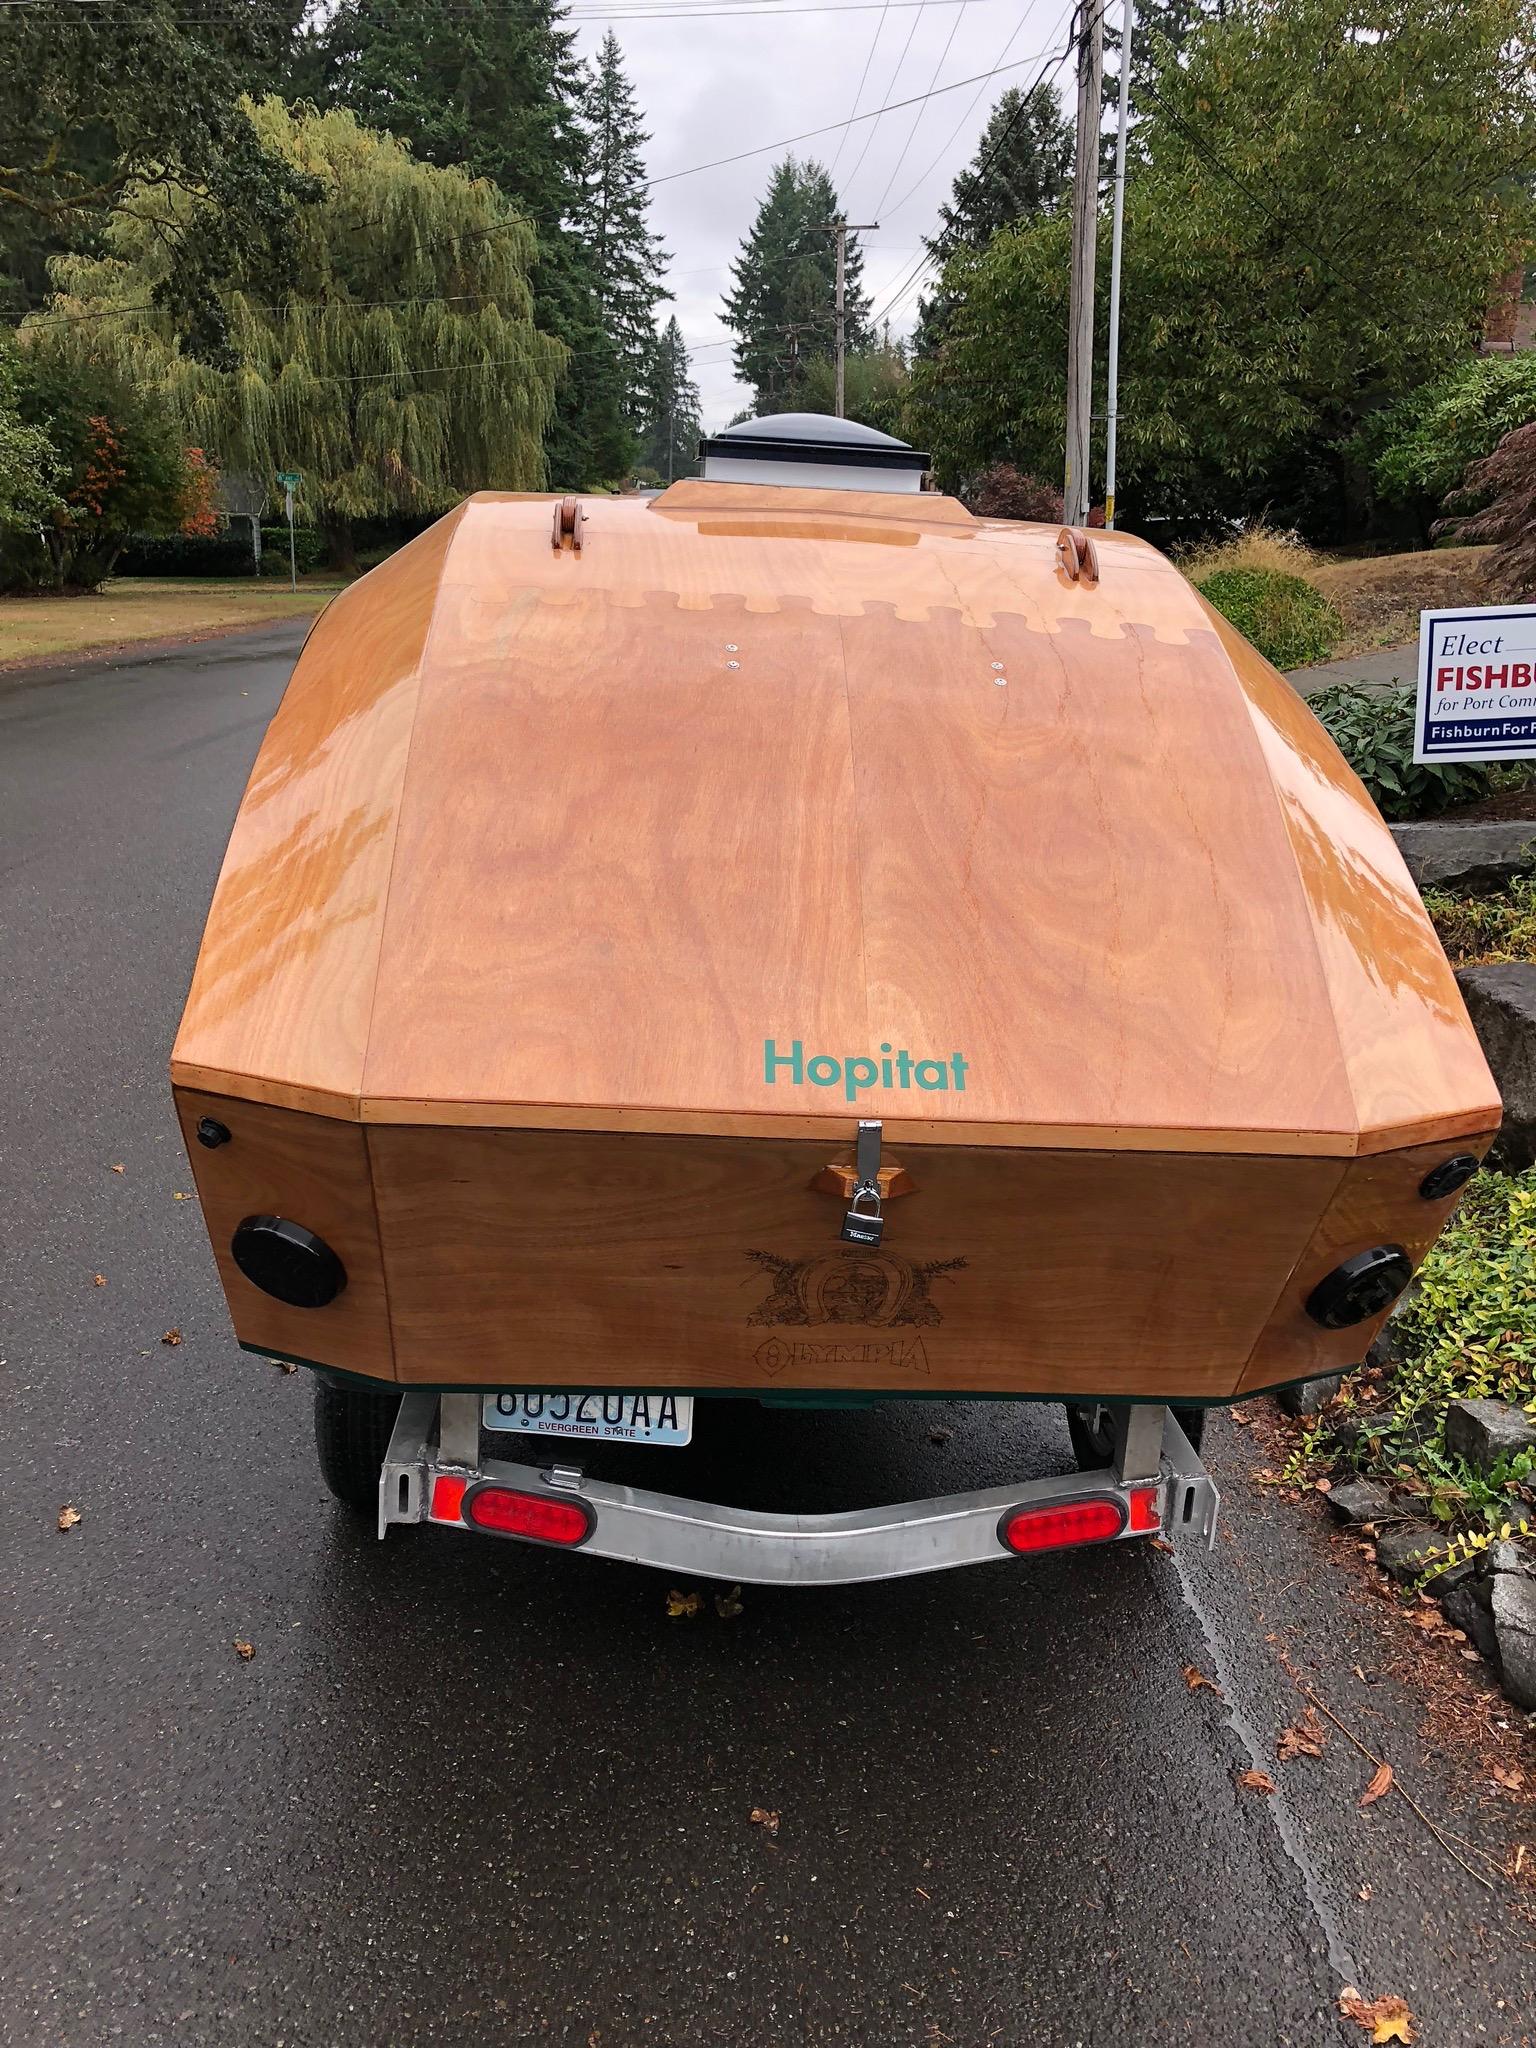
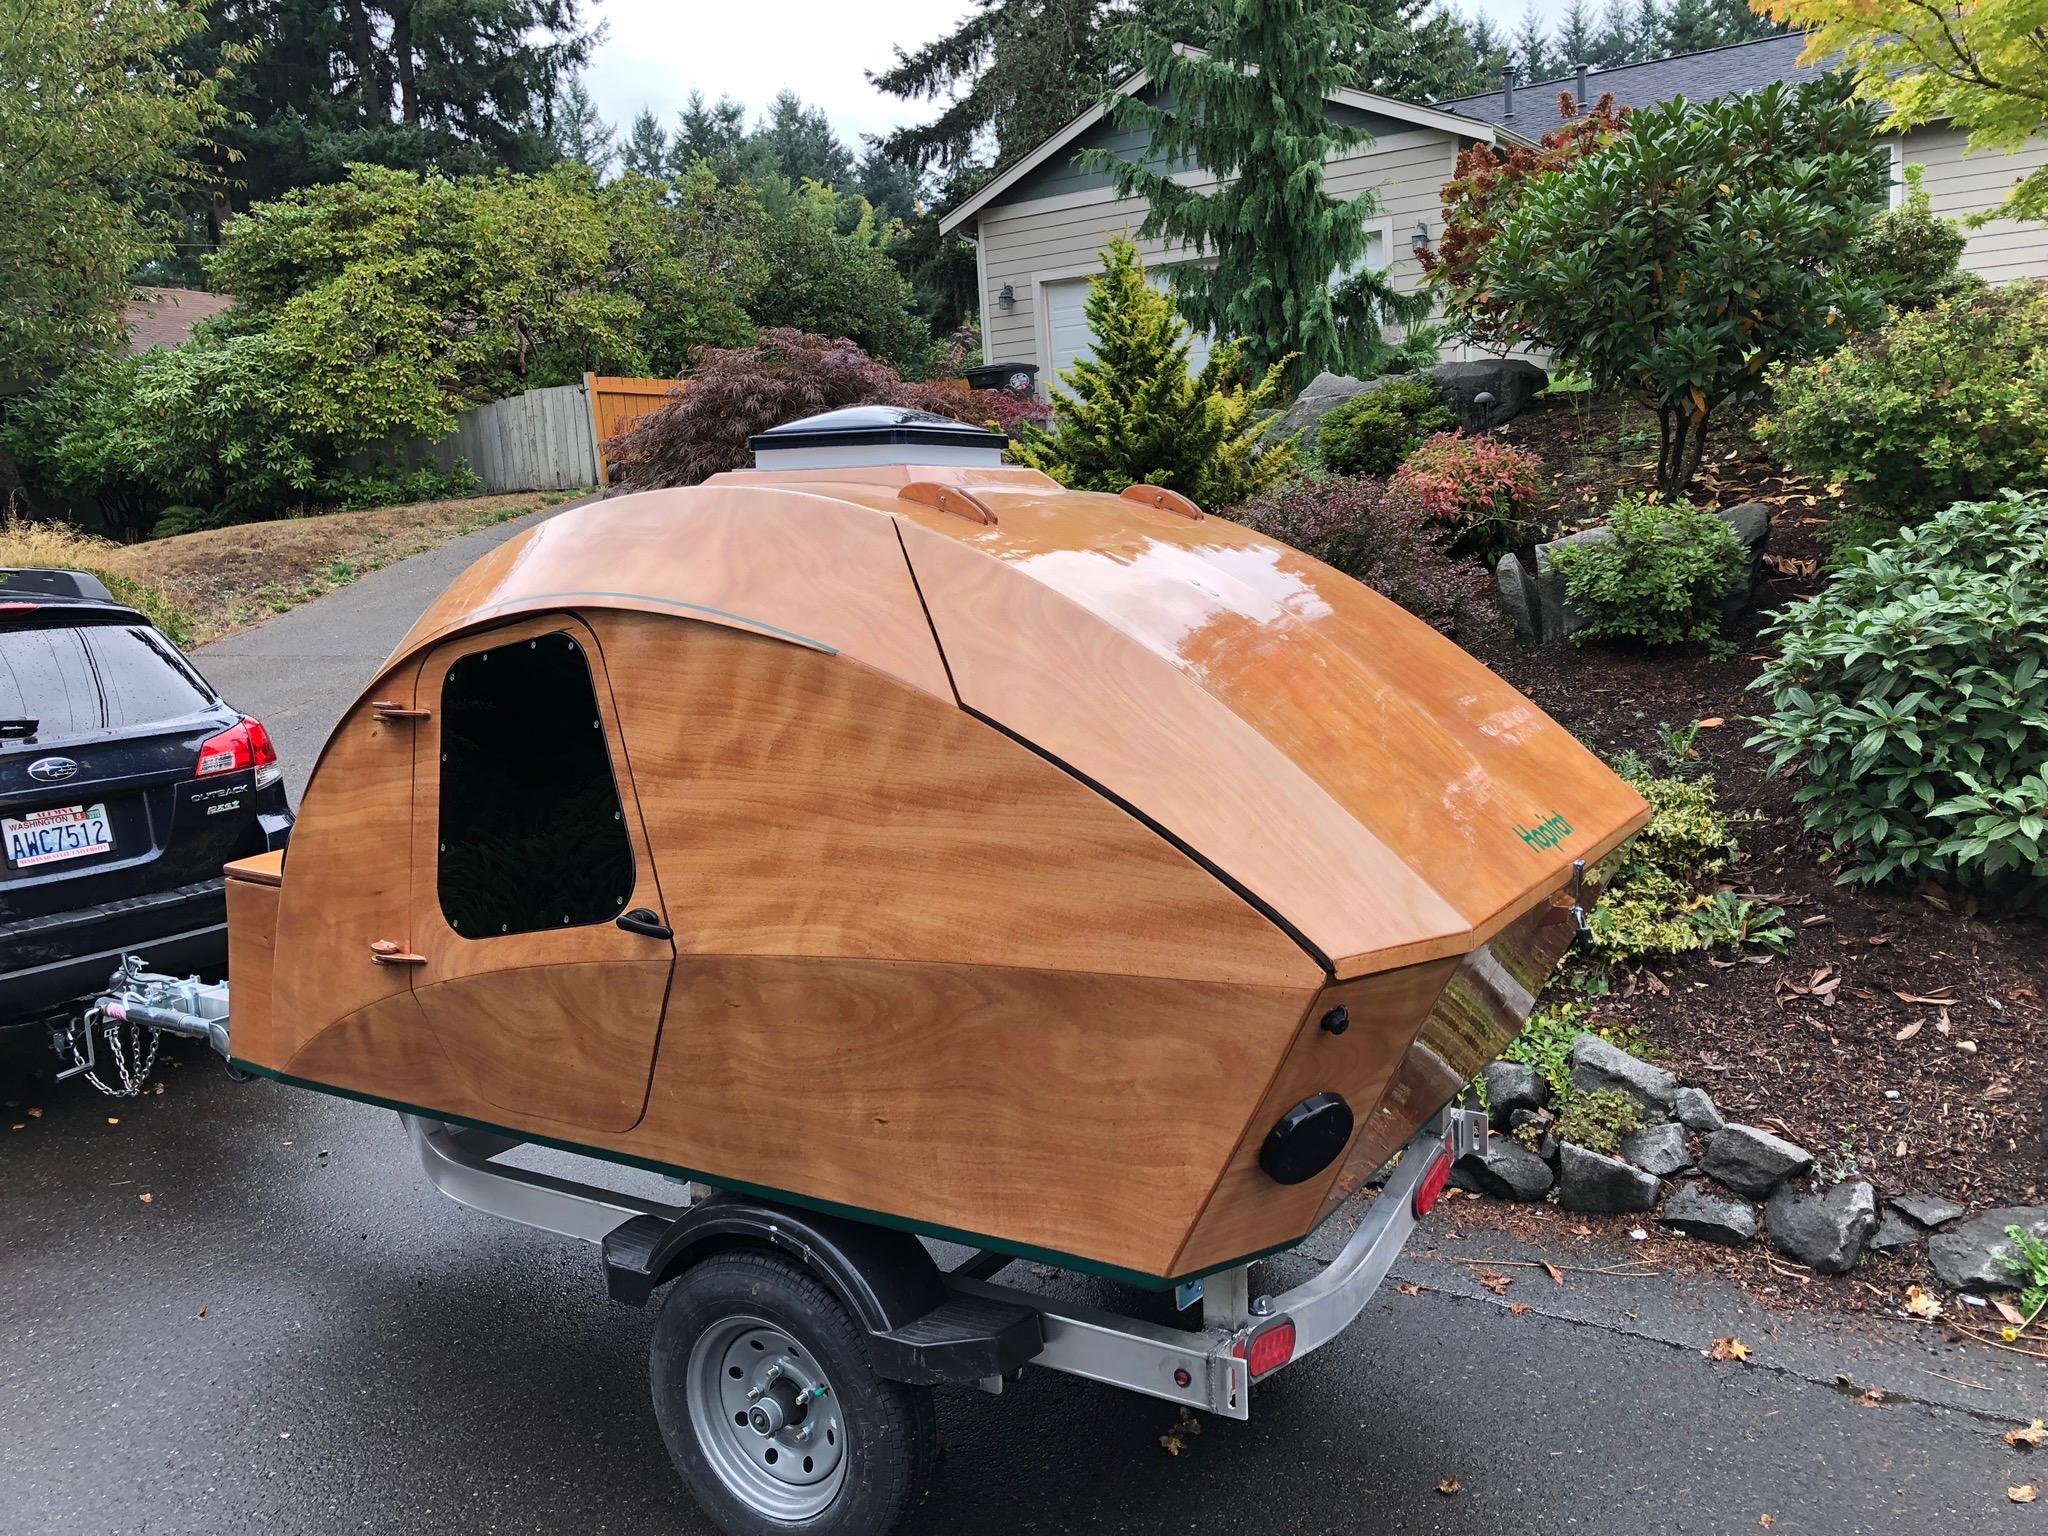
I used a PWC trailer, which was perfect to get the wheels under. I removed the exiting tailer bunks and had some aluminum bunks welded. Worked beautifully. We tow it behind Outback, and even through snow no issues on the freeway or up mountains. Total weight was just over 500#.
ParticipantCut the tape to length and lay it out on a plastic sheet. Wet it with epoxy with either a brush or a spreader, then roll it up. Unroll it in place and smash it in fillet with glove and smooth with spreader , gloved hand, brush, whatever works best in that spot, It is a real benefit inside at the where the floor joins the sides and transom area. It really is easier than it sounds and believe it or not it isn’t messy.
ParticipantMost if not all of us have spots with the same flaws, and grateful that most of those first fillets and glass work isn’t visible in the end. Cutting out darts like you did is sometimes the only fix. The inside of the galley hatch will be visible, but you can easily make cosmetic adjustments there once it is cut out.
It was at the point you are at that I changed to wetting the glass tape with epoxy, rolling it up, and rolling it out in place. It is so much easier.
ParticipantWhen we do it on a ship after construction it is called jumboization.
Participantyep, looks good!
ParticipantStill no pics. Link is to one drive which needs log on.
-
AuthorPosts