Forum Replies Created
-
AuthorPosts
-
stretchMike
Participantand here:
 Participant
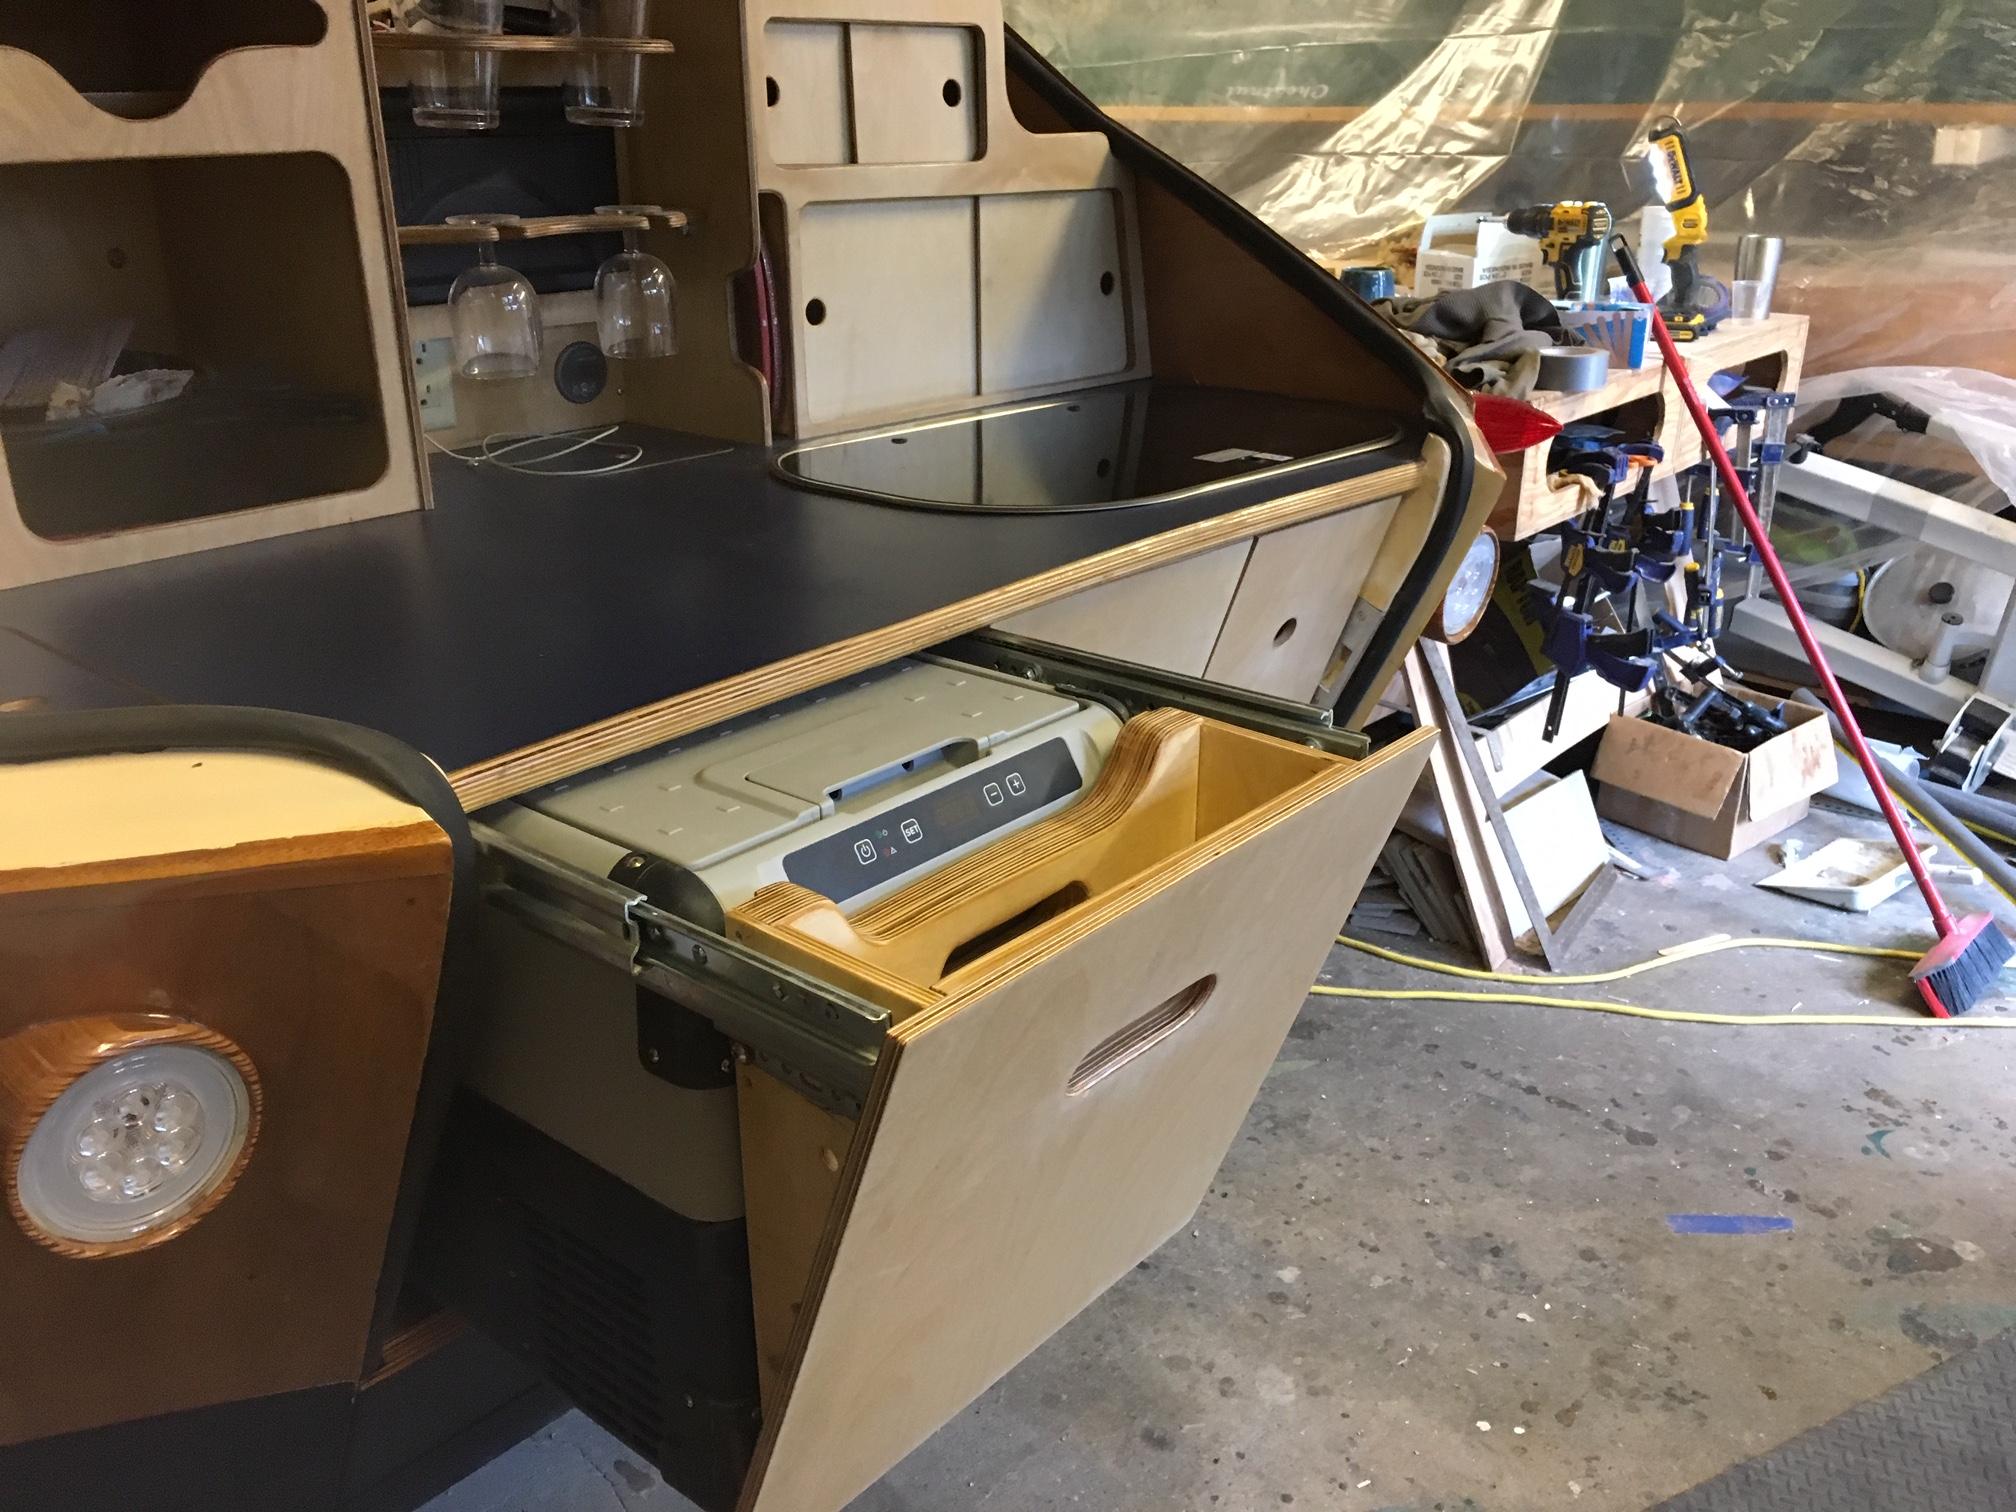
Build update: I have just completed my under-counter cabinets on my stretched teardrop.
The stretch allowed me to add an under-counter Dometic fridge/freezer; drawers and storage under my sink.
 Participant
Kevin, did you make a double wall tent for your build? Not clear from your post, but if you put plastic up on both sides of your 2×2 walls that might help a lot. Kind of like a thermopane window.
Mike
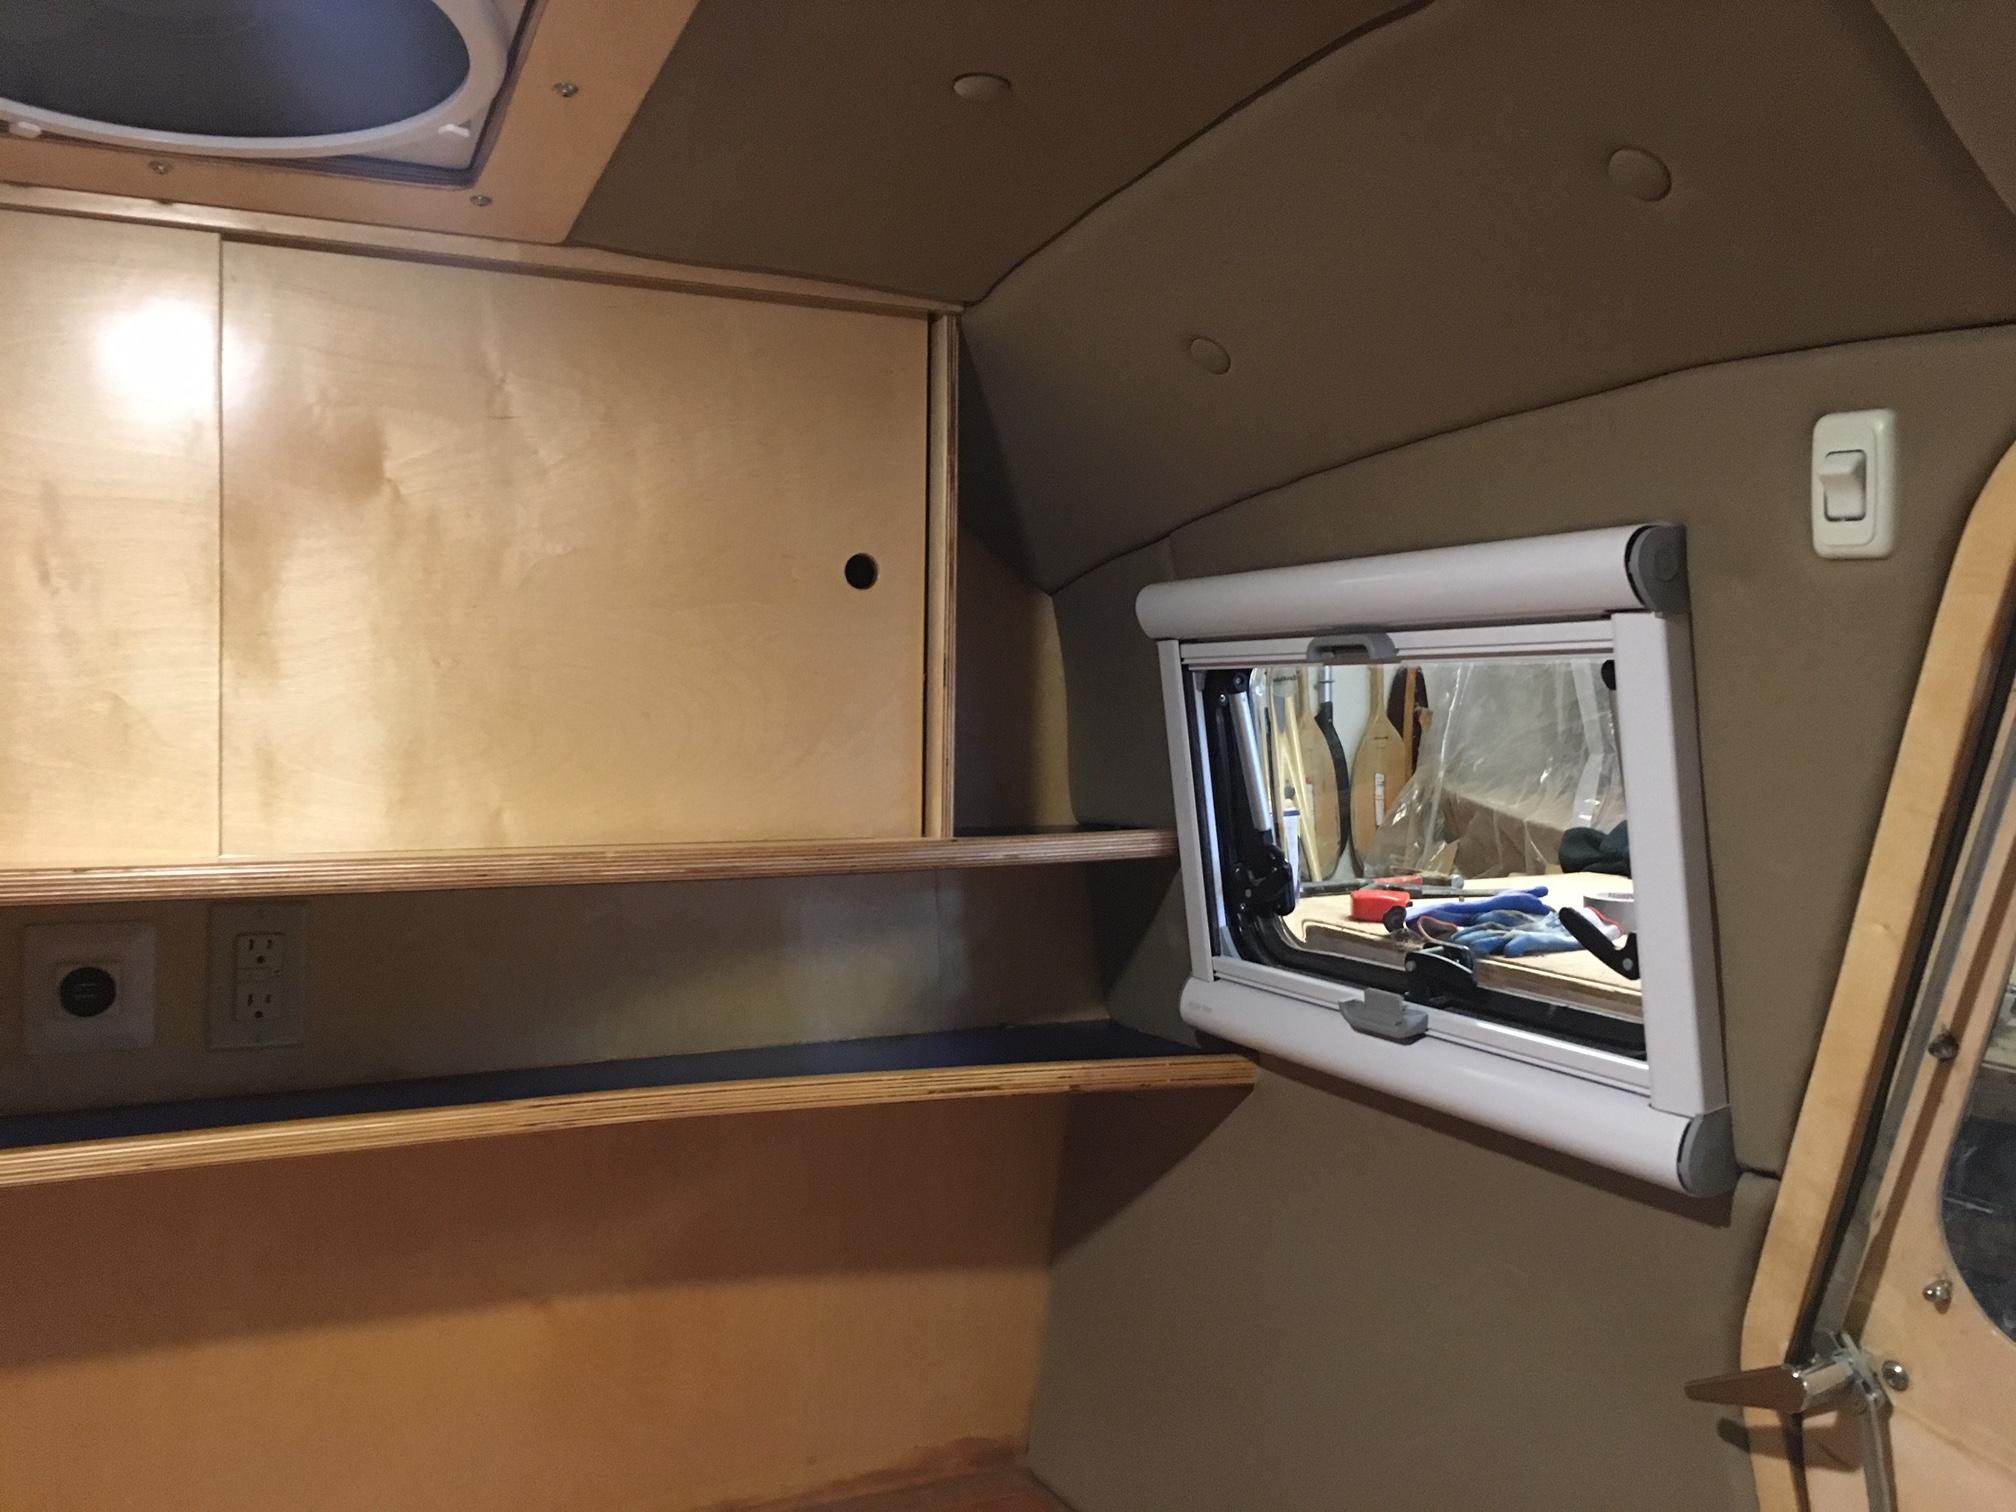
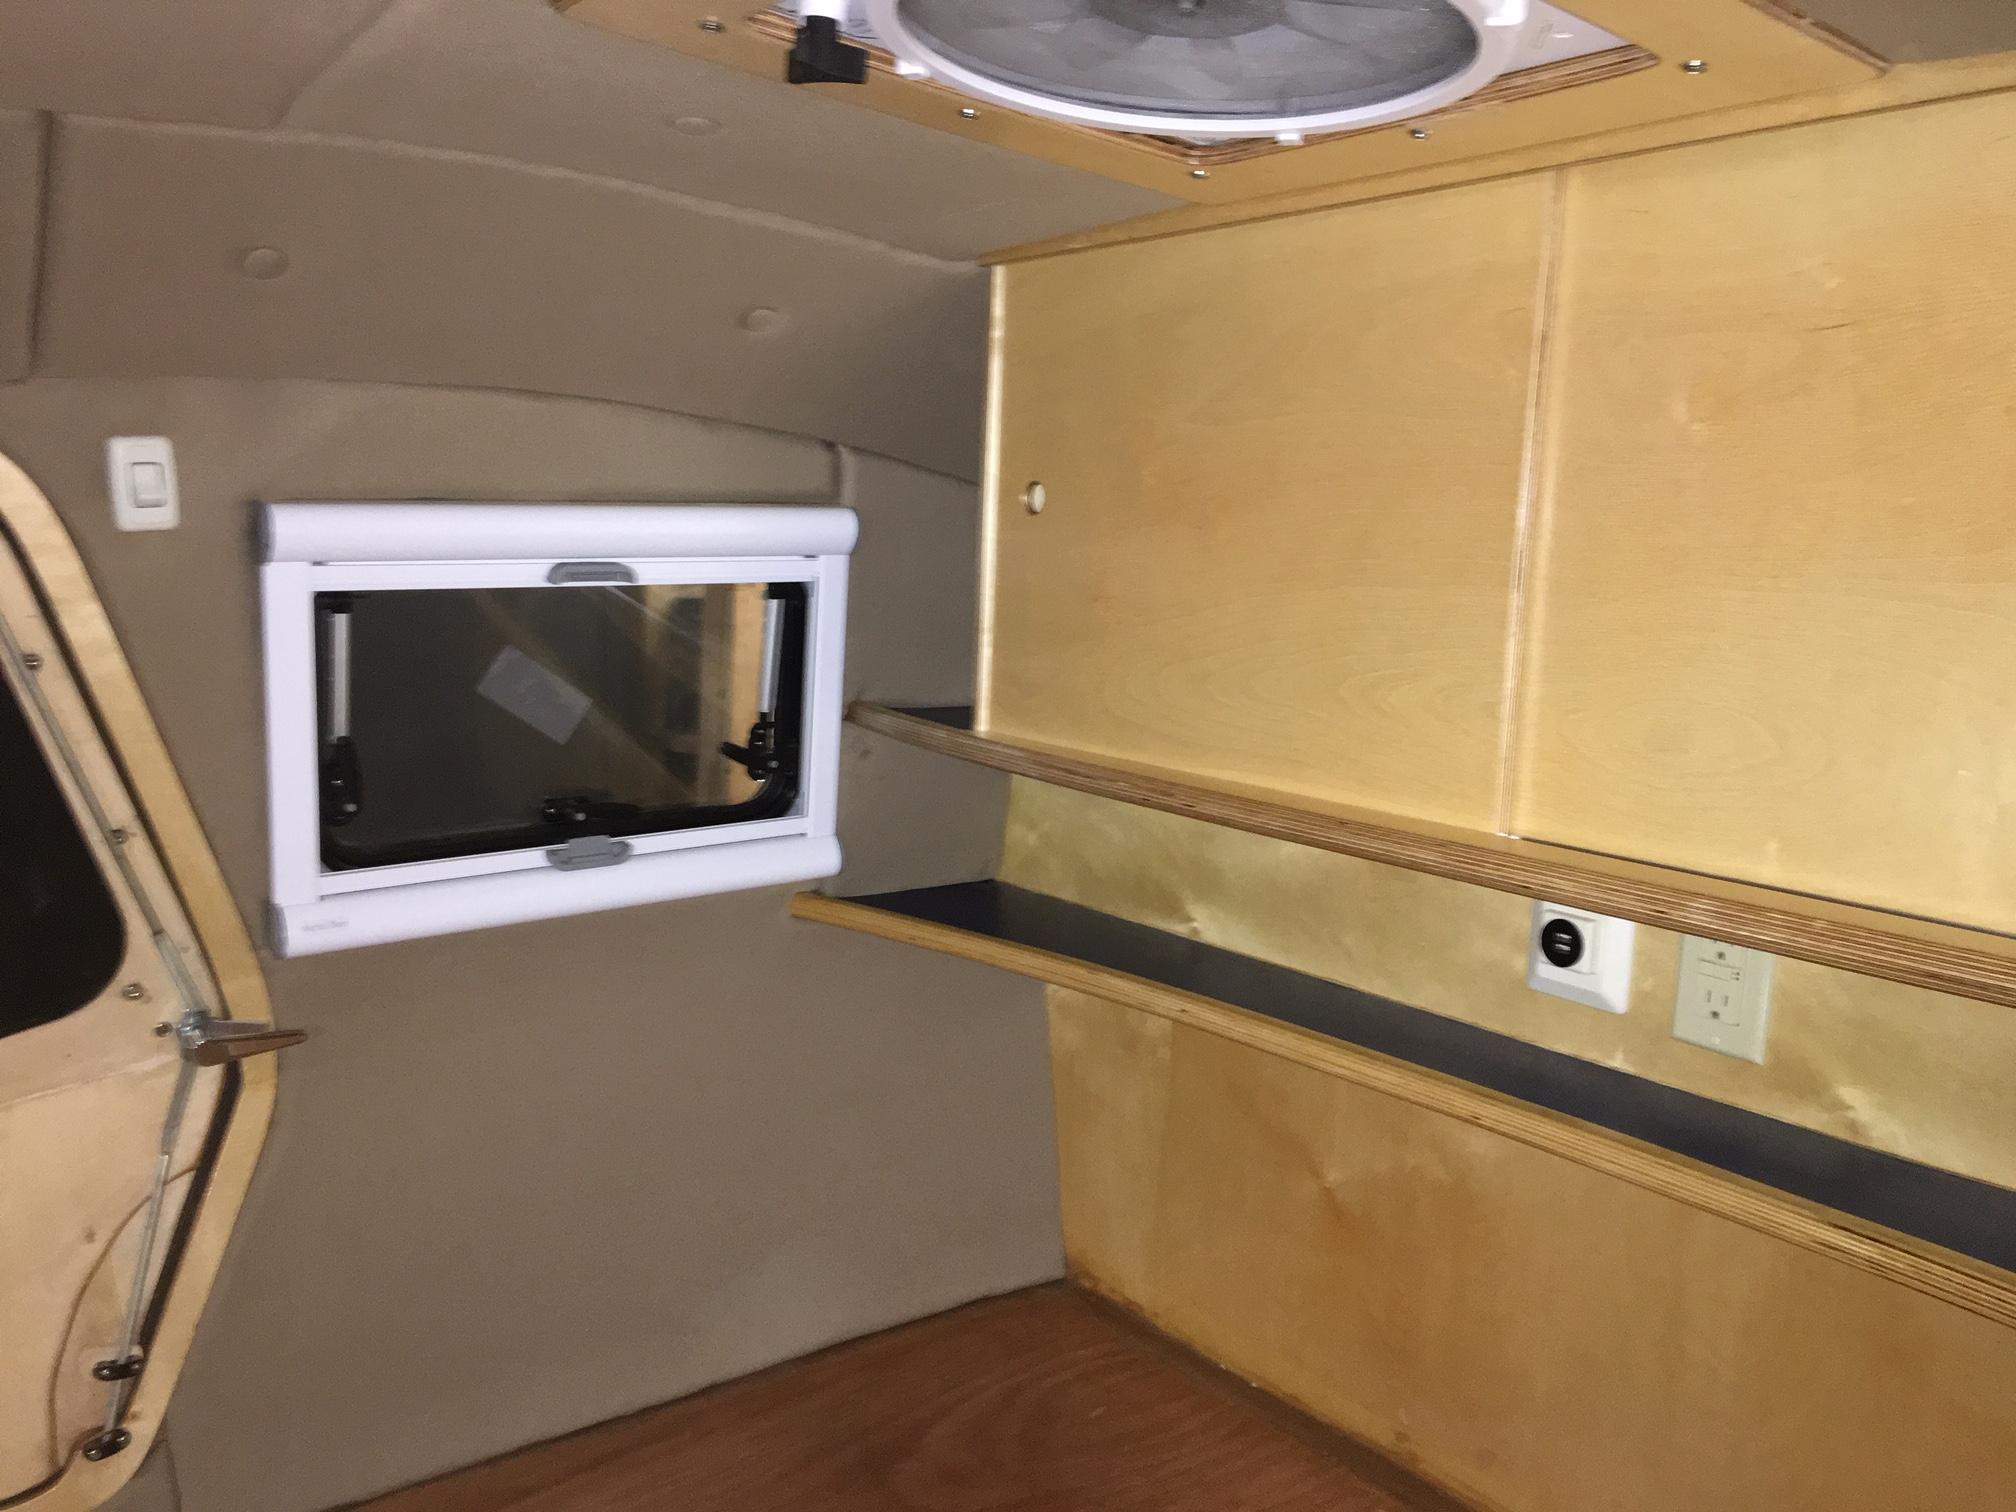
ParticipantWindows are Arctic Tern brand. Hinges on top with built in roller blinds and bug screens . Will post photos from exterior shortly as soon as I get it out of garage
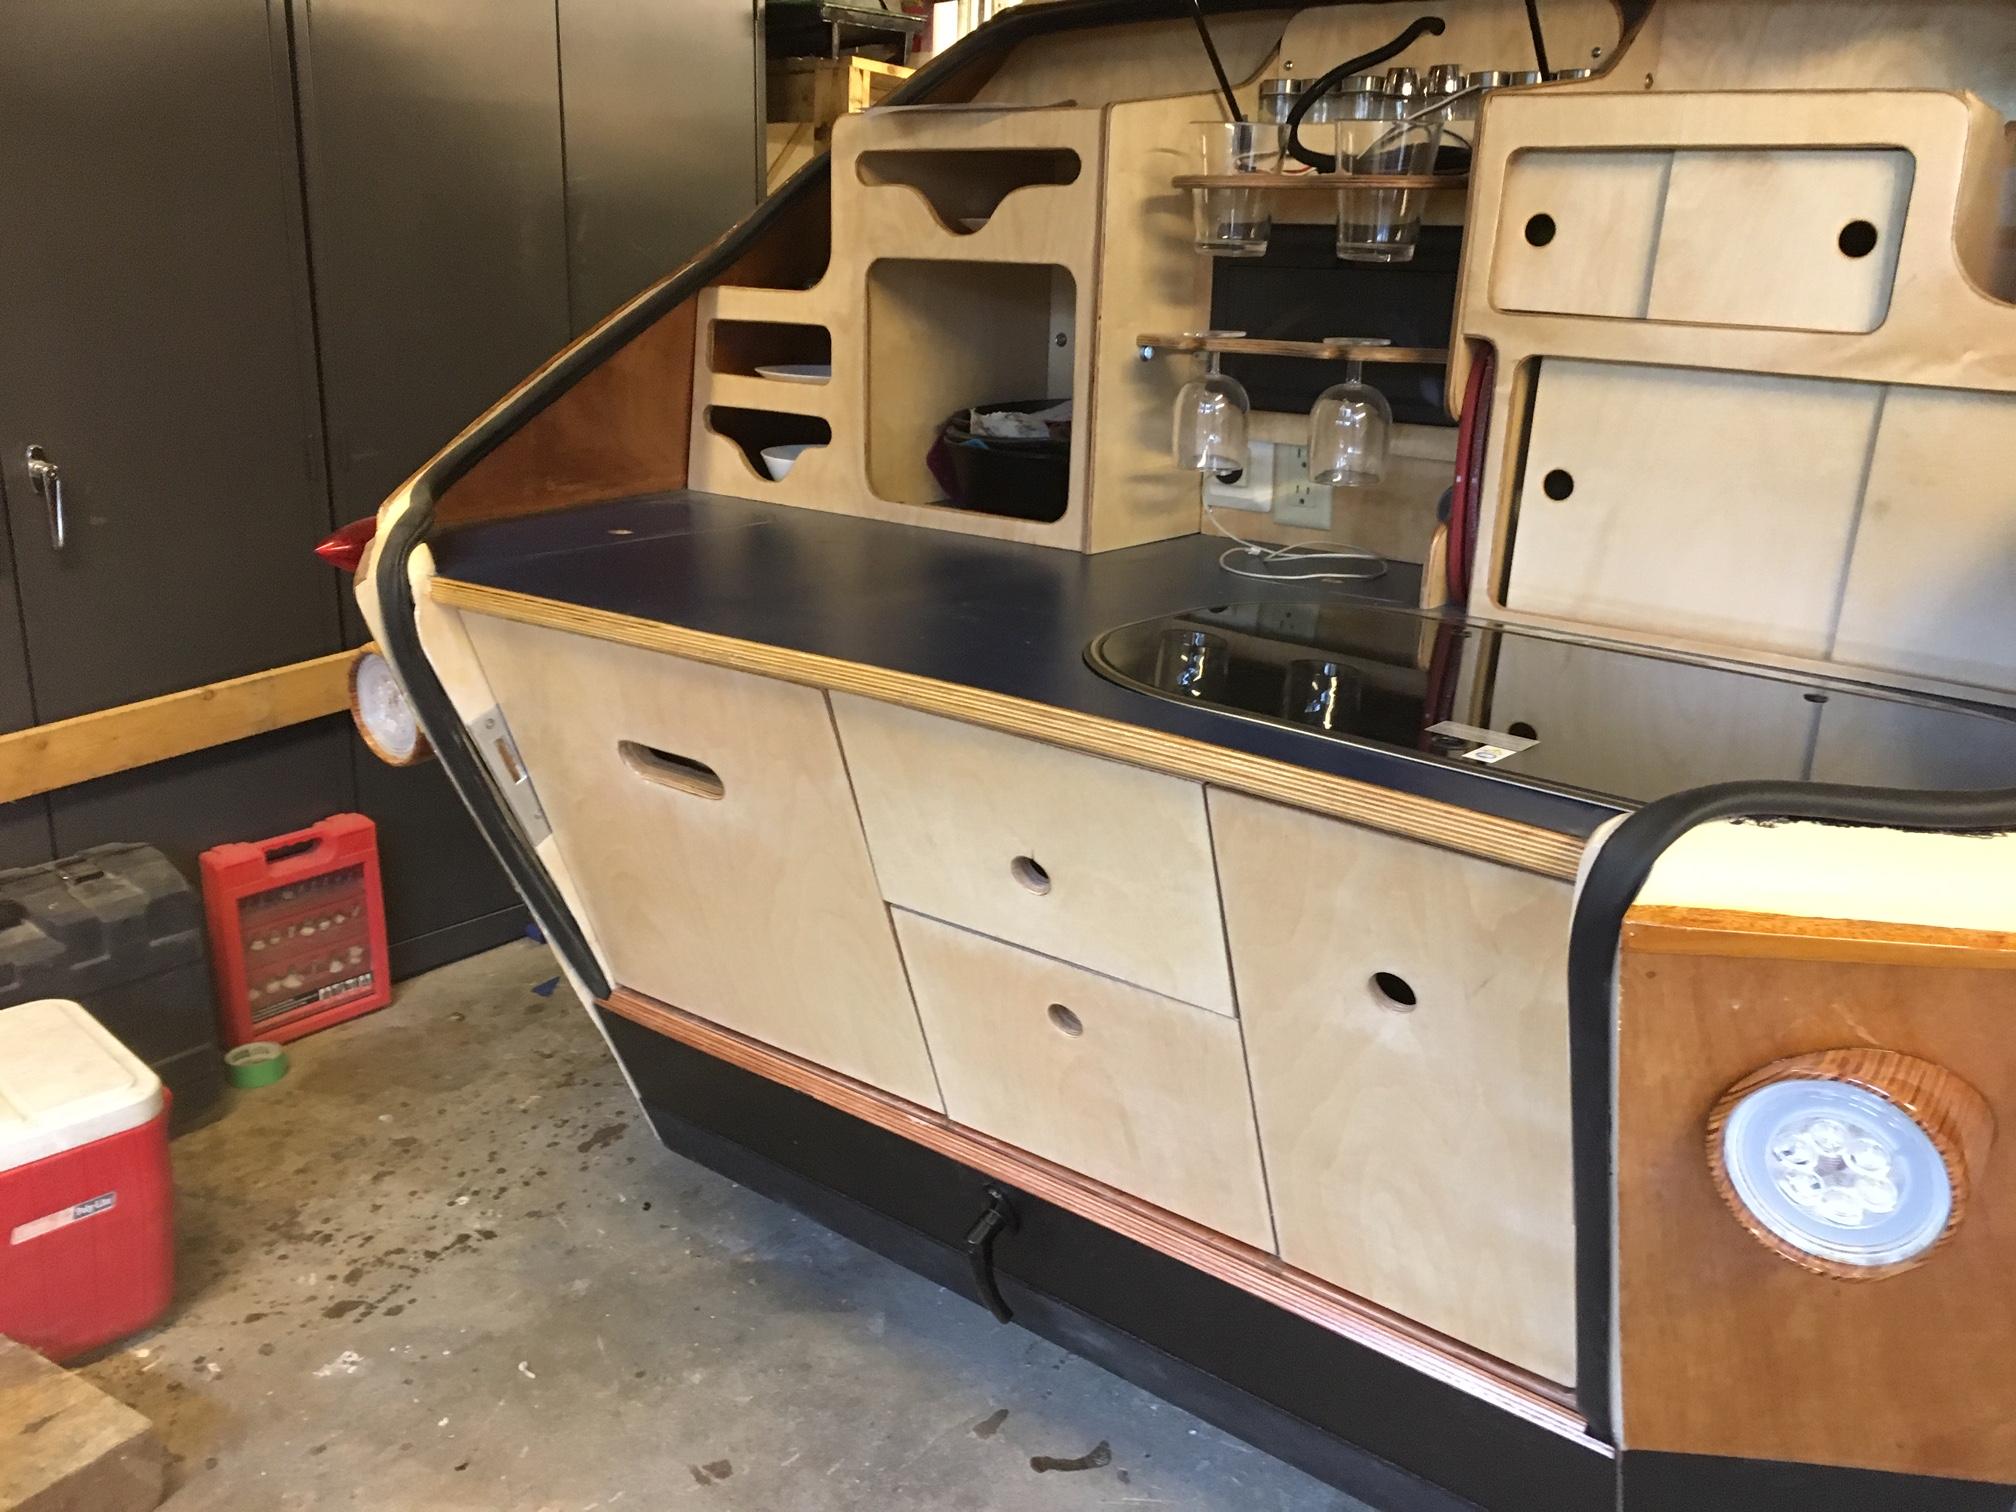
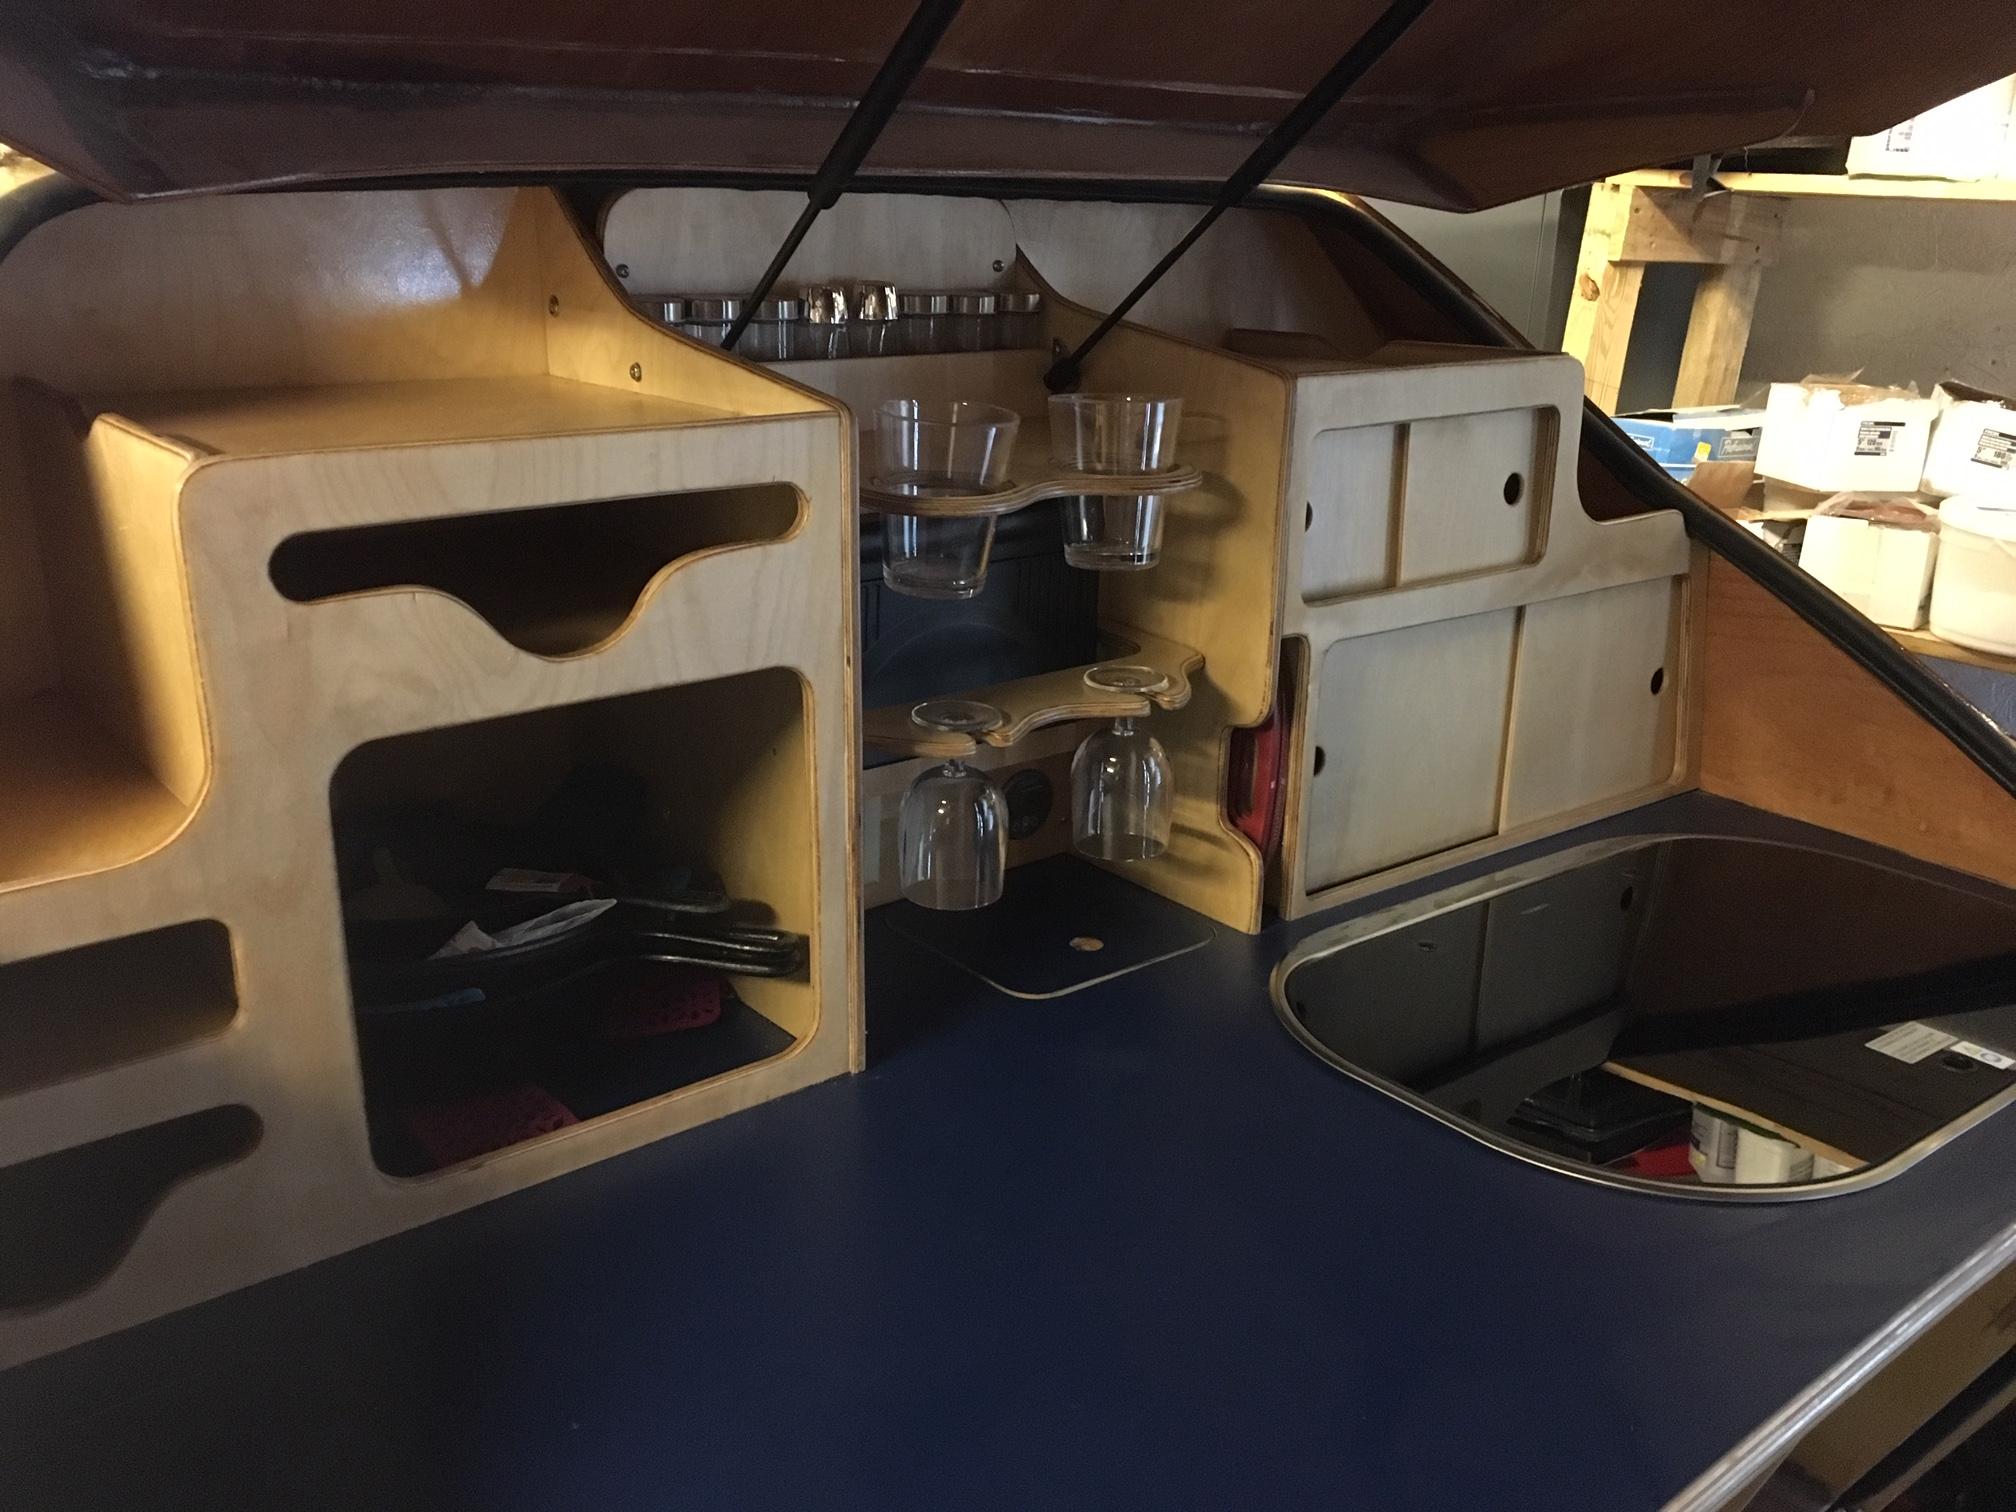
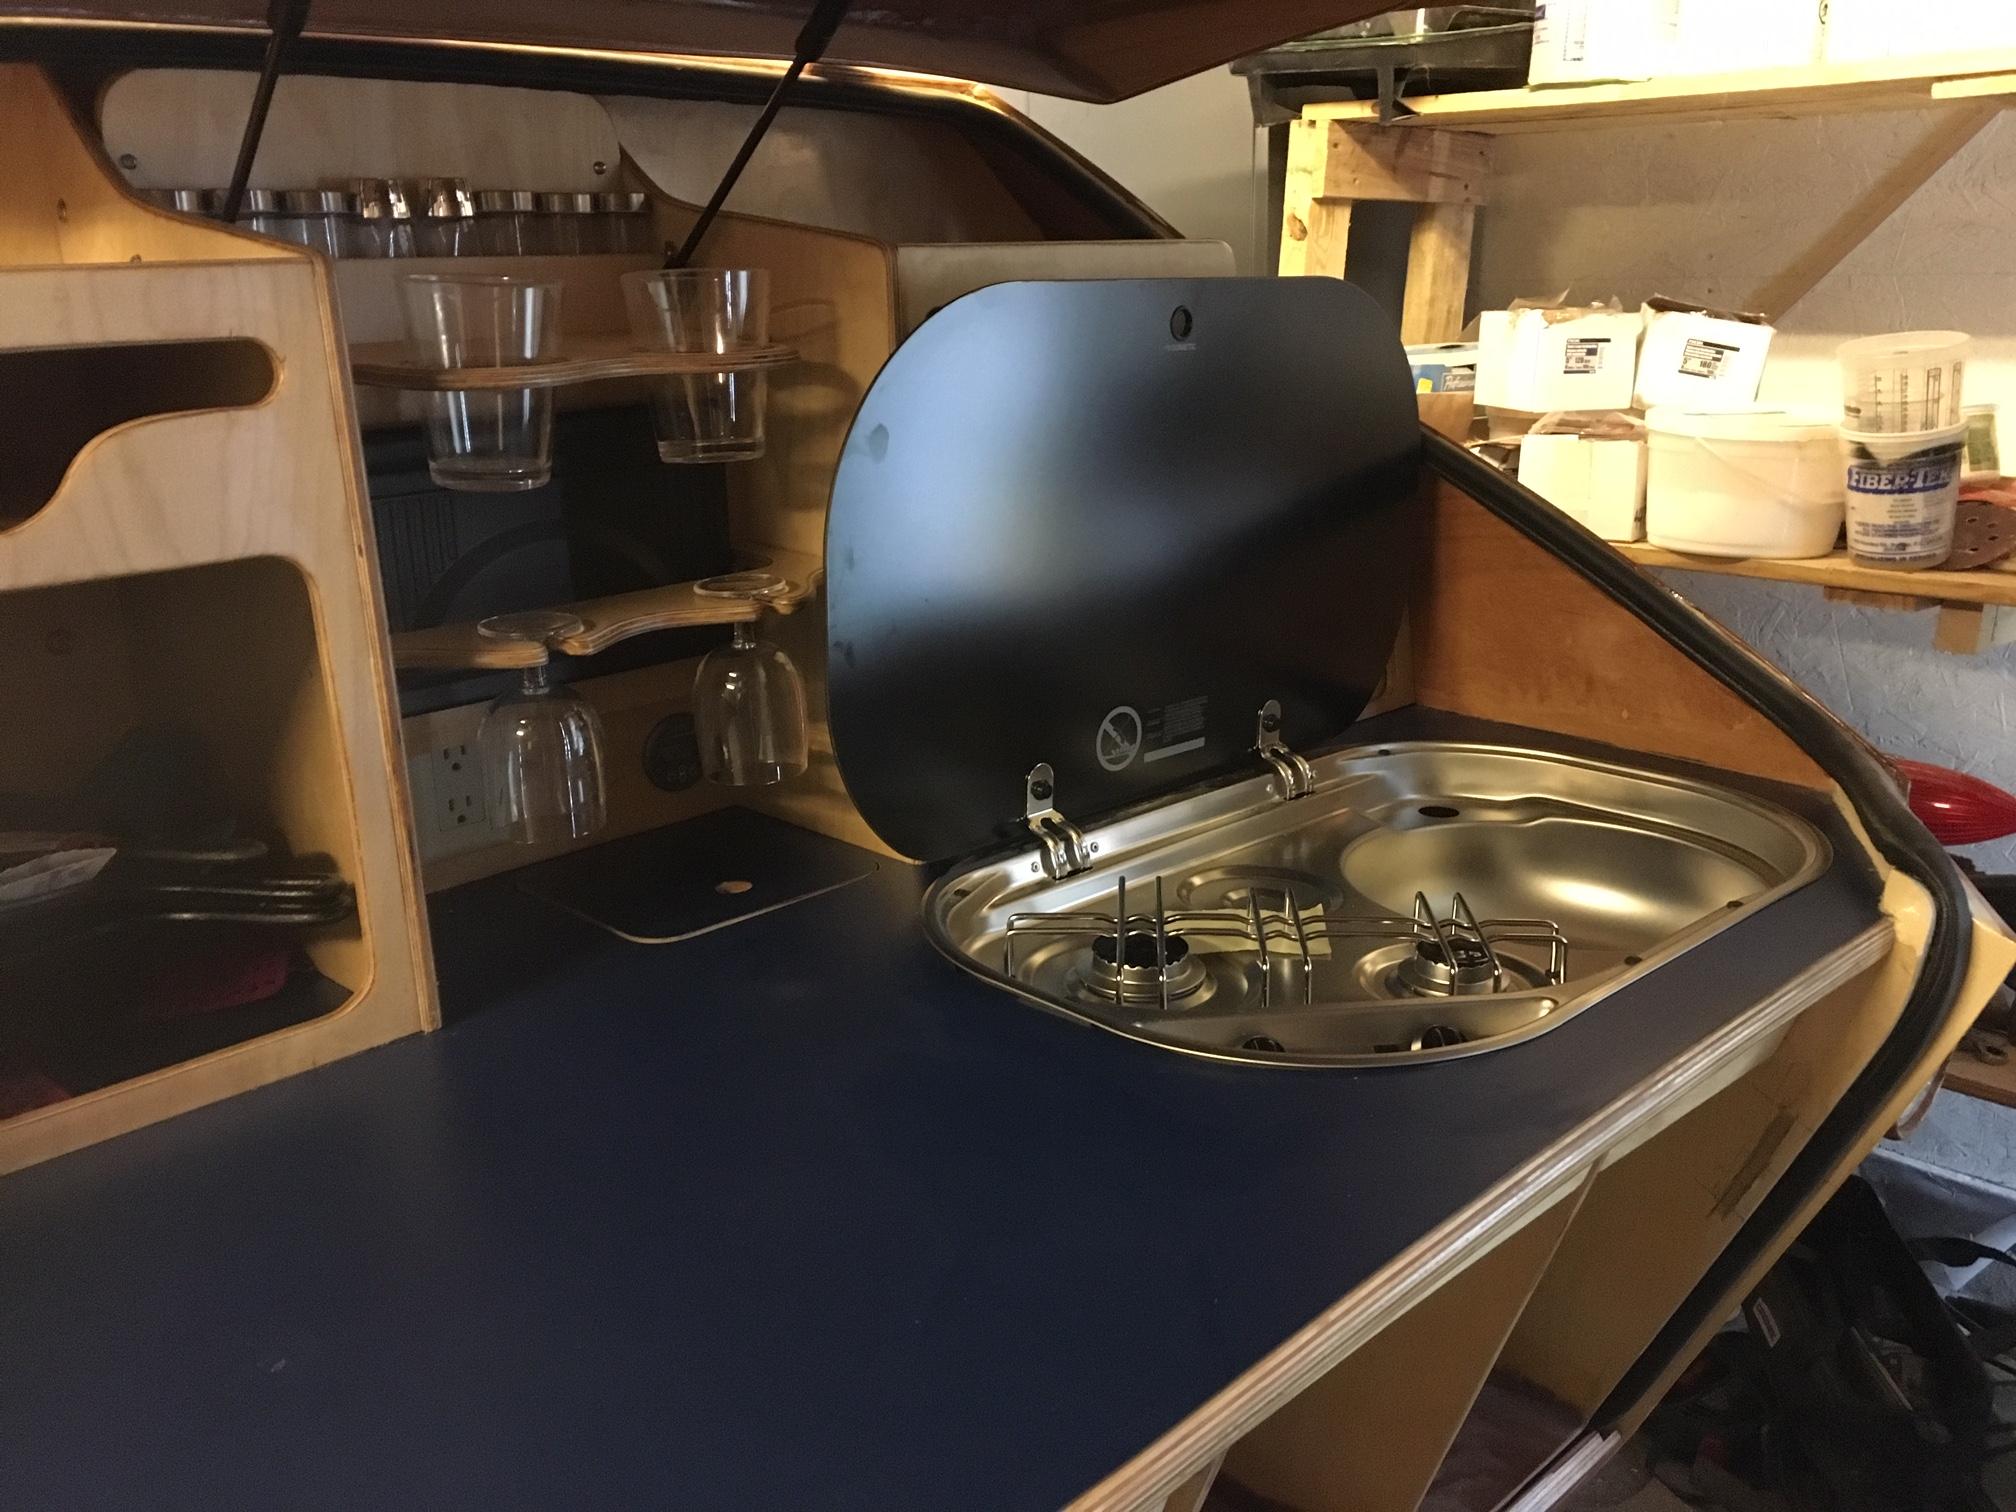
Participantand the galley with a Dometic stove/sink combo:
 Participant
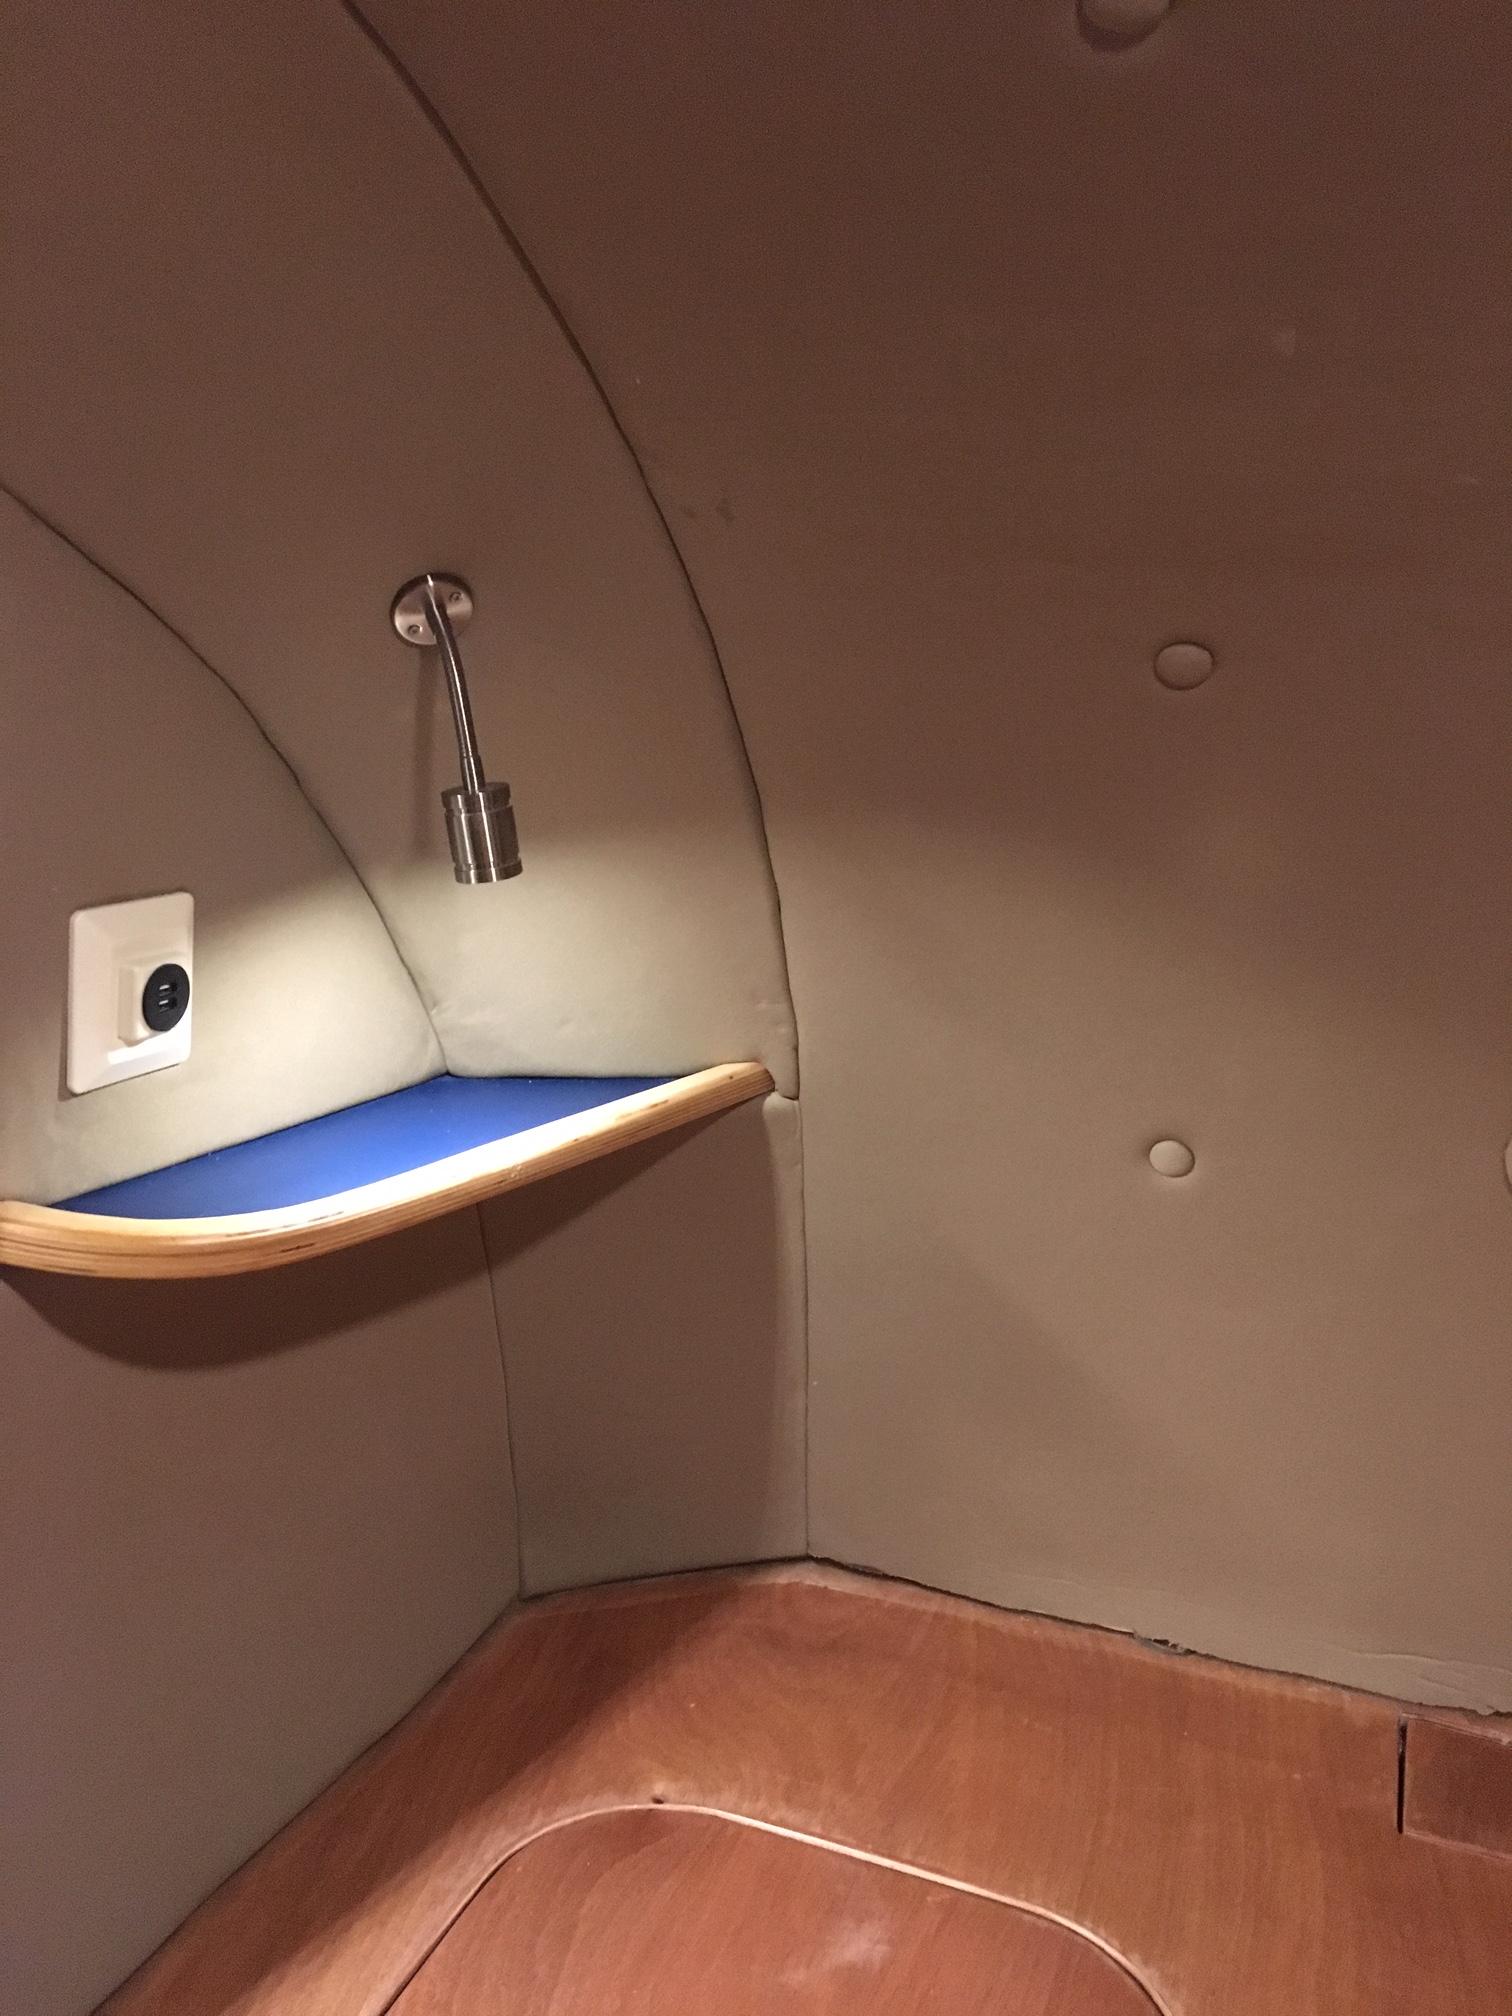
Continuing with my build, on to the cabin and galley.
My 2ft stretch allowed for addition of two Arctic Tern 300mm x 500mm opening windows in the cabin together with an interior cabinet.
Thanks to ArtisticAdam for info on headliner material which I followed: auto headliner material with 1/4 inch foam backing over 3/4 closed cell foam. My addition was to button the upper panels.
 Participant
My opinion is that it would be best to address this now before you fiberglass. Bring panels back together by wiring, packing tape or hand and temporarily glue with CA glue. Panels will still have some flex at this stage.
If using packing tape take care with removal so as not to pull grain.
In my experience it is a good general rule of thumb to fix mistakes as they appear – otherwise they tend to compound as you progress.
ParticipantThanks Adam, just what I needed. Think I will go this route.
Mike
ParticipantRe Headliner options – I am getting to that stage and time to make some decisions:
- Adam, love the look of yours; can you give more details of closed cell foam that you used + what glue for foam/shell and headliner/foam?
- Pat and Ray, yours looks intriguing too – like the idea of the radiant barrier layer. Looking forward to more details on your post (ASAP if I may be so bold!)
ParticipantNext on to my tow bar to be inserted through underfloor box and bolted through front wall, floor and axle through matching steel plates:
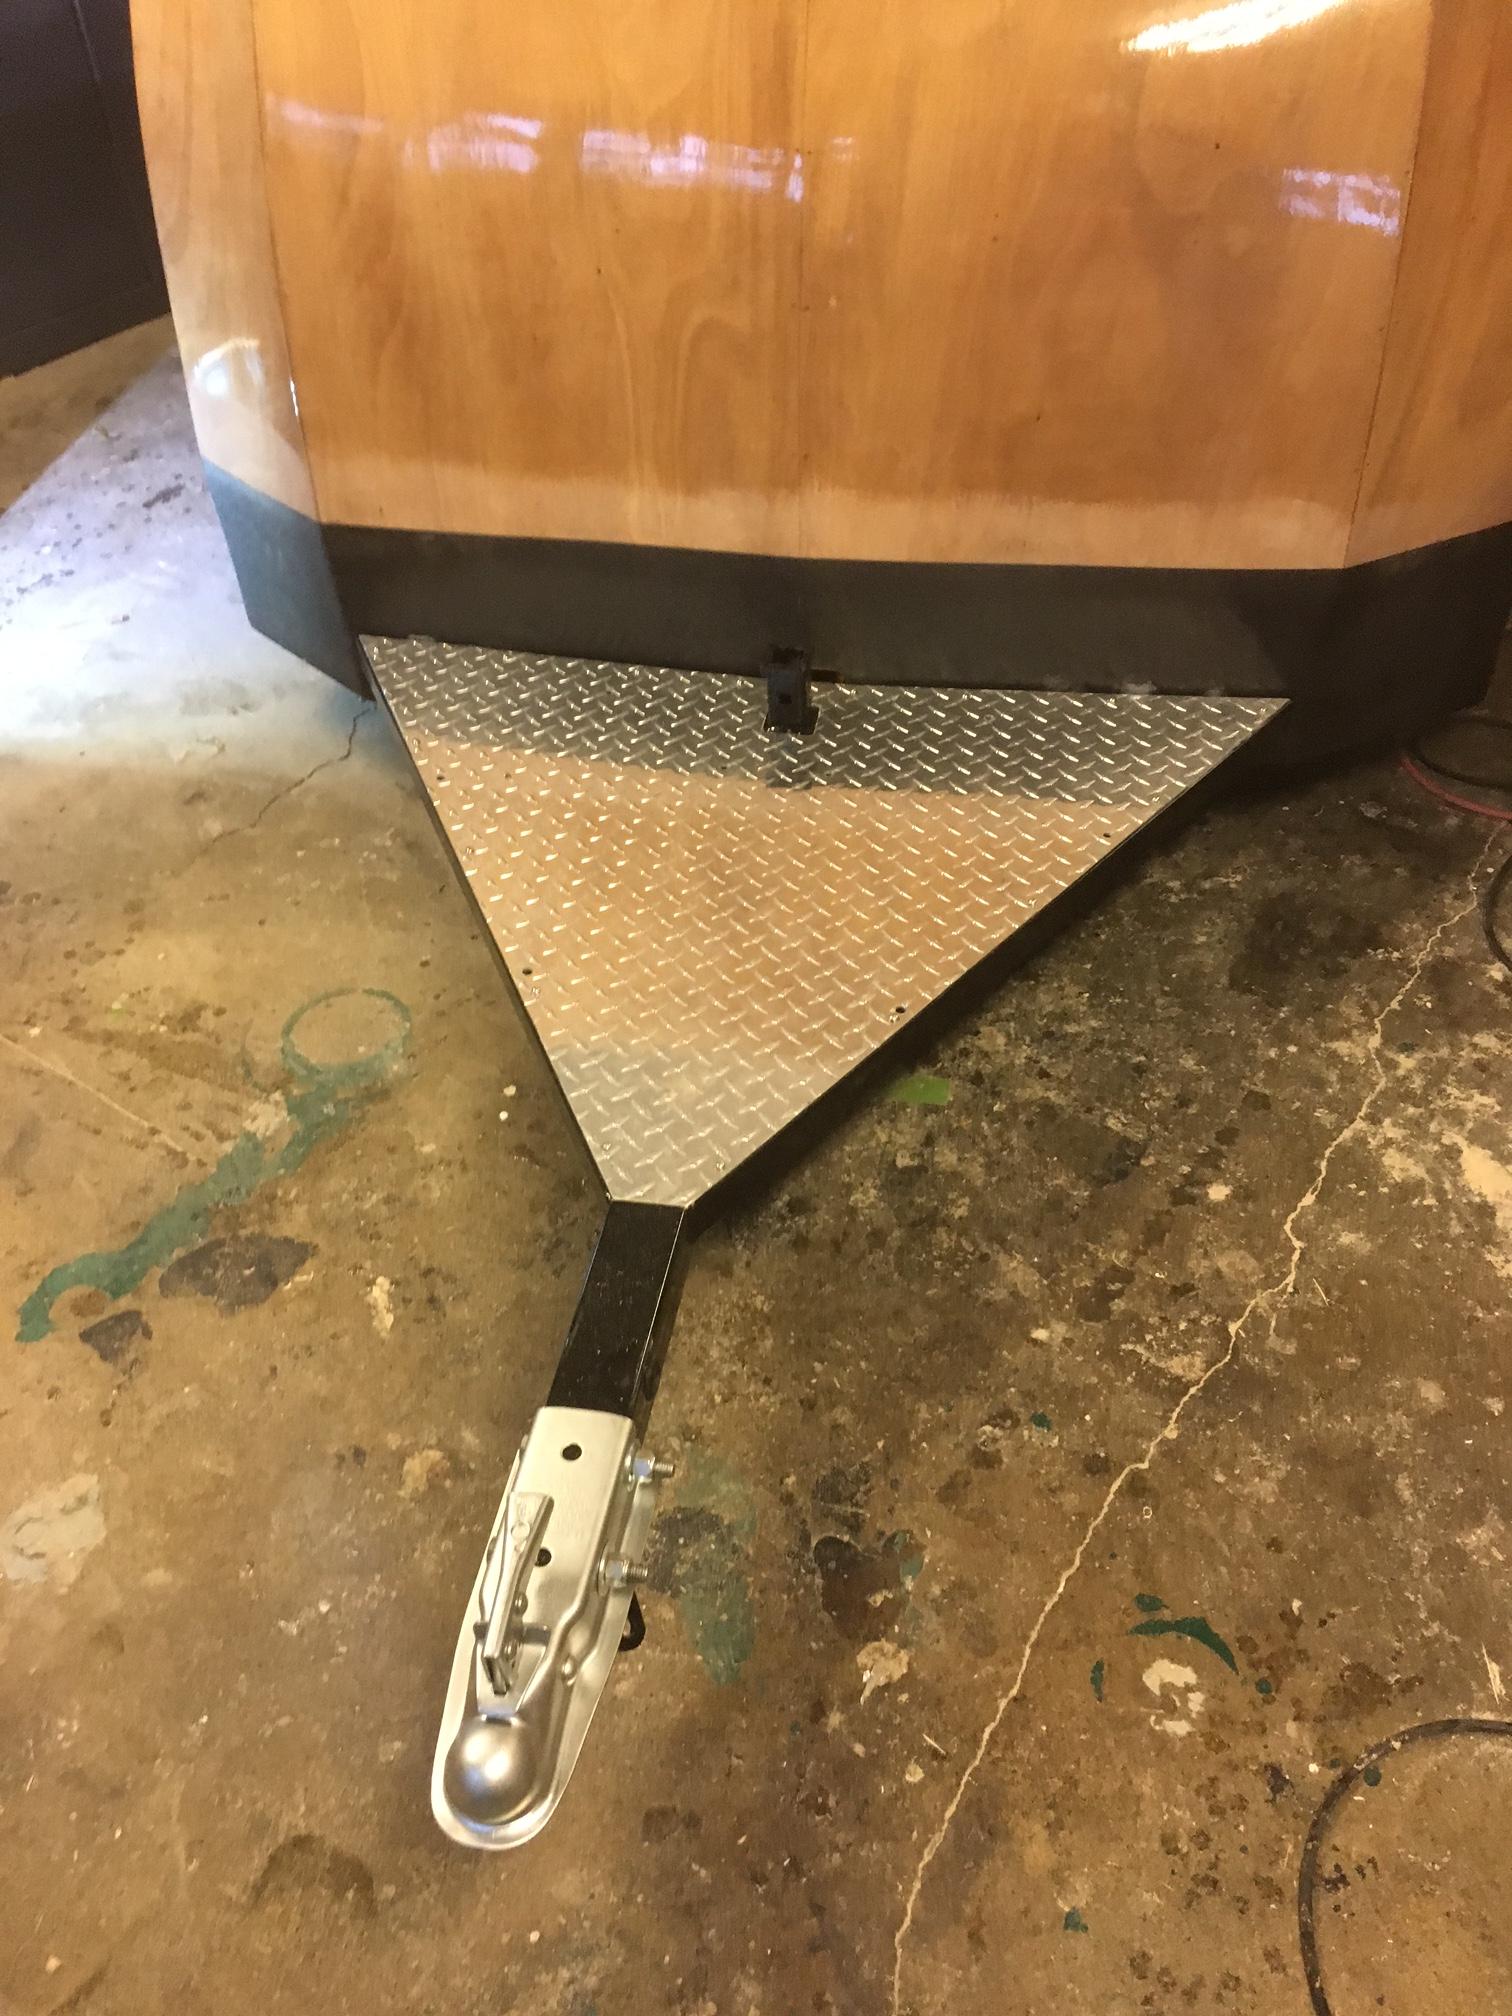
Had a bike rack receiver welded to my frame so that I can easily add a rack:
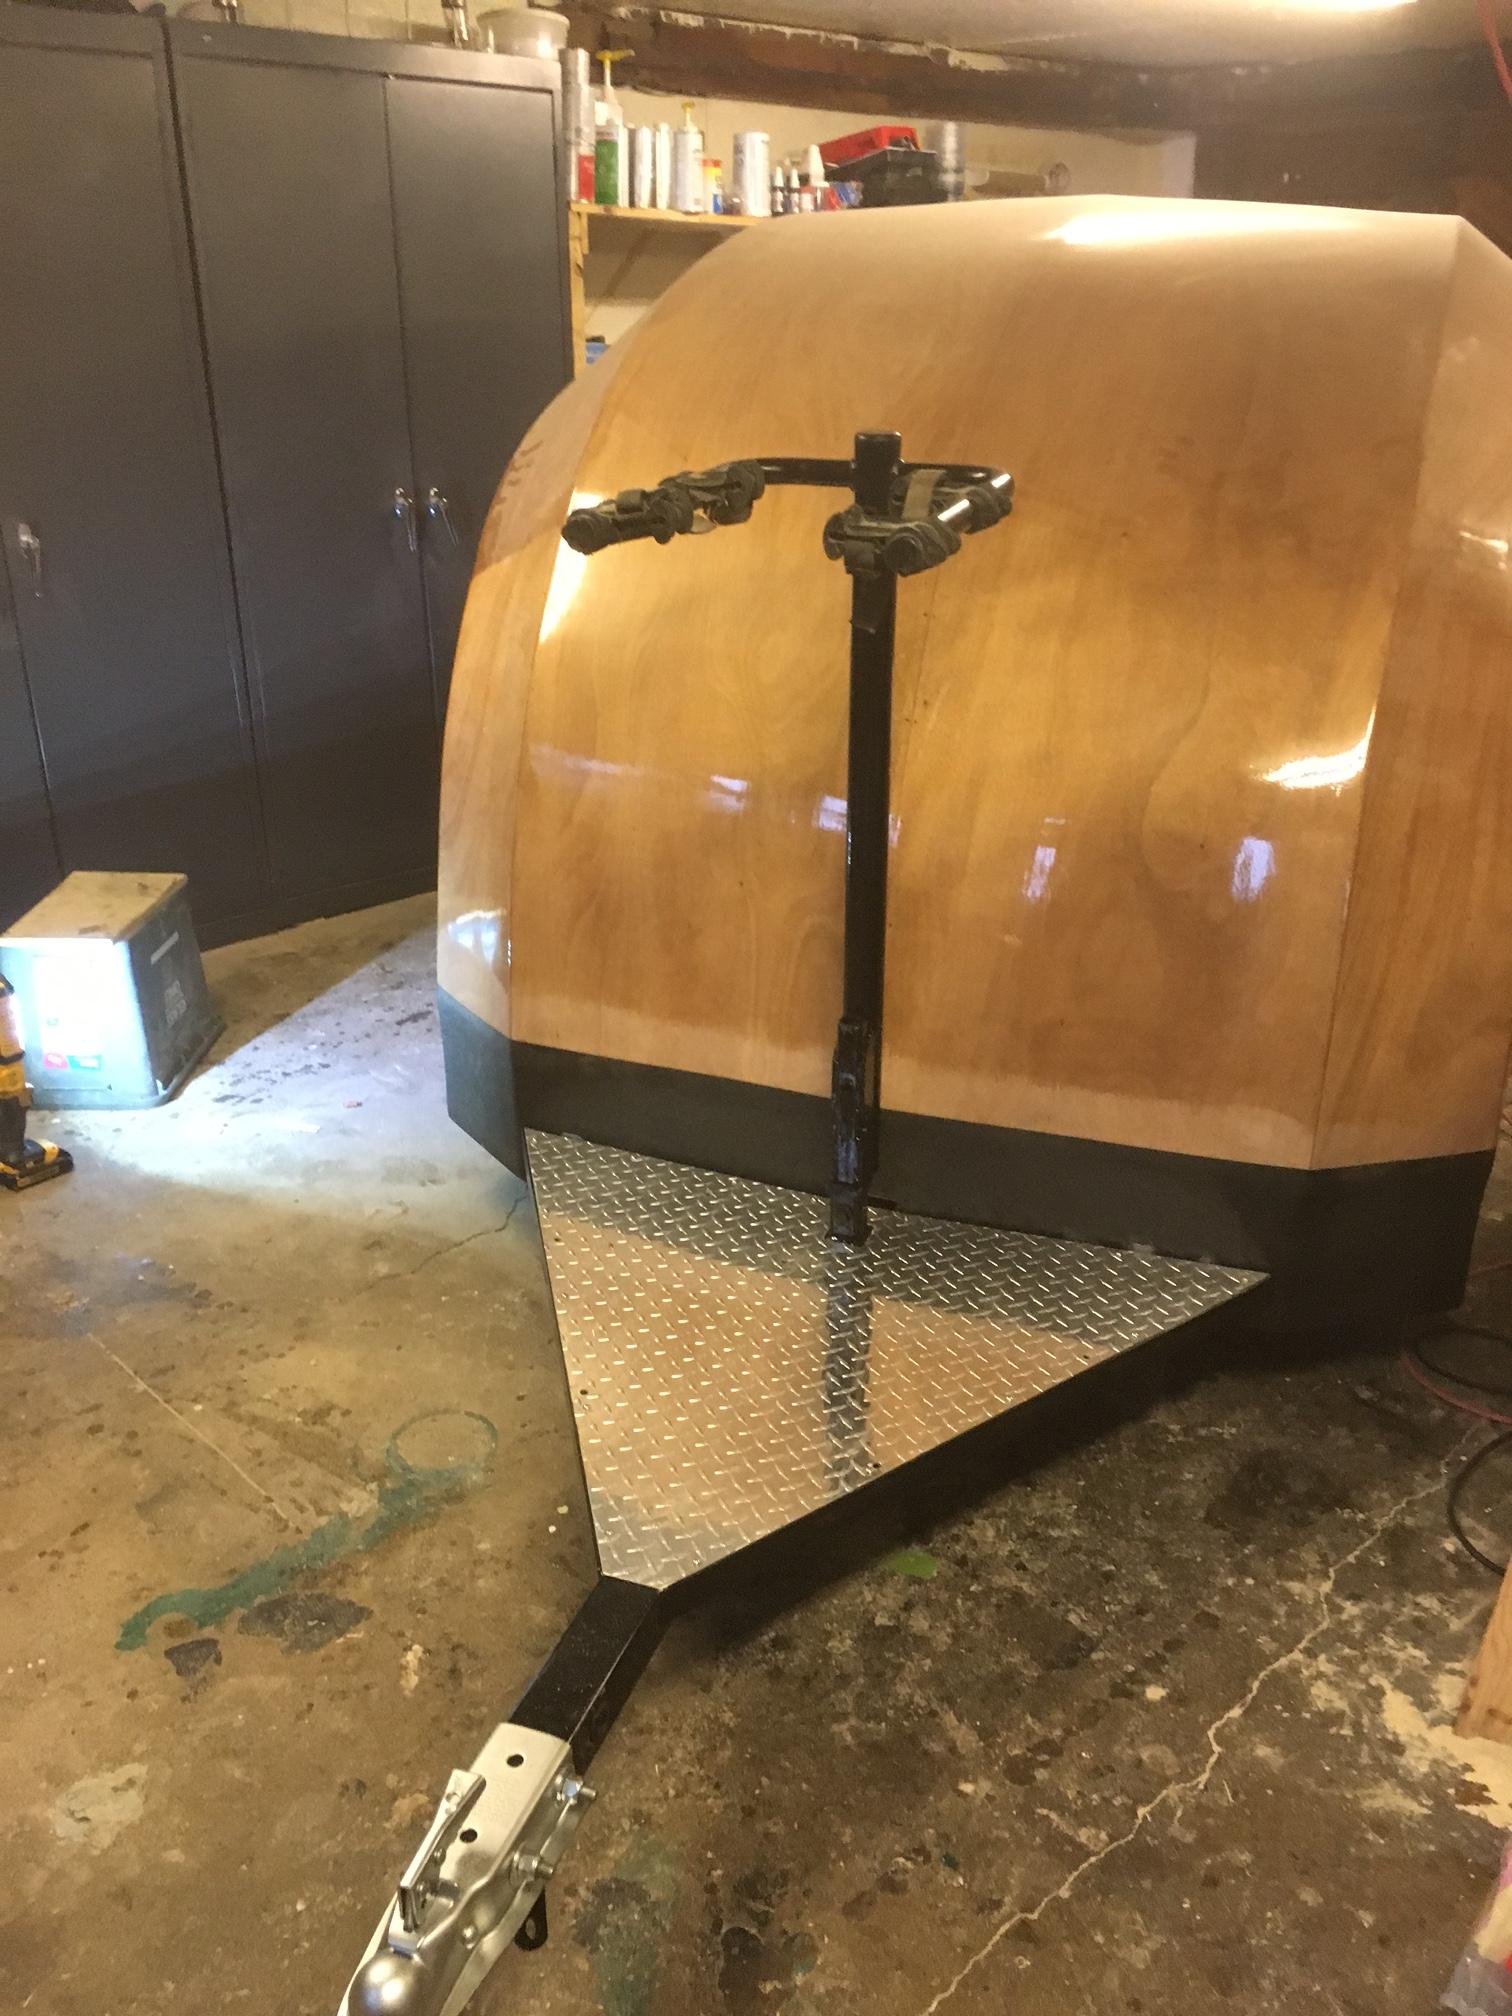
I will have two batteries in boxes on the diamond plate, so had it drilled to accommodate that.
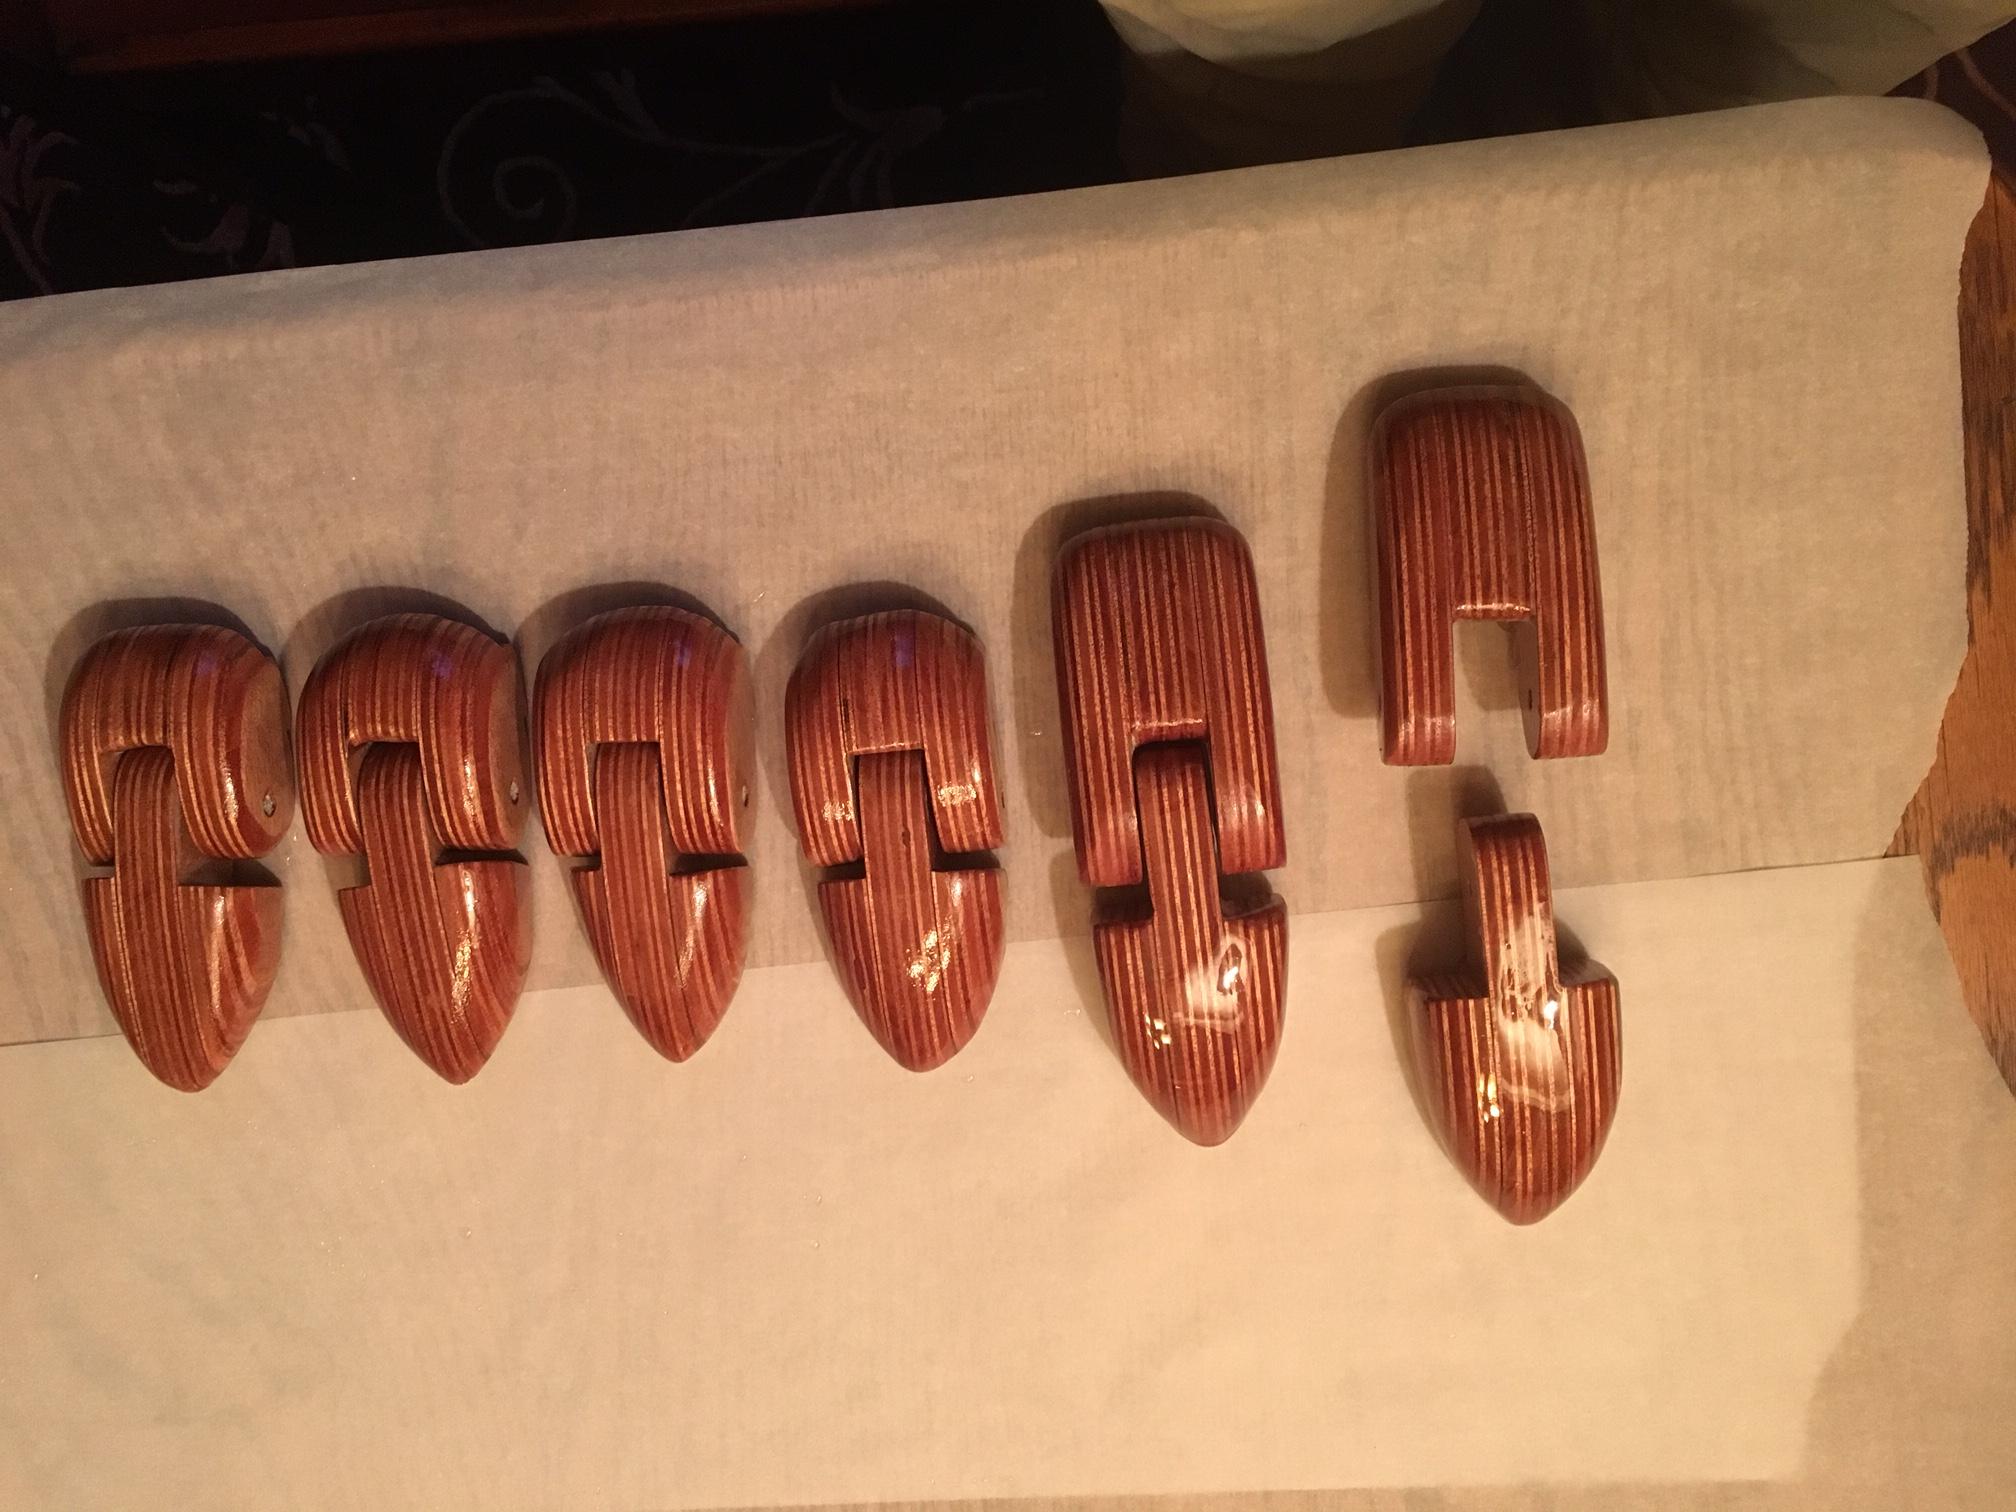
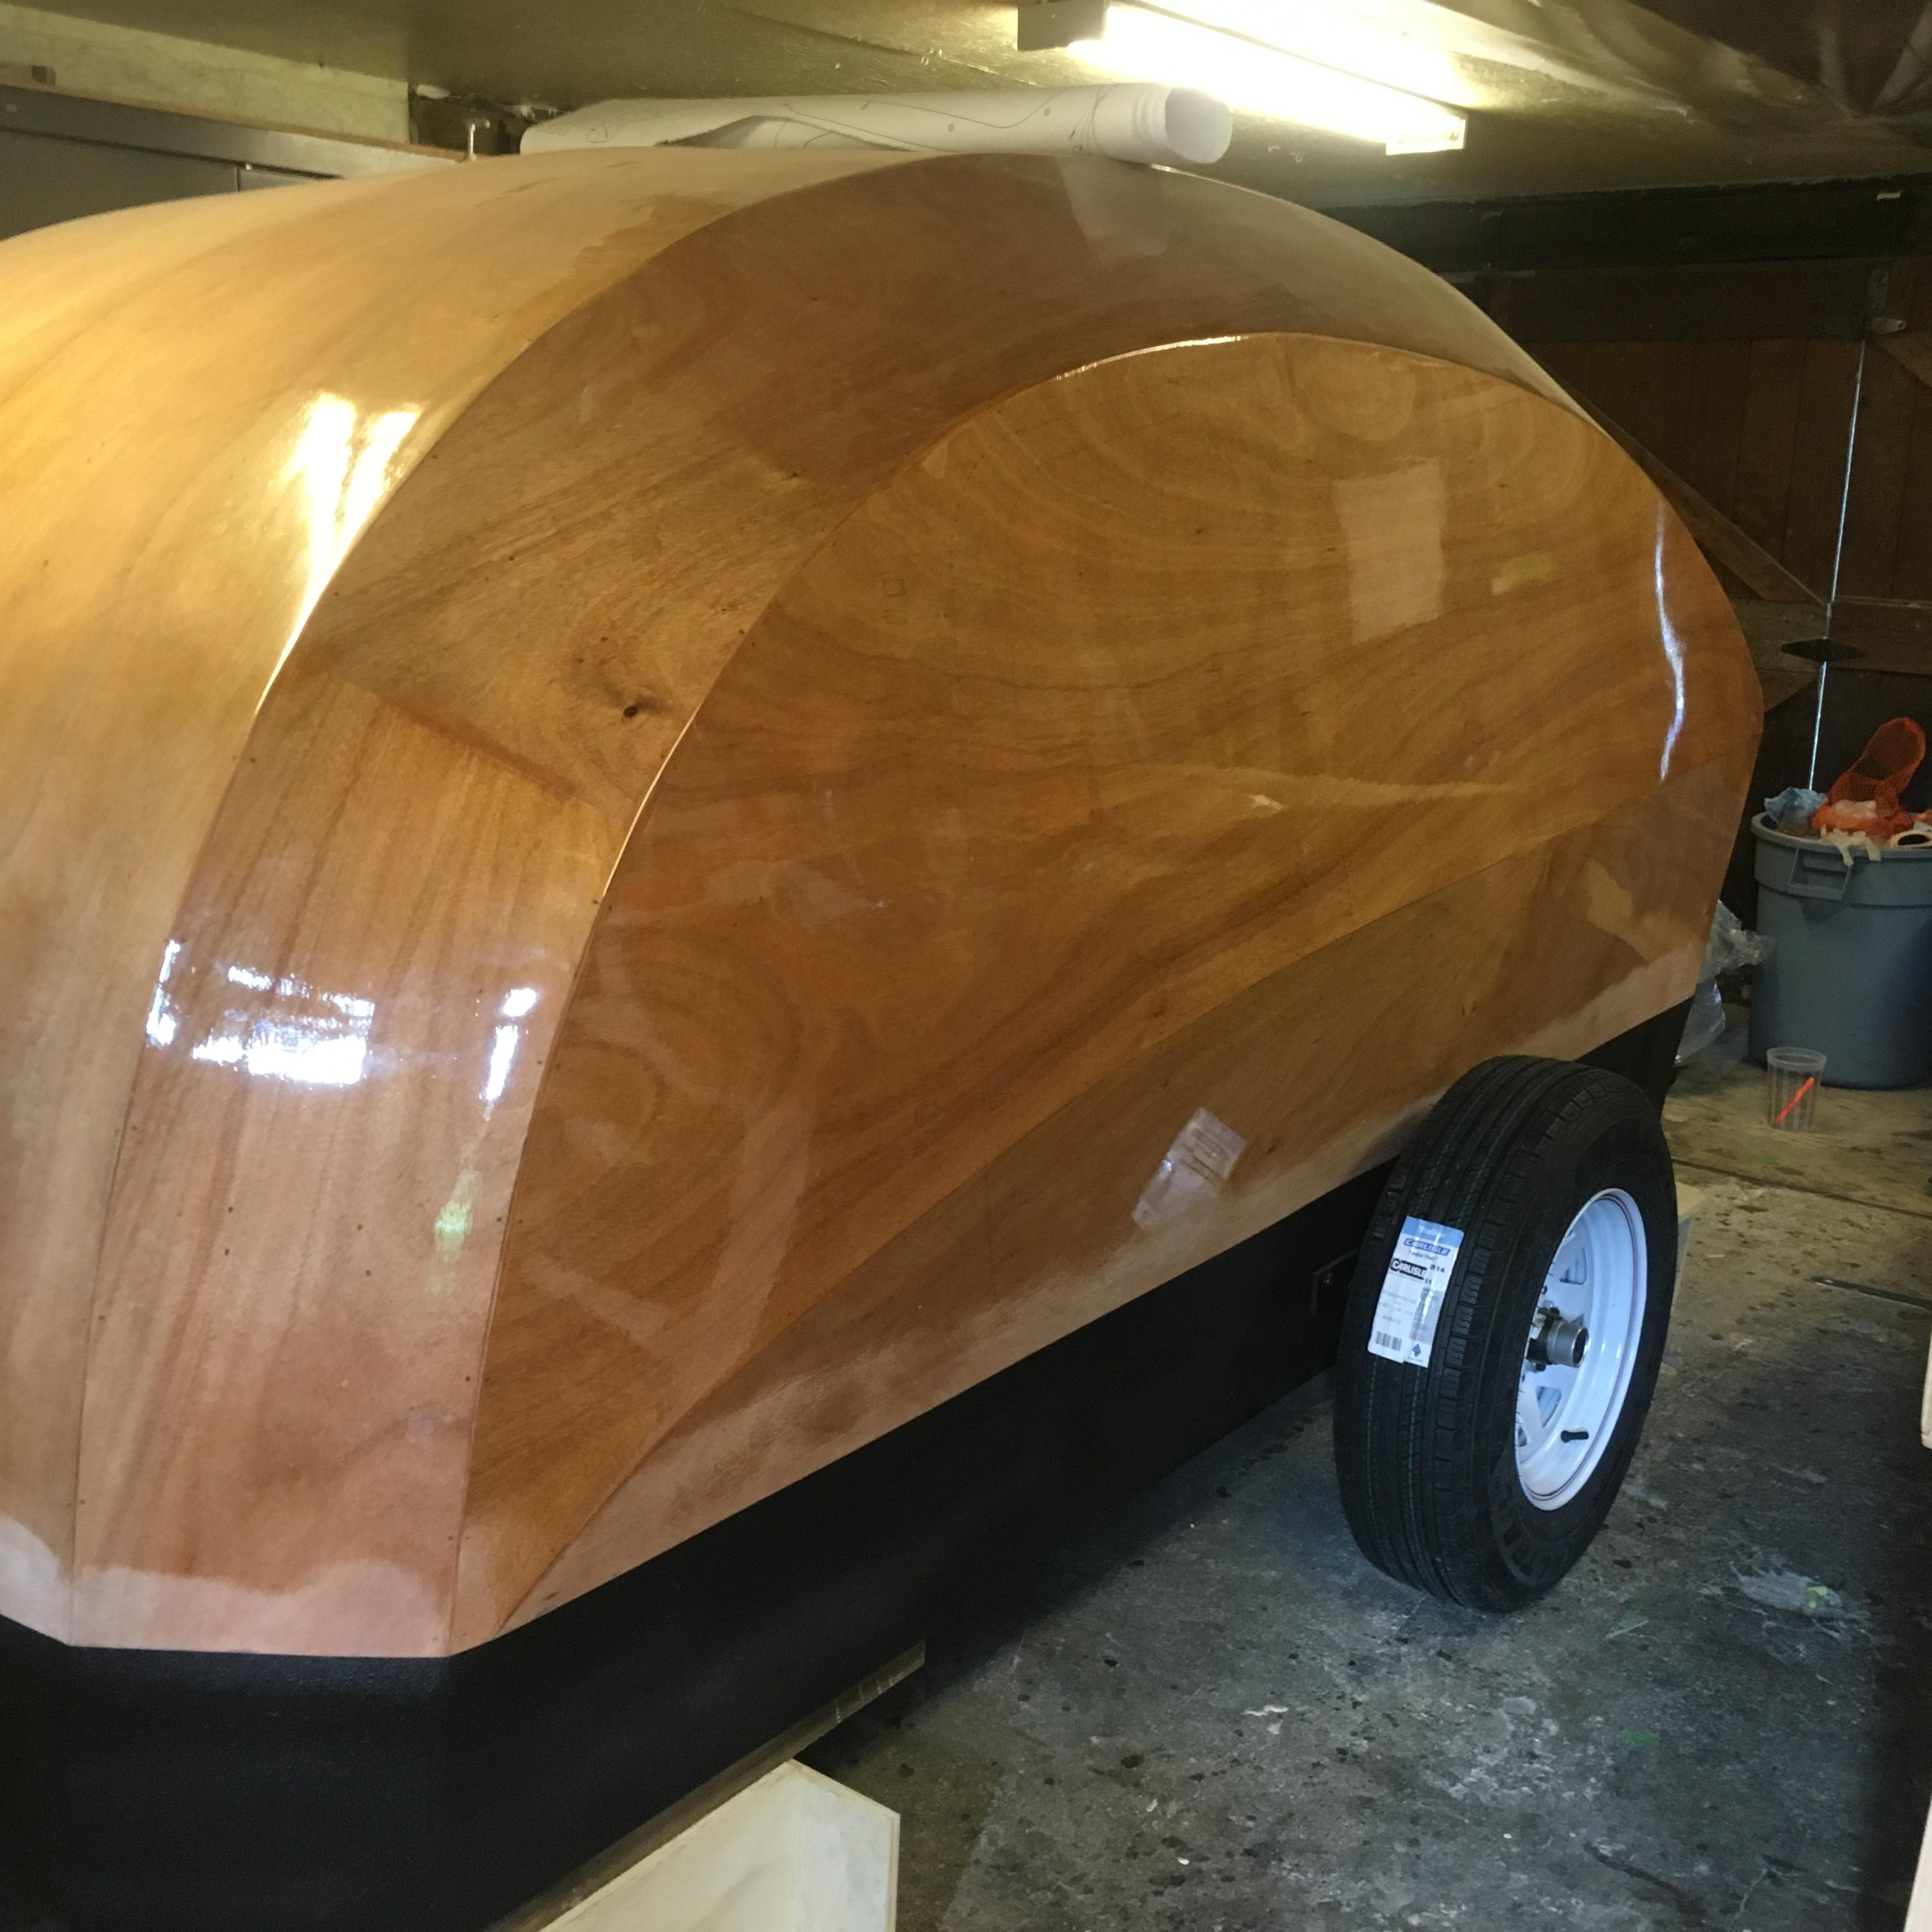
ParticipantStretch update here:
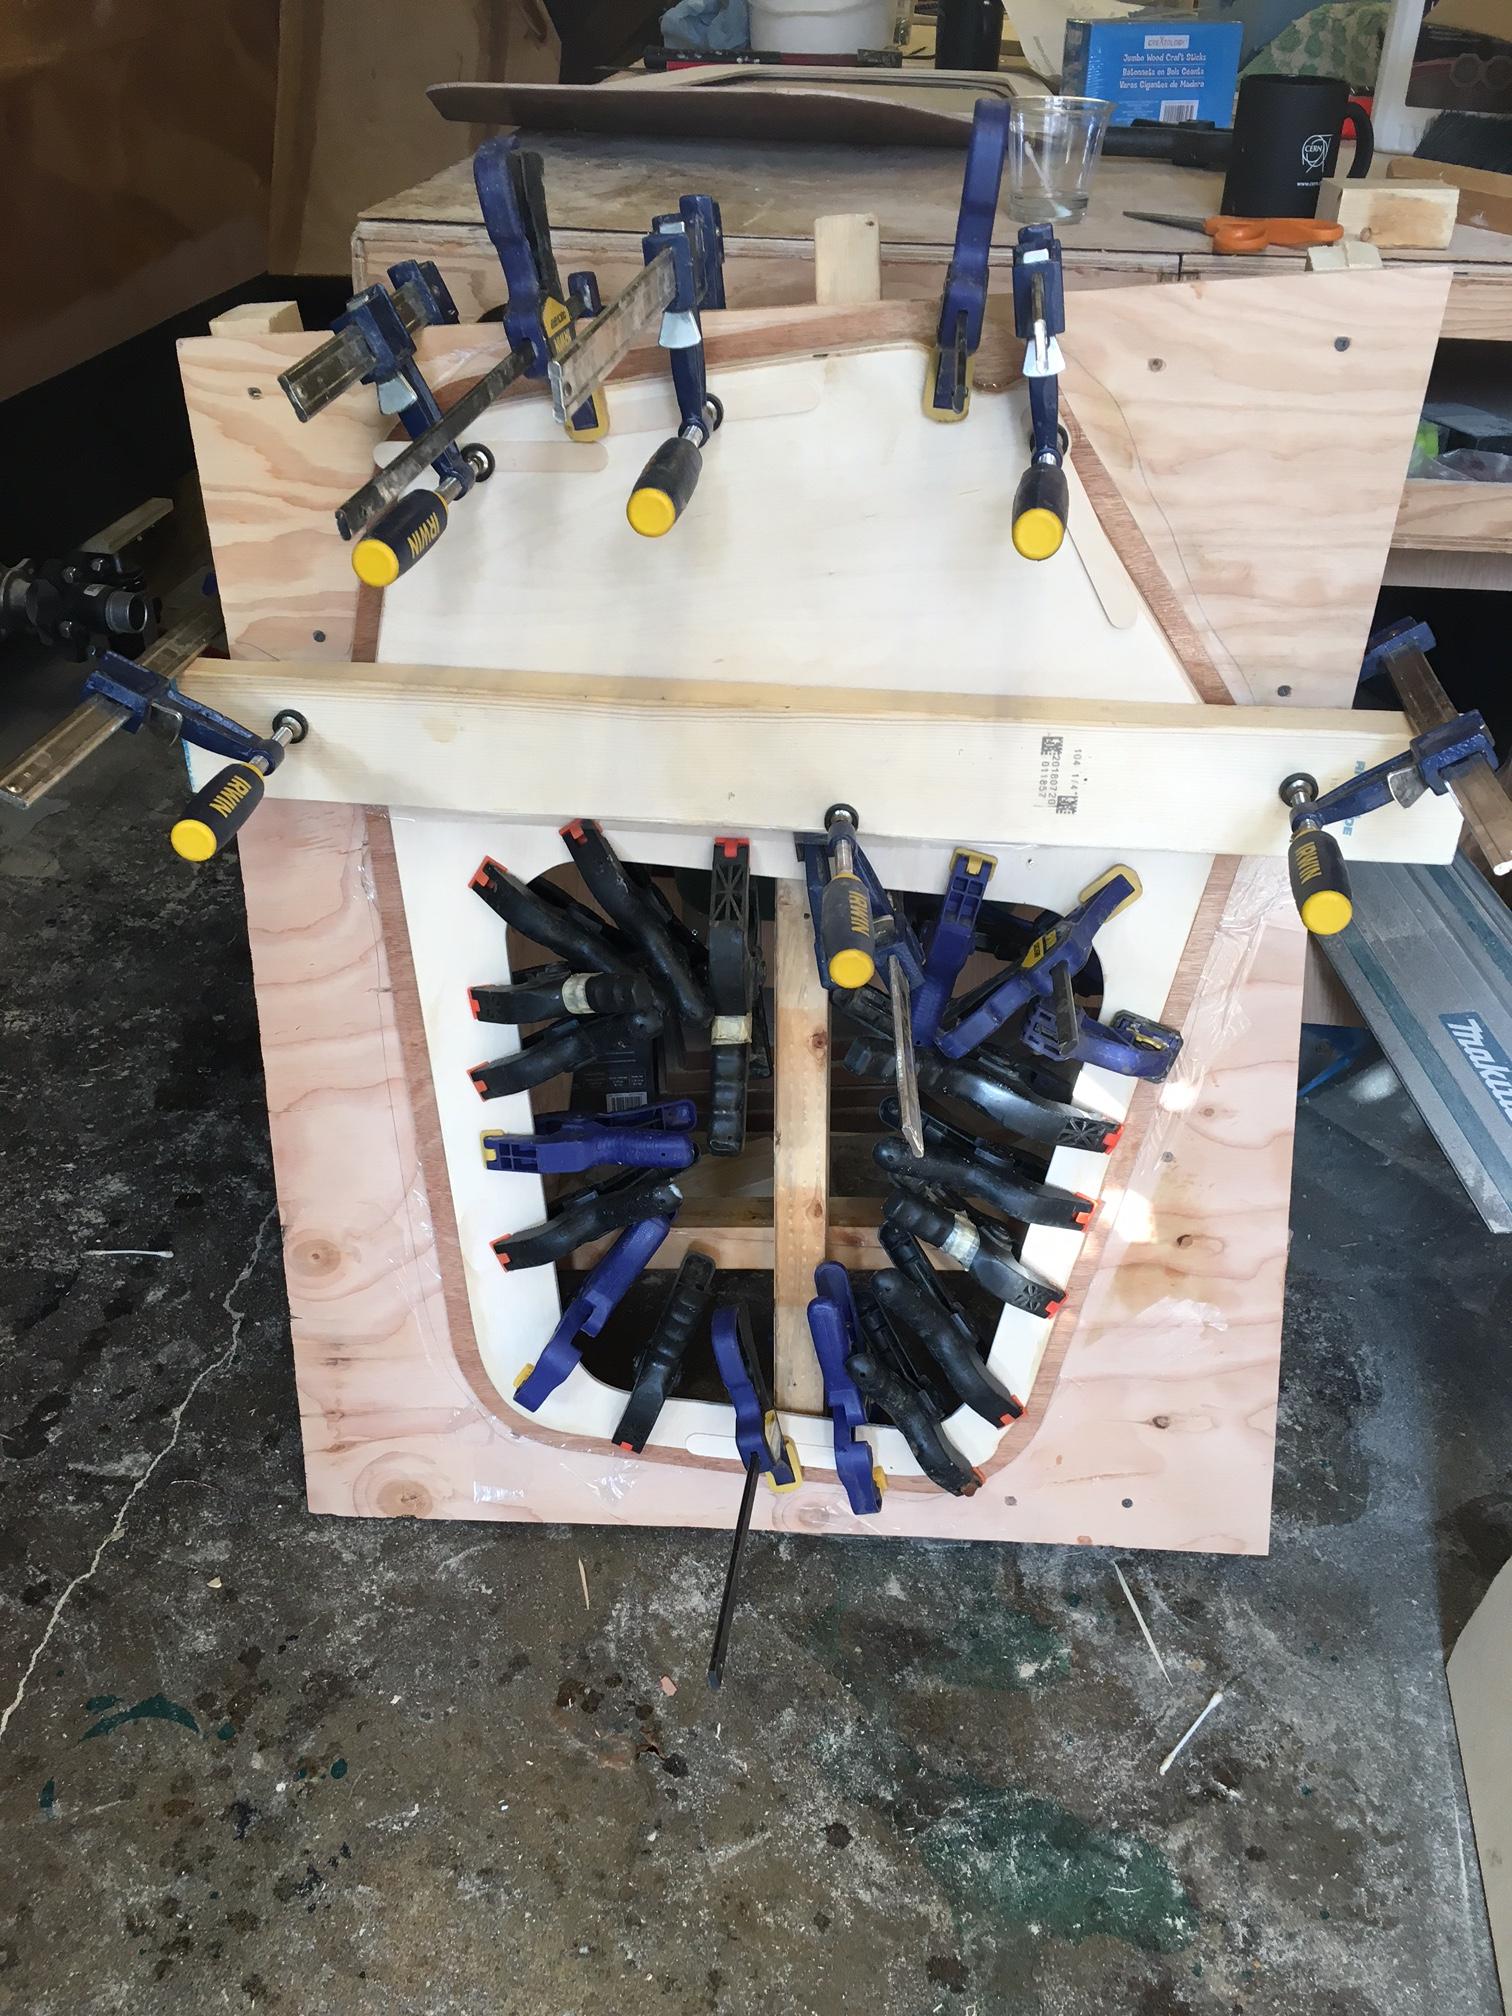
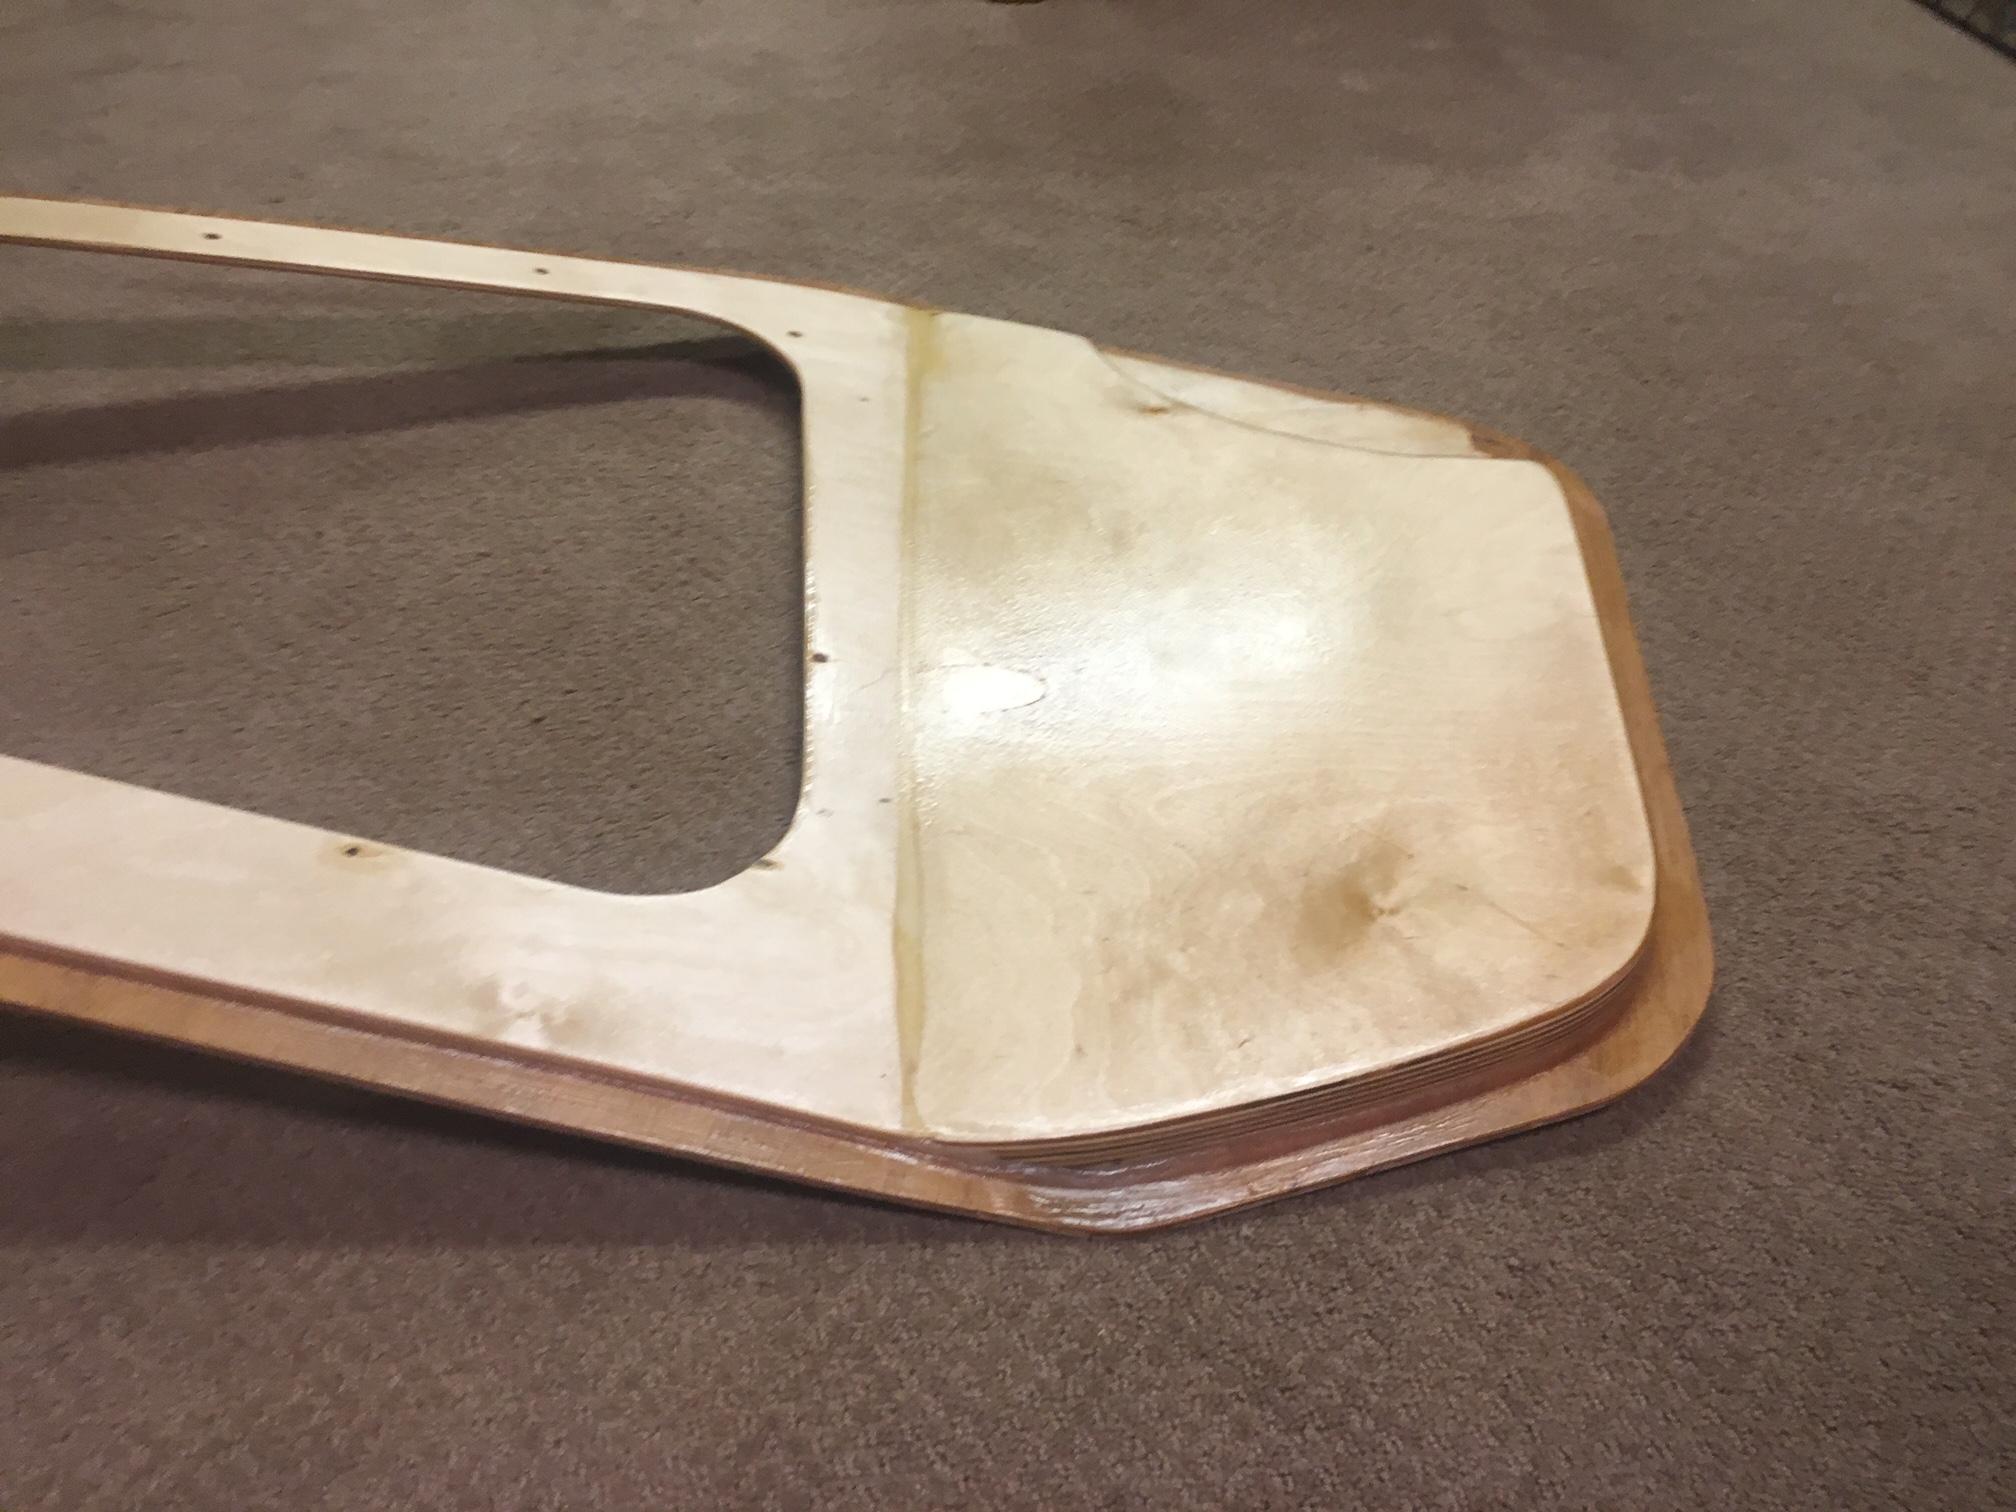
To avoid the standard door stretch to keep the doors in shape I gave them a full second skin of overlapping birch plywood instead. Glued it up into a temporary mold.So far has kept the shape perfectly.


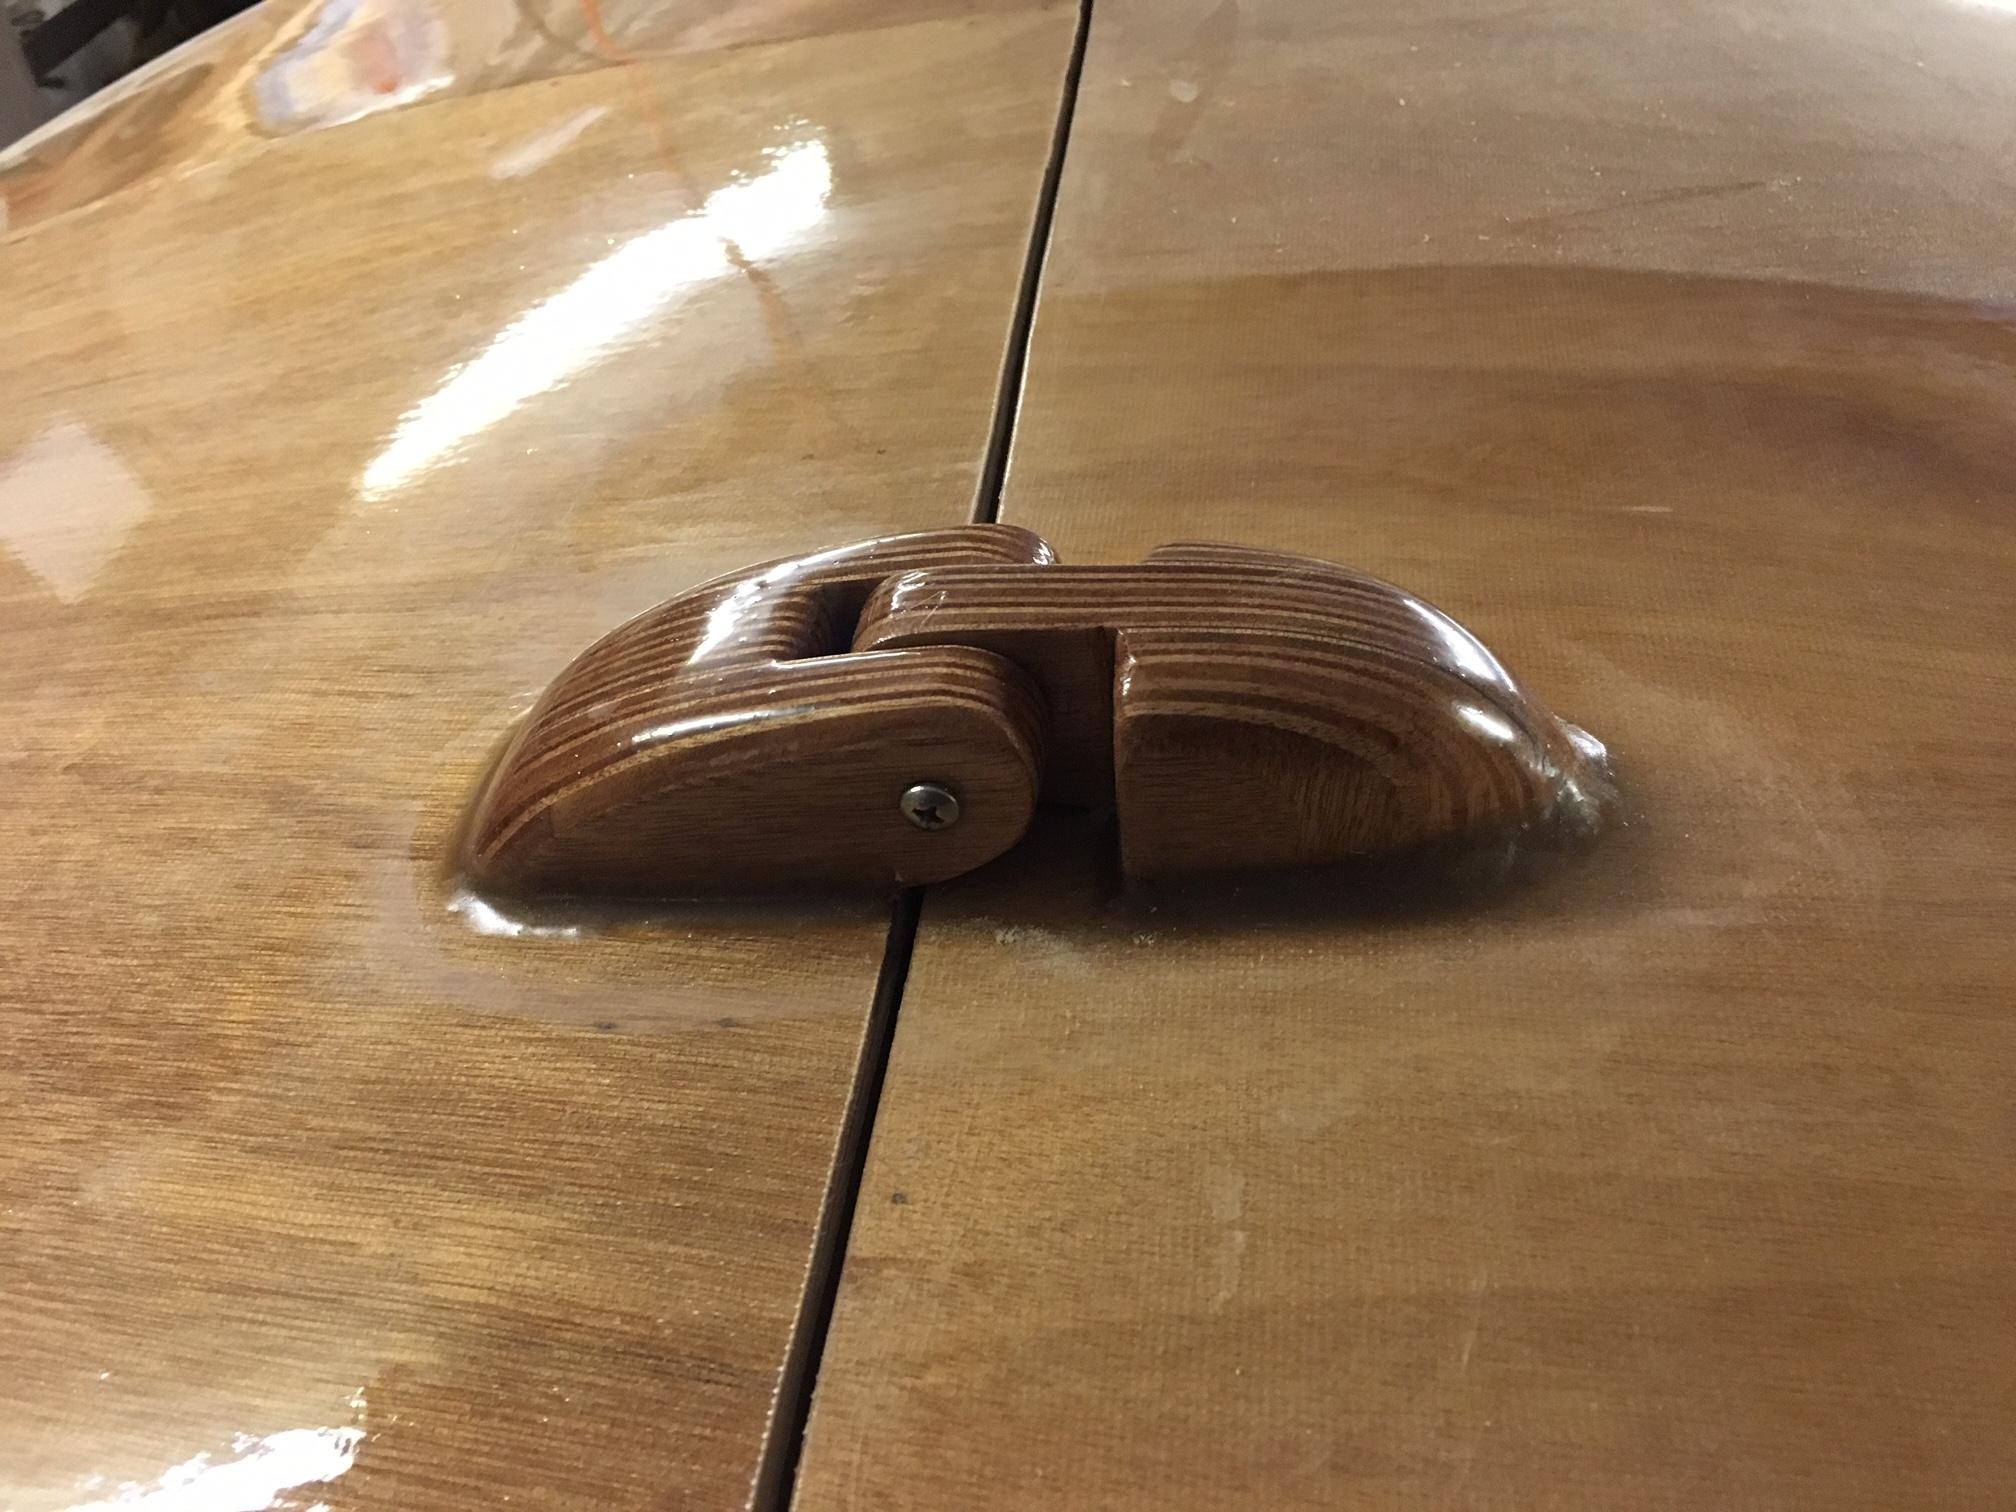
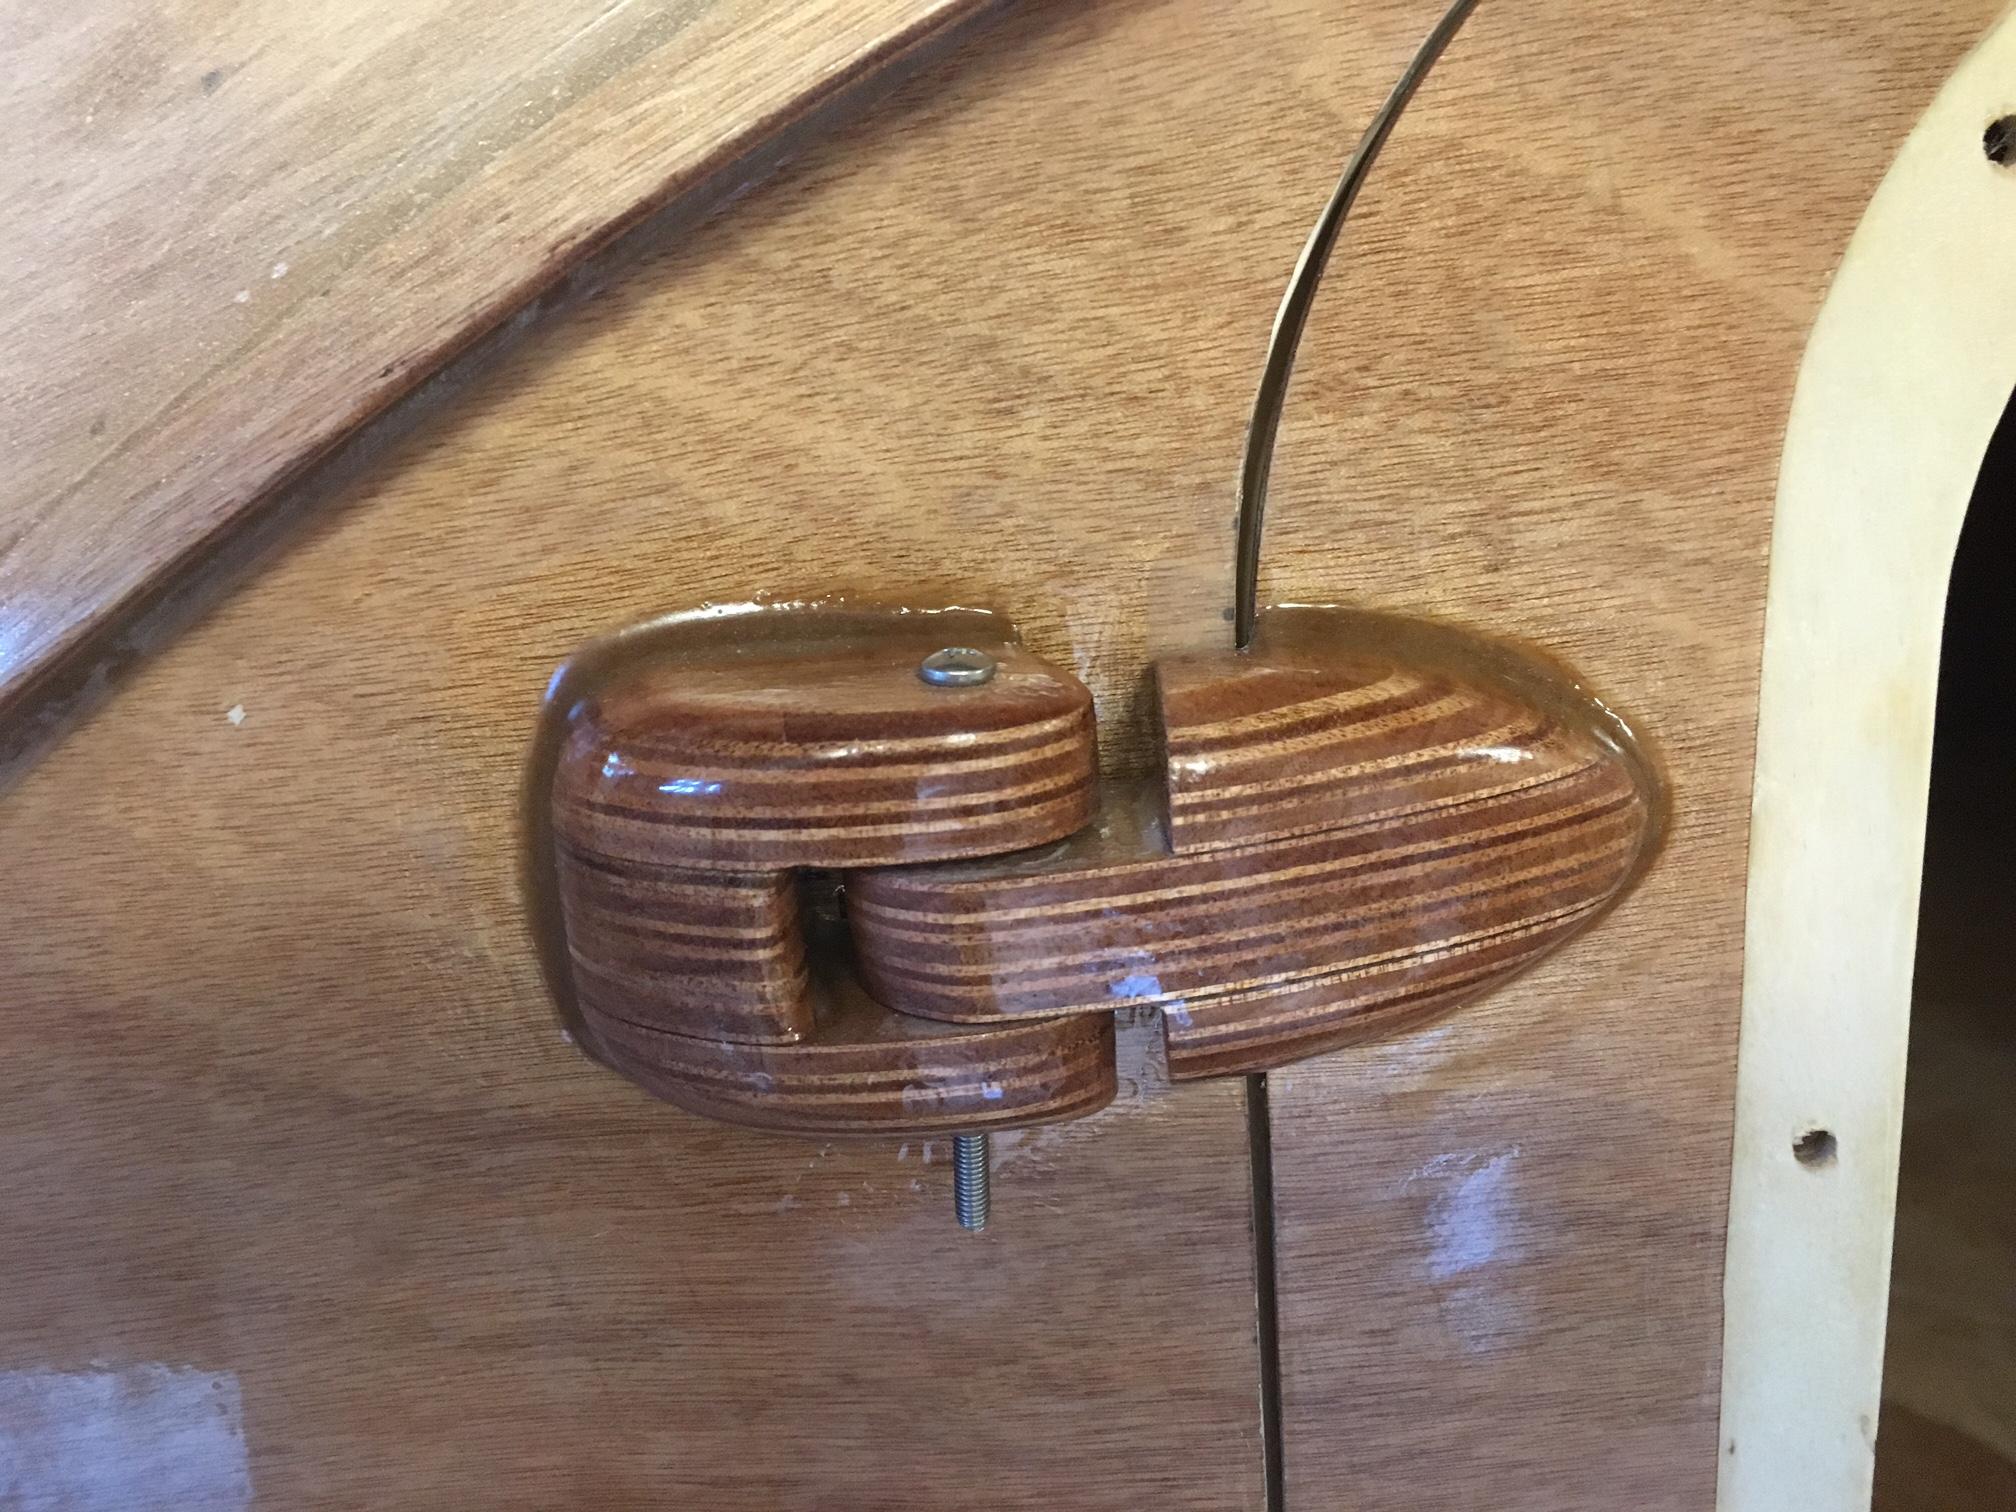
Next to the hinges, and also modded them, partly because my doors and hatch are heavier than standard and partly for esthetics. I cut three pieces of ply for each side of each hinge, laminated and then shaped to something of a teardrop shape, like so:
 Participant
I don’t think heat will work and may damage wood. I removed a large fillet on my hath stiffener using an oscillating tool and round blade like this. great.
 Participant
I did not do that (didn’t see post), but in retrospect I think that is an excellent idea.
My approach to avoiding the tensioning strap fix was to beef up the door stiffener and window sill.
Once the doors were cut out I made a temporary mould of the door opening profile from scraps of 2×3 and plywood.
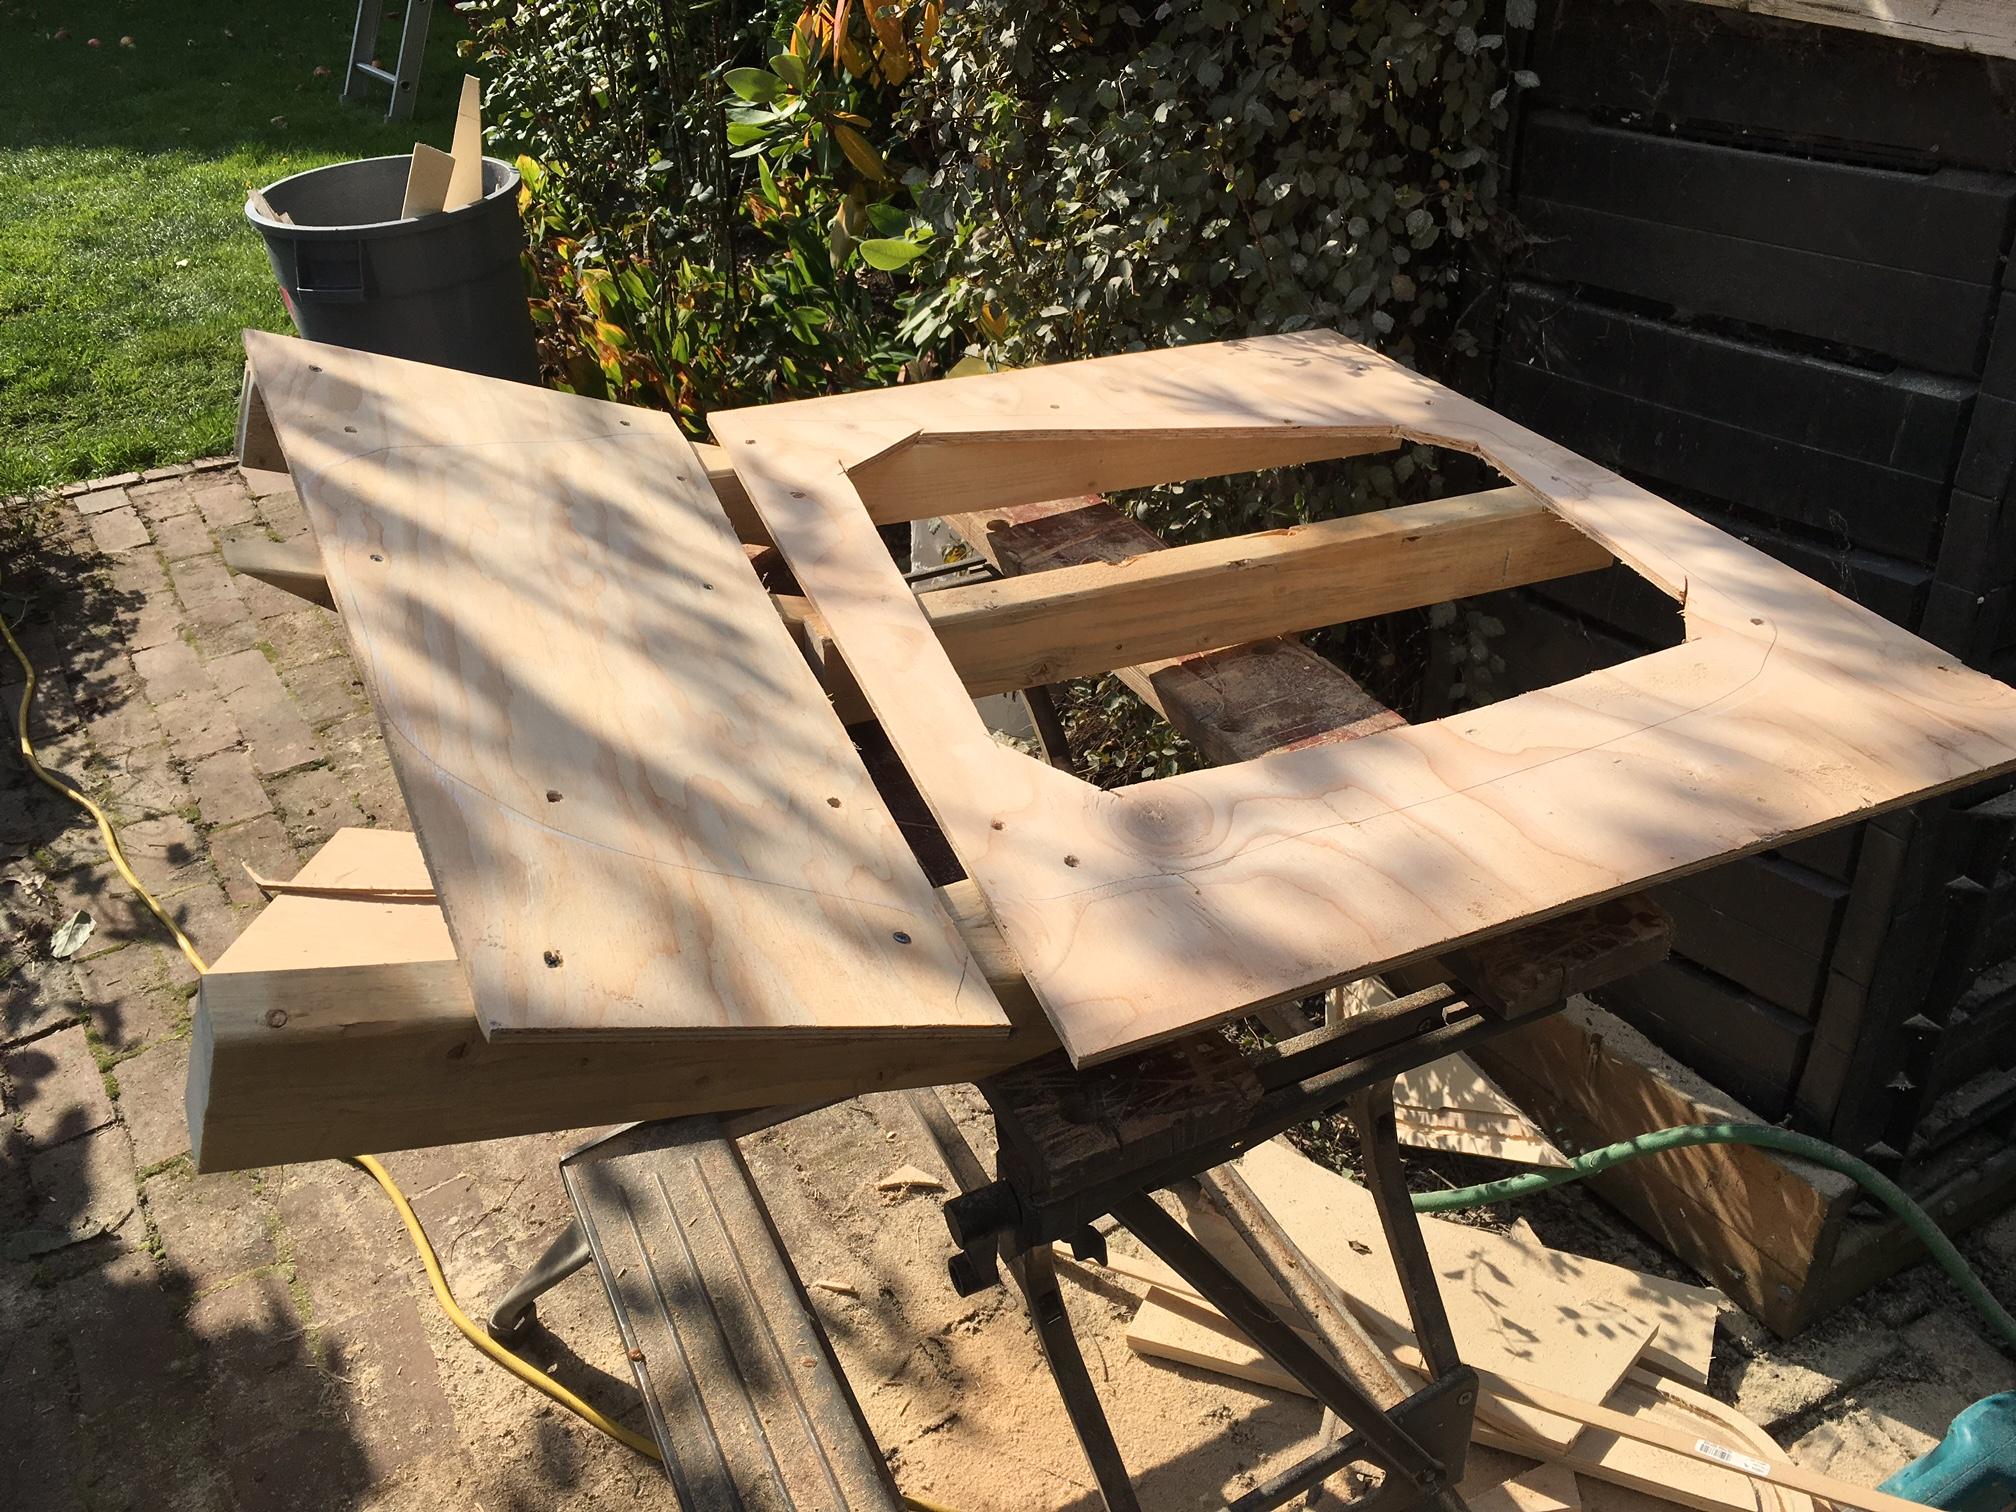
Then clamped the doors to the mold when I glued in the sill and stiffener
“… a man can never be too rich, too good looking, or have too many clamps”
I increased the size of my door stiffener and sill so that they overlap at the panel joint to greatly stiffen the whole door.
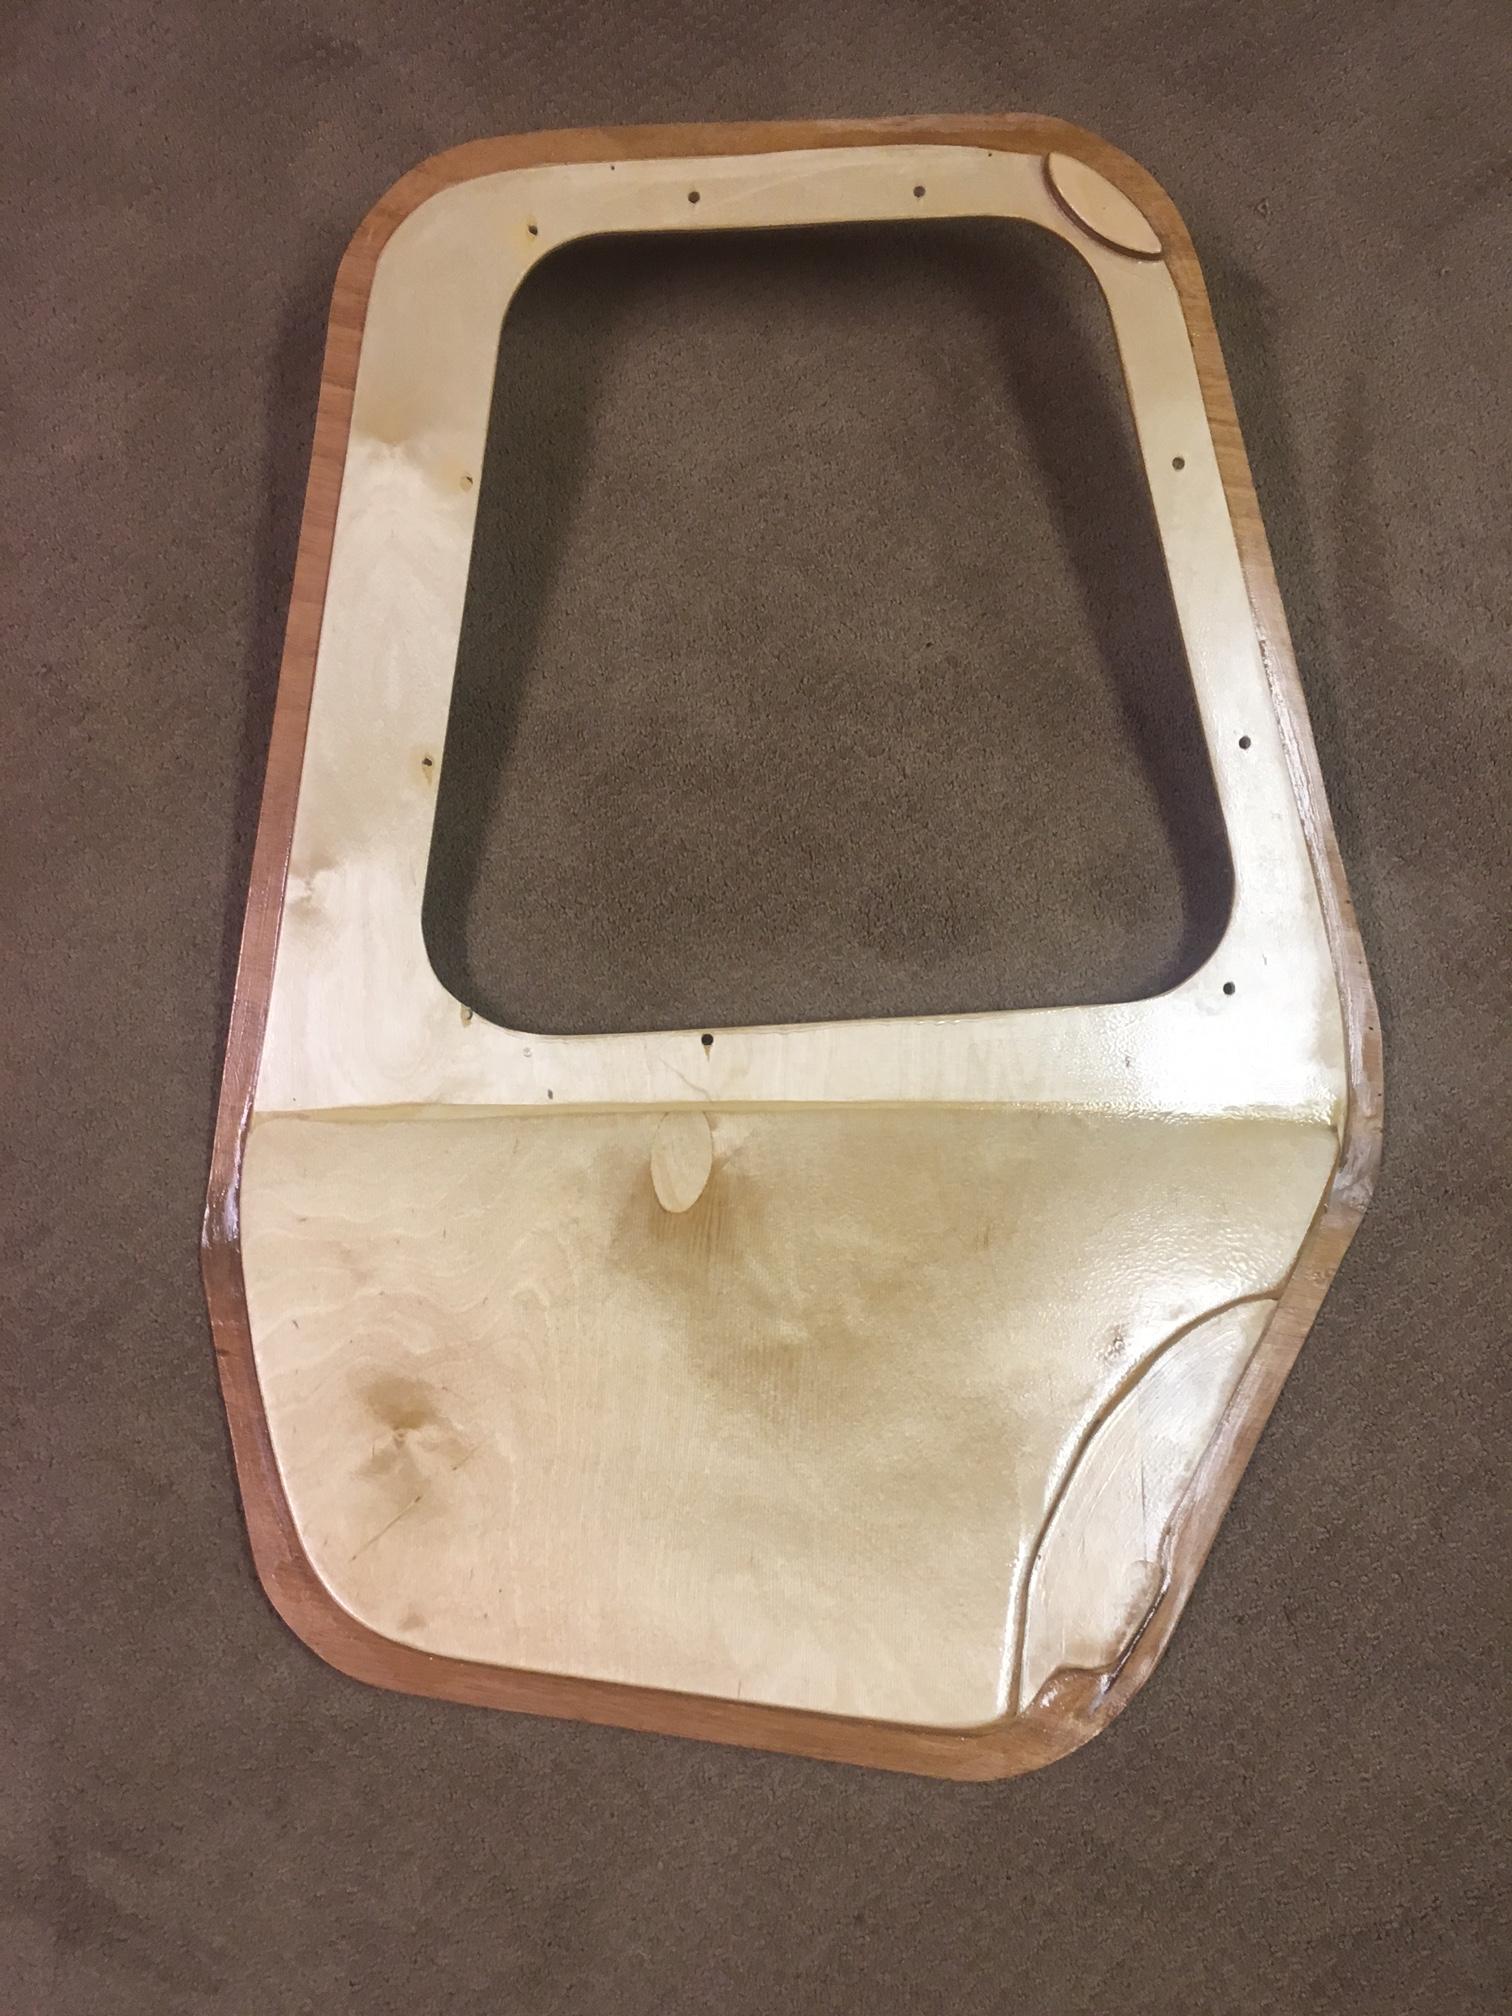
So far, so good – the doors are holding their shape.
ParticipantTesting 13″ and 14 ” wheels on my trailer. Adjustable spindle arm angles give me some flexibility. One consideration: 14 ” wheels put me just over width limit requiring extra lights in this jurisdiction.
13″ wheels give me 11″ ground clearance and 39″ counter height even with 8 inch underfloor storage box.
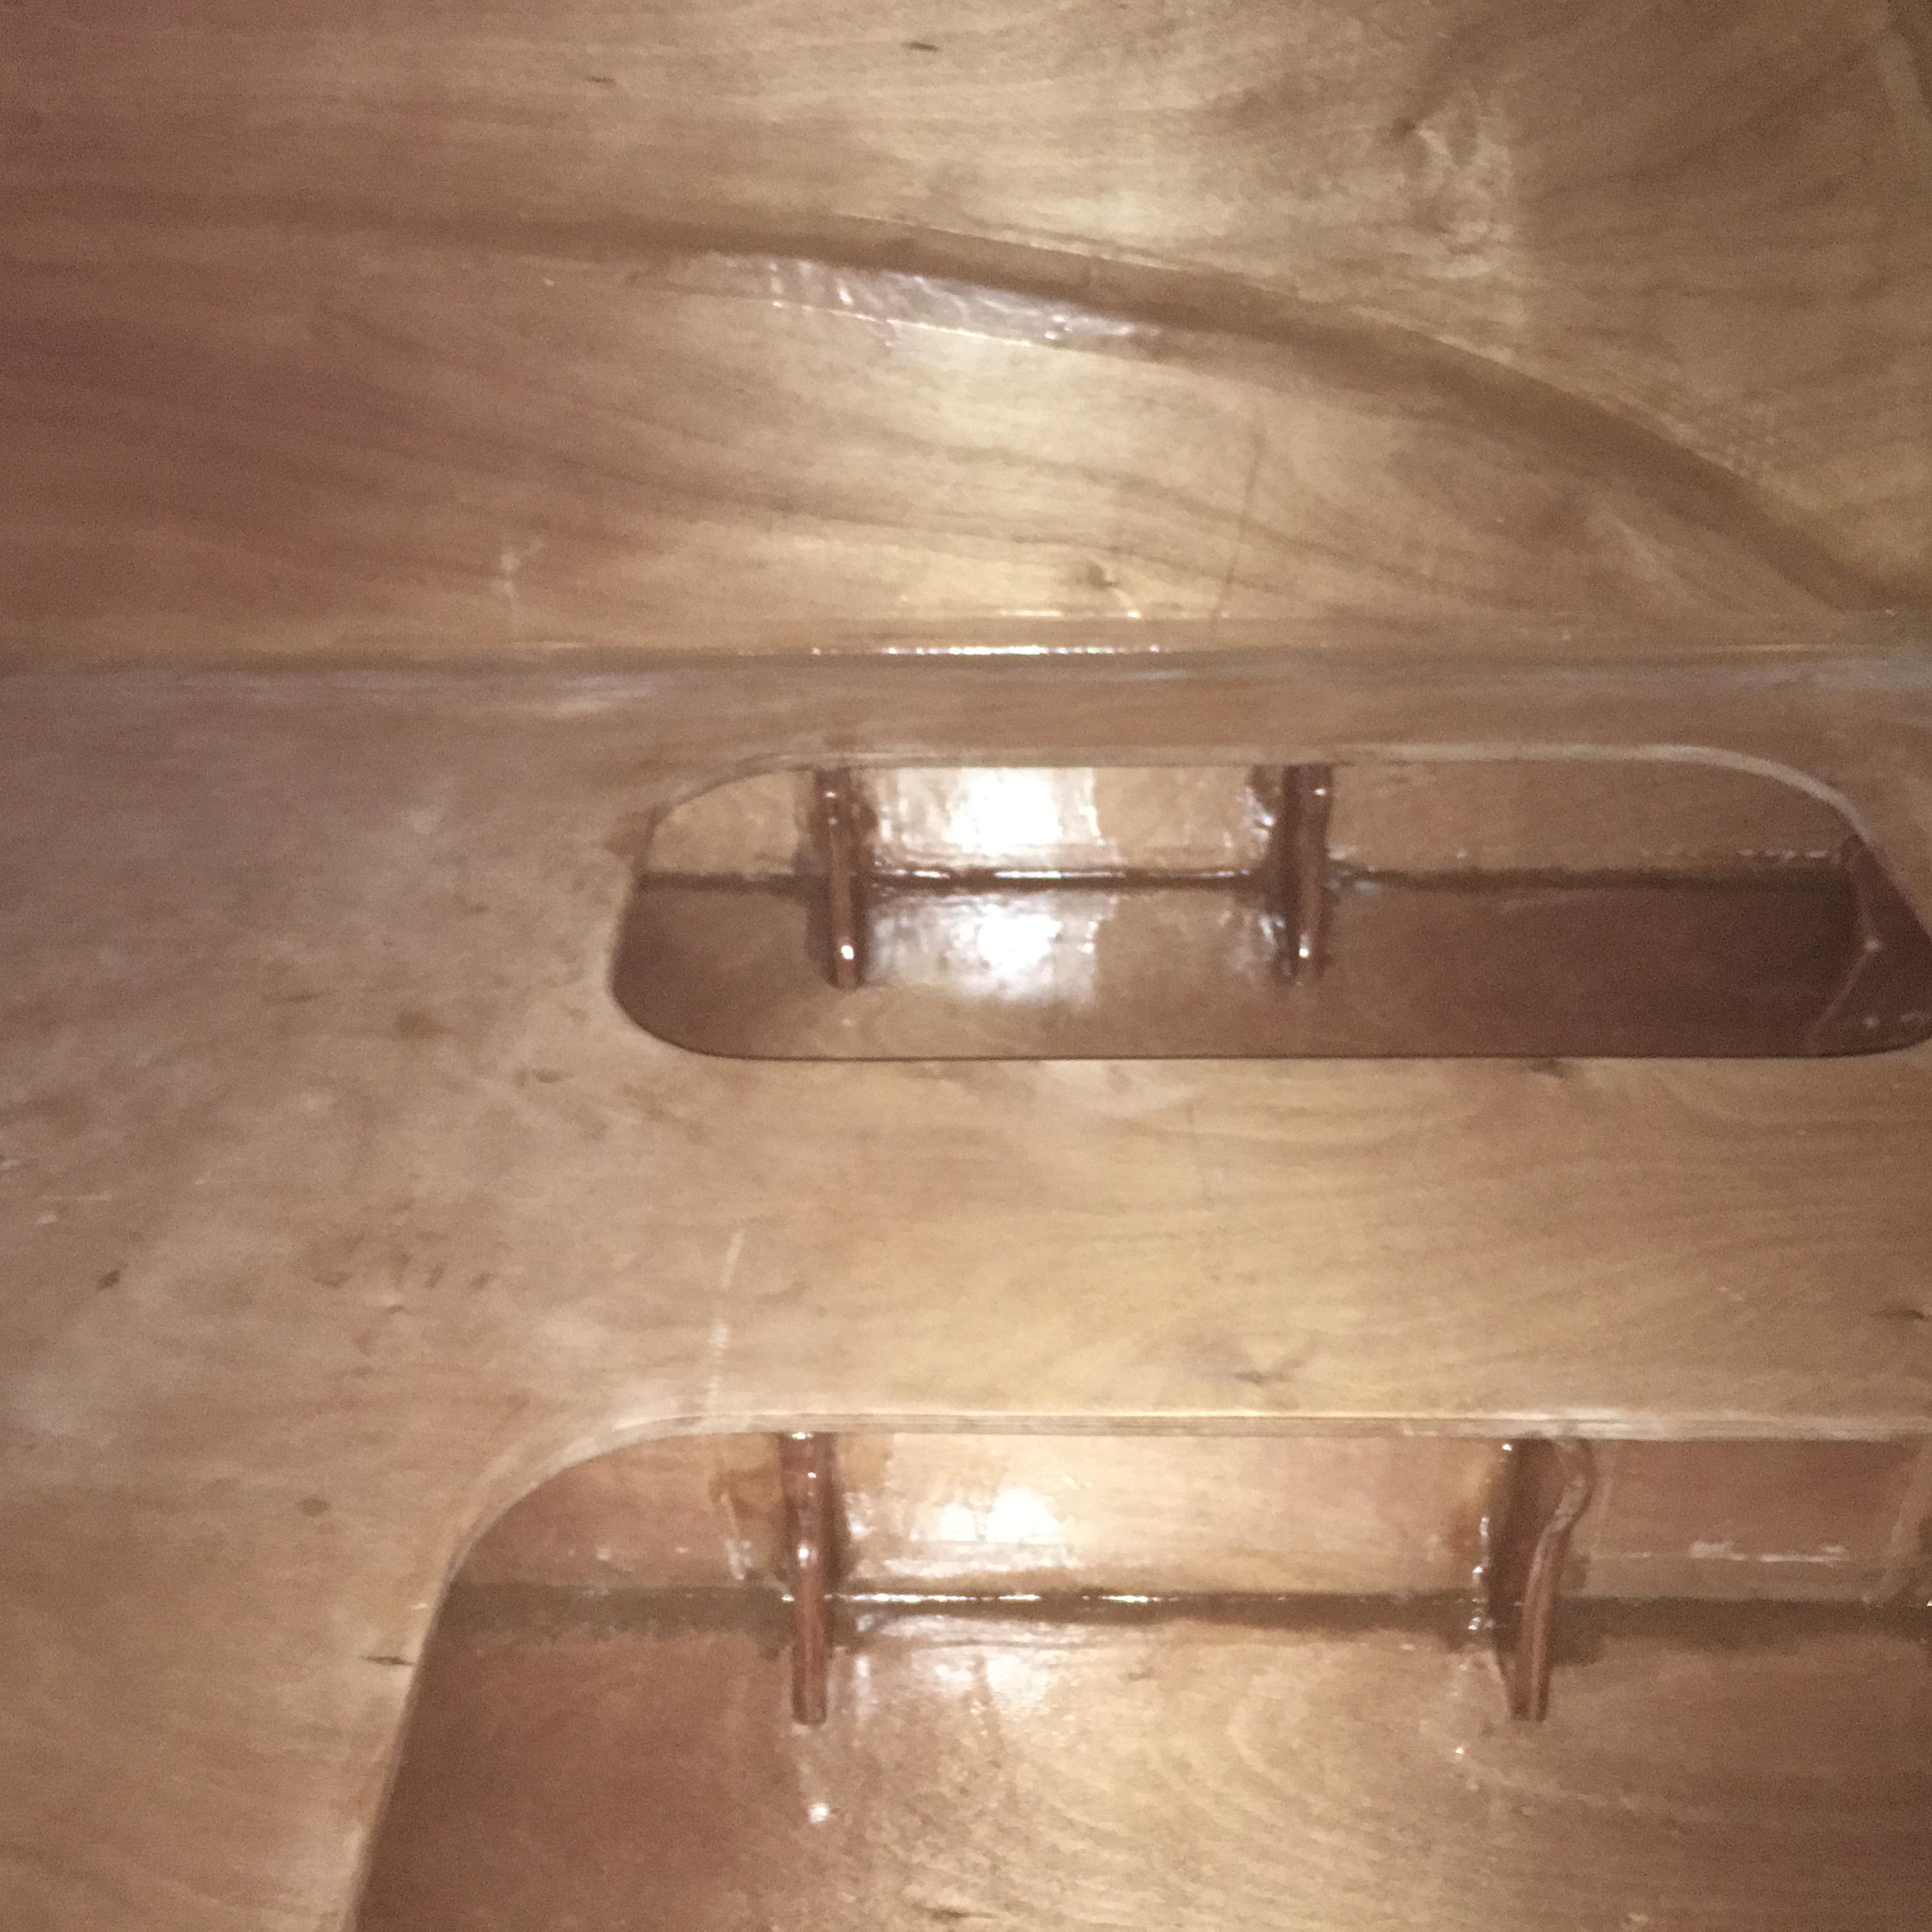
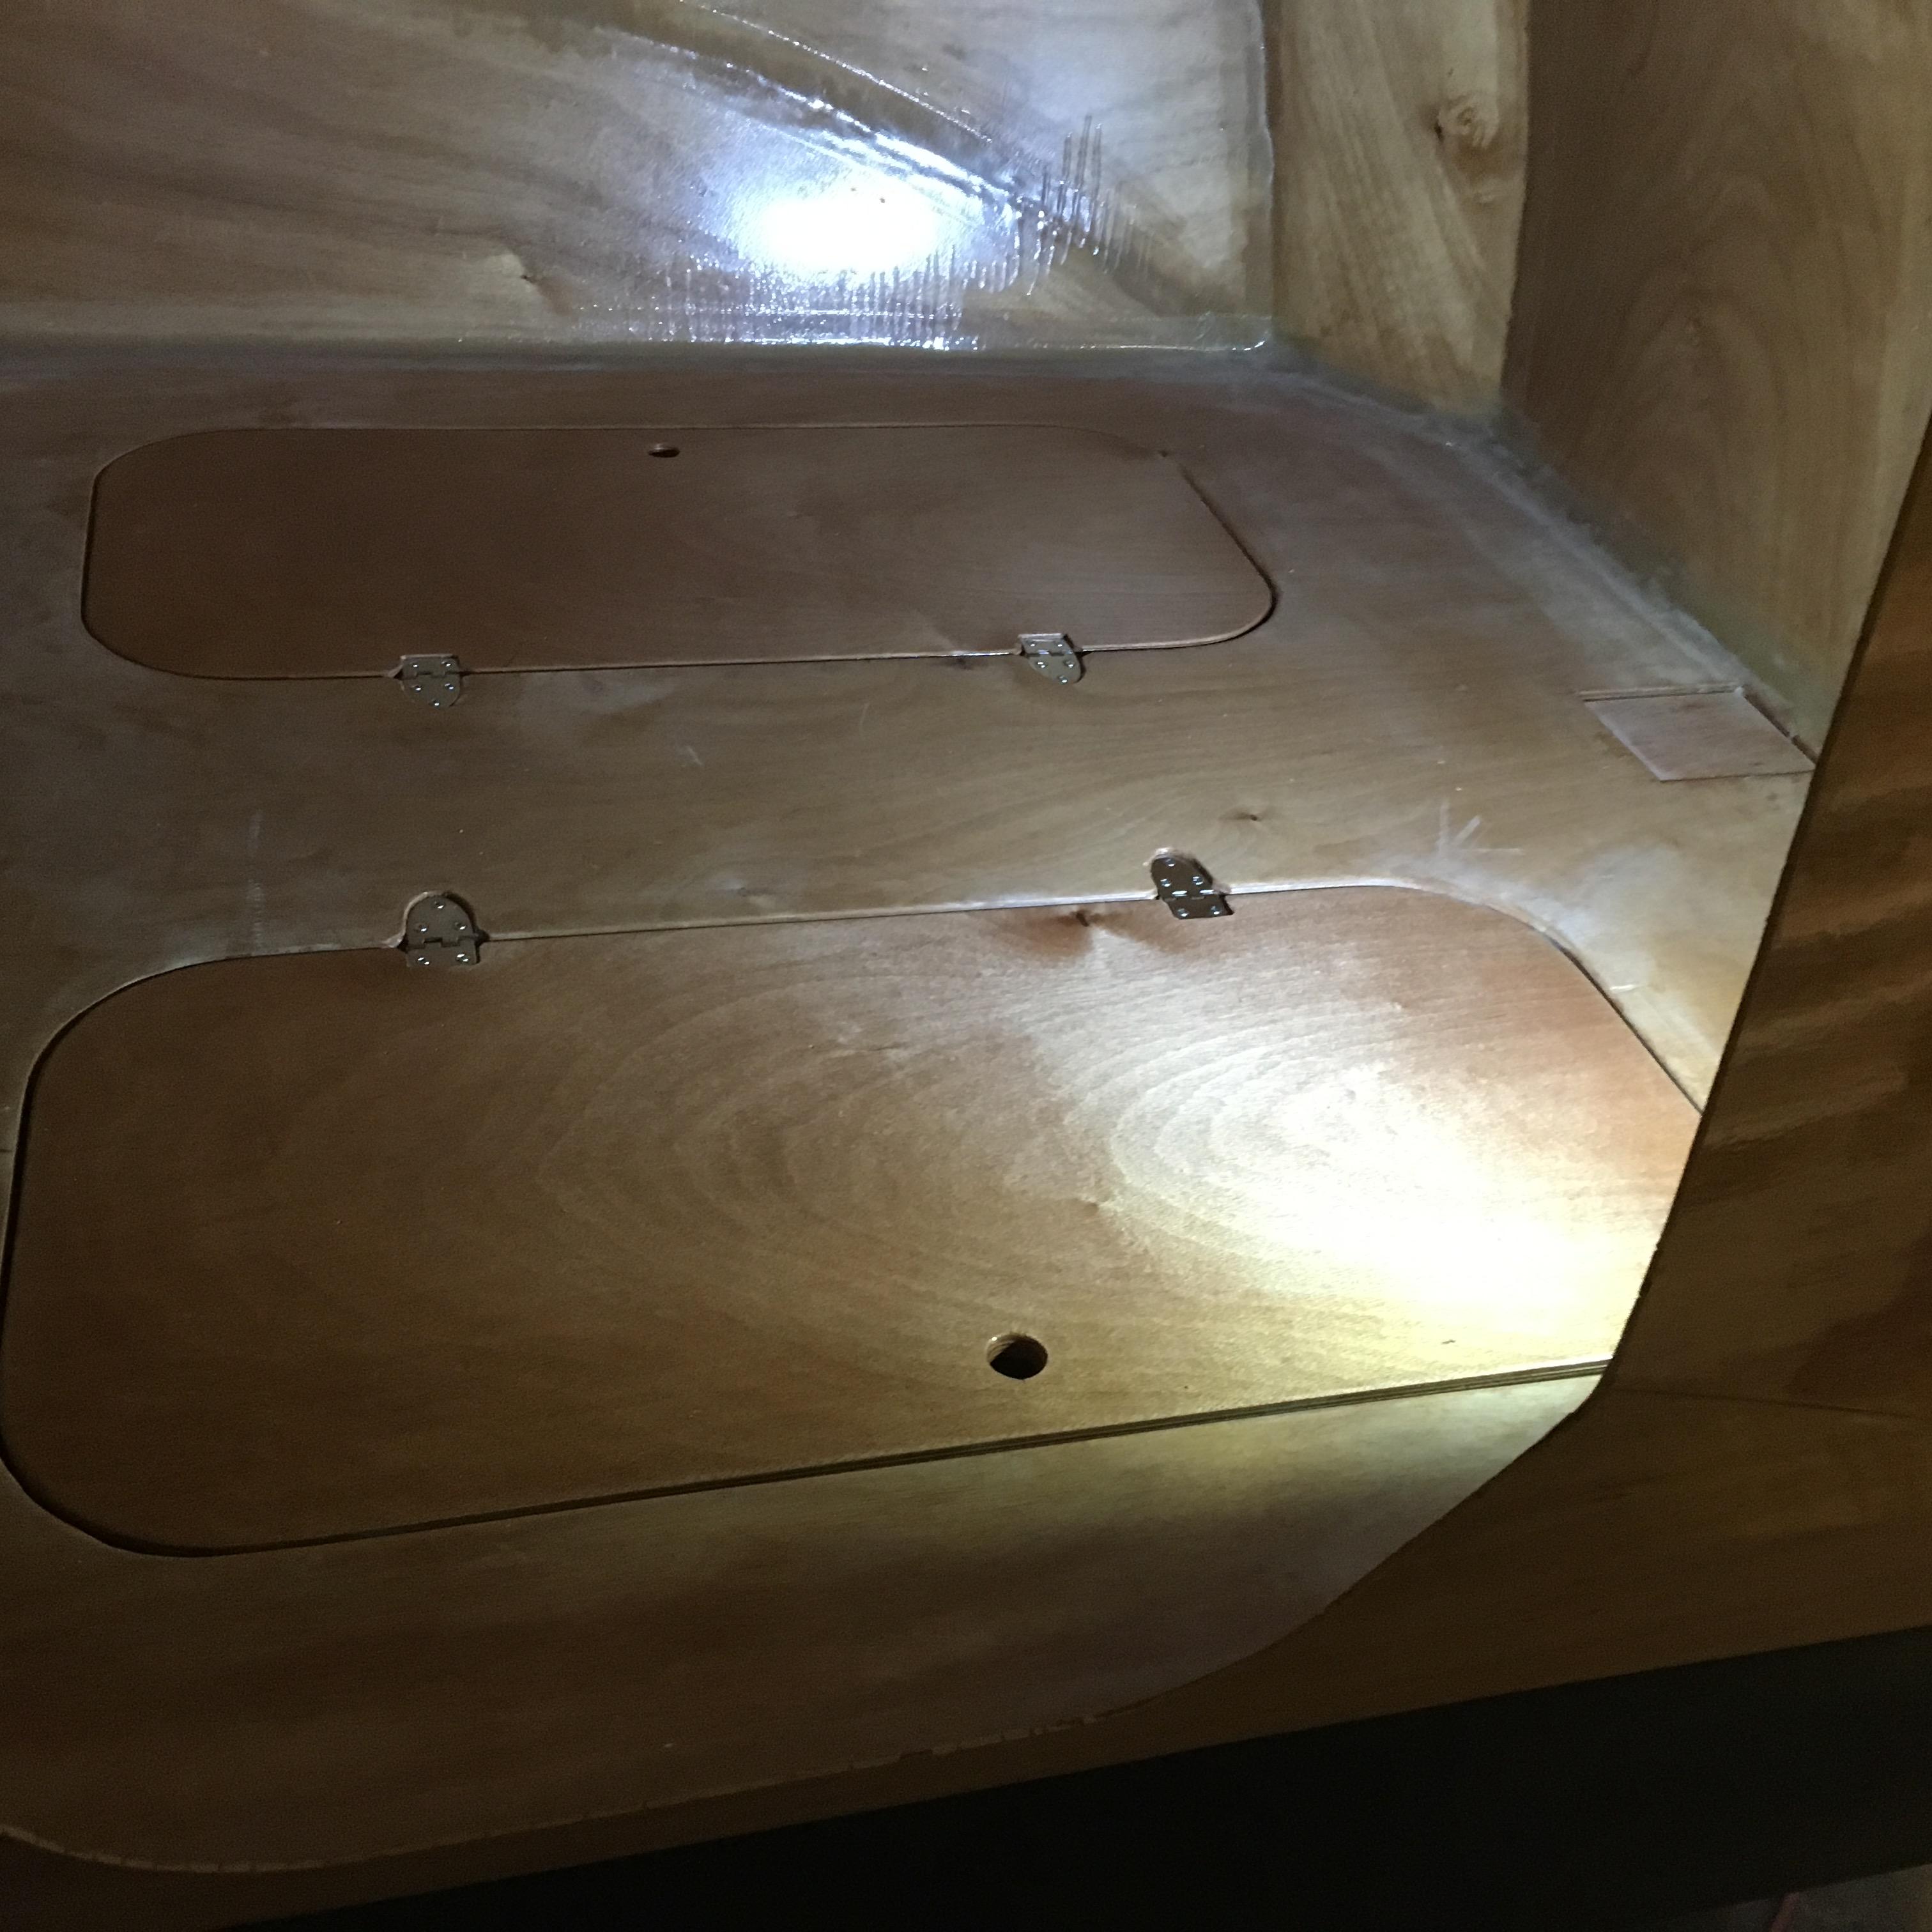
Inside I have added buttress blocks inside my storage compartments. These are filleted and taped on all sides and greatly increase rigidity of my double floor and also support my interior hatch lids:
 Participant
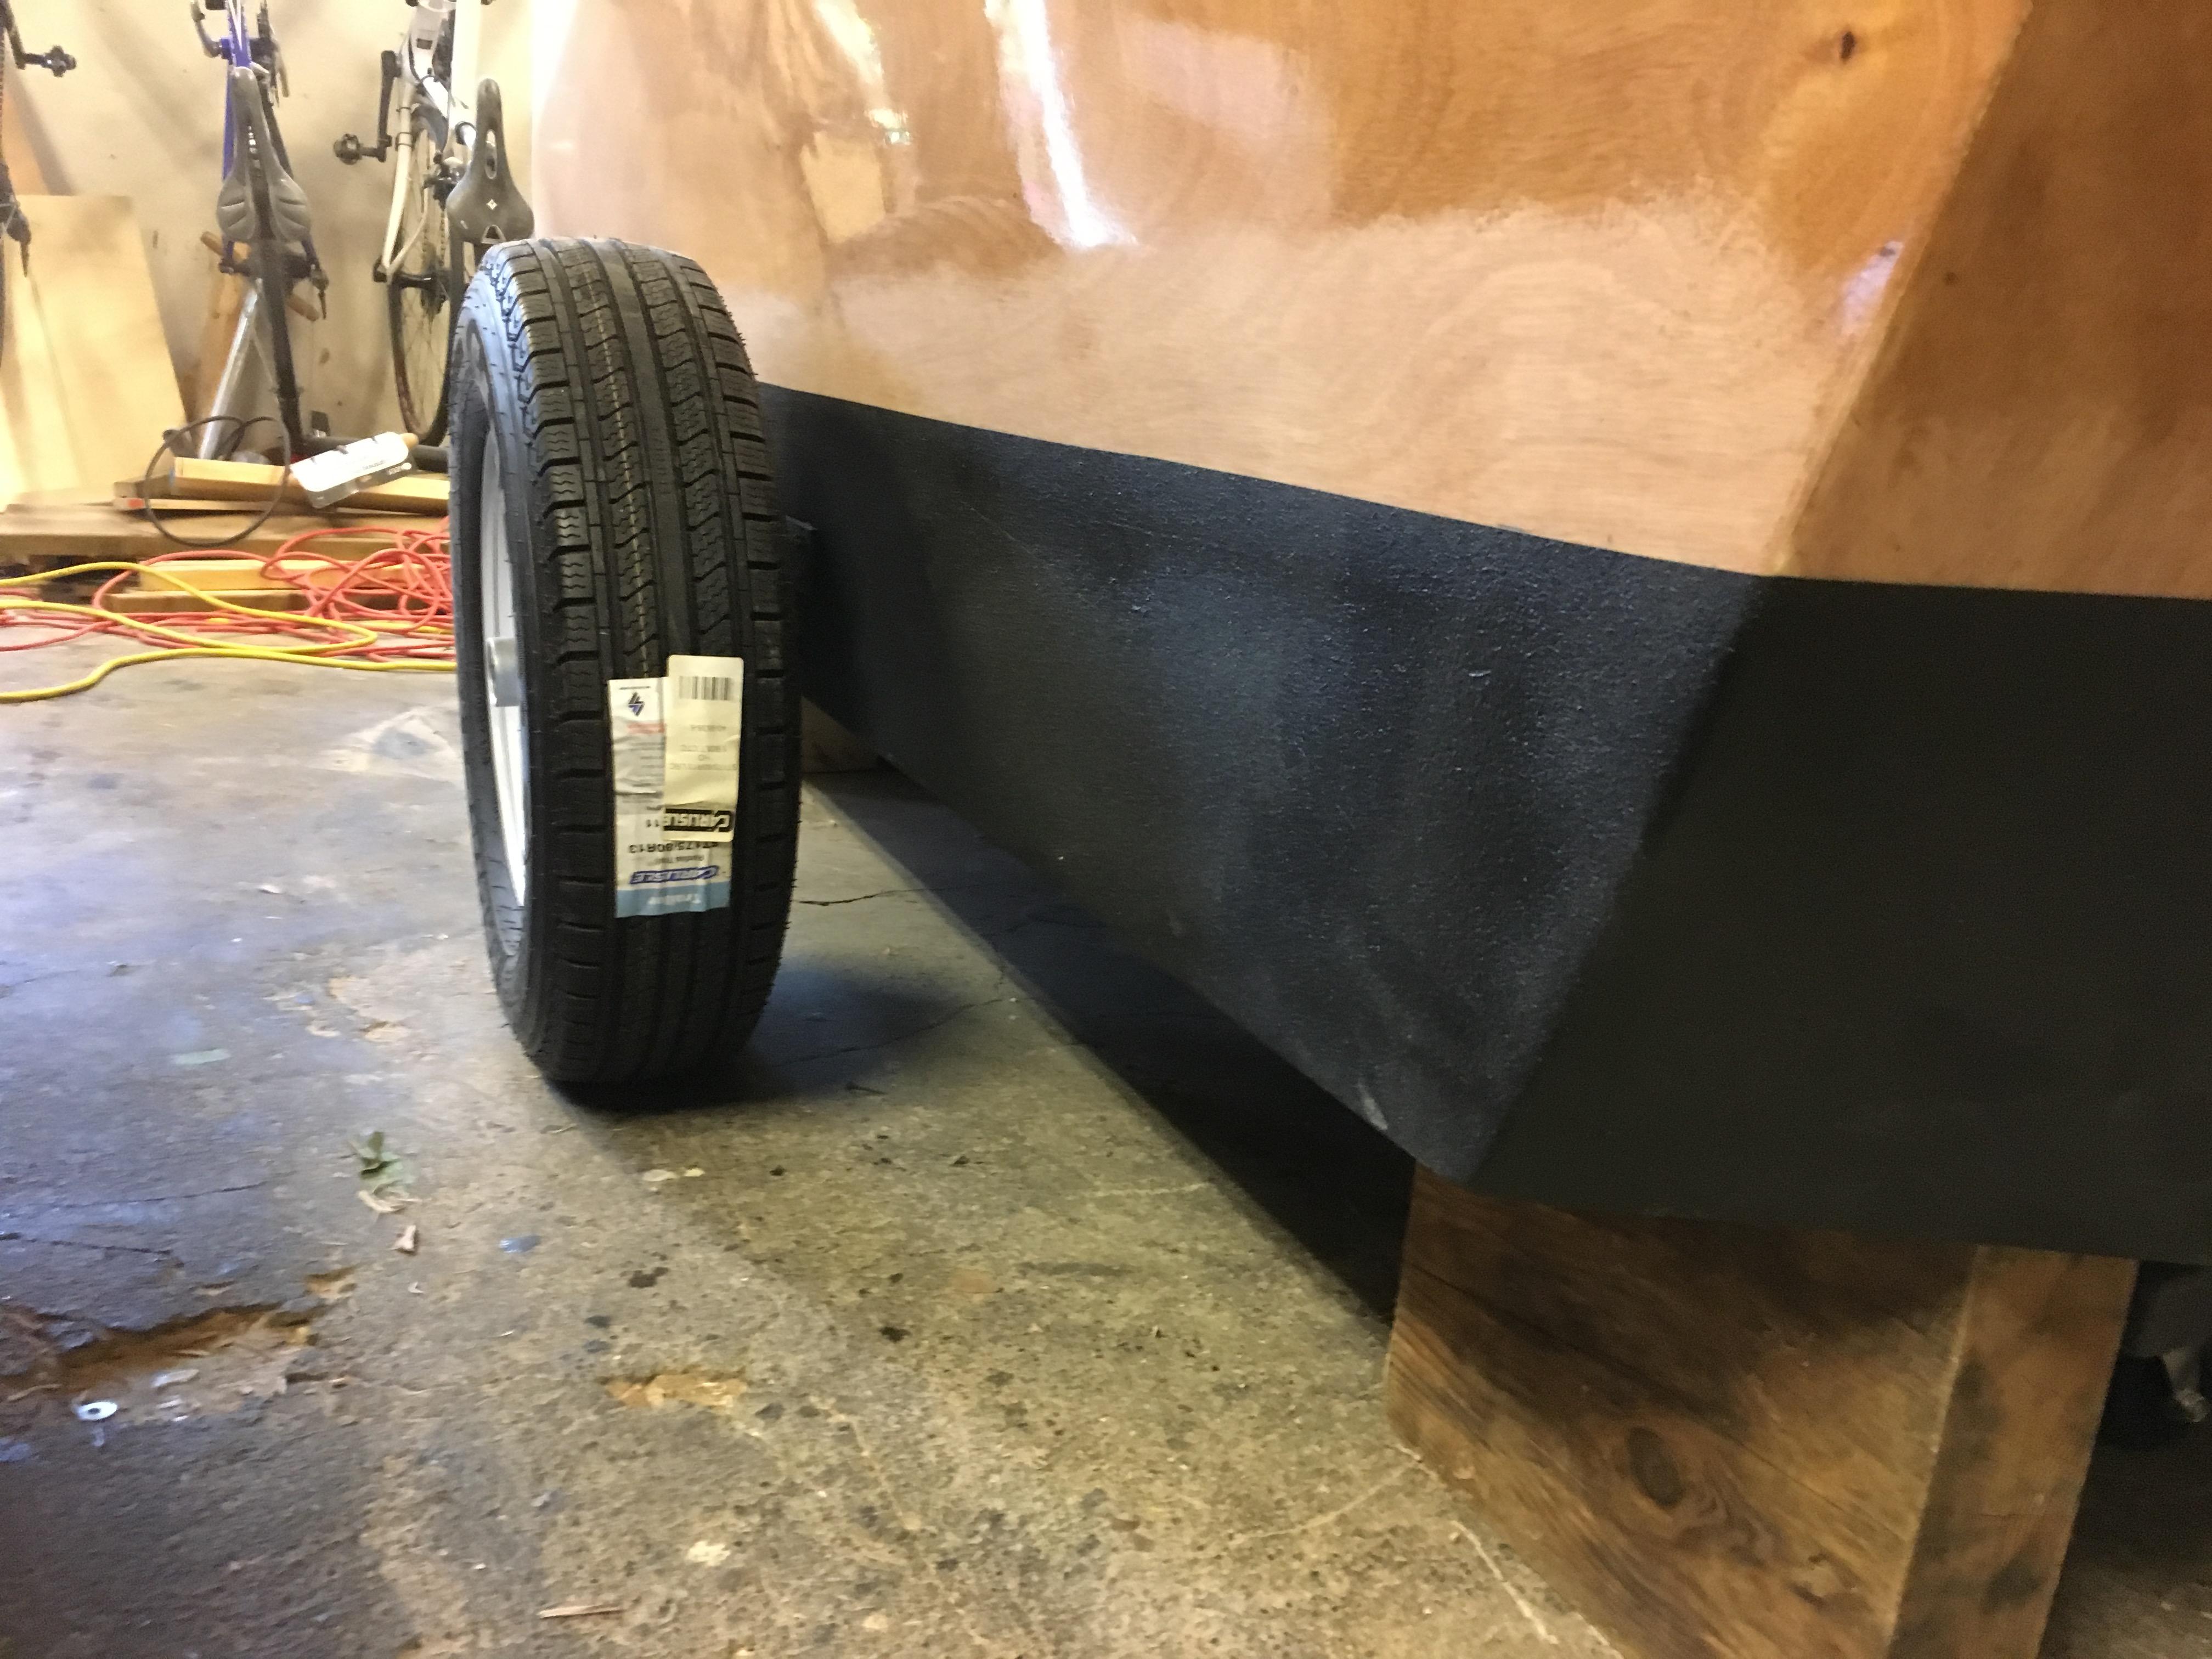
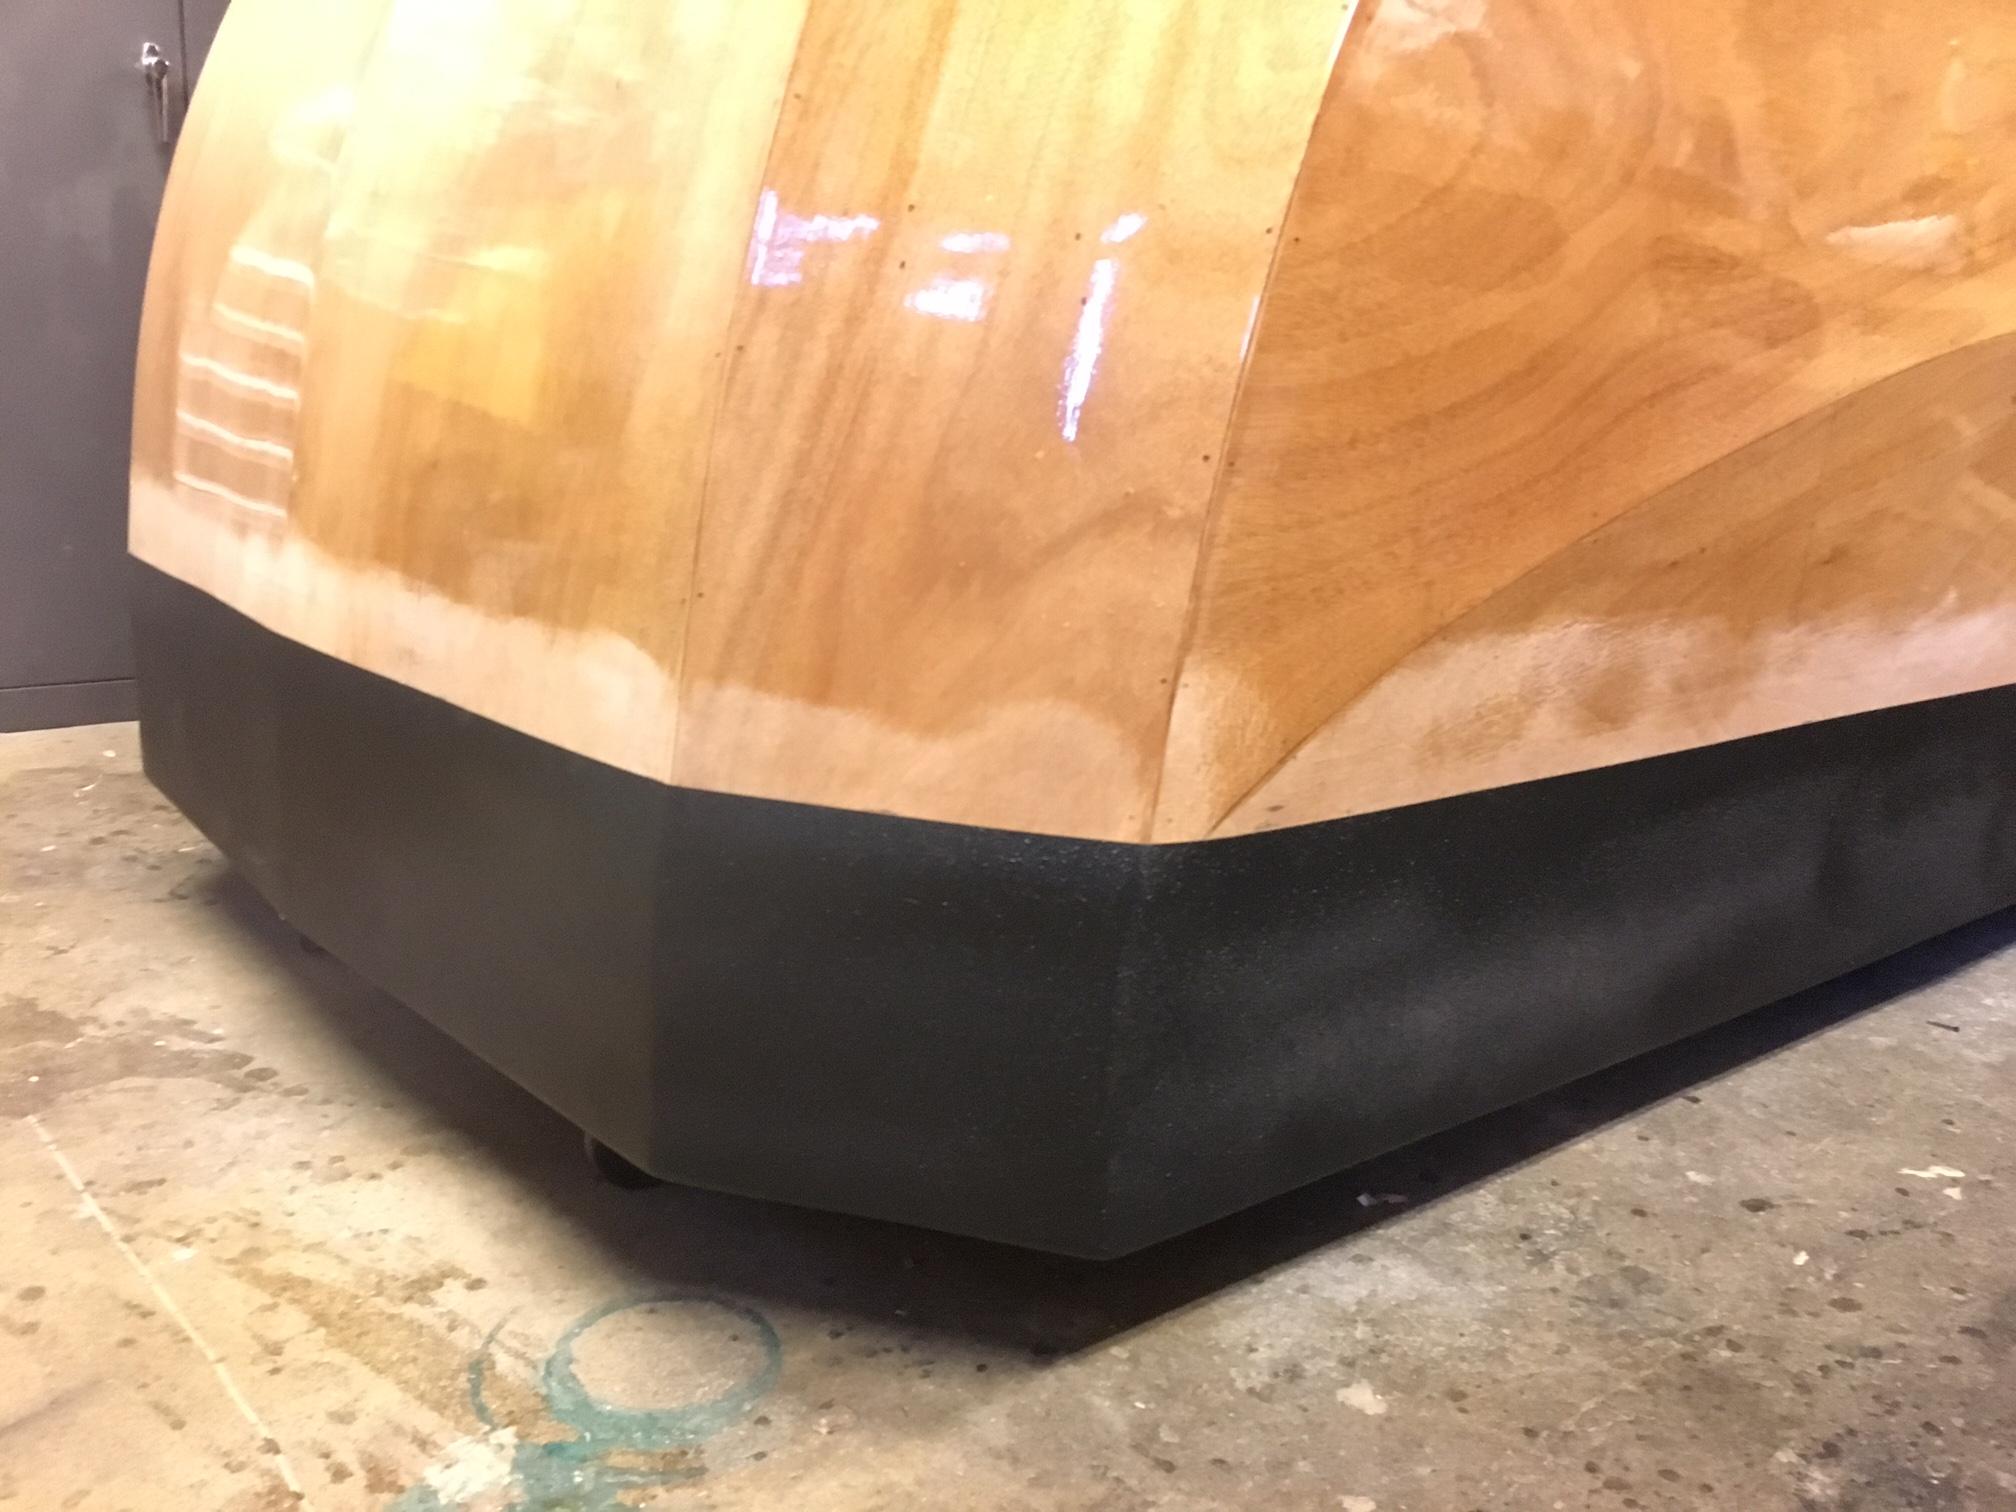
I decided to paint the bottom of my trailer with U-Pol Raptor black bedliner paint. The kit comes with a spray gun and the process is quite easy – but very smelly – would not want to do this in an attached garage.
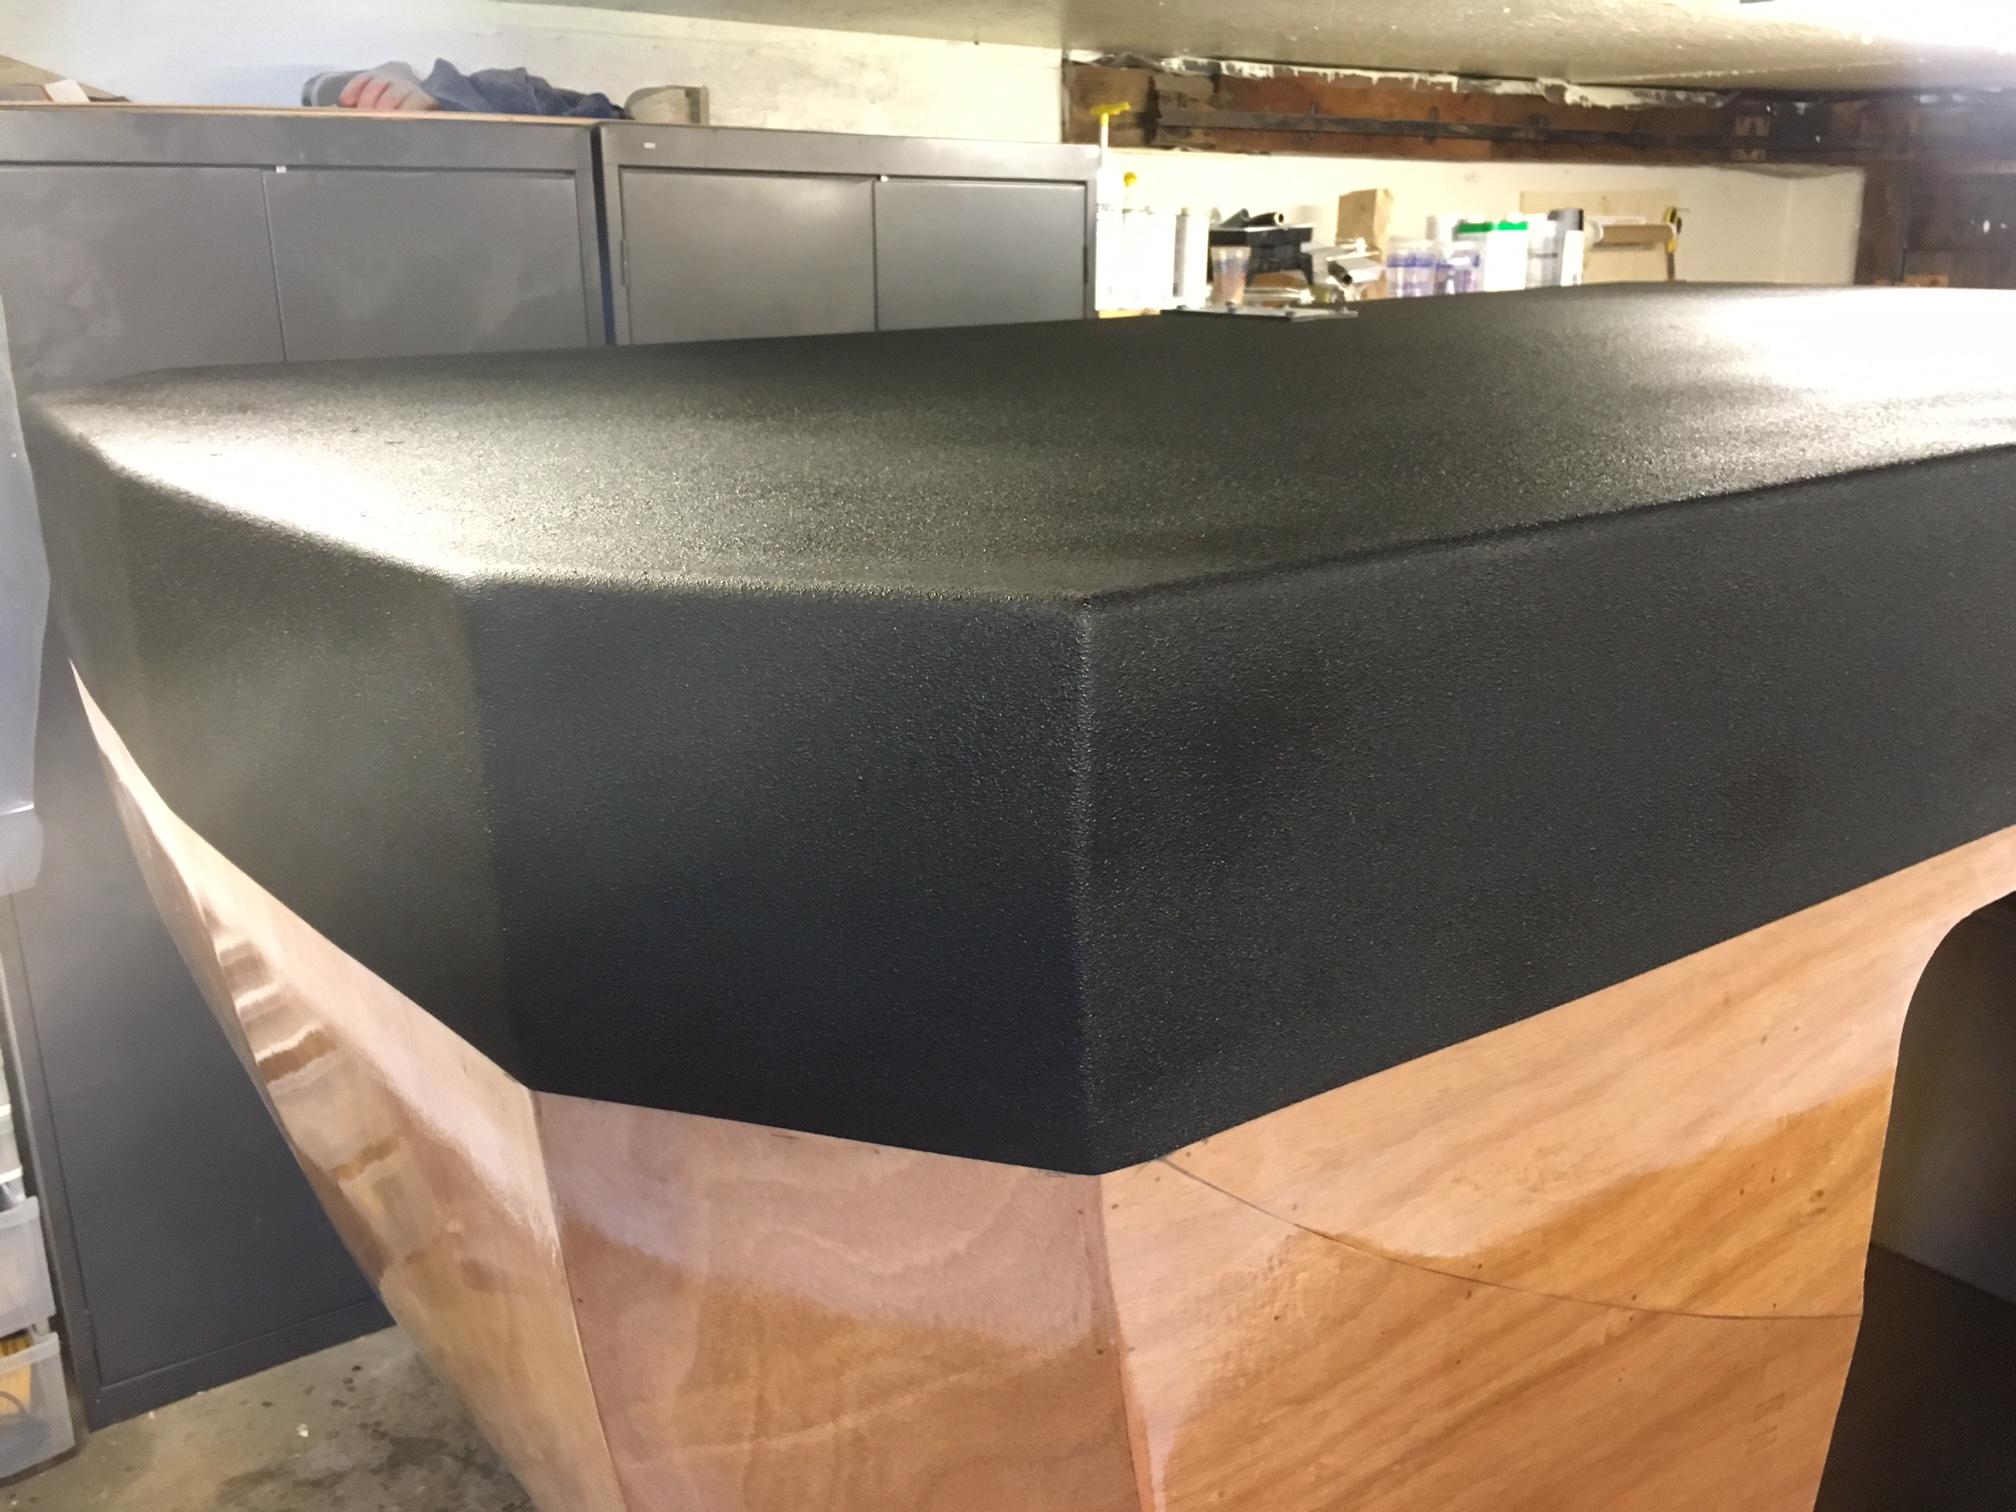
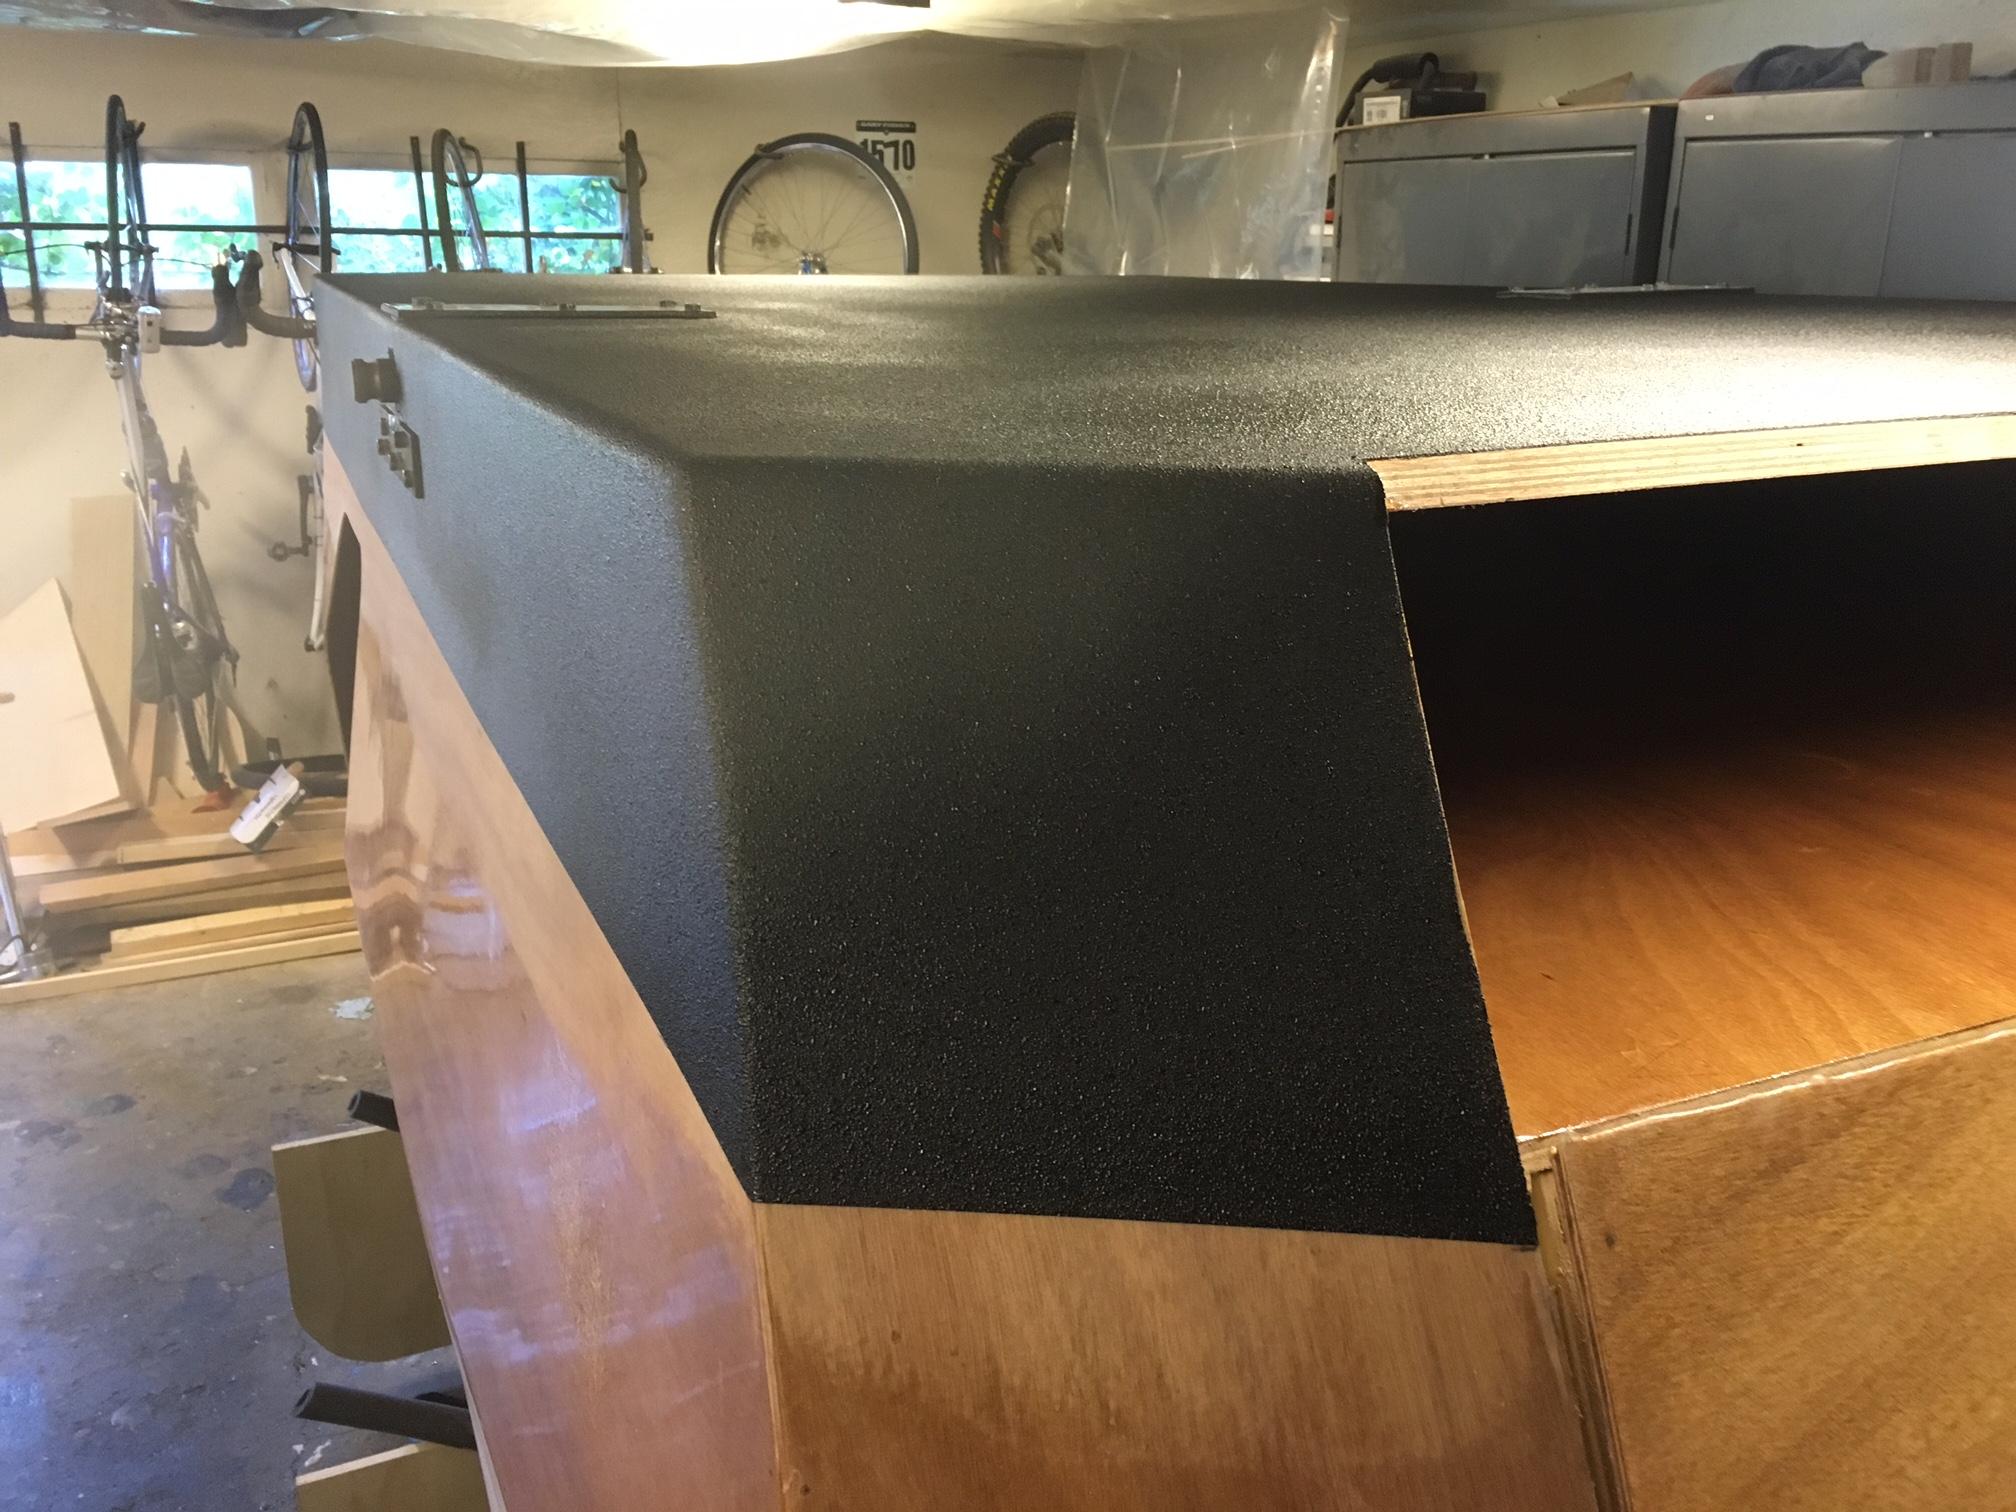
I brought the paint up the sides over my underfloor storage add on. Now for the final flip:
-
AuthorPosts