Forum Replies Created
-
AuthorPosts
-
stretchMike
ParticipantMatukas, greetings and all the best on this adventure. I am happy to share my experiences and opinions with you. Travelling for 10 days, so currently difficult on phone. If you want to email me we can correspond directly. My email:
barnards
then the @ sign
then telus.net
Mike
ParticipantA digression: I am not using a traditional trailer. Objective was minimum overall height with underfloor storage (8inches) and reasonable ground clearance.
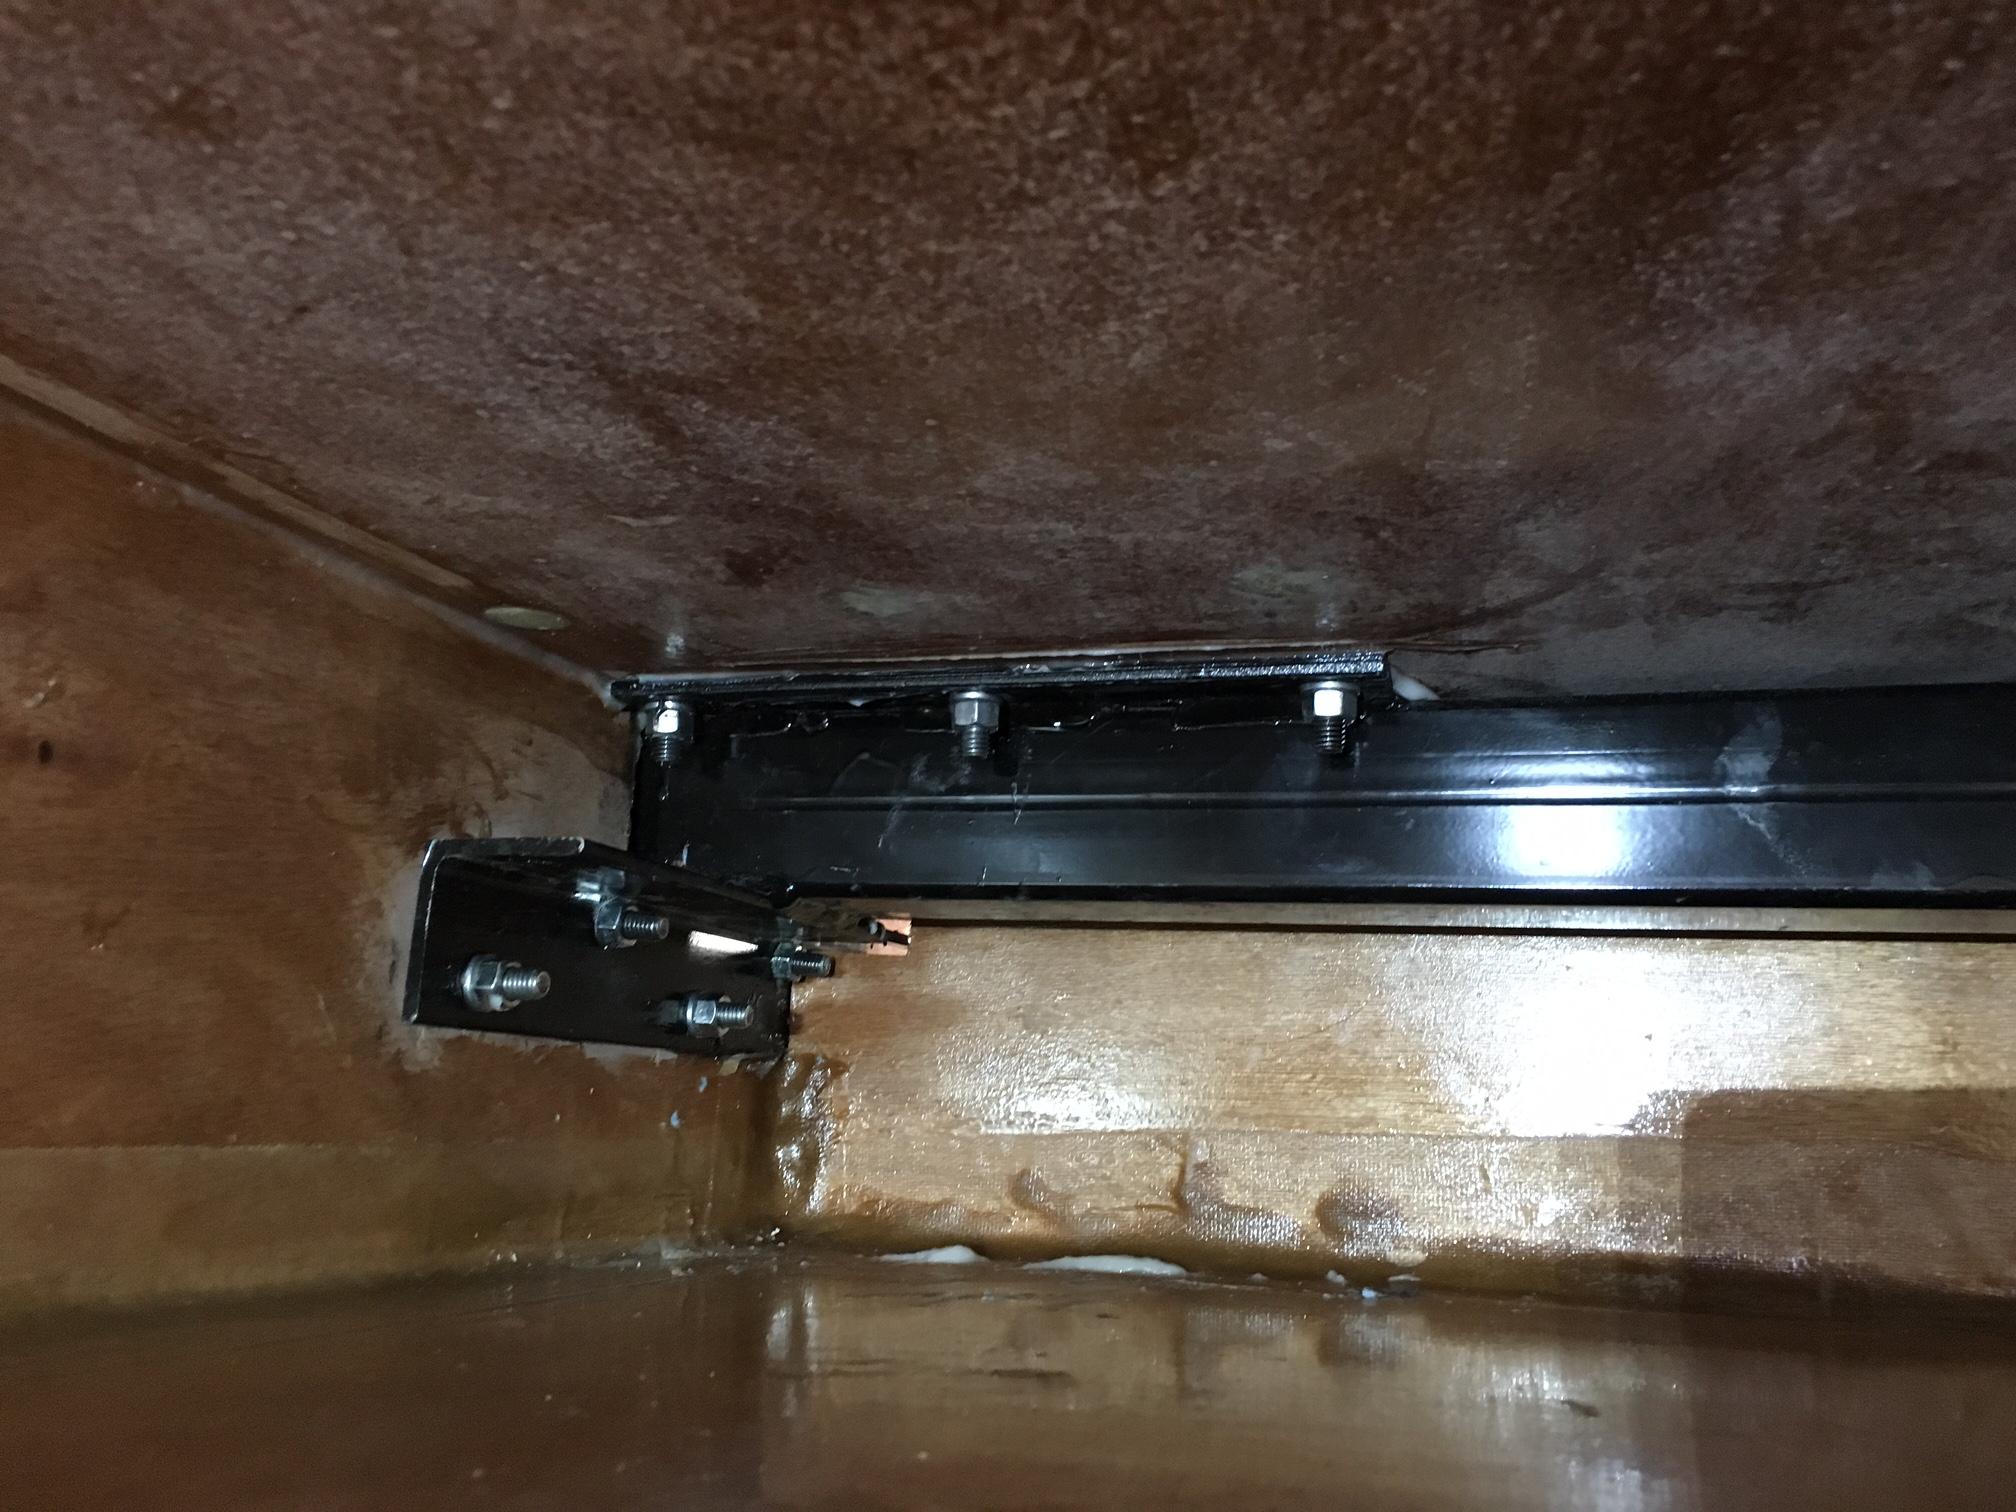
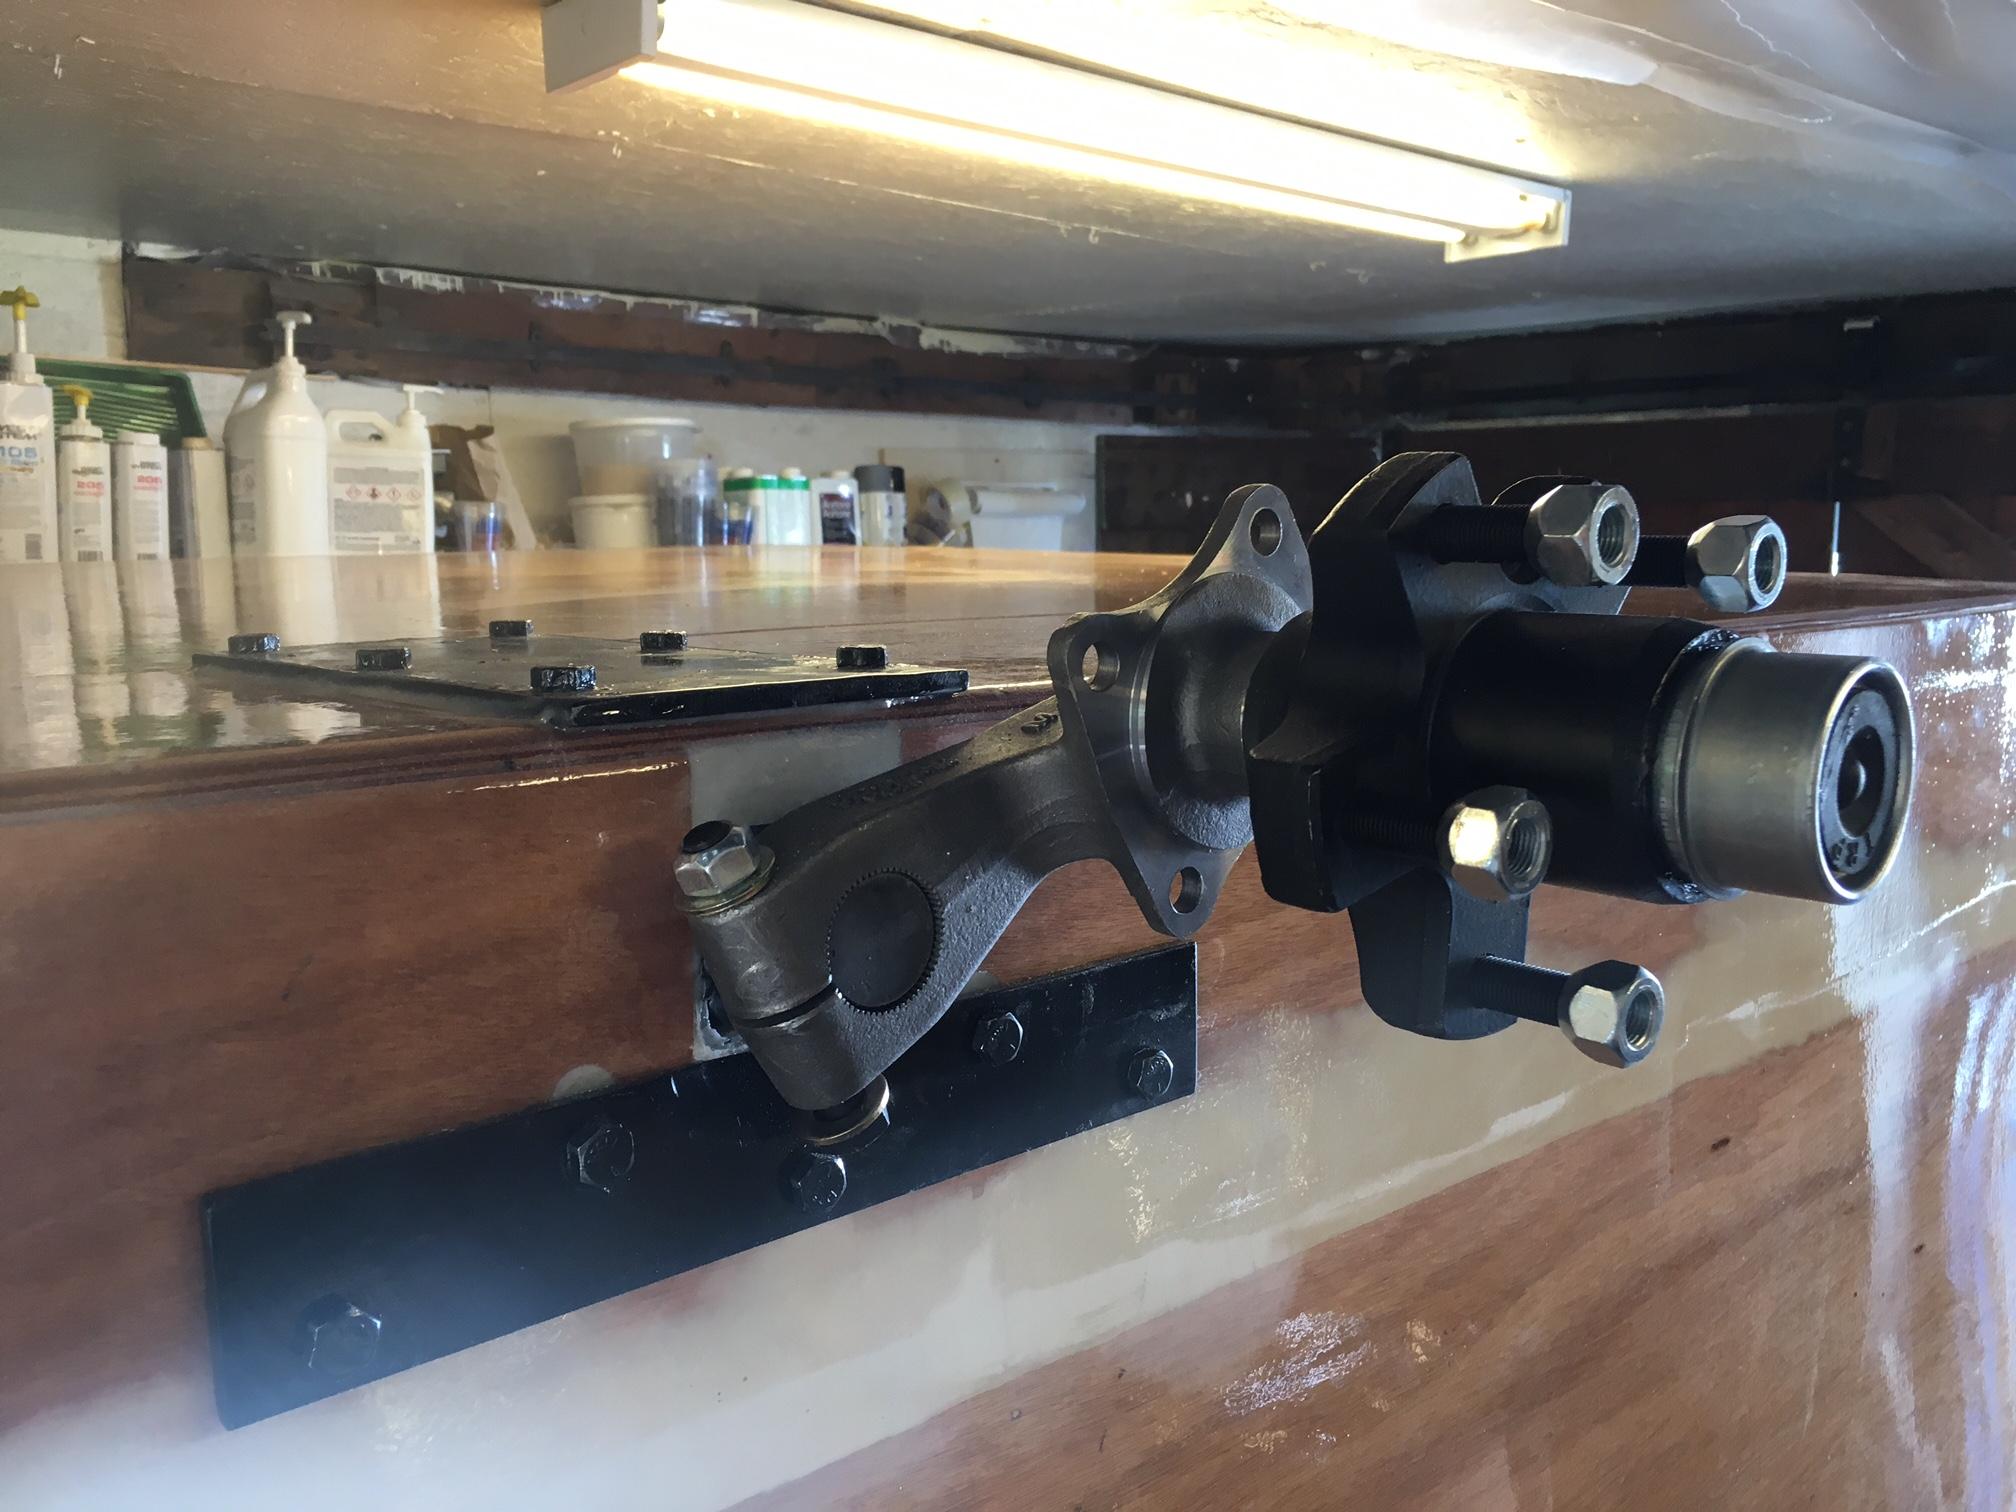
I decided to use a flexiride torsion axle with semi-frameless construction. This features:
- a 2 1/2 inch square steel axle tube across the trailer, containing flexiride torsion cartridges and custom welded brackets to allow bolting through floor and side skirts;
- This axle is contained within my storage space – so not exposed;
- Debating 13″ or 14″ wheels;
- 3/8 bolts are bolted through 1 inch epoxy plugs hardened with West high density filler and then through matching steel plates;
- tow bar of same 2 1/2 square material is inserted into storage cavity longitudinally and has flanges that sandwich axle, with bolts through both and also through floor and matching plate underside
This is what it looks like so far:
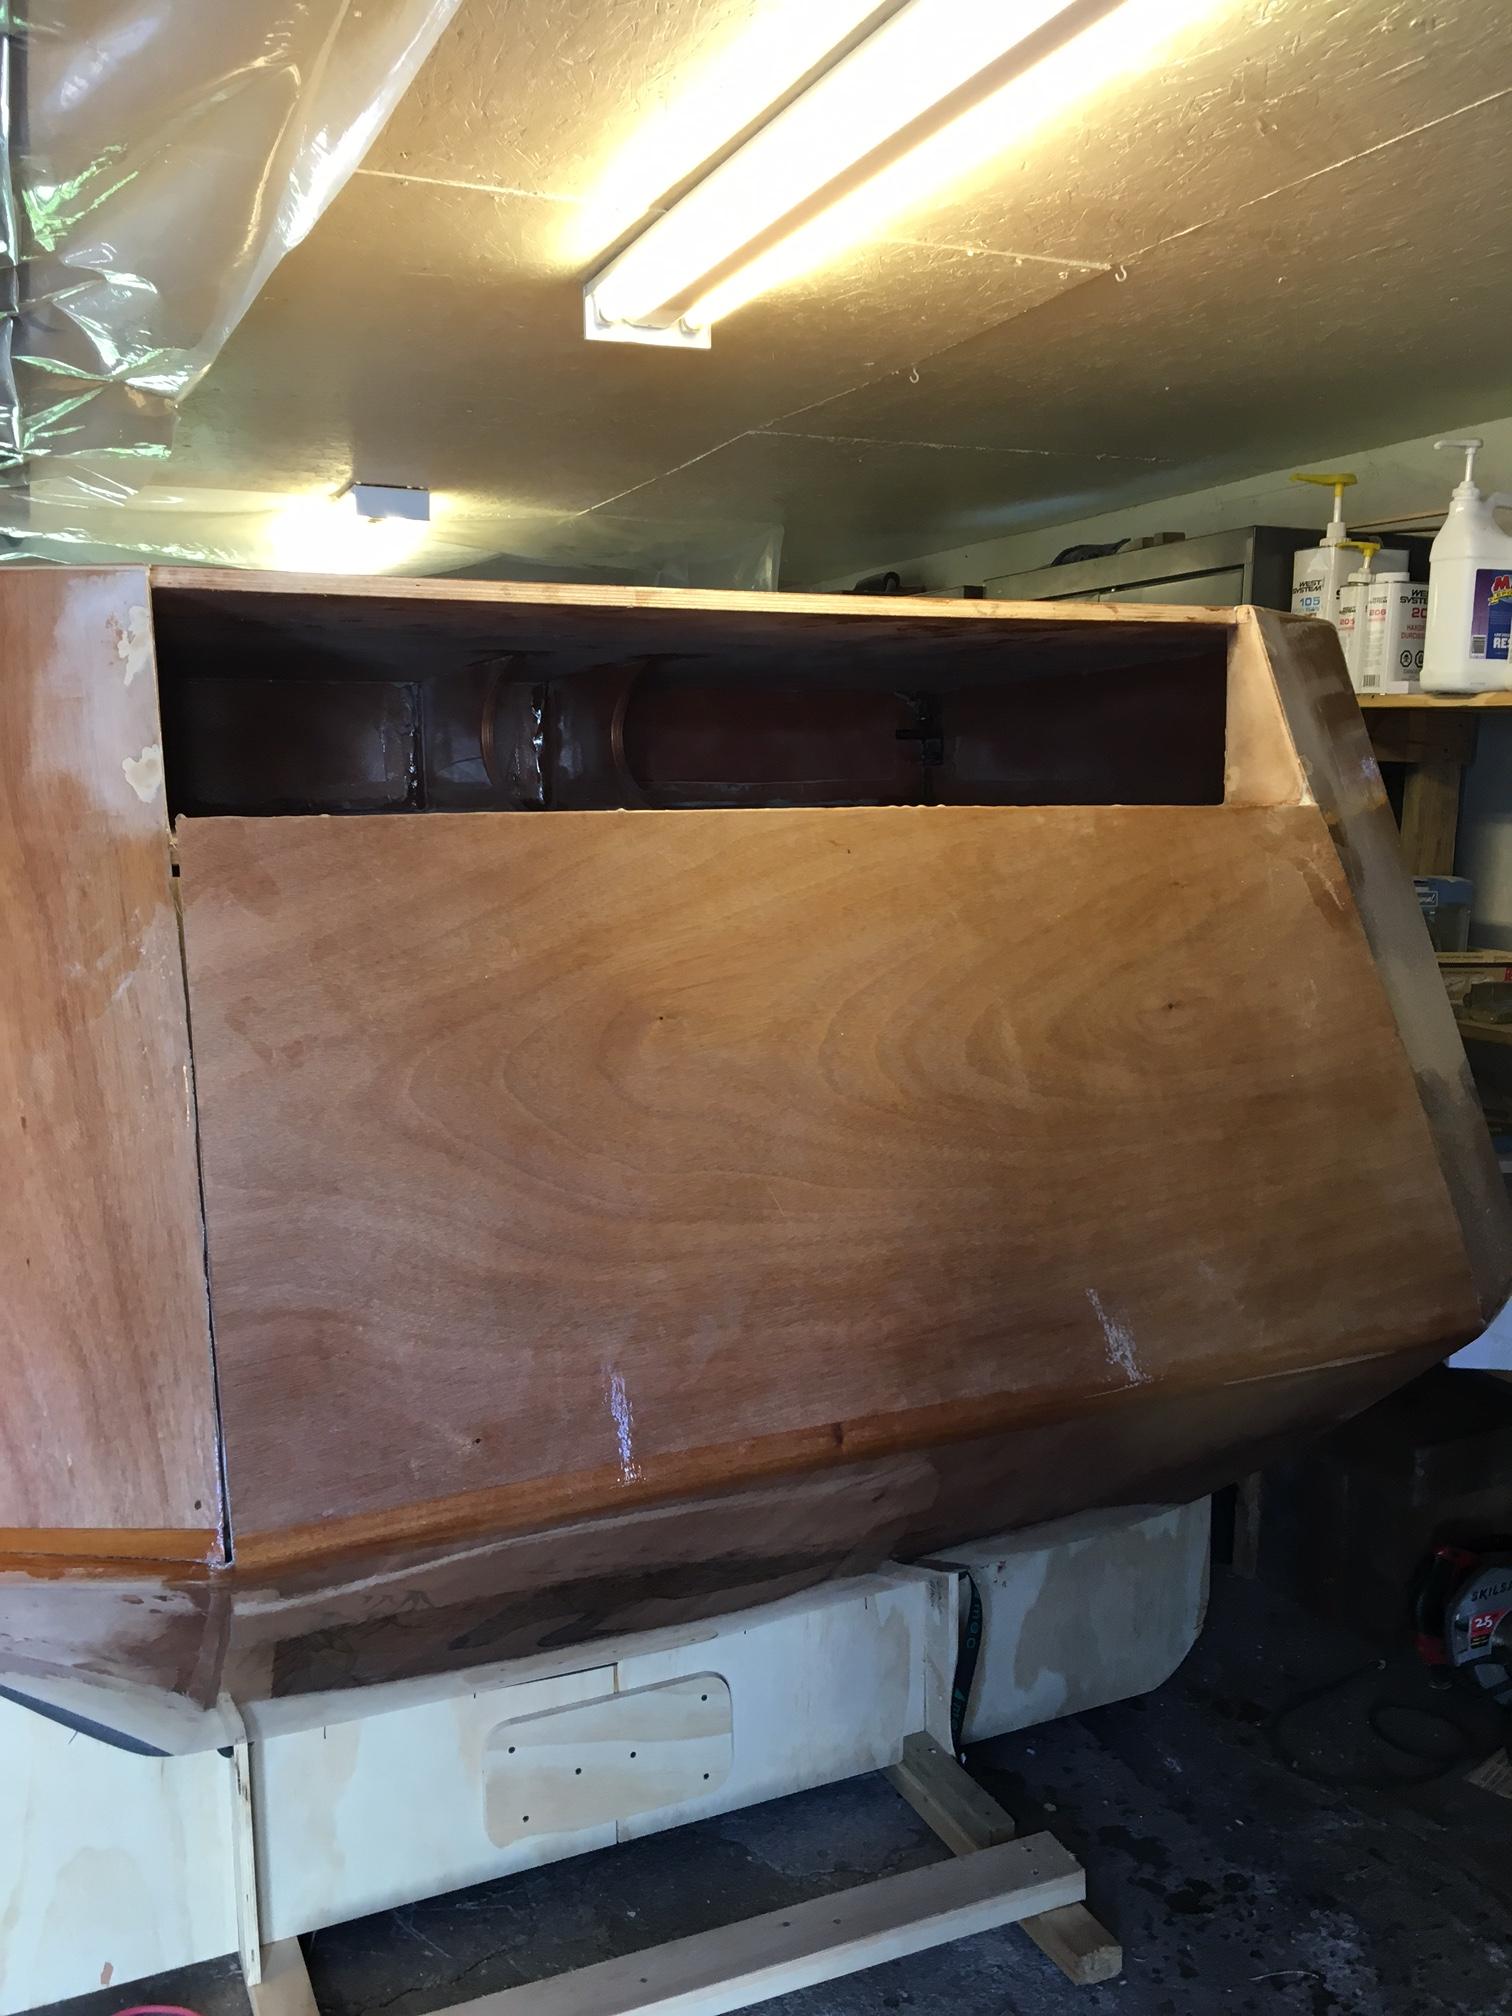
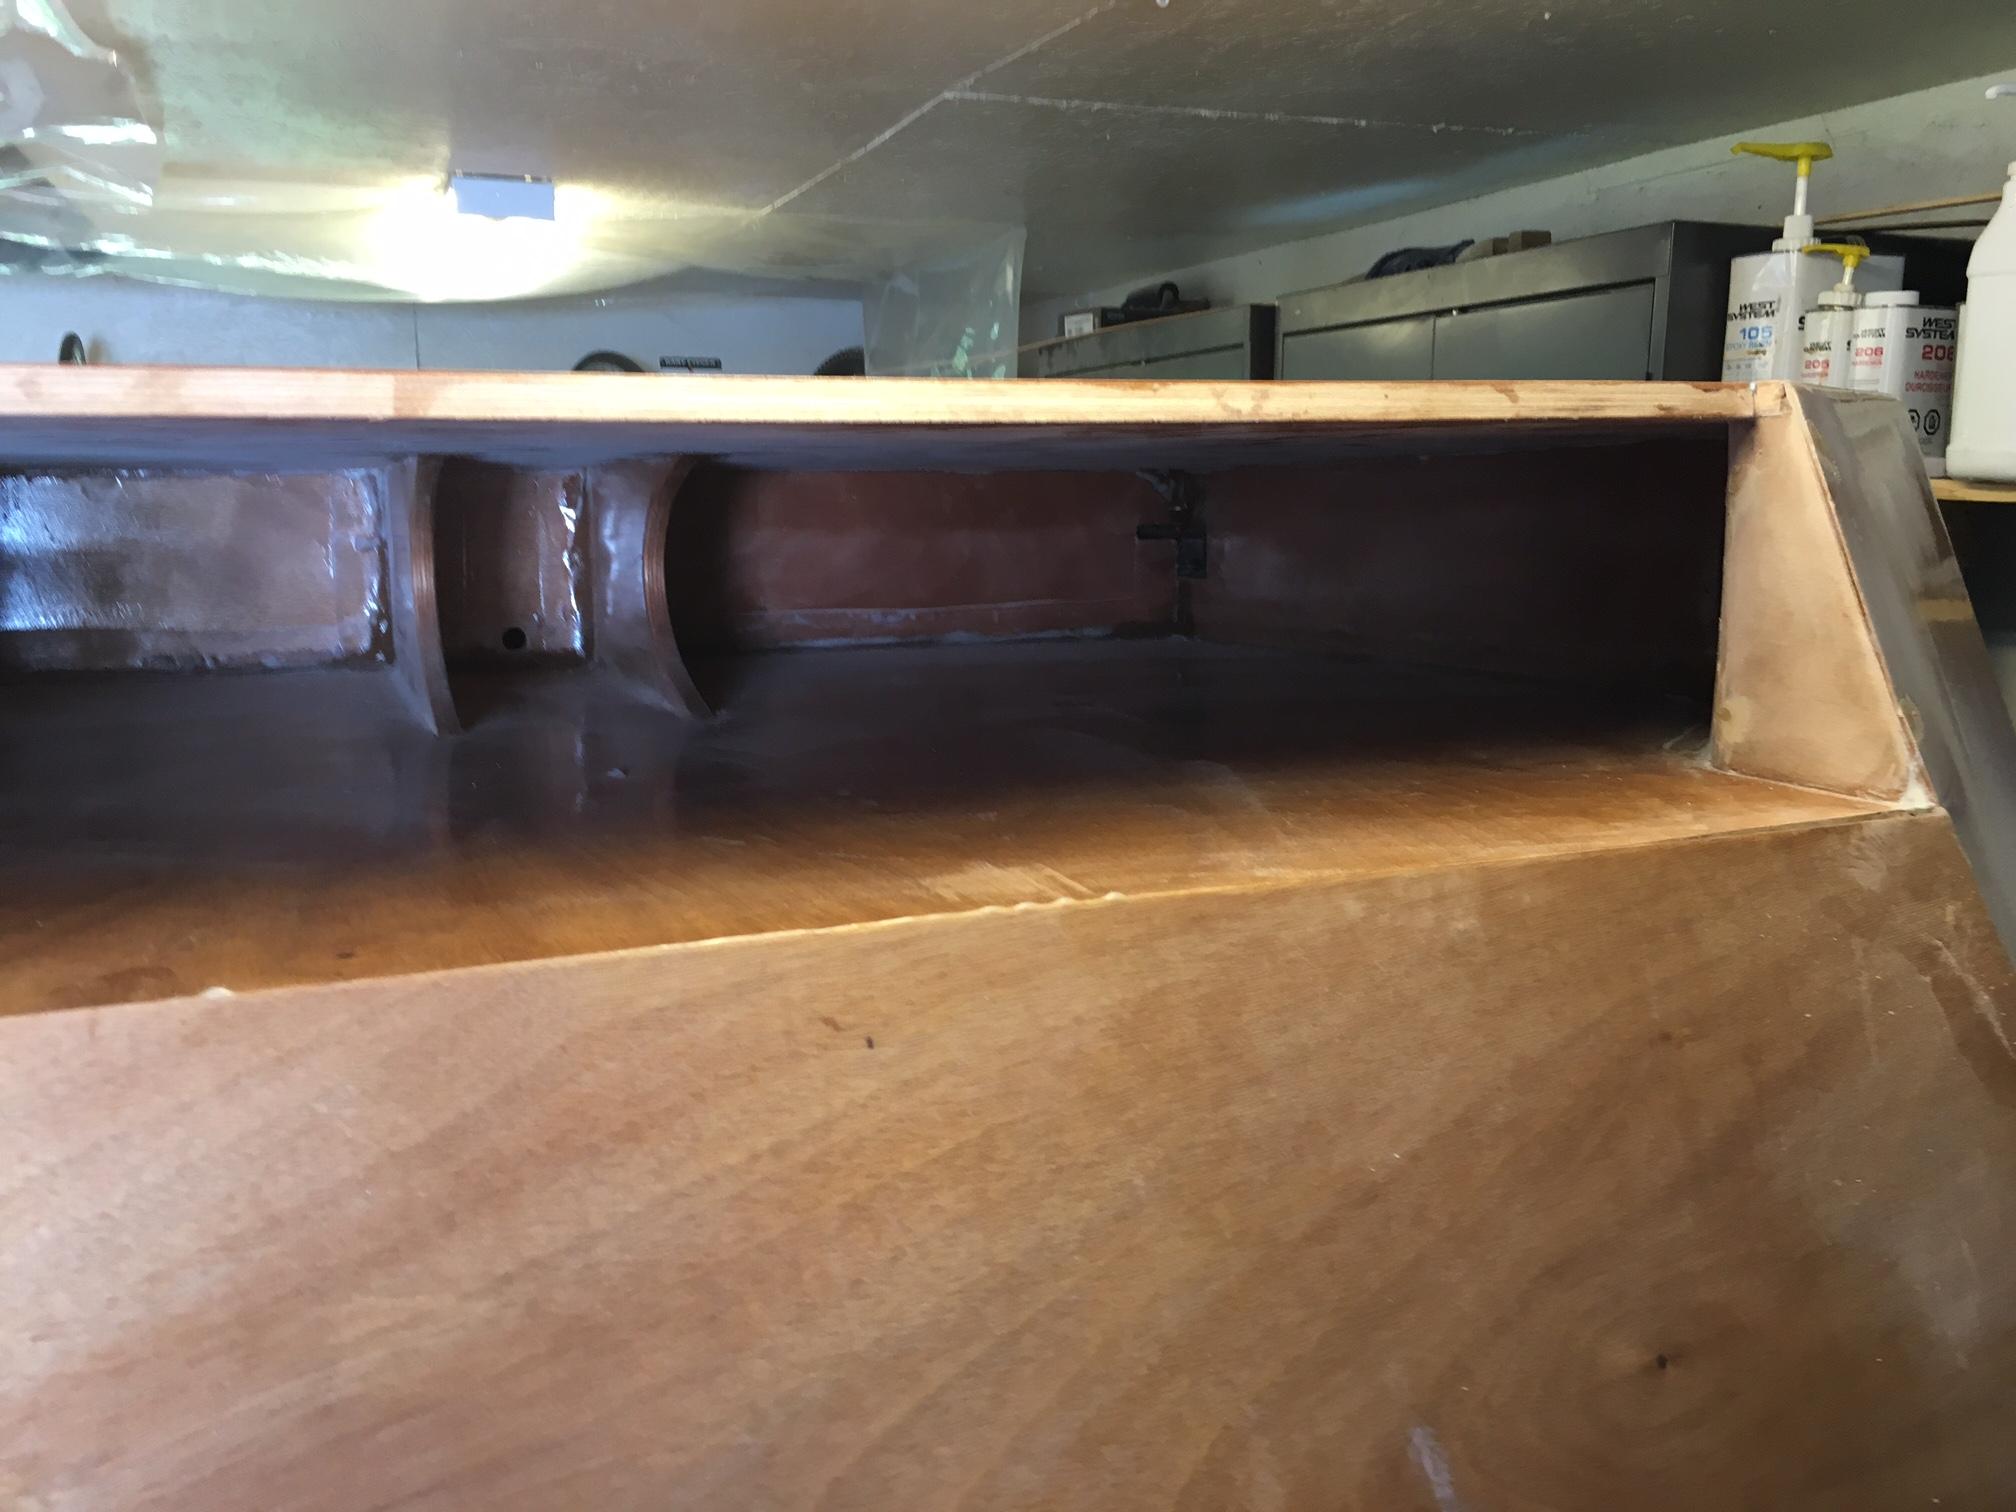
My underfloor storage is separated into two sections by a bulkhead just aft of the axle. Th efront section is accessed through hatches under the bed:
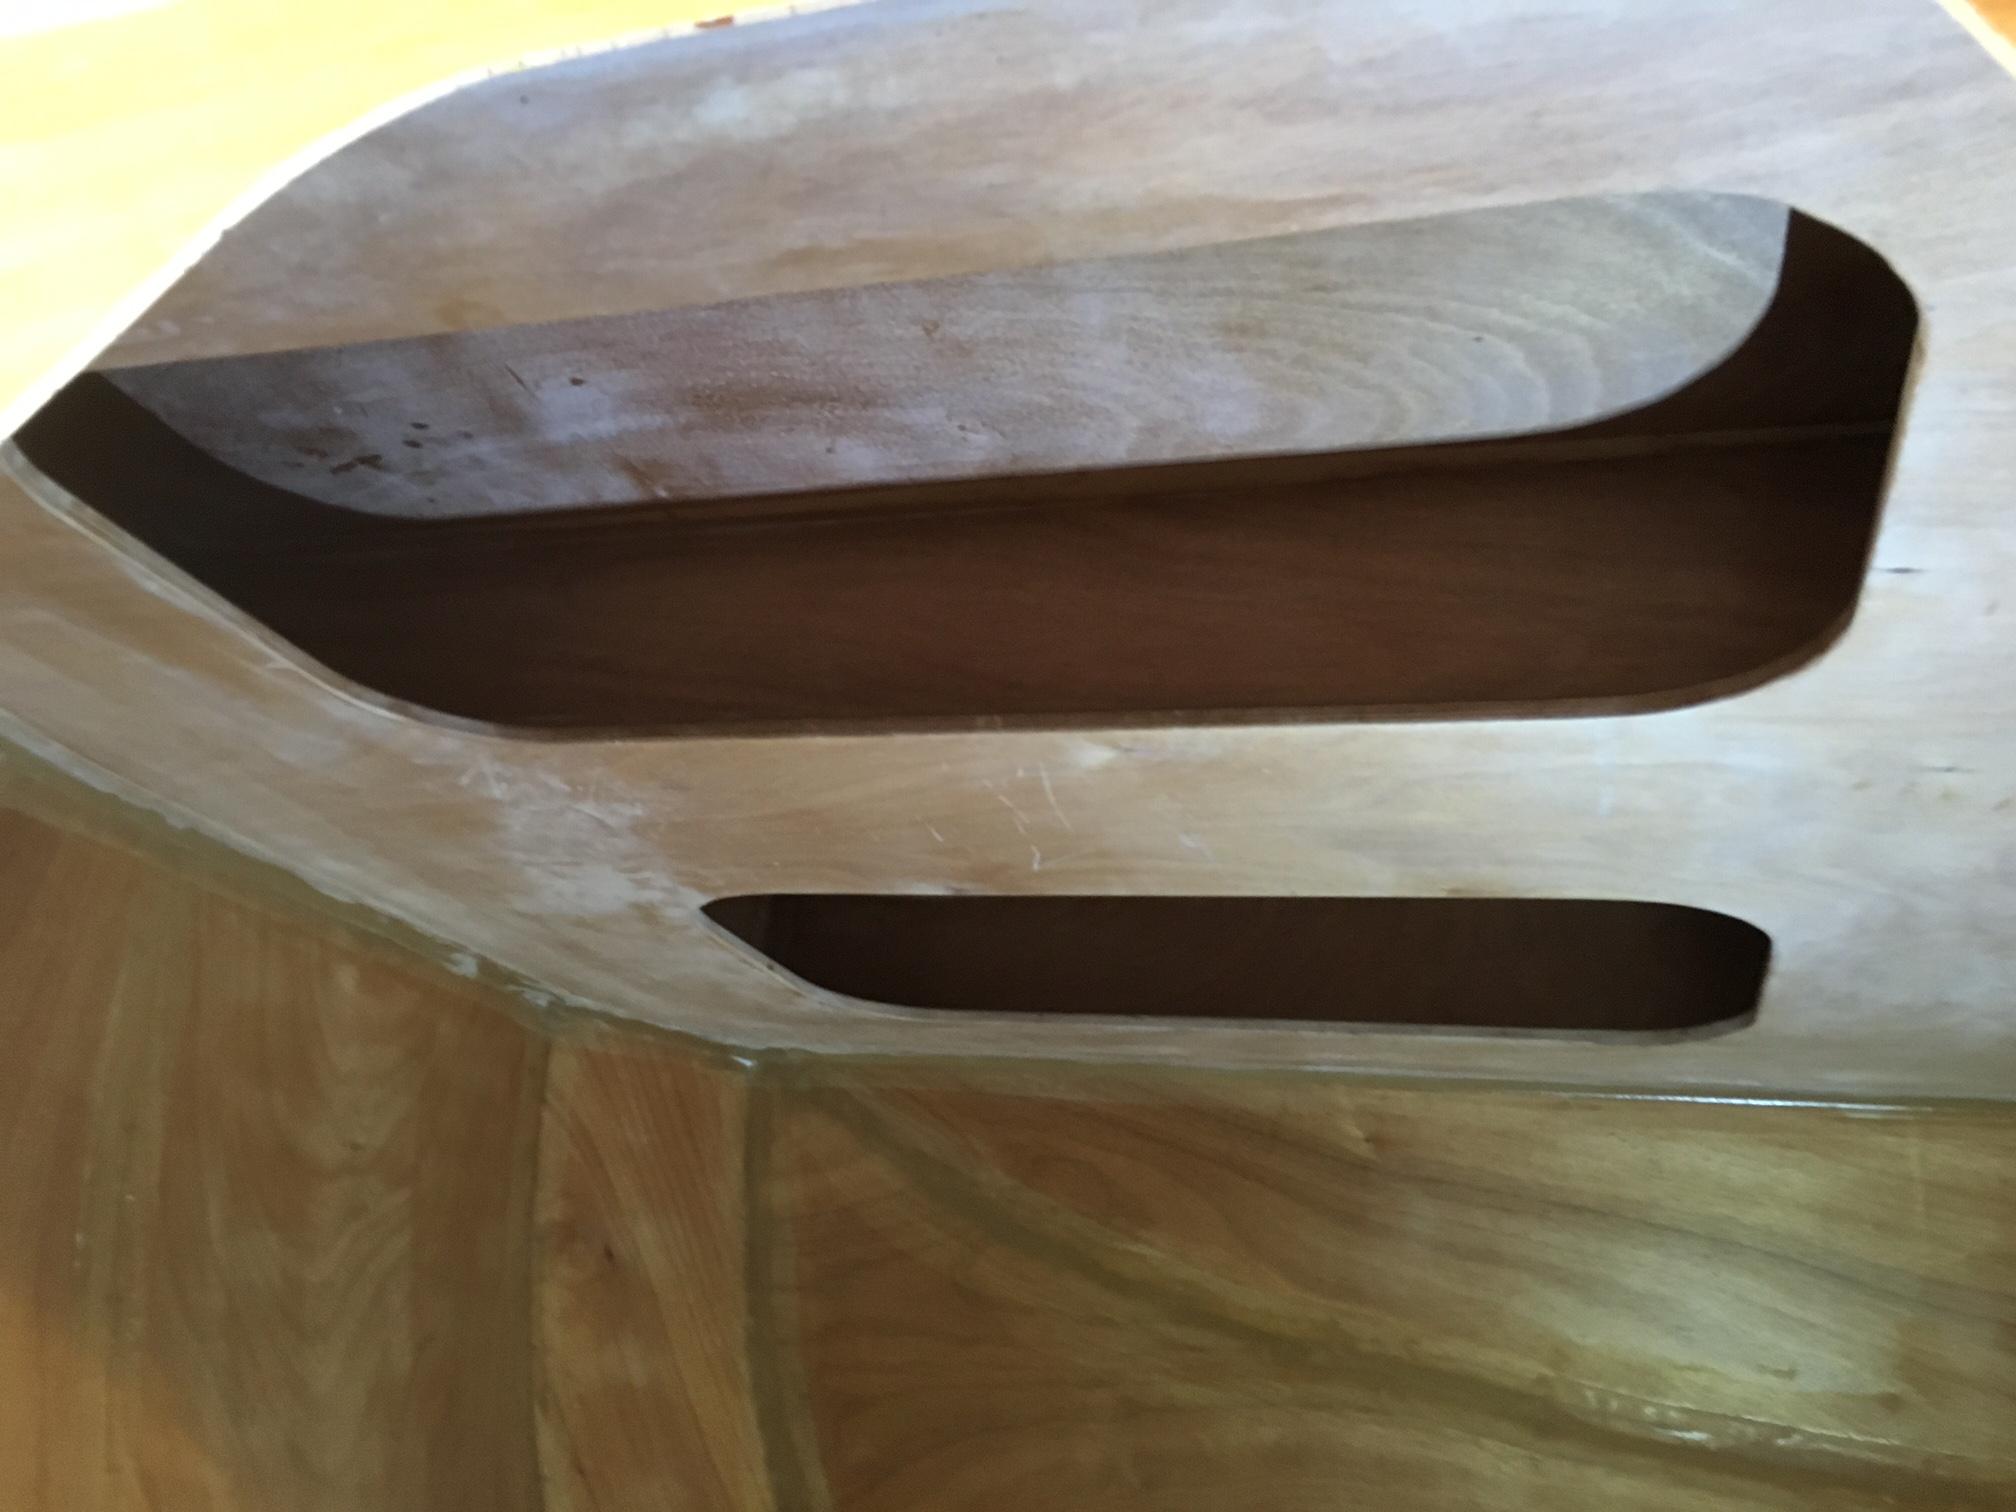
The rear section, intended for camp chairs etc is accessed through a secondary drop down door under my hatch:
Next job: finish bottom – planning on a truck bed liner type material; either take it out for Line -X or DIY U Pol Raptor.
ParticipantNow back to construction:
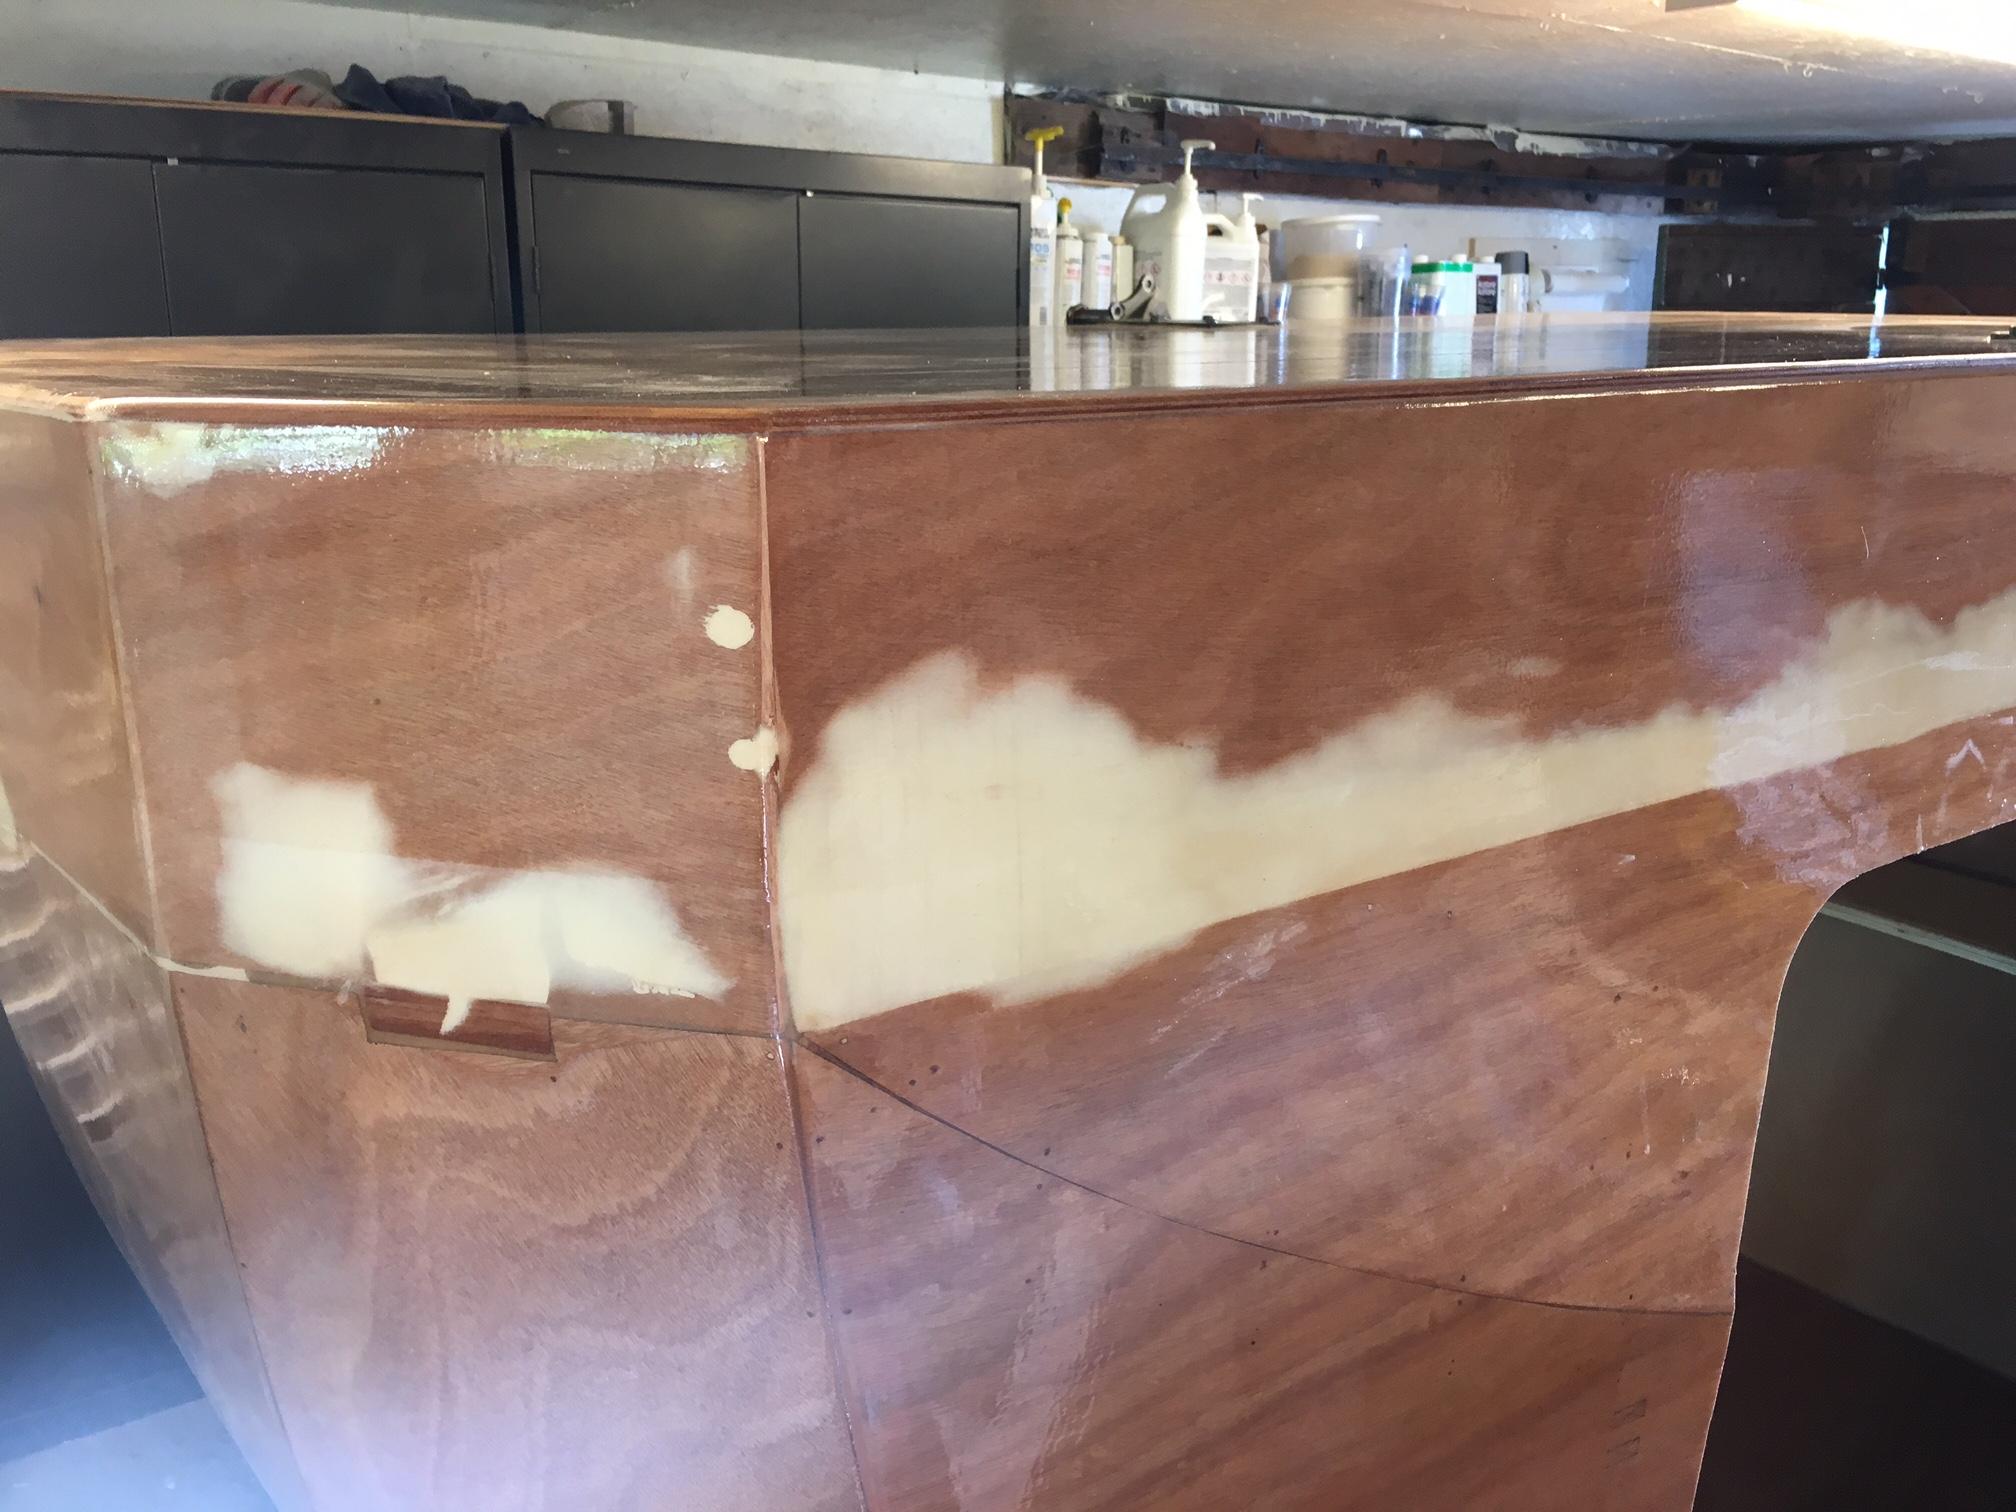
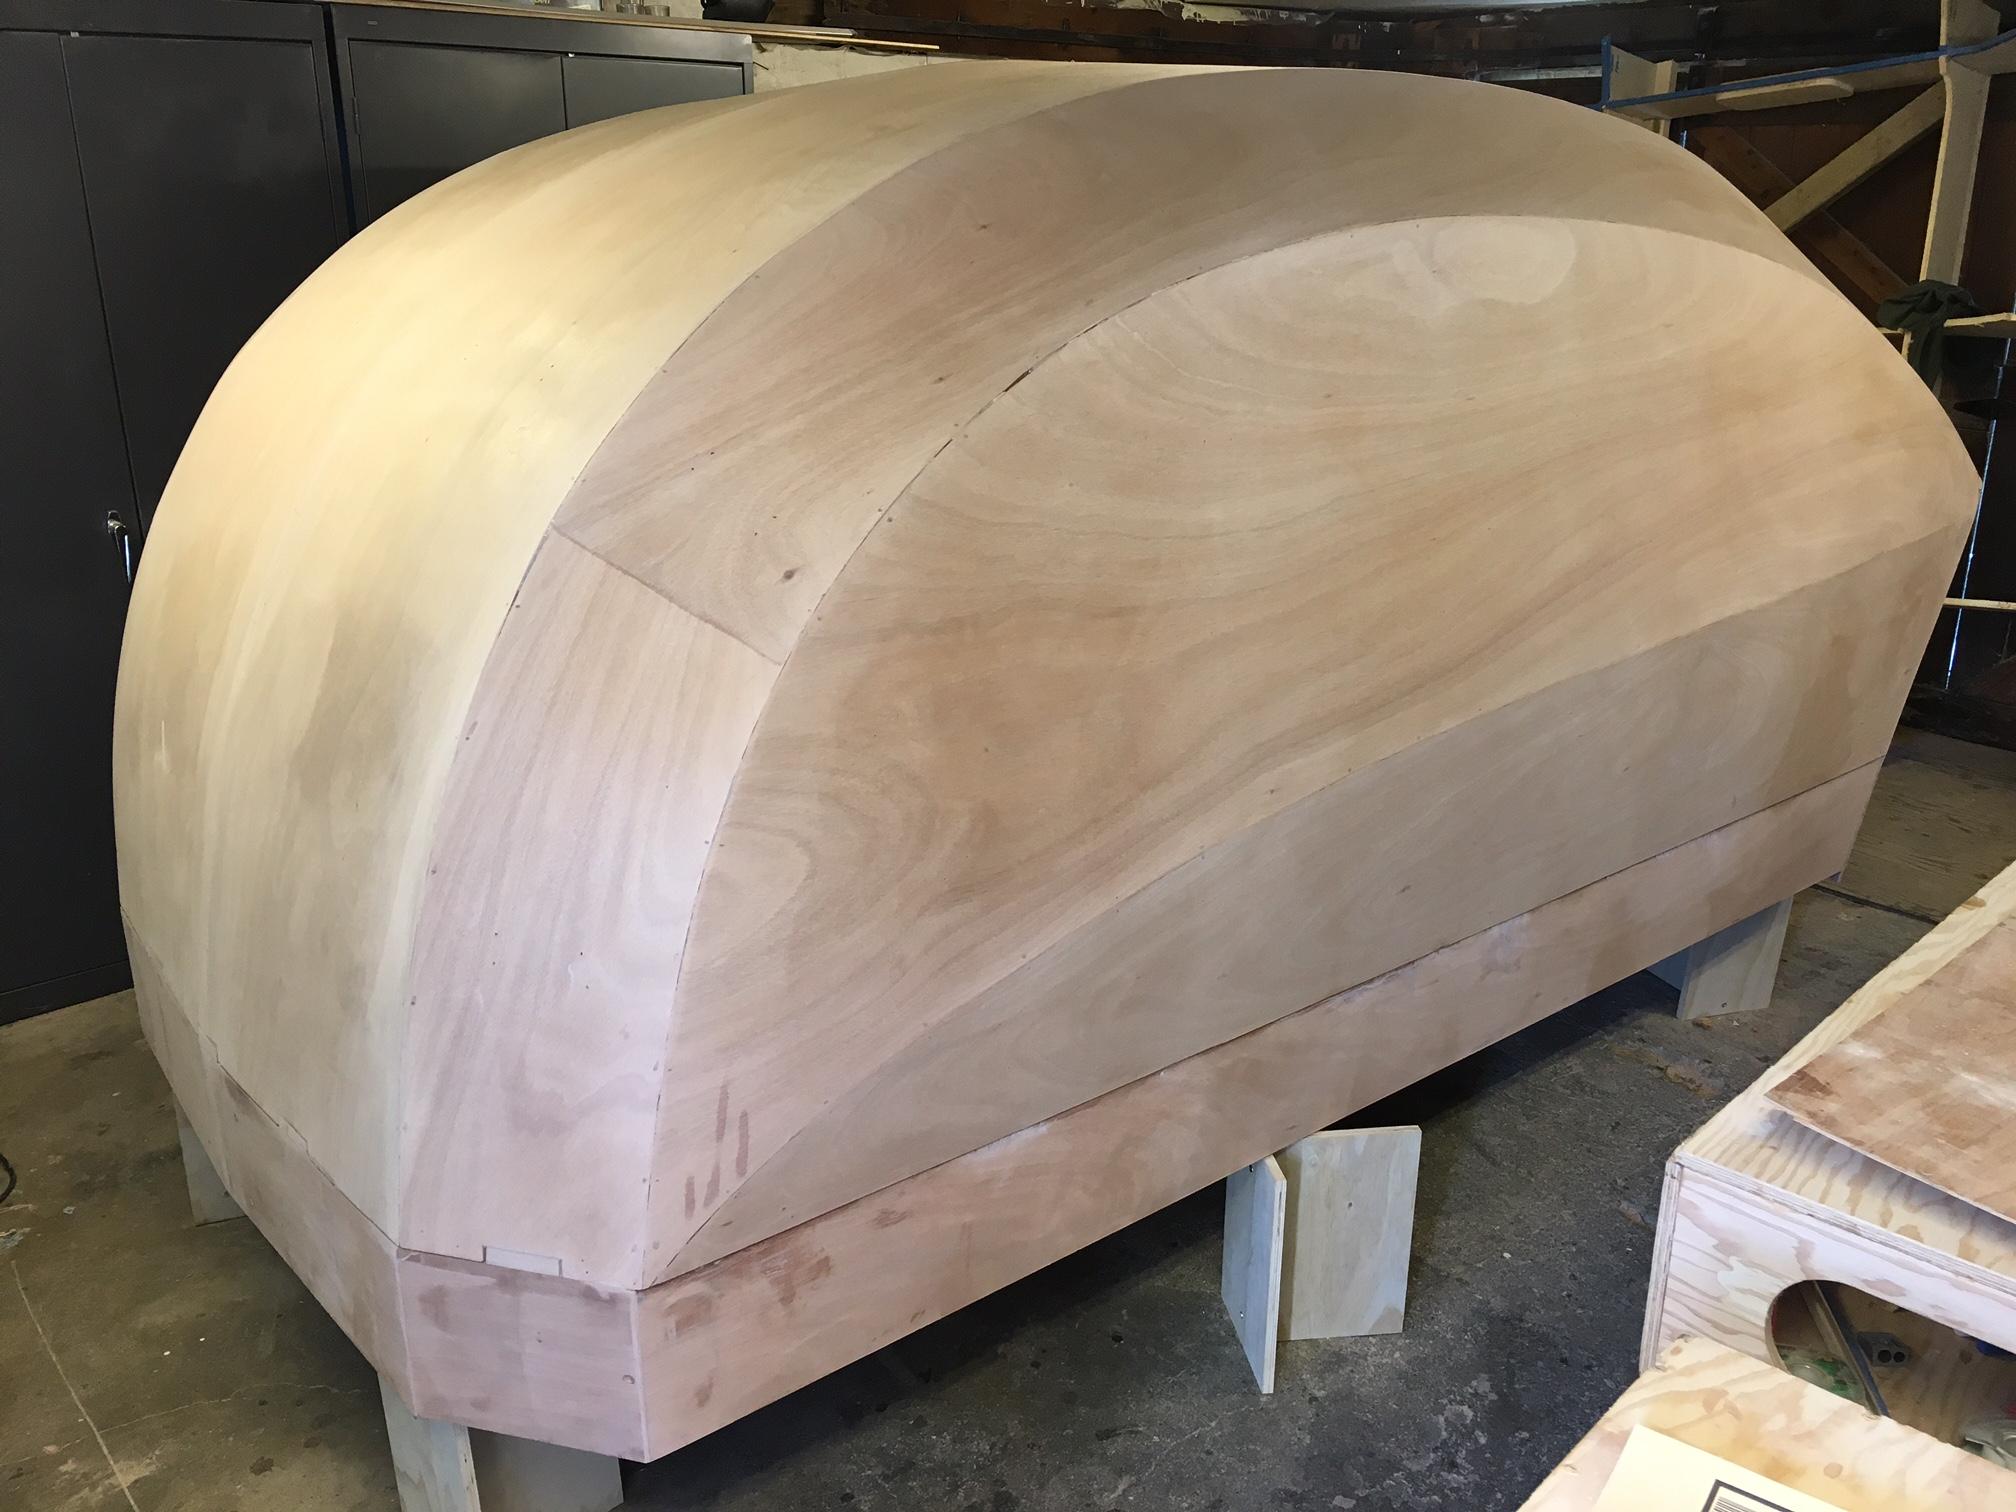
Prior to glassing the shell I faired in the vertical underfloor storage sides to the sloping shell panels with West microlight filler. I was not worried about cream colour because bottom paint will be carried up sides @ 9 inches.
When glassing the shell I obtained 60inch wide cloth so that the side panels would be wide enough to also cover my side skirts in a continuous piece.
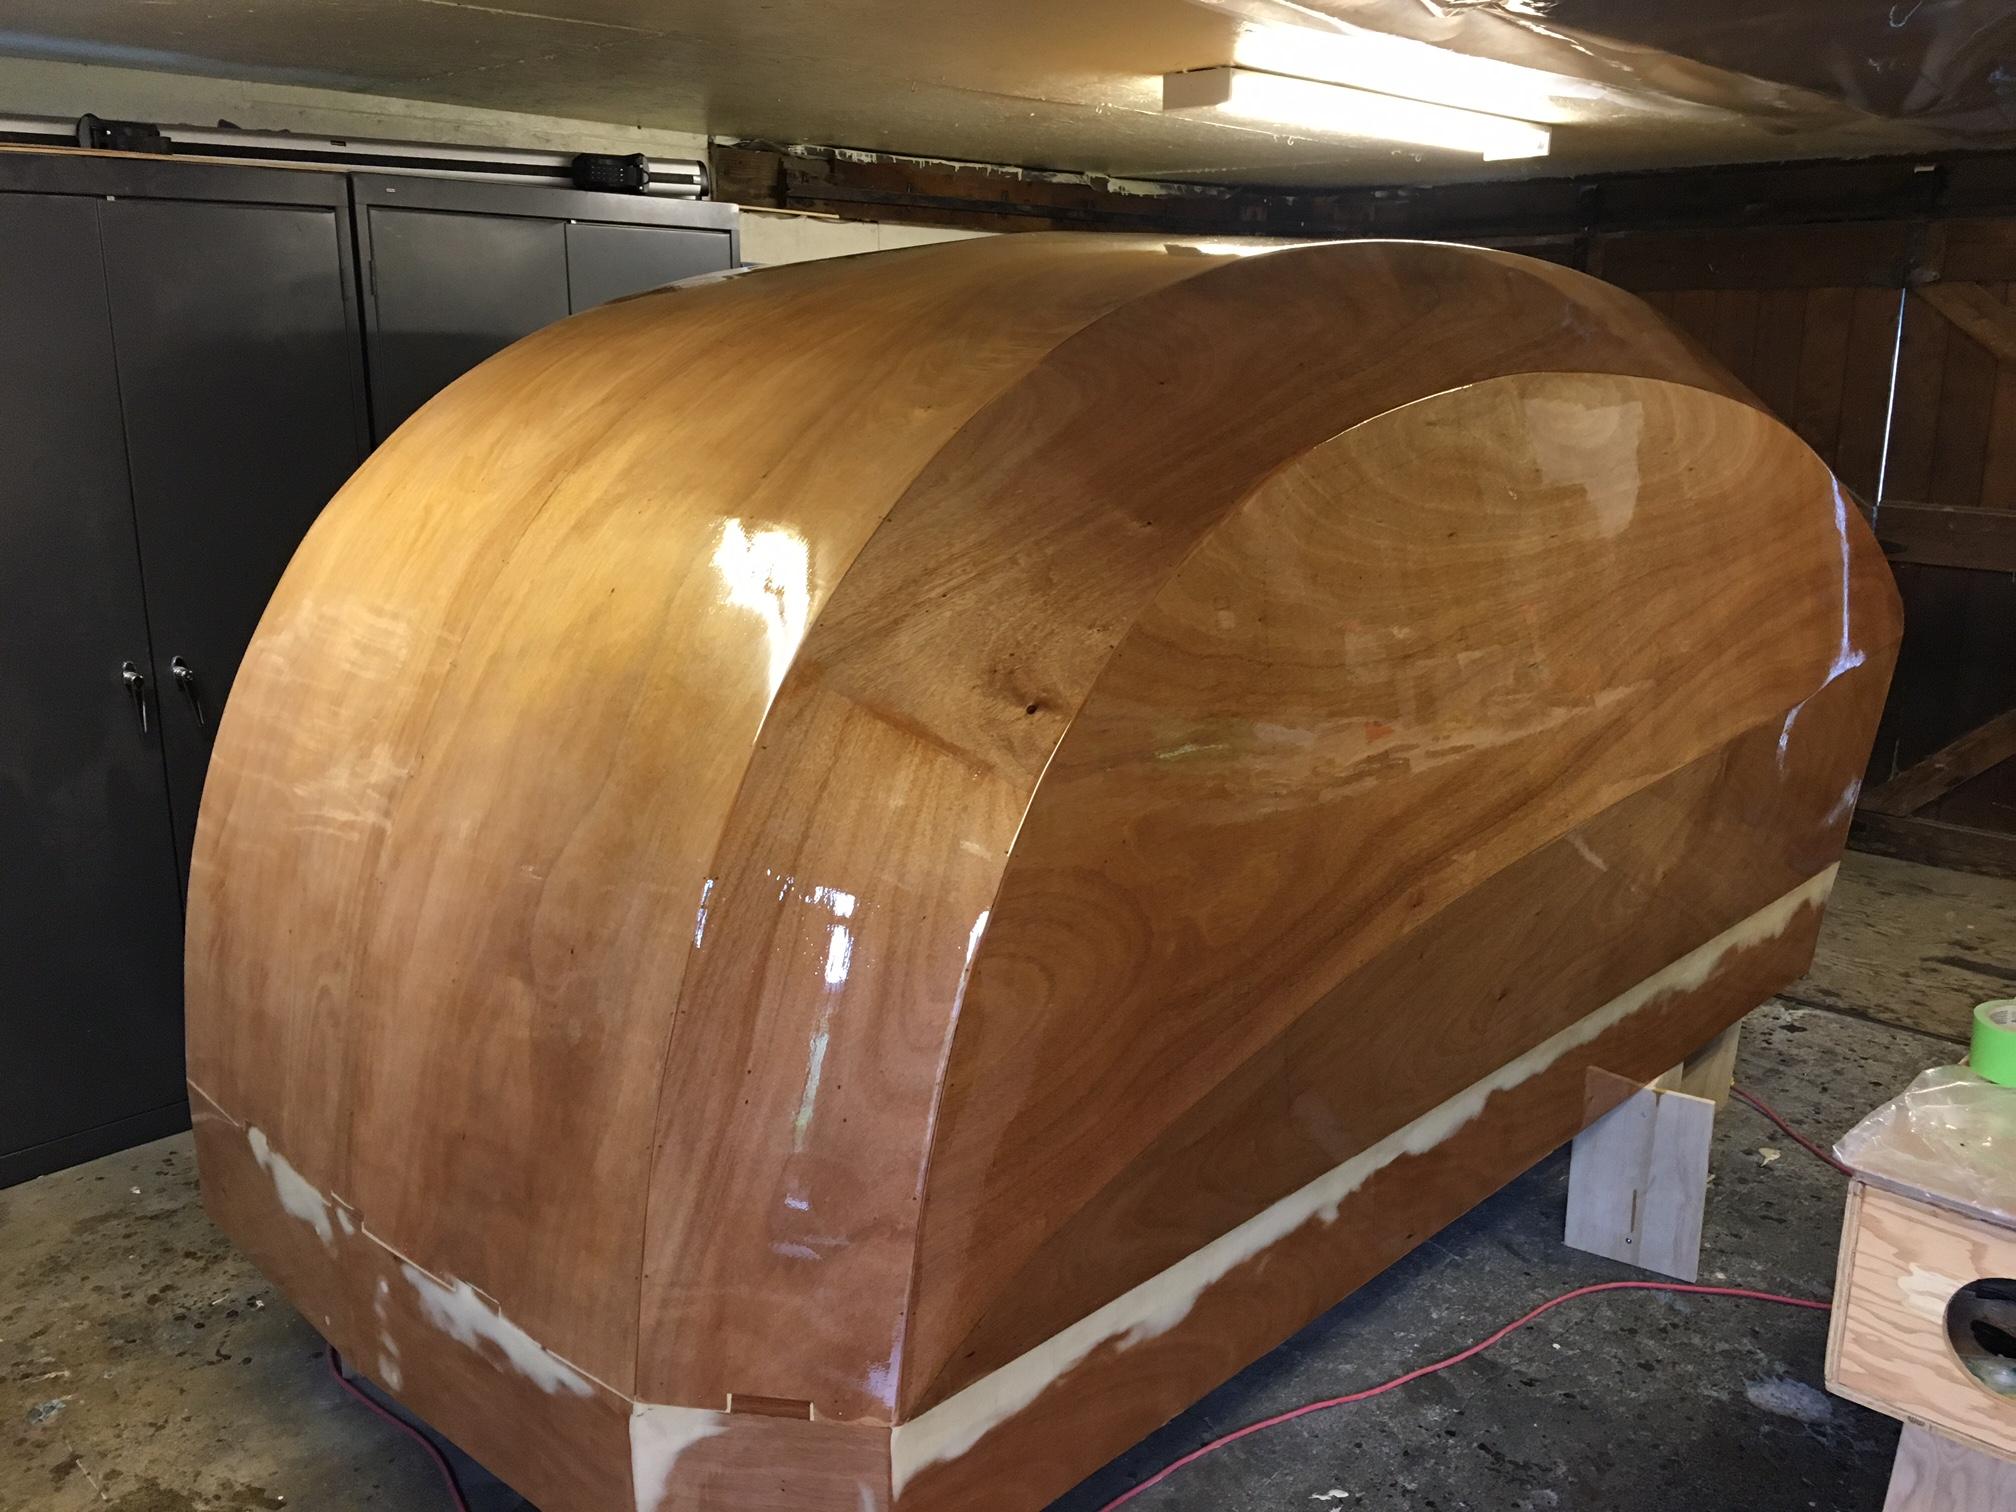
Then the big flip. I had saved the top portion of the mold to use as a cradle. Cushioned the epoxy finish by applying foam pipe insulation over the plywood edges of the mold.
Then glued on my bottom floor. From West I got an empty caulking type tube which I filled with thickened epoxy. Worked brilliantly for applying an even bead of glue down my dadoes and rabbet joints. So I now have two 3/4 inch floors with underfloor storage between.
Participant… and after 4 coats of epoxy:
 Participant
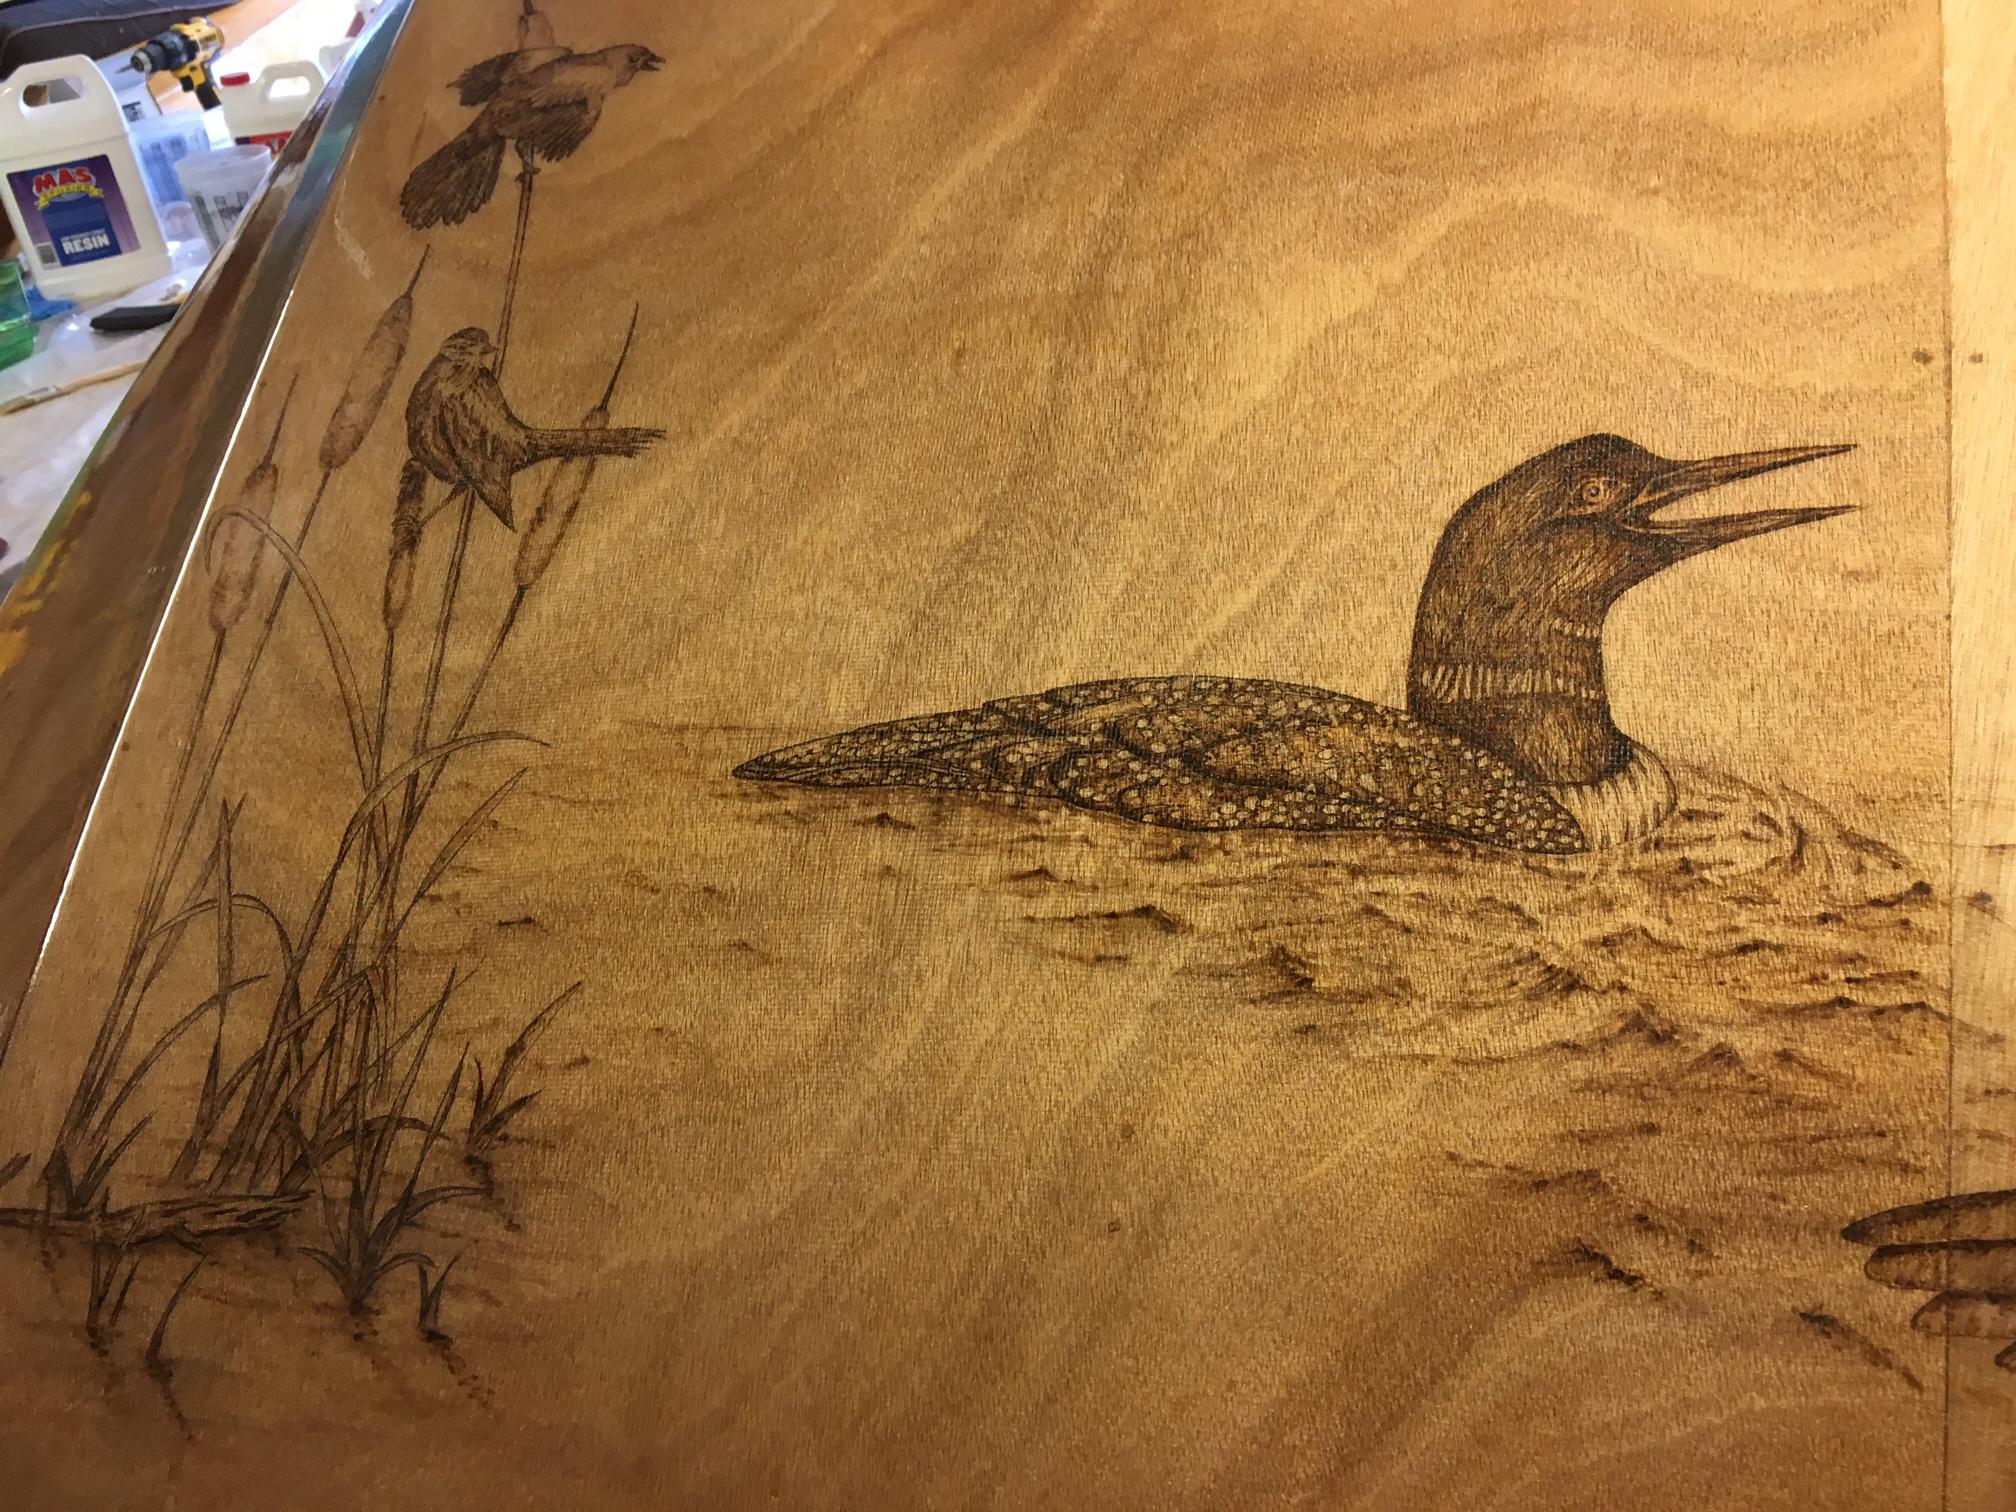
Updating my build record from my “Decoration Post”: After releasing the shell from the mold and finish sanding my mind turned to a little decoration on the hatch.
It takes a brave or foolhardy man to take a hot iron to the freshly sanded handiwork. Think I am more of the latter, but after having previously messed around on a kayak project with wood burning with a soldering iron I went all in this time:
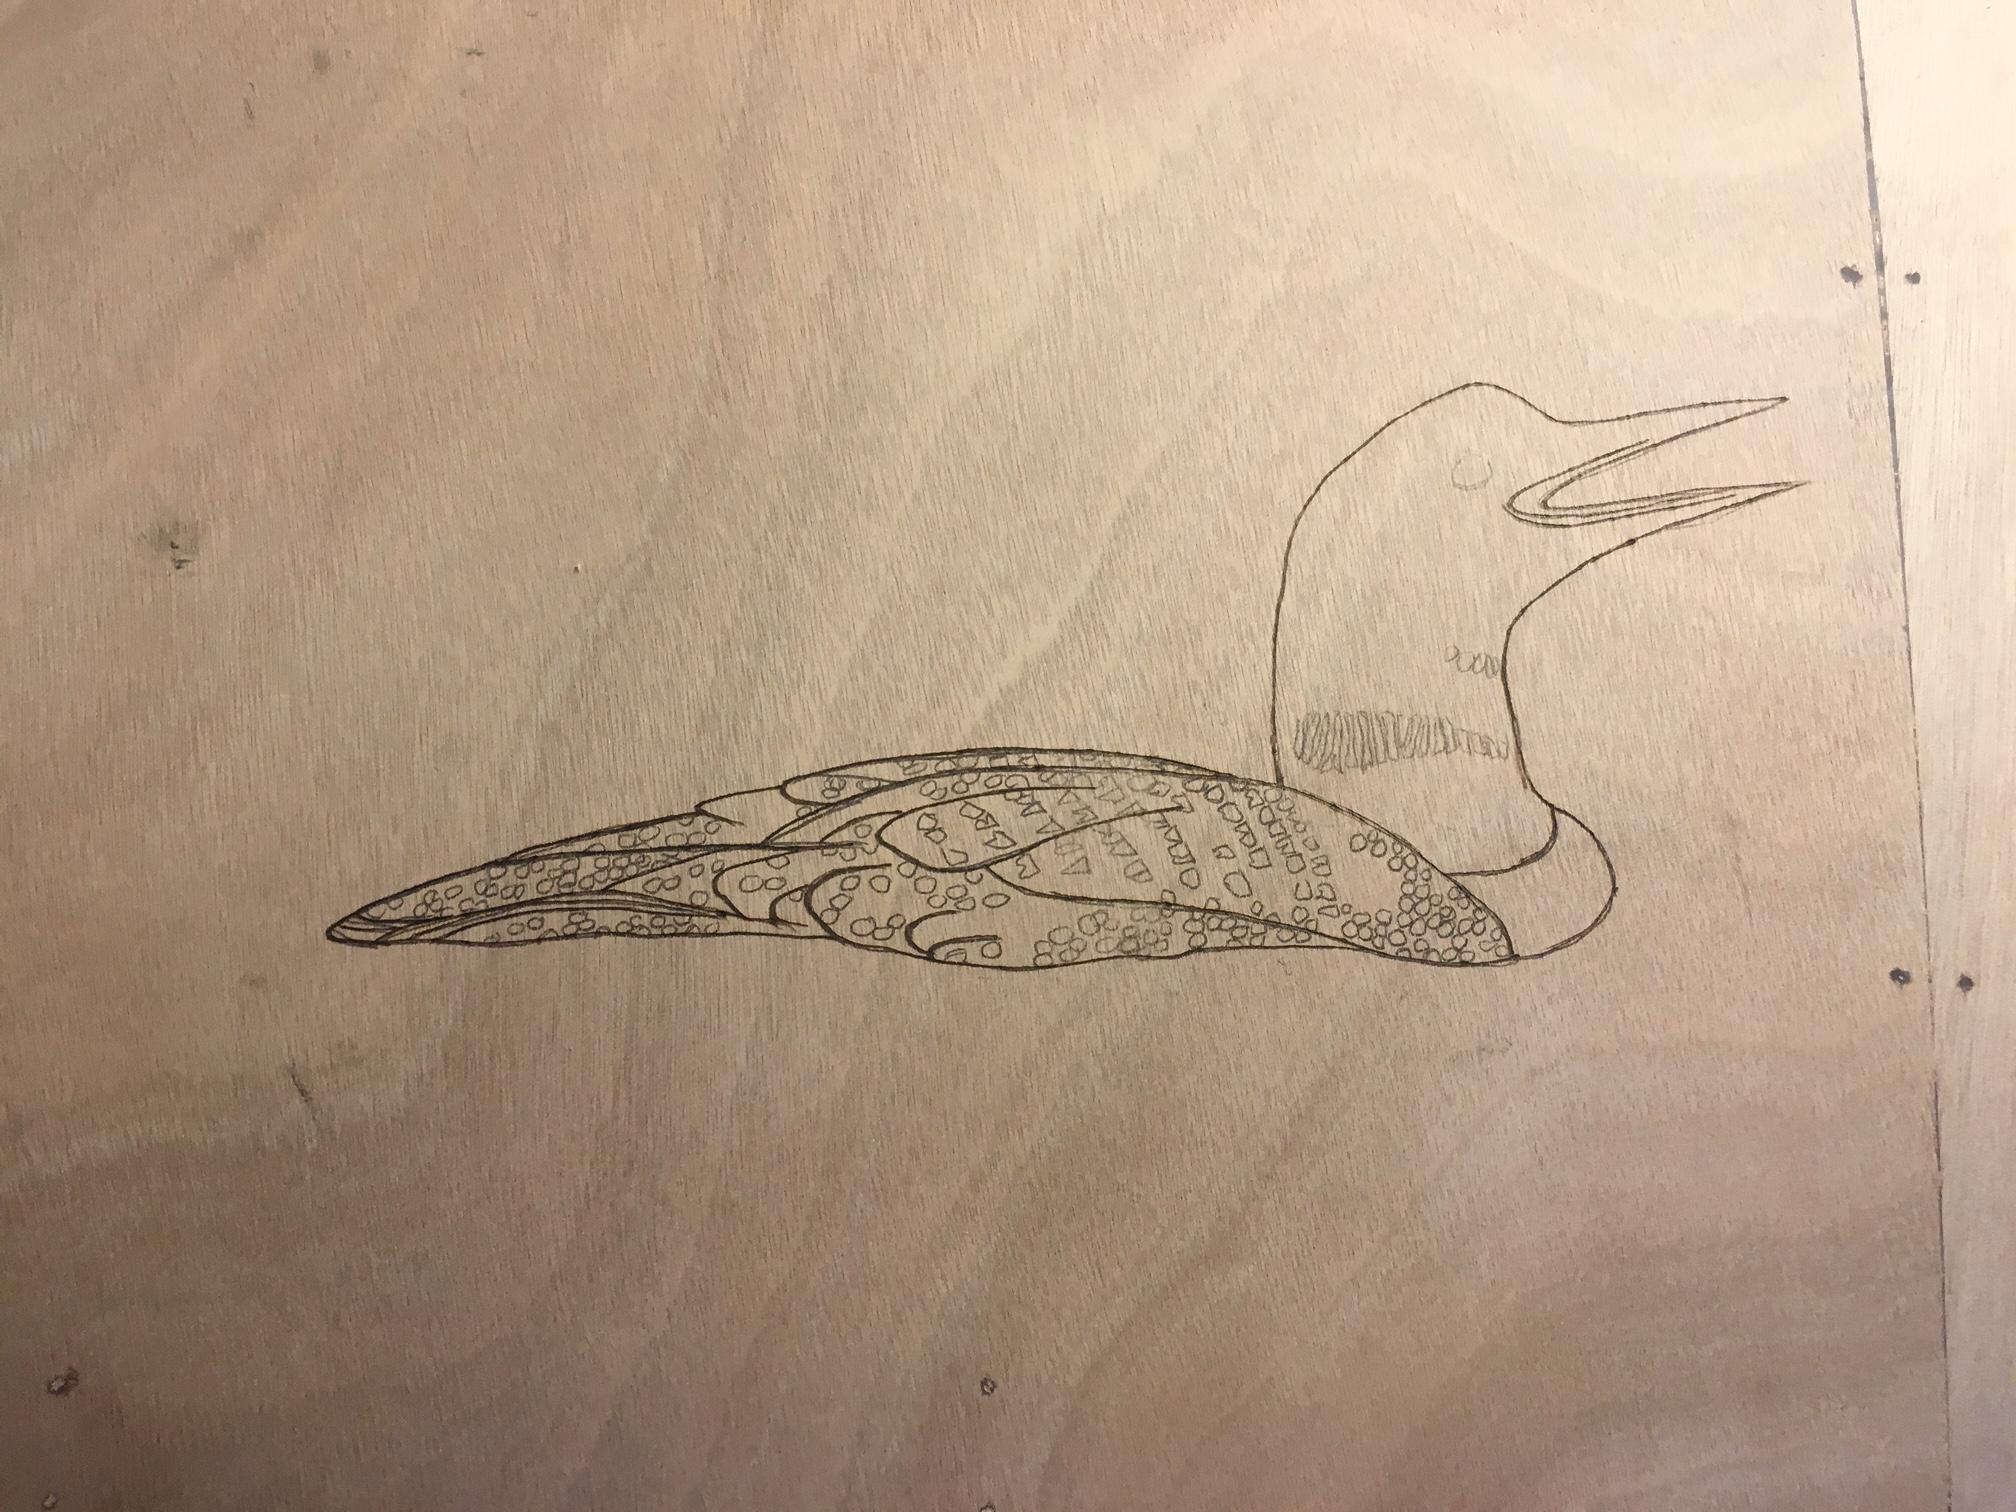
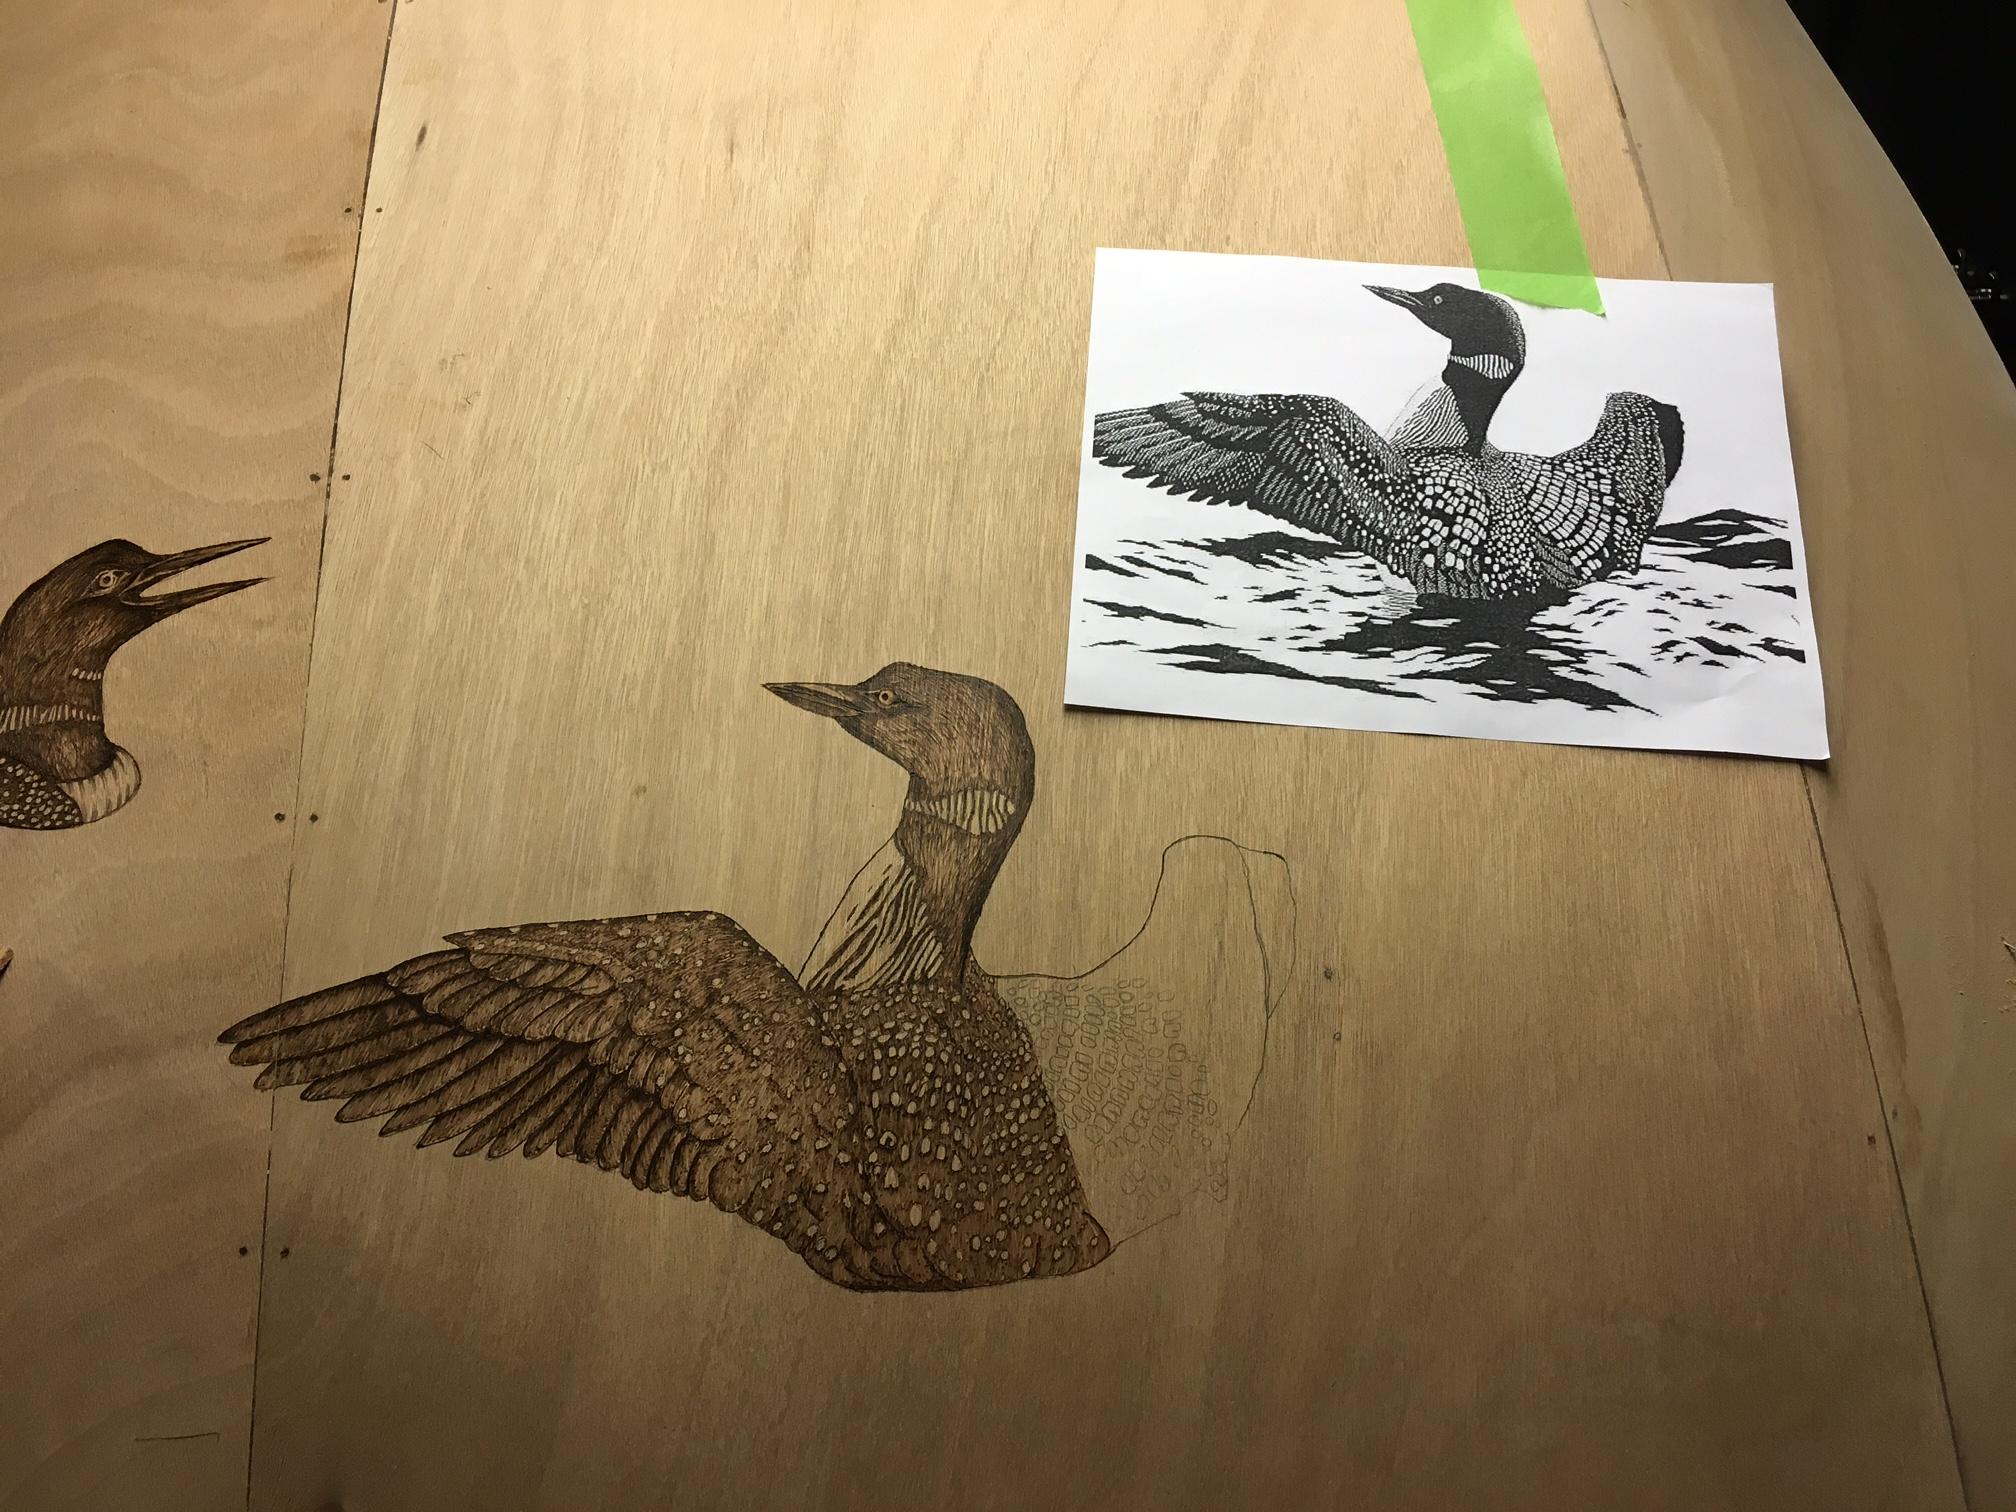

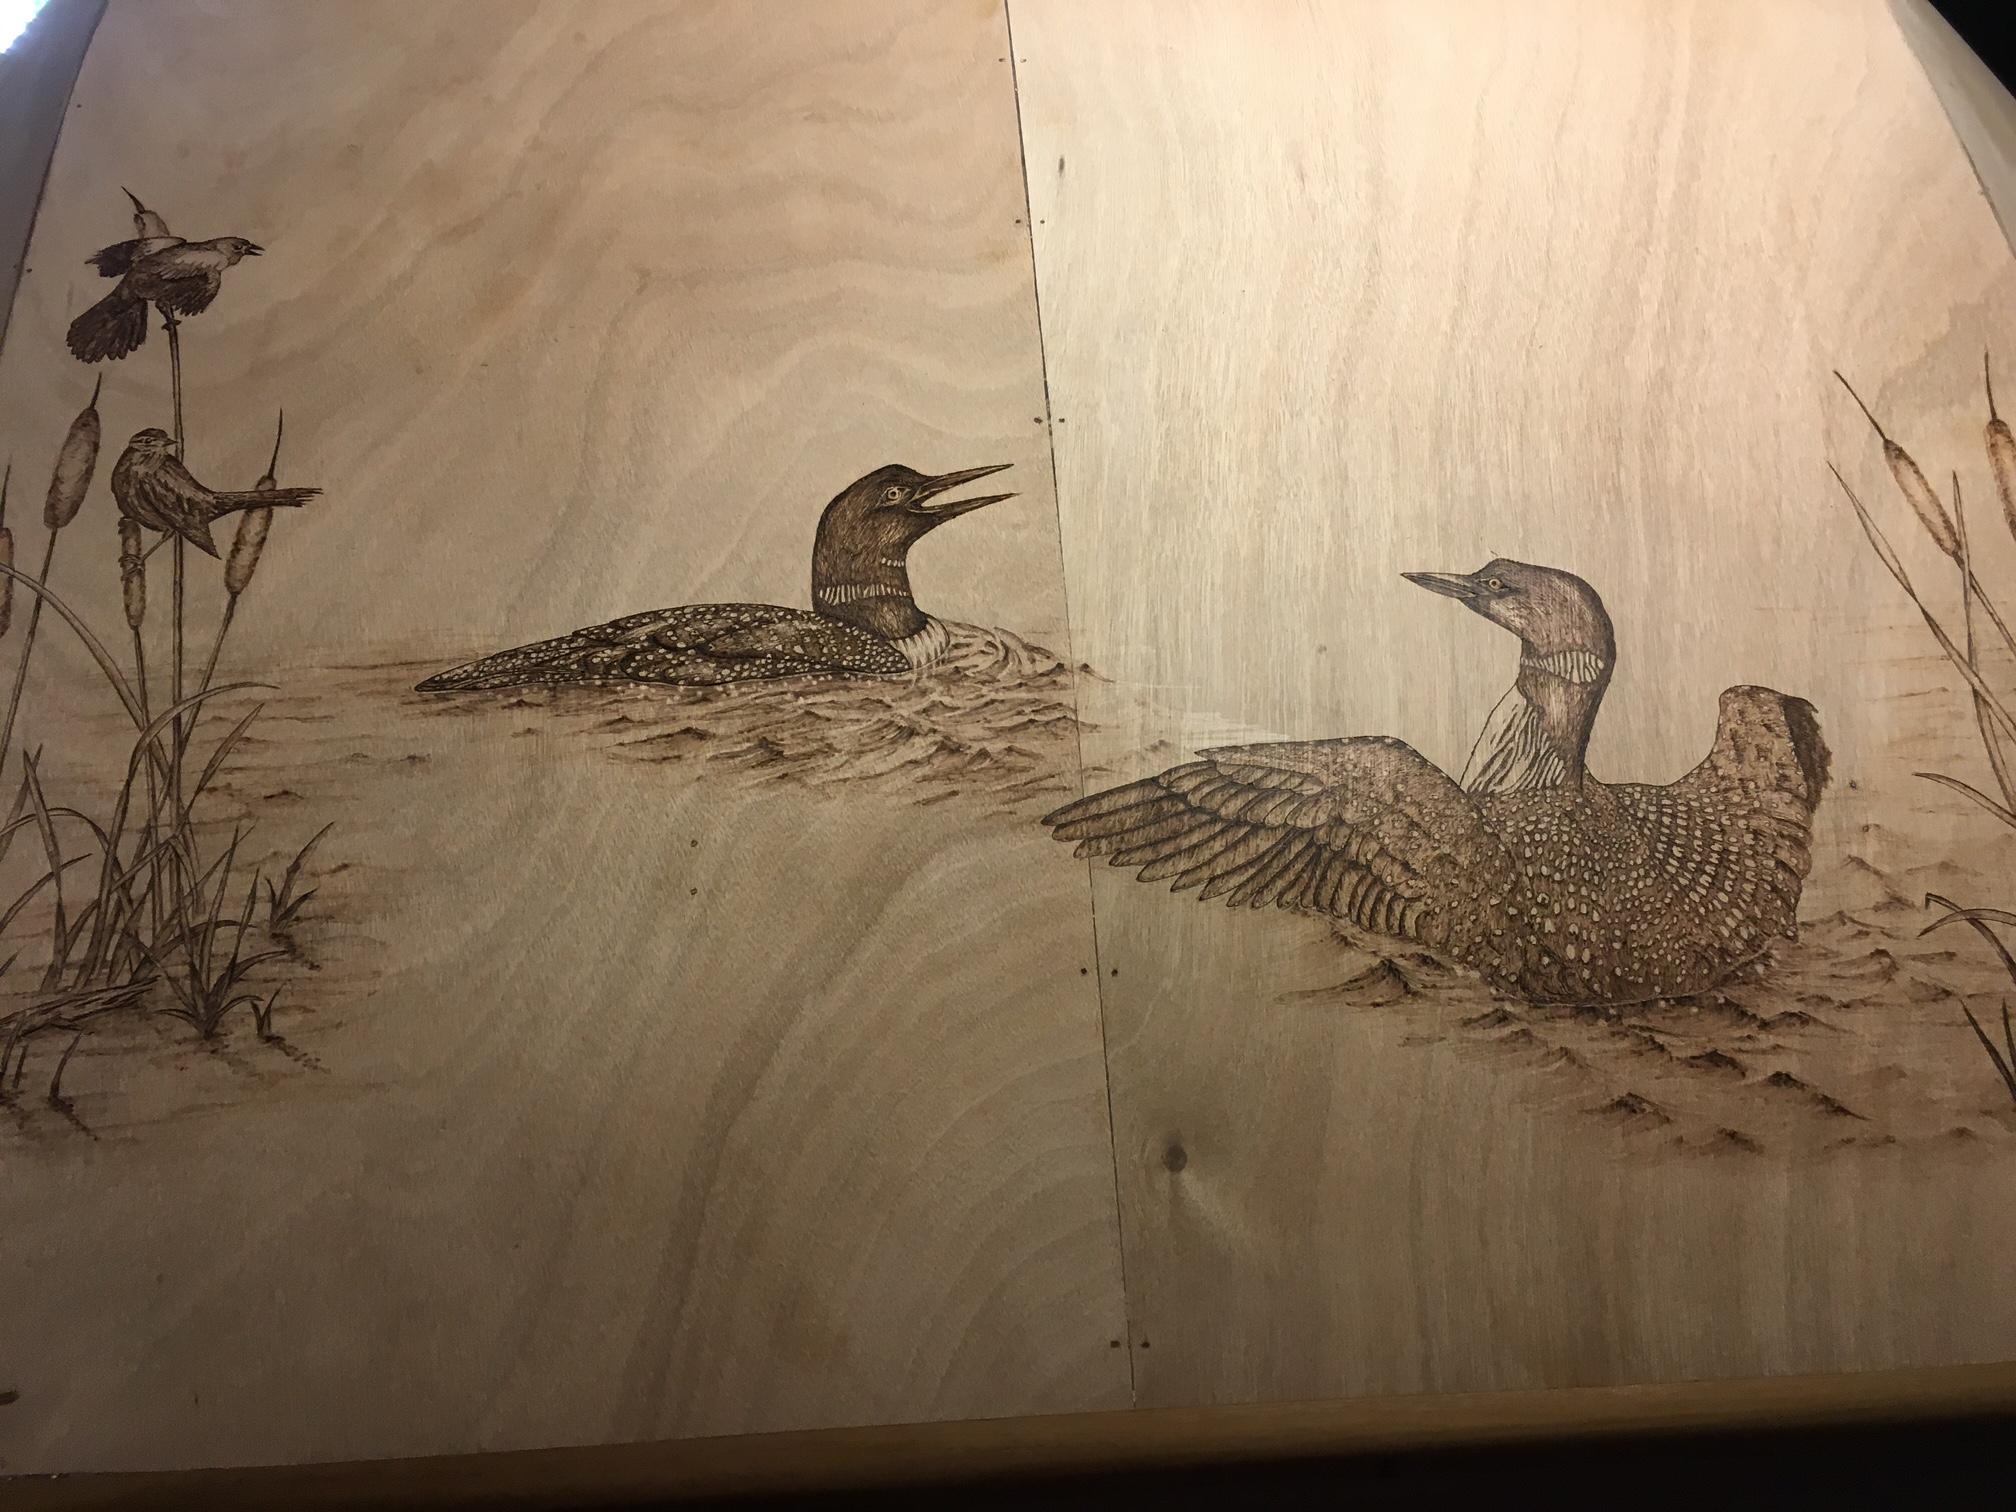
Reb winged blackbirds and common loons: frequently seen at some of my favourite campsites.
ParticipantAfter 4 coats of epoxy I am quite pleas3ed with how the burn shows through:

 May 4, 2018 at 9:50 am in reply to: Install & epoxy top panels 1R & 1L b/4 installing panels 2R & 2L? #1816Participant
Yes, sharp eyes – it was wax paper. I prefer to use it instead of poly for jobs like your puzzle joints. Lies flat and easier to work with.
May 3, 2018 at 11:27 am in reply to: Install & epoxy top panels 1R & 1L b/4 installing panels 2R & 2L? #1814ParticipantGreetings and welcome to this adventure.
I think it is an excellent idea to epoxy/tape one seam at a time, at least to start. Particularly for first timers. I have built several kayaks with this method previously and still had problems doing the three seems at one go, largely because of miscommunication with my epoxy mixer!
While I like the idea of doing one seam at a time, not so sure about only laying in the #1 panels to start. I get your point about the alignment, but still think I would like to have the #2 panels wired in place before doing the #1 seam. As an average height guy, I had no problem stretching in to do the #1 seam.
Some other tips:
- when wetting out the tape do not go overboard brushing on epoxy over the tape. It should not need much and generally “less is more”. I find that running my gloved fingertips along the tape wets it out from the epoxy and putty underneath and results in a neat seam. As long as it goes clear that is all you need – do not worry about the weave showing through.
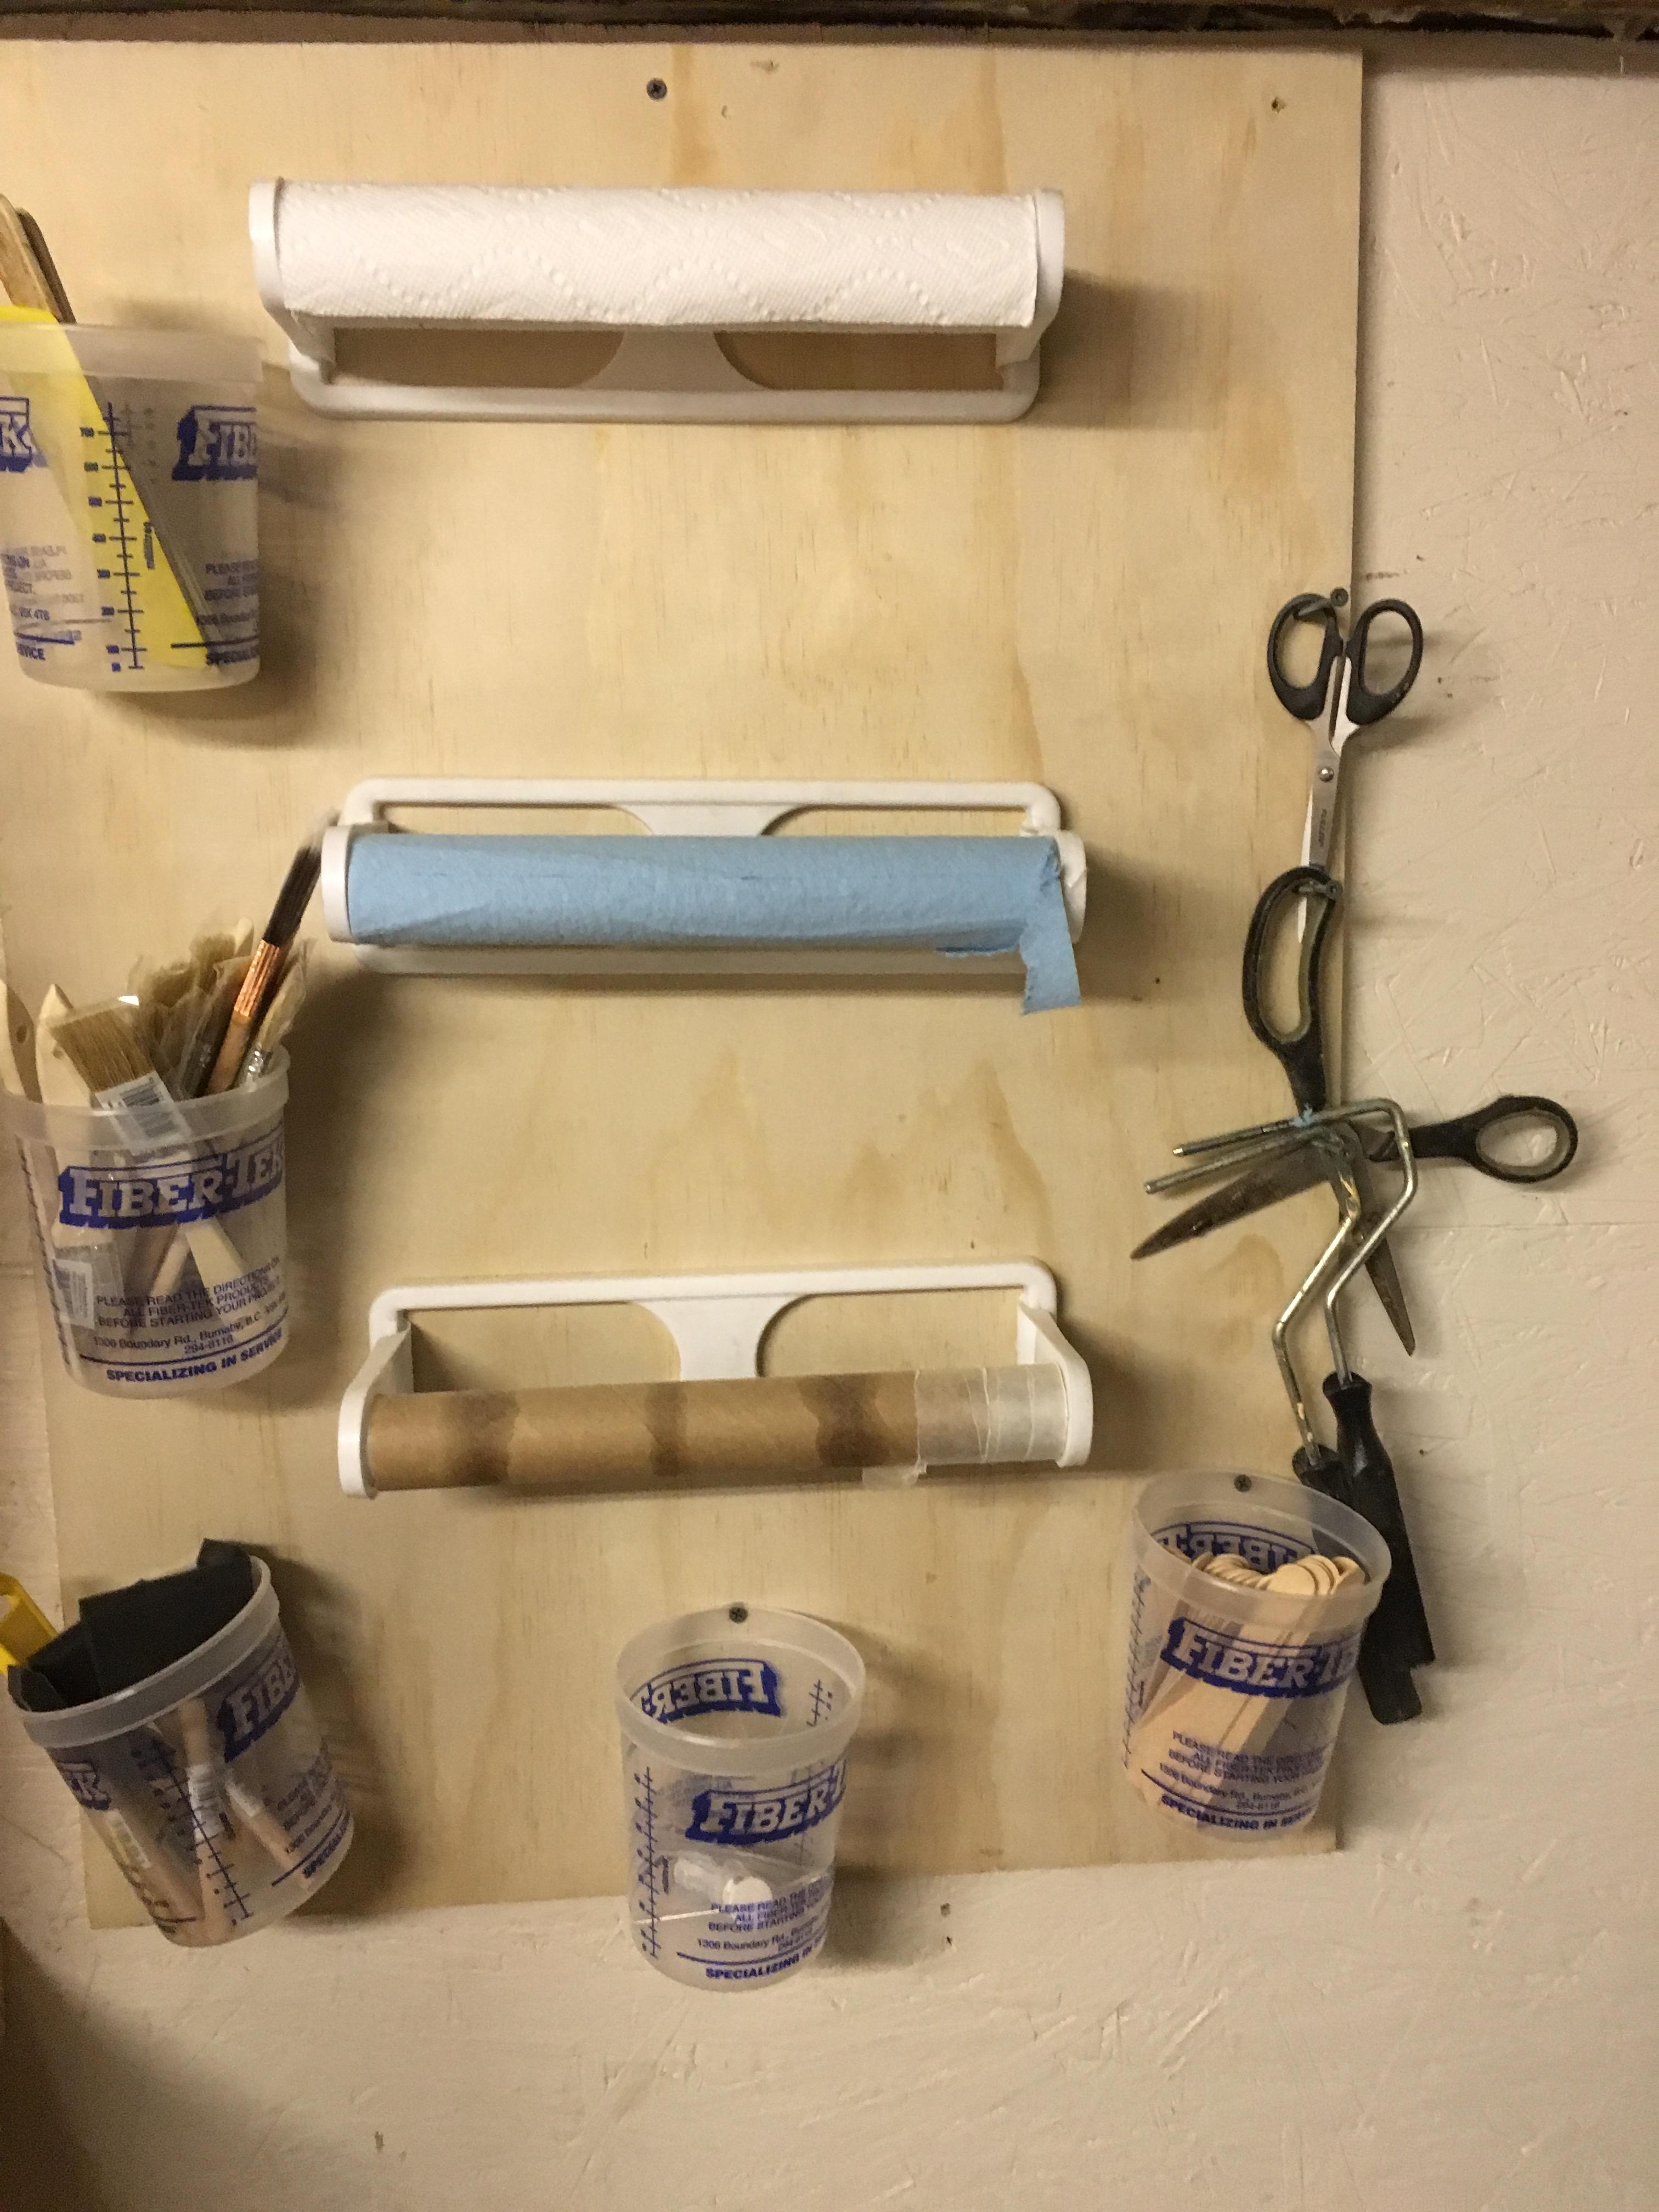
- secondly, organization and cleanliness is key throughout. I build a little supply station as in photo below so that I can easily grab brushes, towels etc one handed during the job. Nothing worse than having epoxy gloves and rummaging in a bag or box for supplies.
- take great care to keep your glass tape clean. A drop of hardened epoxy or a splinter on it will cause big problems later.
Go slowly and read and reread the manual and have fun.
 Participant
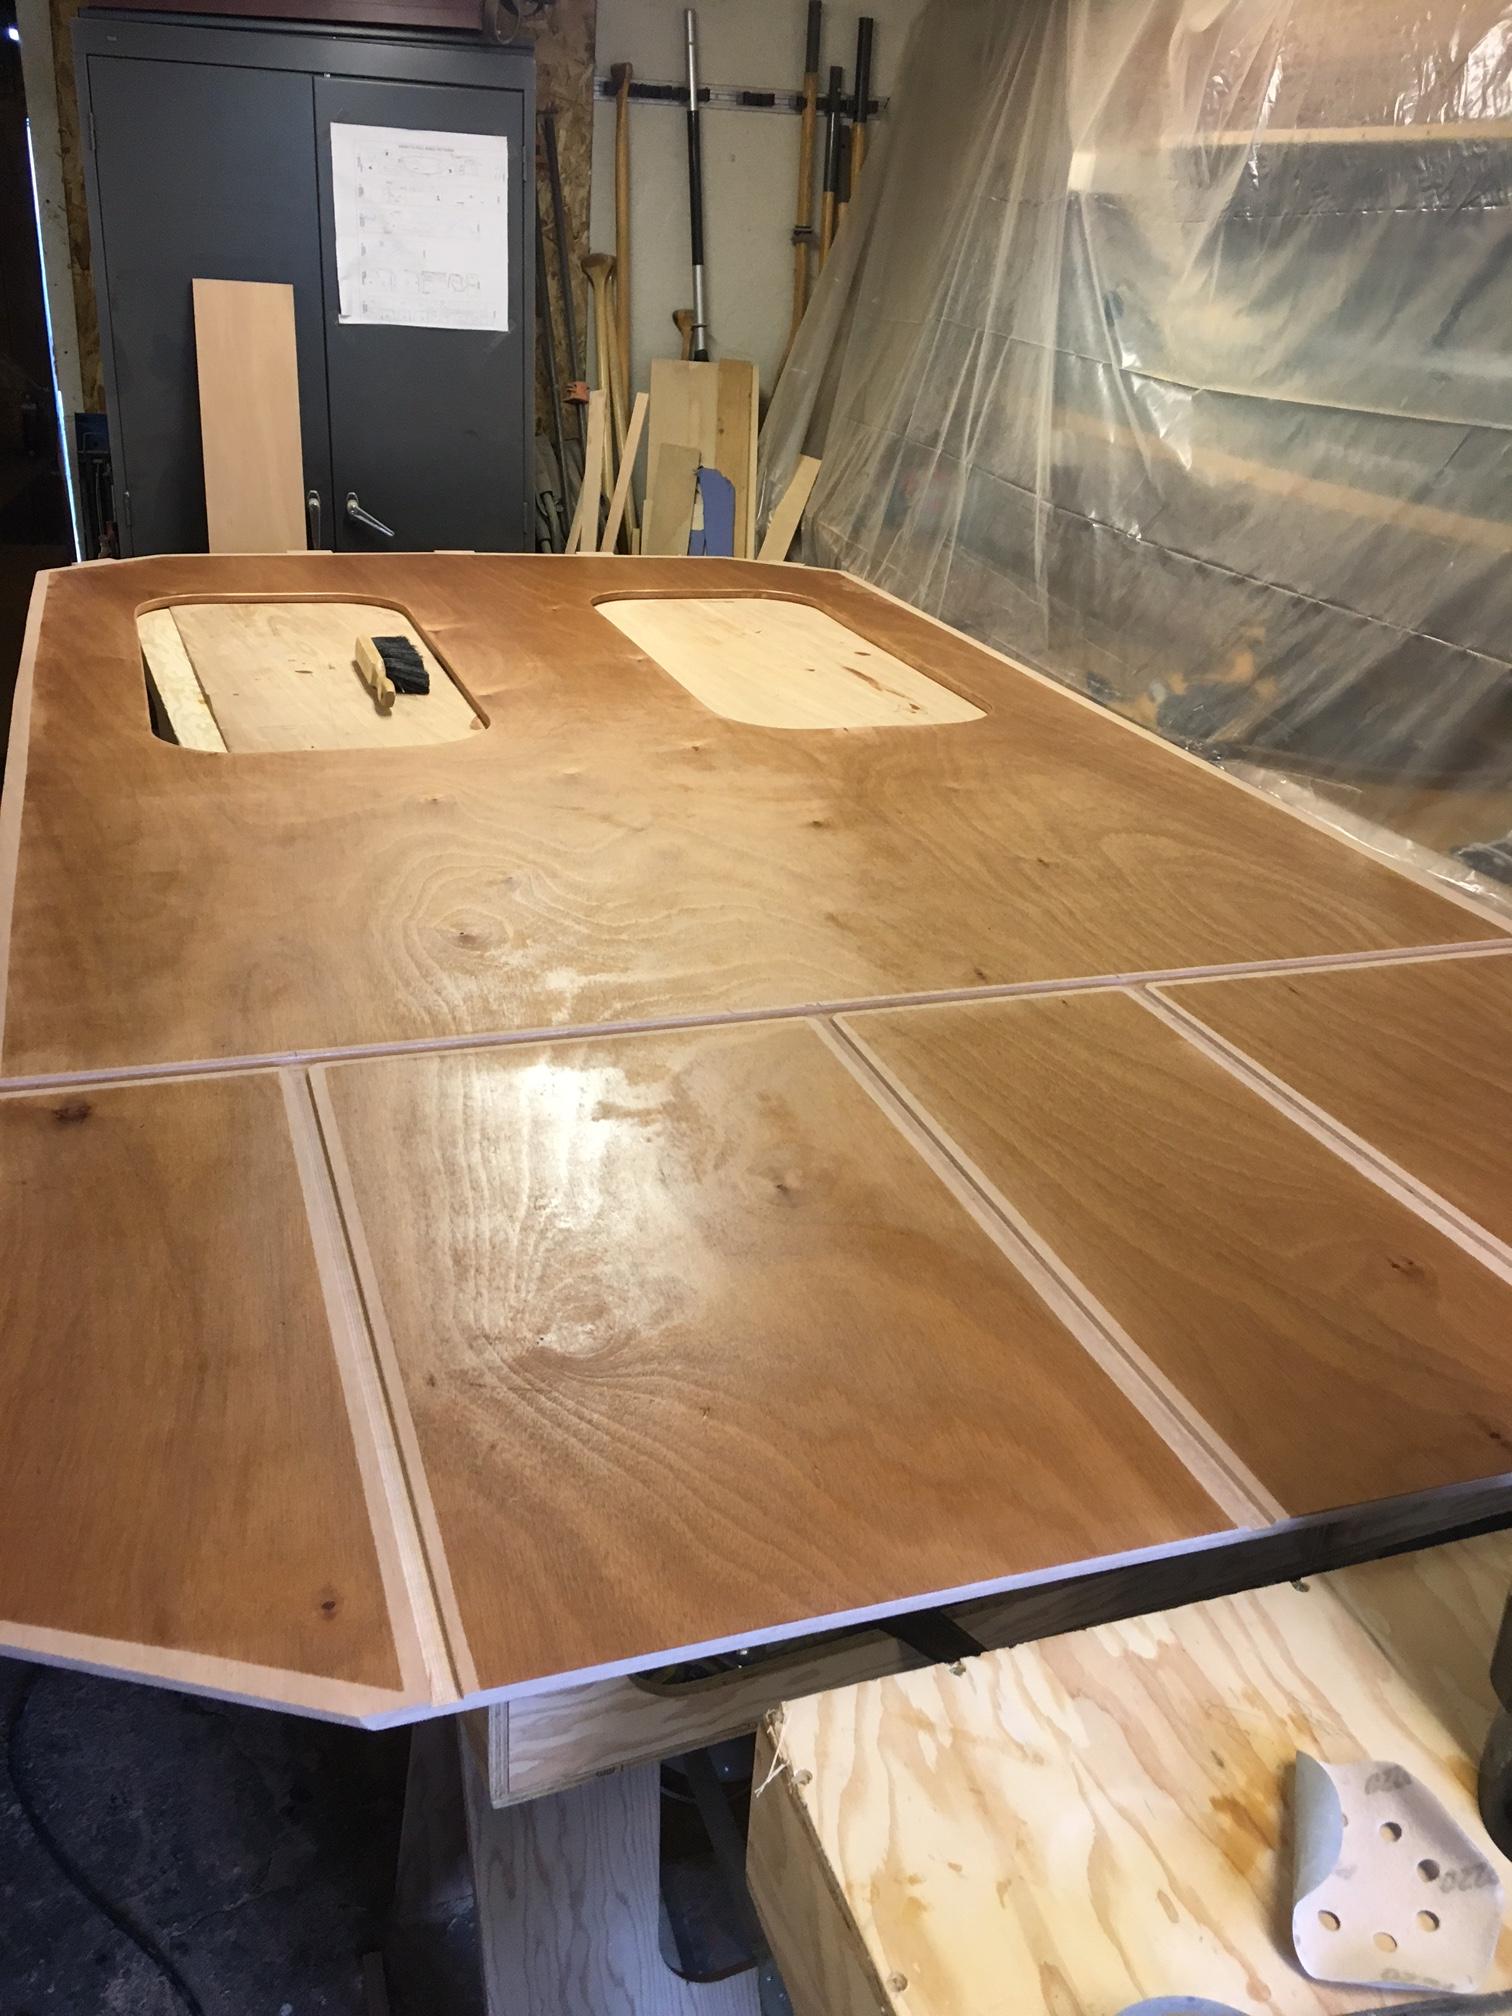
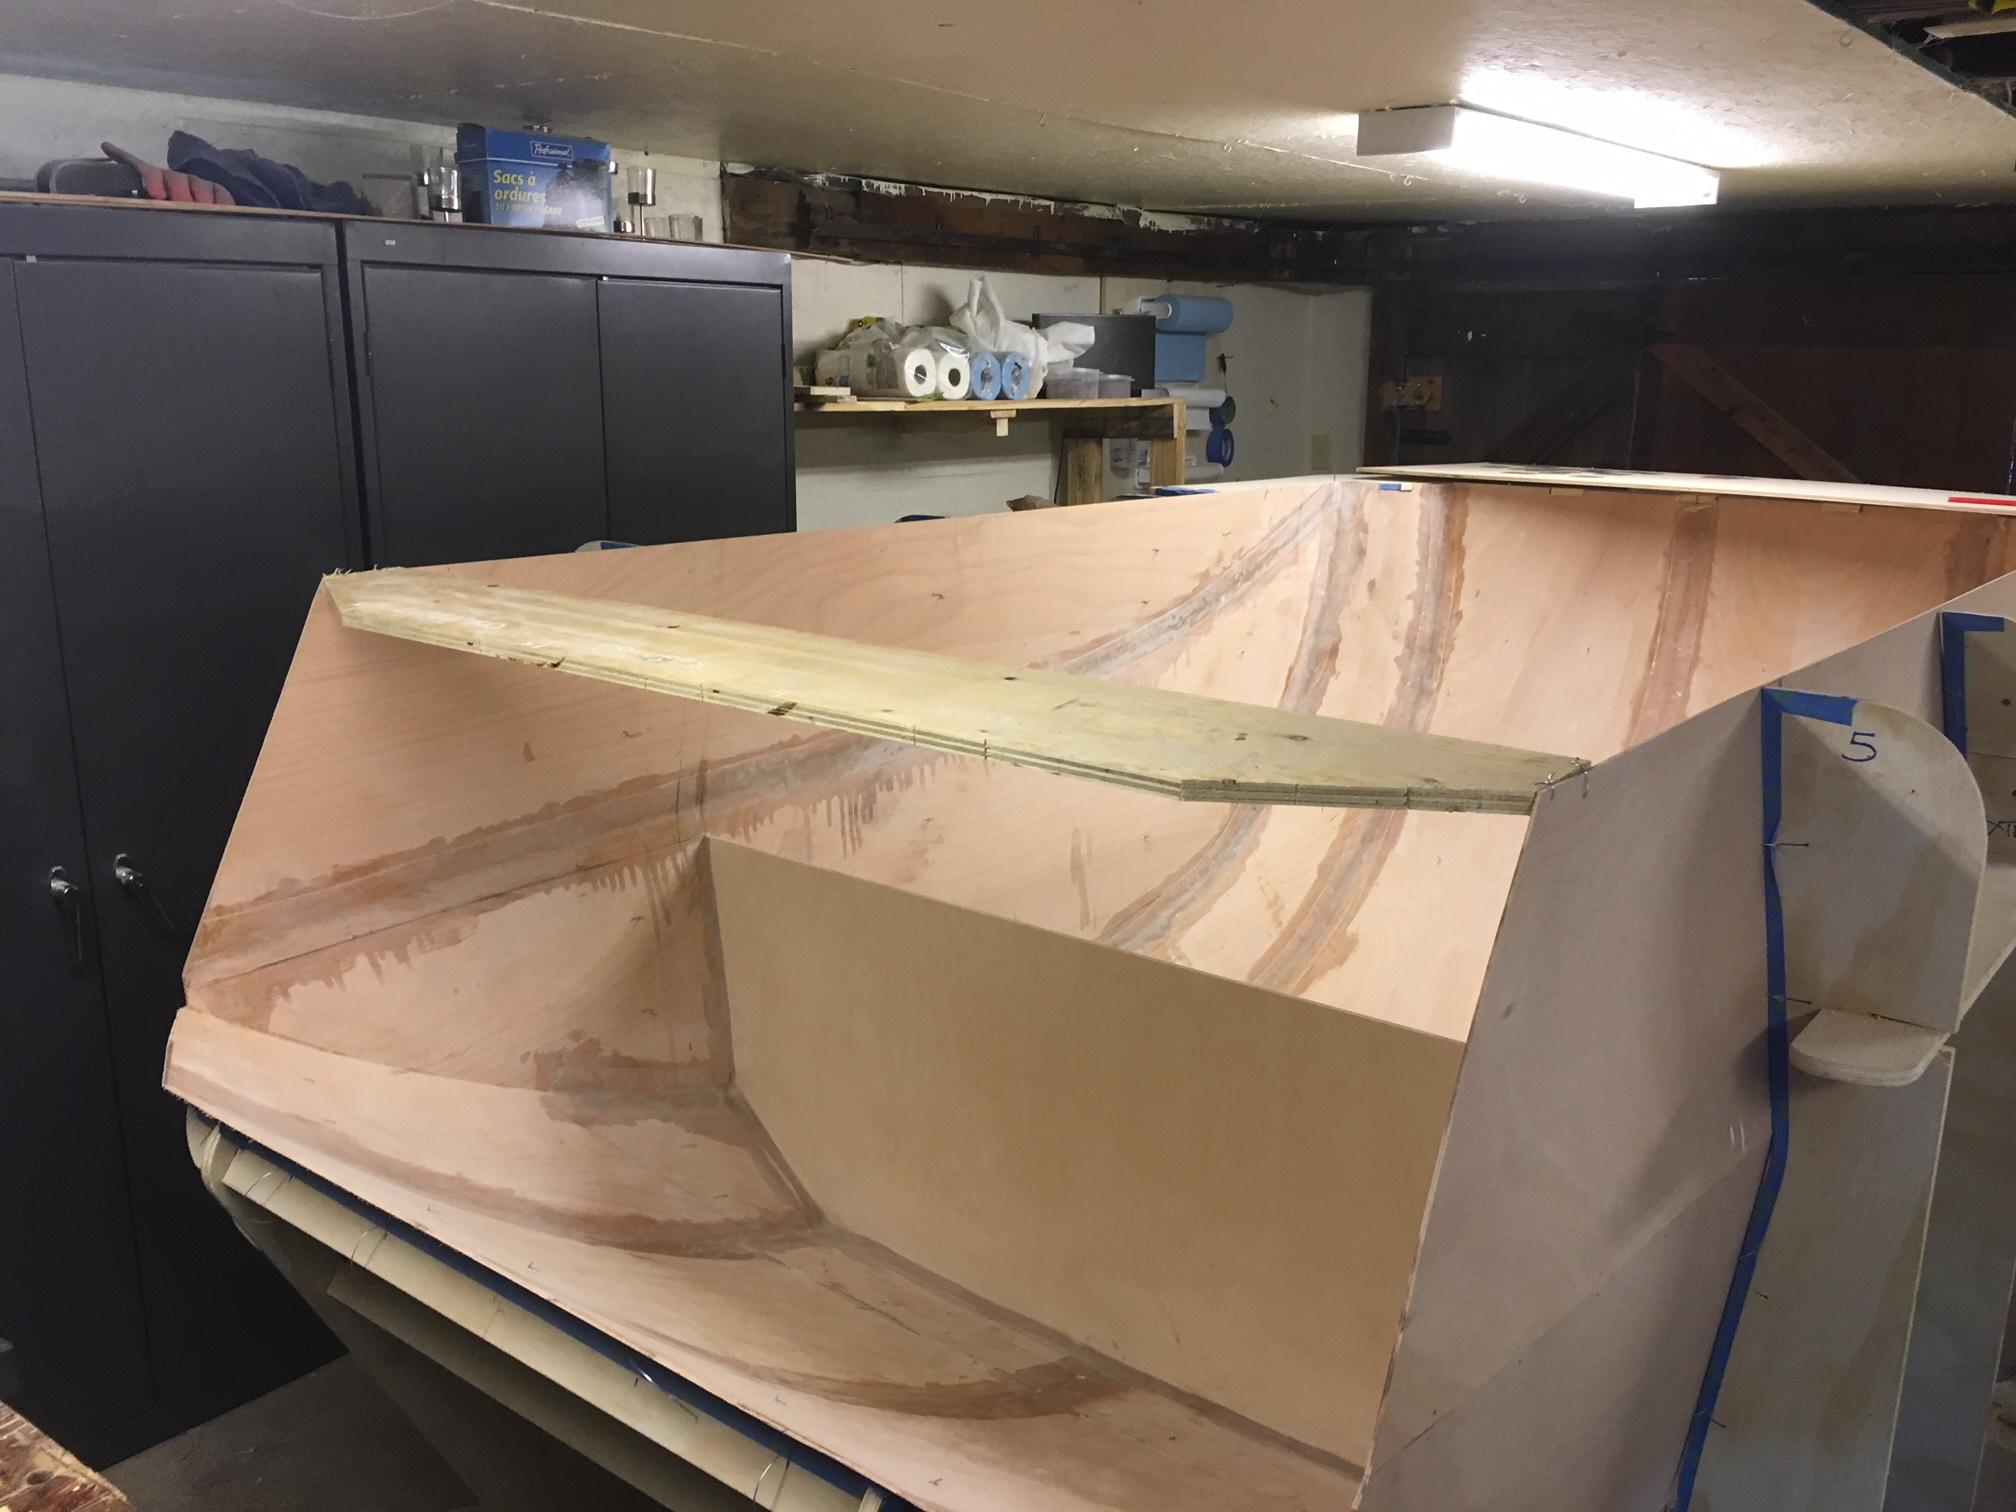
My next mod with my teardrop has been to add underfloor storage. The forward portion is accessed from under the bed via two hatches. The back section is accessed from outside and is intended to store camp chairs, portable solar panels etc. Depth is 8″ and storage box is built from same 3/4″ ply as floor. Luckily I was able to find 5 x 10′ panels from World Panel Products in Florida. Ideal for my stretched 5 x 10′ teardrop and avoids scarfs, but blocks etc.
Here is floor with hatches cut, also dadoes for galley cabinet dividers. I have applied one coat of epoxy leaving bare wood for fillets.
Next the underside with walls and central spline attached.
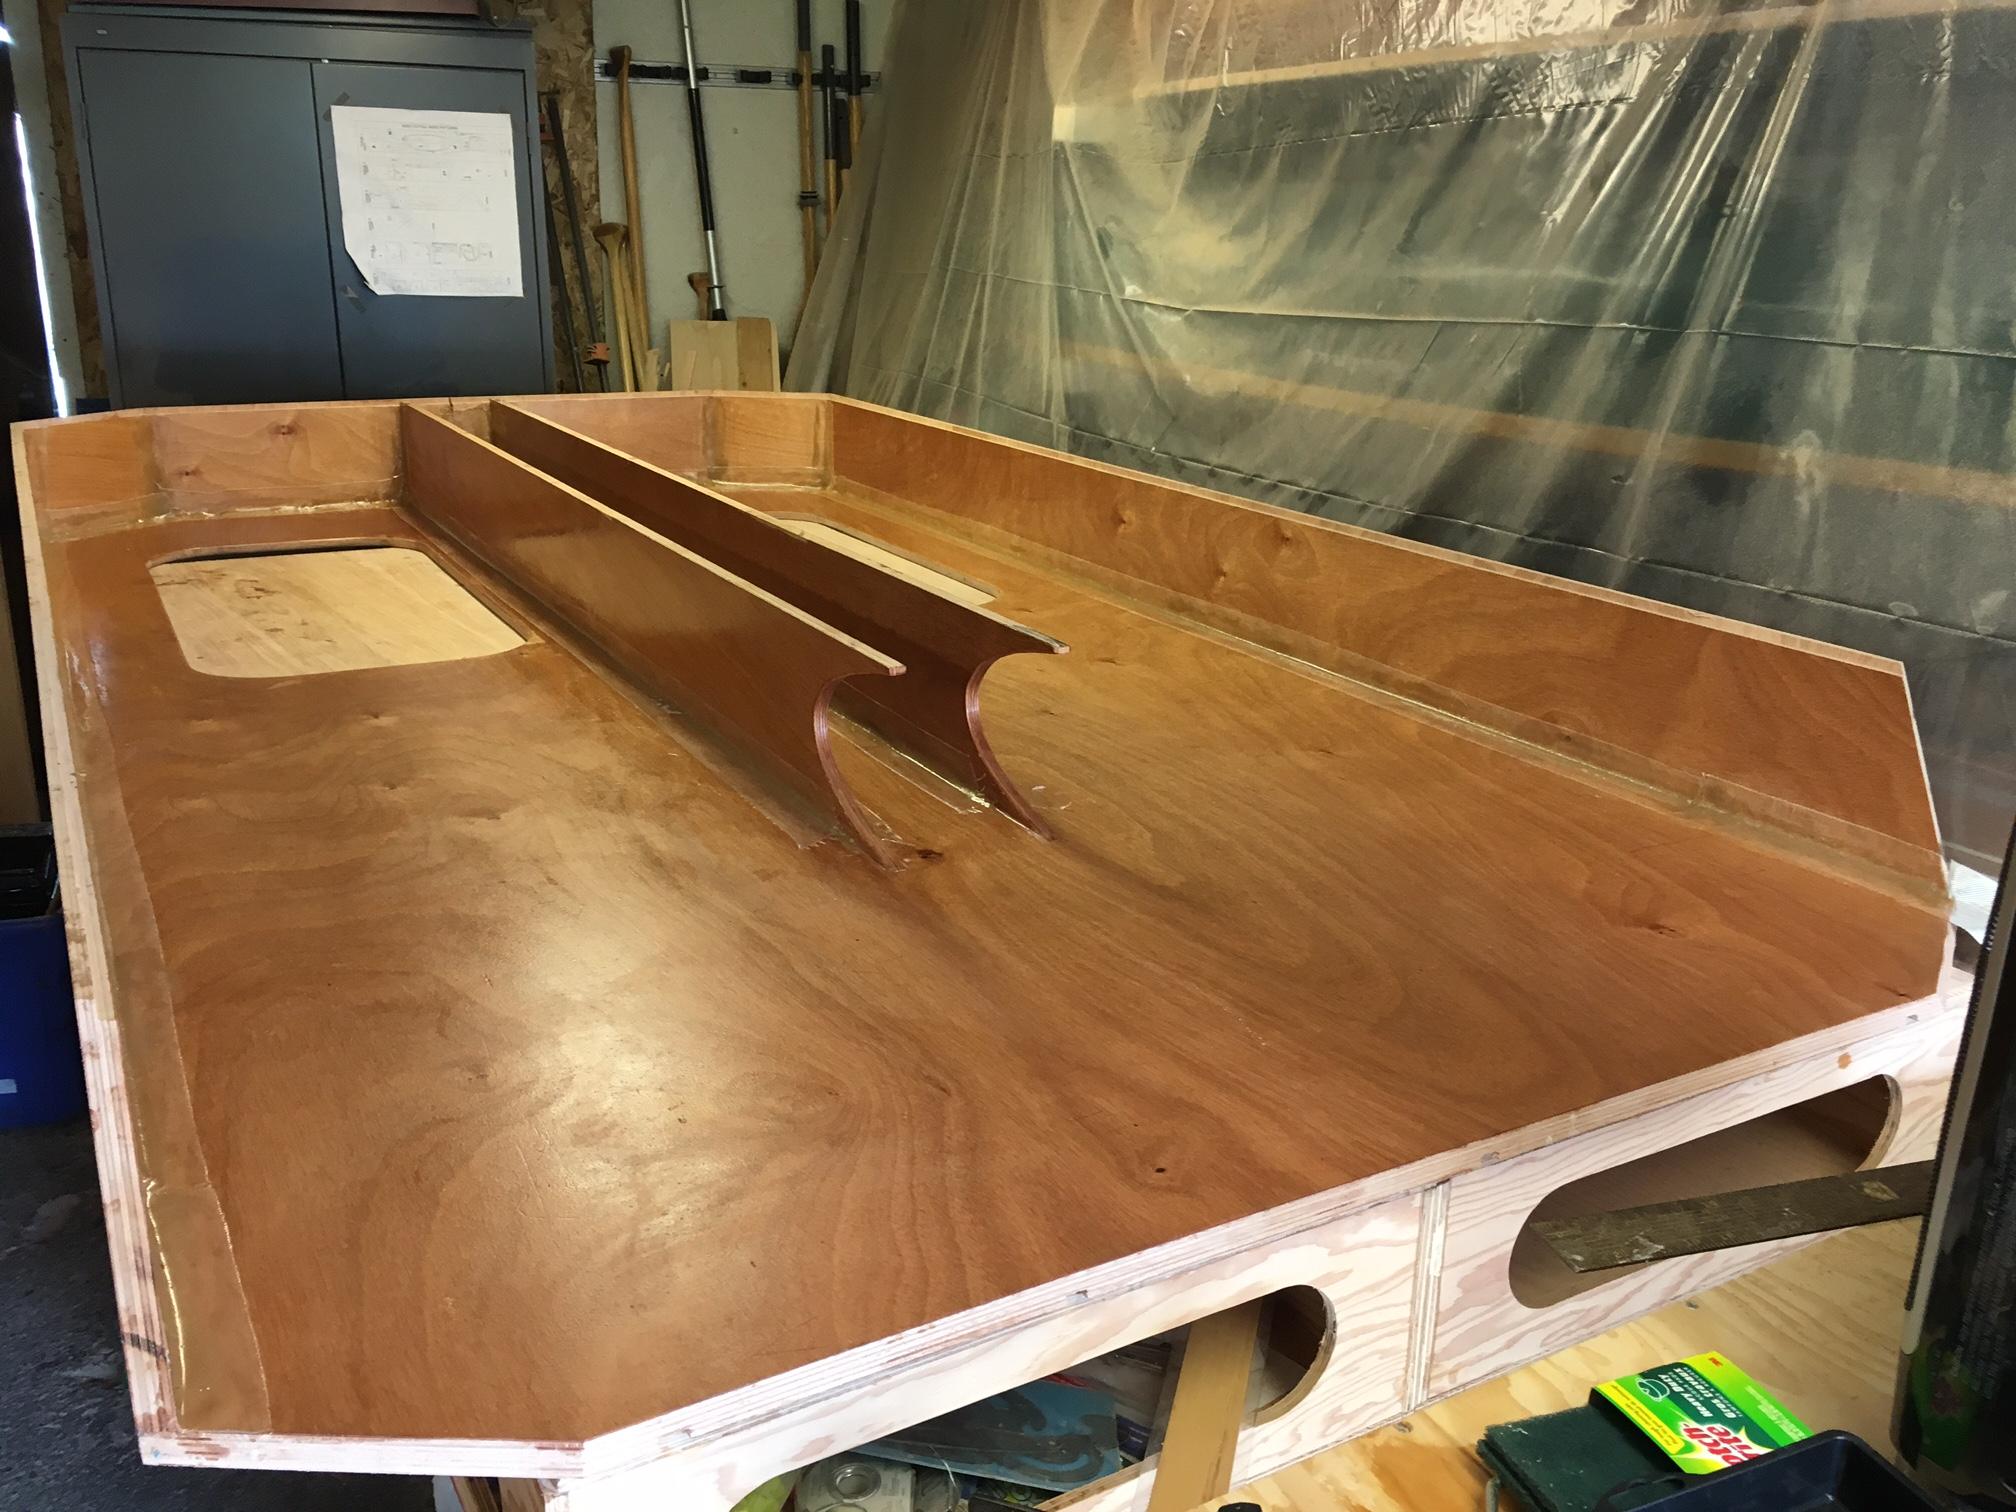
Now flipped and floor attached – and the big reveal.
Because my version has a full ceiling to floor bulkhead I had to access the inside through one of the floor hatches.
Now on to a lot of sanding.
ParticipantDan, thanks for the updates and hatch information.
You are @ 3 weeks ahead of me, so appreciate you “forerunning” these steps.
Mike
ParticipantDan, love your marine hatch, and like you I also dislike the standard roof vent approach. For me it is also a question of having limited height in my garage, so whatever I can do to reduce overall height is good.
I am in the Pacific Northwest and will mostly be using the trailer in this area. I am thinking that I can also get by without a roof fan.
Question: what are you doing for vents or fans elsewhere in your trailer? What is your thinking?
Any other builders views on doing without the roof fan?
ParticipantBecause of my modifications and use of a solid wood transition piece I was able to simply cut down the #1 panels to match.
One other discrepancy for me was that side tabs on floor panel did not line up with notches in #4 panel. Try laying your patterns side by side to see if you have same problem. An easy fix if noticed before cutting; not so easy after.
ParticipantThanks Faithee, but I am a plans builder: too many mods to start with a kit.
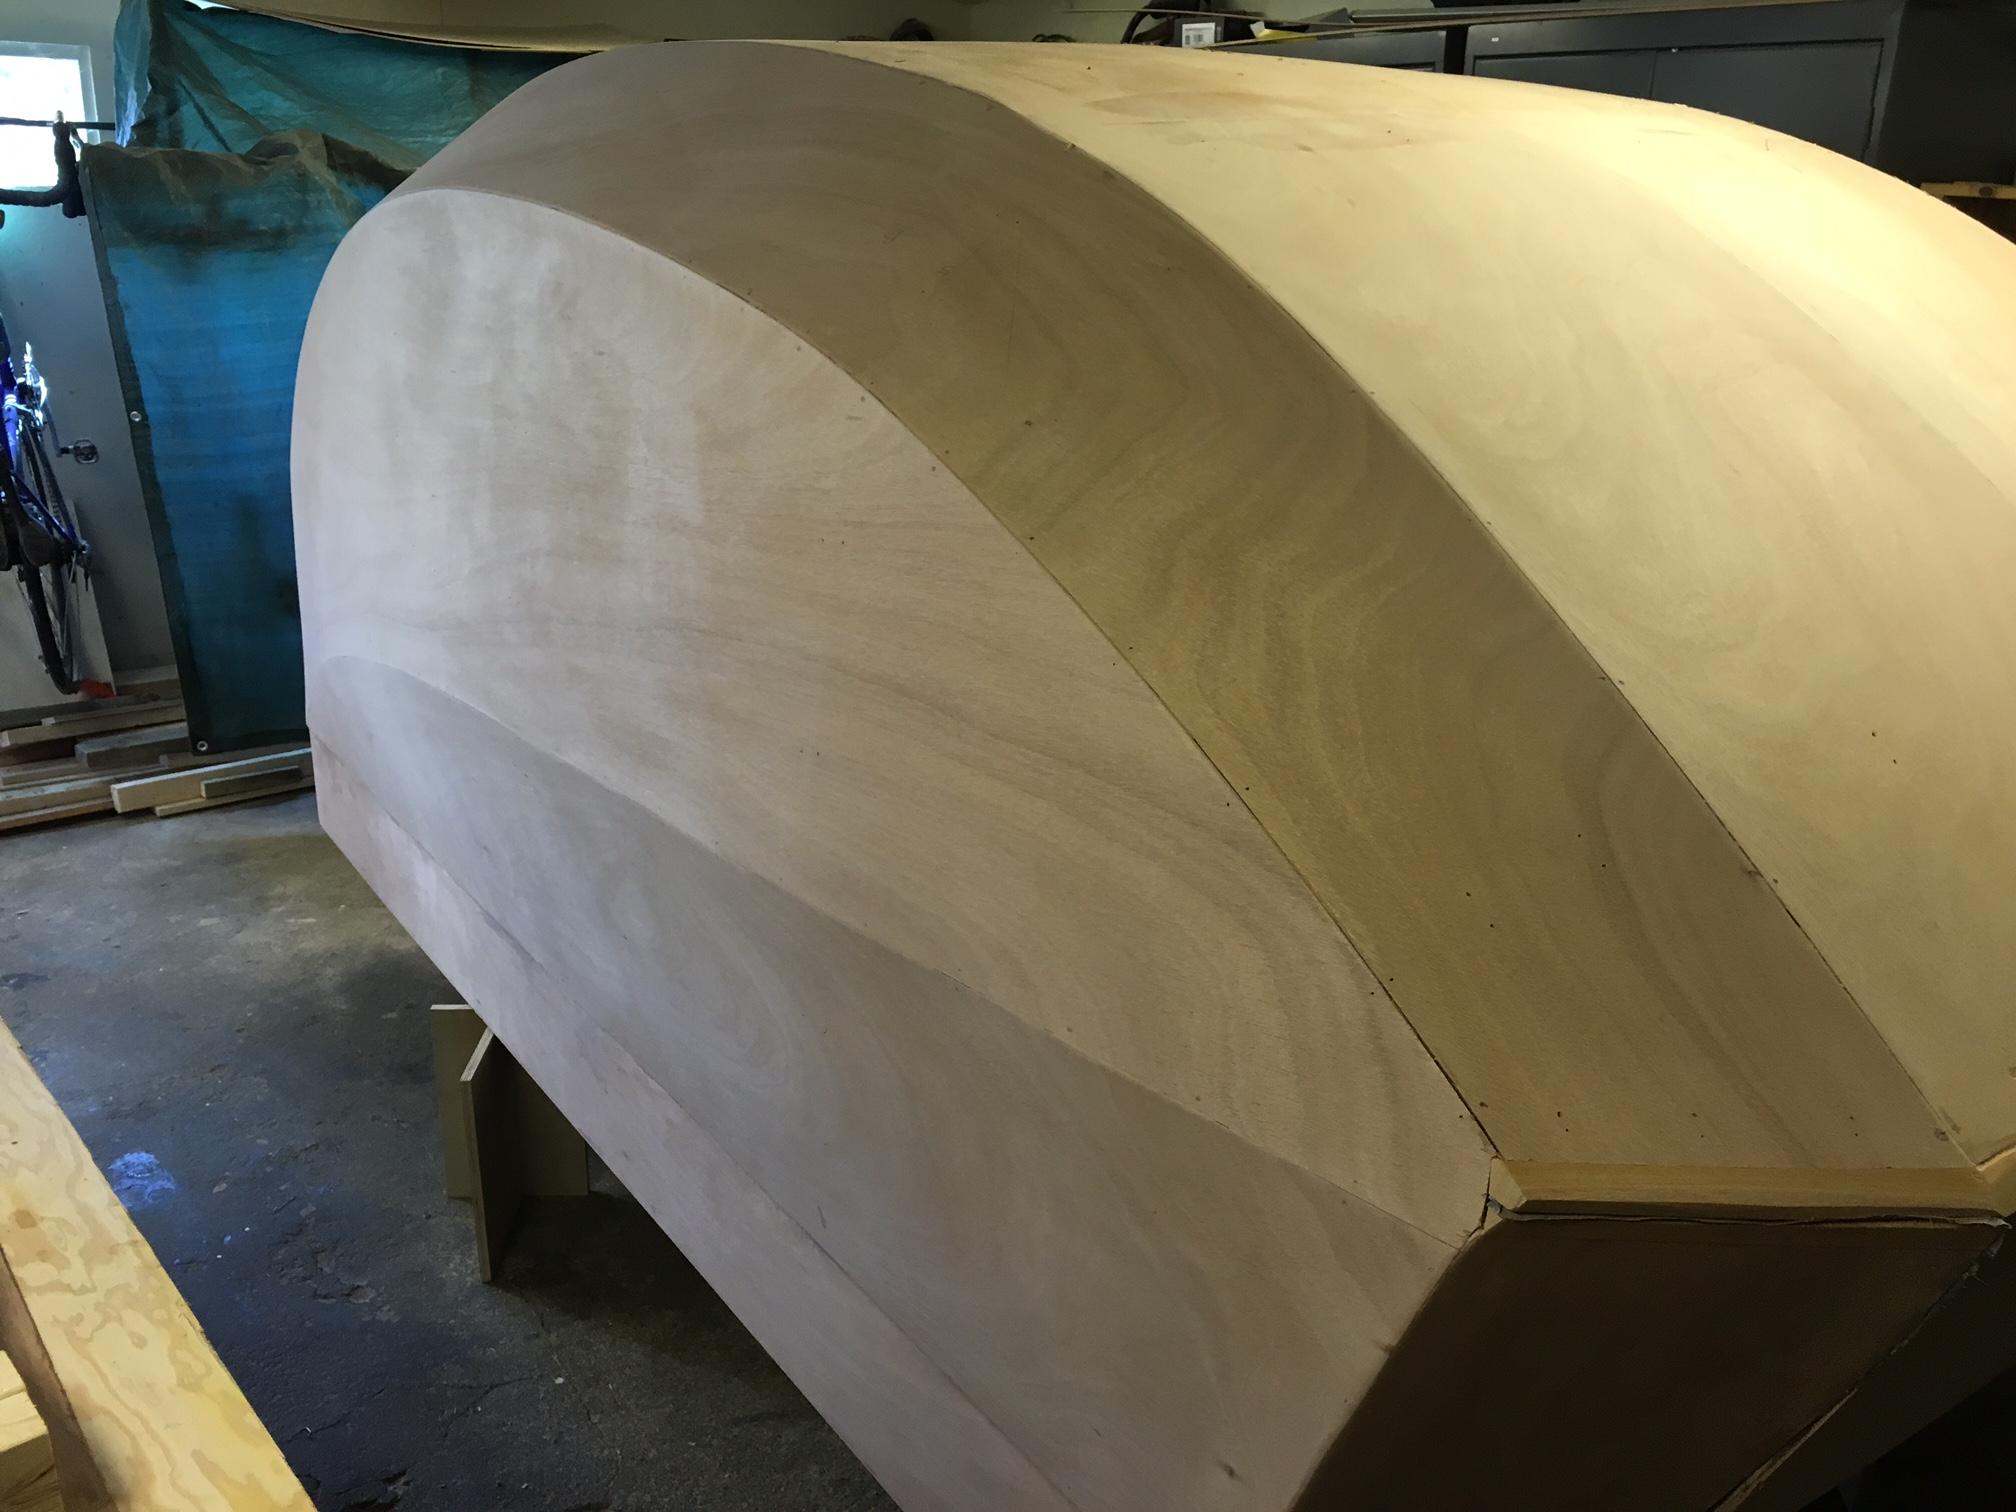
ParticipantAfter some fiddling with the block plane stretched shell now completed.
 My modified plans include under counter storage, so transom becomes part of hatch. When I glass the shell my cloth will be carried over from hatch to transom in 1 continuous piece so I needed a more rounded profile on the transition piece. I chose to use a nice piece of solid Honduras Mahogany, fileted to accept leading edges of hatch and transom. Joint is then reinforced with tape and epoxy.
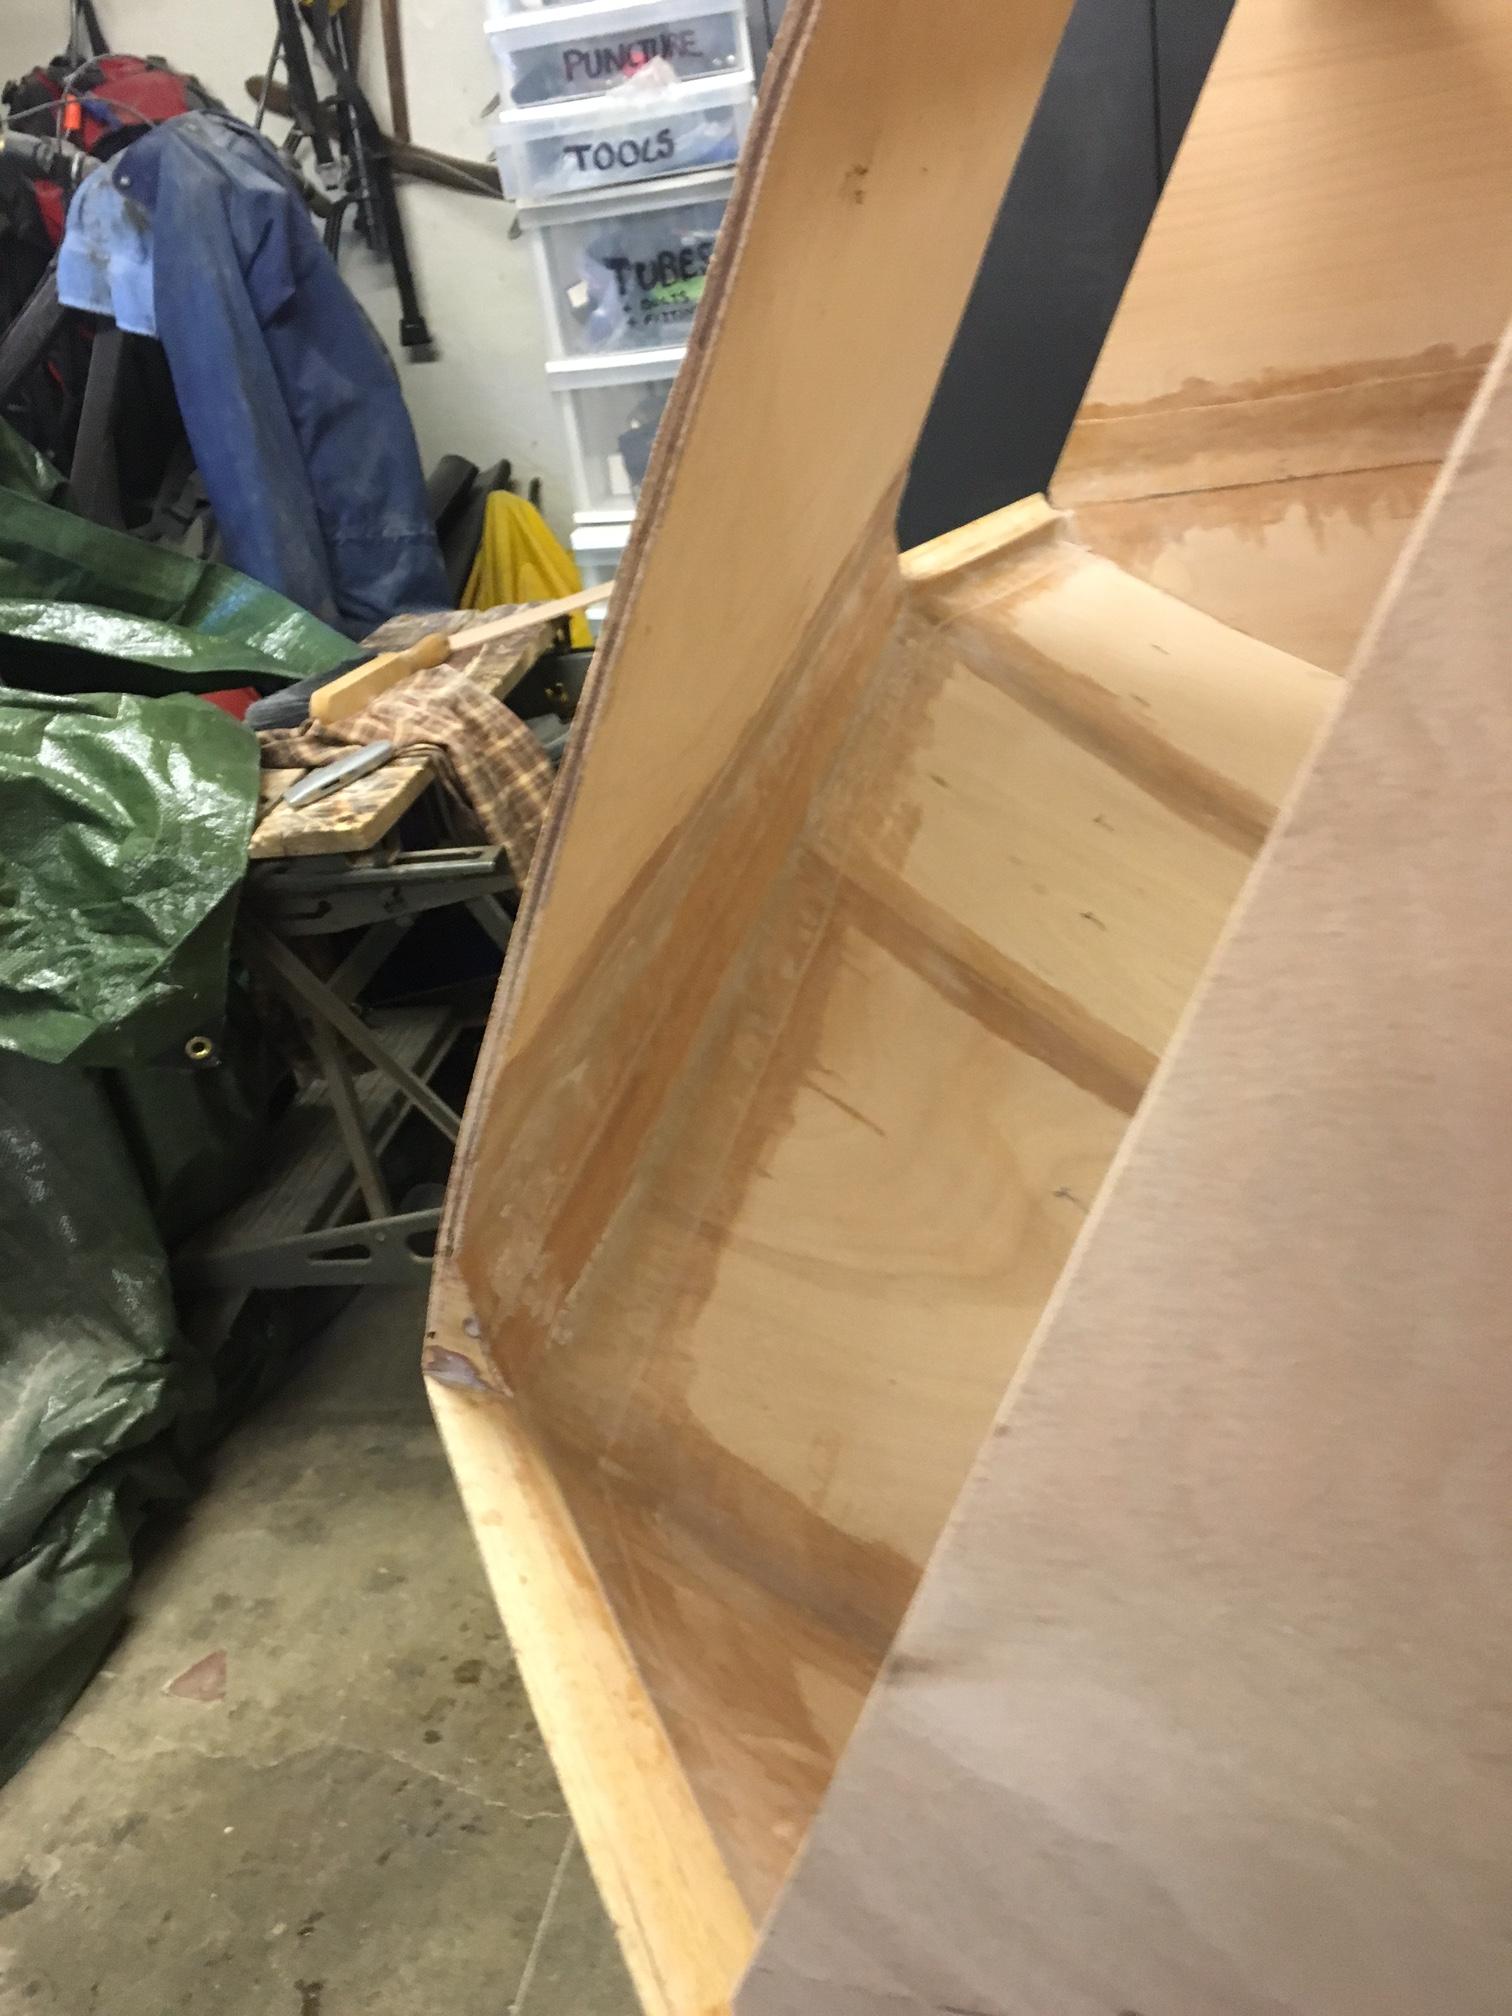
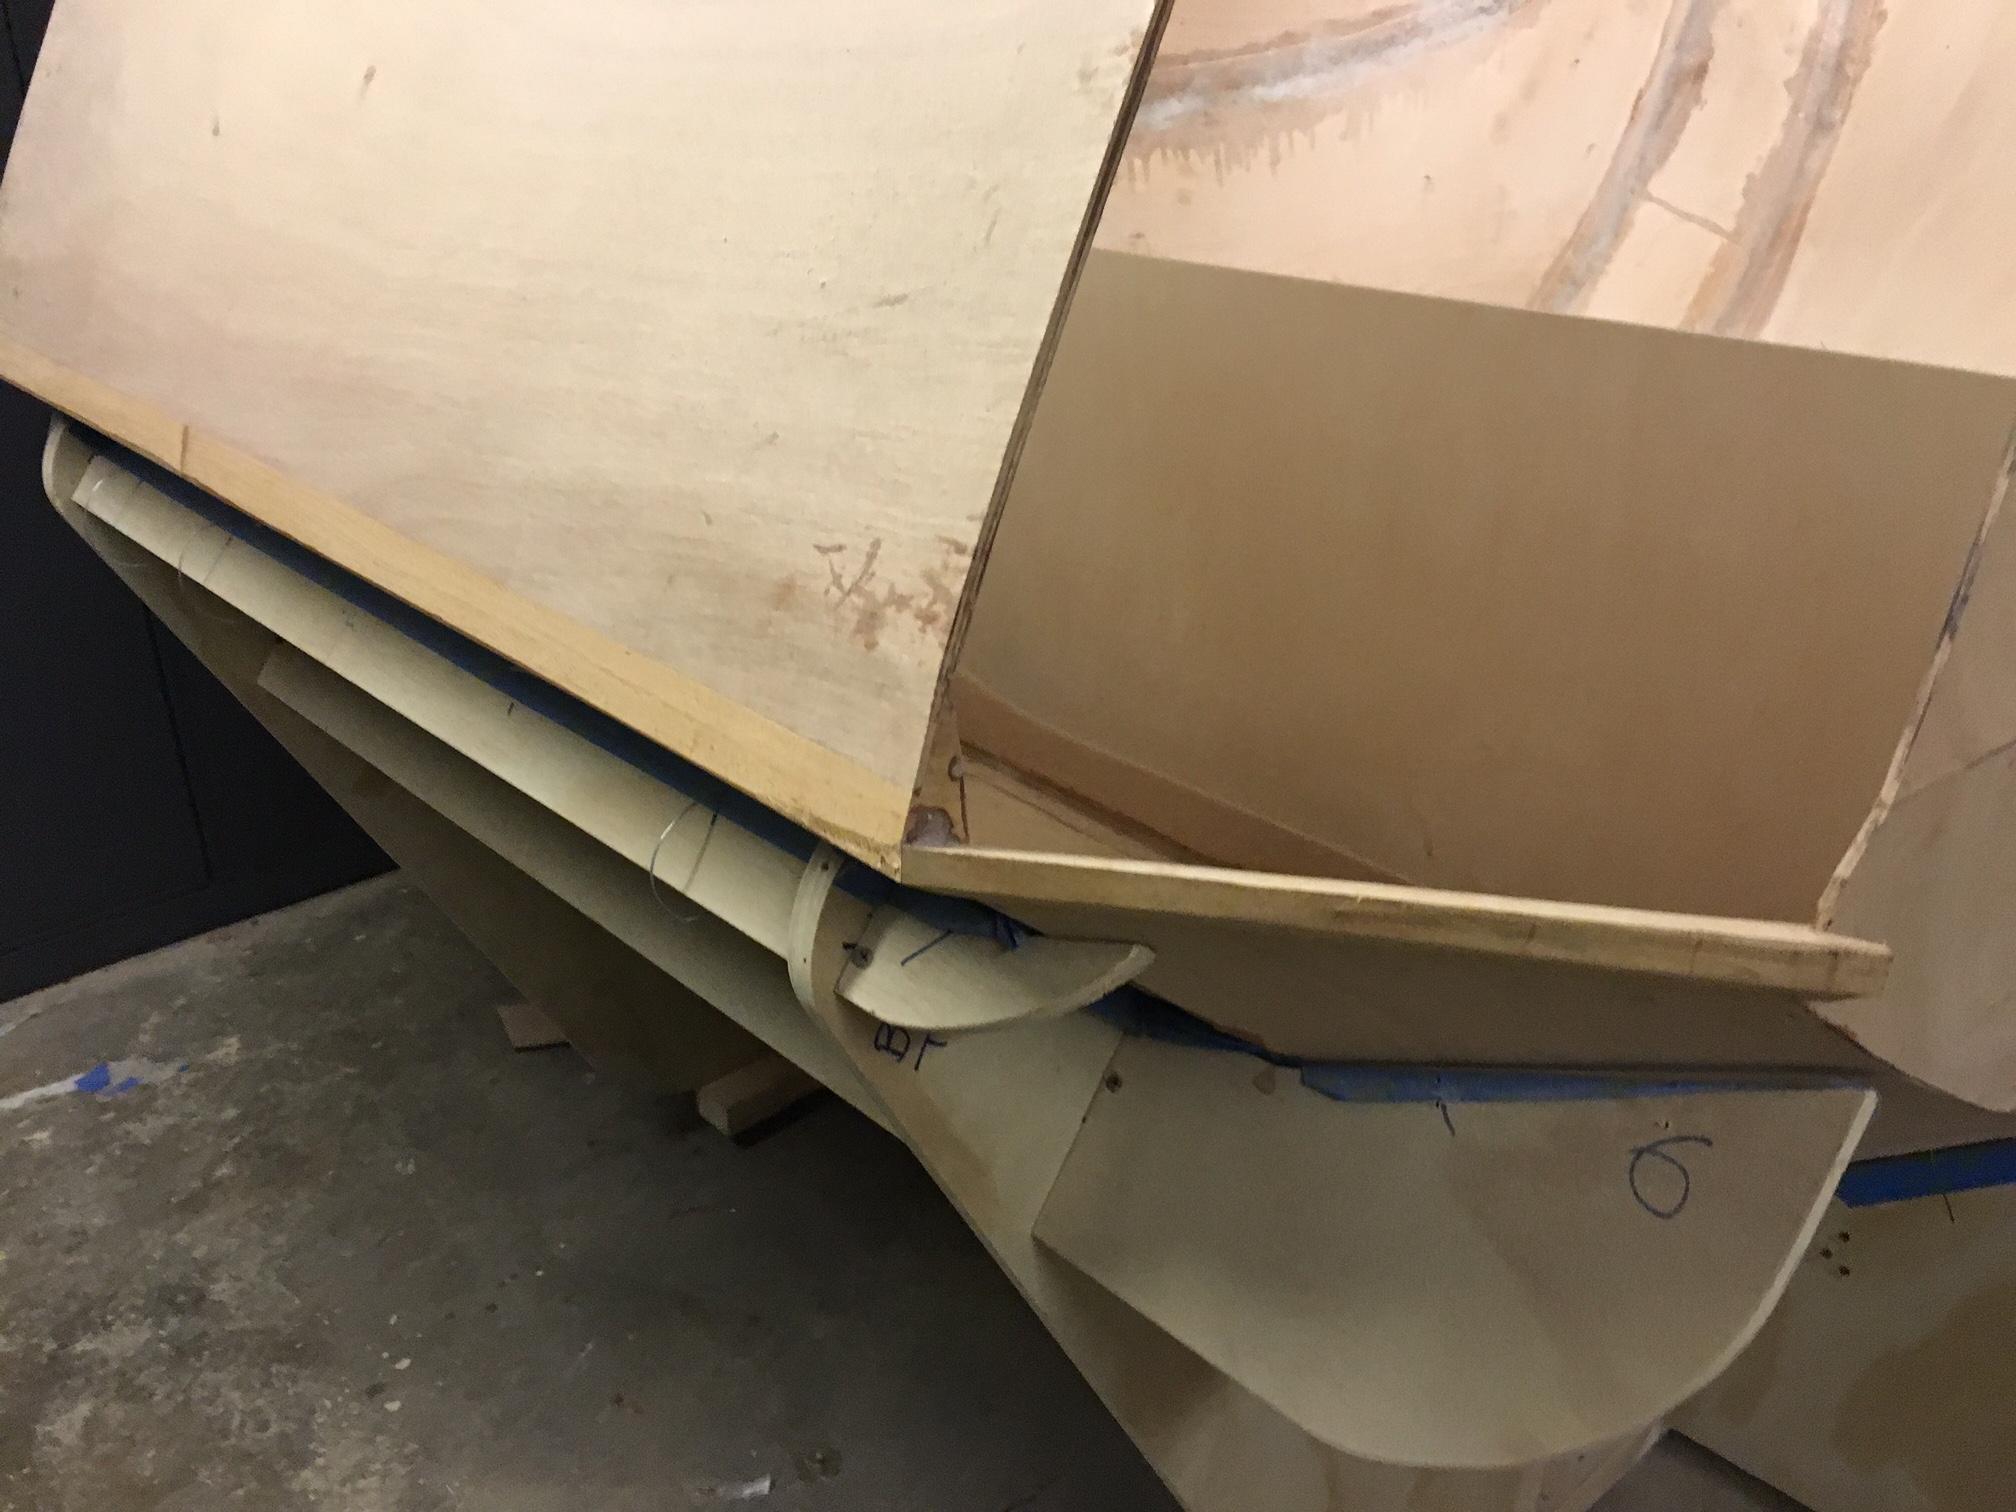
Transition pieces still to be shaped and sanded.
Hatch opening above quarter panels requires cutting mahogany transition piece in 1/2, angled down for drainage.
Next to galley and counter design: decided on Baltic Birch cabinets for contrast and laminate top for durability. Here are counter and dividers dry fitted (dadoes) and set up with Dometic 12V fridge and sink/burner combo.
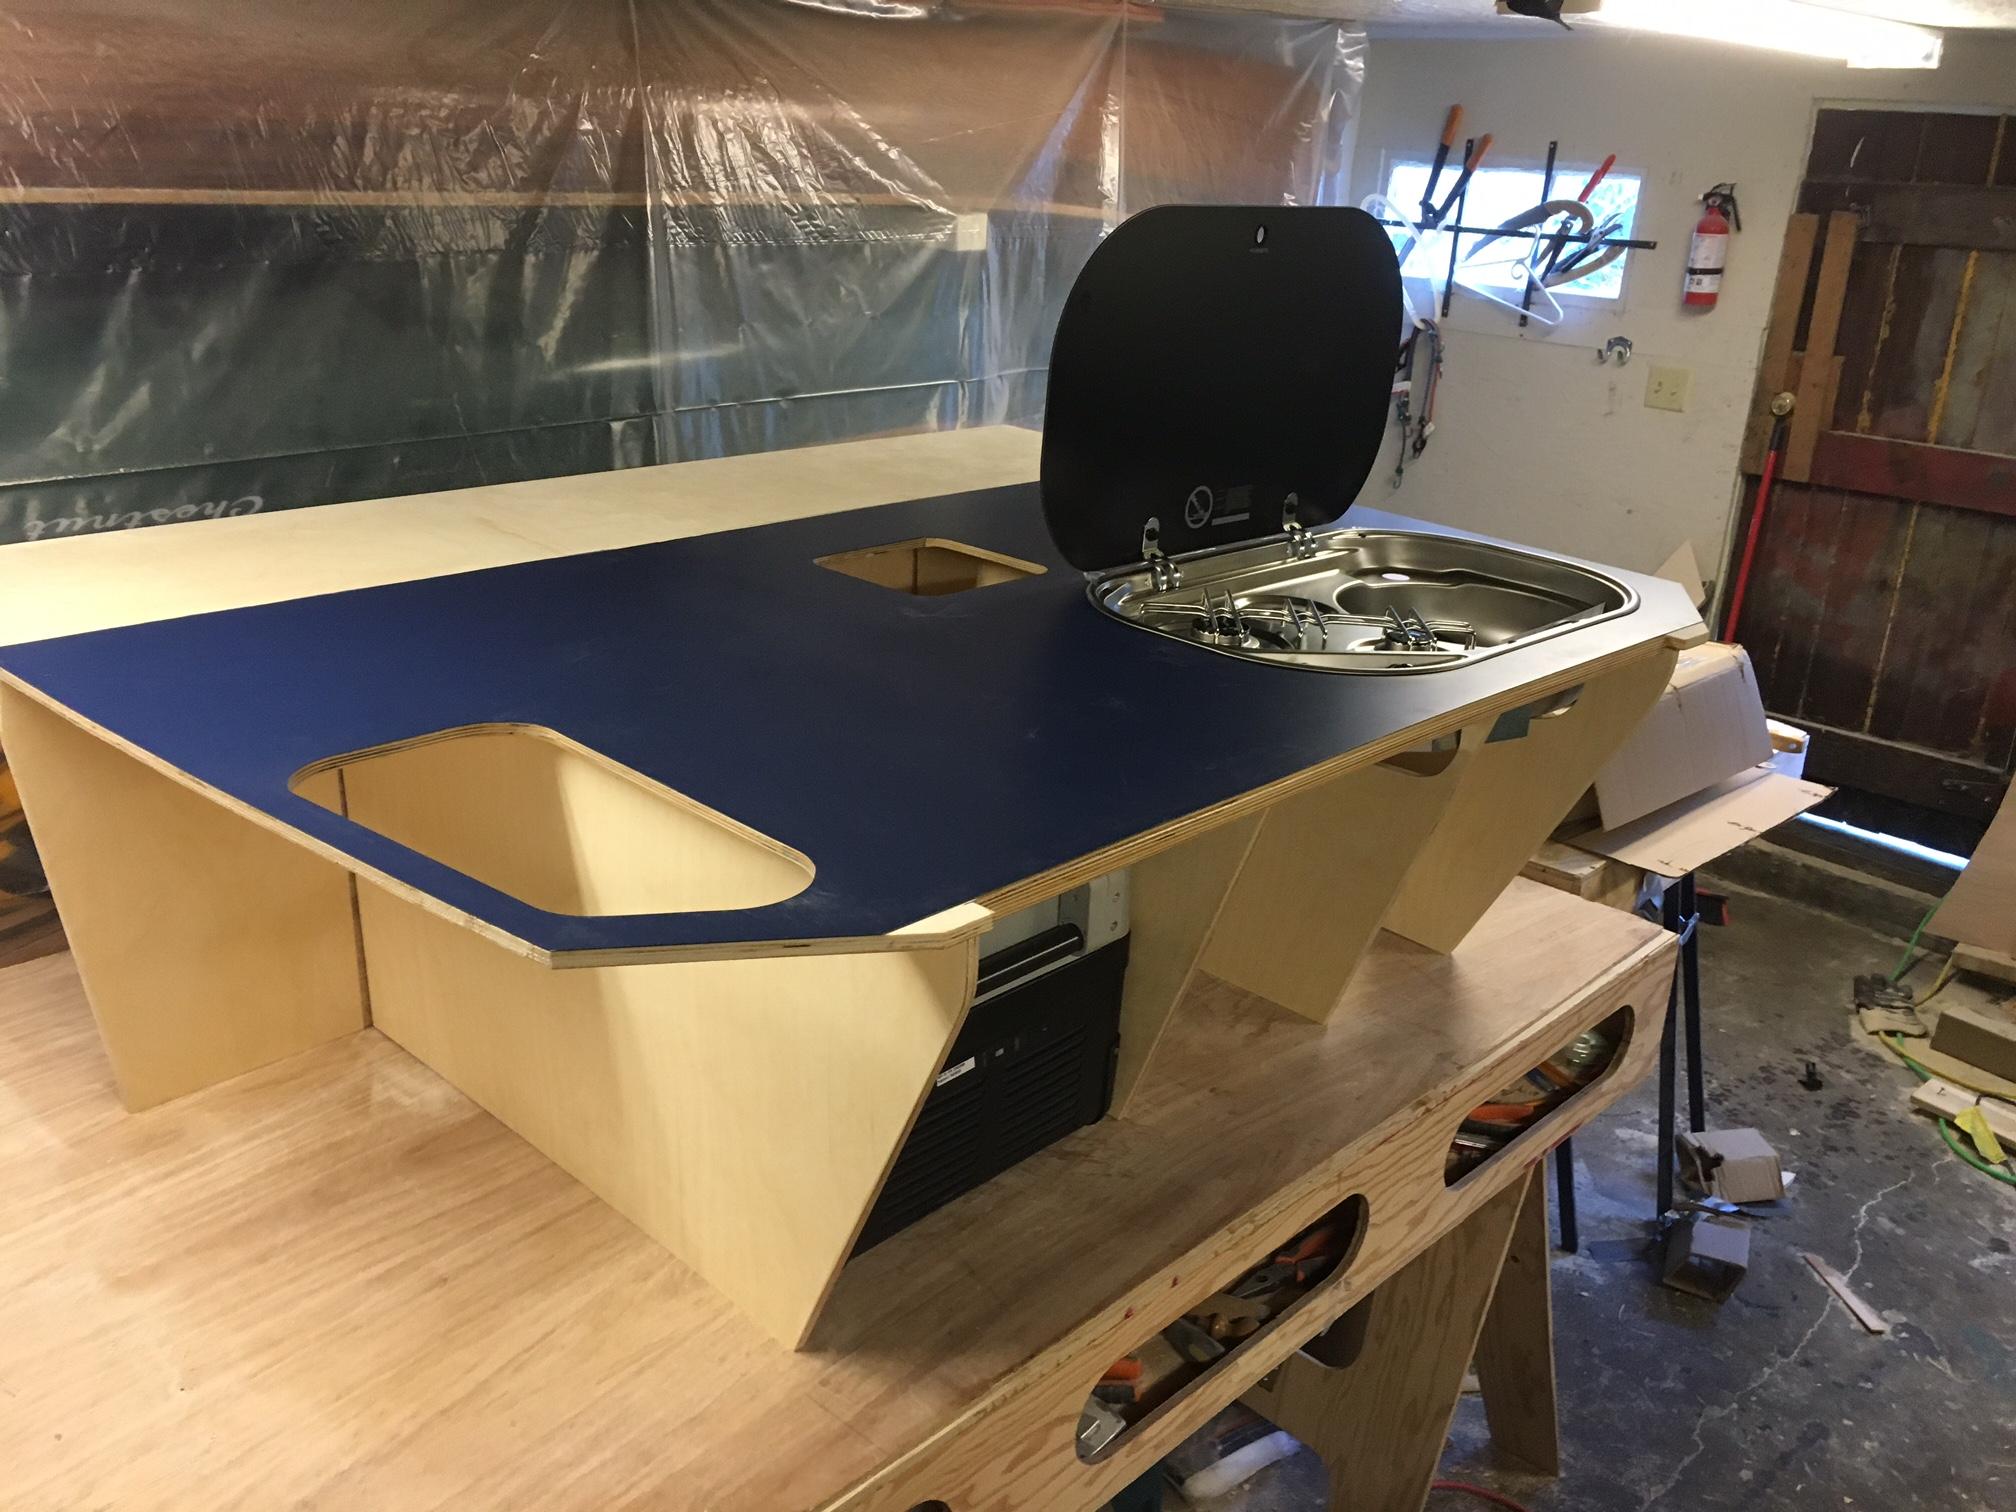 Now on to installation of counter, lower bulkhead and dividers into shell, then on to floor.Participant
Echoing Jason, building from plans, my #2 panels were also 1/2 inch short. One other discrepancy: tabs on floor do not match up properly with slots on #4 panels. Worth checking that carefully before cutting floor.
-
AuthorPosts