Welcome to TeardropForum.com › Forums › Teardrop Builders’ Forum › Completed CLC Teardrop Camper Photo Gallery
- This topic has 113 replies, 47 voices, and was last updated 8 months, 2 weeks ago by
AeroTeardrop.
-
AuthorPosts
-
February 15, 2018 at 9:29 pm #1658
matty
ParticipantSo mine took about 5 months, working off and on. I decided to do the foot box down below so I could have a couch set up and storage and drawers in the back. The inside foot box hatch doors turn into a table for inside while you have it in couch mode. I added a bluetooth fm radio and it is wired for 110 and 12 volt.
Lots of lights and a vent fan up top. Its got a harbor freight trailer and battery box. It also has an 80 watt solar set up thats portable. Im in Portland and it was only built to sell so if anyones interested Im putting it on craigslist soon, probably for around $8500.00
I live near Portland Oregon.
MattFebruary 18, 2018 at 11:13 am #1663Participant July 10, 2018 at 11:35 am #1968
szerby
ParticipantJust wanted to add a pic from a great trip we took to the rockies from minneapolis
 August 2, 2018 at 5:55 pm #2005
kennarama
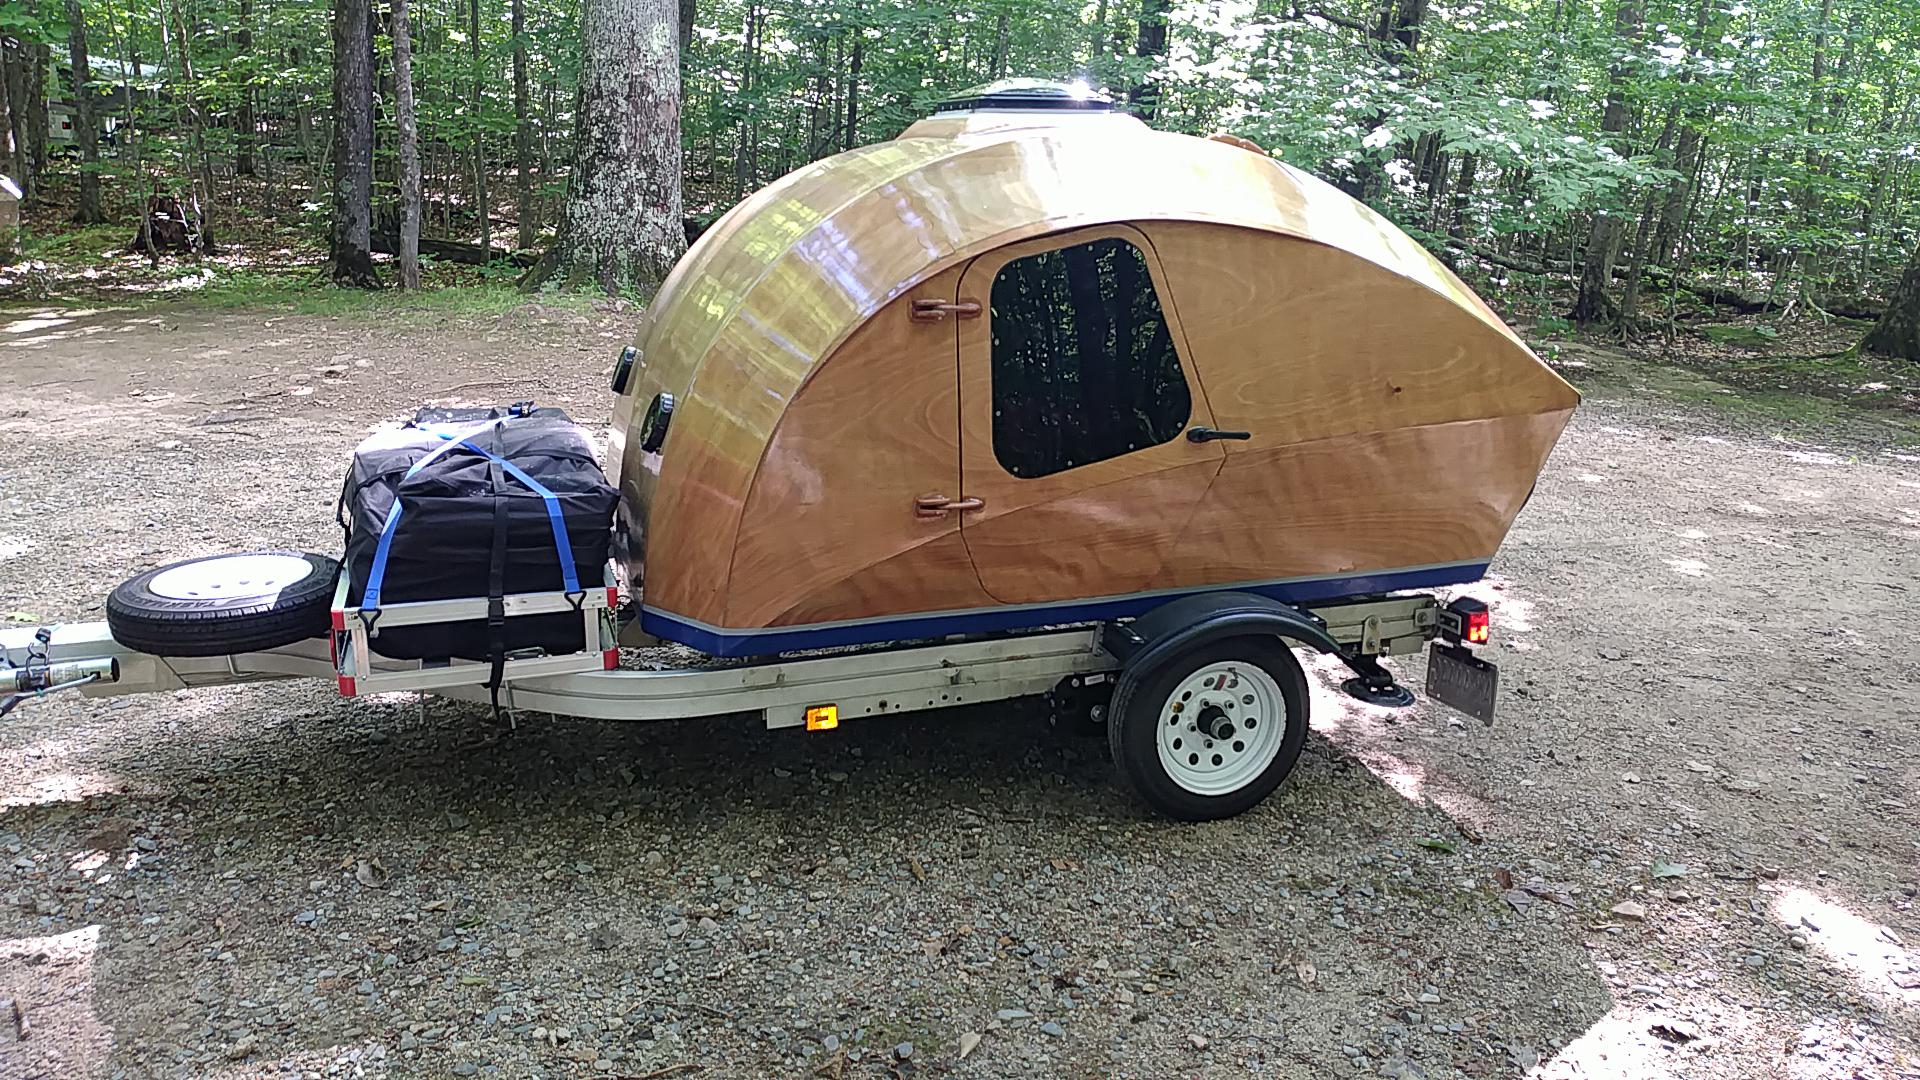
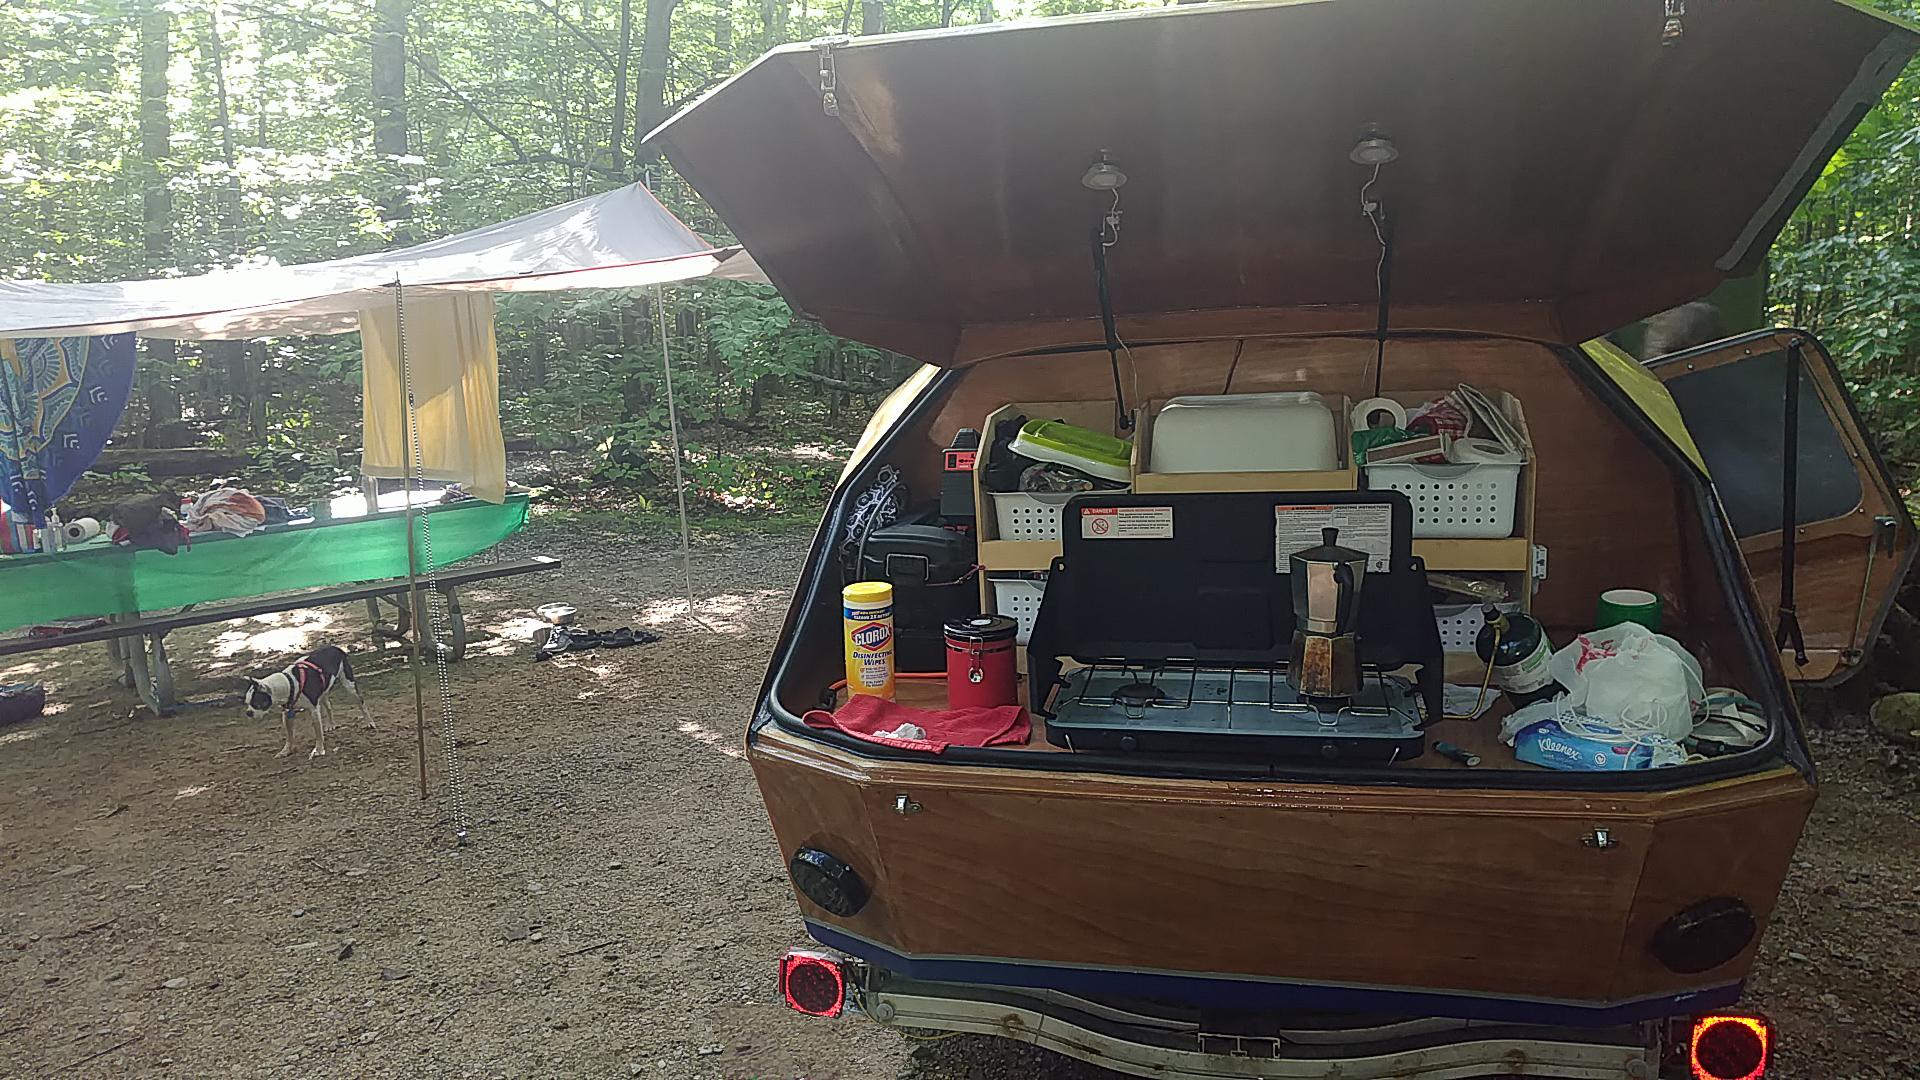
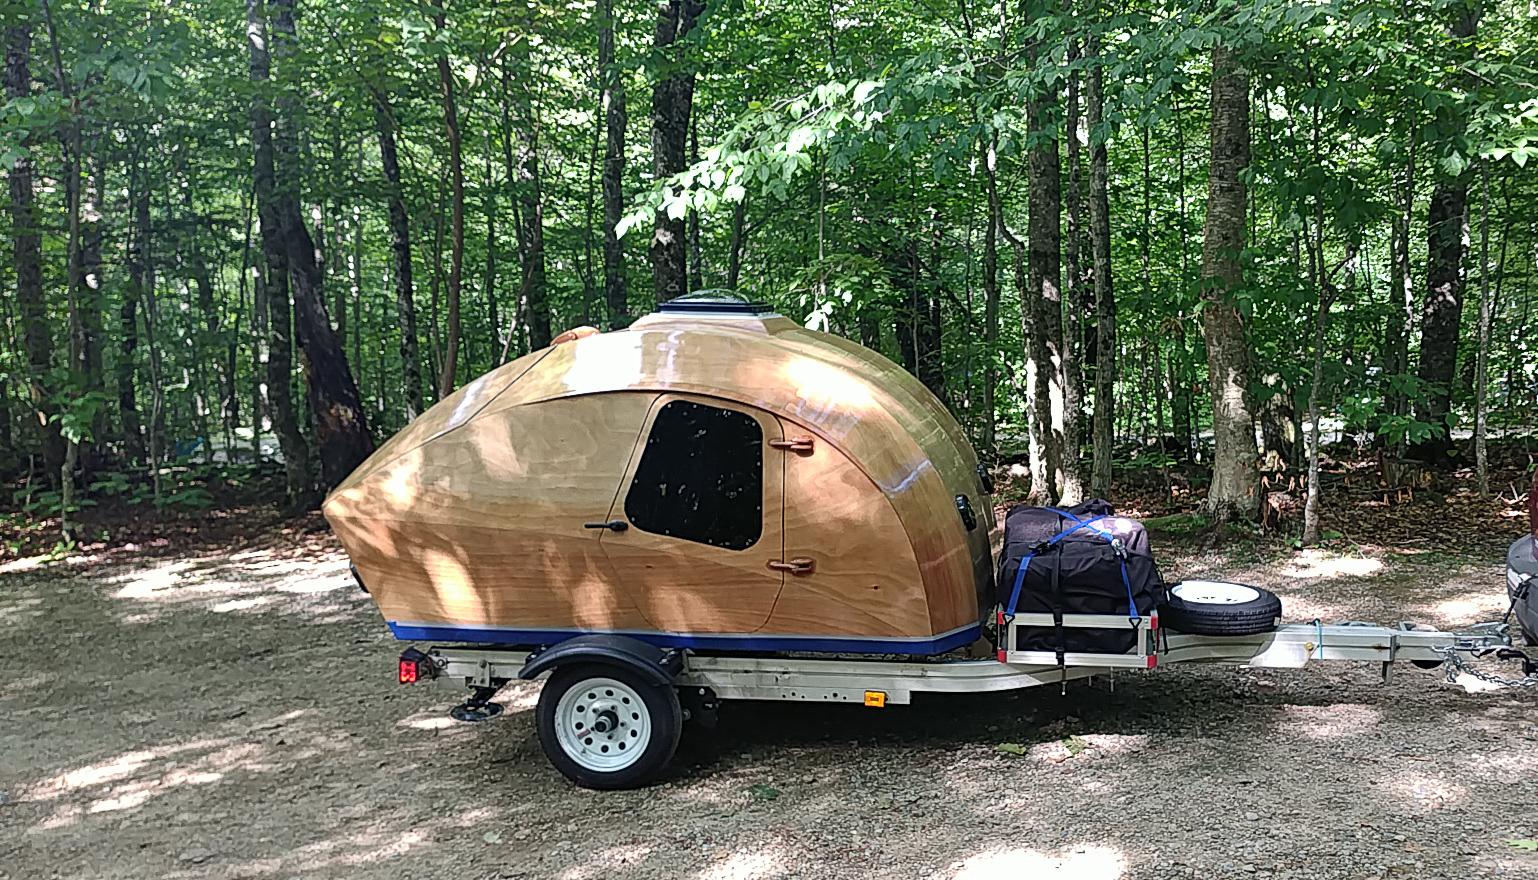
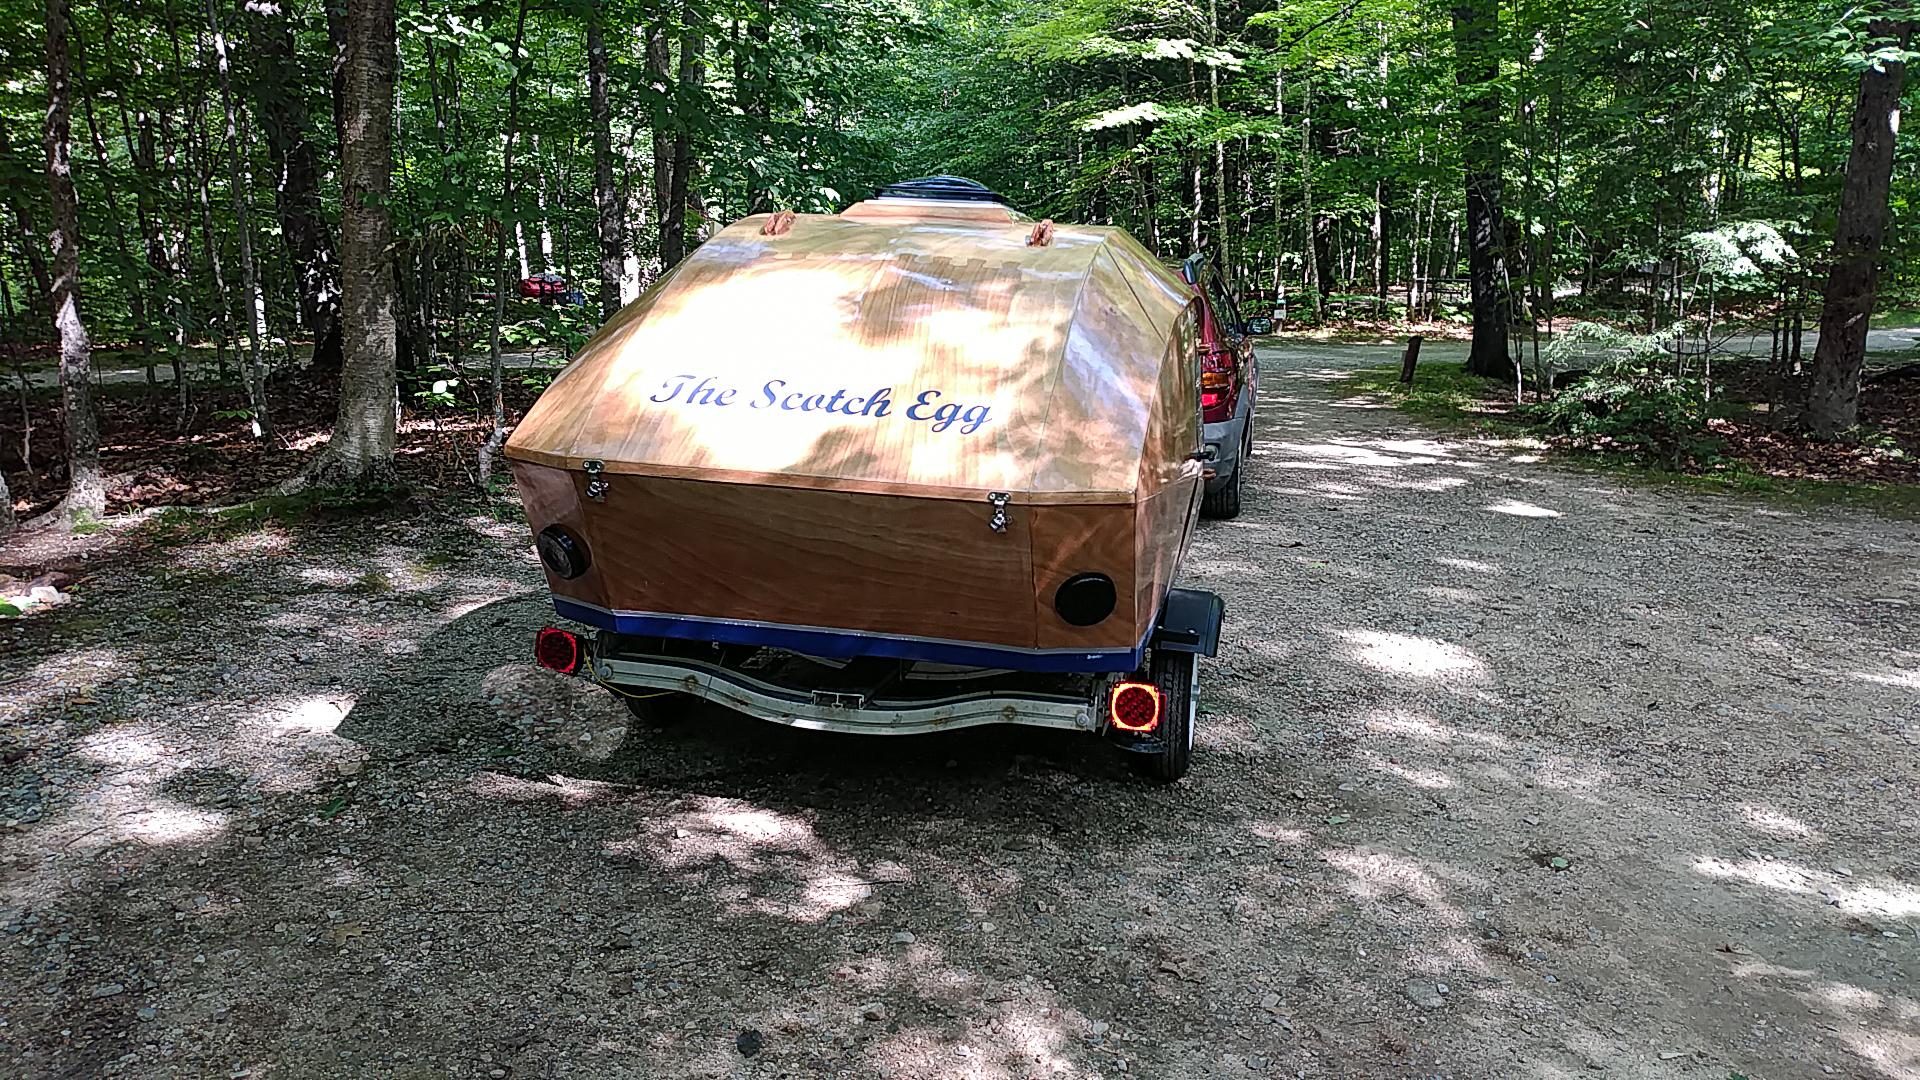
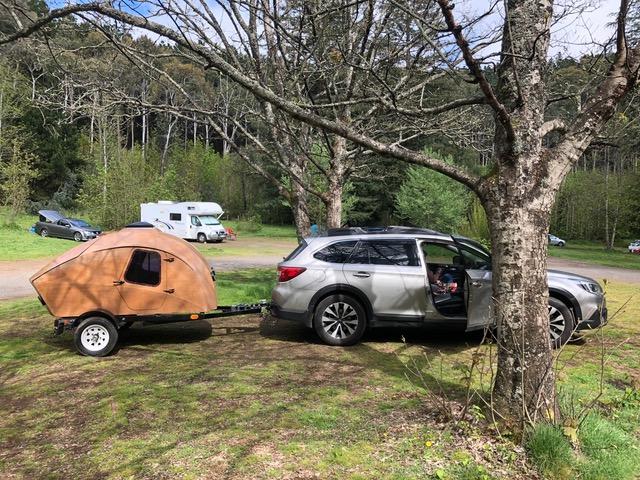
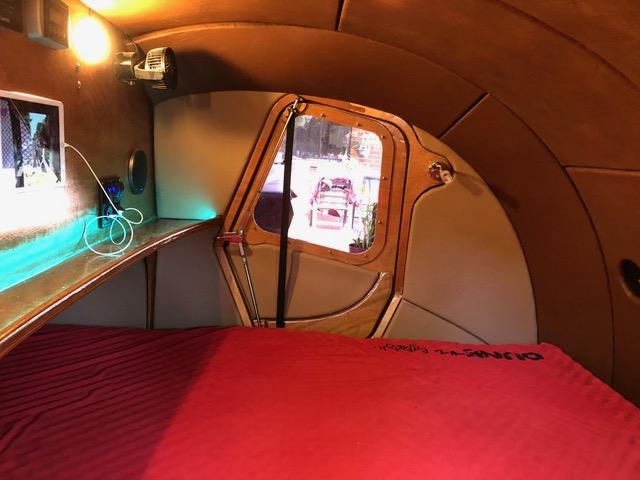
ParticipantAt the beginning of July, I wrapped up most of the work on my camper, The Scotch Egg. Last week, my fiancé and I drove it from our home in Connecticut to Lily Bay State Part in Maine and got married when we arrived. It kept us comfortable despite some rainy days. Here are some action pics:
 October 23, 2018 at 5:47 am #2229
caveprod
ParticipantCompleted camper? Not really, most of us would still tinker for a long time to come I expect. In my case I want to extend the length of the ex 8 x 5 (now 6 x 5) trailers draw bar later so I can put the storage box up front, there isnt room on this trailer currently.
I put a two tone vinyl covering on the insulation and I think it looks magic. Added conduit as galley hatch stops and also internal door locks to keep the wife happy. Shove the camper in a local crater and it looks quite scenic & adventurous!
CLC Campers go down under!
 October 24, 2018 at 4:15 pm #2236
abrightwell
ParticipantOctober 30, 2018 at 6:41 pm #2246PatandRay
Participant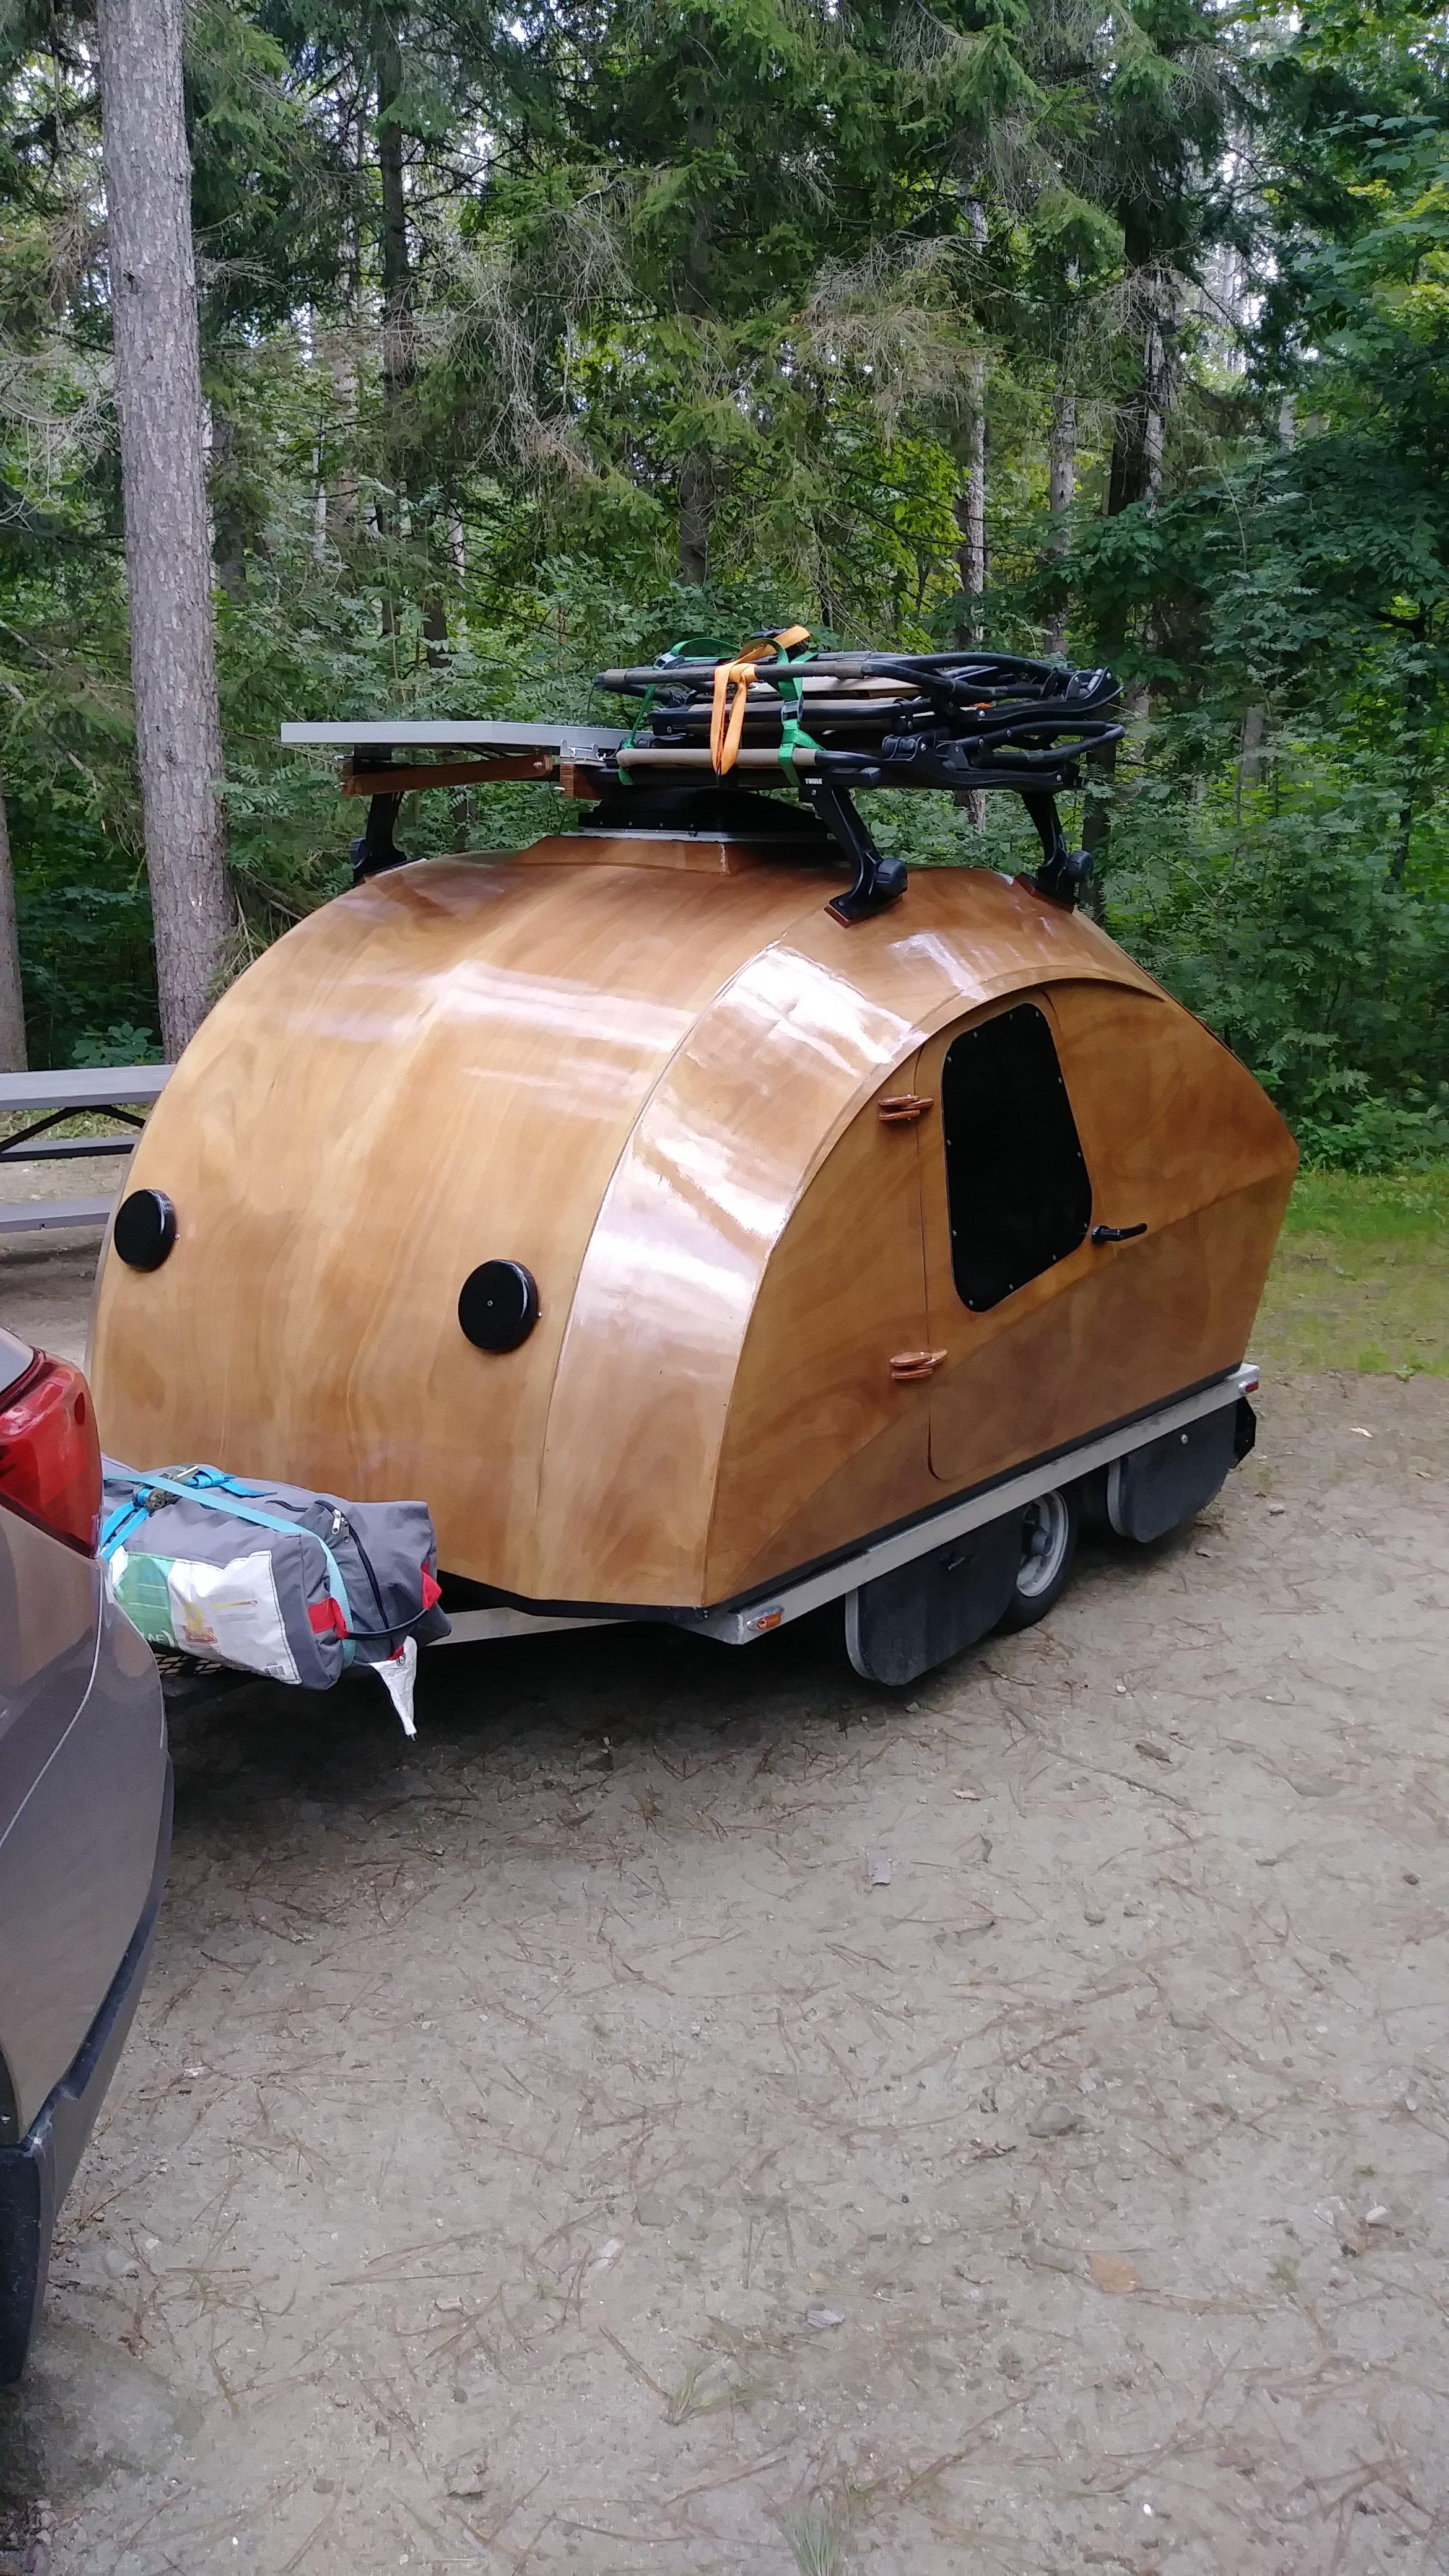 November 5, 2018 at 10:45 am #2259
ArtisticAdam
ParticipantWheel Fenders removed, the top bolt was rubbing and gouging out chunks of the tires when it hit bumps in the road.
 December 6, 2018 at 5:34 pm #2313
sleeper
ParticipantCould you please let me know what kind of vinyl or painyyou put on your headliner? Thanks .
Ken
December 6, 2018 at 6:23 pm #2314ParticipantSleeper, My headliner was constructed from 3/4″ closed cell foam wrapped in automotive foam-backed headliner fabric from Rushin Upholstery
https://www.rushinupholsterysupply.com/product/2292-opal-grey-winchester-knit-headliner/
December 8, 2018 at 8:43 pm #2315ParticipantHi Ken:
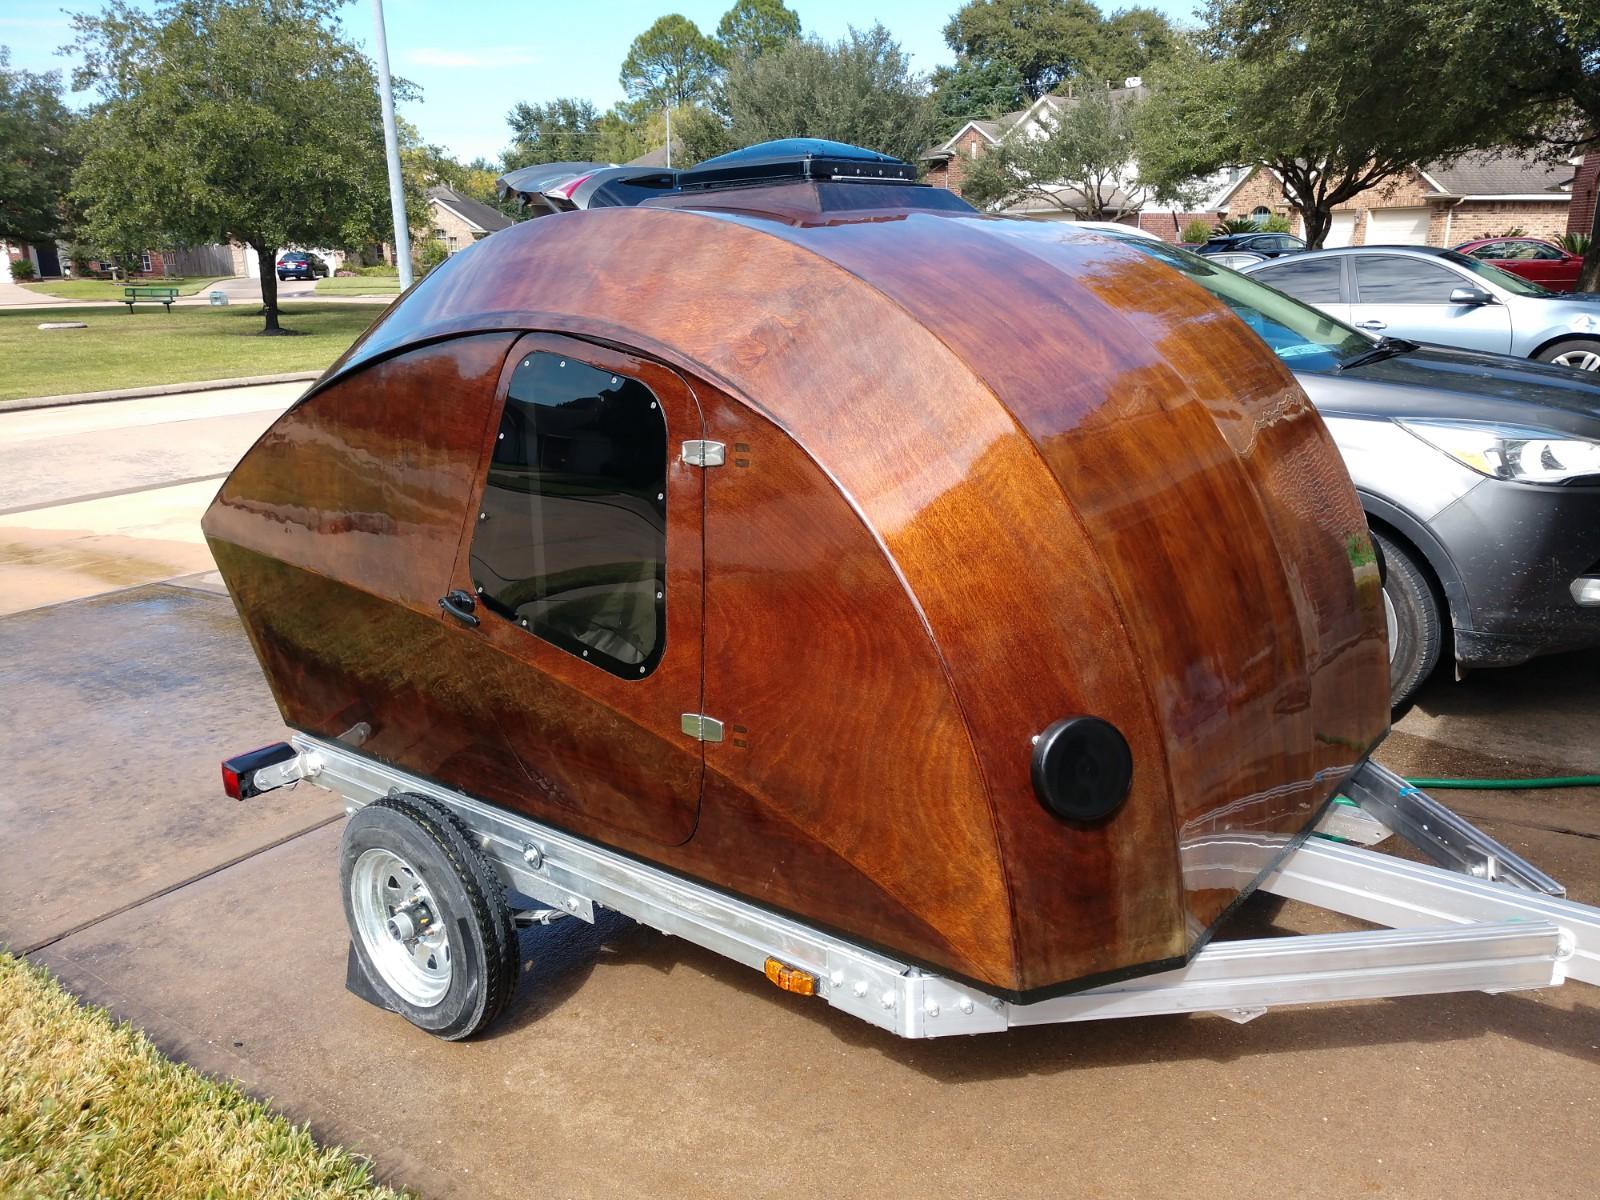
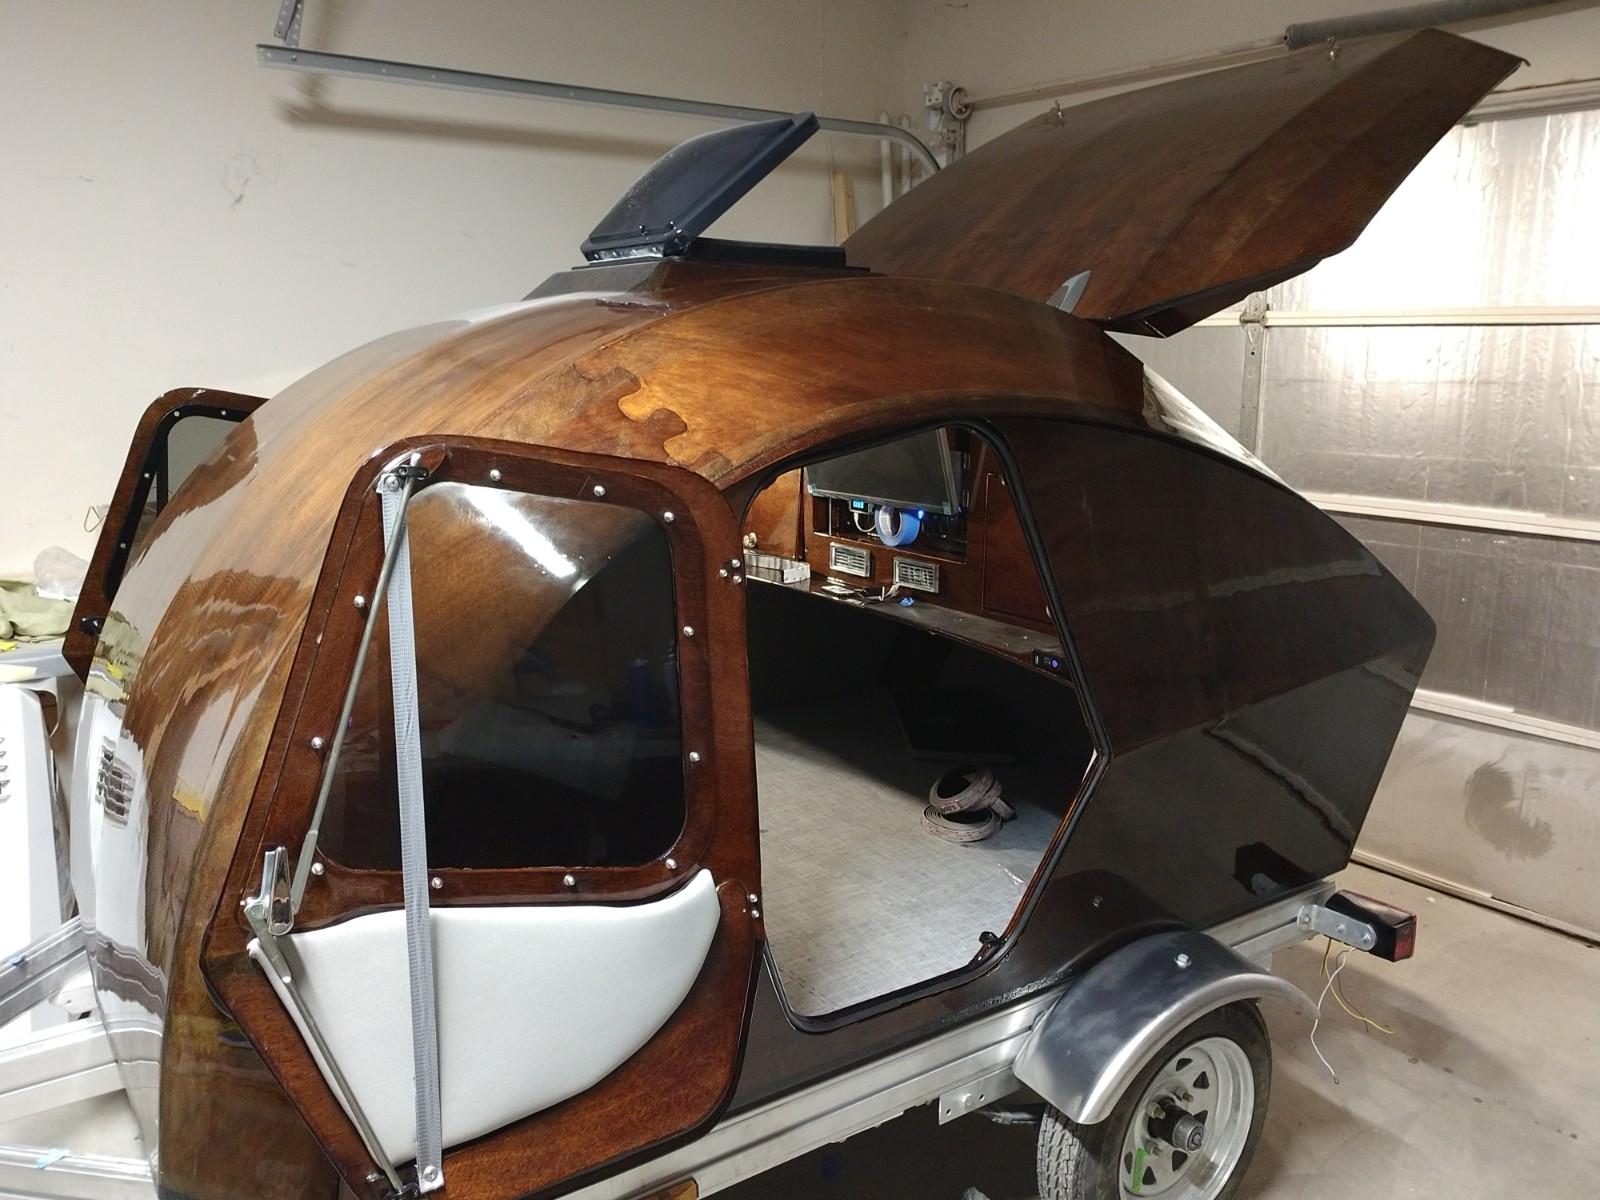
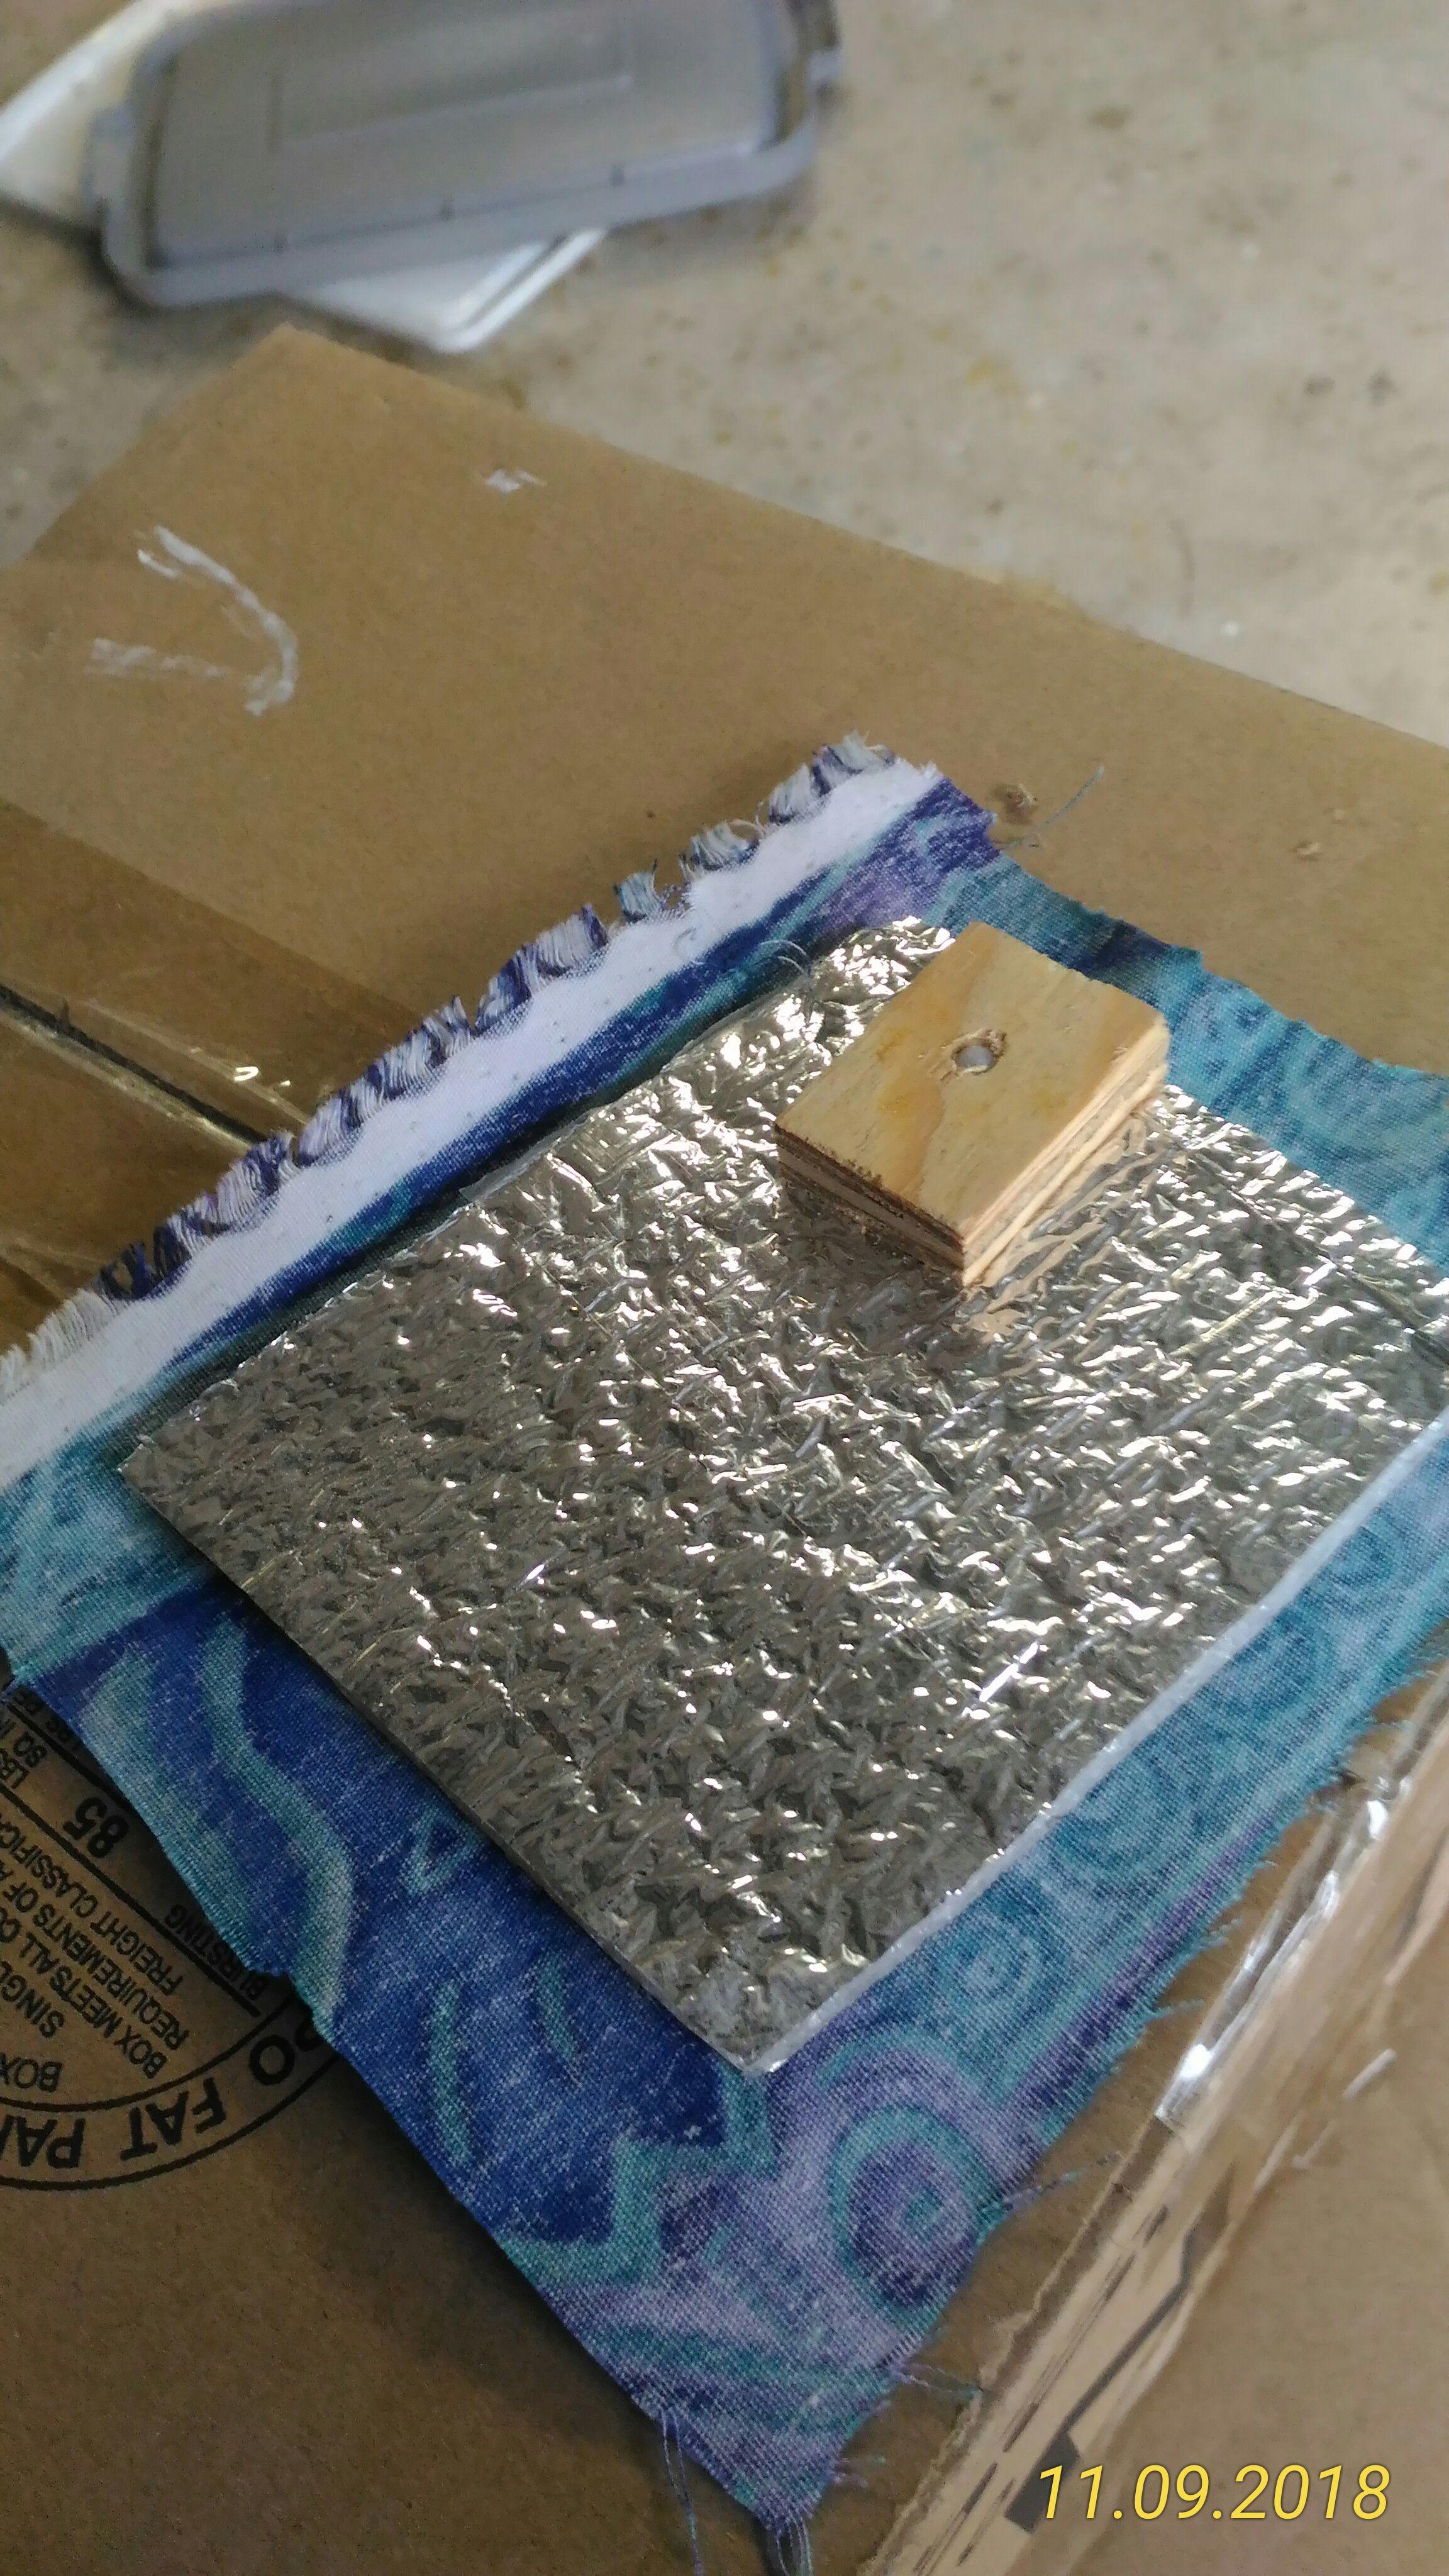
My headliner is not vinyl. I did not use the microcell from CLC. The insulation system I used was based on radiant barrier technology. The design is a cotton fabric glued with spray glue to a closed cell, radiant barrier insulation.
I will write a post describing the whole process and system. We tested it over 99 days on the road between 38 and 80 degrees. It worked.
The advantages as I see it:
1. It is easily removable for cleaning, replacement or to modify wiring lighting.
2. It is light weight.
3. The acoustics are AWESOME! A small bluetooth speaker with a phone and it sounds like a live concert.
 December 13, 2018 at 2:15 pm #2326
stretchMike
ParticipantRe Headliner options – I am getting to that stage and time to make some decisions:
- Adam, love the look of yours; can you give more details of closed cell foam that you used + what glue for foam/shell and headliner/foam?
- Pat and Ray, yours looks intriguing too – like the idea of the radiant barrier layer. Looking forward to more details on your post (ASAP if I may be so bold!)
December 14, 2018 at 5:19 pm #2328ParticipantstretchMike- The headliner took 5 – 46″x82″ sheets of 3/4″ Closed Cell https://www.amazon.com/gp/product/B00LBBV0W4/ref=oh_aui_search_detailpage?ie=UTF8&psc=1
This covered all of the walls including the foot-well with some extra left over for my custom galley counter and for mistakes.
I started with 3M 77 spray adhesive to secure the headliner fabric to the closed-cell foam, but finished with a bottle of 3M 80. the 3M 80 was by far better to work with and the initial hold felt more secure than the 77.
I do highly recommend an automotive headliner to wrap your pieces in. the foam backing on the headliner fabric prevents glue from bleeding through and adds a bit of padding to the finished product.
The pieces were secured to the shell with 3M self adhesive velcro to start. I wanted to test the headliner out for a bit before committing to gluing it to the shell. If I glue it in the future than 3M 80 spray is what I would use.
December 15, 2018 at 4:23 pm #2330ParticipantThanks Adam, just what I needed. Think I will go this route.
Mike
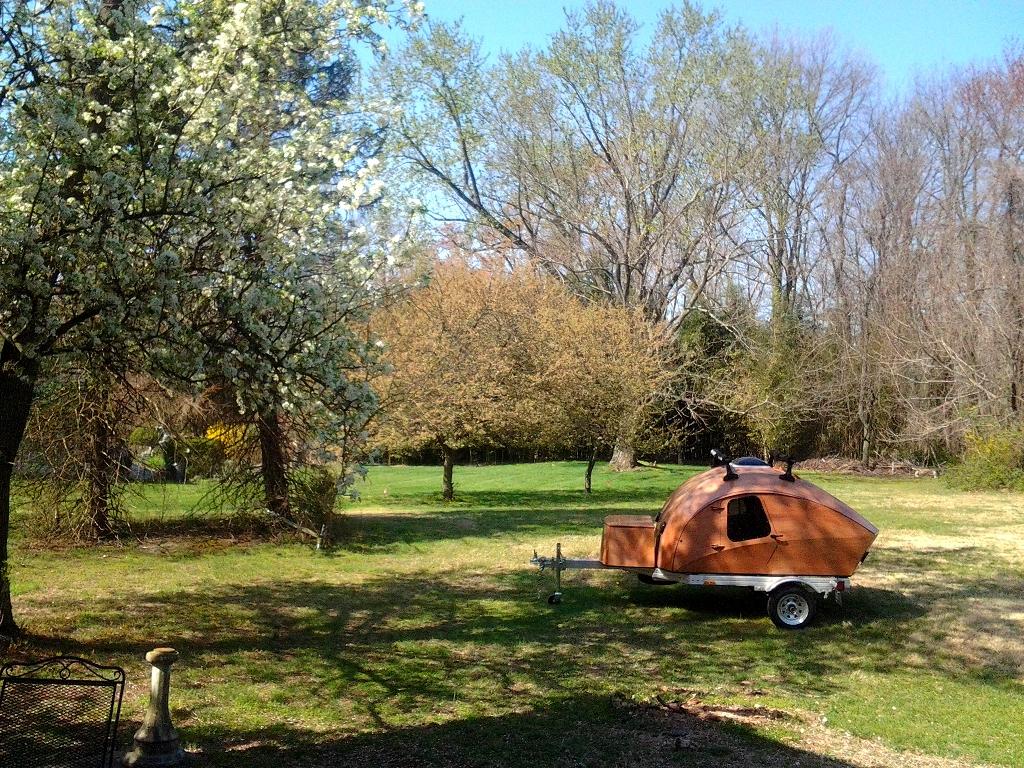
March 13, 2019 at 3:48 pm #2452PopeyeTheTrailerMan
ParticipantSpring is here and I’m retired! Time to start tuning it up for the year’s adventures.
-
AuthorPosts
- You must be logged in to reply to this topic.