Forum Replies Created
-
AuthorPosts
-
stretchMike
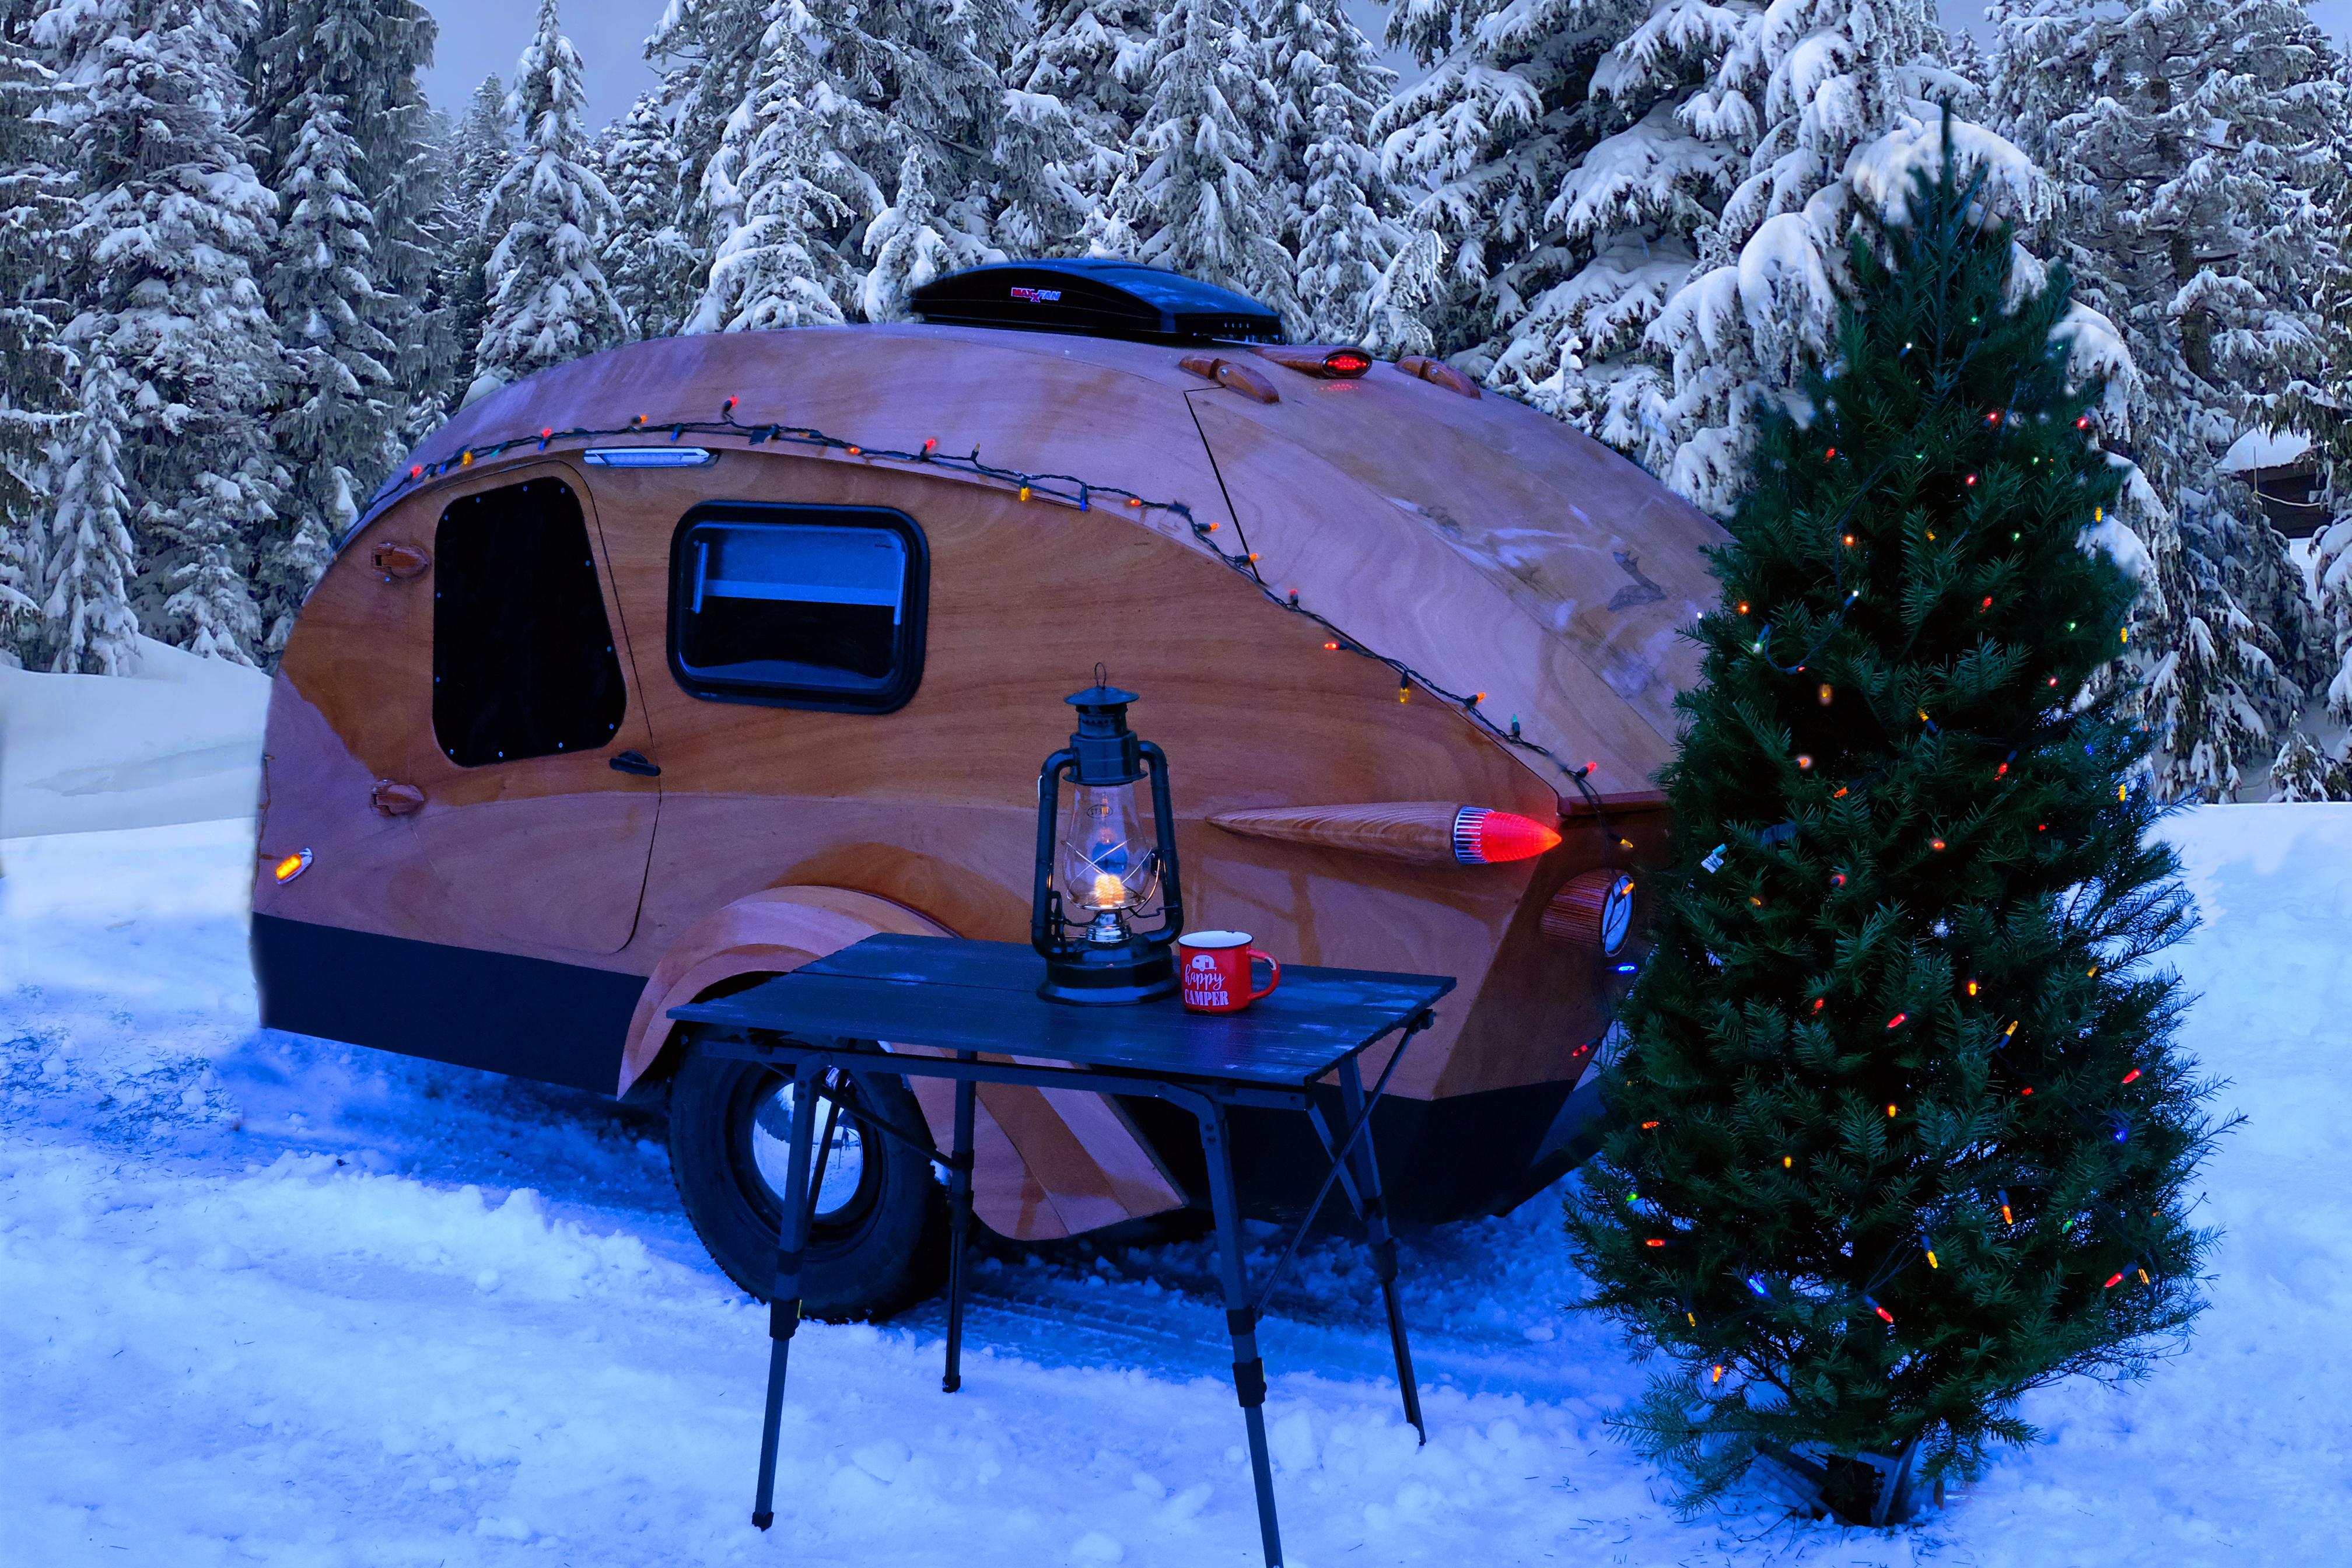
ParticipantGreetings to all and best wishes for 2022. My Christmas card:
 Participant
What JB says also makes sense to me.
Currently camping on beautiful Nicola Lake, BC in ours. Day 21 this year. Mike
ParticipantThanks for the interest. Trying to answer your questions:
– CLC have not seen it in person but are aware of it and I chatted to Dillon at the Port Townsend wooden boat festival.
– I don’t think a stretched CLC version is in the cards. Somewhere on their site (FAQ’S?) they say that any bigger version would run into big increases in shipping costs. I can see that. For example I found and used 5×10 sheets of ply which greatly reduced the number of scarf joints you would need, especially in the floors.
– mine weighs 1250lbs including two 100A batteries, fridge, stove etc.
– the bunk idea seems like a lot of work and compromise for what will hopefully be a very short term problem with your 5 year old’s nightmares.
Just my 2c worth.
ParticipantI have installed one of these on my build. Love the fan – quiet and you can have it open while it is raining without letting water in. Can’t comment on clearance issues because I do not have roof racks. You also have to ensure adequate clearance to hatch when it is fully open.
ParticipantPro-tip: if using the spouse’s kitchen scales, first cover with plastic wrap.
ParticipantI used automotive headliner material as recommended by artisticAdam.
If you search this forum under 2423 you will see my post with photos. You might also search artisticAdam posts for his
information on this topic.
After two years my headliner has held up well.
ParticipantOne messy attempt with pastry bag technique was enough for me. For my modded design with integrated underfloor storage I had multiple lengthy fillets to make. I highly recommend the West System fillable caulking tube: https://www.westsystem.com/application-tools/fillable-caulking-tubes/
Mix your thickened epoxy, pour into tube, put it in a standard caulking gun and go to work.
ParticipantCaptsodie, greetings and welcome to the forum.
Regarding your bike rack idea: a BIG CAUTION.
As you may be aware the key to safe towing is tow hitch weight. Various sources recommend at least 10-15% of trailer weight on the hitch ball. So with and 800 – 900lb trailer that is @80 – 135lb. Less than that and you risk sway with disastrous results.
With a full size trailer adding a rack at the back would likely have little impact given the much greater weight of the trailer. But with our tiny trailers a hitch, rack and two bikes could add @ 100lb leveraged out over the back. Imagine doing that on a teeter totter – the hitch weight would be much reduced and you have introduced a big pendulum at the back.
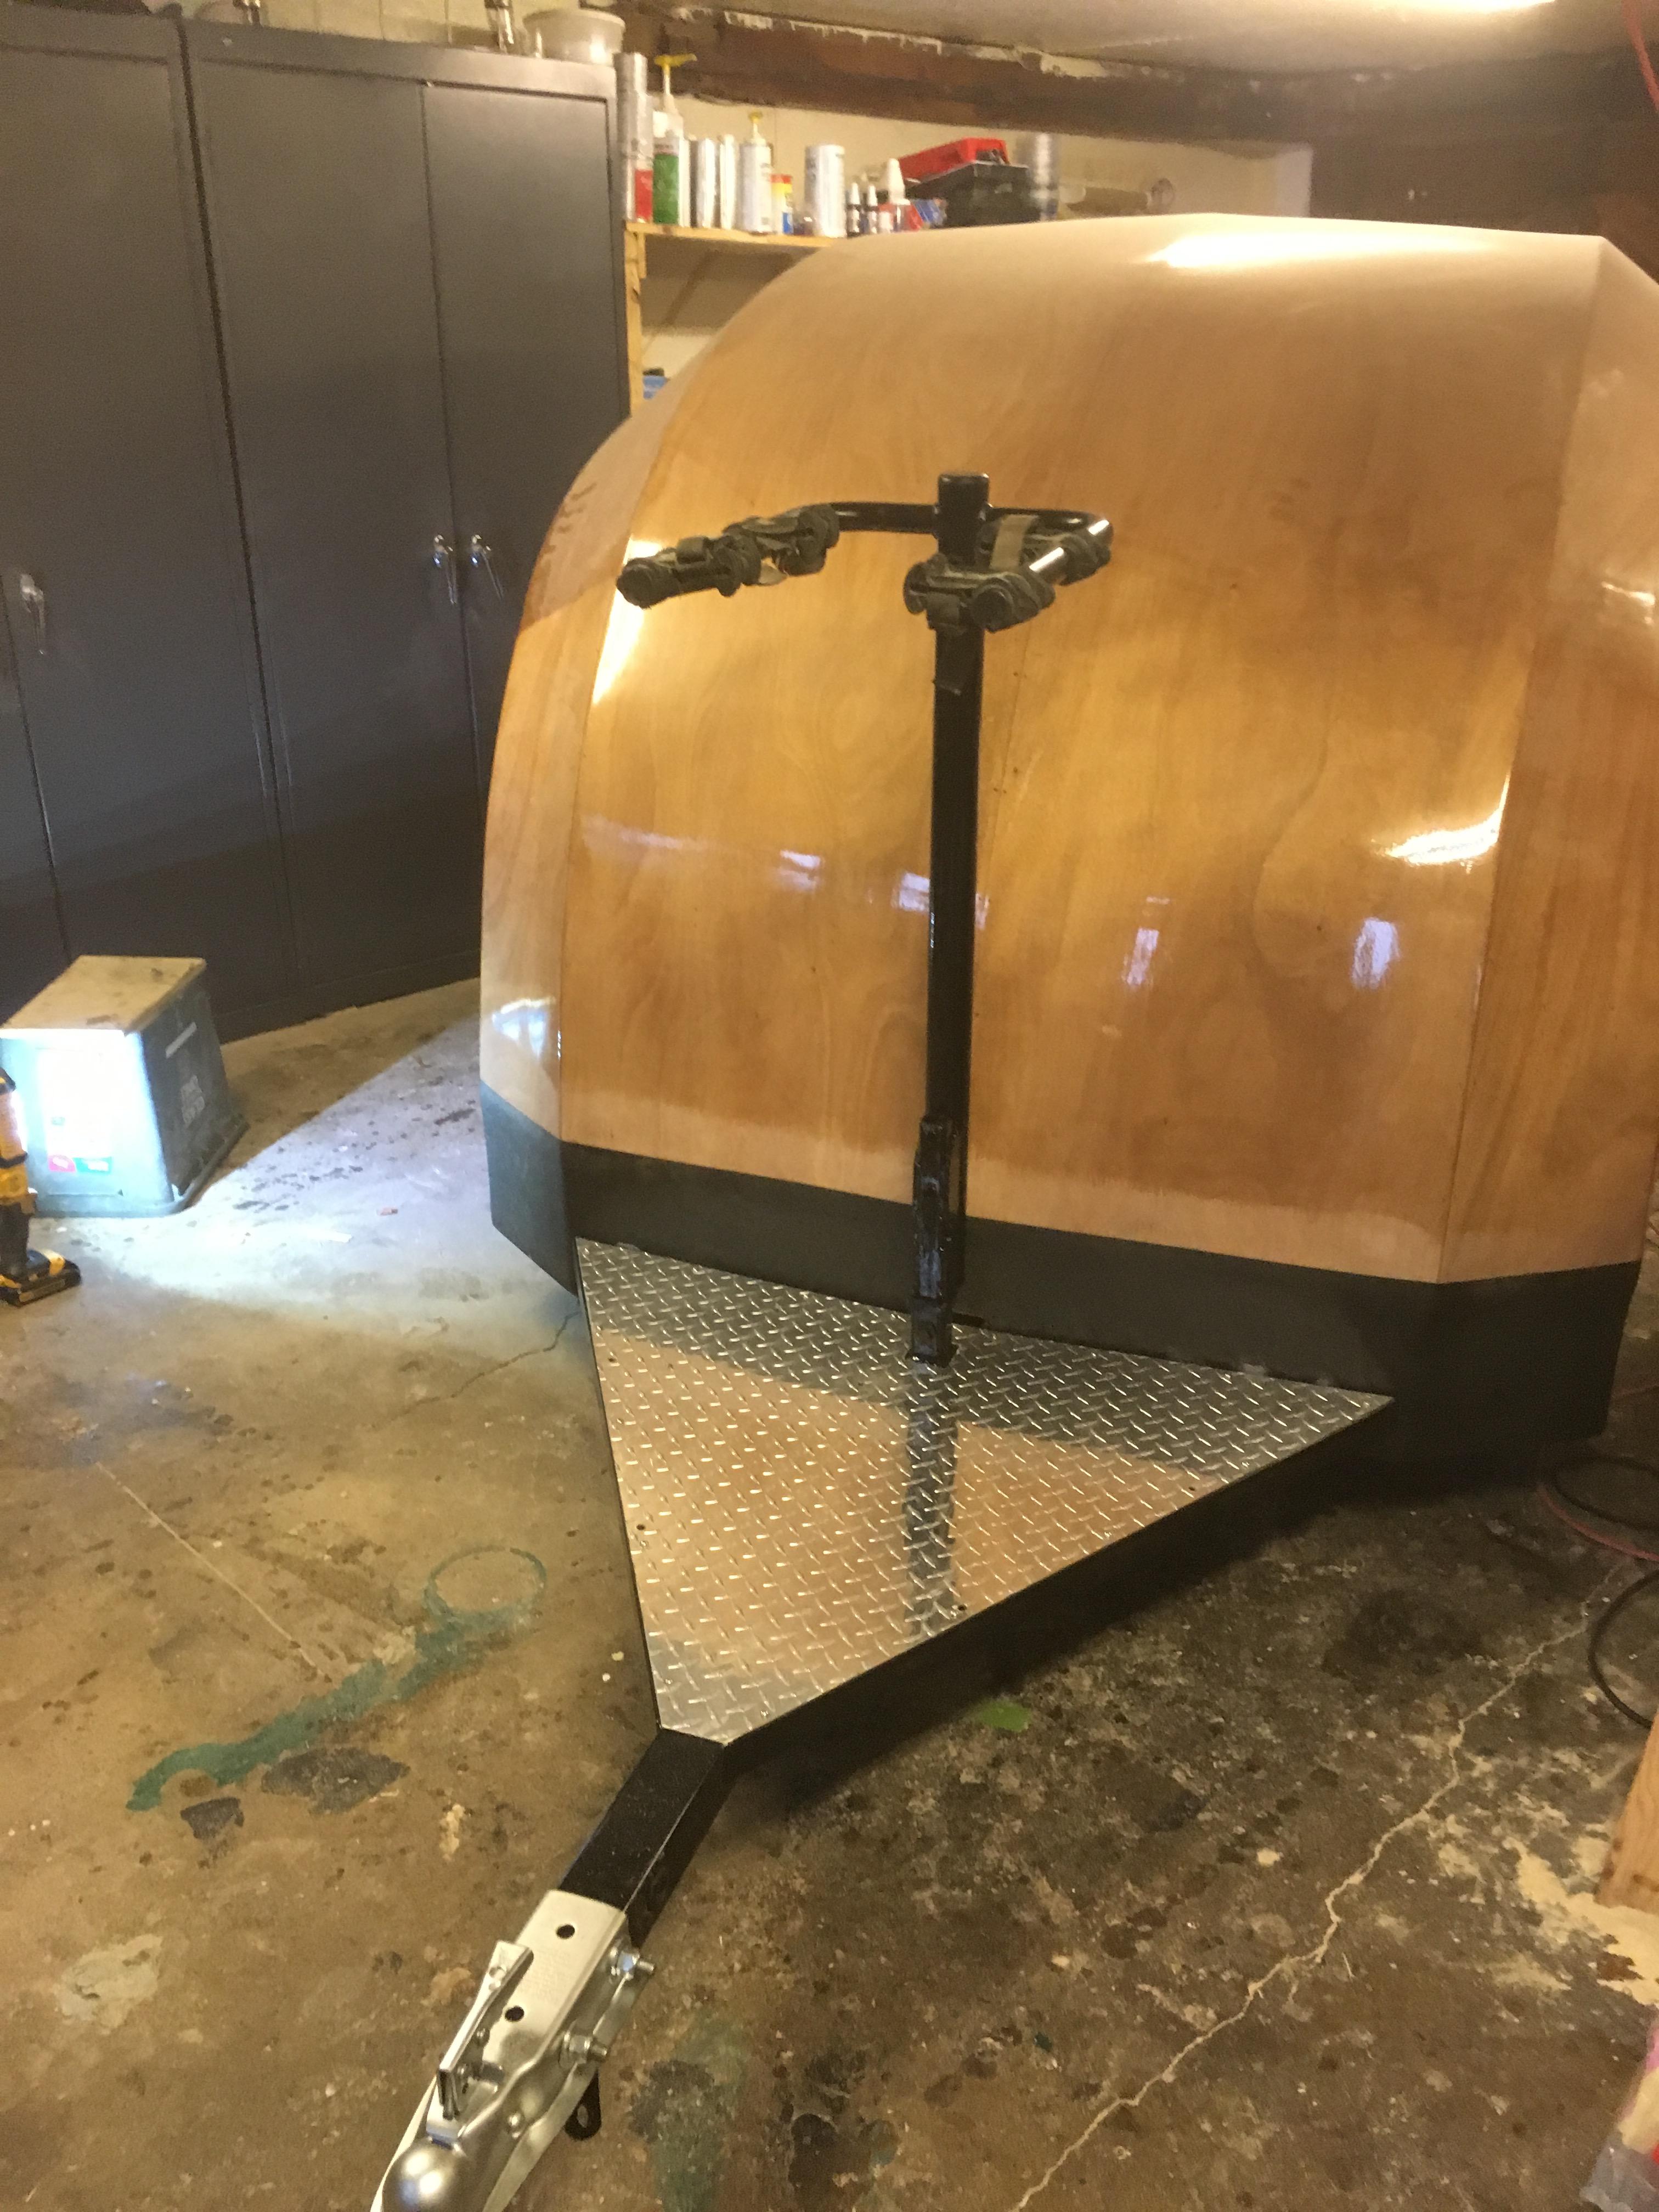
I also wanted to be able to take bikes on trips. My solution was to place a receptor for a rack at the front of the trailer. I used an old rack and had a vertical receiver welded on to my frame. Rack is easy to attach and remove. Two bikes fit across the frame. Need to take care with geometry of turning circle.
Other alternatives are to roof mount on your vehicle and there are also double receptacles so you could have a tow hitch and rack receiver on the back of your vehicle.
All the best, Mike
ParticipantYes, but the kit comes with a spray gun. Just need a source of compressed air. Paint has very strong odour. So need good ventilation and mask.
ParticipantI used the U-Pol Raptor bedliner type material on the entire underside and inner fenders. 10,000 km later still working great.
ParticipantGood questions.
All transverse formers except # 4 & #5 were stock. I did not want to mess with the hatch area or the front of the camper as they are both high curvature and in the case of the hatch somewhat complex were. I figured that changing those shapes would cause a host of problems elsewhere.
Formers 4 & 5 were modified slightly. If you look at the photo of my flexible stick drafting you will see that to get a smooth curve I started the adjustment just to the outside of those formers. I adjusted the formers by measuring the revised width of the panel at the former station and then transferring it to the former pattern.
The “extra” former is entirely custom. The width at the base of the camper is the same as for the other formers. For the angles of the panels I interpolated between # 4 and # 5. Again I transferred panel widths from the modified plans. Still it needed to be adjusted a few times. The Height of the camper turned out to be 1 – 1 1/2 inches taller than OEM because of the added section and the curvature of the roof. I think if I were doing it again I would make the extra former adjustable: put my first two panels in and them support them after they were loosely wired in to the other formers. Then repeat for the other panels. I think easier to achieve a smooth shape that way.
All the best.
PS: about 10,000 km on mine now. Last week on the West Coast of Vancouver Island, next week Banff and Lake Louise.
ParticipantJust adding my experiences from a couple of kayaks and the teardrop:
– what the others have said about rising temperatures and bubbles is spot on;
– I have heard of some using hairdryers to help level epoxy: blowtorches seem extreme;
-re levelling between coats of epoxy: you will gradually reduce those low spots with each coat. You do not need to eliminate them all in the first couple of coats – that would remove too much material and possibly damage glass weave.
– but the final epoxy coat needs to be smooth because varnish does not have the body to fill the depressions. As mentioned before spot filling works well here. Going over surface with a bright lamp reveals any remaining depressions;
– a furniture scraper is also a great way of removing excess epoxy like runs;
– I recommend changing sanding pads very frequently- I bought in bulk. Goes much quicker and you will not spend the waxy residue. I also went with multiple grit increments: 80; 120; 180 and 220 on the final coat.
– I also found that allowing a 2 day cure between coats made sanding much easier.
stretchMike
–
ParticipantVarnish will not have the body to fill irregularities; it will highlight them – so you need to level now. I added a full extra coat of epoxy to get a good surface before varnishing. Alternatively, if irregularities are limited you could spot recoat with epoxy and sand.
I know there is an urgency to get going with the varnish, but worth taking your time to get epoxy finish right before moving on.
from another Canuck.
ParticipantAgree you got a bad panel and that this should not happen. But it is fixable so that it will look respectable with a varnished wood finish.
I can say this from personal experience. After taking my pristine shell out of the mold I put the mold on edge against my garage wall. Surely enough it fell and struck the shell breaking right through 1 panel.
Before and after photos:
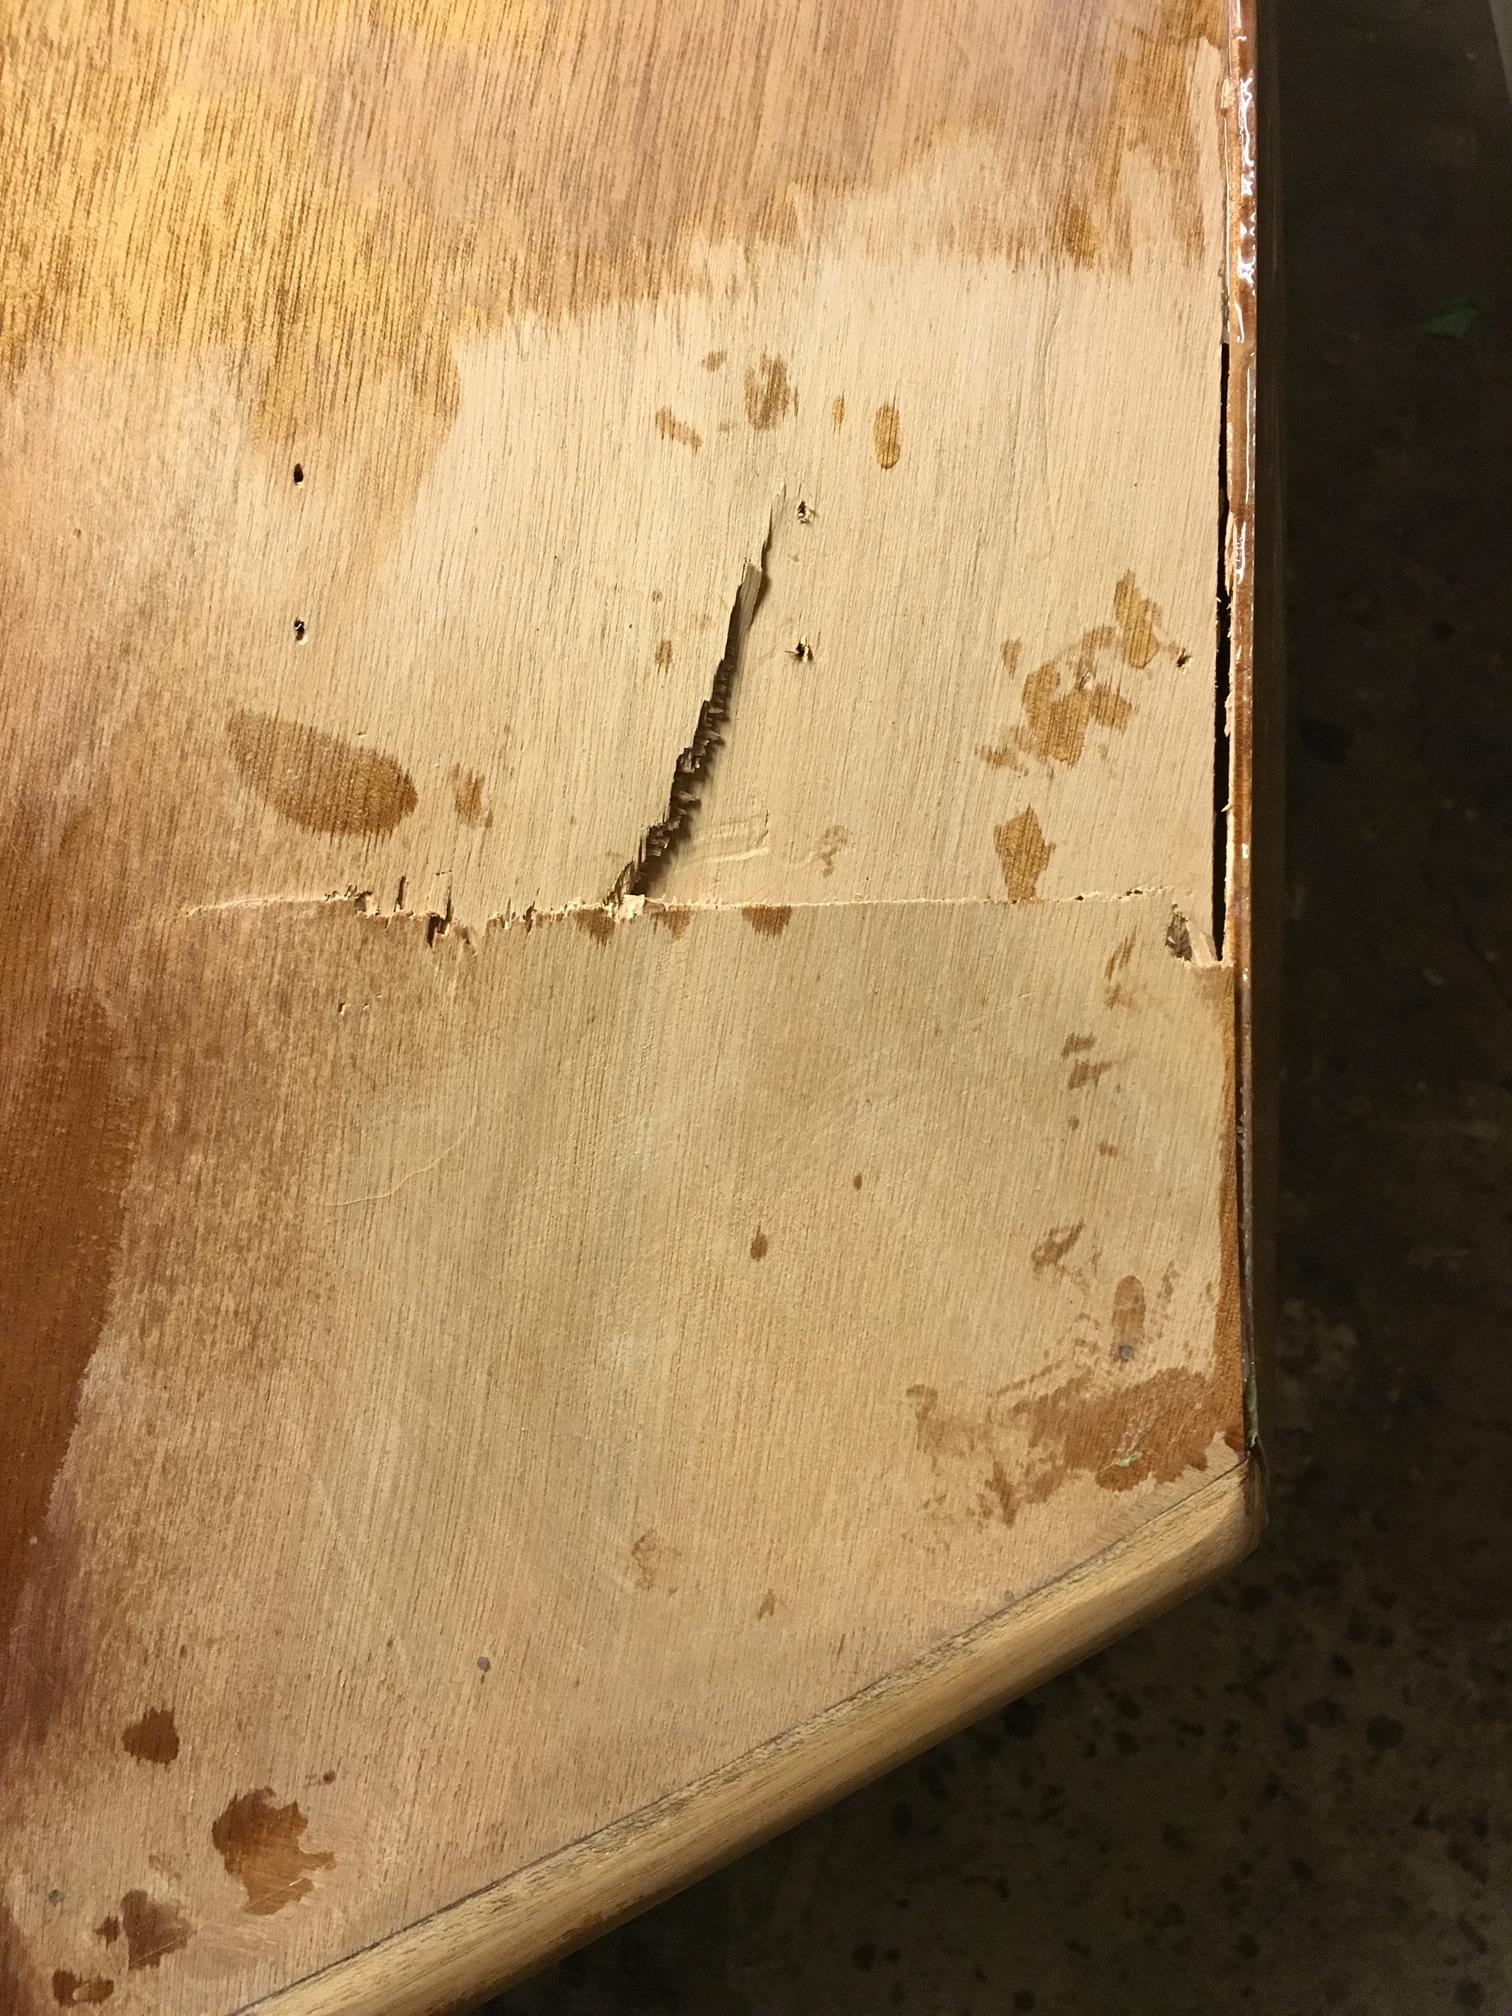
Procedure:
- If there are loose fibres they need to be glued down with superglue or removed;
- Fill holes with wood filler. But not all one colour, instead roughly blend a couple of colours to give a streaky look when applied. I used “natural” and “red oak”. I would first test the filler on a scrap piece of ply and coat with a little epoxy to see how colour looks under epoxy. Adjust as necessary;
- Lightly sand and repeat for any remaining depressions or to adjust colour;
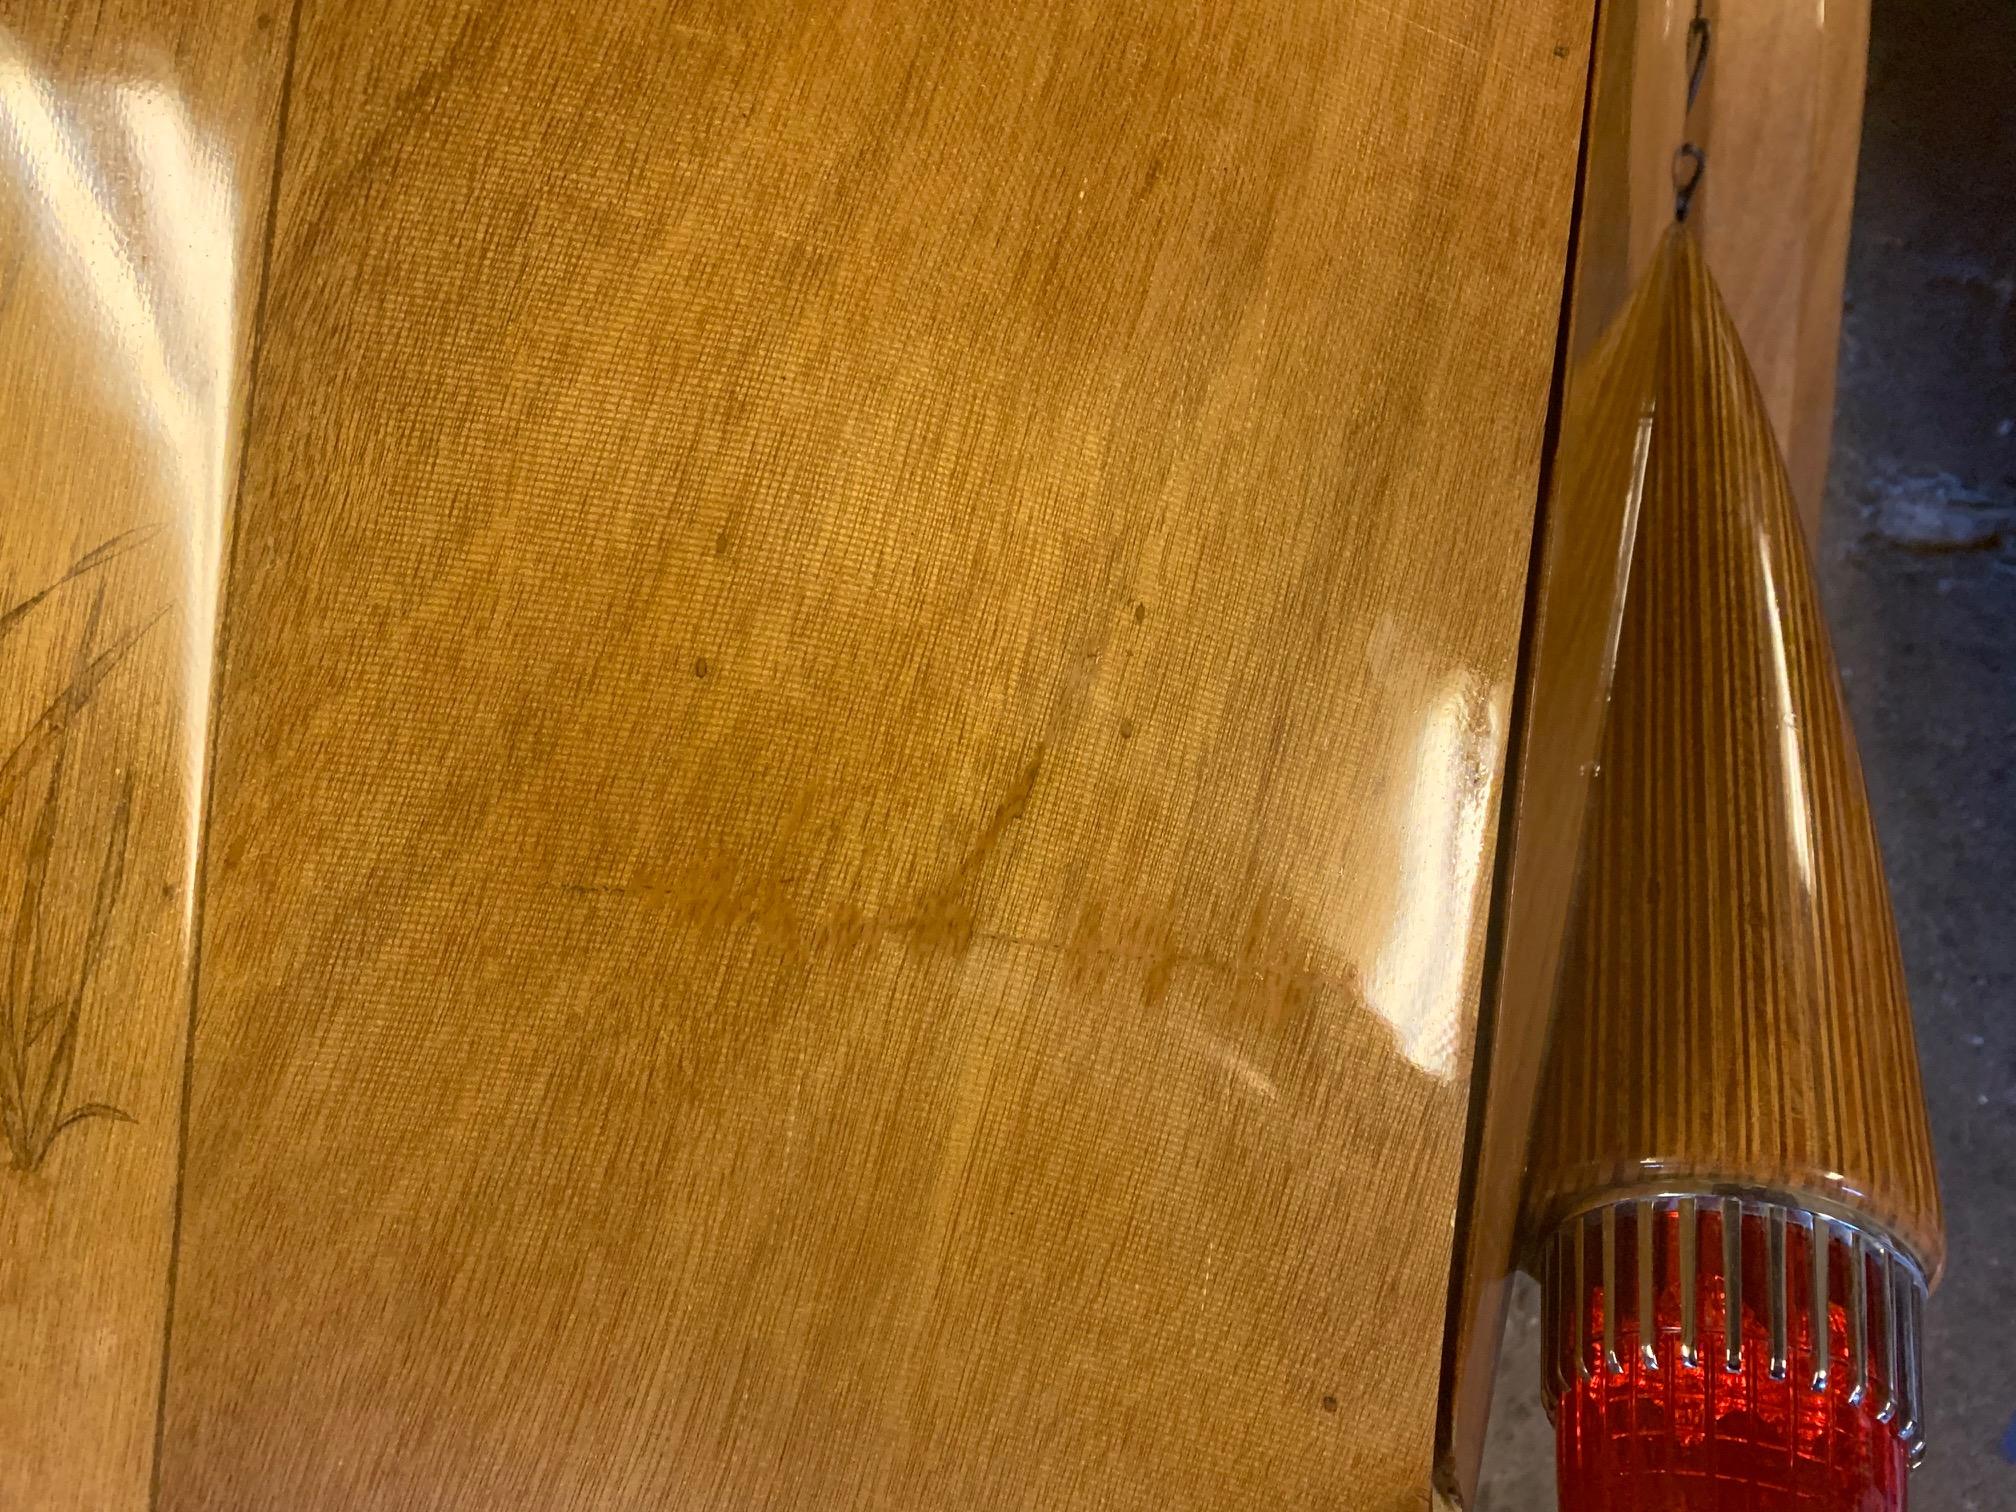
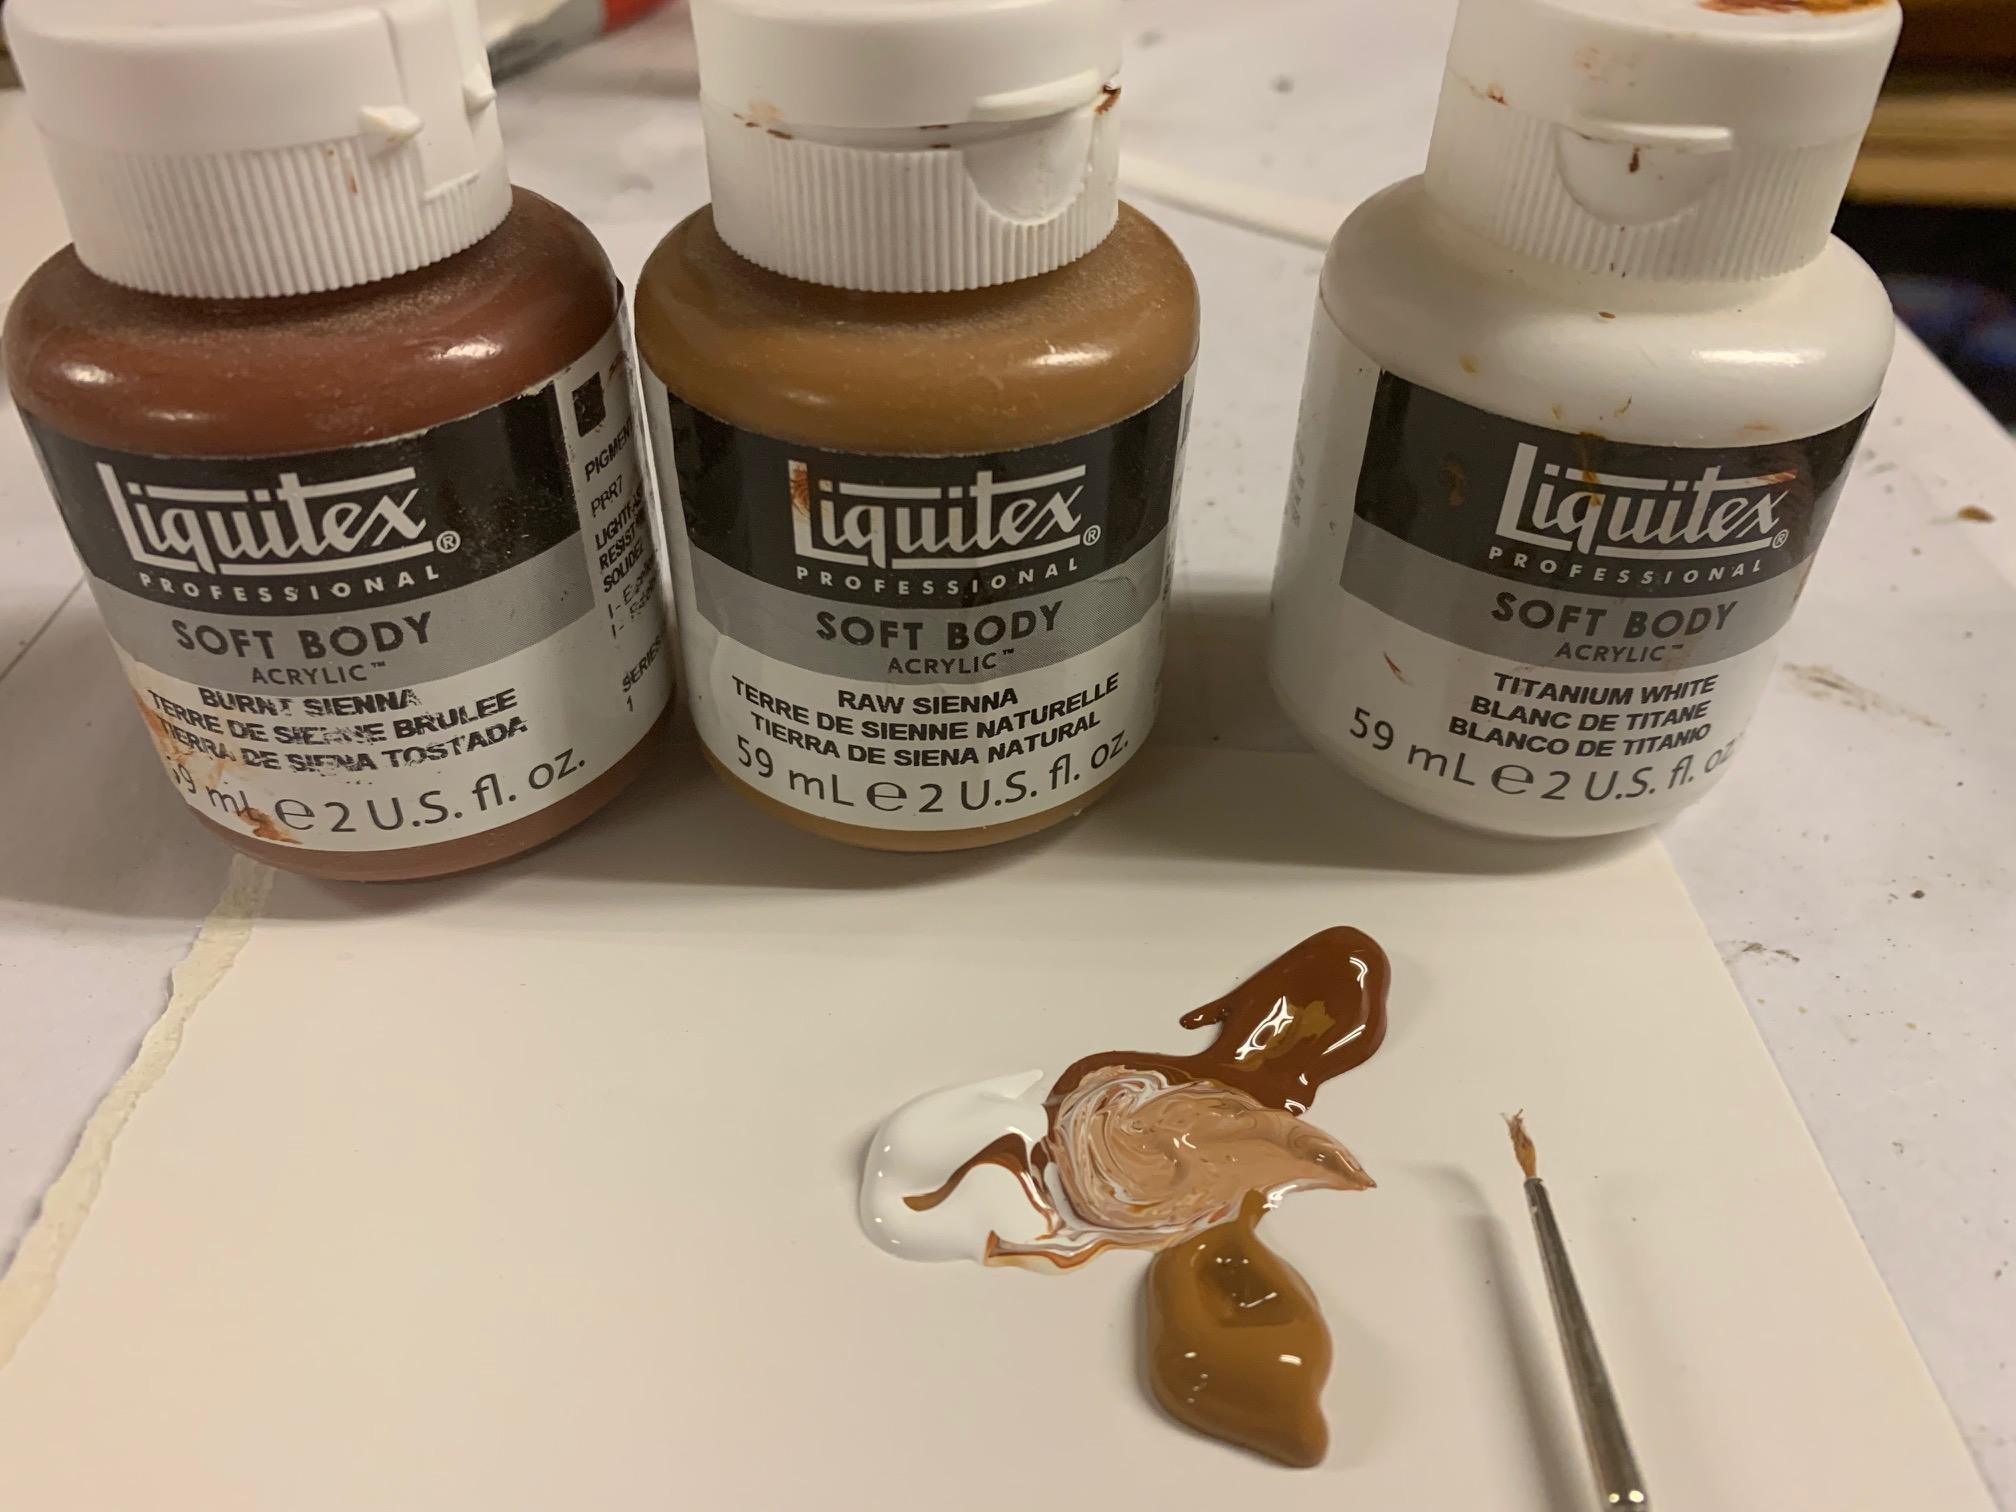
- To further blend filler with surrounding wood I used acrylic paint with a very thin brush. I used a mix of raw and burnt sienna and white. Apply sparingly in very light thin strokes following the grain. Again, recommend testing on scrap and under epoxy for right colour.
- Lightly sand to blend.
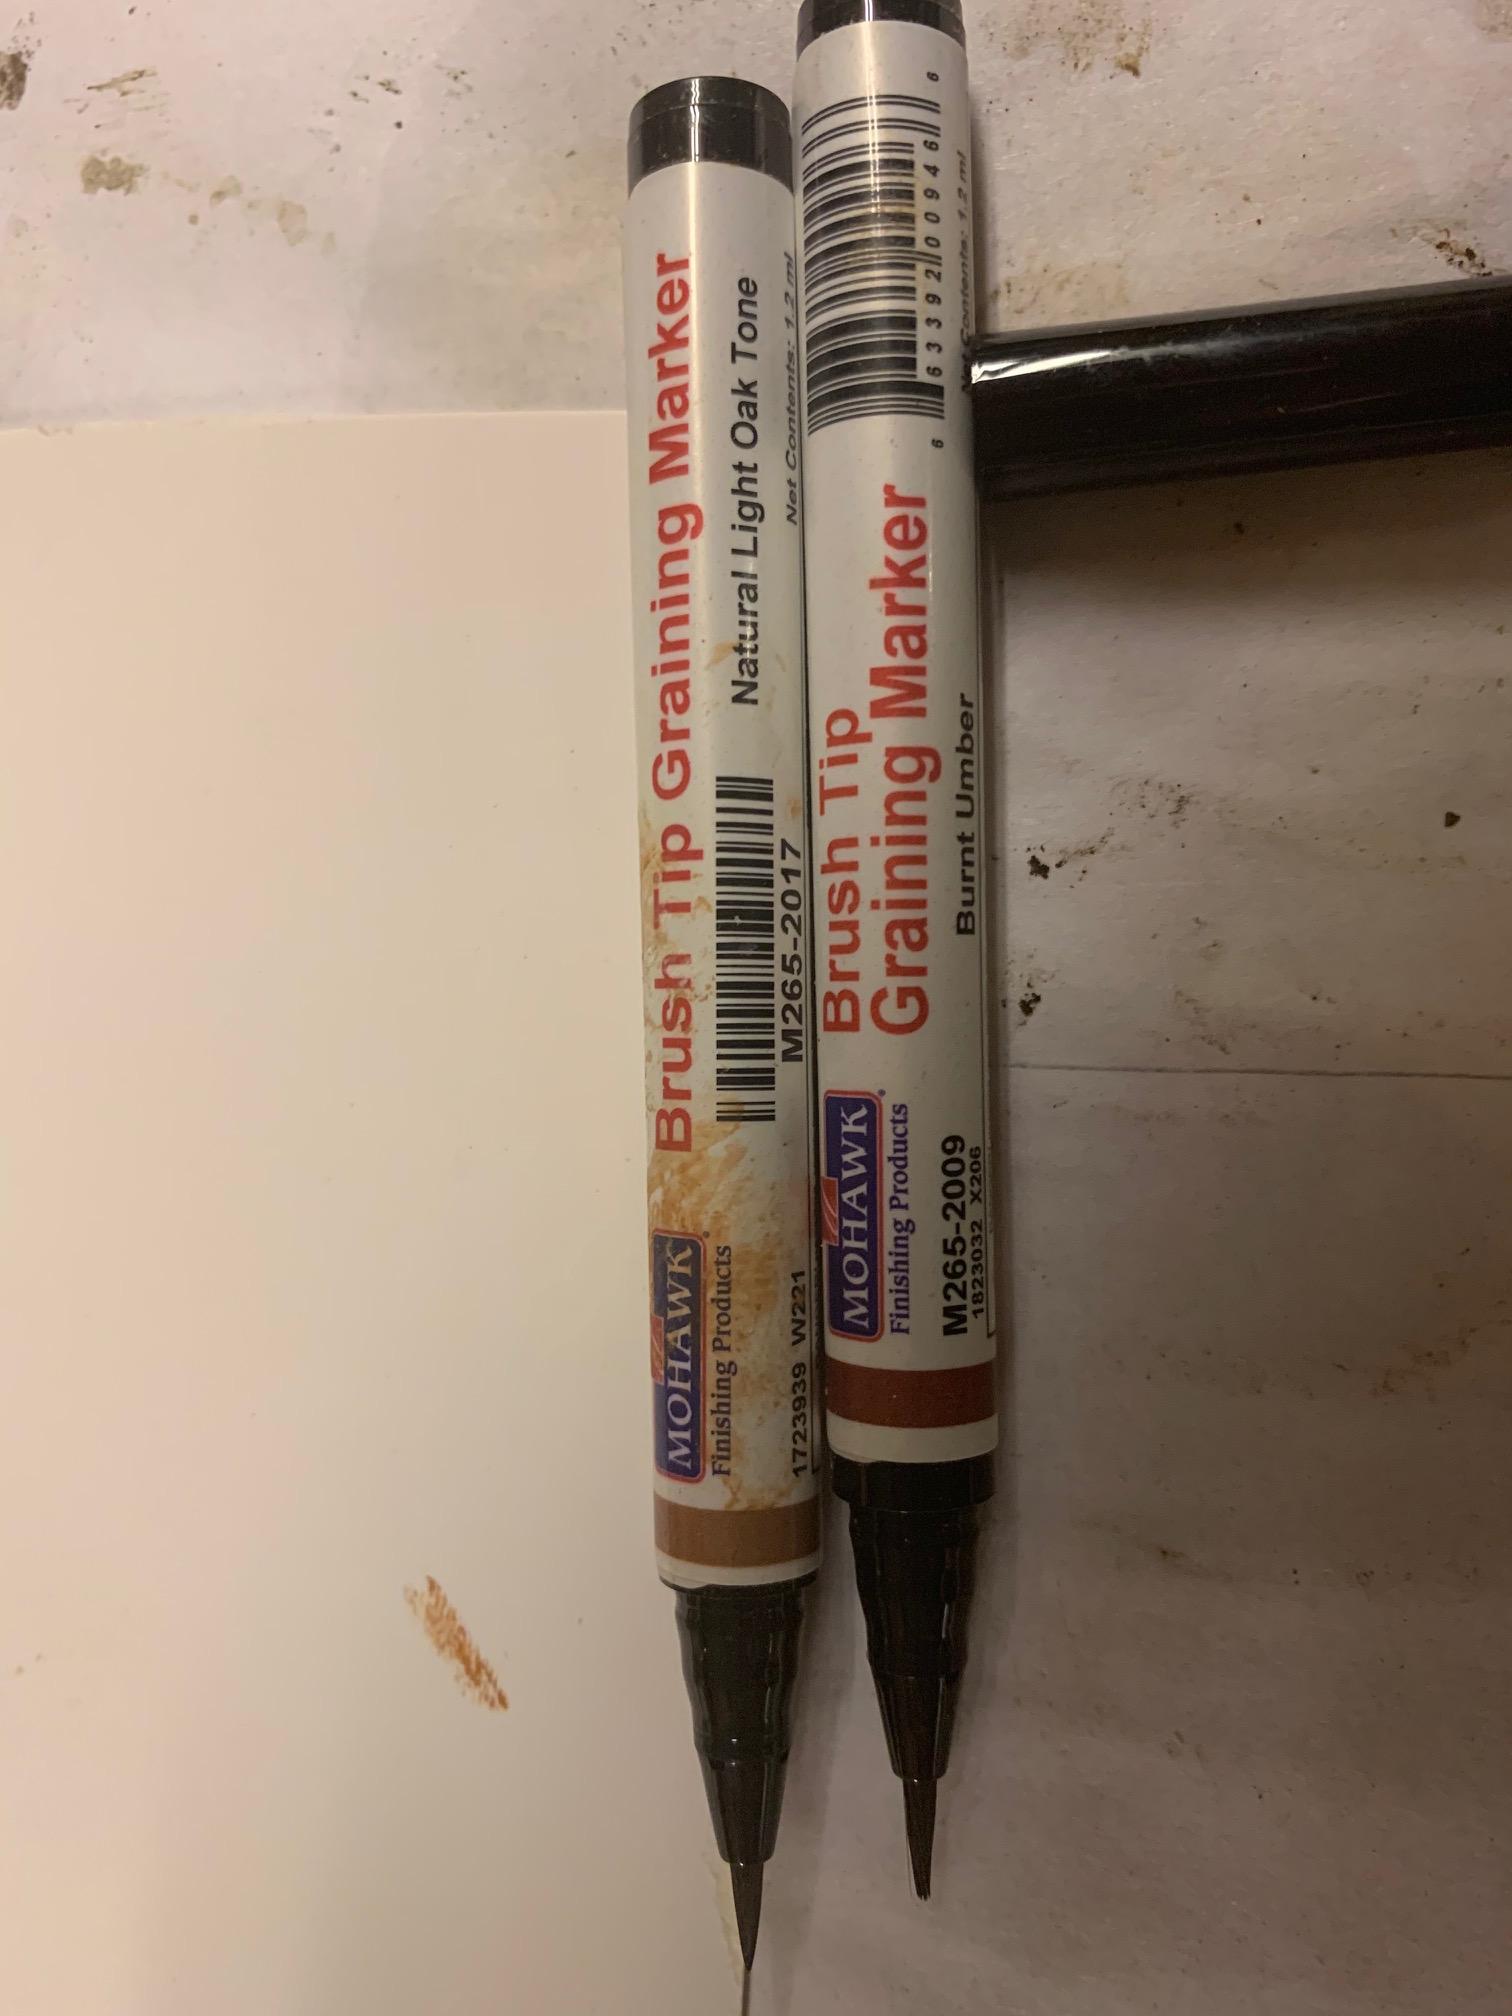
- At this point it should look much better, but you can still improve things with a graining pen. Photo attached. Use tiny strokes to paint on grain to match surrounding wood.
- When satisfied you can proceed to apply cloth and epoxy as usual.
- After the first coat of epoxy you will have an idea of how it looks. You can still adjust the blending by applying paint or graining pen between coats of epoxy.
It won’t be perfect, but casual observers shouldn’t notice the fix.
 Participant
We will be in the Fort Washington State Park, Friday to Sunday:
Fort Townsend State Park
1370 Old Fort Townsend Rd, Port Townsend, Washington, 98368
GPS Coordinates: <-122.7945, 48.07805>Site 13.
-
AuthorPosts