Welcome to TeardropForum.com › Forums › Teardrop Builders’ Forum › Dan's Build
Tagged: Varnish
- This topic has 91 replies, 11 voices, and was last updated 2 years, 4 months ago by
pwebster25.
-
AuthorPosts
-
December 21, 2017 at 6:32 pm #1497
Dan
Participant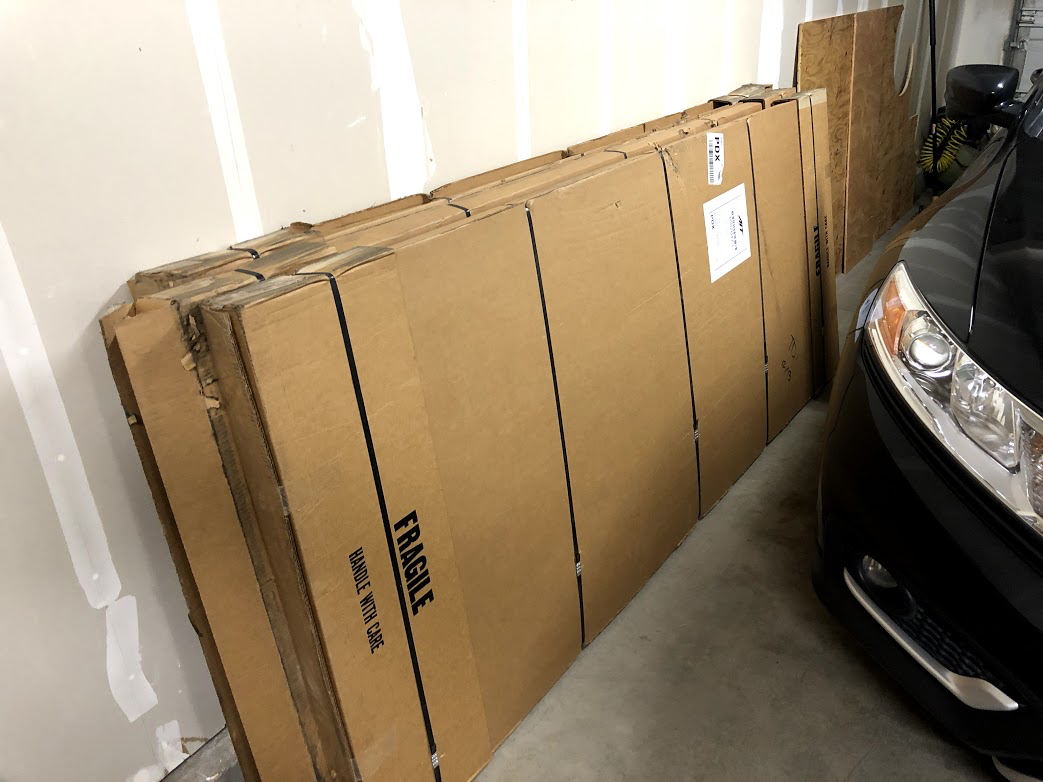
Yay! My teardrop kit finished arriving today. I will post build updates here.
The delivery guy was super excited when I showed him what he had delivered and told me about how his metal camper leaks whenever it rains. So I sent him home with my CLC catalog. Maybe he will show up here as a fellow builder. Rock on, delivery guy!
December 28, 2017 at 3:38 pm #1512Dan
Participant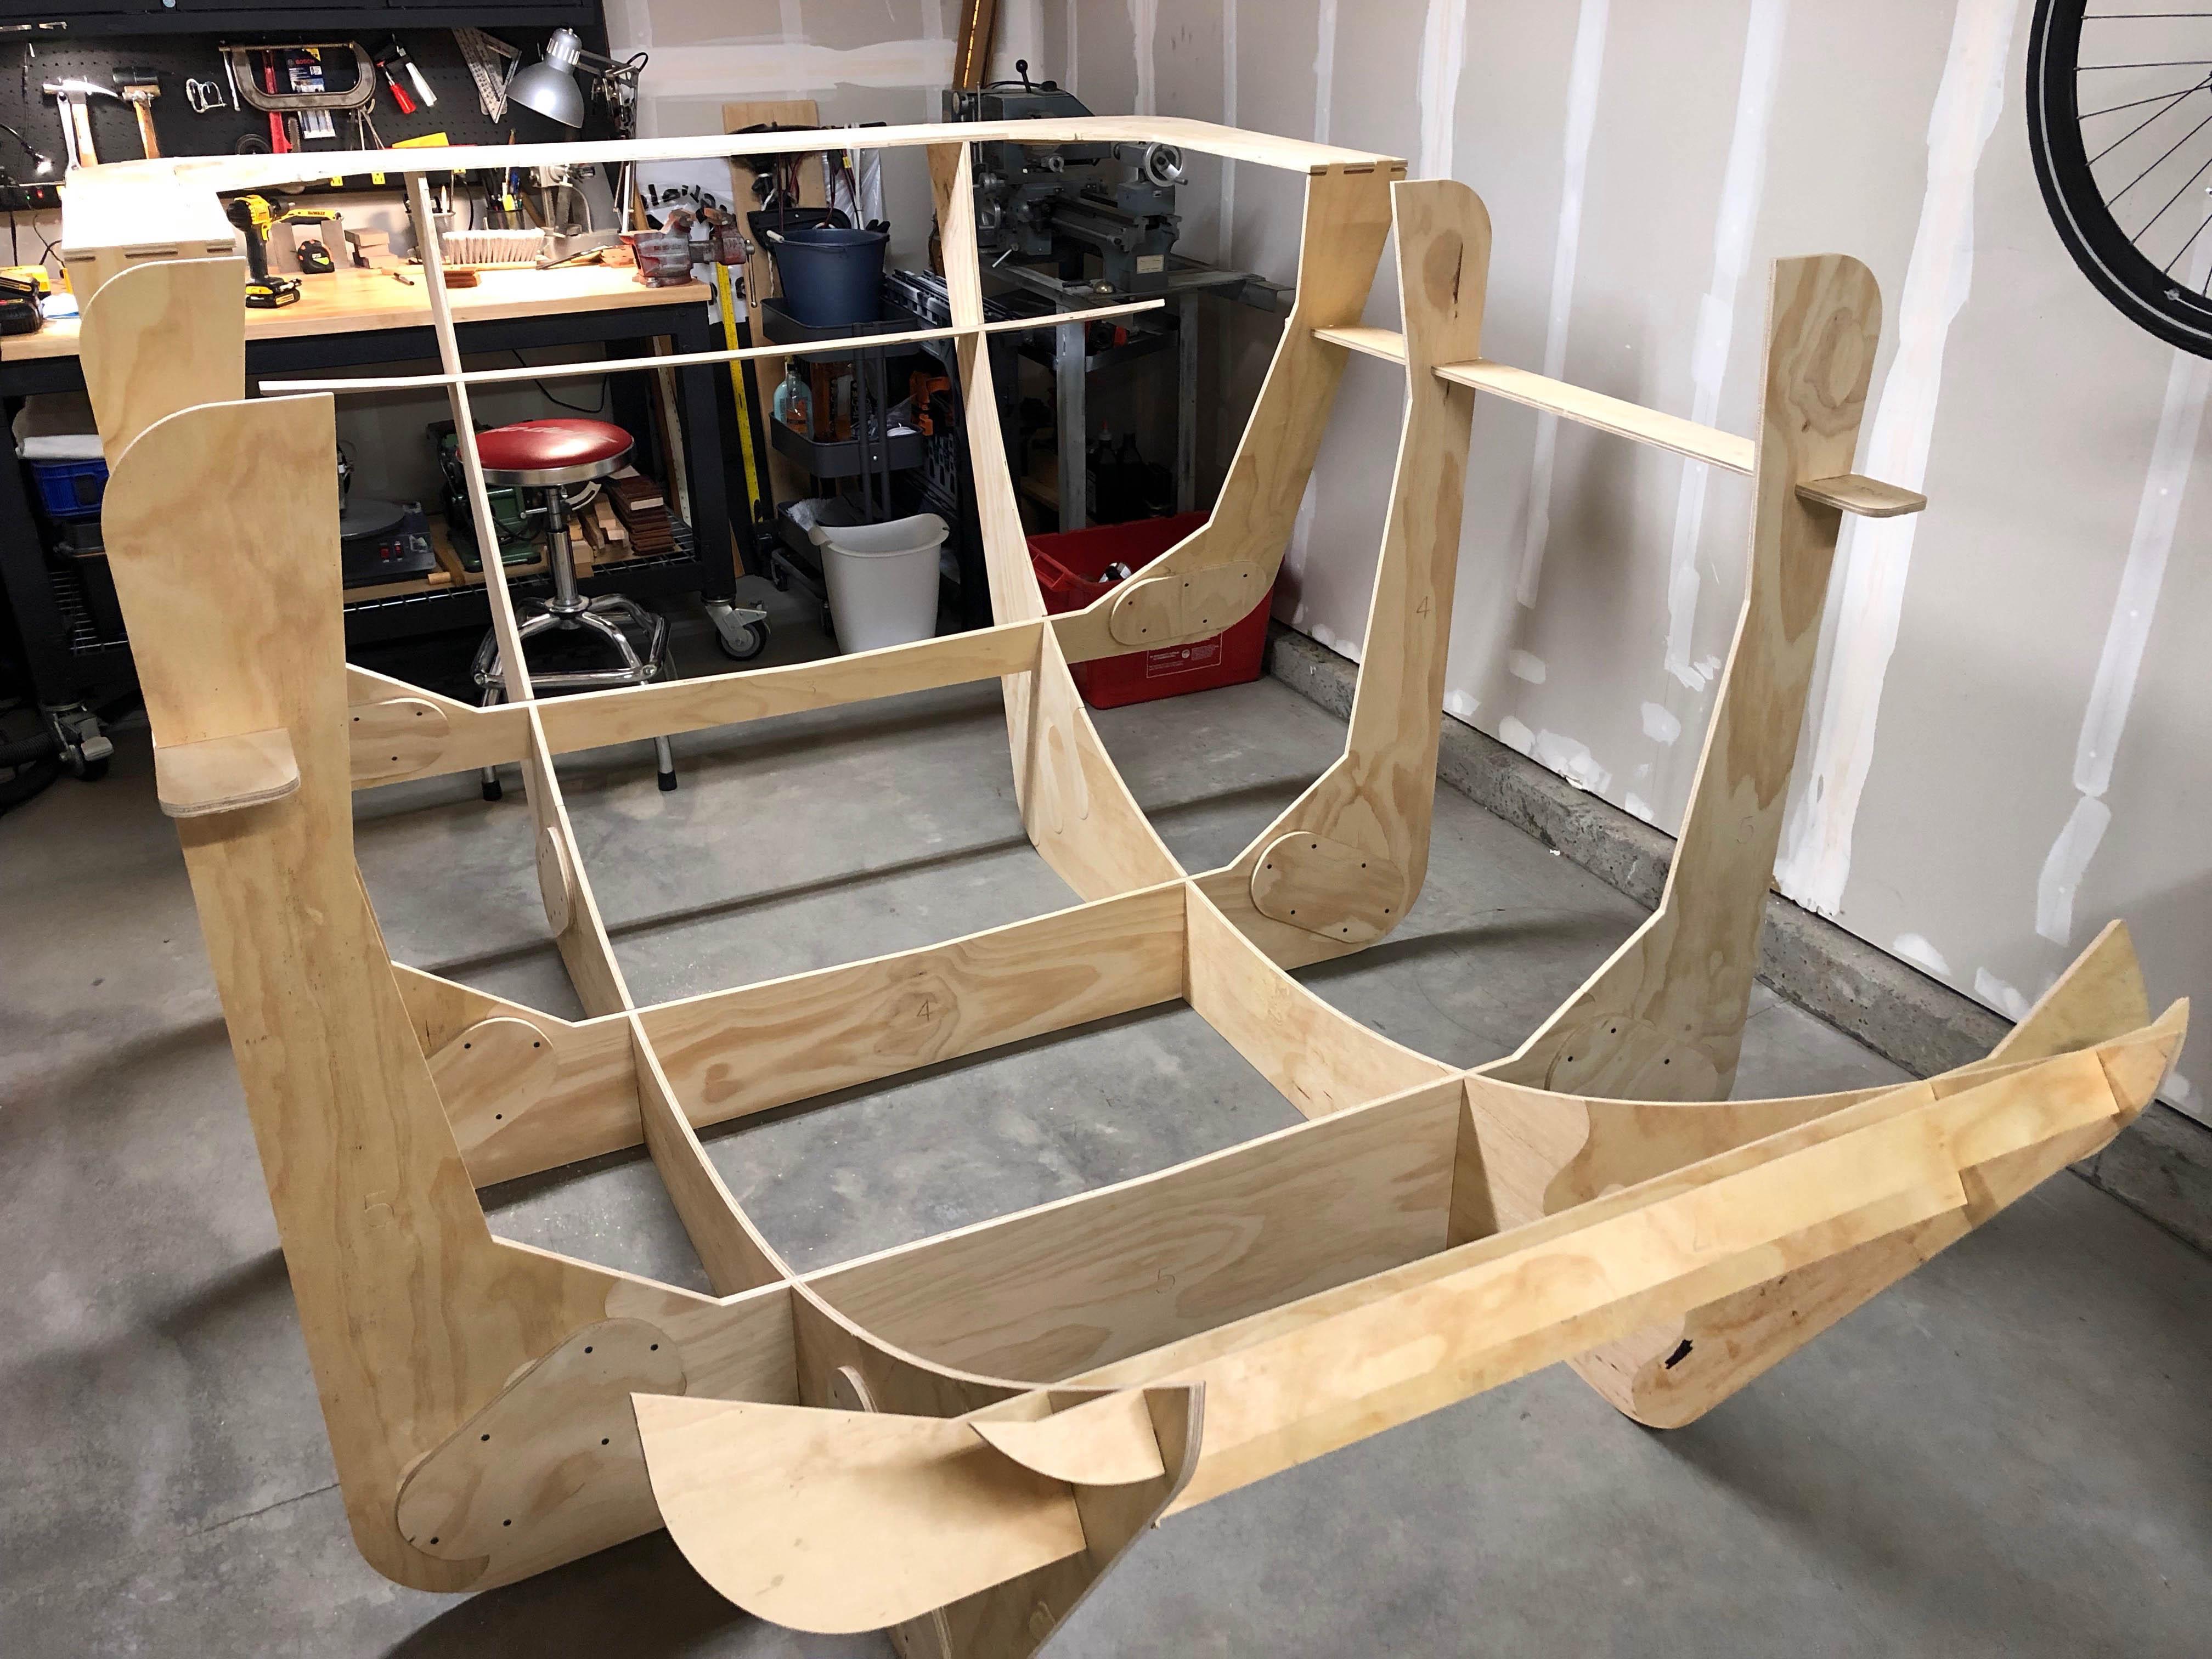
Too cold for epoxy, but screws still work! It’s going to be tight in here.
December 29, 2017 at 12:10 am #1515Bob D.
ParticipantI was at this stage last January. Build a tent out of plastic sheeting and use a space heater (fan, not radiator) to keep the temperature up to 70F or so. I got fancy with an Omega controller and solid state relays and platinum RTD sensors, but the thermostat built into the heater should be more than sufficient. I was monitoring the temperature remotely and needed to see the display via webcam because I’m a geek.
December 30, 2017 at 12:02 pm #1518abrightwell
ParticipantI’ve just finished the bottom and I am about ready to flip it over and set it on the trailer. It’s been a lot of fun so far, I hope you’ll enjoy the process just as much as the rest of us.
So, I’ve found that the ‘lamp trick’ described on CLC’s website (and I think in the manual) works quite well also. Though, for the ‘bigger’ jobs obviously not so much. I recently pulled out the forced air propane heater torpedo thing to get my space up to a ‘workable’ temperature due to the ridiculously cold weather. Luckily, my space is so small it only takes about 30-45 minutes to take it from 50F to ~80F. It seems to hold out for about 6-8 hours while it is in the 30’s outside before I have to run it again. I also sealed off any small gaps around doors in the garage. That’s helped probably more than I realize. I have a carbon monoxide alarm and keep the heater isolated/away from everything else in the garage to keep things ‘safe’, I wouldn’t necessarily recommend this approach, but I had to paint the bottom when it in the 20’s outside because I wanted to keep to my schedule.
So, one thing I don’t see discussed much is the concern for outgassing when dealing with fluctuating temperatures. I unfortunately, thought I had beat it, but after the fill coats were laid, I noticed quite a few areas where outgassing had occurred. If I were to do it all over again, I think I’d do the following.
- warm space
- allow to cool for an hour or more
- only lay one layer of glass at a time
I think by following that, you’d be able to avoid outgassing because the wood would be ‘cooling’ and no longer expelling gas/air. (I would only start epoxying the big jobs as the temperature is falling and I know the wood temp is at least the same as the ambient.) And then you’d also have less glass to saturate and therefore less chance of missing any spots and under saturating. Just my two cents.
Also, keep or store your resin/hardener in a ‘warm-ish’ place. The difference between resin at 65 and 70 is night and day in my opinion. It definitely has had an impact on how easy it is to mix and work into the glass. Granted, it will also affect to some degree your ‘work time’ with it. But small batches helps with that. 😉
Good luck, I hope to see more pictures as you make progress.
January 5, 2018 at 4:26 pm #1551Dan
Participant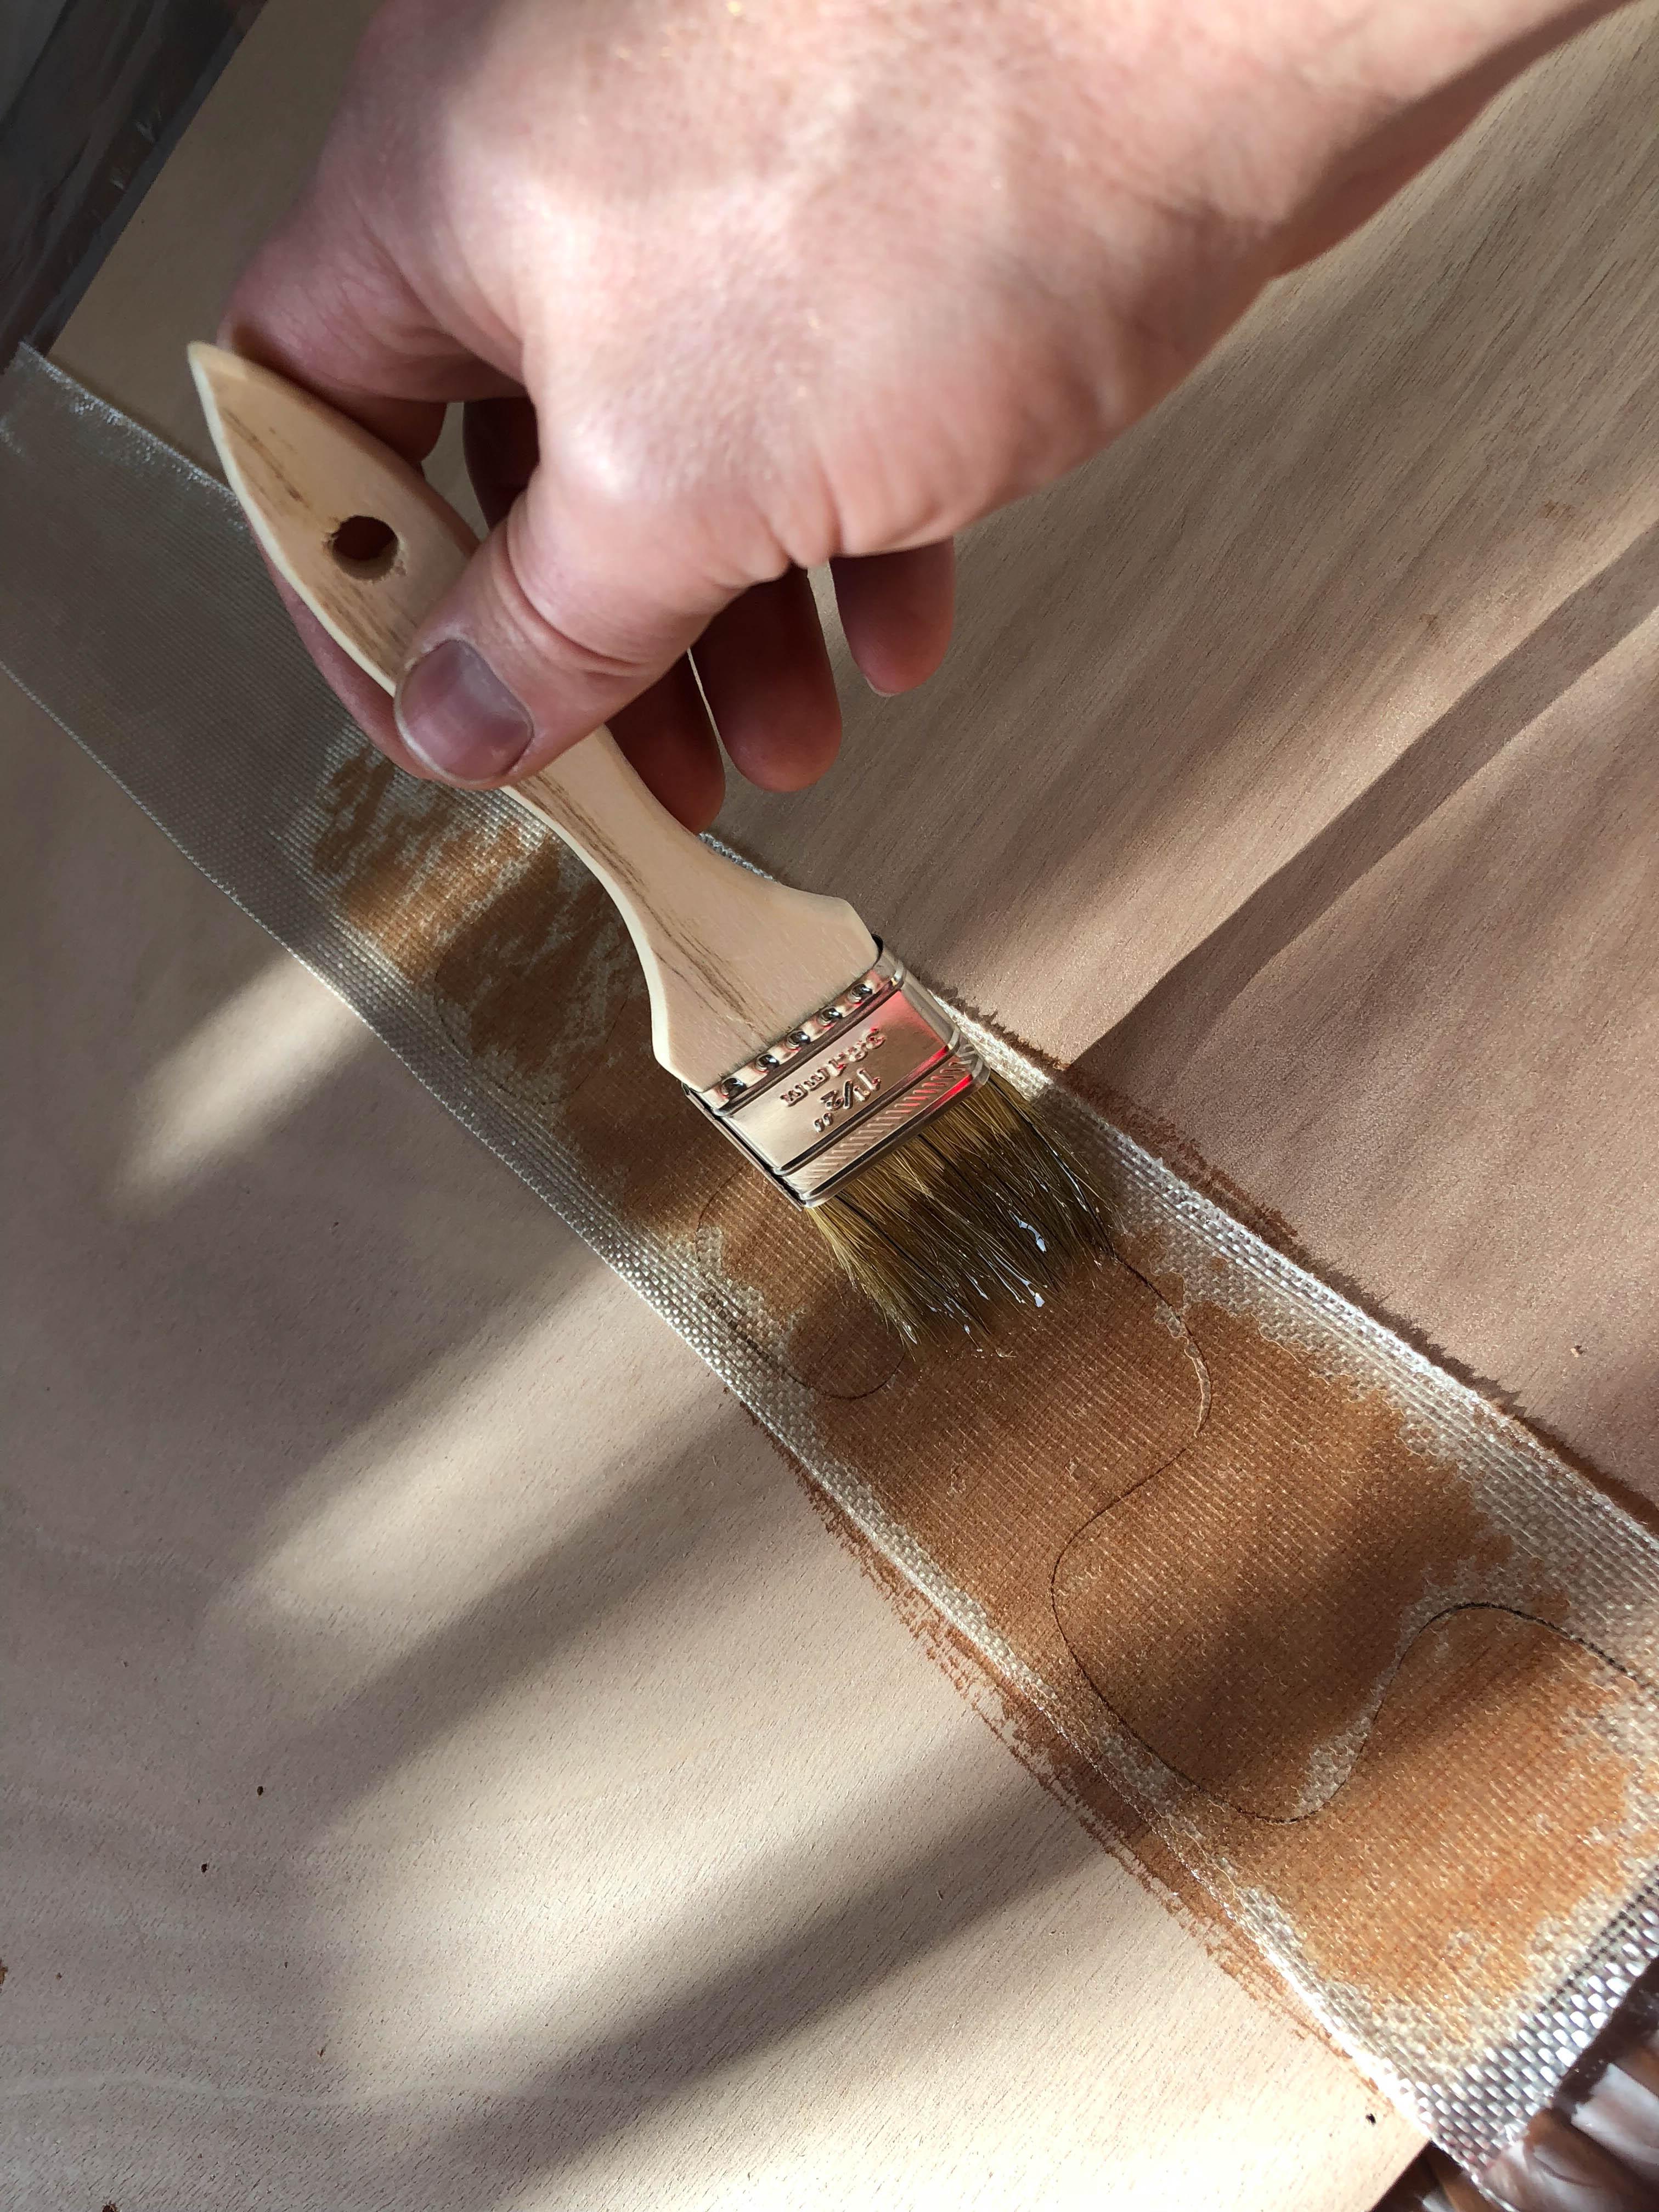
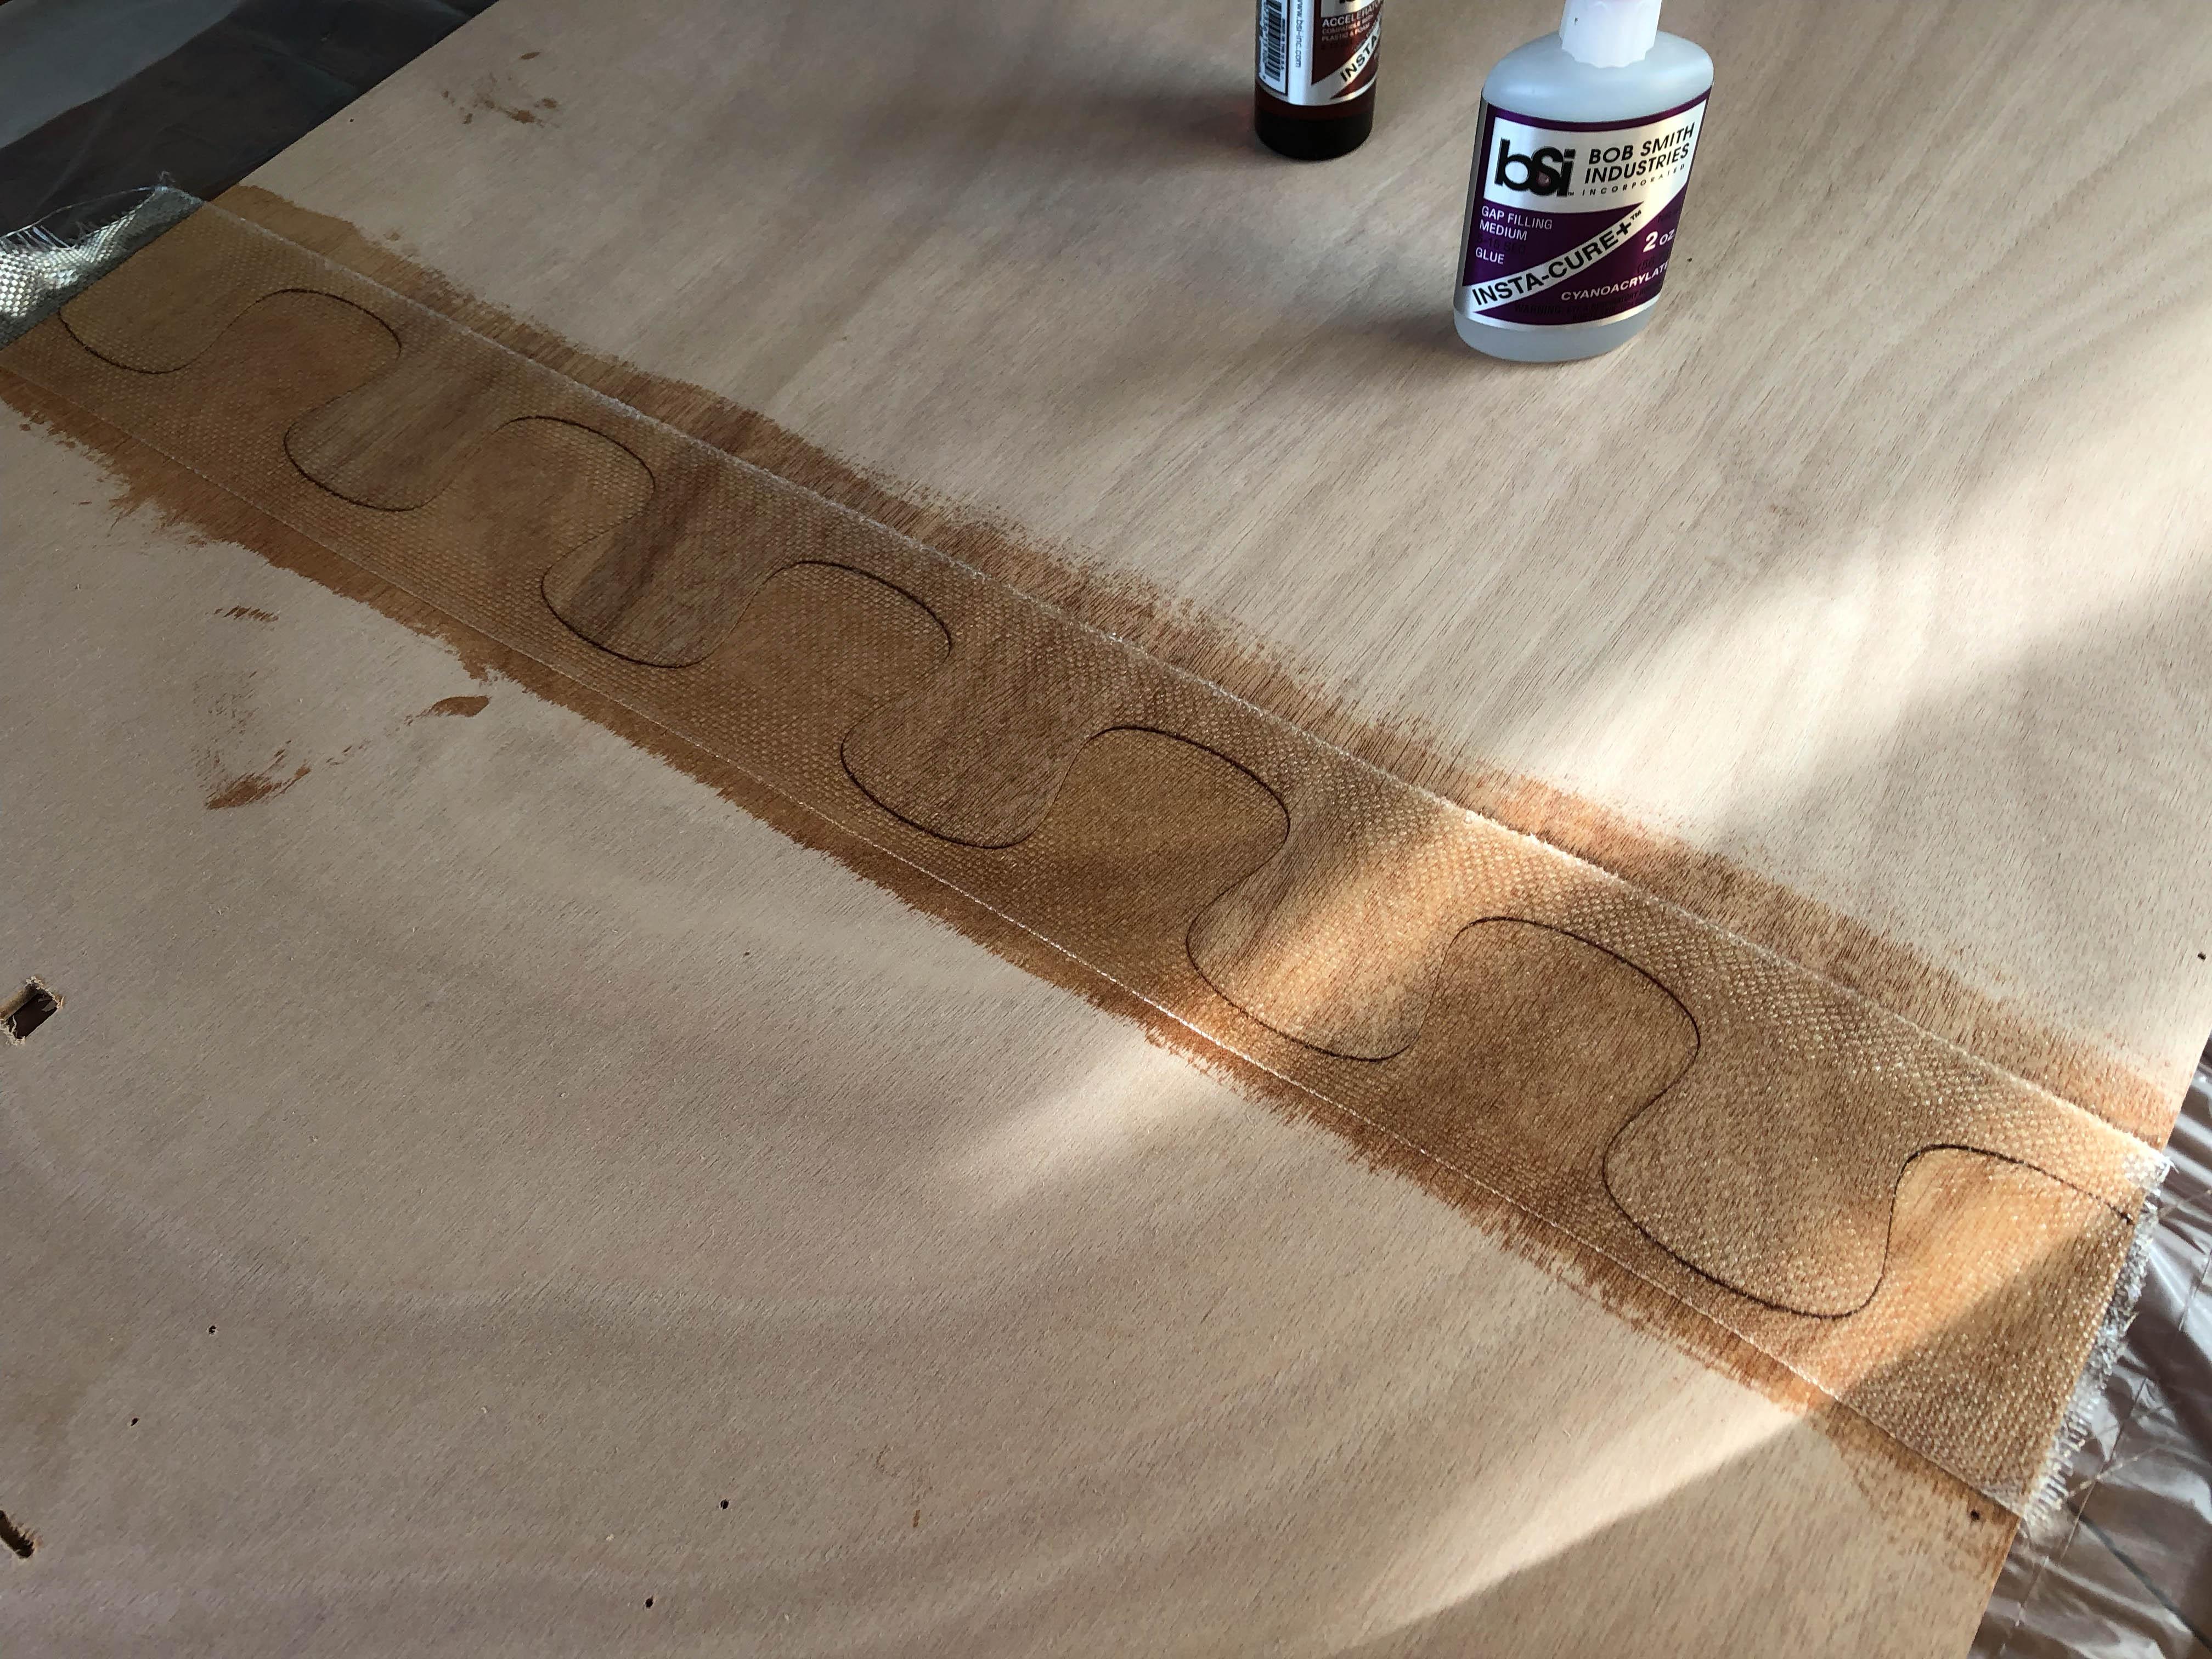
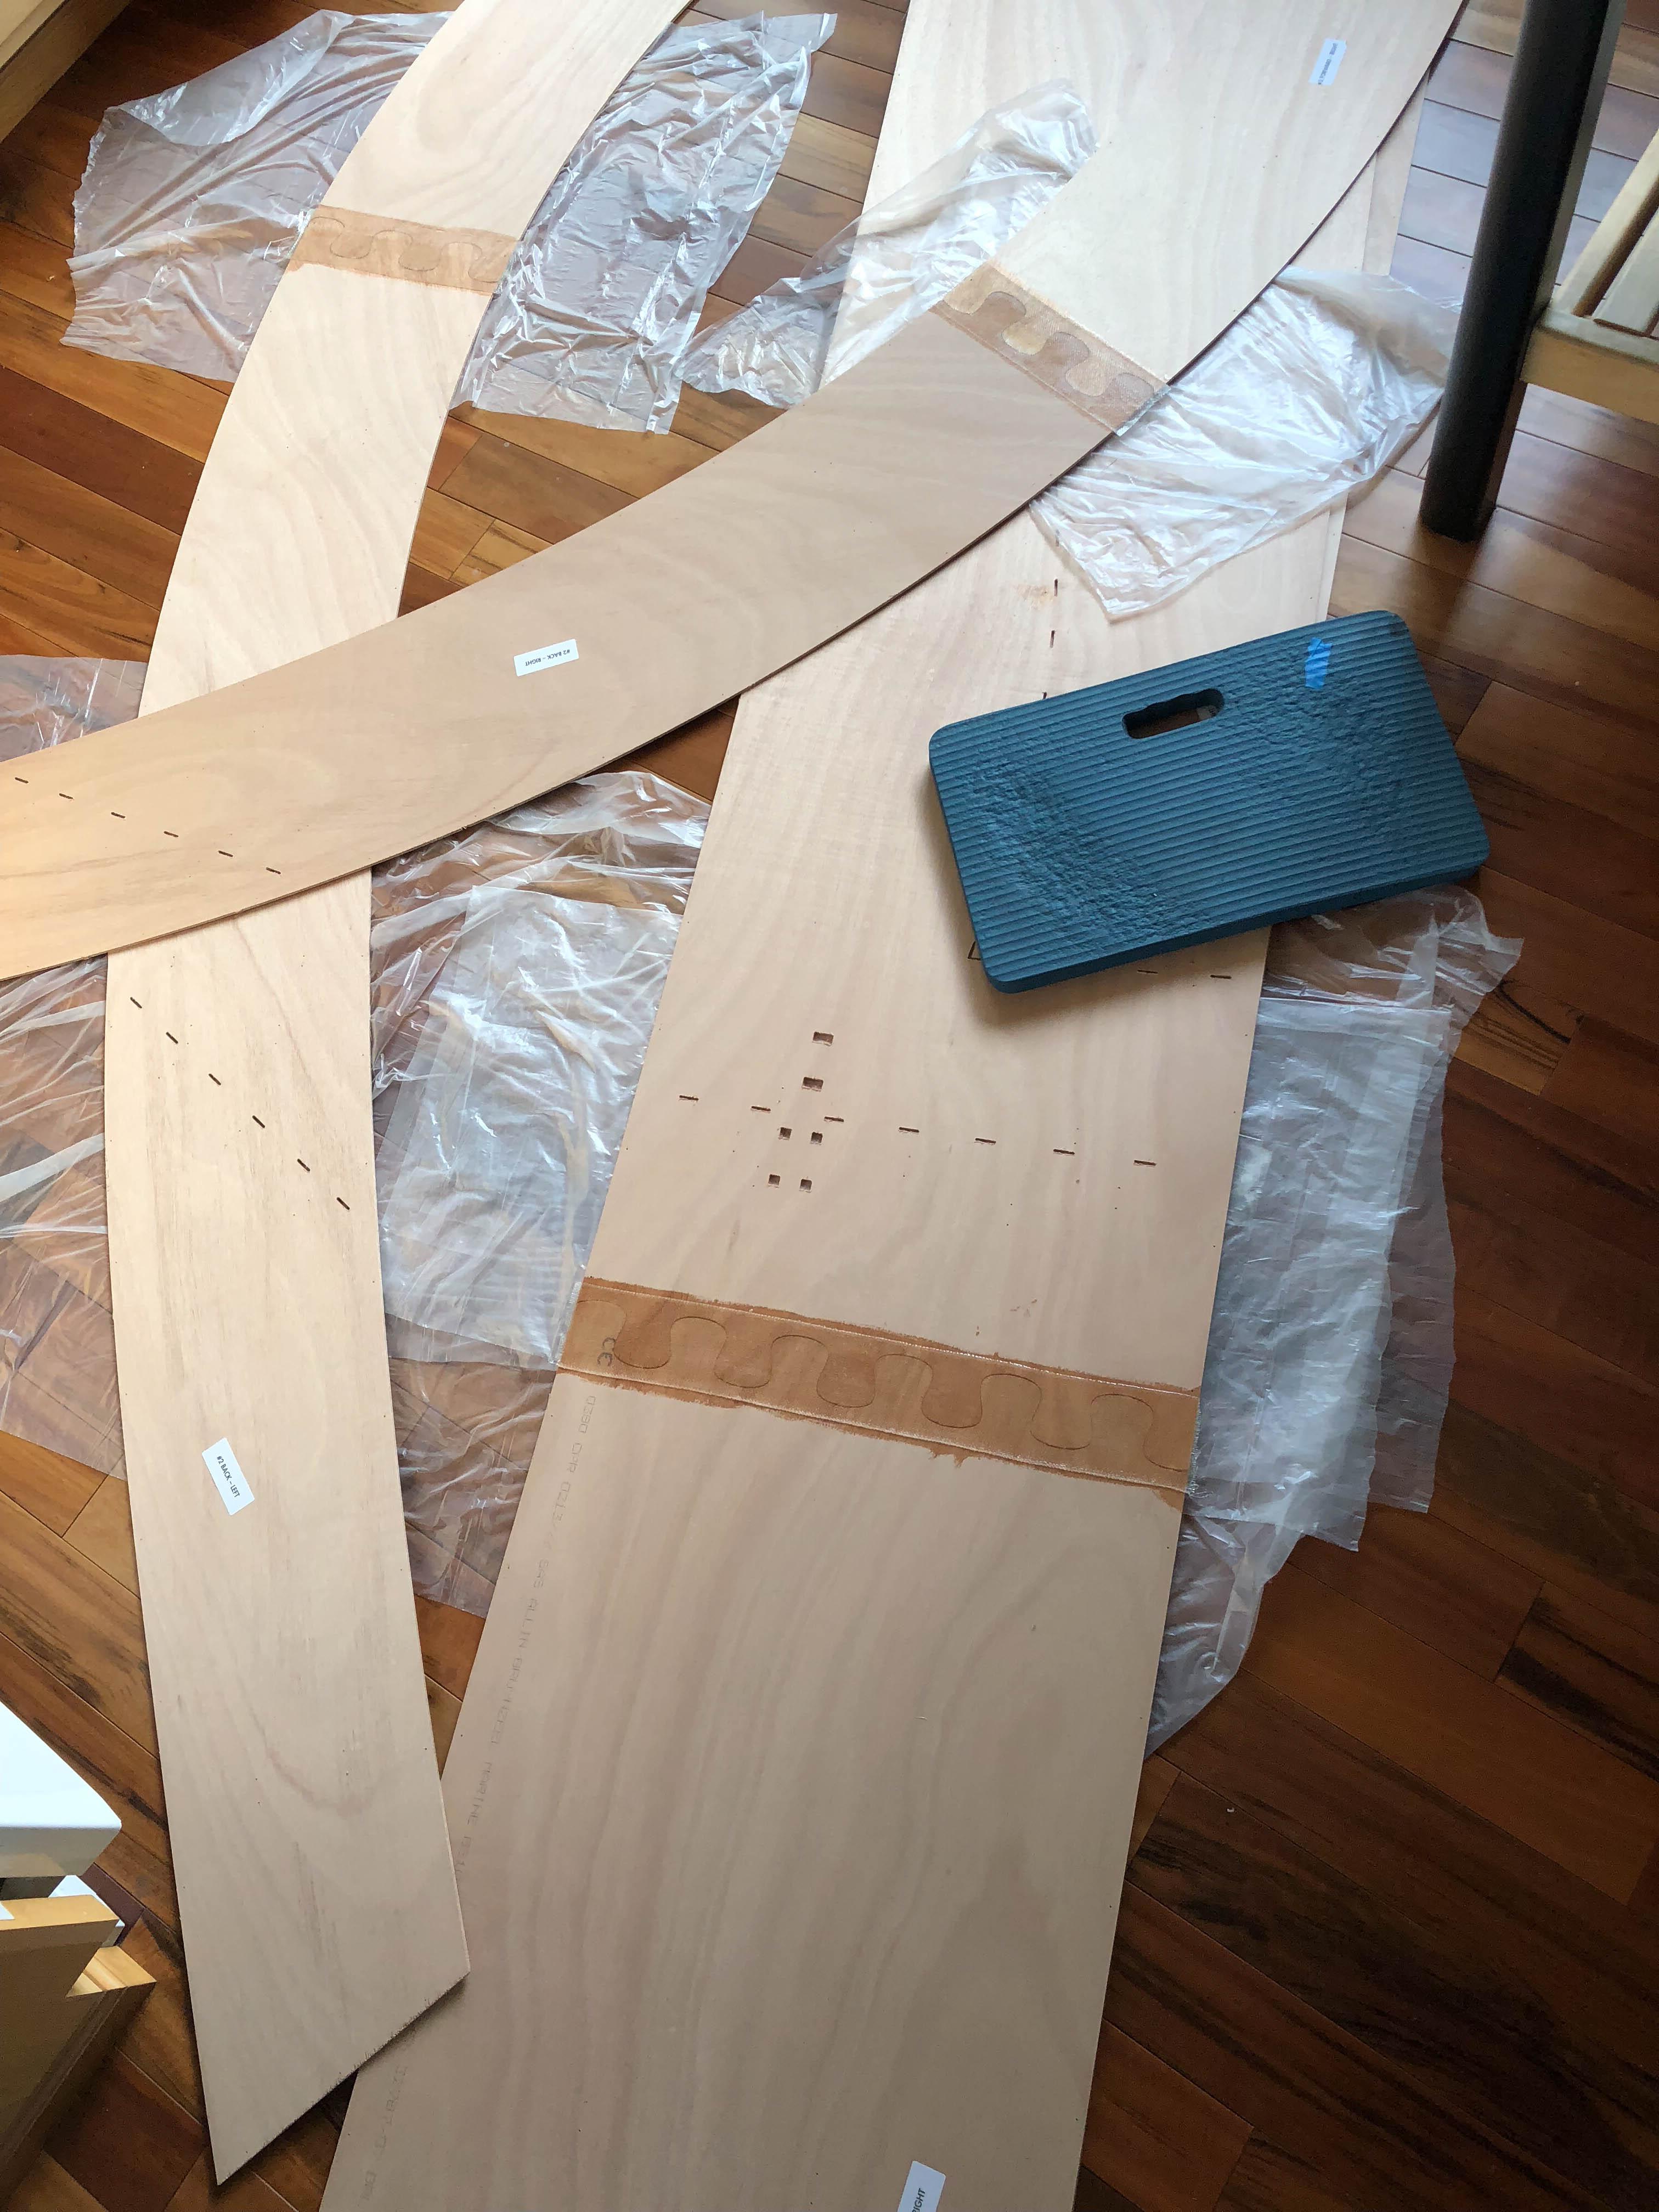
My kitchen floor is warm enough for epoxy. I will, of course, need to get a heating solution for the garage for the next epoxy steps.
January 5, 2018 at 7:45 pm #1554Dan
Participant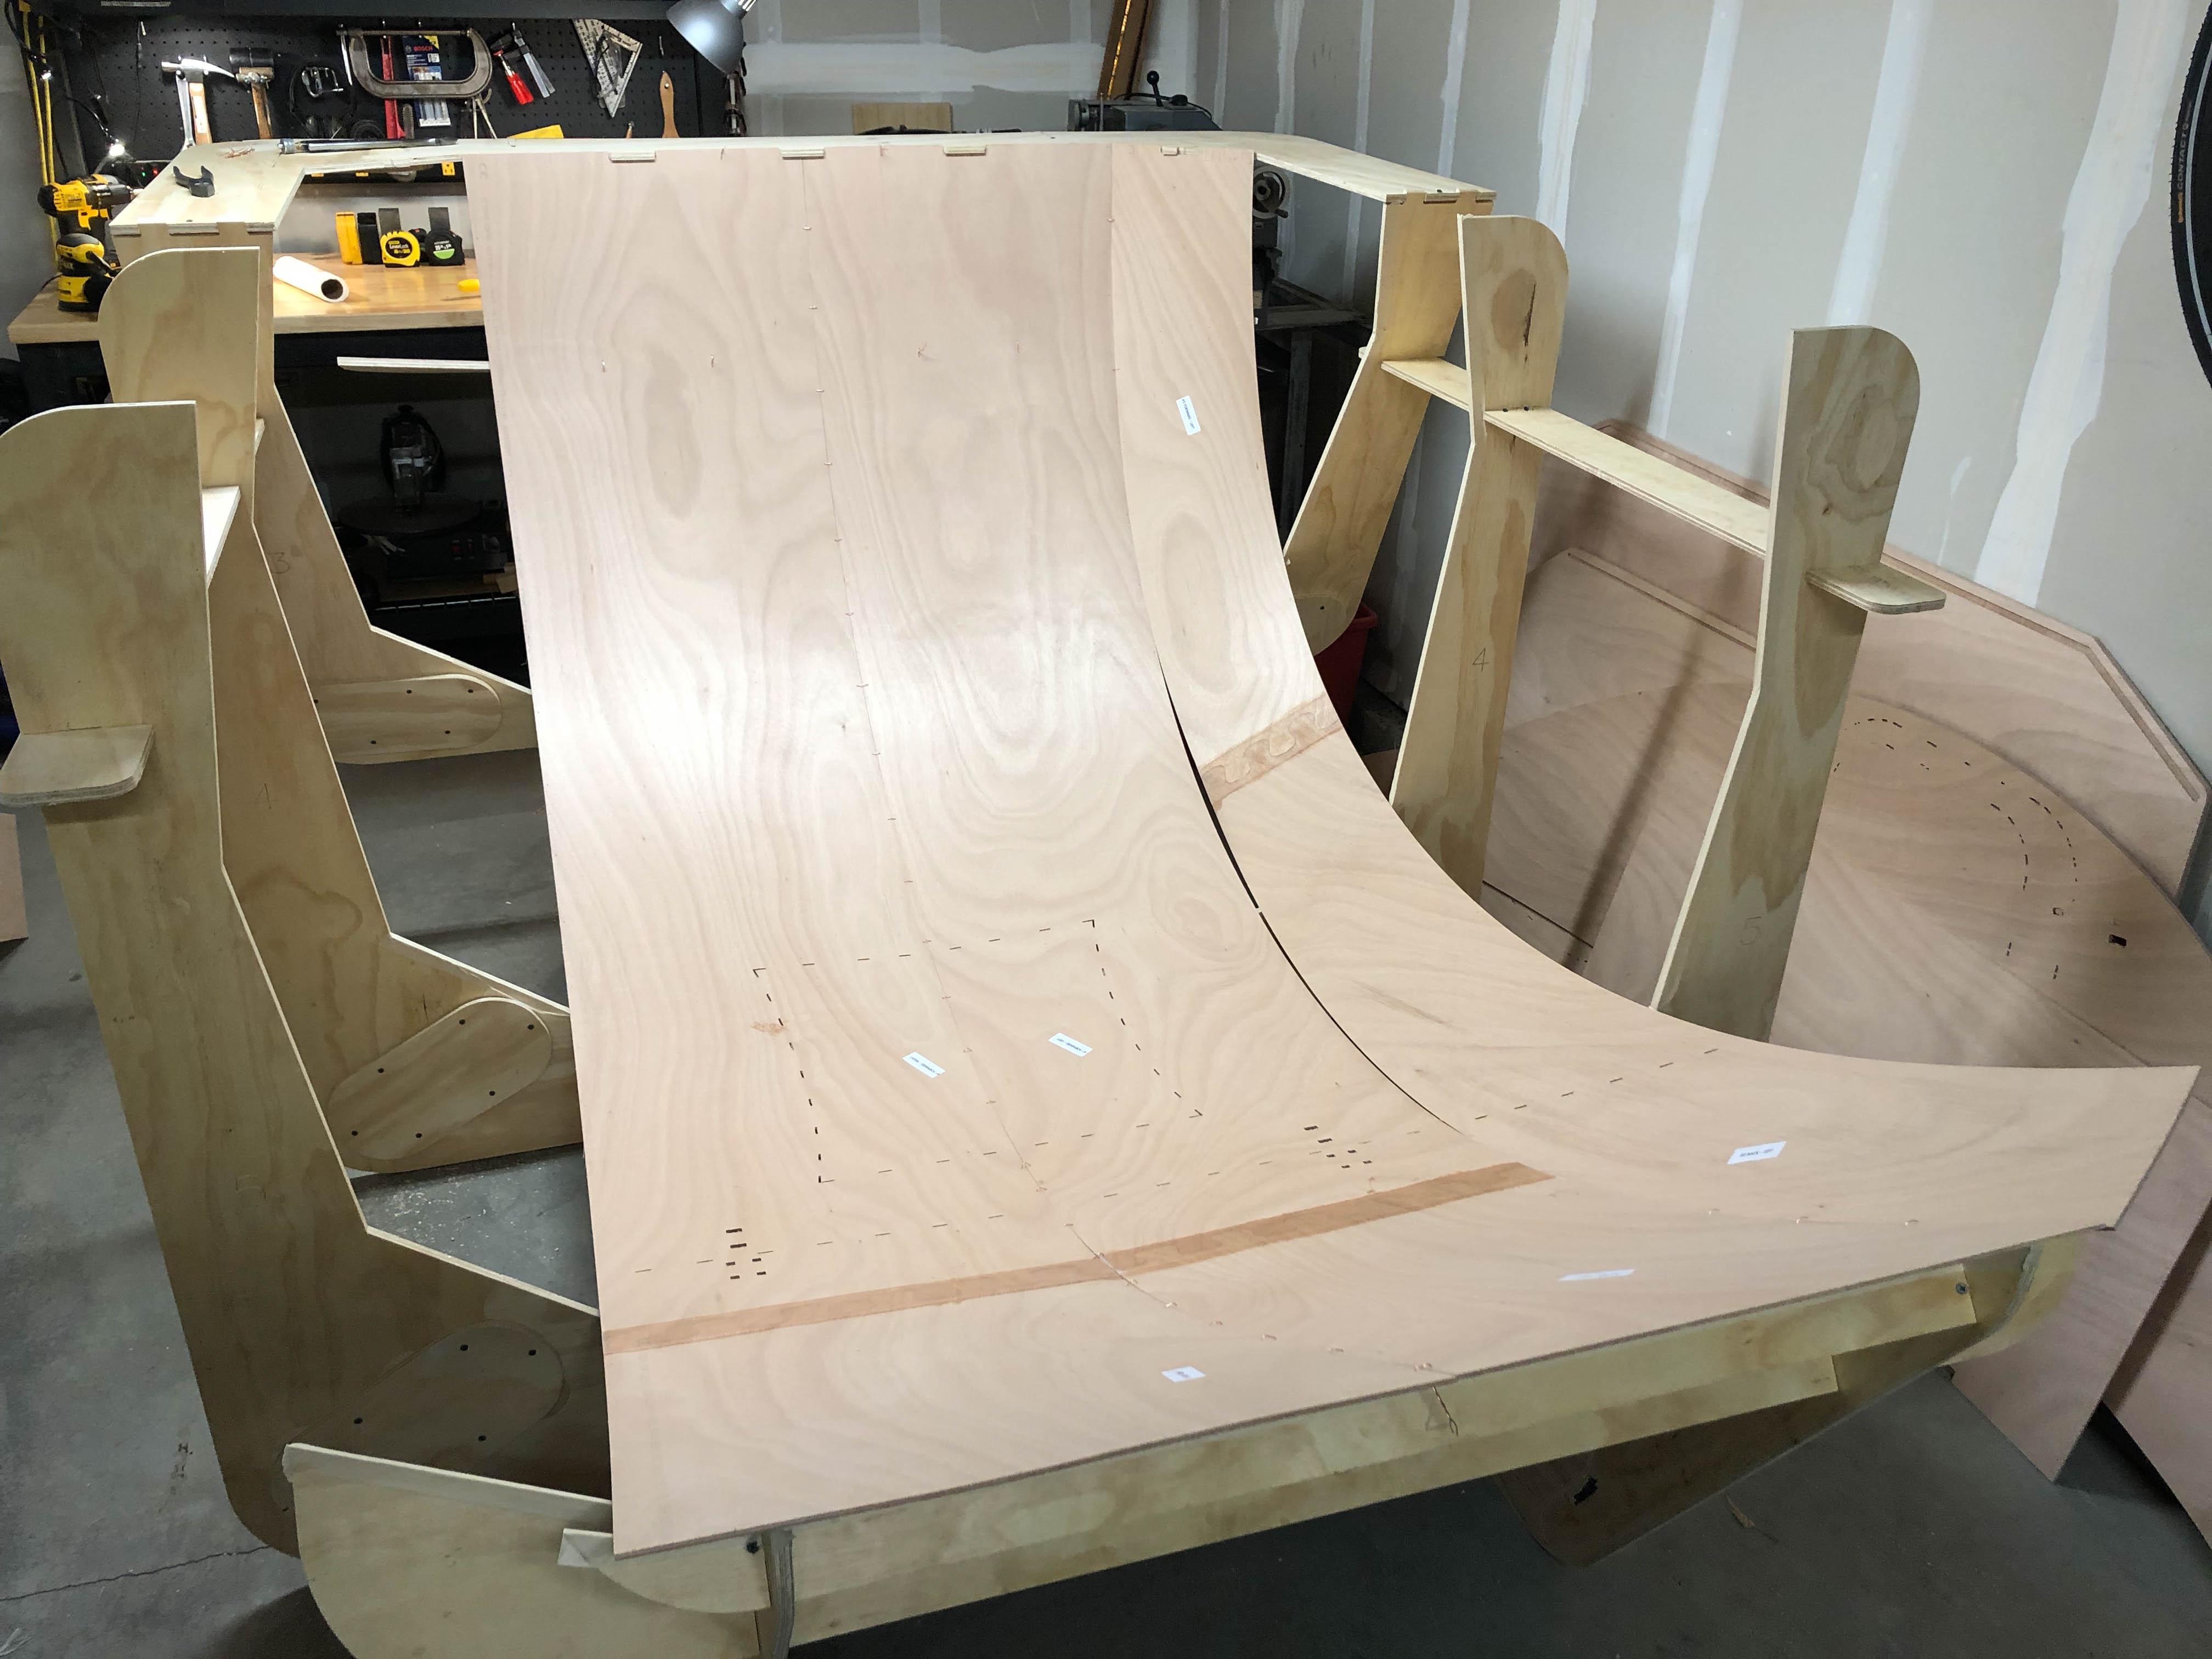
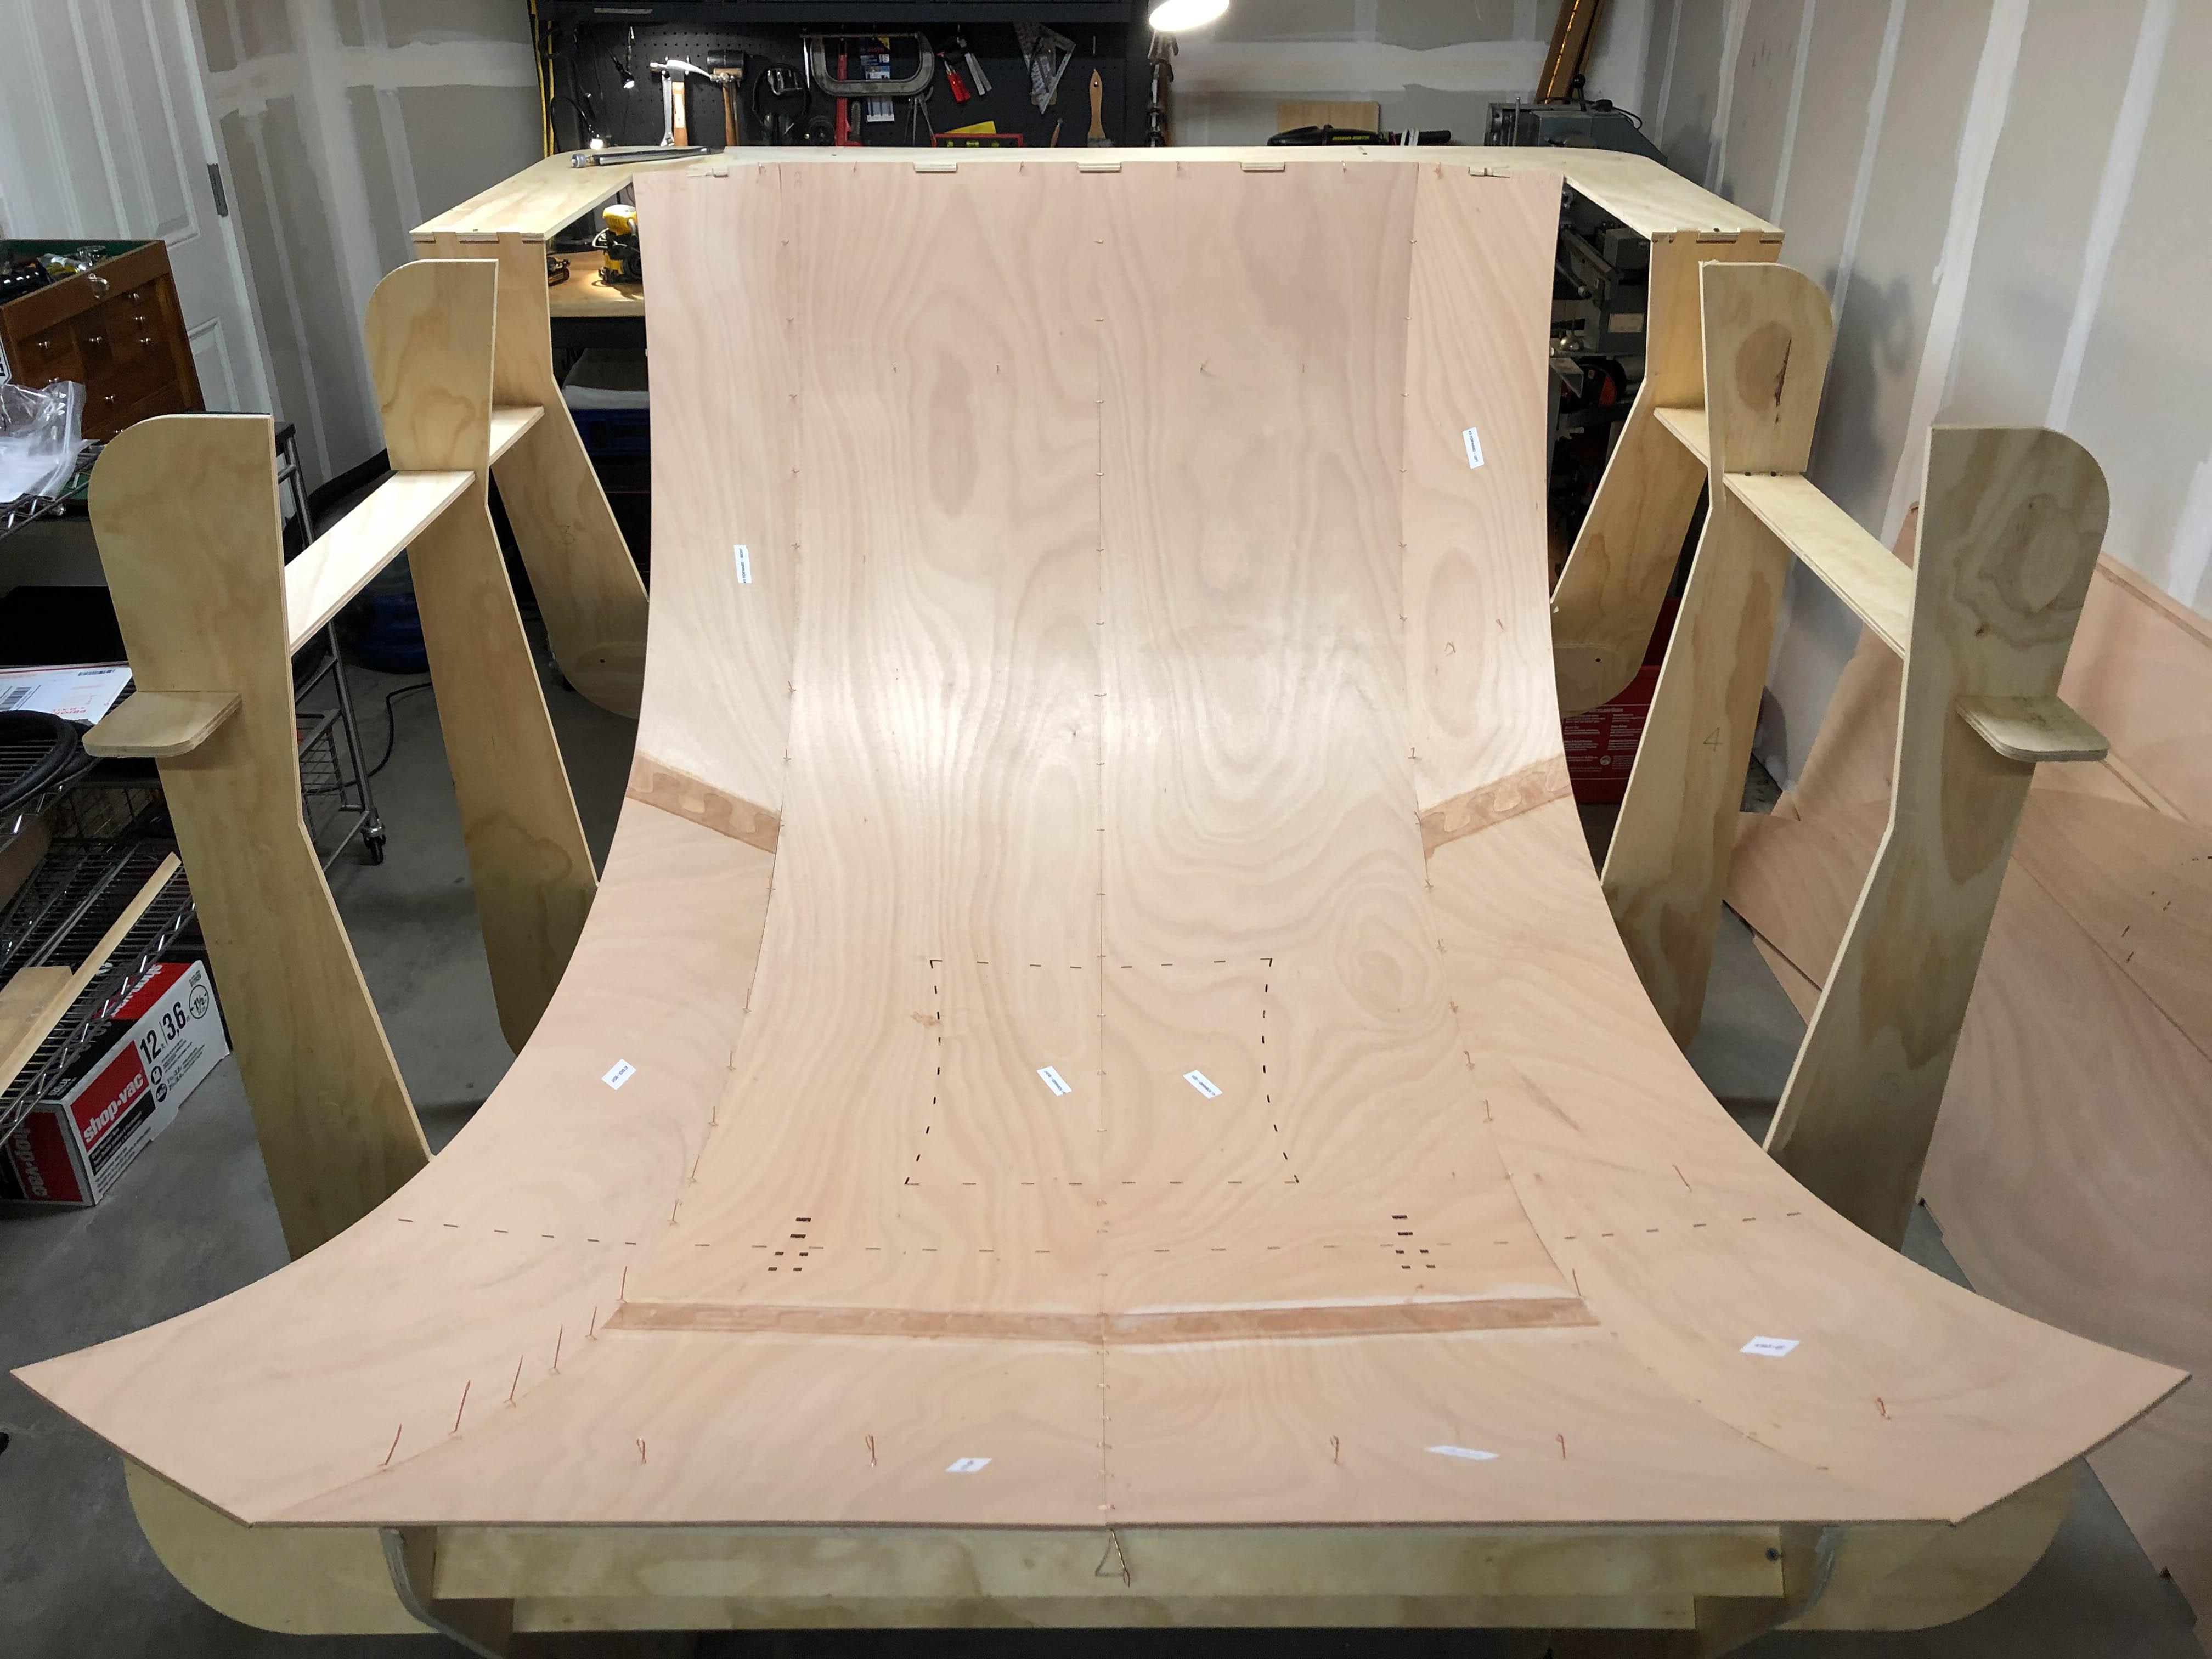
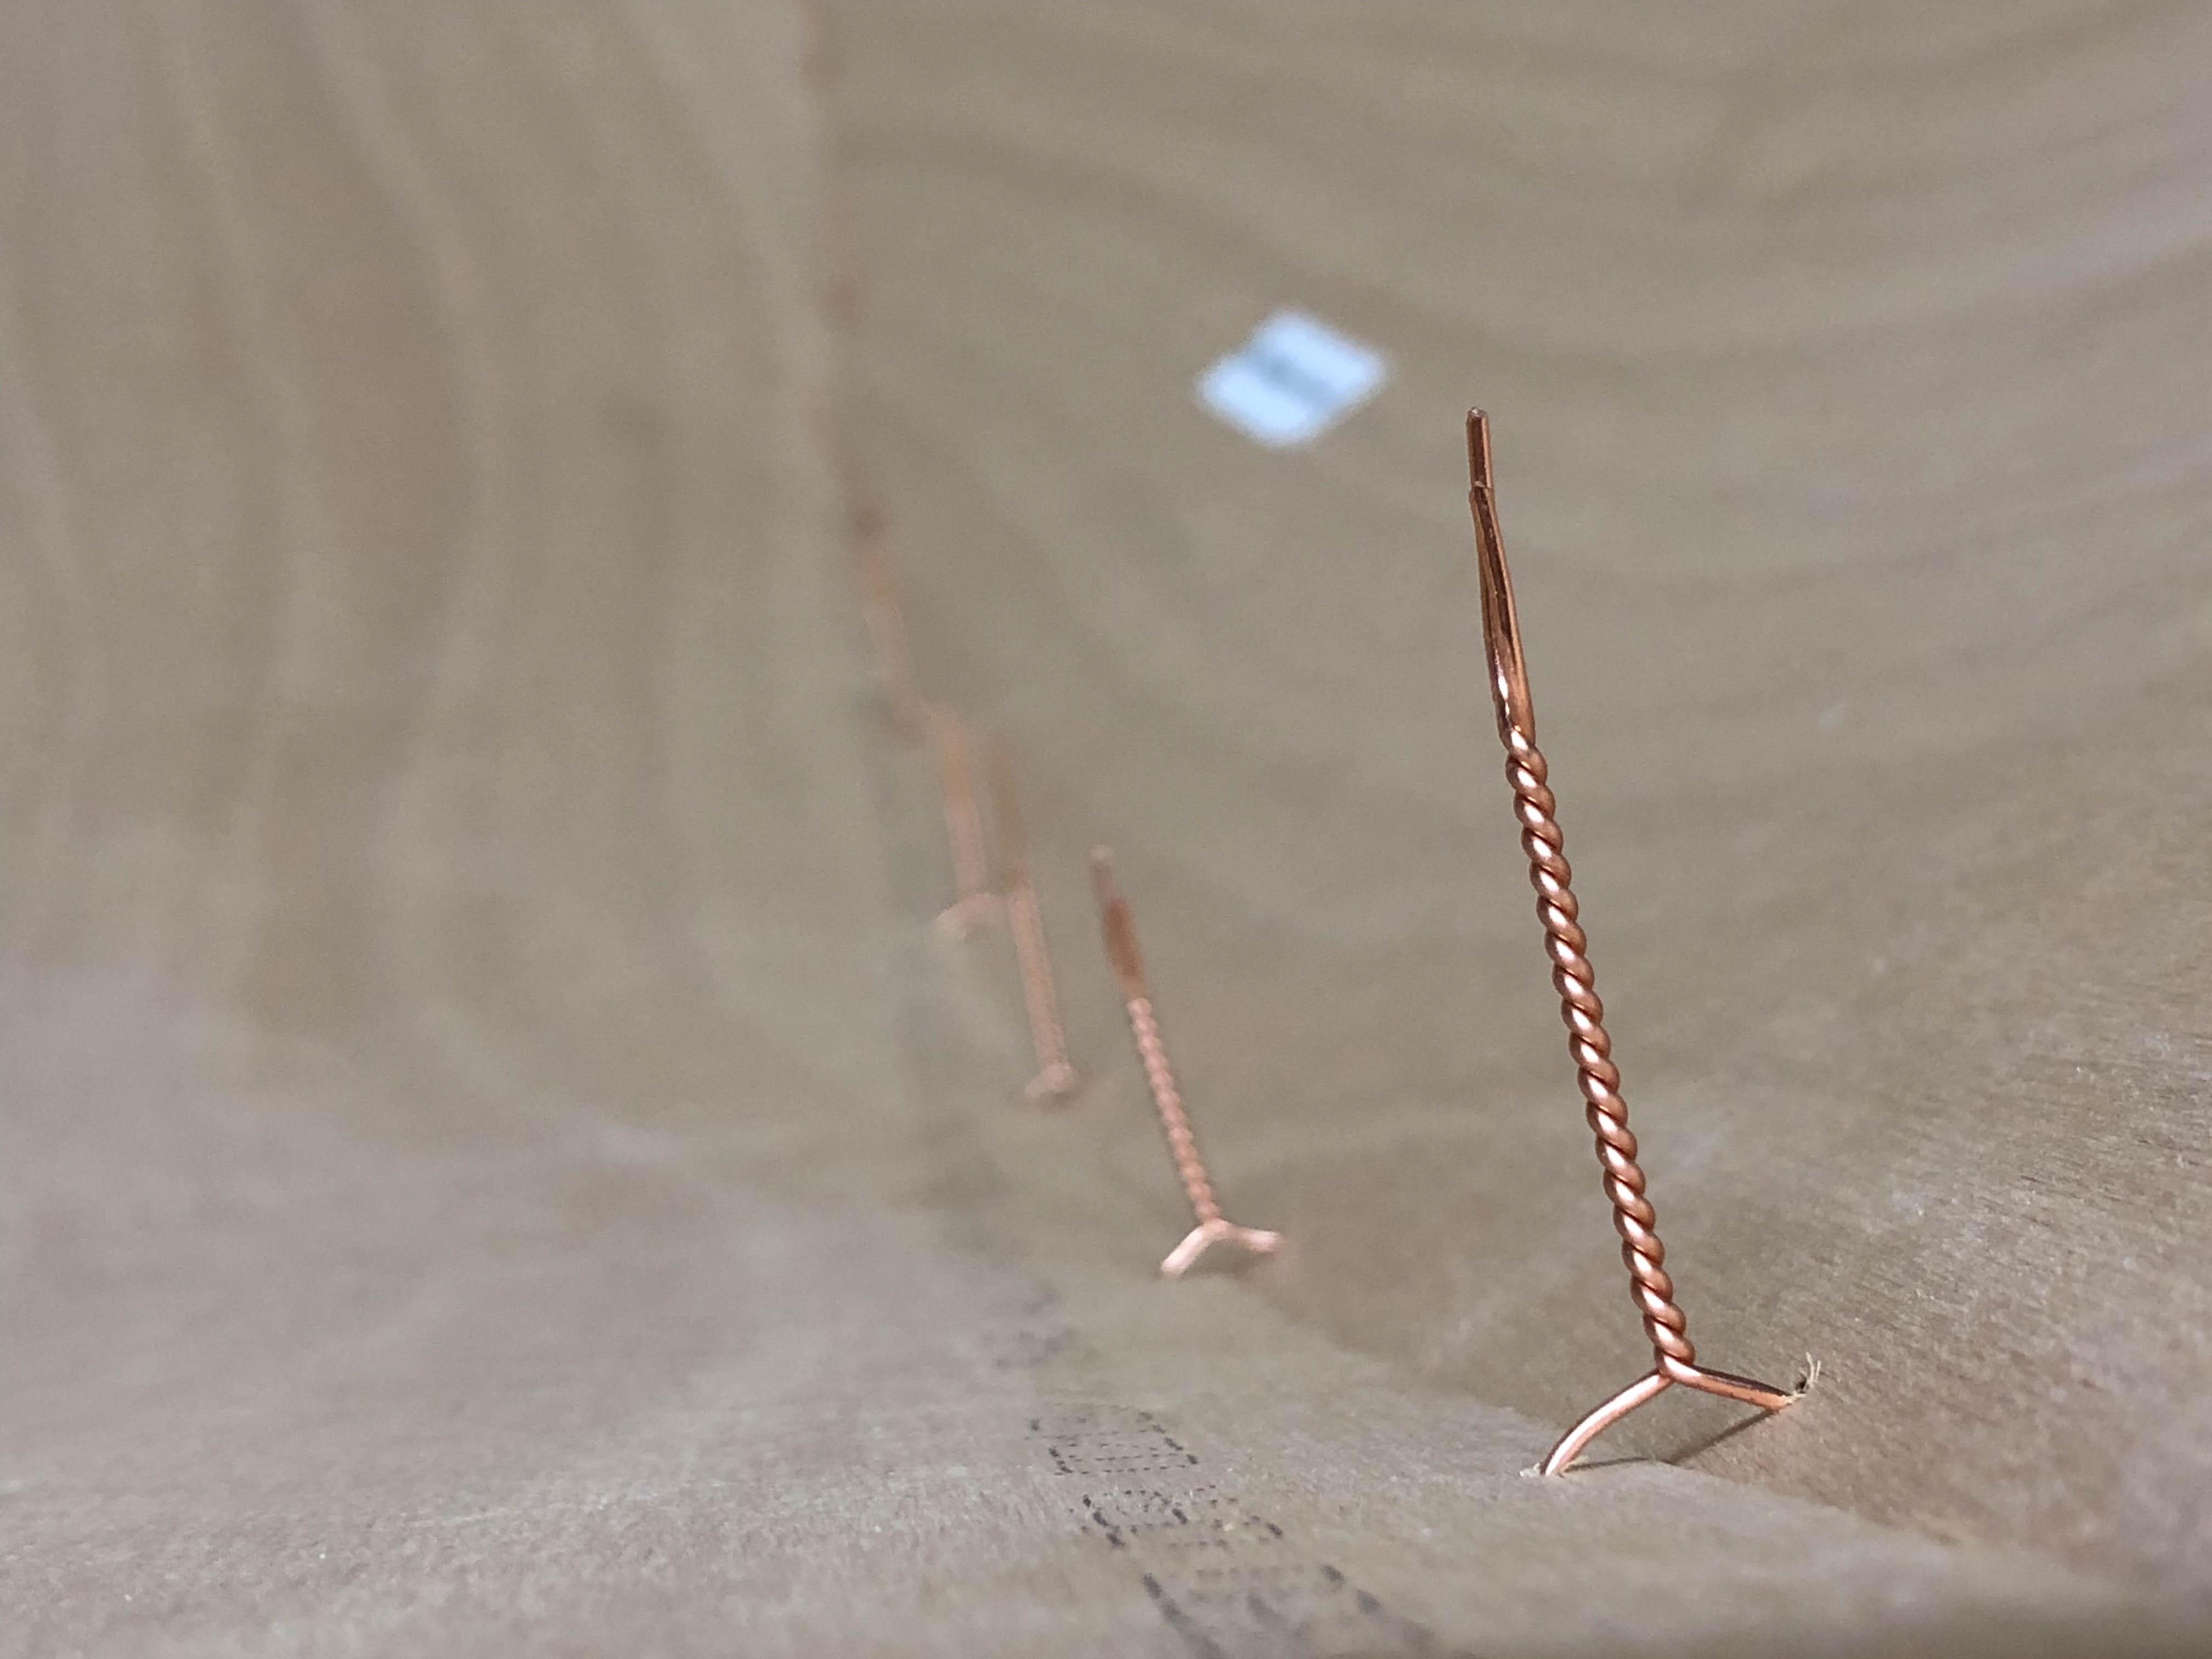
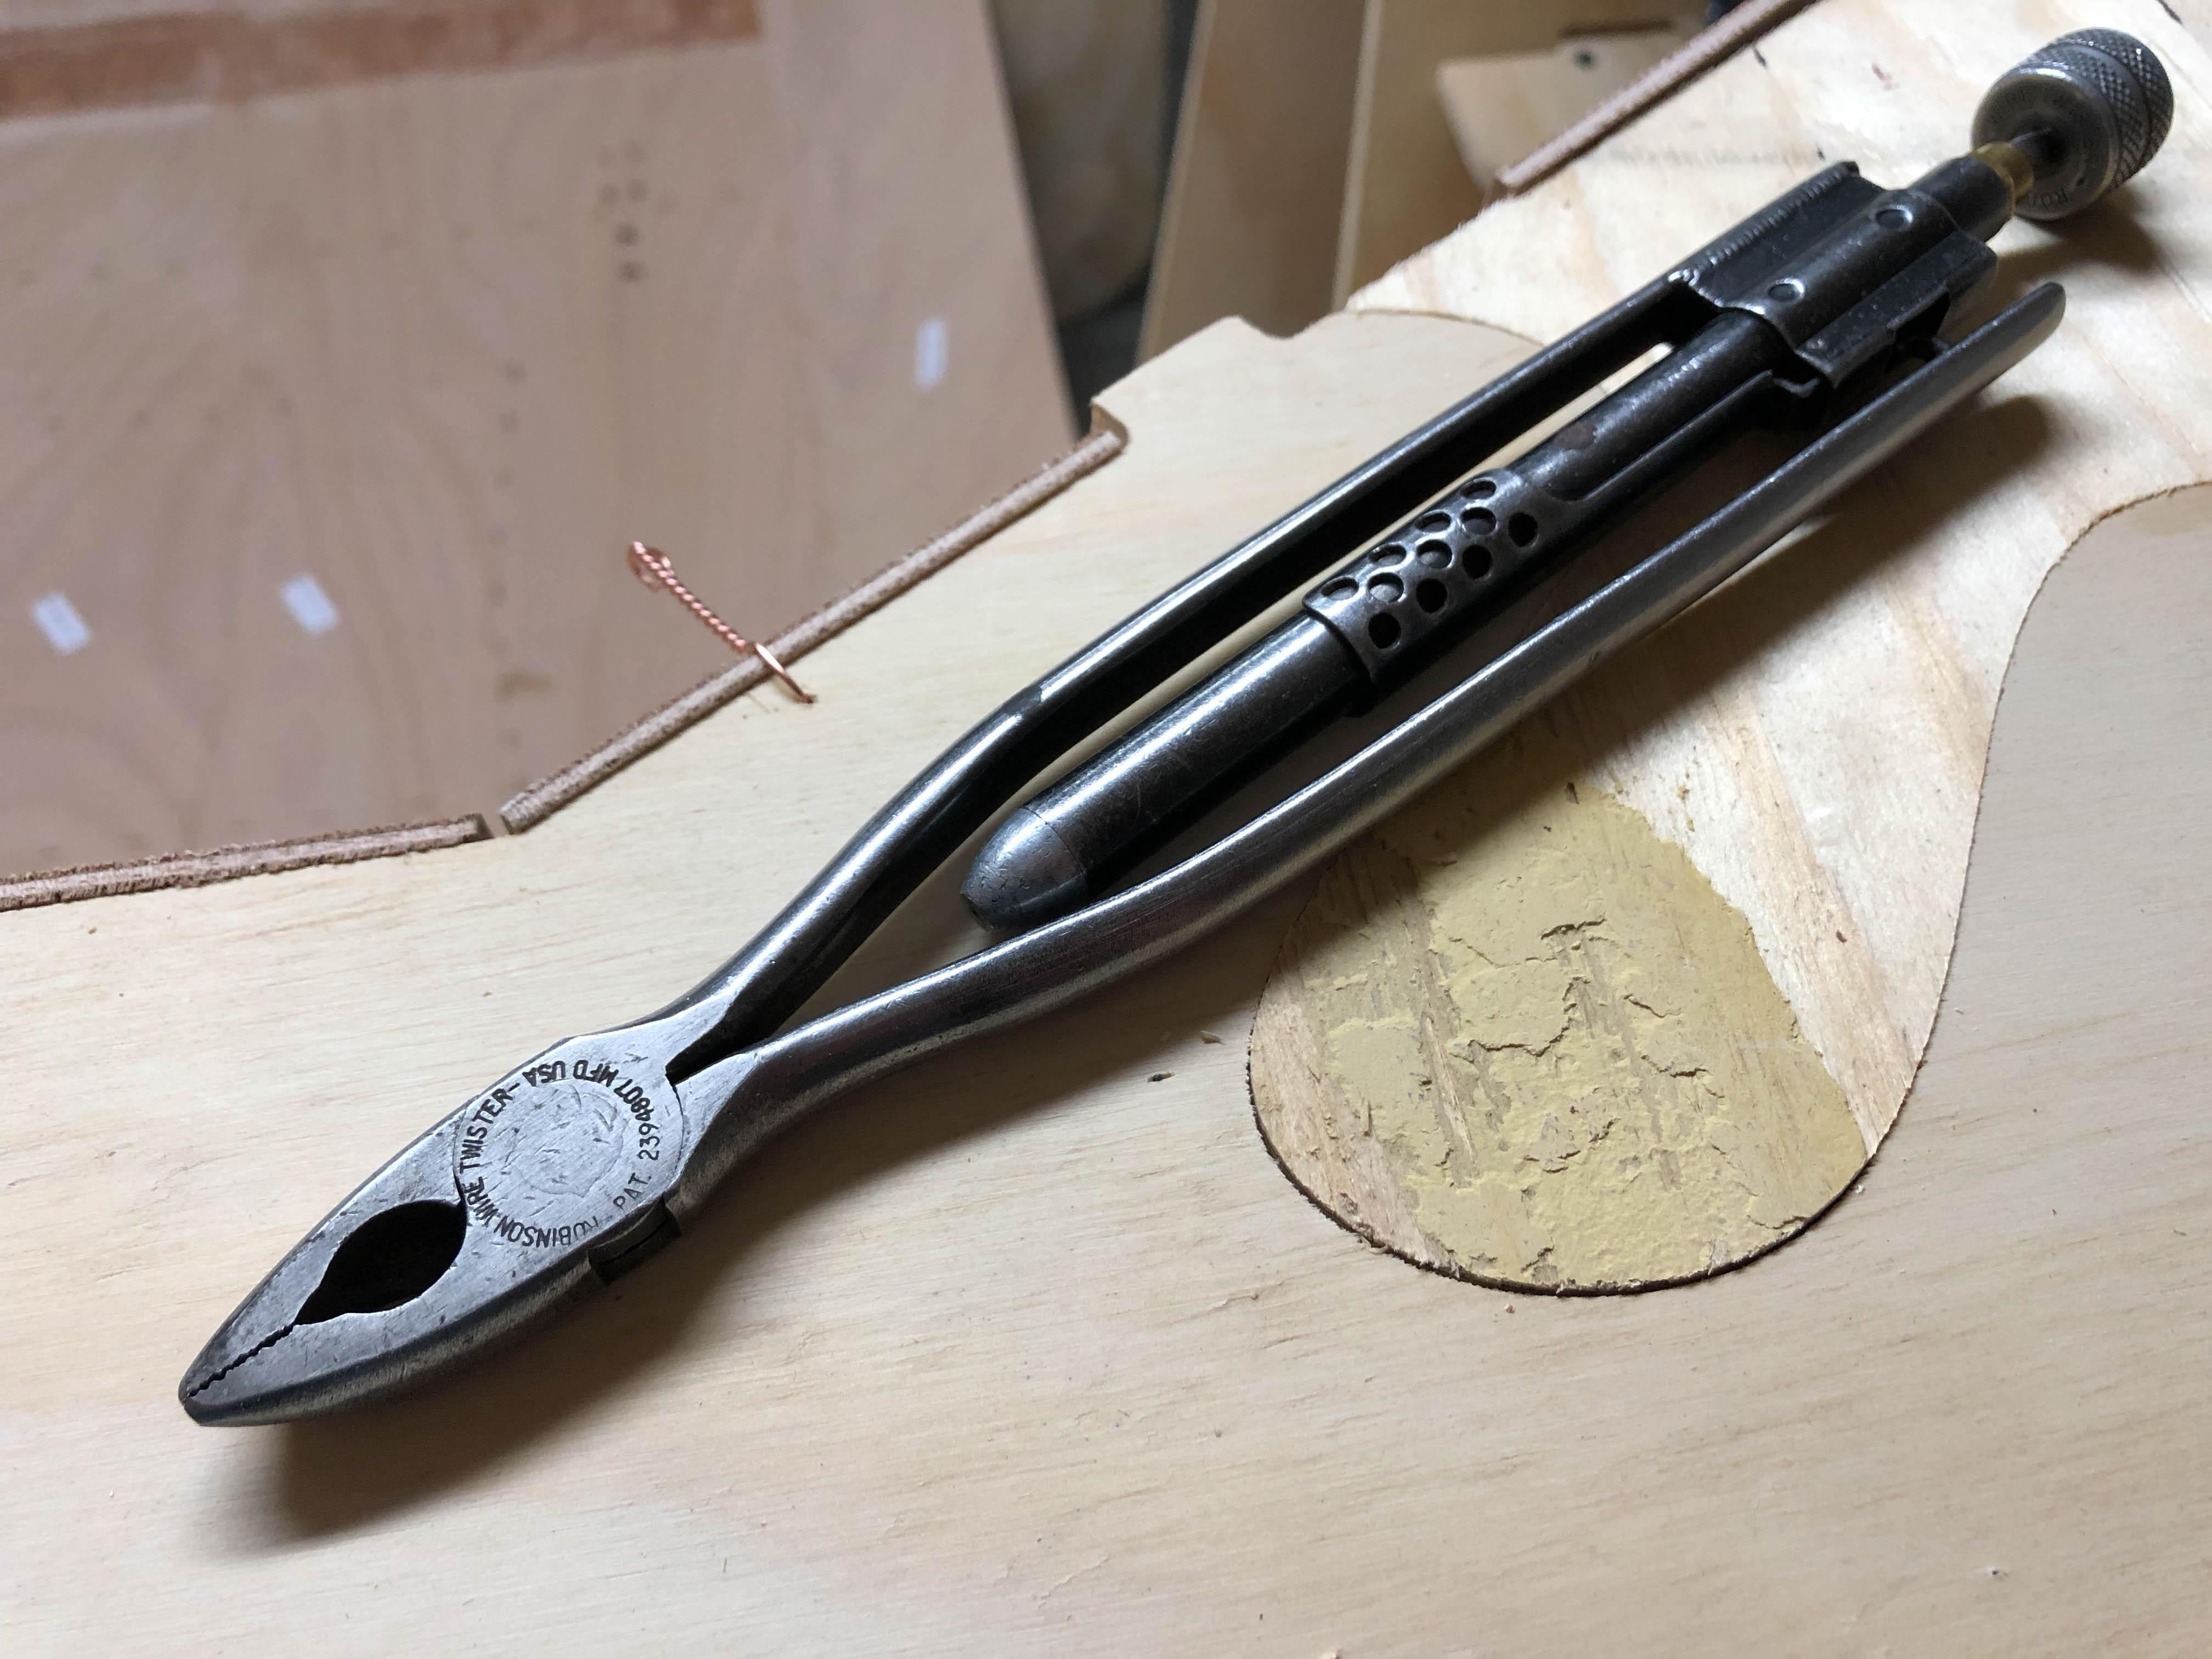
Robinson Wire Twister, inherited from my grandfather who built experimental aircraft. This tool is intended for twisting wire between drilled bolt heads to stop safety-critical bolts from unscrewing in harsh vibration environments such as aircraft (https://en.wikipedia.org/wiki/Safety_wire). It also works great for twisting the copper wire stitches as loosely or as tightly as needed.
January 5, 2018 at 8:15 pm #1555faithie999
Participanta very neat tool!!
February 5, 2018 at 1:08 pm #1636Dan
ParticipantBack to work on my teardrop!
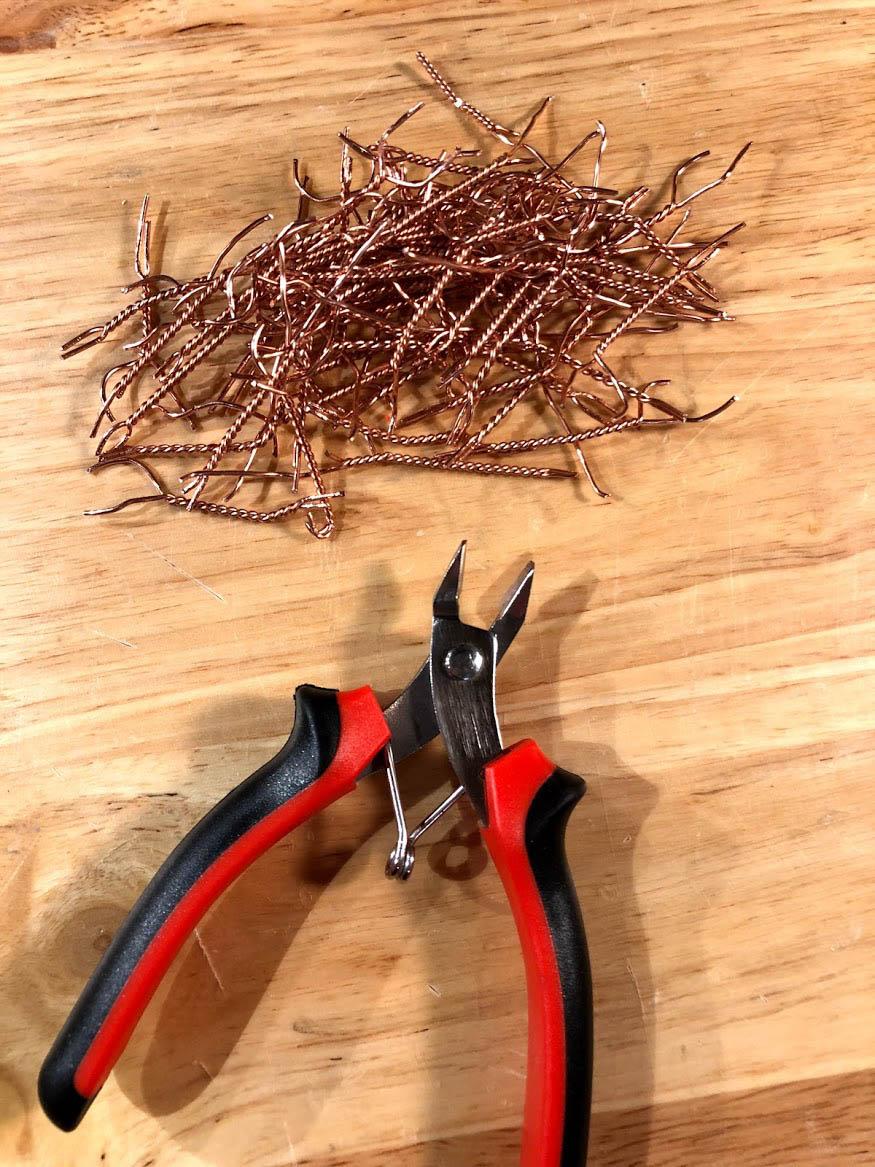
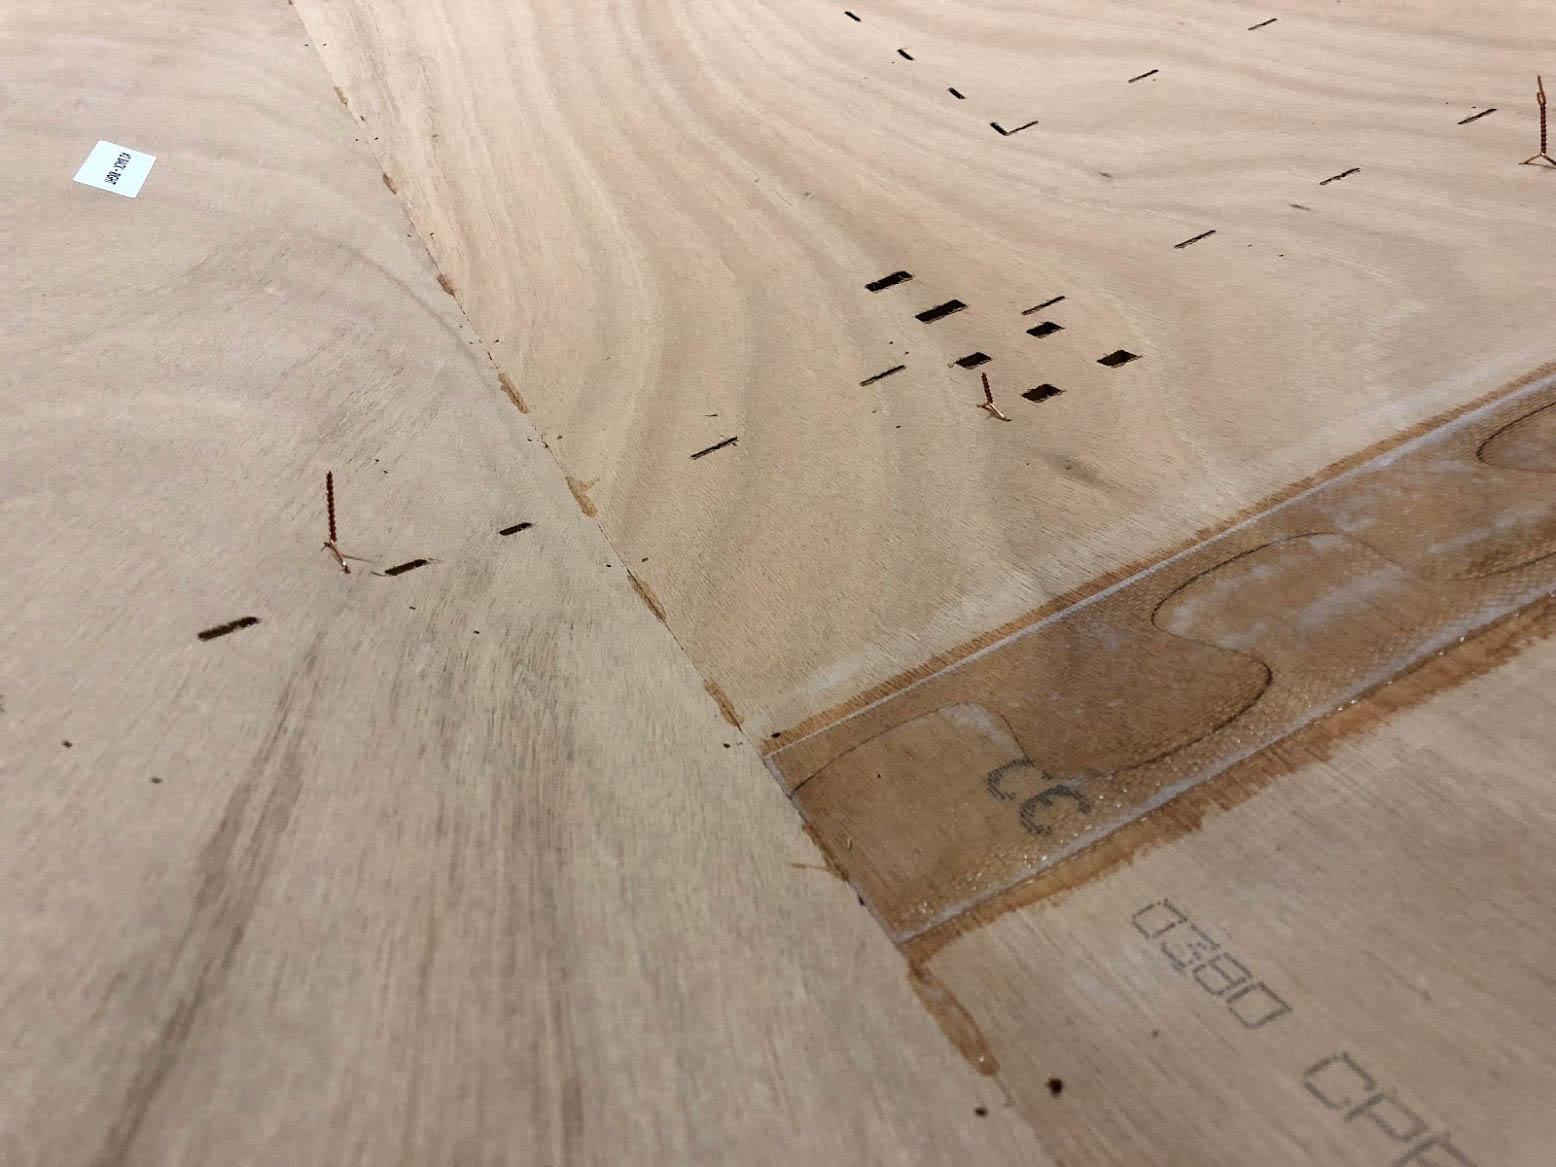
Tack-welded the main panels together with ca-glue and removed the stitches along those seams.
February 5, 2018 at 1:11 pm #1637Dan
Participant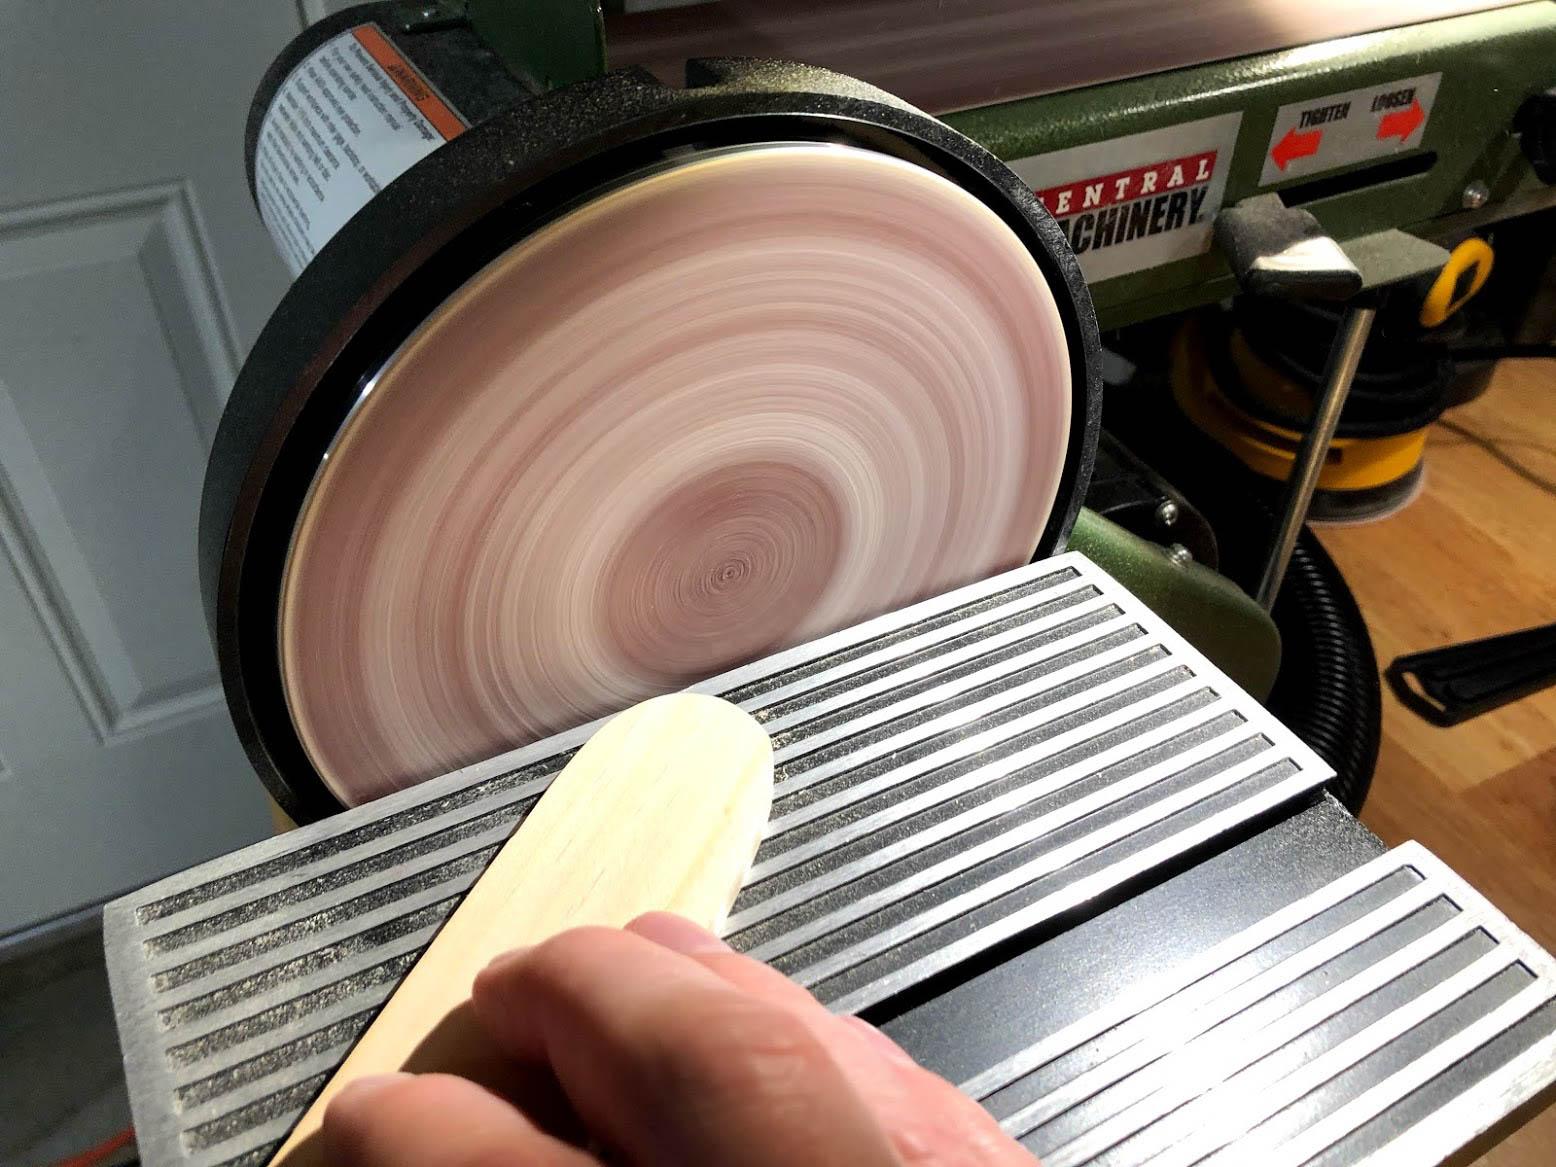
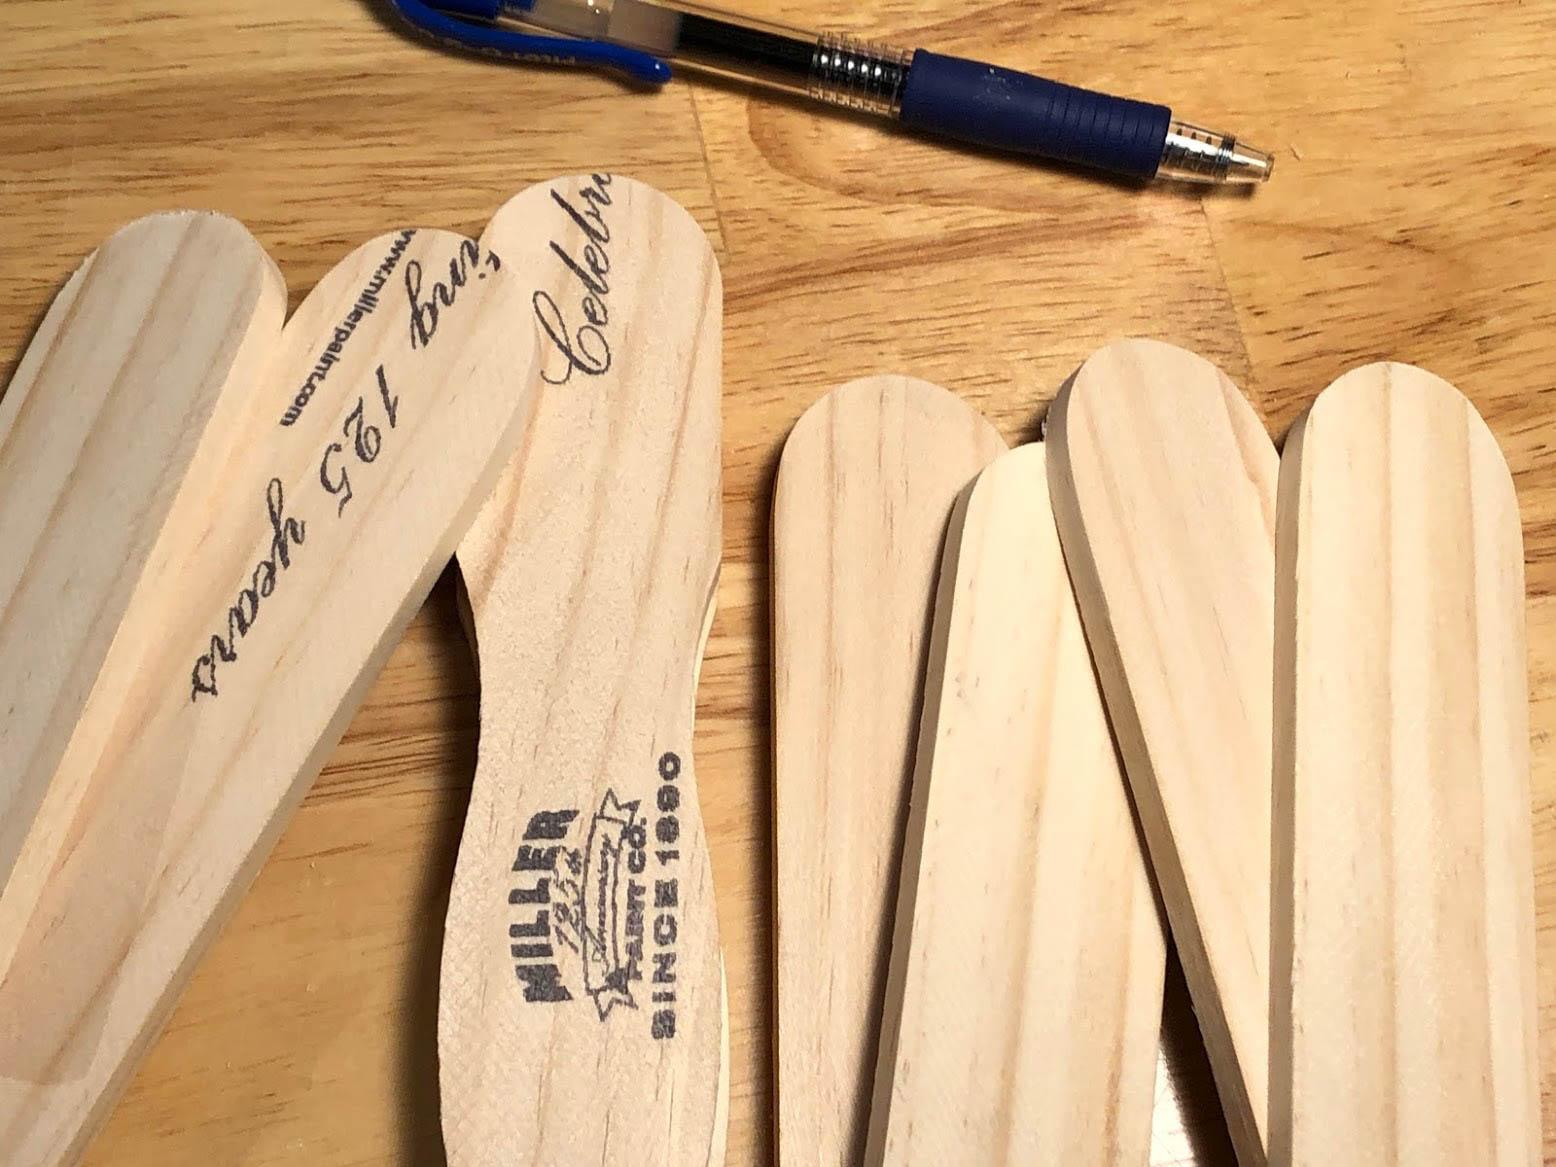
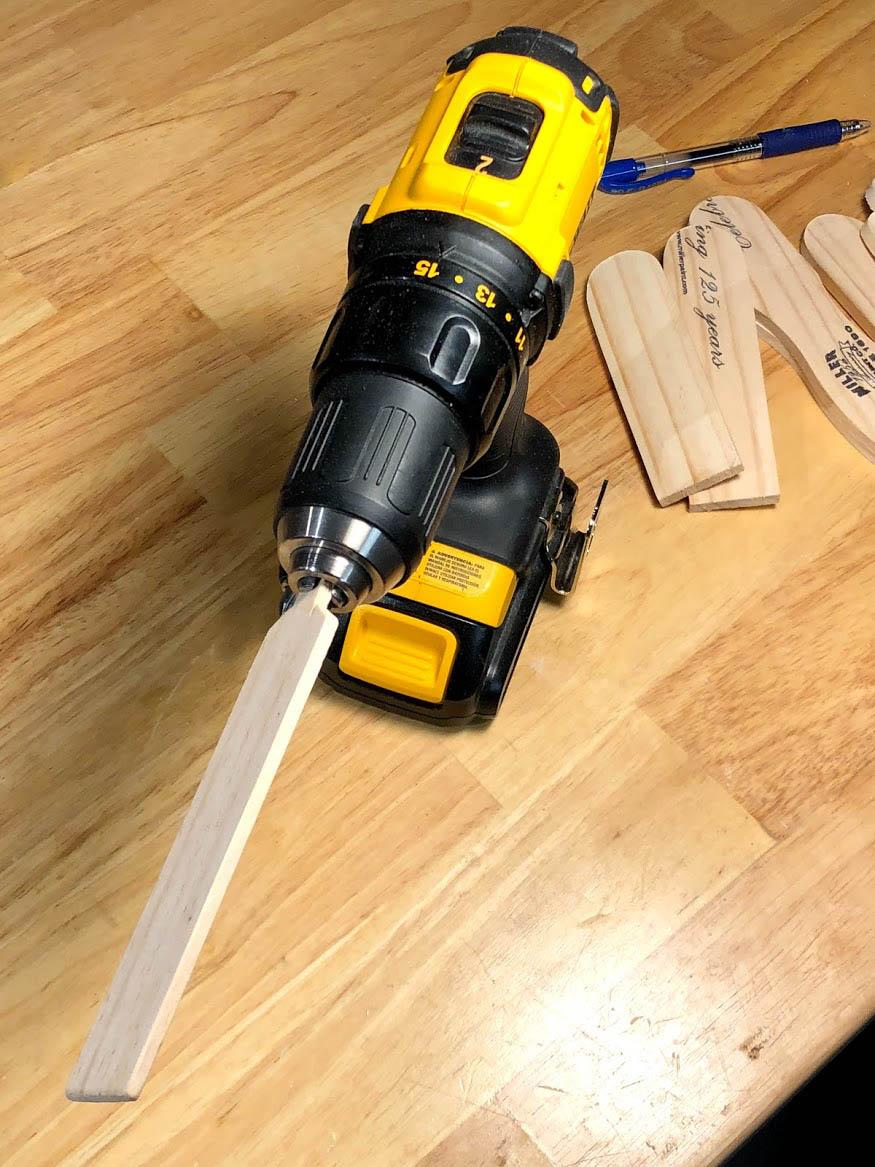
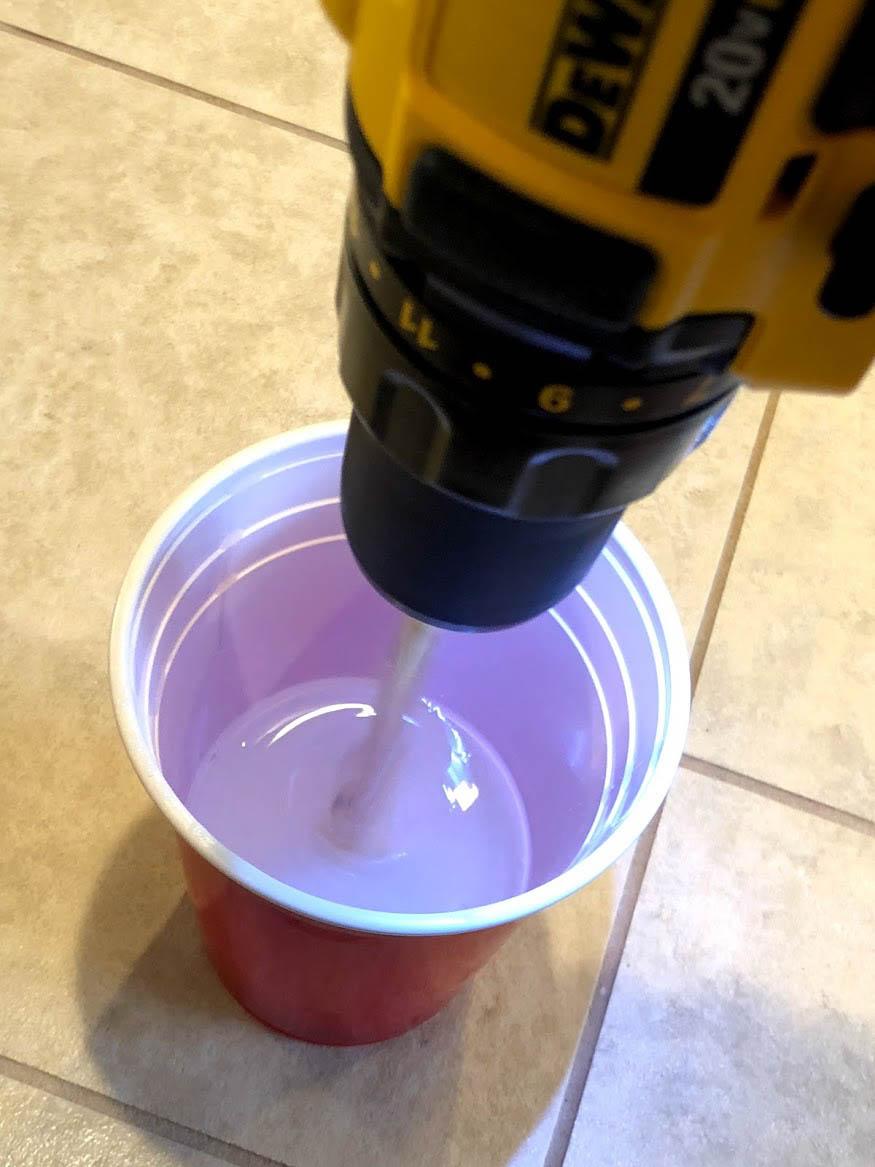
Made some filleting tools and a really fast stir-stick!
February 5, 2018 at 1:14 pm #1638Dan
Participant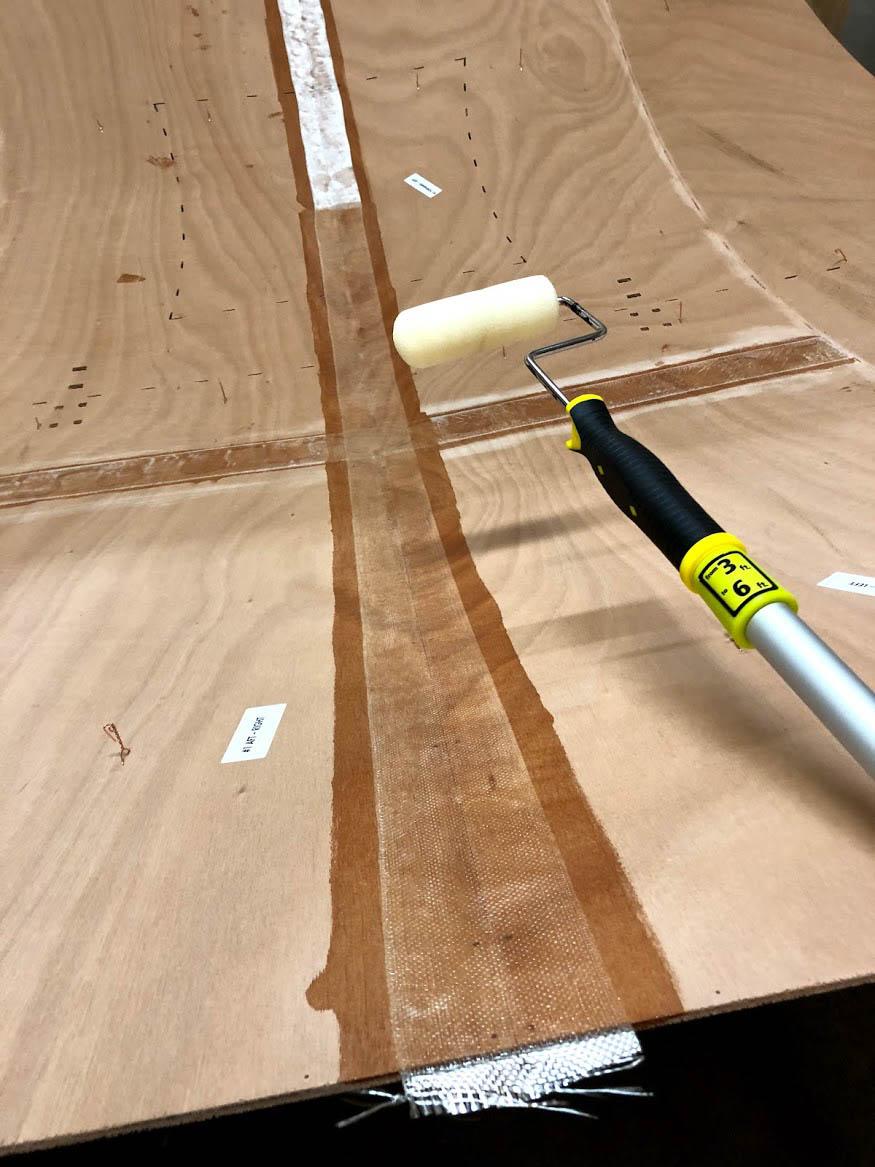
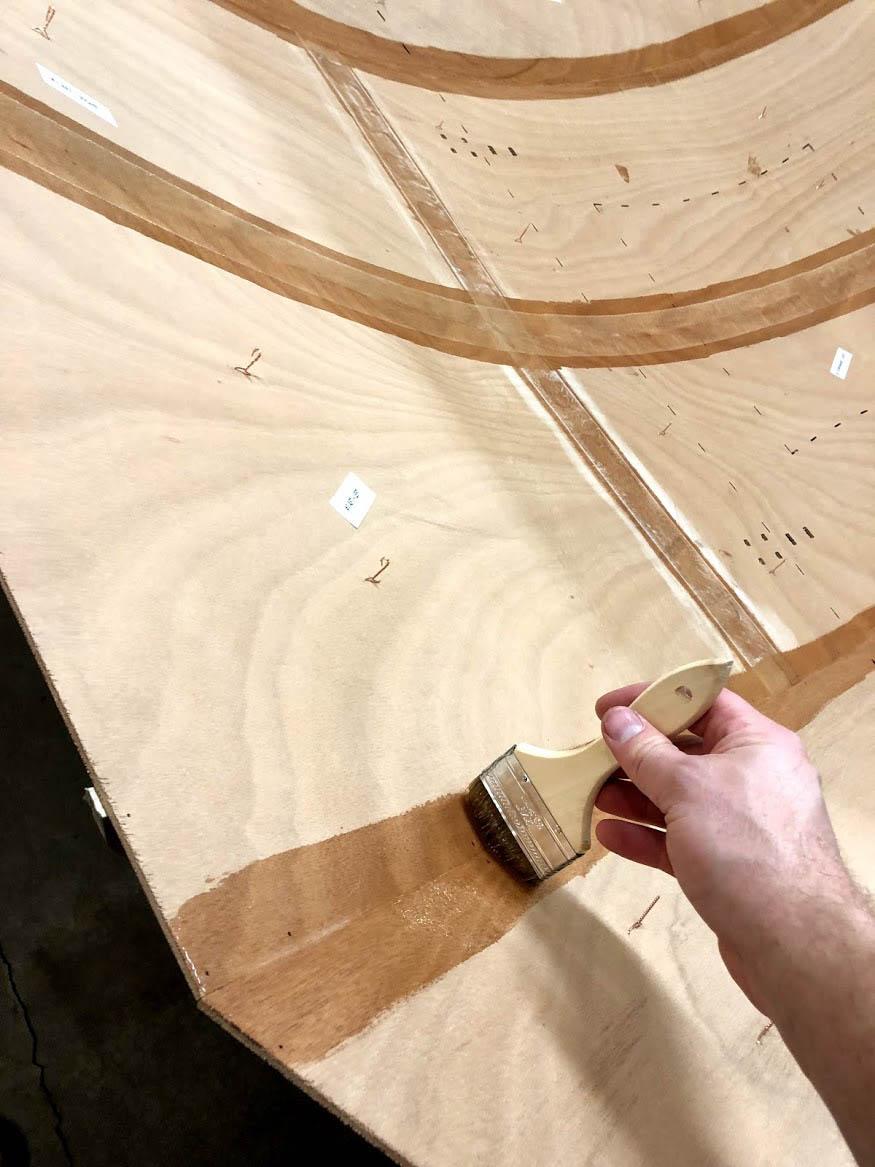
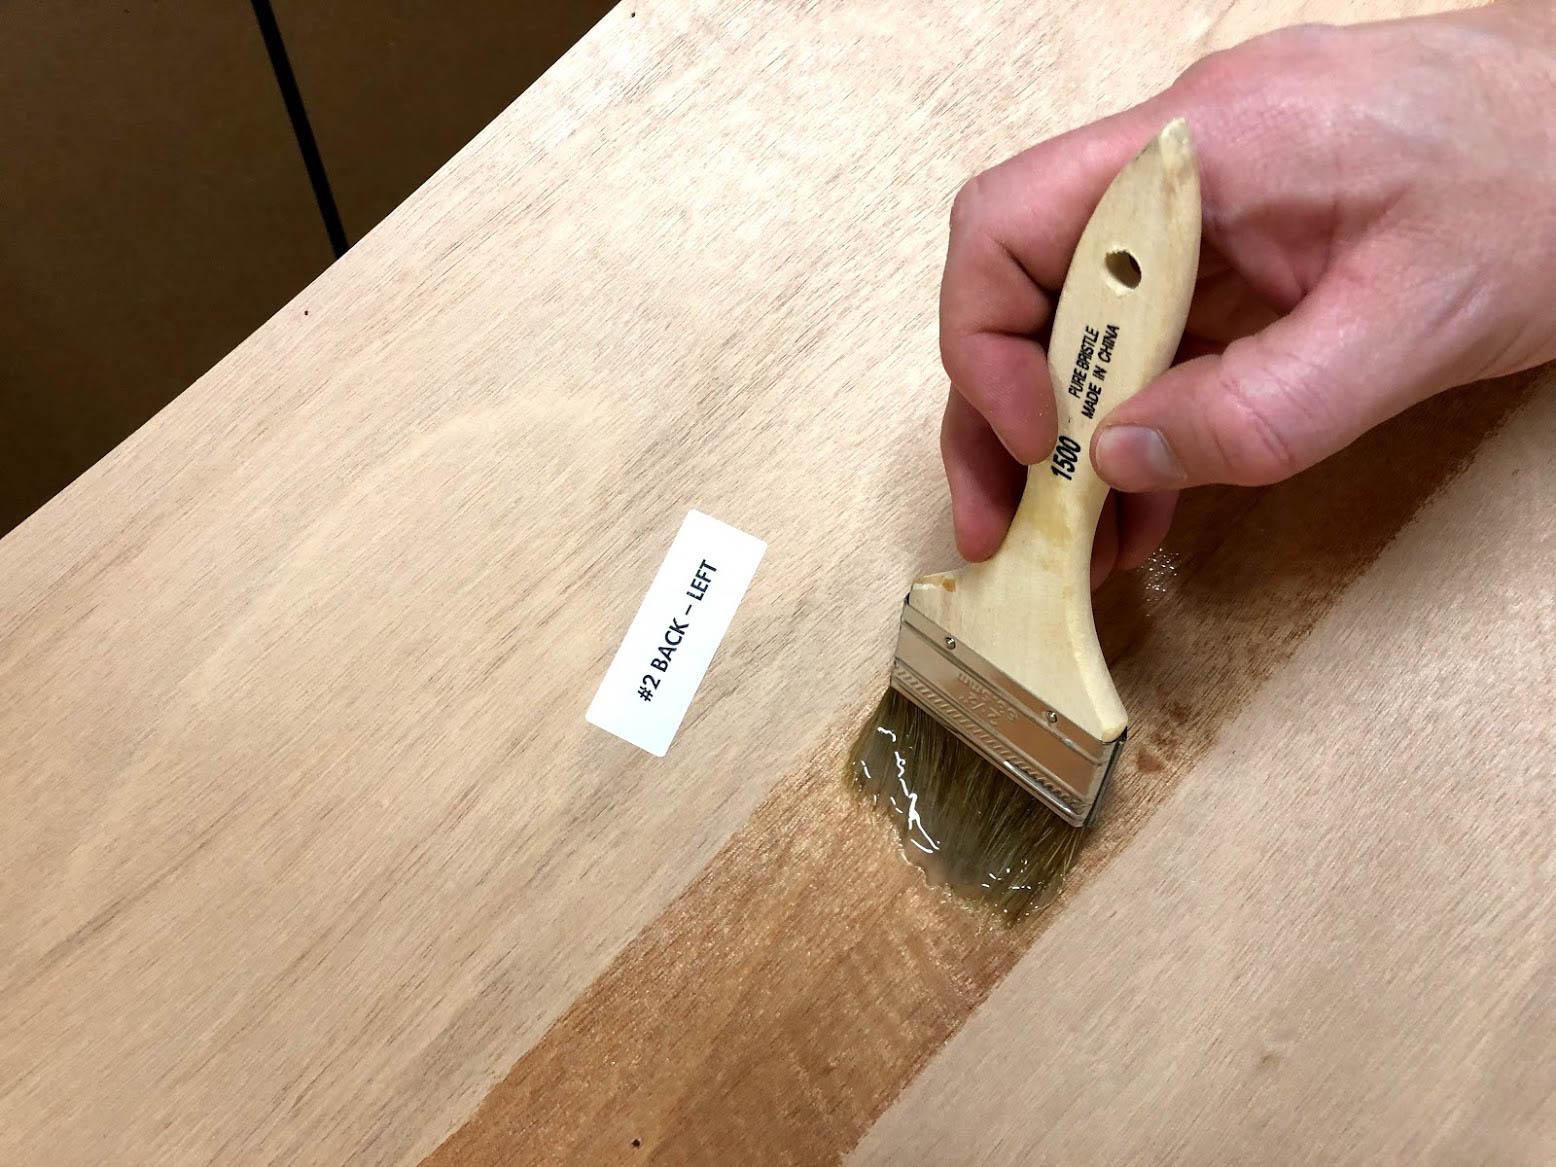 February 5, 2018 at 1:46 pm #1639
Dan
ParticipantOk, now here’s where I ran into my first issue(s). My epoxy was setting way too quickly for me to do both side seams at the same time. That’s why there are no pics of my not-so-great filleting work. I got my thickened epoxy too runny at first and then over compensated and had to deal with it being too firm. That took some time but I decided to roll with it. I was running out of working time in the thickened epoxy but didn’t realize it until I had laid up both fillets (poorly). At this point I should have scraped both fillets and started over with a fresh batch of properly thickened epoxy and only done one side at a time.
Instead of being smart, I continued on by re-applying a thin brushing of un-thickened epoxy to both fillets and rolled out the correct amount of fiberglass tape on each side. By the time I got to saturating the second side, the tape had stuck well enough that I couldn’t adjust it without tearing out the fillet and I was left with this mess:
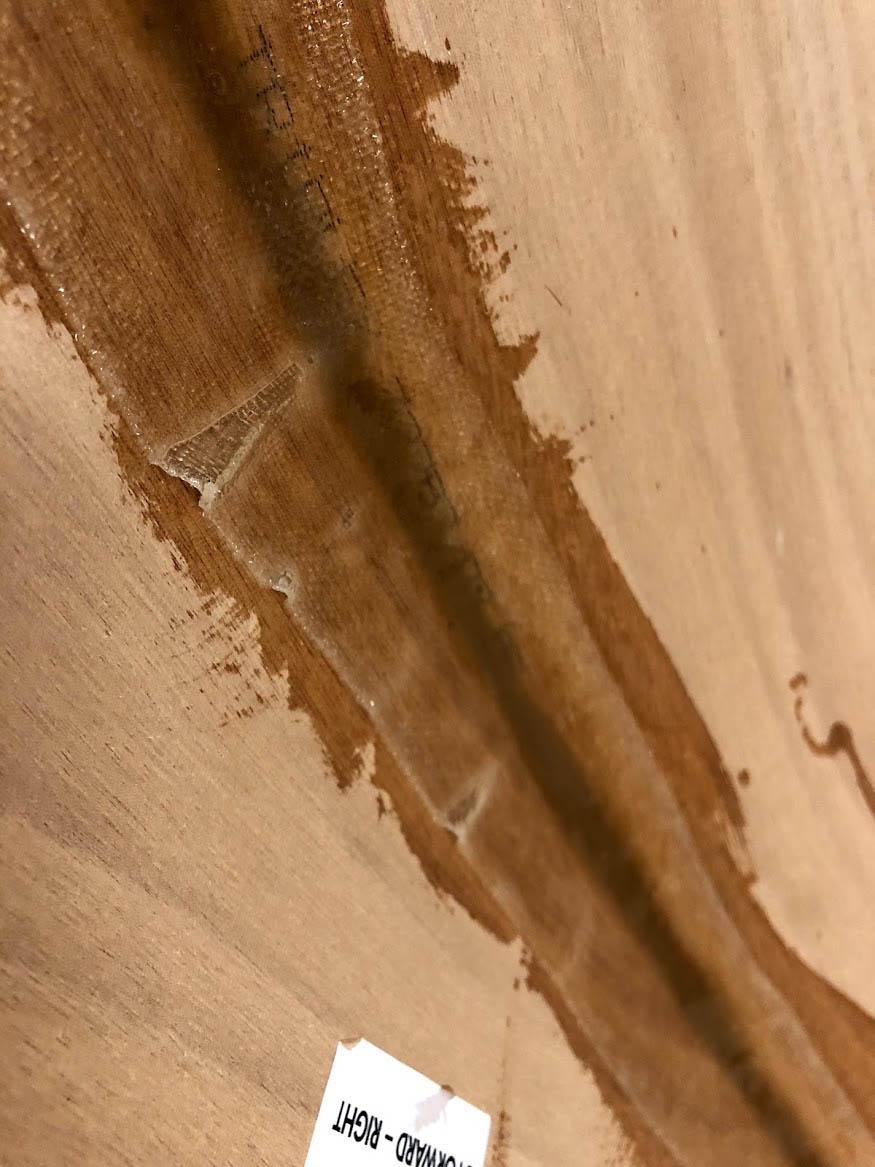
Welllll, that’s not good. So I fixed it the best way I could think of without starting over, which I’m not sure I could have done at this point anyway. I just cut the folds and smoothed them down. I won’t have a huge fold to sand down… just a little bump. I’ll just have to live with the tape on that side being a little off-center on the fillet.
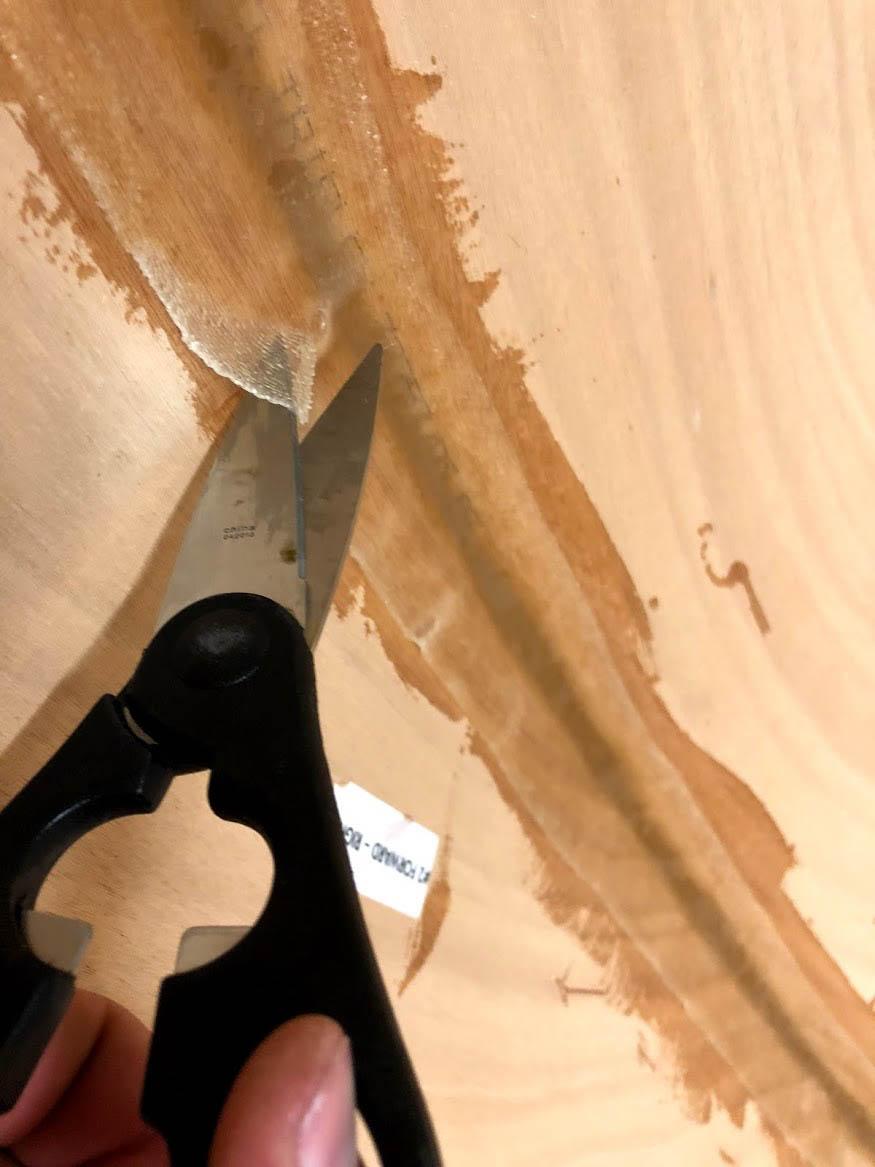
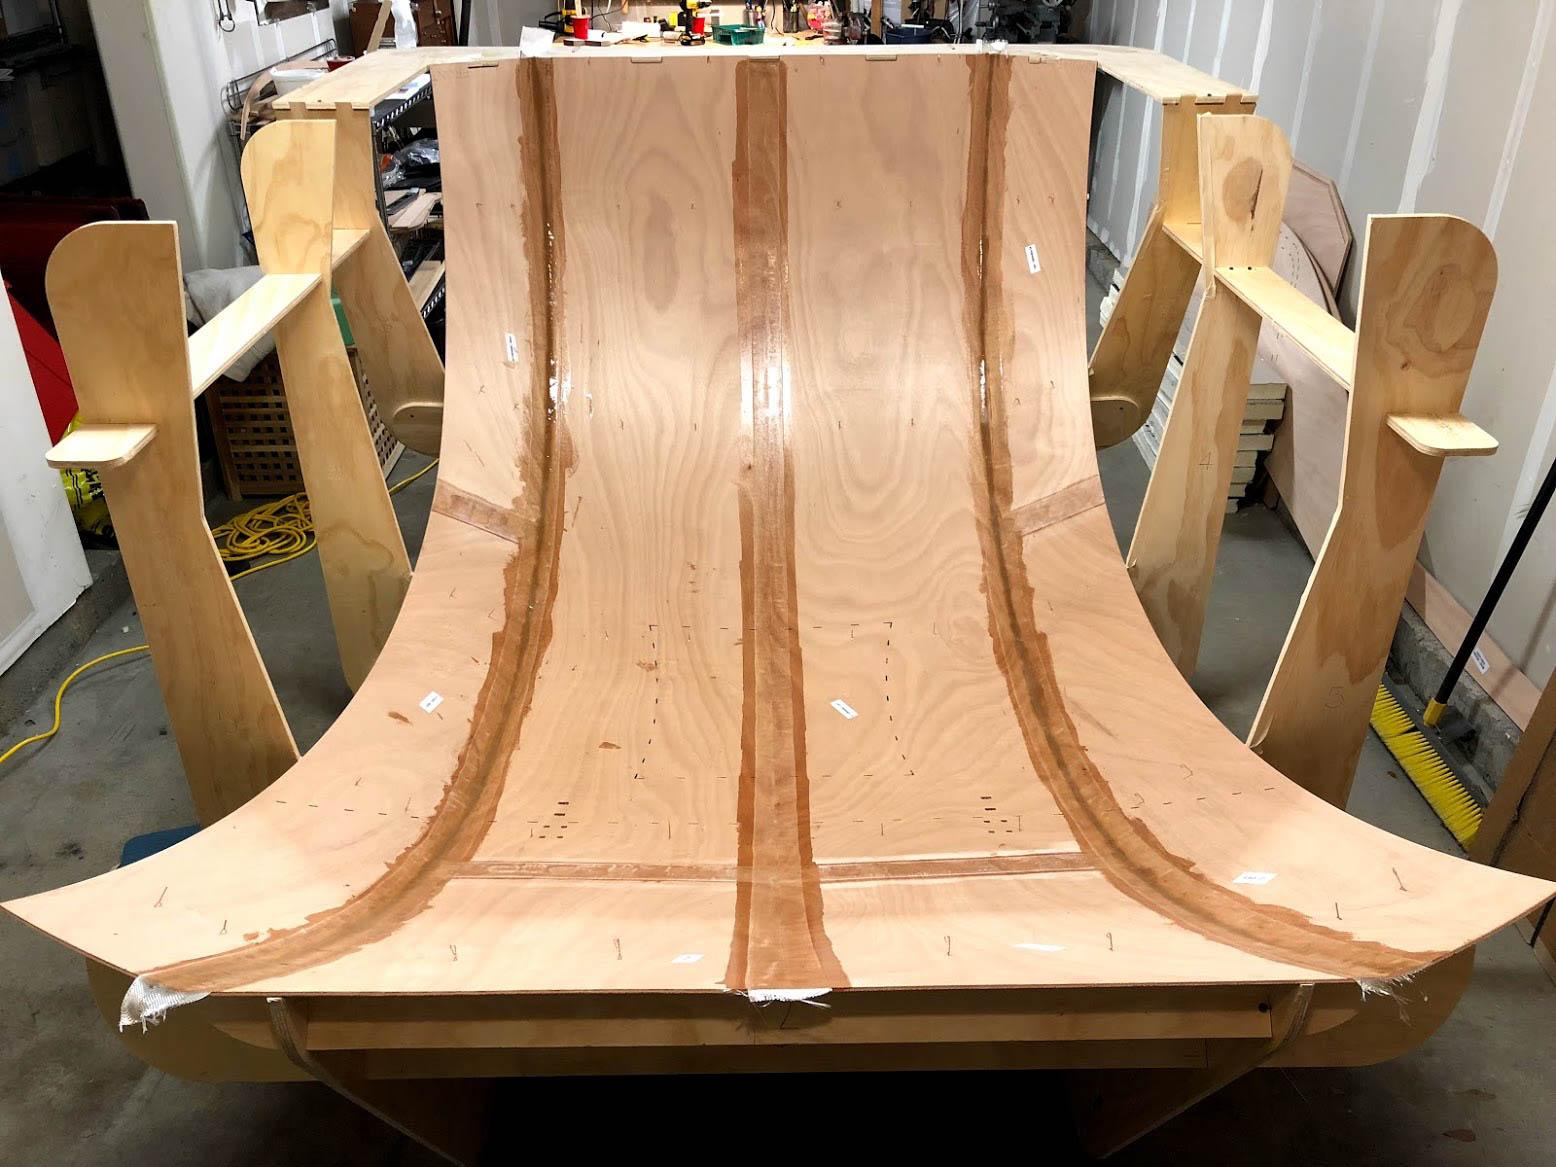
I’m very pleased with the center seam. Very displeased with the sides. Overall, glad I get to move on to the next steps. Many lessons have been learned.
February 5, 2018 at 7:47 pm #1640rovineye
ParticipantMost if not all of us have spots with the same flaws, and grateful that most of those first fillets and glass work isn’t visible in the end. Cutting out darts like you did is sometimes the only fix. The inside of the galley hatch will be visible, but you can easily make cosmetic adjustments there once it is cut out.
It was at the point you are at that I changed to wetting the glass tape with epoxy, rolling it up, and rolling it out in place. It is so much easier.
February 5, 2018 at 8:26 pm #1641Dan
ParticipantHmm… I like this wet roll idea. I will definitely be trying that. Did you have any particular technique that worked well for you, or did you just drop your length of tape in a cup of epoxy and slosh it around?
February 6, 2018 at 11:38 am #1642abrightwell
ParticipantI’ve seen it done with large portions of cloth. The basic process that I’ve observed is that you lay out a sufficient length of polyethylene sheet, layout your cloth on it, then saturate. Then using some form of stick, you roll it up on it, squeeze out excess and then go apply.
Here’s a video: https://www.youtube.com/watch?v=WdaPecHY4VQ
My experience was that those first two seams were the most difficult. The middle went off without a hitch, it was beautiful. But the Panel #1-#2 seams were a bit of a PITA. As others said, don’t fret it as no one will see those seams and there are things you can do after you start working on the galley hatch to make it look better where they might. And as you’ve learned, it is better to work in small batches. I had a helper mixing small amounts for me while I applied the seam. Just take your time and enjoy the process. 🙂
February 6, 2018 at 11:41 am #1643rovineye
ParticipantCut the tape to length and lay it out on a plastic sheet. Wet it with epoxy with either a brush or a spreader, then roll it up. Unroll it in place and smash it in fillet with glove and smooth with spreader , gloved hand, brush, whatever works best in that spot, It is a real benefit inside at the where the floor joins the sides and transom area. It really is easier than it sounds and believe it or not it isn’t messy.
-
AuthorPosts
- You must be logged in to reply to this topic.