Welcome to TeardropForum.com › Forums › Teardrop Builders’ Forum › Dan's Build
Tagged: Varnish
- This topic has 91 replies, 11 voices, and was last updated 4 years, 1 month ago by
pwebster25.
-
AuthorPosts
-
April 6, 2018 at 2:52 pm #1754
Dan
ParticipantI’m looking at that Dremel UltraSaw and the little Makita, which has adjustable cut depth and angle.
April 8, 2018 at 6:14 pm #1759abrightwell
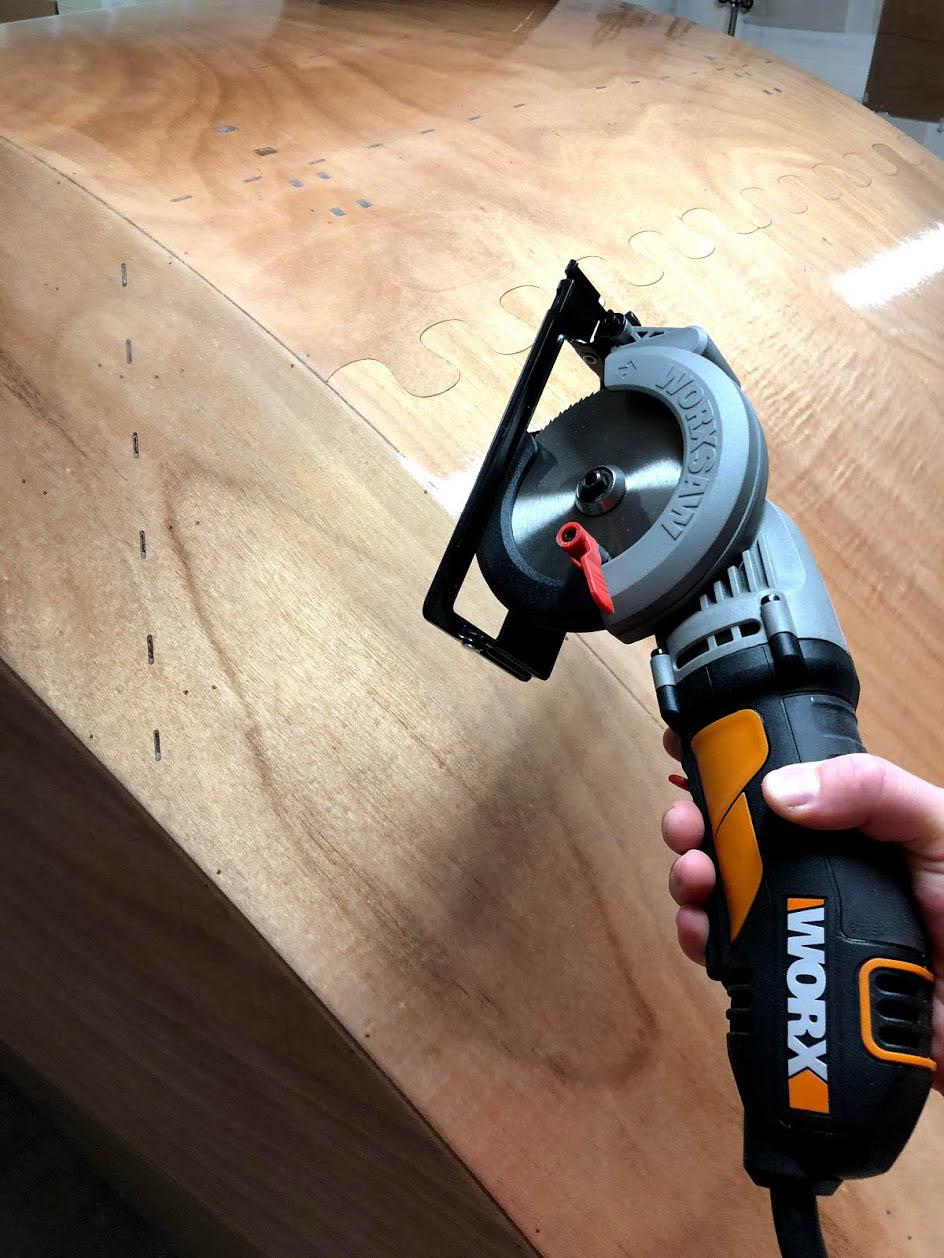
ParticipantI considered the Dremel as well. I’ve heard good things about it… but I ultimately took the cheaper route and got one of the Compact 4 1/2″ Worx Worxsaw (http://a.co/dYWJ58m). It did the trick and I think I paid <$50 for it. Just another option to consider.
April 9, 2018 at 12:44 pm #1760Participant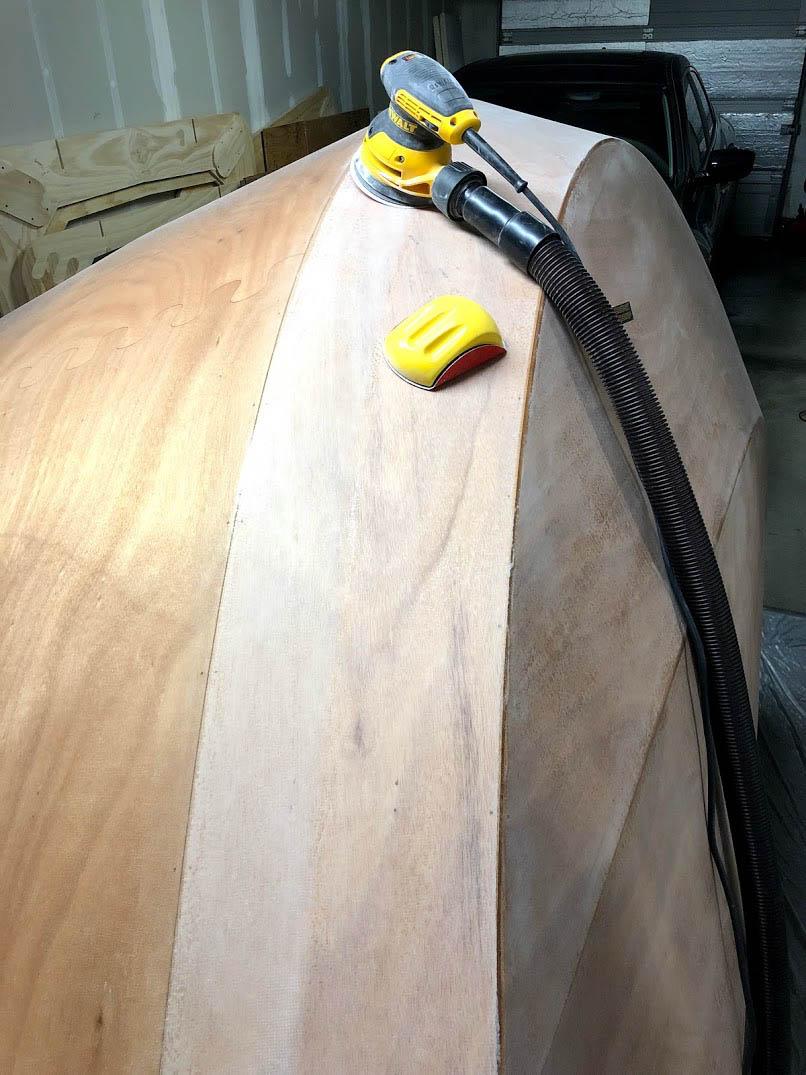
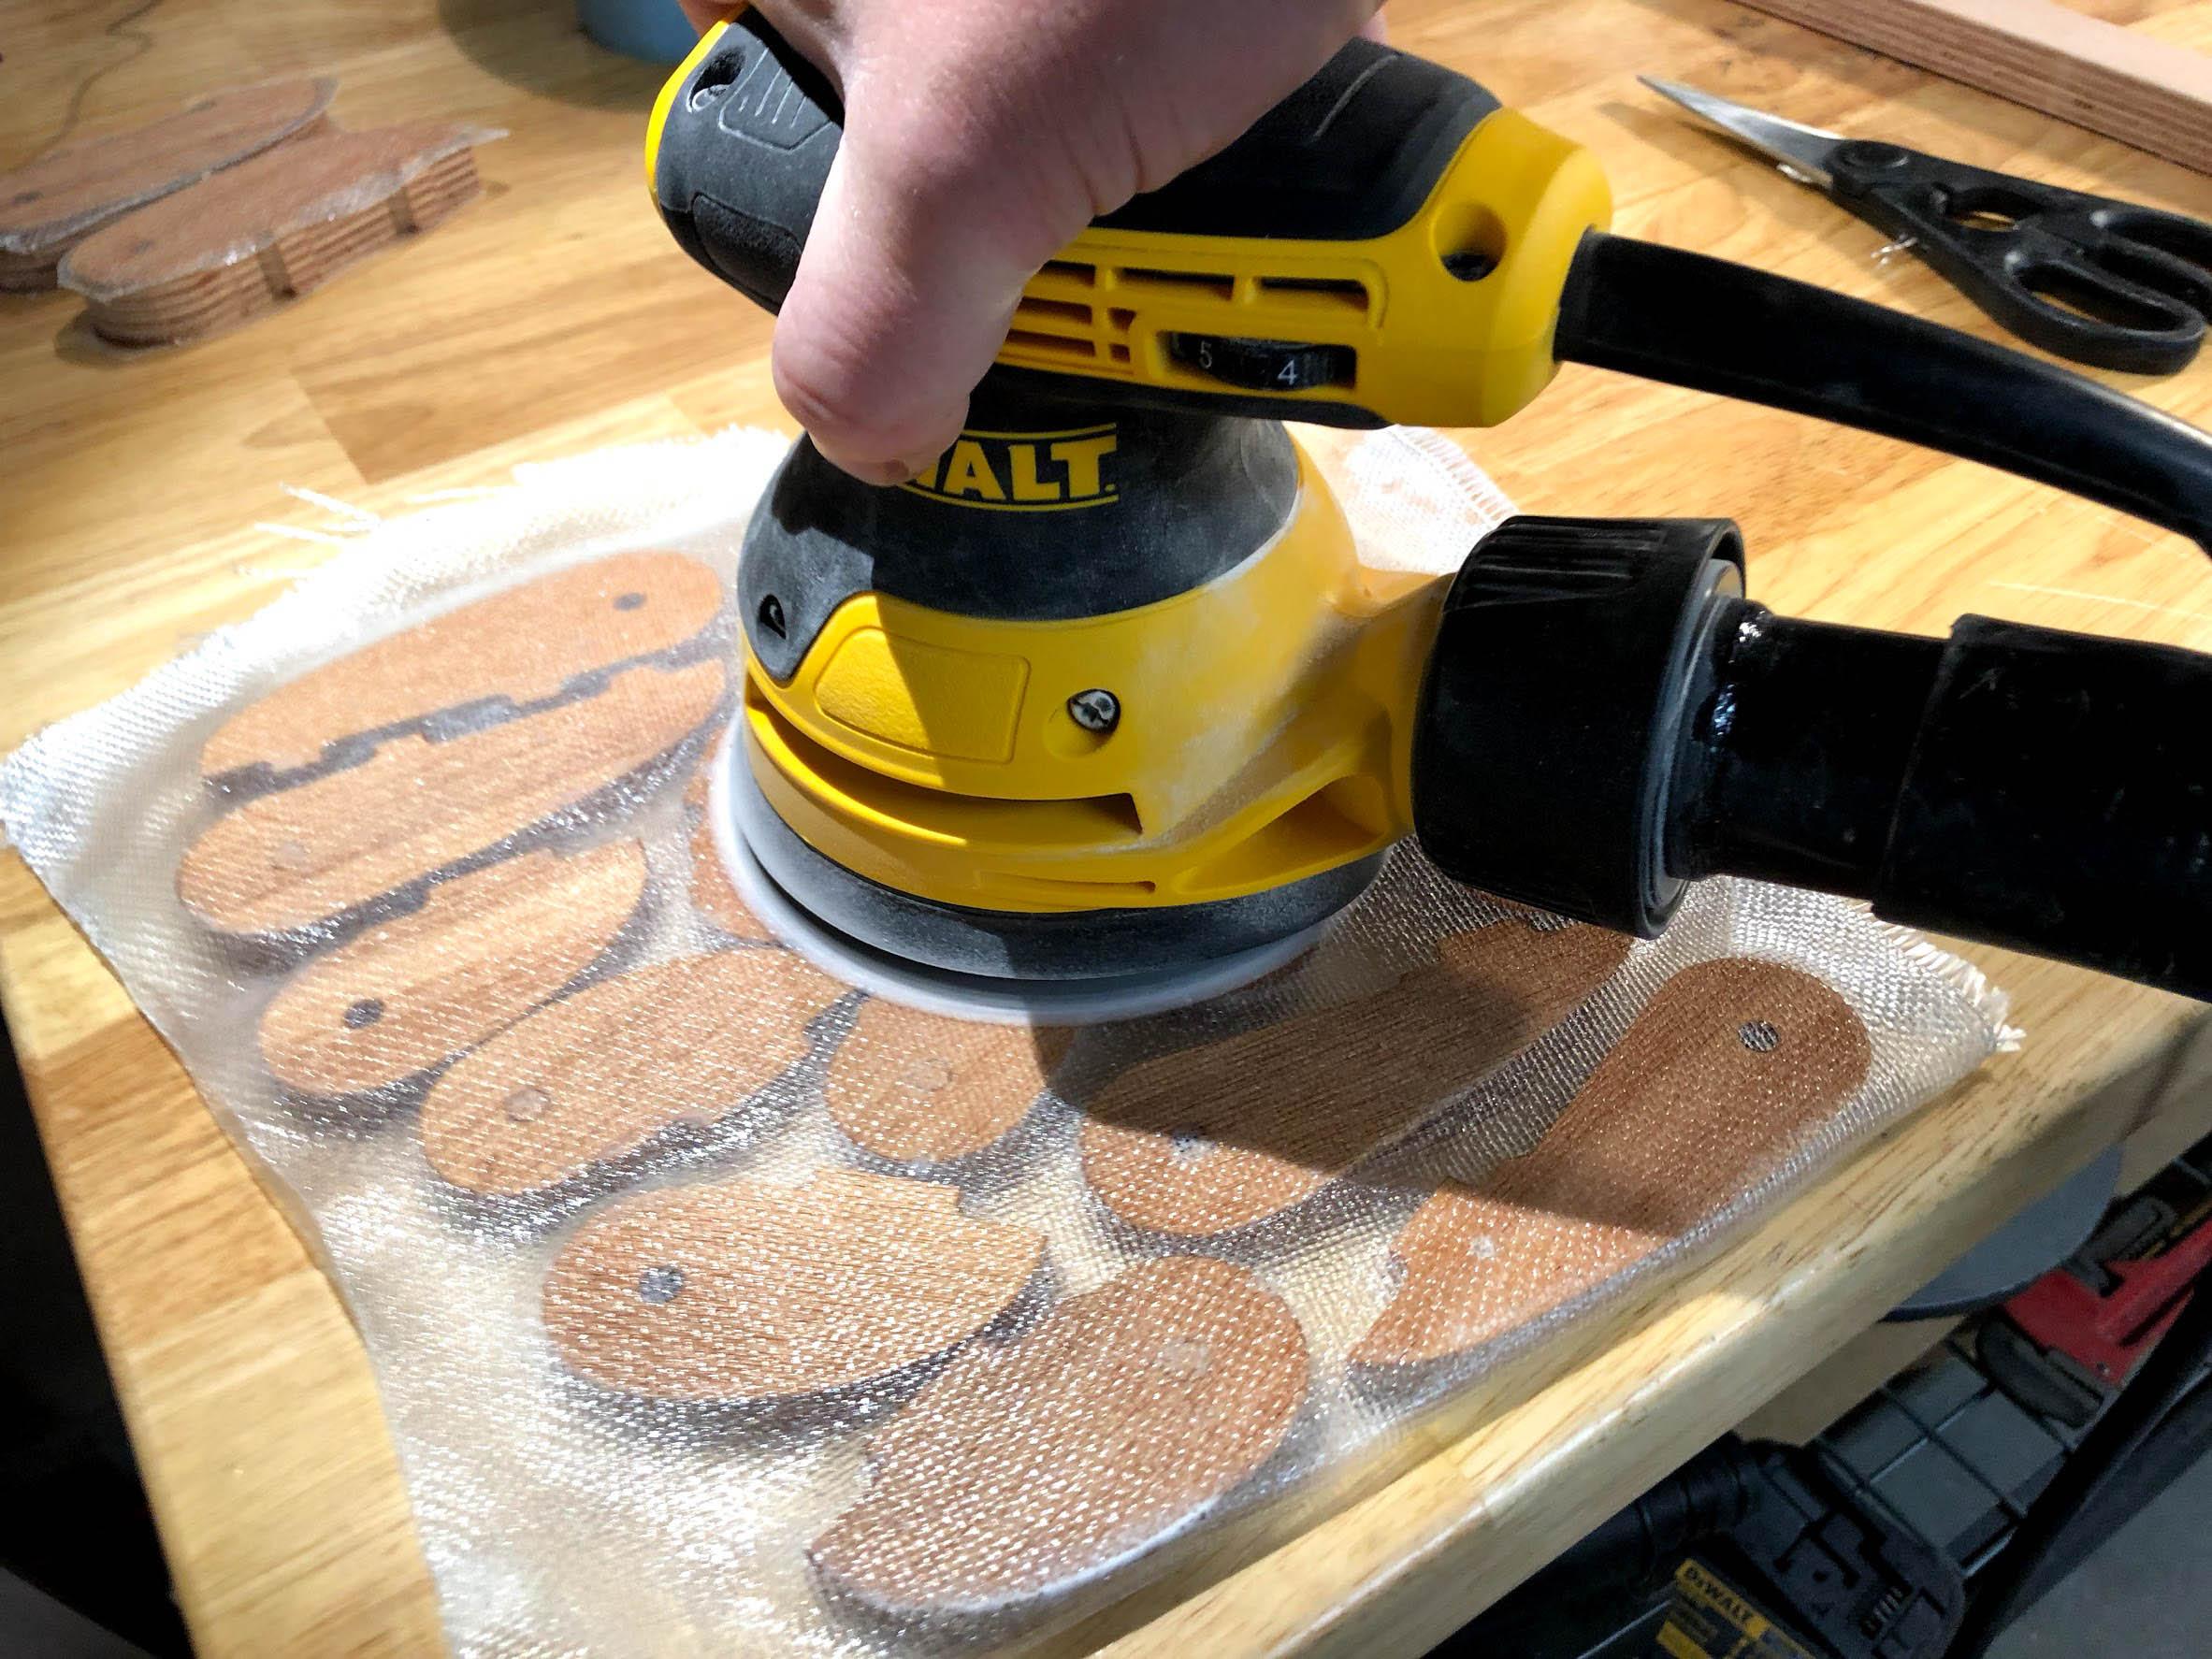
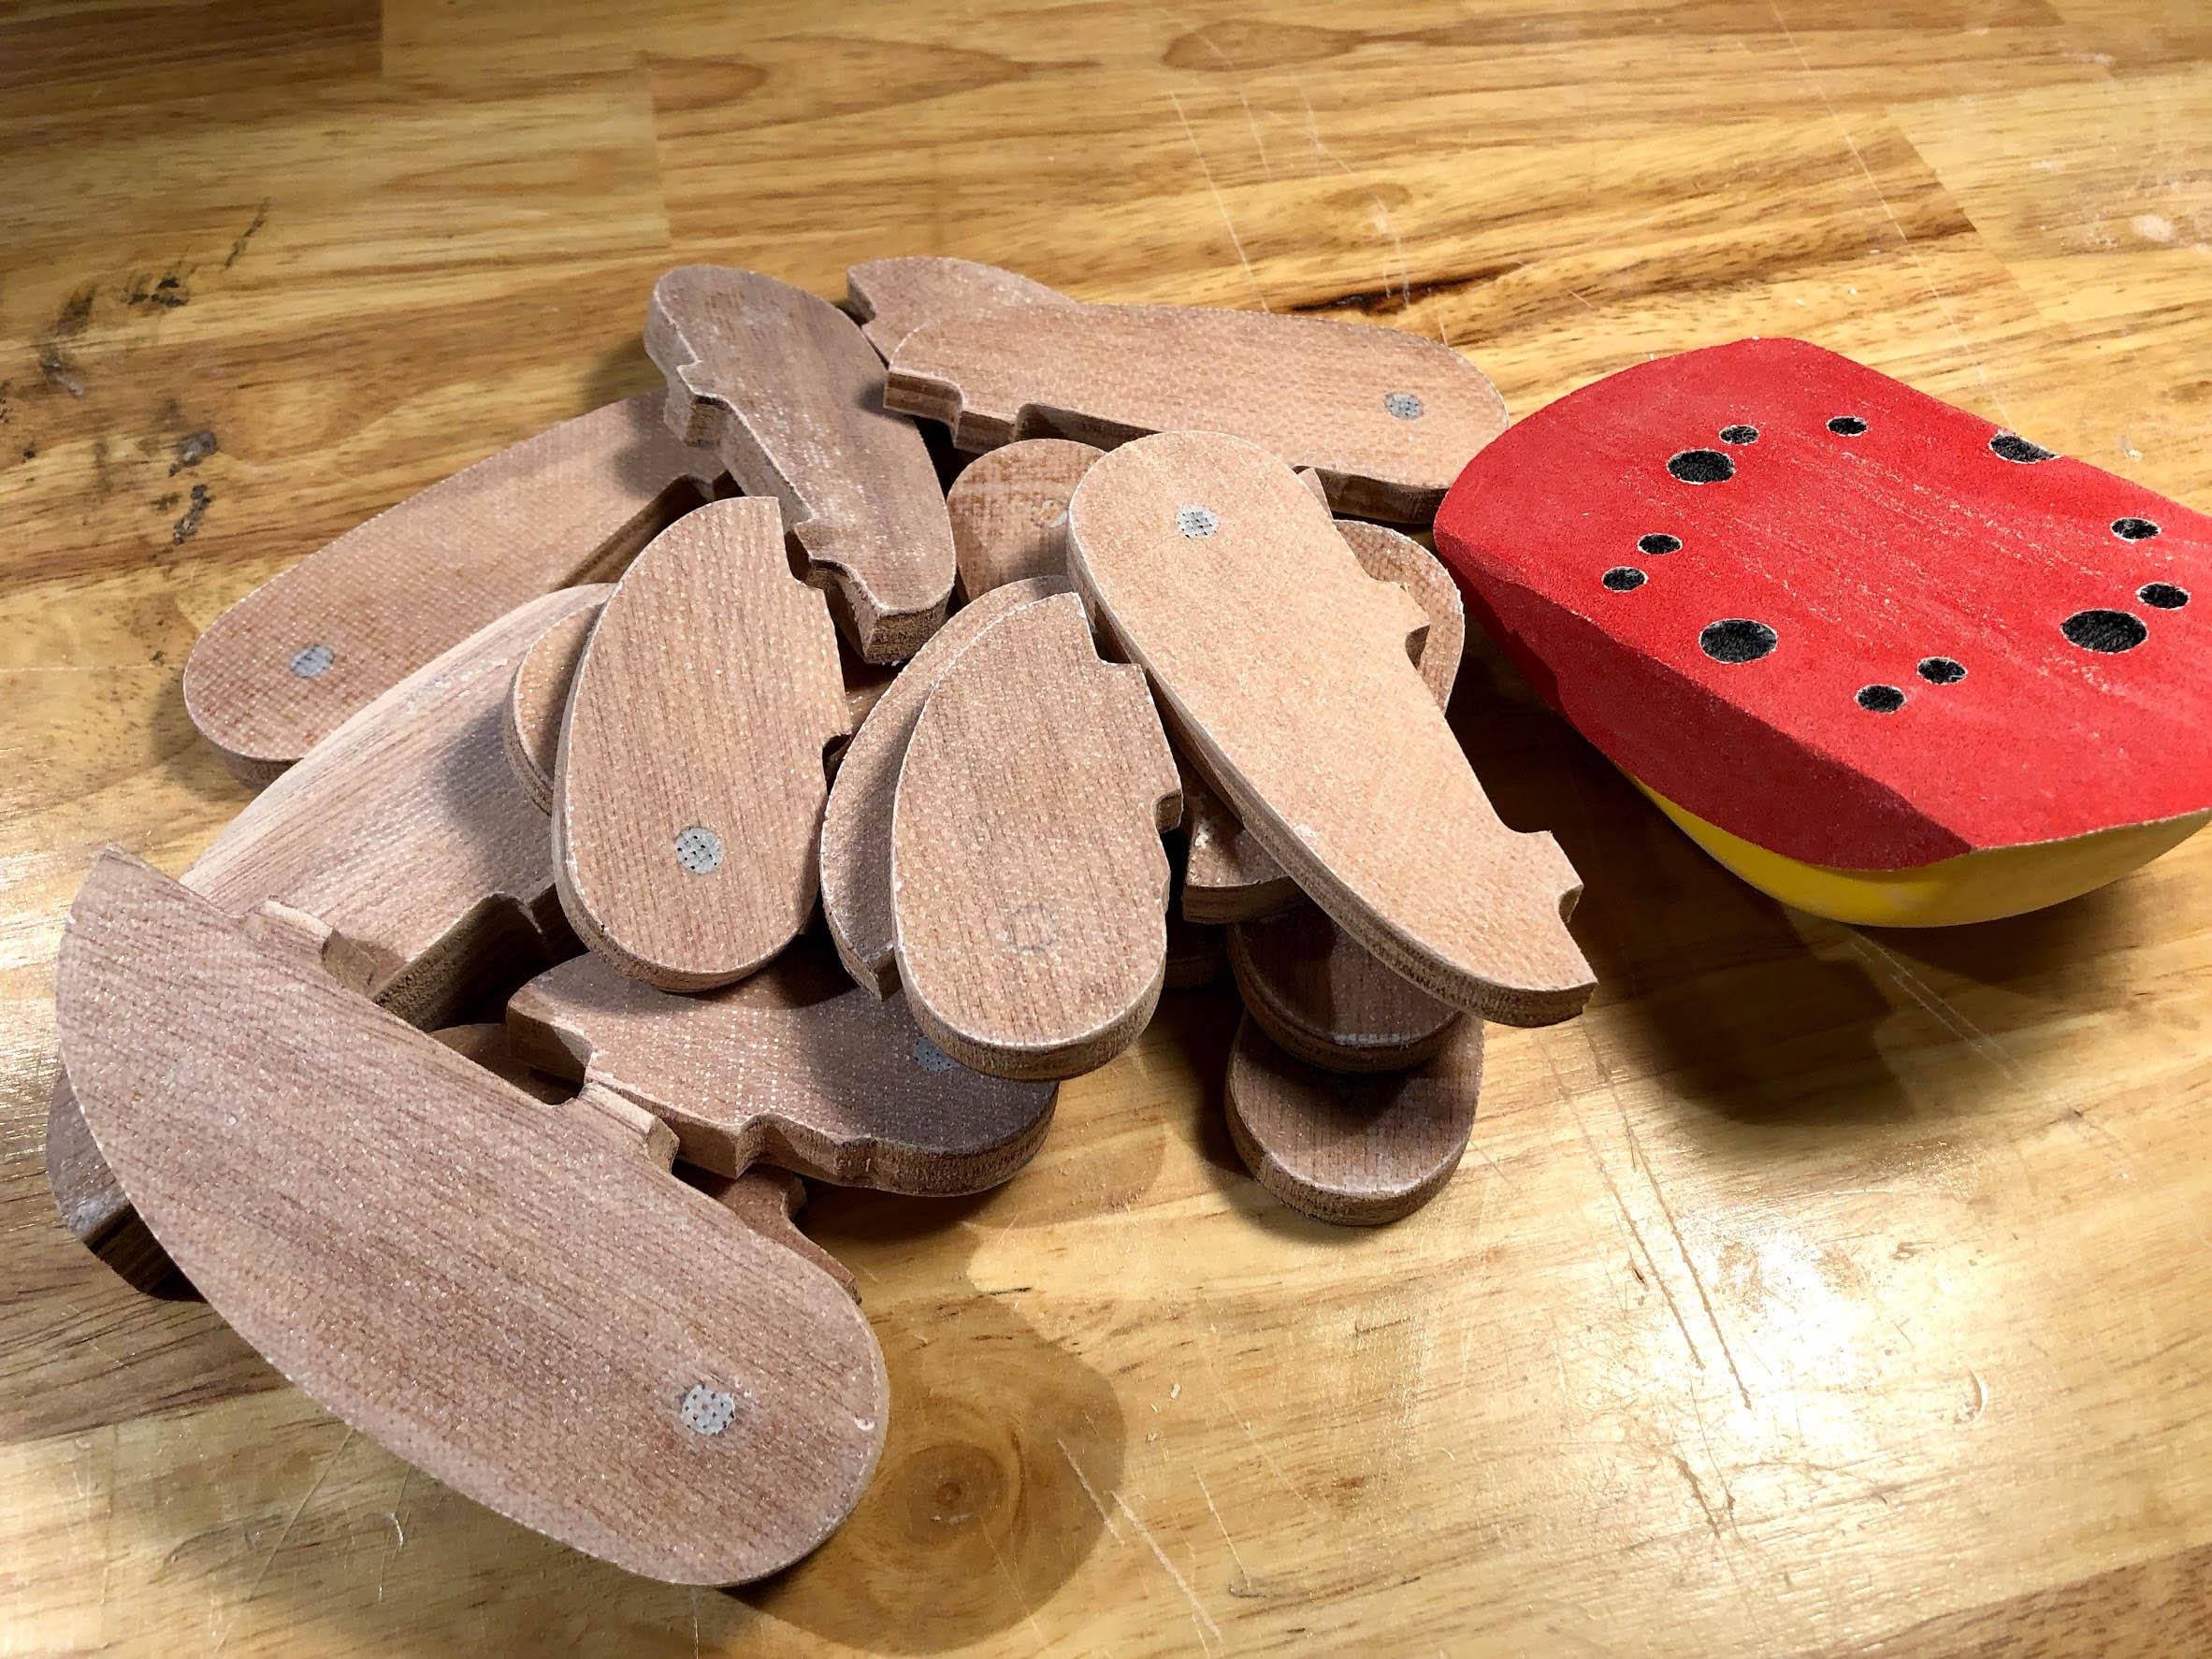
So much sanding… this is my life now…
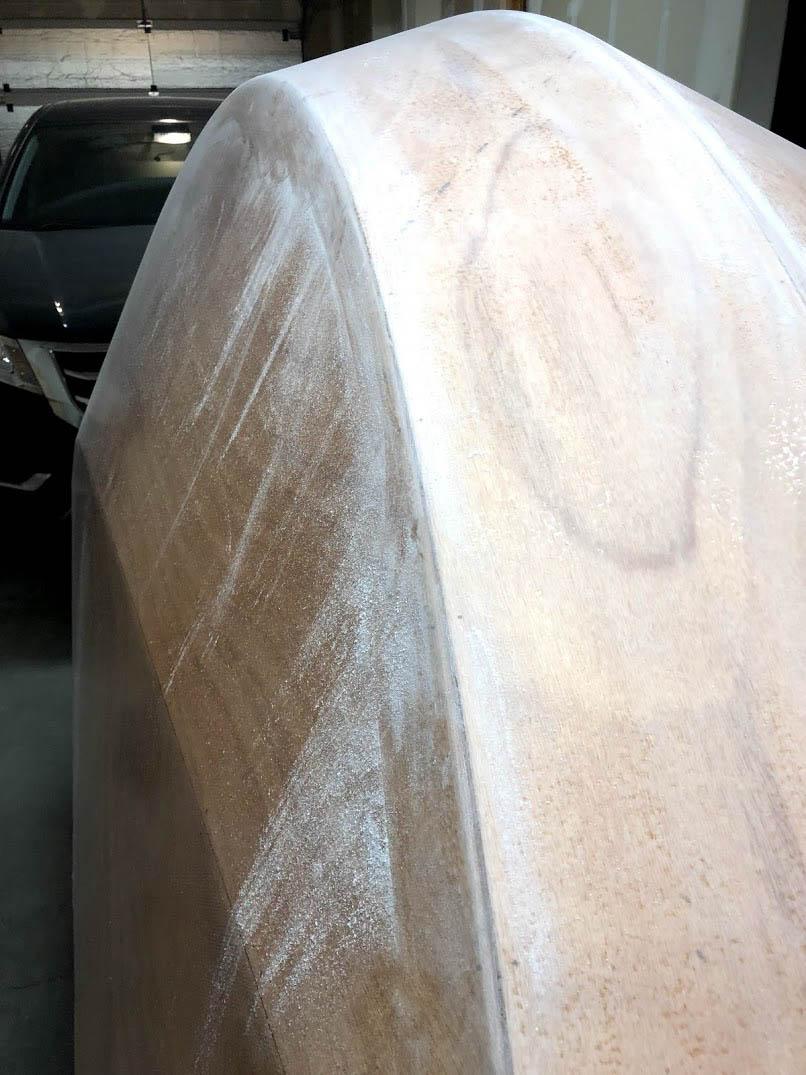
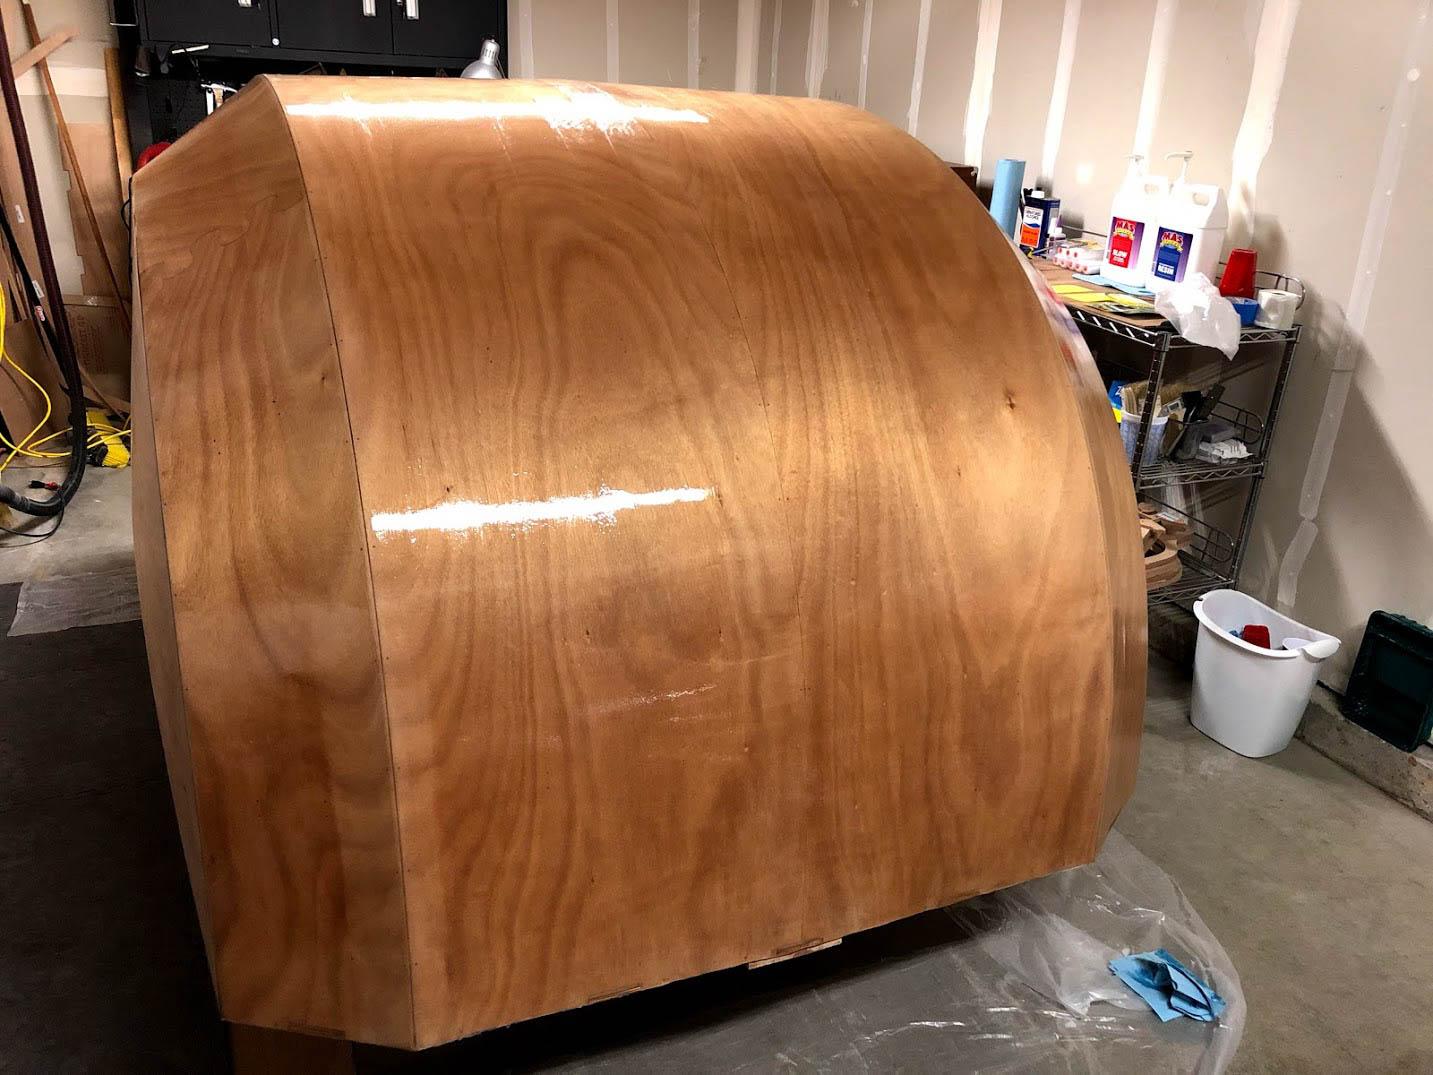
Ended up applying the second coat of epoxy with nothing but an epoxy spreader. I only intended to use that tool to spread things out evenly before rolling and tipping, but just squeegeeing it on worked so well that I decided to call it good. This resulted in a thin glassy smooth layer with minimal waste. I’ll dust this with 220-grit and put on a final coat probably in the same way but also tip it with a brush.
Oh, and I ordered the Worx saw. The 2″ cut-depth (for other projects), price, and plethora of positive reviews sold it.
April 14, 2018 at 7:36 pm #1766stretchMike
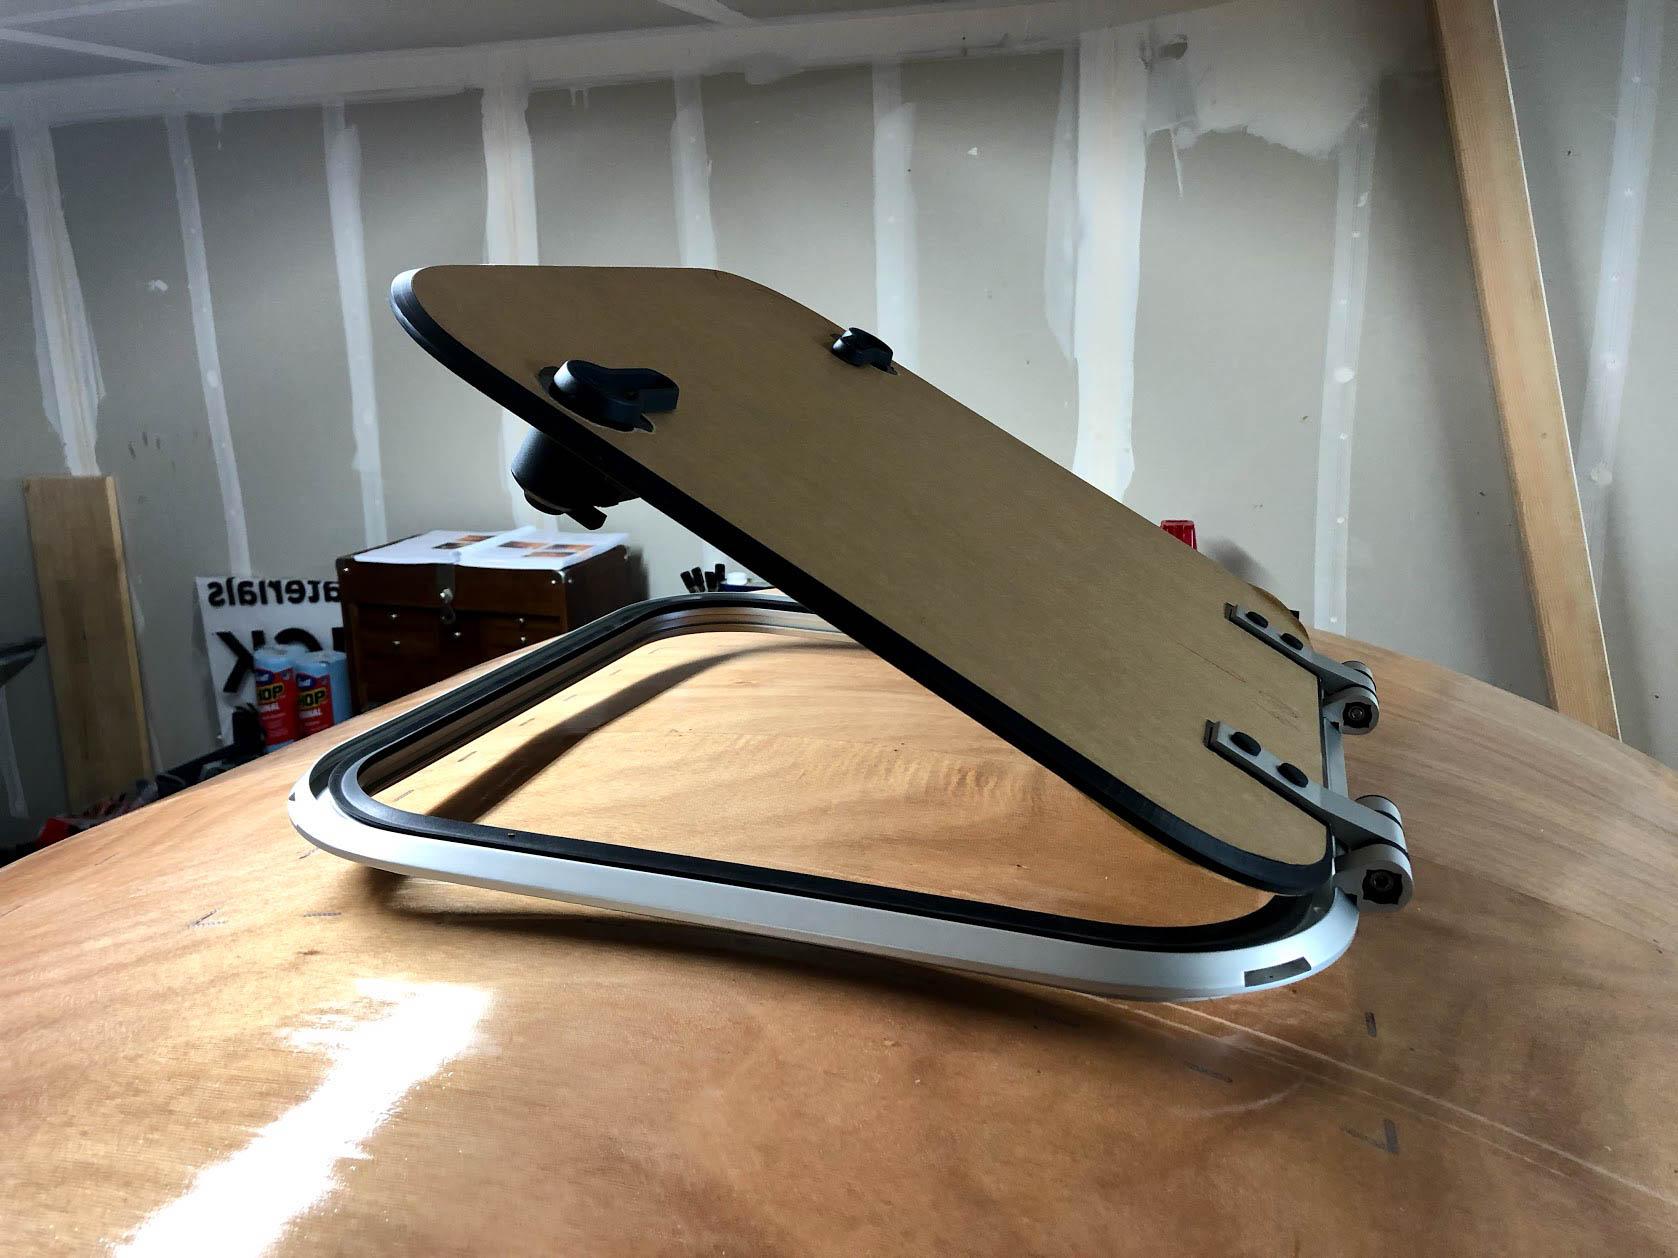
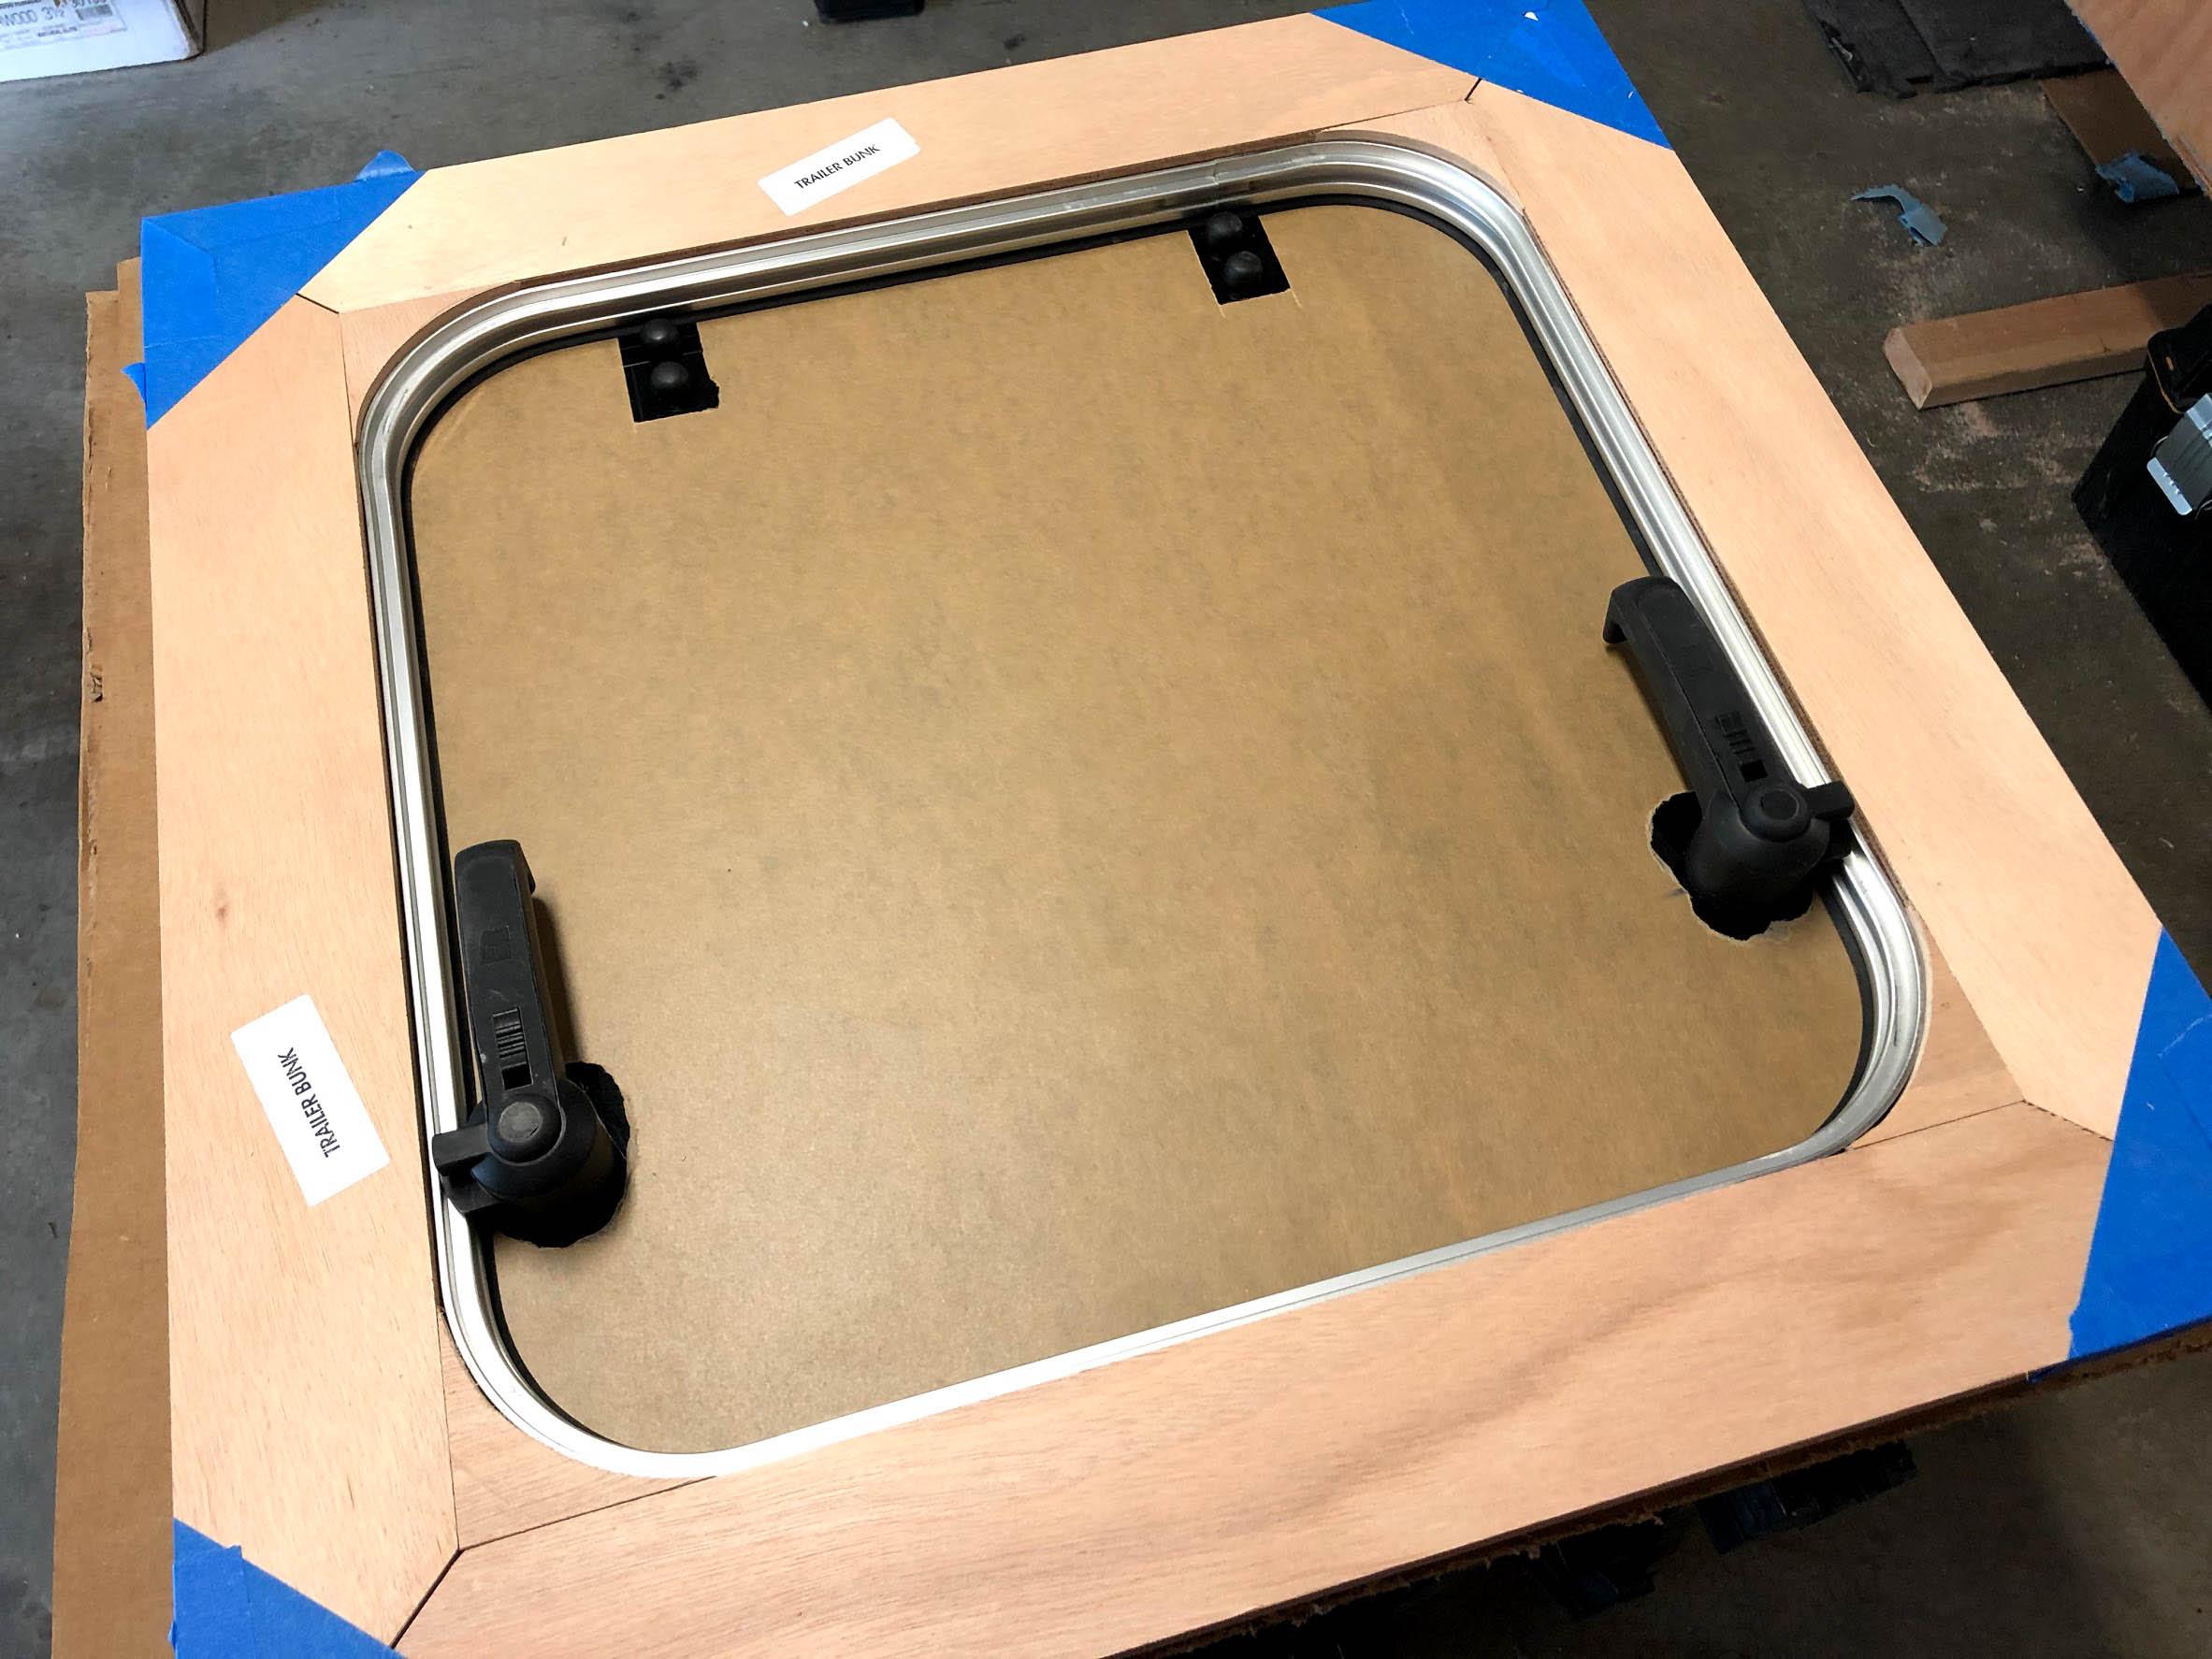
ParticipantDan, love your marine hatch, and like you I also dislike the standard roof vent approach. For me it is also a question of having limited height in my garage, so whatever I can do to reduce overall height is good.
I am in the Pacific Northwest and will mostly be using the trailer in this area. I am thinking that I can also get by without a roof fan.
Question: what are you doing for vents or fans elsewhere in your trailer? What is your thinking?
Any other builders views on doing without the roof fan?
April 14, 2018 at 9:21 pm #1767Participant@stretchMike, I’m also in the PNW (Portland). Maybe we’ll have to get together sometime.
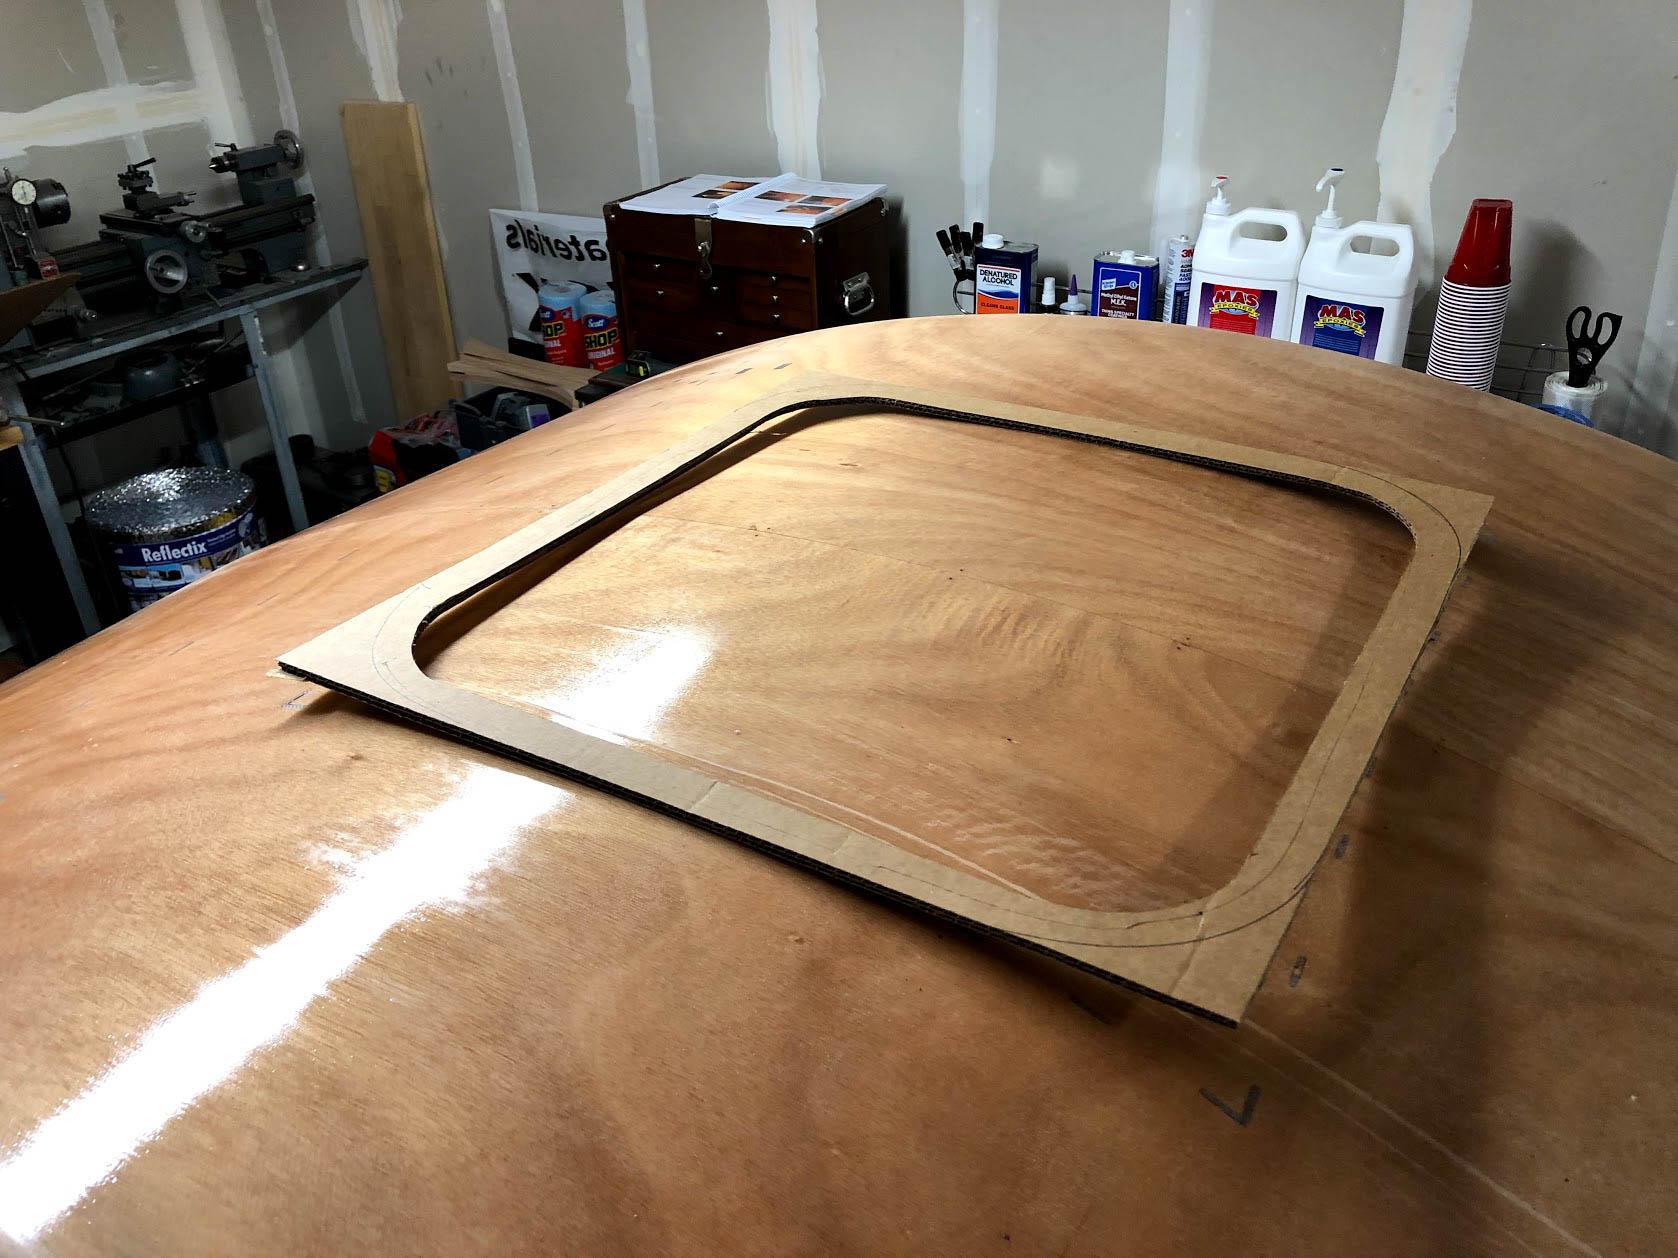
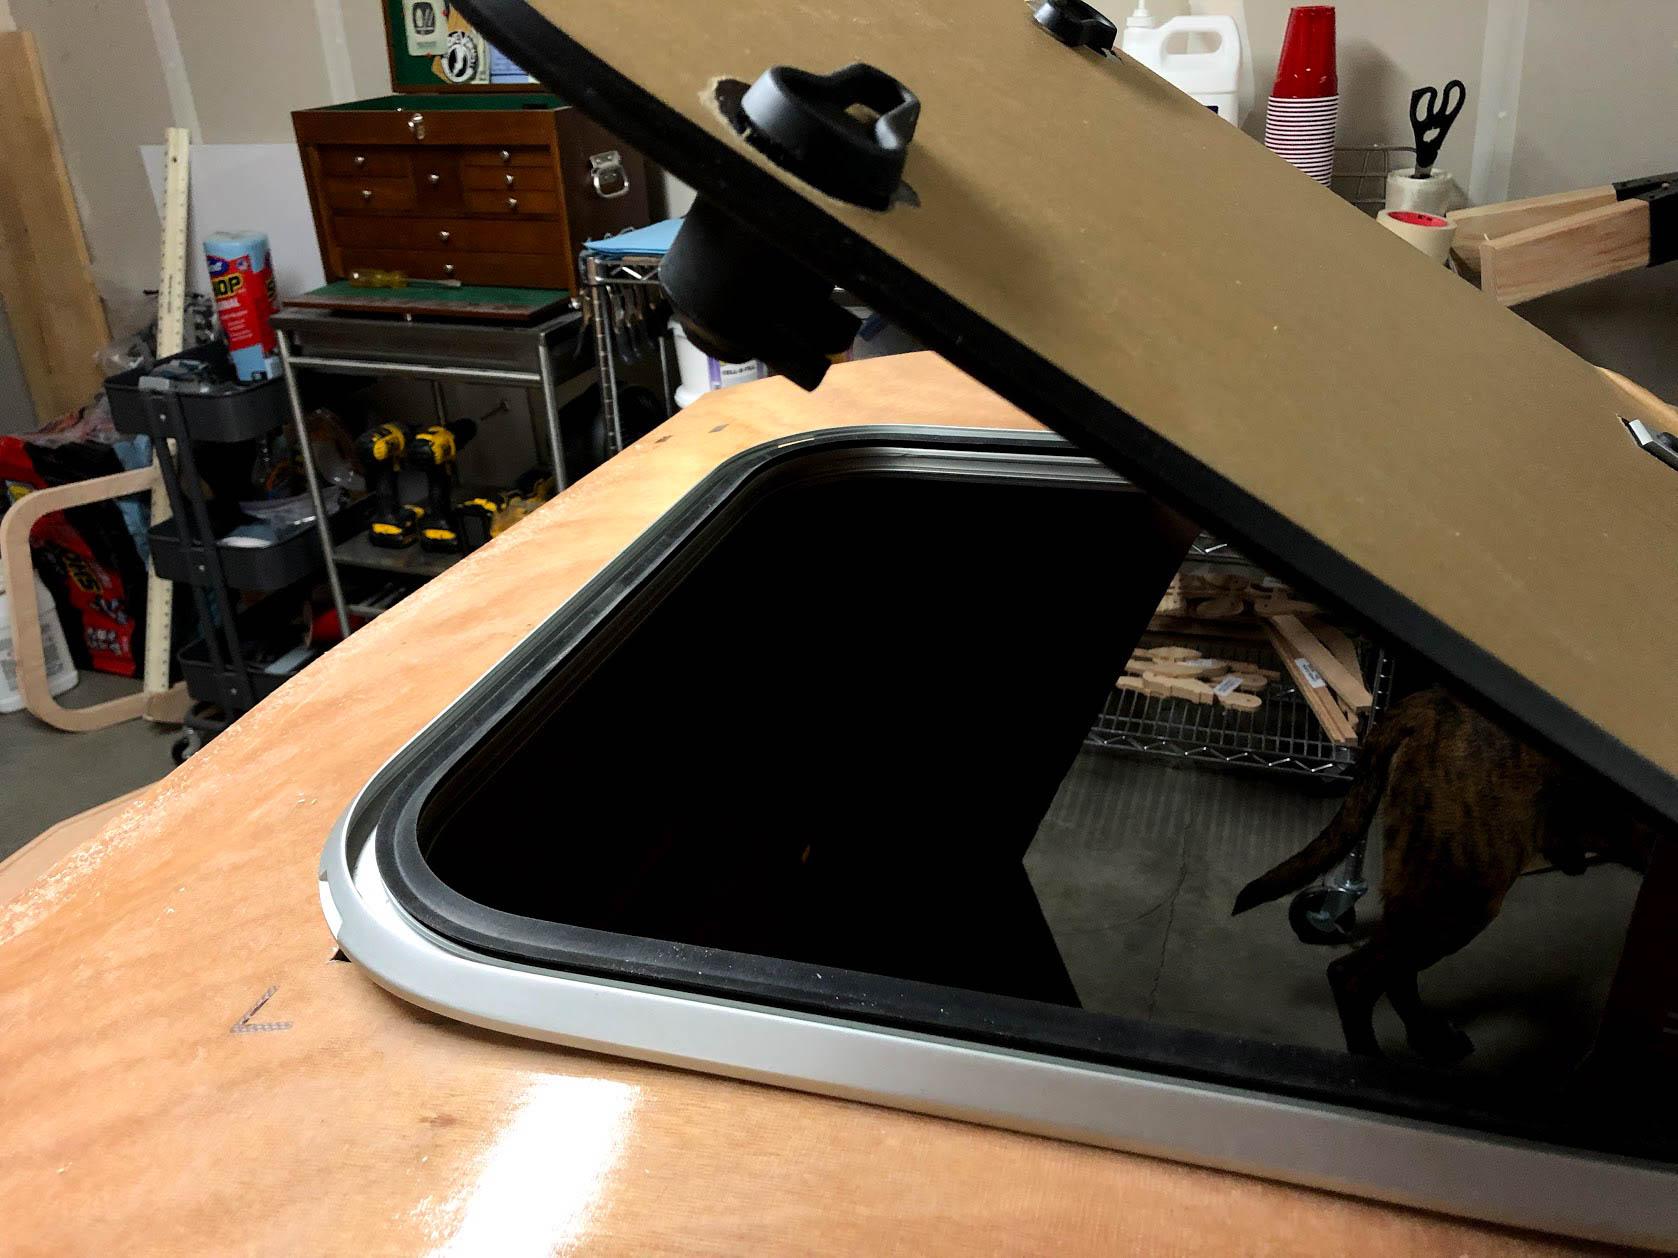
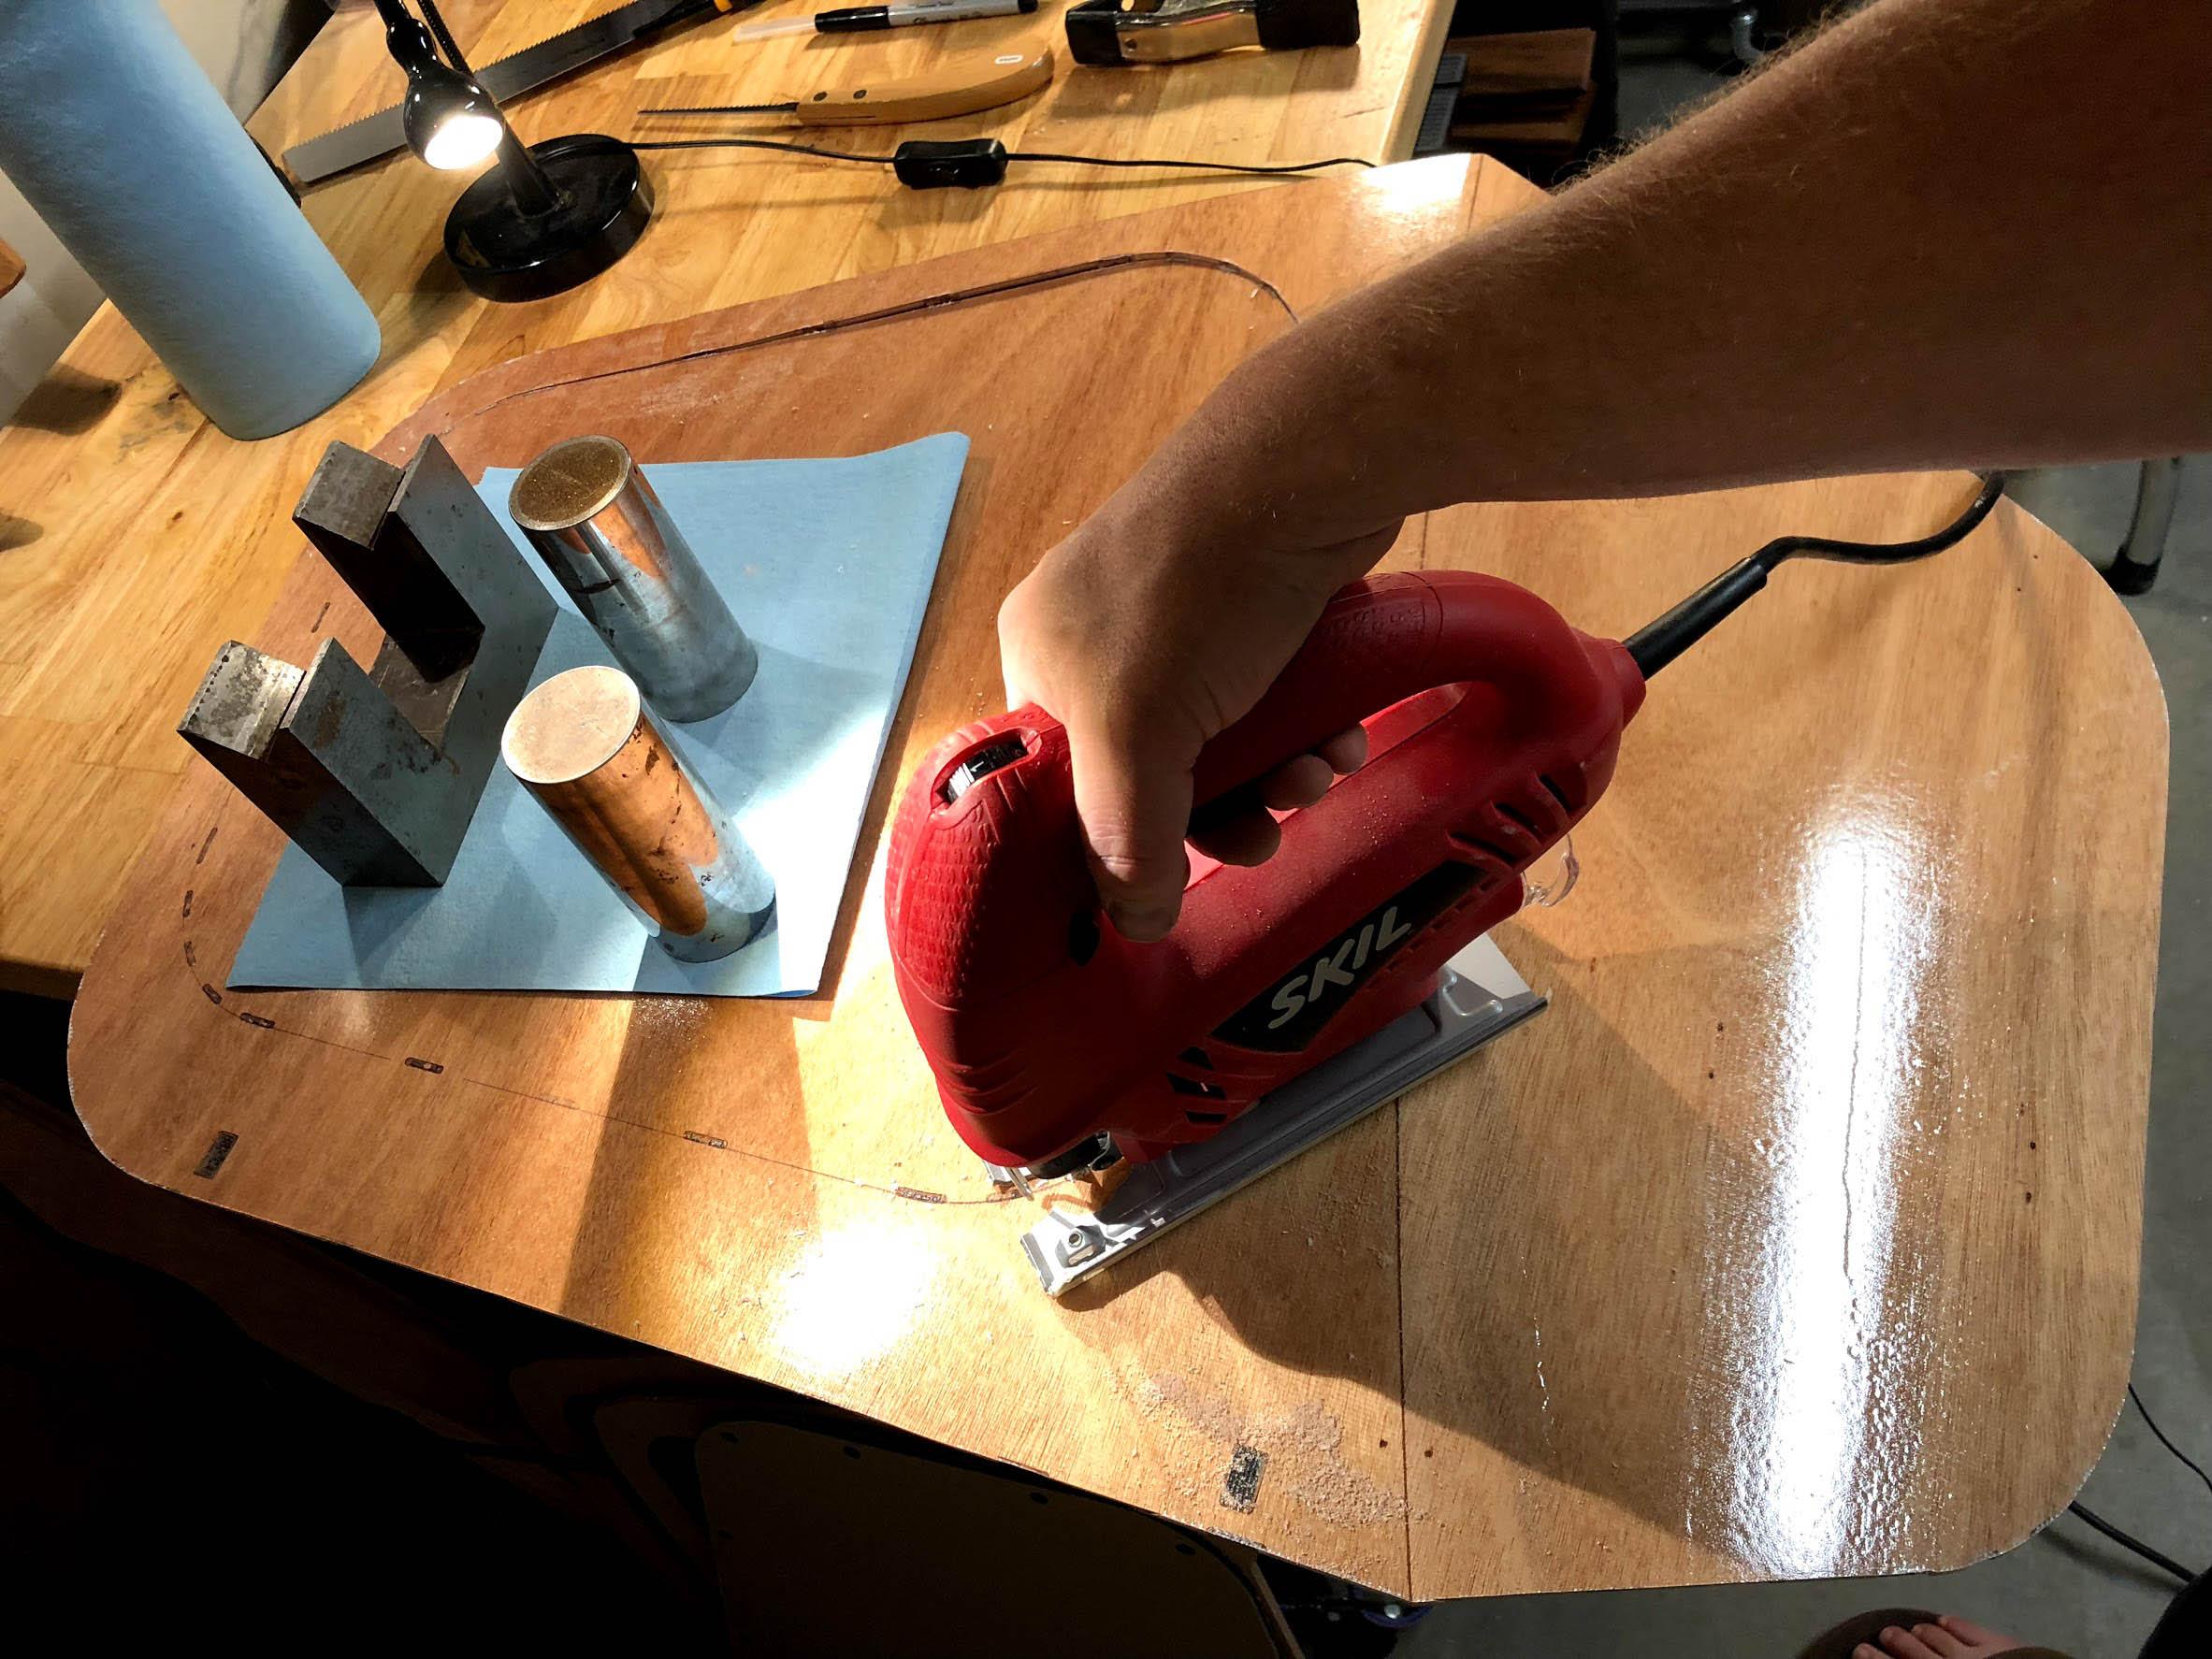
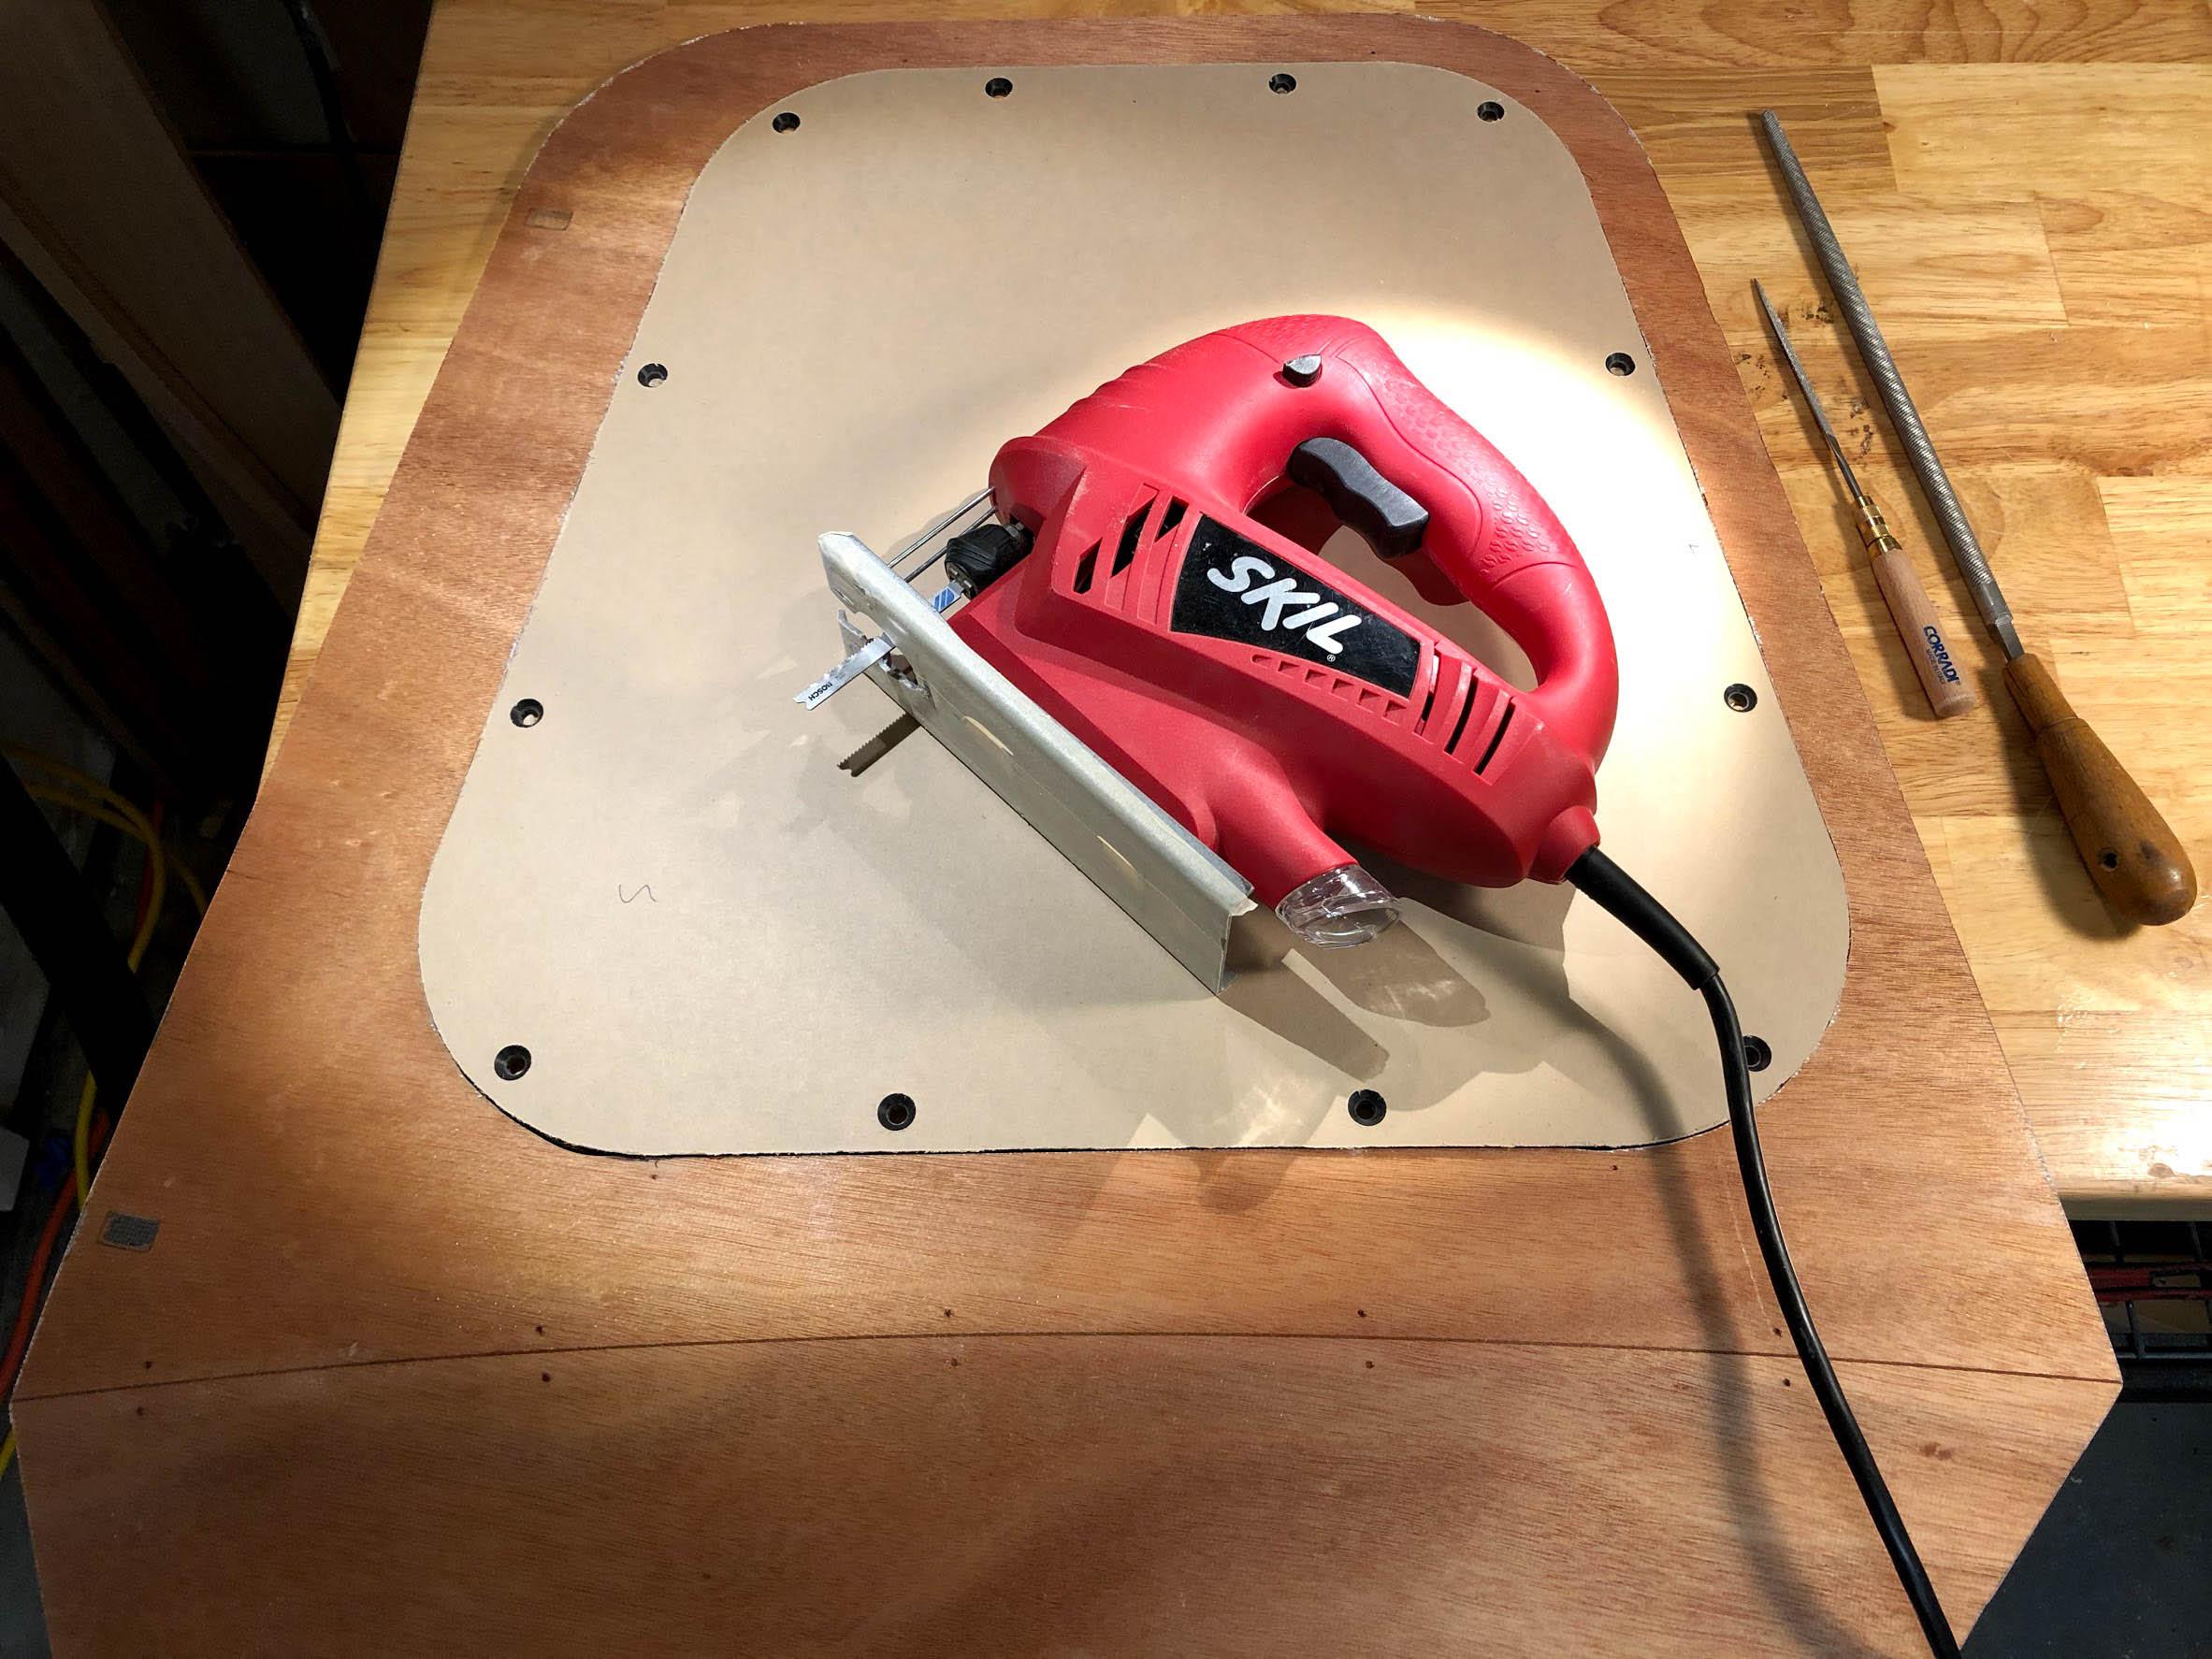
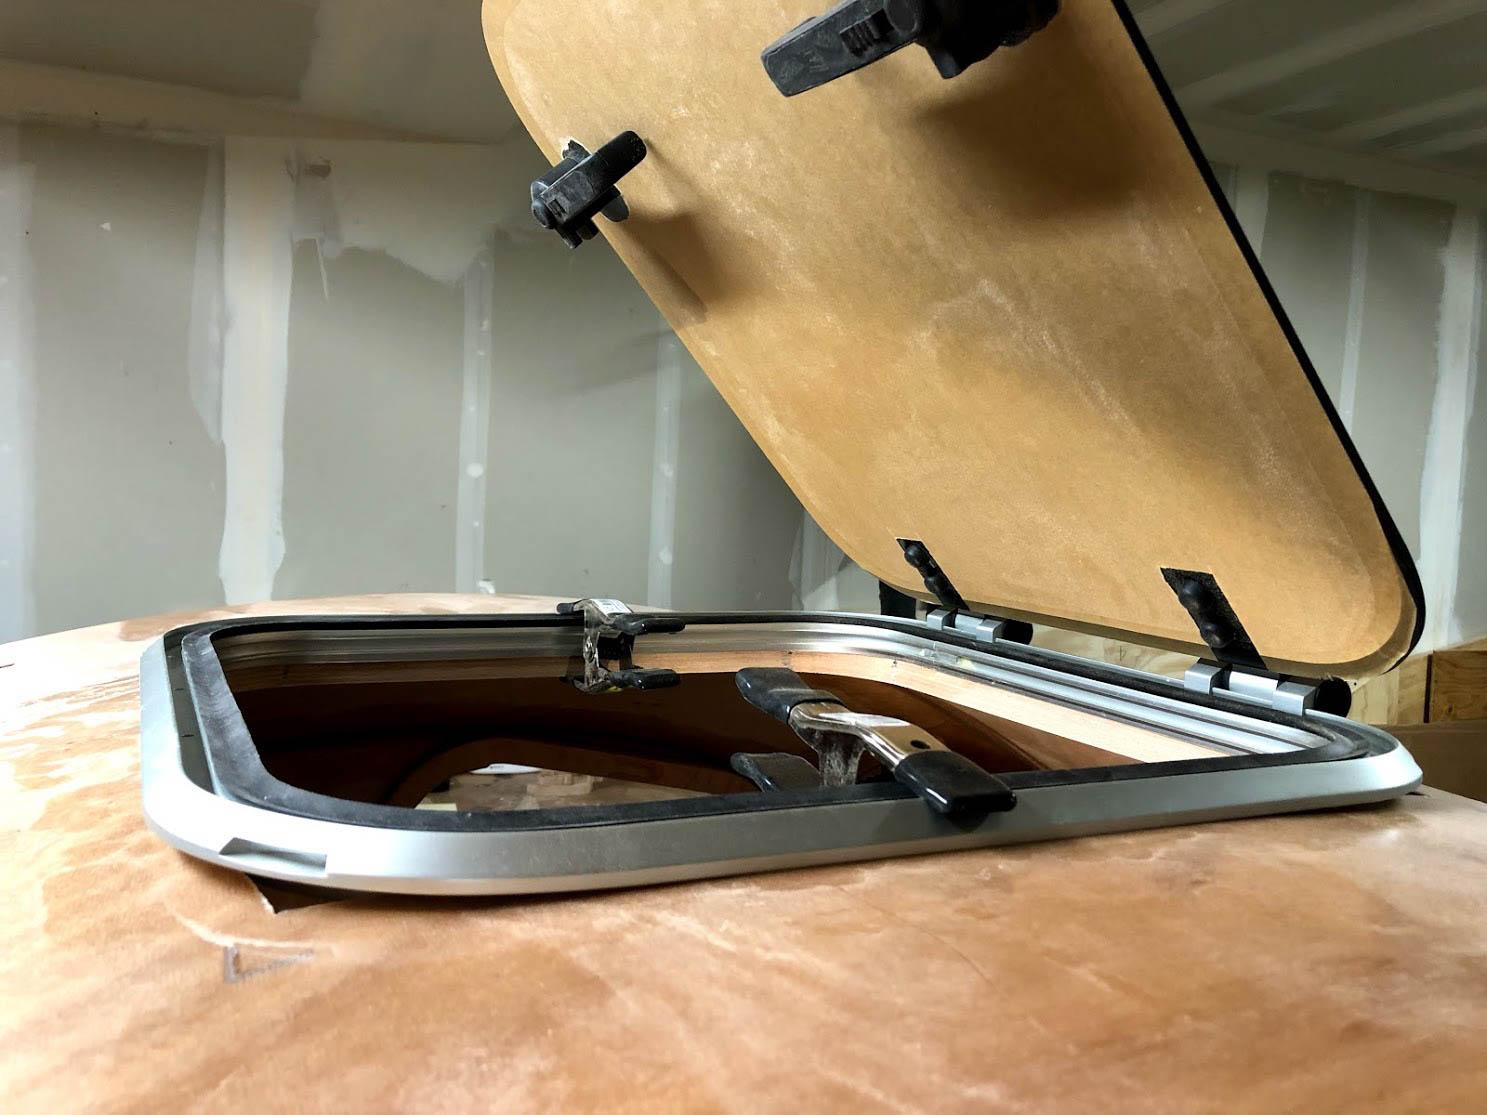
I got the hole cut for the hatch today. I’ll post photos after dinner. It looks like it’s going to be even better than I hoped. 😉
Regarding airflow, I’ll probably go with two mushroom vents on the rear of the trailer with some high quality PC case fans mounted inside, over the vents. The marine hatch has a setting where you can lock it open about 1/4 inch for airflow. We’ll see how that setup does. I don’t really ever camp in the rain, so I’m not too concerned on that front.
April 16, 2018 at 3:53 pm #1772Participant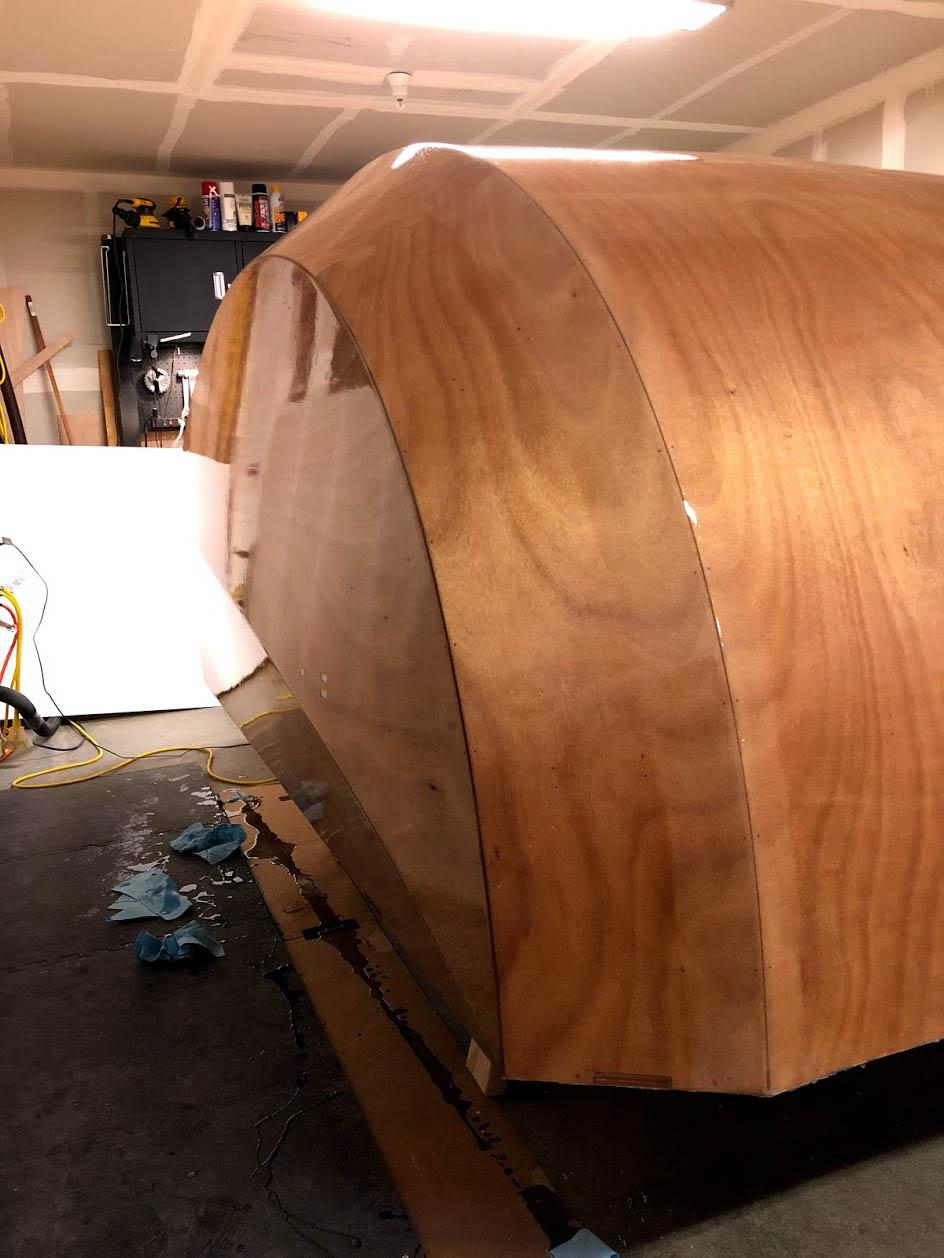
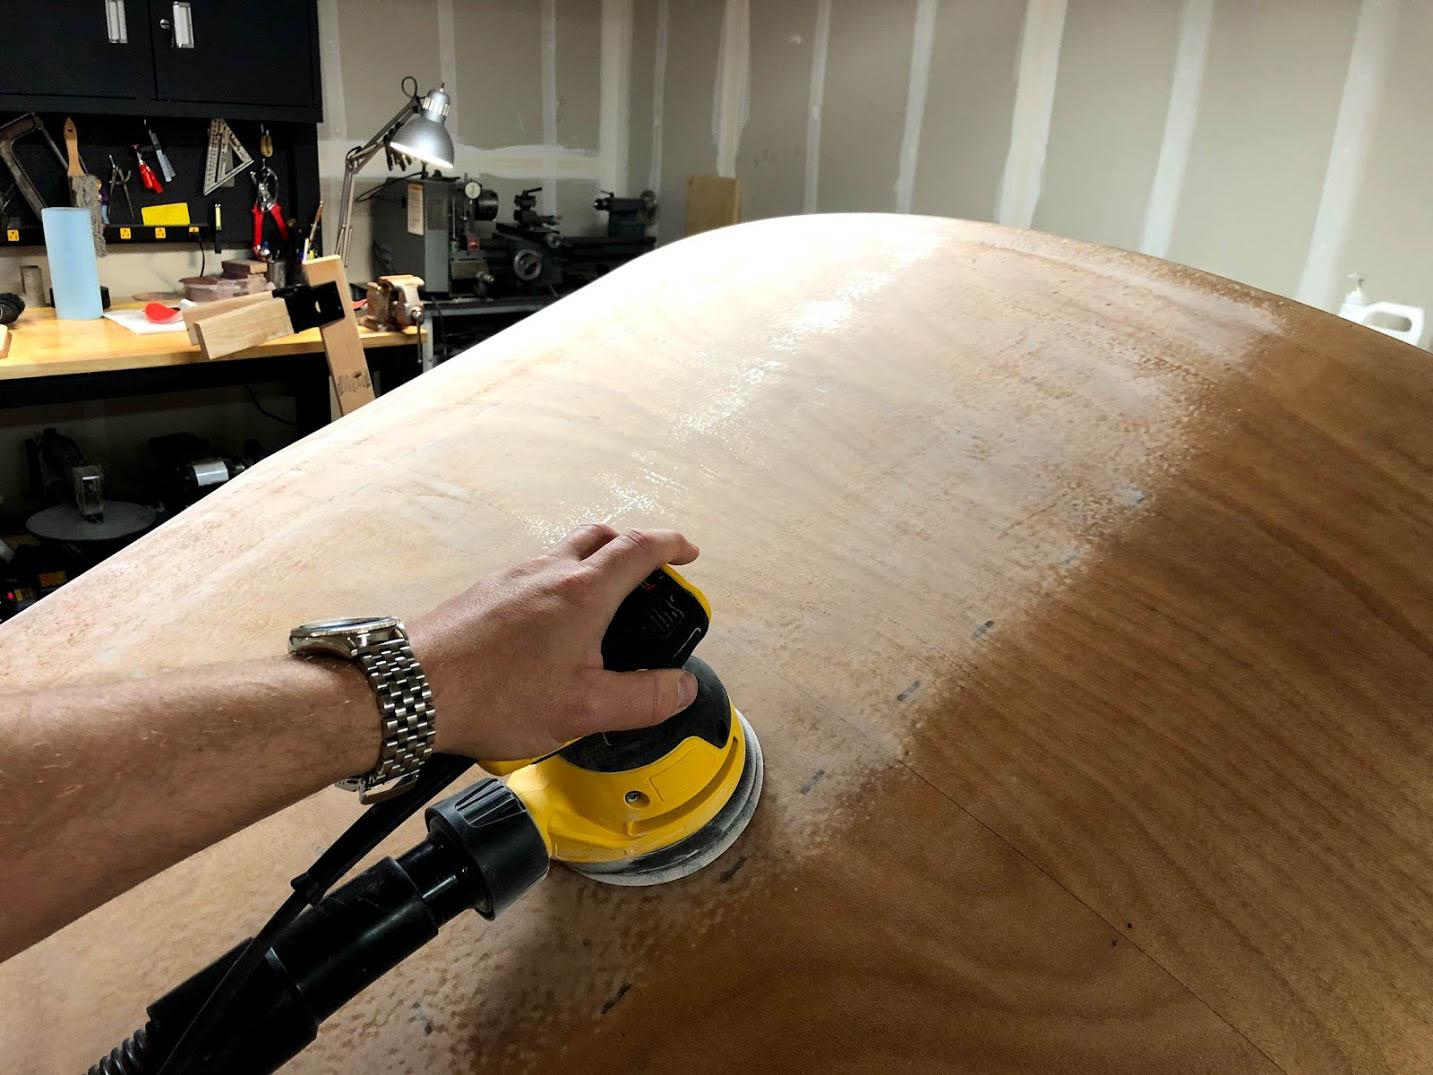
Ok, so got another layer of epoxy on… this time with squeegee then roller then tipped with a brush. Just doing the second coat with a squeegee wasn’t the best idea. Don’t do that. I’ve got some imperfections from that technique (mostly on the top and front of the shell) that would take a lot of sanding work to get out. Oh well. Good enough for now. I want to move on…
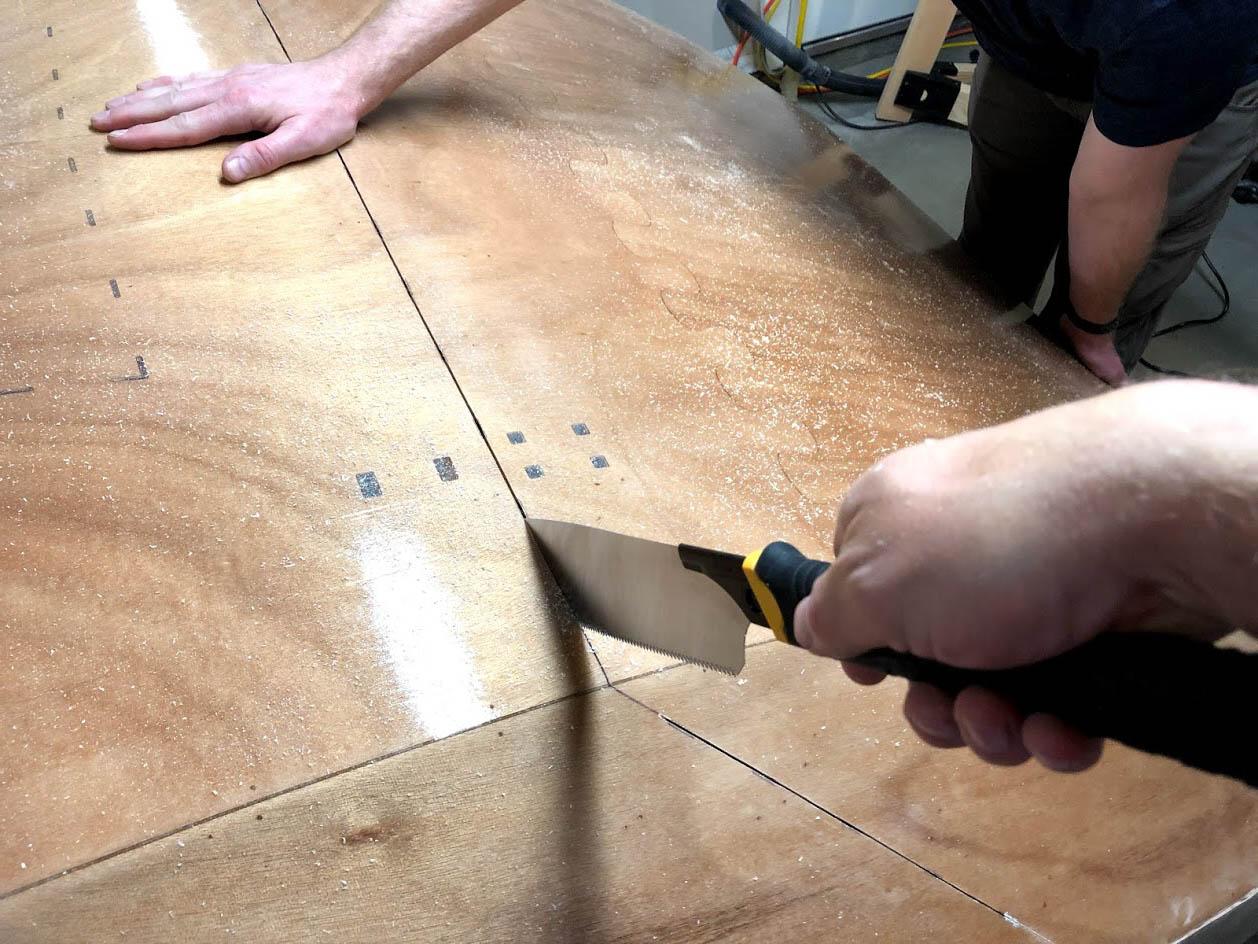


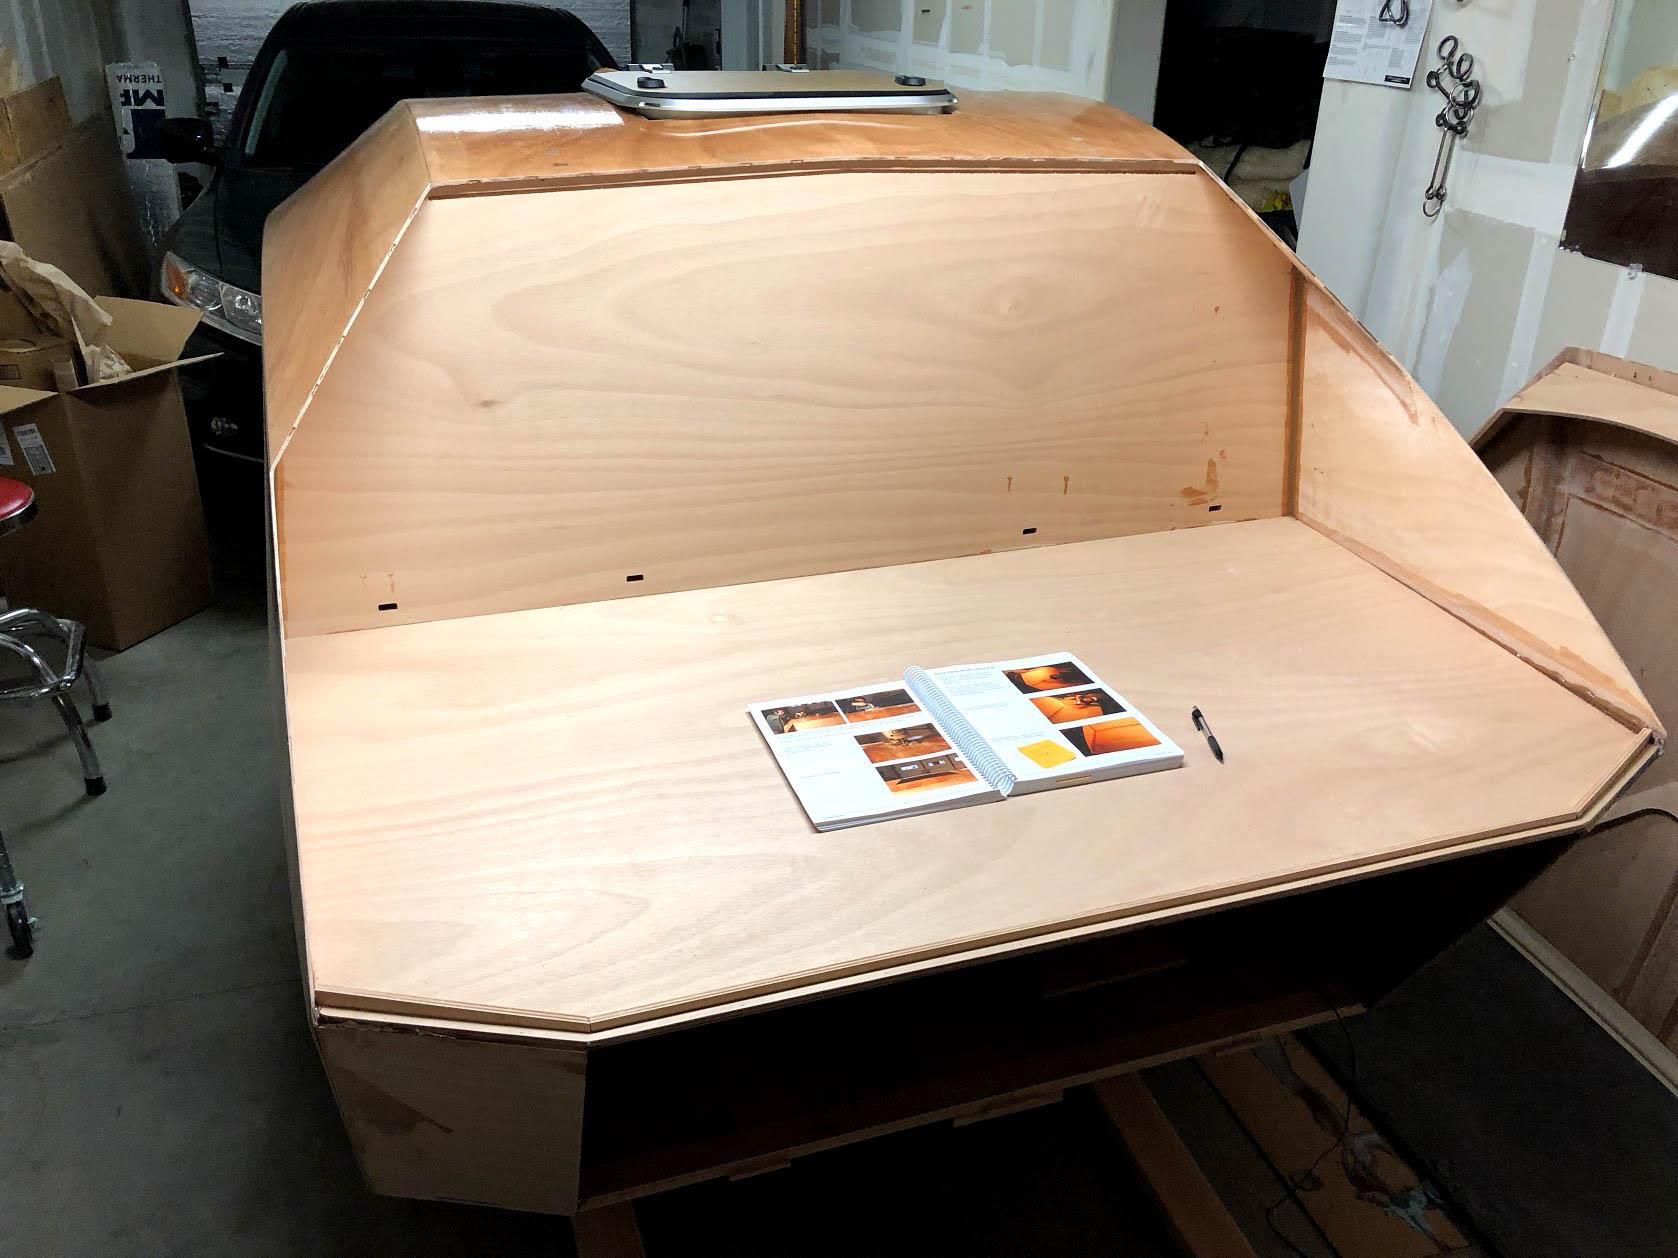
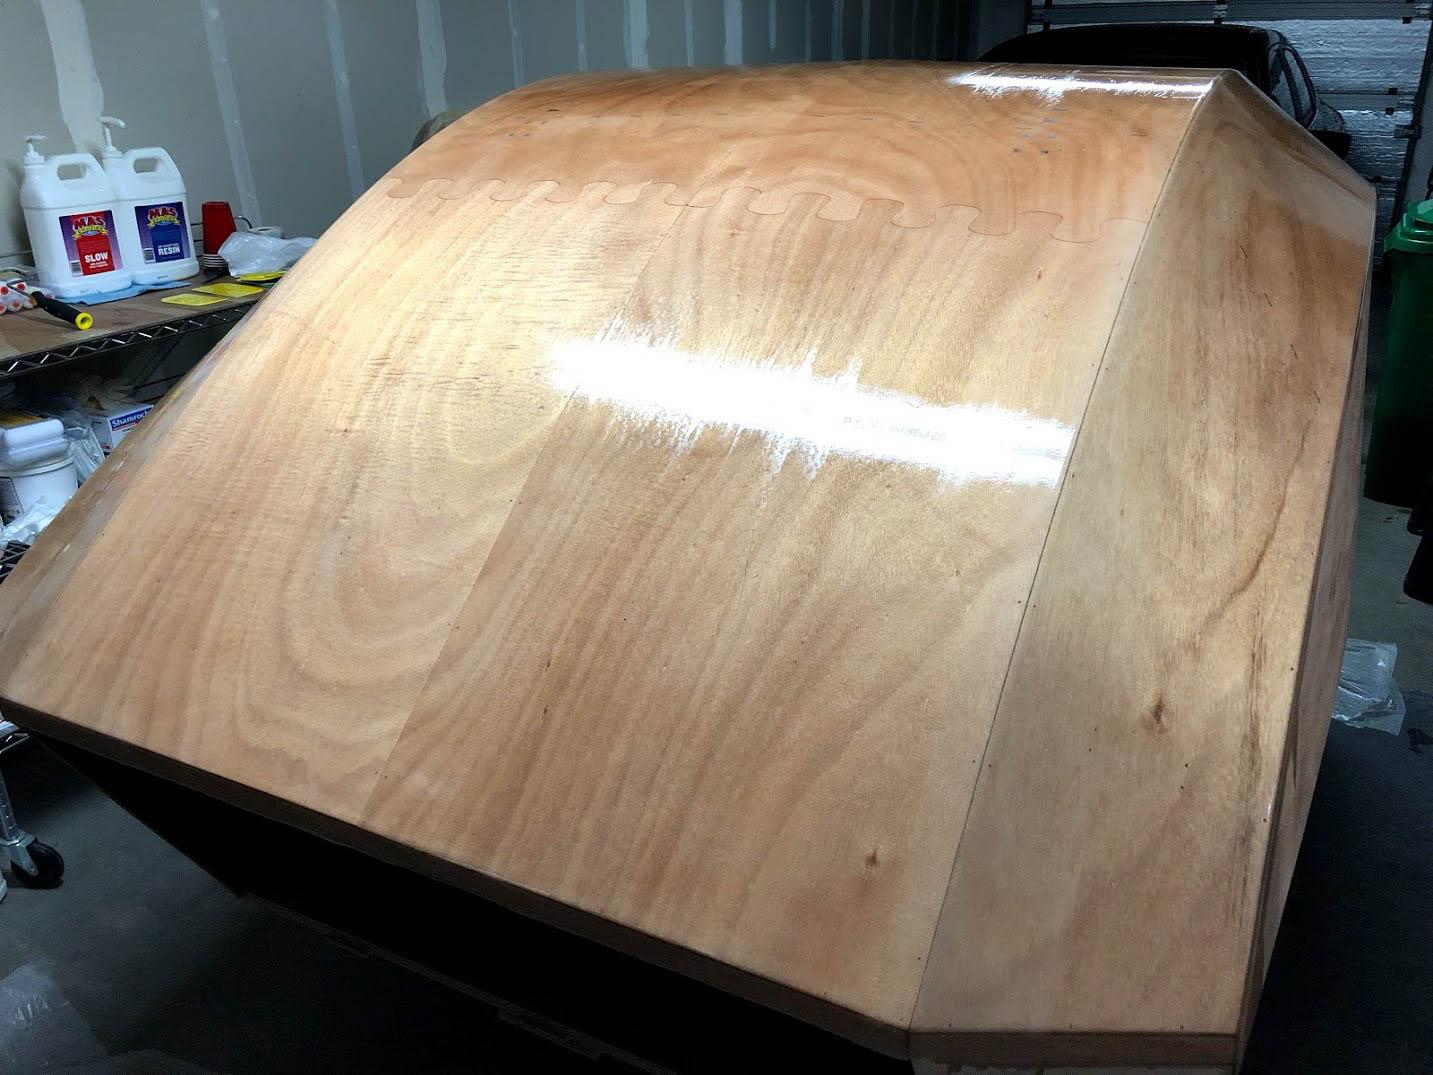
Ooookay, so much progress this weekend! Got on another coat of epoxy (properly this time) on Friday. Cut out all the things on Saturday. Did some galley stuff on Sunday.
So, the hatch. I’m super pleased with the hatch. I made one mistake by cutting the hole with square corners instead of rounded, but that will be covered up later by the supporting structure. It’s basically a flush-mount like I wanted. I’ll most likely be able to just finish the exterior with a fillet after I get the interior structure built. More to come on that.
I was feeling a little stuck with everything being held up by glassing, but now there are plenty of different things to work on at once: doors, top hatch, galley hatch, galley finishing, interior shelf, interior finishing, etc. Booyah!
April 17, 2018 at 8:01 pm #1773faithie999
Participantventing: you will most likely want/need some venting. we took the TD out a couple of times last fall, when the overnight temp was about 40, and I woke up in the middle of the night sweating and needed to crack open the roof vent. there was enough convection due to the temp inside the camper so that there was a bit of a draft coming in from the mushrooms so that it cooled things down enough to get back to sleep. if you decide to forgo the roof opening altogether, I would think a pair of computer fans exhausting out of the front or rear mushrooms would set up enough crossflow to keep things cool. the CLC insulation package really does its job! but don’t be tempted to leave out the insulation, else you’ll get rained on due to condensation during the night.
April 17, 2018 at 8:11 pm #1774ParticipantOh, I’ll have venting. That top hatch opens and I’ll have those nice case fans over the rear mushroom vents. I will be fabricating a different insulation solution because I think the CLC stuff is too expensive and waaaay too dark. It’s dark enough inside there already. I’ll obviously post here when I’m to that stage, but I think y’all are going to like it. 🙂
April 19, 2018 at 11:55 pm #1776ParticipantDan, thanks for the updates and hatch information.
You are @ 3 weeks ahead of me, so appreciate you “forerunning” these steps.
Mike
April 23, 2018 at 4:46 pm #1780Participant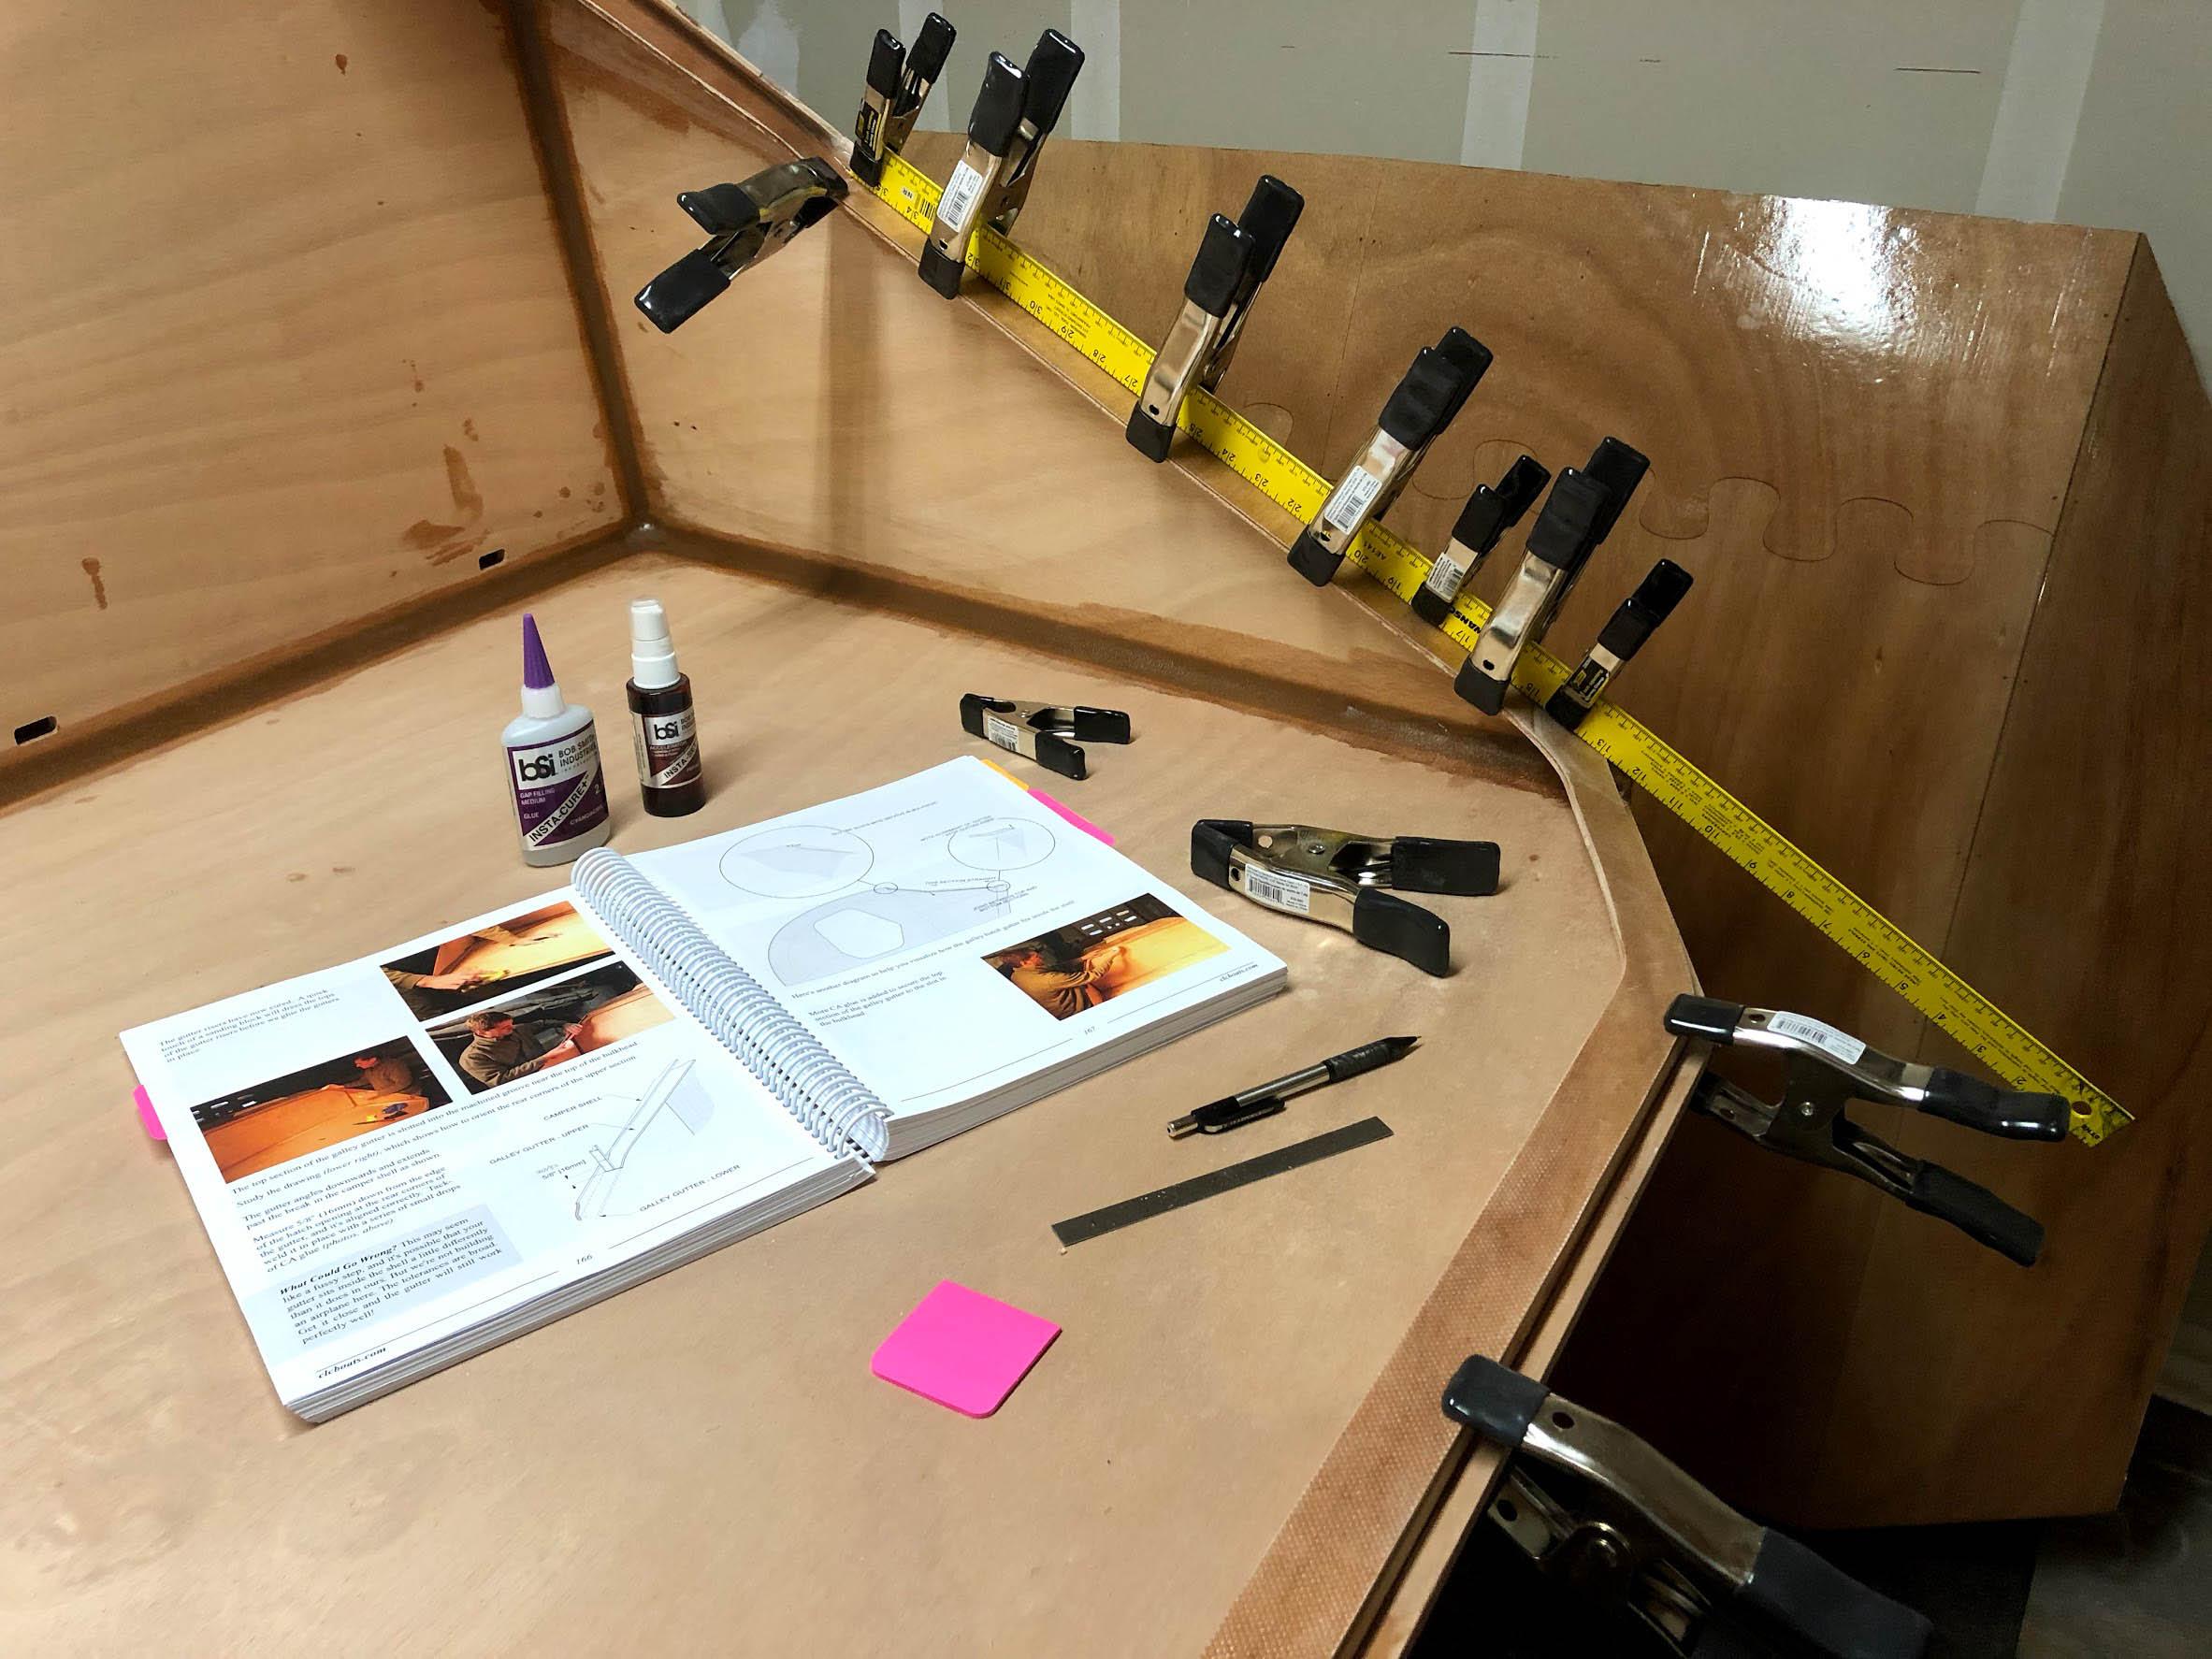
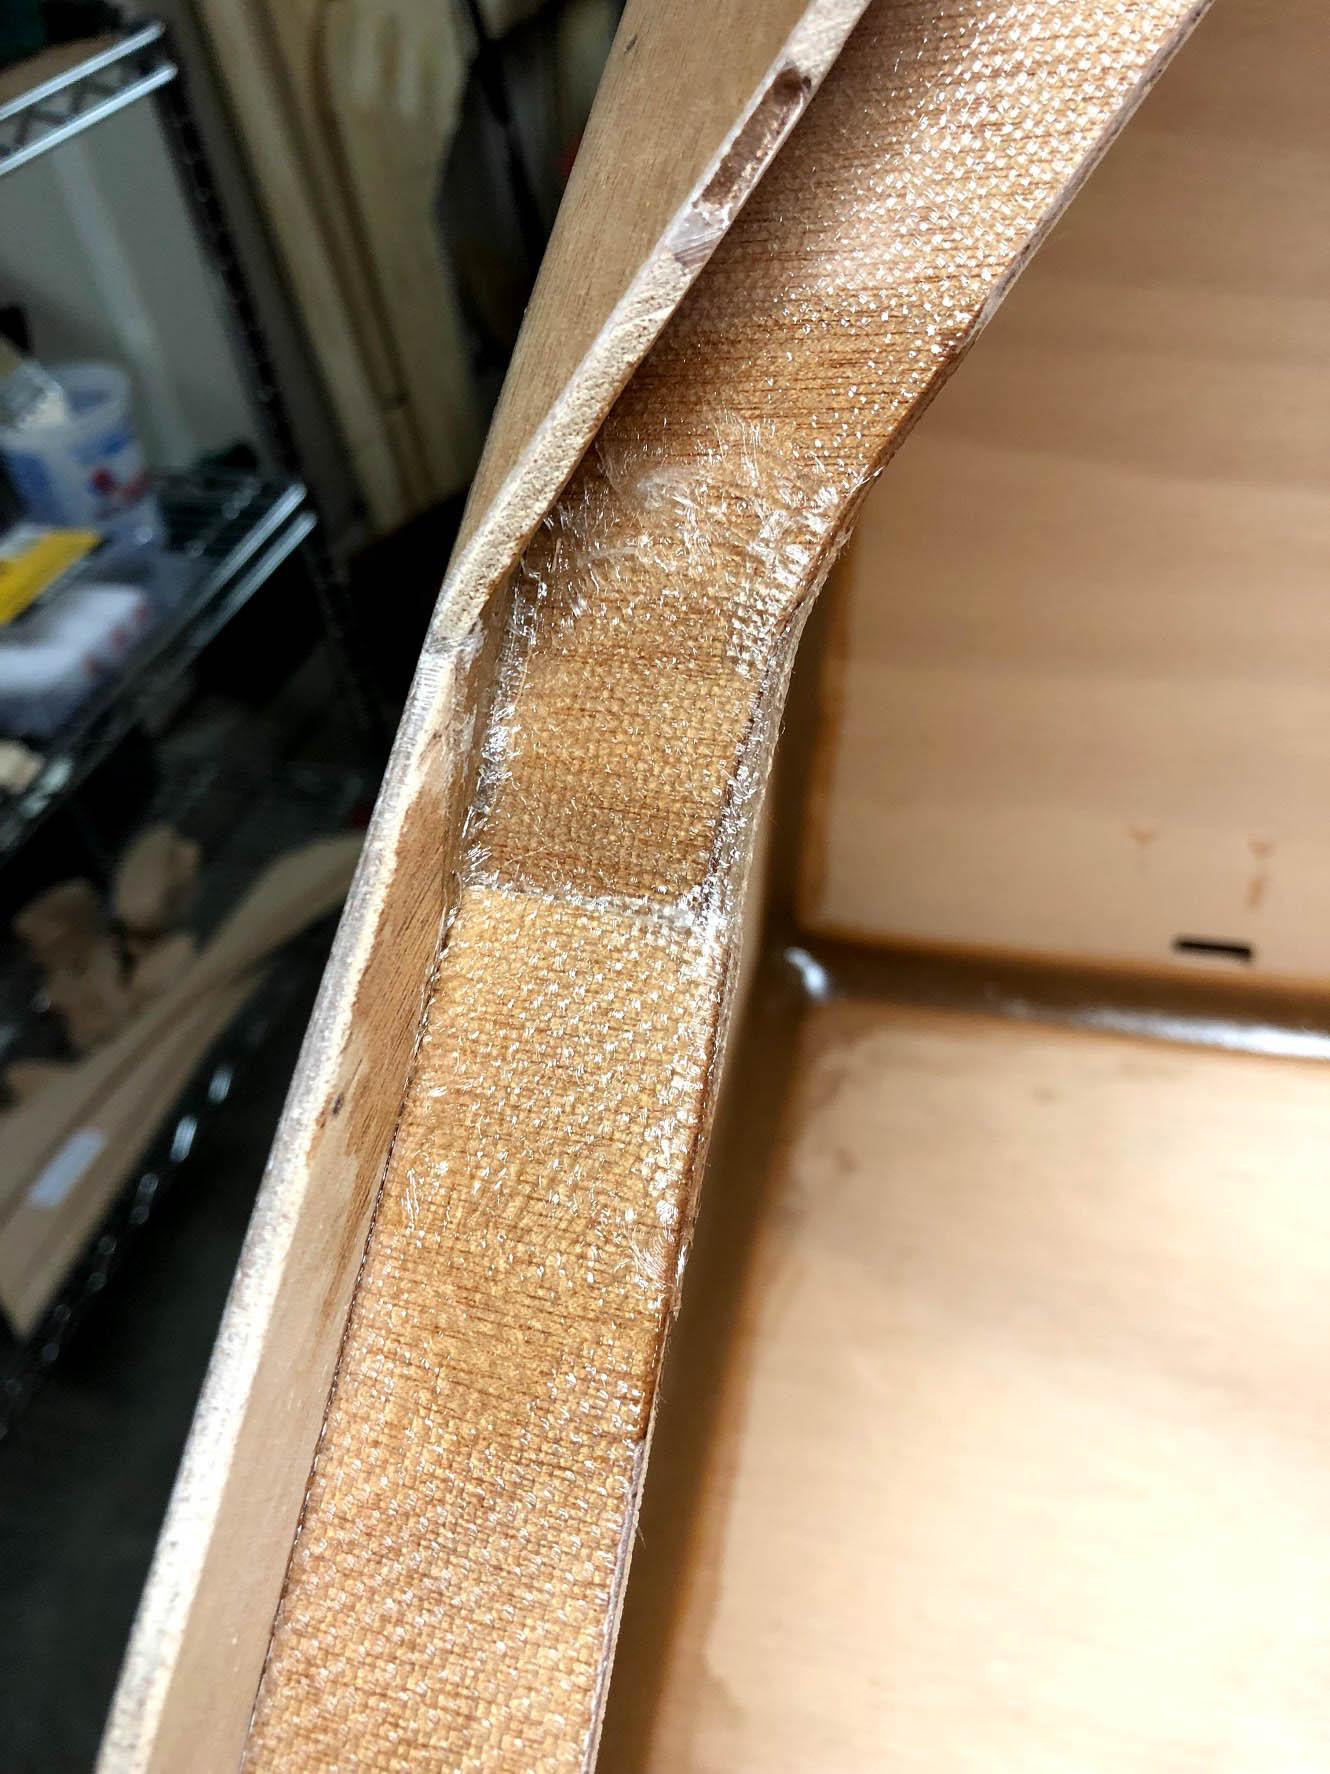
That’s annoying… lets make up the gap with glass. I just wrapped on a scrap large enough to cover the top AND bottom:
Wow. So last week I did the following:
- hatchback bezel prep and glassing
- hatchback bezel install & filleting
- door frame prep
- hinge prep and glassing
- door window cutouts
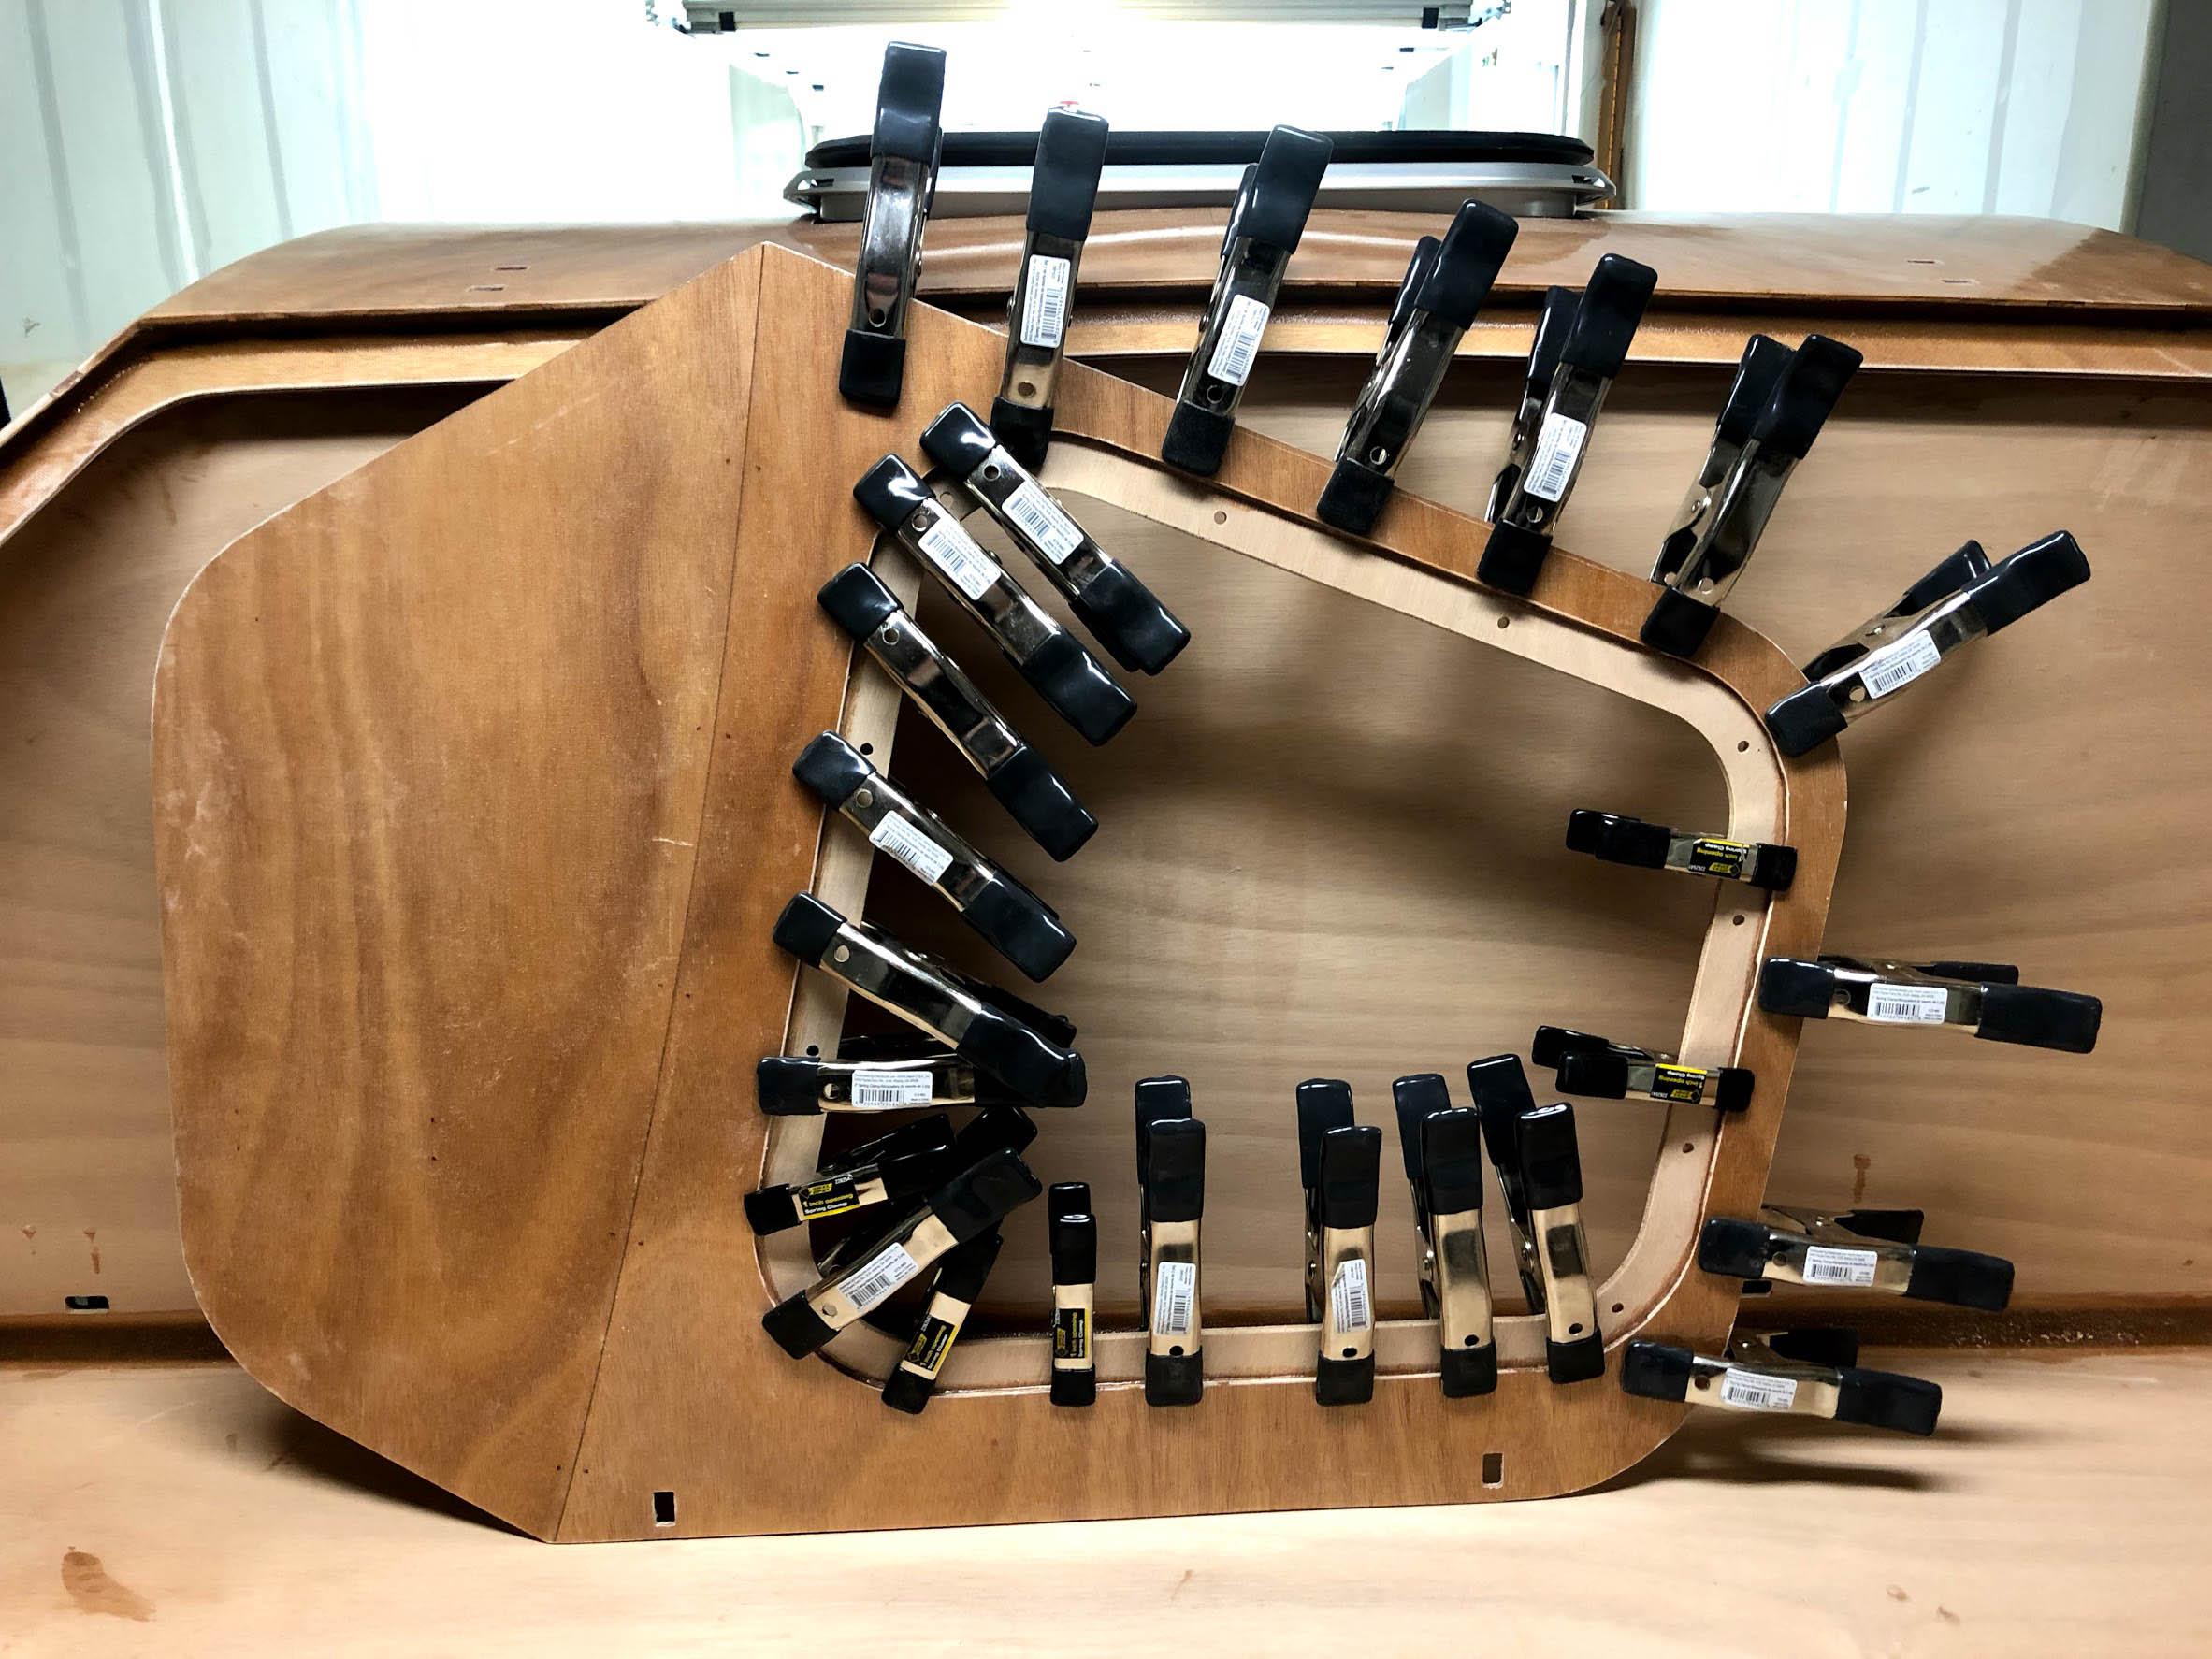
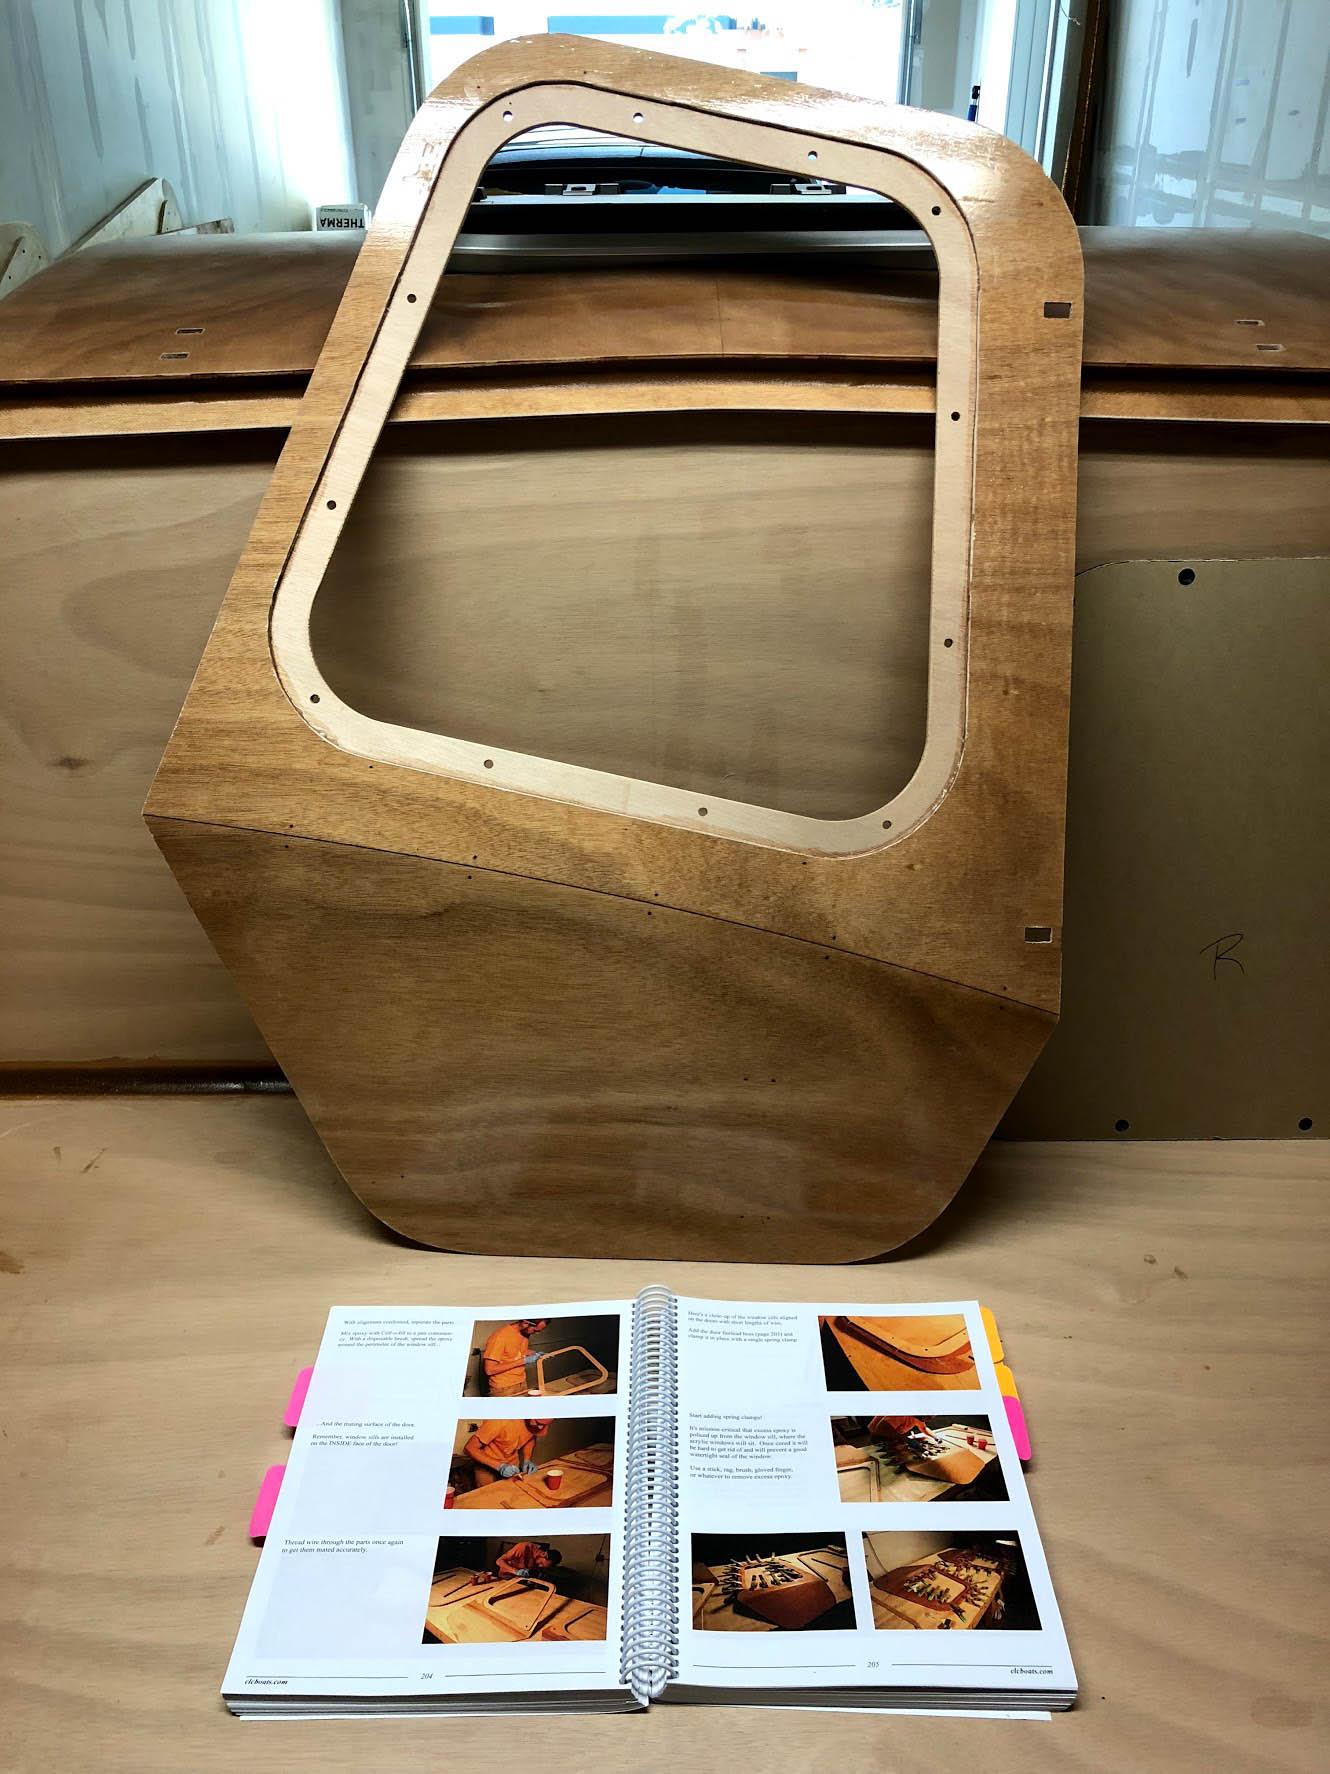
- door windowsill assembly
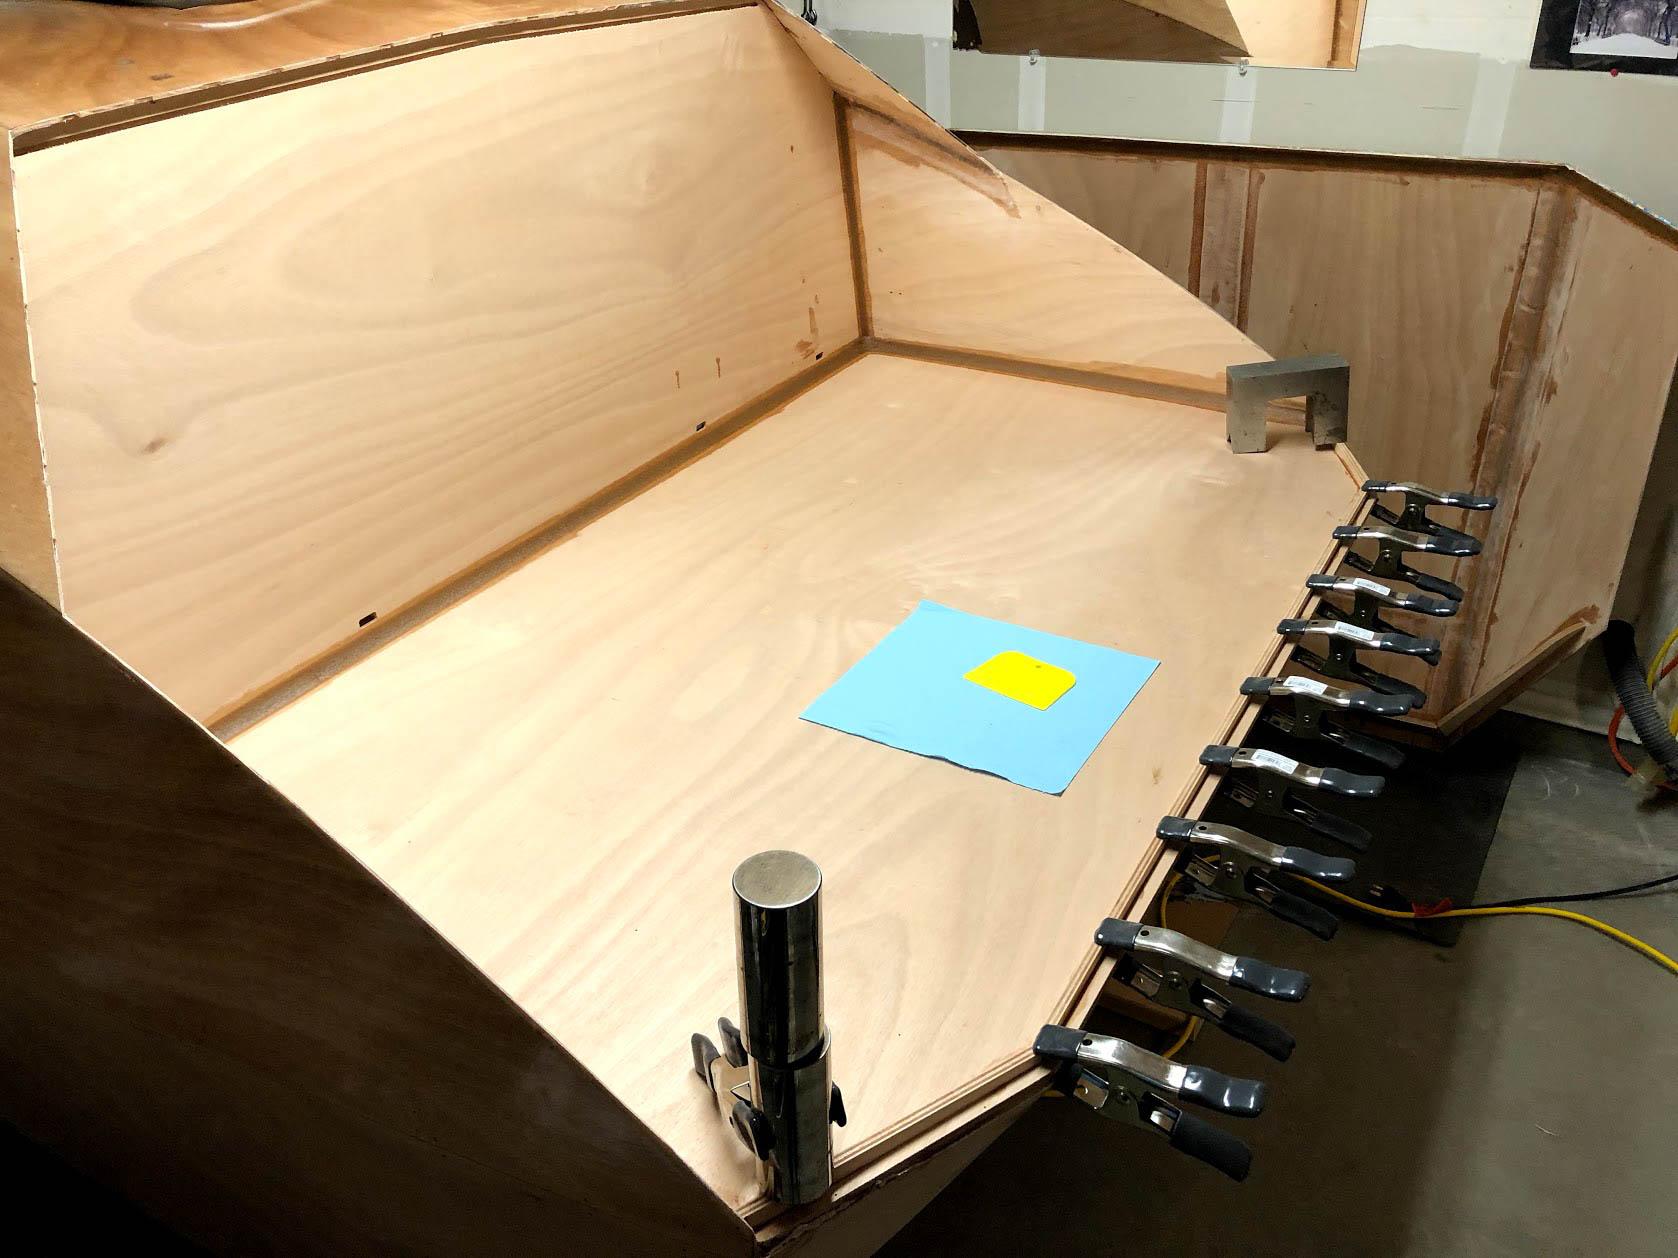
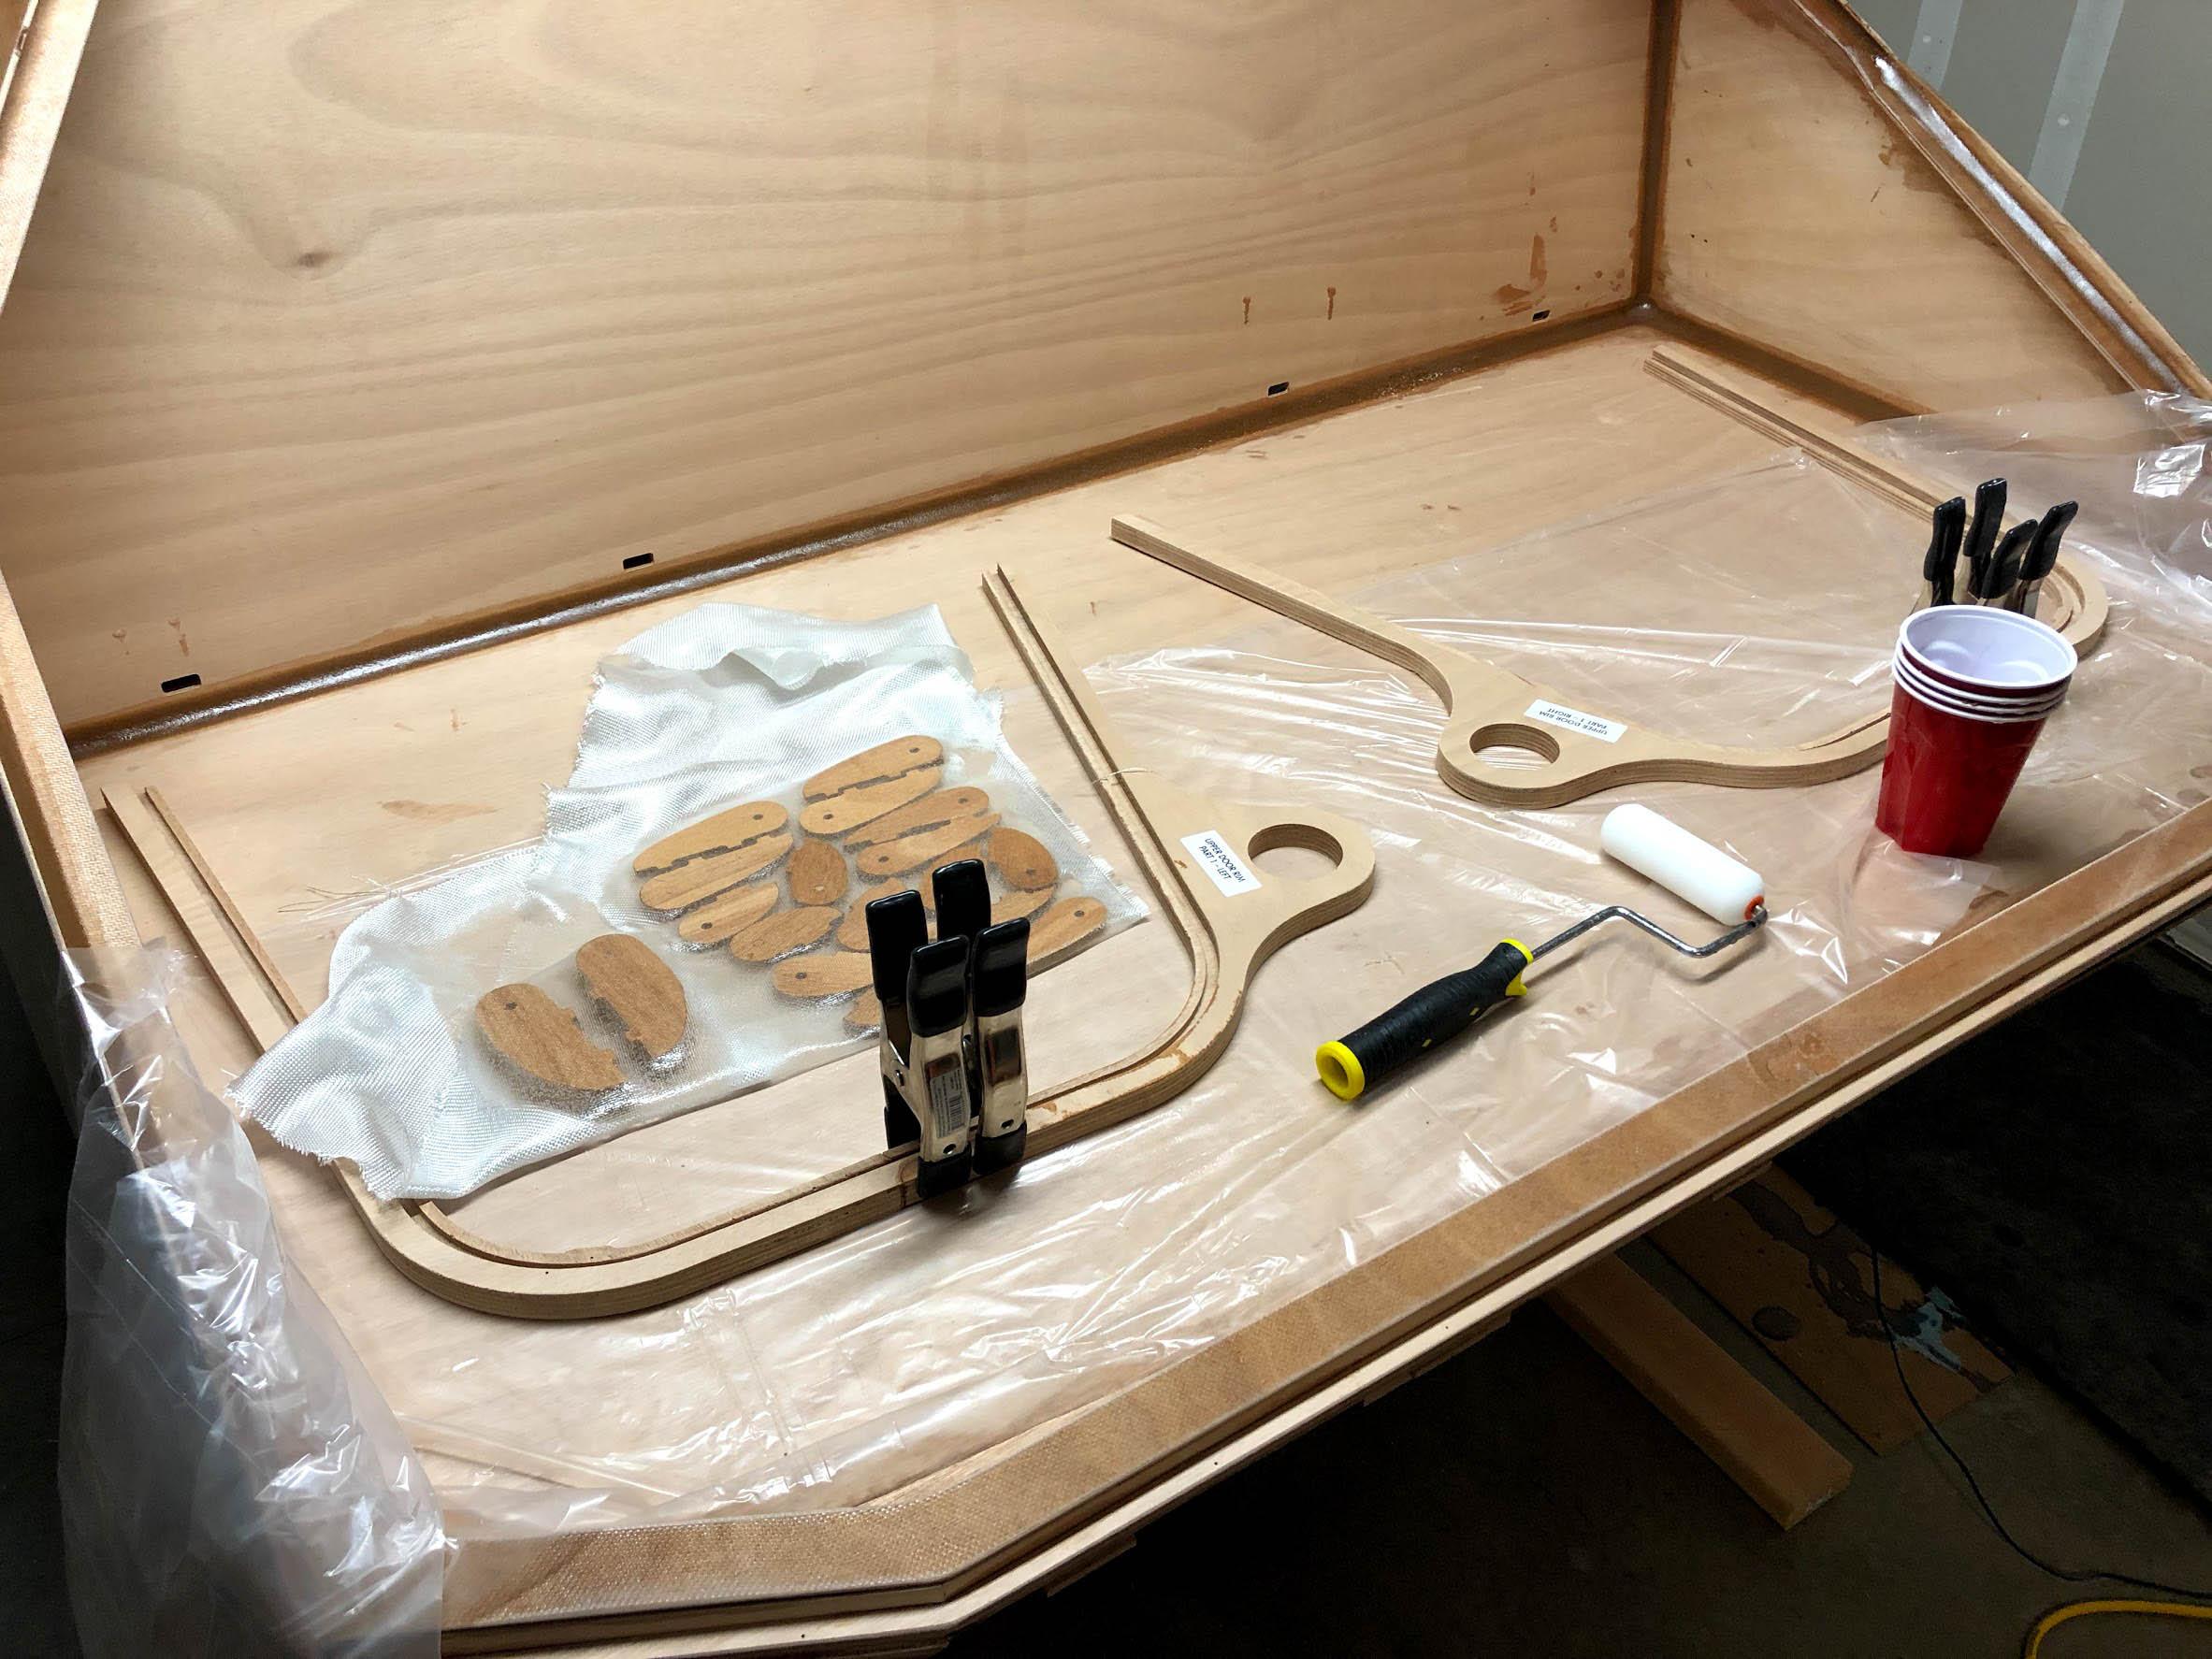
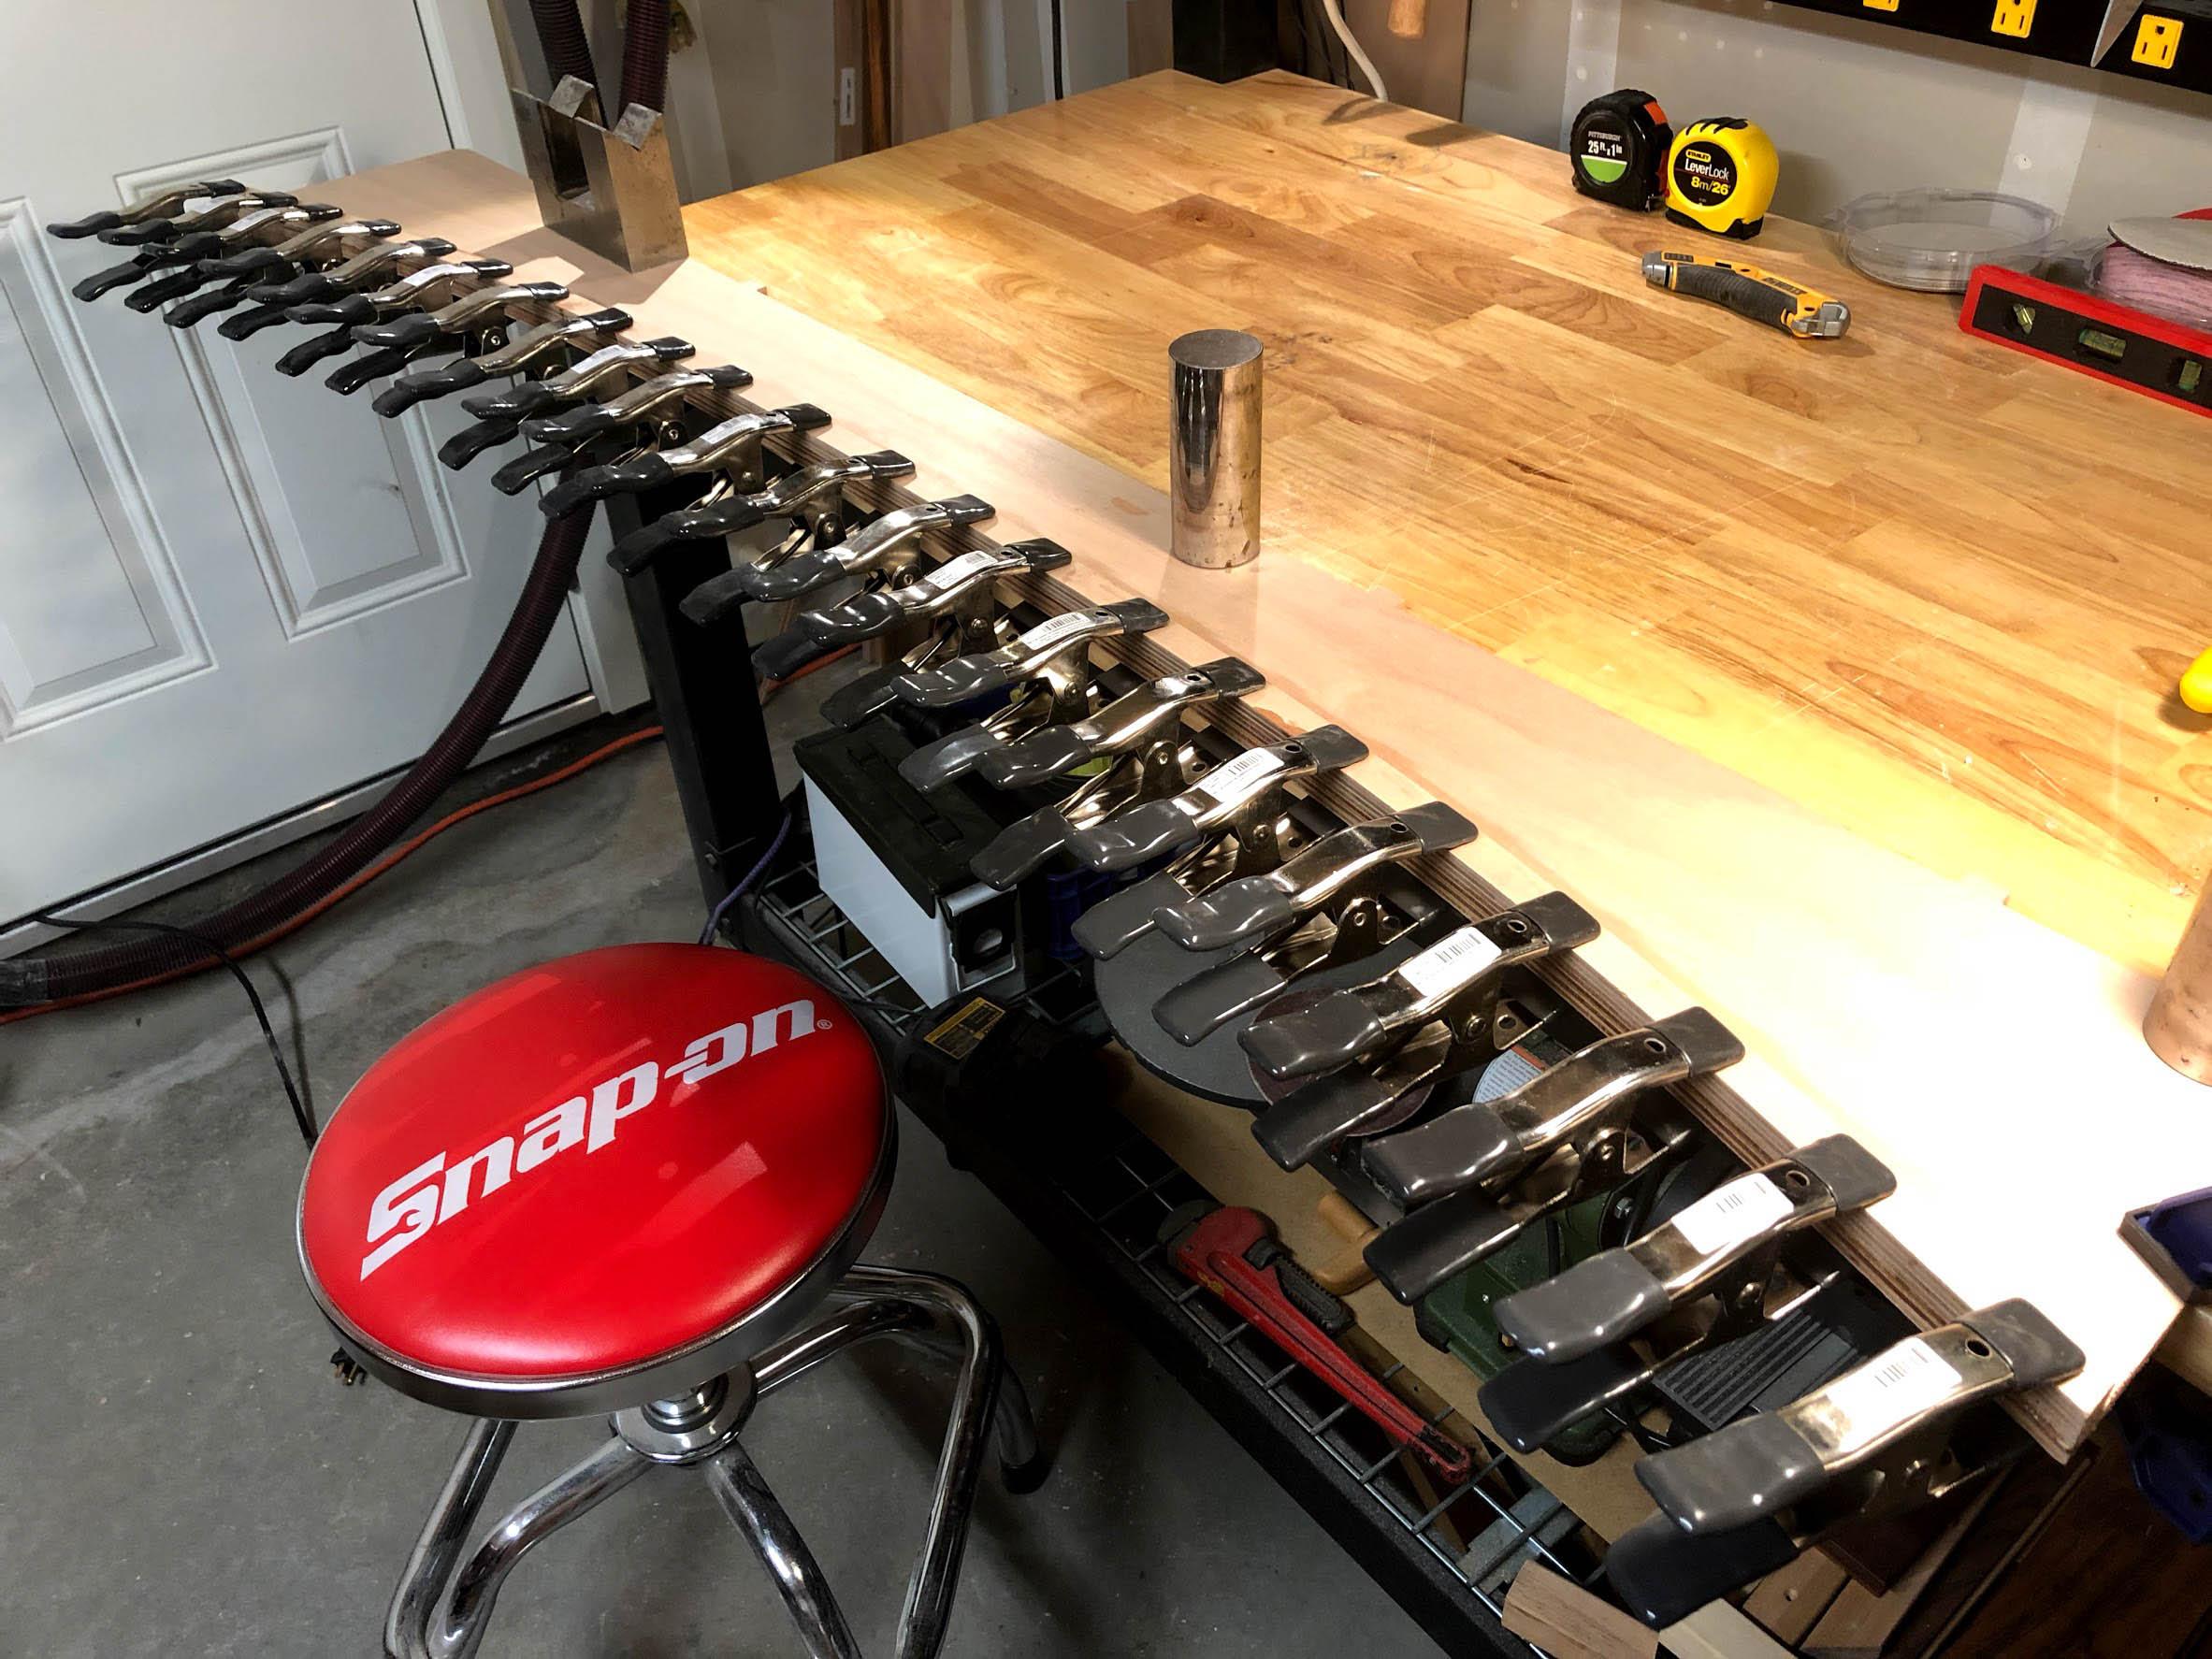
- shelf fiddle rail assembly (I used ALL the clamps!)
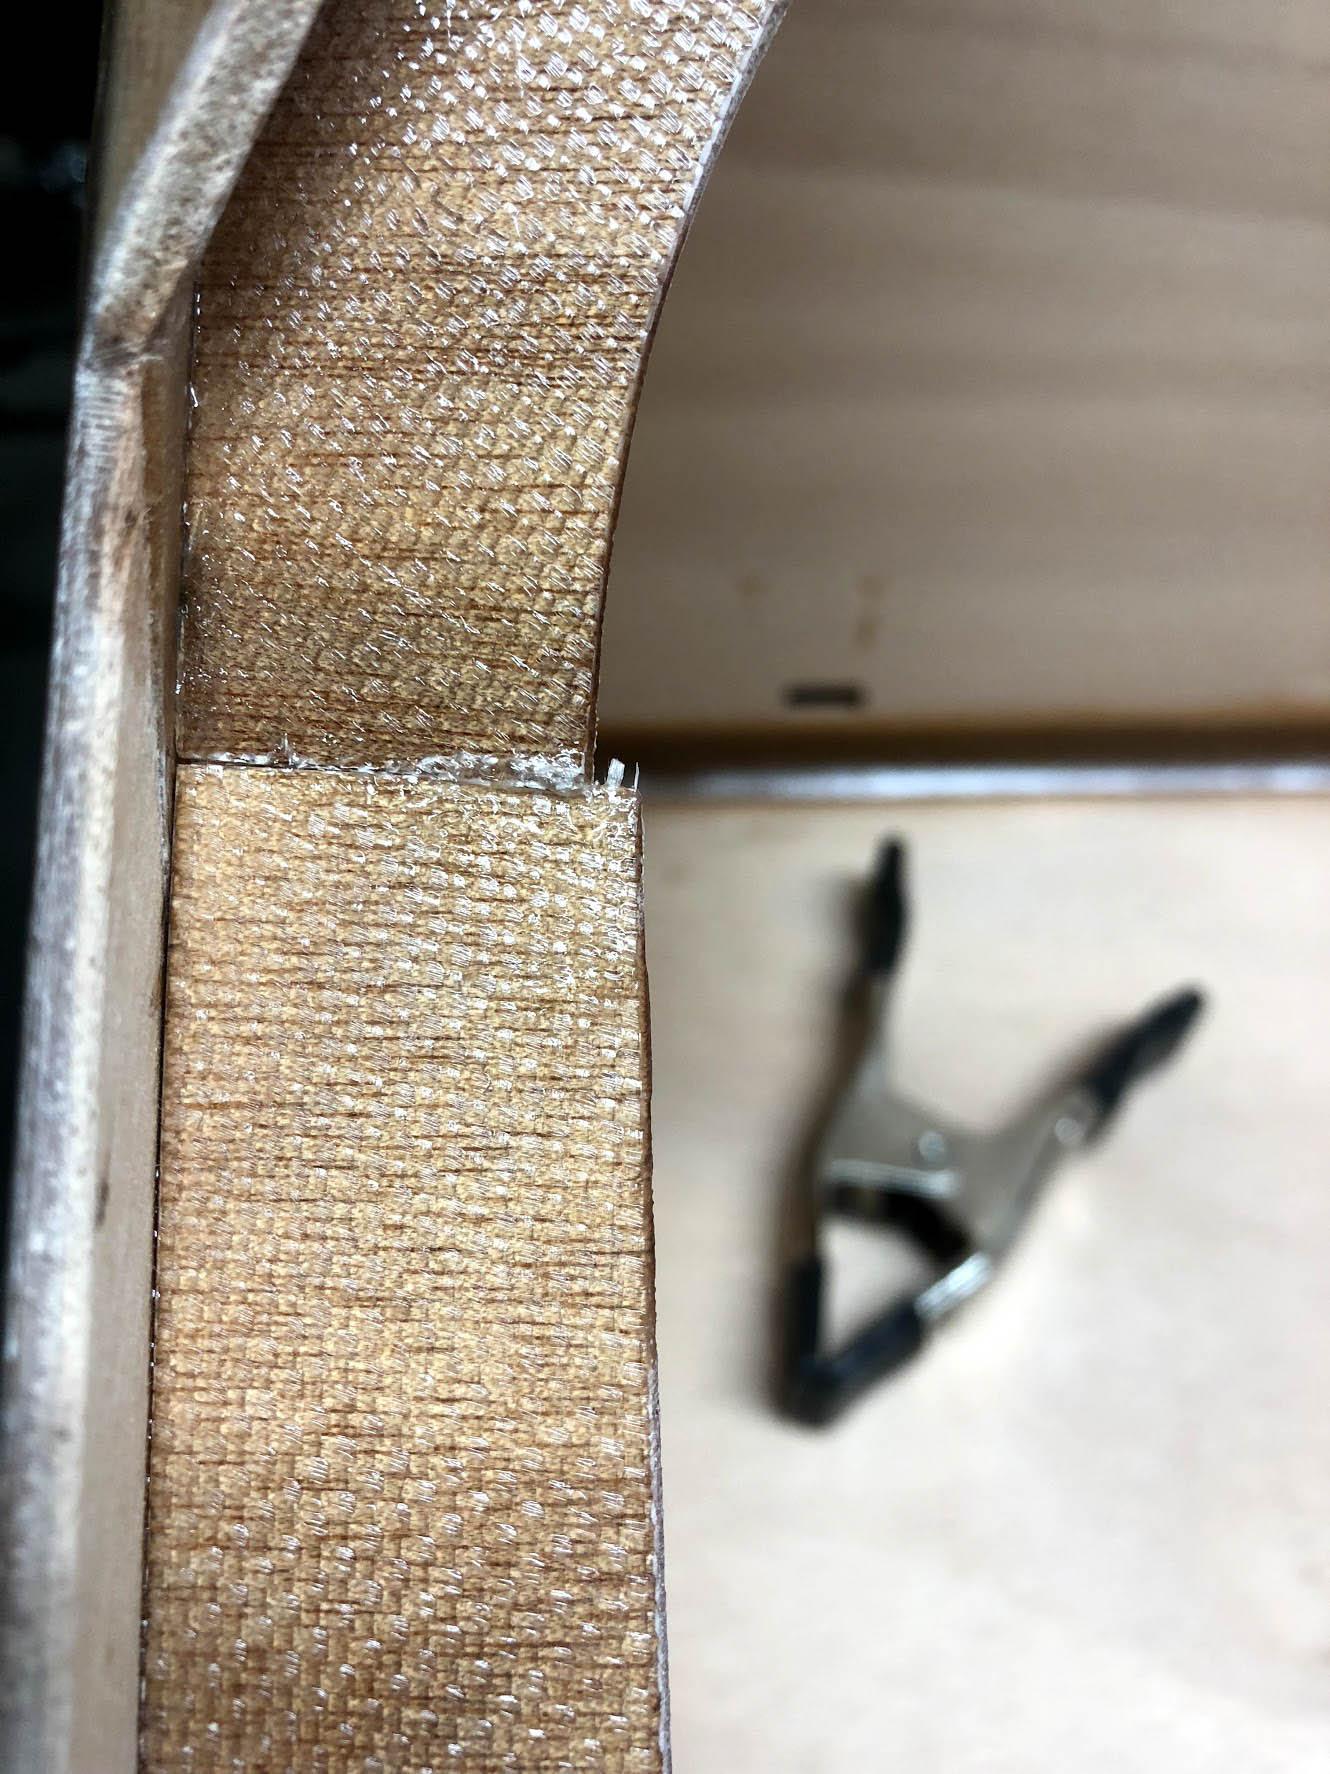
- all hinge holes cut out and cleaned up
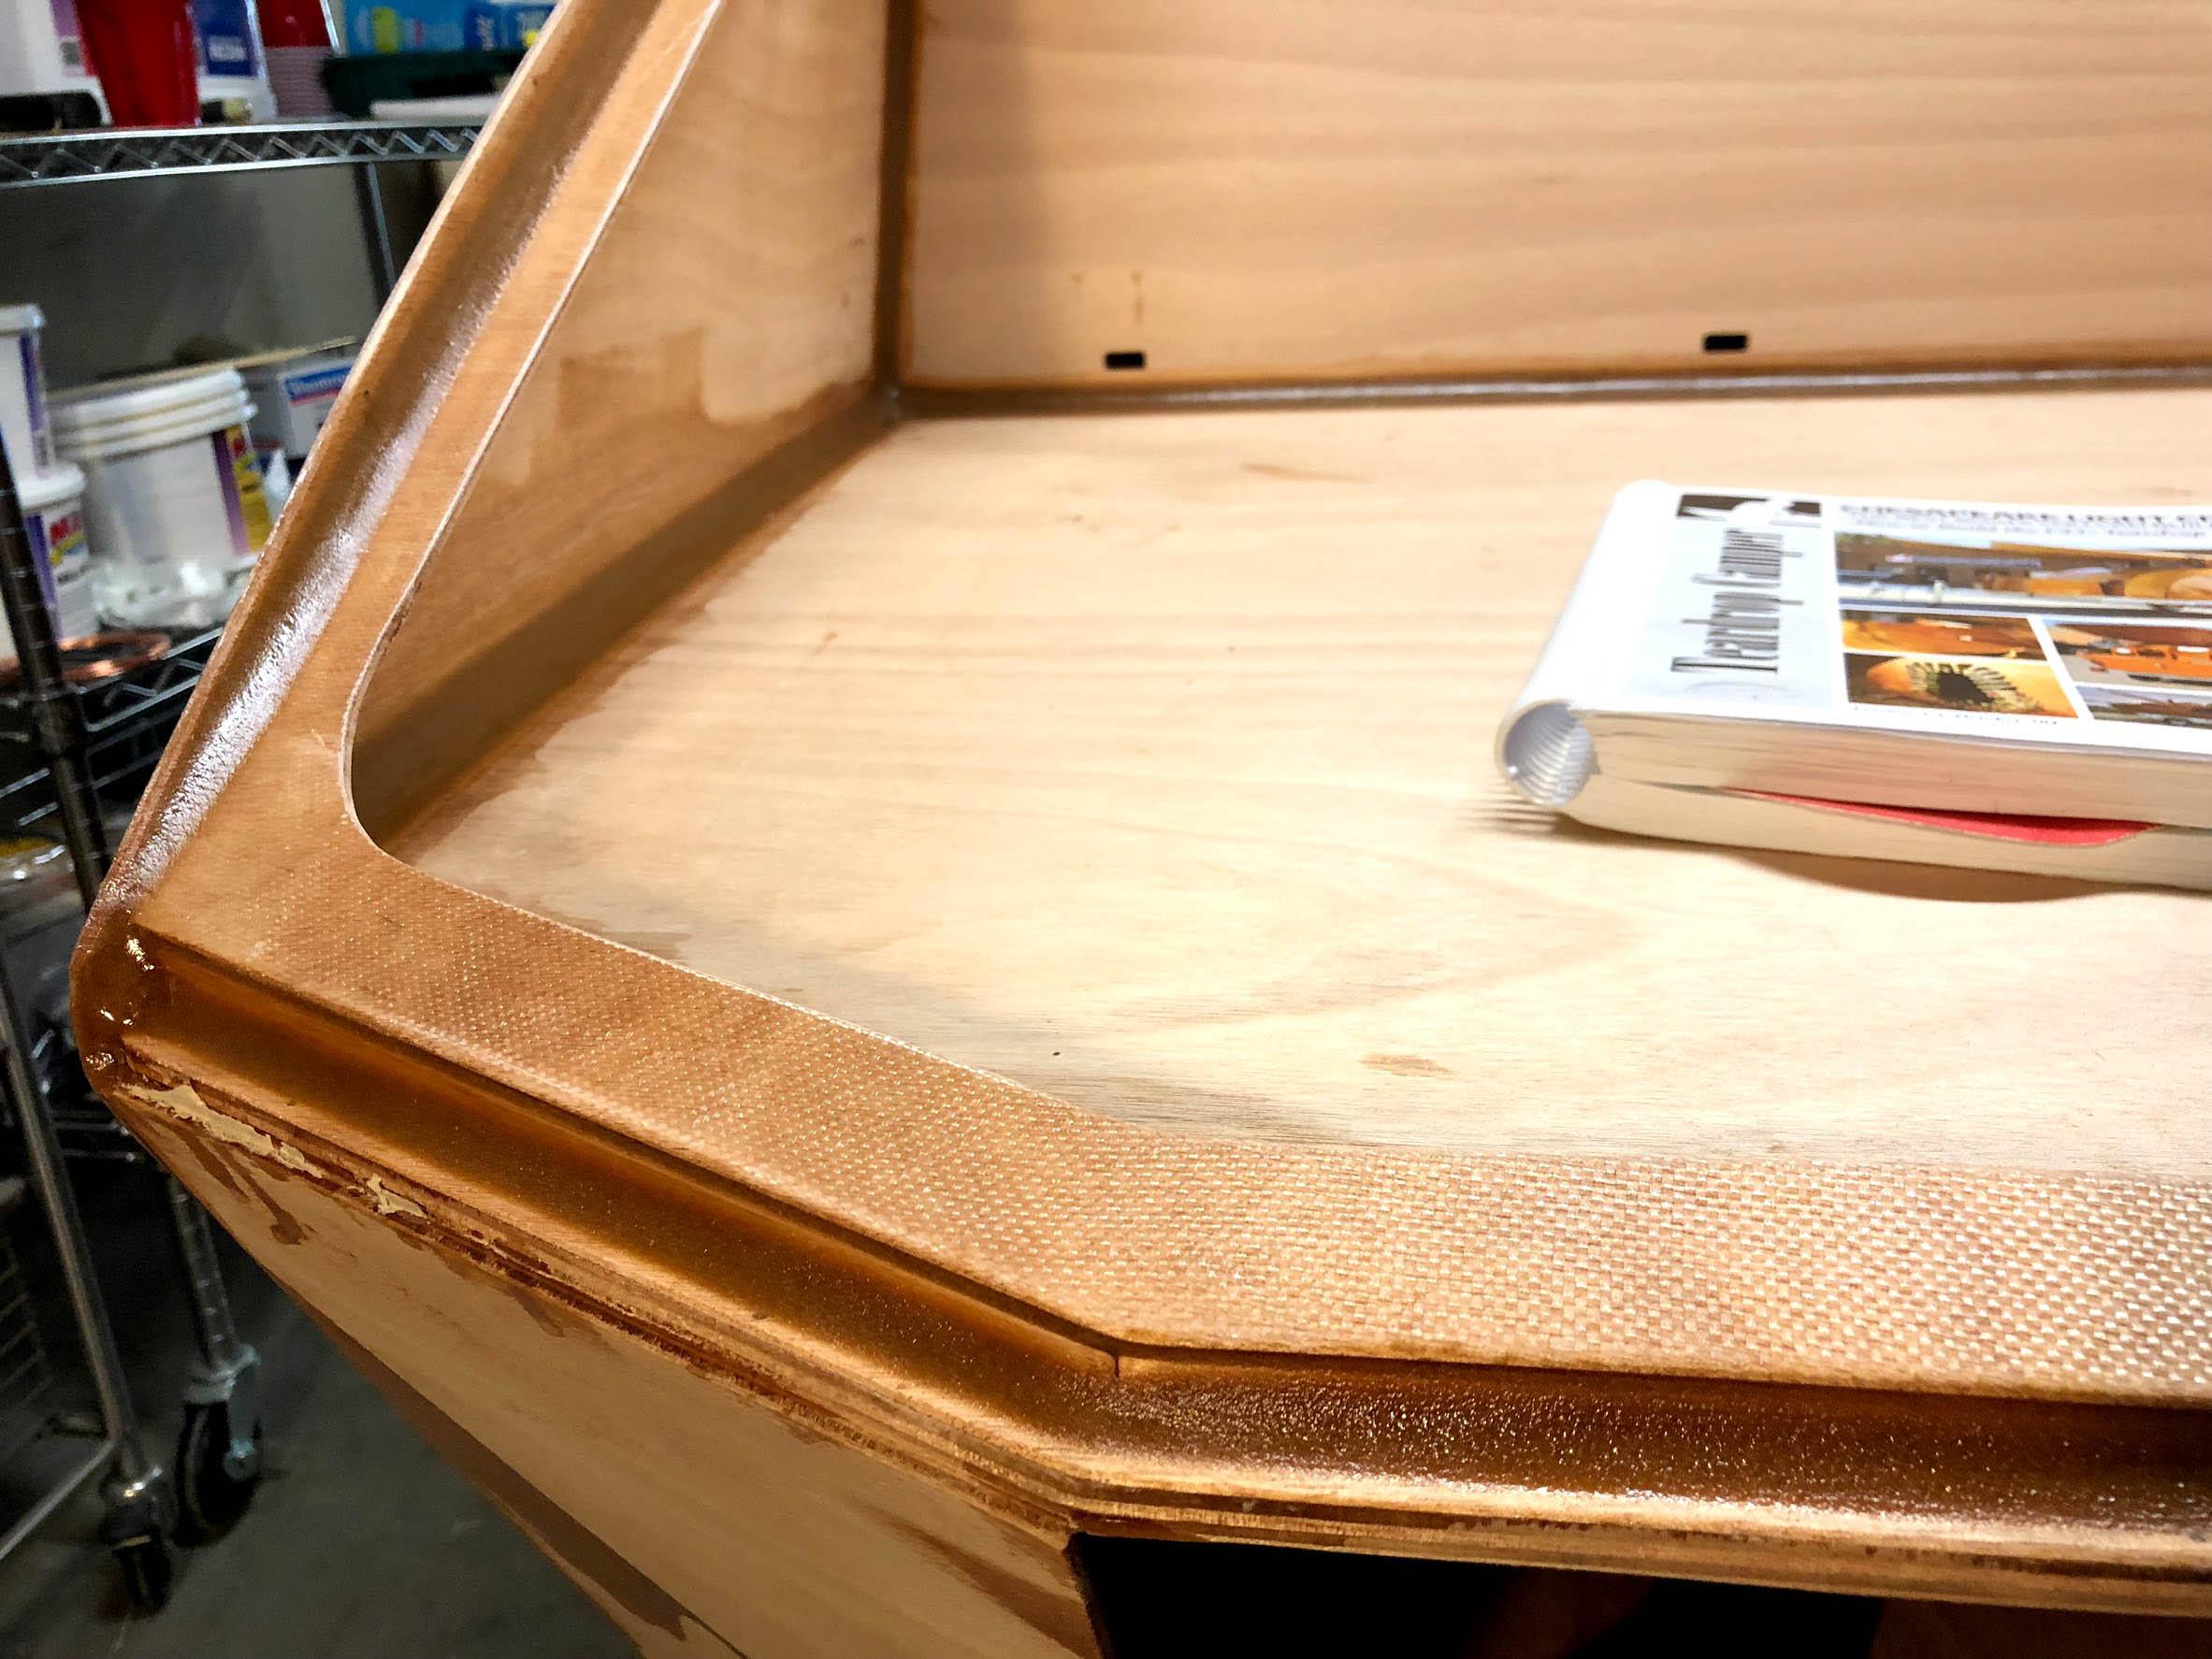
The hatch bezel is supposed to be installed straight for a specific section so I just clamped a ruler to the shell and used that to align things. Check and re-check and then check some more before glue. Some sections needed to be shaved down just a bit to fit with the quirks of my particular fillets and whatnot. The bottom angled bits required lots of bending and careful clamping to get right. The few pictures here represent lots of fitting and adjusting and careful looking from every angle. I hope it’s all ok because it’s quite permanent at this point.
Pro tip: smooth your fillets with a tightly gloved finger and denatured alcohol. I found that a foam brush is great for dabbing on the alcohol. Squeeze most of it out of the brush and there will be plenty left in there. Wait until the fillets are cured enough that they’re still sticky but not runny. Maybe cookie dough consistency.
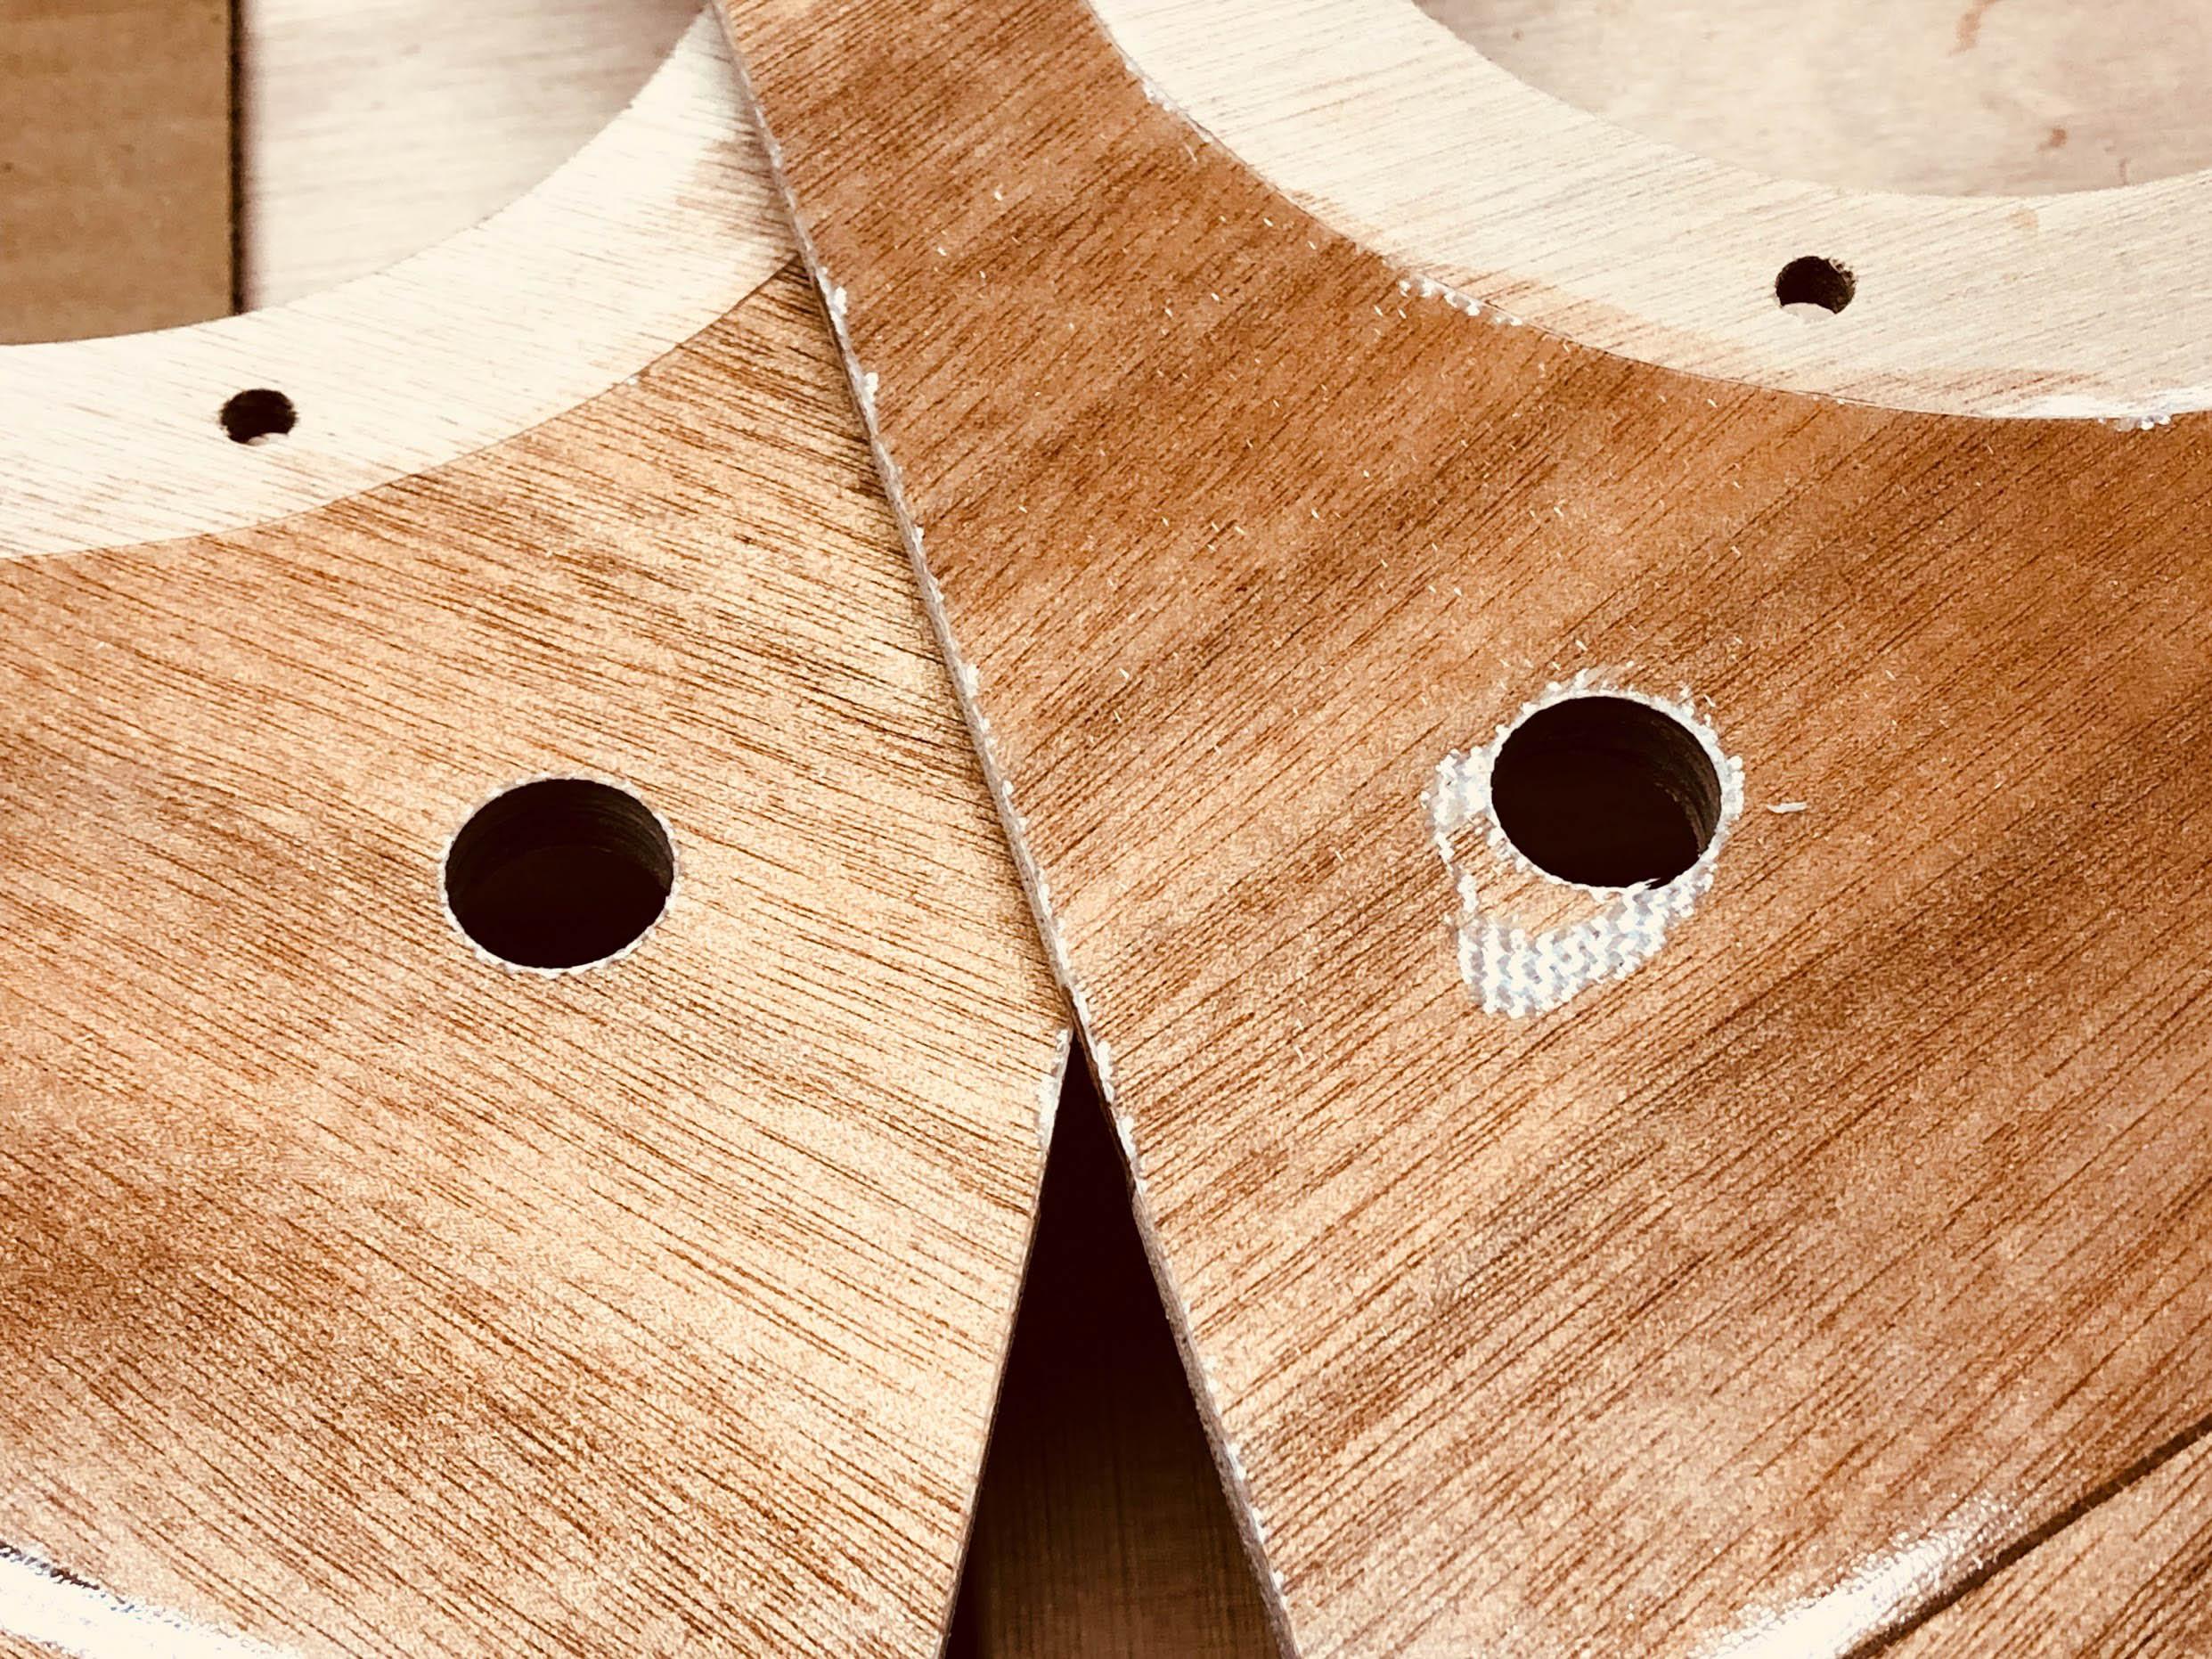
I didn’t want to drill holes in the doors for stitches to align the window frames… and the frame should line up with how the window fits in the hole, so we don’t need the stitches anyway. So after the window cutout I laid the acrylic windows in the hole and used the pre-drilled bolt holes to index the frame with the window. Then I used a pencil to mark the outline of the frame onto the door. Then clamp the frame in place and remove the acrylic window to mark the inside of the sill. Now I had precise lines to follow when epoxying and clamping
Next, I think I’ll get the shelf routed and installed then I want to get those doors on and start finishing the galley. The top hatch is also stewing in my brain… need to source some thick okume plywood I can shape into the interior bezel. Perhaps I can use the trailer bunks that shipped with the kit. Hmm…
-
This reply was modified 8 years ago by
Dan.
April 27, 2018 at 3:56 pm #1801Participant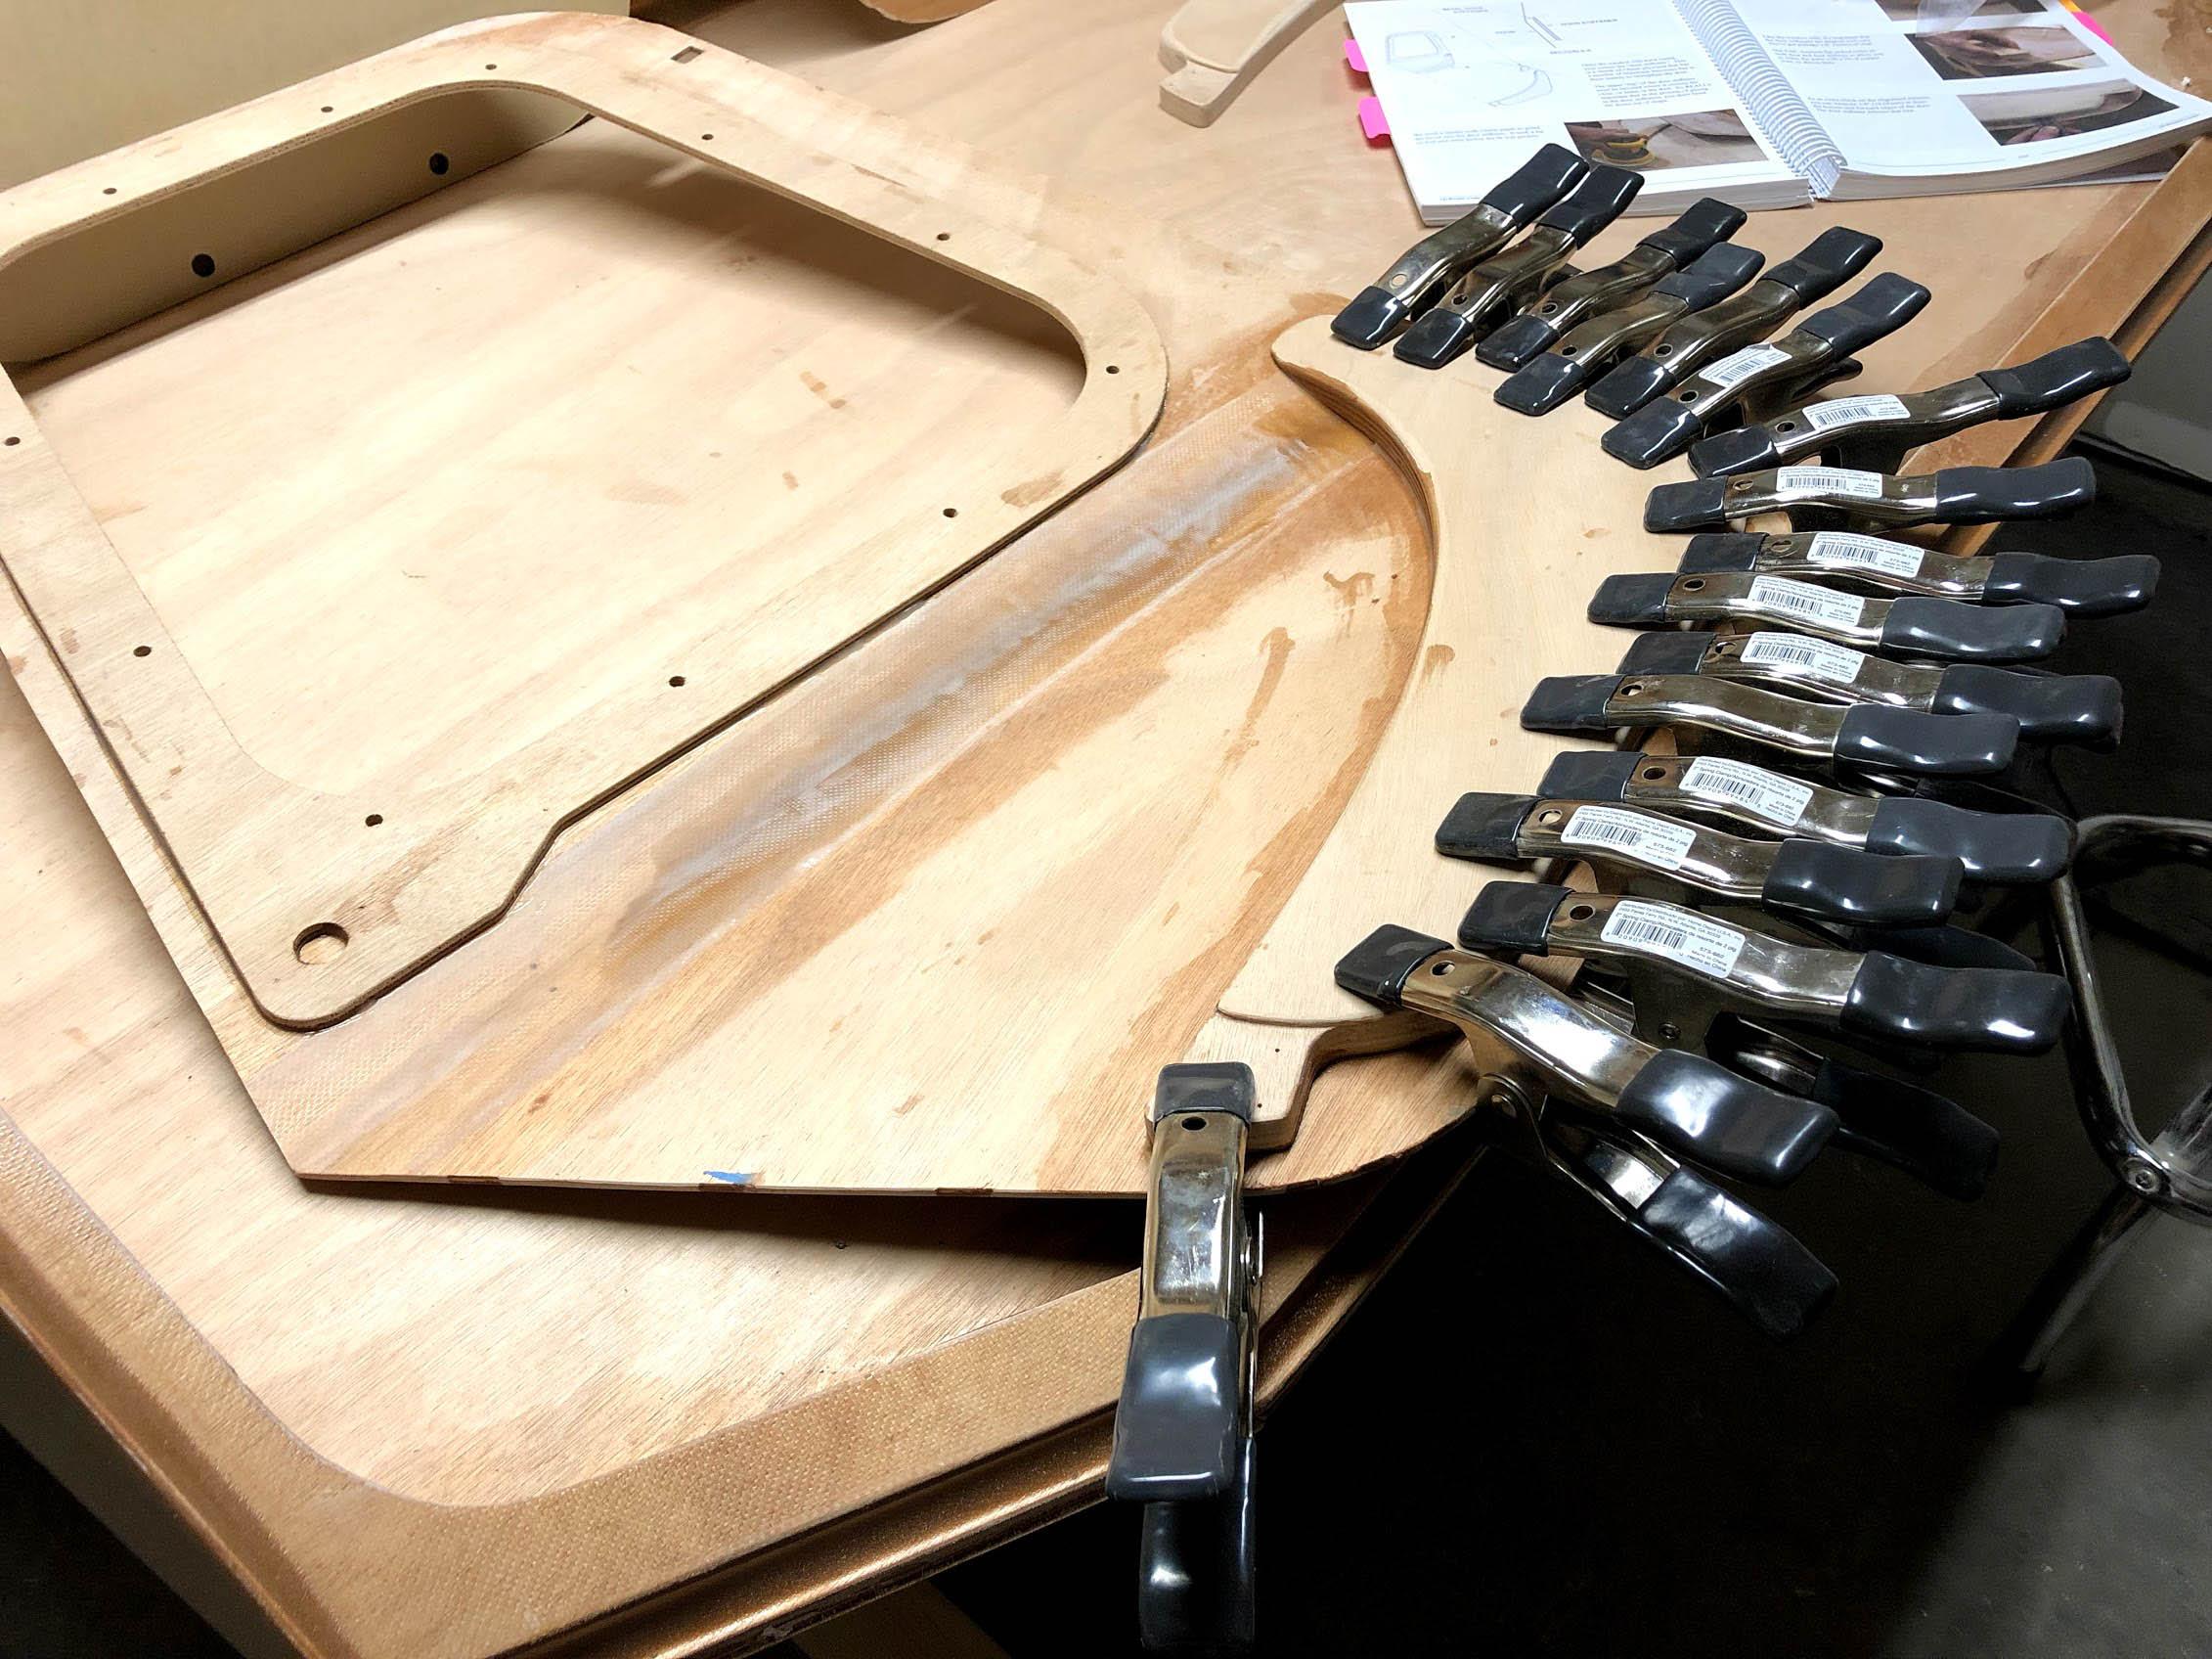

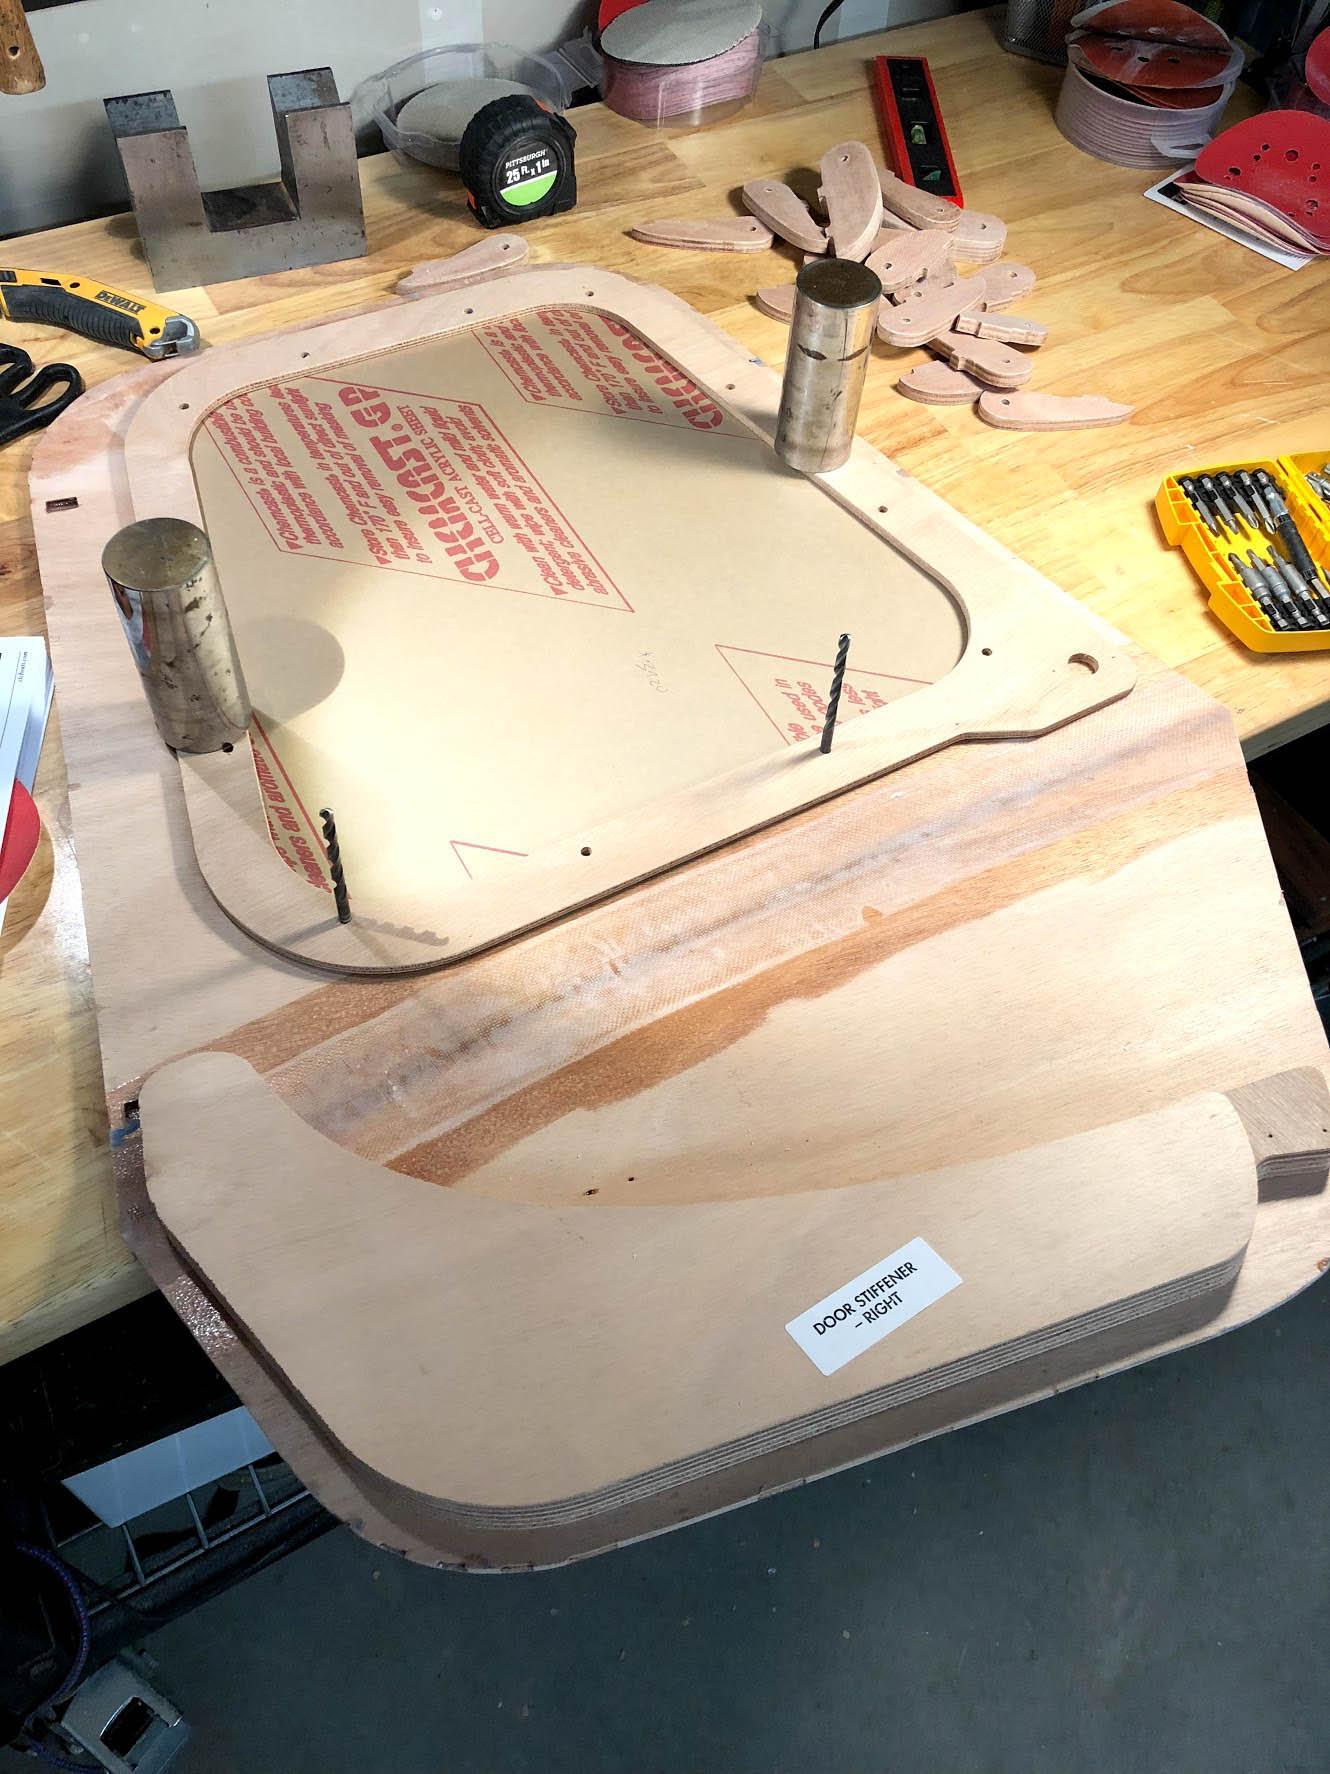
Lots of careful shaping went into the curve on the back of these door stiffeners. I got it close with a rasp and then stuck a sheet of 100-grit sandpaper to my workbench. Sand then check over and over until it’s a perfect fit. For the cure on this epoxy step, I hung the door from the ceiling sideways so gravity wouldn’t change the curvature.
I ordered the CLC/Trailex trailer, so I won’t need the trailer bunks that shipped with the kit. Those are going into building the interior bezel which will stiffen and support the shell around my non-standard top-hatch. I don’t want the hatch to be epoxied in-place. A design for that is stewing in my brain.
-
This reply was modified 8 years ago by
April 30, 2018 at 2:04 pm #1807Participant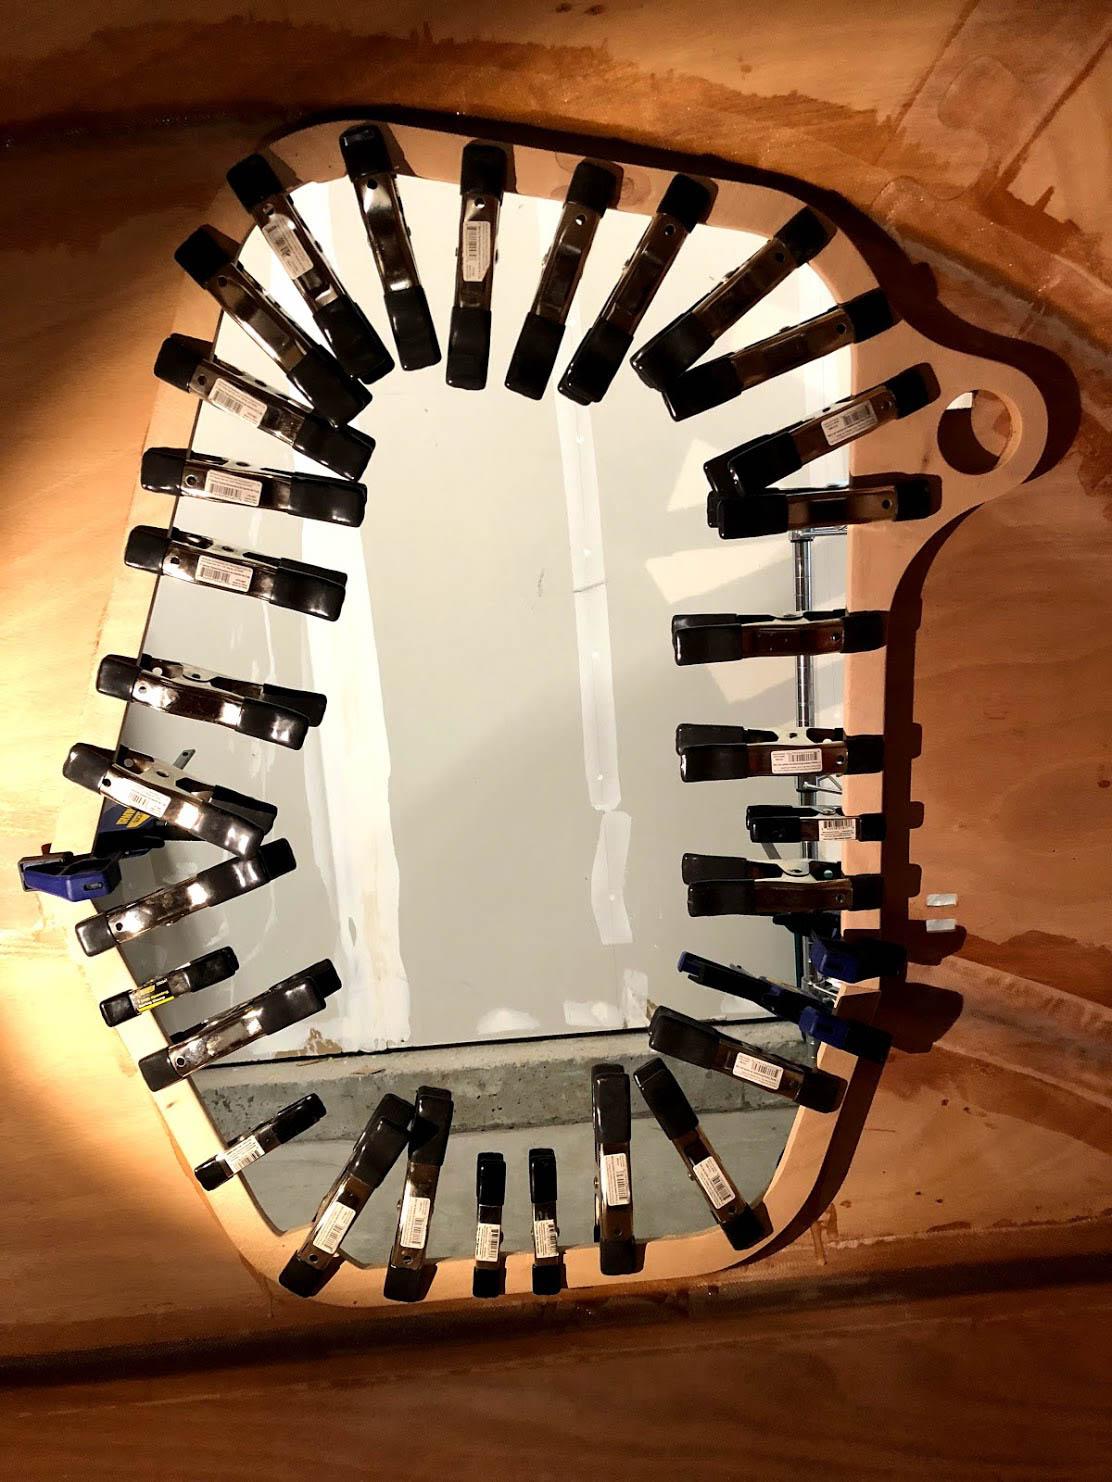

Got a door frame mounted… then I realized that getting the shelf in might be a little problematic (impossible) with both door frames in place. There’s not much clearance. I’m glad I checked. Like the galley flat, it may be possible but it’s a difficult thing the manual doesn’t even mention.
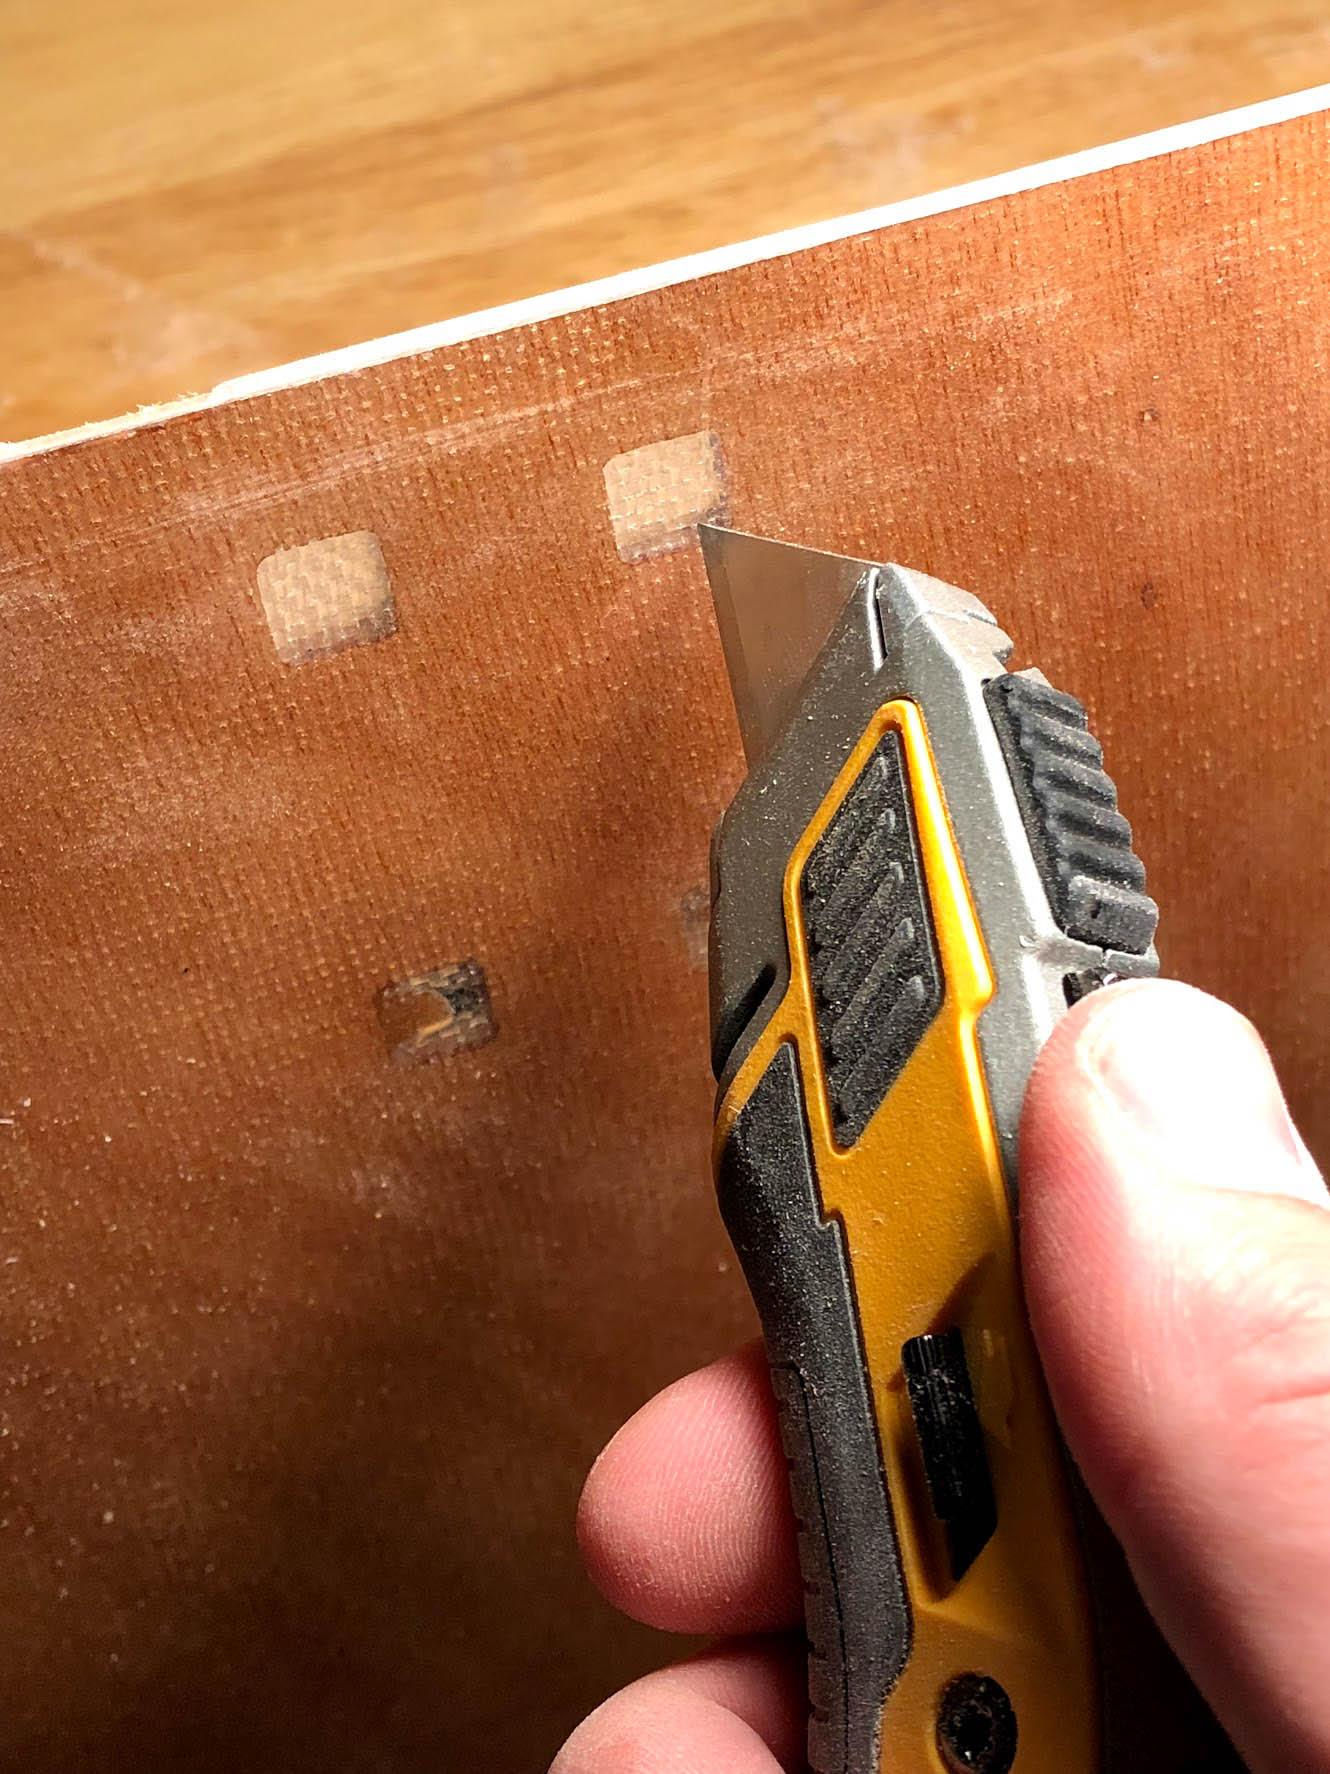
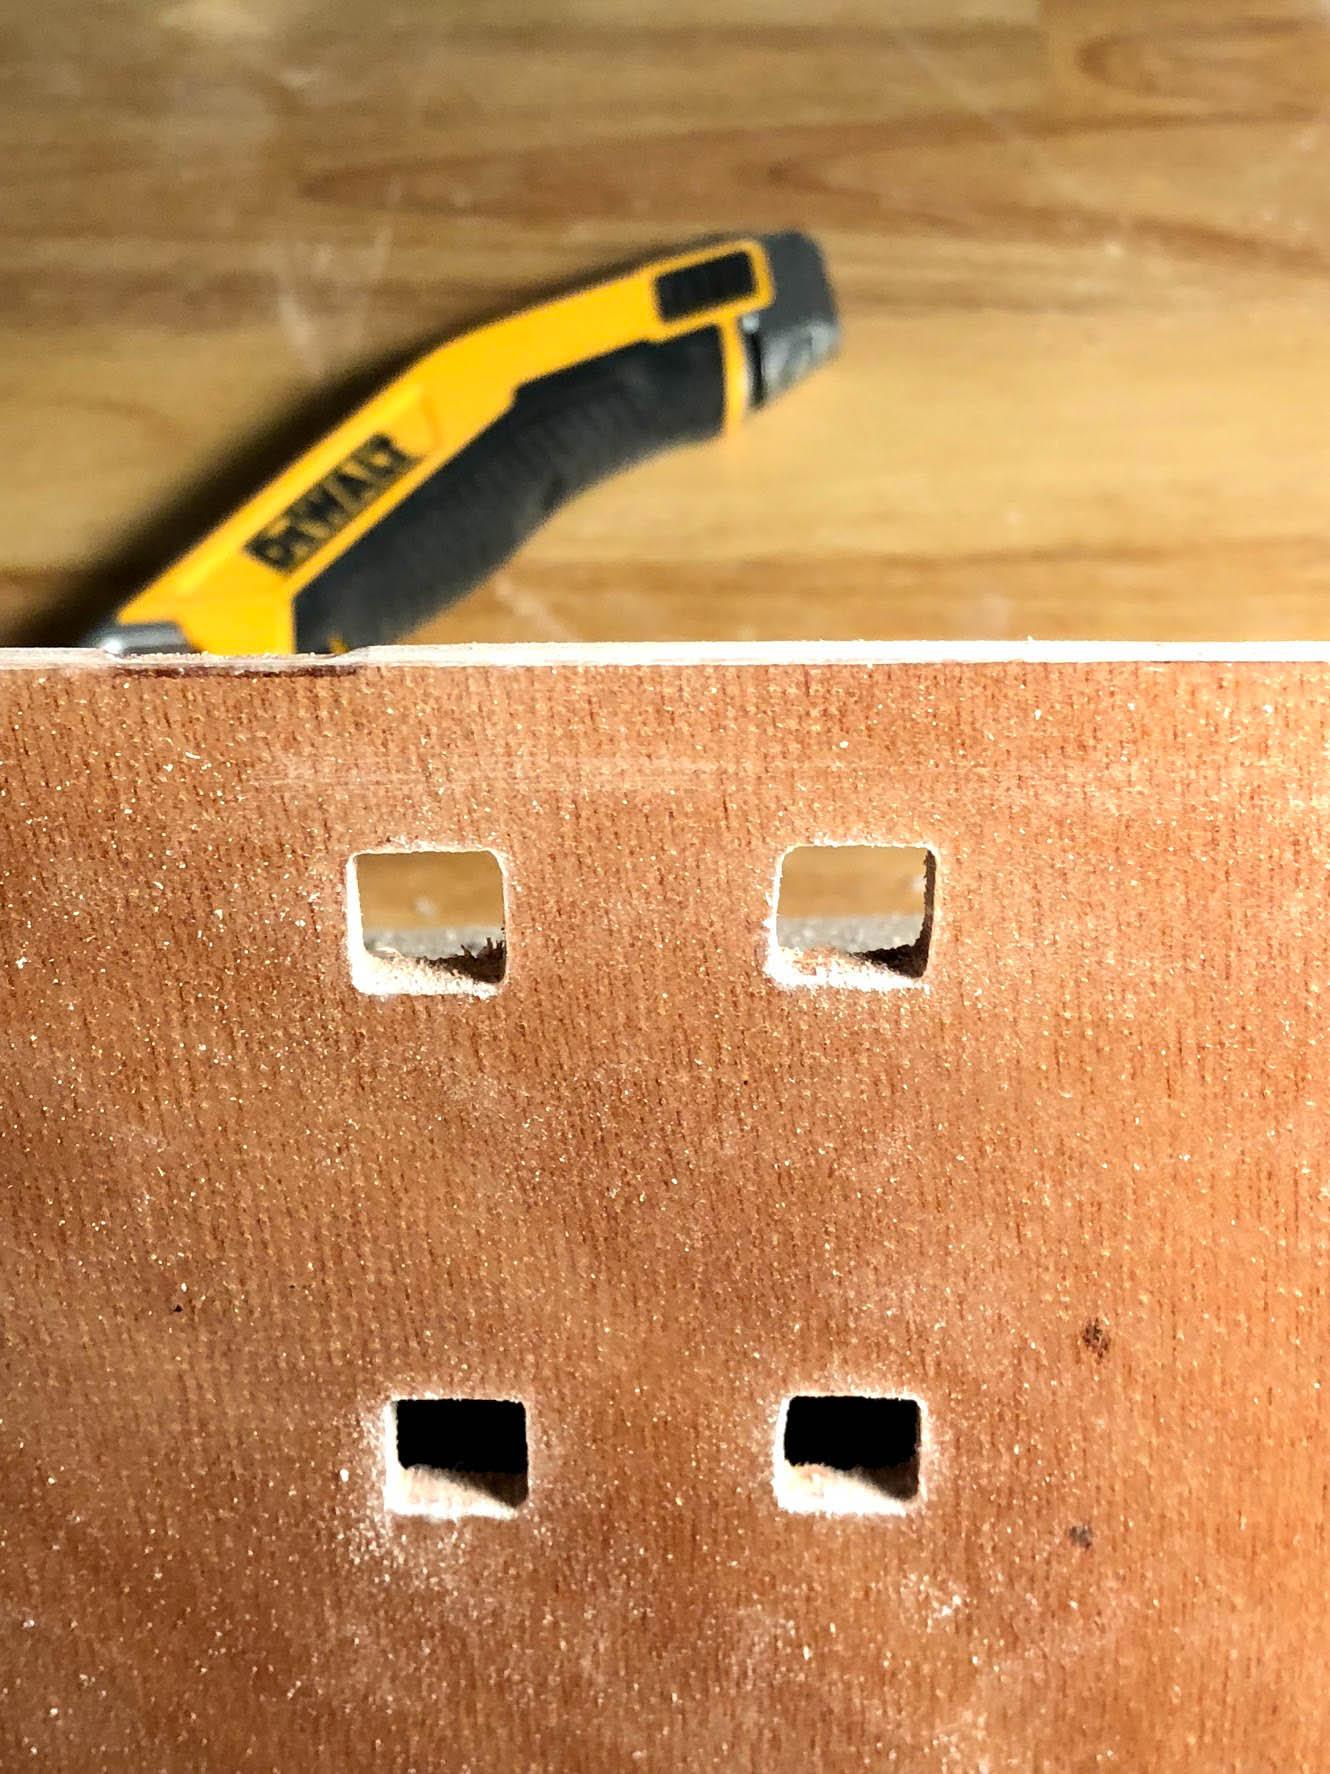
Pro tip: clamp a piece of scrap to your work piece before drilling to prevent tear-out (drill through the work and into the scrap). Turns out fiberglass can have pretty bad tear-out. Fortunately, the door handle hardware will cover up that mess. I’ll patch it up, of course, but I should have known better.
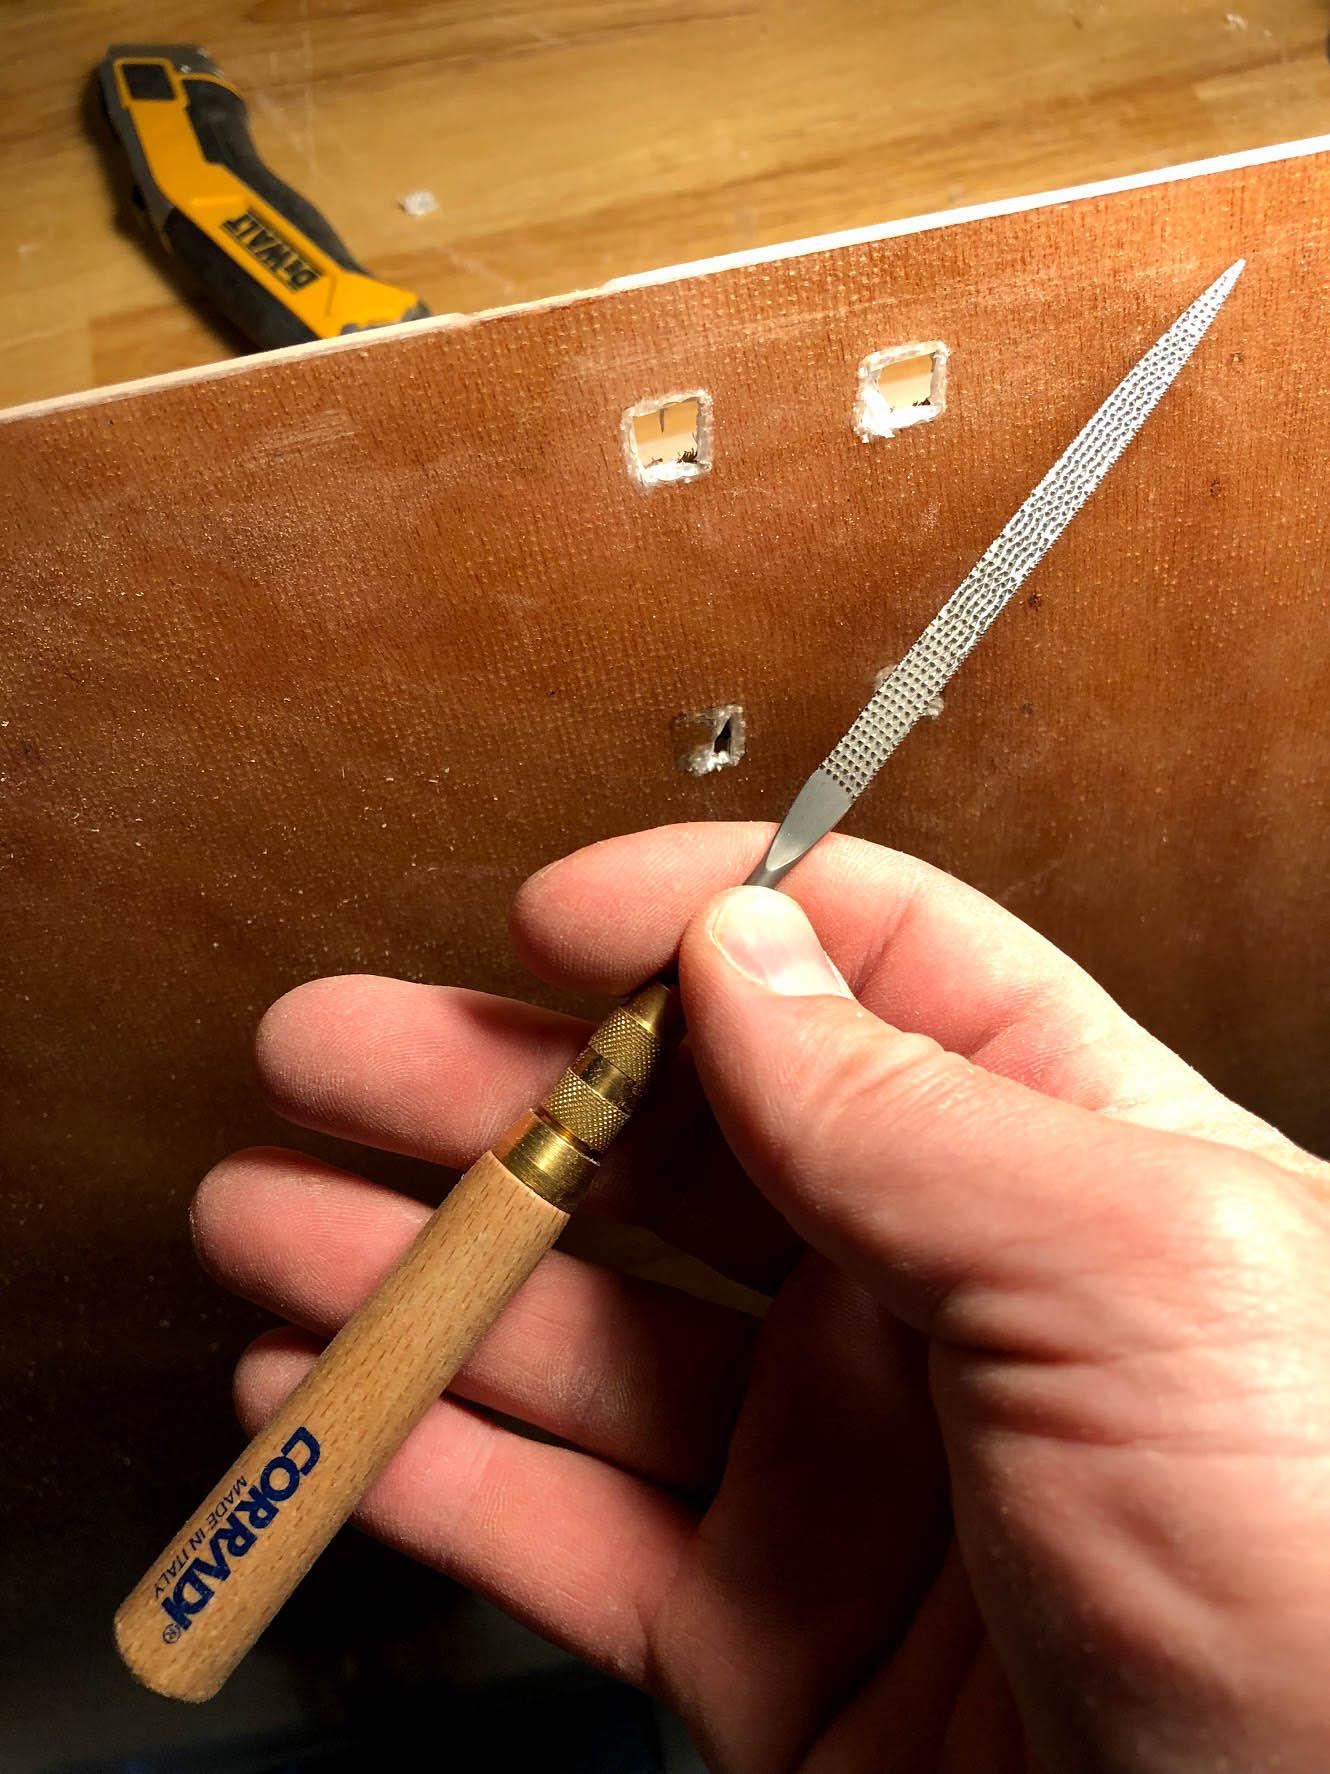
I went down to my local Woodcrafters store picked up a Corradi needle rasp (made in Italy… ooh, fancy!). This little rasp has been the absolute best thing for shaping or removing cured epoxy. It’s perfect for shaping the hinge mortises. Highly recommended! I just got the one for $15, but here they are on Amazon as a set.
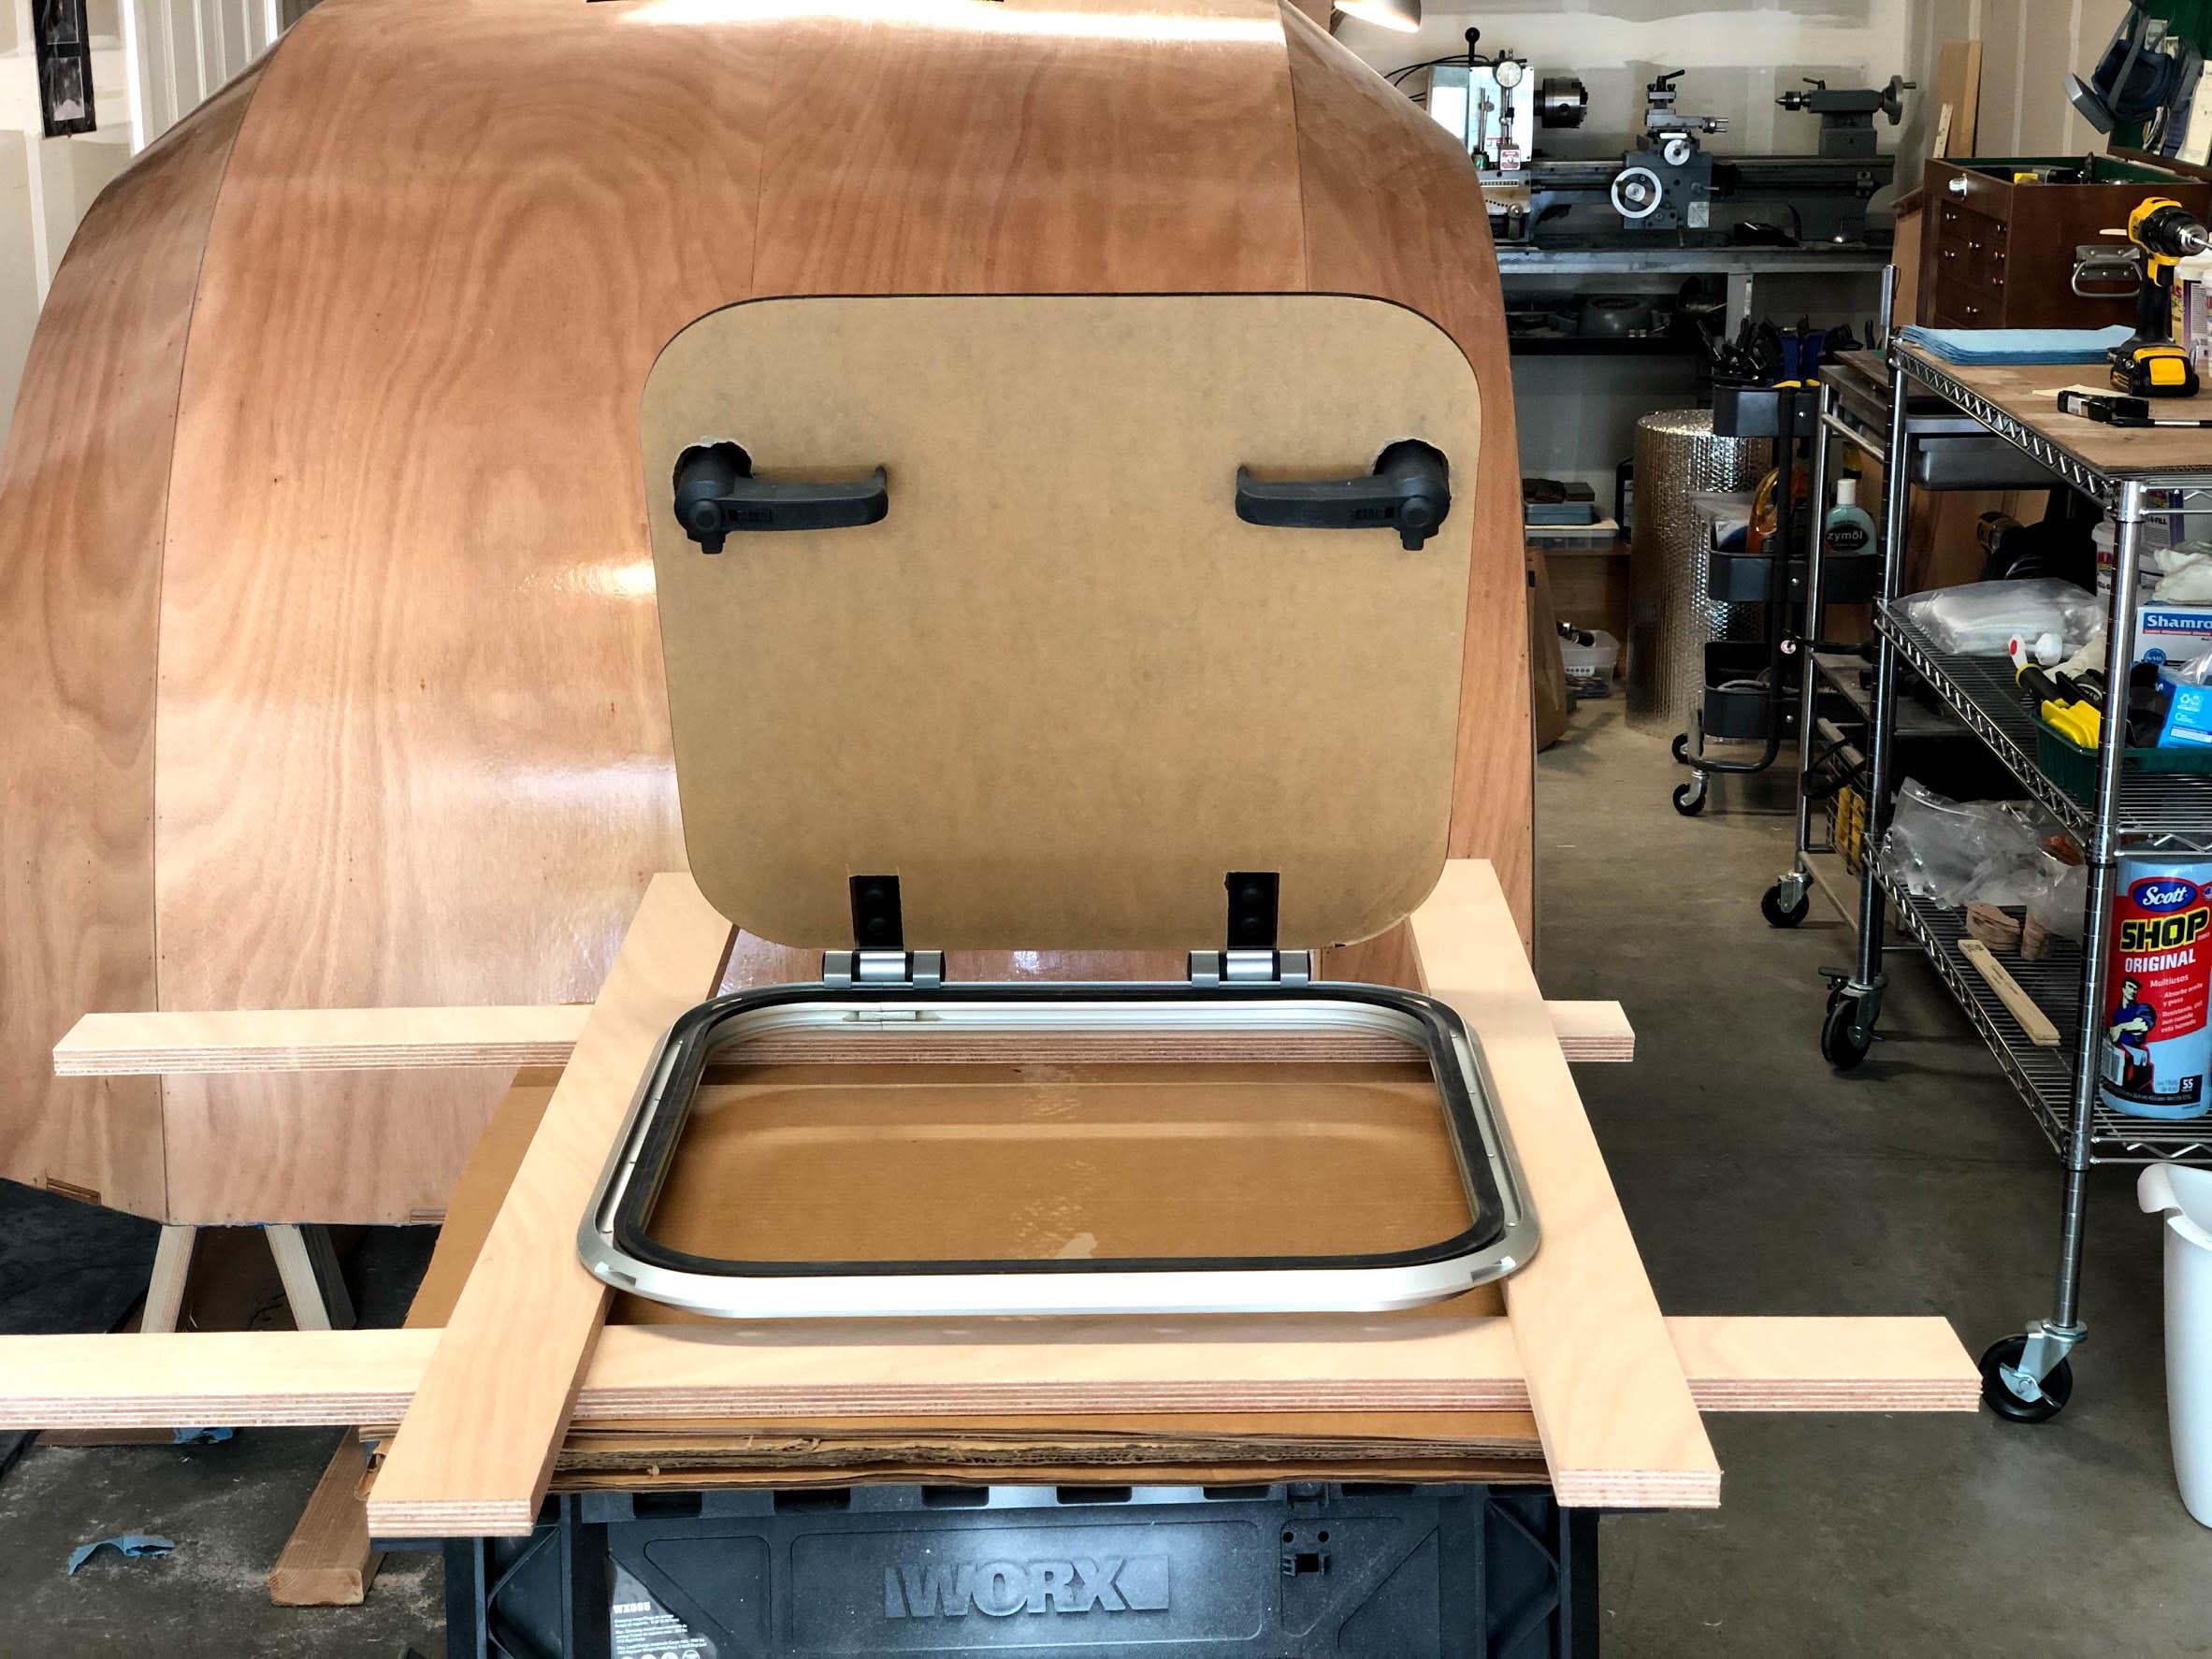
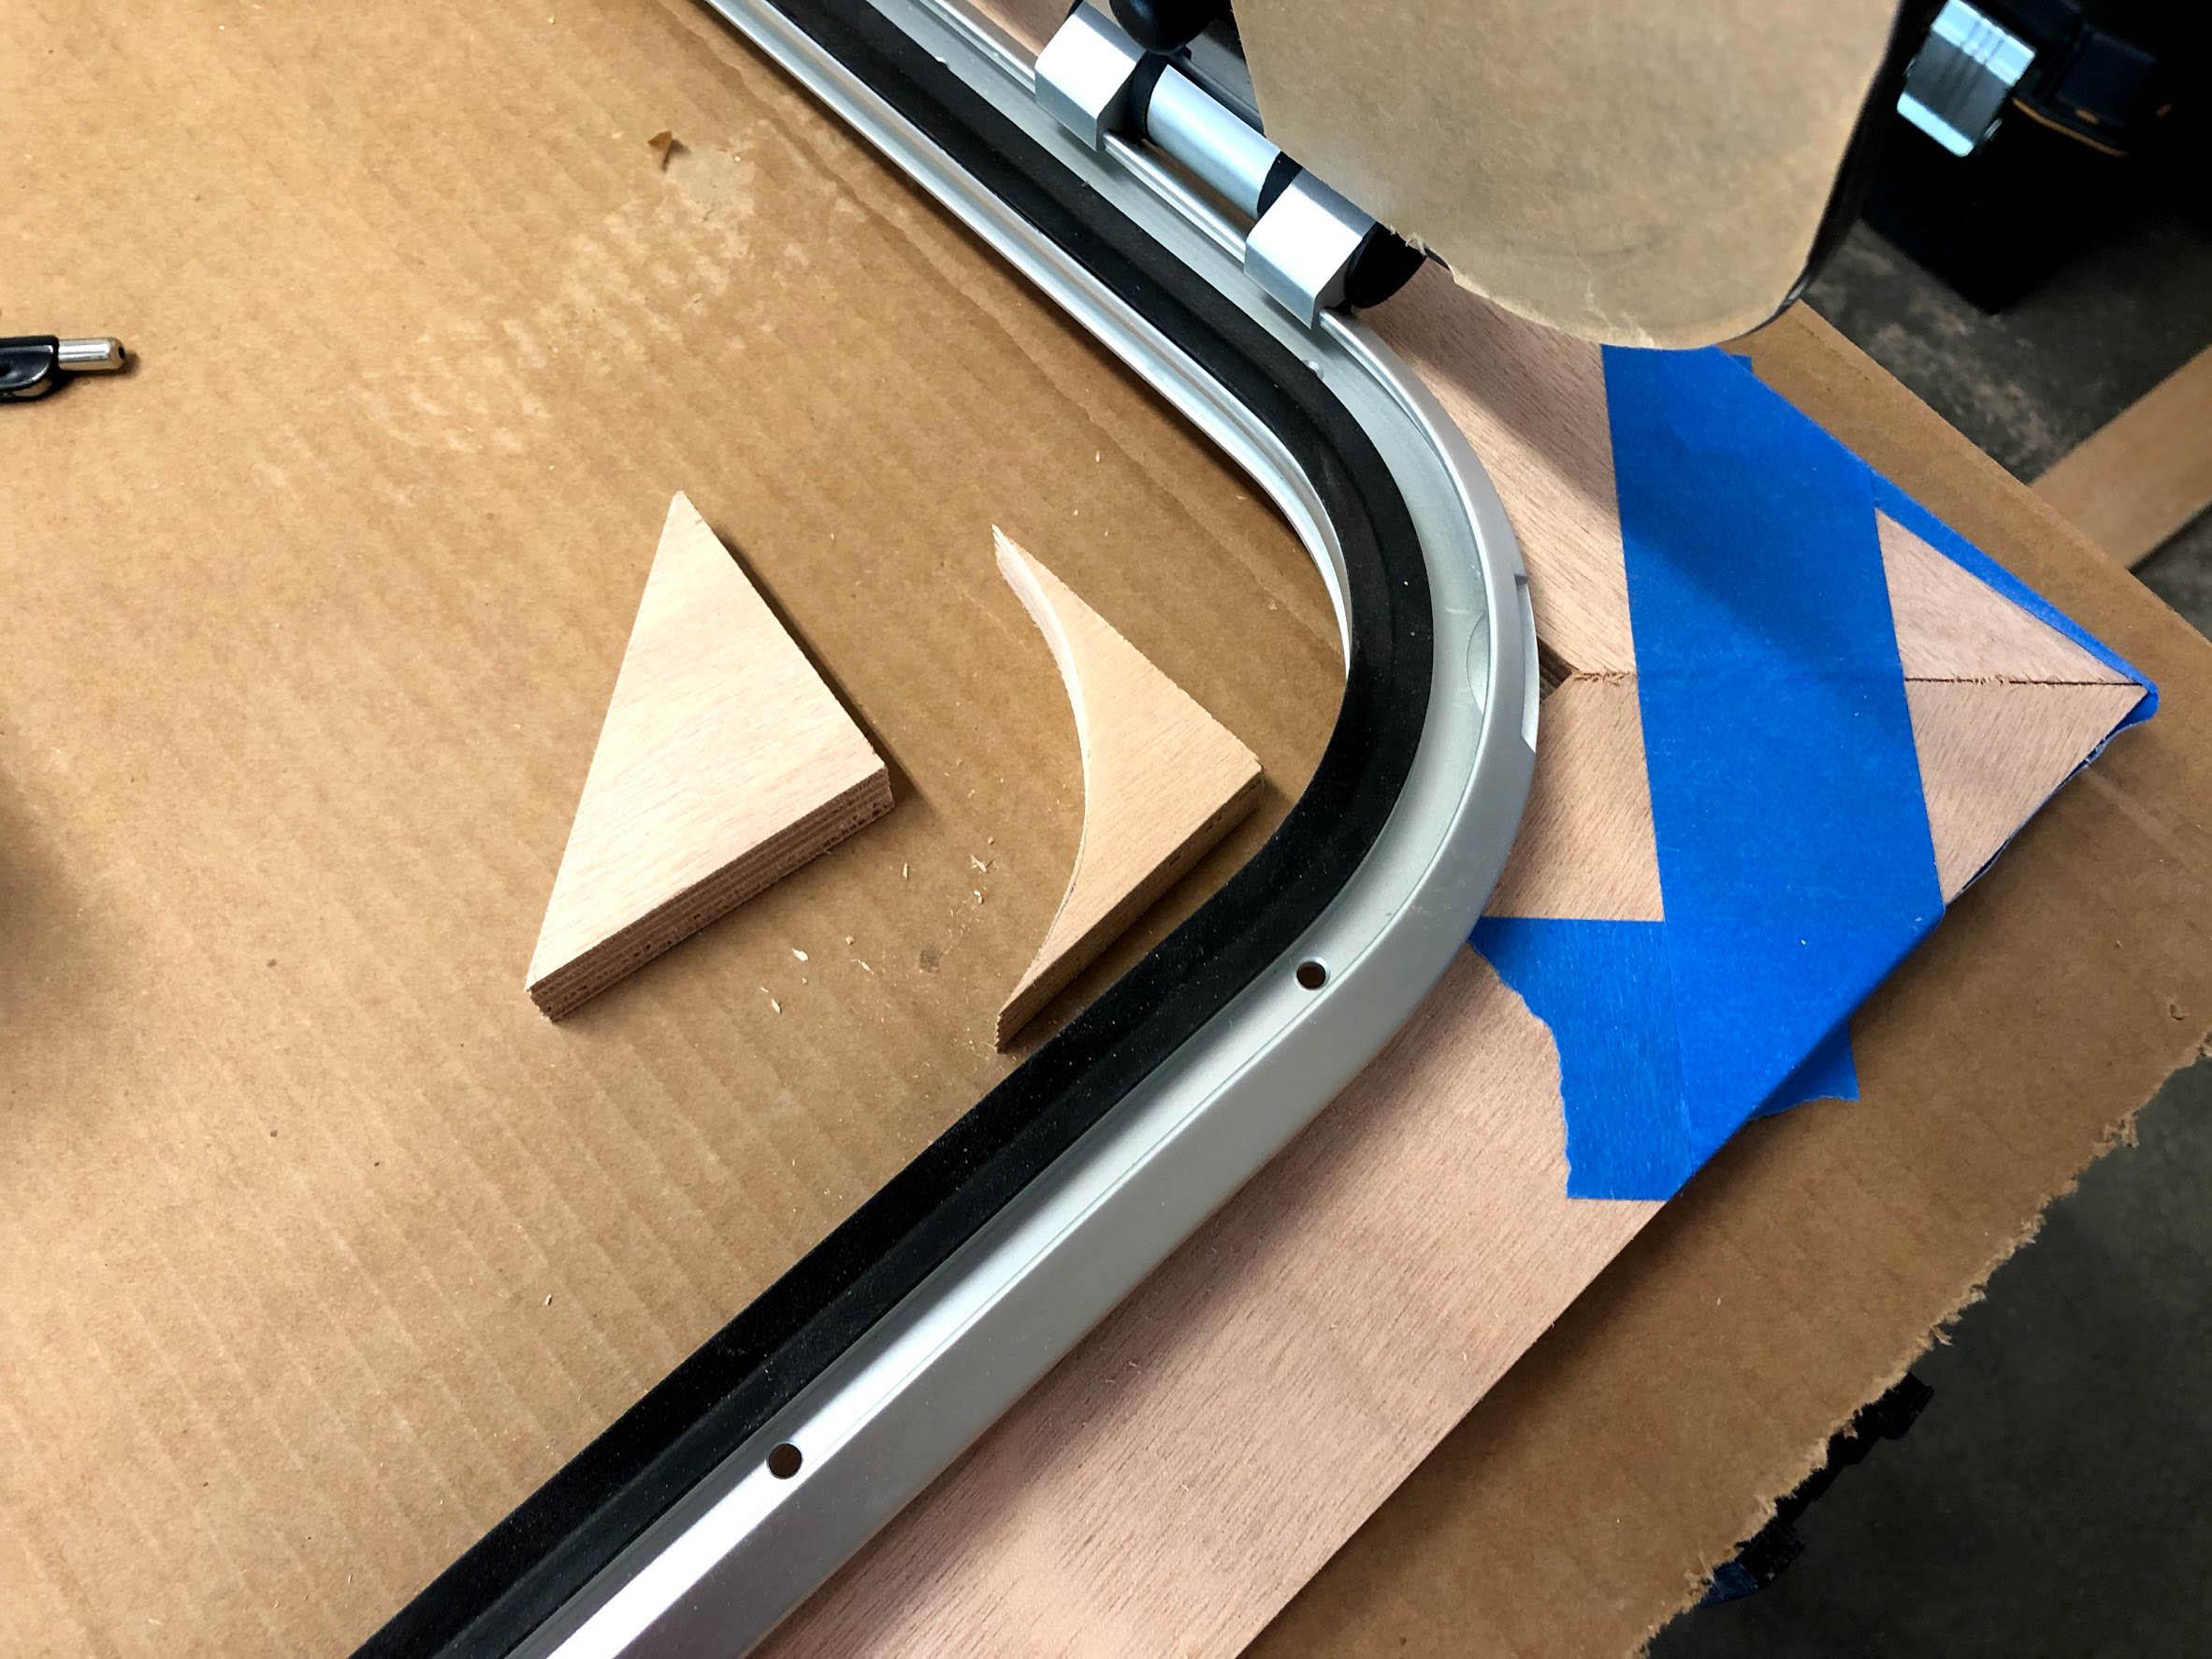
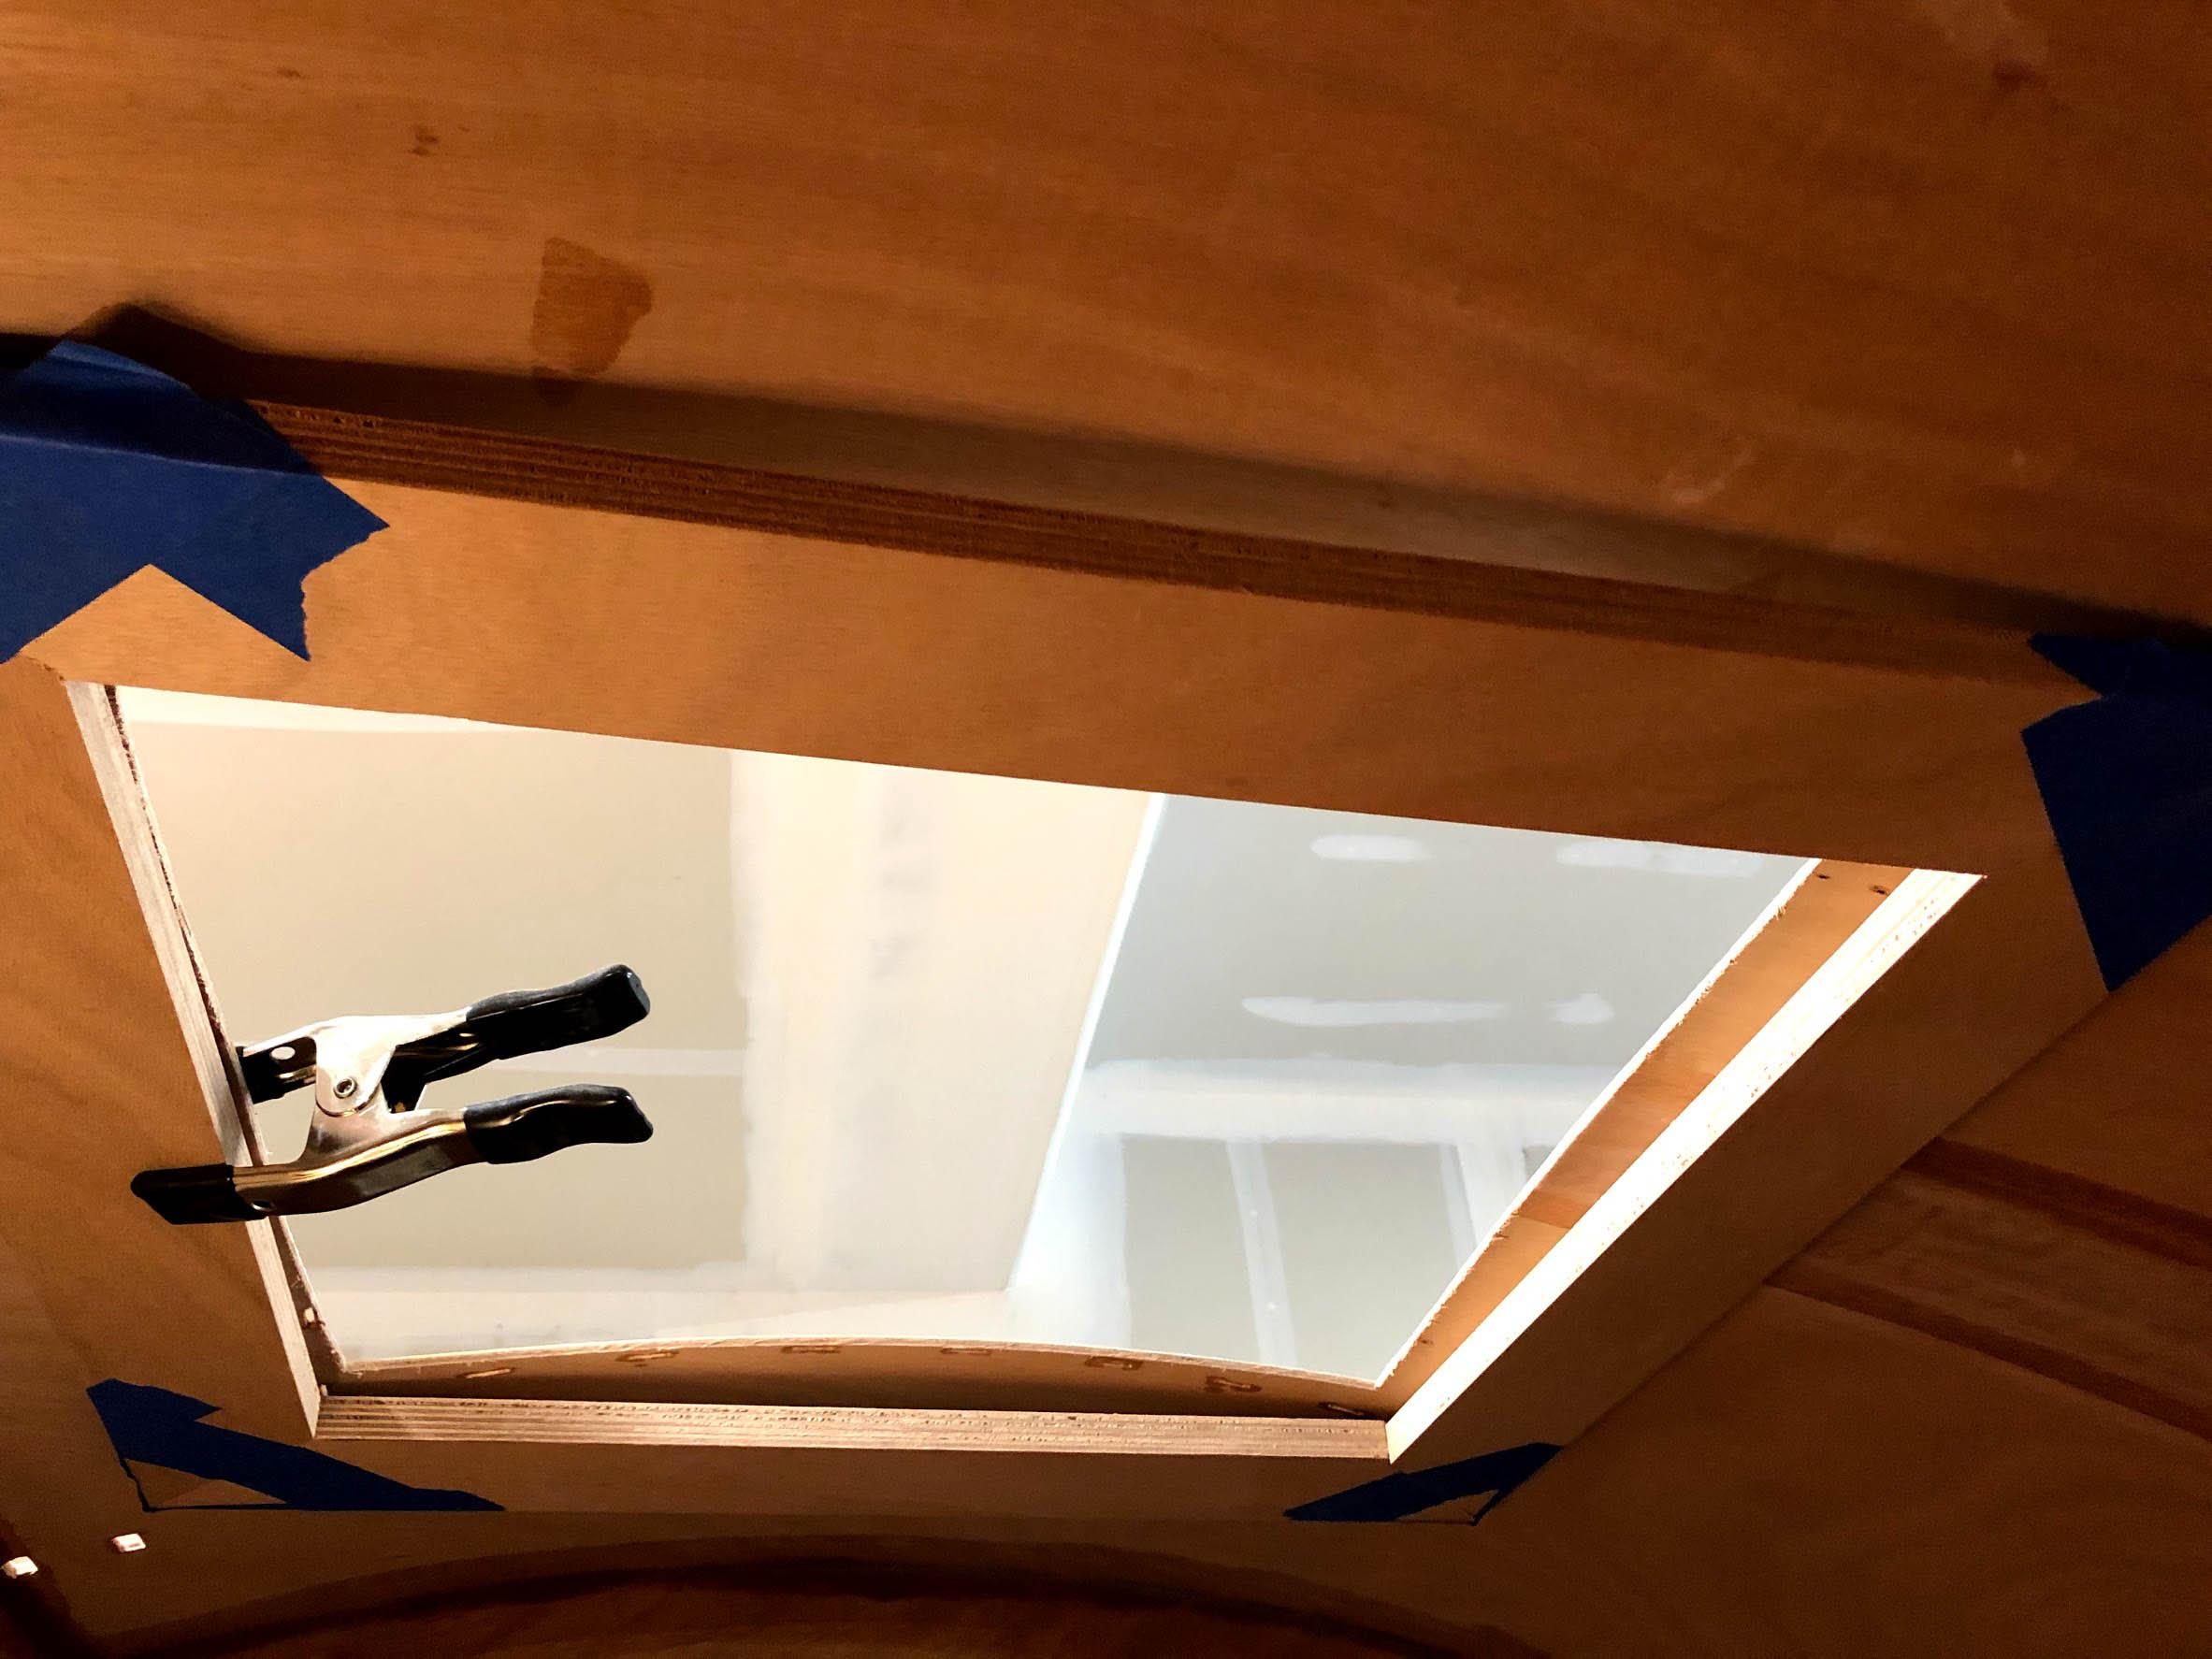
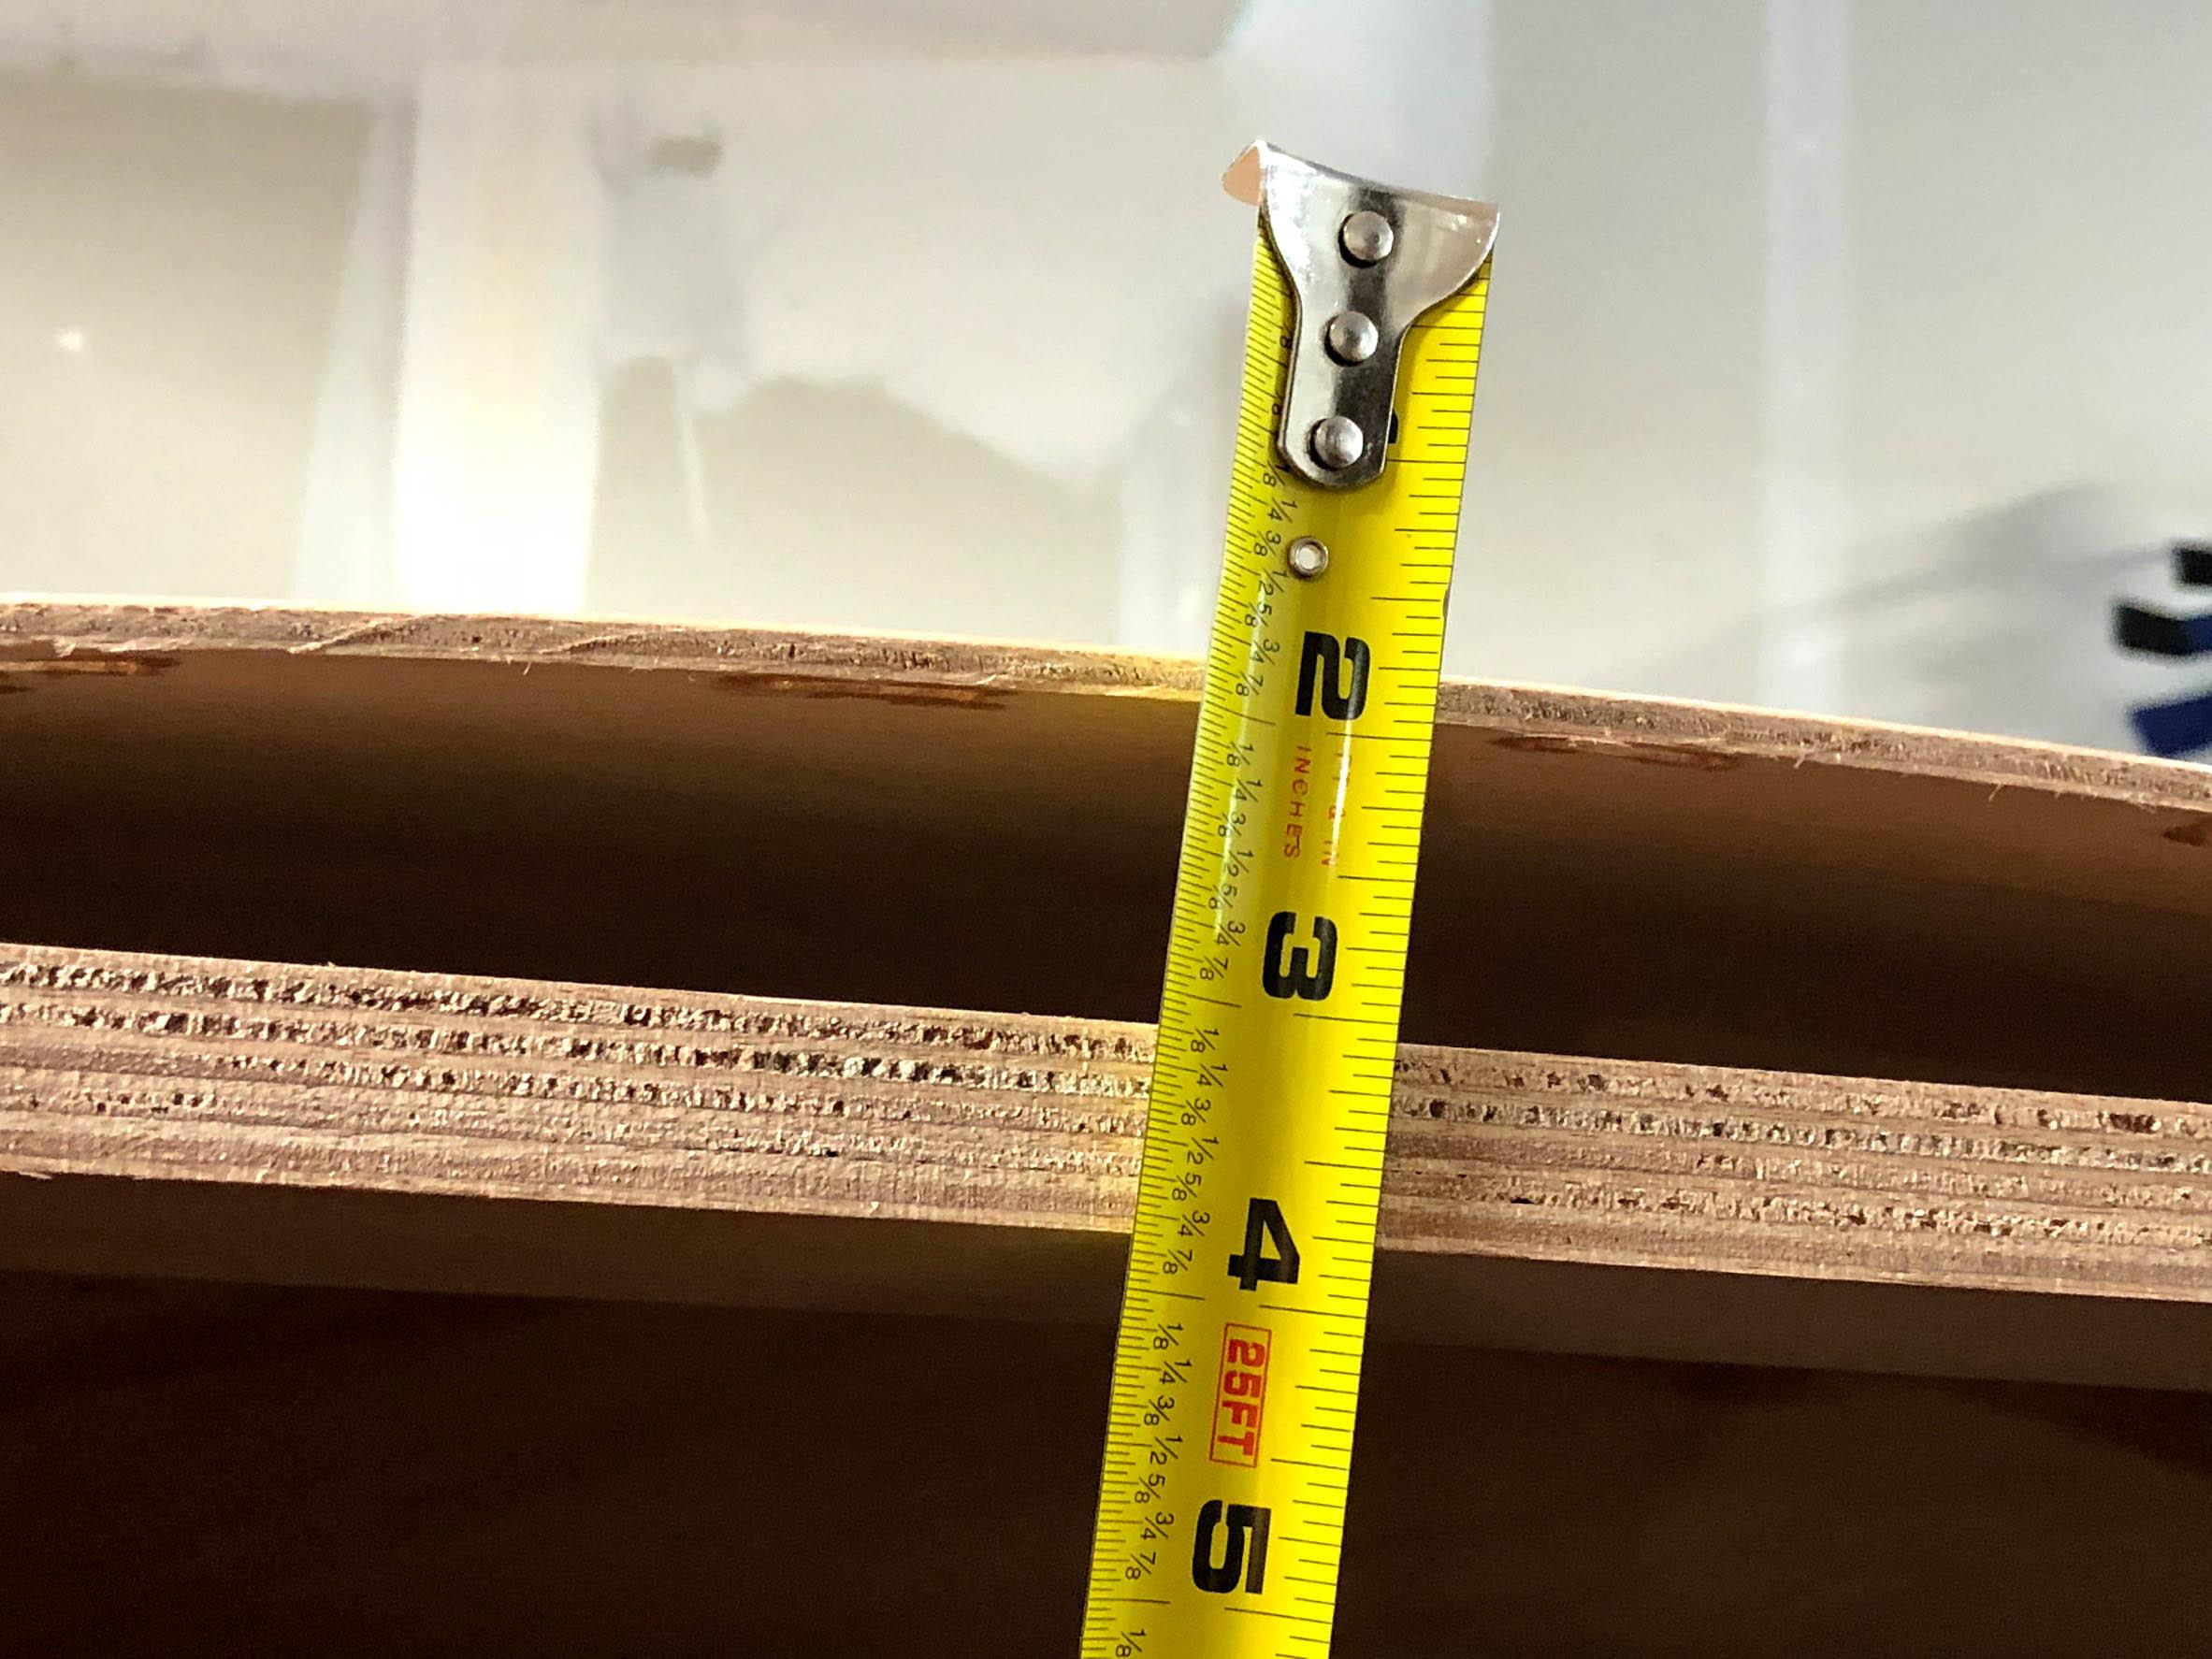
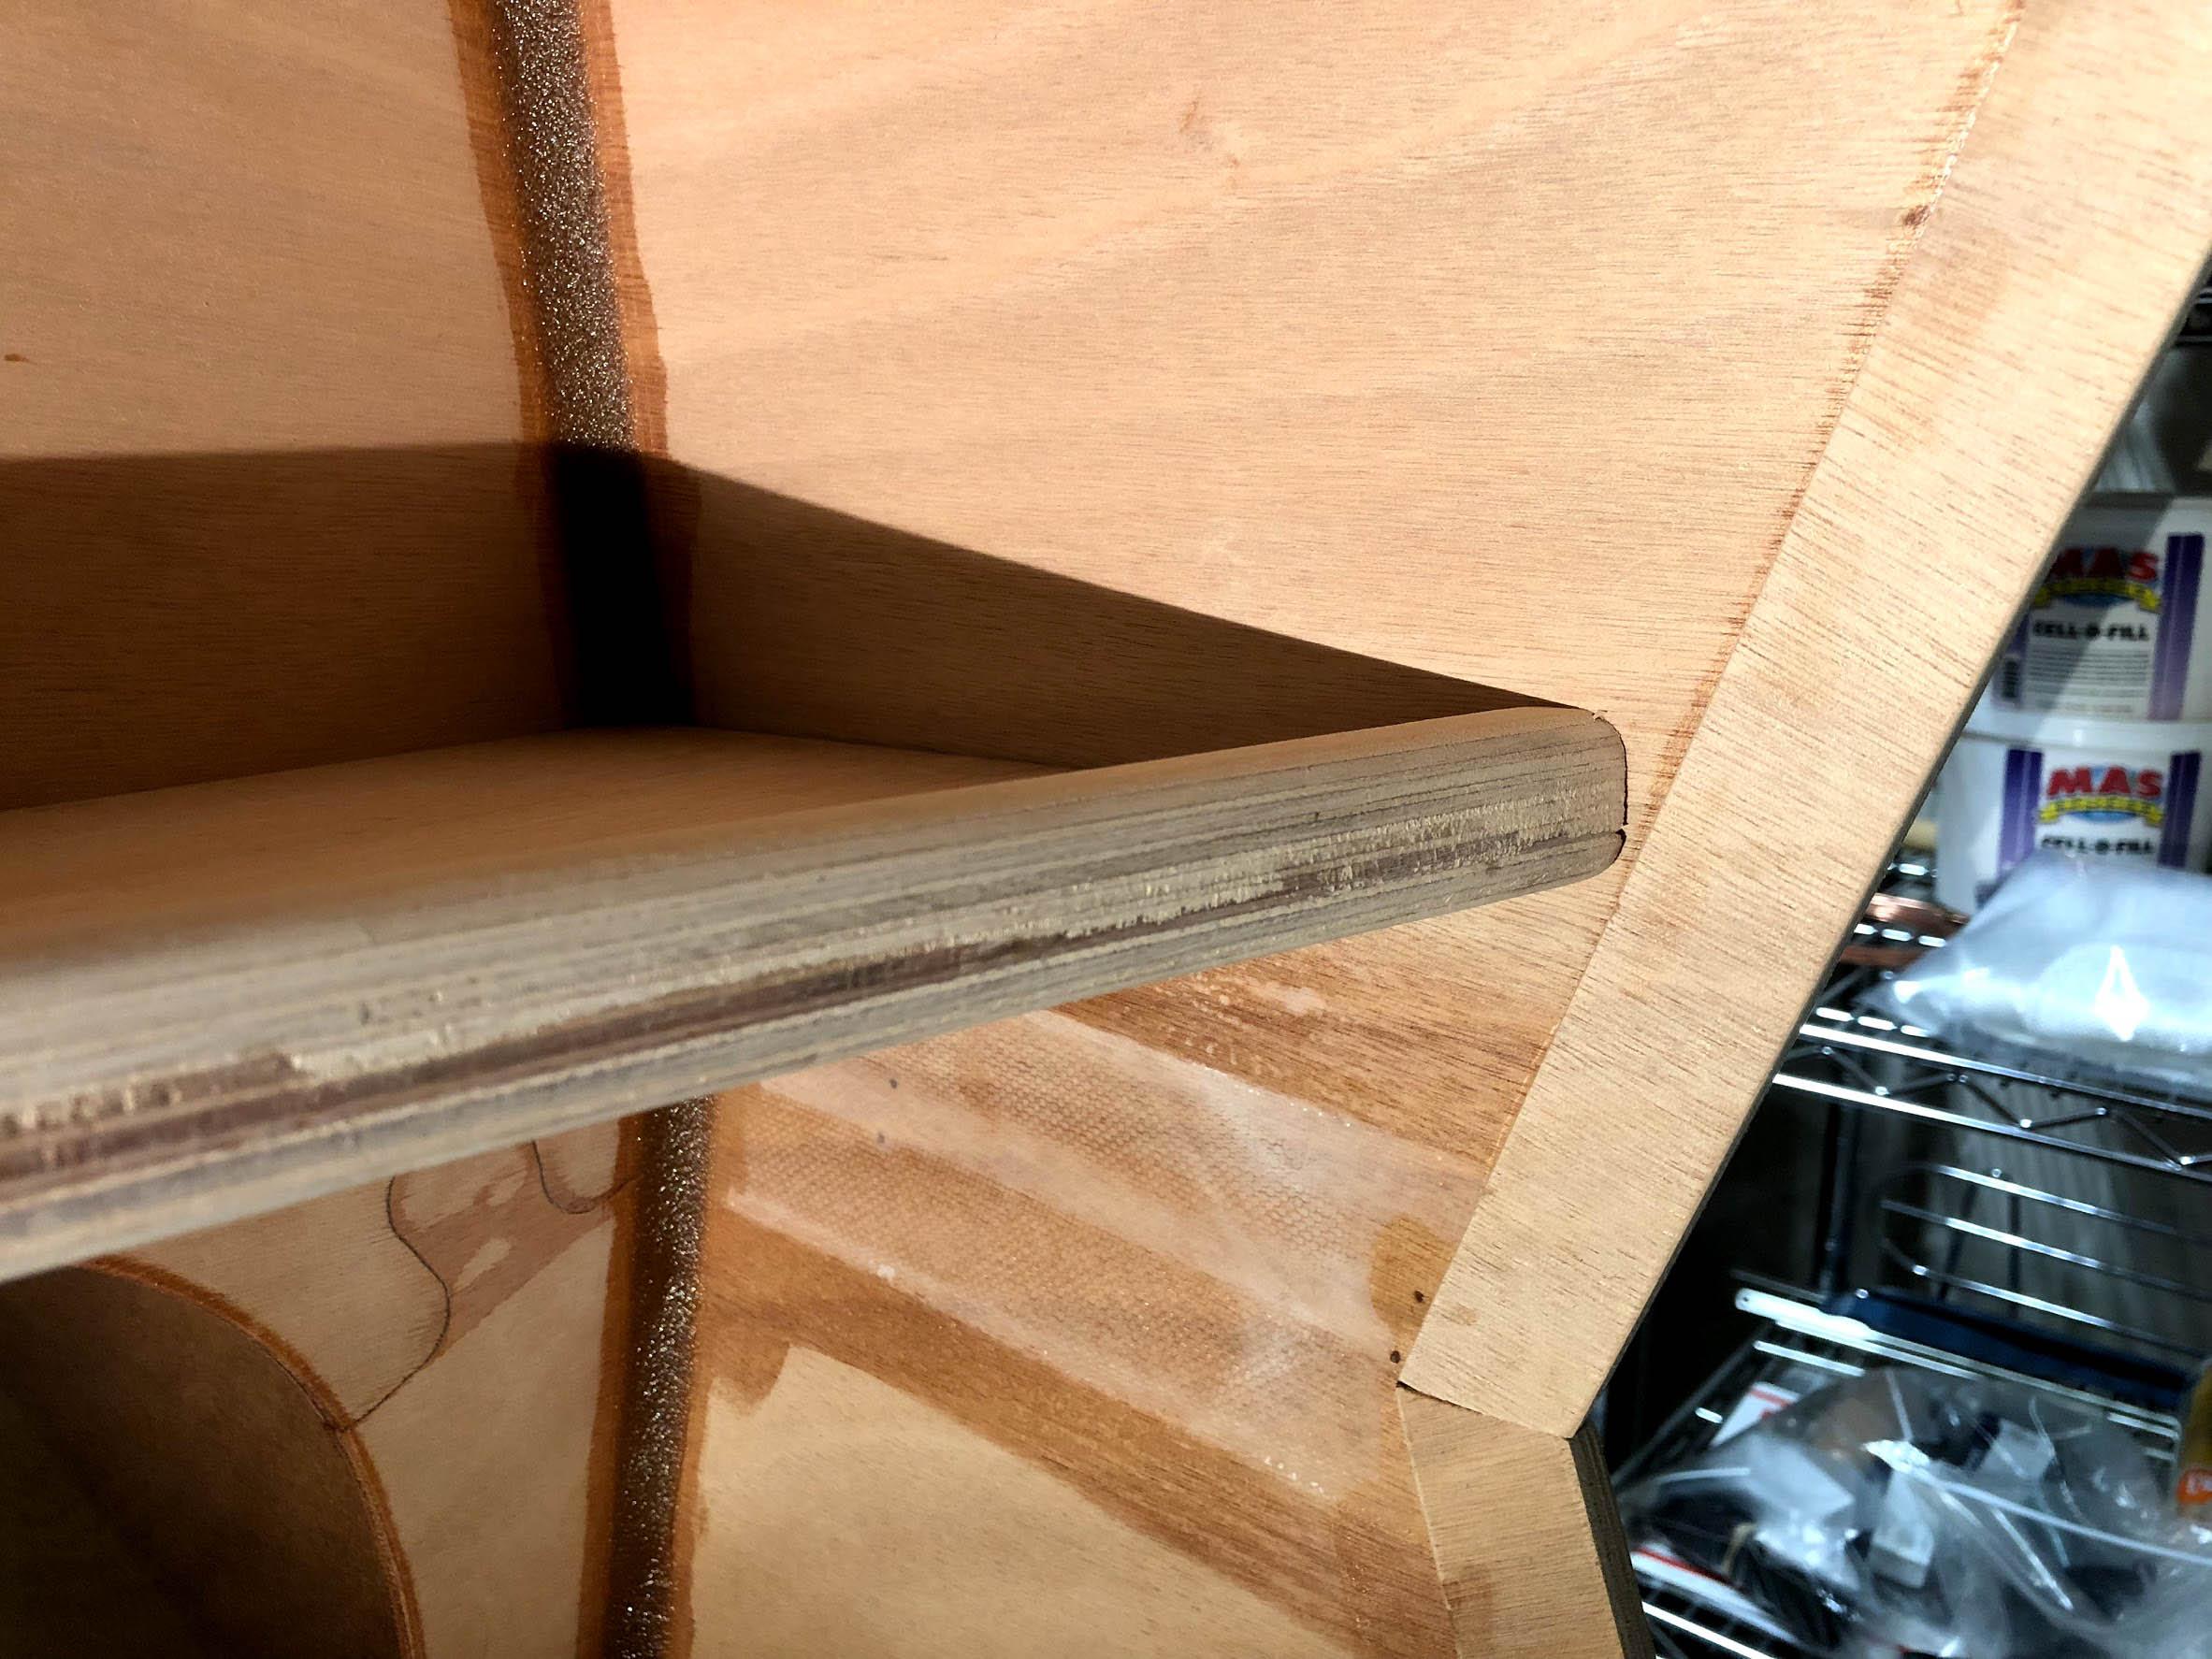
Decided to use the trailer bunks to build up my top hatch frame. As you can see, there is quite a bit of space to fill because the frame is flat and the shell is curved. I will be shaping the frame with a rasp and sander until the top matches the curvature of the shell. I really want the hatch to mount as flush as possible so a small part of the curvature will just be squished down a bit. I’m just winging it, but I think it’ll work great. More to come.
The trailer kit arrives this Friday…
April 30, 2018 at 4:50 pm #1808ArtisticAdam
ParticipantLooking good. It’s funny you mention the difficulty of getting the shelf in. For my first dry fit, after both door sills were installed, I spent a good 10 minutes trying different angles and orientations to get it in place. I eventually figured it out and had my wife record video of the procedure for future reference when I need to glue it in permanently. I’m on hold on that step until I make all of my cut-outs in the bulkhead for my cabinets and TV.
Looking at your progress for the roof hatch I assume you gave up on the option of bending it to match the curve of the shell. I’m not sure I follow your plan now but hope it works out for you.
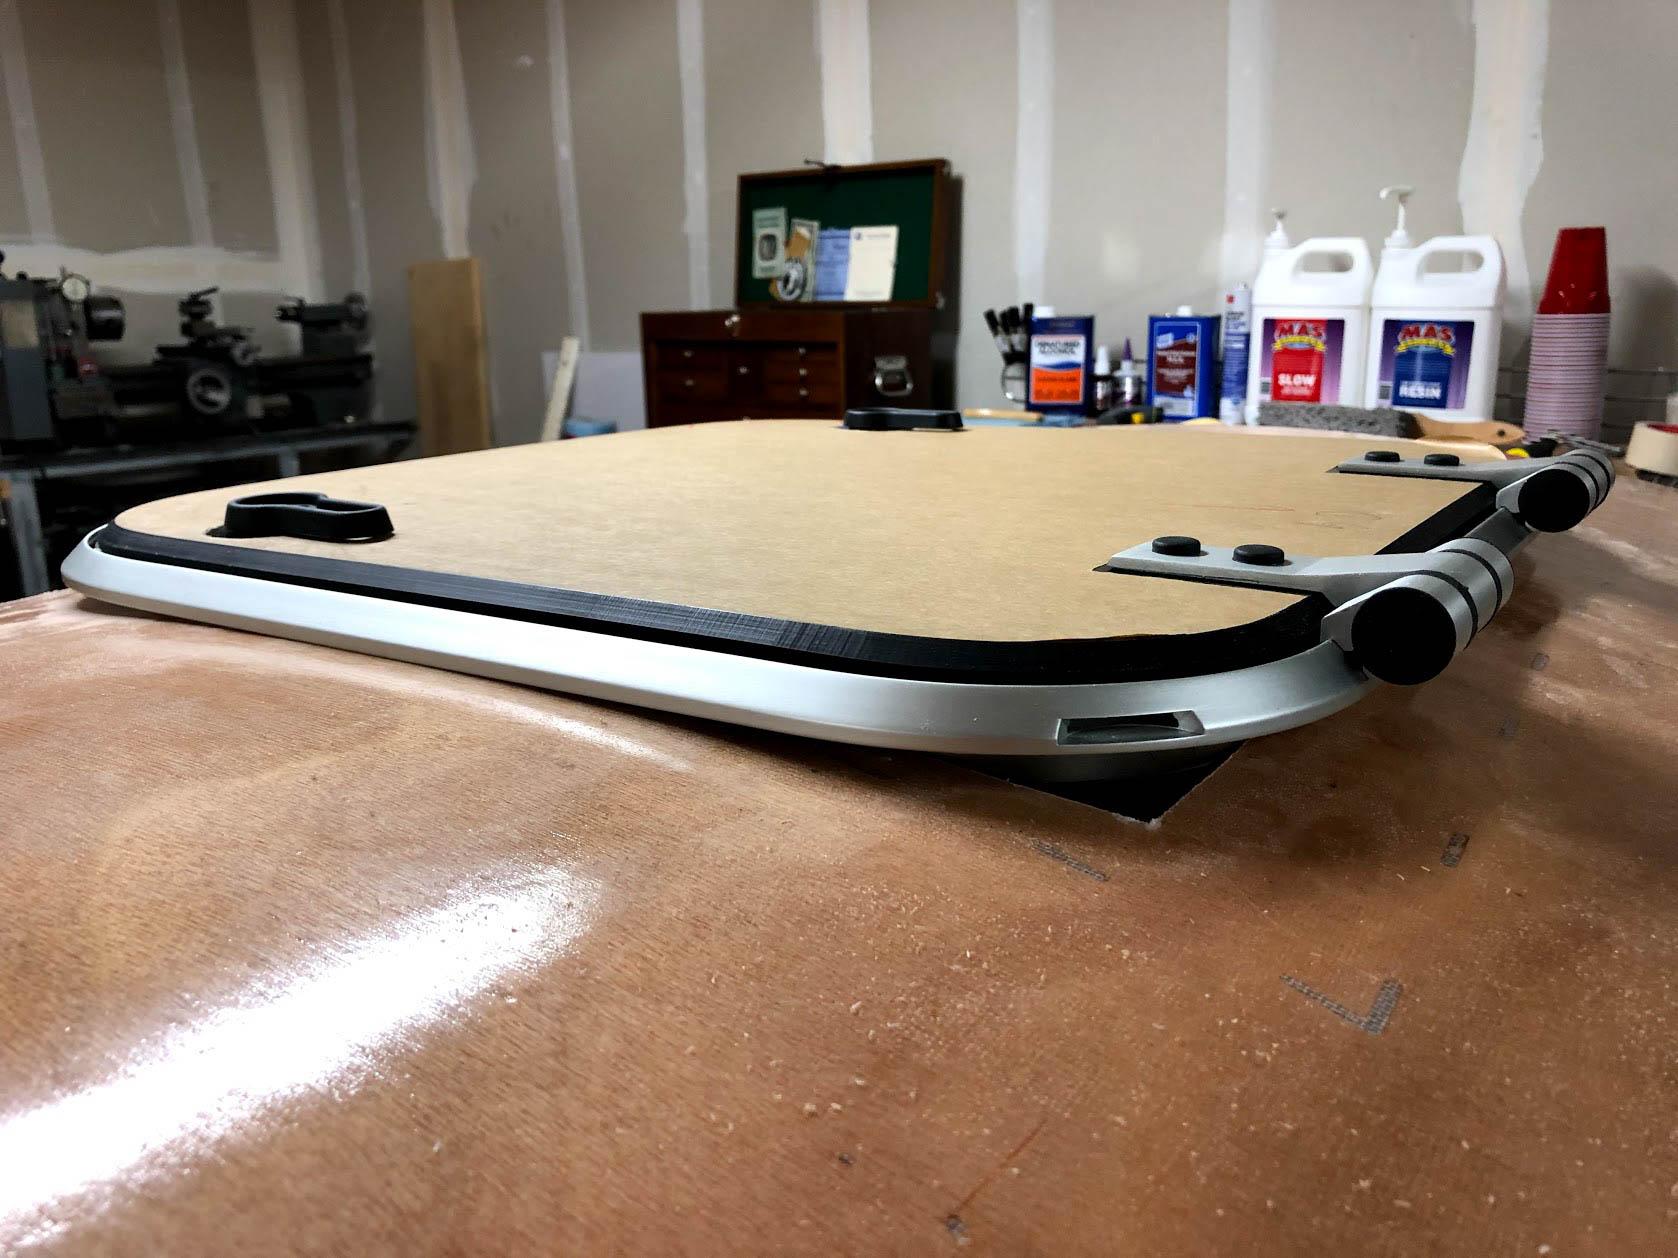
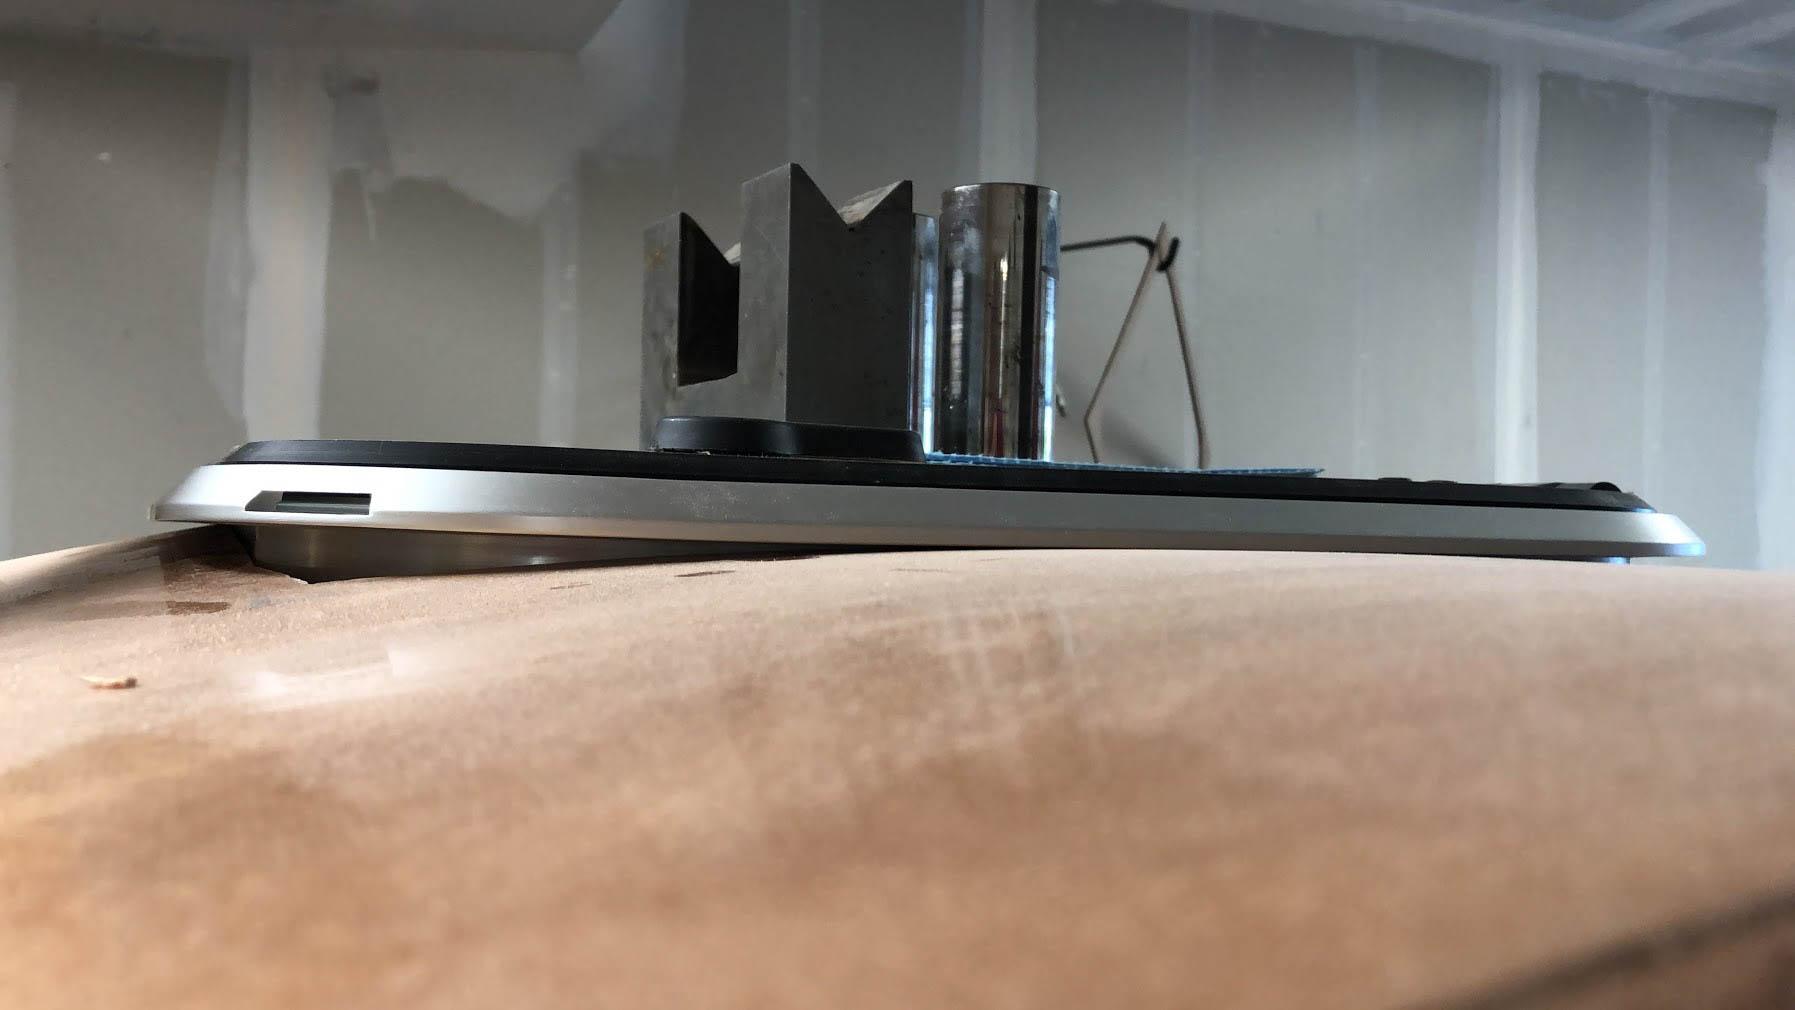
April 30, 2018 at 5:29 pm #1809ParticipantHere’s the hatch sitting in place with some weights on top. Not much gap to fill up here. I’ll basically just need to make some custom corner pieces. If I had a CNC mill, this would be easy but I’ll have to sculpt them by hand.
-
This reply was modified 8 years ago by
May 1, 2018 at 2:53 pm #1811Participant

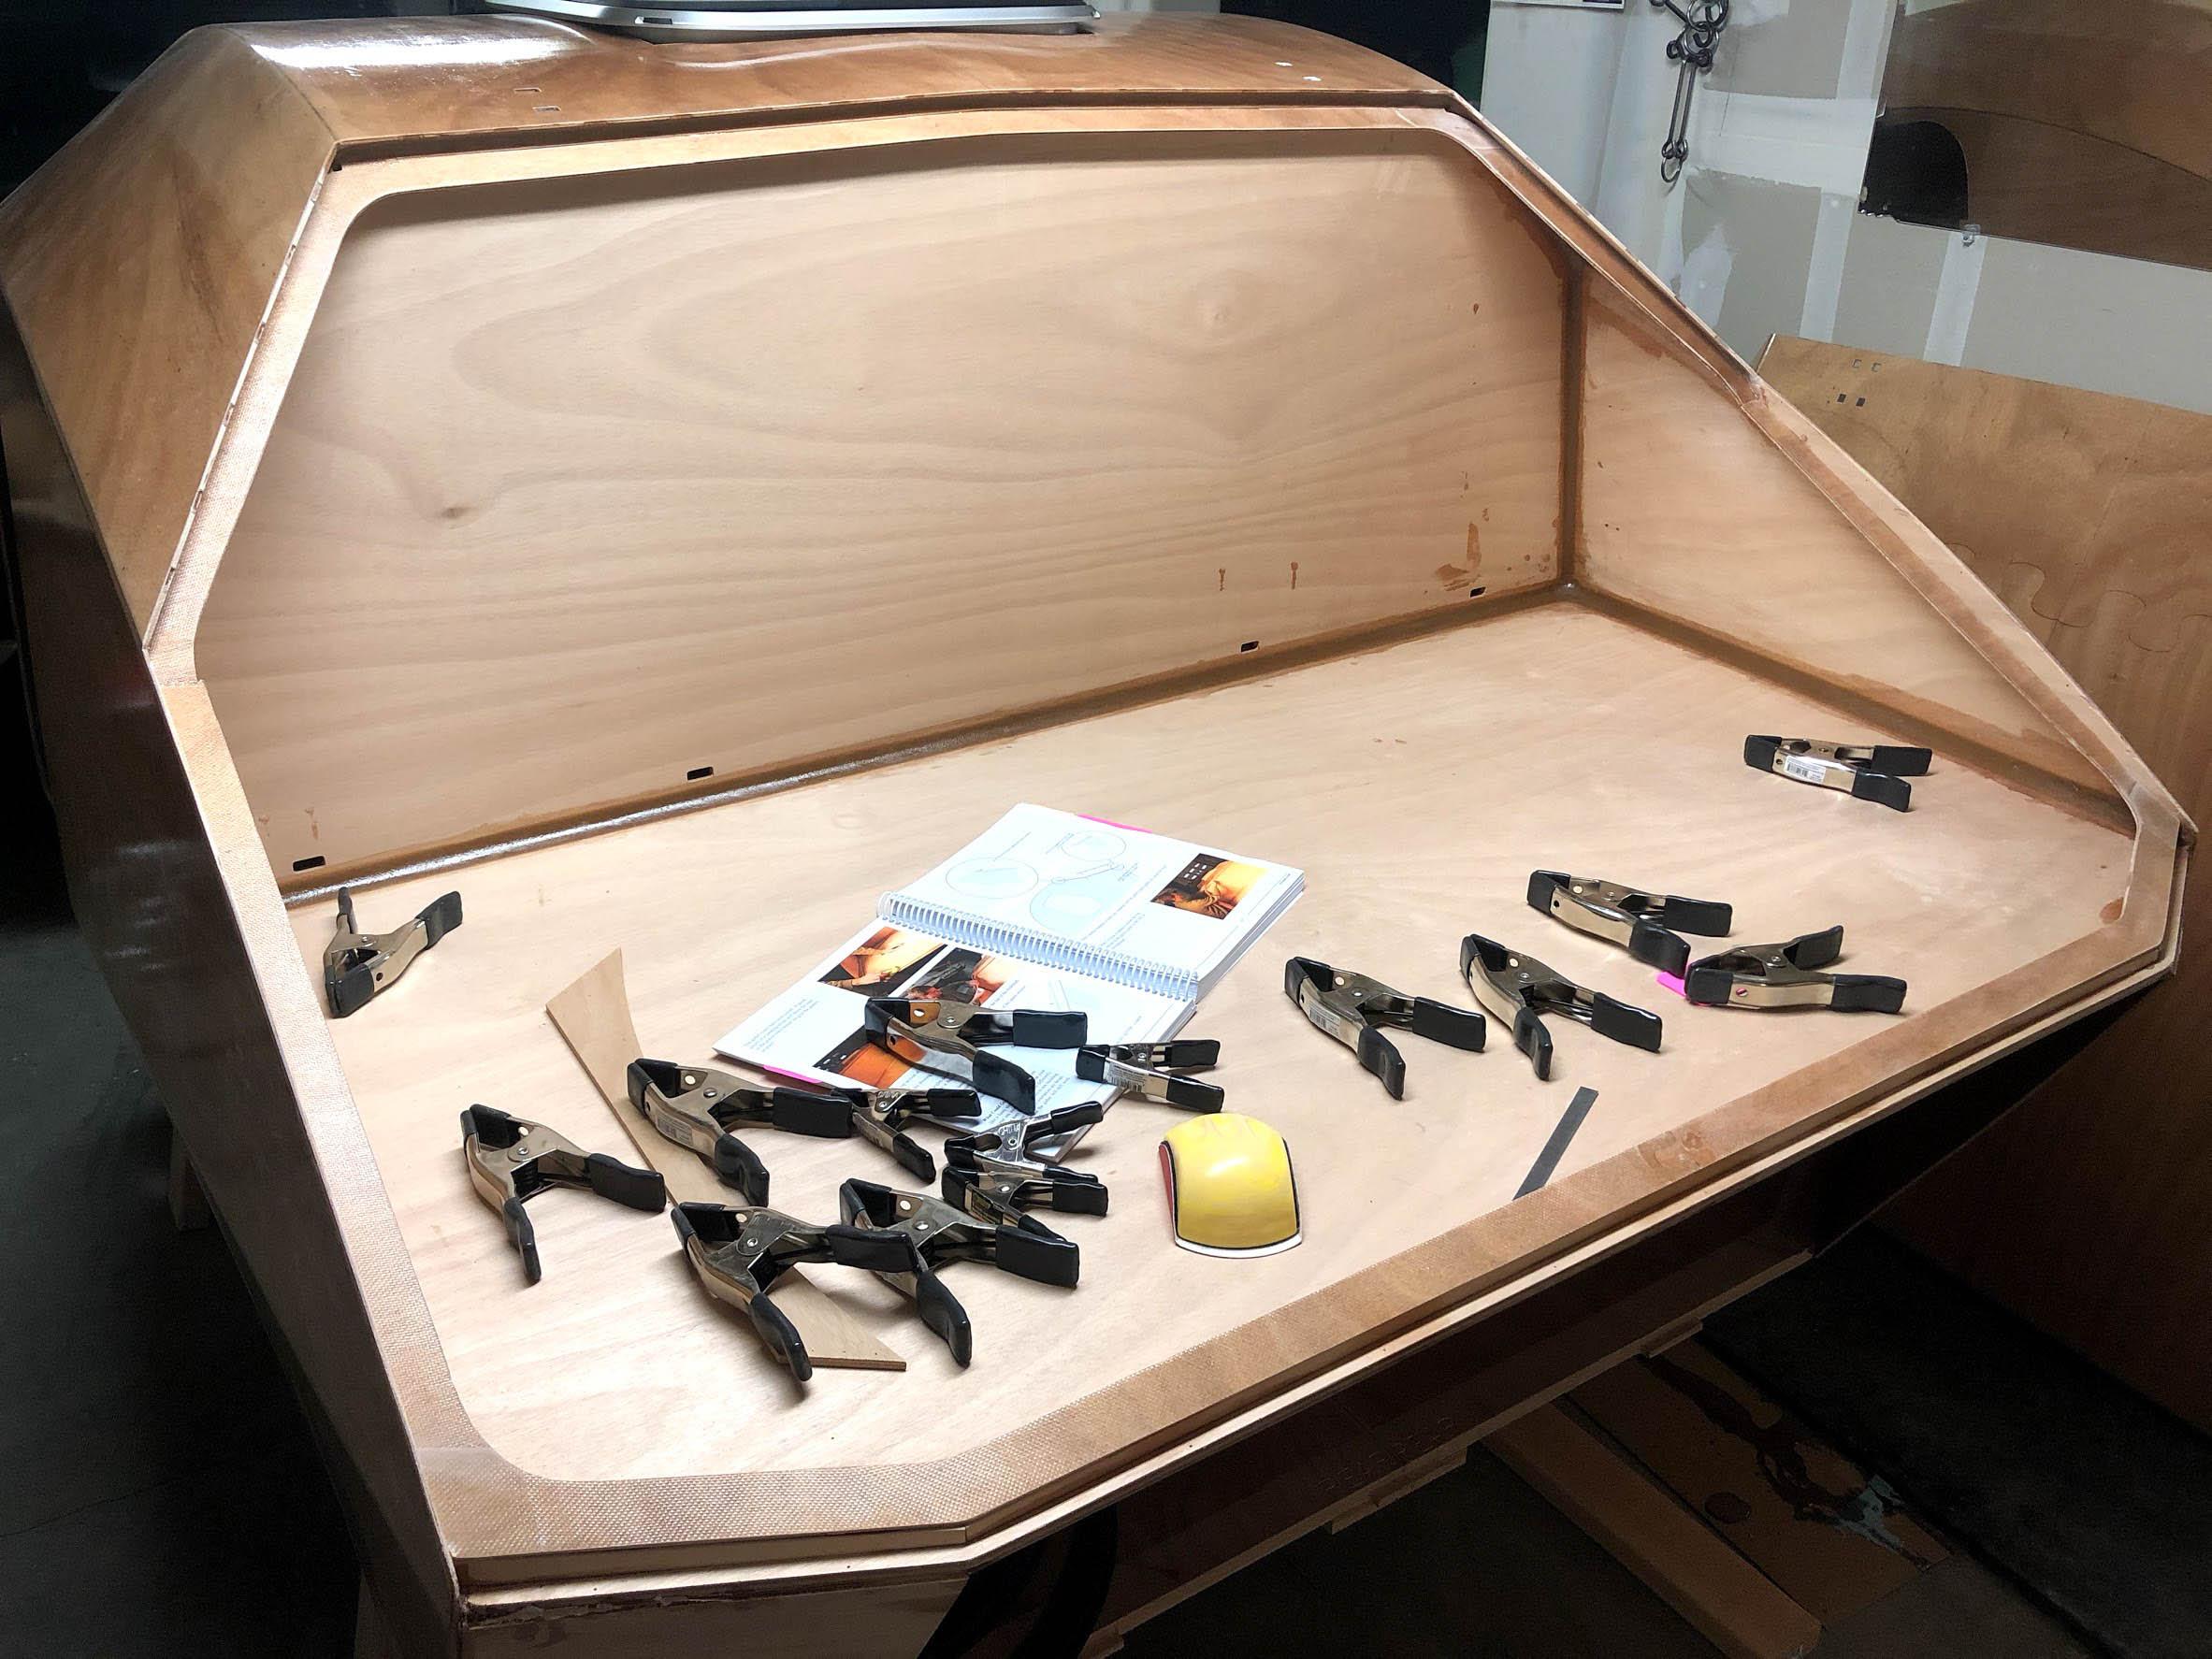
Getting there…
-
AuthorPosts
- You must be logged in to reply to this topic.