Welcome to TeardropForum.com › Forums › Teardrop Builders’ Forum › Install & epoxy top panels 1R & 1L b/4 installing panels 2R & 2L?
Tagged: Build Sequence
- This topic has 6 replies, 5 voices, and was last updated 6 years, 2 months ago by
ArtisticAdam.
-
AuthorPosts
-
May 2, 2018 at 6:27 pm #1813
mx5tc
ParticipantI completed the puzzle joints on roof panels 1R/1L and 2R/2L yesterday. In looking at how these 4 panels fit in the mold, it strikes me that is much easier (albeit slower for an experienced builder, which I am not) to install the #1 panels securely in the mold, stitch them in place with the copper wires (pgs 41-47 of CLC build manual) OMIT installing the #2 panels and then proceed to glue/epoxy/fiberglass tape the single seam of the #1 panels. Much easier to get the tape in place for the center seam on the #1s without the #2 panels in place and much less chance of having epoxy expire while one is scurrying about trying to get 3 seams done at once. The mold tabs and stitch holes index the panels in place so I don’t think this should cause any alignment problems. Any thoughts from the builders before me? I’m not overly concerned with how fast I can complete the shell; I’m more concerned with making sure that I take my time and work carefully on the camper shell seams that I’m going to see every time I’m in/around the camper.
Mitch
May 3, 2018 at 11:27 am #1814stretchMike
ParticipantGreetings and welcome to this adventure.
I think it is an excellent idea to epoxy/tape one seam at a time, at least to start. Particularly for first timers. I have built several kayaks with this method previously and still had problems doing the three seems at one go, largely because of miscommunication with my epoxy mixer!
While I like the idea of doing one seam at a time, not so sure about only laying in the #1 panels to start. I get your point about the alignment, but still think I would like to have the #2 panels wired in place before doing the #1 seam. As an average height guy, I had no problem stretching in to do the #1 seam.
Some other tips:
- when wetting out the tape do not go overboard brushing on epoxy over the tape. It should not need much and generally “less is more”. I find that running my gloved fingertips along the tape wets it out from the epoxy and putty underneath and results in a neat seam. As long as it goes clear that is all you need – do not worry about the weave showing through.
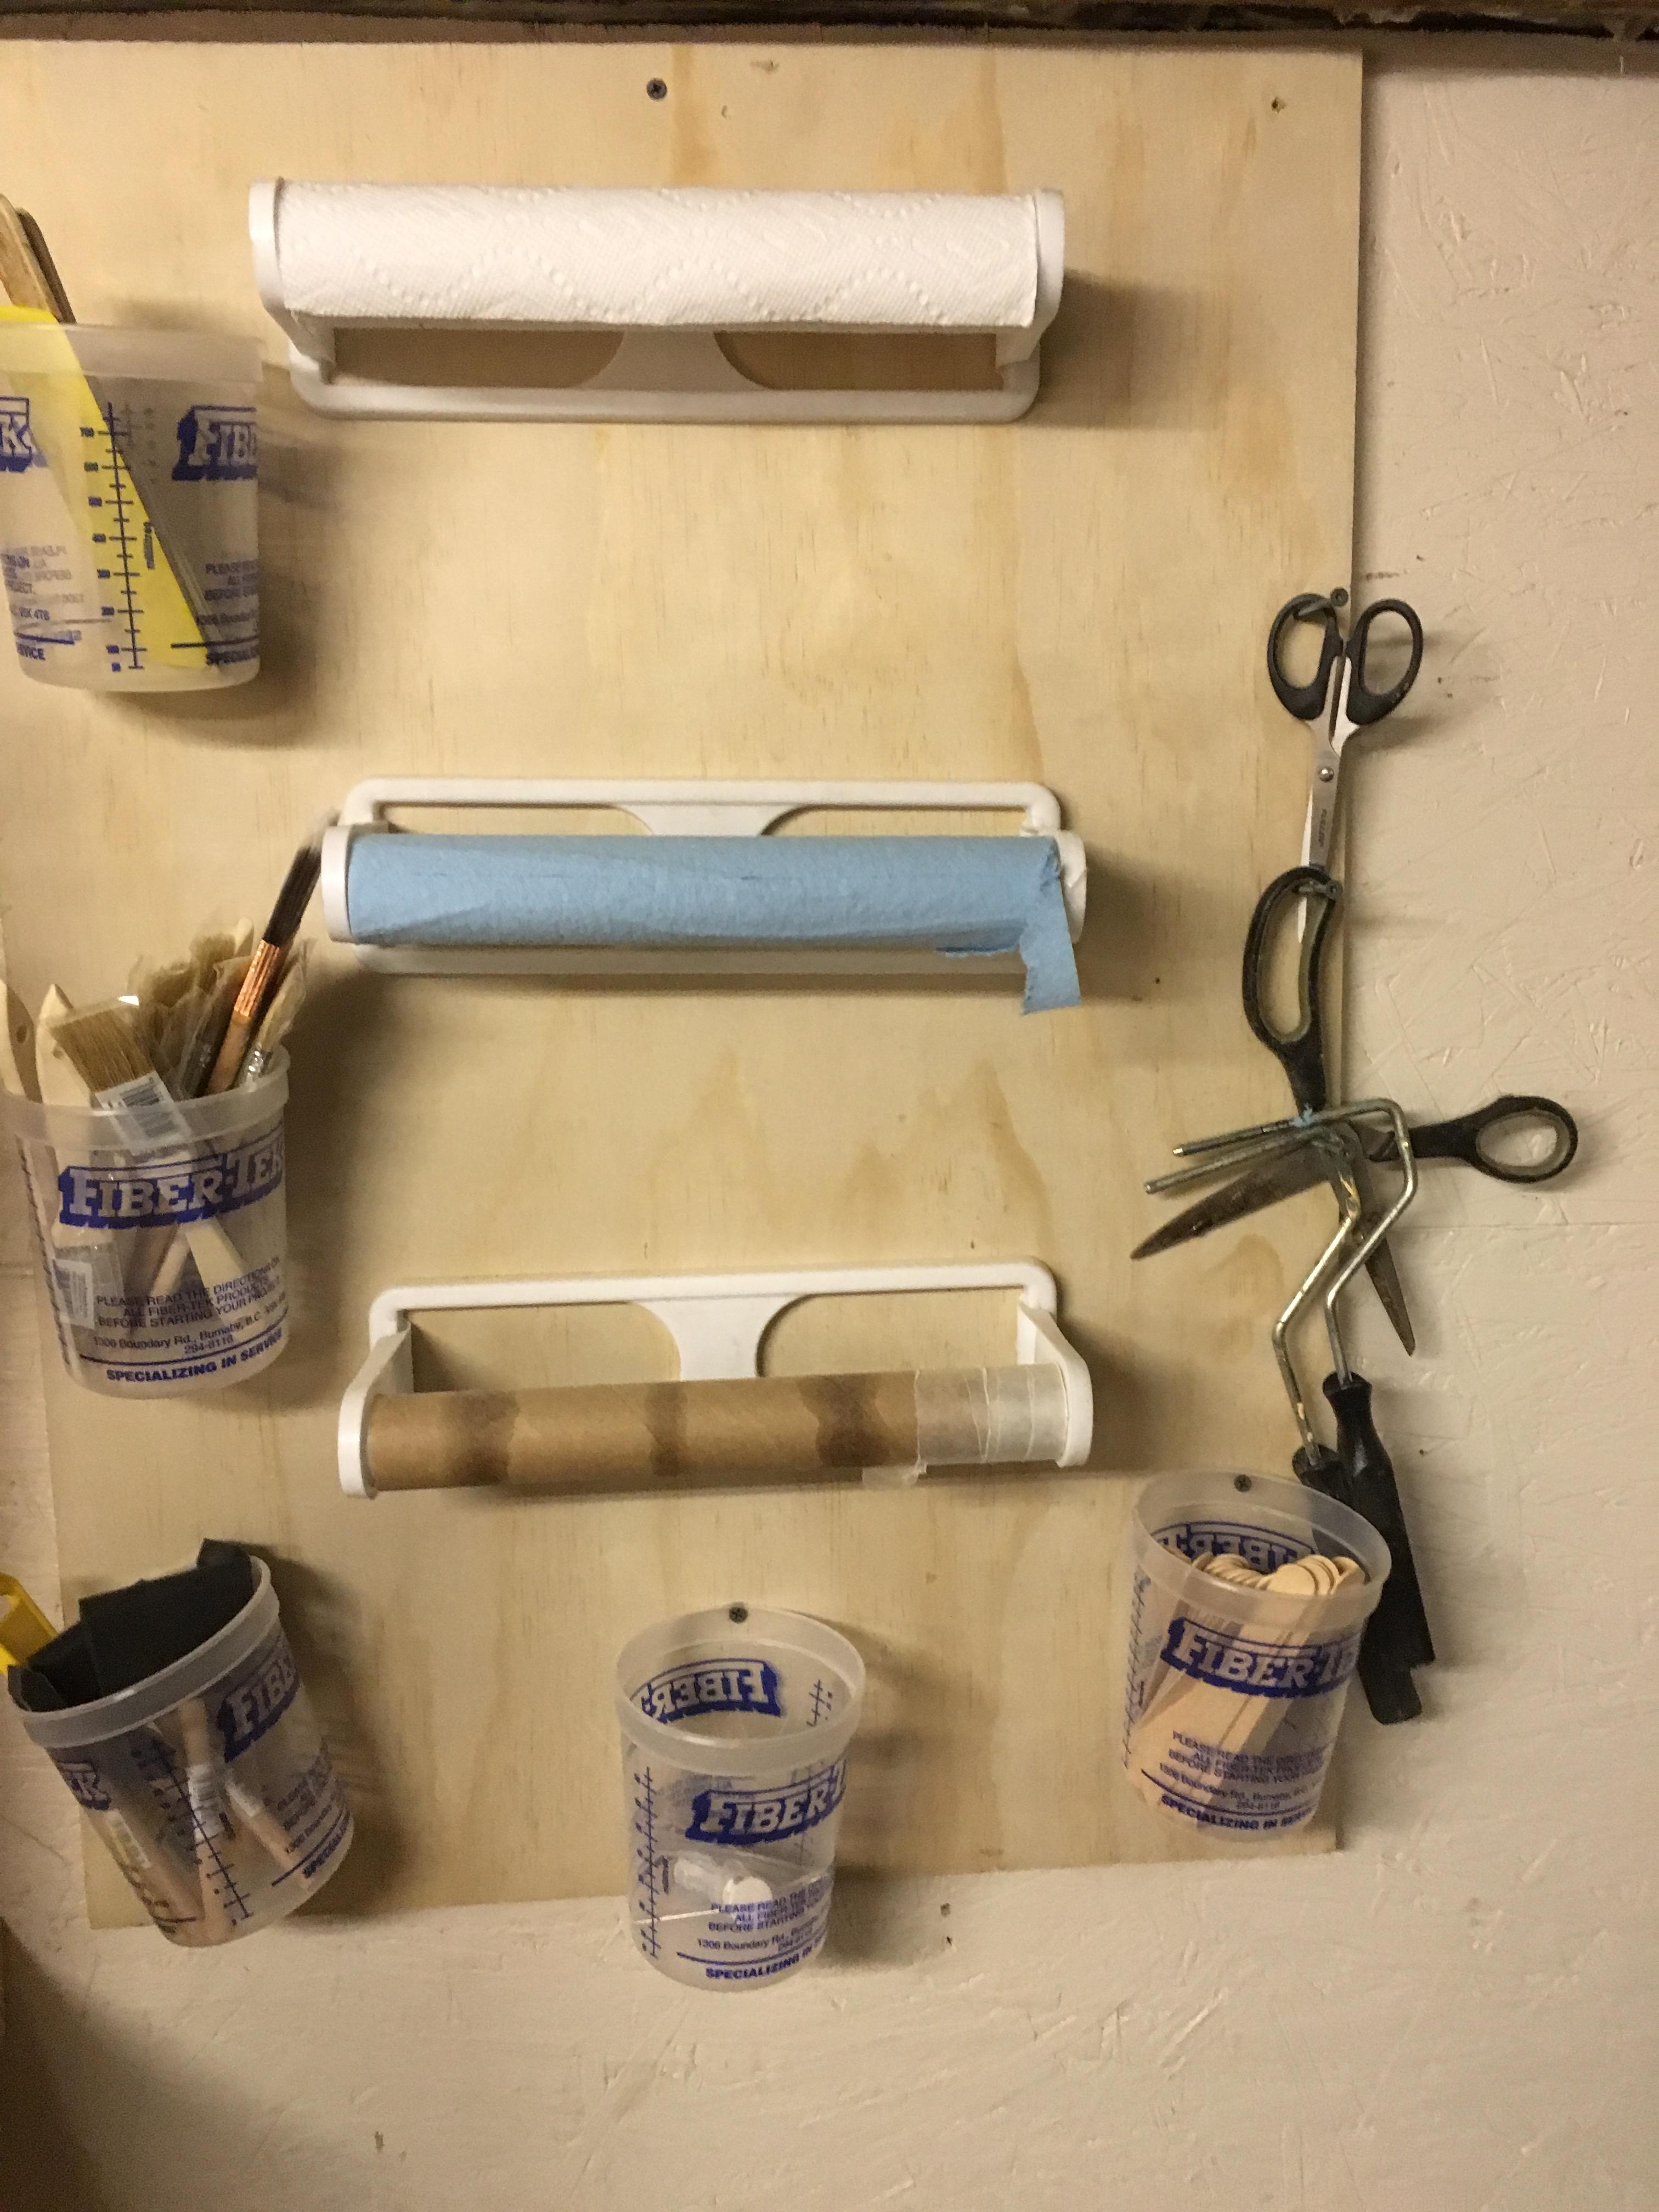
- secondly, organization and cleanliness is key throughout. I build a little supply station as in photo below so that I can easily grab brushes, towels etc one handed during the job. Nothing worse than having epoxy gloves and rummaging in a bag or box for supplies.
- take great care to keep your glass tape clean. A drop of hardened epoxy or a splinter on it will cause big problems later.
Go slowly and read and reread the manual and have fun.
 May 3, 2018 at 12:19 pm #1815Participant
Mike,
Thanks for your suggestions! I like the 1-handed supply station you have devised. What do you keep on the lowest paper towel holder, waxed paper?? I’ll have to setup something similar for my work area…I’ve already experienced “fumbling for supplies” in the process of doing the puzzle joint seams.
Mitch
May 4, 2018 at 9:50 am #1816ParticipantYes, sharp eyes – it was wax paper. I prefer to use it instead of poly for jobs like your puzzle joints. Lies flat and easier to work with.
May 4, 2018 at 3:41 pm #1817Dan
ParticipantWelcome!
You want the panels to index to each-other… not to the mold. I think that’s why you need to install them together. My CNC cut mold straight from the factory wasn’t an exactly perfect fit. It was a tad bit too big in a few places… probably by design.
For those first three big seams, I recommend doing them one at a time. Those were the first I had ever done and doing three at once was very stressful and I ended up with some problems. Looking back, the center seam was very easy with a roller and a 3ft handle, but the sides are very finicky. The tape WILL conform to the curves, but it can be very difficult to reposition once it has stuck the the fillet. If I could go back and do it again I would do those first three seams one at a time. I would also pre-saturate the fiberglass tape for the side seams and lay it on already wet. I think this is SOOOO much easier and more forgiving than saturating the tape in place. Just spread some painter’s plastic out on a flat surface, weight it down, and saturate the tape on that. Then you can roll up the wet tape and go carefully unroll it onto your filleted seam. Then your fingers and a roller and/or a spreader (see below) can massage it and the fillet into shape.
Here are some general recommendations:
- Get a foam roller that can handle epoxy and use it instead of a brush whenever you can for saturating glass
- Get epoxy spreaders which are also good for saturating and work great for removing excess epoxy
- Do not skip finish steps when applying cosmetic epoxy: roll it on for an even coat then tip with a brush to pop little air bubbles
- Go to Costco and get a big pack of those blue shop towels. You’ll want LOTS of them.
- One small improvement on Mike’s one-handed station: before you start any epoxy work, take an entire roll and tear the individual towels apart to make a nice stack which you can grab from one-handed. It’s a small thing, but the small conveniences add up. 😉
- I made an epoxy stirrer out of a long carriage bolt with a washer glued to the end at a slight angle. I can chuck that into my drill and mix epoxy for days
- If the epoxy in your cup starts to get warm that means it’s beginning to set up. Very soon thereafter it will jell a bit and become unable to soak into the fiberglass cloth. Make a new batch and get a fresh brush/roller or you’ll end up with a literal hot mess.
May 6, 2018 at 1:14 am #1818western_flyer
ParticipantI wired 1s & 2s together first but tape them individually.
May 7, 2018 at 11:56 am #1820ArtisticAdam
ParticipantI’m sure you could go ahead and stitch then tape and epoxy the first seam without the other two panels in place without a problem. The indexing in the mold and wiring it down will hold its position and shape. However, I followed the steps in the manual and had no problems accessing the center seam by tipping the mold from bow to stern a little. The hardest part with the center seam was actually towards the front where its almost vertical. Tipping the mold by placing the intercostals on some paint cans made that part a lot easier (just take caution not to rack the mold frame at this step, keep it square and aligned).
I will also add a couple of tips from experience. The fiberglass tape has one edge where the weave loops back on its self called the selvage. I used a nice sharp pair of scissors to carefully trim this off just prior to laying down the strip over the seam. The selvage ends up creating a thicker edge when epoxied which will require more sanding later. Keep in mind that if you choose to go this route you will have to be a little careful of pulling loose threads.
The second tip is for when you get to the curved seams and even applies to the large fiberglass step later. Fiberglass cloth will conform to a curved surface easier if you lightly “pat” the bubbles down with your hand as apposed to forcing it with a tool or stretching it. Start from the center and work your way out by lightly patting the fabric and let the fibers move slightly to conform to the curvature. Use pushpins if you need to hold it in place but NOT tape. Tape will leave a residue and pull up loose threads.
Good Luck, and keep us posted on your progress.
-
AuthorPosts
- You must be logged in to reply to this topic.