Forum Replies Created
-
AuthorPosts
-
May 4, 2018 at 3:41 pm in reply to: Install & epoxy top panels 1R & 1L b/4 installing panels 2R & 2L? #1817
Dan
ParticipantWelcome!
You want the panels to index to each-other… not to the mold. I think that’s why you need to install them together. My CNC cut mold straight from the factory wasn’t an exactly perfect fit. It was a tad bit too big in a few places… probably by design.
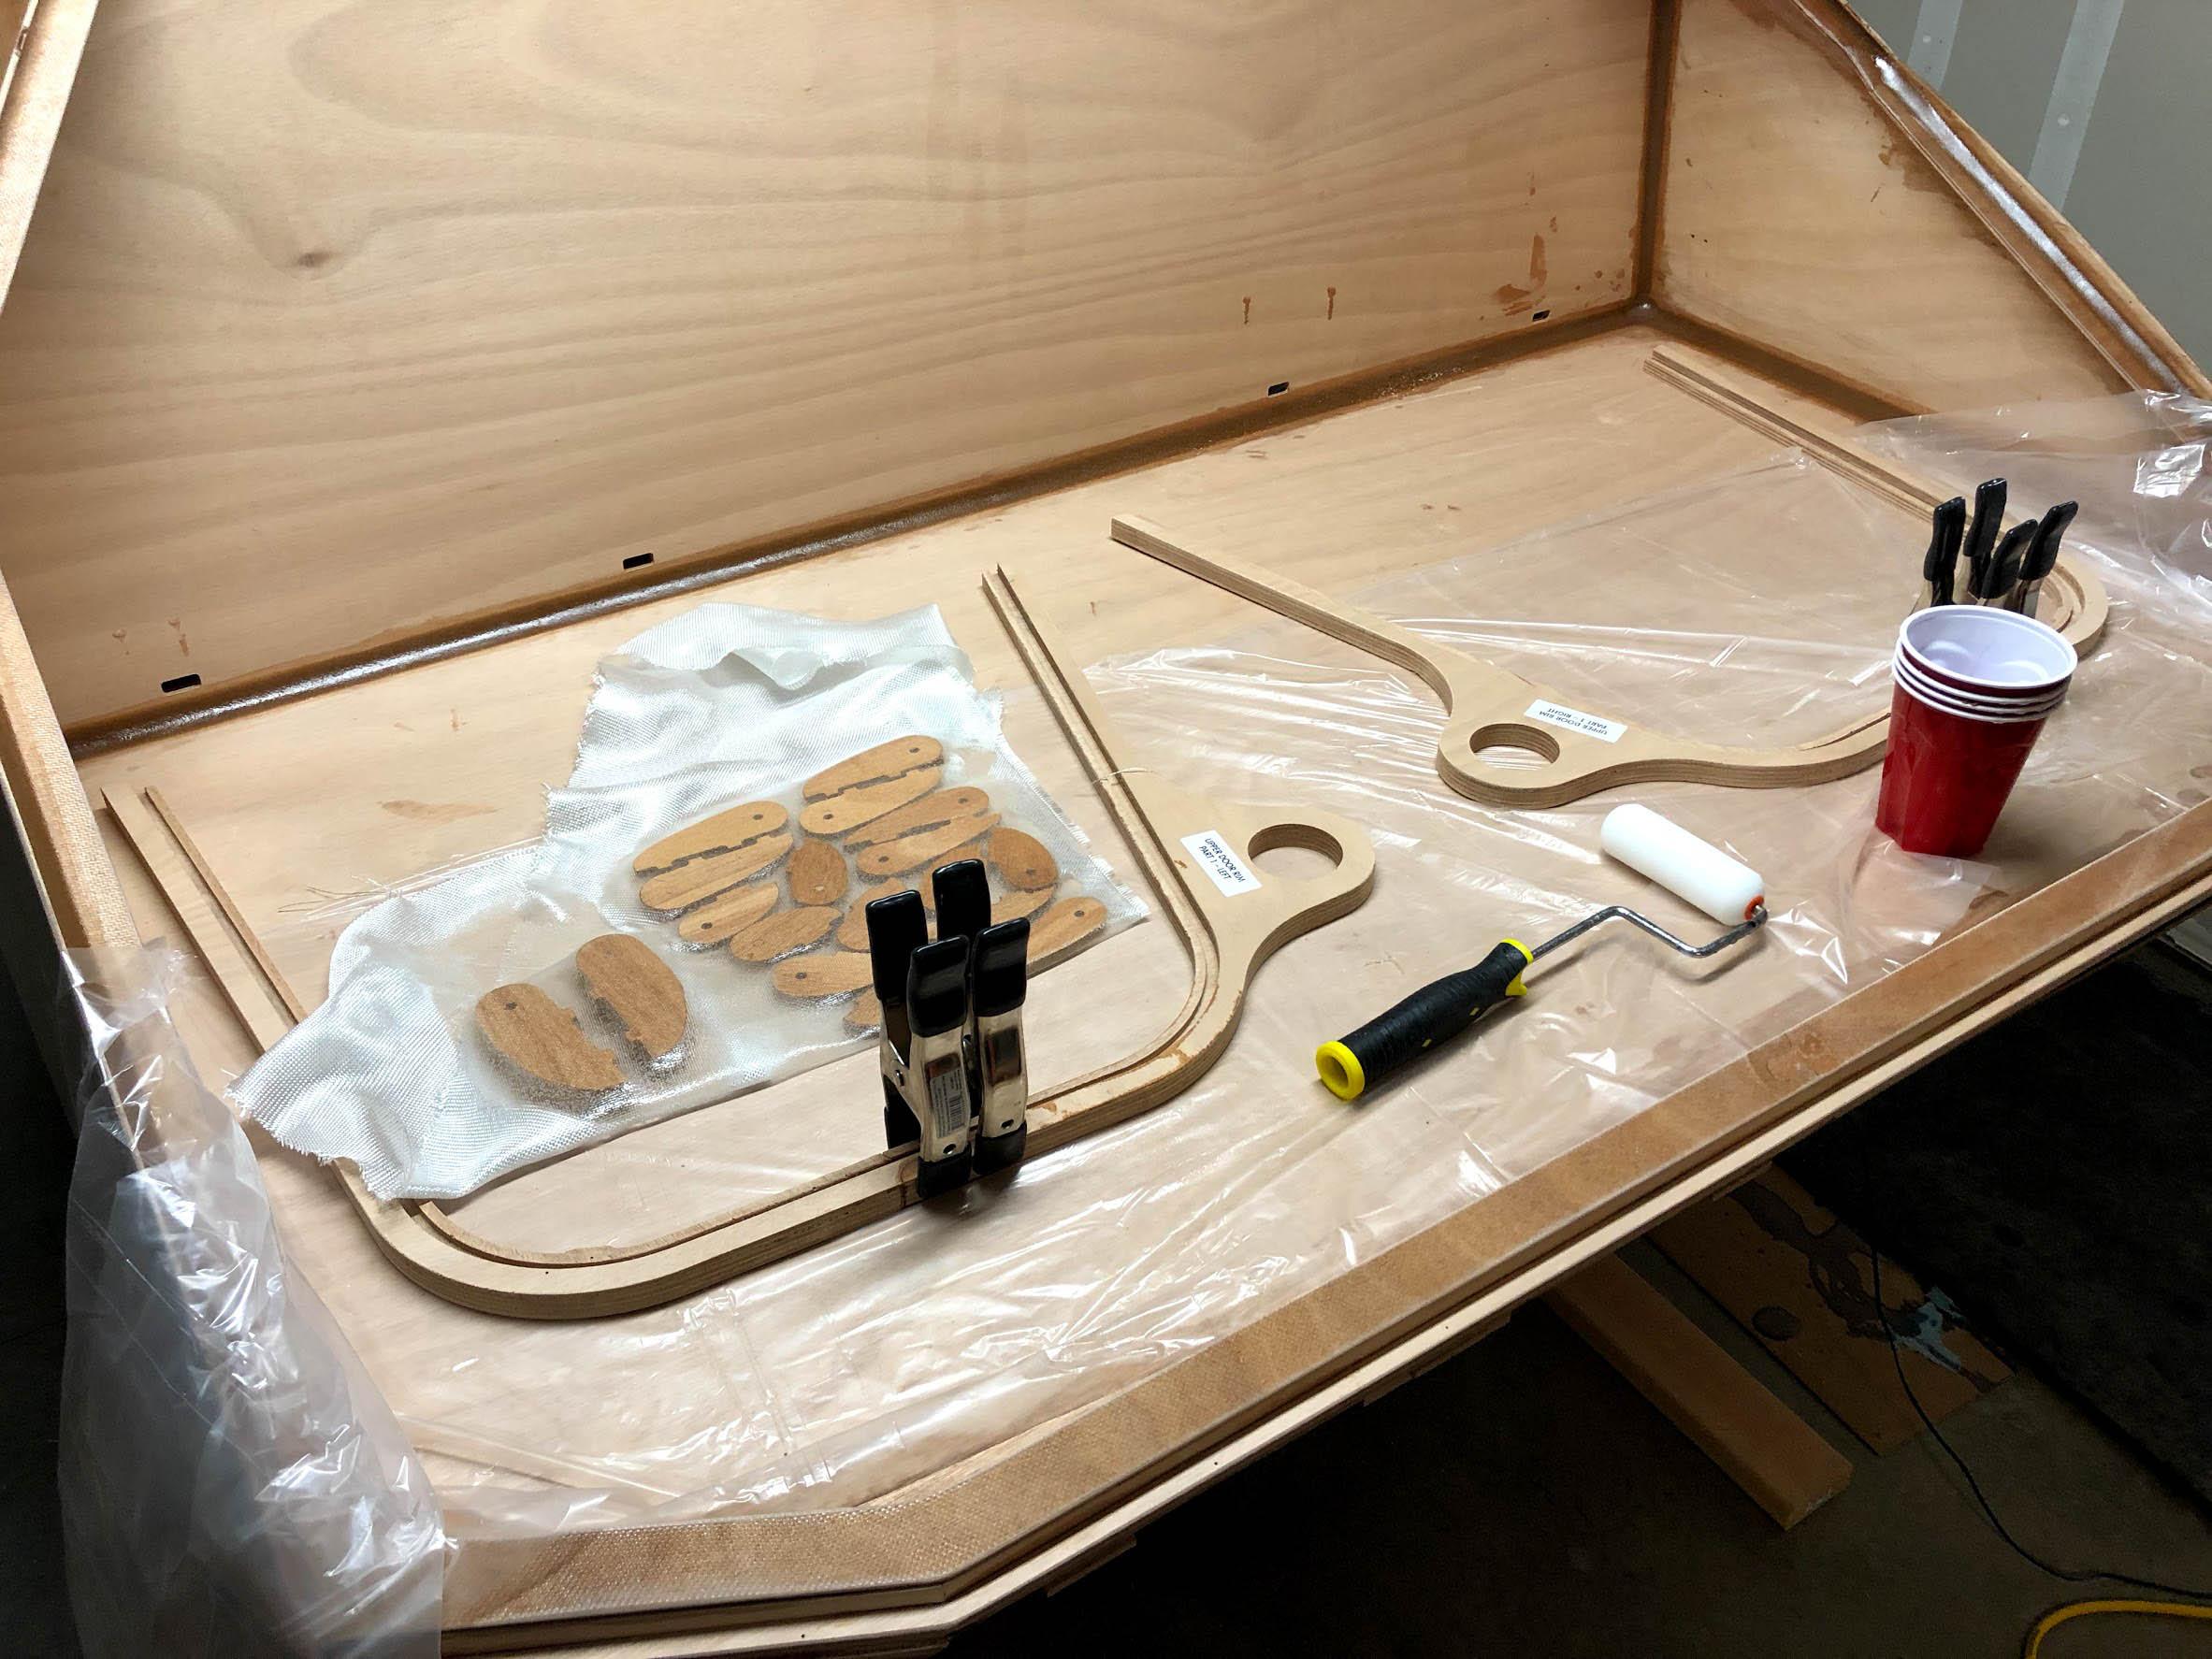
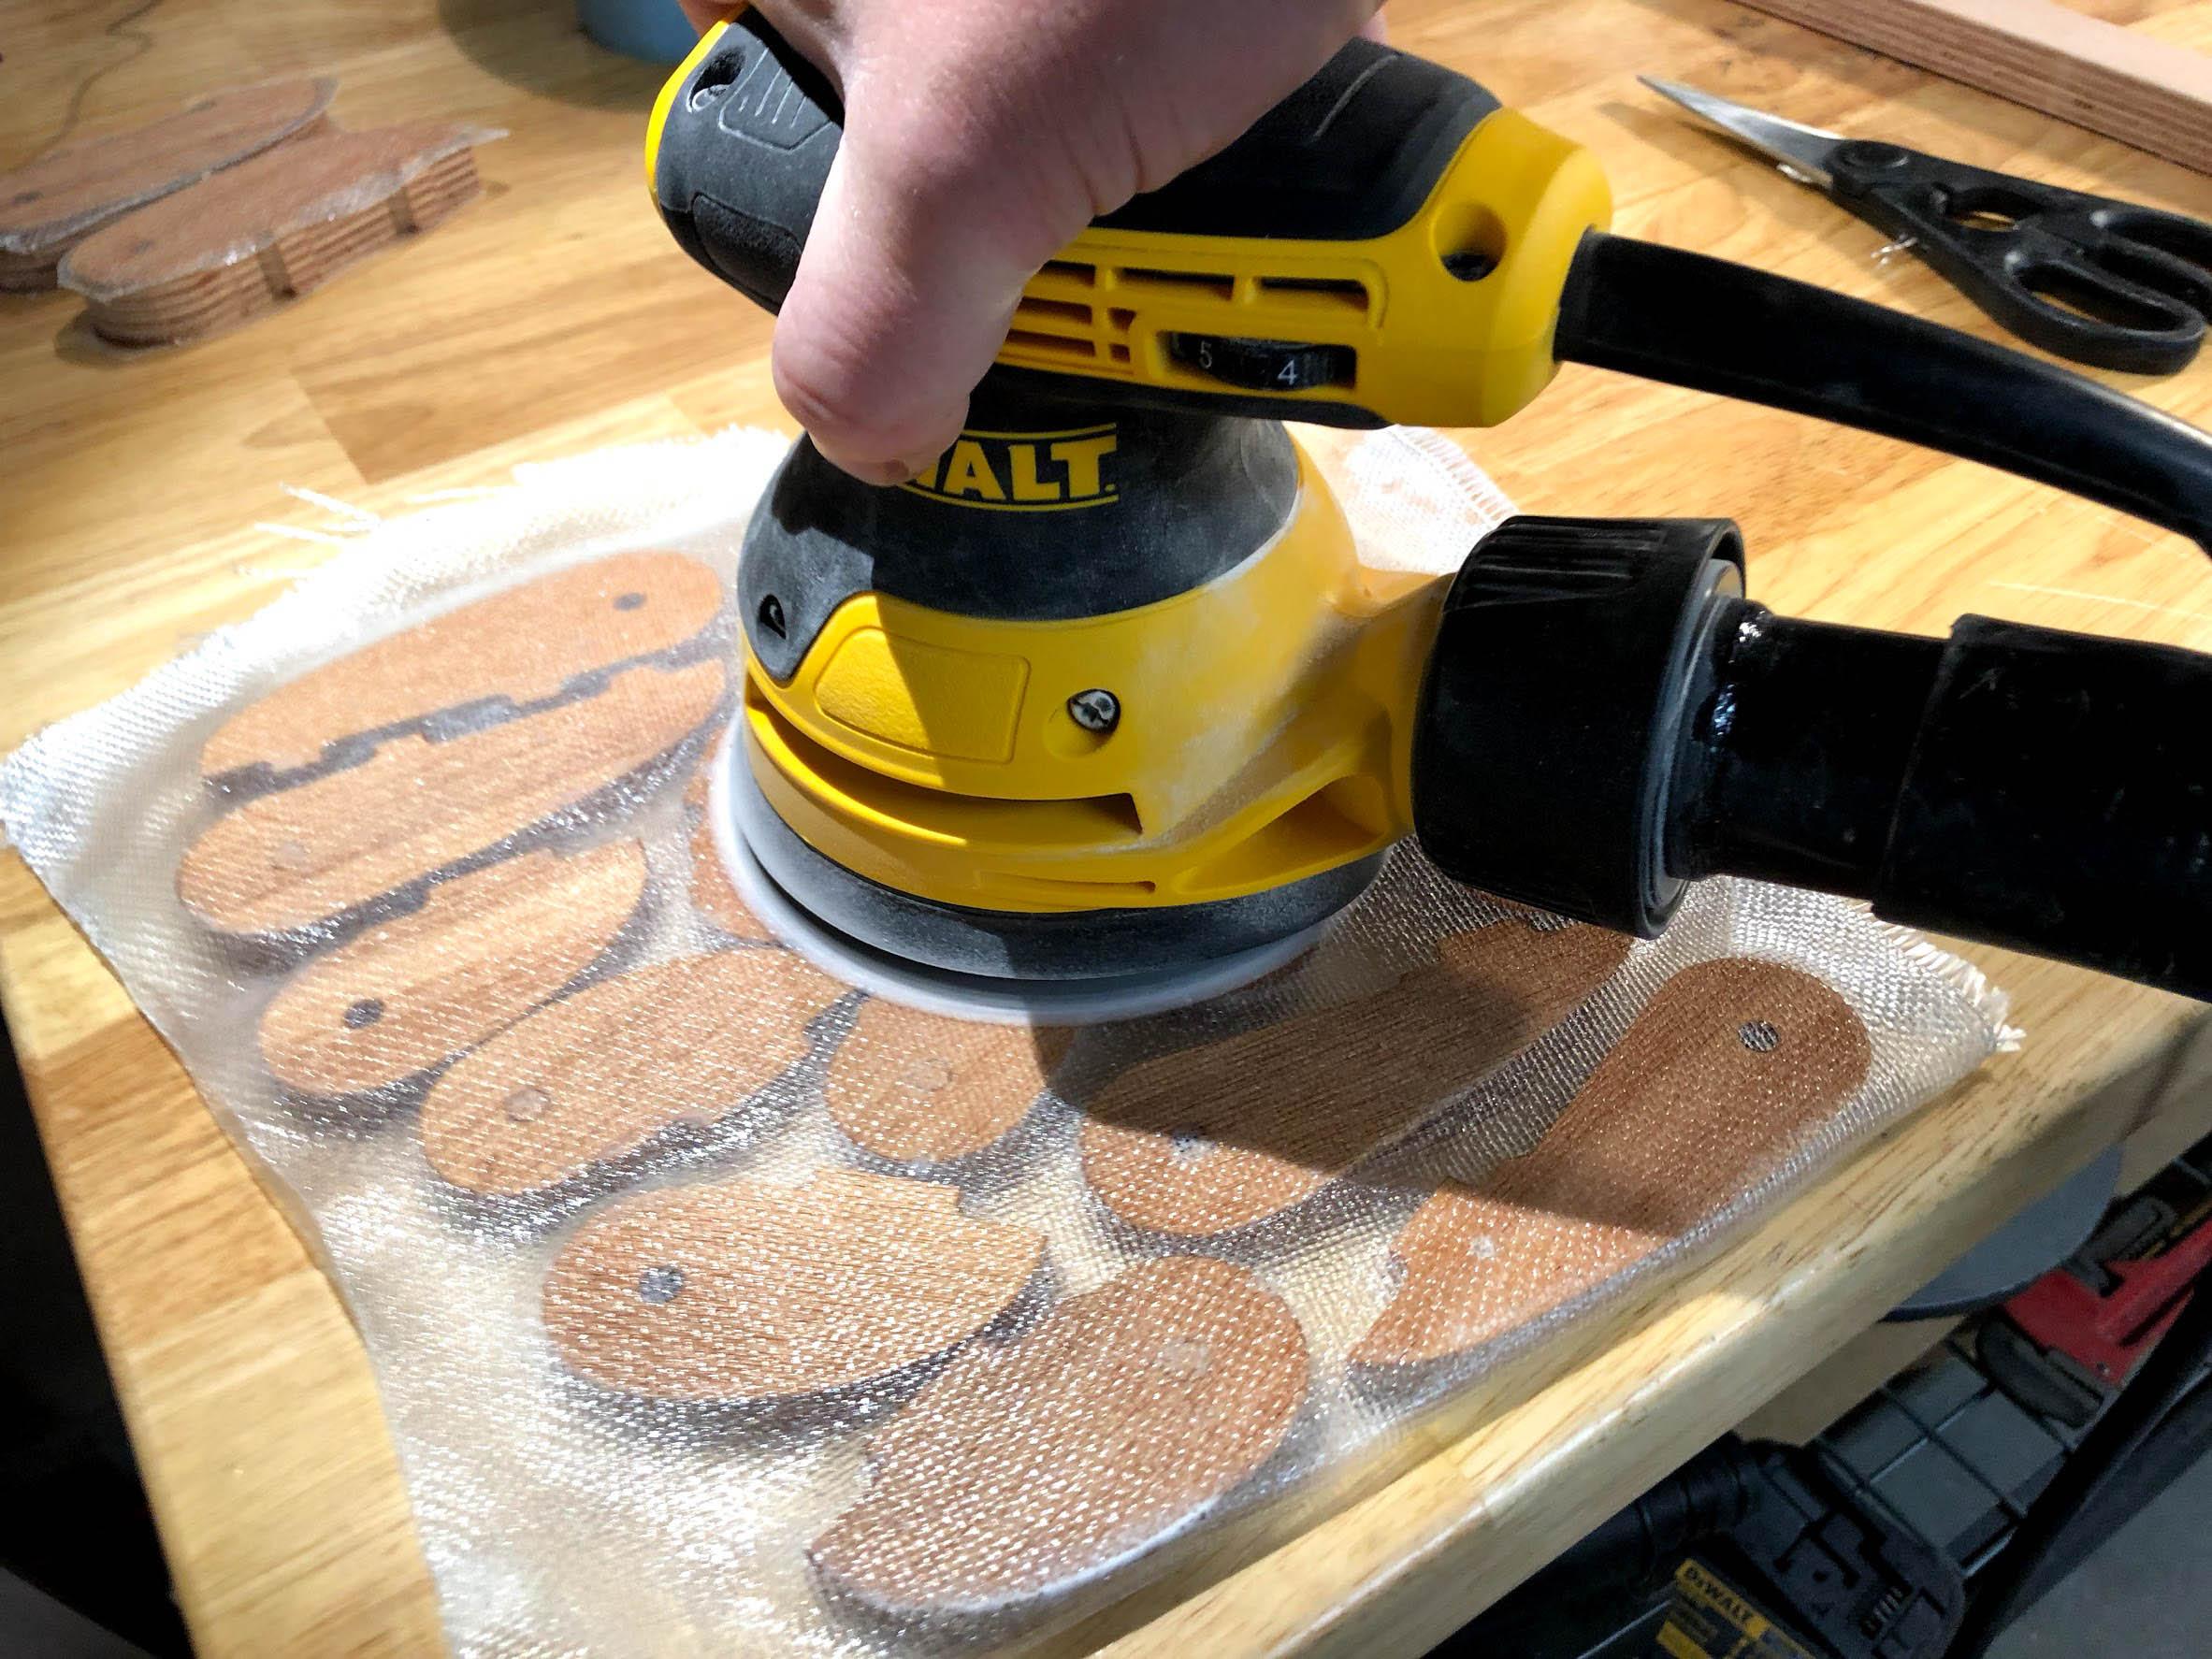
For those first three big seams, I recommend doing them one at a time. Those were the first I had ever done and doing three at once was very stressful and I ended up with some problems. Looking back, the center seam was very easy with a roller and a 3ft handle, but the sides are very finicky. The tape WILL conform to the curves, but it can be very difficult to reposition once it has stuck the the fillet. If I could go back and do it again I would do those first three seams one at a time. I would also pre-saturate the fiberglass tape for the side seams and lay it on already wet. I think this is SOOOO much easier and more forgiving than saturating the tape in place. Just spread some painter’s plastic out on a flat surface, weight it down, and saturate the tape on that. Then you can roll up the wet tape and go carefully unroll it onto your filleted seam. Then your fingers and a roller and/or a spreader (see below) can massage it and the fillet into shape.
Here are some general recommendations:
- Get a foam roller that can handle epoxy and use it instead of a brush whenever you can for saturating glass
- Get epoxy spreaders which are also good for saturating and work great for removing excess epoxy
- Do not skip finish steps when applying cosmetic epoxy: roll it on for an even coat then tip with a brush to pop little air bubbles
- Go to Costco and get a big pack of those blue shop towels. You’ll want LOTS of them.
- One small improvement on Mike’s one-handed station: before you start any epoxy work, take an entire roll and tear the individual towels apart to make a nice stack which you can grab from one-handed. It’s a small thing, but the small conveniences add up. 😉
- I made an epoxy stirrer out of a long carriage bolt with a washer glued to the end at a slight angle. I can chuck that into my drill and mix epoxy for days
- If the epoxy in your cup starts to get warm that means it’s beginning to set up. Very soon thereafter it will jell a bit and become unable to soak into the fiberglass cloth. Make a new batch and get a fresh brush/roller or you’ll end up with a literal hot mess.
Participant

Getting there…
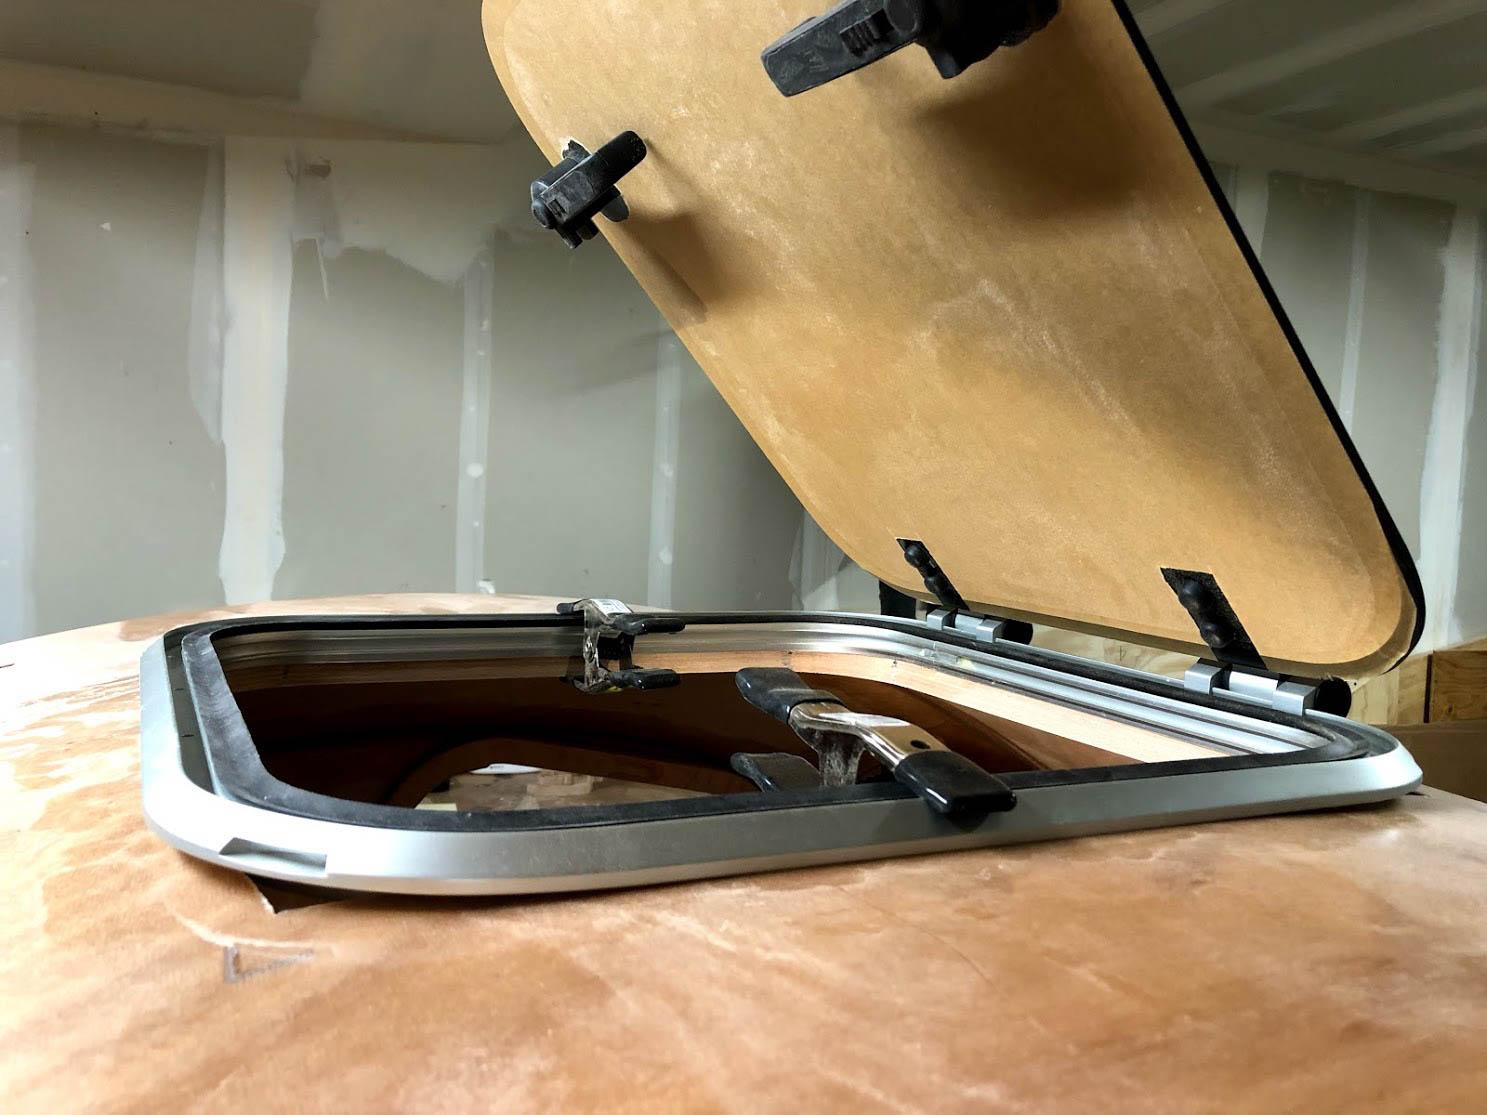
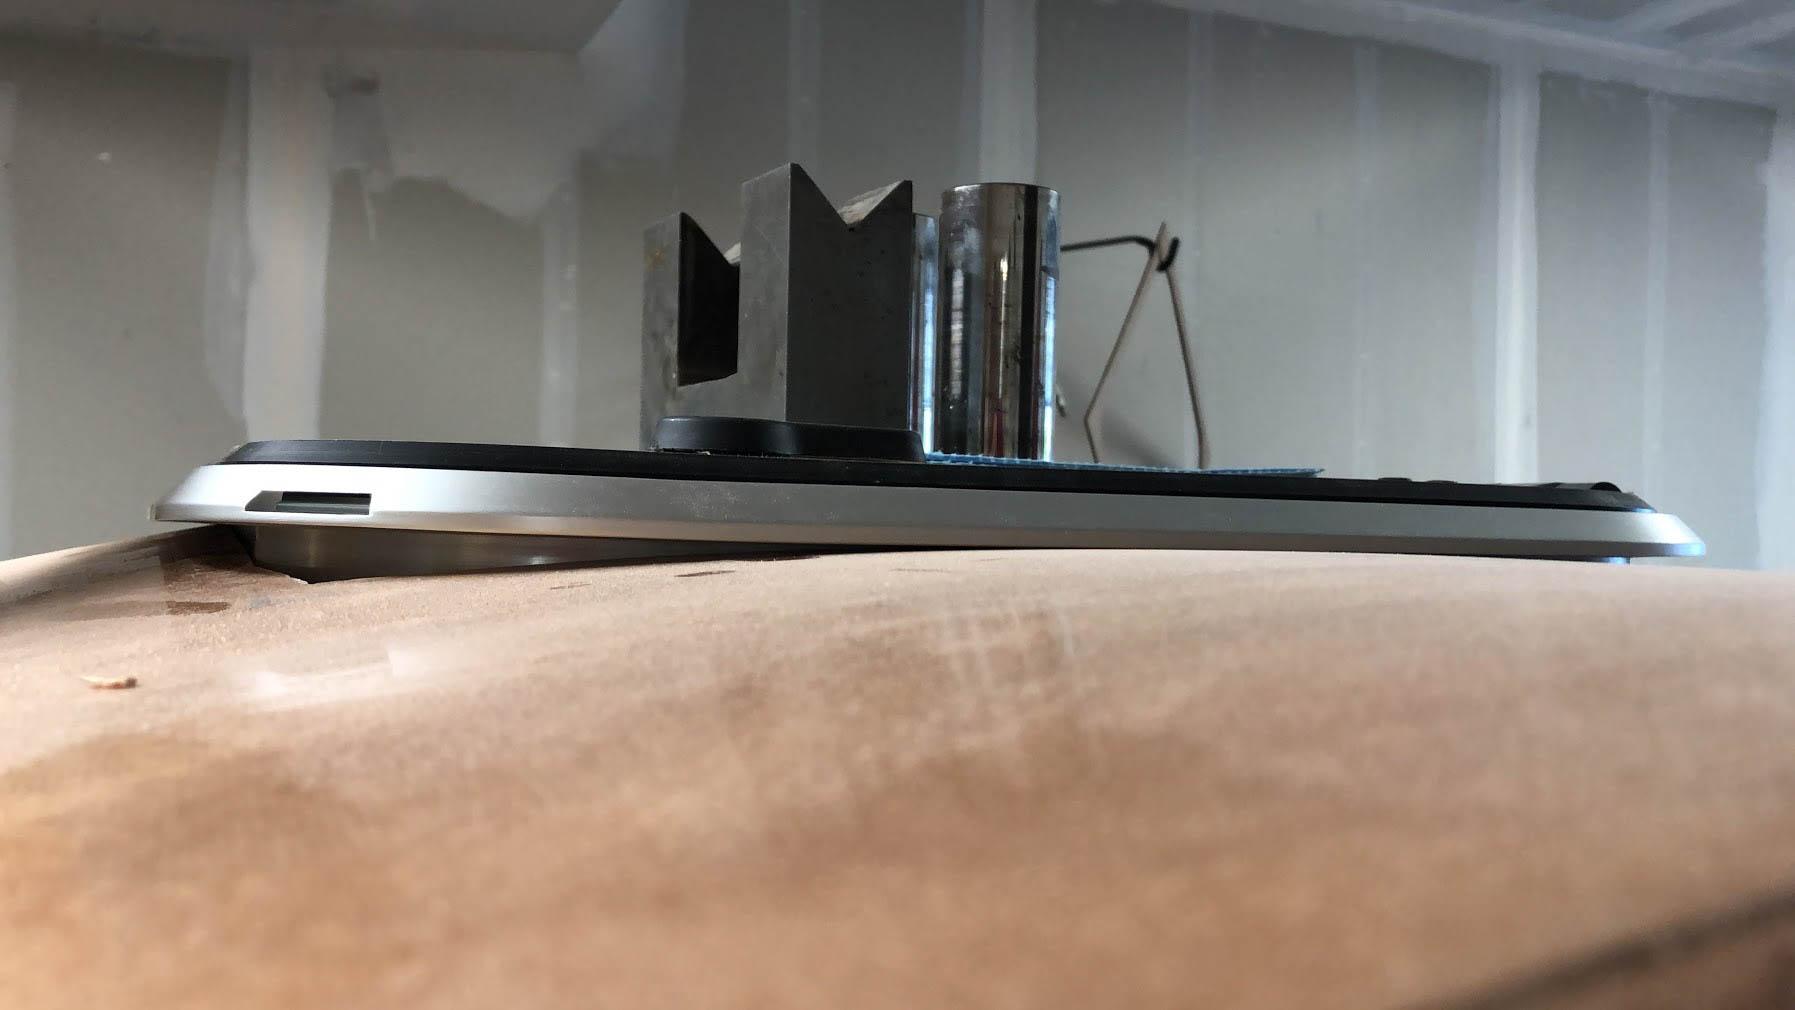
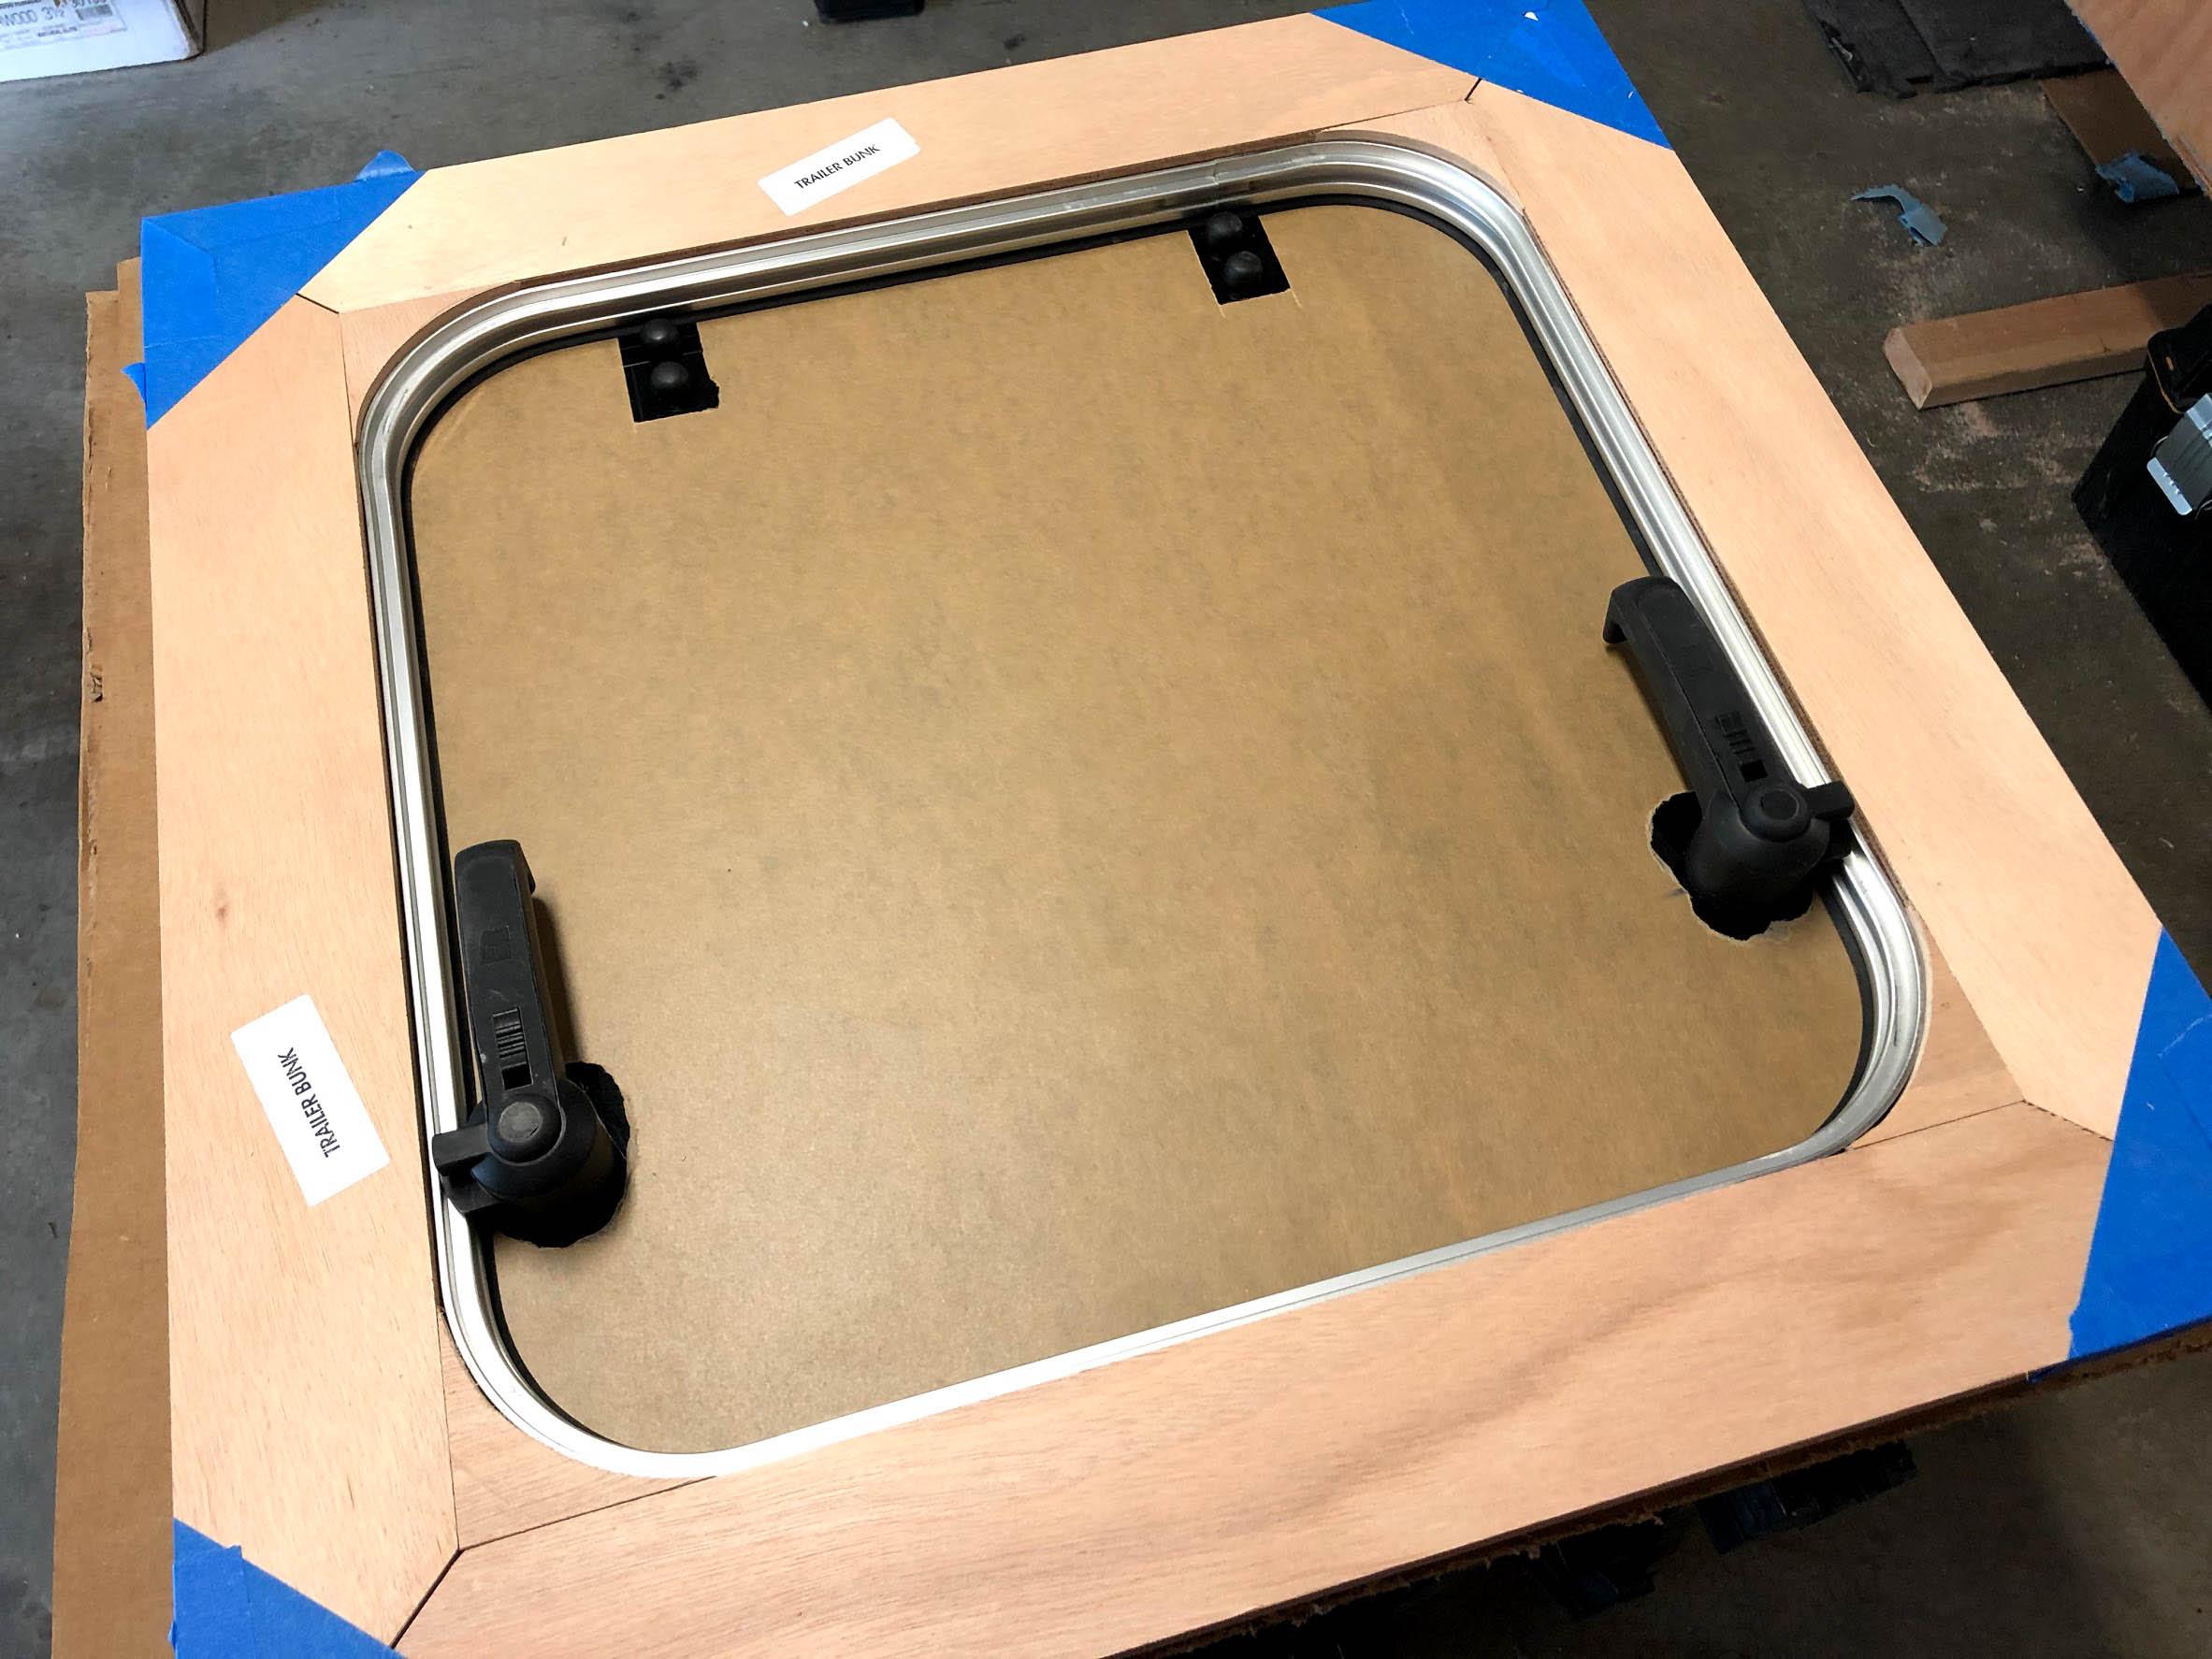
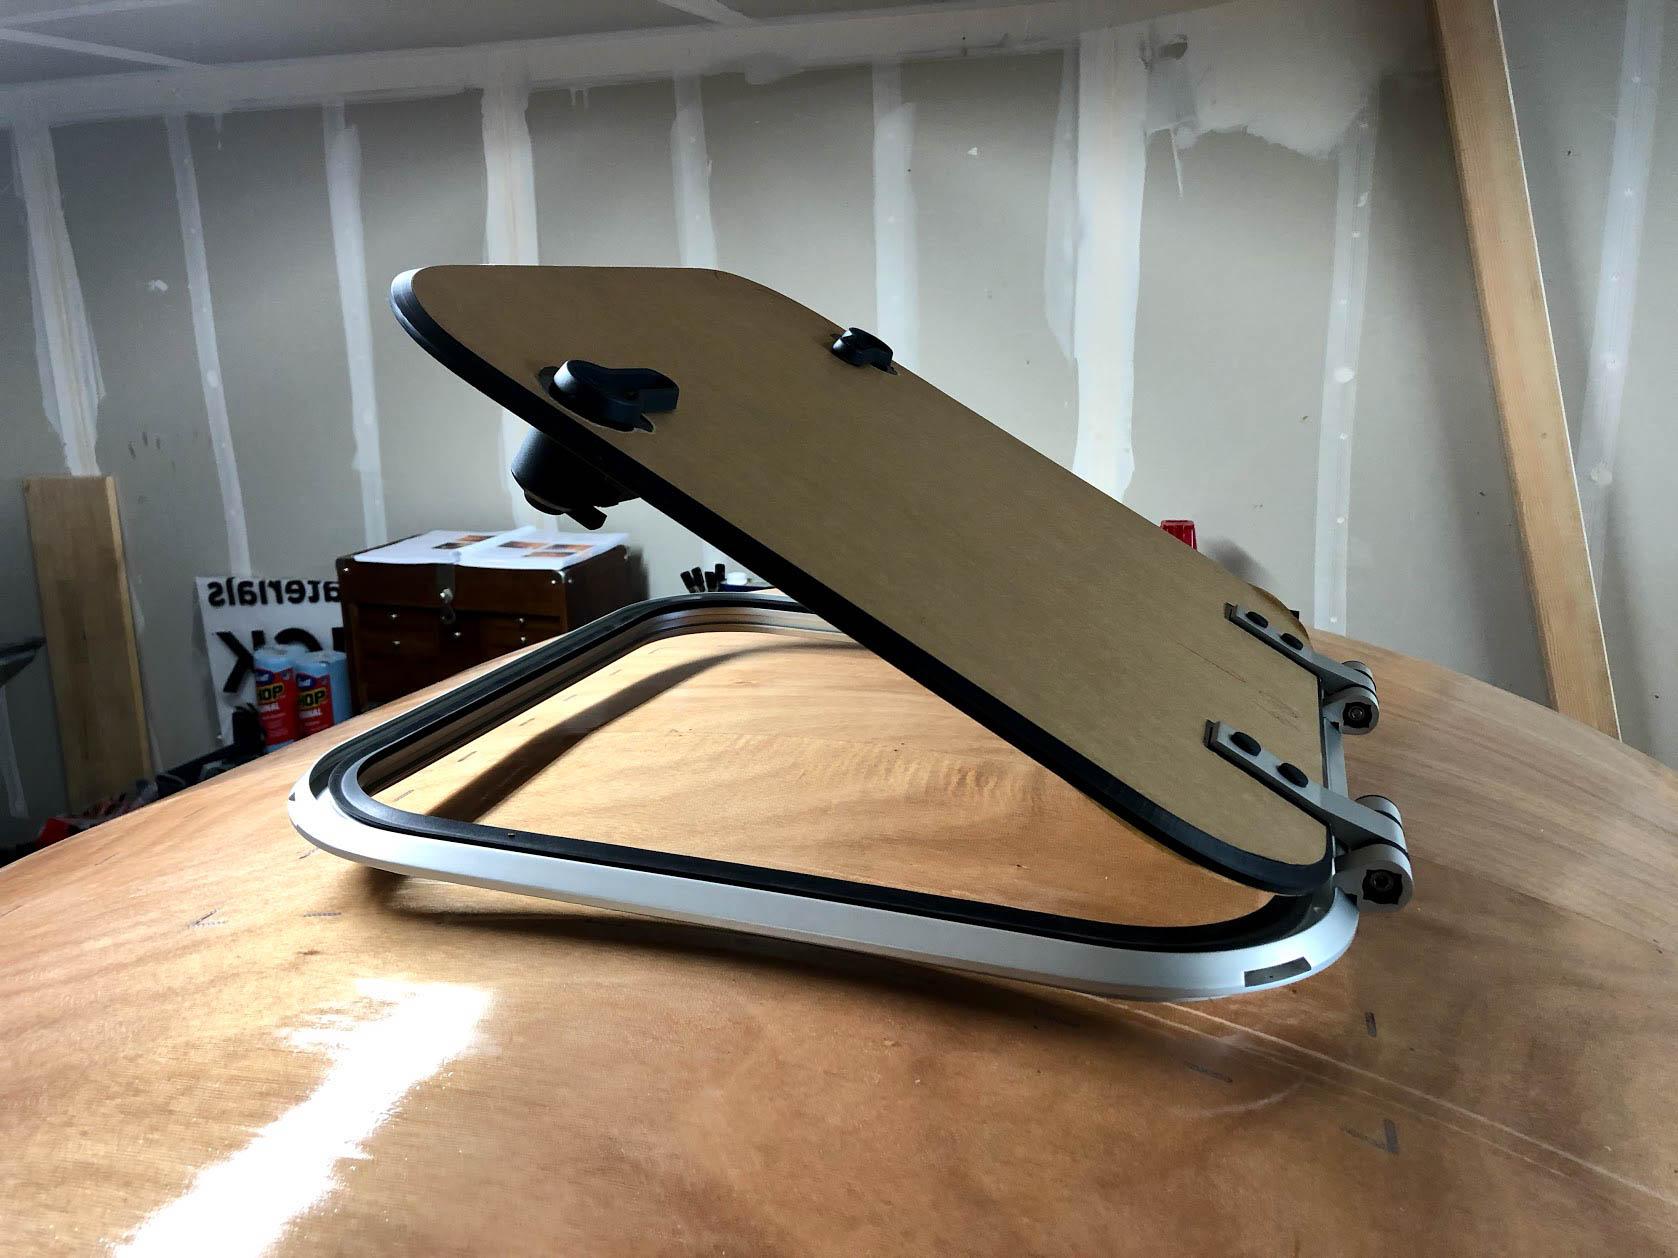
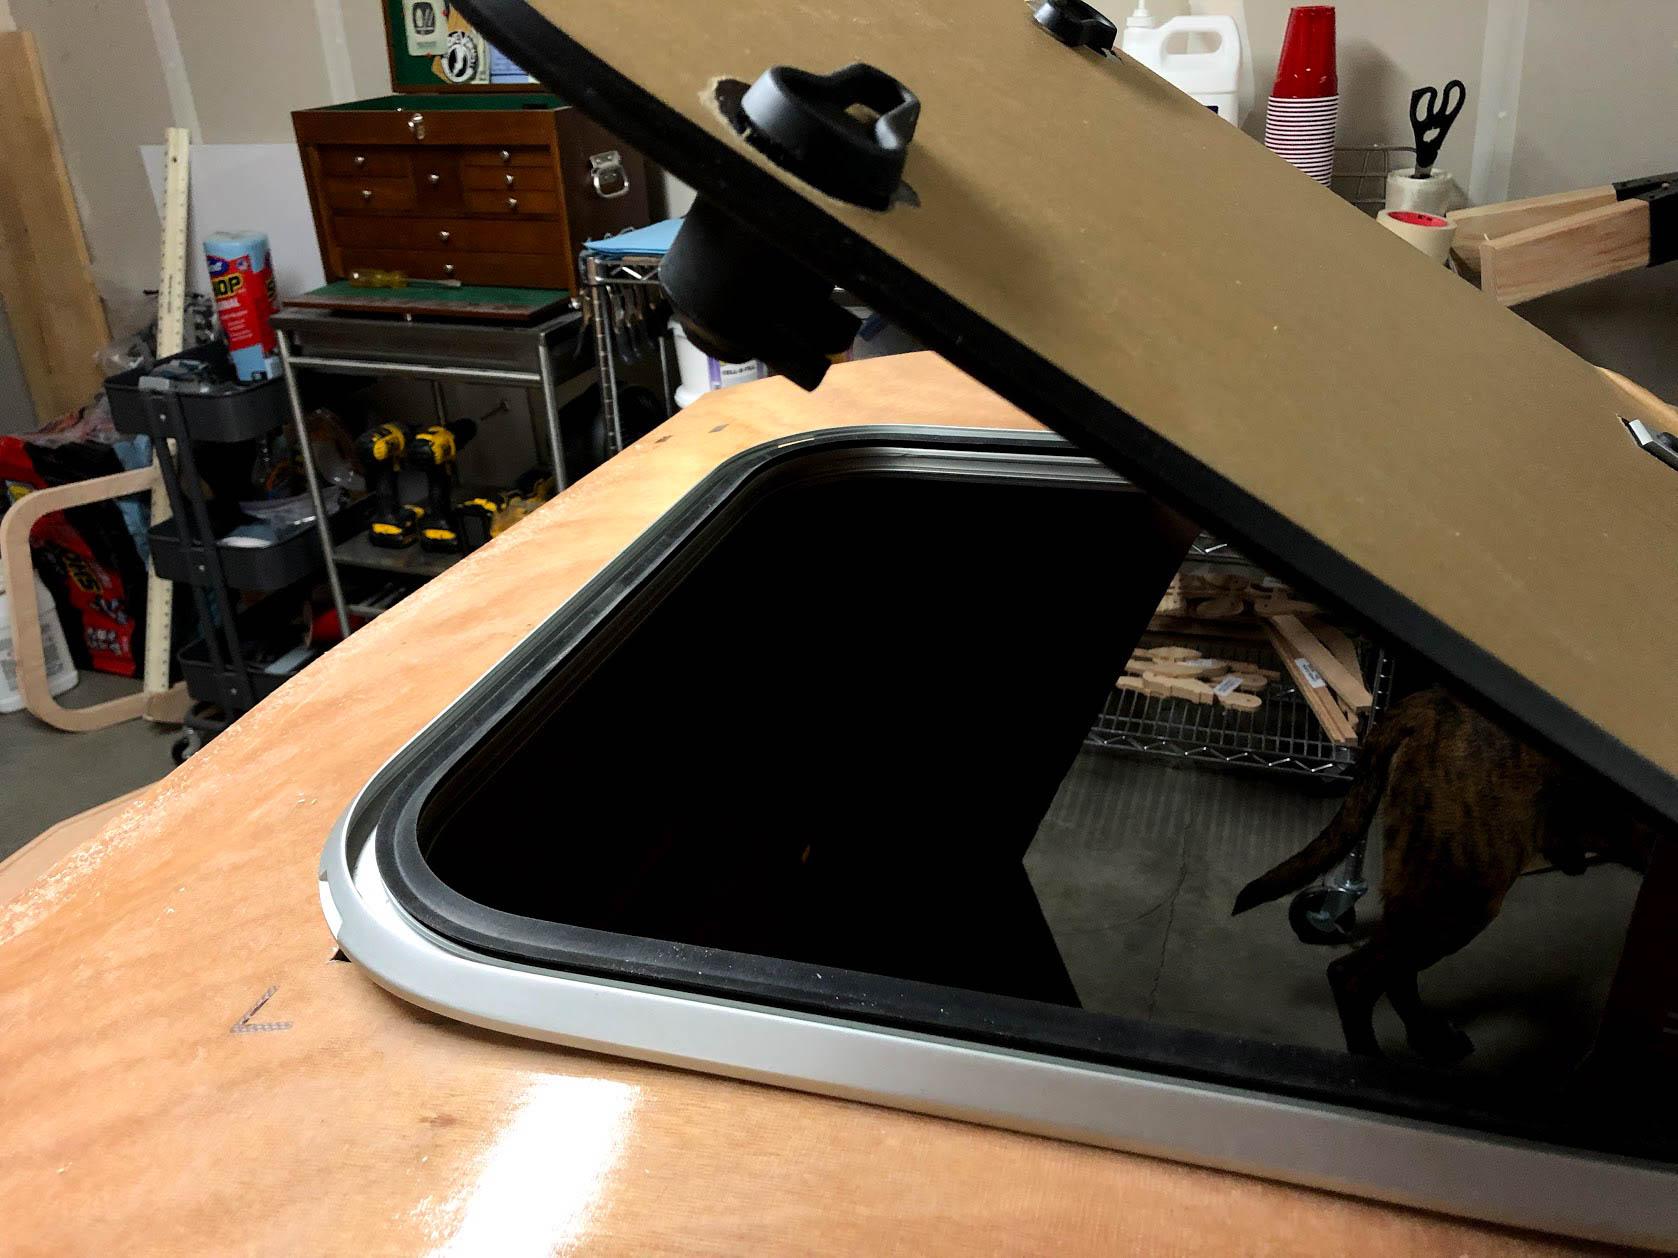
ParticipantHere’s the hatch sitting in place with some weights on top. Not much gap to fill up here. I’ll basically just need to make some custom corner pieces. If I had a CNC mill, this would be easy but I’ll have to sculpt them by hand.
-
This reply was modified 6 years ago by
Dan.
Participant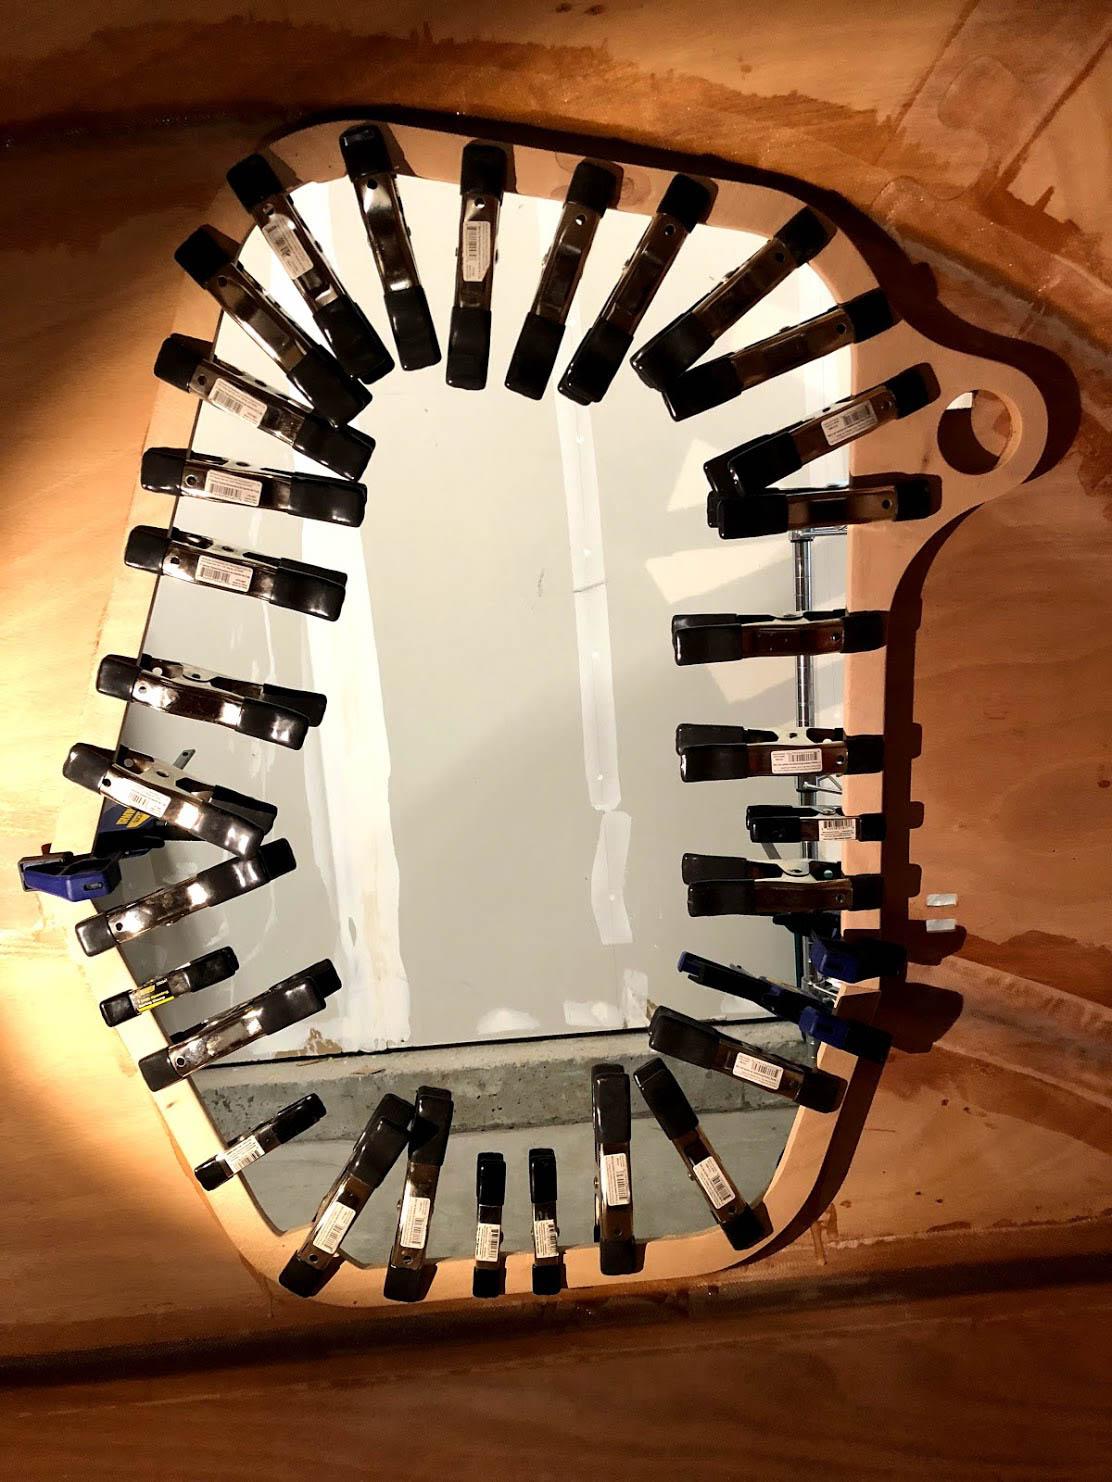

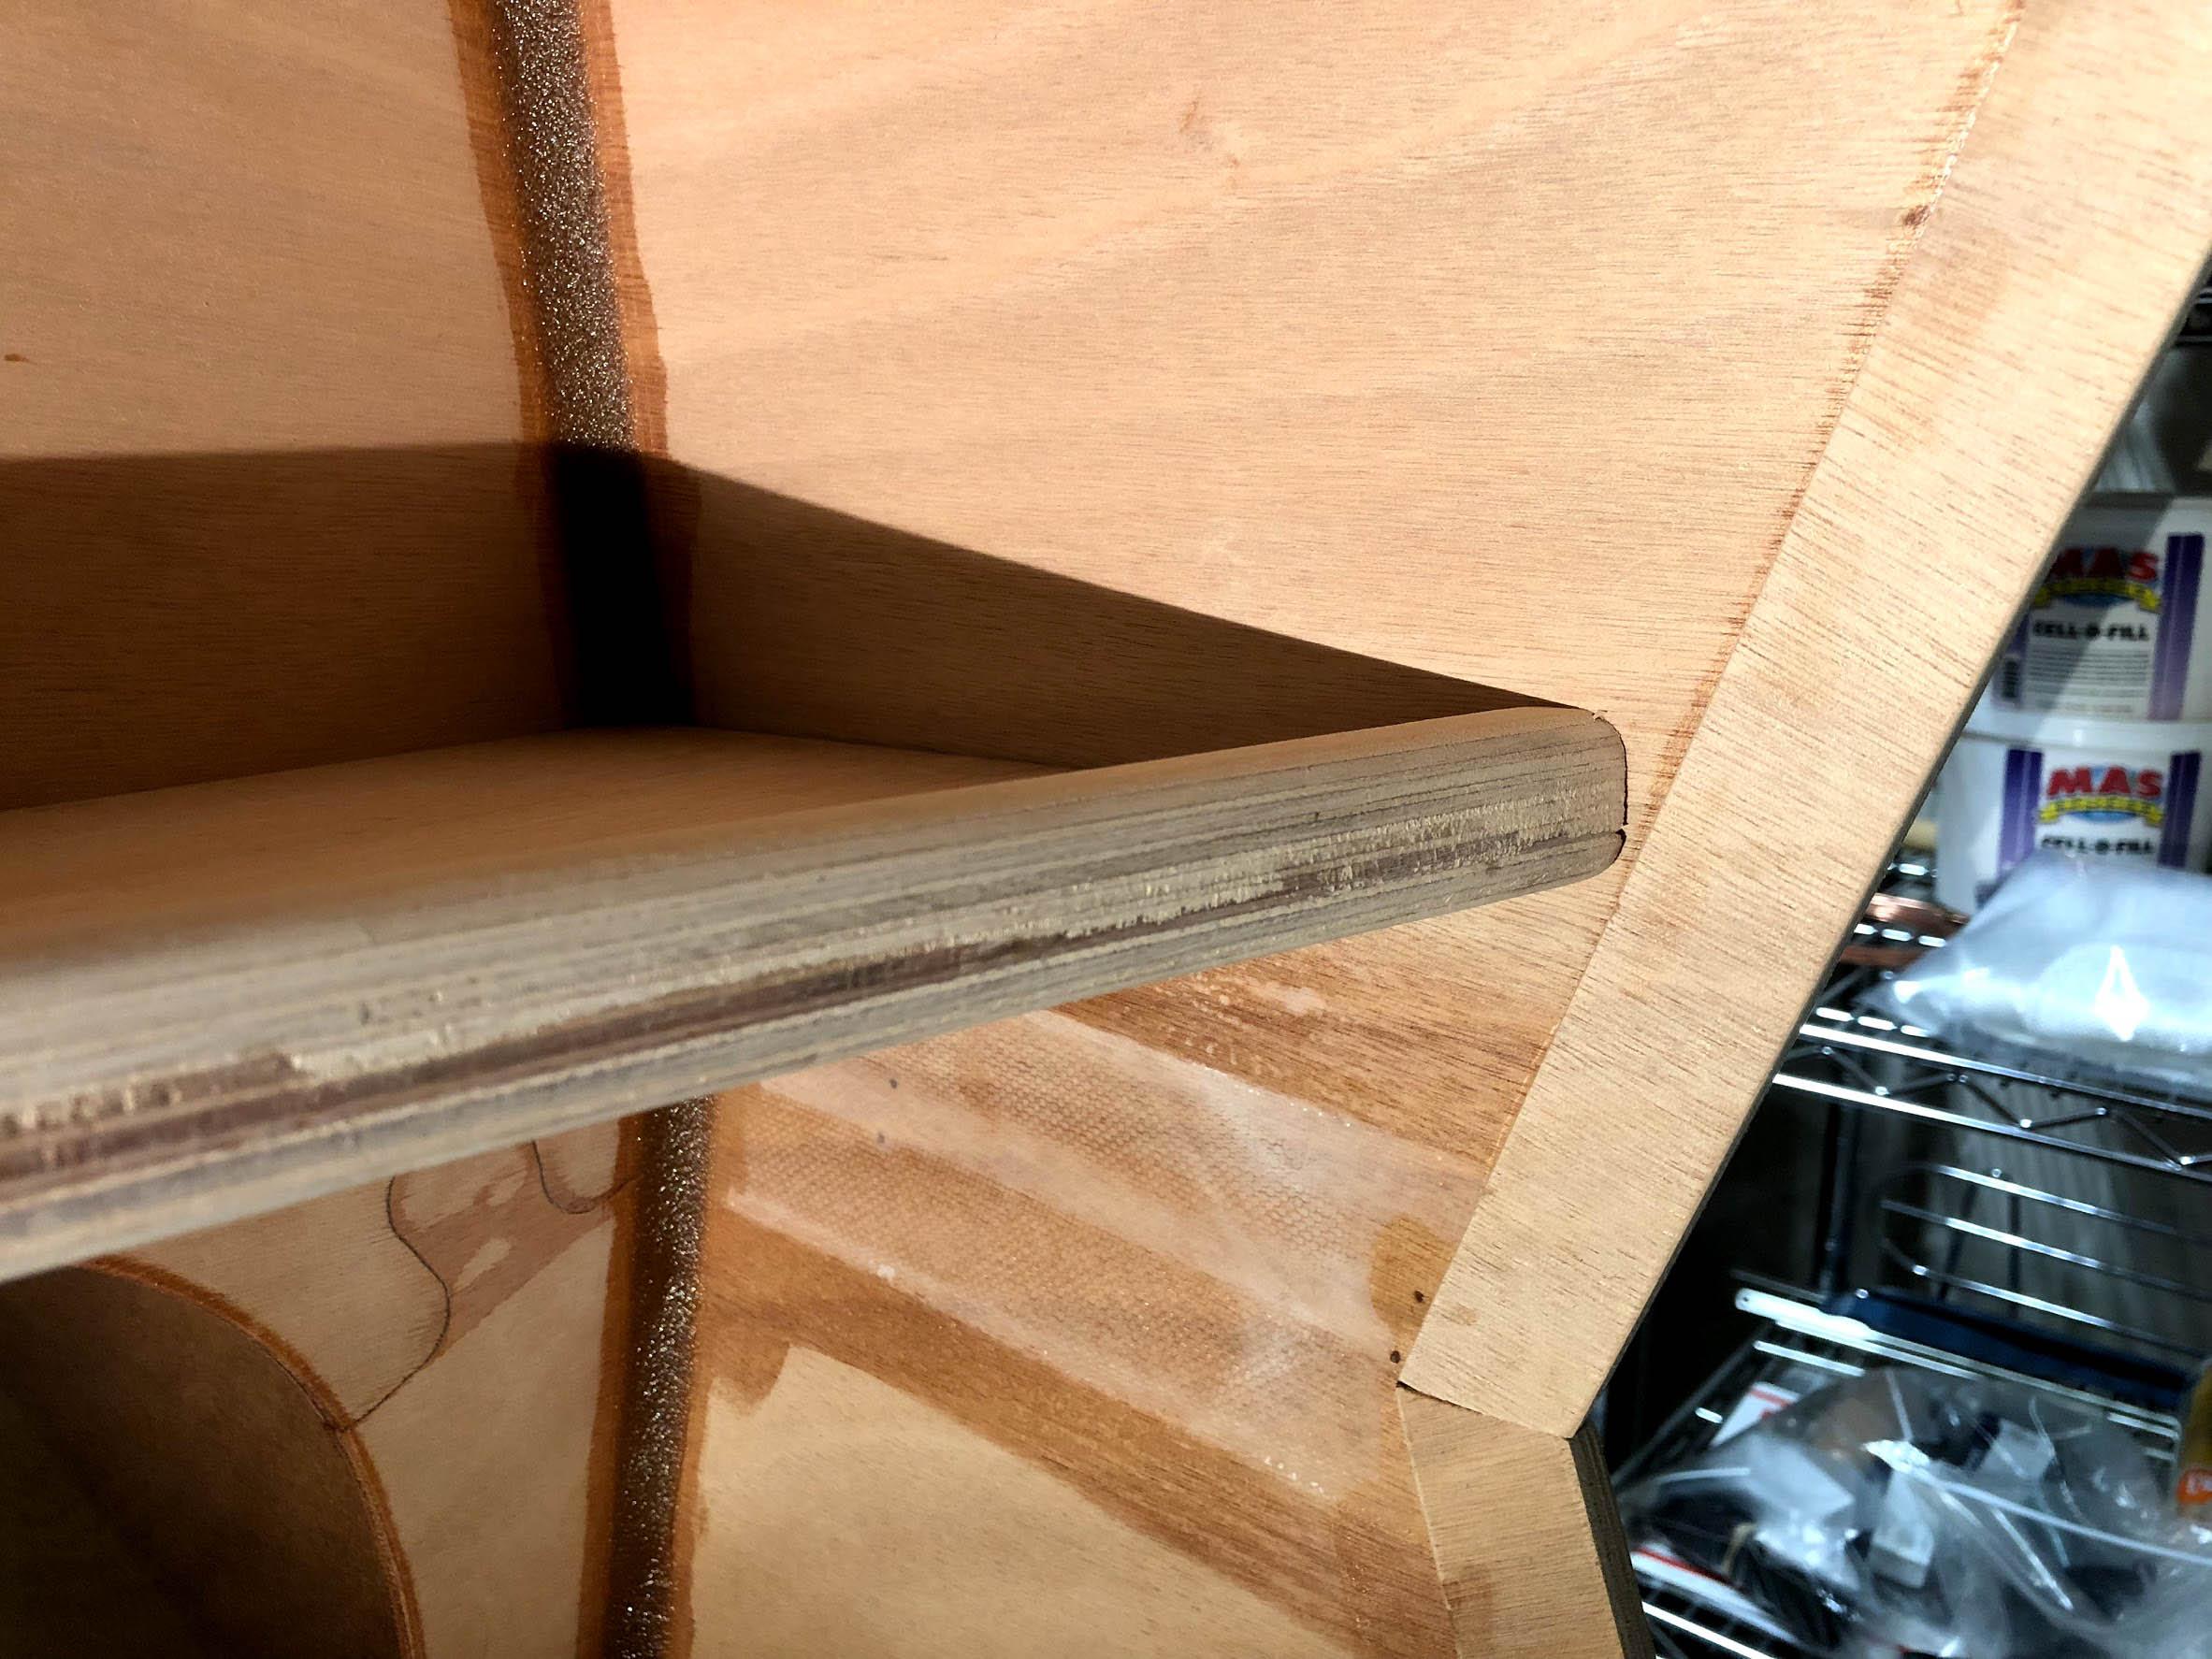
Got a door frame mounted… then I realized that getting the shelf in might be a little problematic (impossible) with both door frames in place. There’s not much clearance. I’m glad I checked. Like the galley flat, it may be possible but it’s a difficult thing the manual doesn’t even mention.
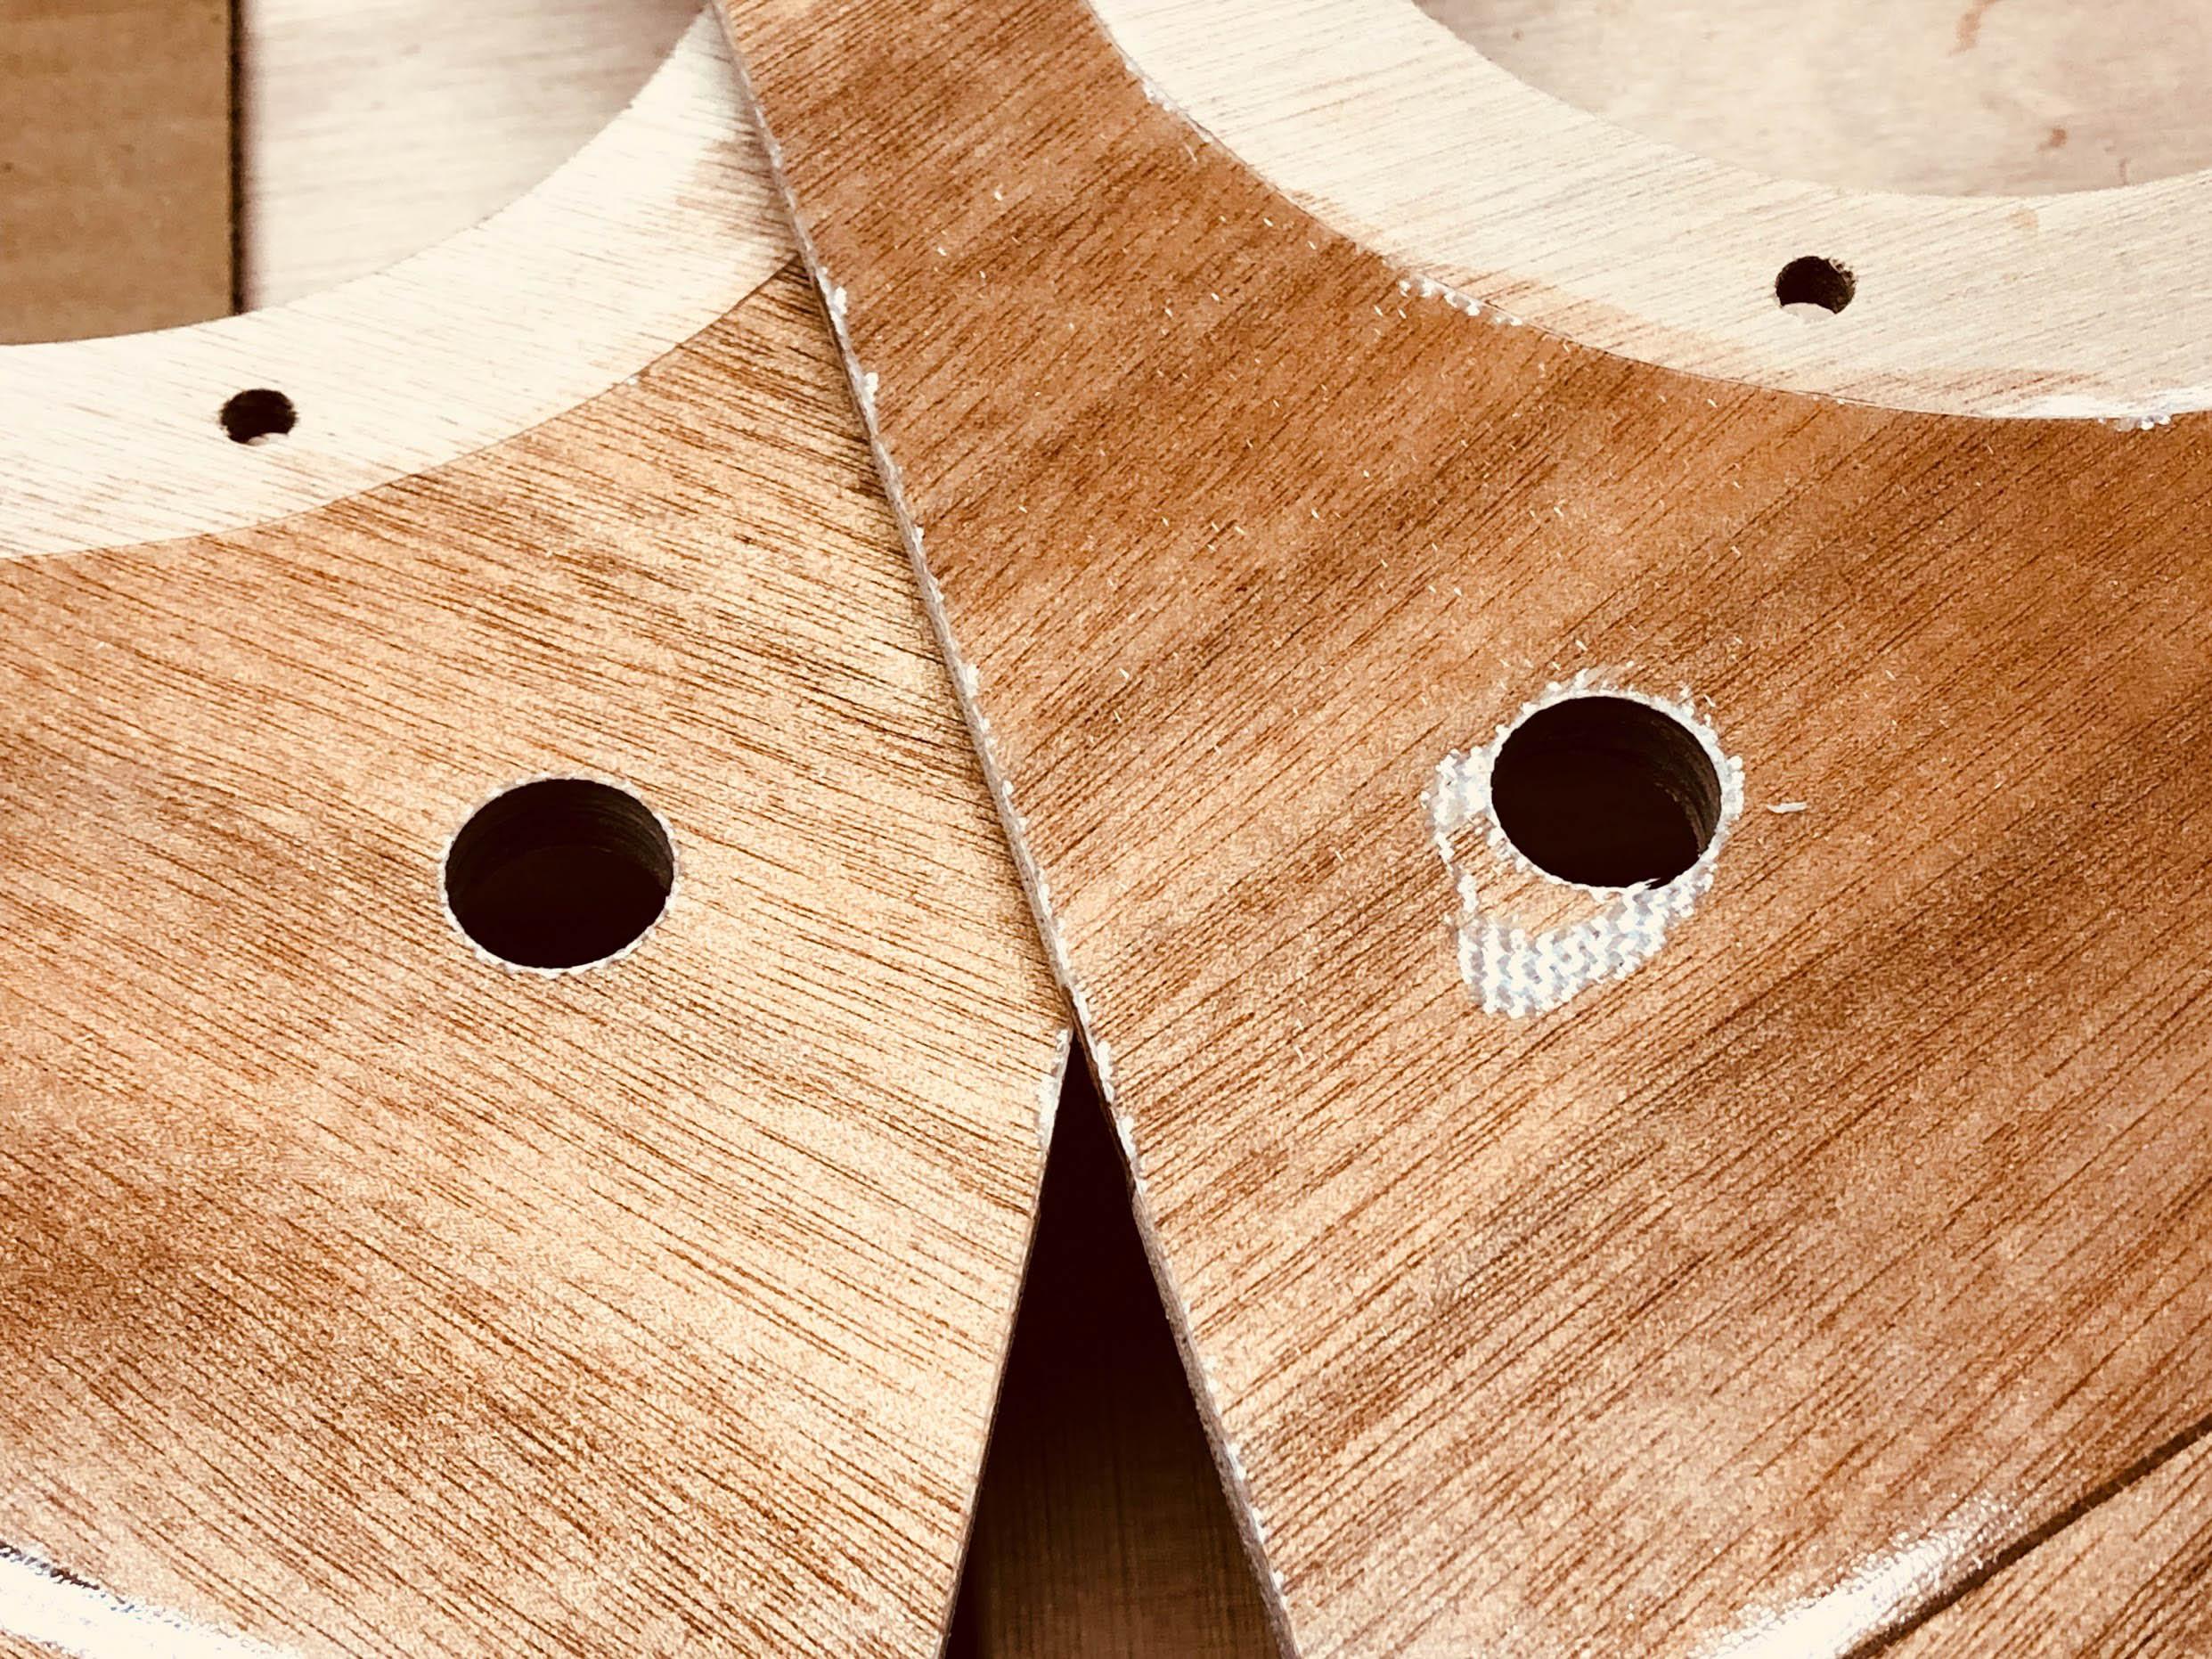
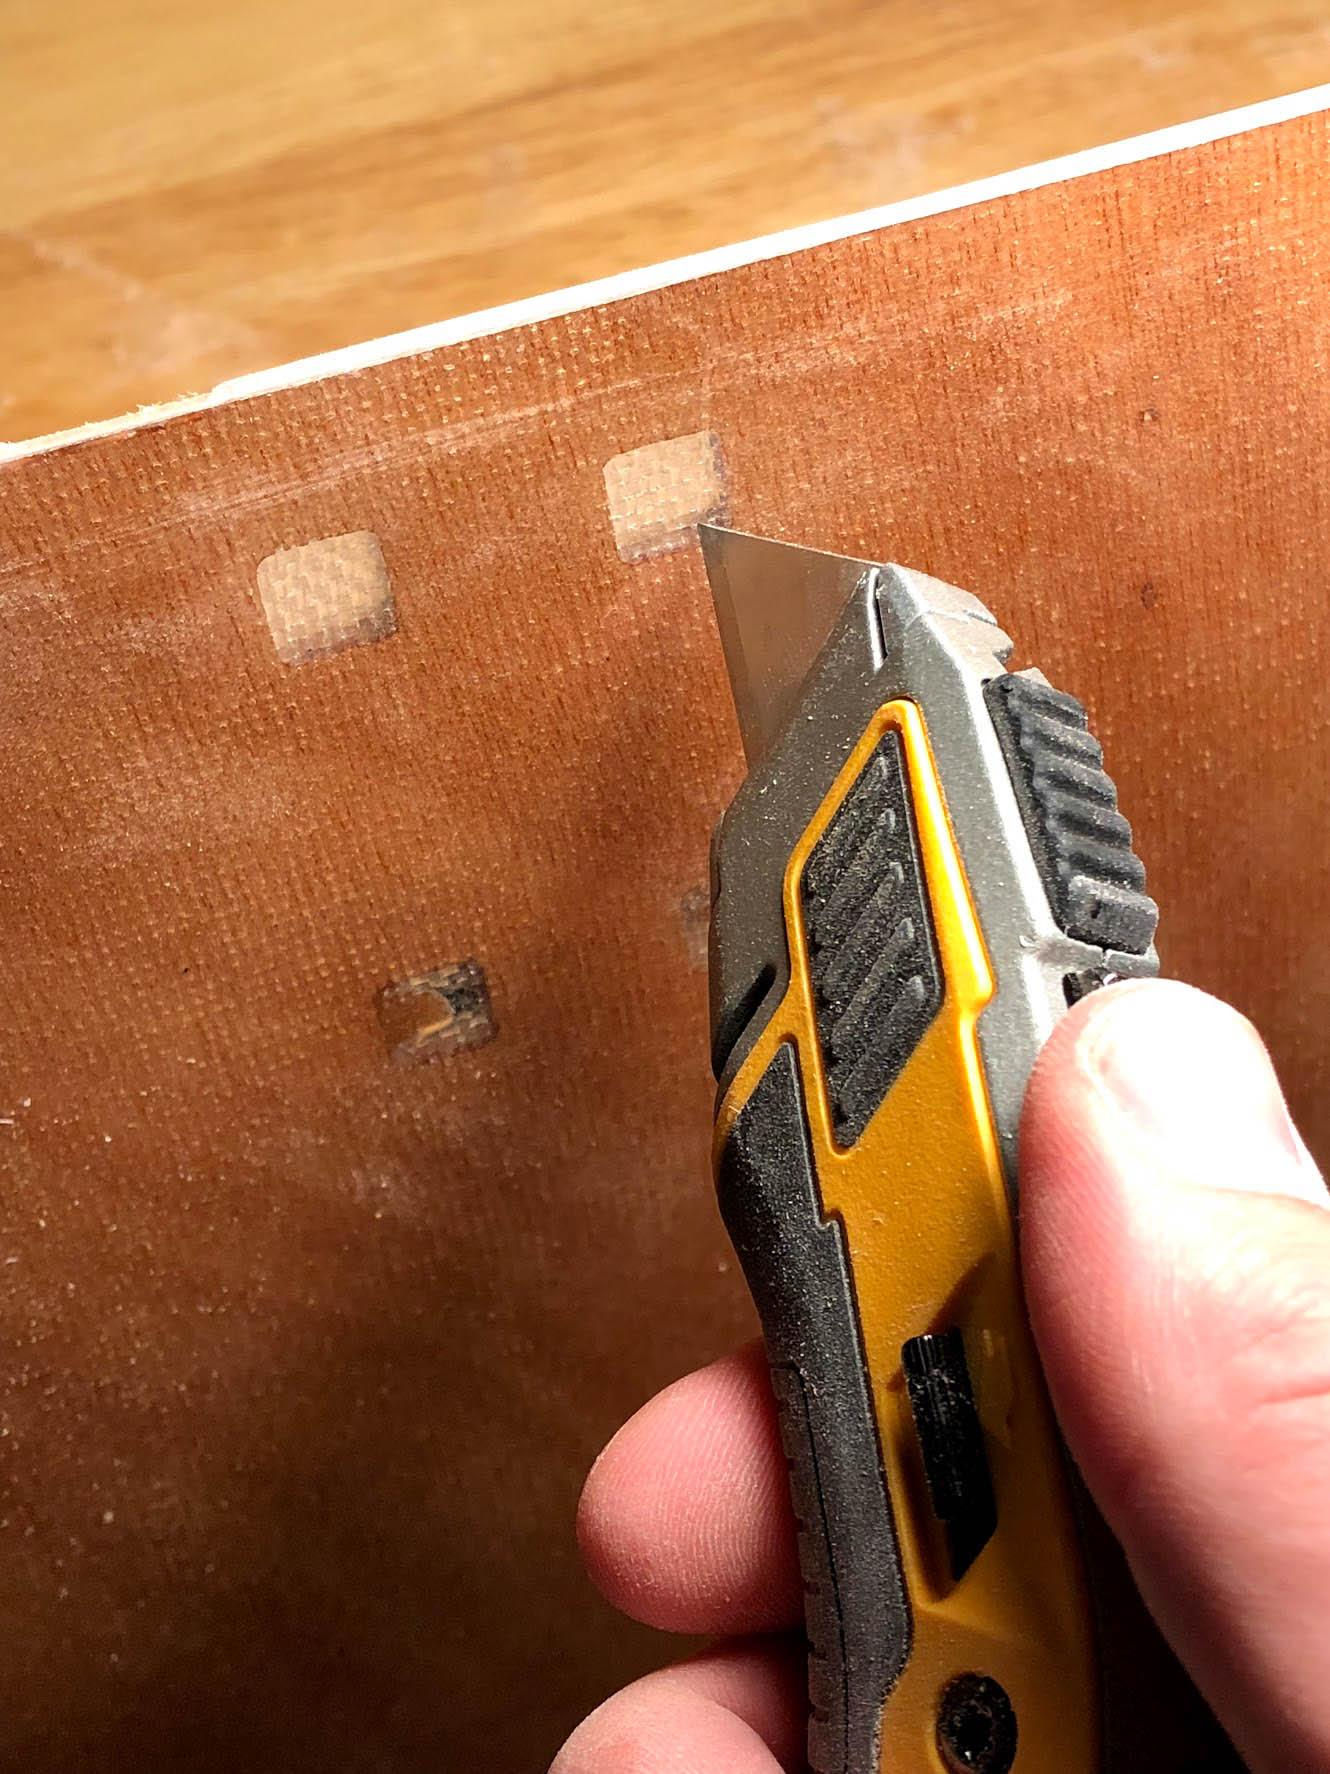
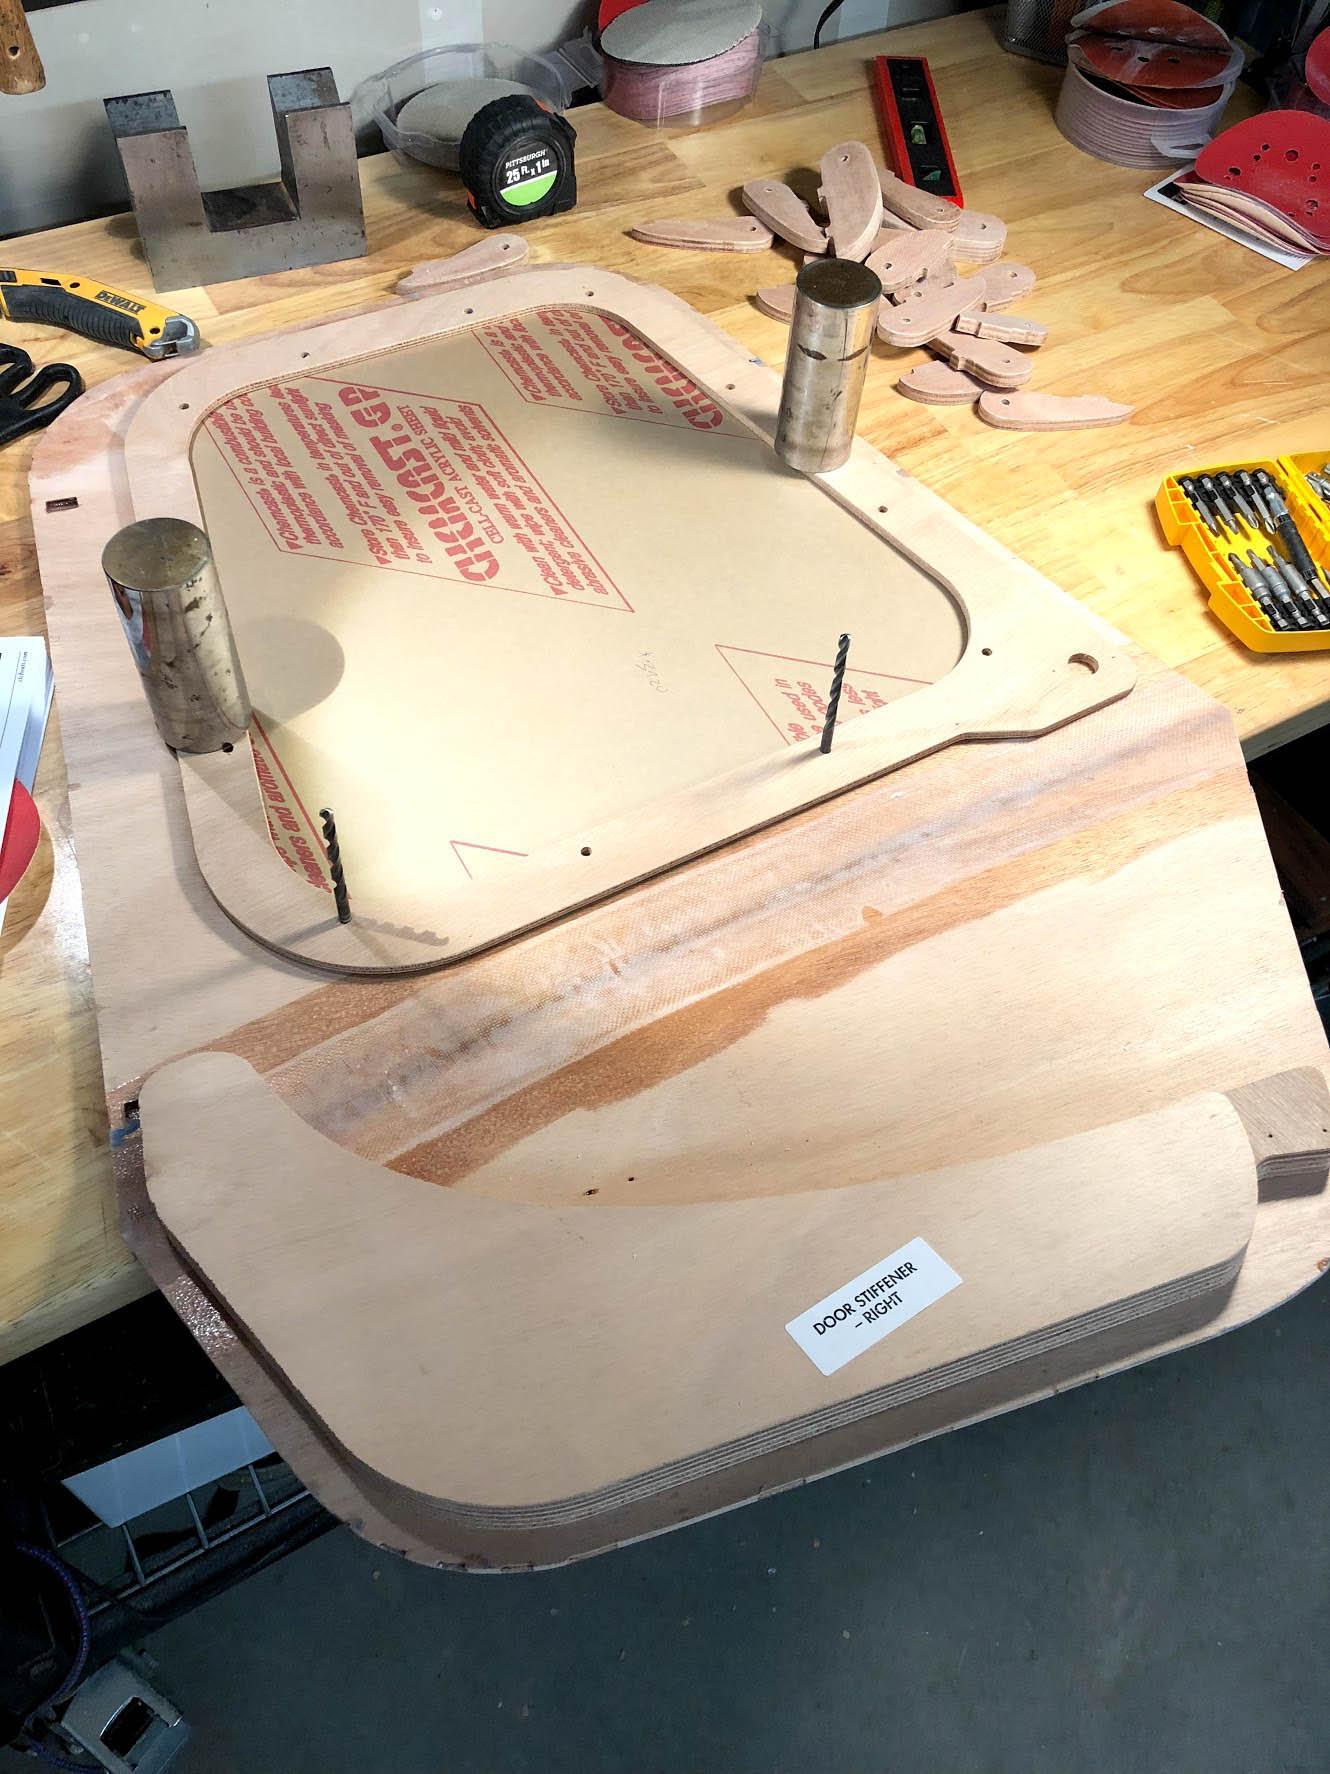
Pro tip: clamp a piece of scrap to your work piece before drilling to prevent tear-out (drill through the work and into the scrap). Turns out fiberglass can have pretty bad tear-out. Fortunately, the door handle hardware will cover up that mess. I’ll patch it up, of course, but I should have known better.
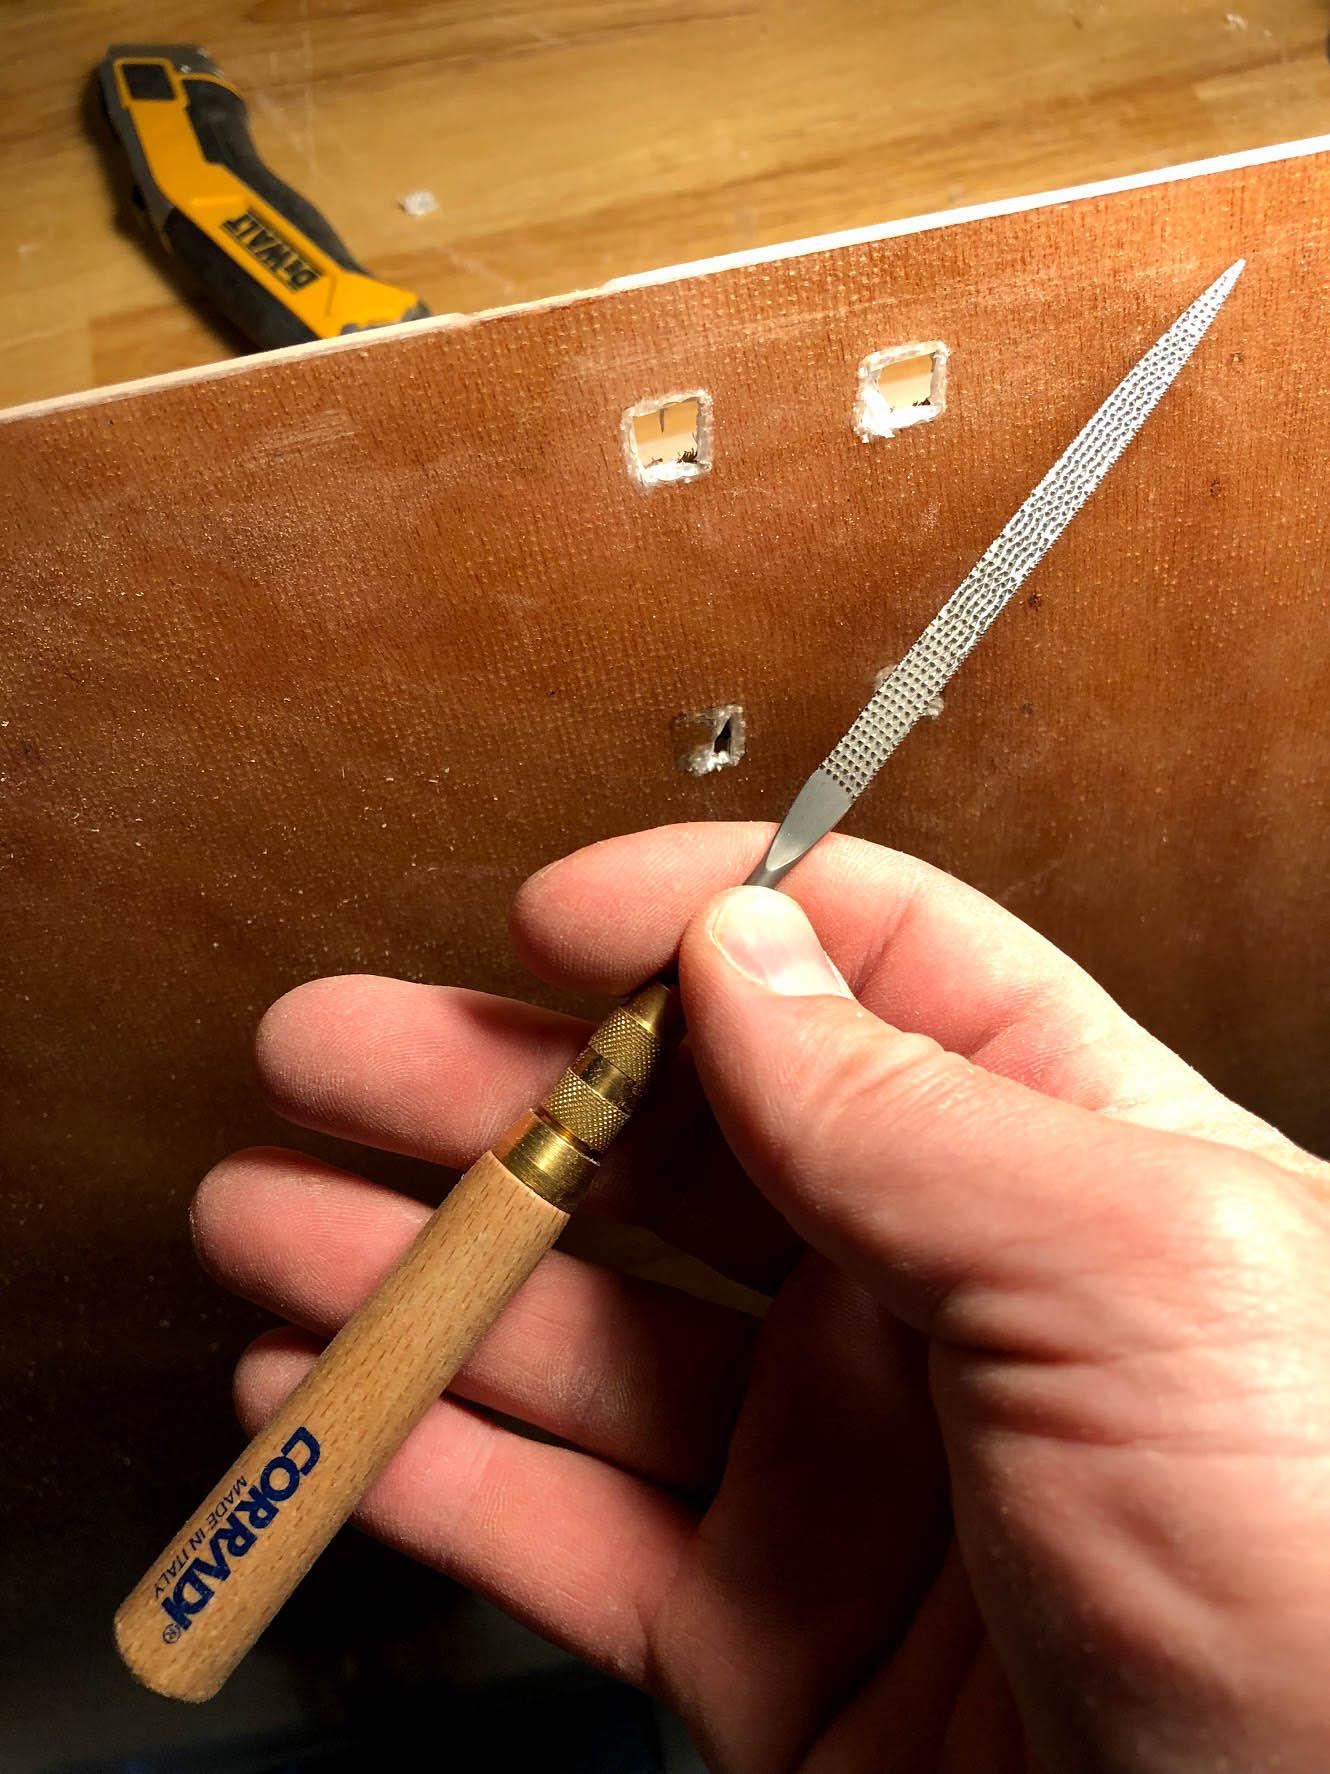
I went down to my local Woodcrafters store picked up a Corradi needle rasp (made in Italy… ooh, fancy!). This little rasp has been the absolute best thing for shaping or removing cured epoxy. It’s perfect for shaping the hinge mortises. Highly recommended! I just got the one for $15, but here they are on Amazon as a set.
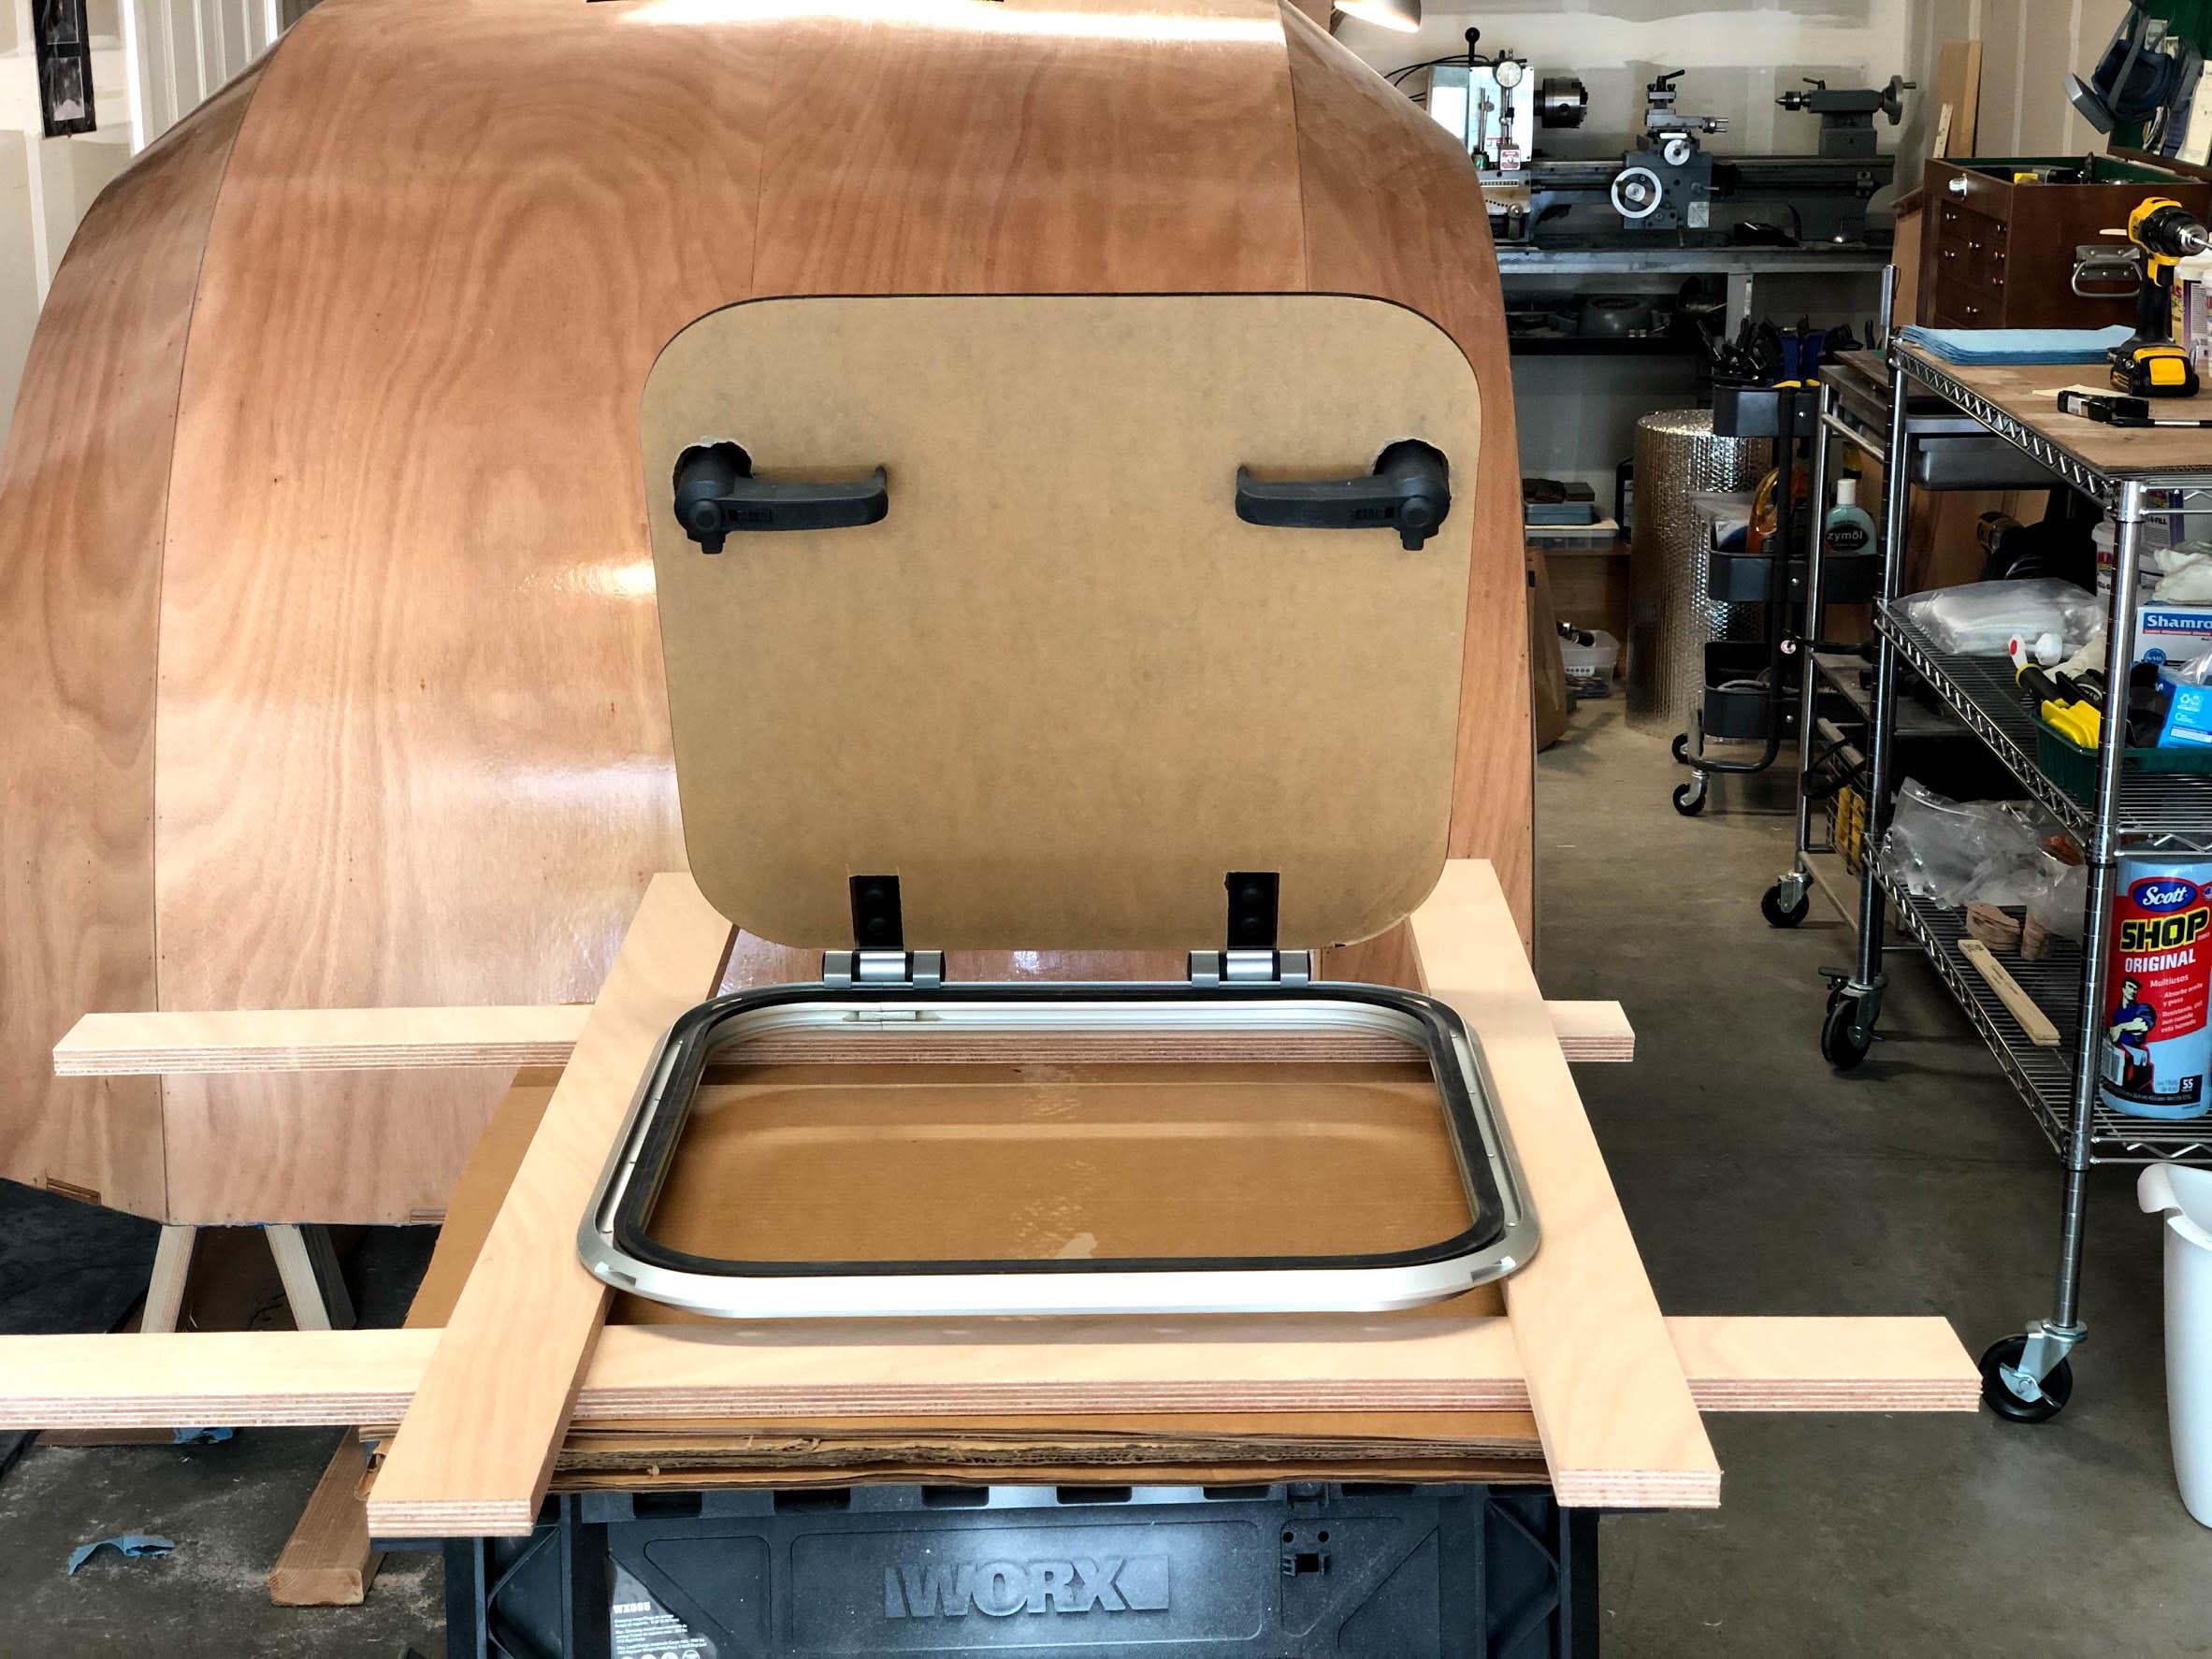
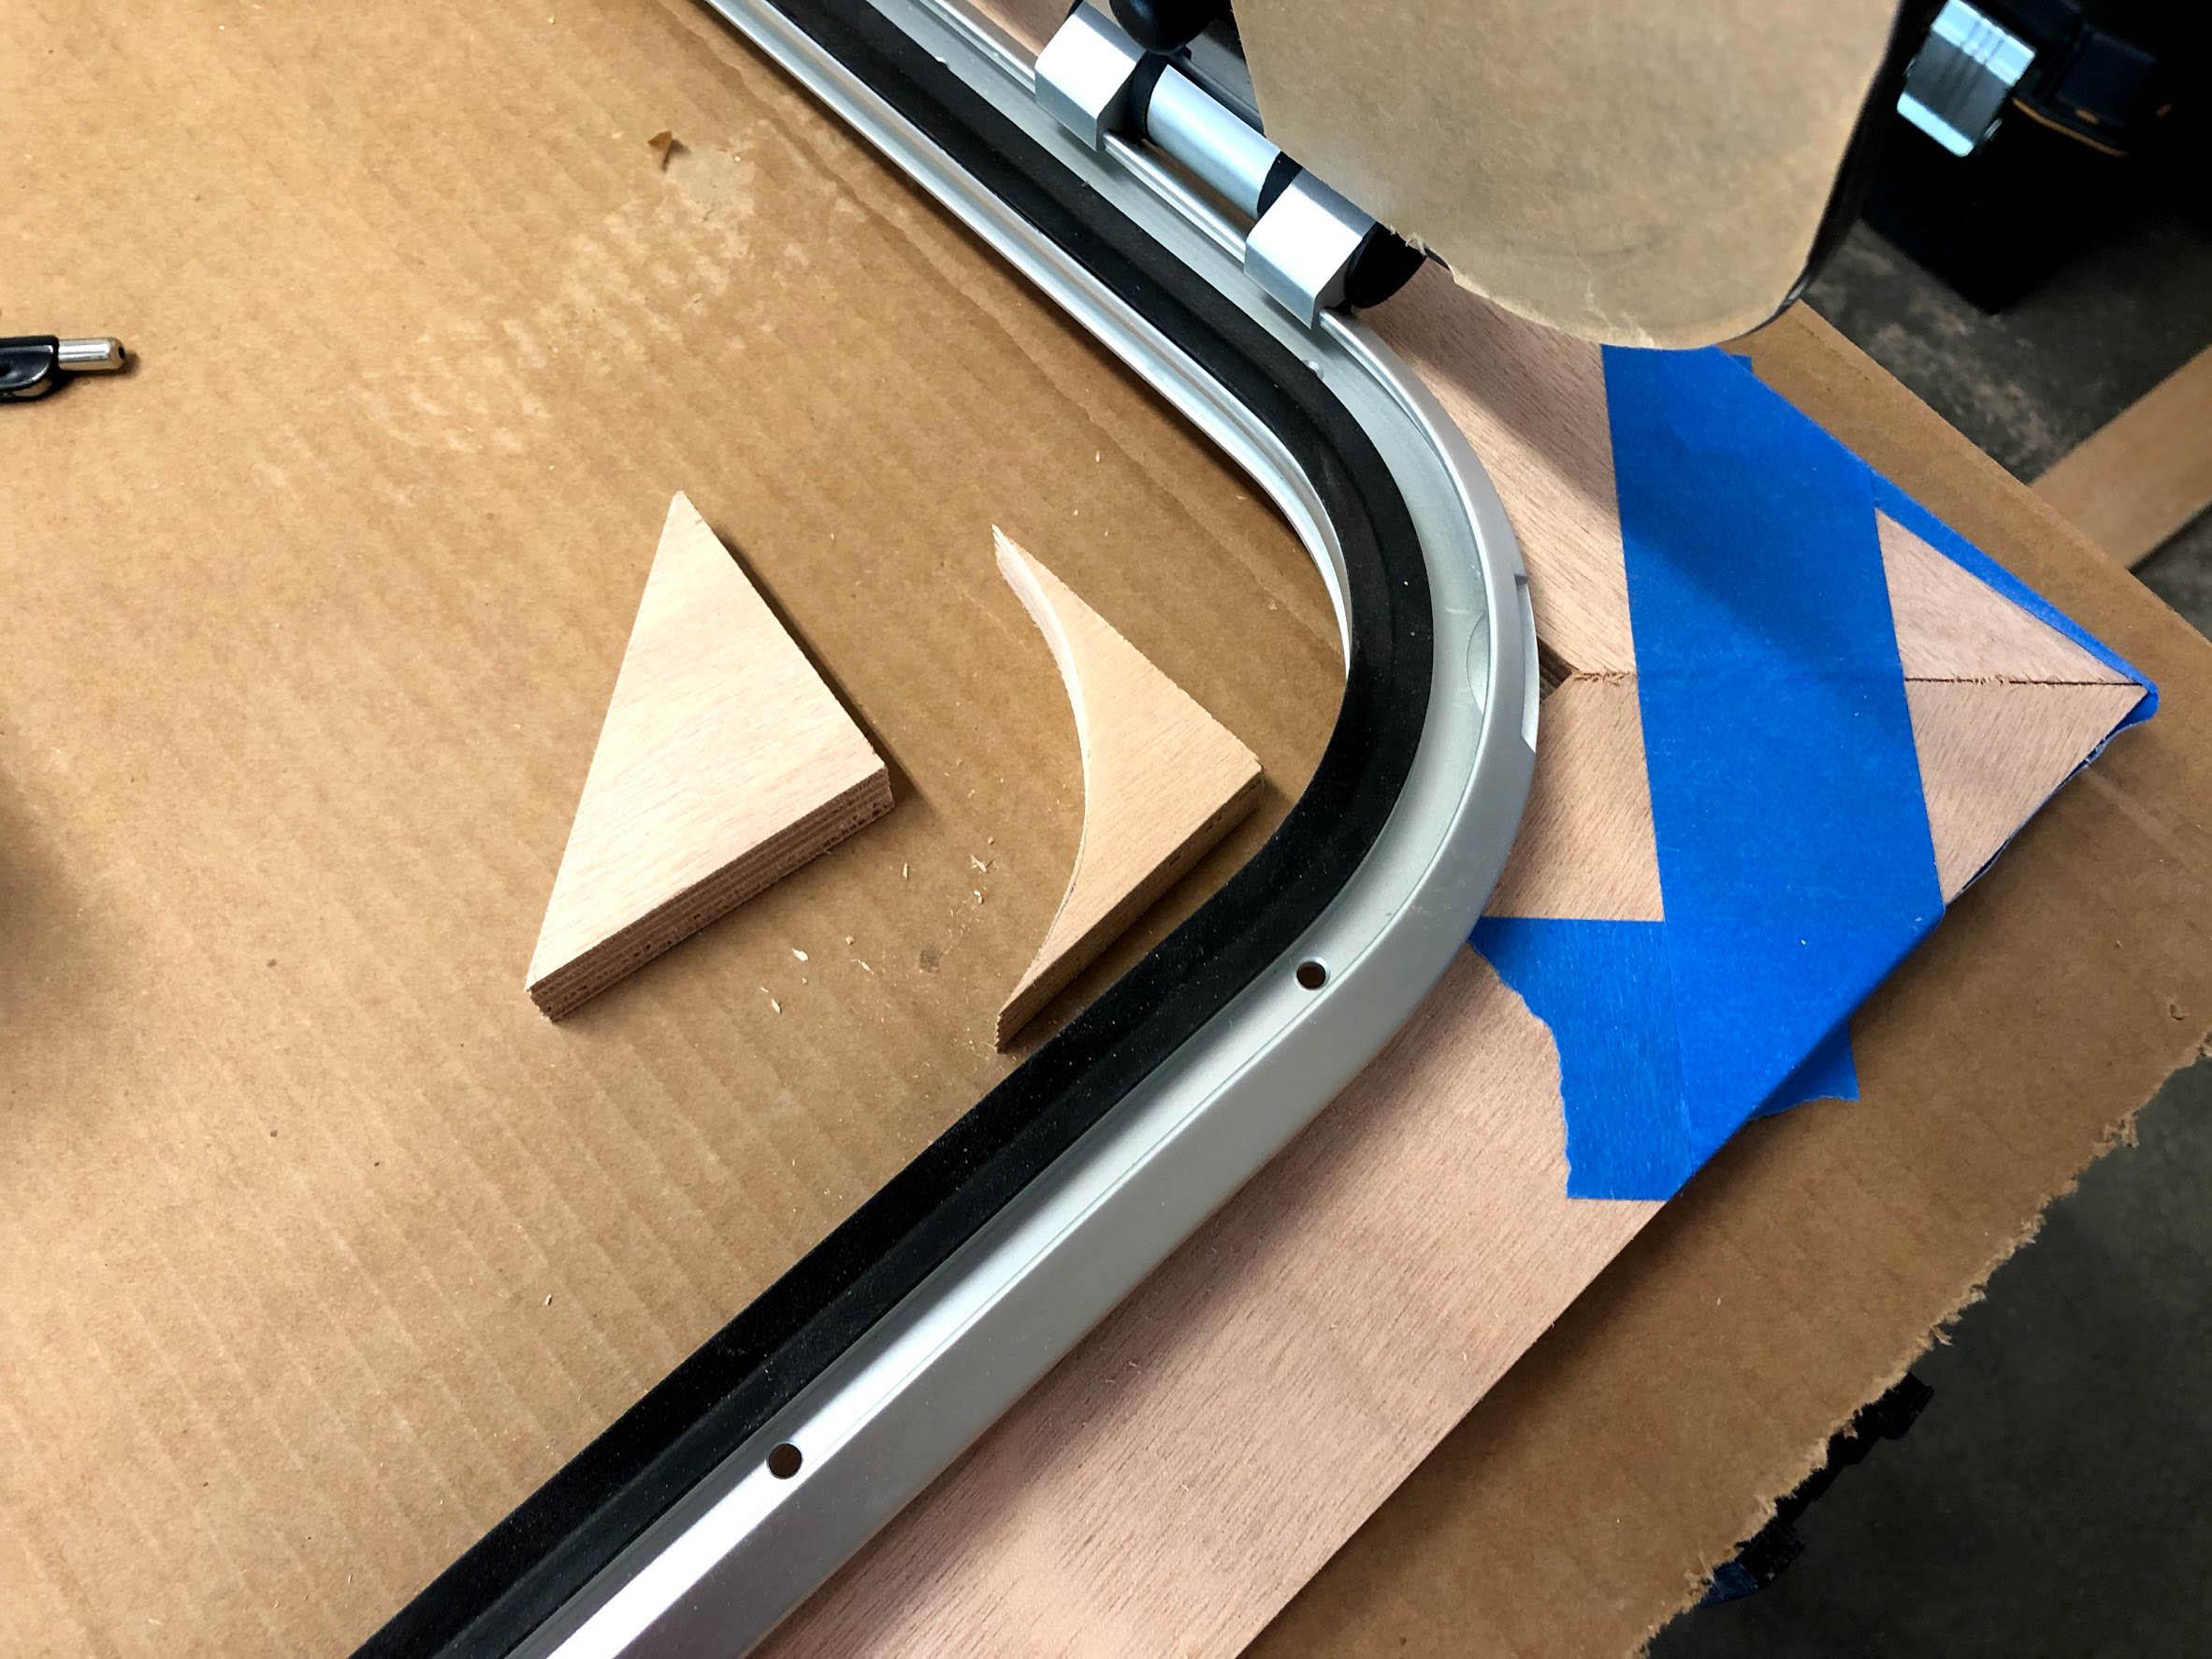
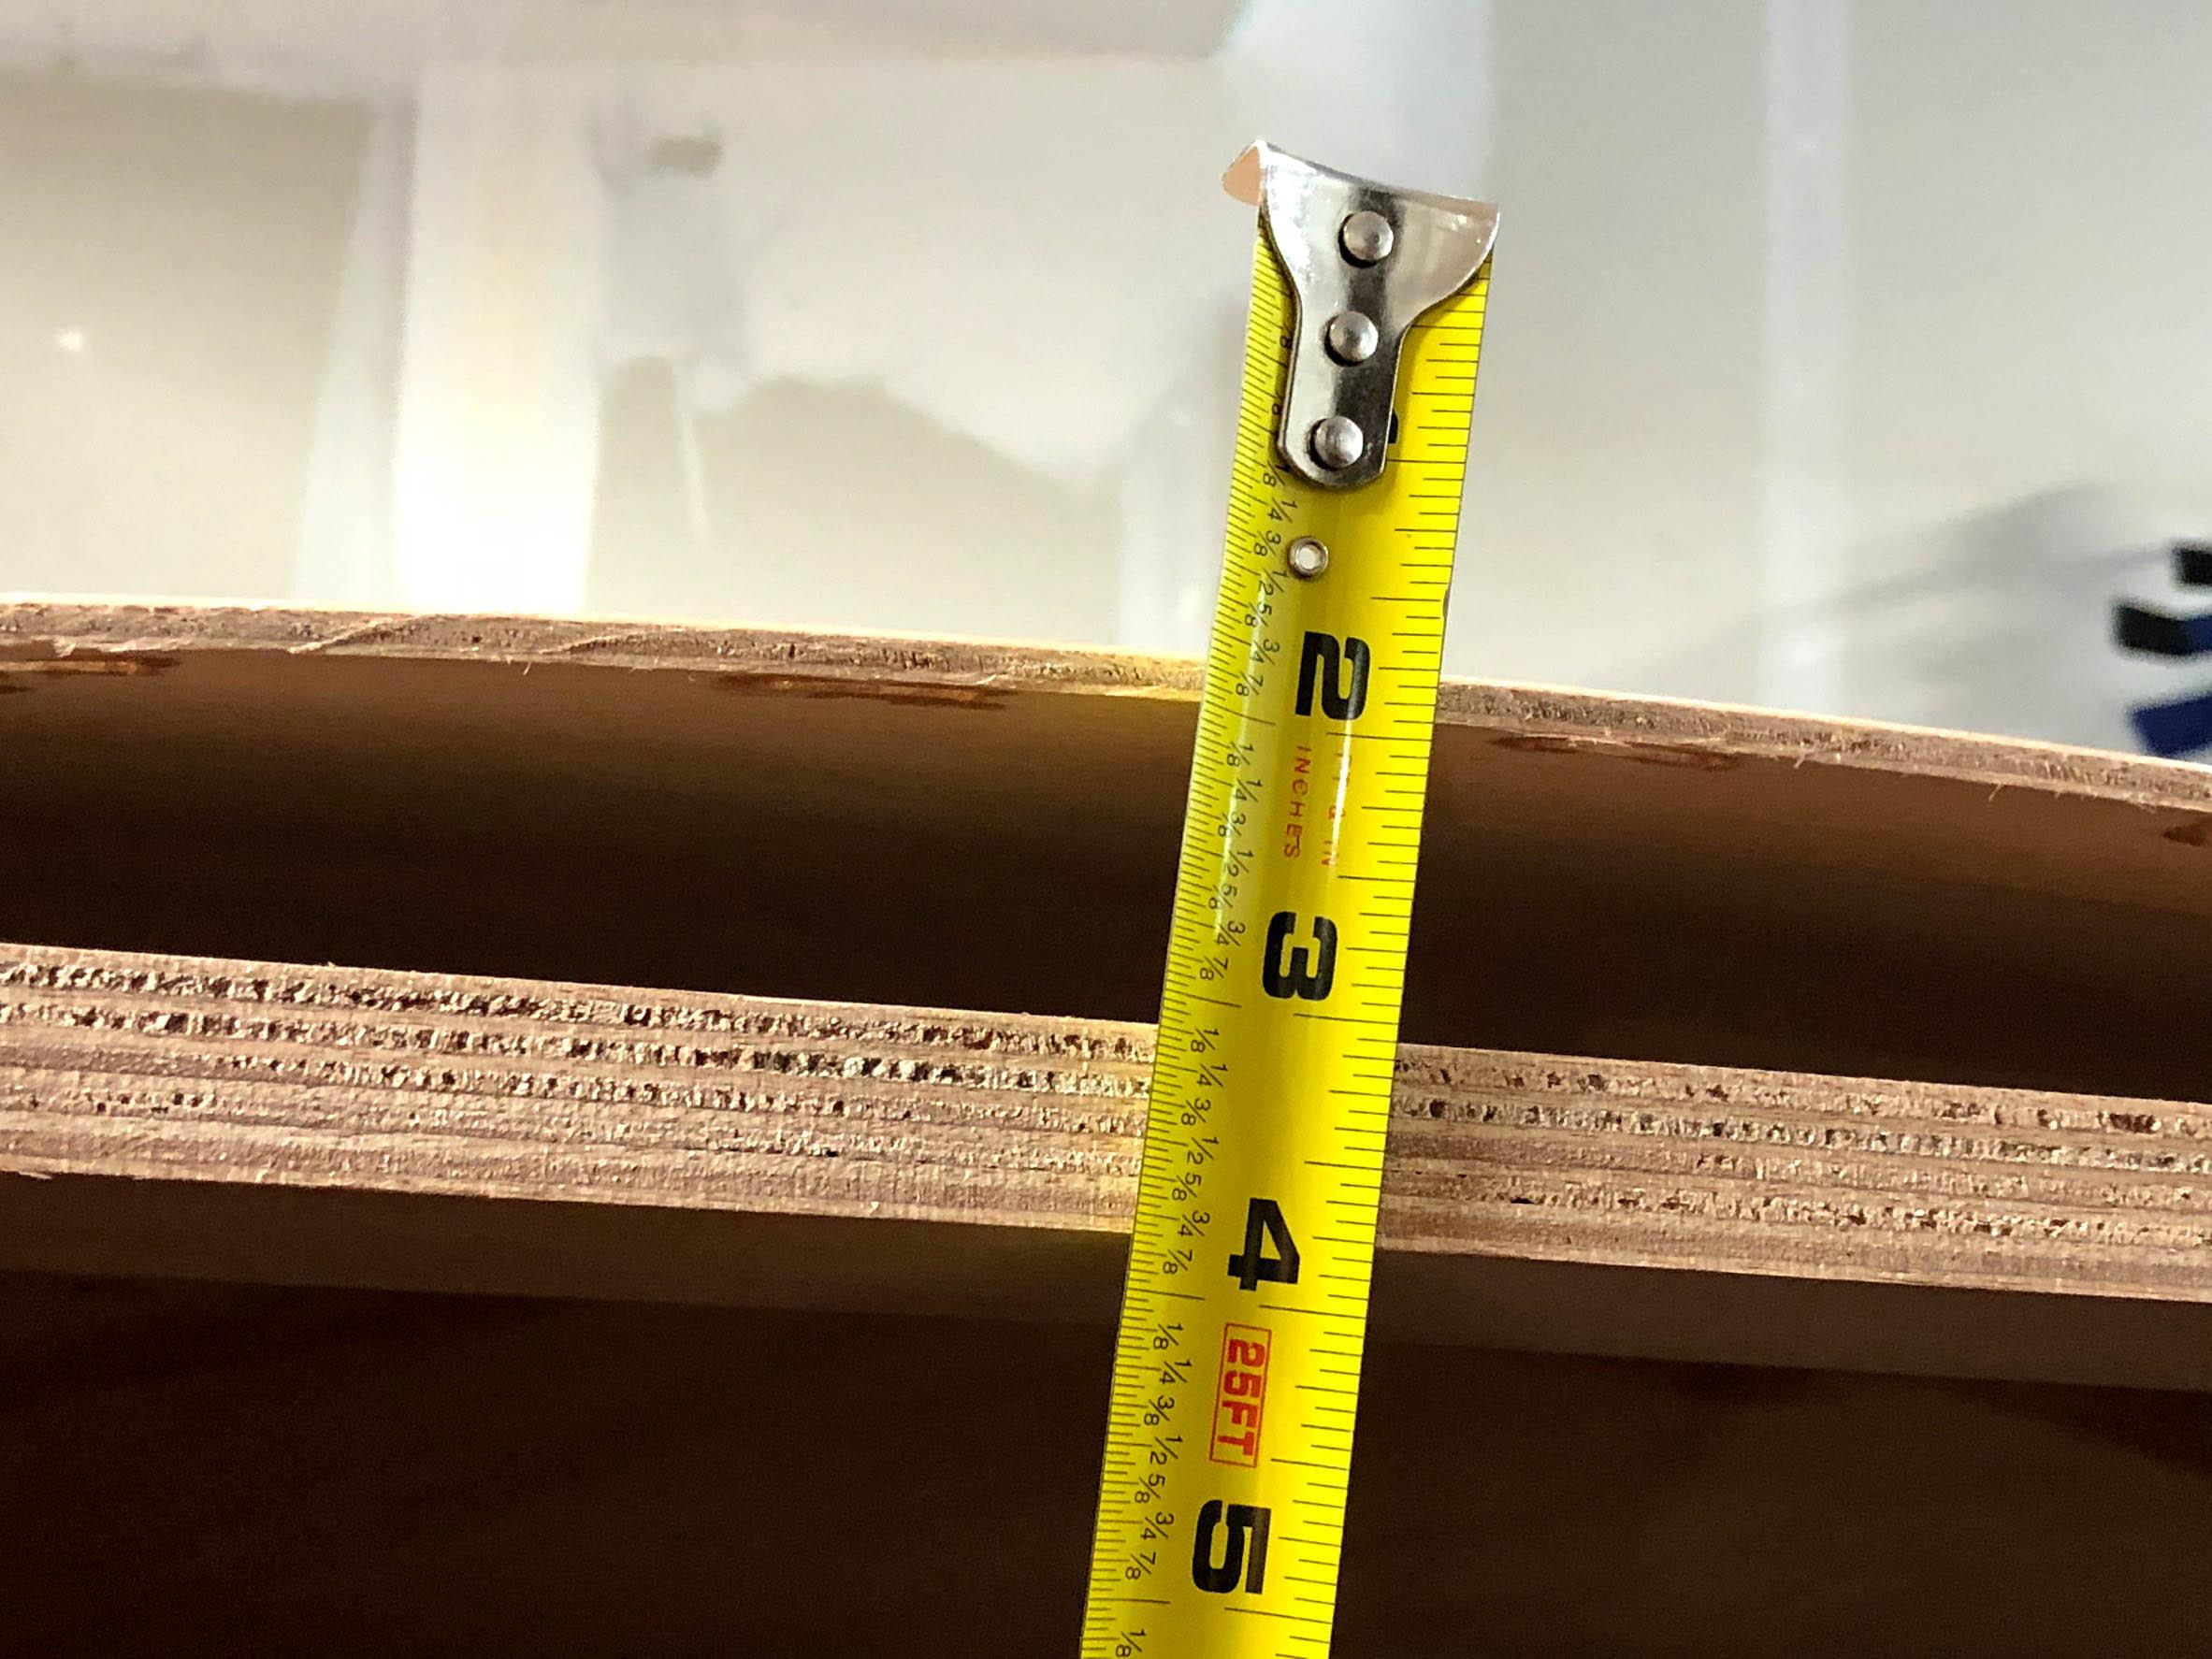
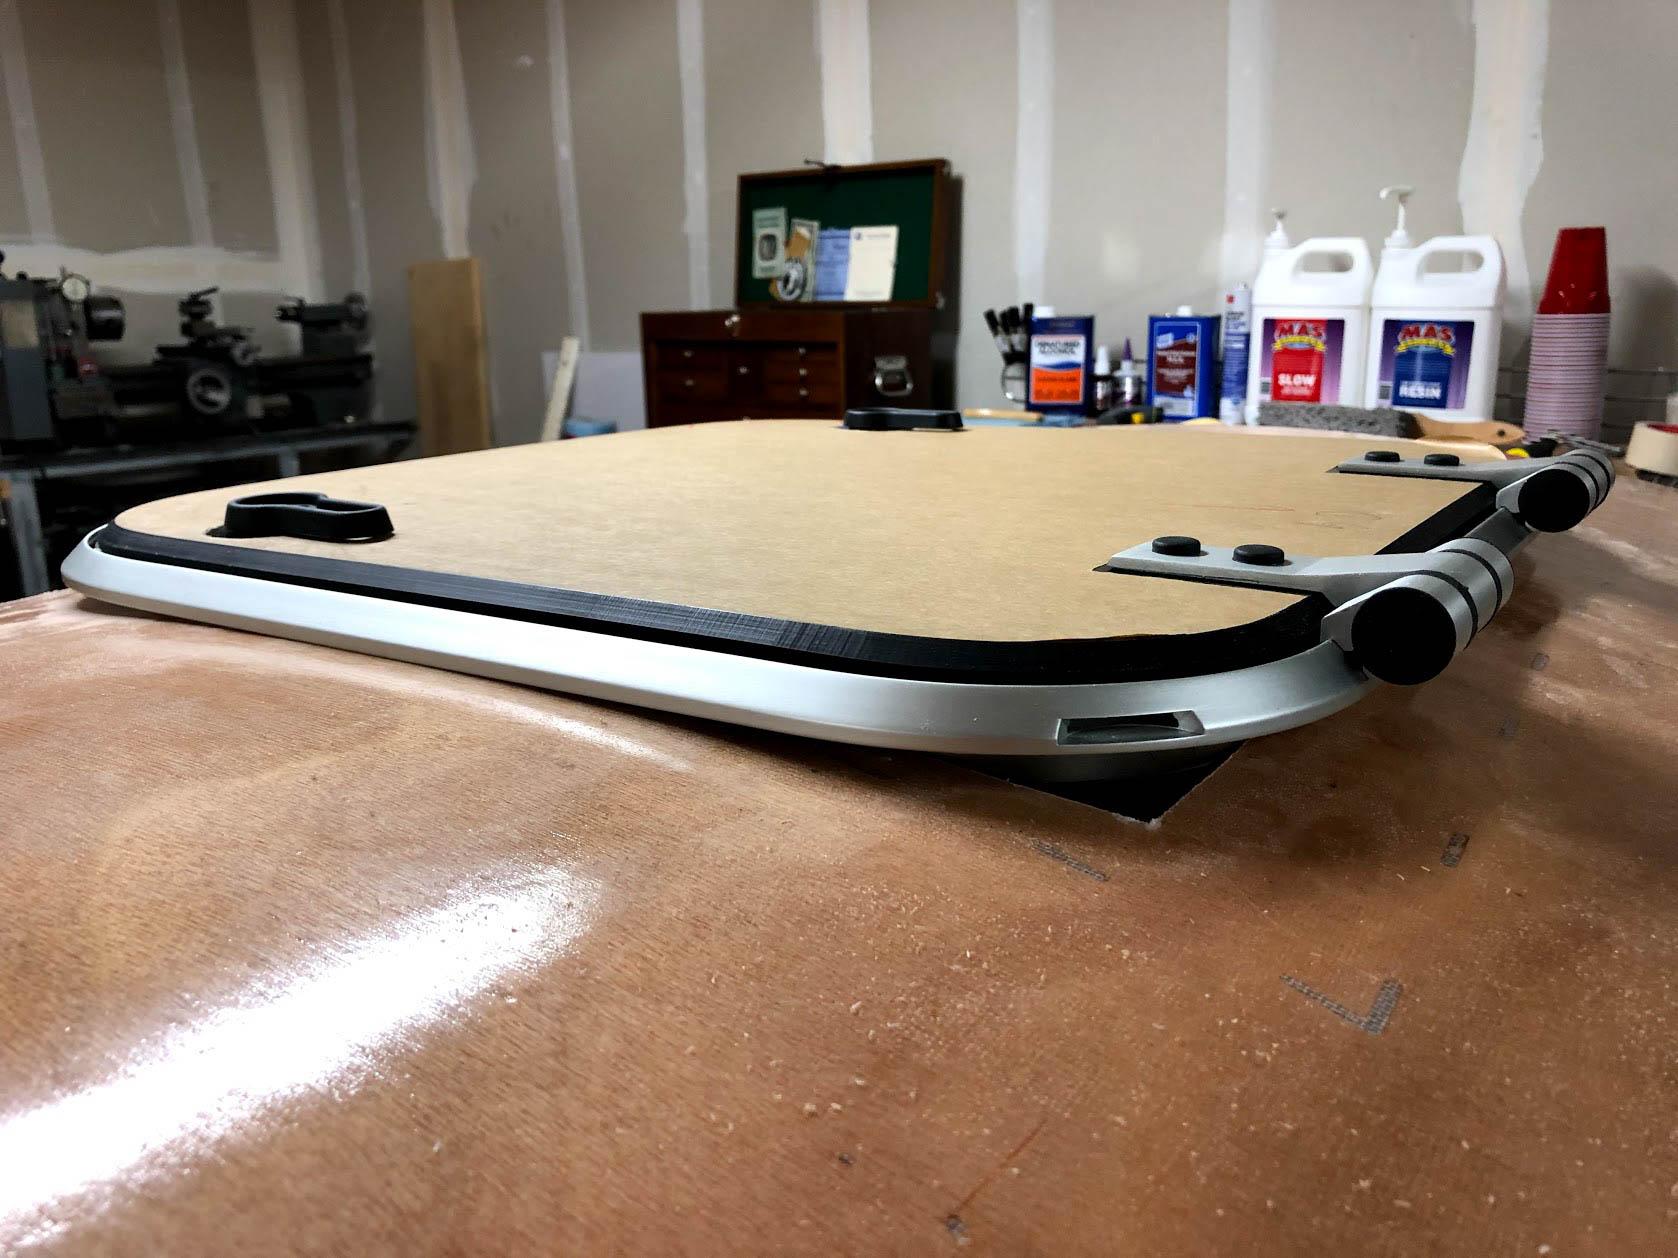
Decided to use the trailer bunks to build up my top hatch frame. As you can see, there is quite a bit of space to fill because the frame is flat and the shell is curved. I will be shaping the frame with a rasp and sander until the top matches the curvature of the shell. I really want the hatch to mount as flush as possible so a small part of the curvature will just be squished down a bit. I’m just winging it, but I think it’ll work great. More to come.
The trailer kit arrives this Friday…
Participant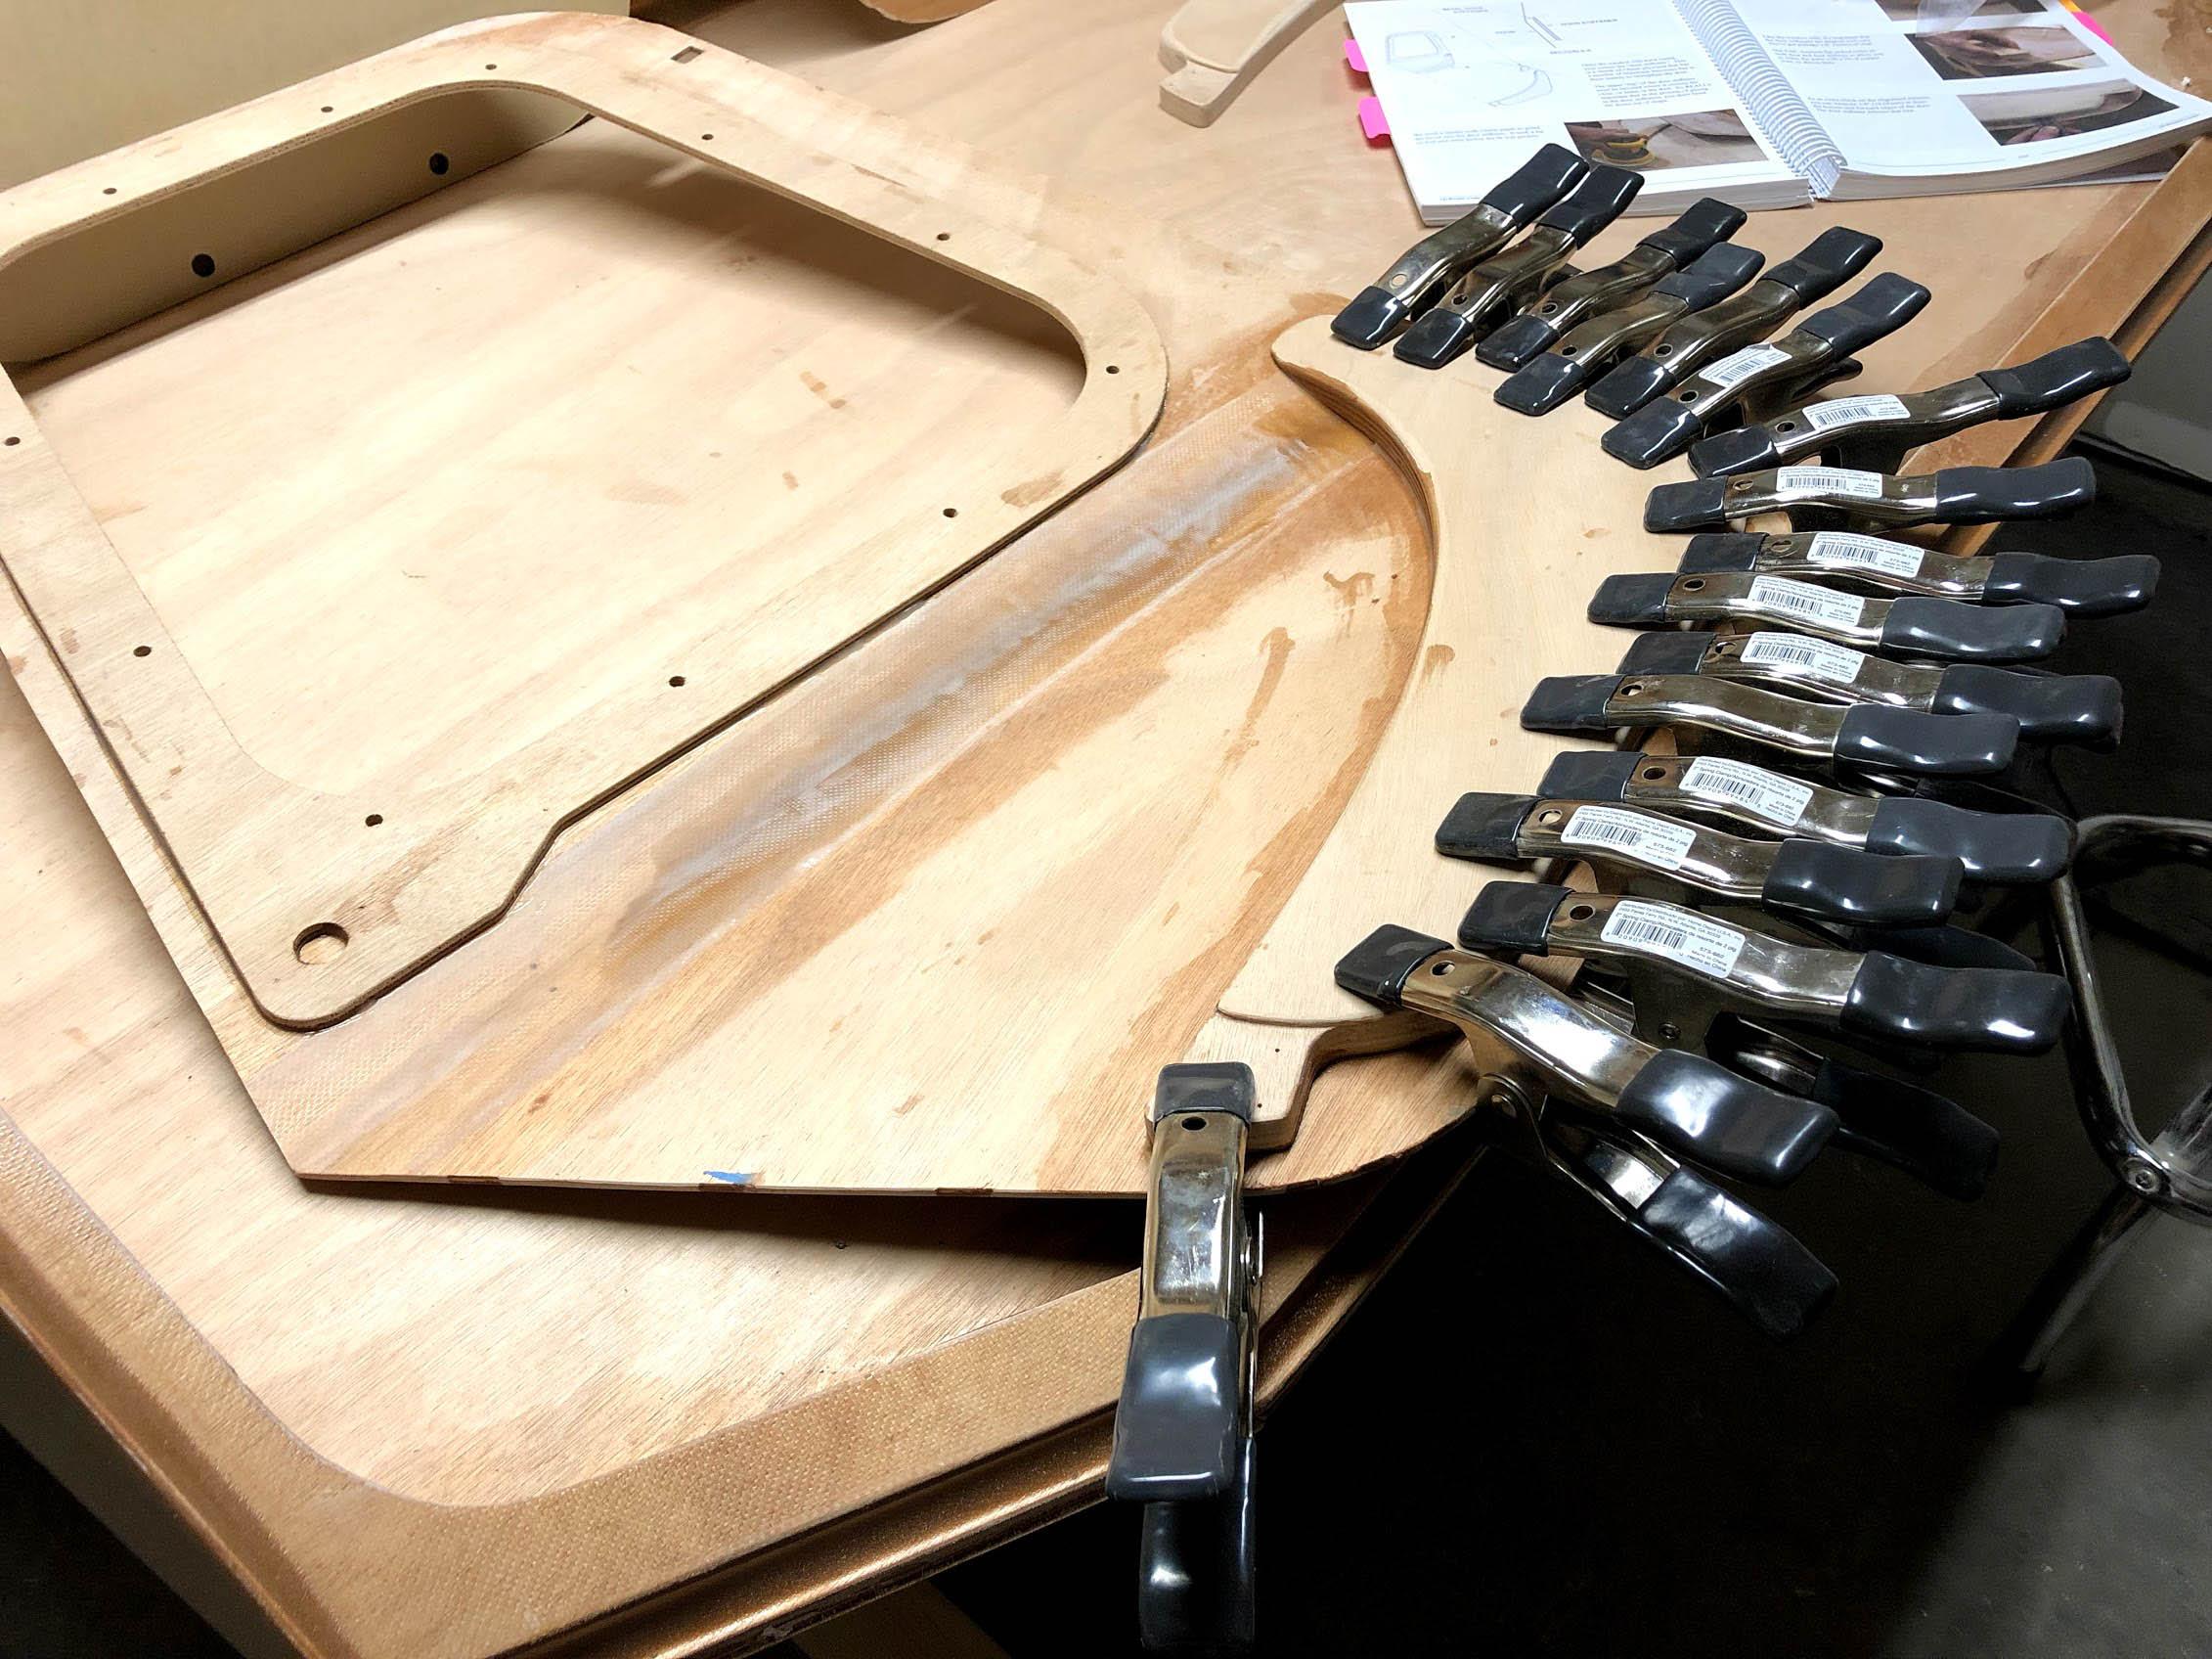

Lots of careful shaping went into the curve on the back of these door stiffeners. I got it close with a rasp and then stuck a sheet of 100-grit sandpaper to my workbench. Sand then check over and over until it’s a perfect fit. For the cure on this epoxy step, I hung the door from the ceiling sideways so gravity wouldn’t change the curvature.
I ordered the CLC/Trailex trailer, so I won’t need the trailer bunks that shipped with the kit. Those are going into building the interior bezel which will stiffen and support the shell around my non-standard top-hatch. I don’t want the hatch to be epoxied in-place. A design for that is stewing in my brain.
-
This reply was modified 6 years ago by
ParticipantLove the teal and black pinstriping! More pics?
Participant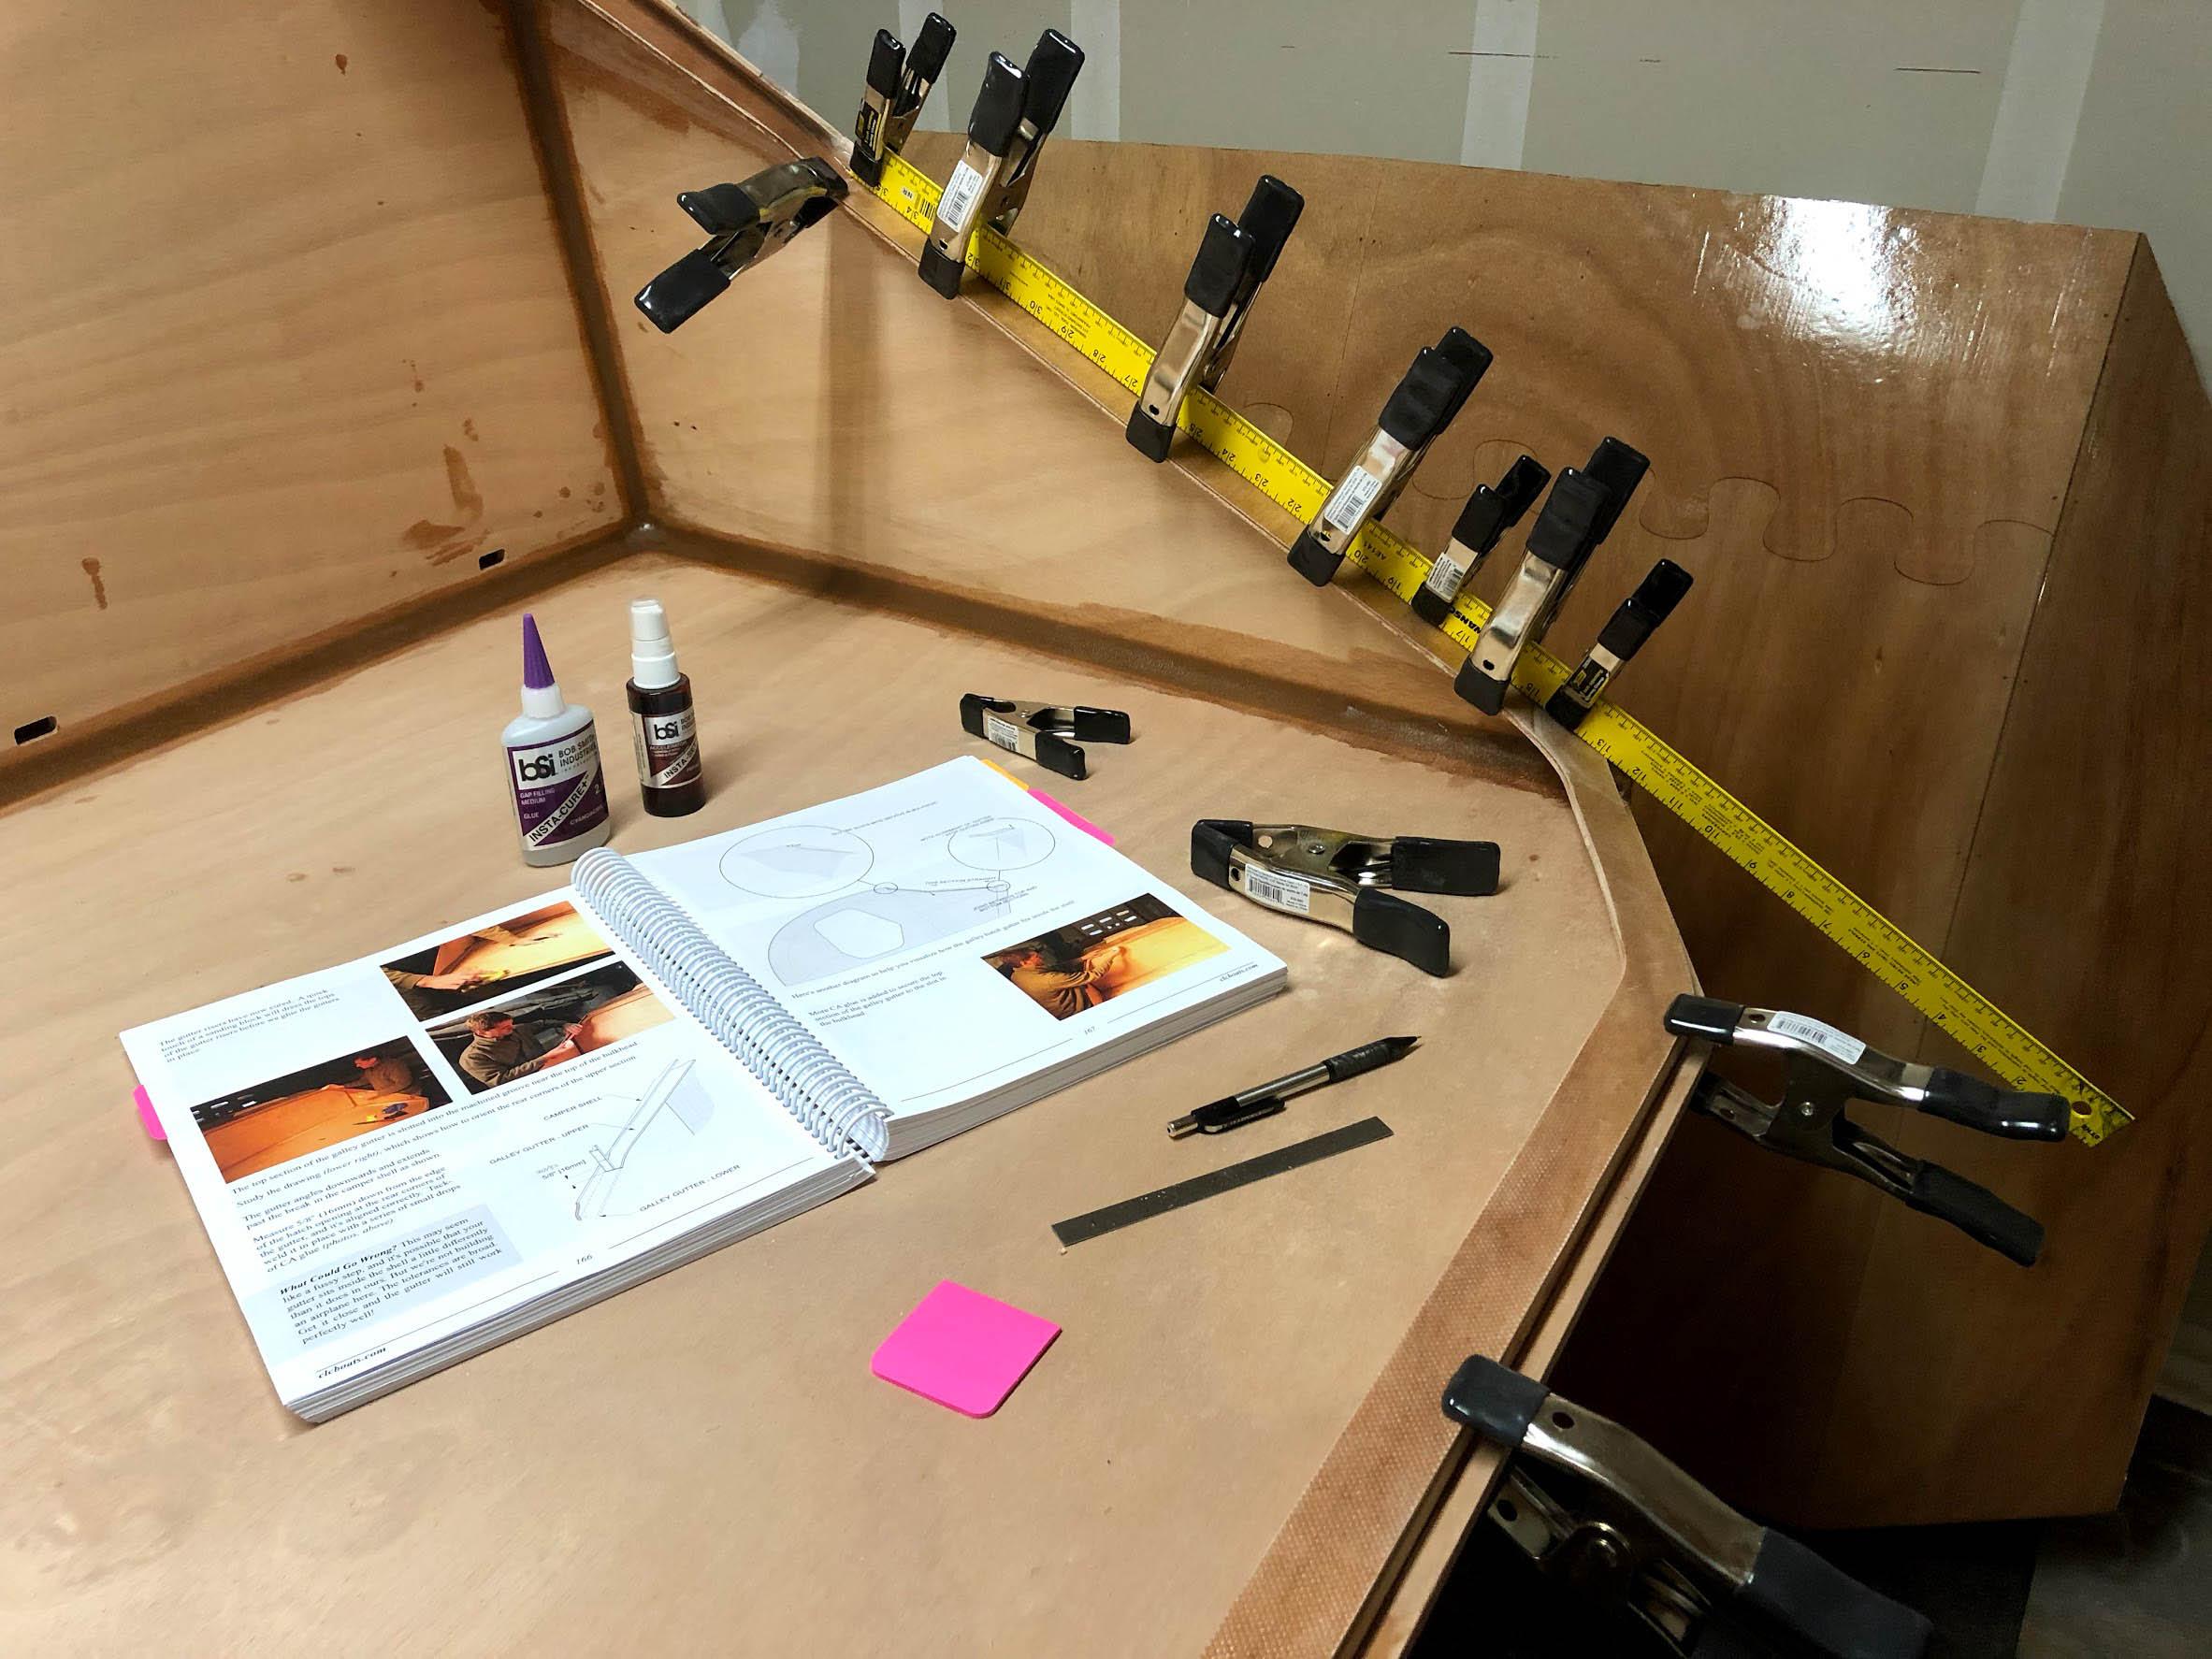
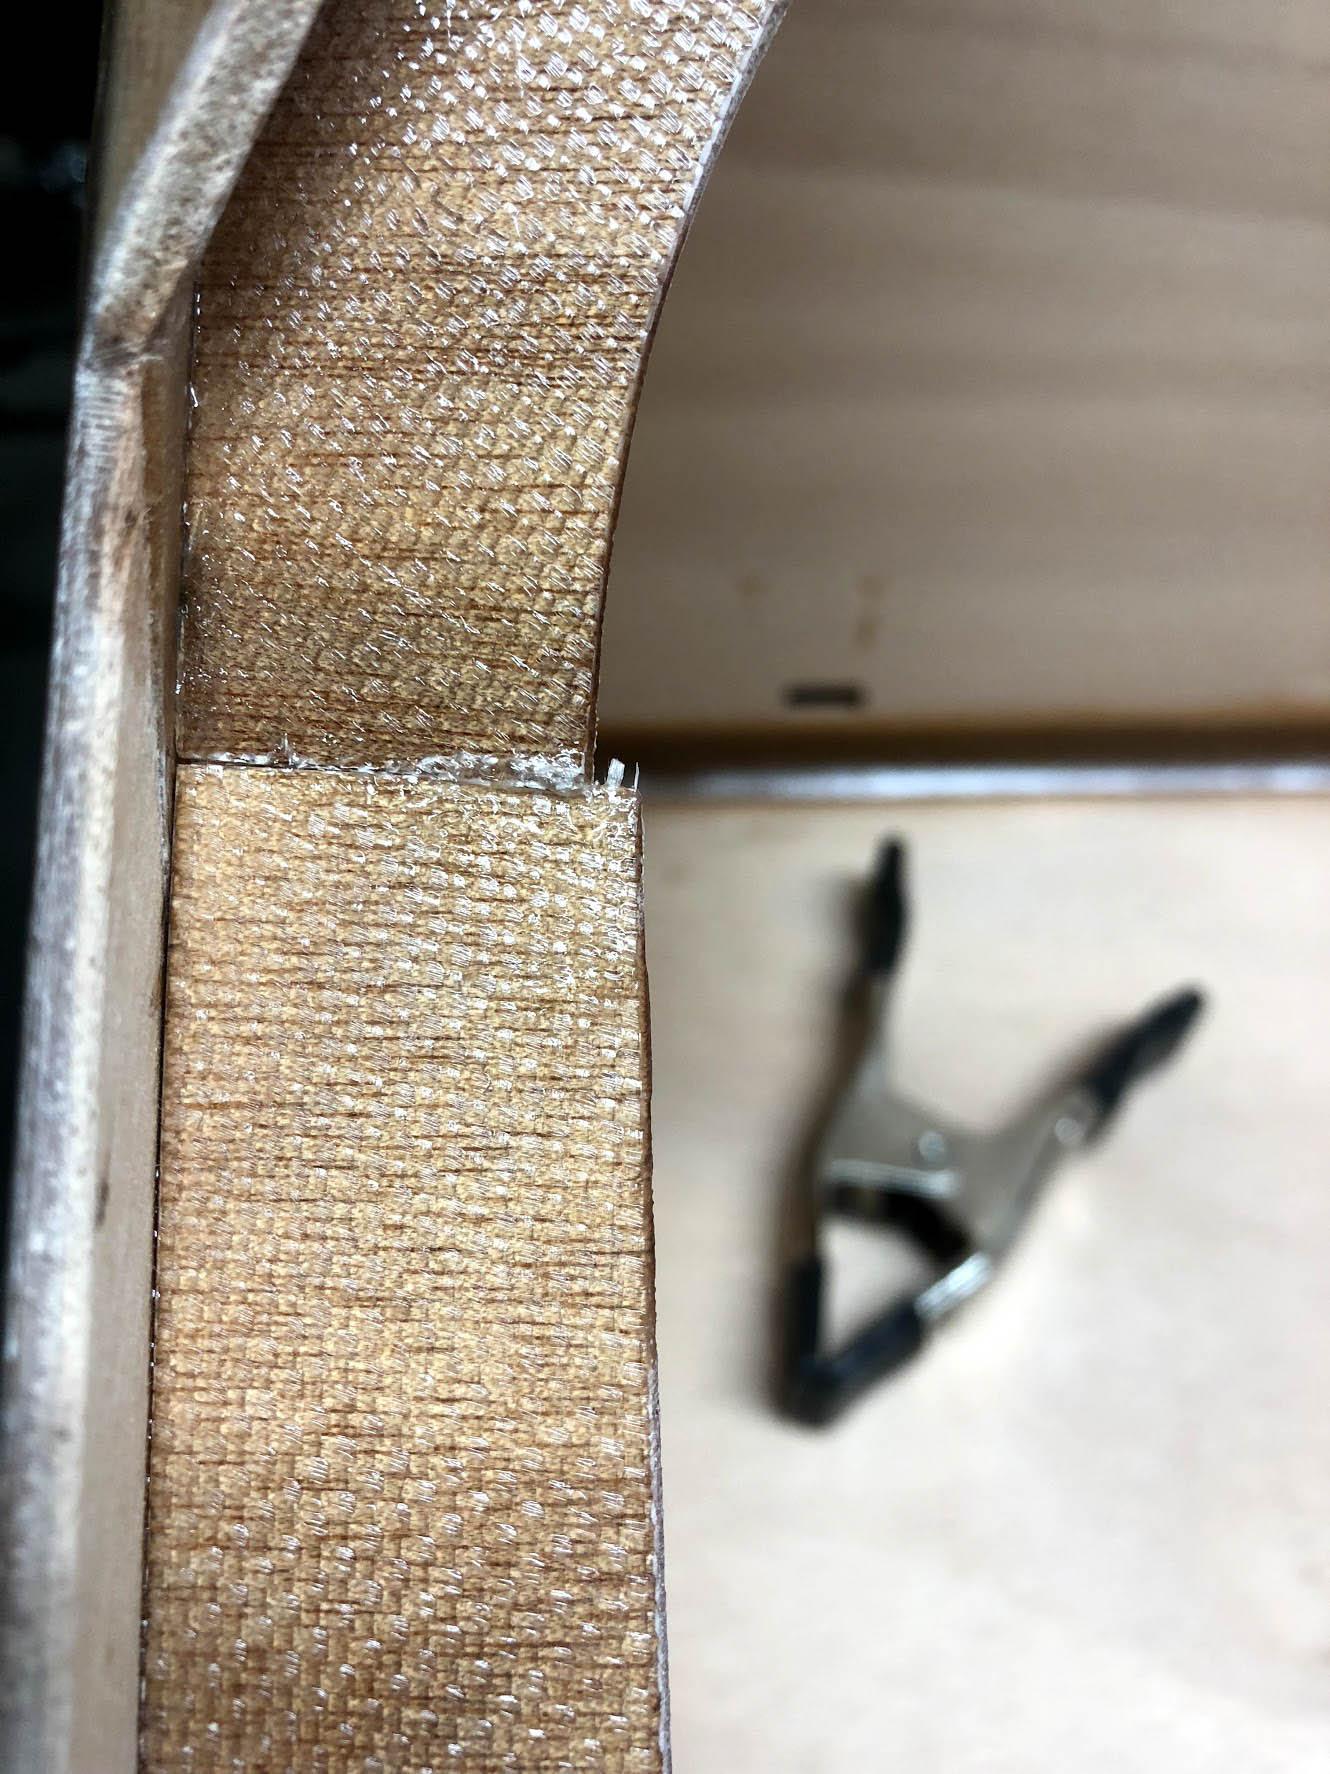
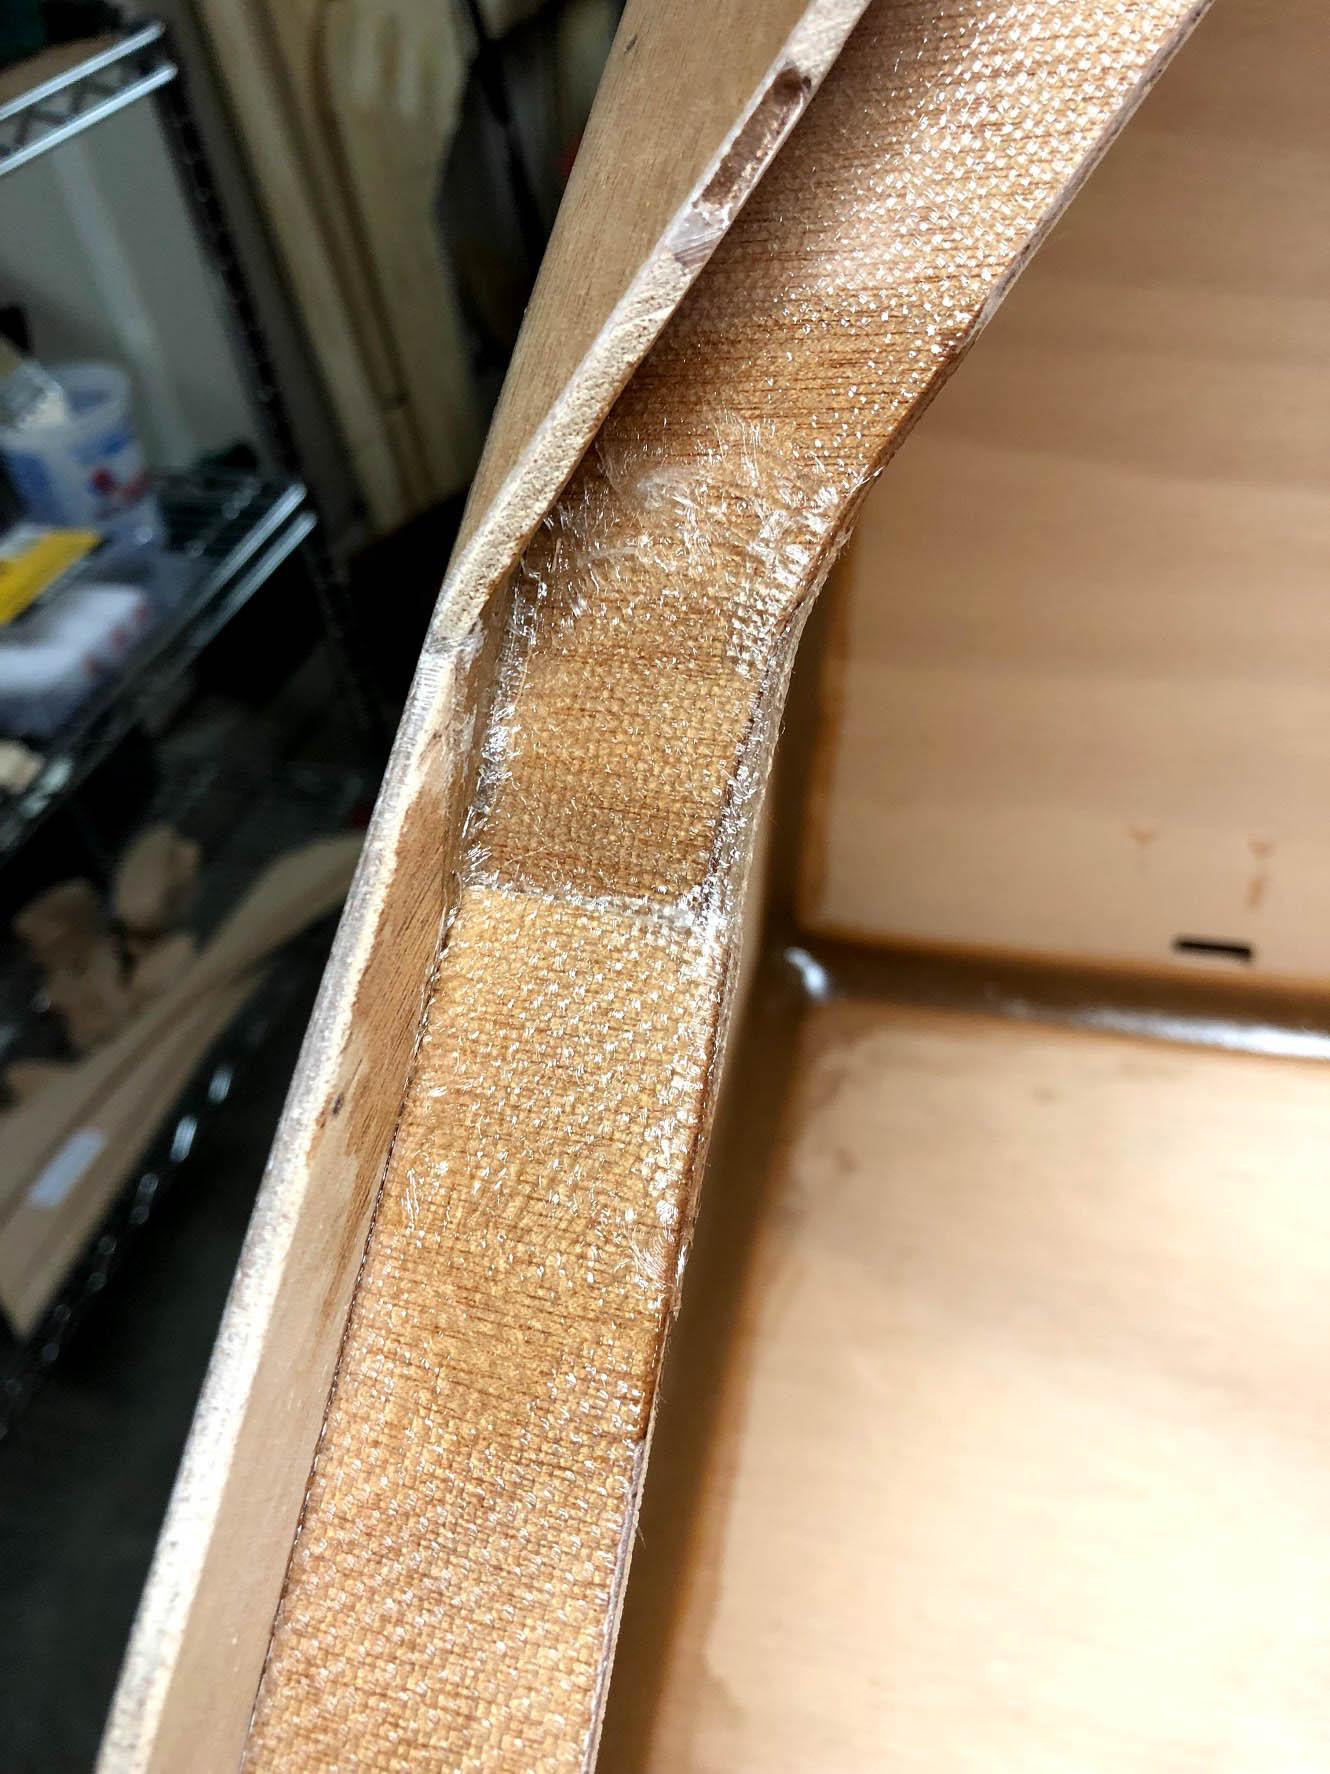
That’s annoying… lets make up the gap with glass. I just wrapped on a scrap large enough to cover the top AND bottom:
Wow. So last week I did the following:
- hatchback bezel prep and glassing
- hatchback bezel install & filleting
- door frame prep
- hinge prep and glassing
- door window cutouts
- door windowsill assembly
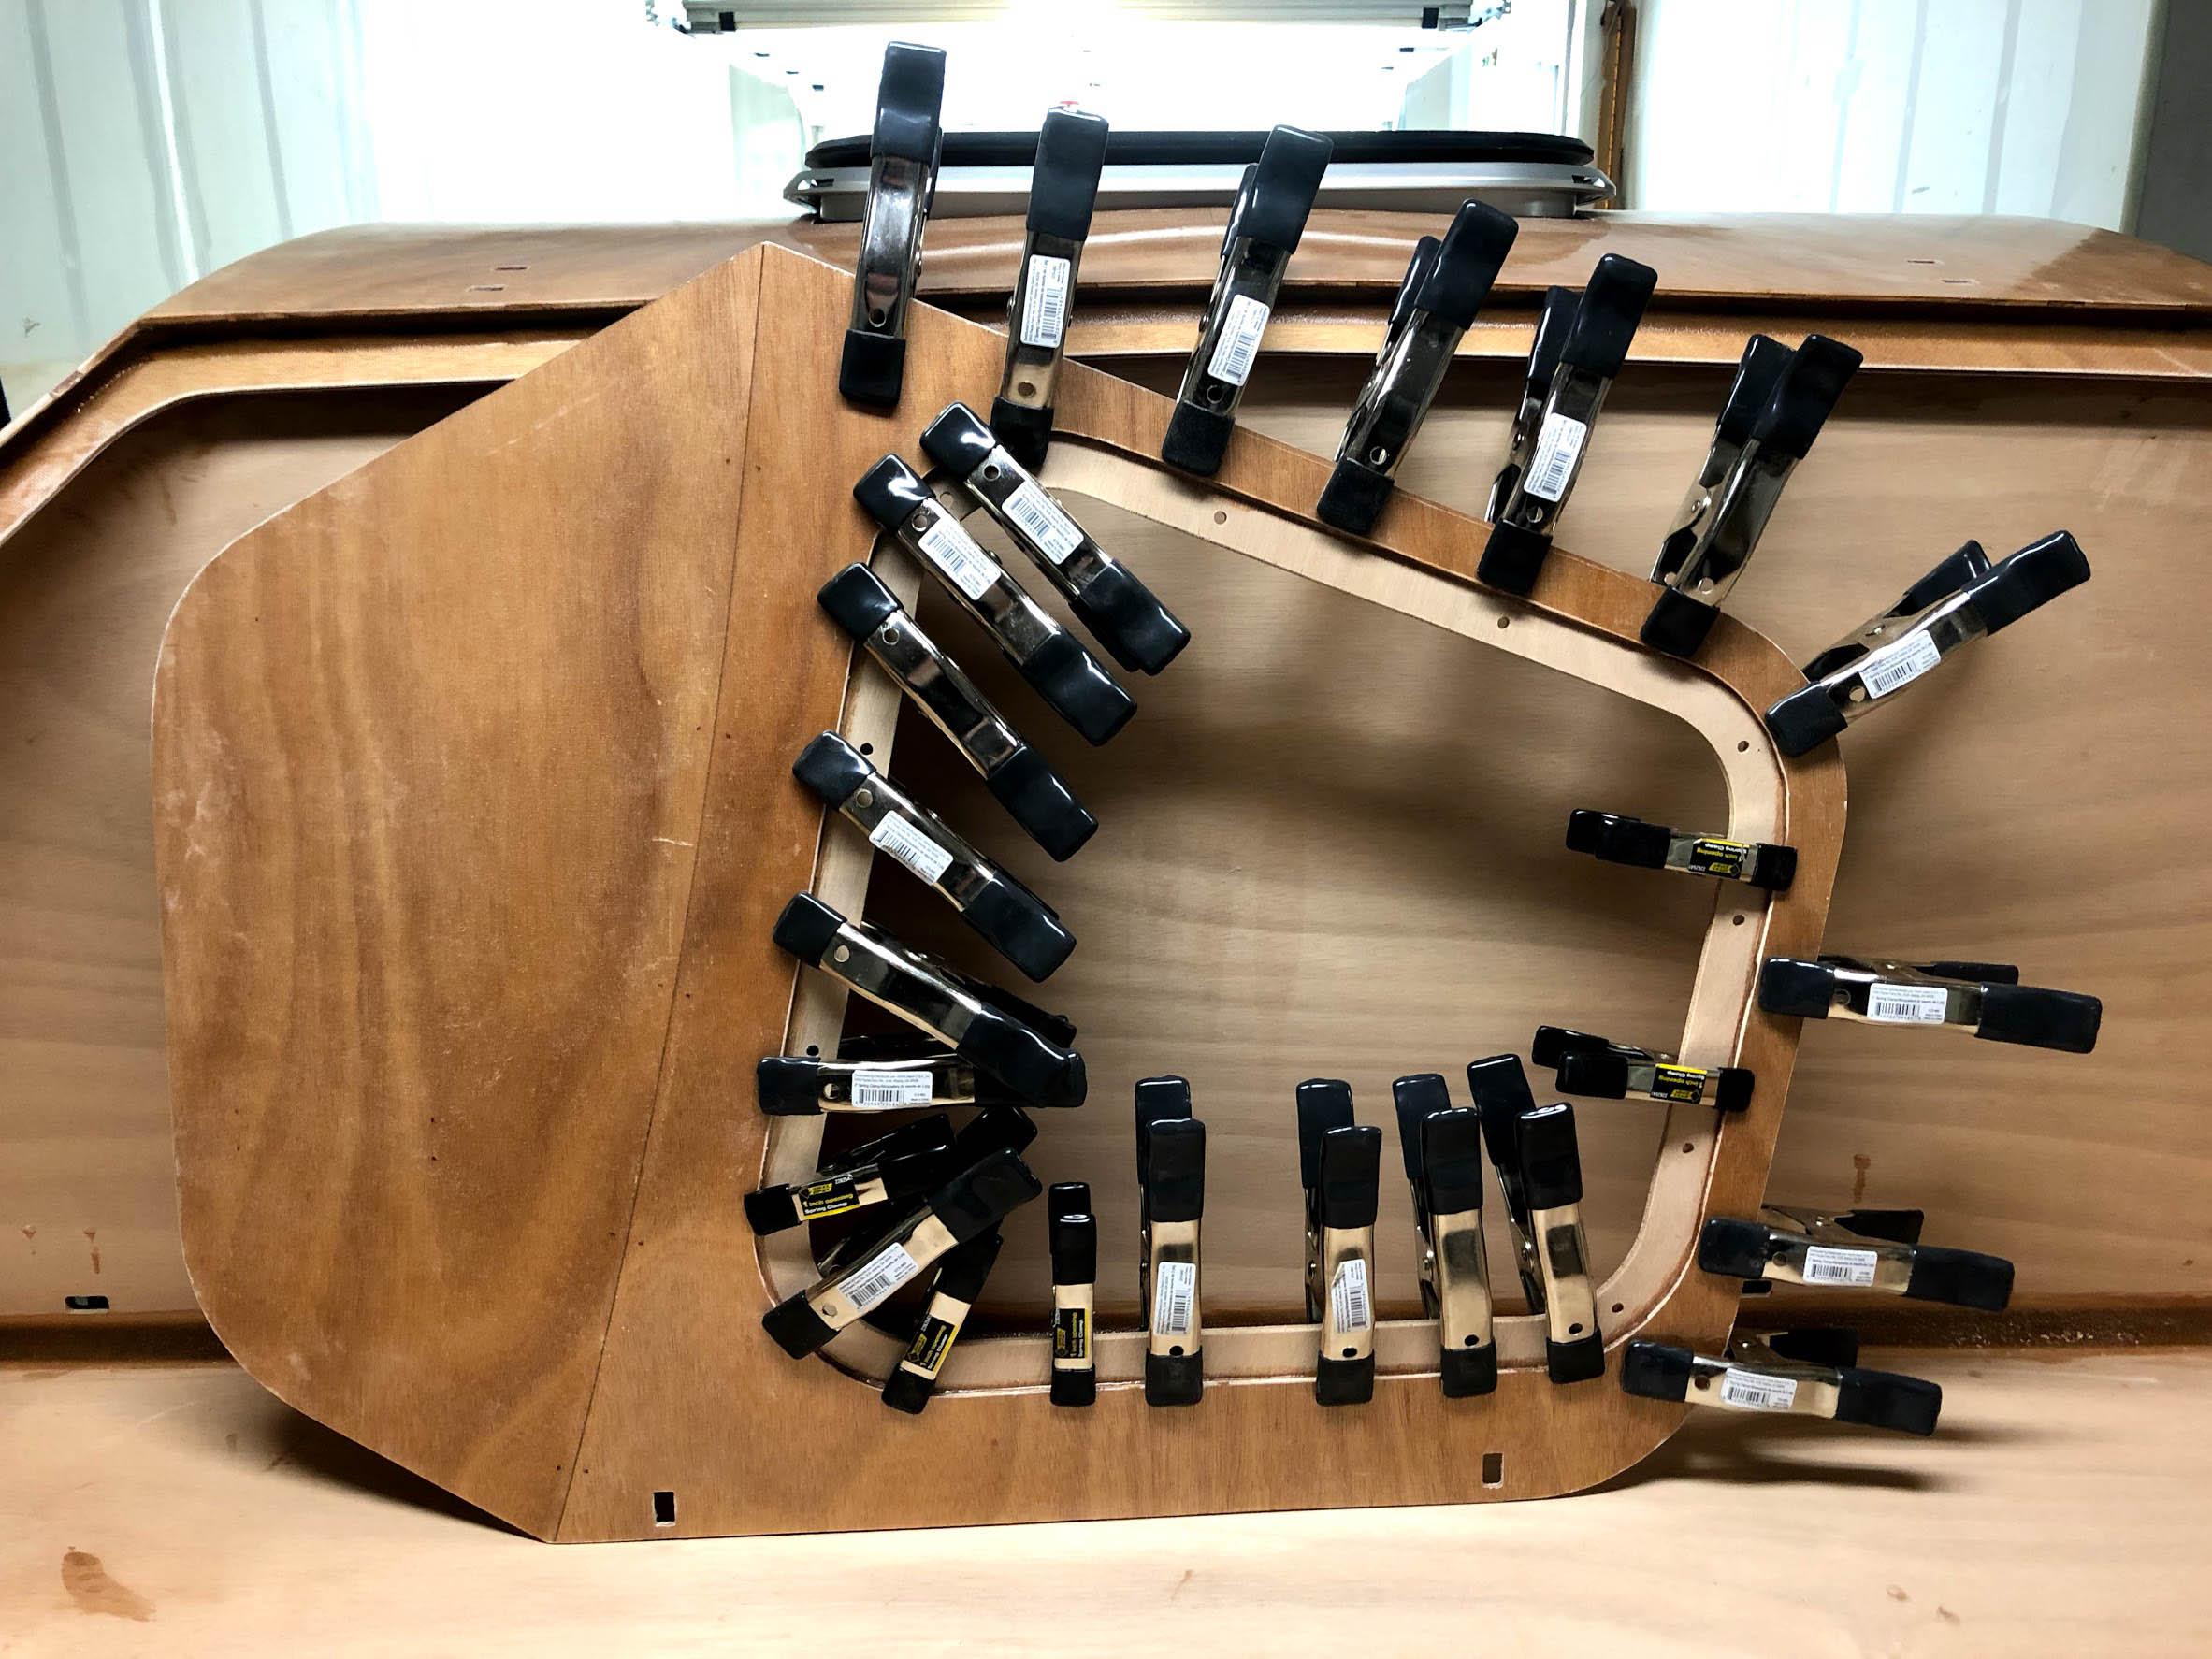
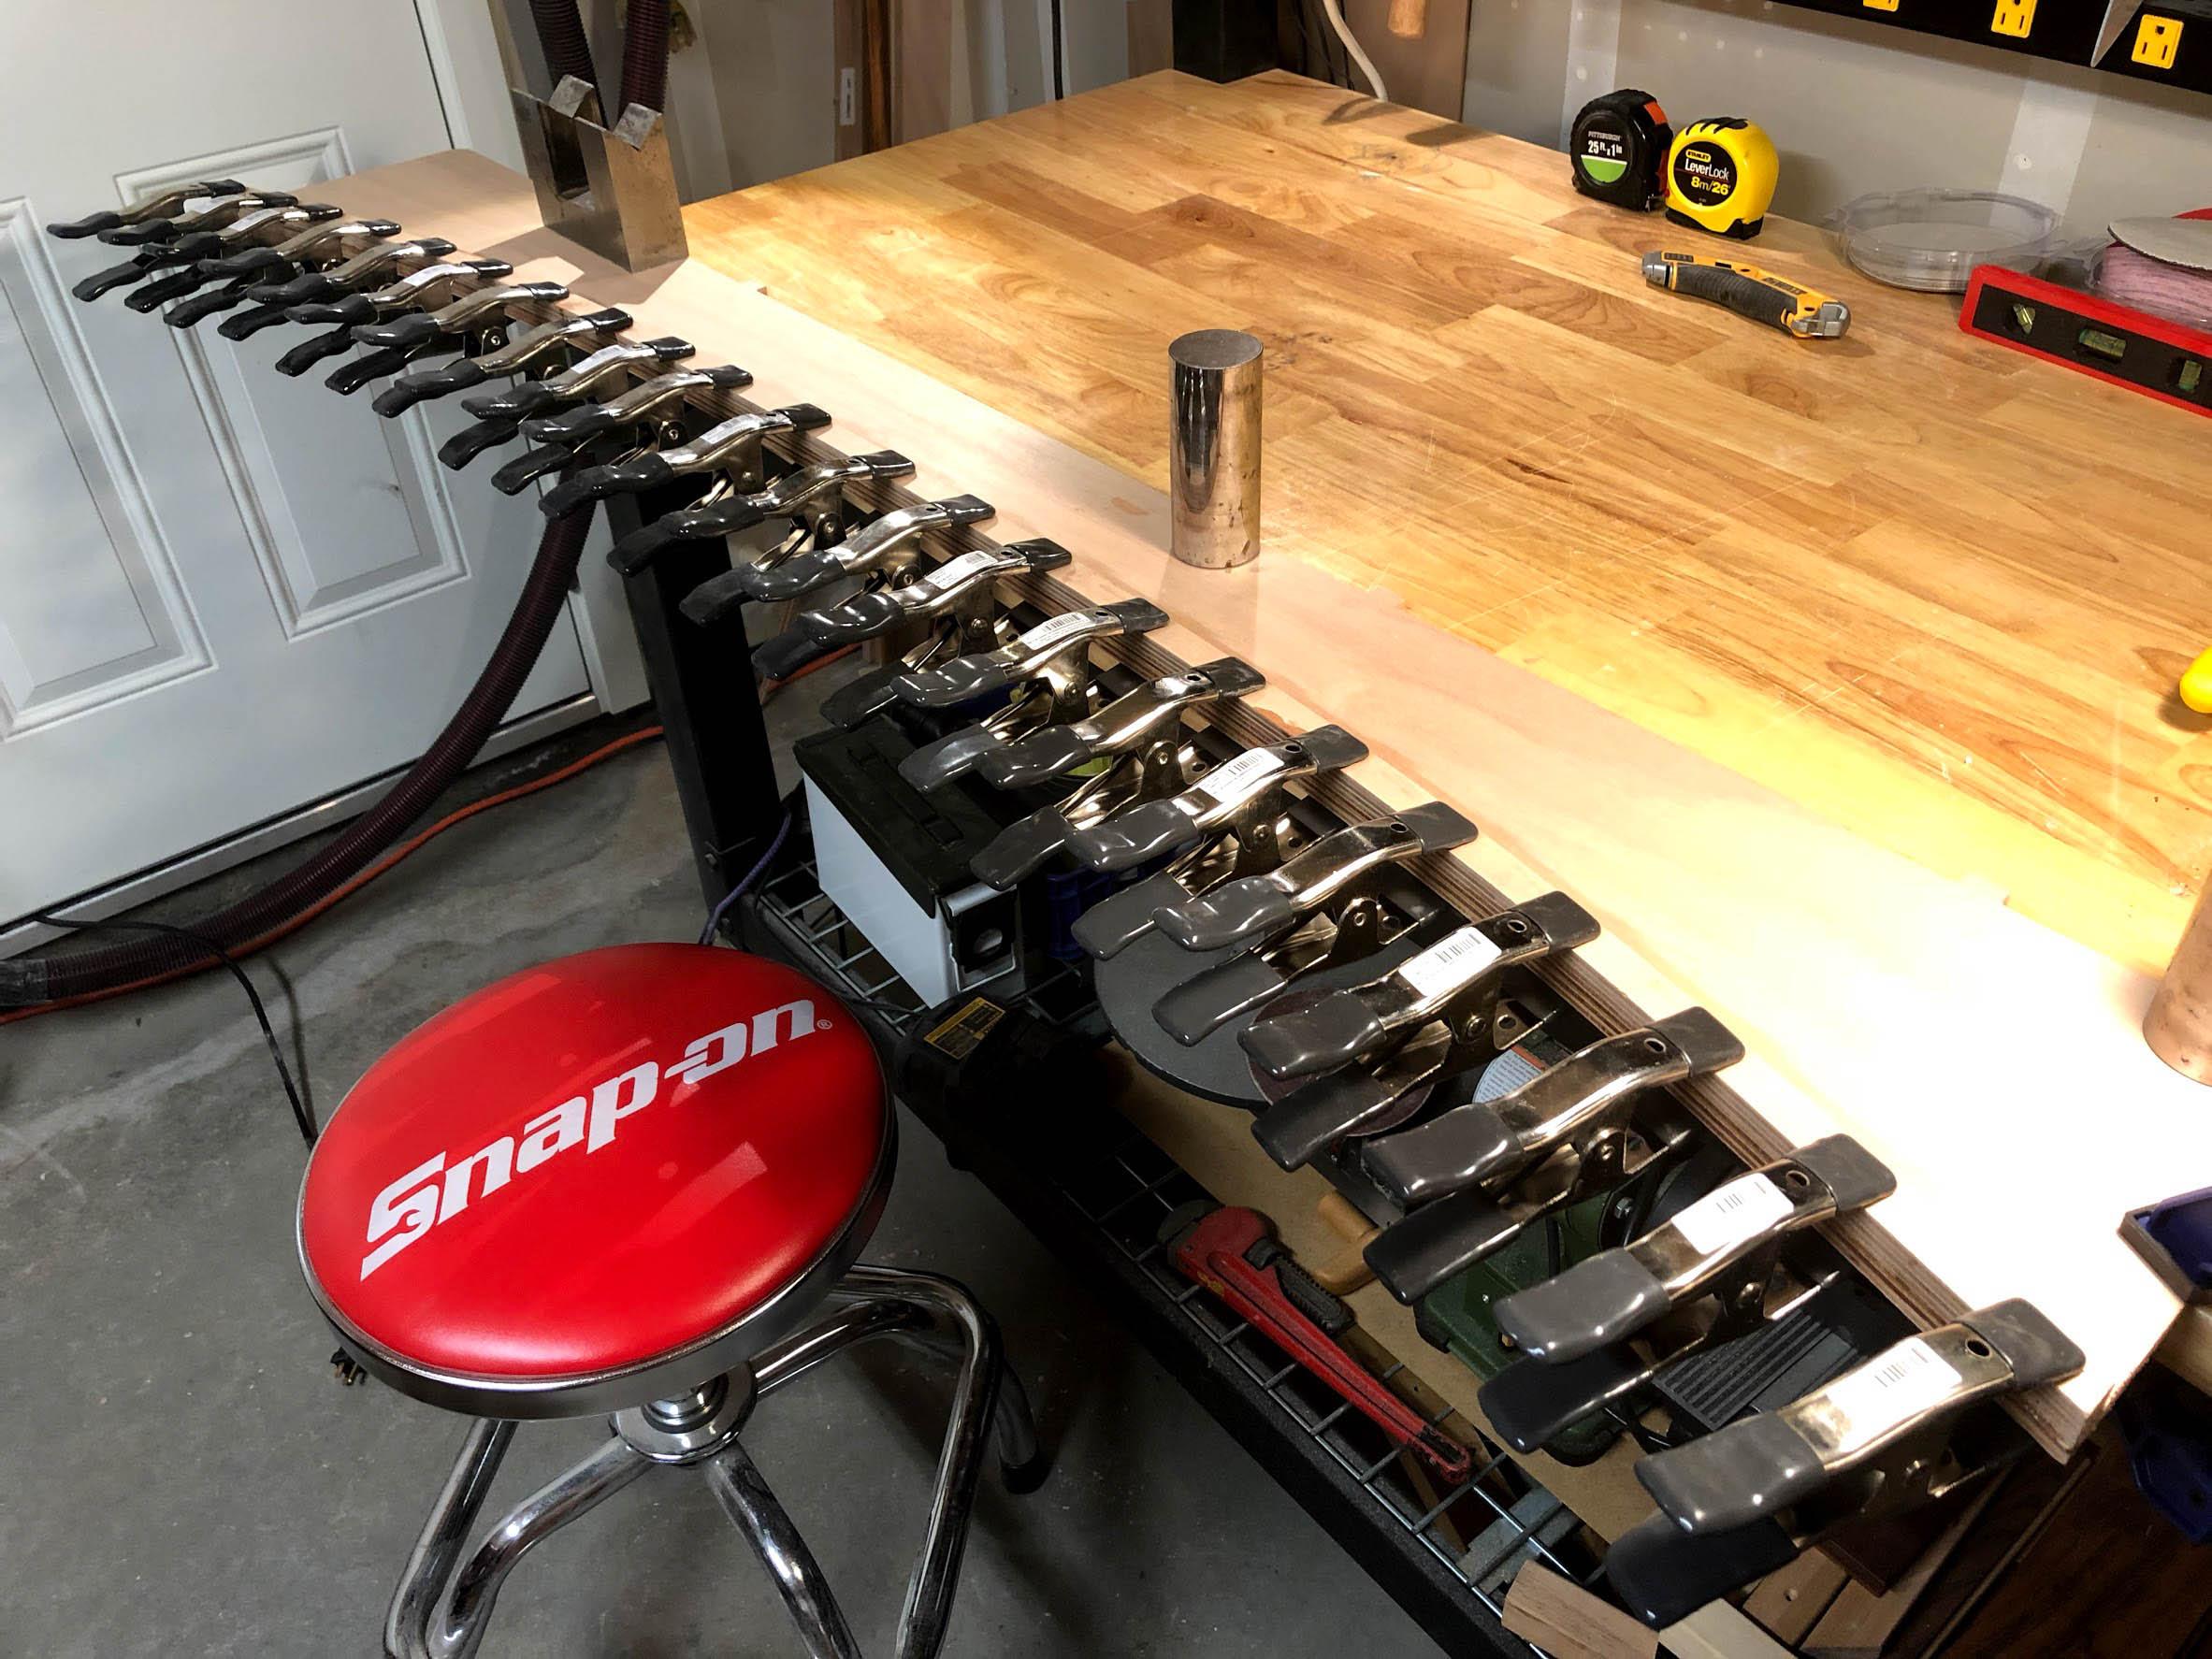
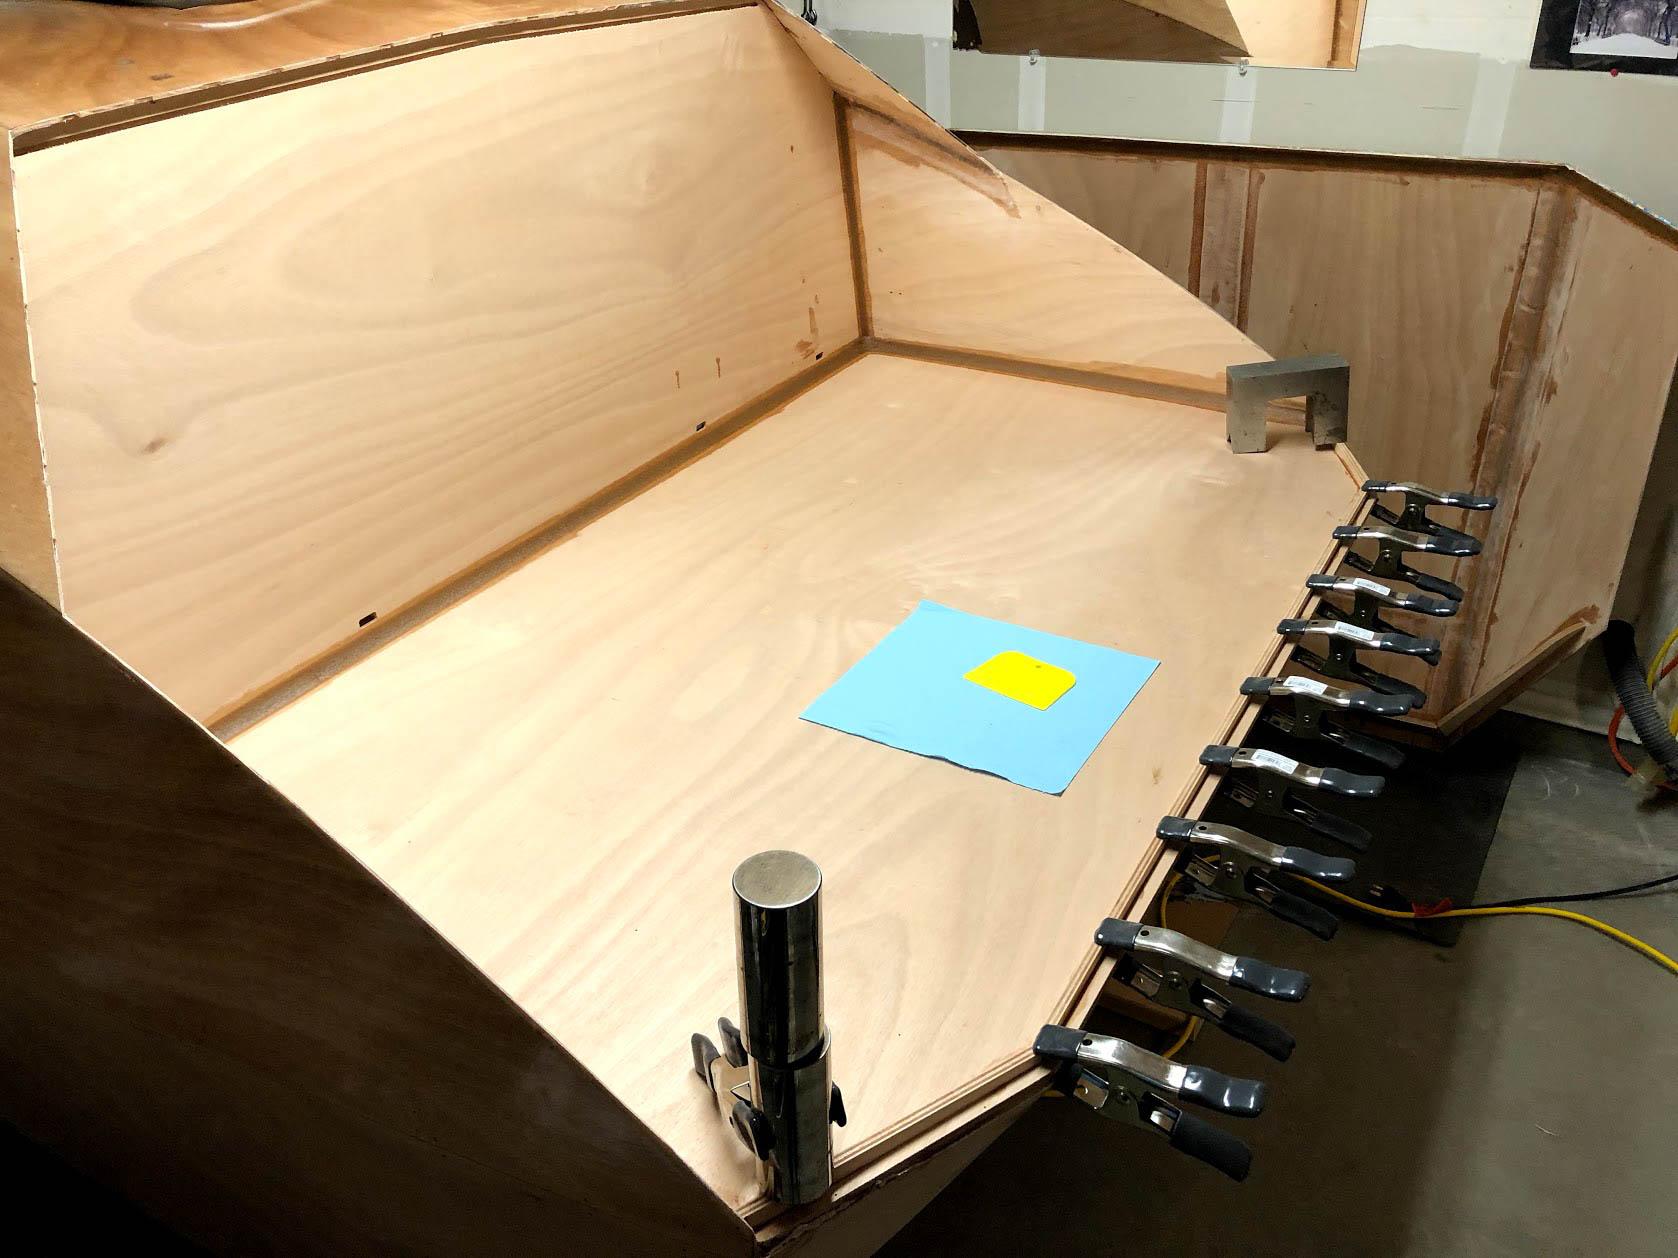
- shelf fiddle rail assembly (I used ALL the clamps!)
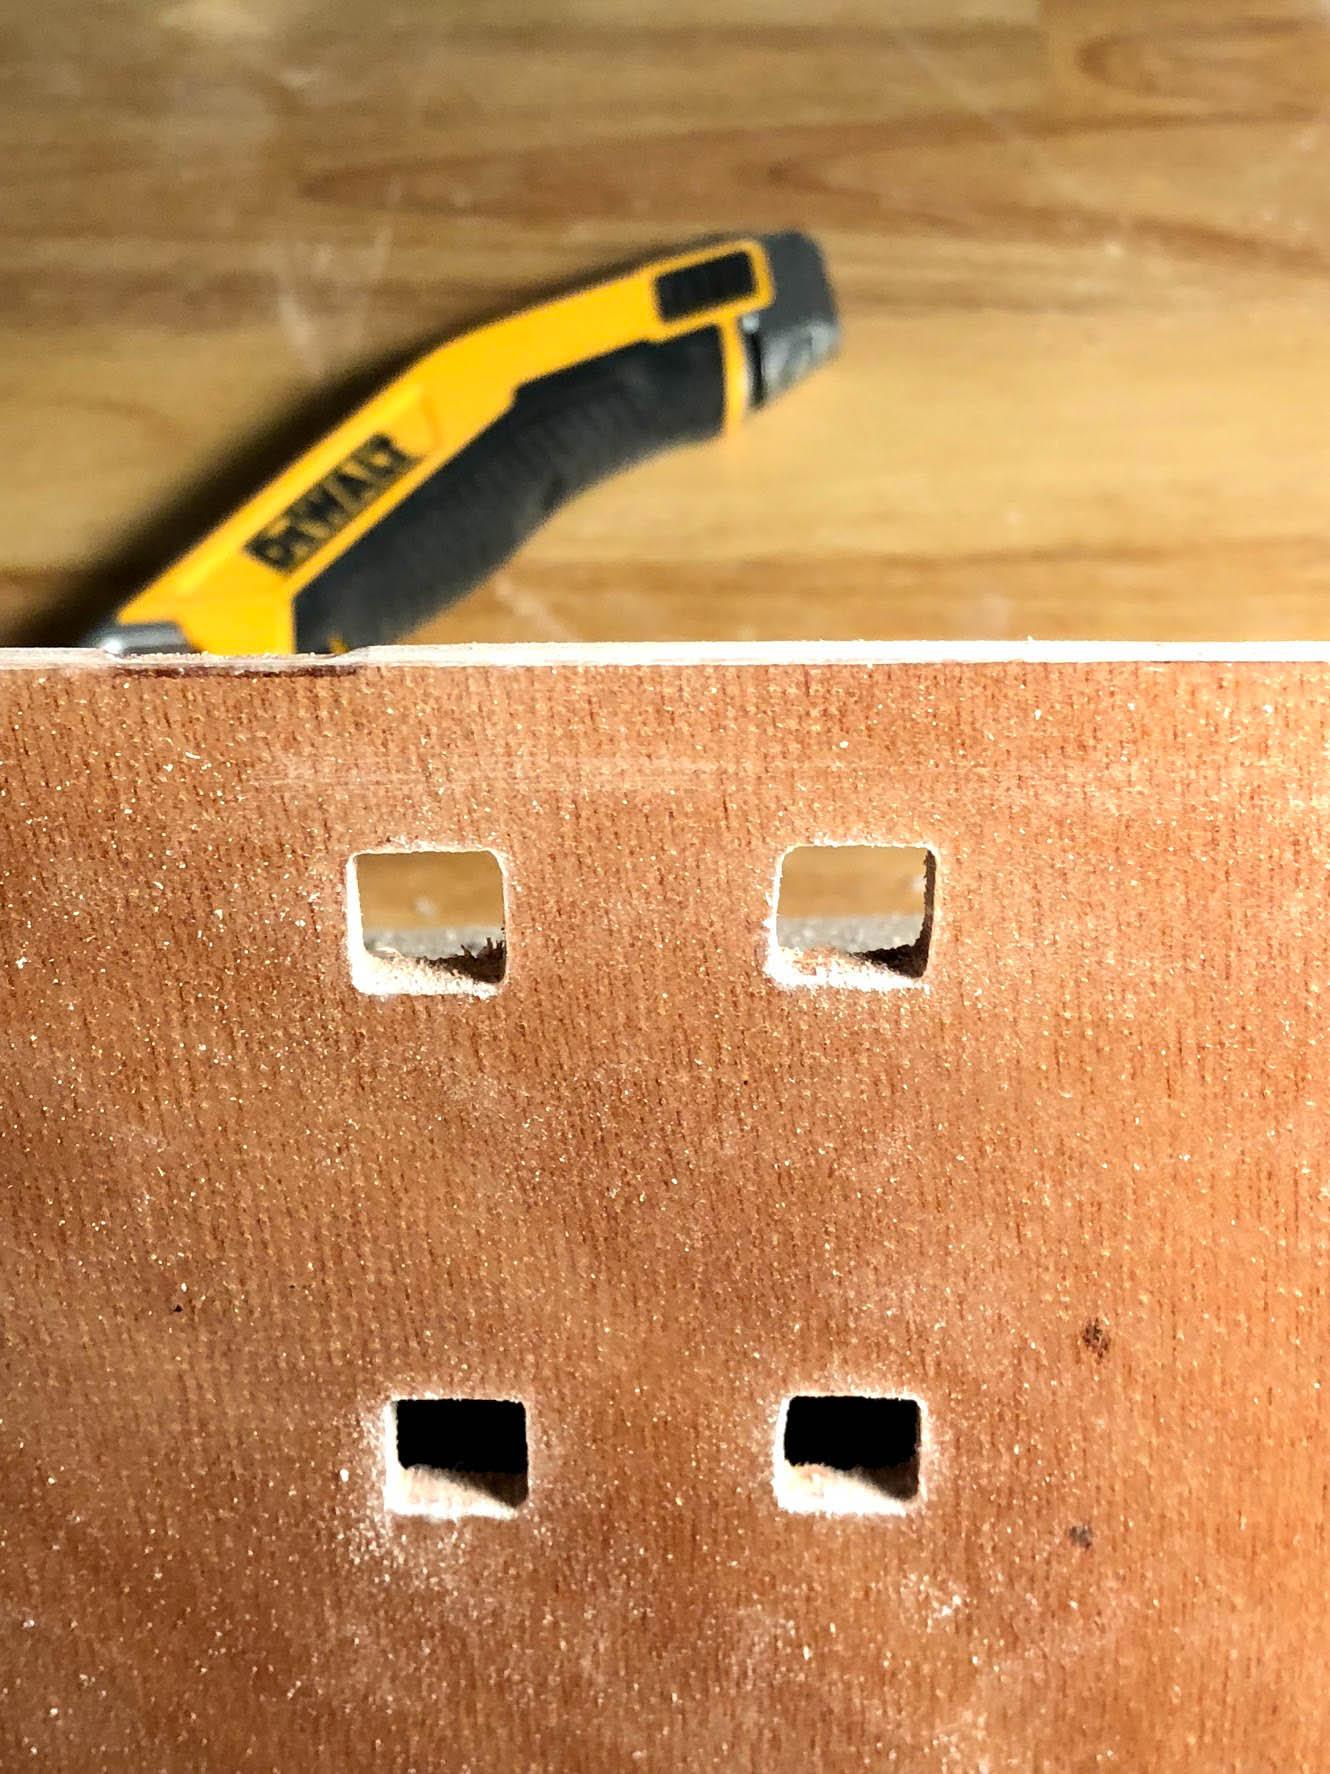
- all hinge holes cut out and cleaned up
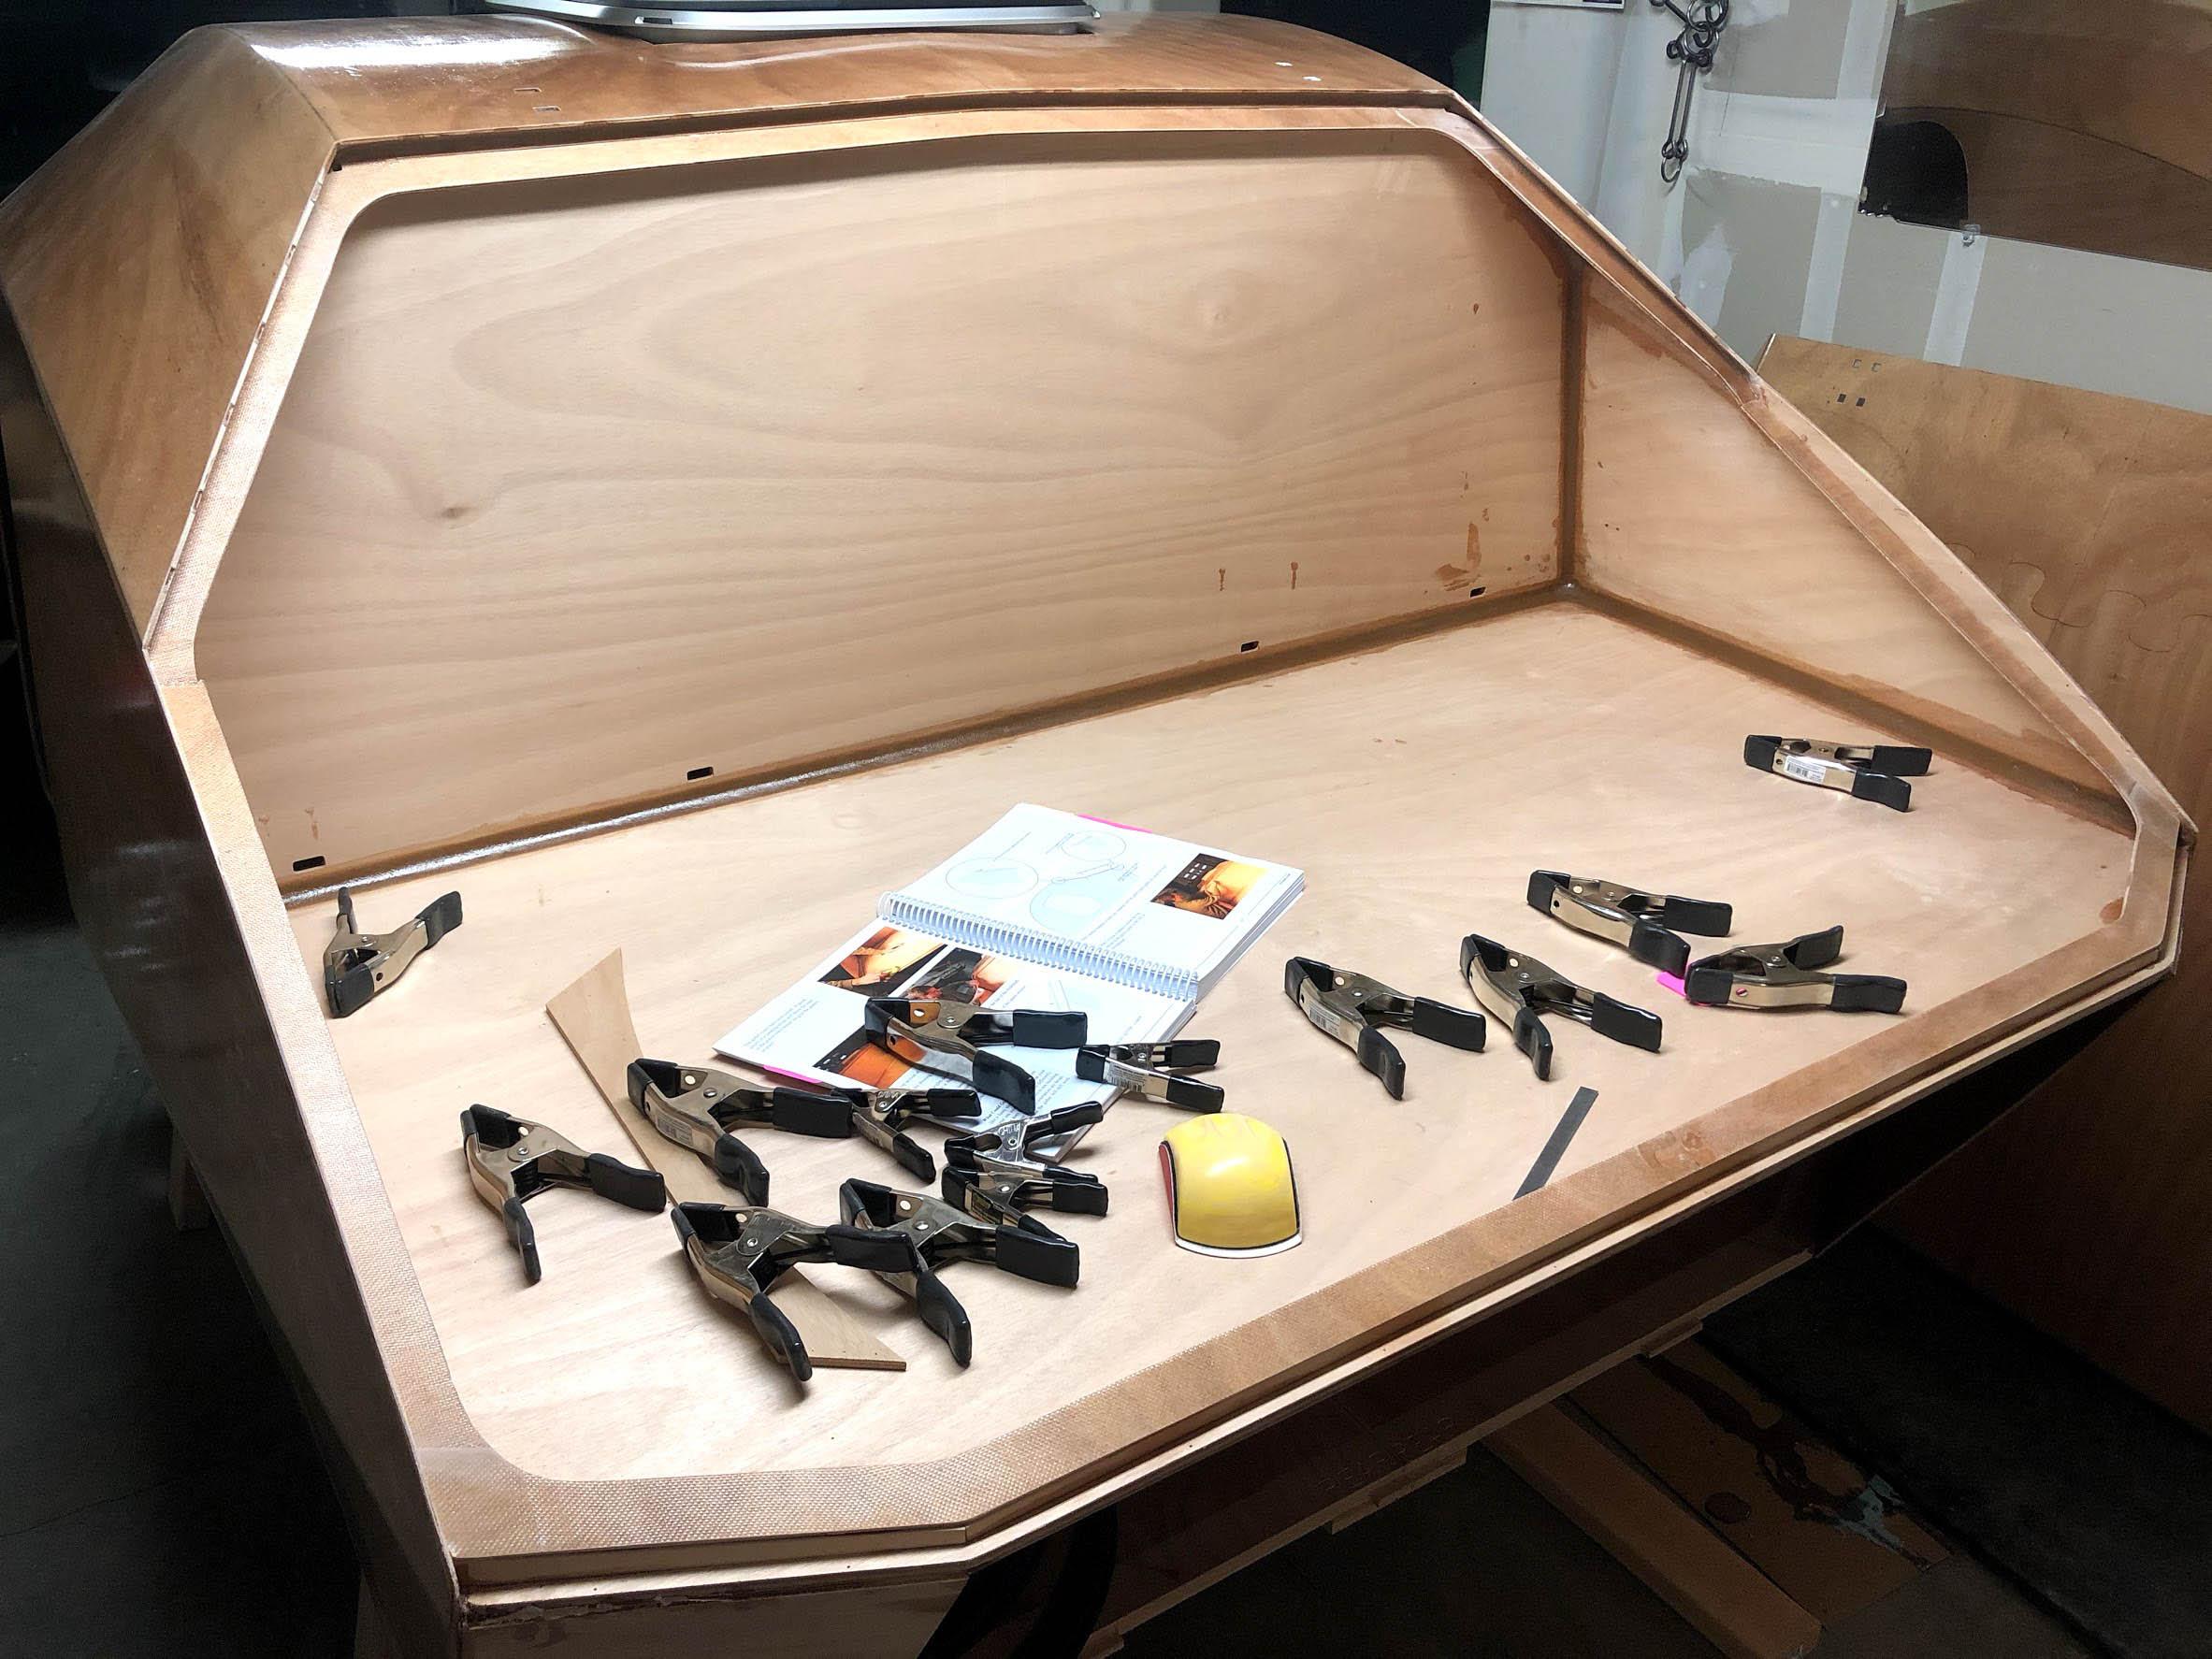
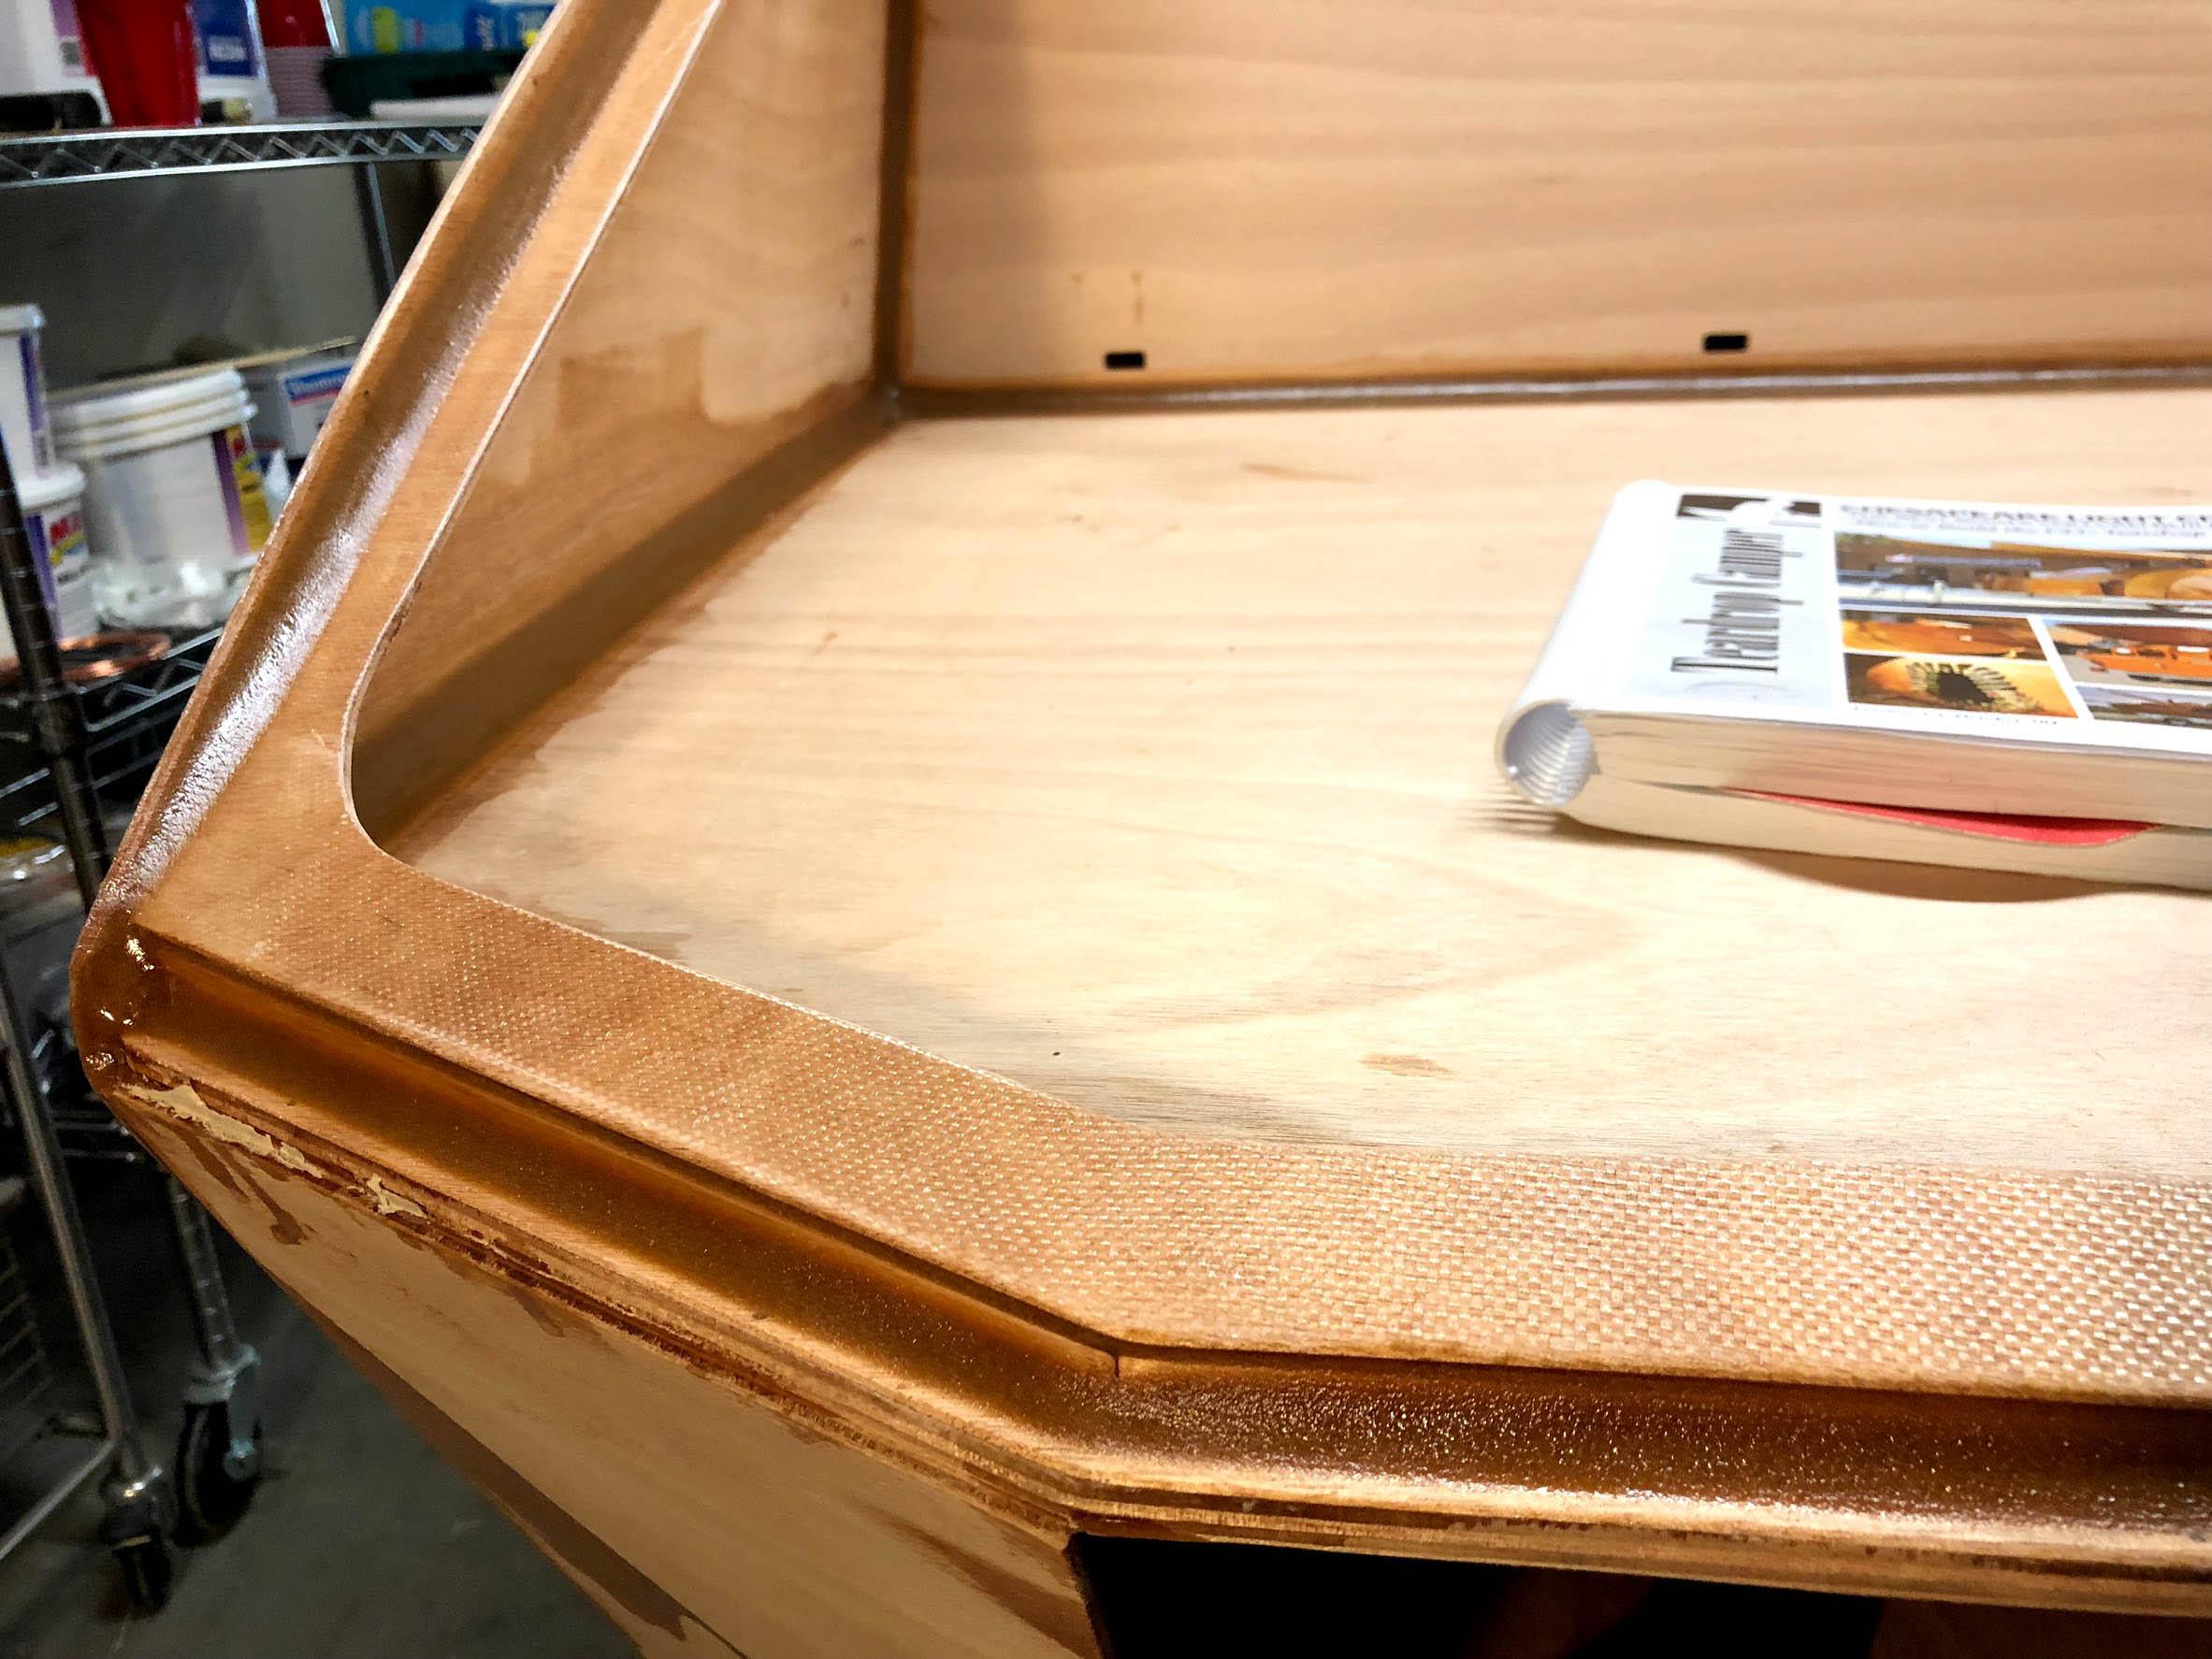
The hatch bezel is supposed to be installed straight for a specific section so I just clamped a ruler to the shell and used that to align things. Check and re-check and then check some more before glue. Some sections needed to be shaved down just a bit to fit with the quirks of my particular fillets and whatnot. The bottom angled bits required lots of bending and careful clamping to get right. The few pictures here represent lots of fitting and adjusting and careful looking from every angle. I hope it’s all ok because it’s quite permanent at this point.
Pro tip: smooth your fillets with a tightly gloved finger and denatured alcohol. I found that a foam brush is great for dabbing on the alcohol. Squeeze most of it out of the brush and there will be plenty left in there. Wait until the fillets are cured enough that they’re still sticky but not runny. Maybe cookie dough consistency.
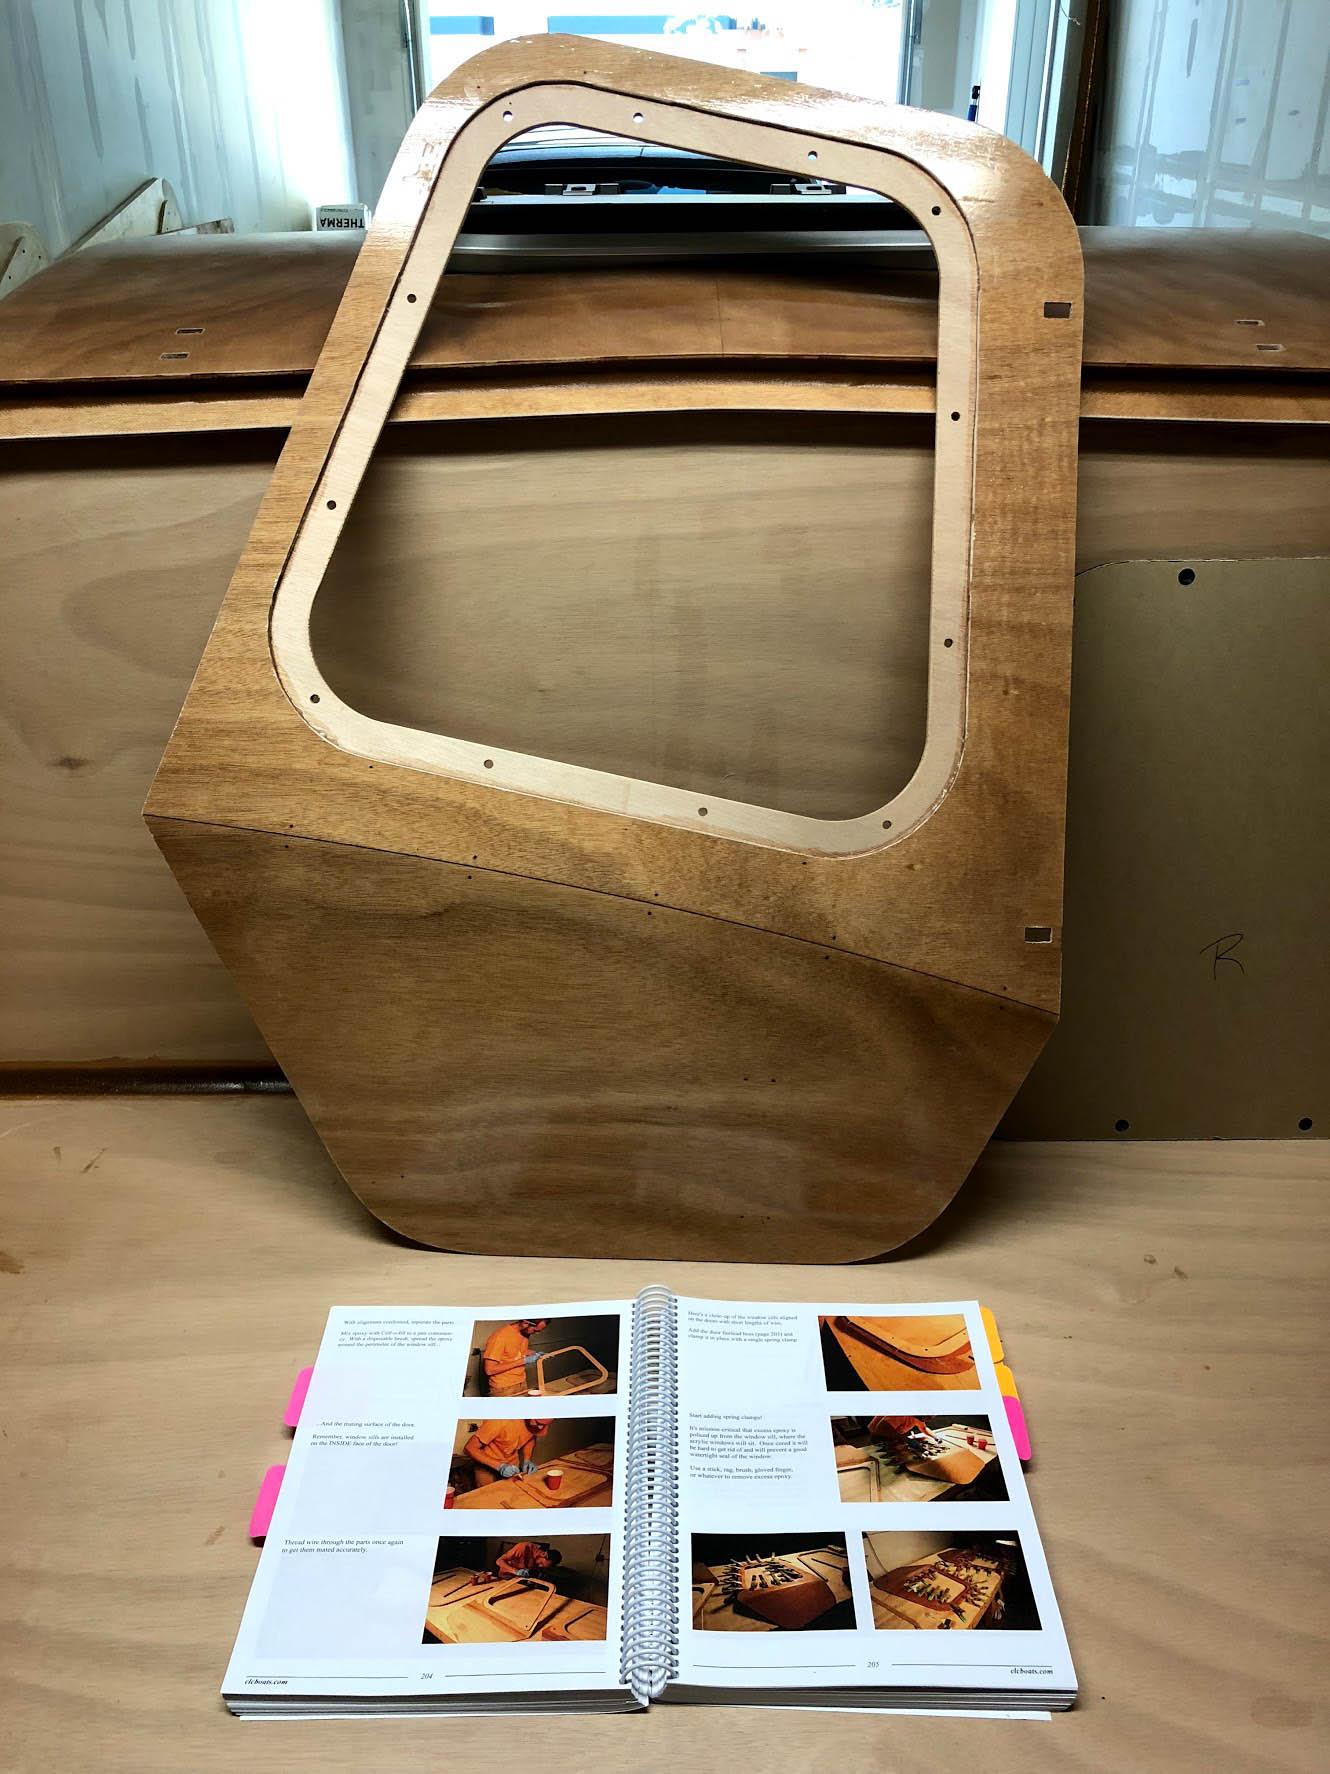
I didn’t want to drill holes in the doors for stitches to align the window frames… and the frame should line up with how the window fits in the hole, so we don’t need the stitches anyway. So after the window cutout I laid the acrylic windows in the hole and used the pre-drilled bolt holes to index the frame with the window. Then I used a pencil to mark the outline of the frame onto the door. Then clamp the frame in place and remove the acrylic window to mark the inside of the sill. Now I had precise lines to follow when epoxying and clamping
Next, I think I’ll get the shelf routed and installed then I want to get those doors on and start finishing the galley. The top hatch is also stewing in my brain… need to source some thick okume plywood I can shape into the interior bezel. Perhaps I can use the trailer bunks that shipped with the kit. Hmm…
-
This reply was modified 6 years ago by
ParticipantOh, I’ll have venting. That top hatch opens and I’ll have those nice case fans over the rear mushroom vents. I will be fabricating a different insulation solution because I think the CLC stuff is too expensive and waaaay too dark. It’s dark enough inside there already. I’ll obviously post here when I’m to that stage, but I think y’all are going to like it. 🙂
Participant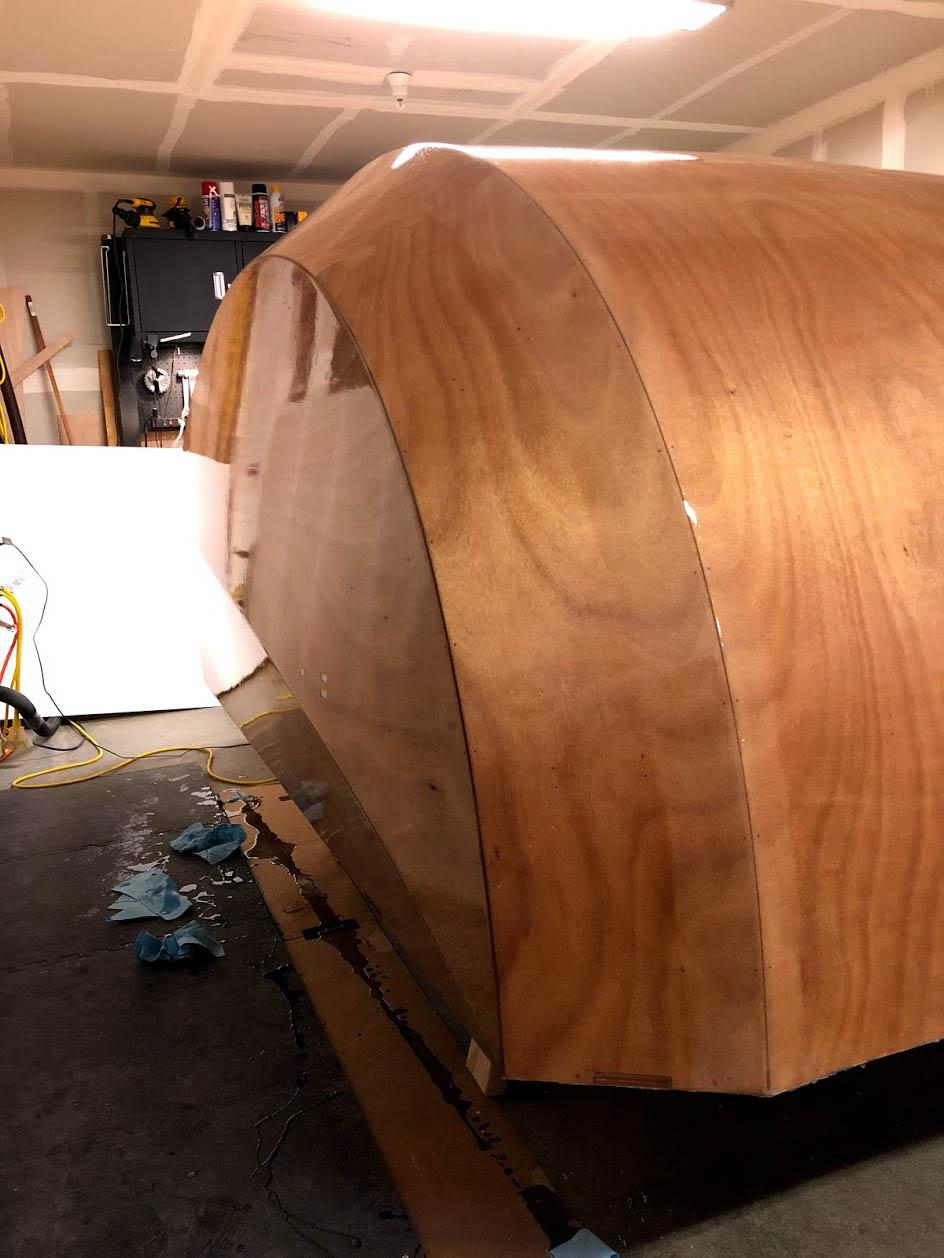
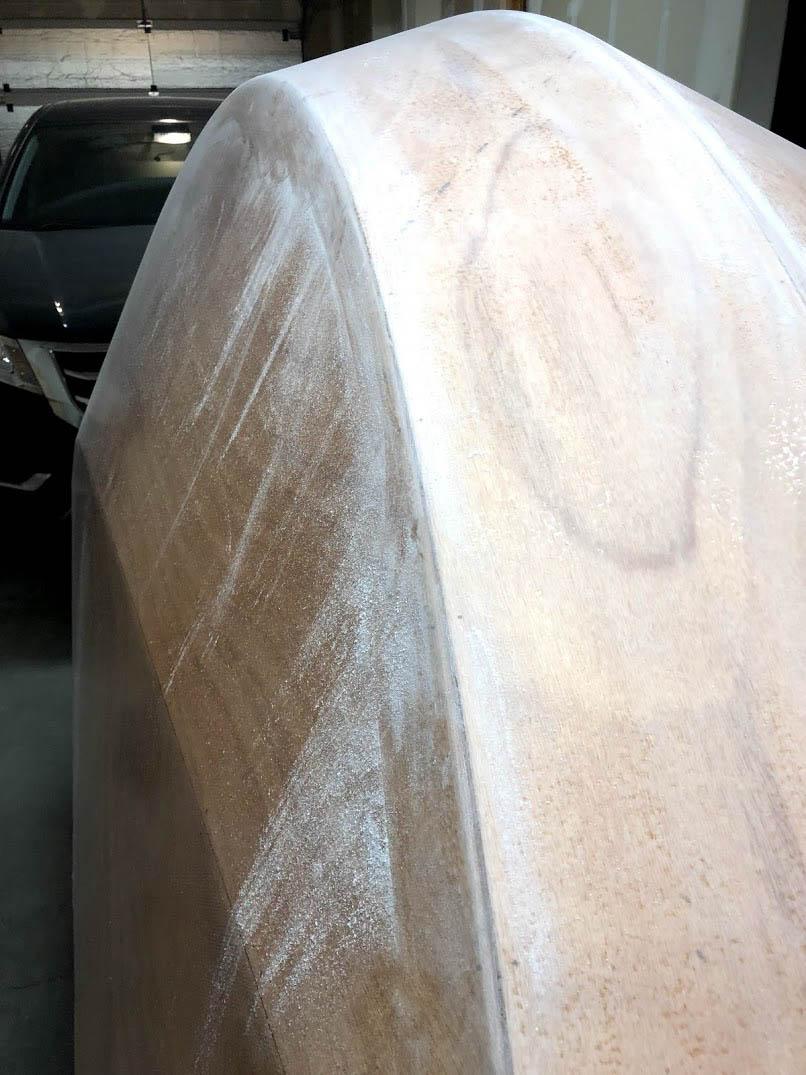
Ok, so got another layer of epoxy on… this time with squeegee then roller then tipped with a brush. Just doing the second coat with a squeegee wasn’t the best idea. Don’t do that. I’ve got some imperfections from that technique (mostly on the top and front of the shell) that would take a lot of sanding work to get out. Oh well. Good enough for now. I want to move on…


Ooookay, so much progress this weekend! Got on another coat of epoxy (properly this time) on Friday. Cut out all the things on Saturday. Did some galley stuff on Sunday.
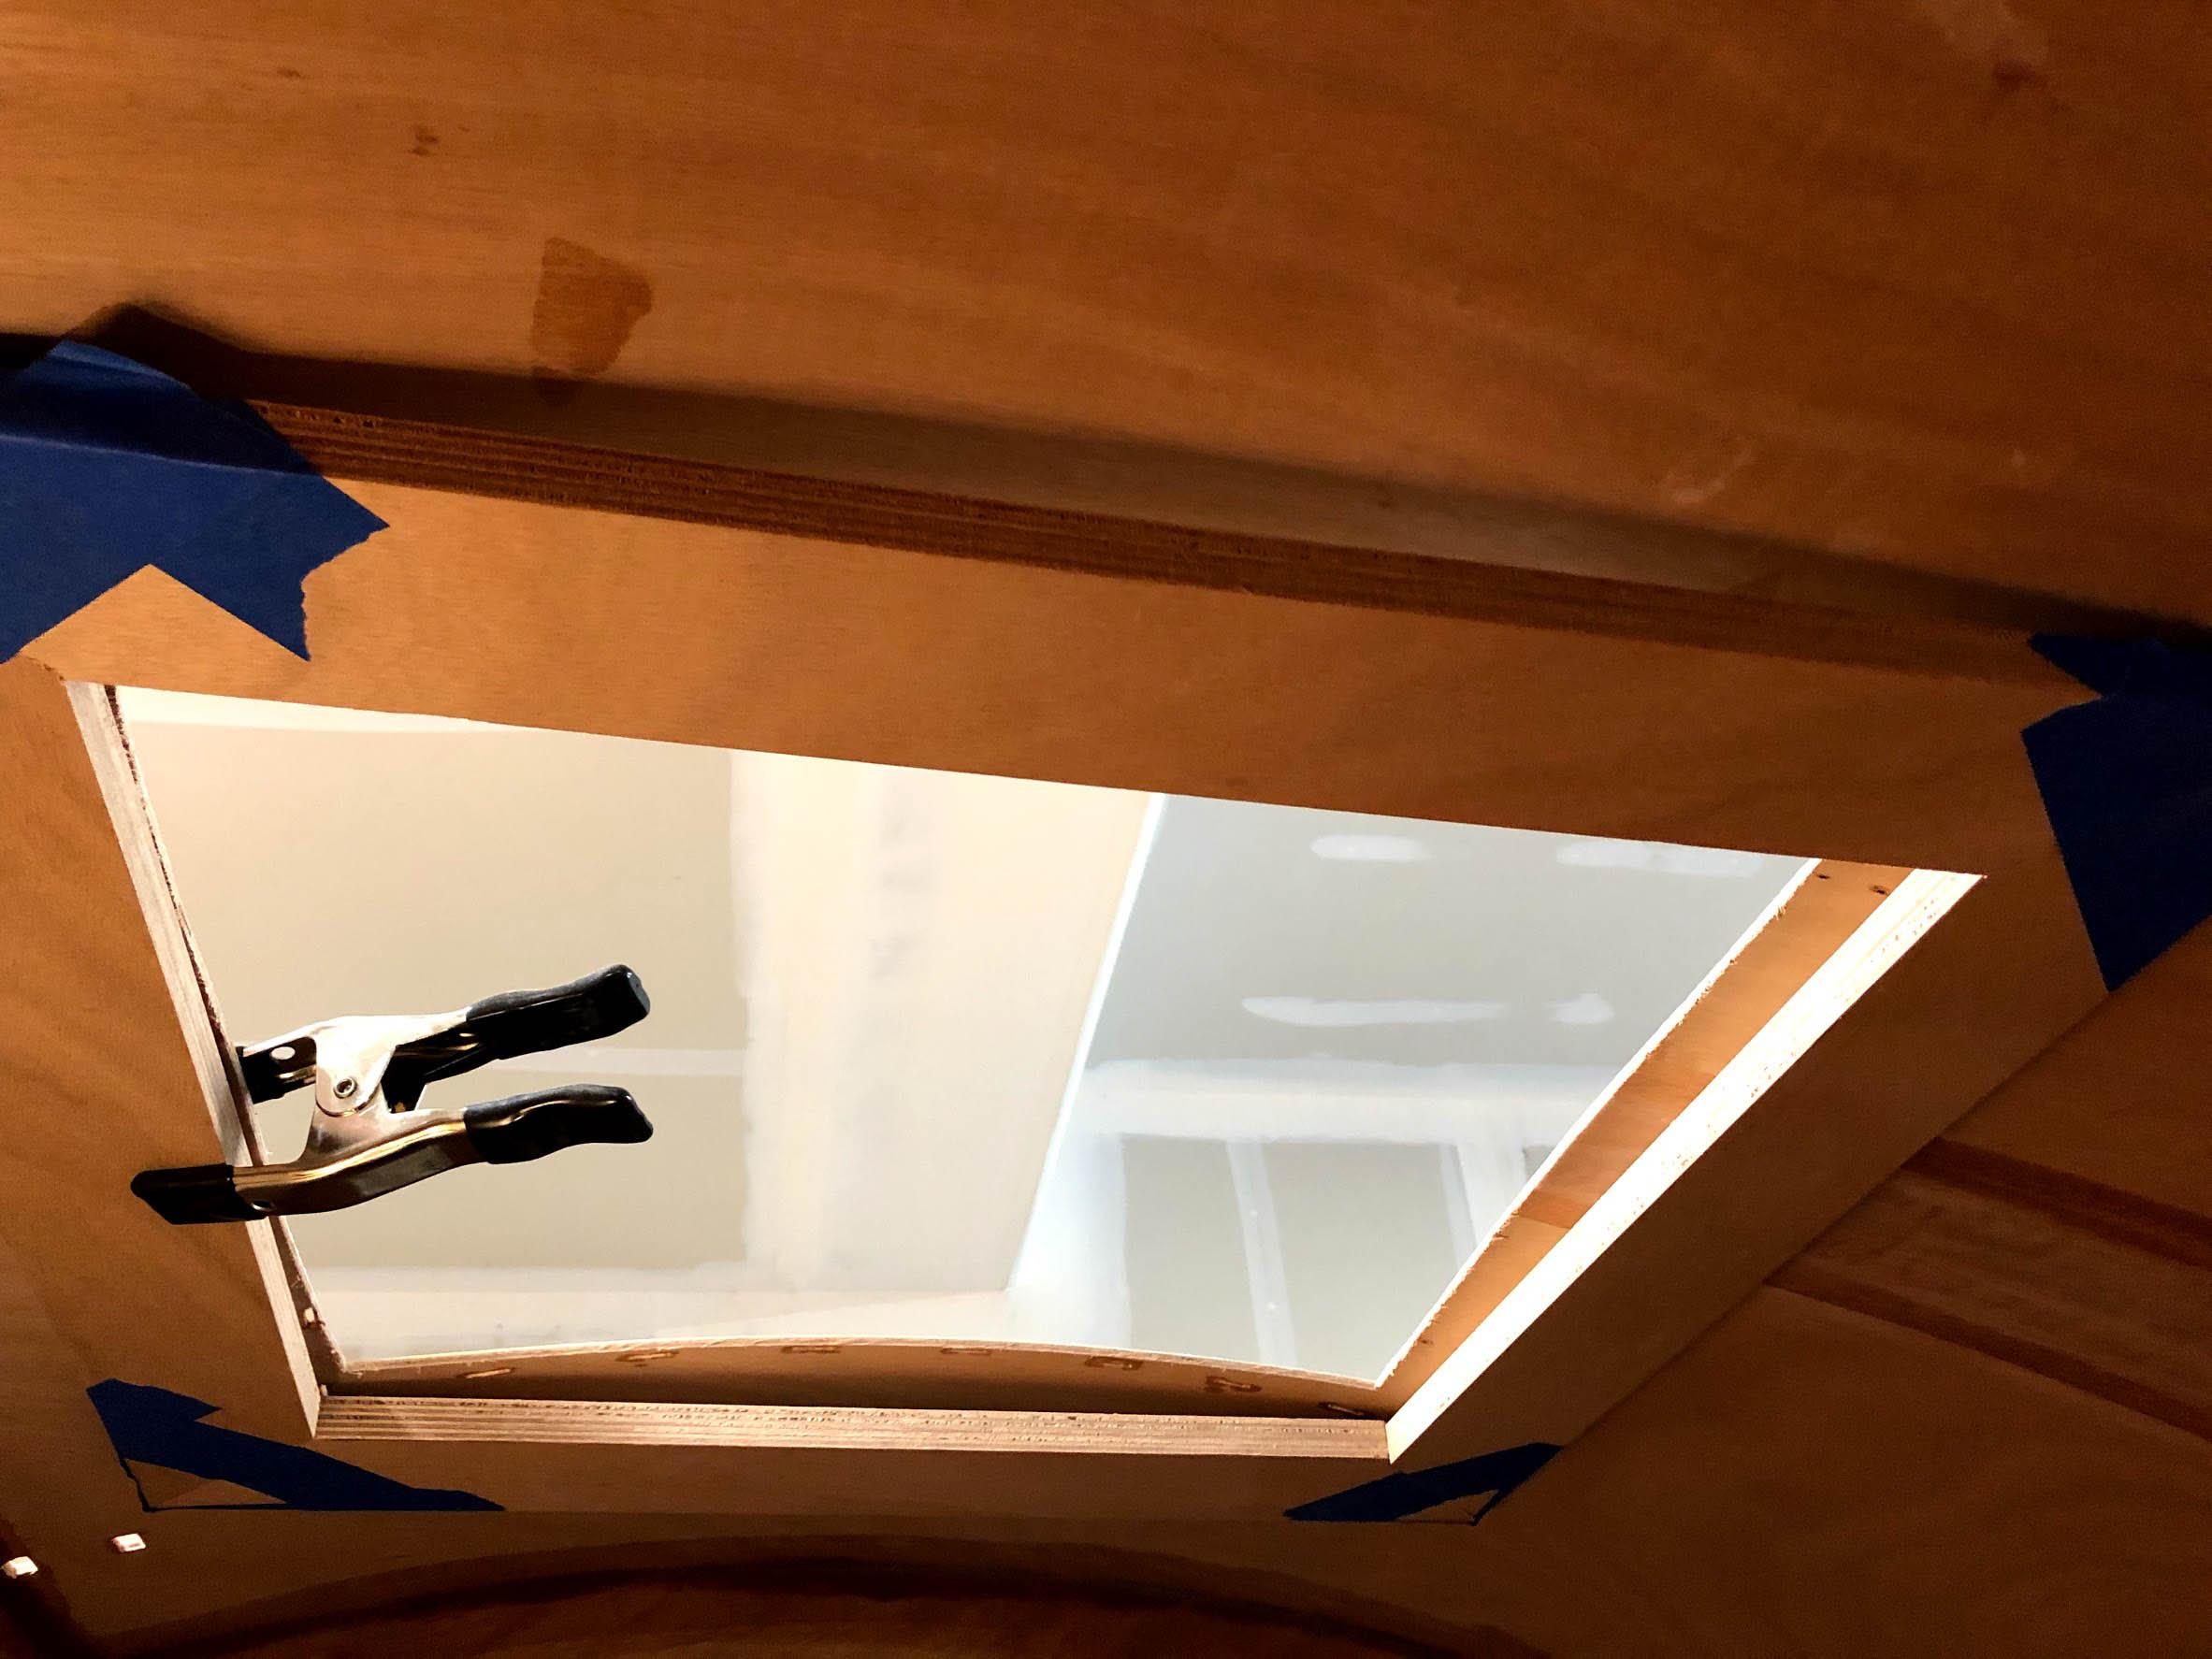
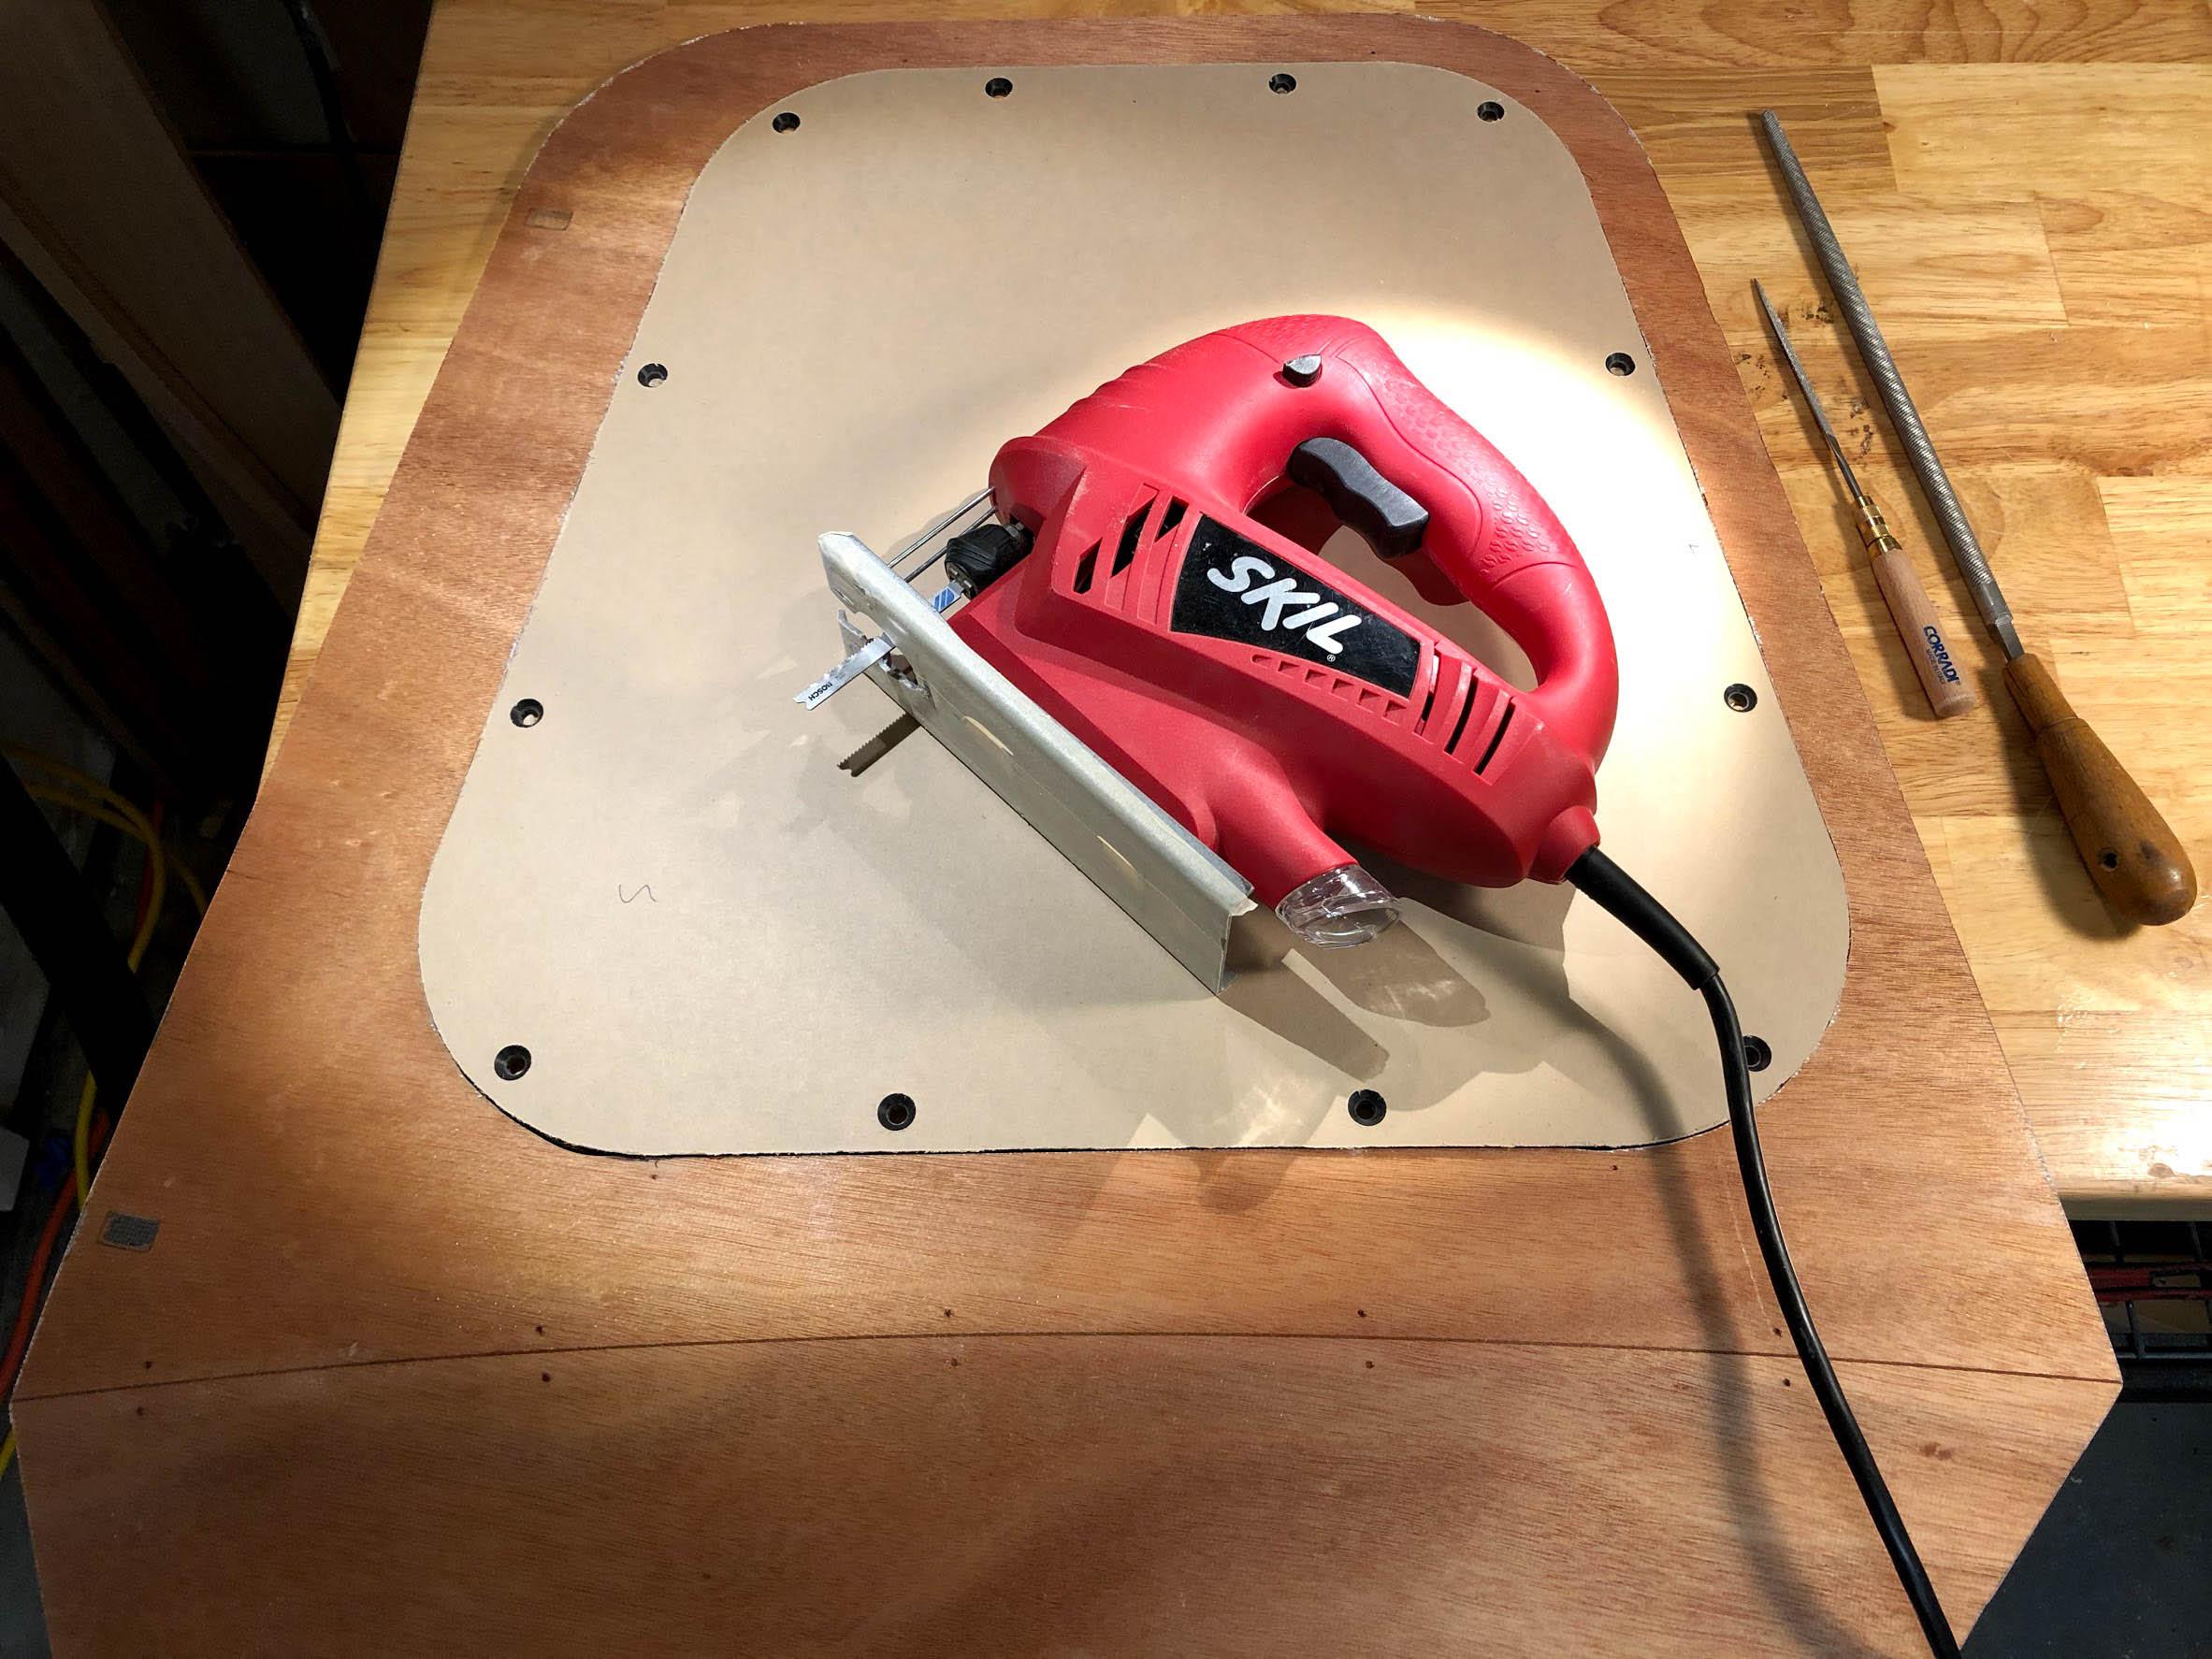
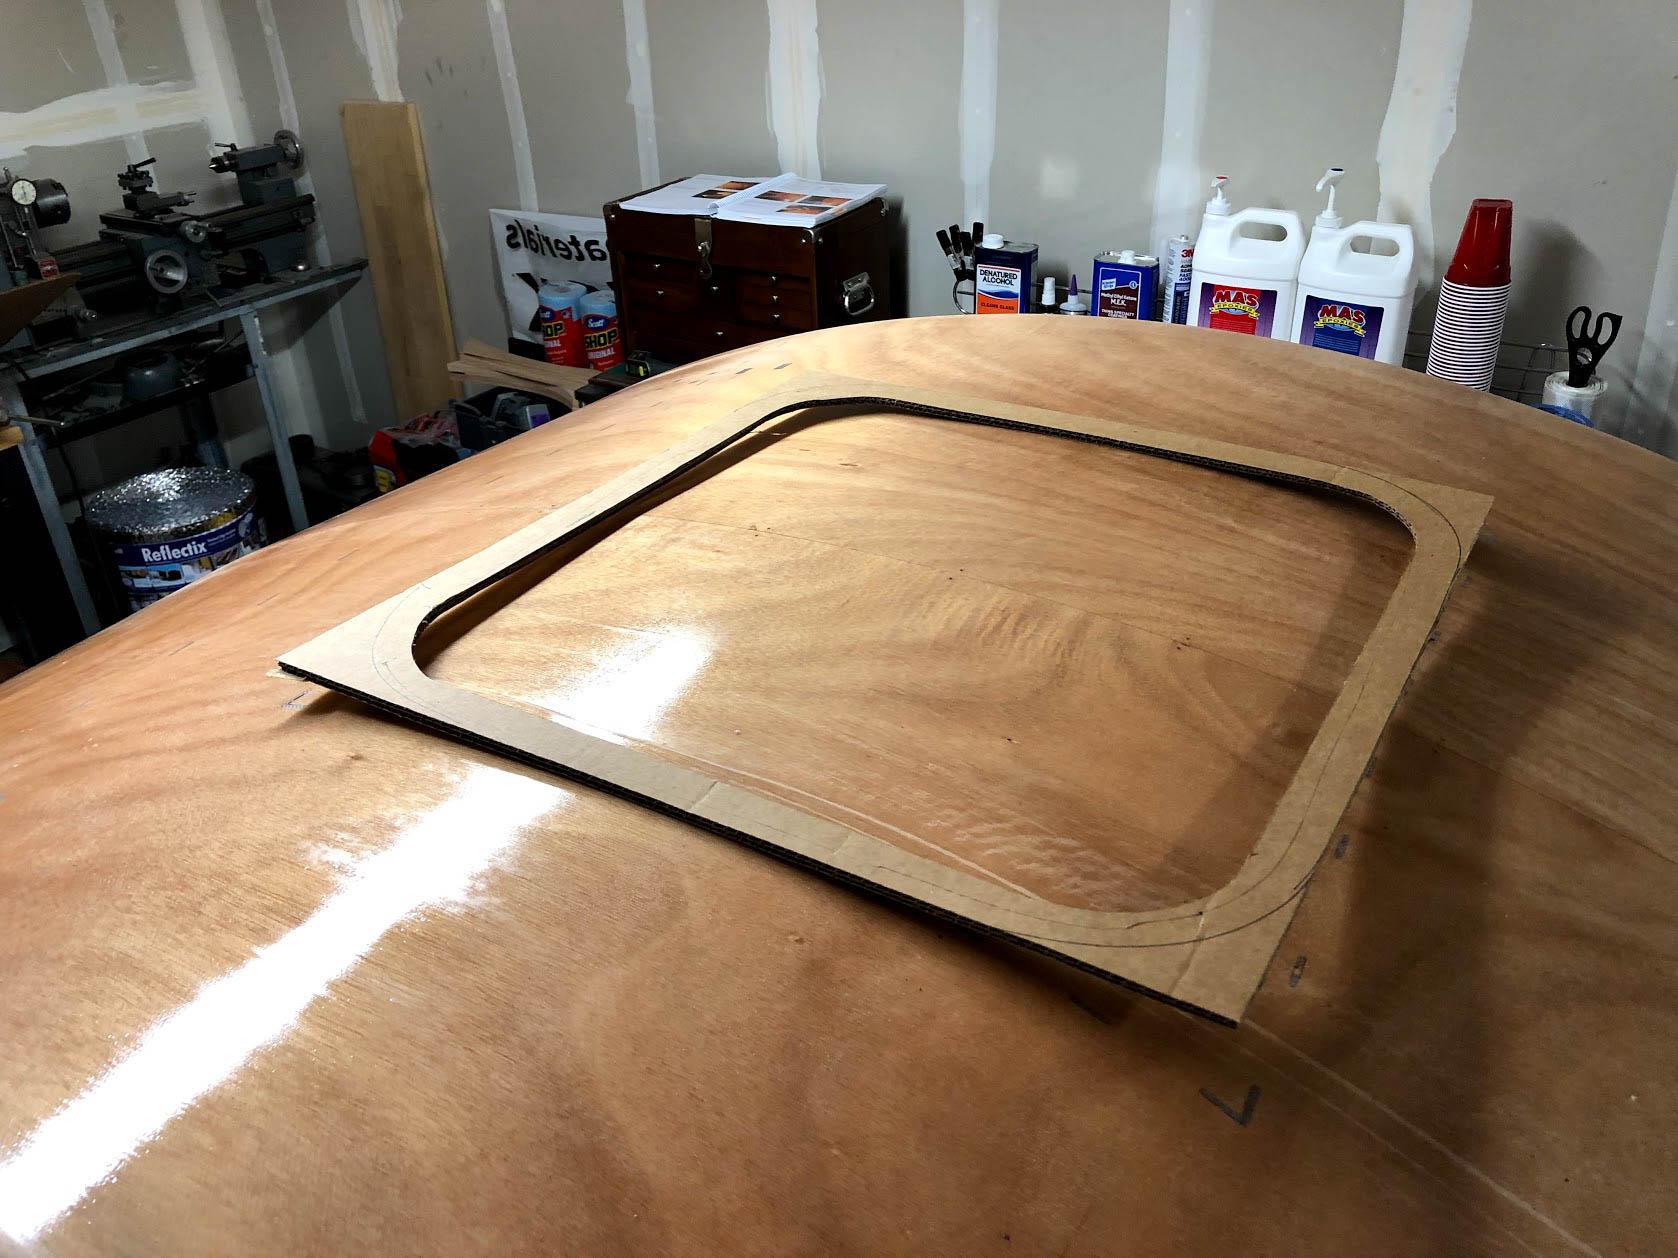
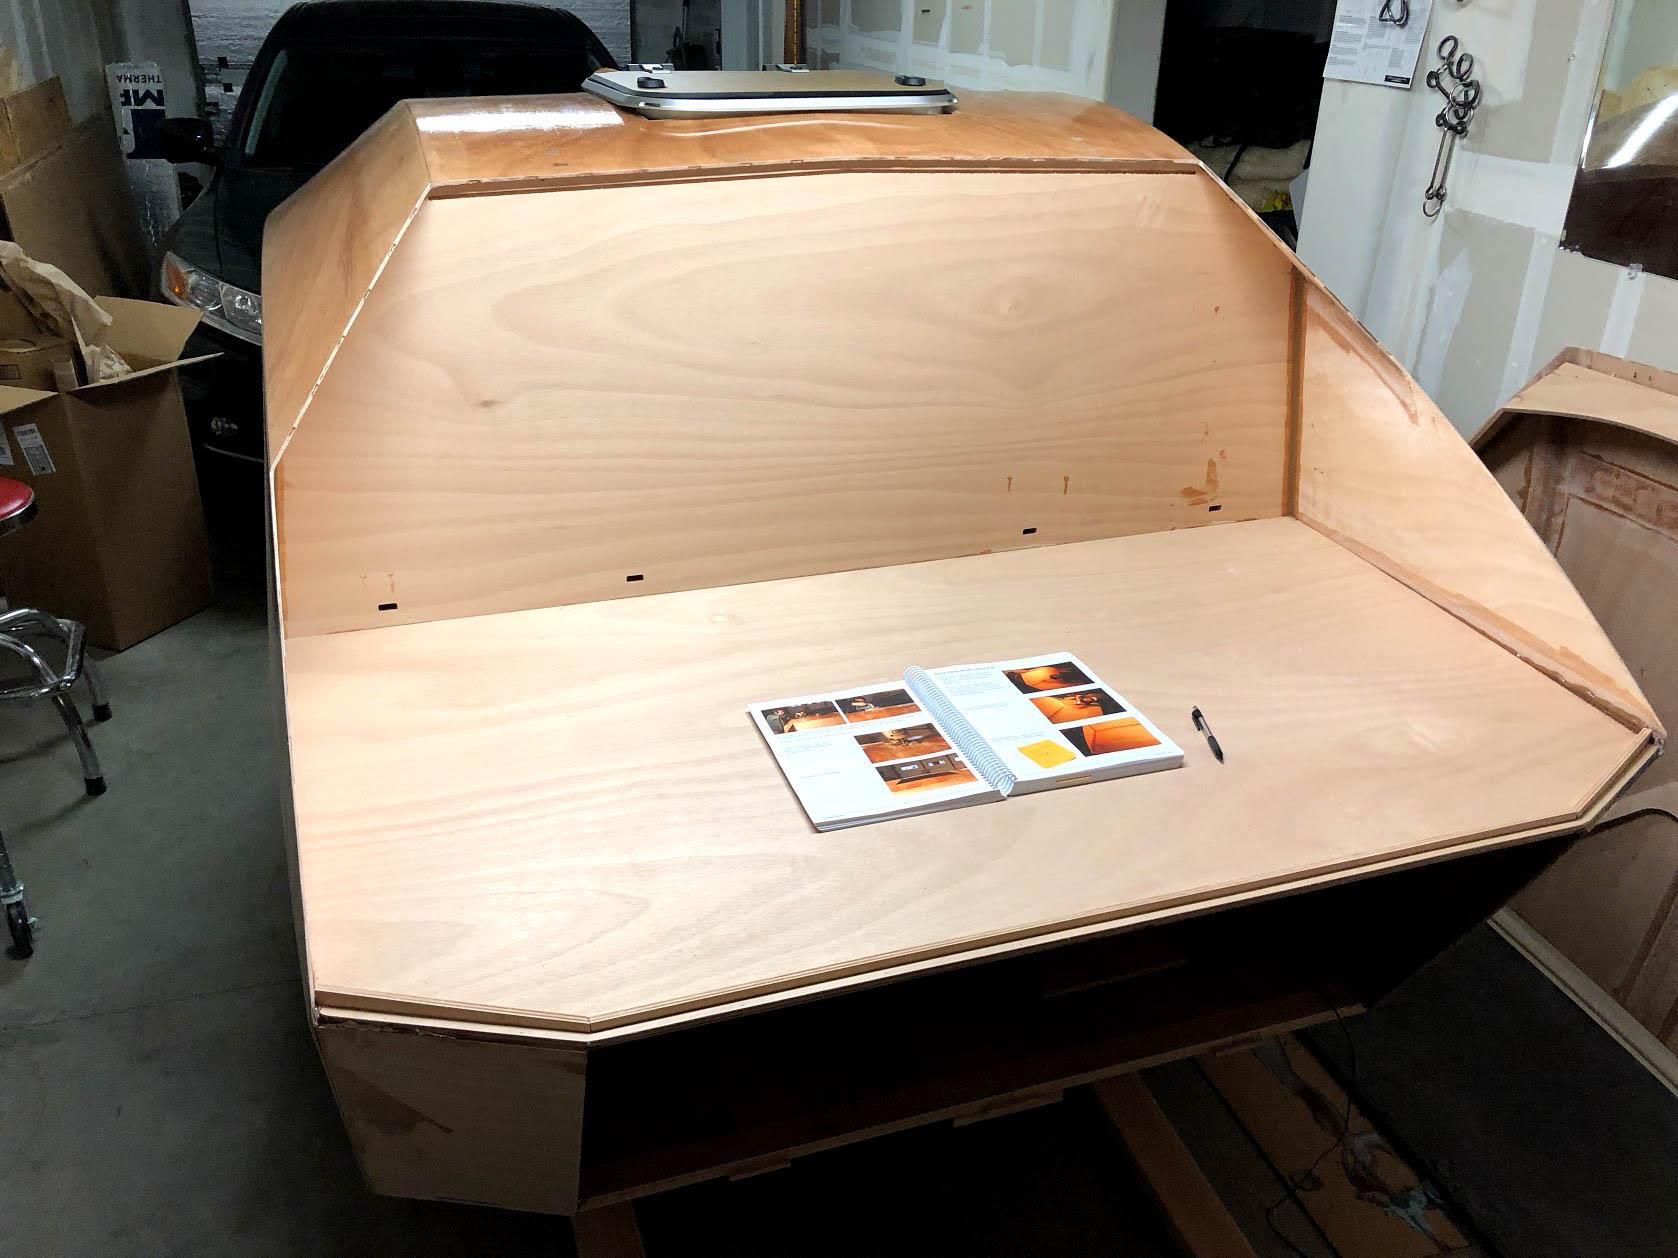
So, the hatch. I’m super pleased with the hatch. I made one mistake by cutting the hole with square corners instead of rounded, but that will be covered up later by the supporting structure. It’s basically a flush-mount like I wanted. I’ll most likely be able to just finish the exterior with a fillet after I get the interior structure built. More to come on that.
I was feeling a little stuck with everything being held up by glassing, but now there are plenty of different things to work on at once: doors, top hatch, galley hatch, galley finishing, interior shelf, interior finishing, etc. Booyah!
Participant@stretchMike, I’m also in the PNW (Portland). Maybe we’ll have to get together sometime.
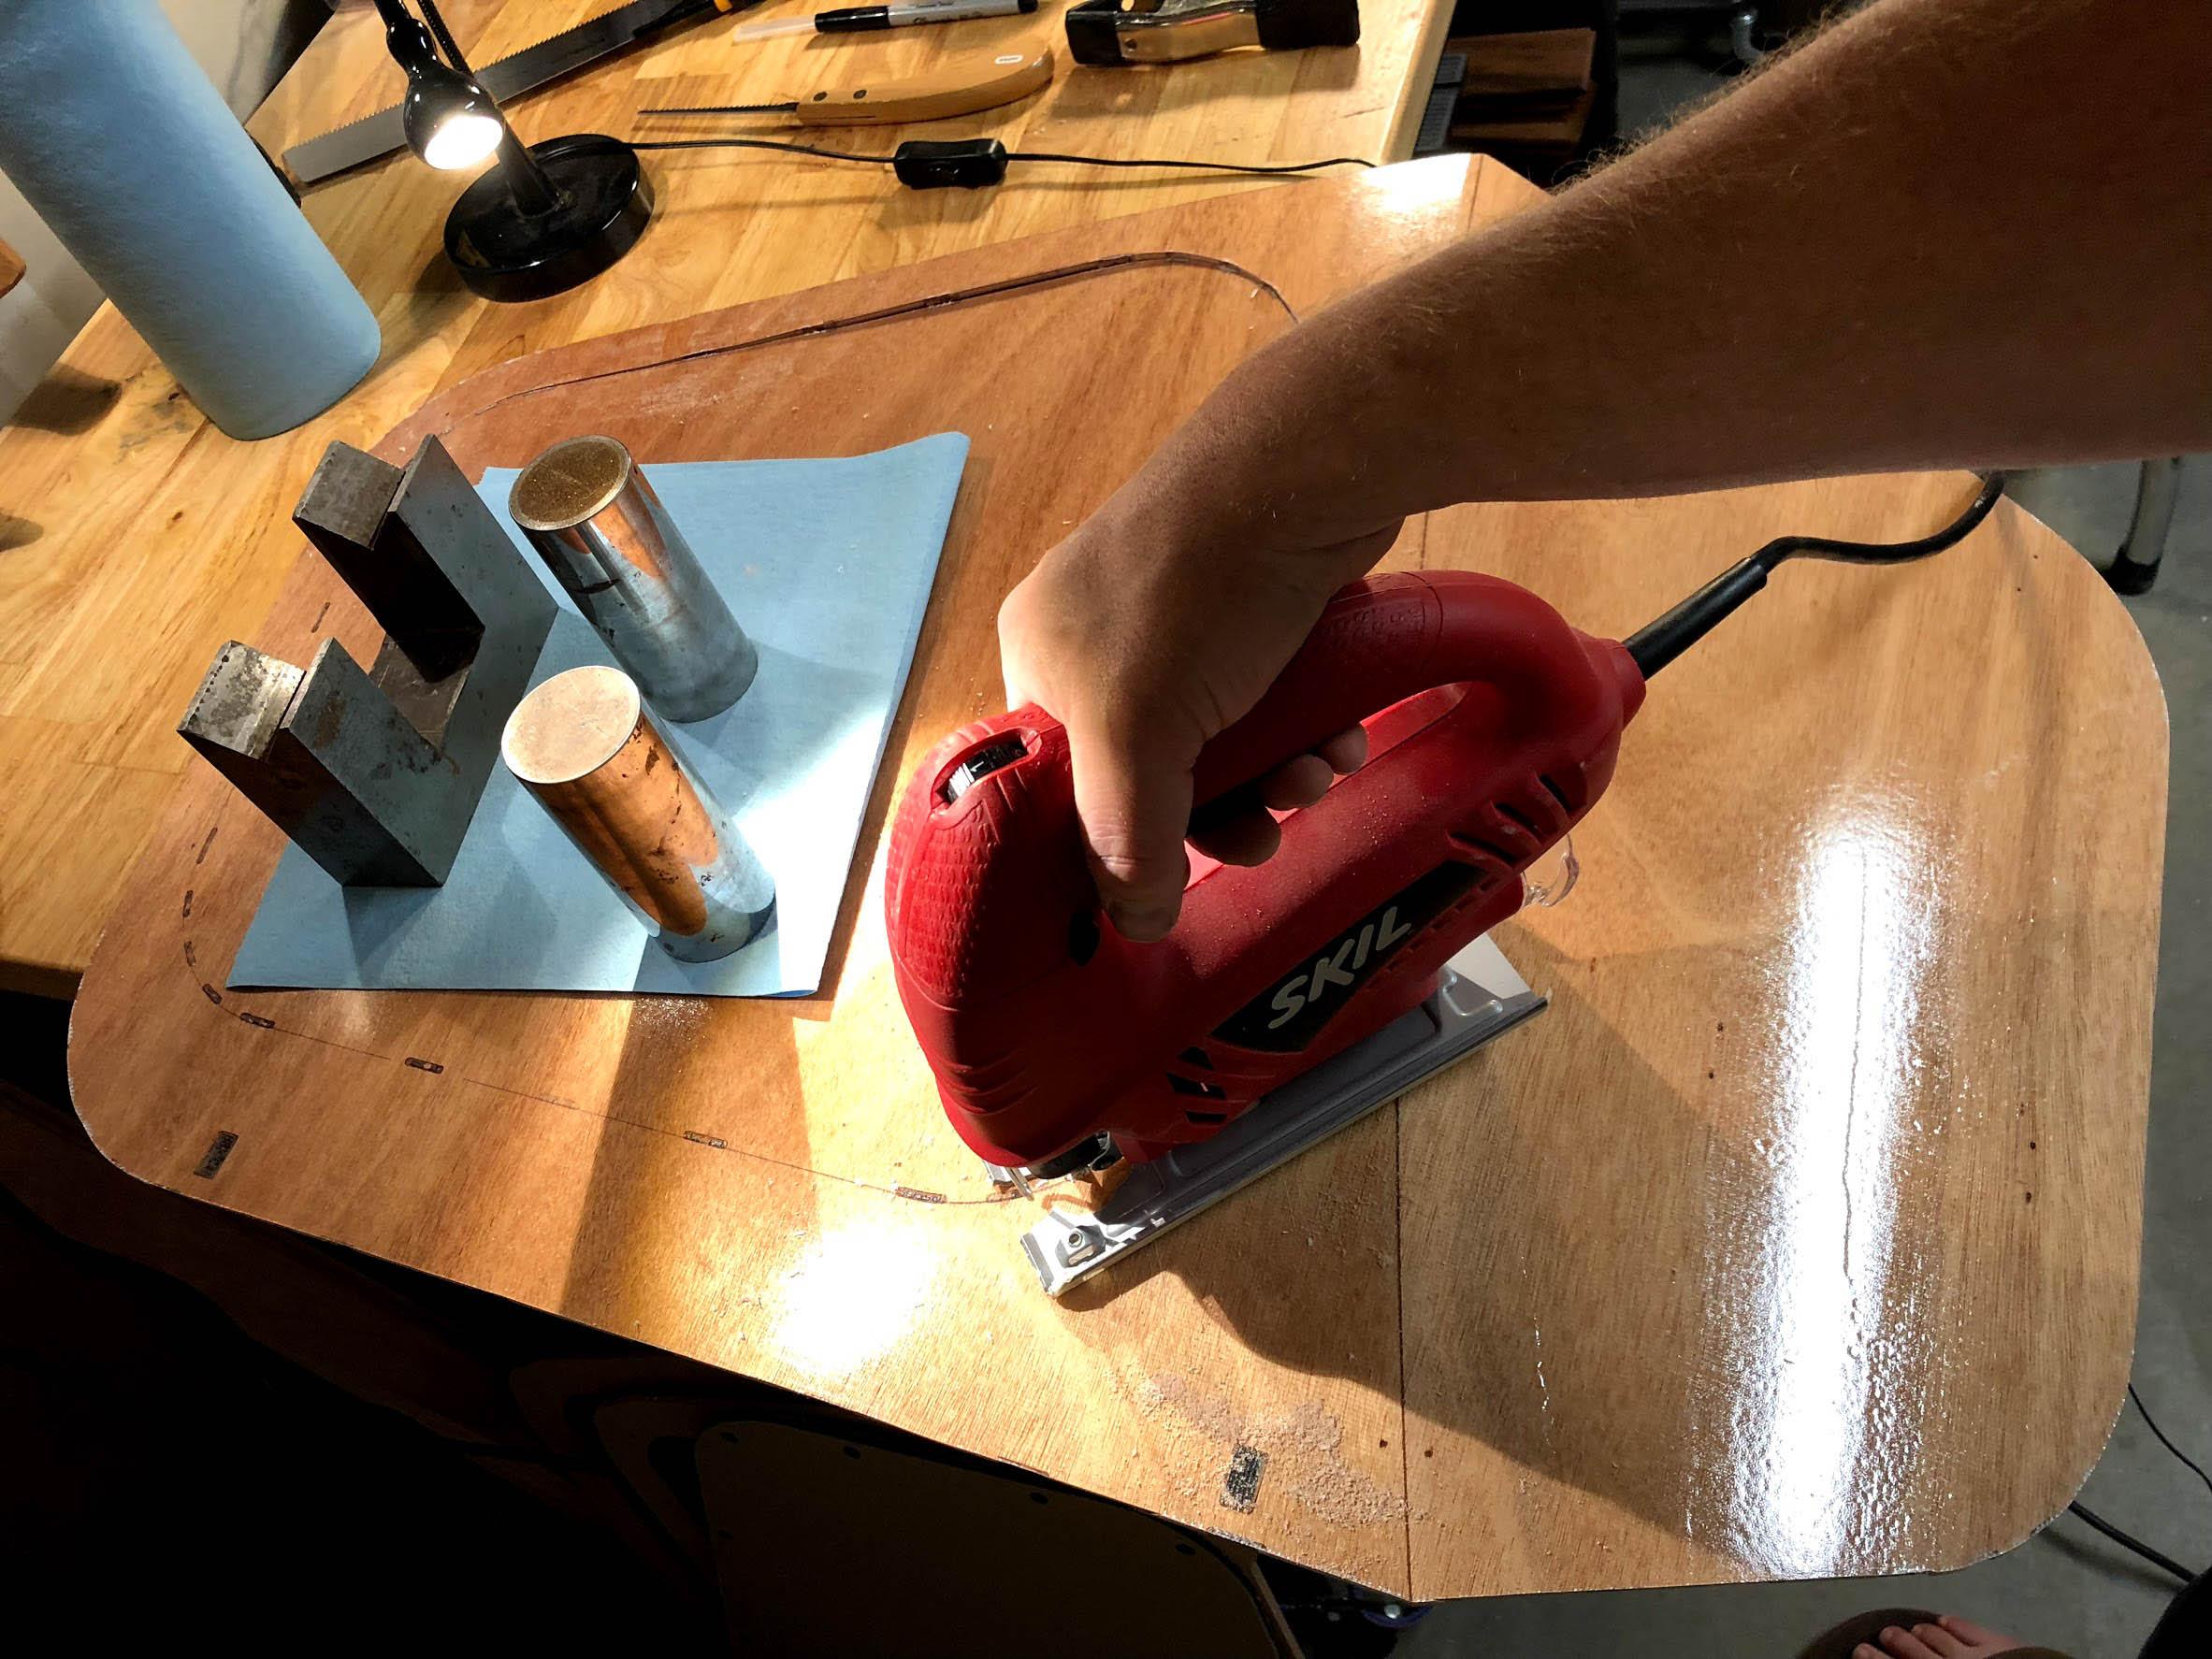
I got the hole cut for the hatch today. I’ll post photos after dinner. It looks like it’s going to be even better than I hoped. 😉
Regarding airflow, I’ll probably go with two mushroom vents on the rear of the trailer with some high quality PC case fans mounted inside, over the vents. The marine hatch has a setting where you can lock it open about 1/4 inch for airflow. We’ll see how that setup does. I don’t really ever camp in the rain, so I’m not too concerned on that front.
Participant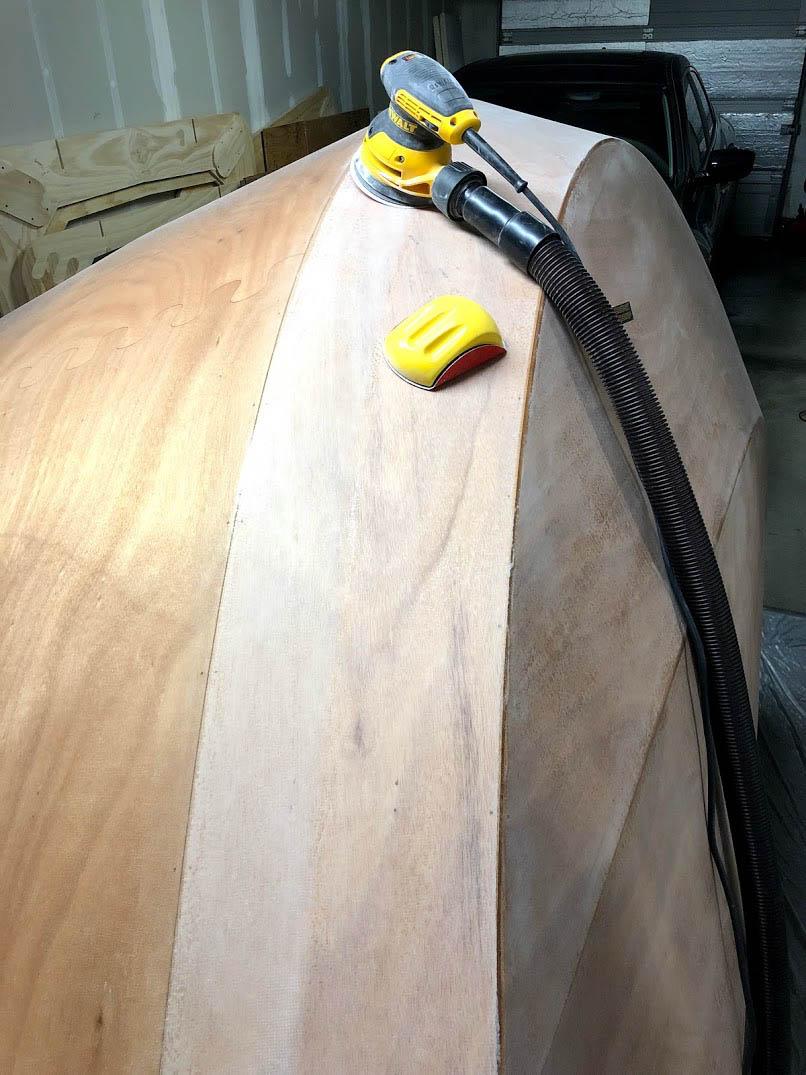
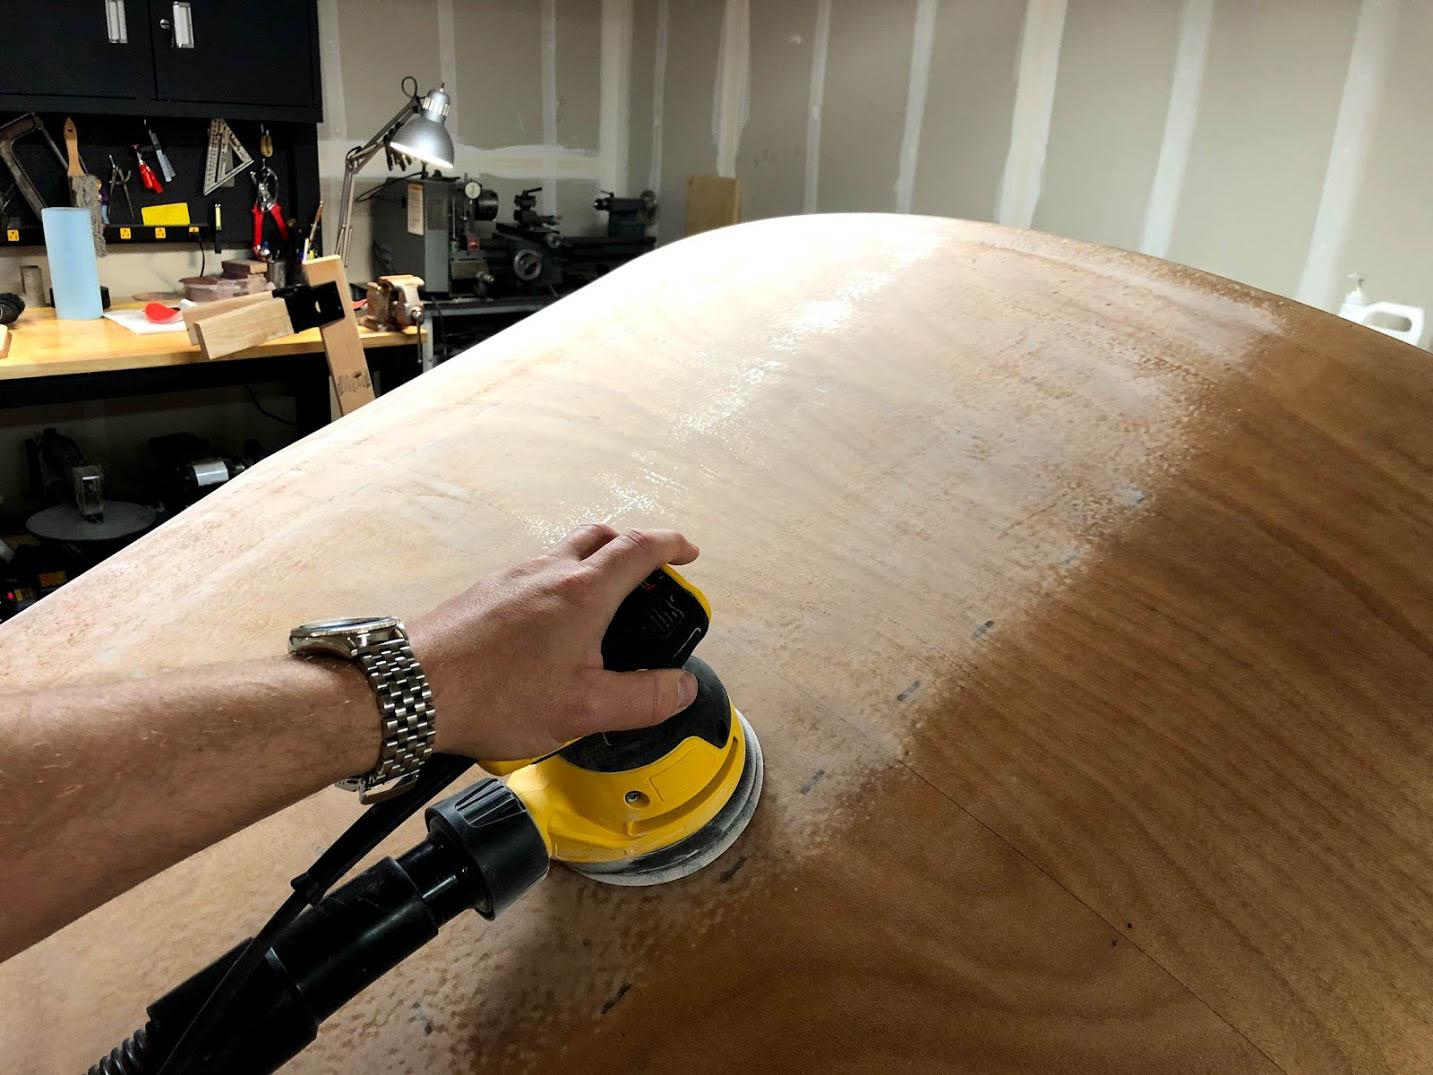
So much sanding… this is my life now…
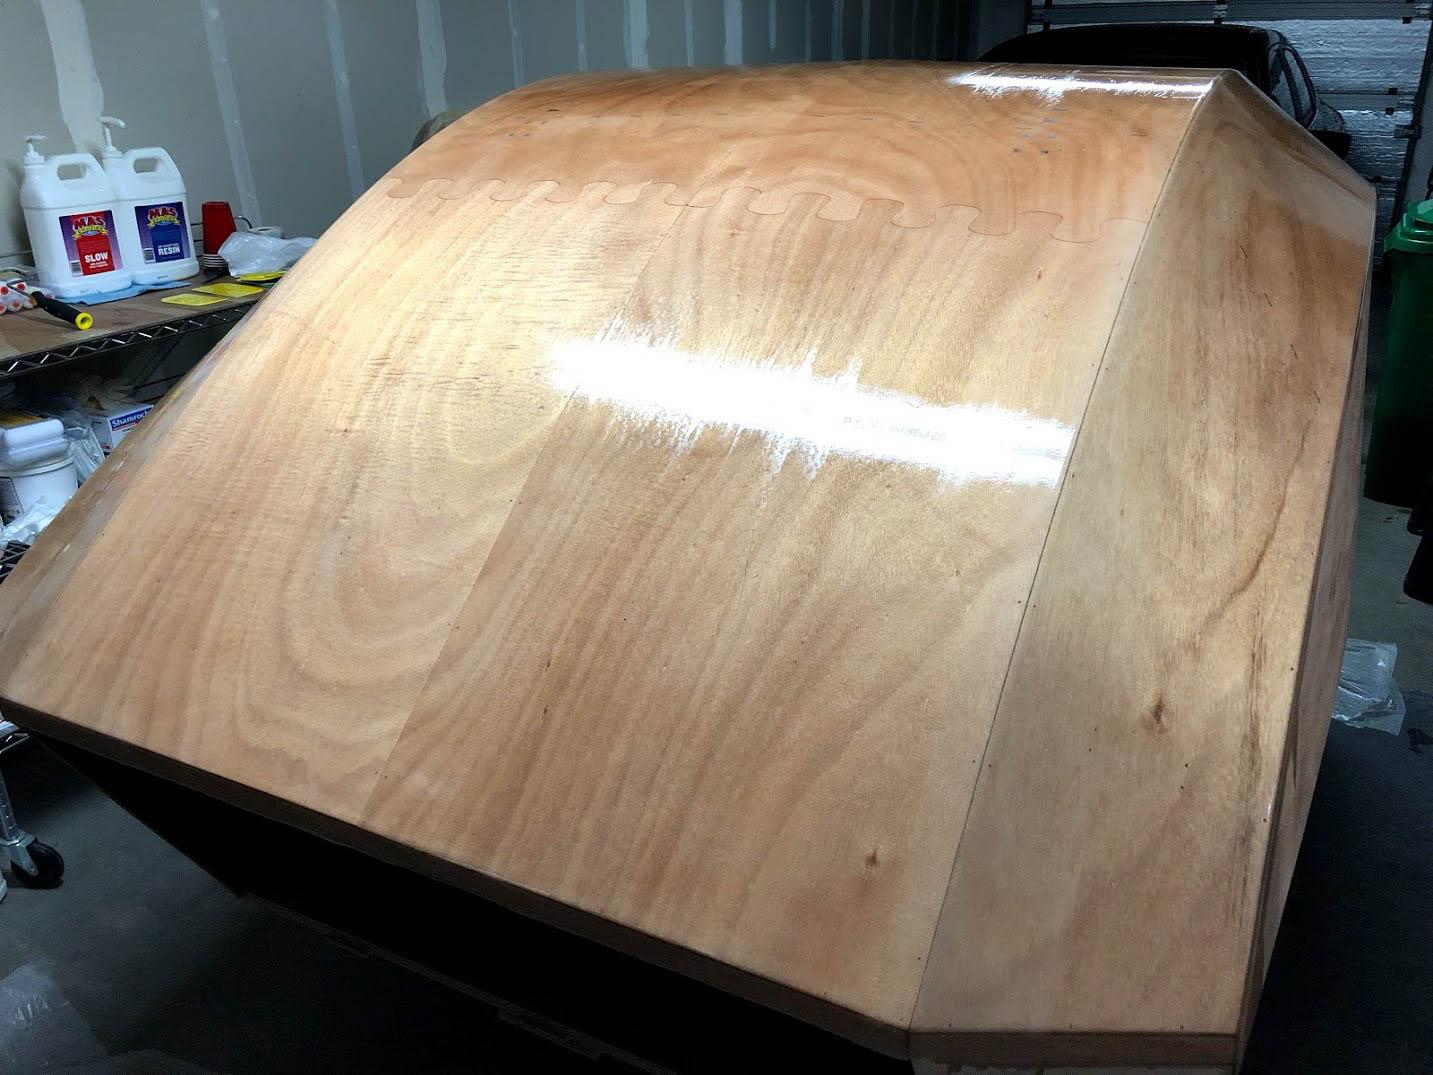
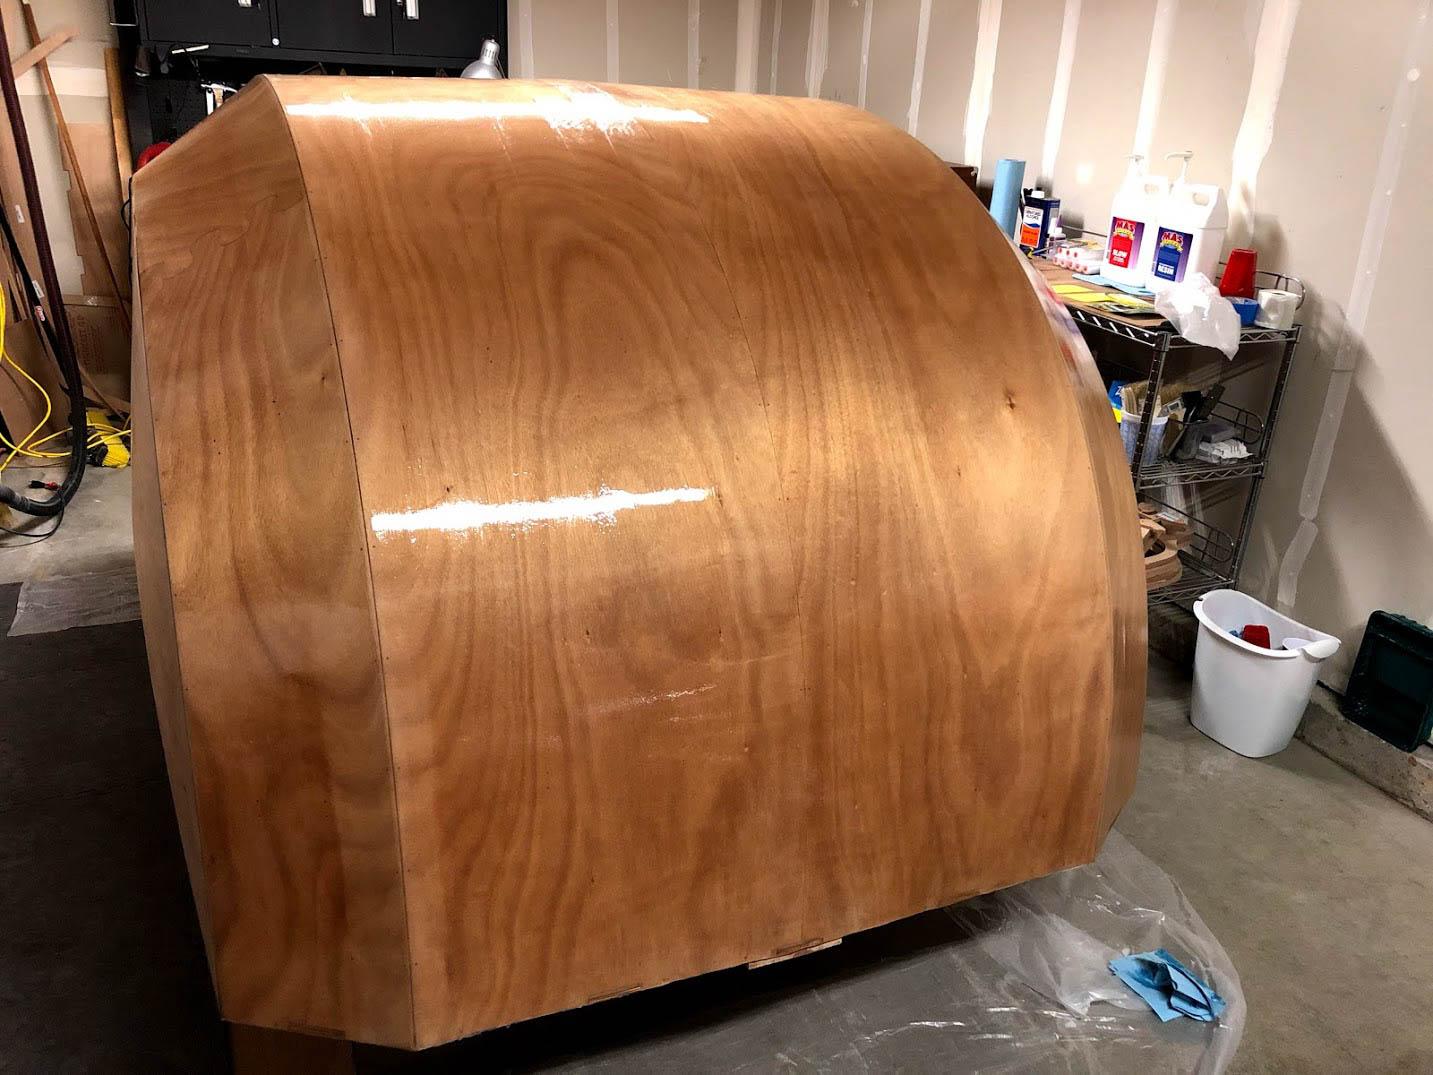
Ended up applying the second coat of epoxy with nothing but an epoxy spreader. I only intended to use that tool to spread things out evenly before rolling and tipping, but just squeegeeing it on worked so well that I decided to call it good. This resulted in a thin glassy smooth layer with minimal waste. I’ll dust this with 220-grit and put on a final coat probably in the same way but also tip it with a brush.
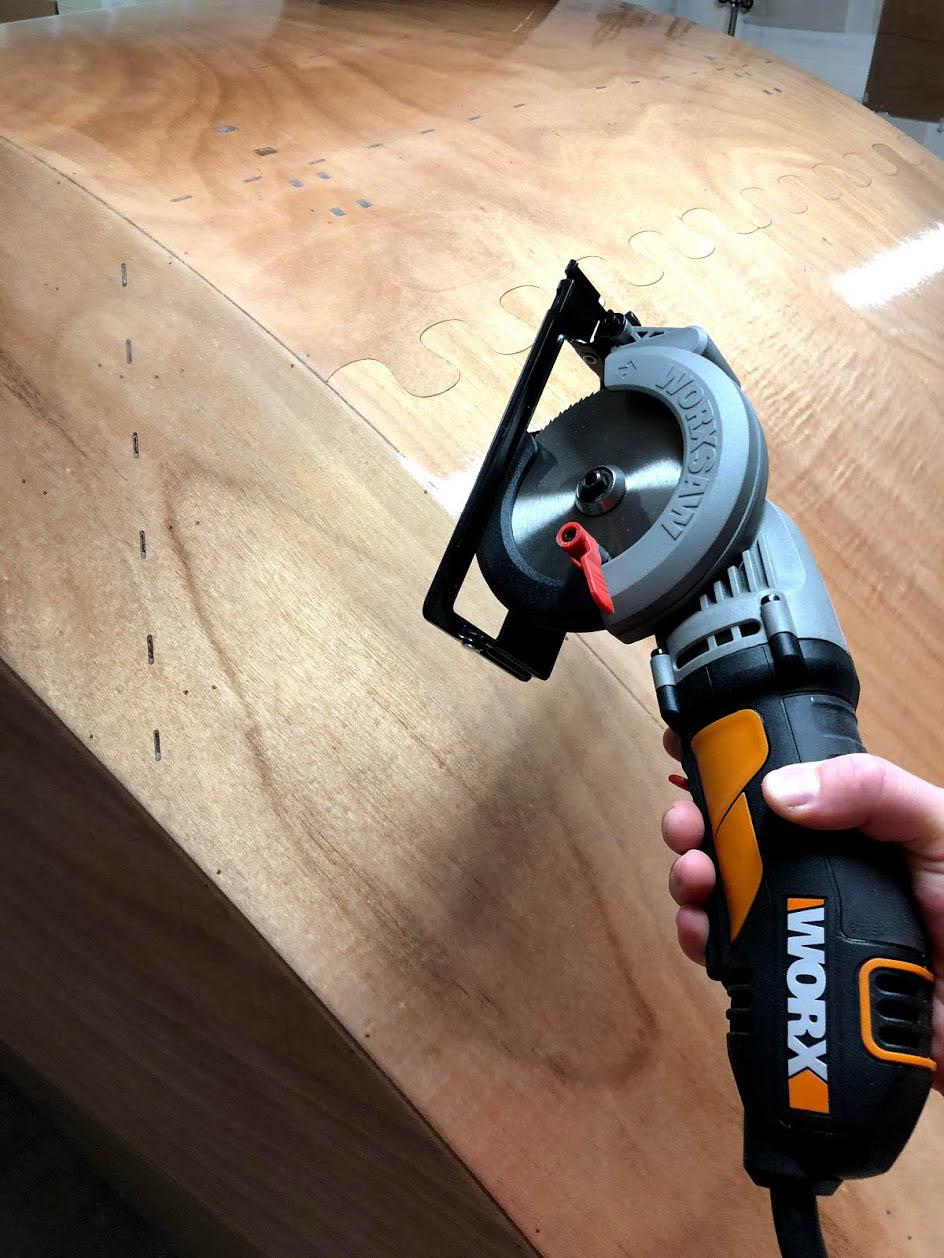
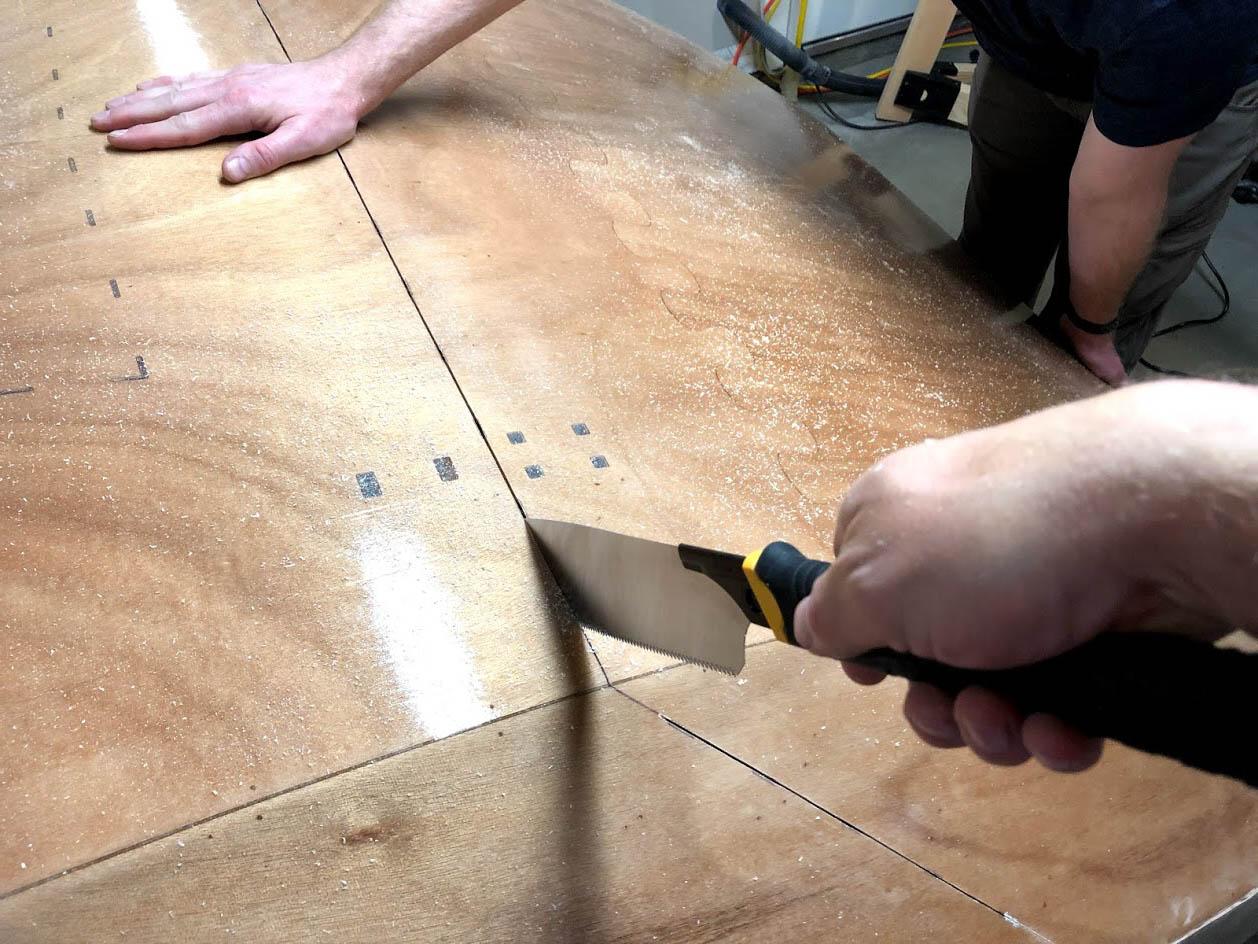
Oh, and I ordered the Worx saw. The 2″ cut-depth (for other projects), price, and plethora of positive reviews sold it.
ParticipantRegarding the window and roof hatch scraps: folding camp chairs. 🤔
ParticipantI’m looking at that Dremel UltraSaw and the little Makita, which has adjustable cut depth and angle.
ParticipantI did consider just fabricating completely from scratch, but I really want the top to be a large opening hatch and I’m not confident I’d be able to do that well. The pre-fab deck hatch should be a good middle-ground… for now. In the future, I can always cut it out and fab up something even larger. You’re a bit further along than I am so please DO make a custom acrylic opening hatch so I can learn from your experience. 😉
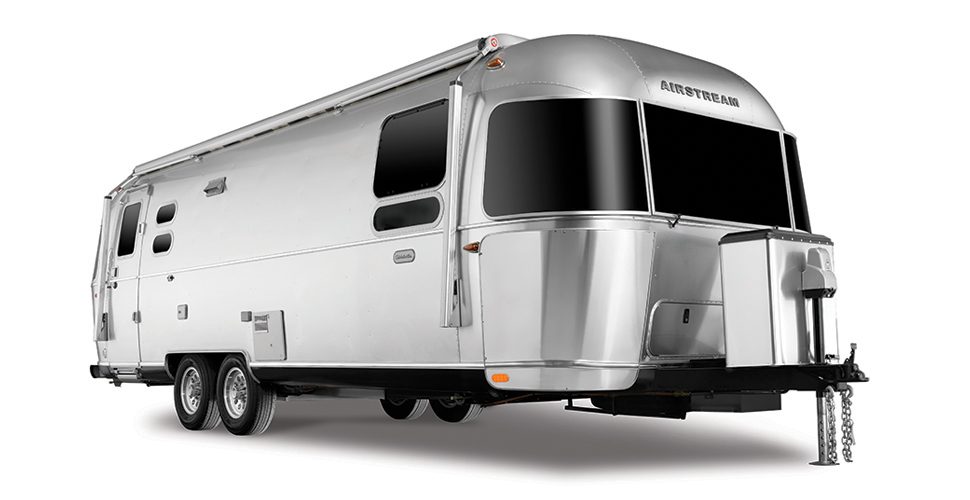
I’ll definitely make wooden sills and formed acrylic for the non-opening airstream-esque front facing windows I want to add.
-
This reply was modified 6 years, 1 month ago by
ParticipantUnsure. It’s definitely too large for the supplied bezel without modifications. I’ll figure it out when the hatch arrives in a couple weeks. In the meantime, I’m not going to cut out the top of the shell until I get it all planned out. Ideally, I’d be able to curve the hatch to match the curvature of the shell and not have a bezel at all… but I’m not holding my breath on that one. I’ve looked into thermoforming acrylic and it seems totally do-able. However, I doubt I could bend the aluminum bezel without ruining it.
-
AuthorPosts