Forum Replies Created
-
AuthorPosts
-
Dan
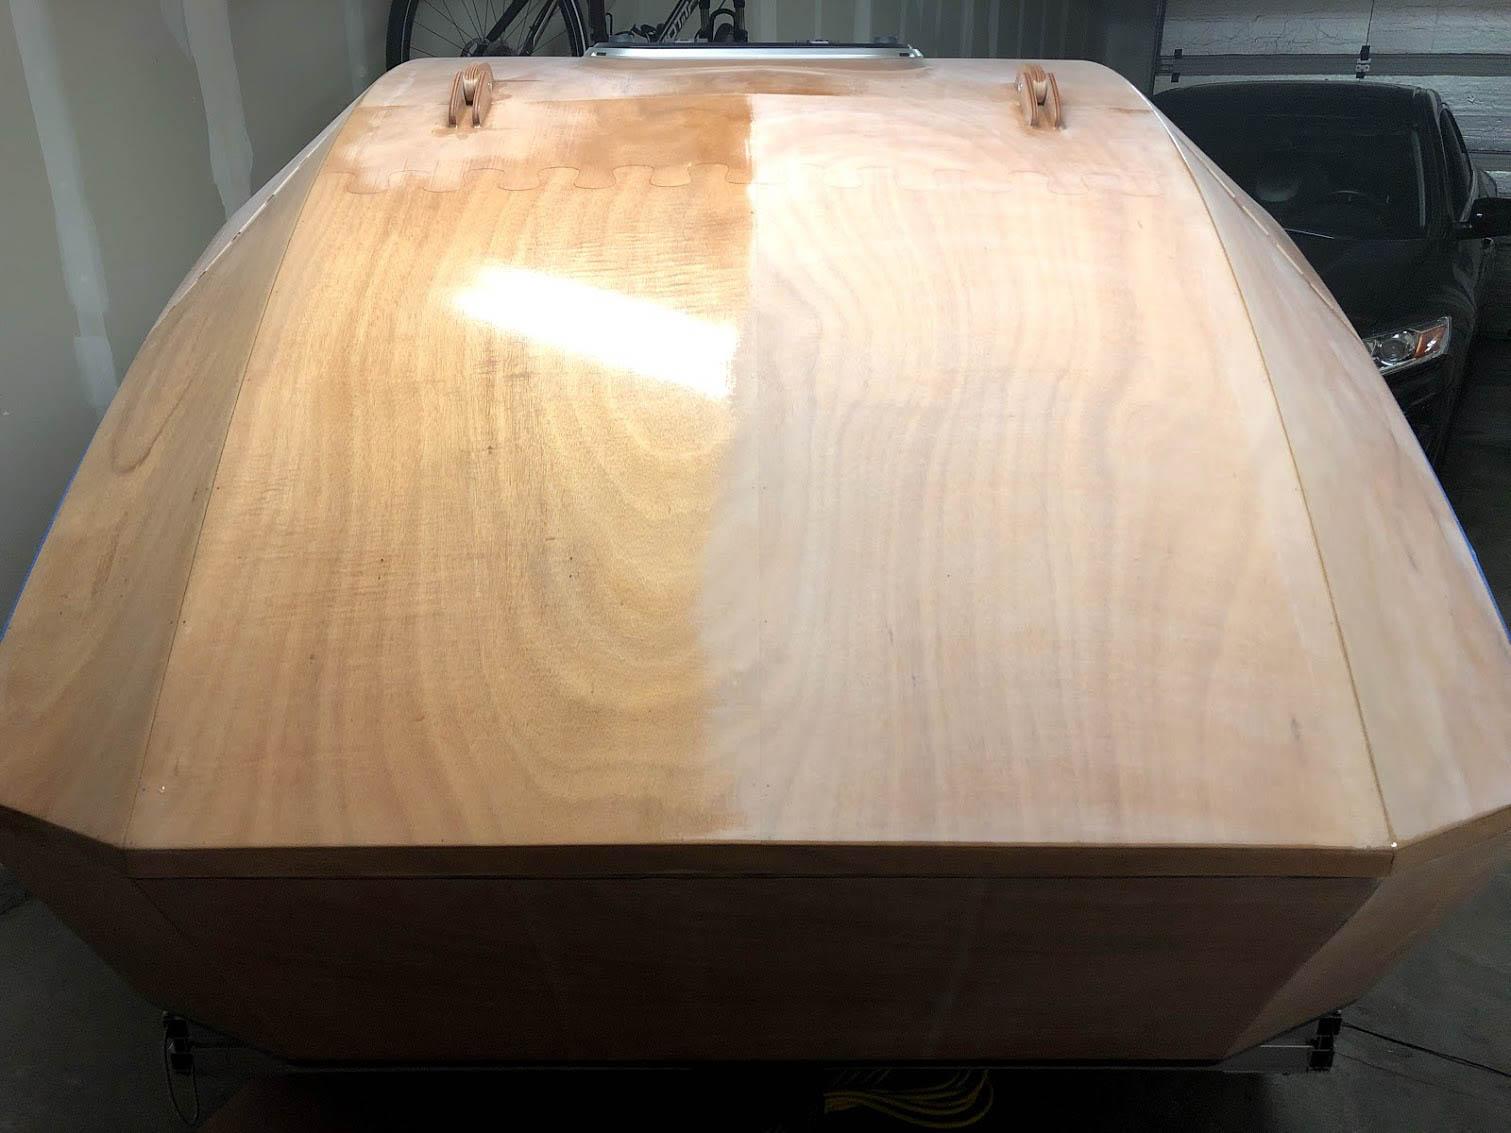
ParticipantI used TotalBoat Gleam 2.0, which I ordered online. It took a lot less than I anticipated, but maybe I didn’t put on enough? I believe I used about 1.5qts to get several coats on the entire teardrop and box.
 Participant
It does go on very thin. However I think I actually put the first two coats on way too thin. I finished the third coat last night and used more than the first two combined but I’ve still got a third of the quart left.
ParticipantThanks! It seemed like the right thing to do as soon as I thought of it. I’ll be giving it a solid 10 hours of driving on a road-trip this weekend and I’ll be sure to let you know if it falls apart! I think it’ll be just fine though. Especially after I added some extra glass to reinforce that area.
ParticipantI called CLC and they said about one coat per quart. So I ordered 3 quarts for the exterior and two for the interior… except I’m using Total Boat Gleam 2.0 gloss instead of whatever CLC recommends.
I just put on the second coat today and judging by my usage so far it appears I’ll be able to get 8-10 coats from this first quart.
Maybe I’ll varnish my house with the remainder. 🙄
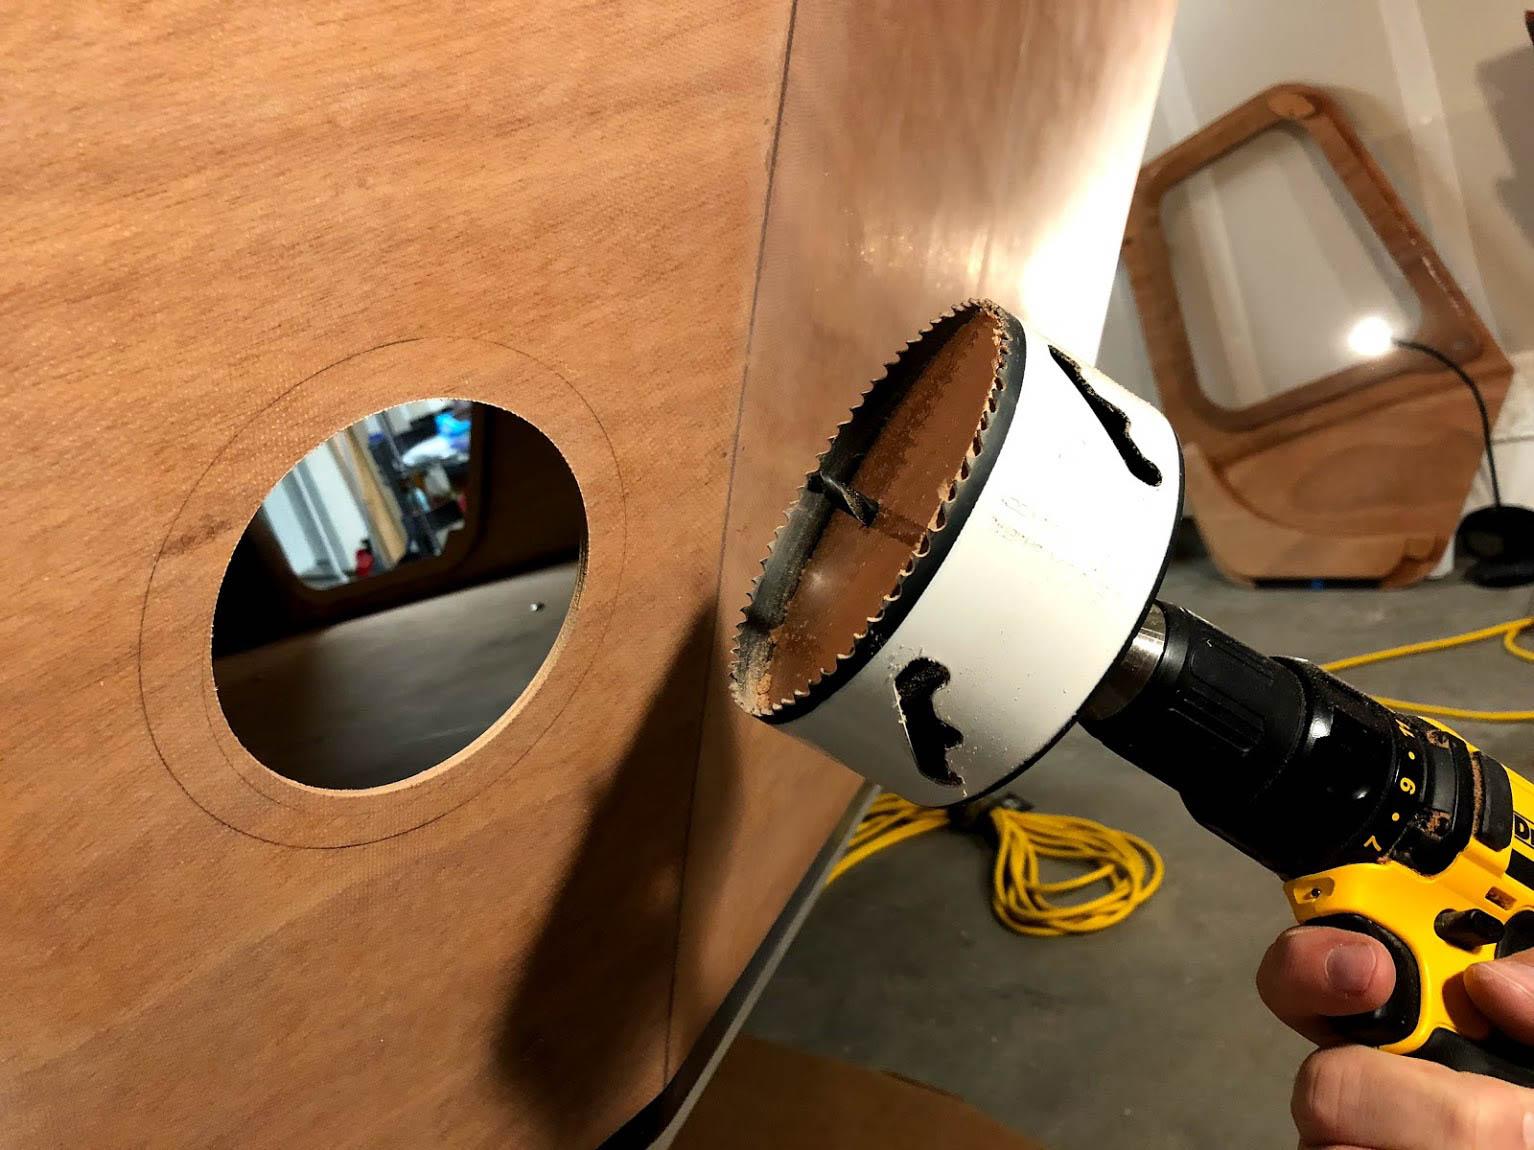
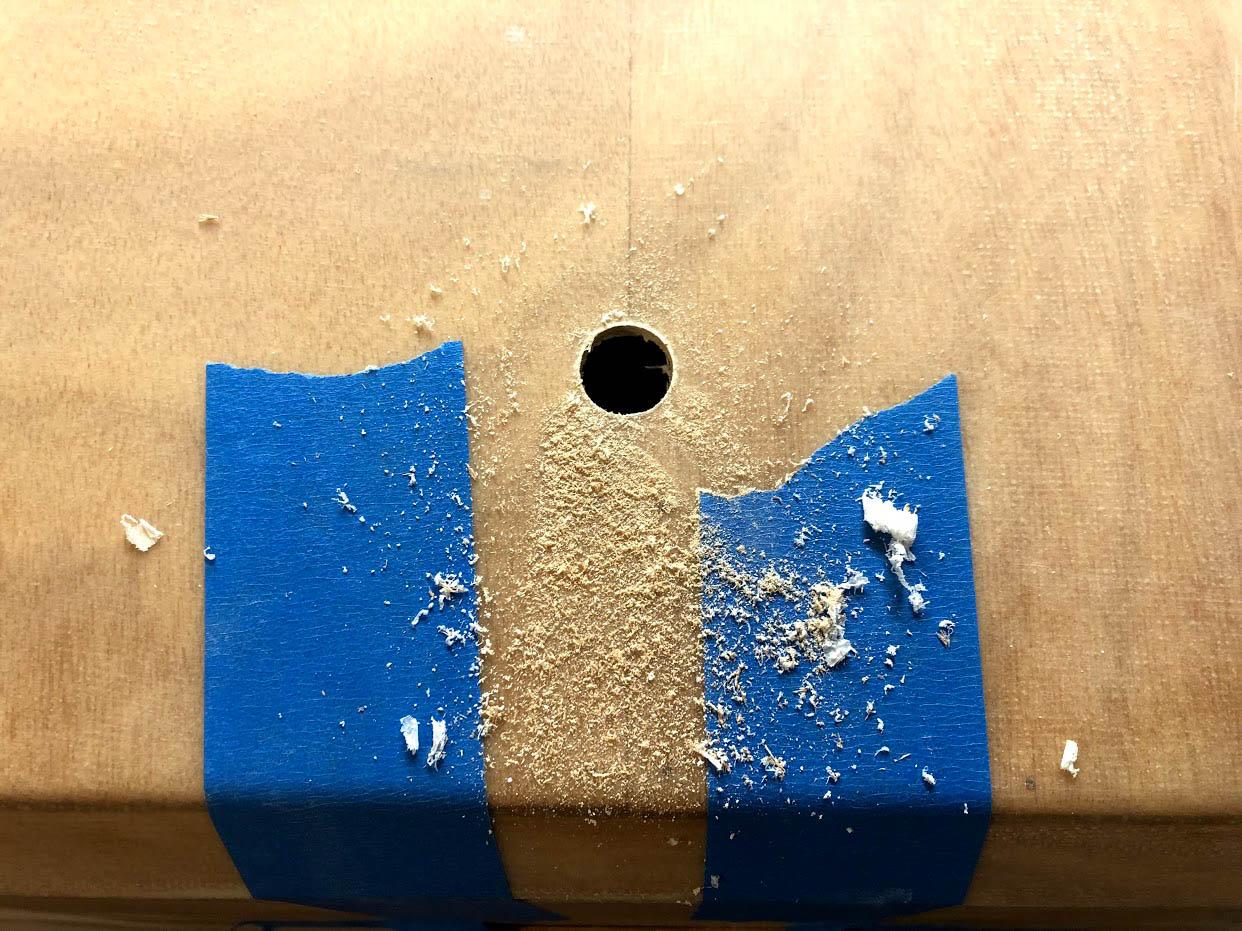
ParticipantI found a perfect sized hole-saw at Lowe’s. Much careful measuring followed and I’m now ready to mount the mushroom vents.
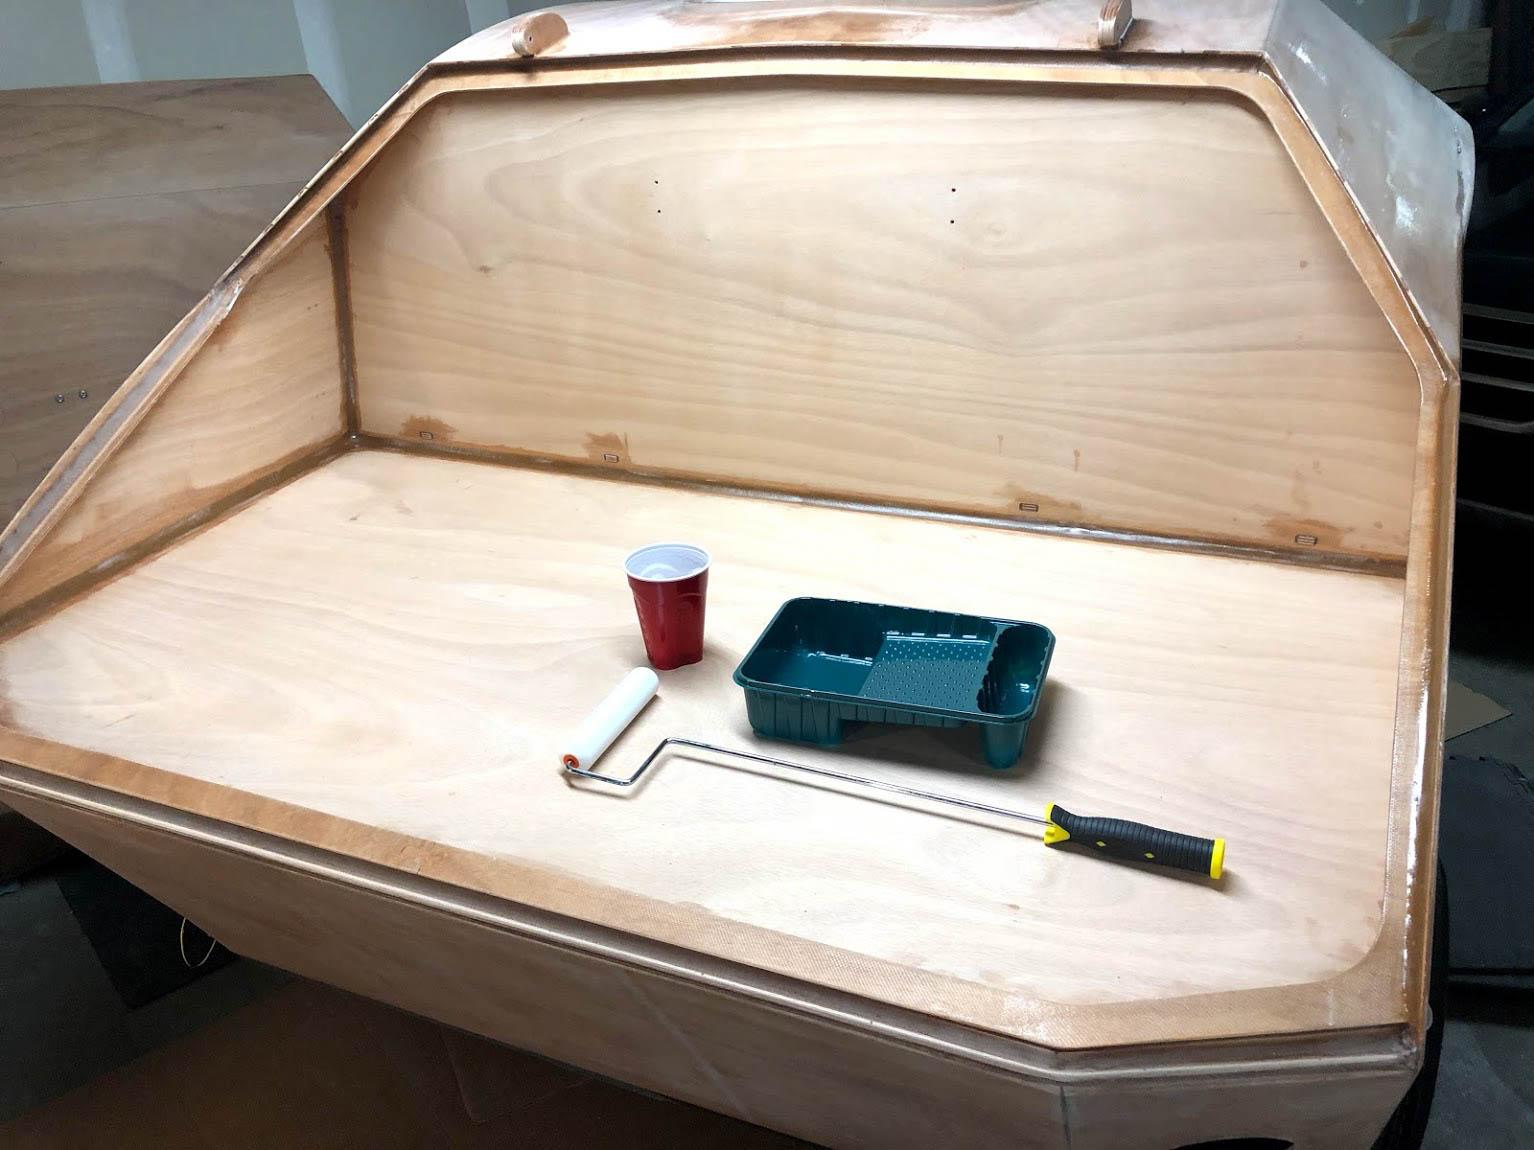
Then it’s on to sealing the galley with epoxy. I have one coat on so far and I have added fiberglass tape along the joinery at the top of the transom with enough coats to fill the weave. I also added some glass under the galley gutter lip where the latch will hit. That should be plenty strong enough now.
Next up is some sanding and then more epoxy coating in the galley and probably in the interior while I’m at it. I have one quart of varnish which I will apply Monday. Today I ordered two more for the exterior and two for the interior. That should be enough for three coats outside and two inside.
 Participant
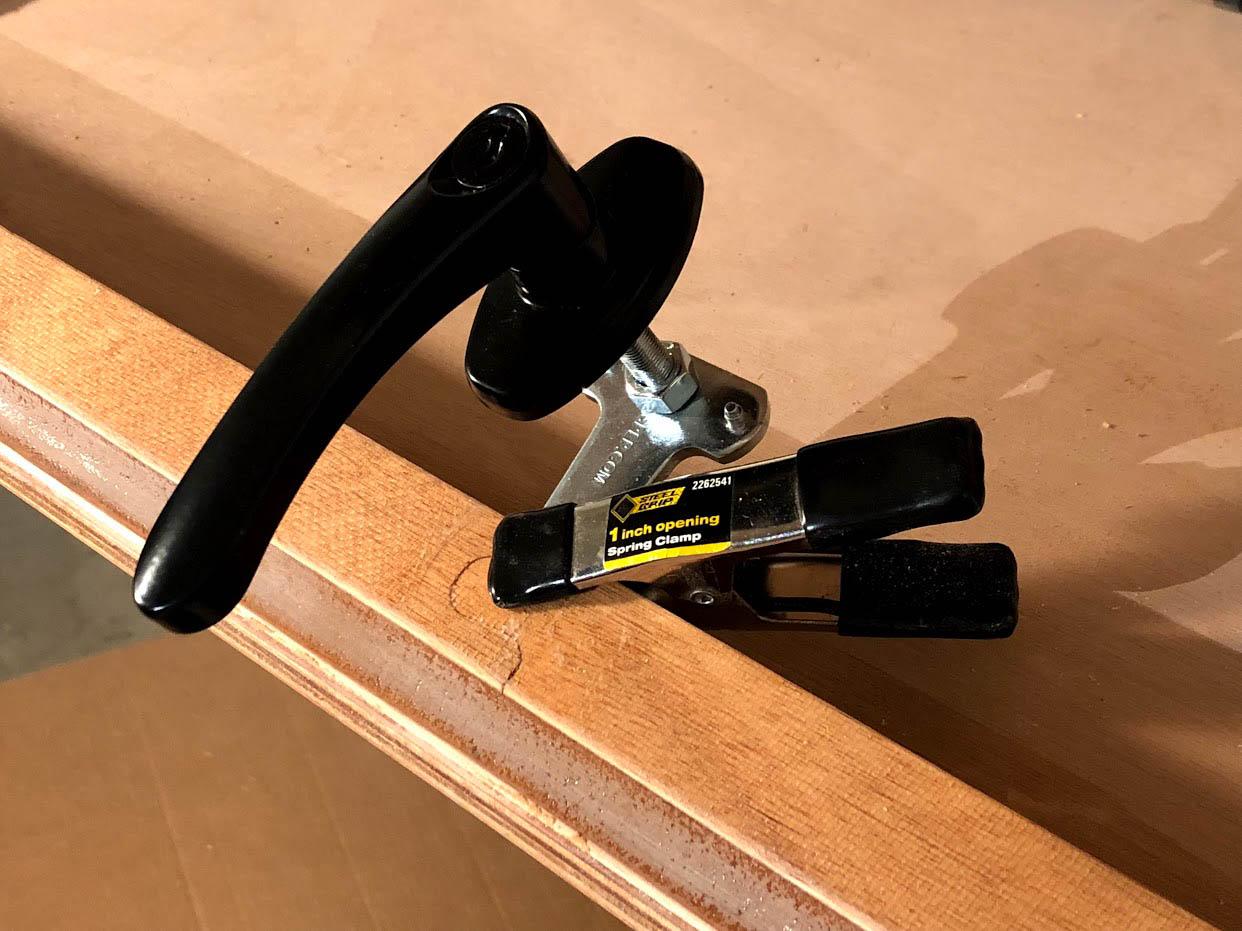
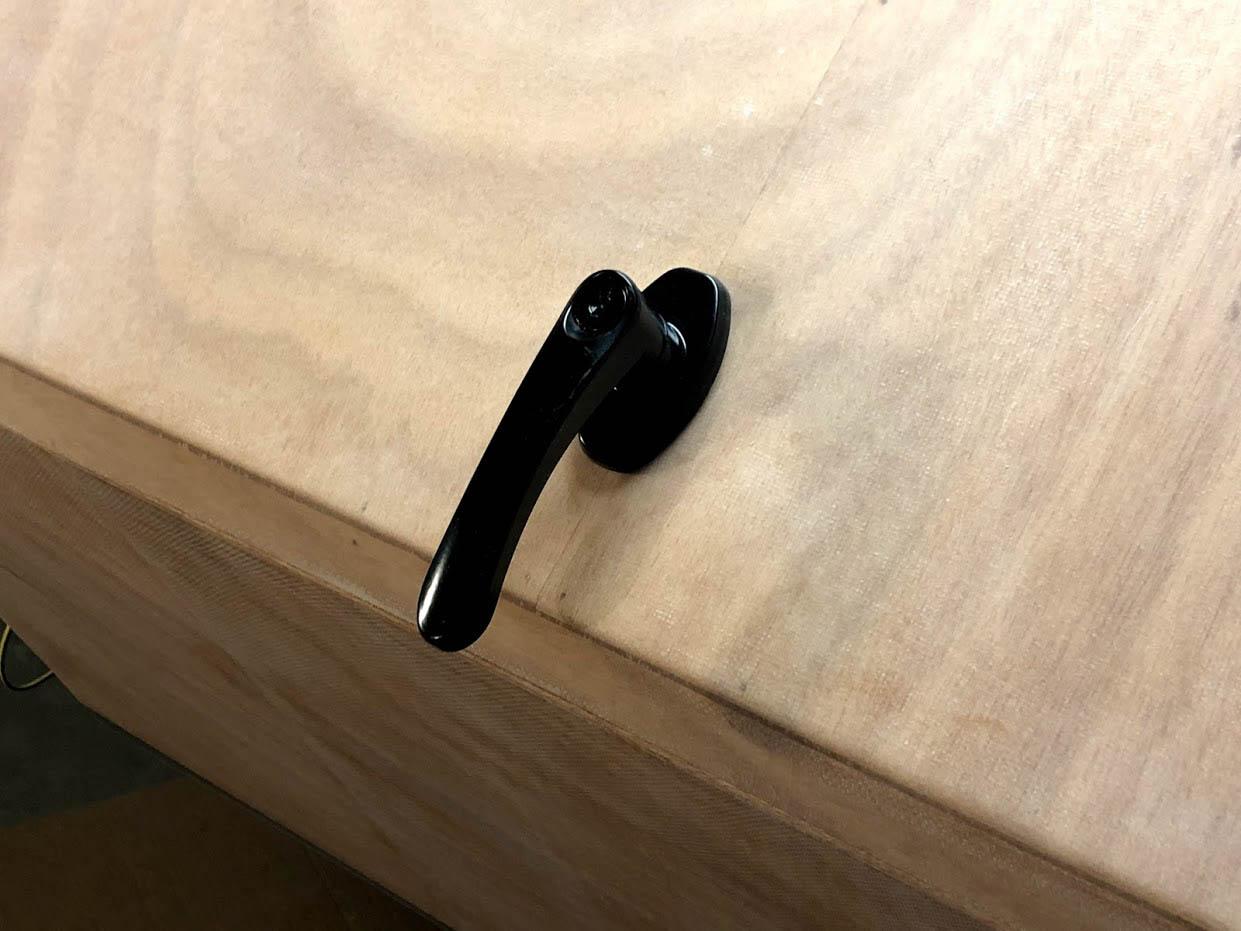
I ended up having an epiphany regarding the hatch closure. There’s already something to latch onto: the galley gutter lip. It should be plenty strong enough, but I’m going to reinforce it a bit. I also always have the option of adding a dedicated block for the locking thing to swivel into. Easy peasy.
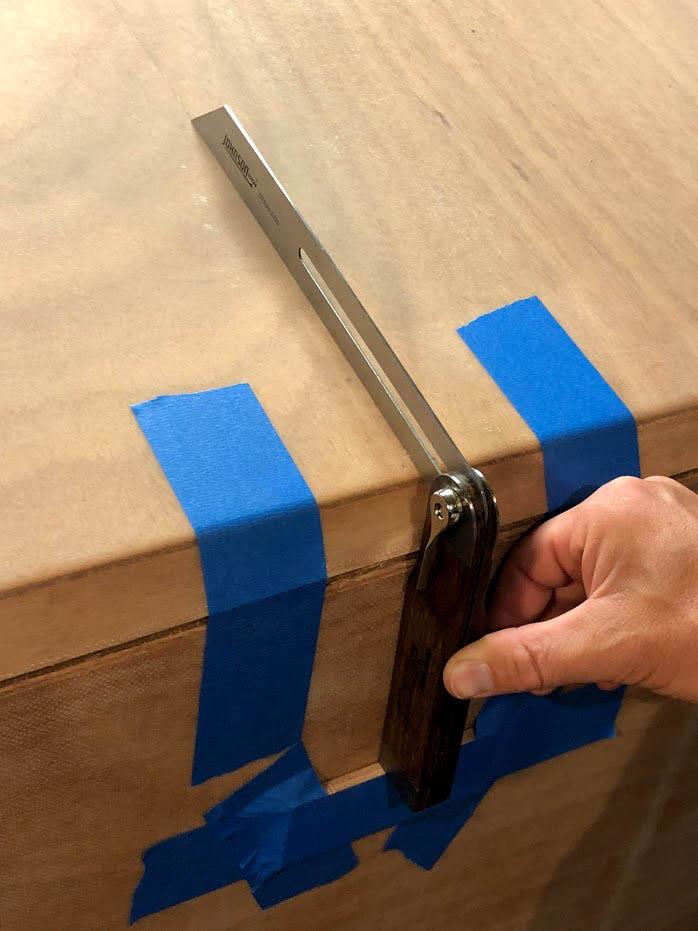
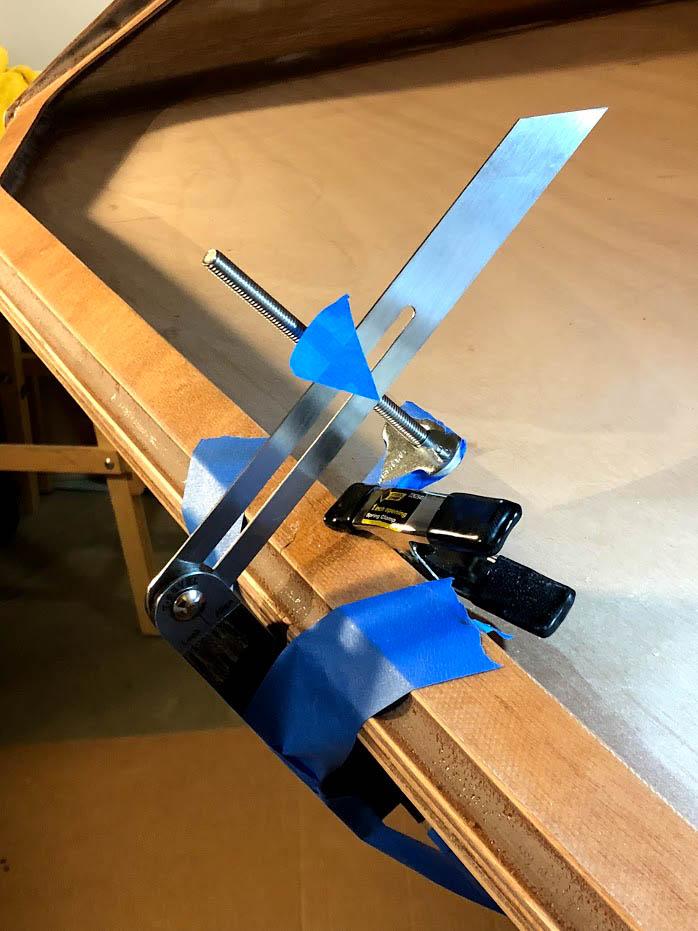
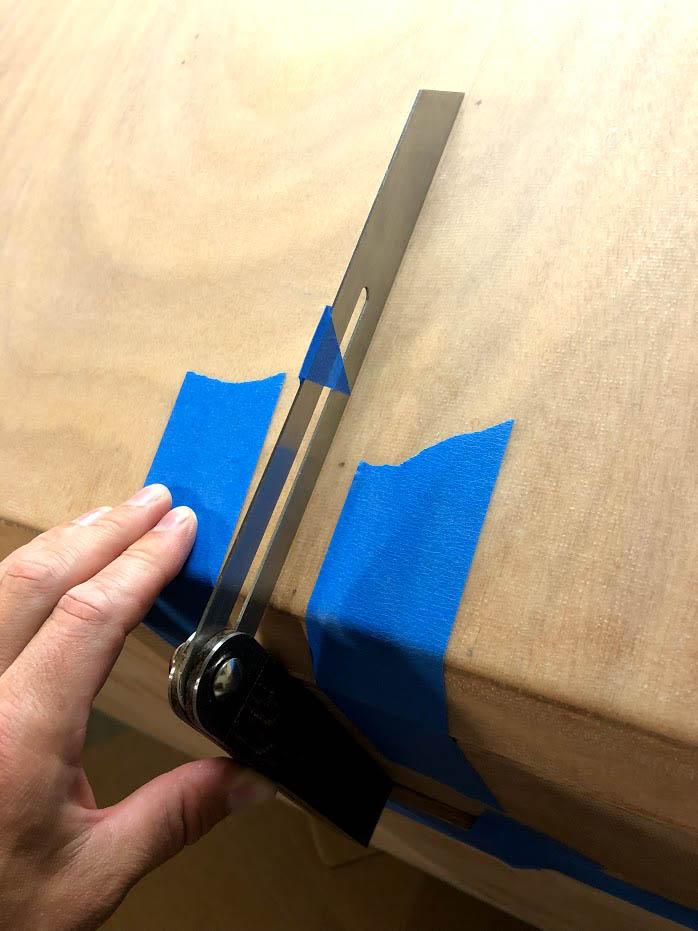
It took me a while but I found the perfect tool for determining where to drill: a T-Bevel. You can use it to remember angles and it worked perfectly for this. A little careful alignment and we’re good to go!
 Participant
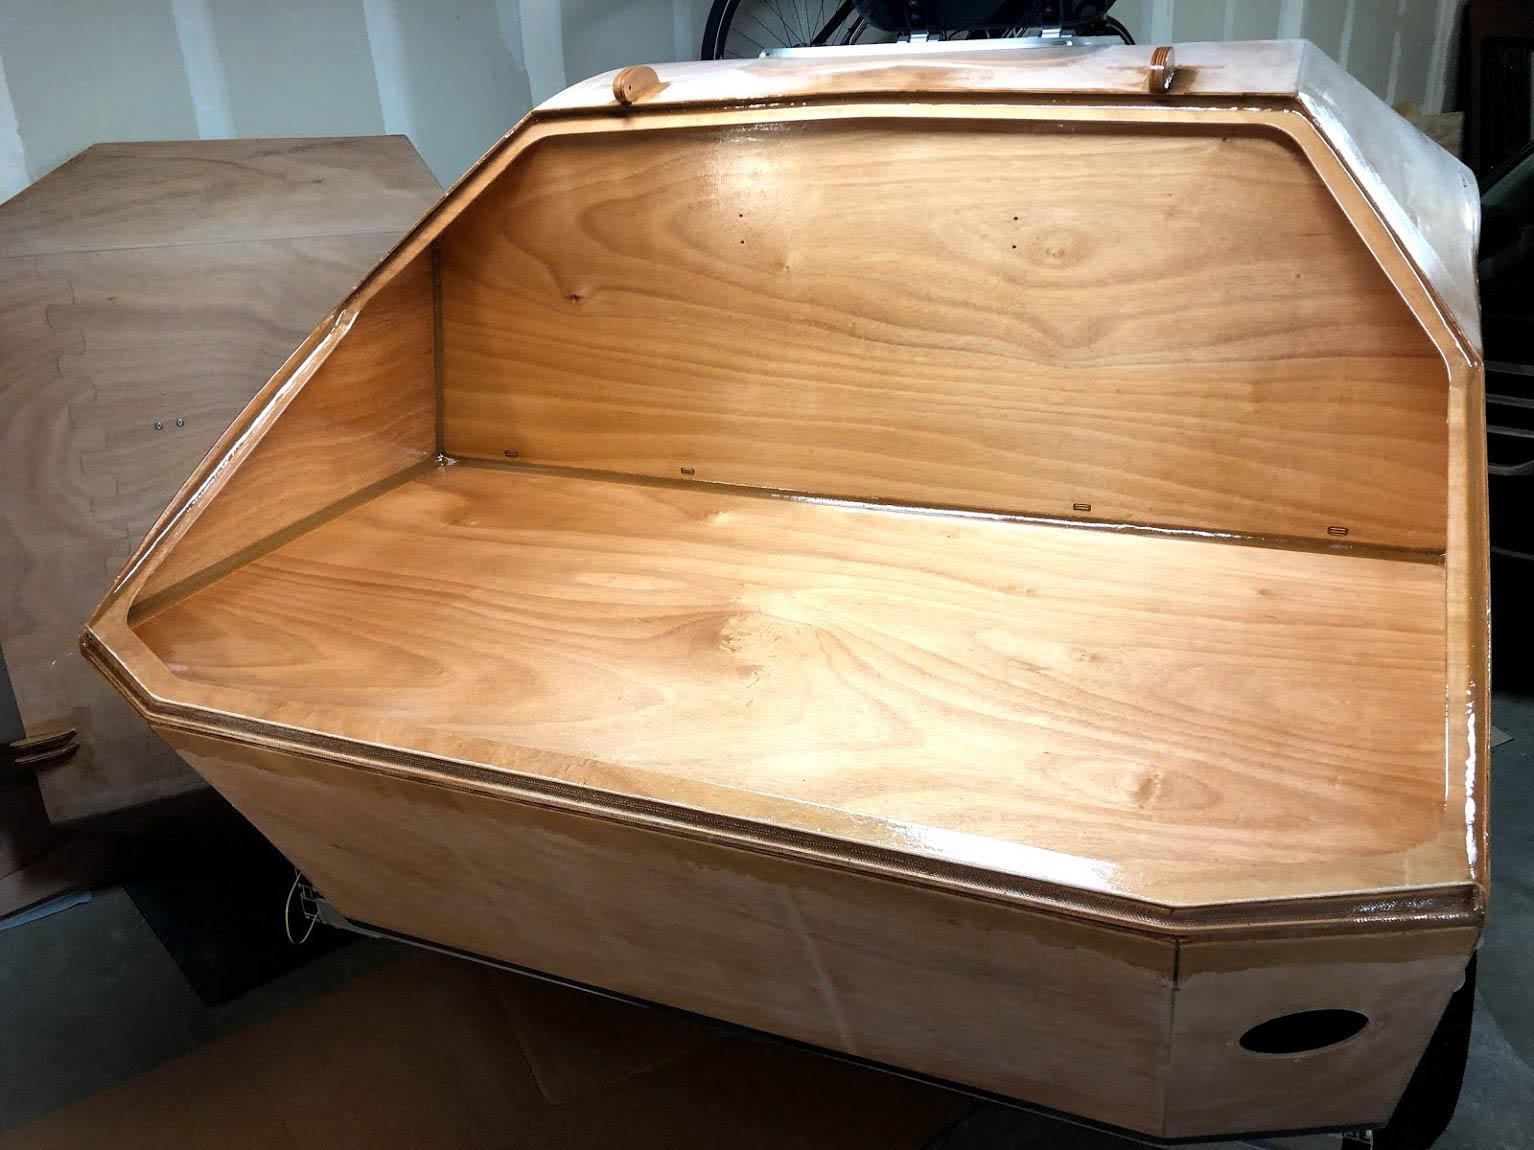
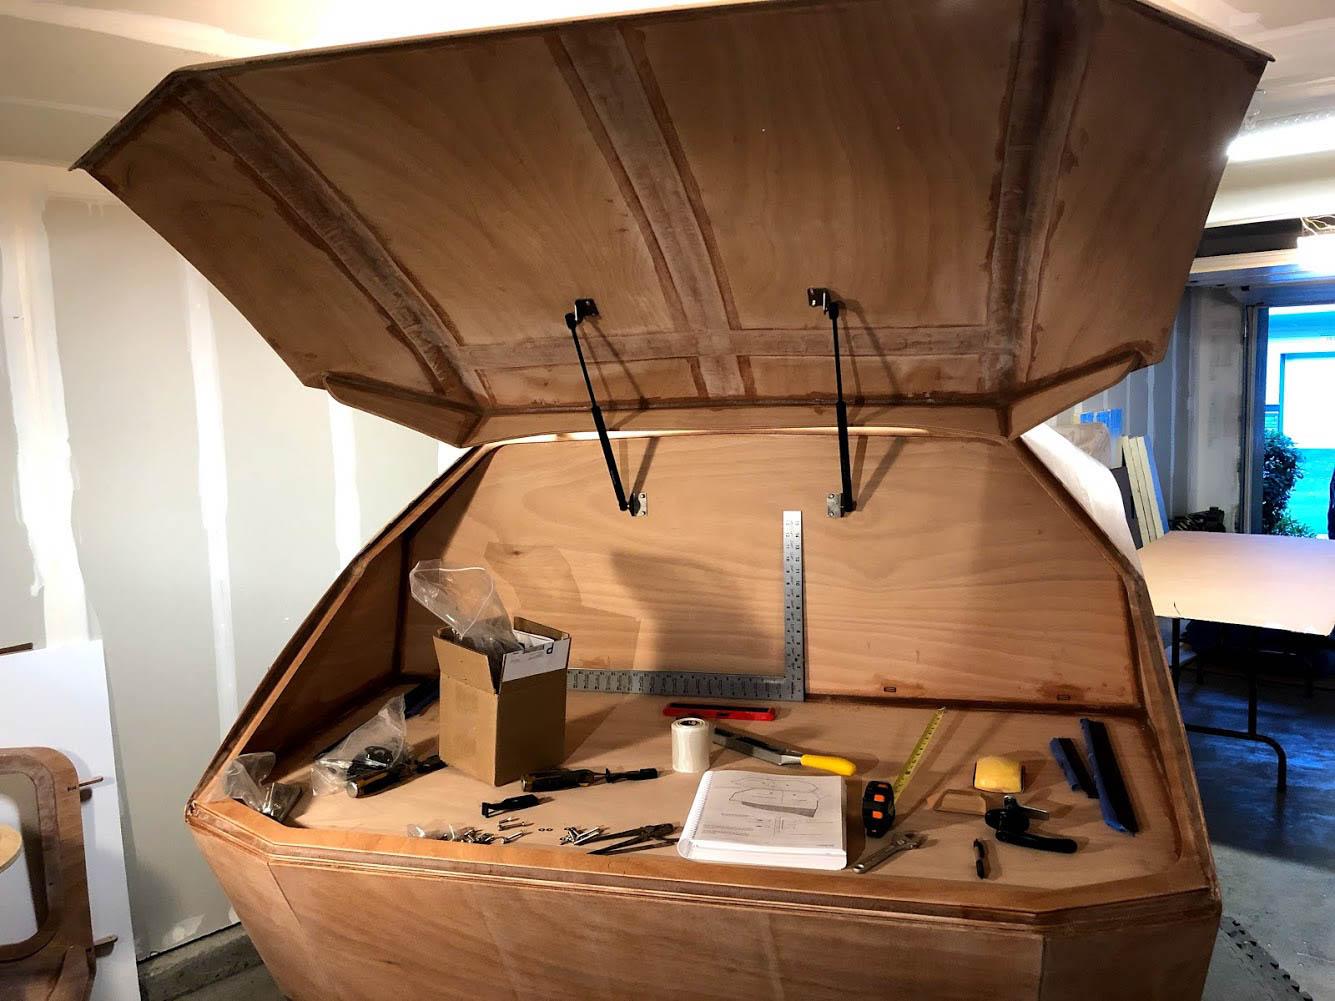
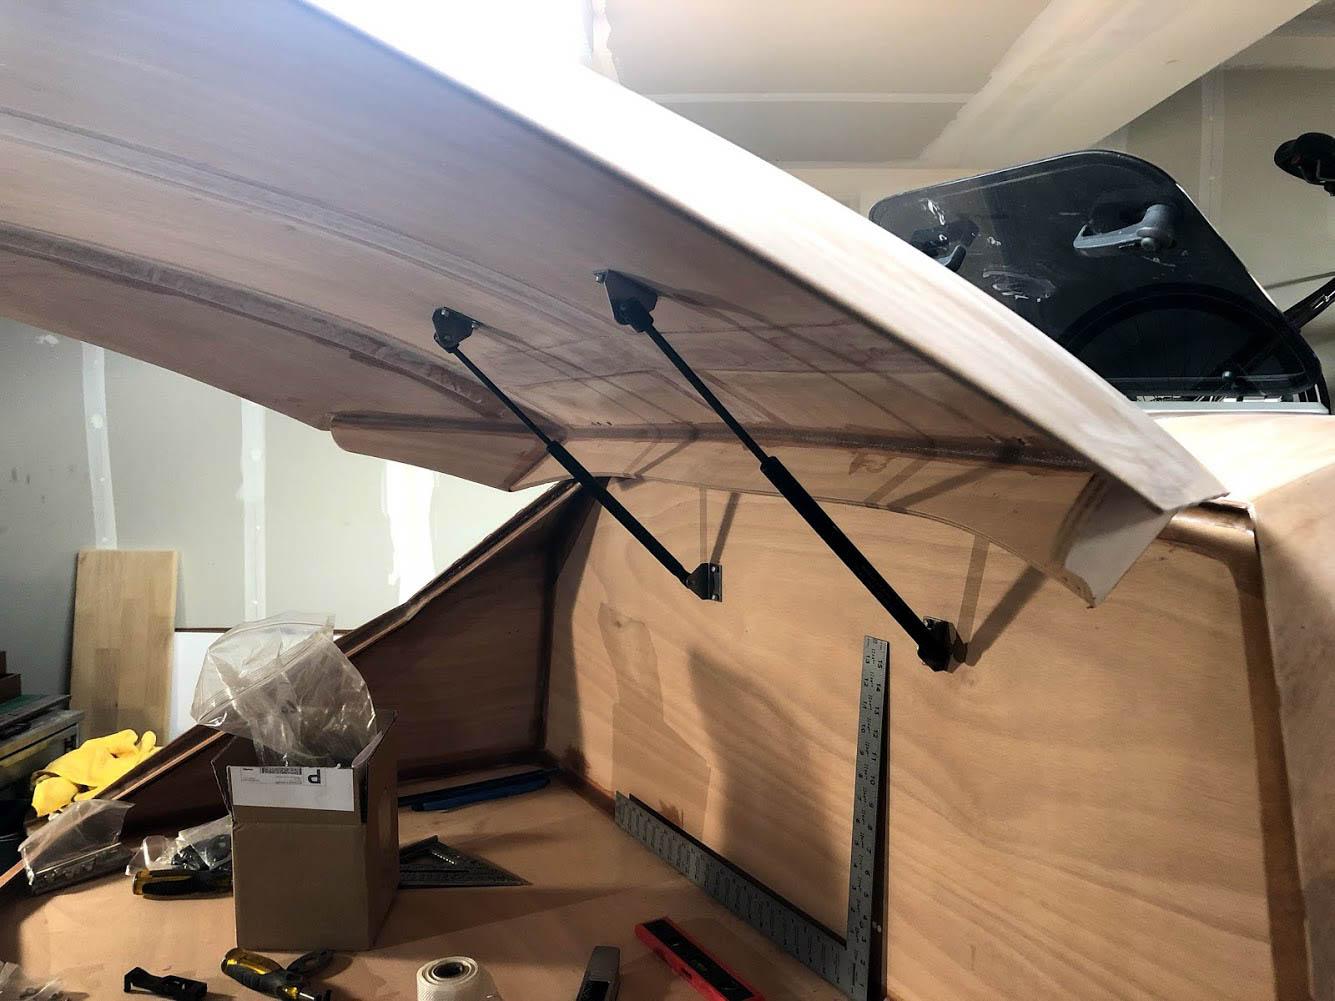
Lots of sanding done. Filled some bubbles I got in the eyebrow fiberglass. Galley hatch drip thingie installed. Gas-spring keeper-uppers installed. I decided to just go with the recommended mounting procedure there.
I’m sooo close to varnish. There are really only a few things left for the exterior: some final fillets and the locking handle on the galley hatch, and installing some mushroom vents in the shell. Then I just need some epoxy layers in the galley and a bit more sanding. The interior is totally unfinished, but with varnish on the exterior I’m hoping to make a maiden voyage in two weeks.
 Participant
Ah yes, that’s the ticket. Thanks!
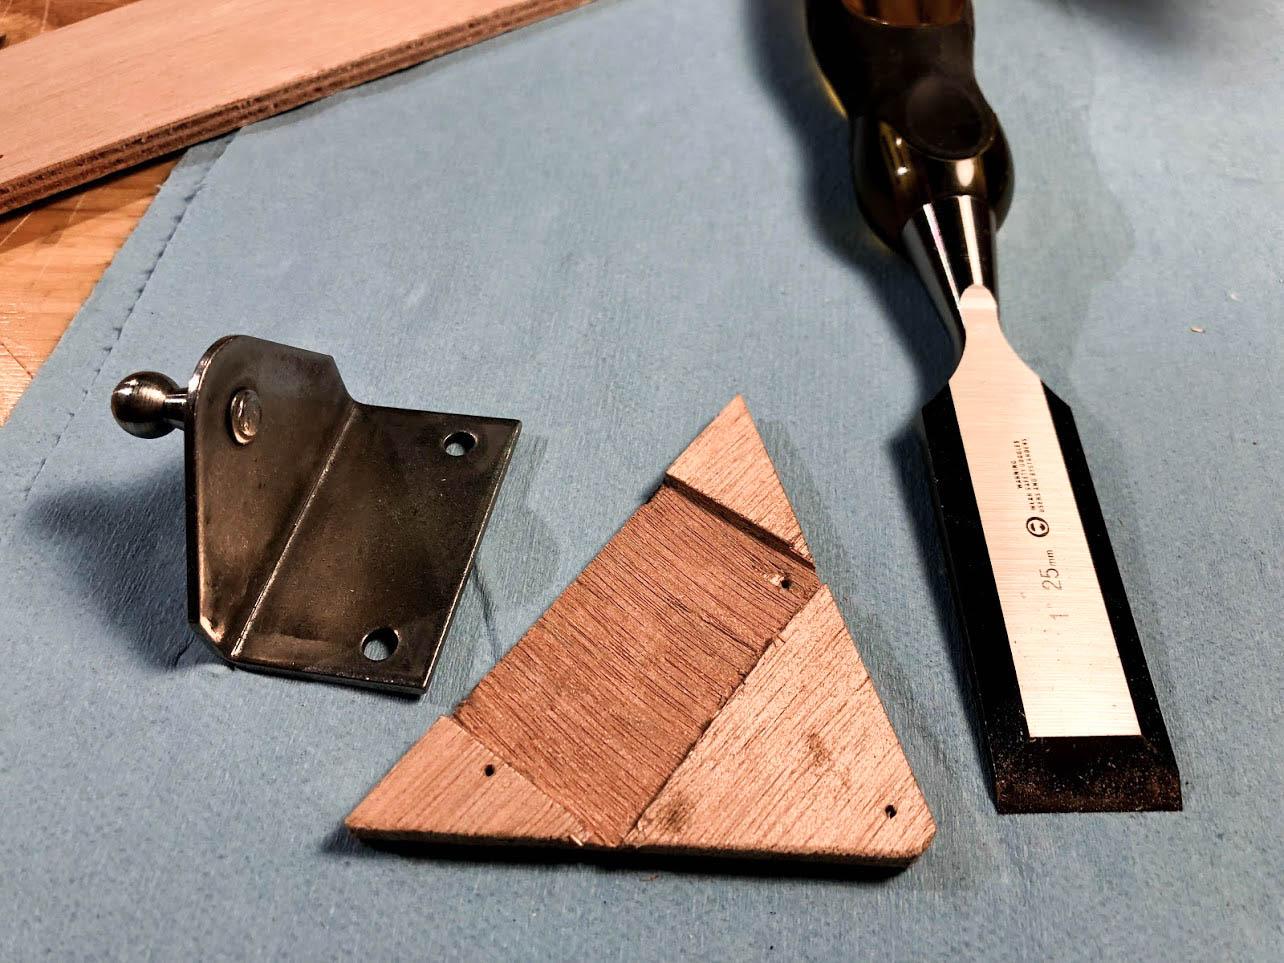
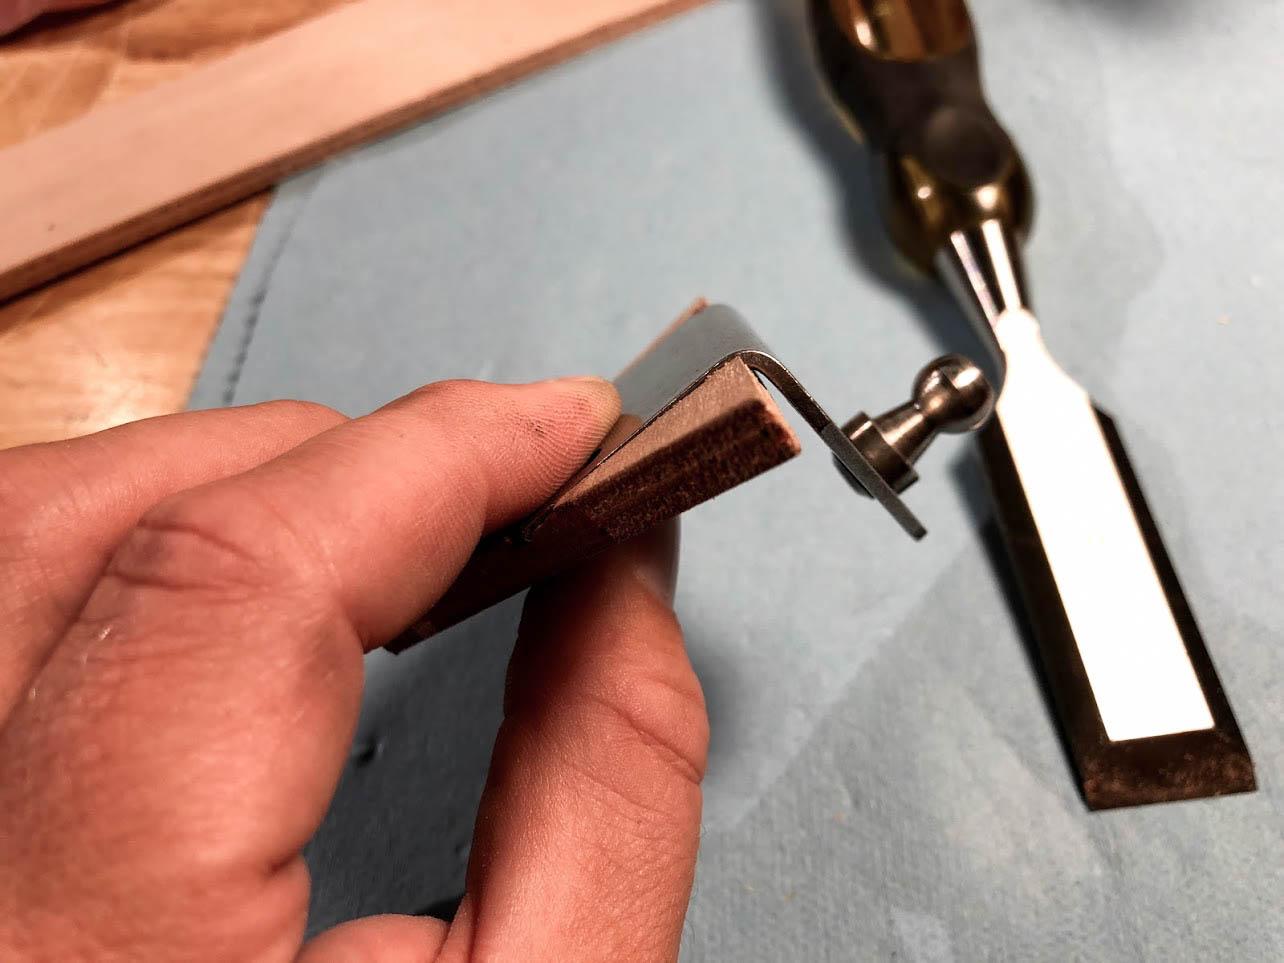
I think I’ll try to make it just be a slip-fit though so the gas spring brackets are just held in place by friction. I can add a retainer if necessary, but I don’t think it will be. Here’s my test article. I should be able to use some of the leftover bits from the top-hatch bezel to make a nice thin block for the bracket to slip under. Some careful chiseling and rounding of corners and this should work great! I can even glass over it to make the whole thing super strong.
 Participant
Other fun summer activities are keeping production sloooow, but I got the eyebrows done and half of the shell sanded. Varnish has arrived in the mail, so prep-work continues for that. I think I’ll work on the galley hatch tonight. Should be able to get that ready in one evening. I’m thinking on just gluing the gas spring brackets to the hatchback. I don’t see why that wouldn’t be plenty strong. One downside is that they would not be removable. Thoughts?
Also, I have decided to ditch the hasp and just use a door handle similar to this: http://teardropforum.com/forums/topic/galley-hatch-locks/page/2/#post-1450. I couldn’t find a good source for t-handles but I just ordered an extra counter-clockwise door handle from CLC identical to the ones that came with my kit. They even sent it with the same key when I asked.
-
This reply was modified 5 years, 8 months ago by
Dan.
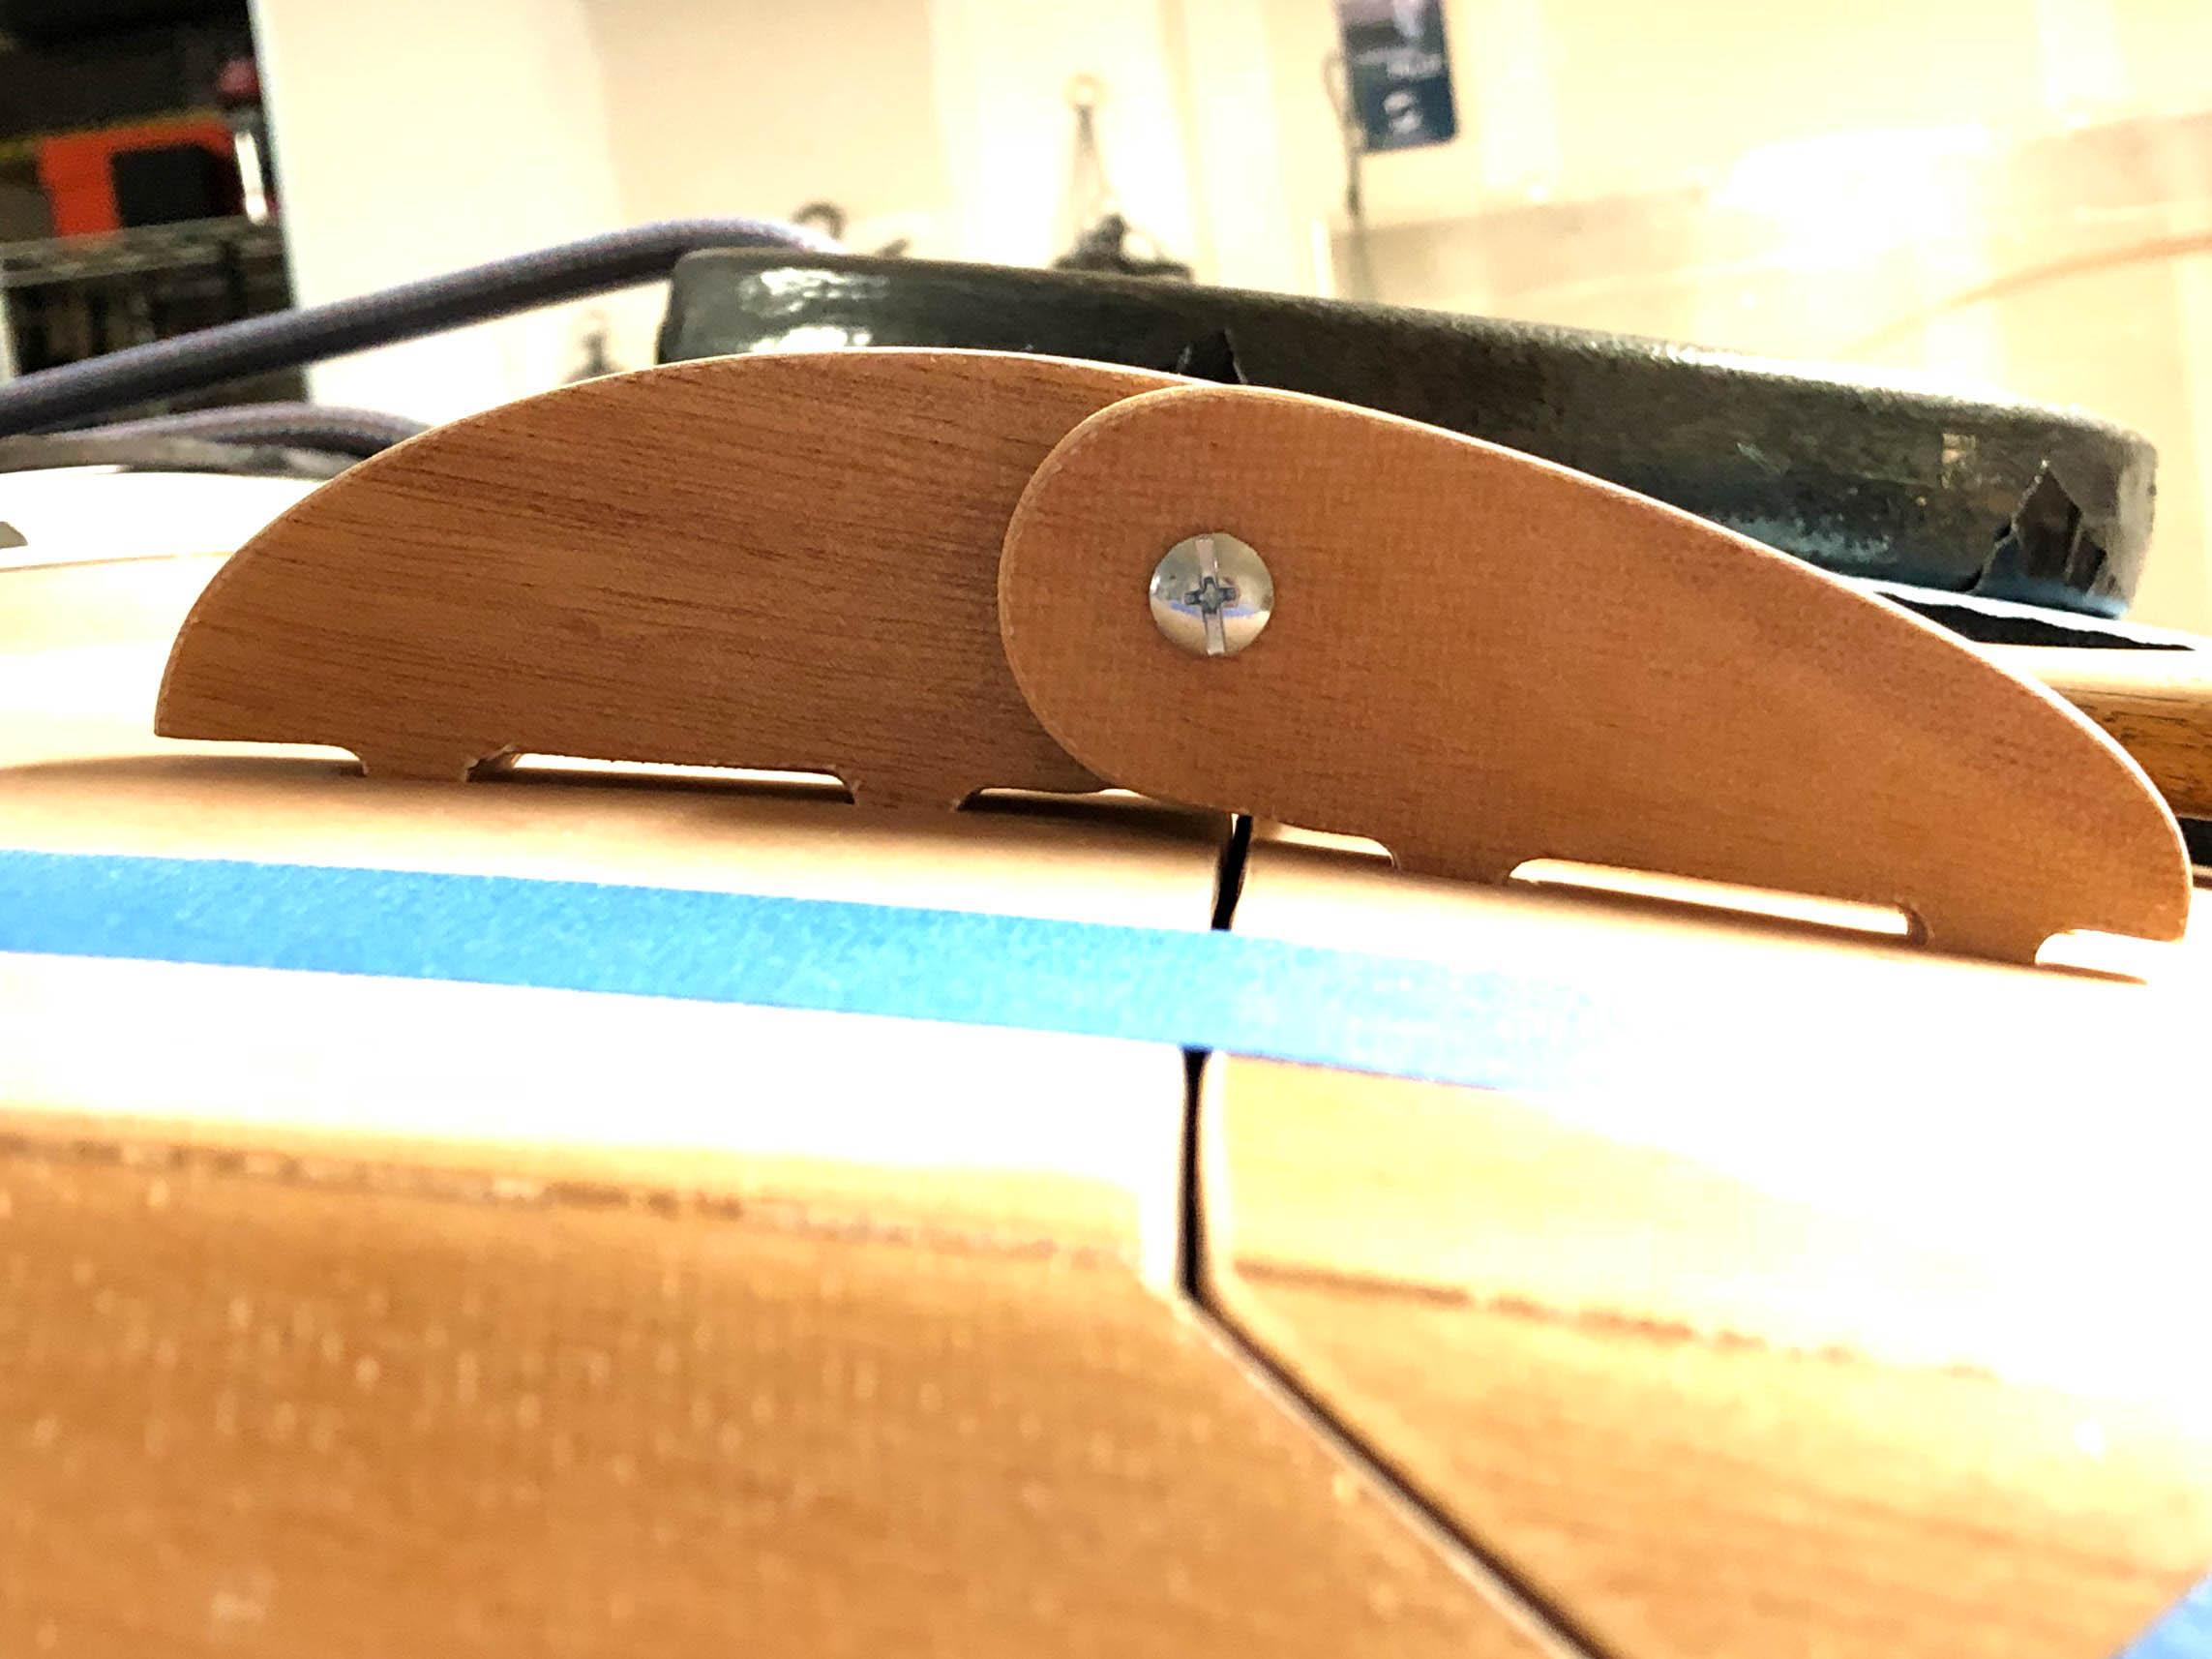
ParticipantLooks like a good fix. I like the symmetry too!
There’s also a little protrusion at the top of the frame where you line up the mounting block for some hardware. Be thoughtful of alignment up there since you won’t have that protrusion to go by.
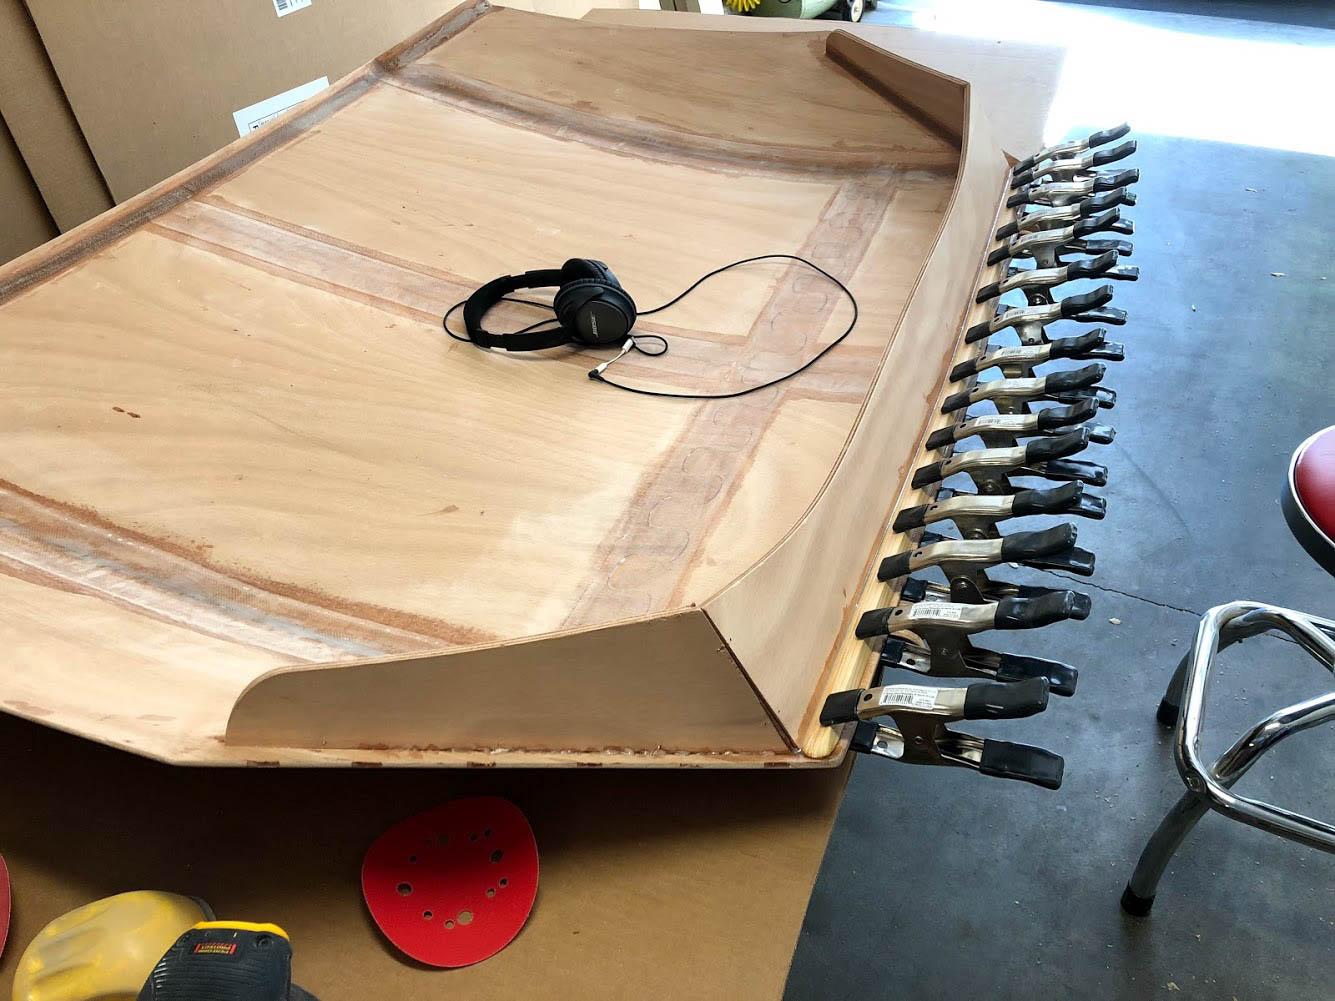
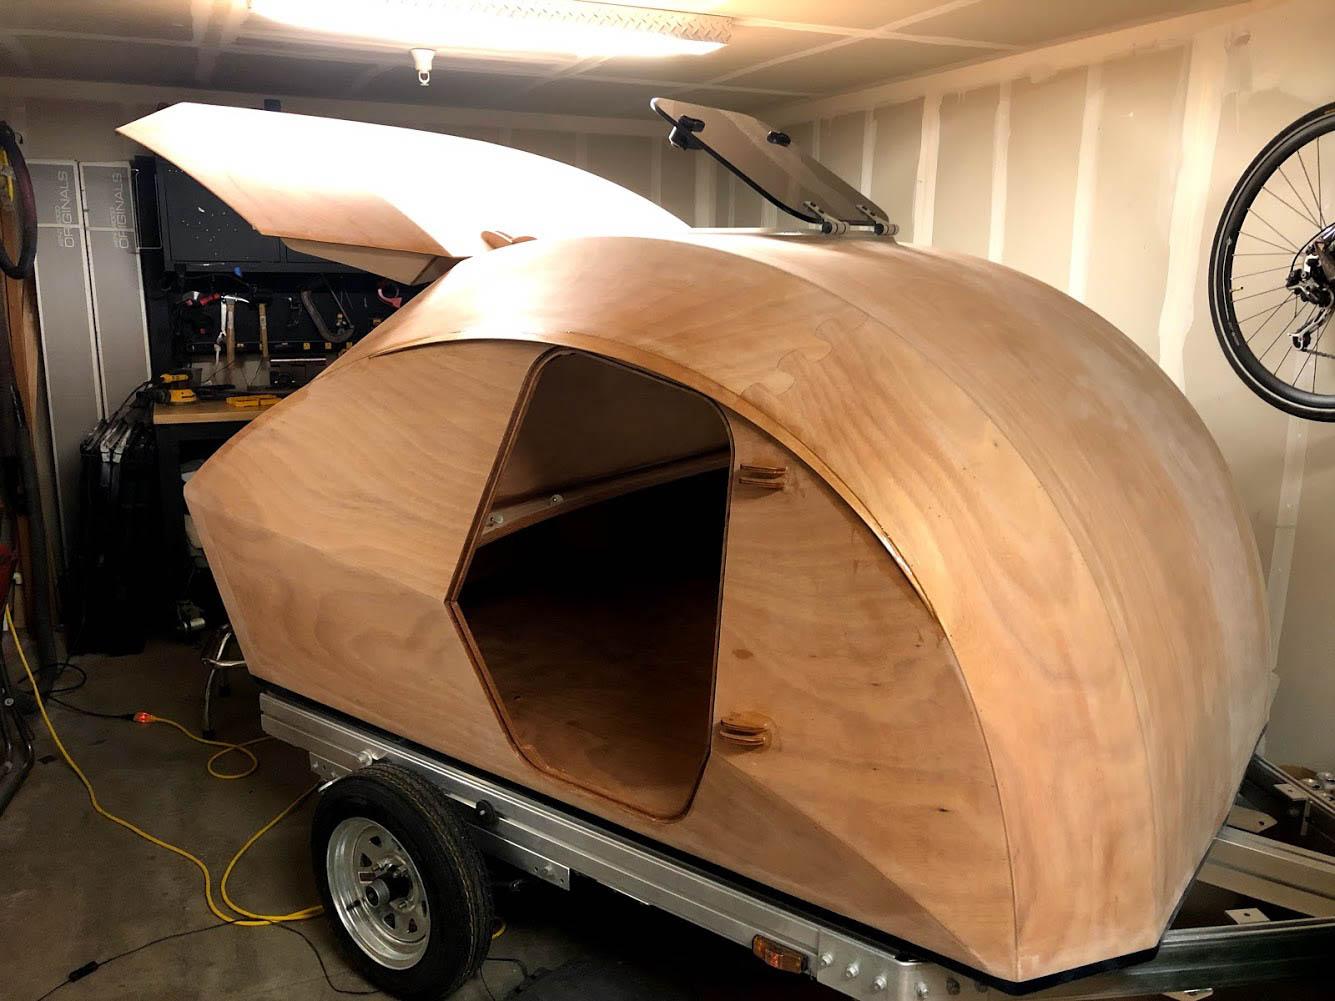
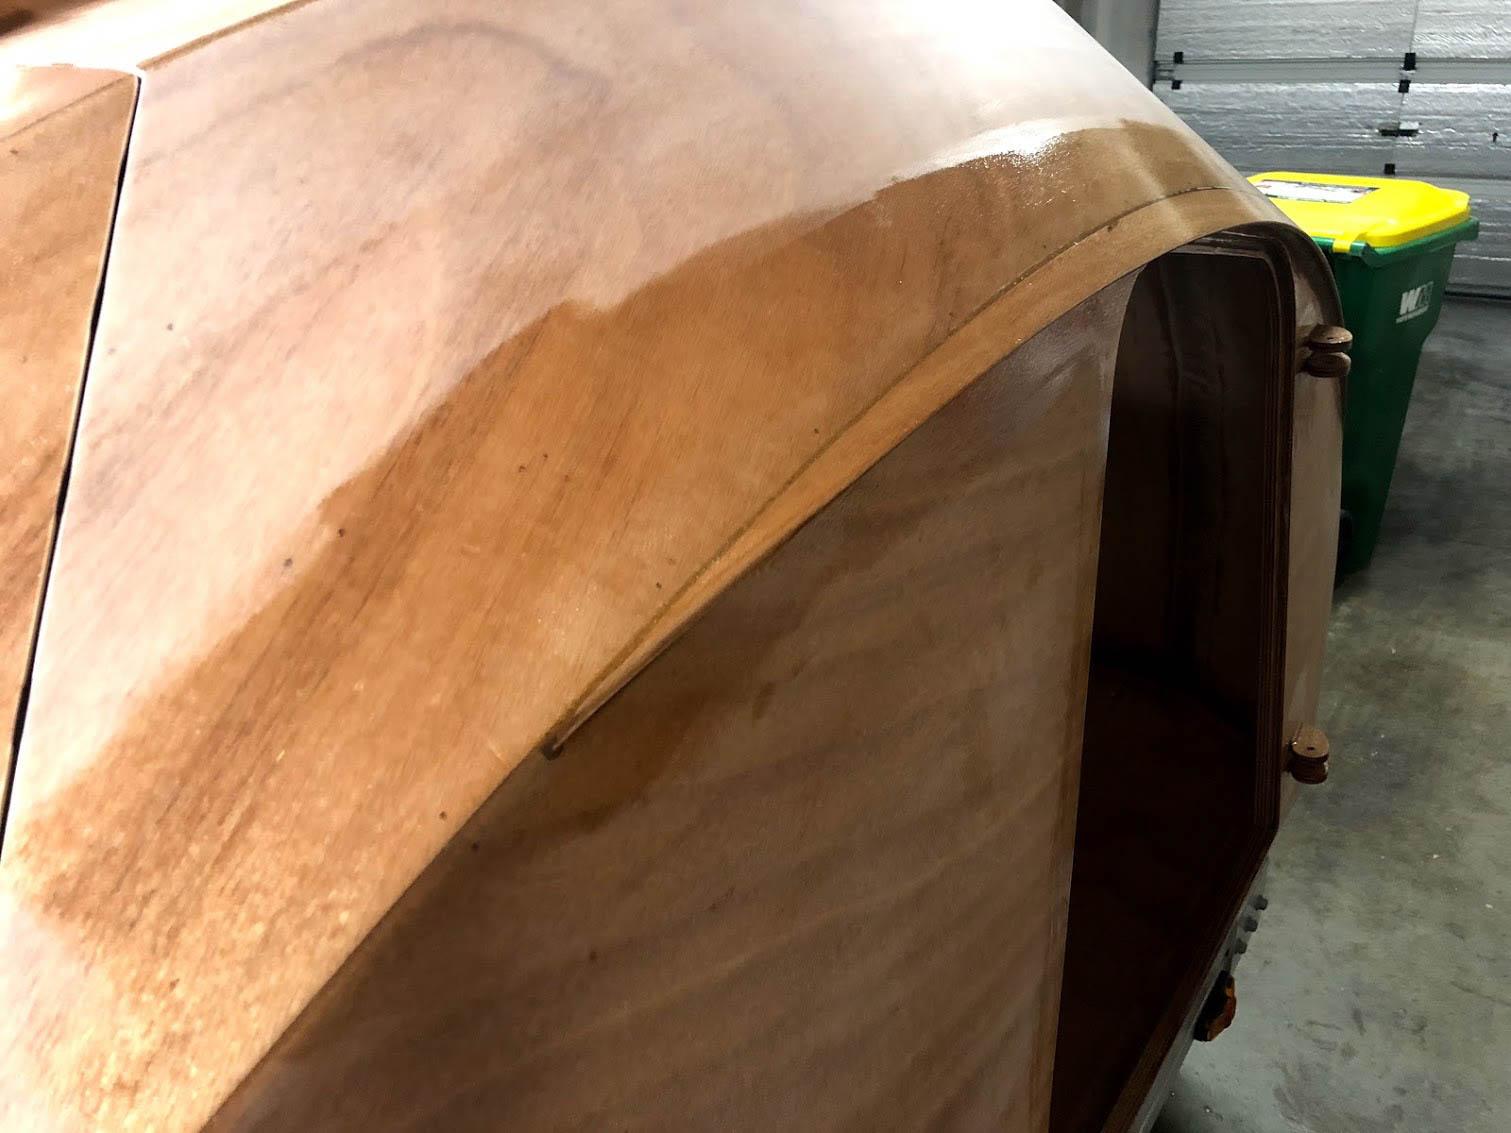
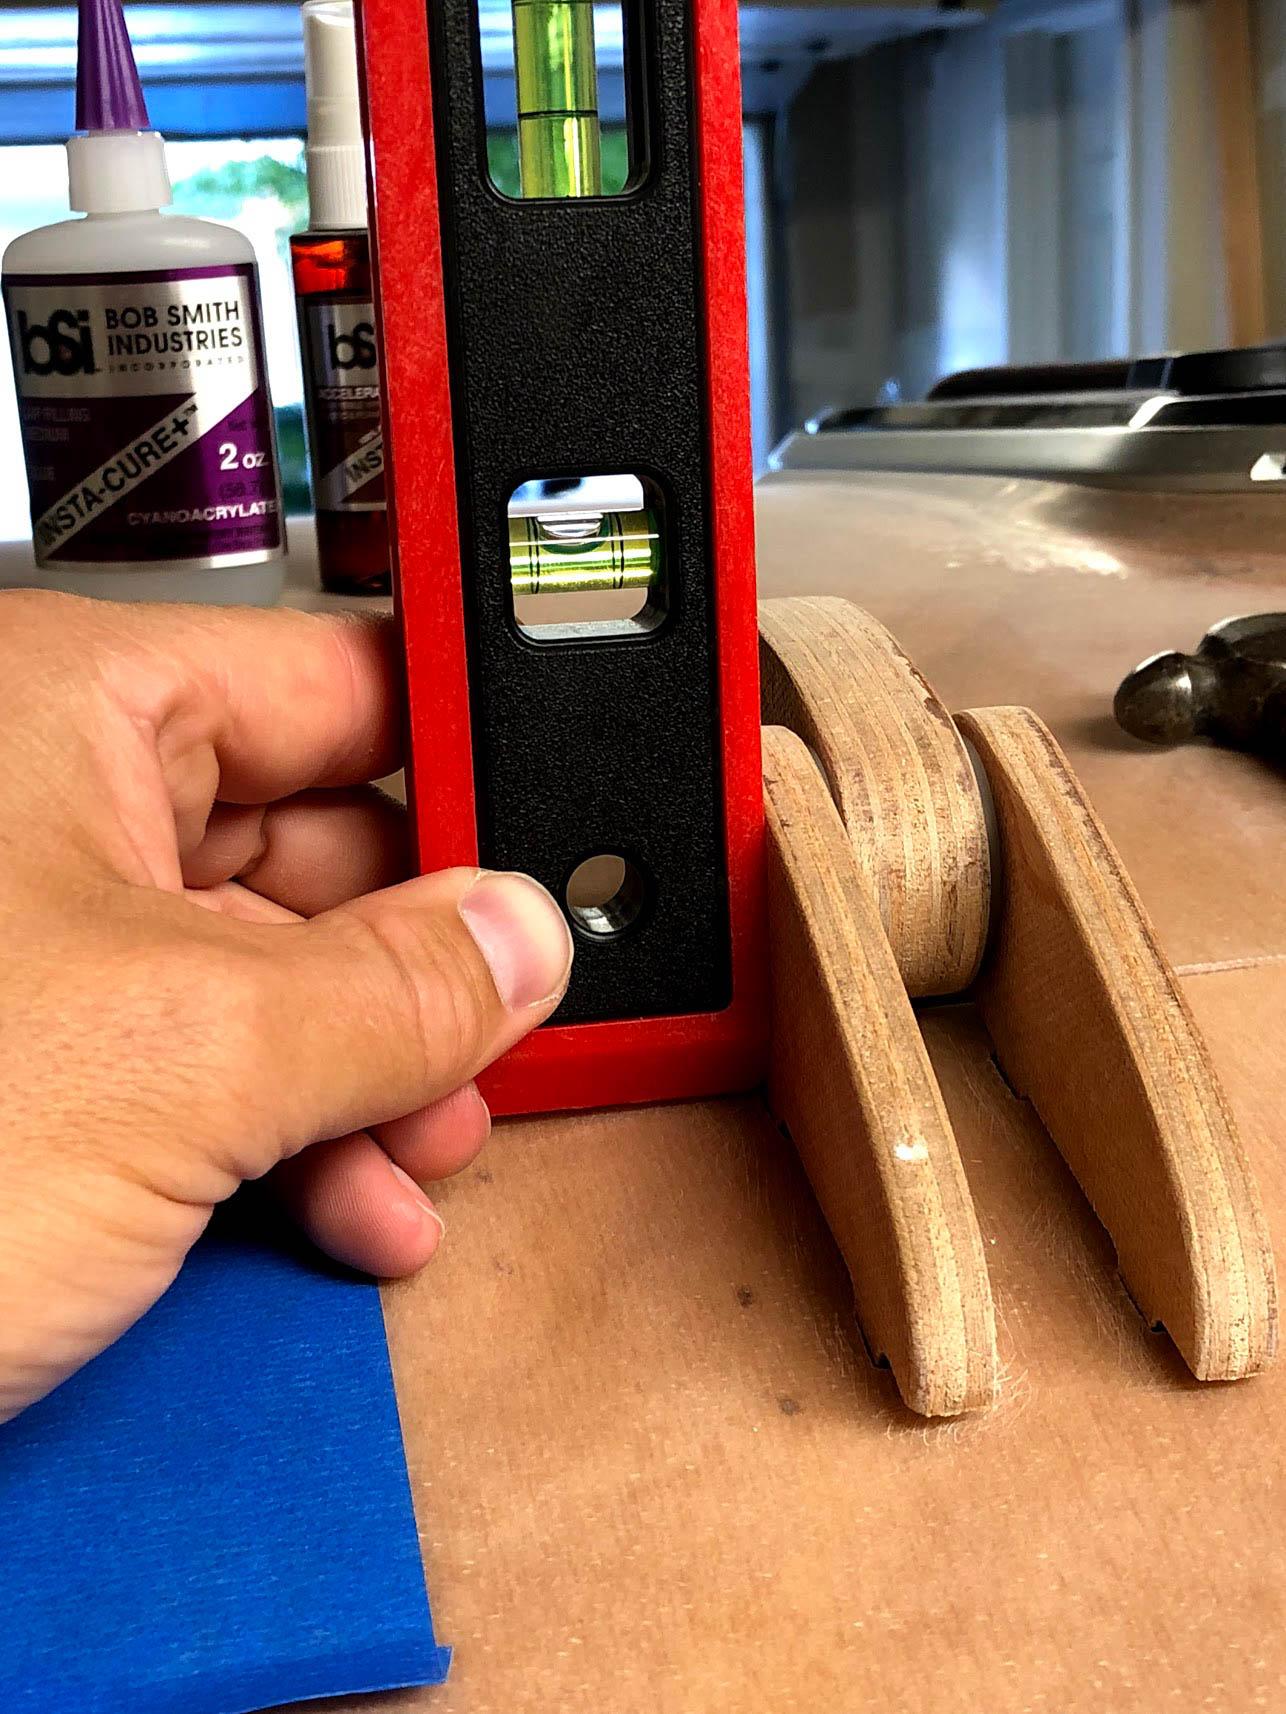
ParticipantThis weekend I got the eyebrows and hatch-back hinges installed. The hinges have been giving me nightmares for weeks. Glad that’s finally over. The only thing really of note with those is that they need to be parallel to each other and that means that they won’t just sit flush with the top of the shell. I turned the teardrop to be in-line with the slope of my garage floor then used a level to get the hinges straight.
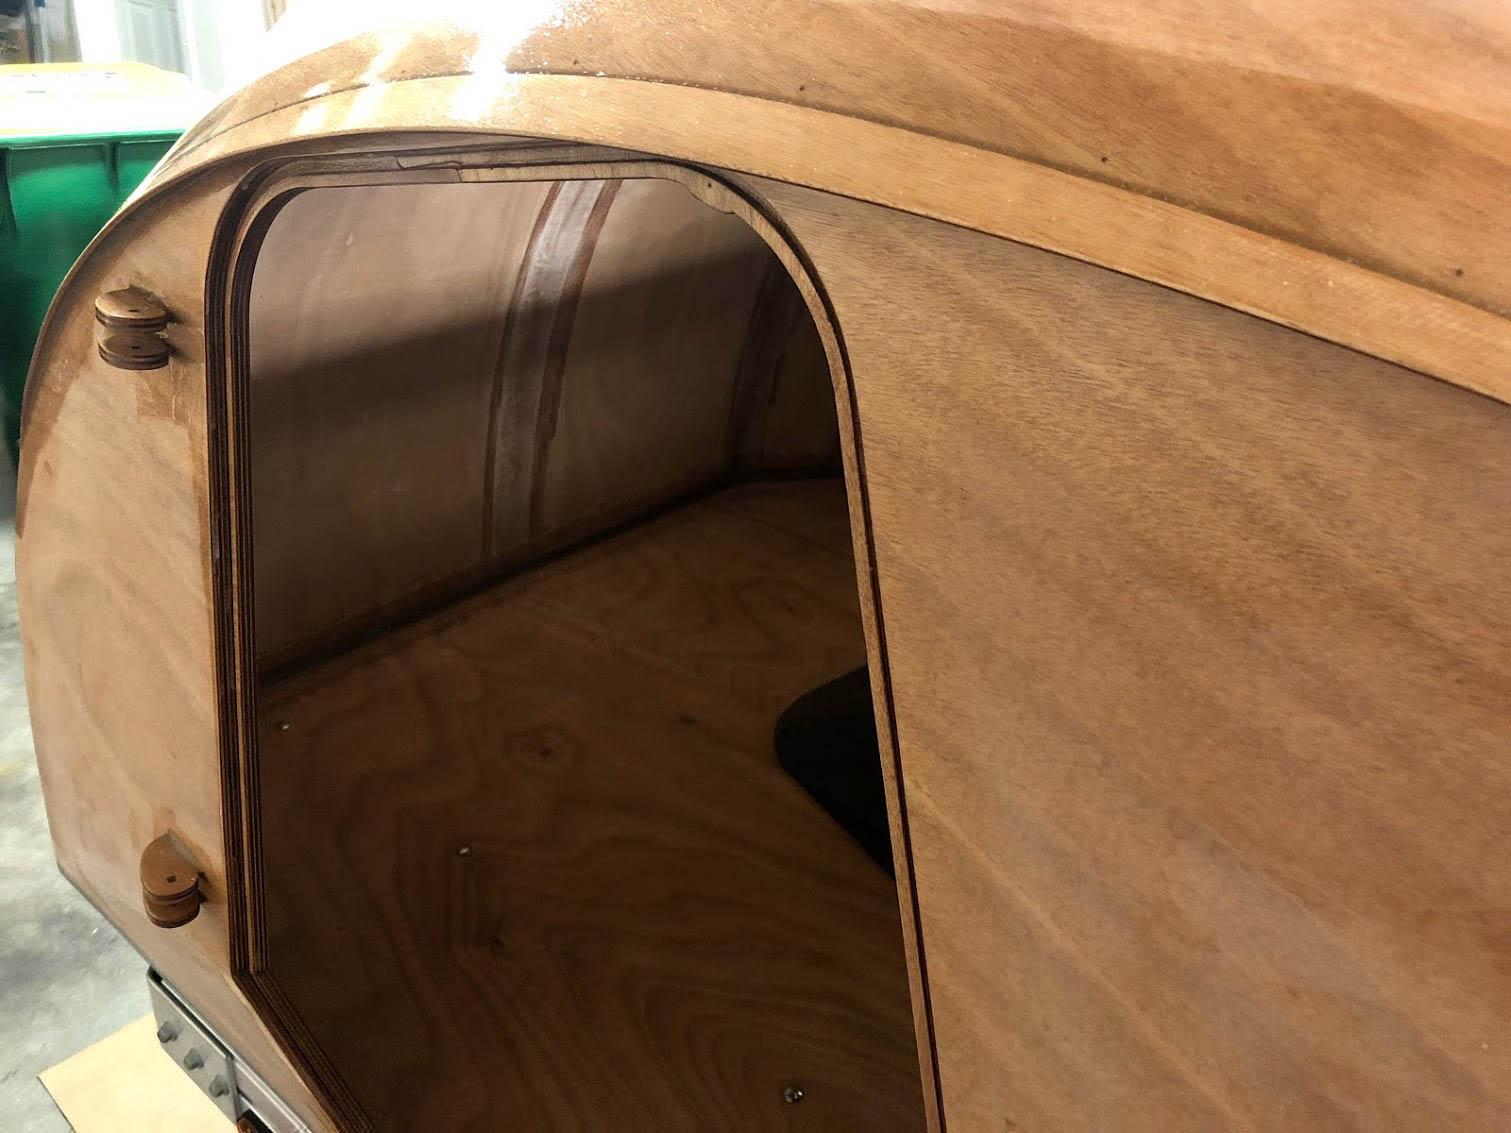
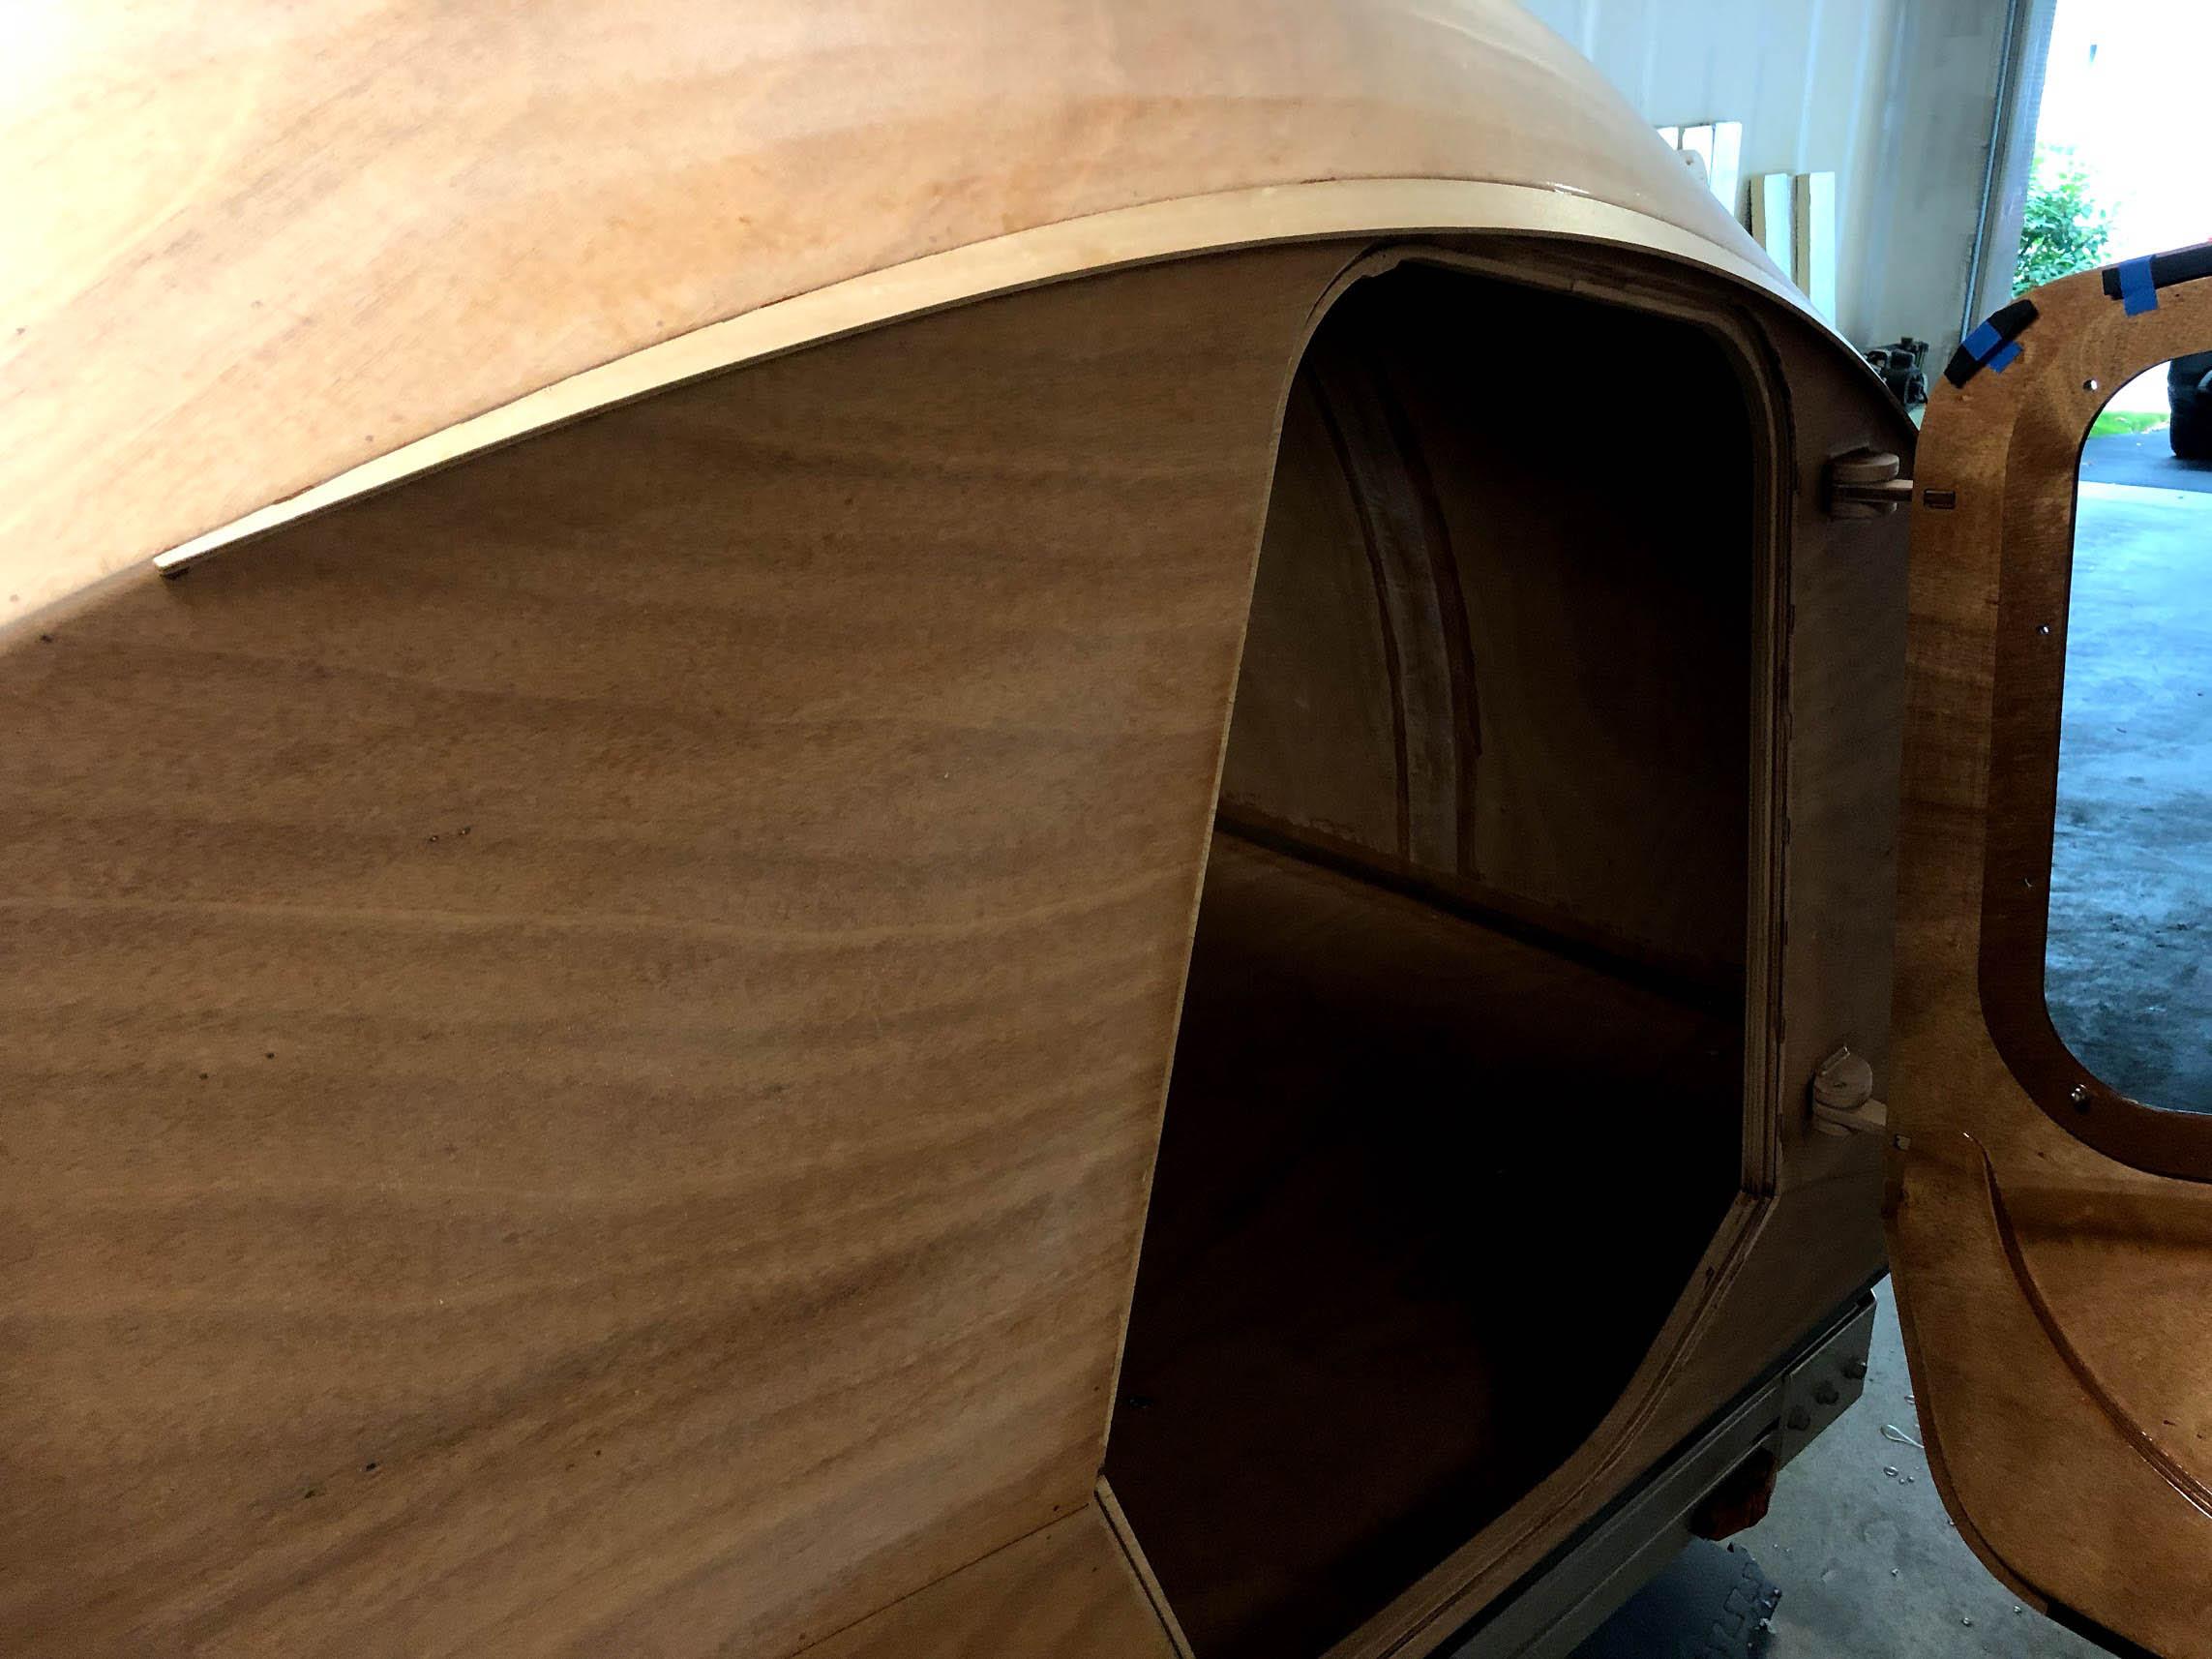
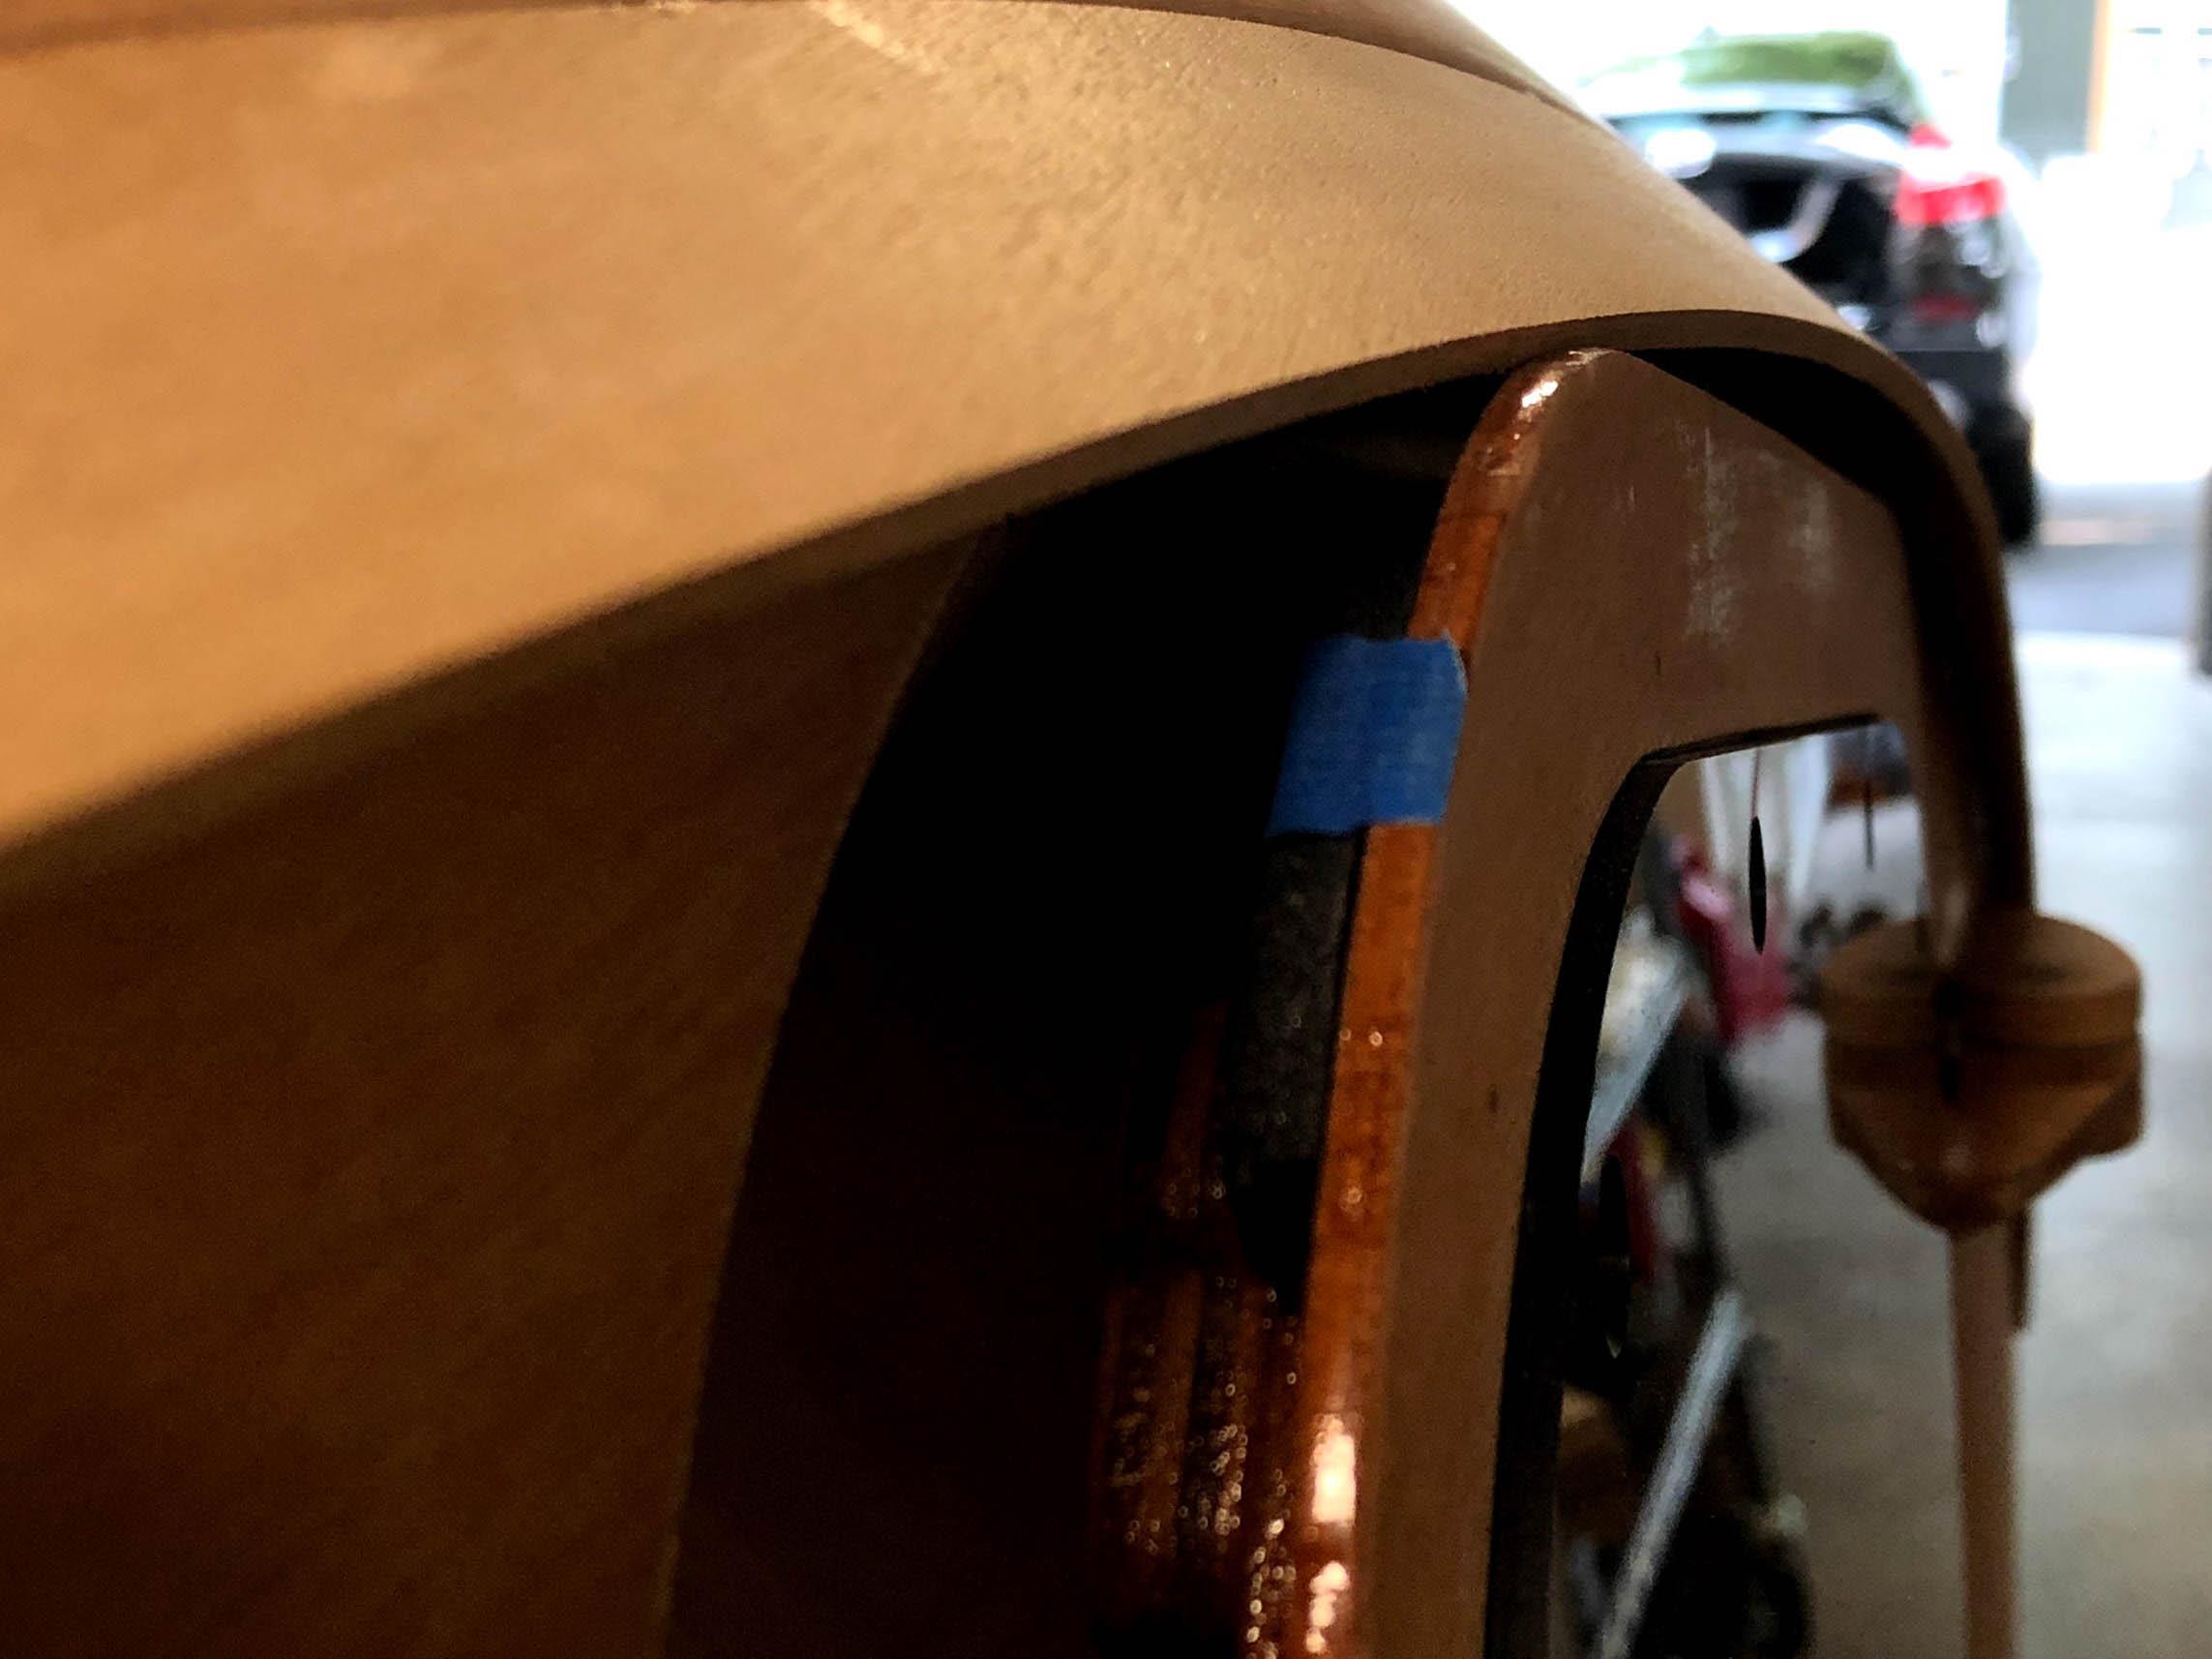
I have some fit issues with the hatchback. It wants to contract inward like you can see in this next pic. I will be gluing a lip around the sides of the opening for the door to come to rest upon. If I don’t, there will always be a gap like this. In the meantime, I braced it up with some foam-core board so everything would be flexed into the correct shape for the hinge glue-up. A weight at the top of the hatch also helped to align the top edge.

In the end, they came out great! Opening the hatch back is smooth as butter.
Next up, eyebrows! The doors hit, because of course they did. A little careful eyebrow trimming (ha) and it’s no issue.
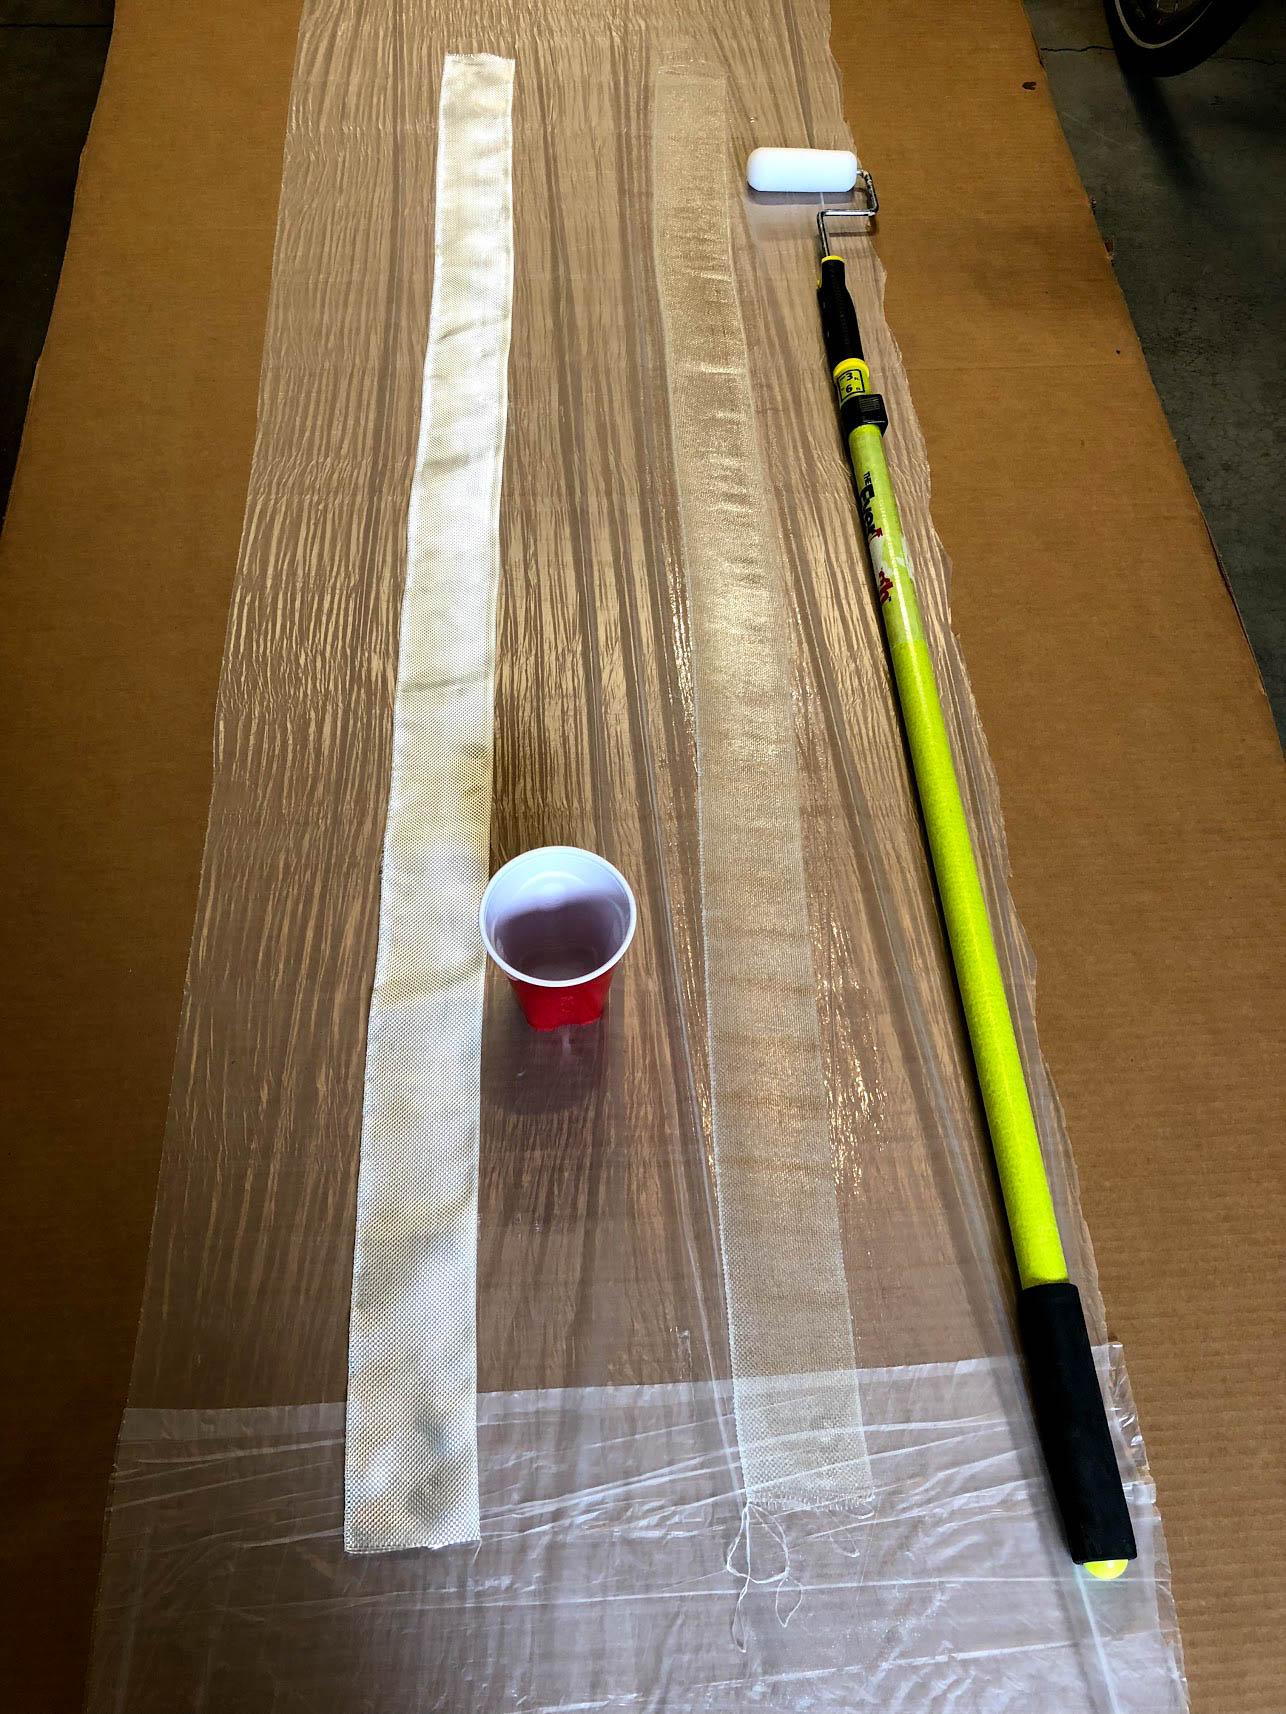
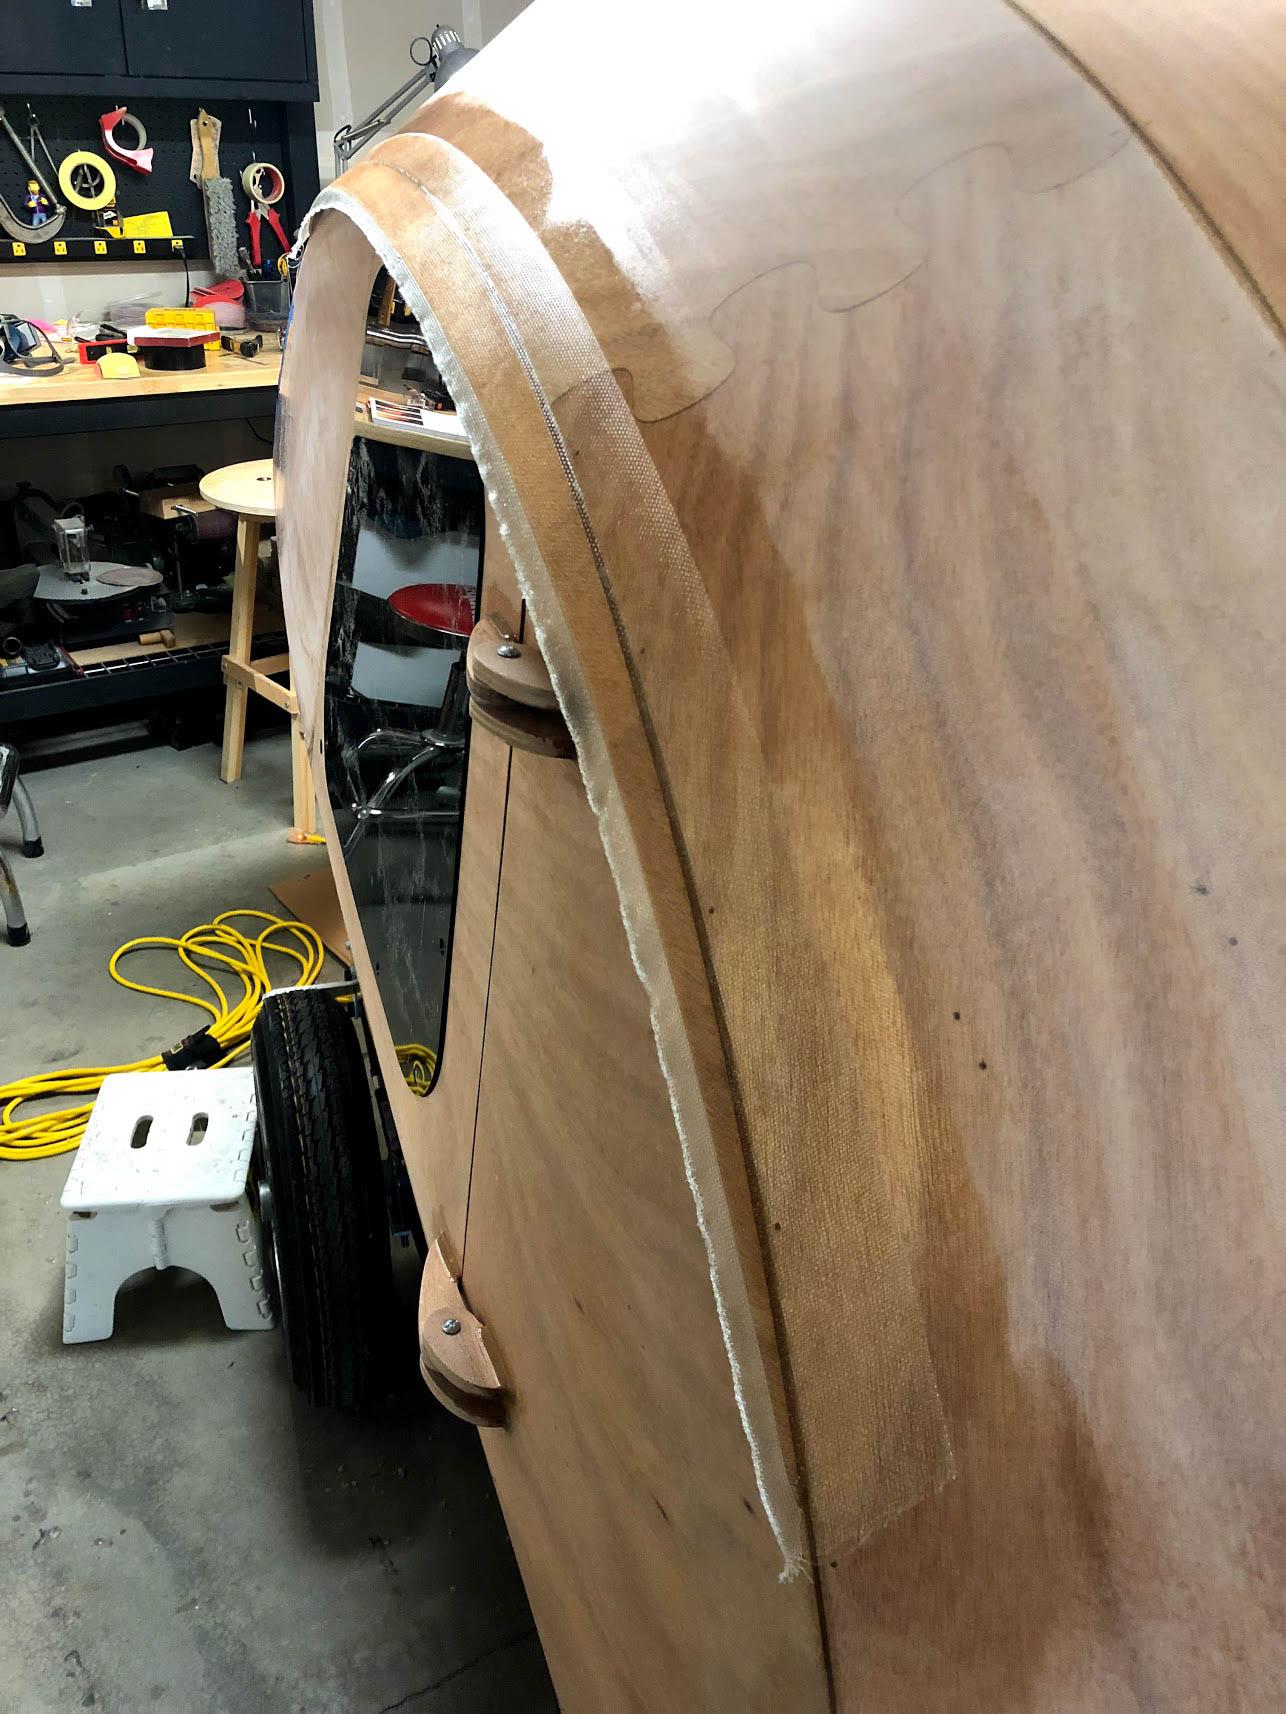
I am a huge fan of pre-wetting the fiberglass tape. That technique works SO well! One more coat of epoxy on the eyebrows and exposed bits of wood such as hinges tonight then I can sand the entire mess tomorrow and be ready for varnish on Wednesday. Road-worthy by next weekend? Unlikely, but possible! I want to get this thing in service and worry about interior finishing as I’m using it.
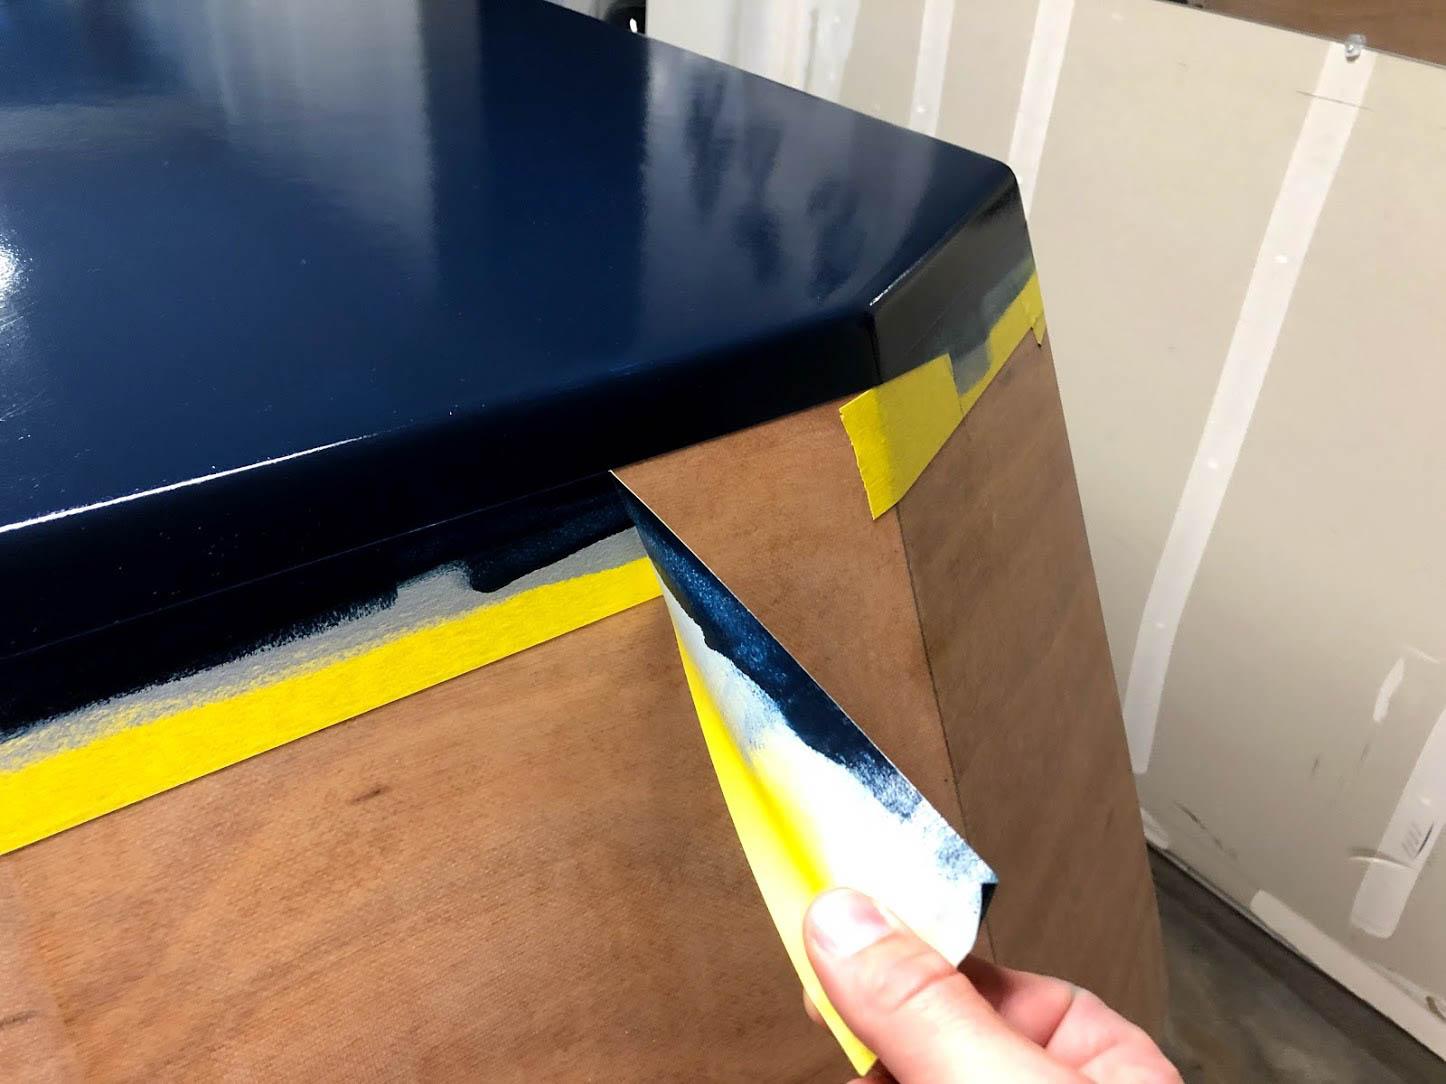
ParticipantThree coats of Total Boat topside paint over Total Boat primer. Then a coating of automotive wax. Should be pretty durable. We’ll see.
 Participant
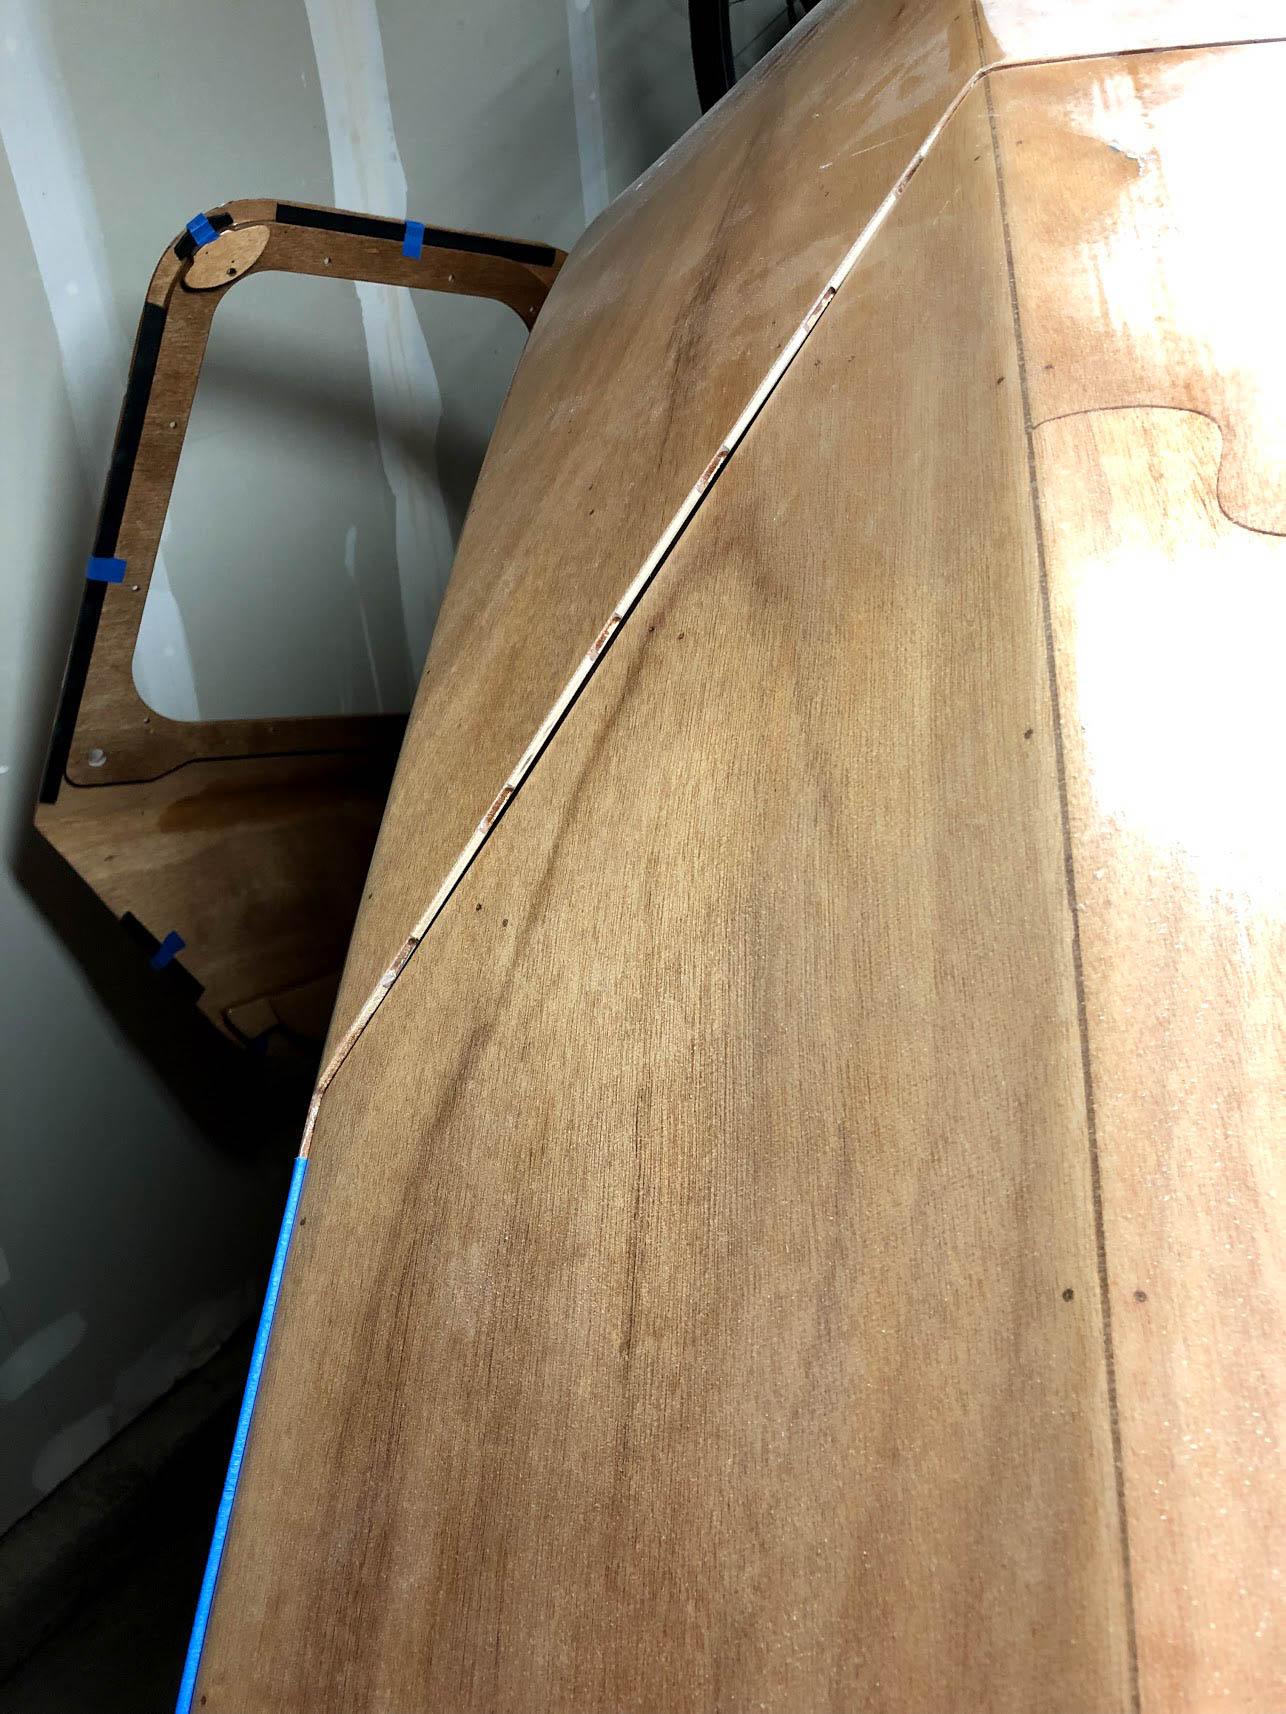
I’ve been thinking about the doors a bit. There’s got to be a better way to do those. The current construction method has you cutting them out and THEN installing the door stiffener and the door frame. This is almost guaranteed to result in the doors not being the same shape as the shell after you install the frame. I think if the door frame was built up in two parts, you could install it first (overlapping the cut line) to stabilize the shell AND the door. Then if you cut the door out by cutting down the middle of the frame, you would end up with some of the frame glued onto the door and some of it glued onto the shell. Hopefully they would both hold the same shape at that point. Then you could just glue on a lip to the shell part of the frame to act as a door stop/seal. Something to think about for next time. 😉
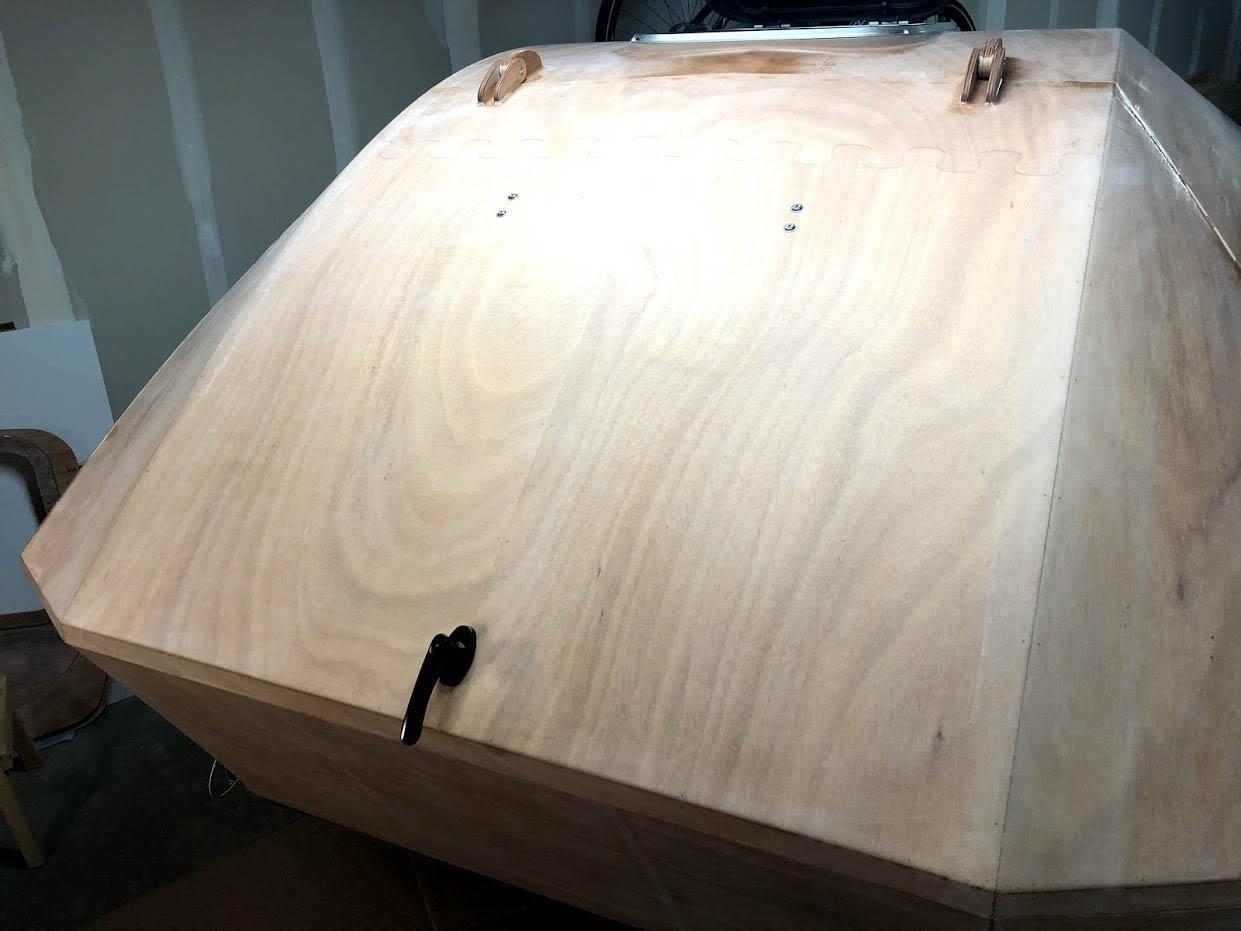
Jumping over to a different task… I got the mounting holes marked and drilled from the bottom.
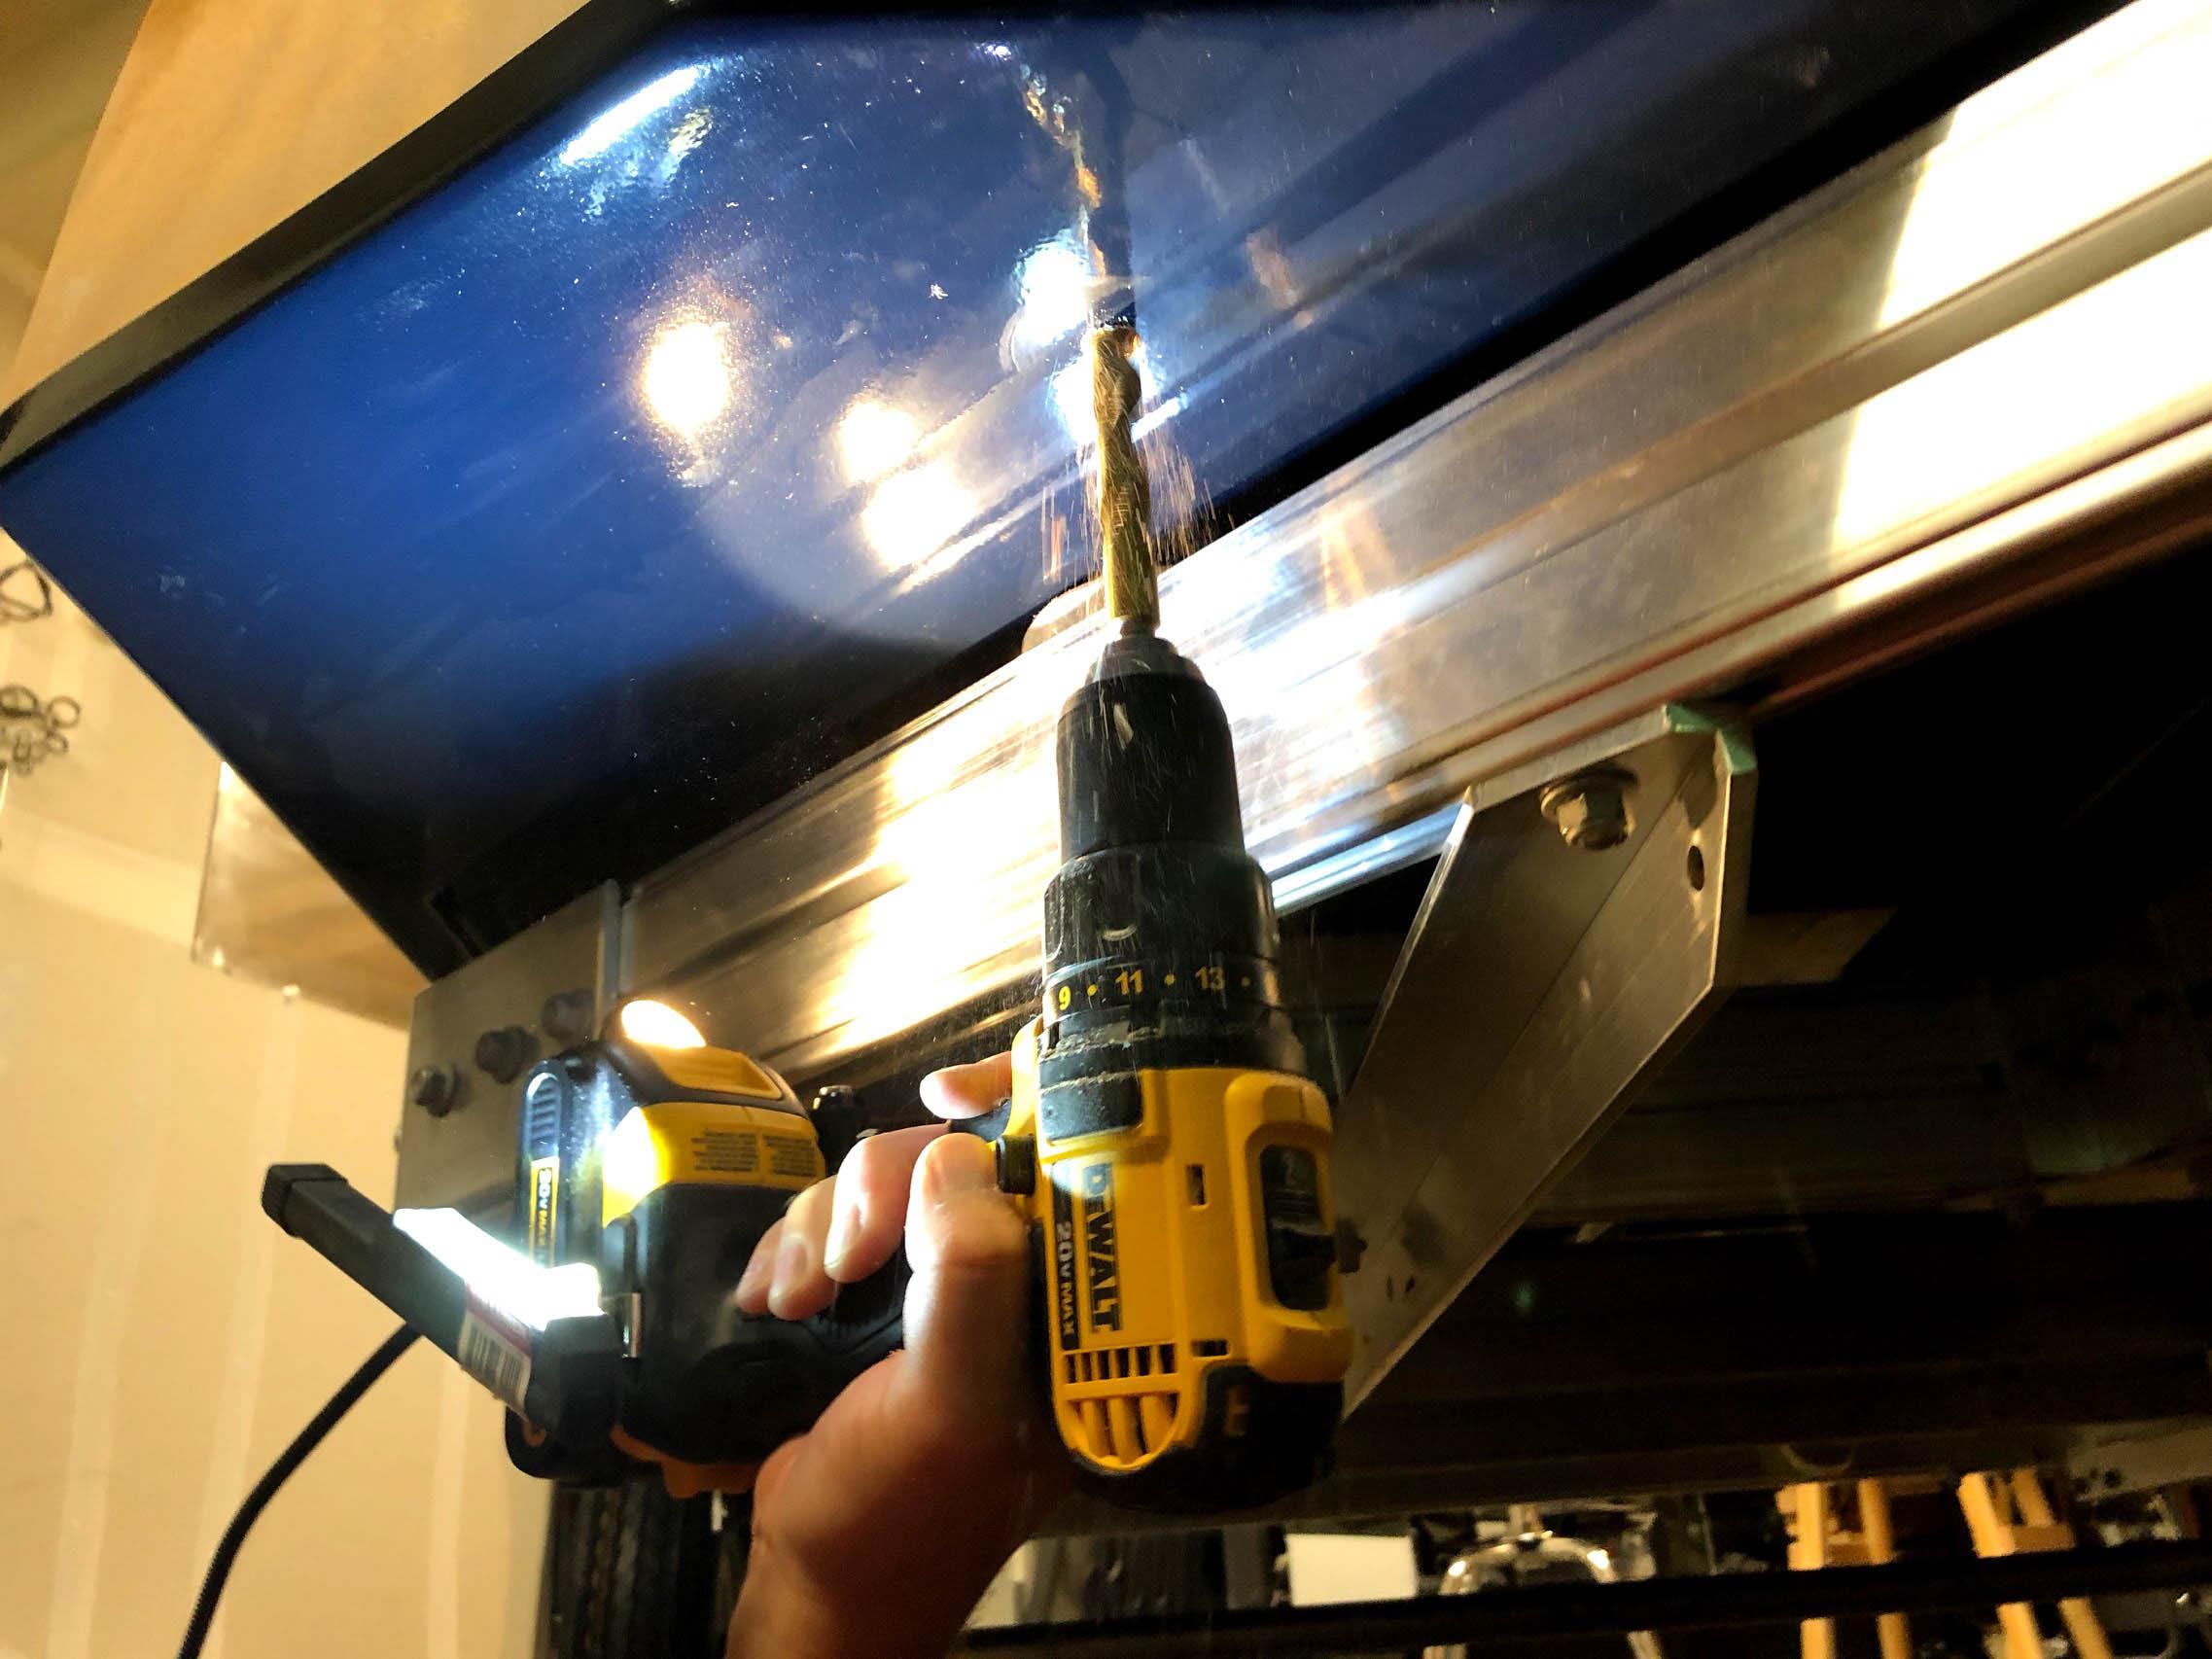
Then I taped up the bottom and filled the holes with thickened epoxy. After that cured, I re-drilled from the top.
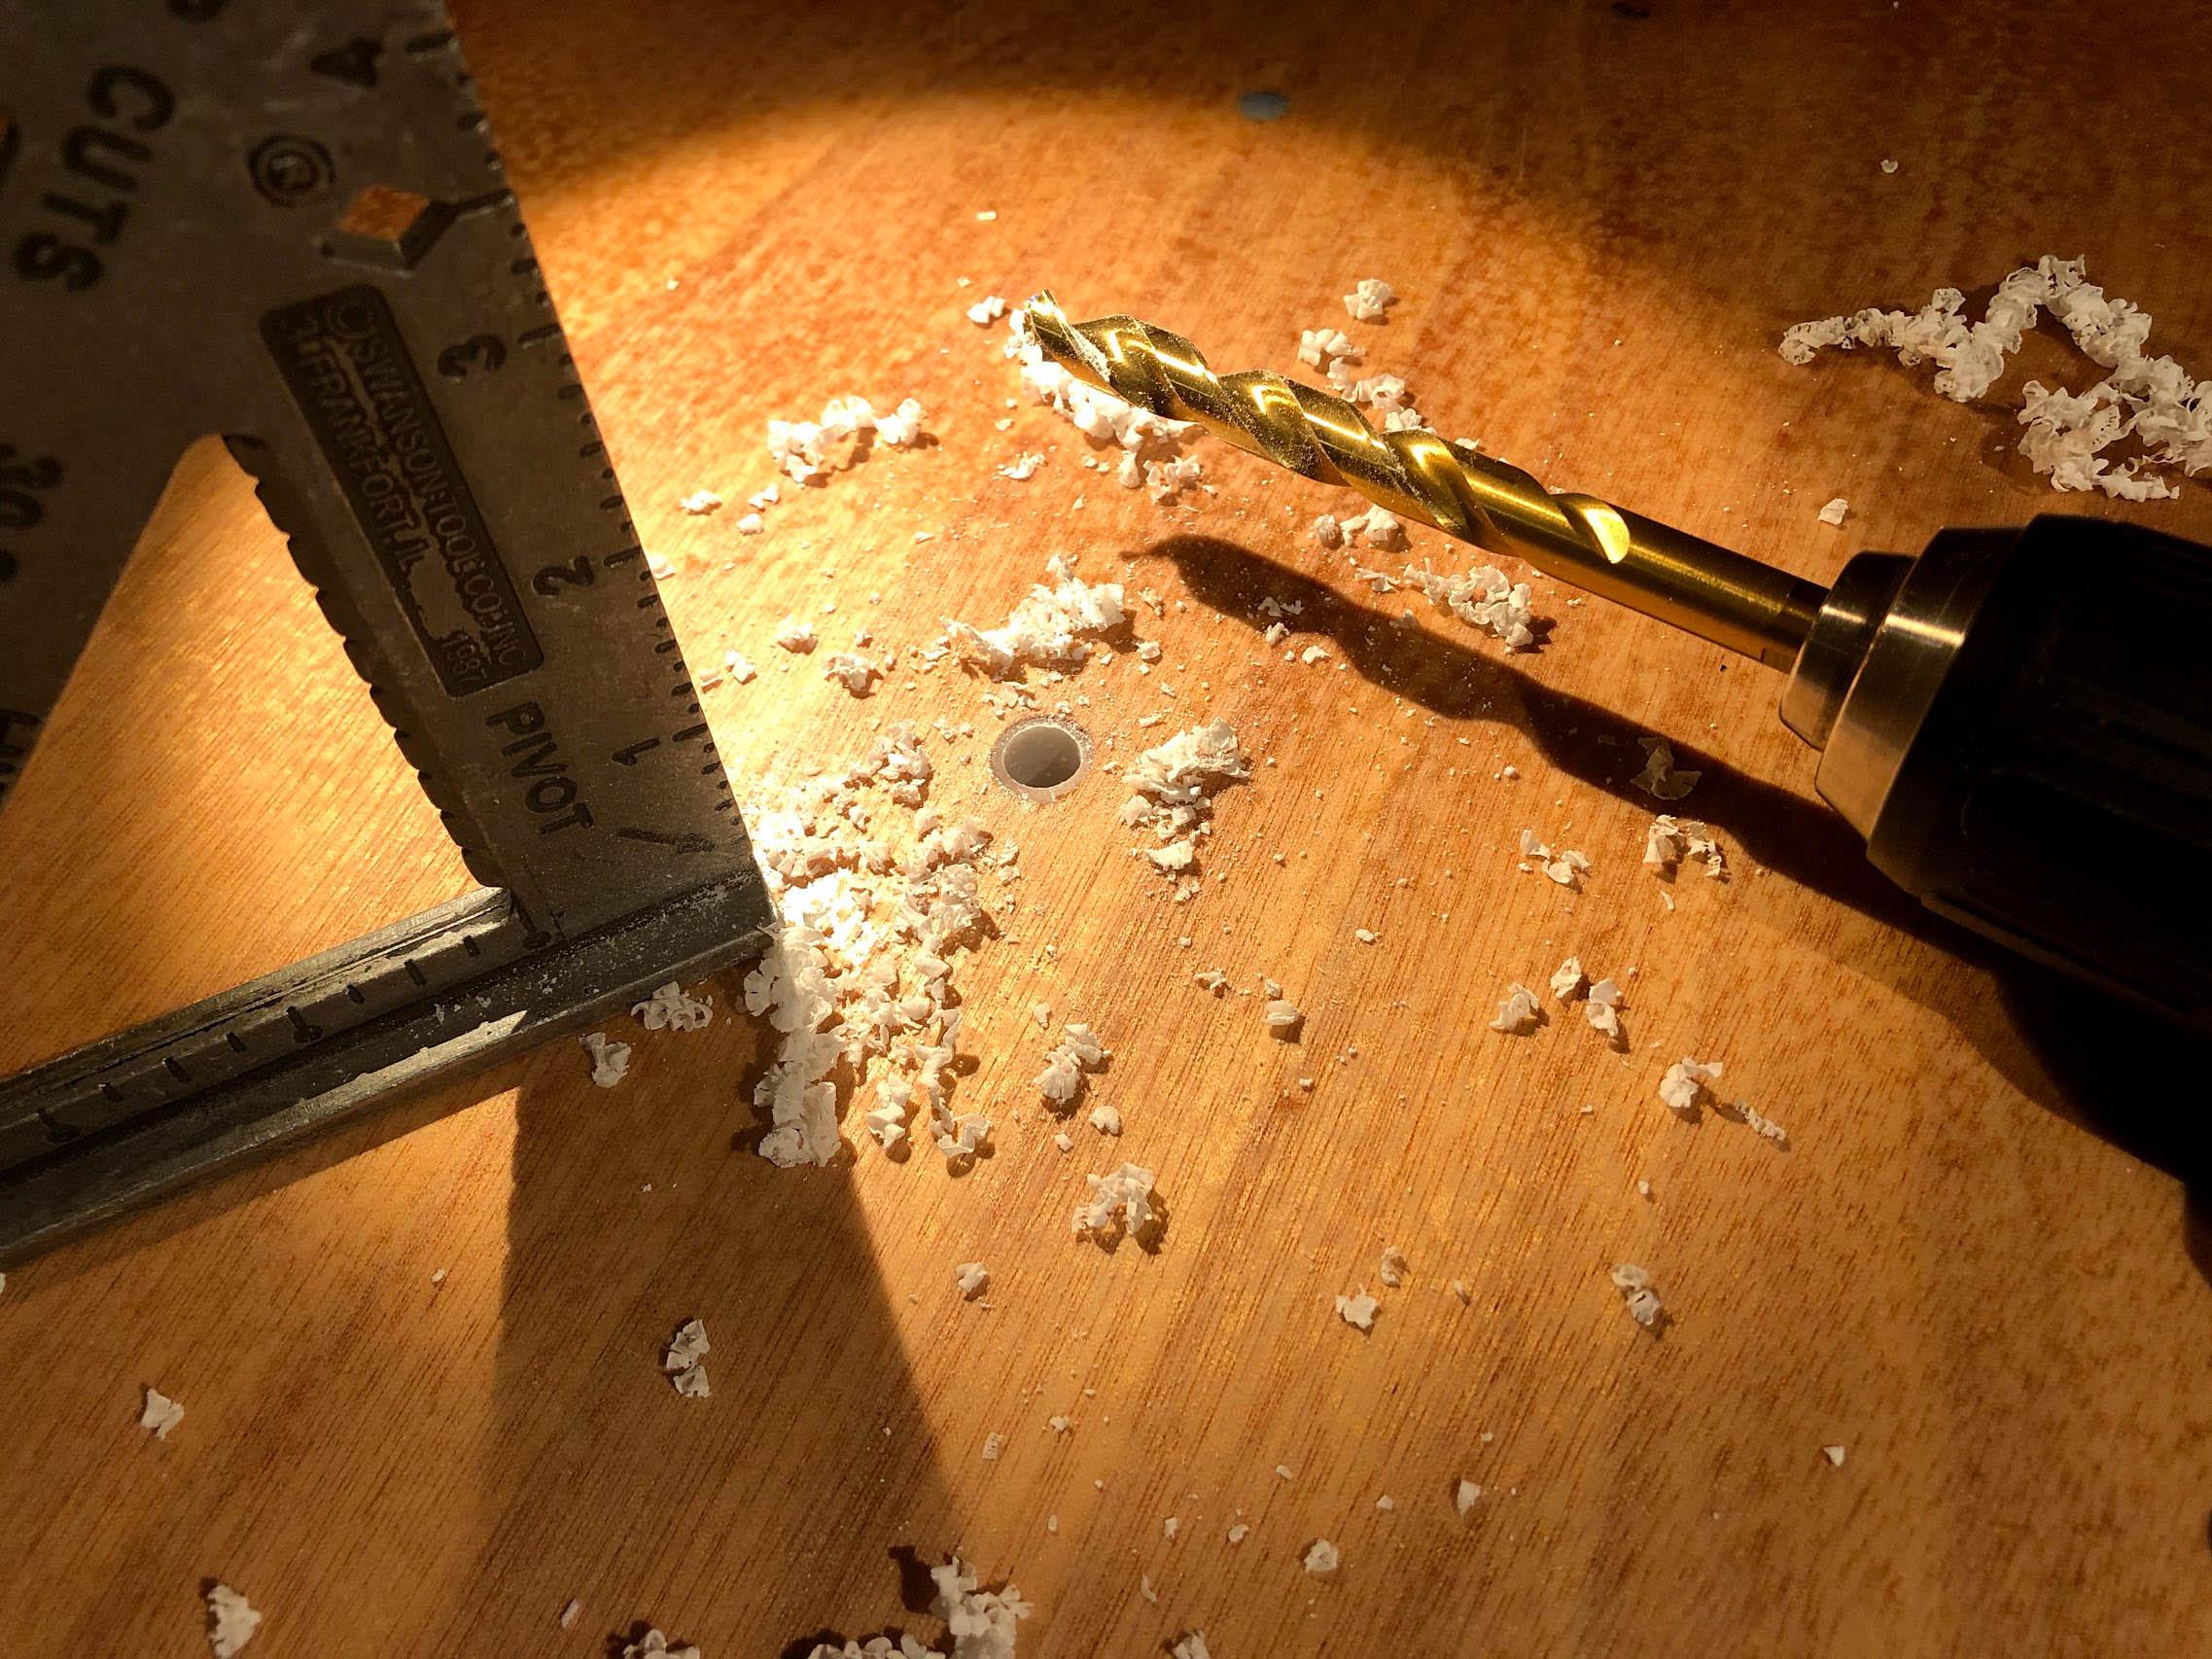

My holes weren’t perfectly vertical, but it turned out ok because I didn’t get into the wood and there is enough slop designed in that everything still lines up well enough. The bolts are a bit loose in the holes.
I’m super duper happy to have this step done. Just need to finish mounting the galley hatch and then I’ll be down to just finish work. Sanding, varnish, etc.
-
This reply was modified 5 years, 8 months ago by
ParticipantI have also been interested in this… I wonder how the adhesive for the vinyl would interact with the epoxy or varnish.
ParticipantIt was pretty easy with the trailer upside down and a helper to do the other end of the axel. It also seems to be made to fit either way. It works great!
Get one of these socket adapters and use a drill. Soooo much faster: https://www.harborfreight.com/hex-drill-socket-driver-set-3-pc-68513.html
-
This reply was modified 5 years, 8 months ago by
-
AuthorPosts