Welcome to TeardropForum.com › Forums › Teardrop Builders’ Forum › Dan's Build
Tagged: Varnish
- This topic has 91 replies, 11 voices, and was last updated 2 years ago by
pwebster25.
-
AuthorPosts
-
March 9, 2018 at 2:28 pm #1701
Dan
Participant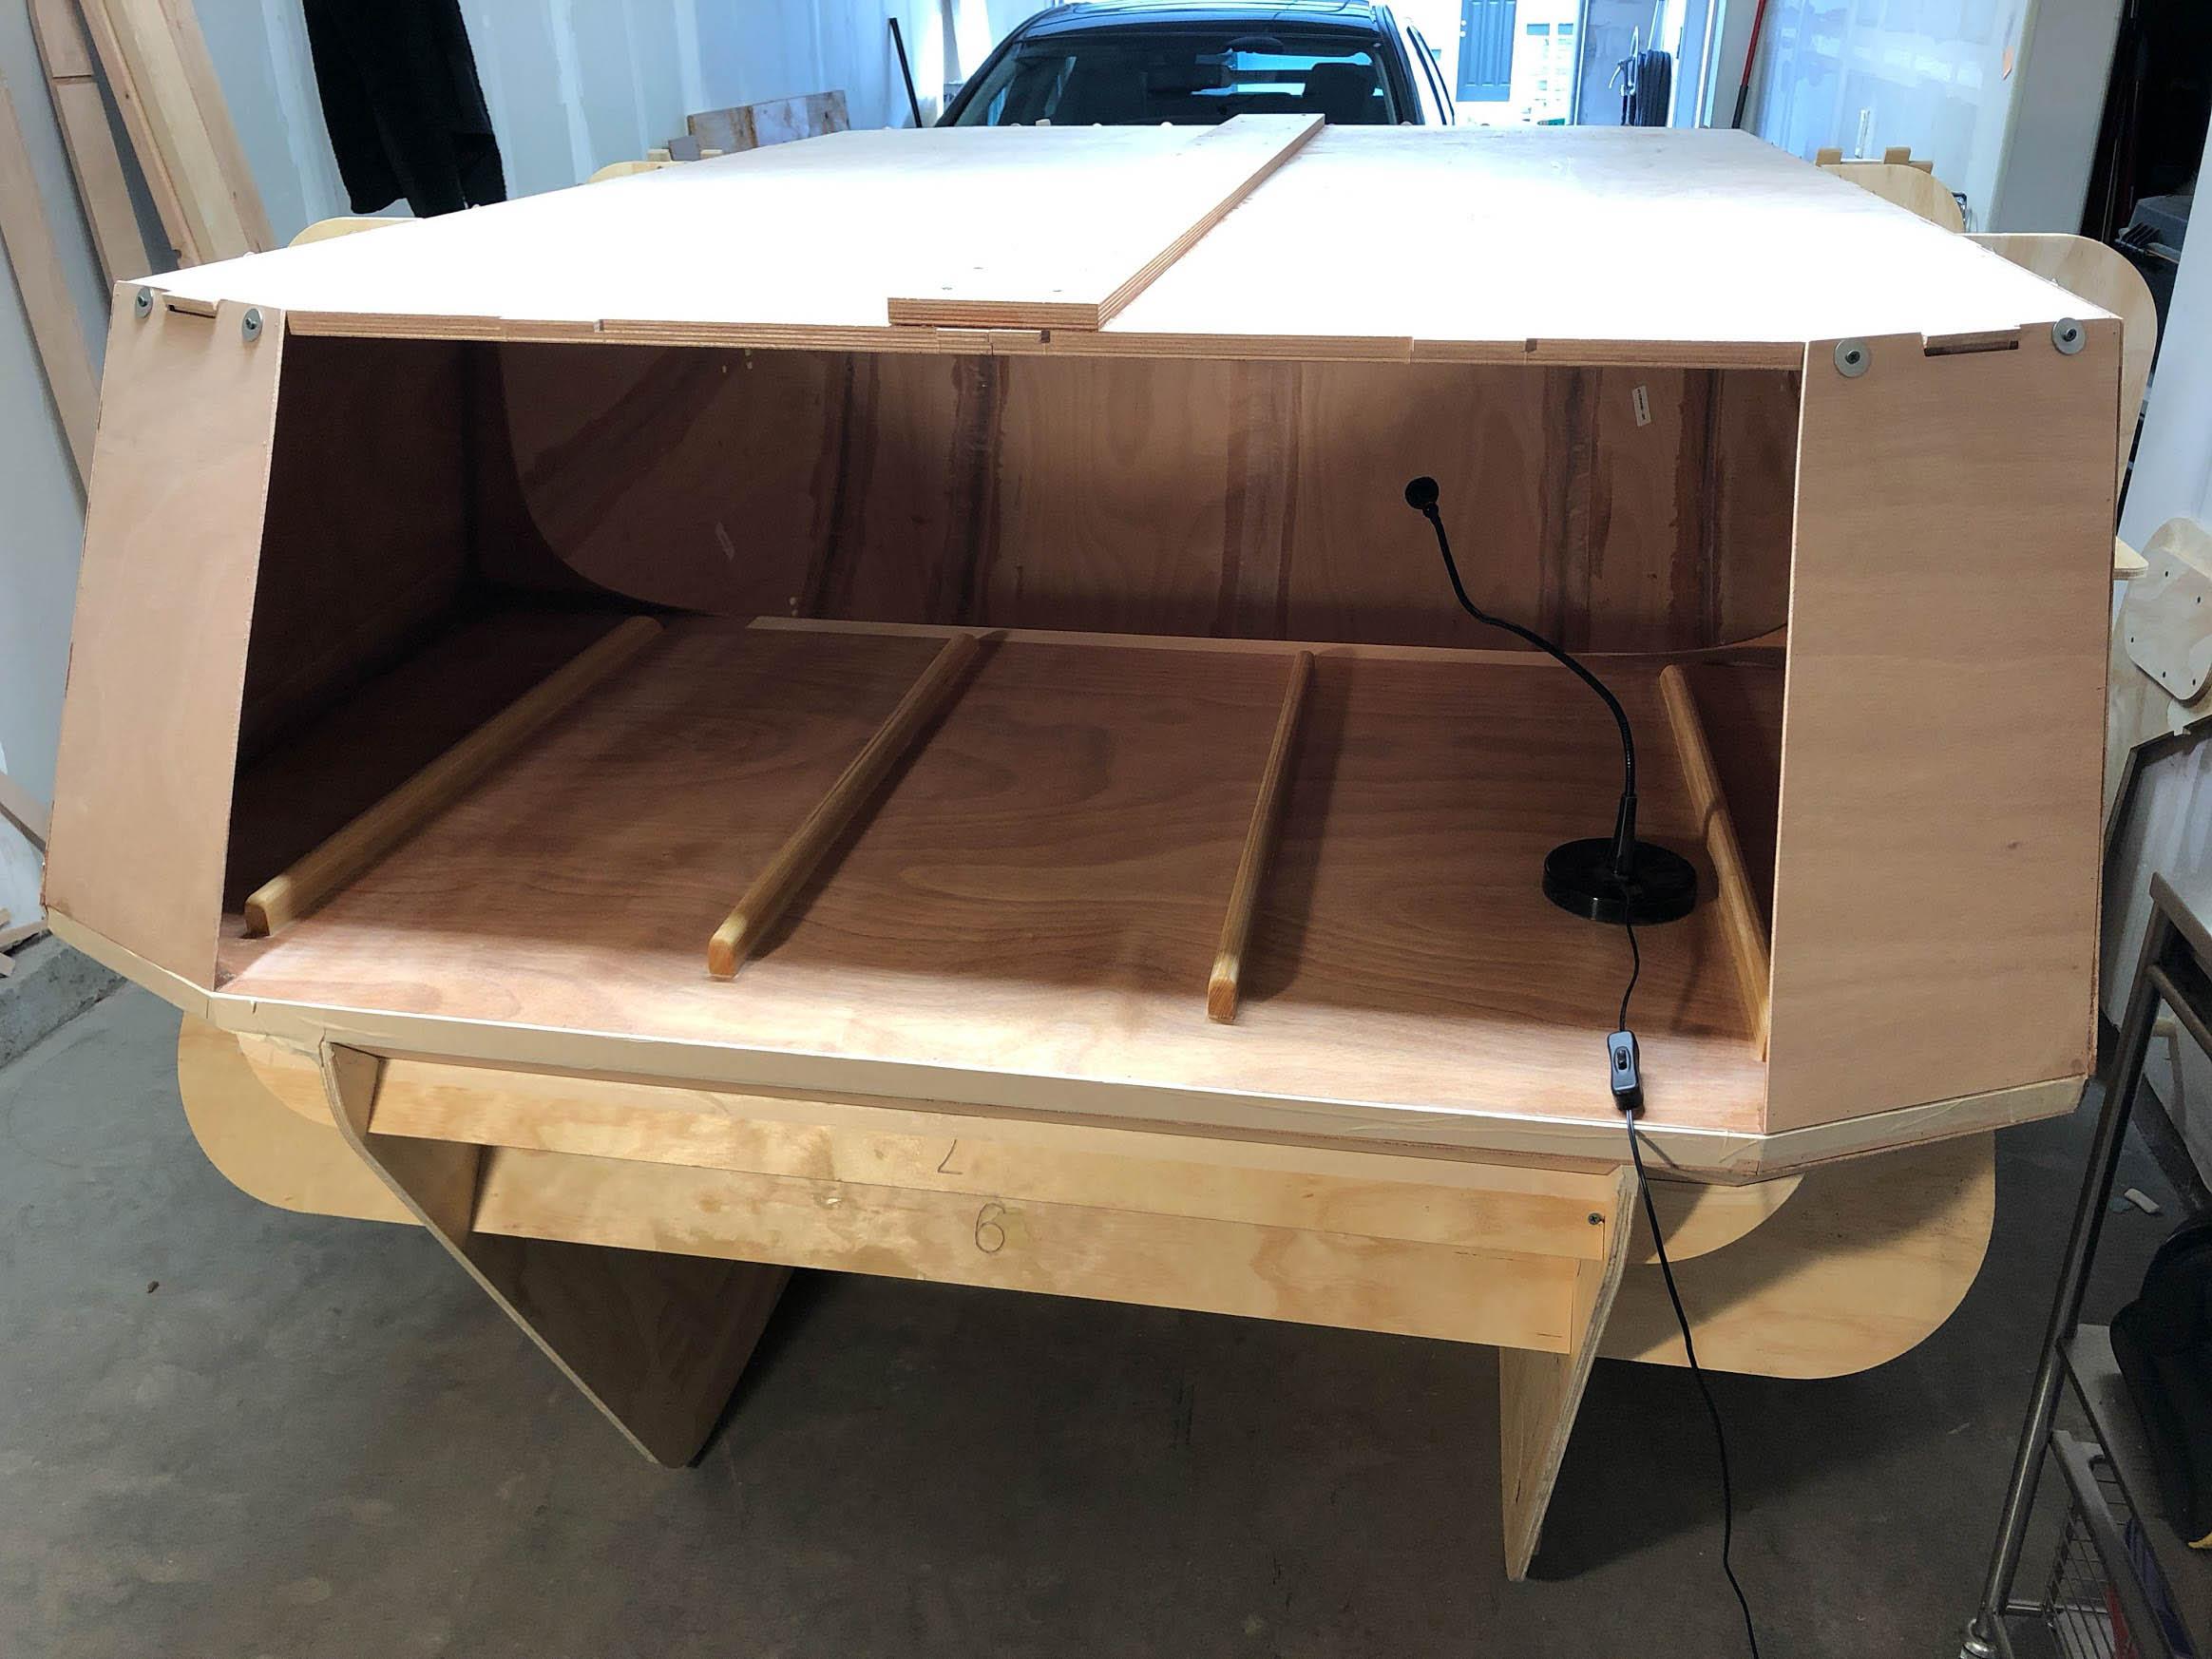

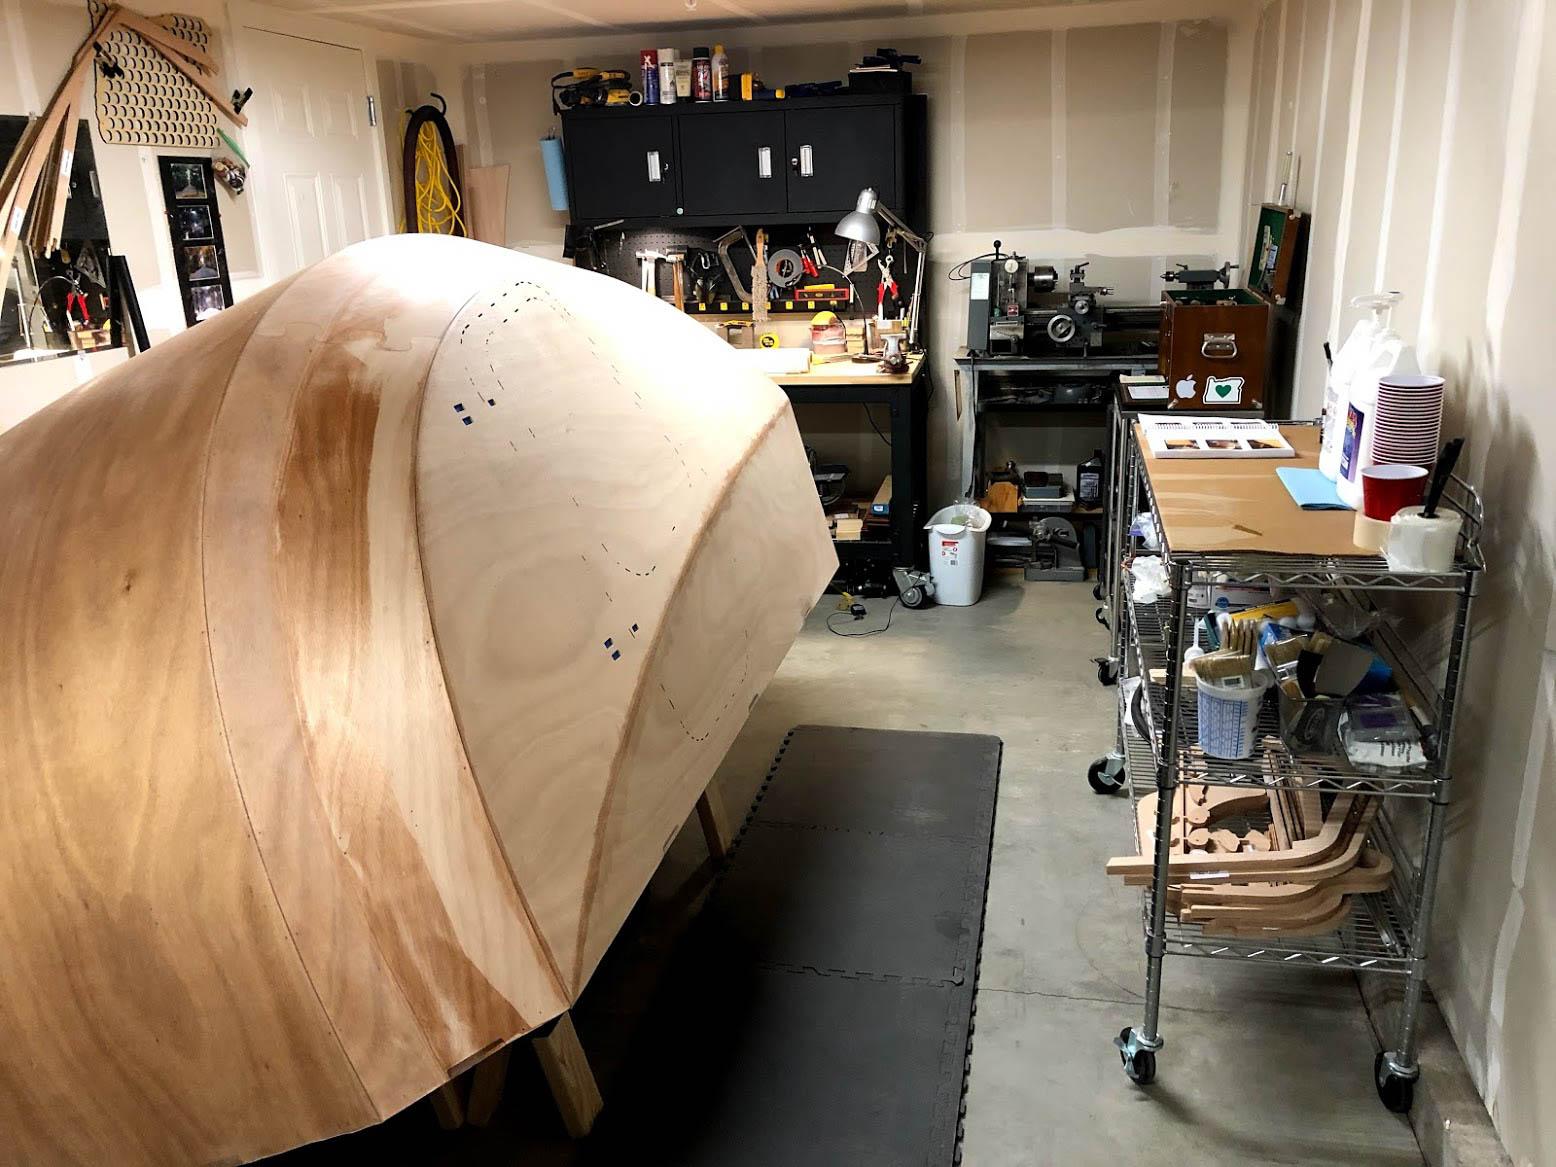
Prepped and flipped! Taped the spots where thickened epoxy may squish out. I also sanded the area under the galley and I’m glad I did. I should have given it another coat of epoxy but I was SUPER eager to get this thing flipped over. It is both larger inside and smaller outside than I was anticipating. I am very pleased. 🙂
March 12, 2018 at 12:49 pm #1703Participant
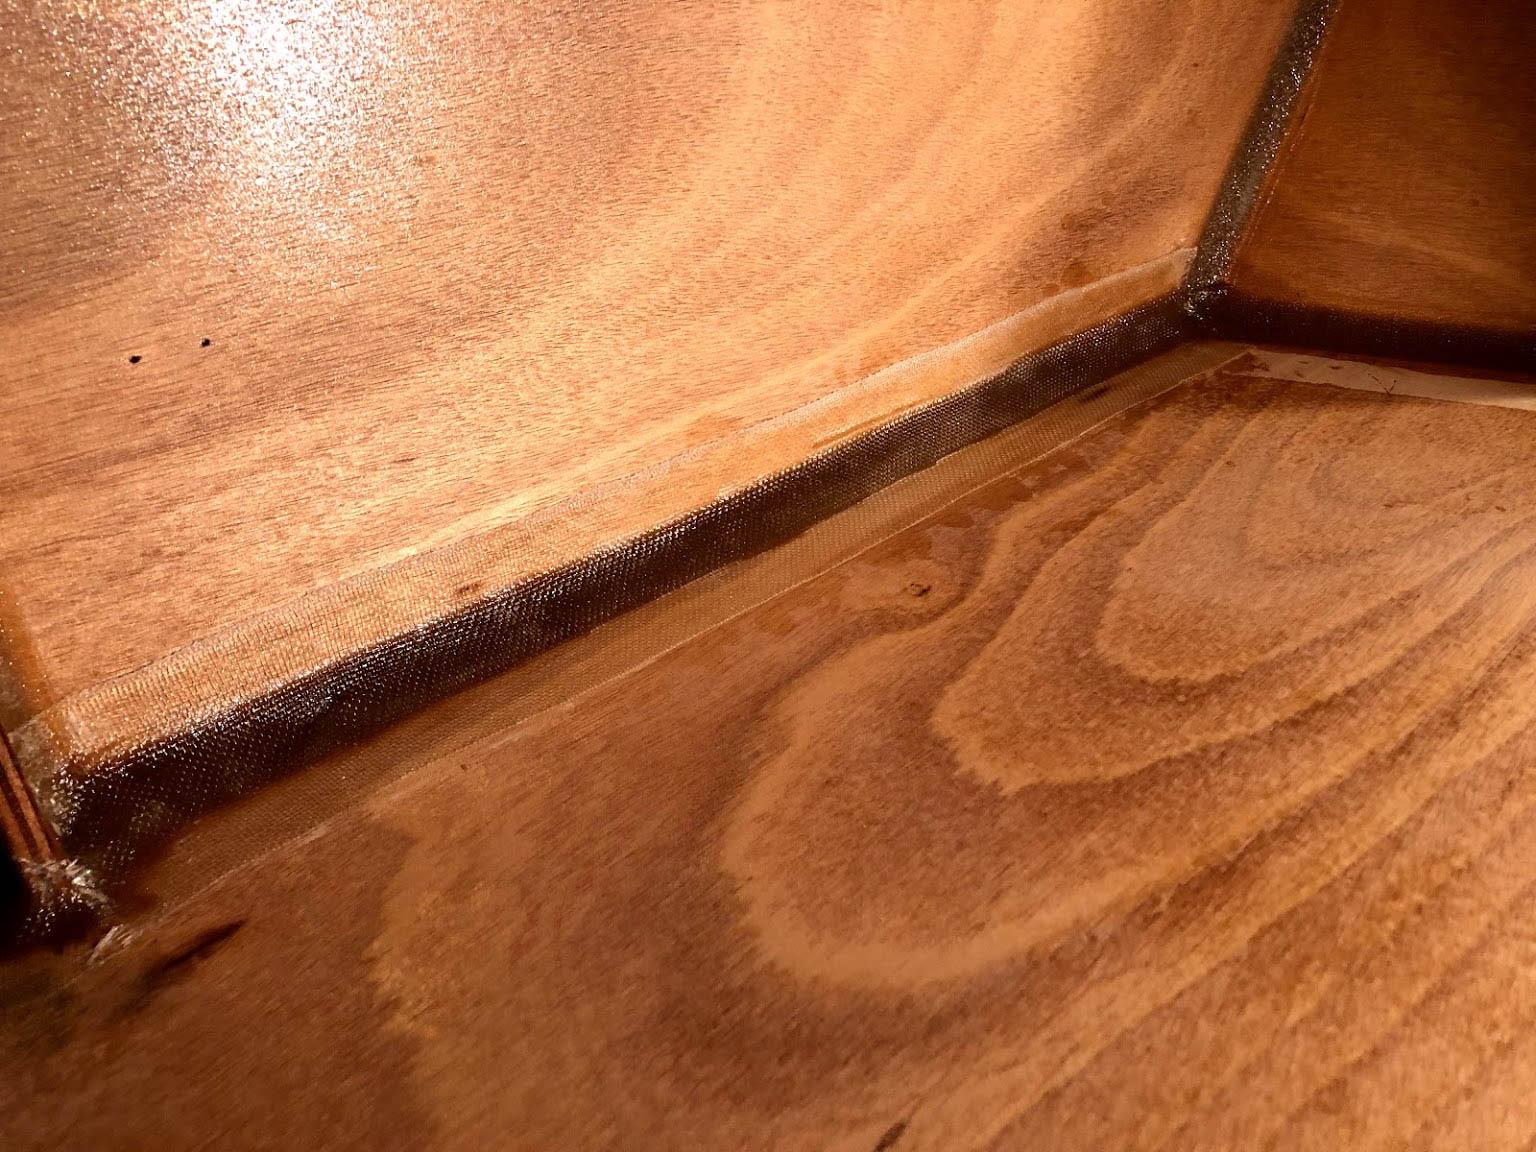
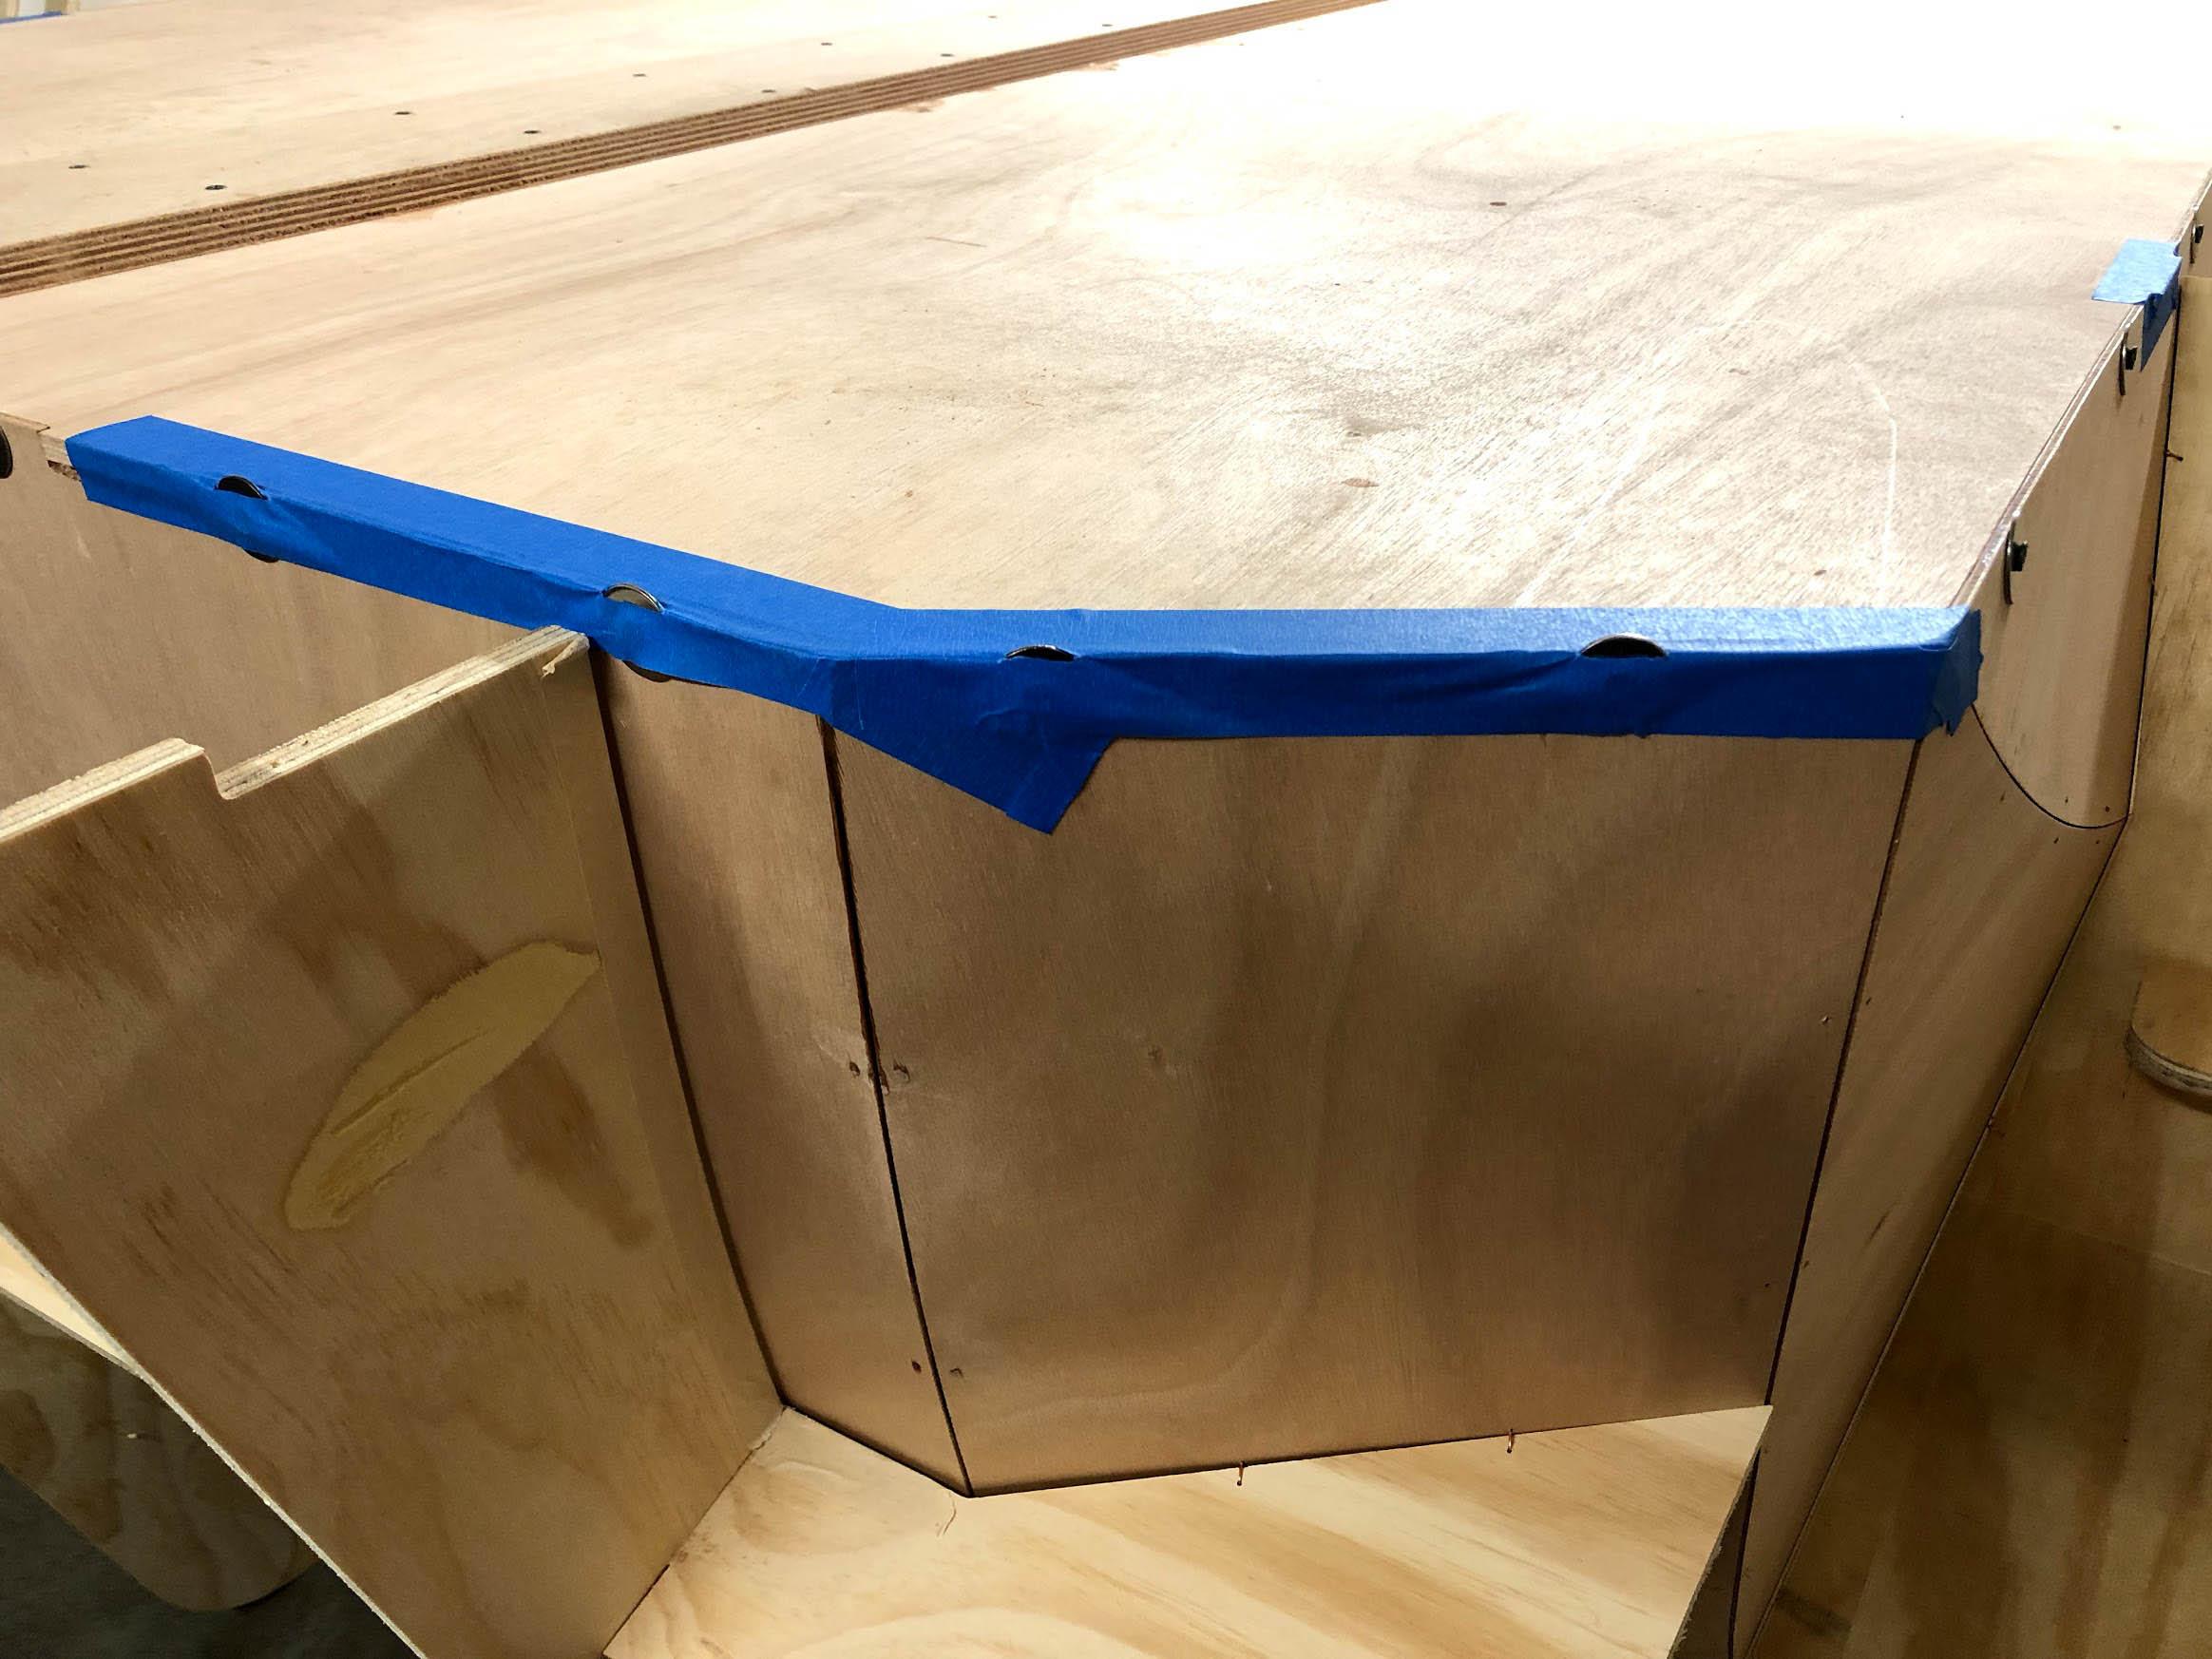
Filleted and glassed all the interior floor-to-shell seams. This time I pre-saturated my strips of fiberglass tape and applied them already wet. This was soooo much easier and safer than saturating it in place. I should have taken this advice sooner.
Next, I get to remove the construction frame!
March 13, 2018 at 9:25 pm #1710Participant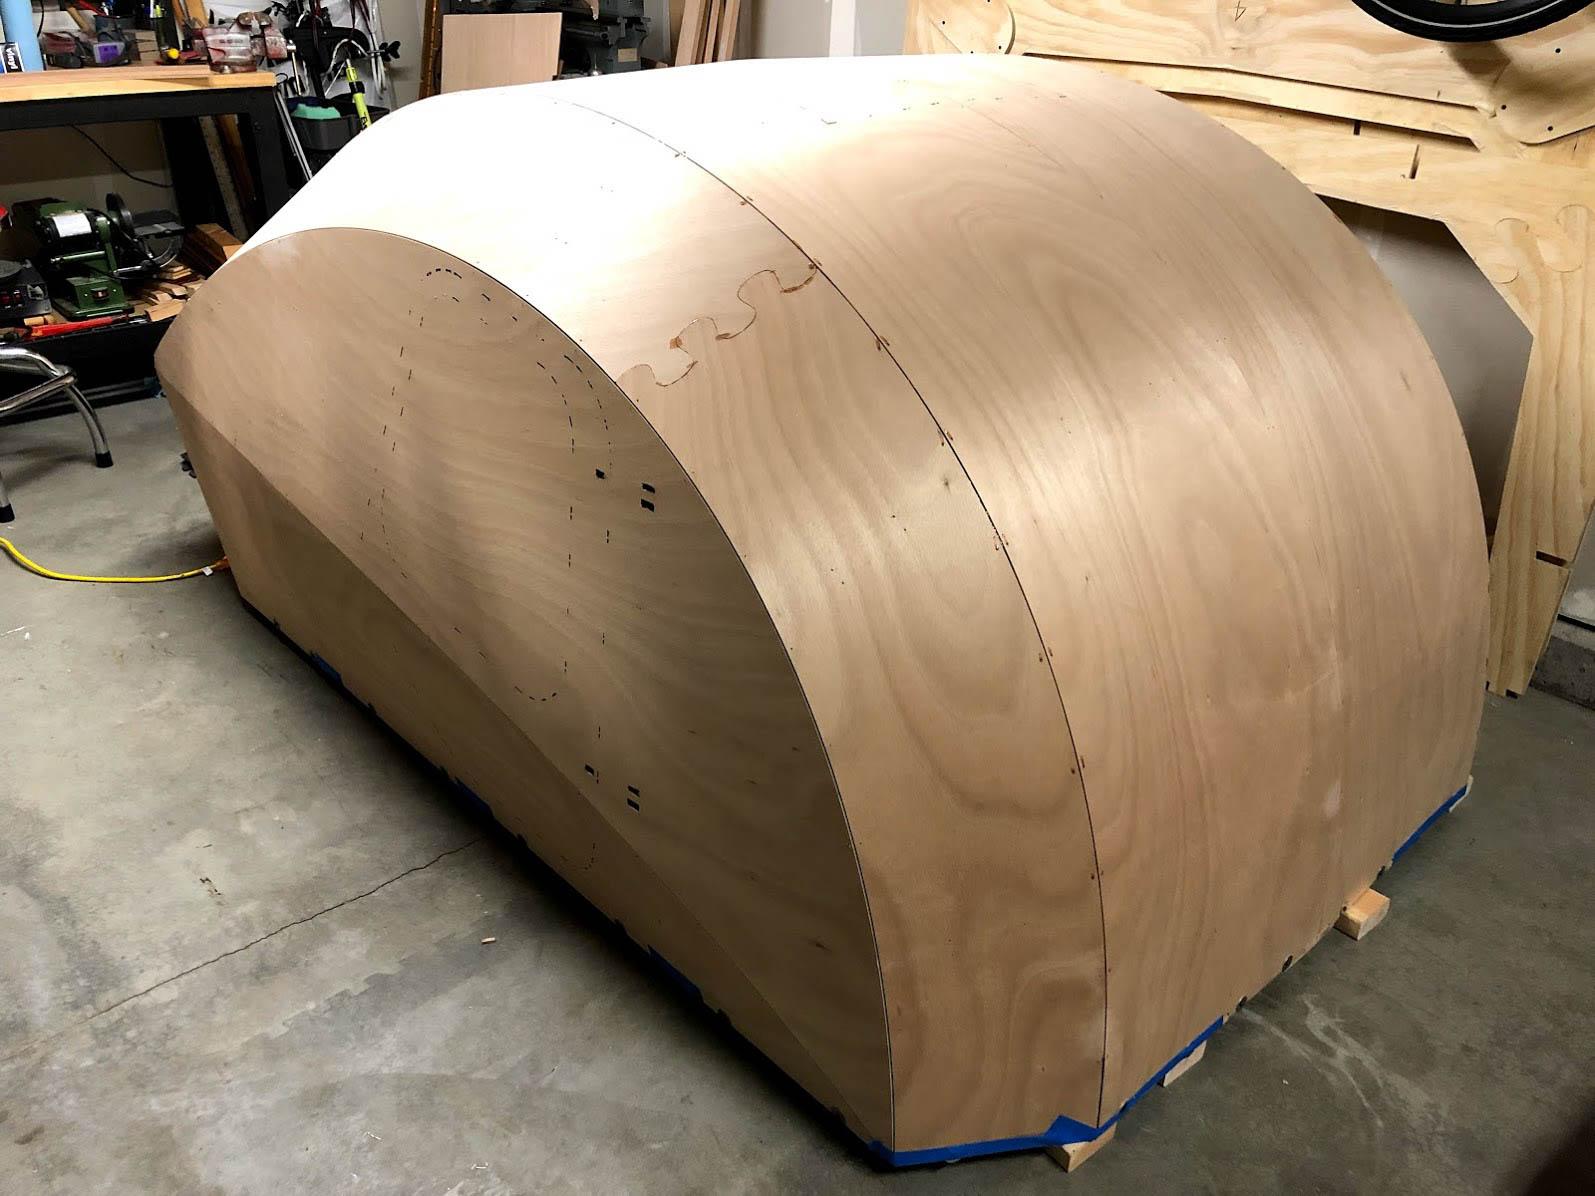
Oh baby!
March 14, 2018 at 10:01 am #1711ArtisticAdam
ParticipantLooking good. Did you crawl in as soon as it was flipped?
March 14, 2018 at 11:27 am #1712ParticipantOf course! First thing! 🙂
March 29, 2018 at 6:40 pm #1732Participant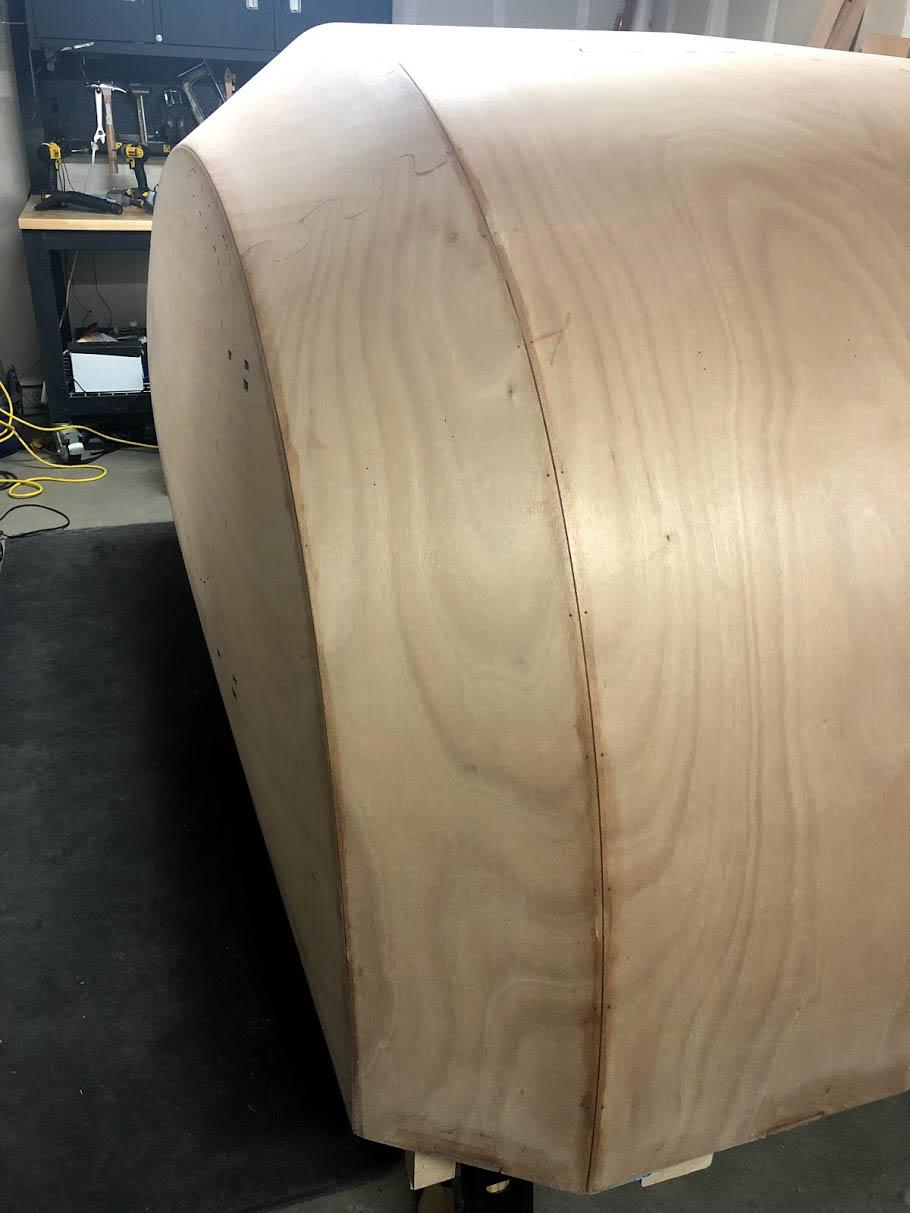
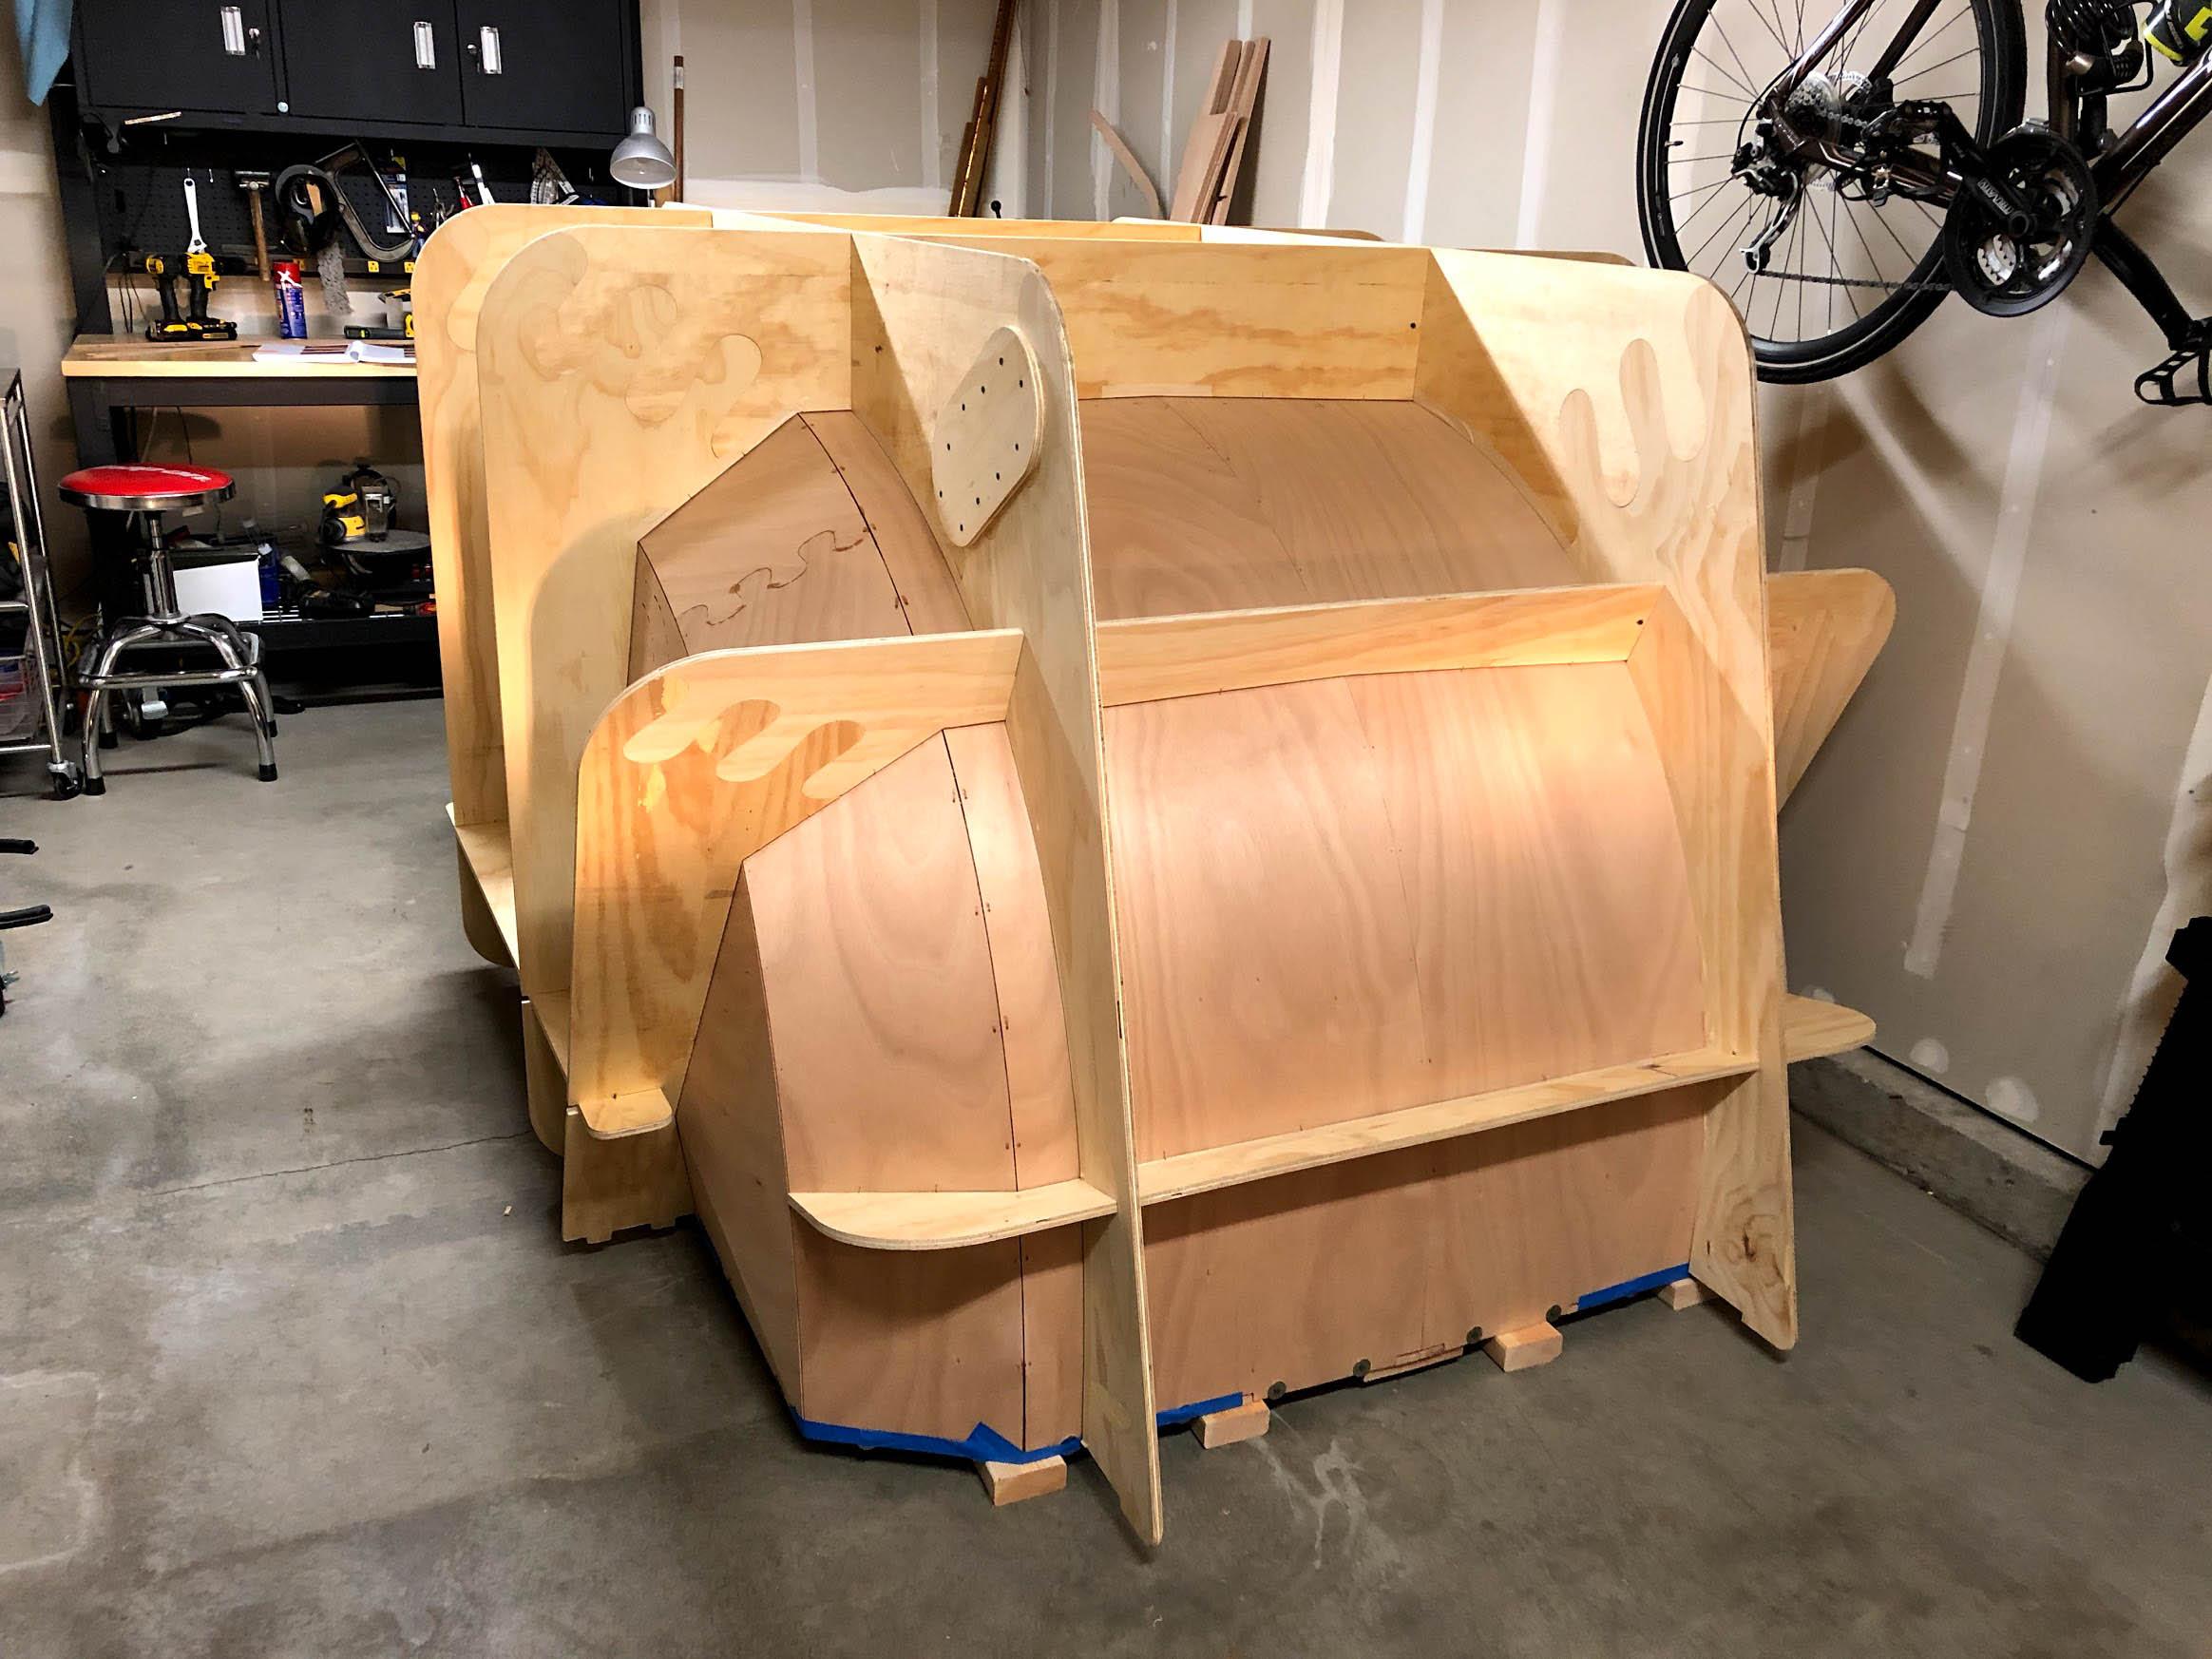
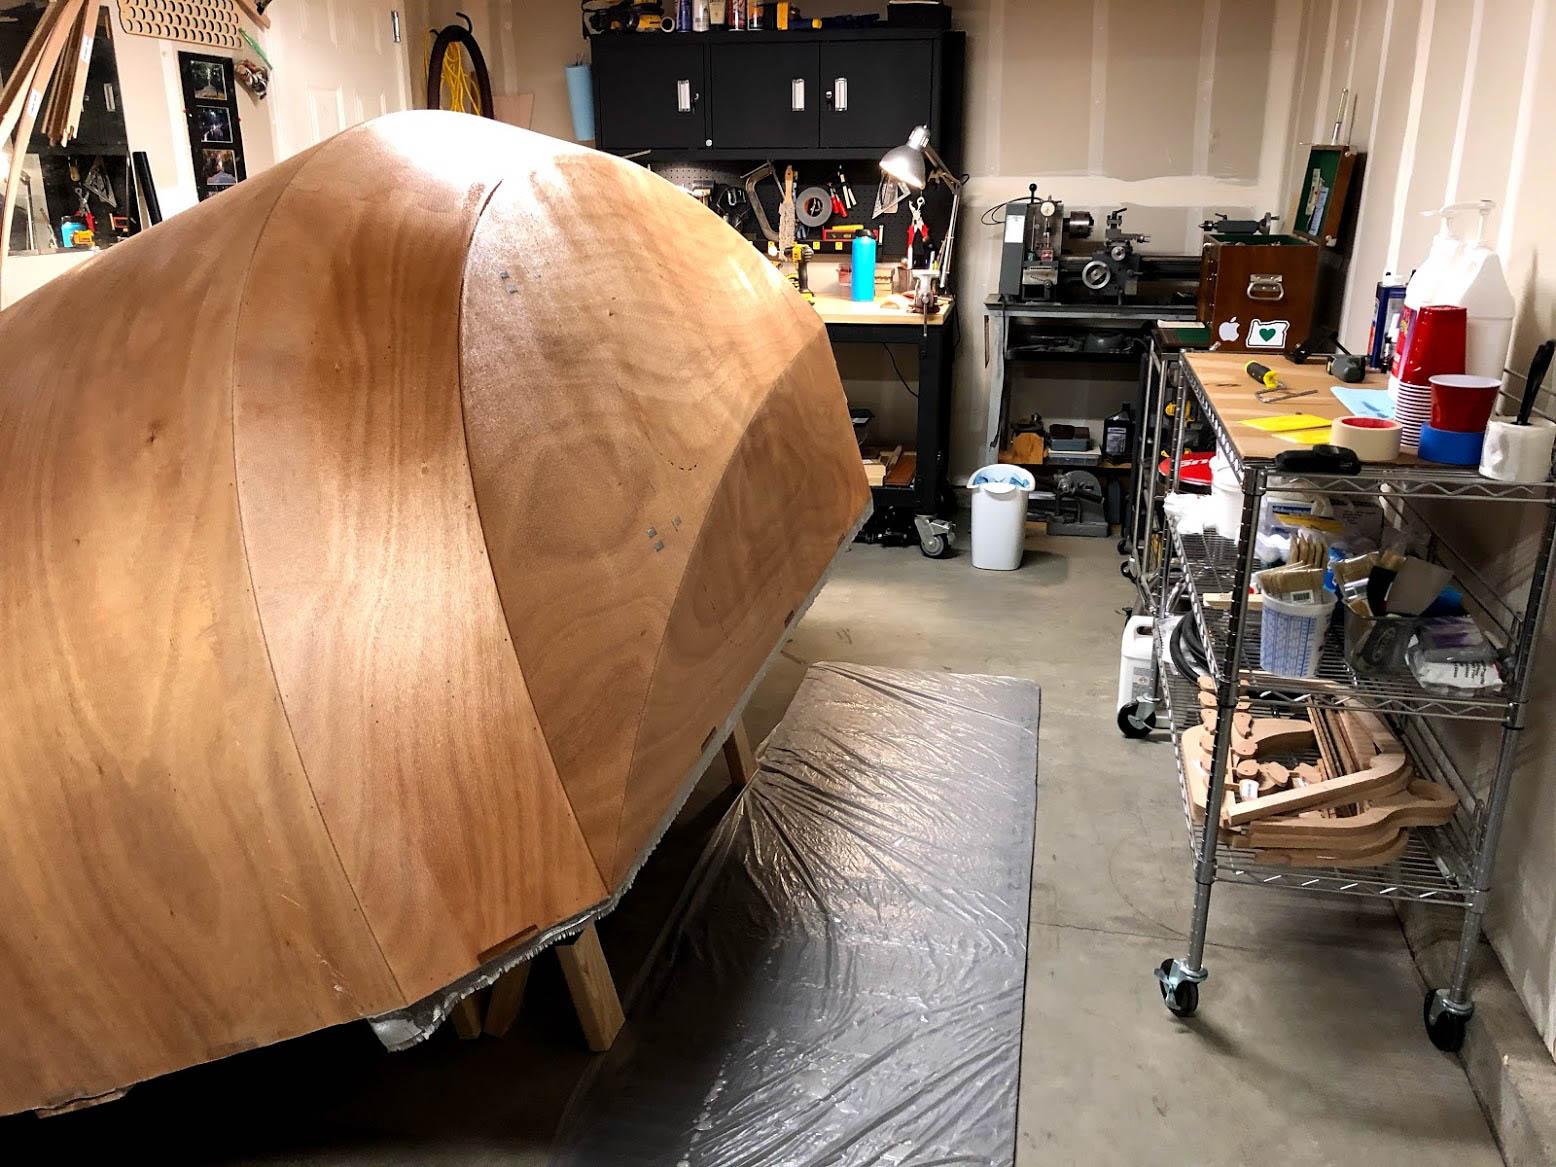
All sanded and filled…
Don’t want any drips inside….
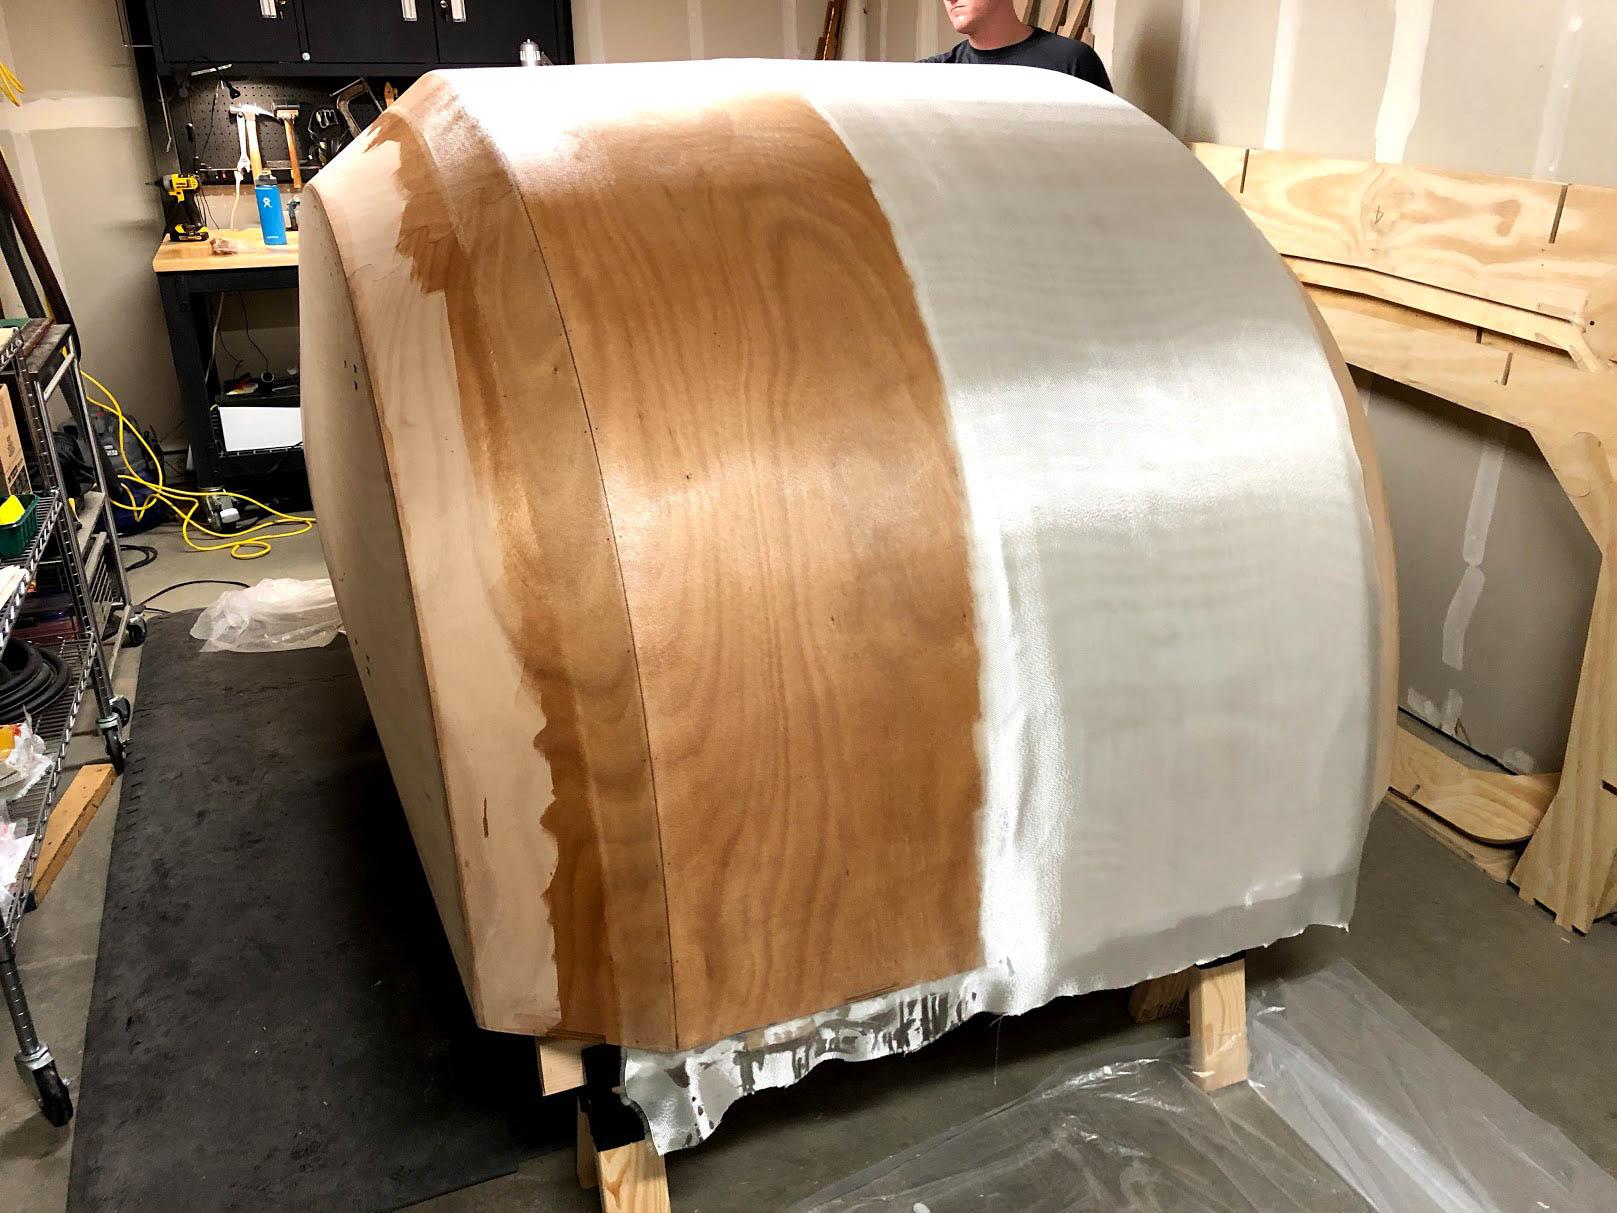
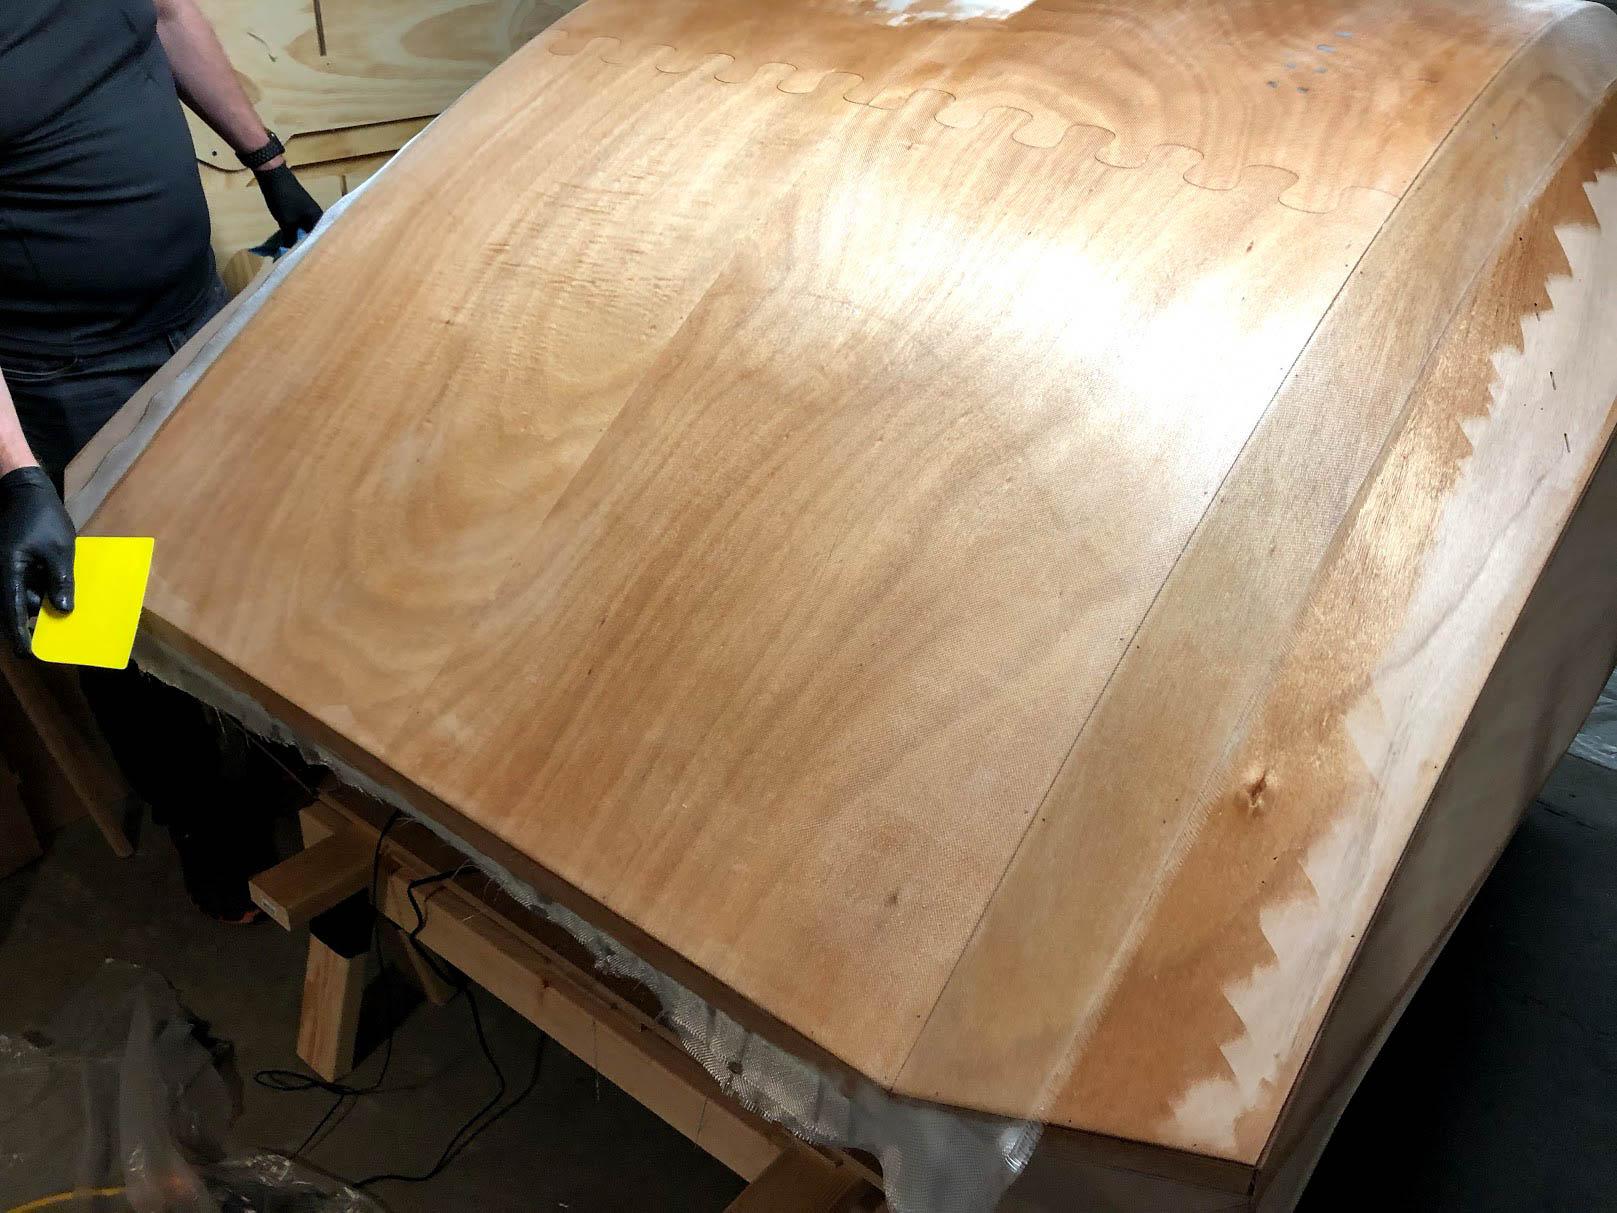
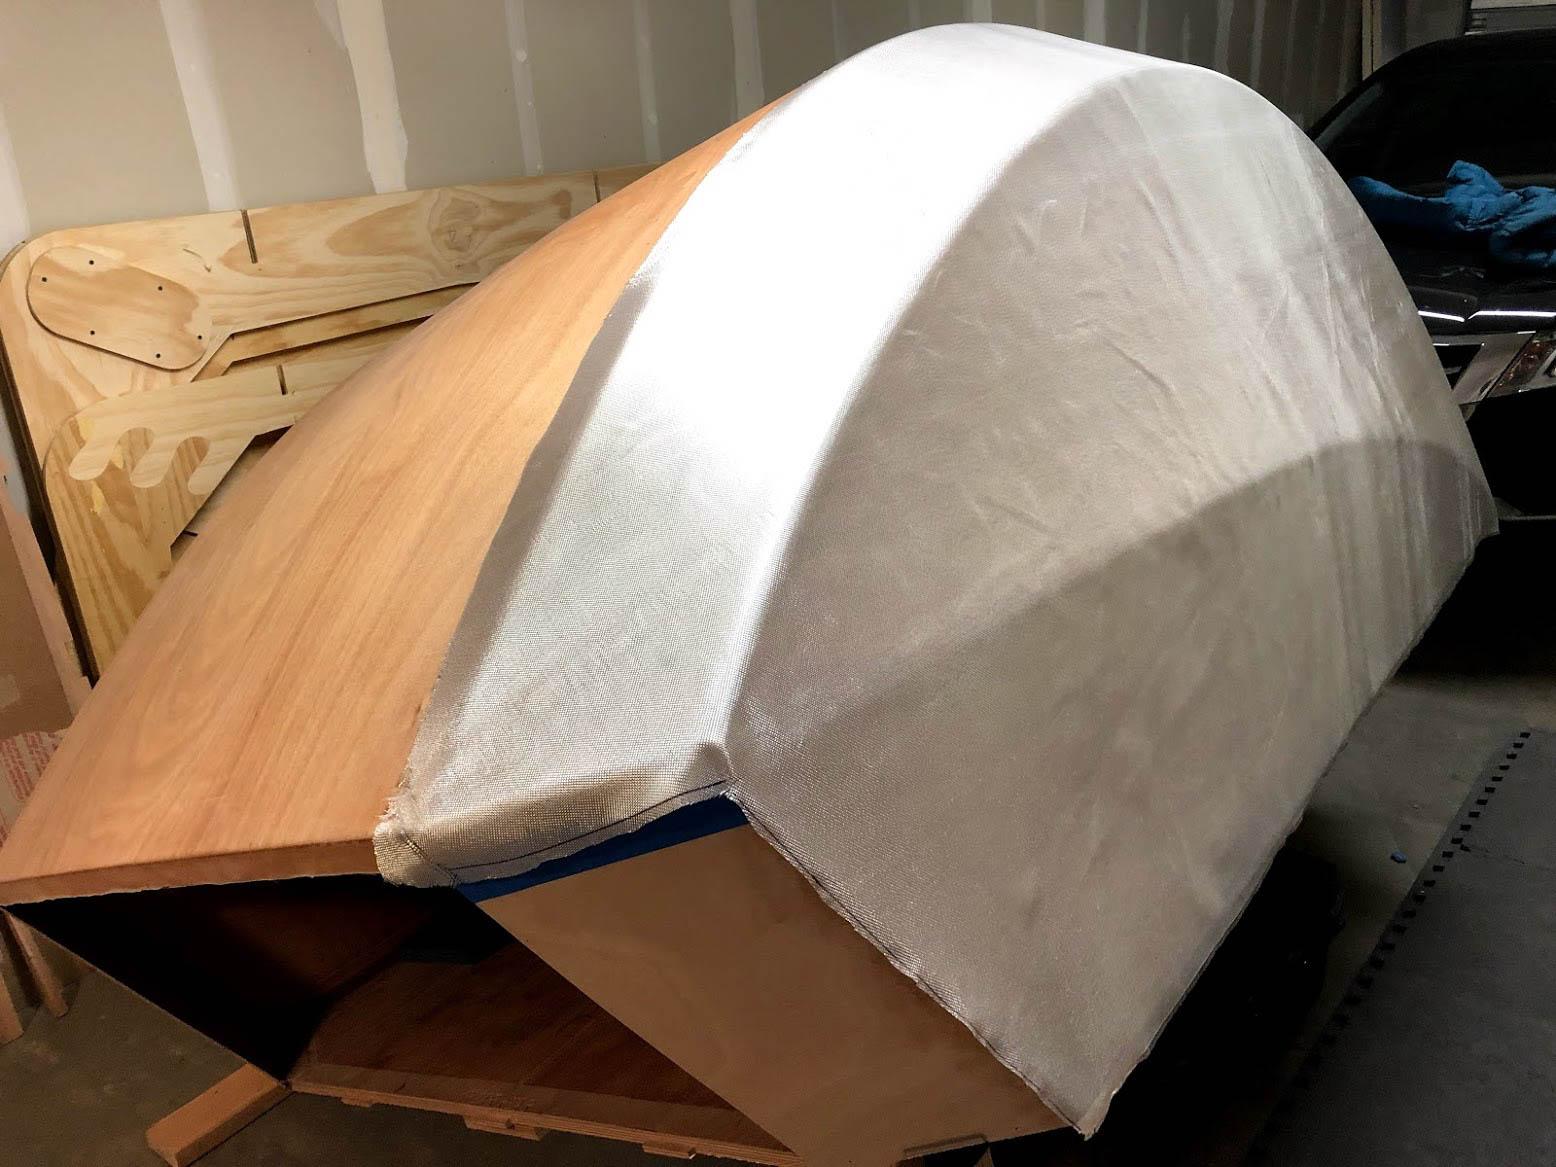
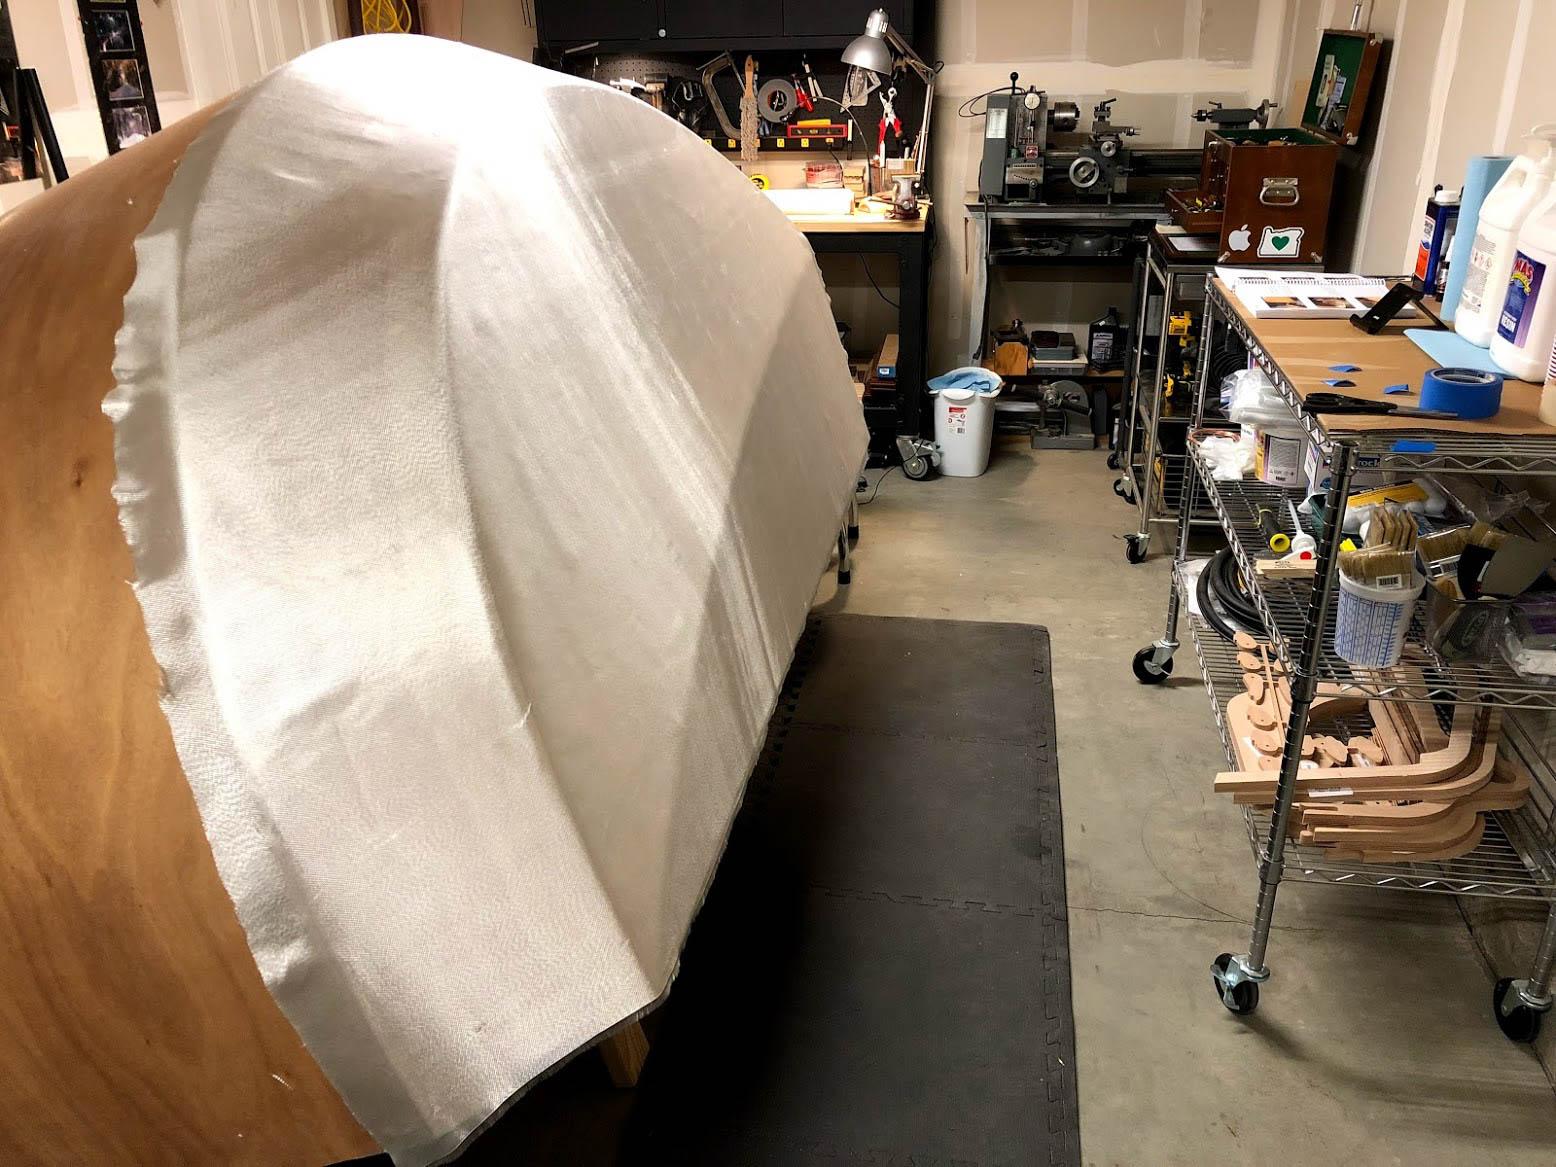
Completed the first big fiberglass step… which was my first big fiberglass project ever. I was kinda terrified, but it went smoothly. My stress level now is significantly lower than before I started.
March 31, 2018 at 1:31 pm #1734western_flyer
ParticipantDan, your workmanship is amazing to say the least. I had to cut a half dozen darts to get the glass to behave on panels 2. I had dozens of air bubbles over the galley section some of which I couldn’t get rid of and were large enough that I sanded them out and filled them in. And unlike you I’ve glassed two S&G kayaks and helped glass a 37 ft cold molded ocean racing sloop. On the latter we put down three layers of glass but had a very skilled fiberglass professional running a glass roller and spreader correcting our plethora of mistakes.
Anyhow a salute with my epoxy covered nitrile gloves for a job very well done.
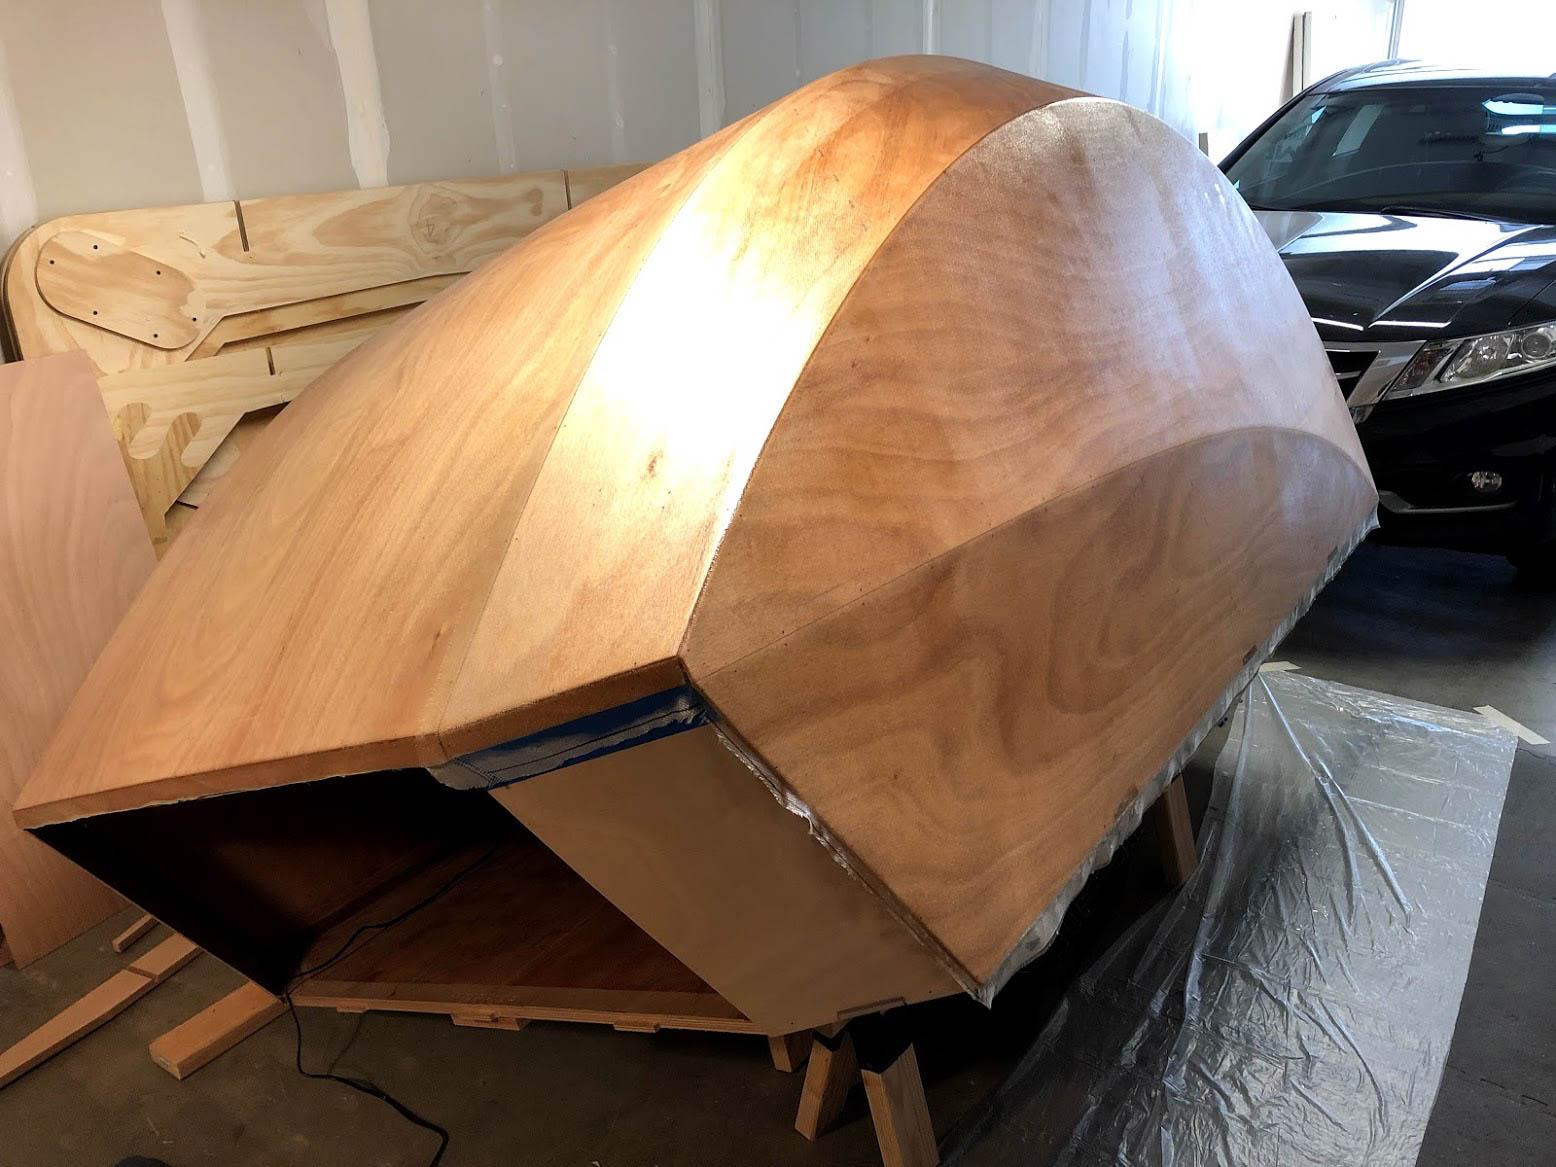
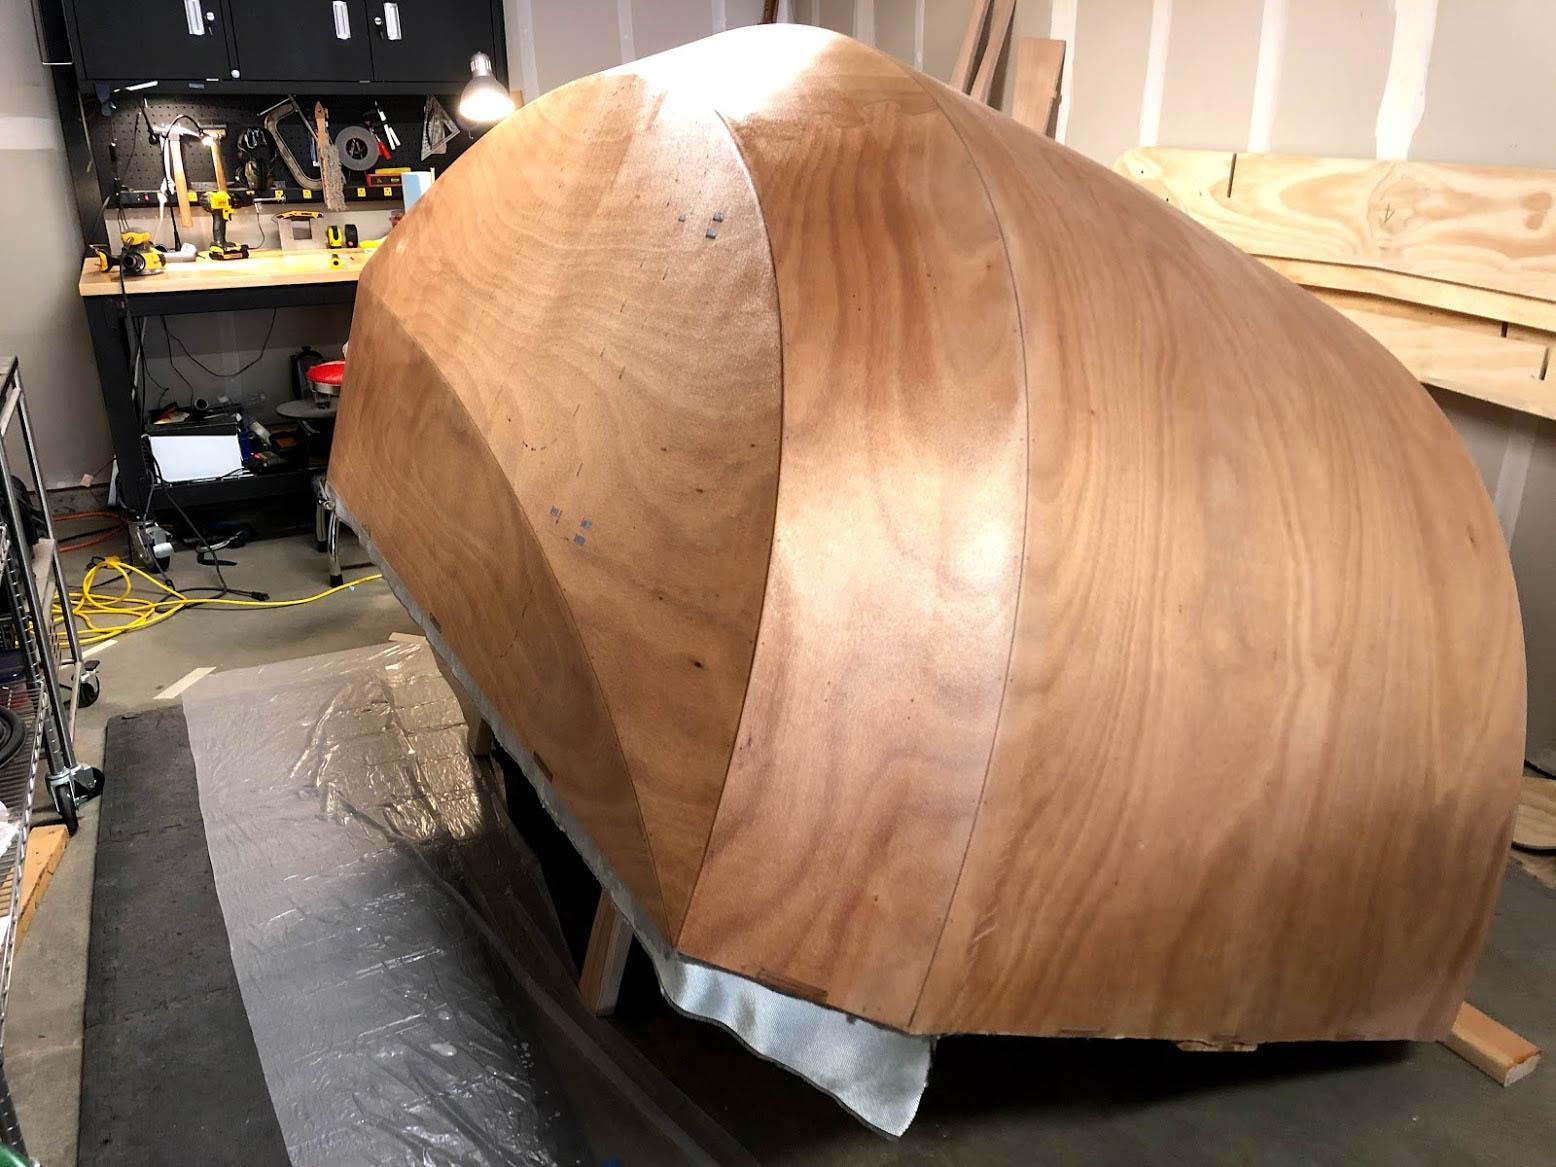
March 31, 2018 at 5:06 pm #1735ParticipantThank you for the kind words! Only thing I did that wasn’t in the instructions is scrape and scrape and scrape with an epoxy spreader until absolutely no more epoxy could squeeze out of the glass. Result: no bubbles, no puddles, and no runs. 😎
April 2, 2018 at 12:14 pm #1738Participant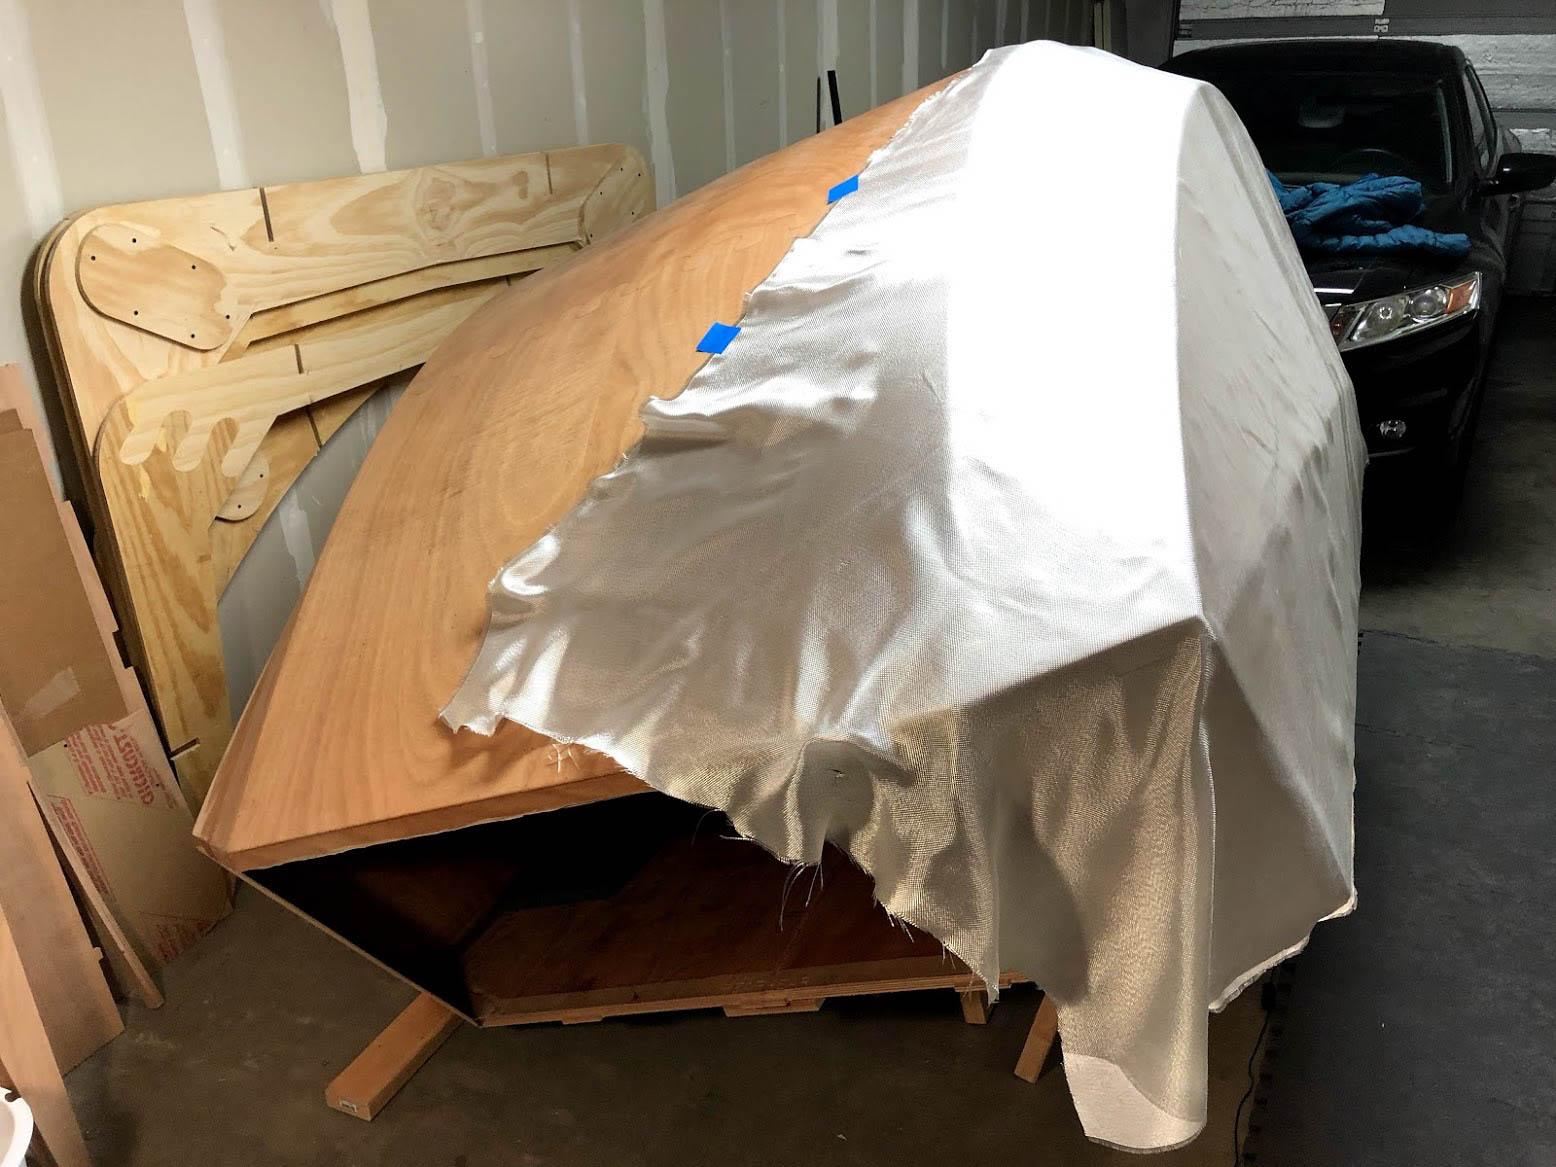
Time to clean and re-organize the shop!
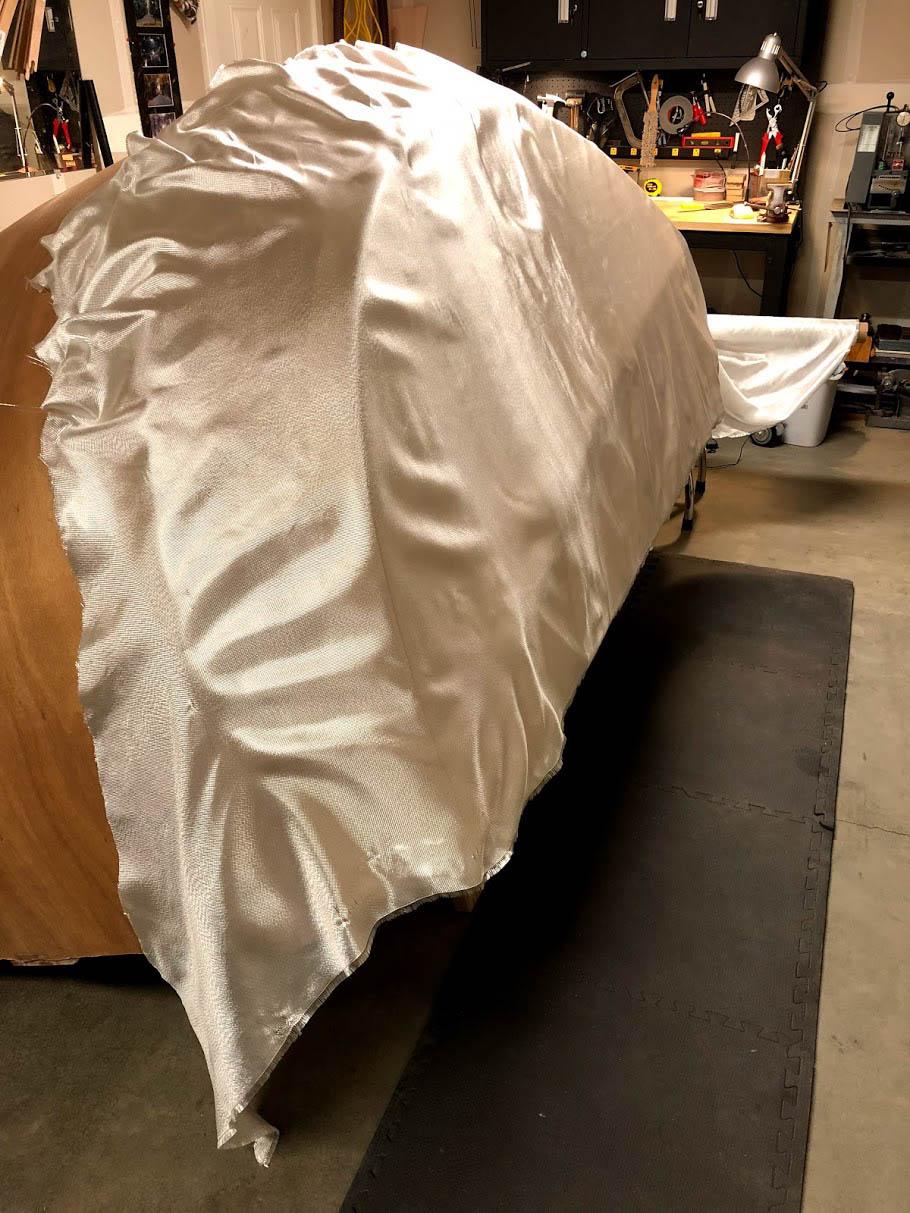
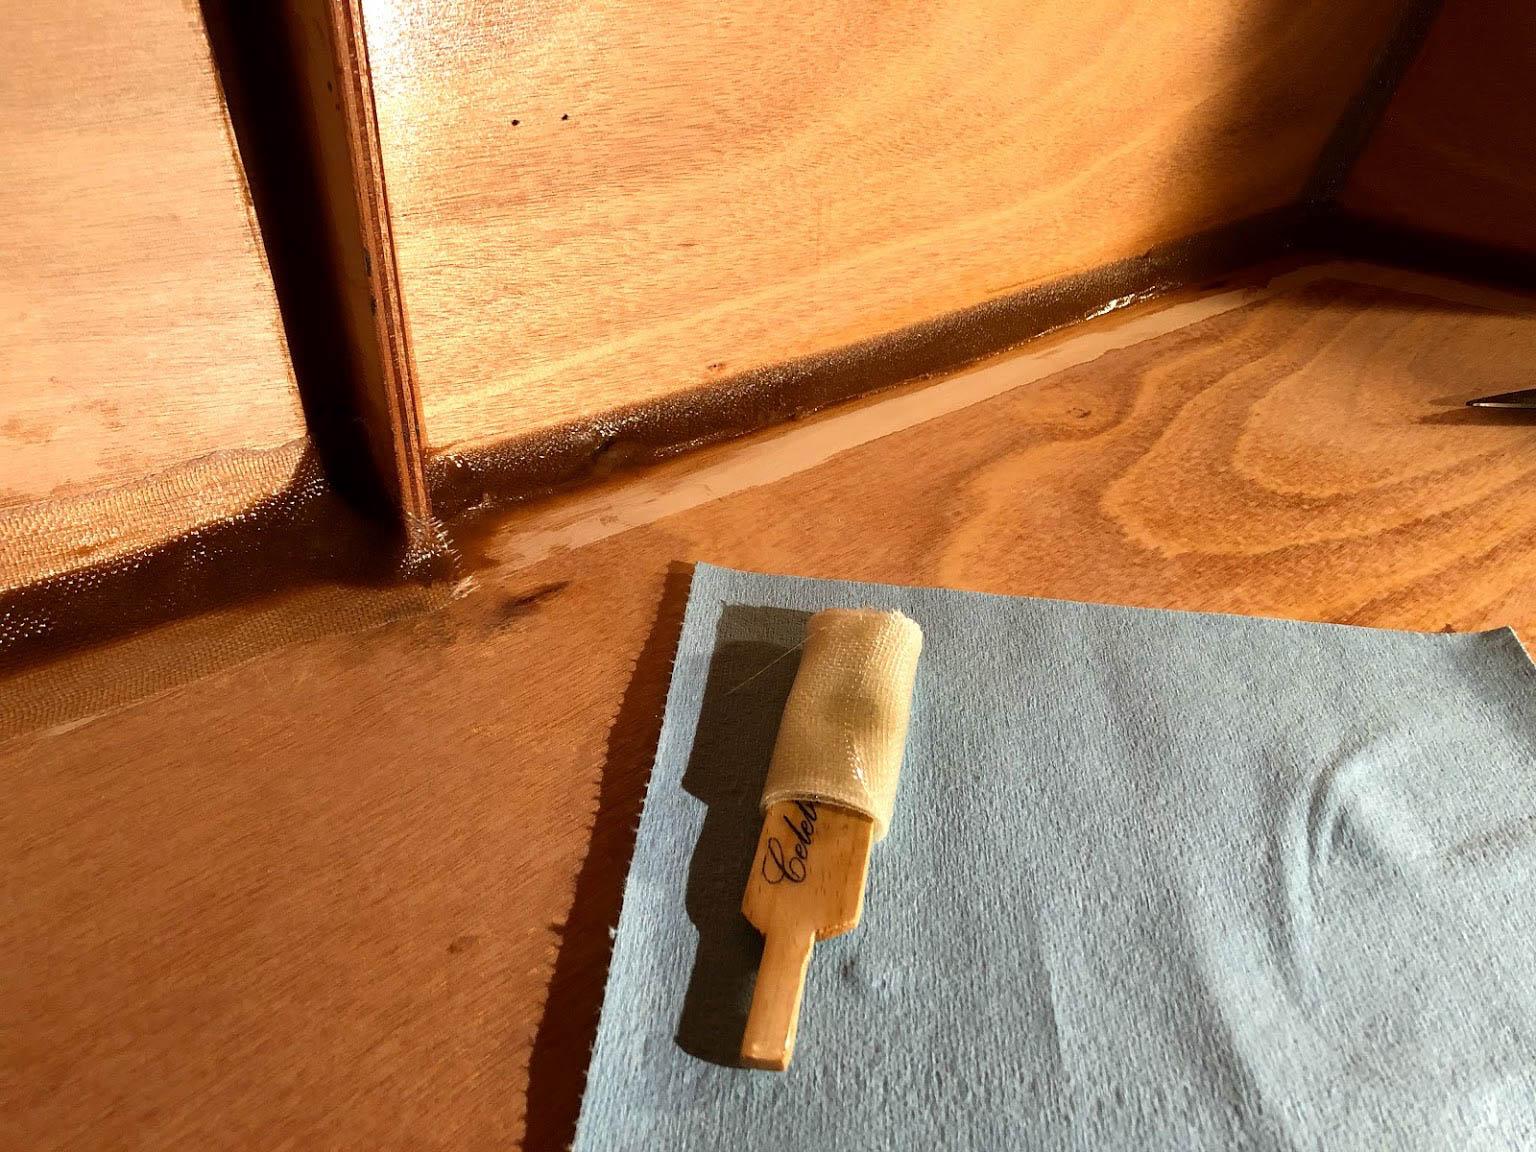
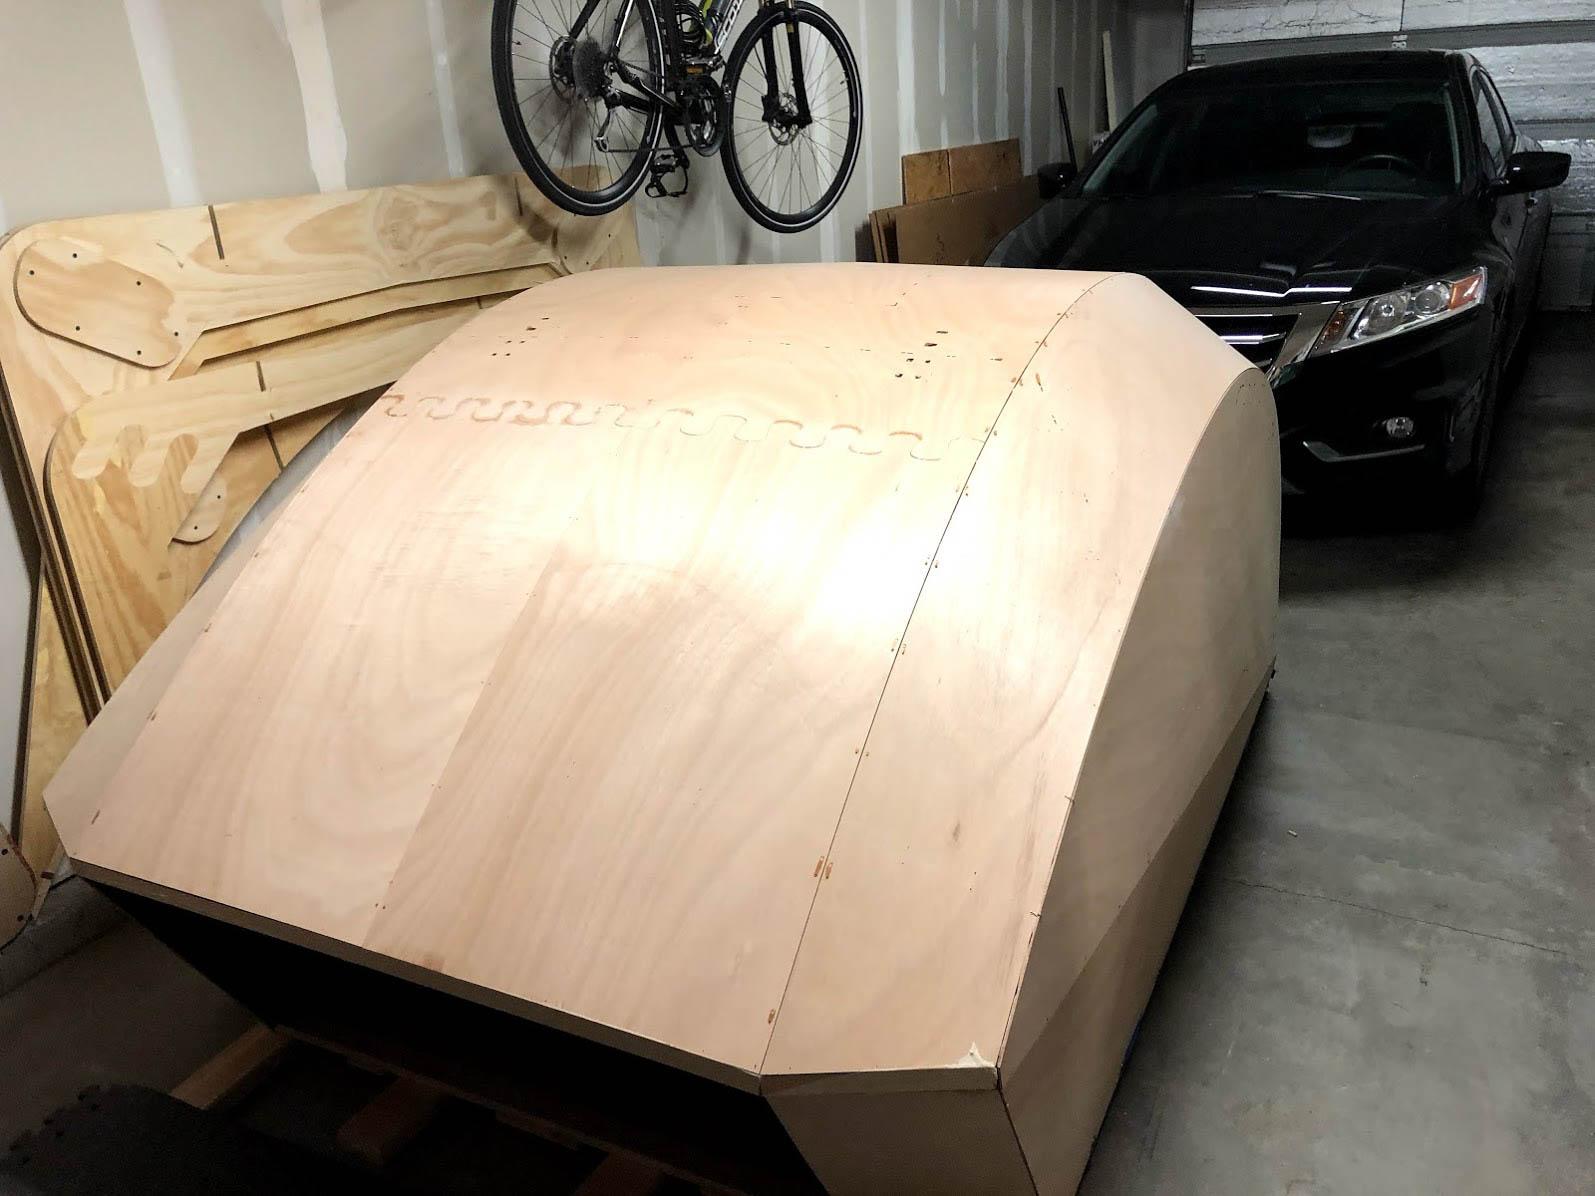
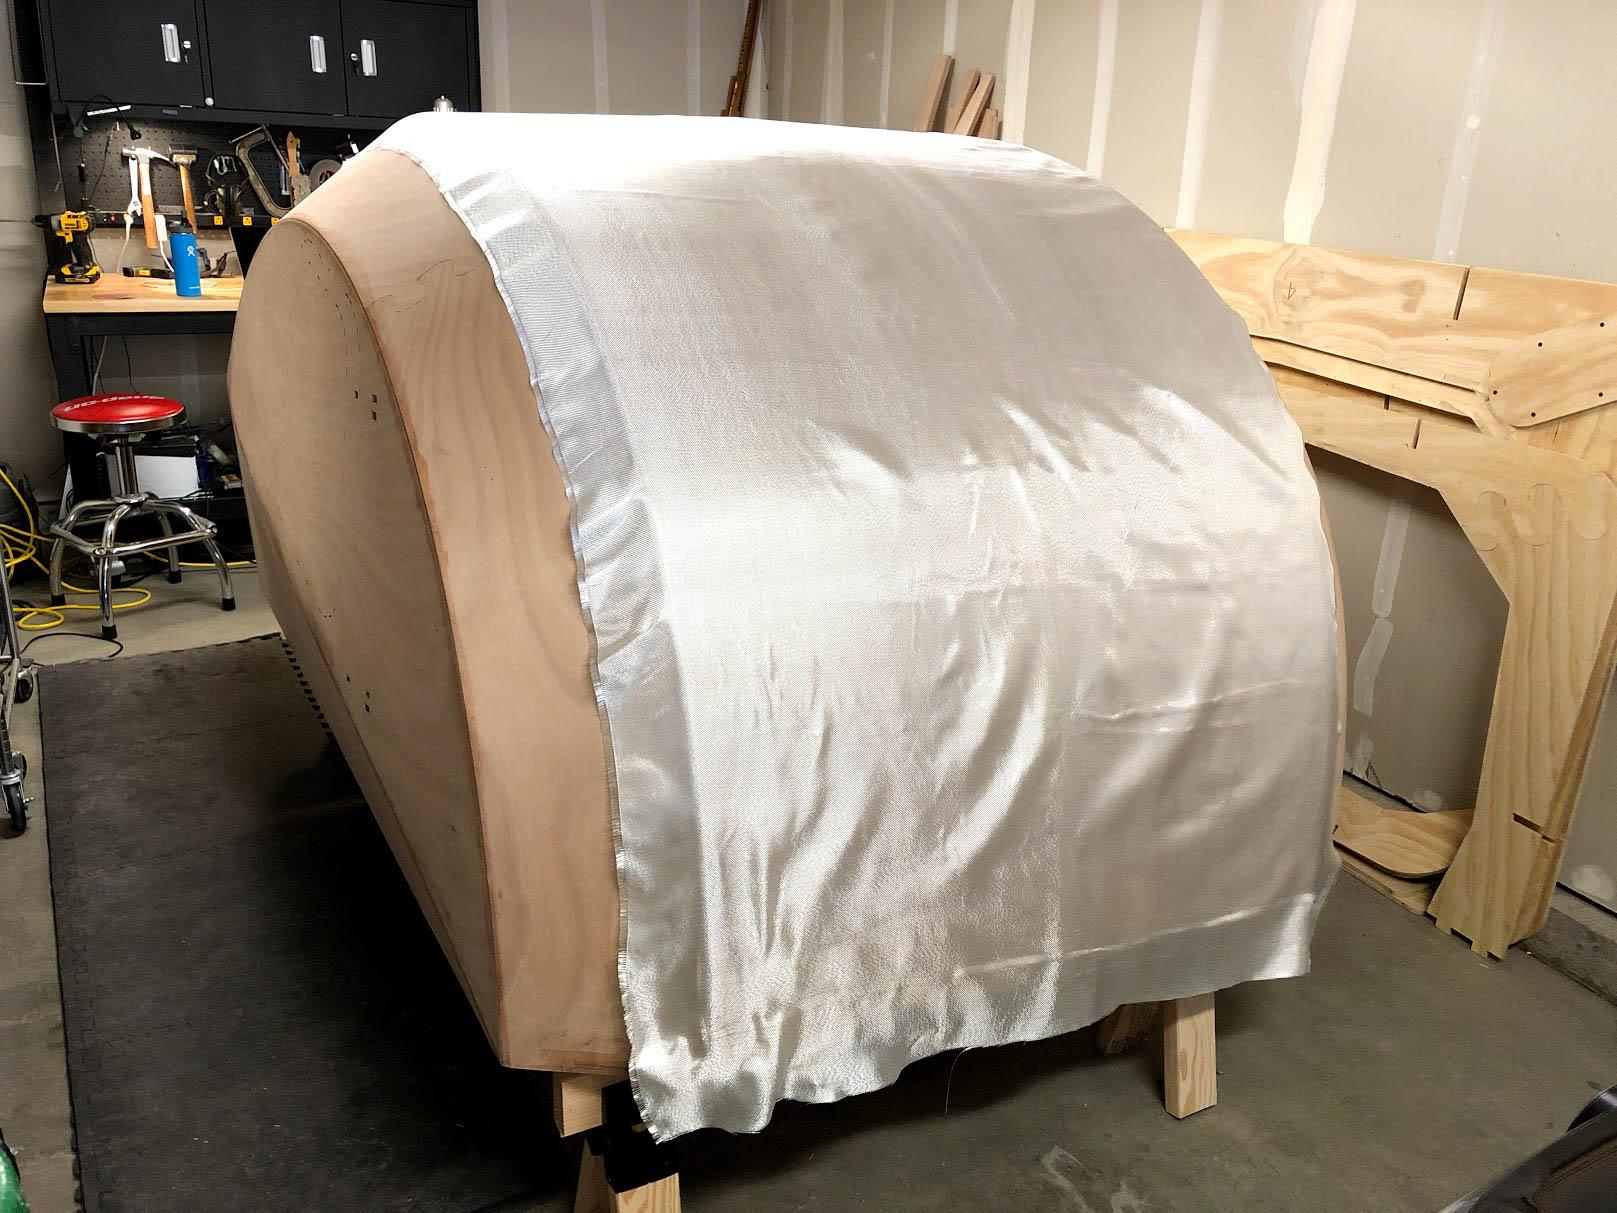
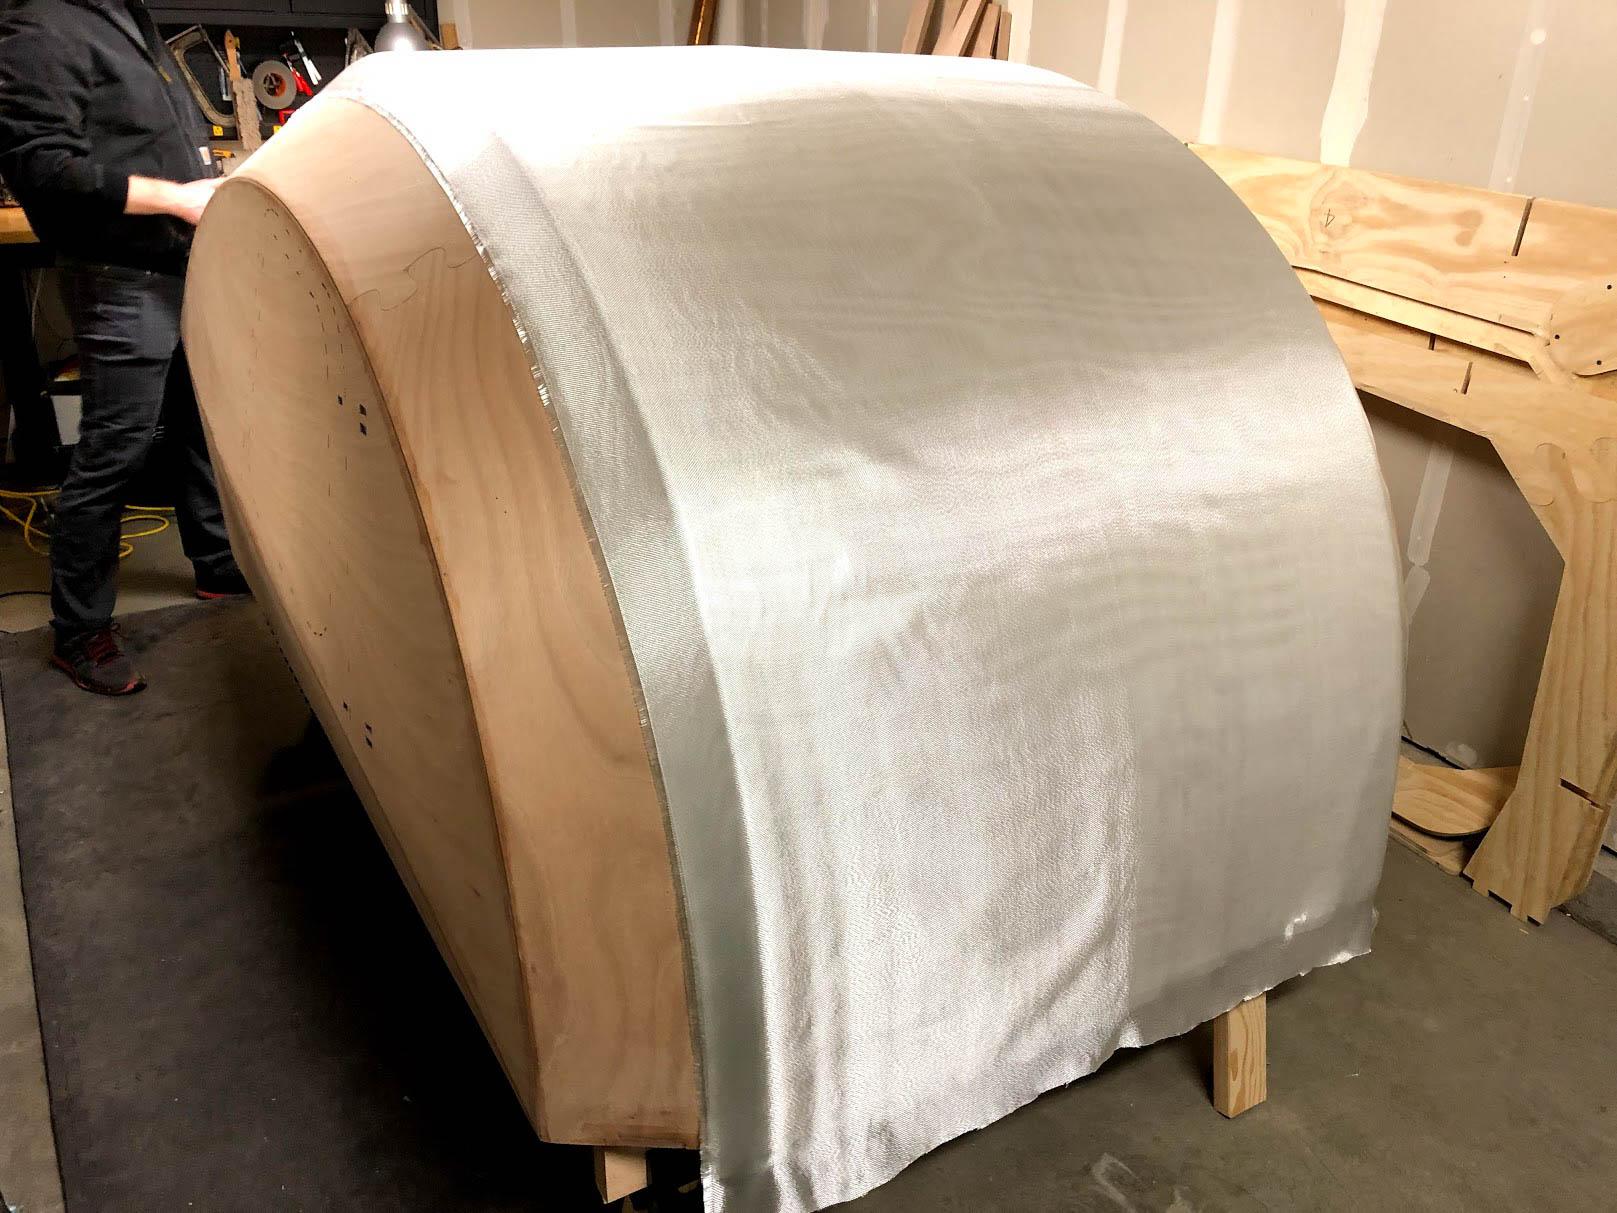
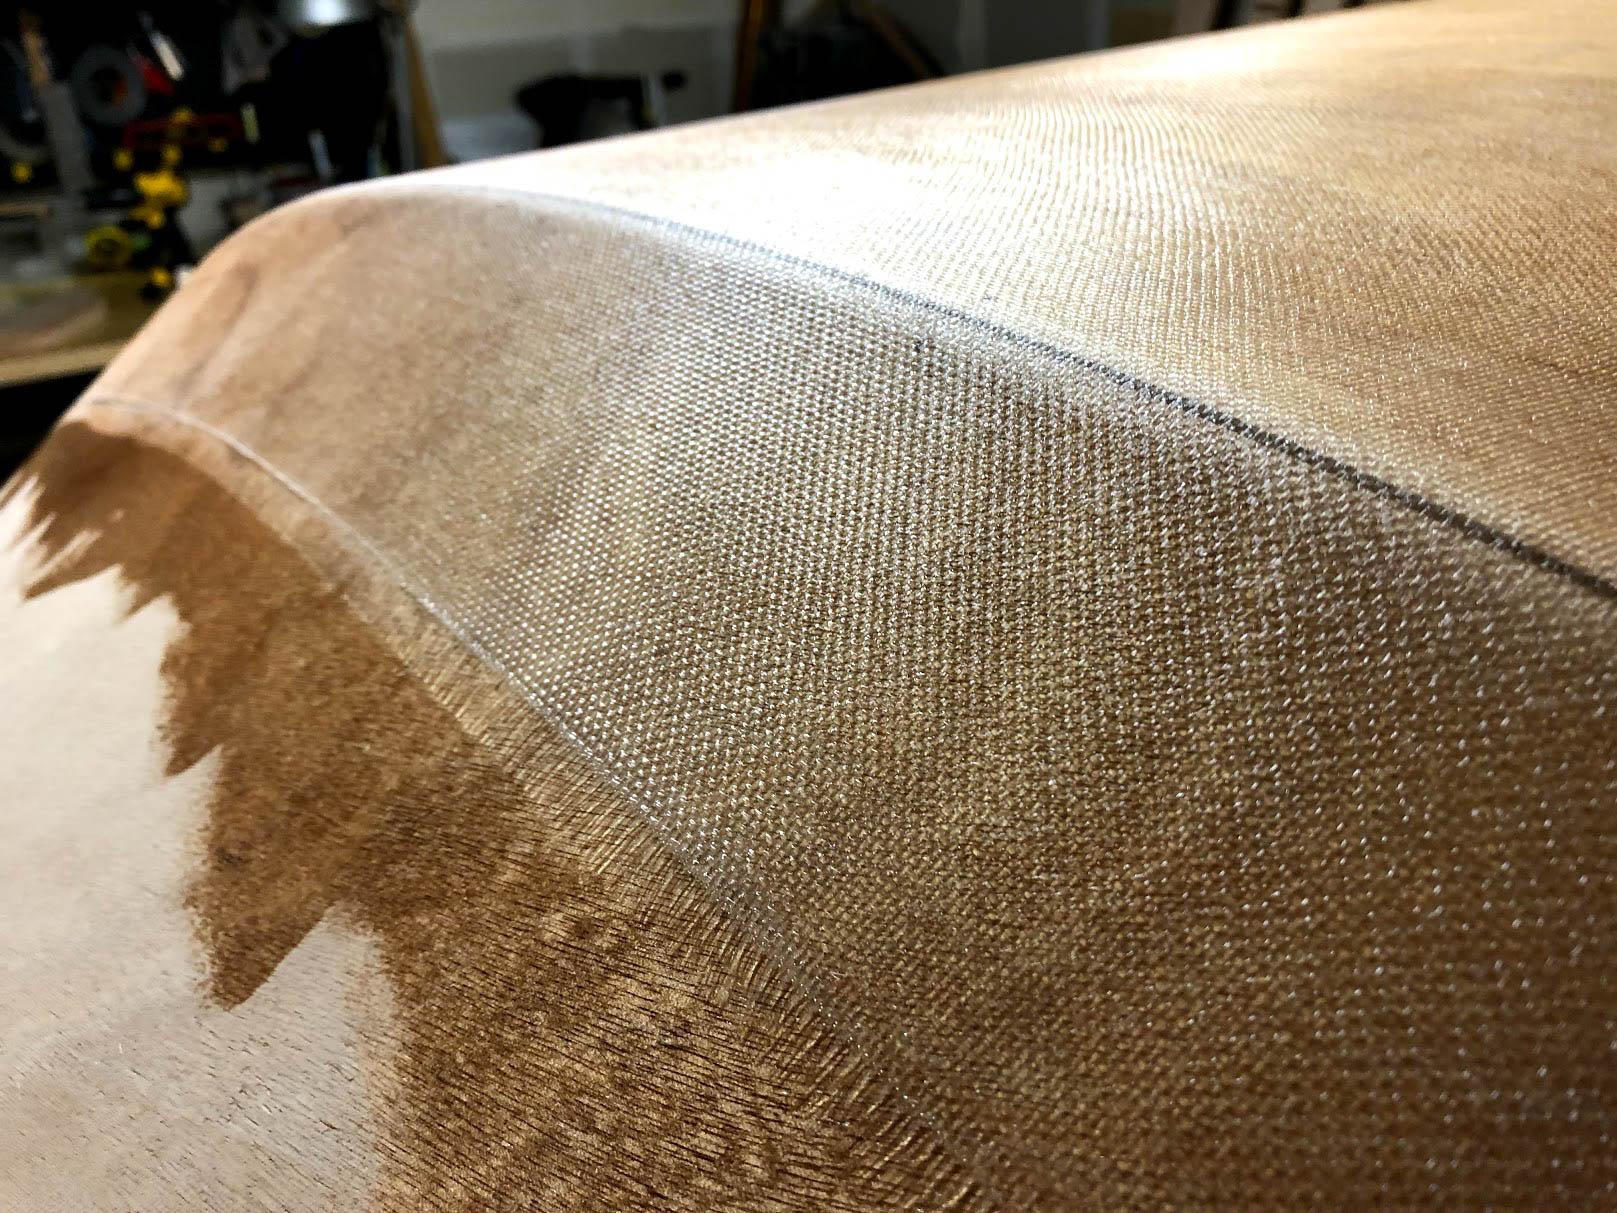
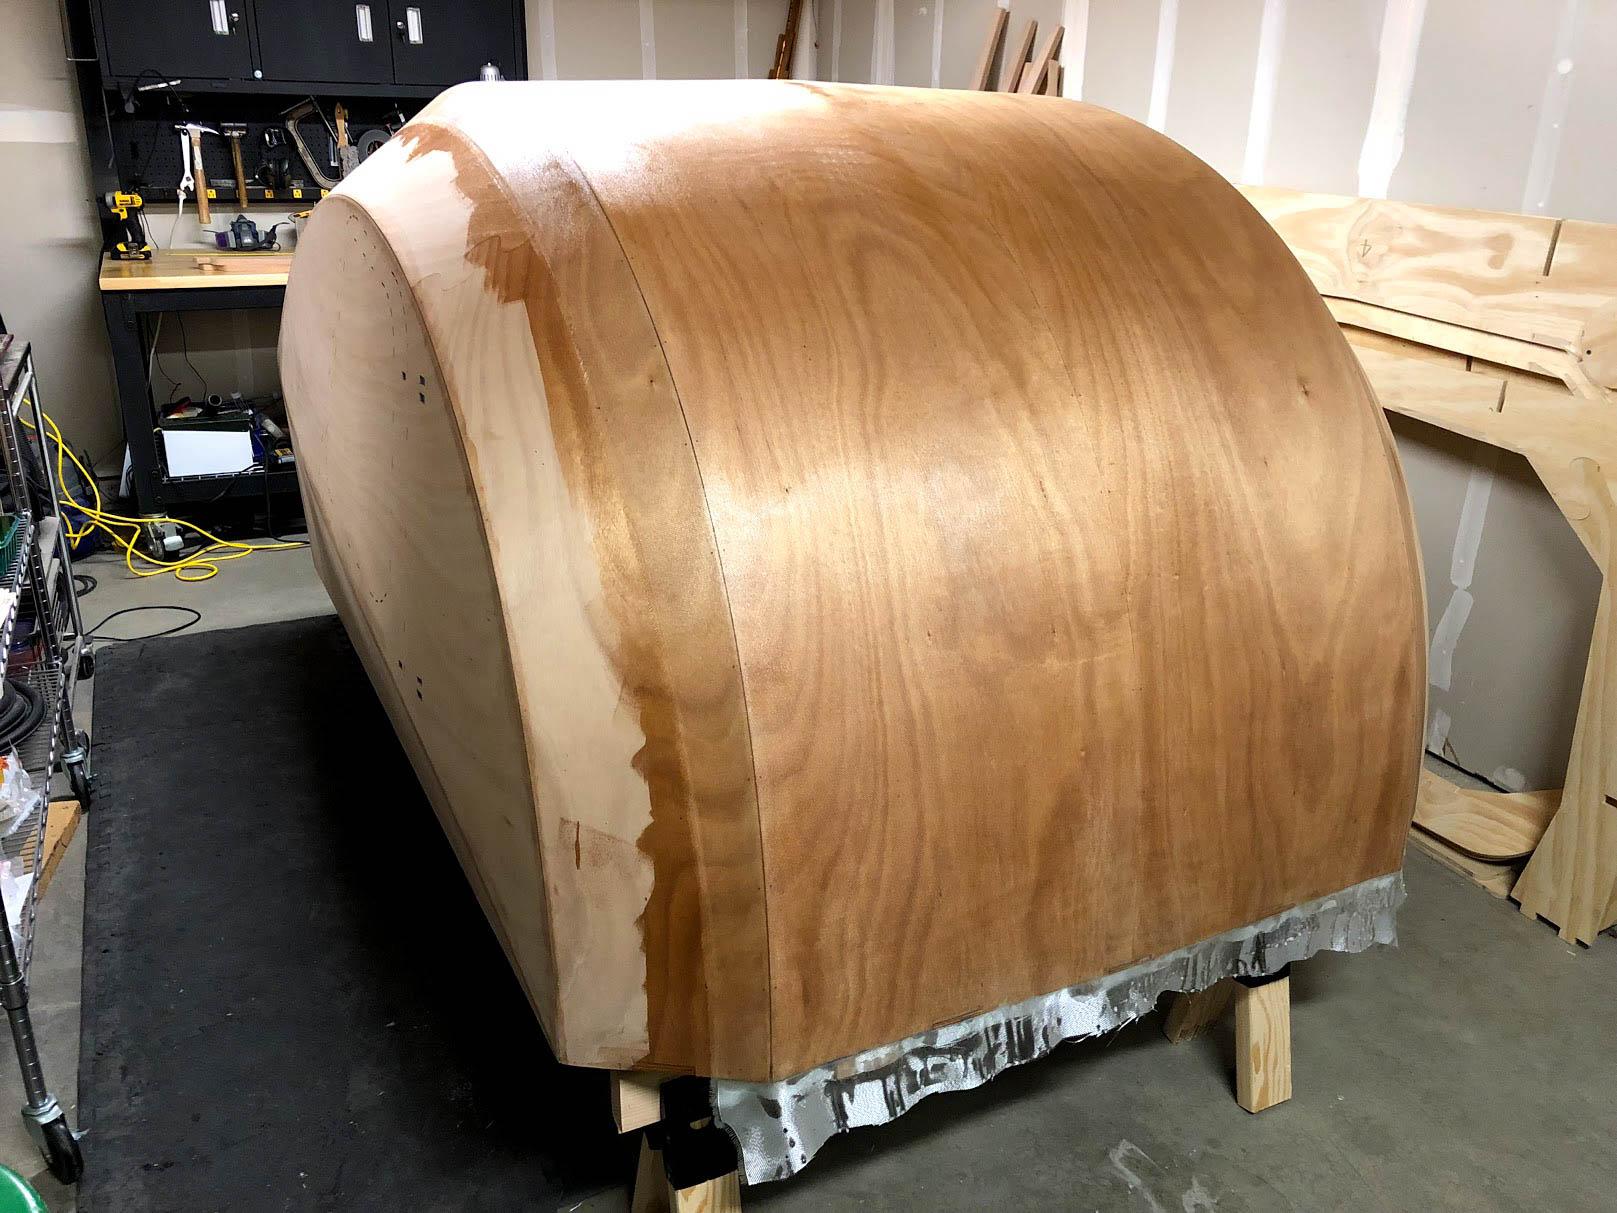
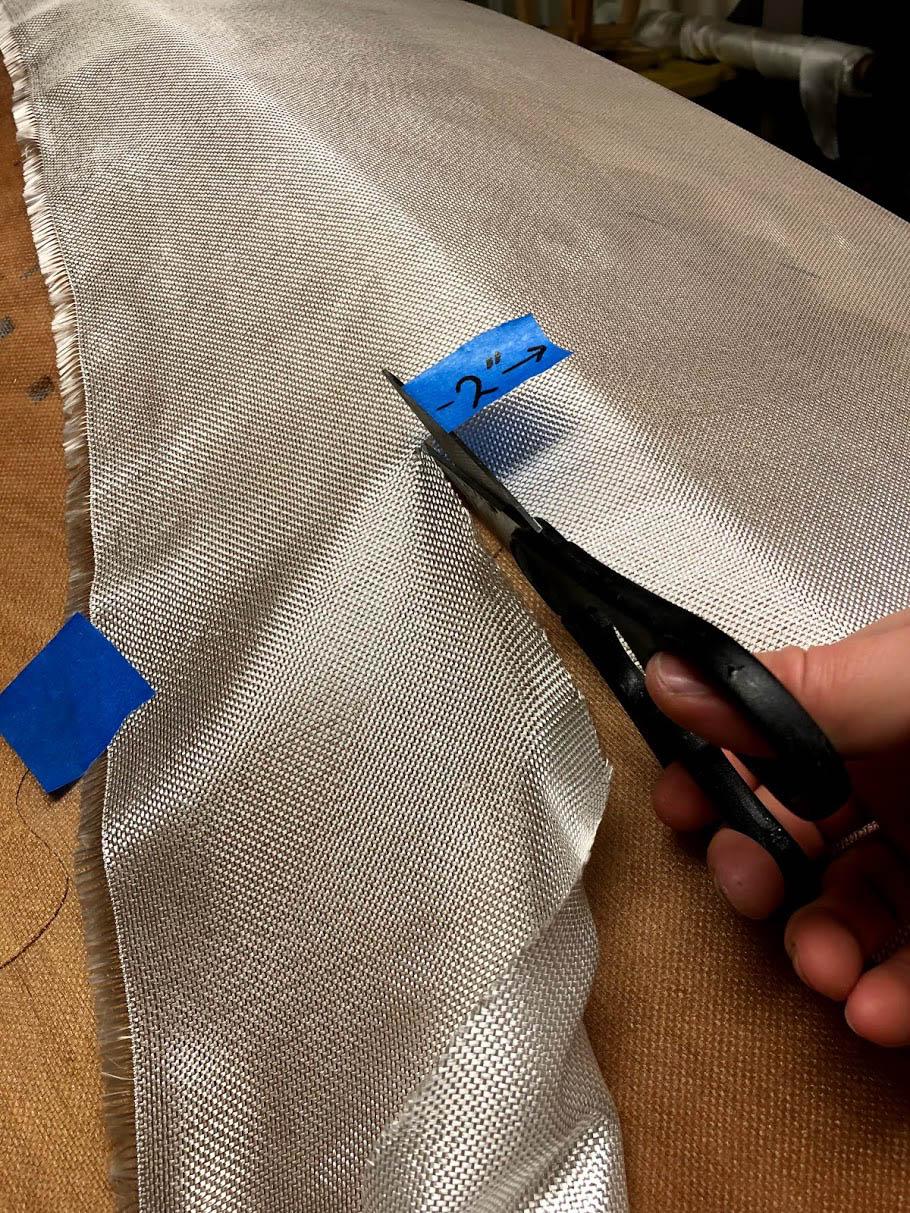
Lots of progress this weekend! I glassed the starboard side Saturday morning. Then on Sunday morning I cleaned up the shop and reorganized my layout a bit to make easier access to the other side of the shell. In the evening, I was able to get the port side glassed.
A couple lessons learned: first, working and cutting the fiberglass cloth gets silica fibers eeeeeverywhere. It’s almost as bad as working with fiberglass insulation. Wear a respirator. Second, putting a sturdy plastic toolbox under the very middle of the camper shell gives it something to pivot on. This made it easy to tilt back and forth and get up on my little sawhorses. Finally, if you tilt it far enough, you won’t need to tape down the cloth.
I’m super pleased to have the main glassing done. Now it’s time to buy a miniature circular saw and cut huge holes in my work.
……… I’m terrified again.
April 4, 2018 at 2:18 pm #1741ParticipantSoooooo, I kinda hate the CLC roof vent setup. It’s nice that it accommodates off-the-shelf RV vents… but that’s not really what I want. I am more interested in having a large openable skylight. So I ordered this sexy marine deck hatch and I’m going to figure out how to make it work. It’s the largest and most minimalistic one I could find.
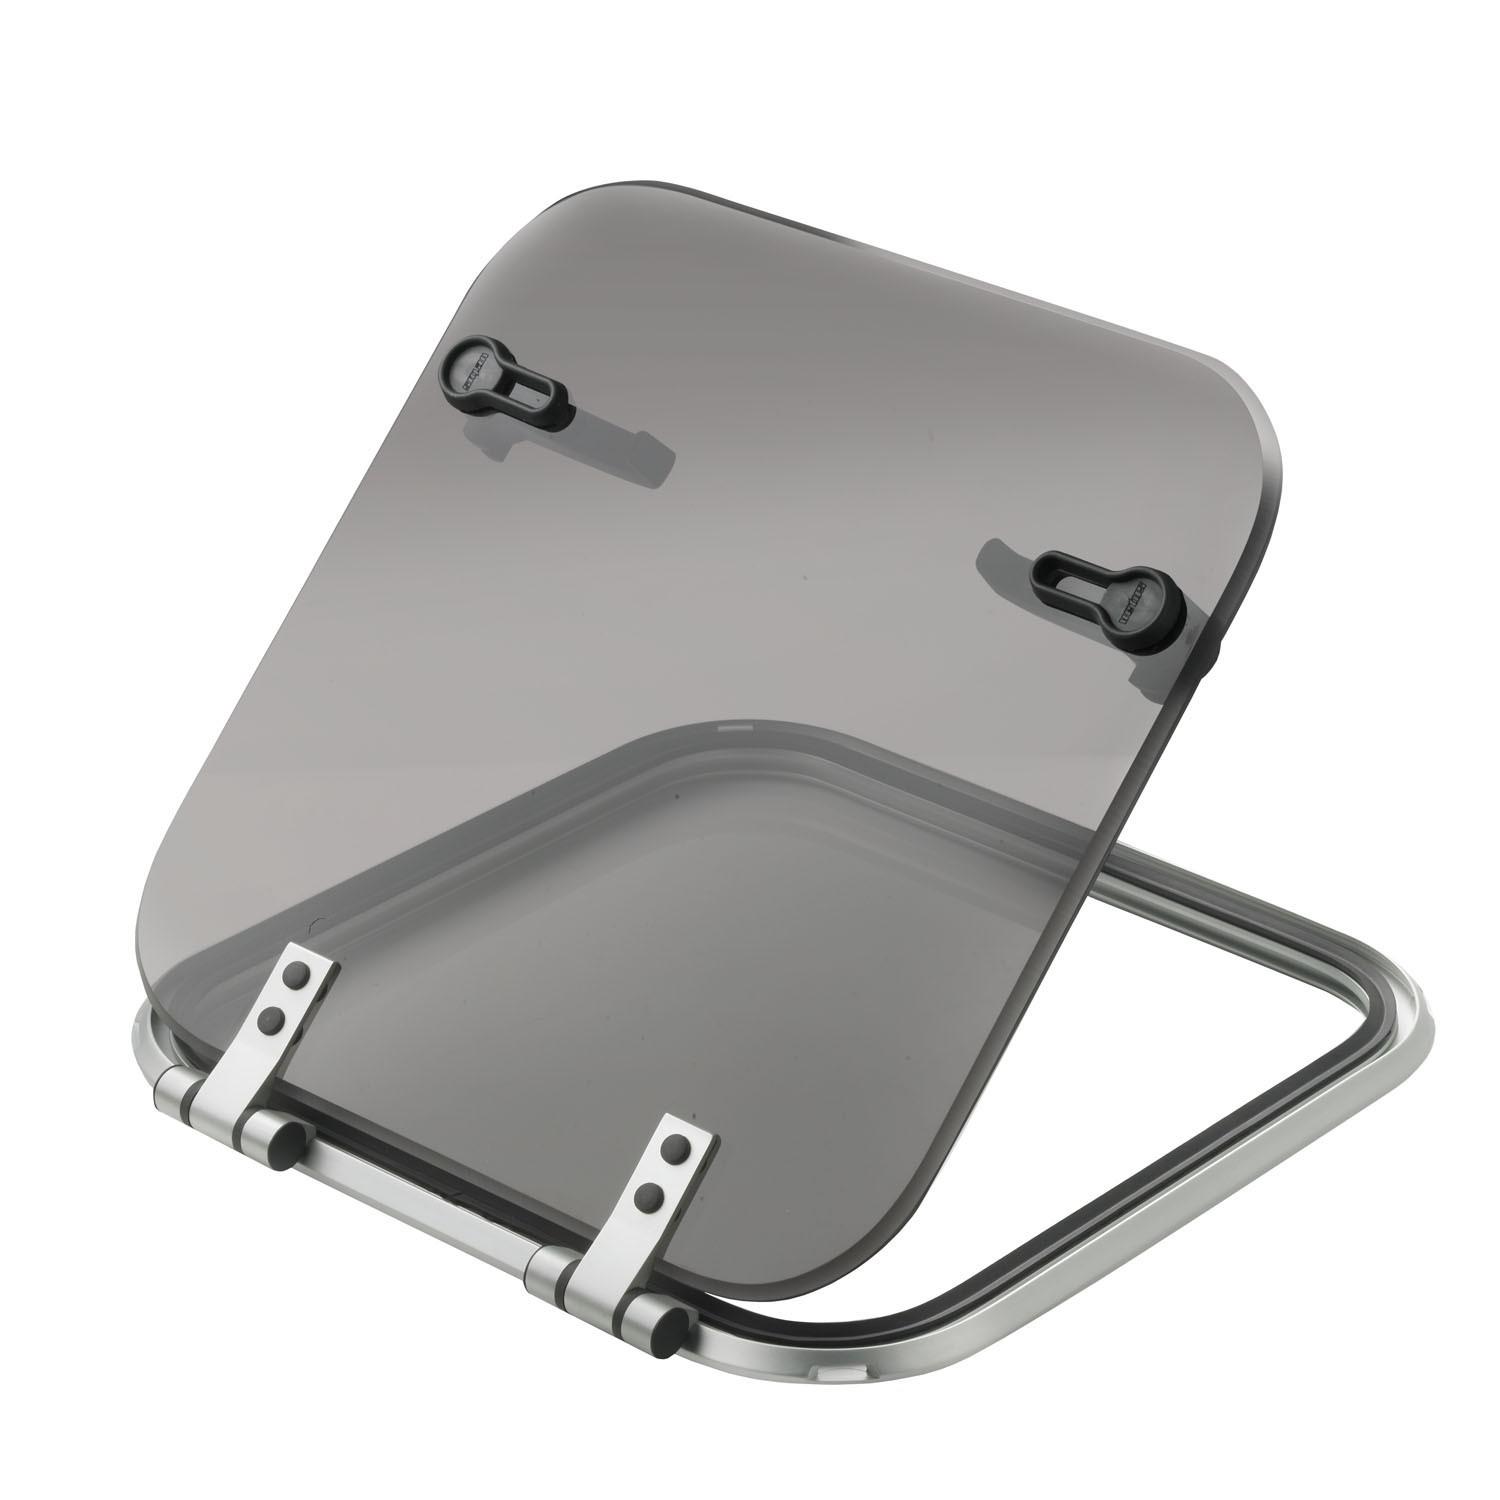
External dimensions (inches): 20.5 x 20.5 x 0.9
Cut-out dimensions (inches): 18.5 x 18.5-
This reply was modified 6 years ago by
Dan.
April 4, 2018 at 2:35 pm #1743ParticipantThat looks slick! Are you going to use the CLC hatch bezel? I think that may be a tad too large for the supplied bezel.
April 4, 2018 at 2:56 pm #1744ParticipantUnsure. It’s definitely too large for the supplied bezel without modifications. I’ll figure it out when the hatch arrives in a couple weeks. In the meantime, I’m not going to cut out the top of the shell until I get it all planned out. Ideally, I’d be able to curve the hatch to match the curvature of the shell and not have a bezel at all… but I’m not holding my breath on that one. I’ve looked into thermoforming acrylic and it seems totally do-able. However, I doubt I could bend the aluminum bezel without ruining it.
April 4, 2018 at 3:24 pm #1745ParticipantIf you can pull it off without an additional bezel and curve it to the shell that would look awesome. You’re making me seriously consider cutting off my roof bezel. I’ve attached the bezel but haven’t cut the opening for the fan yet. I’m still undecided if the fan is the right choice.
I’ve worked with acrylic a fair amount and it is easy enough to heat and form. The anodized aluminum frame may be difficult and it will certainly need to be stripped and repainted after all the reshaping work. I’d check the manufacture on what type of aluminum they use, if its the wrong type it could fracture as soon as you start to stress it much.
You could scrap the aluminum and tackle it the same way CLC does the doors by making a sill out of wood.
Please keep us posted on this, and Good Luck!
April 4, 2018 at 3:47 pm #1746ParticipantI did consider just fabricating completely from scratch, but I really want the top to be a large opening hatch and I’m not confident I’d be able to do that well. The pre-fab deck hatch should be a good middle-ground… for now. In the future, I can always cut it out and fab up something even larger. You’re a bit further along than I am so please DO make a custom acrylic opening hatch so I can learn from your experience. 😉
I’ll definitely make wooden sills and formed acrylic for the non-opening airstream-esque front facing windows I want to add.
-
This reply was modified 6 years ago by
April 6, 2018 at 6:17 am #1750faithie999
Participantnice job on the glassing!! as for a small circular saw, I DEFINITELY recommend the Dremel UltraSaw. you can hold it easily in your hand. their blade is somewhat of a hybrid between an abrasive disc and a saw blade. it makes a lot of fine sawdust so be sure to wear a good mask. but the cut is very smooth.
the blade is forward of the motor, like the old-school Skil worm-drive saws, so you can see the blade relative to the cut line. you can rest the front of the saw’s “foot” on the shell, then very slowly pivot the saw down so you can plunge the blade into the shell exactly at the cut line.
good luck!!
ken
-
This reply was modified 6 years ago by
-
AuthorPosts
- You must be logged in to reply to this topic.