Welcome to TeardropForum.com › Forums › Teardrop Builders’ Forum › Dan's Build
Tagged: Varnish
- This topic has 91 replies, 11 voices, and was last updated 2 years ago by
pwebster25.
-
AuthorPosts
-
February 8, 2018 at 8:48 pm #1644
Dan
Participant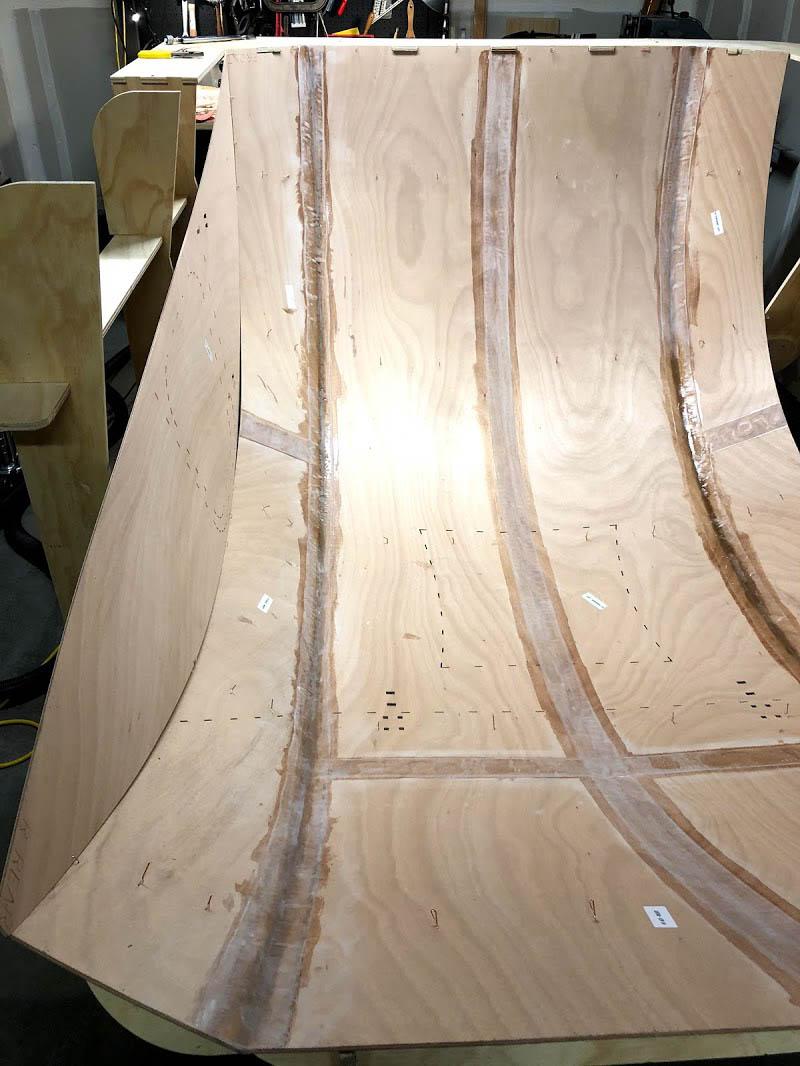
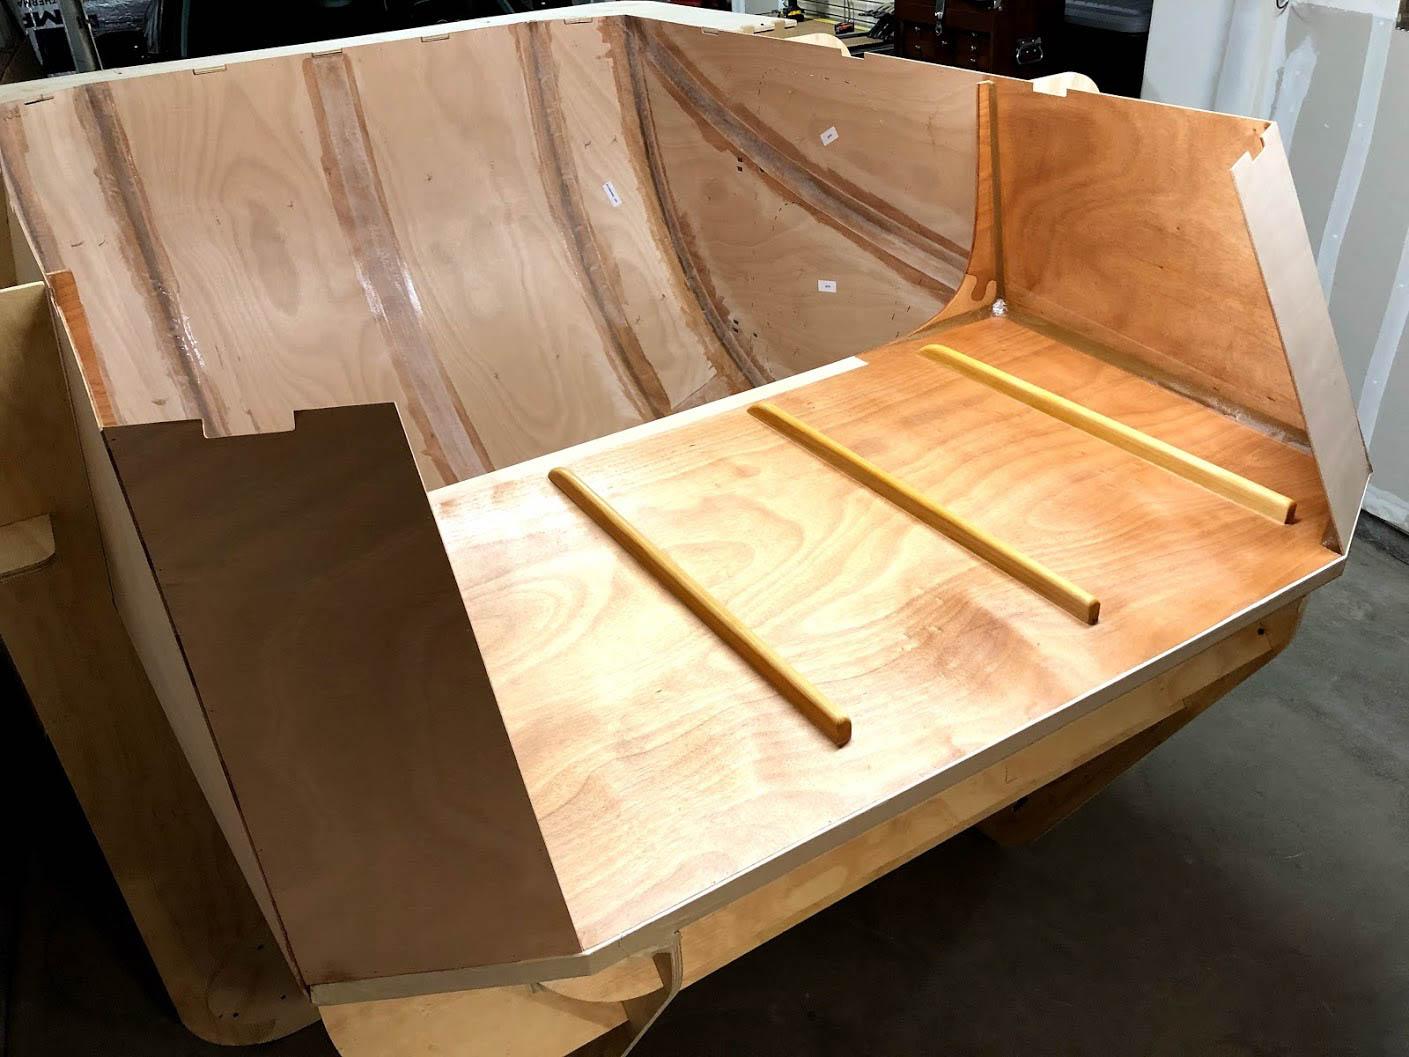
Minor progress. Some sanding and beginning placement of #3 panels. More to come!
February 15, 2018 at 9:00 pm #1650Participant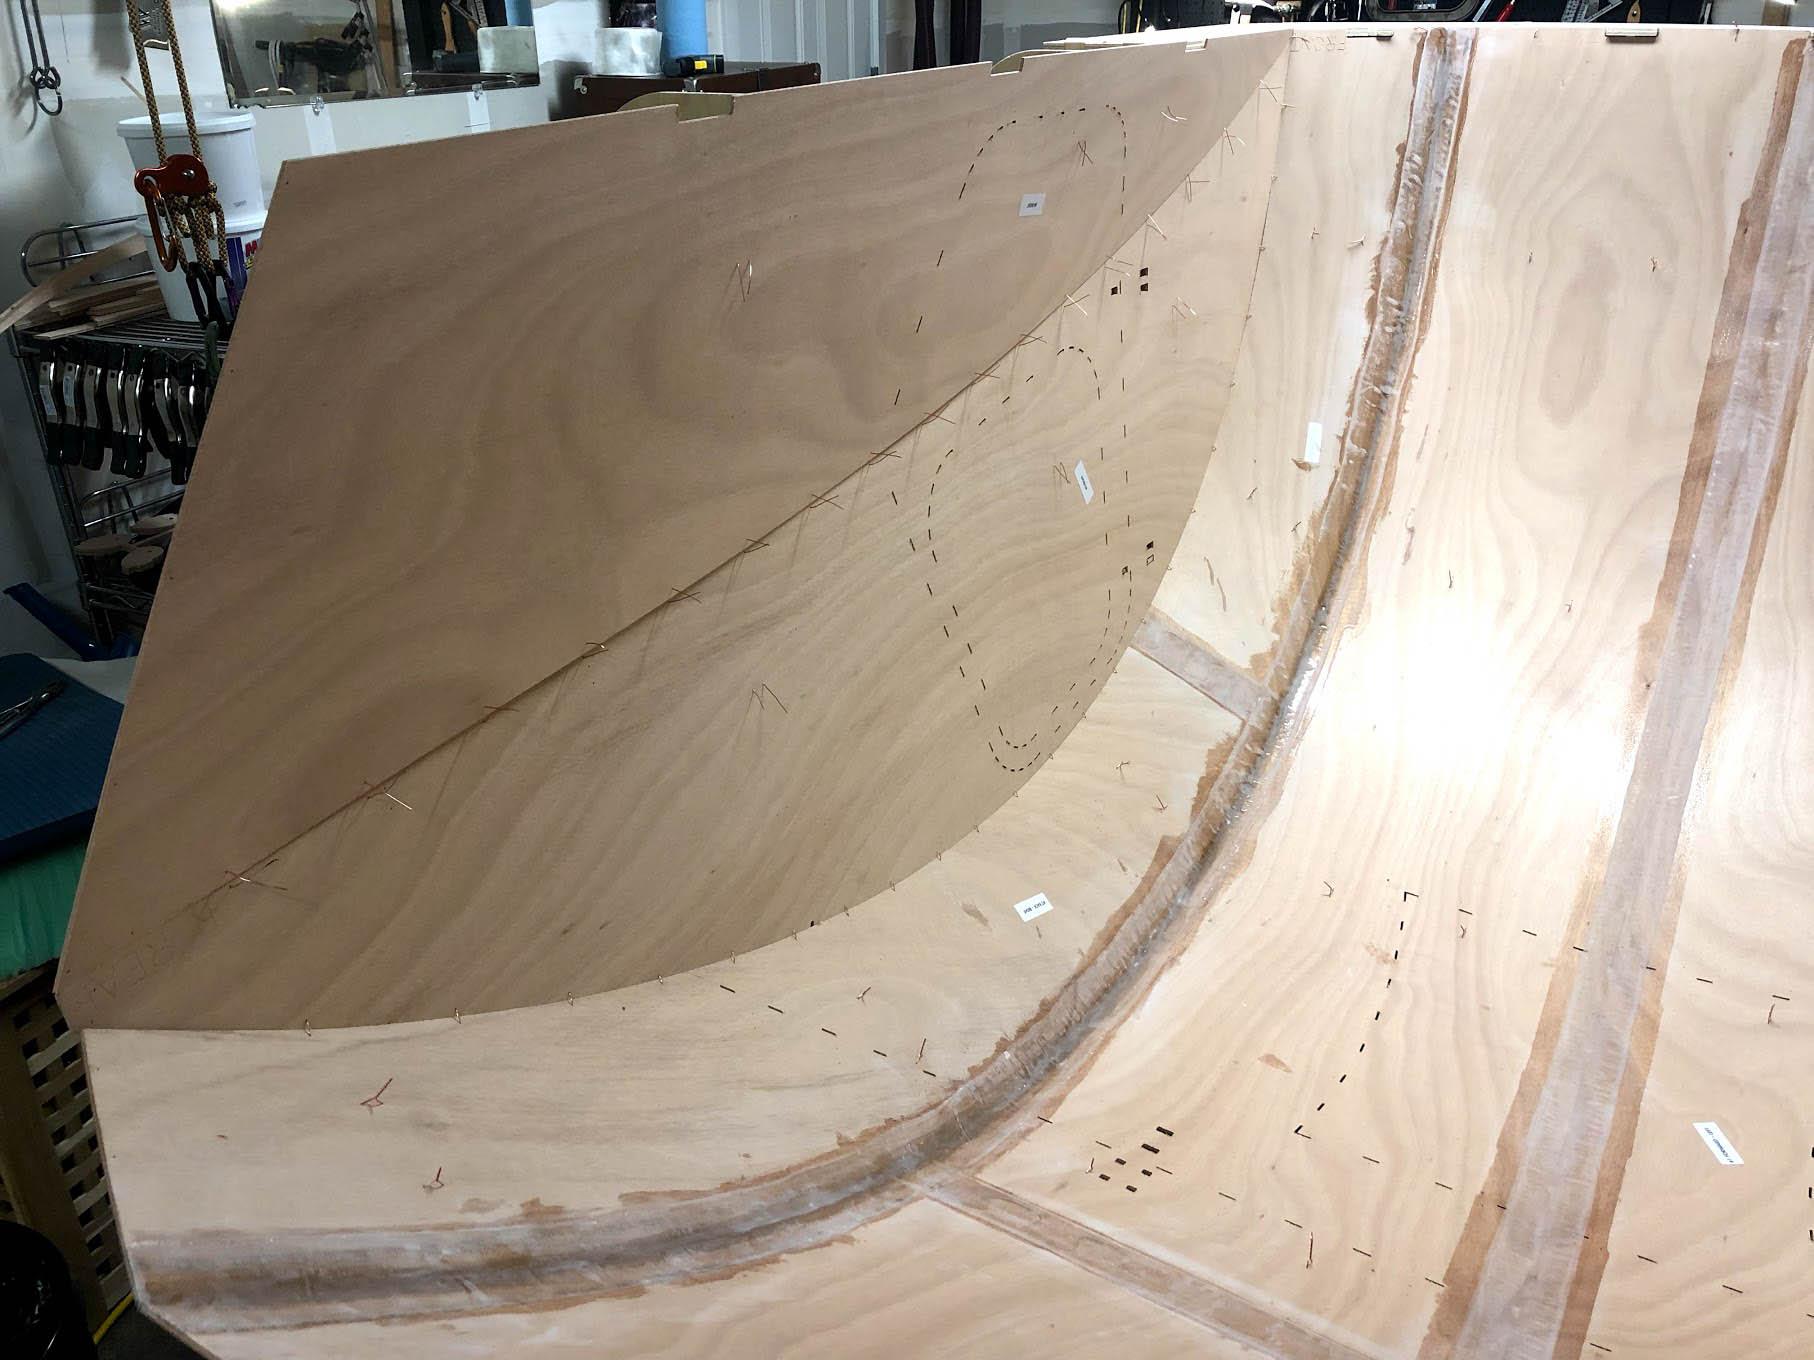

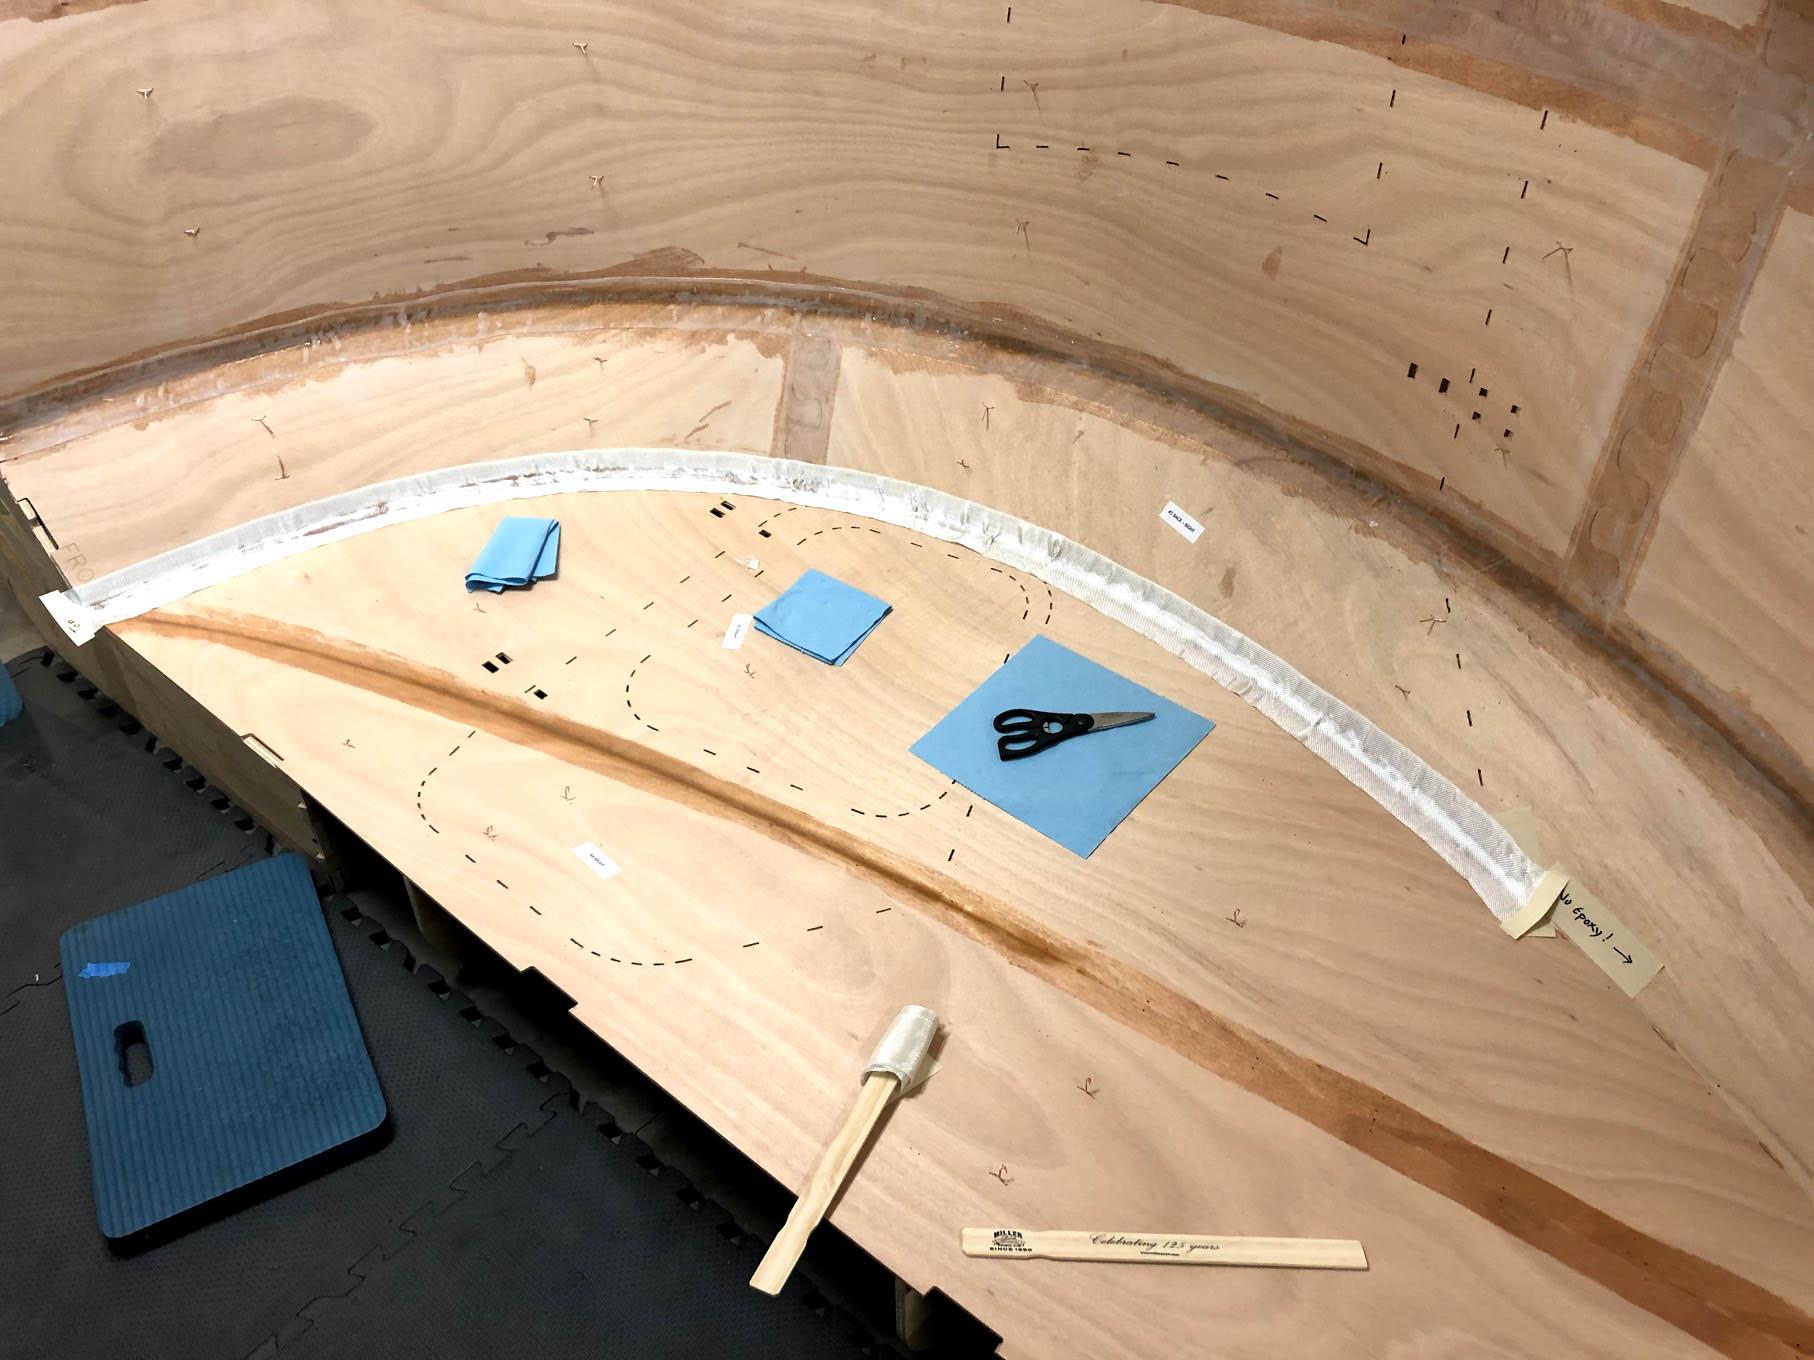

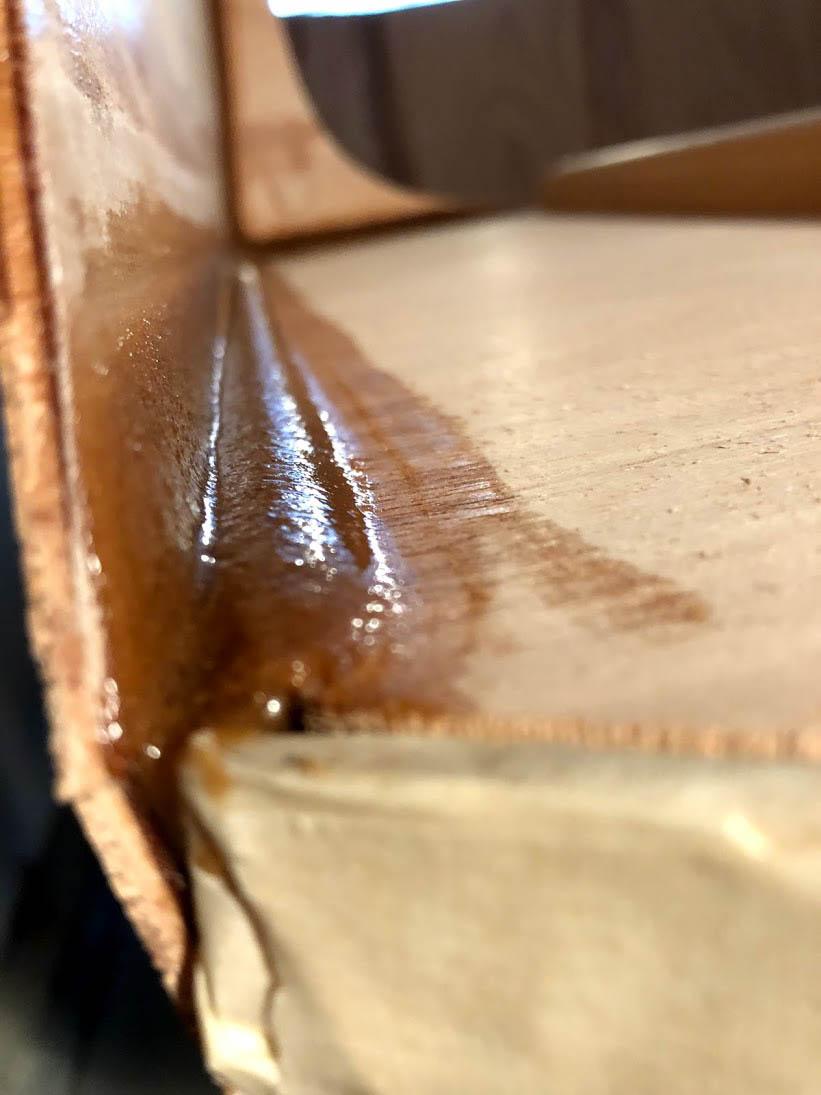
Much better on the fillets this time. Still had issues with my un-thickened epoxy setting too quickly, but that’s just because I was mixing too much at once and wasn’t keeping the environment warm enough. It started gelling and I didn’t get full saturation right above the door. That’s when I went and mixed a fresh batch. Later, I will come back and sand that down more to do some re-glassing. More lessons learned.
Onward to the port side!
February 19, 2018 at 1:56 pm #1666Participant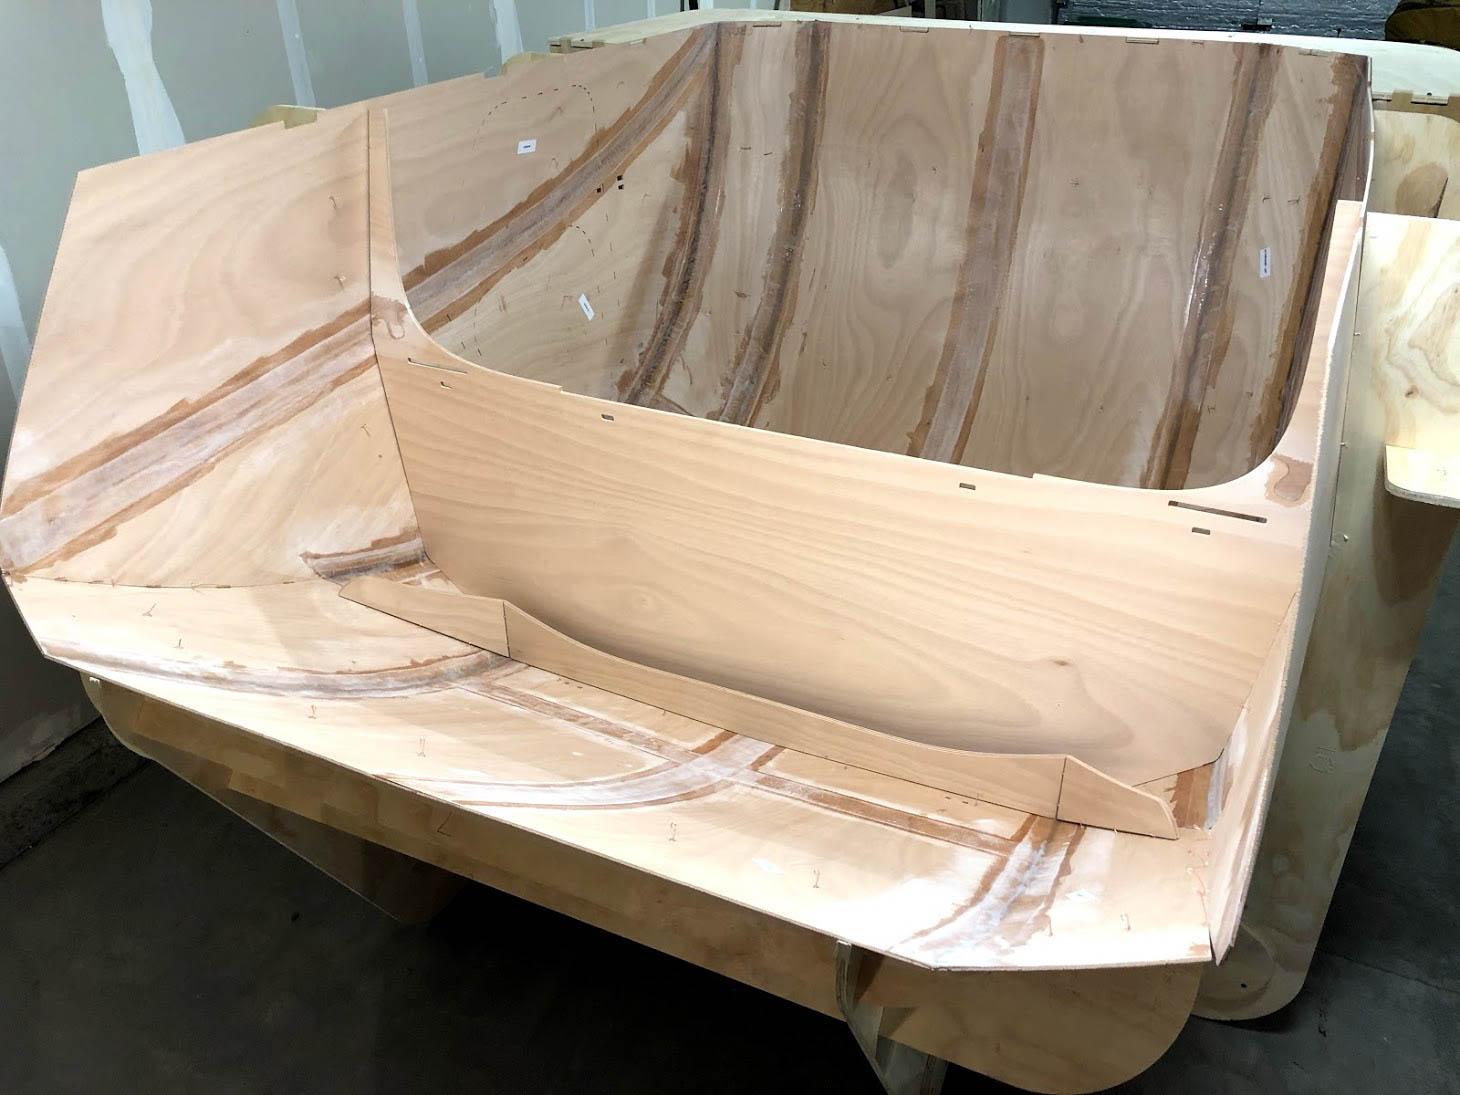
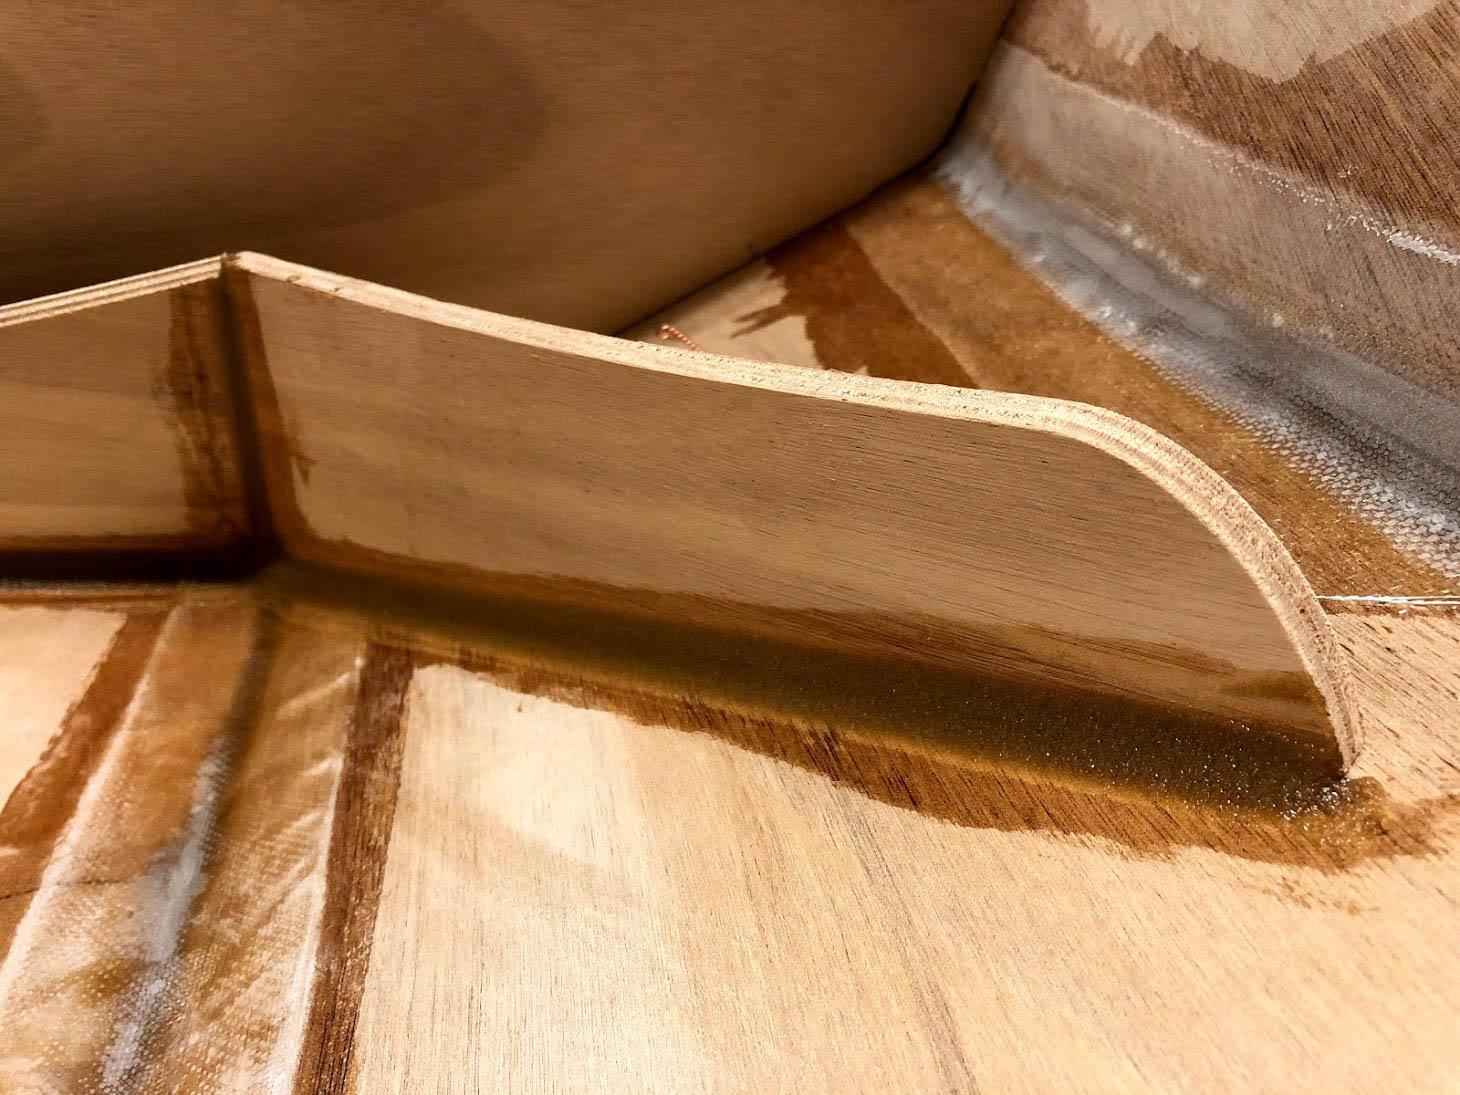
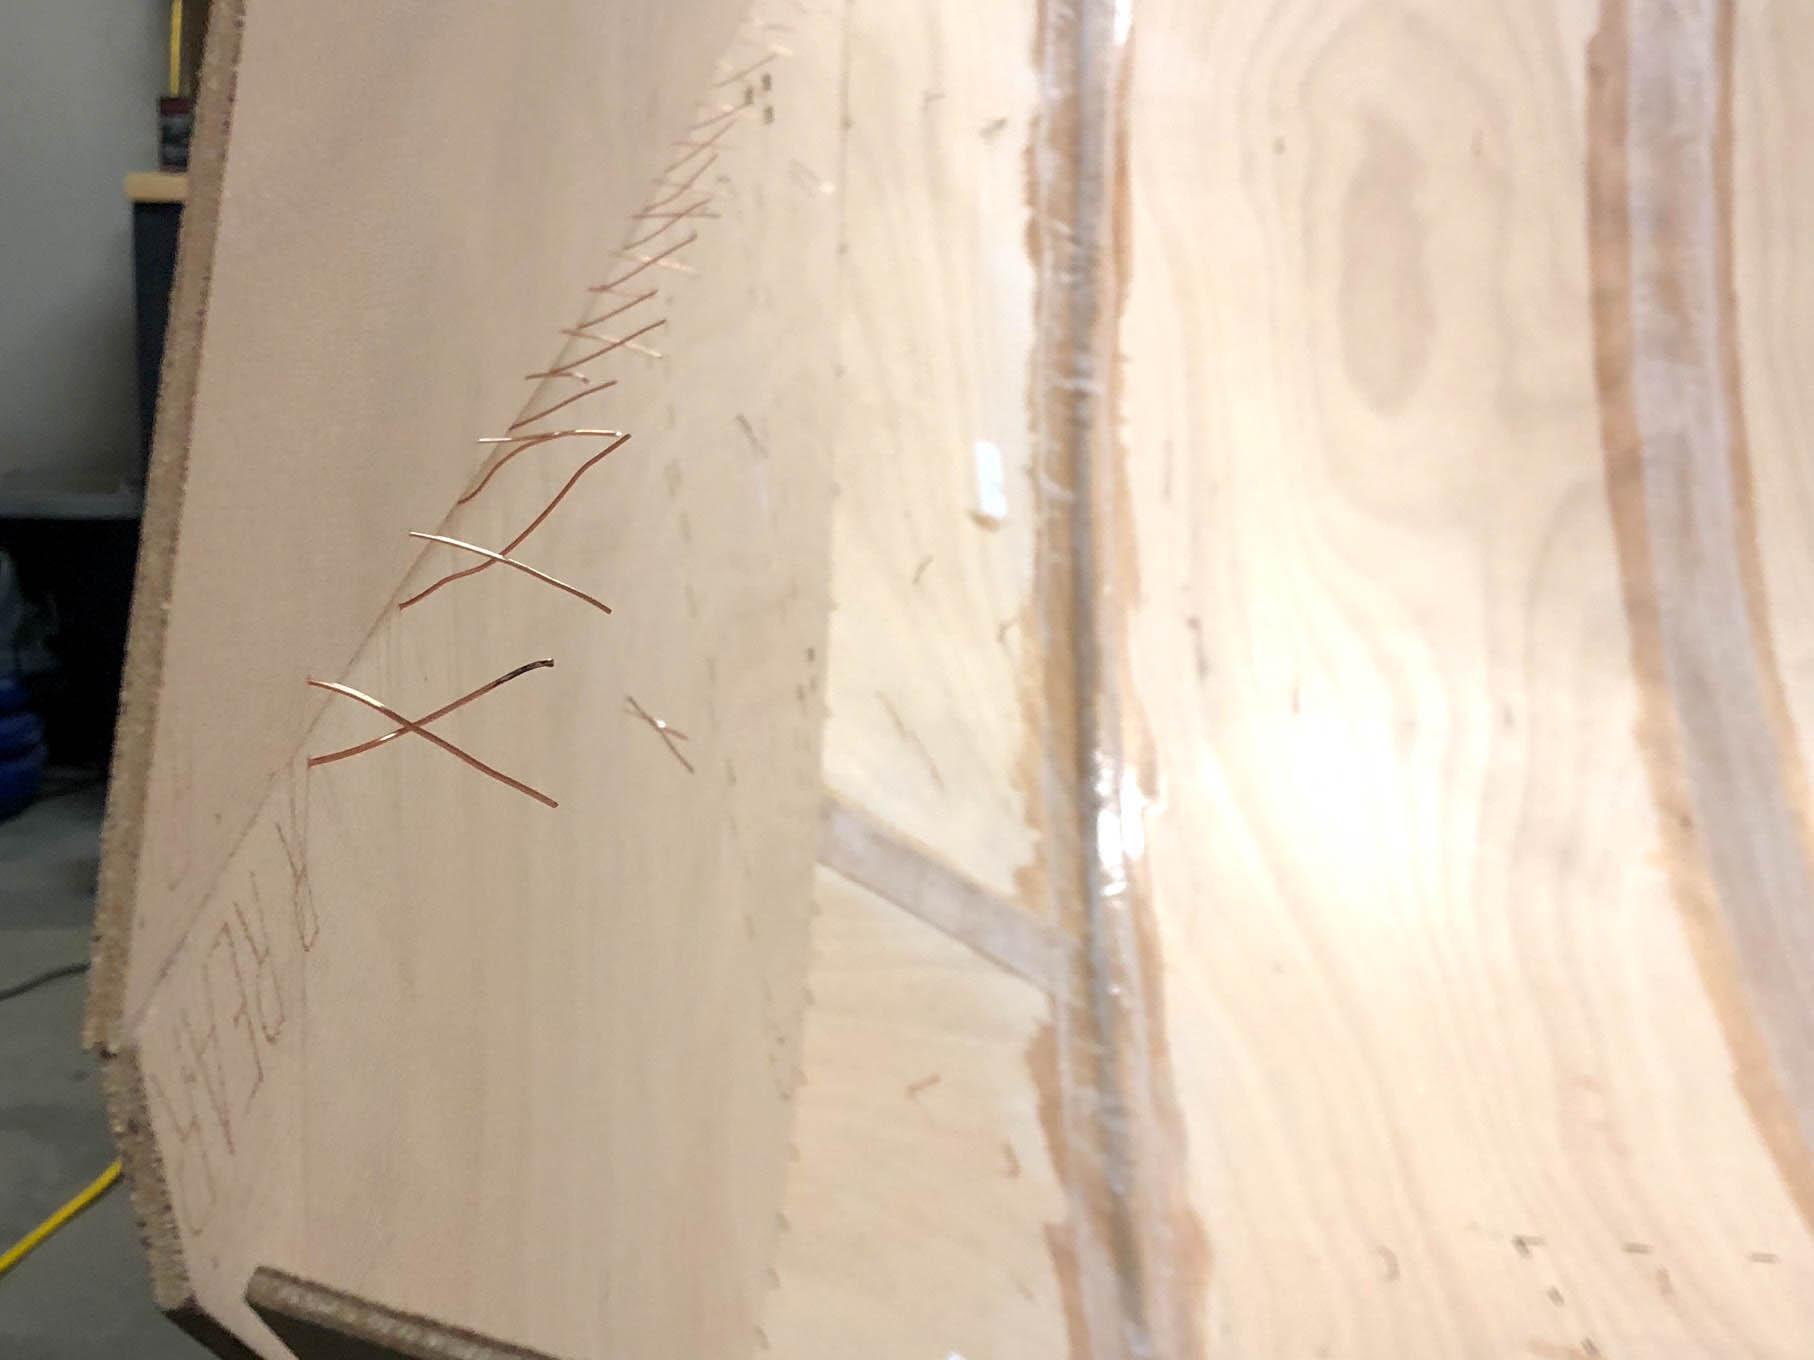
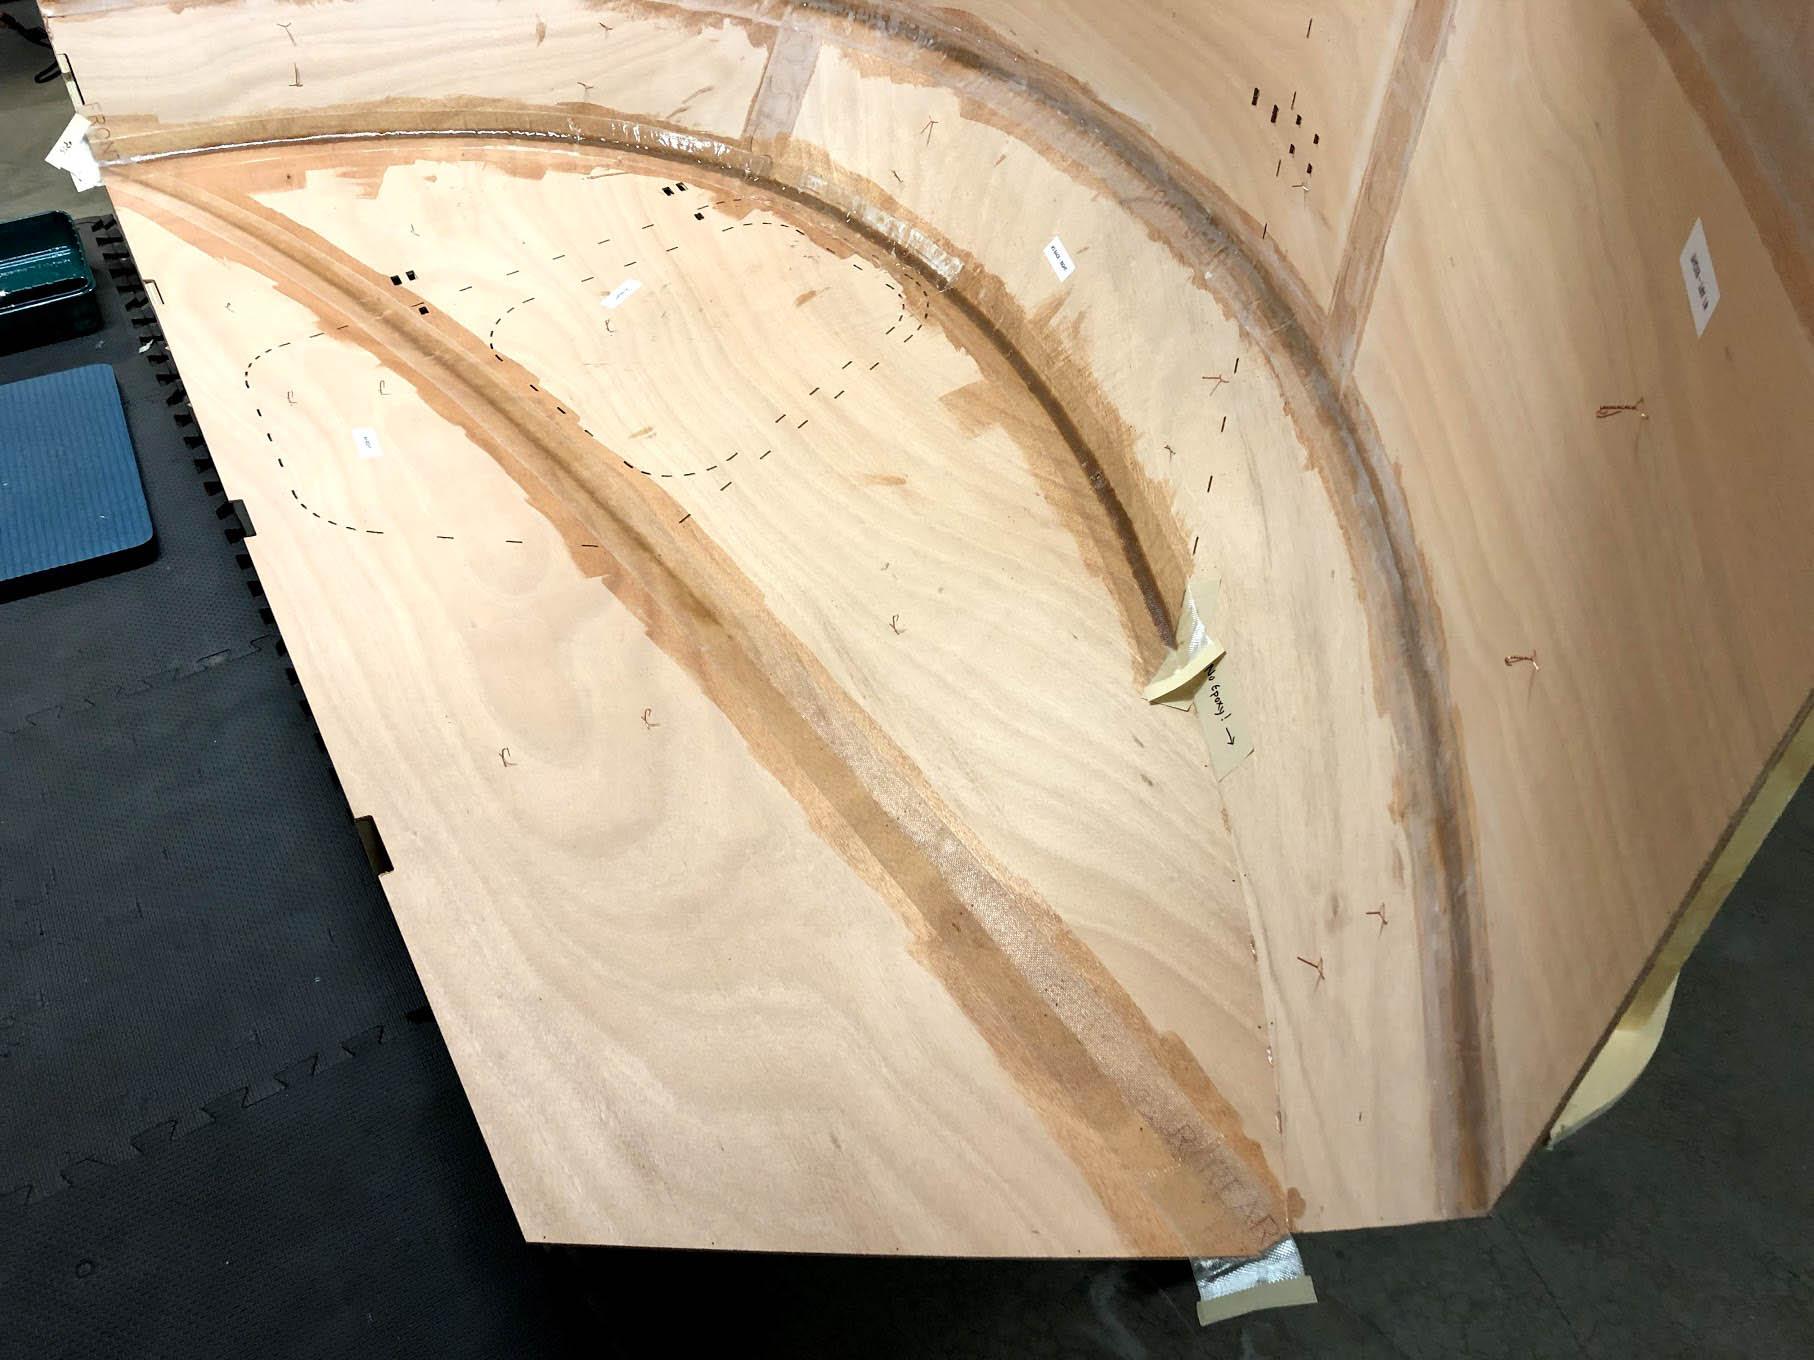
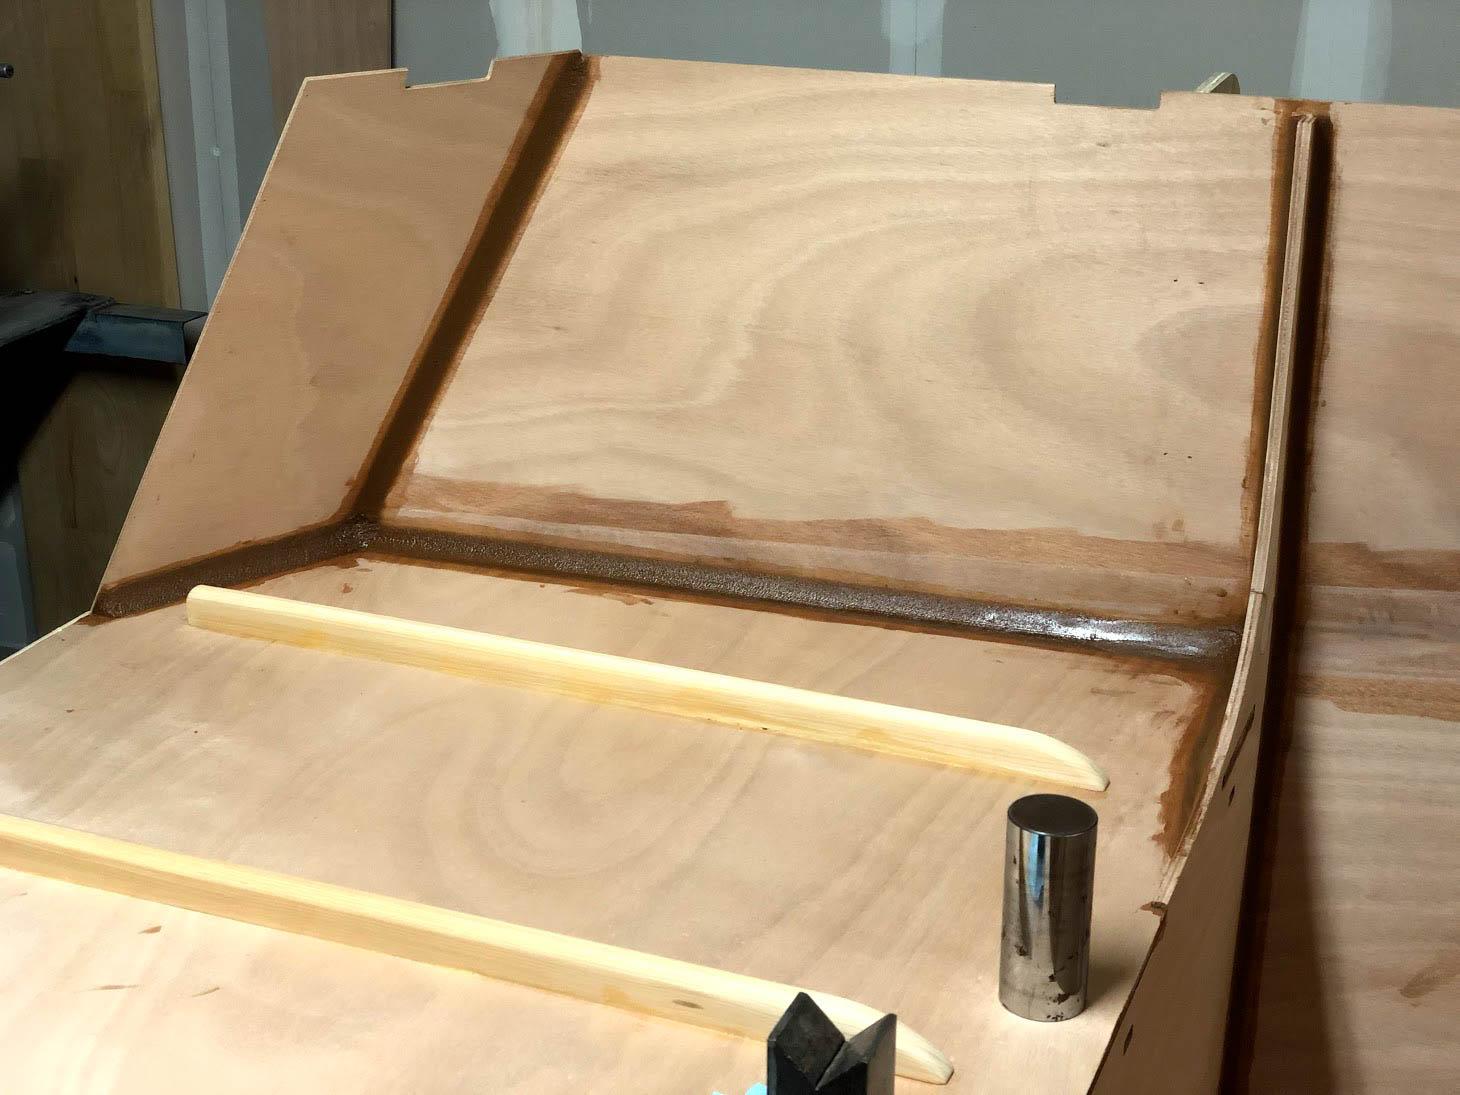
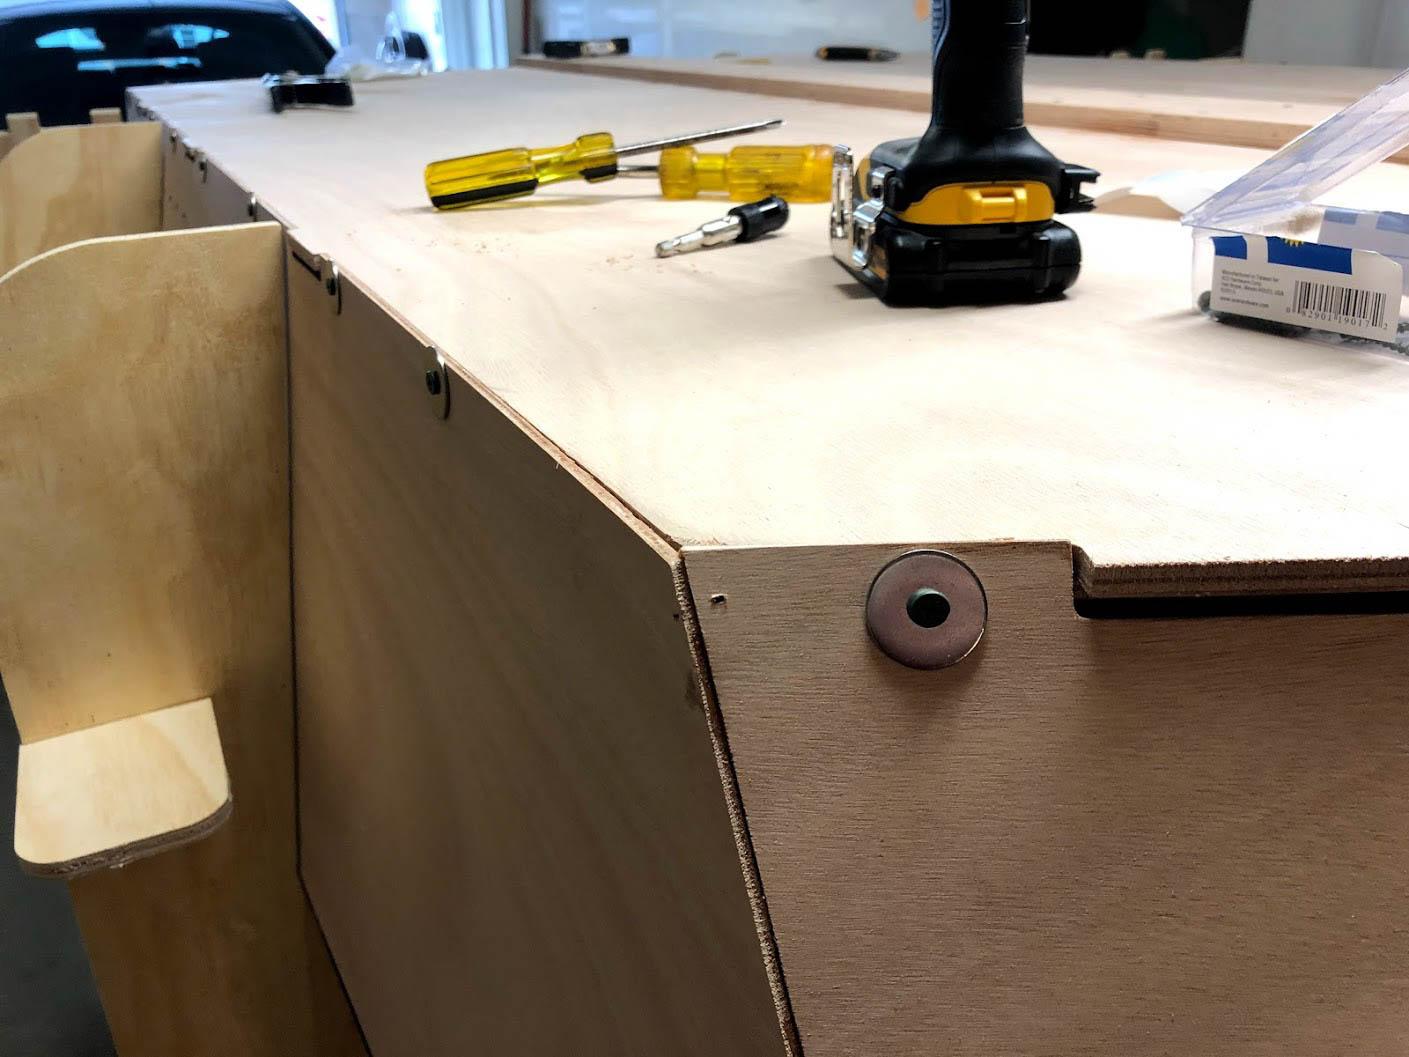
Bulkhead and hatch stiffener epoxied in place. Fillets are looking better and better. Also, I did a nice job filleting and glassing the port-side seams (not pictured). Pre-cutting darts in the fiberglass tape was key.
-
This reply was modified 6 years, 2 months ago by
Dan.
February 19, 2018 at 1:58 pm #1667Participant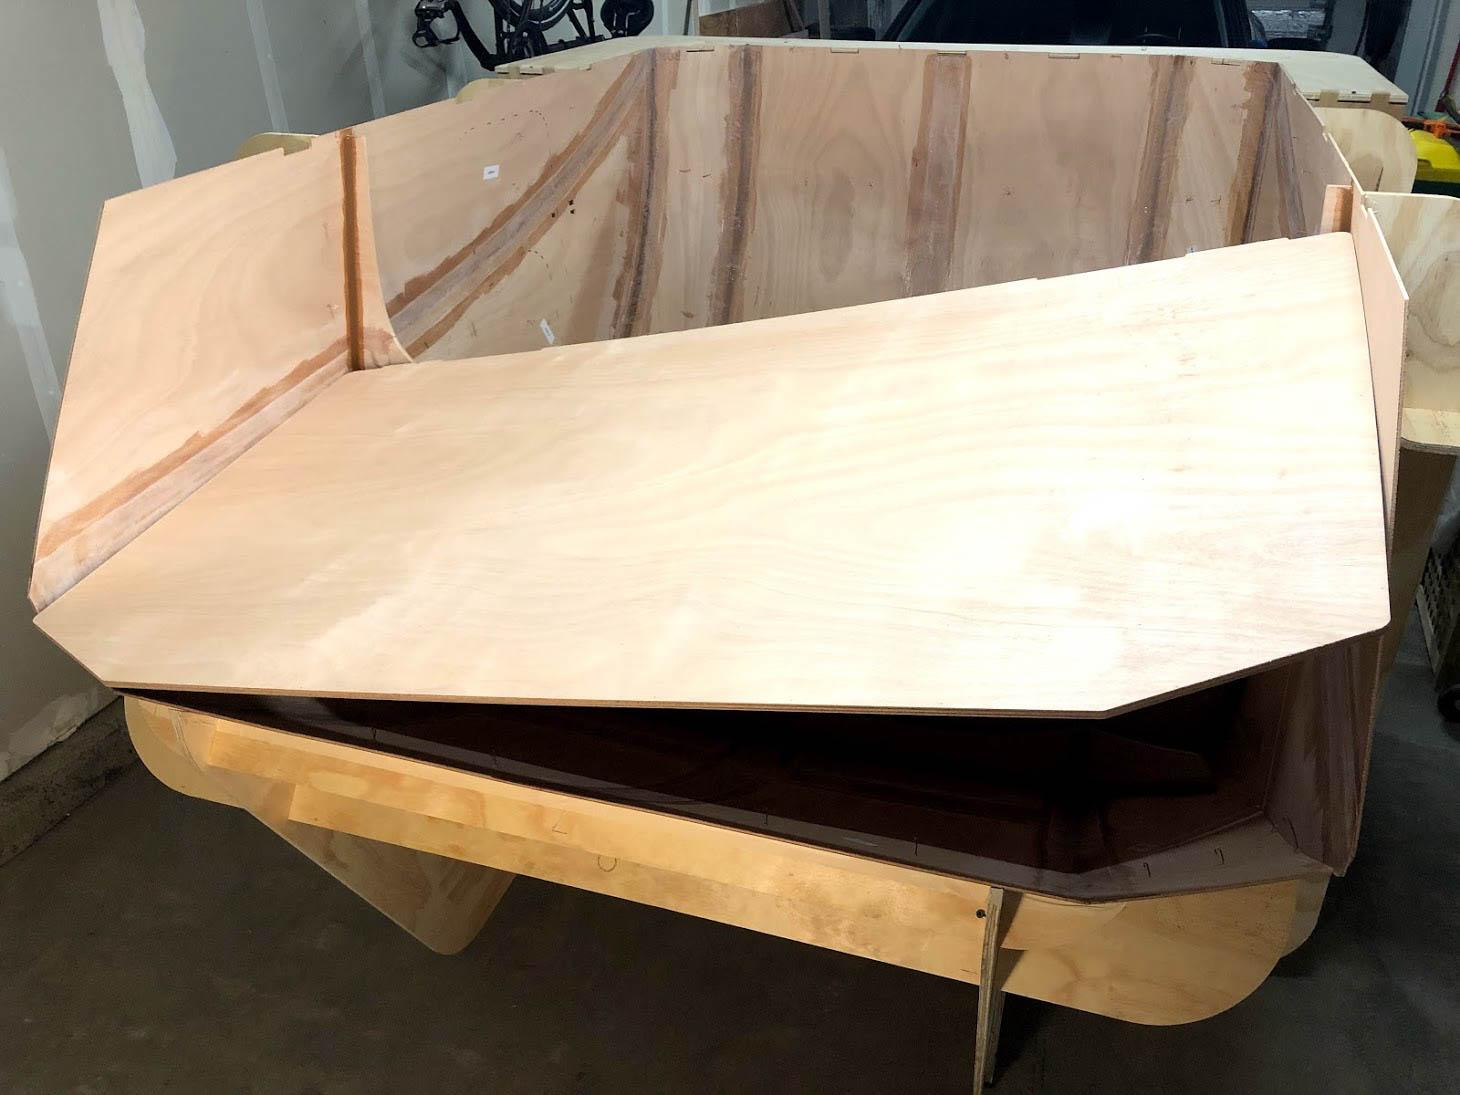
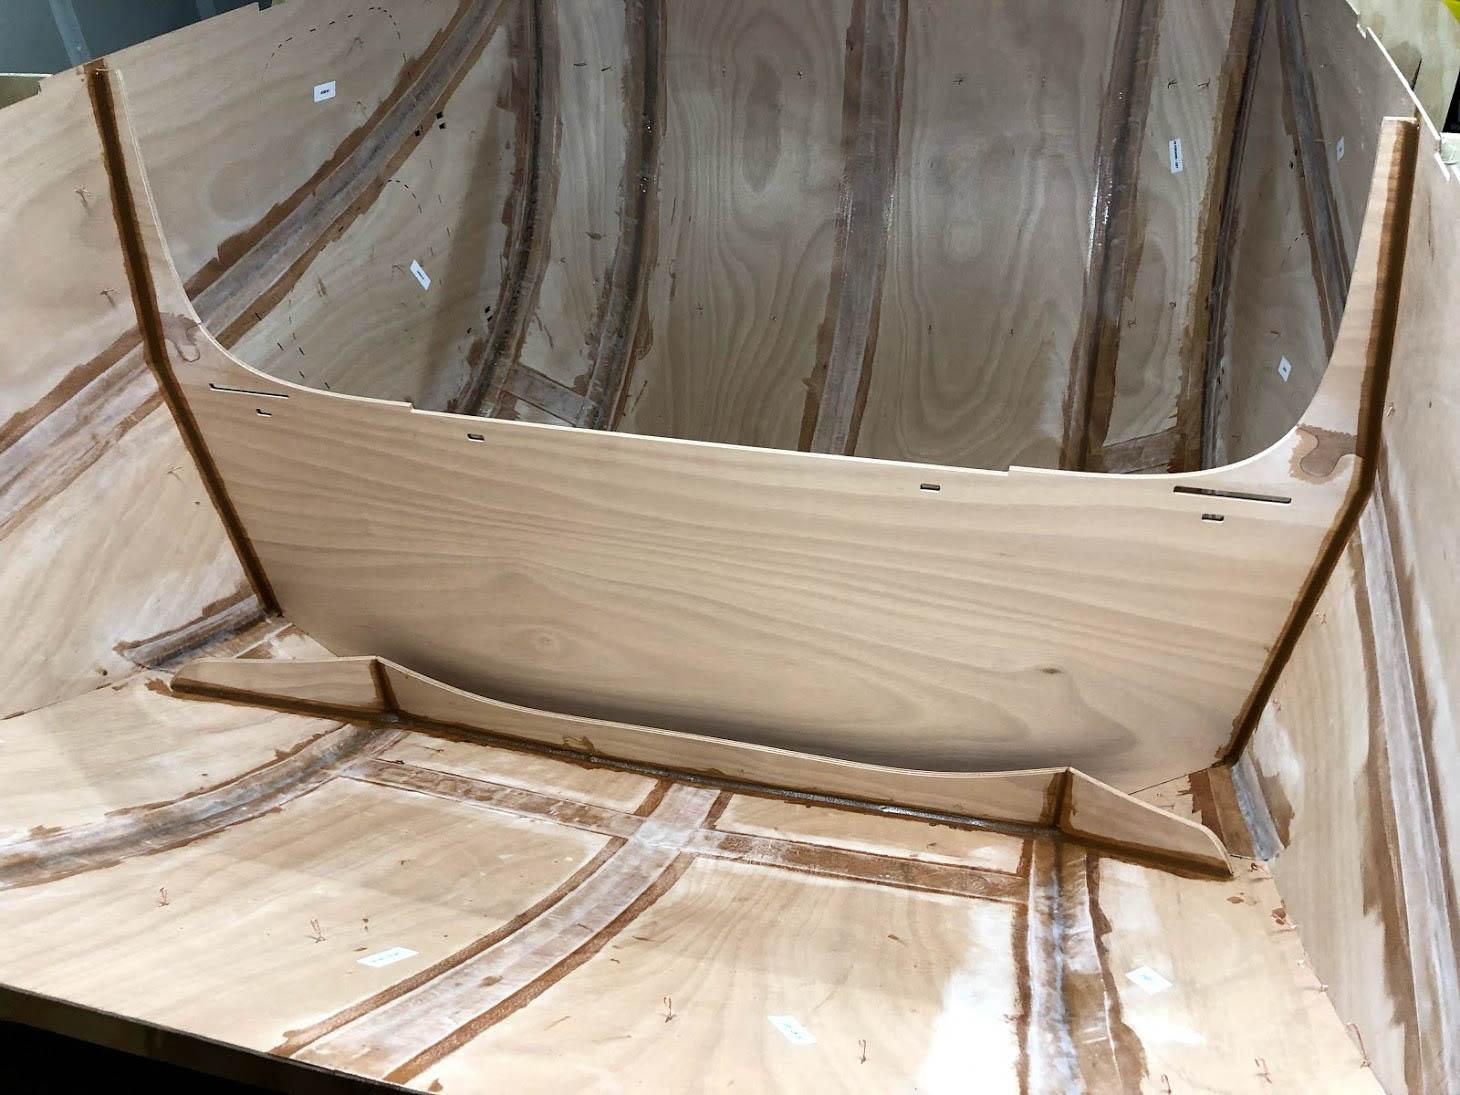
I’m going to have issues getting the galley flat into position. It gets stuck here. Any recommendations?
February 19, 2018 at 6:52 pm #1669faithie999
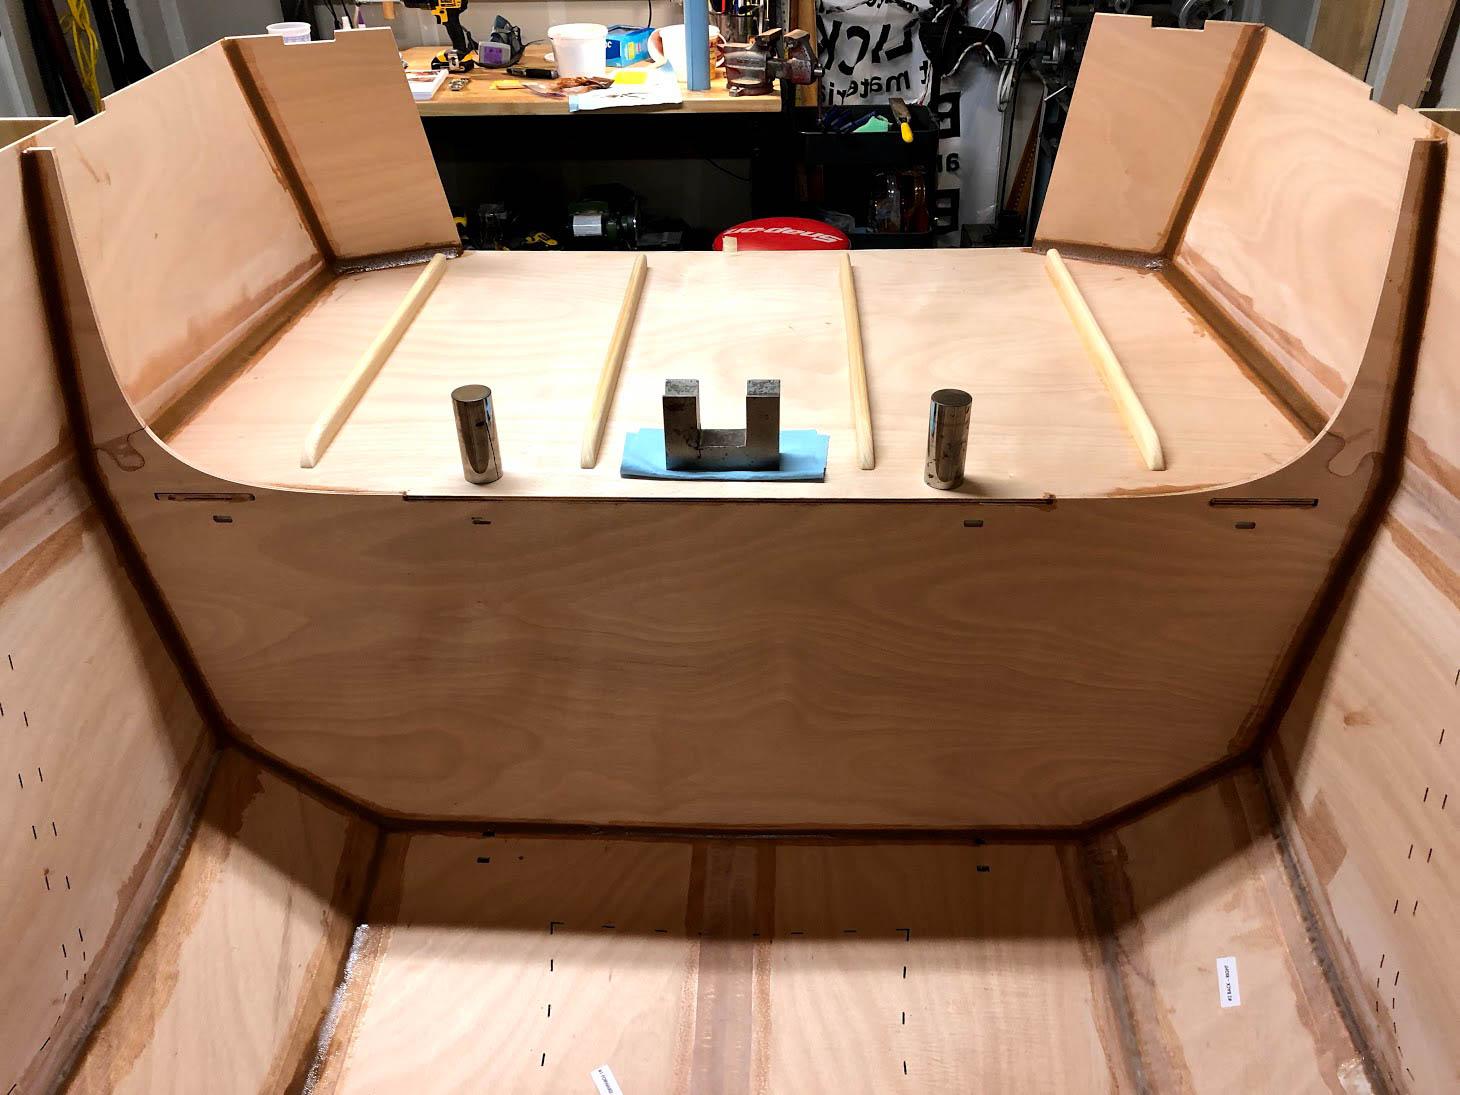
Participantthis is one of the mysteries of the TD build. there are a couple of other threads that address this. there is something about the geometry of the gallery flat relative to the sides that prevents it from going into its location without a lot of force.
when I was dry fitting it, ONE time it slipped into place but I couldn’t reproduce that phenomenon. so, I sanded about 1/16 off each side, which permitted me to get it into place, but then there was a 1/16″ gap on both sides!! go figure!
the good news is that after applying the fillets, top and bottom, the oversized gap was filled and all was well.
ken
February 19, 2018 at 7:14 pm #1670abrightwell
ParticipantI had about the same experience as @faithie999. Except, I got it to magically slip in twice, once for a dry fit and once for the final install. Don’t ask me how it happened, because I have no idea. Interestingly enough, despite the difficulty I had trying to get it in every other time, once it was in, it was a loose fit. So much so that I was a bit concerned about the ‘peanut butter’ ending up on the other side… so I made it a bit ‘thicker’ for that fillet. 😉
February 20, 2018 at 5:45 pm #1671ArtisticAdam
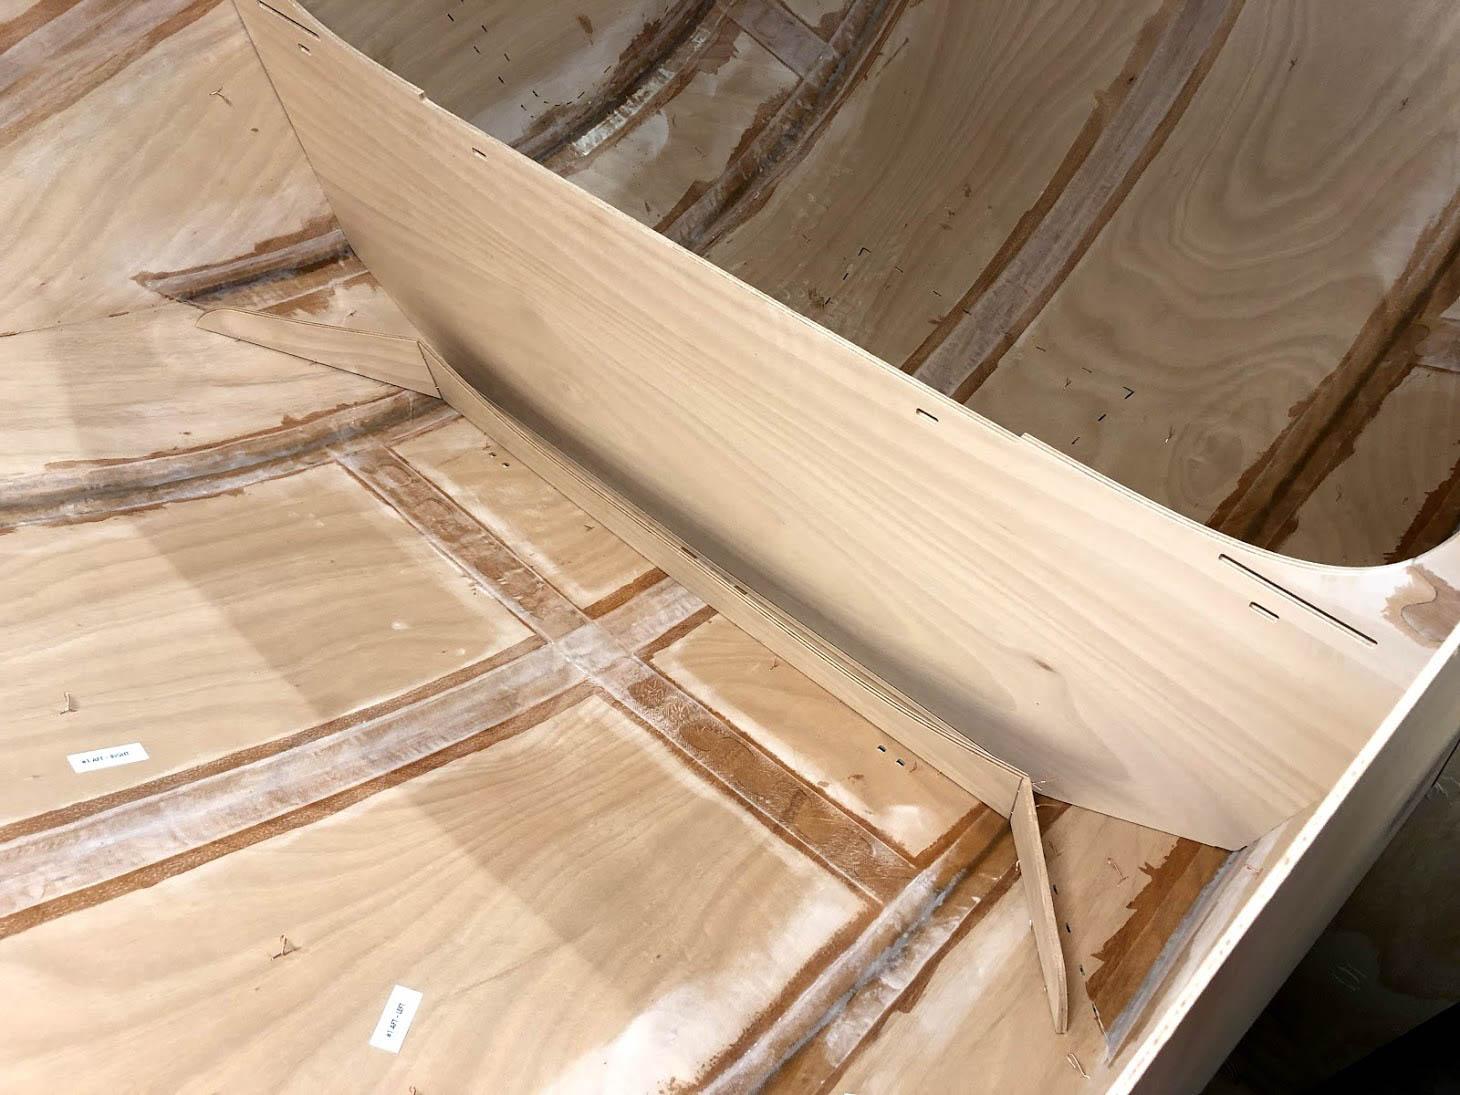
ParticipantI only needed a little bit of tweaking/sanding maybe 1/16 on one side of the galley flat. This was mainly due to some extra thickness caused by my taped seam. What I learned is #1 DON’T force it or you risk the veneer on the bottom of the galley flat blowing out. #2 make sure you take out any copper stitches that my be in the way…I took a few extras out of the side so the shell could flex a little more. #3 lift the lower side of the galley flat about 1in from where it is in your picture. Have it sit at the apex of the glass joint (the widest spot of the shell), then slip the higher side down.
February 26, 2018 at 1:56 pm #1676Participant
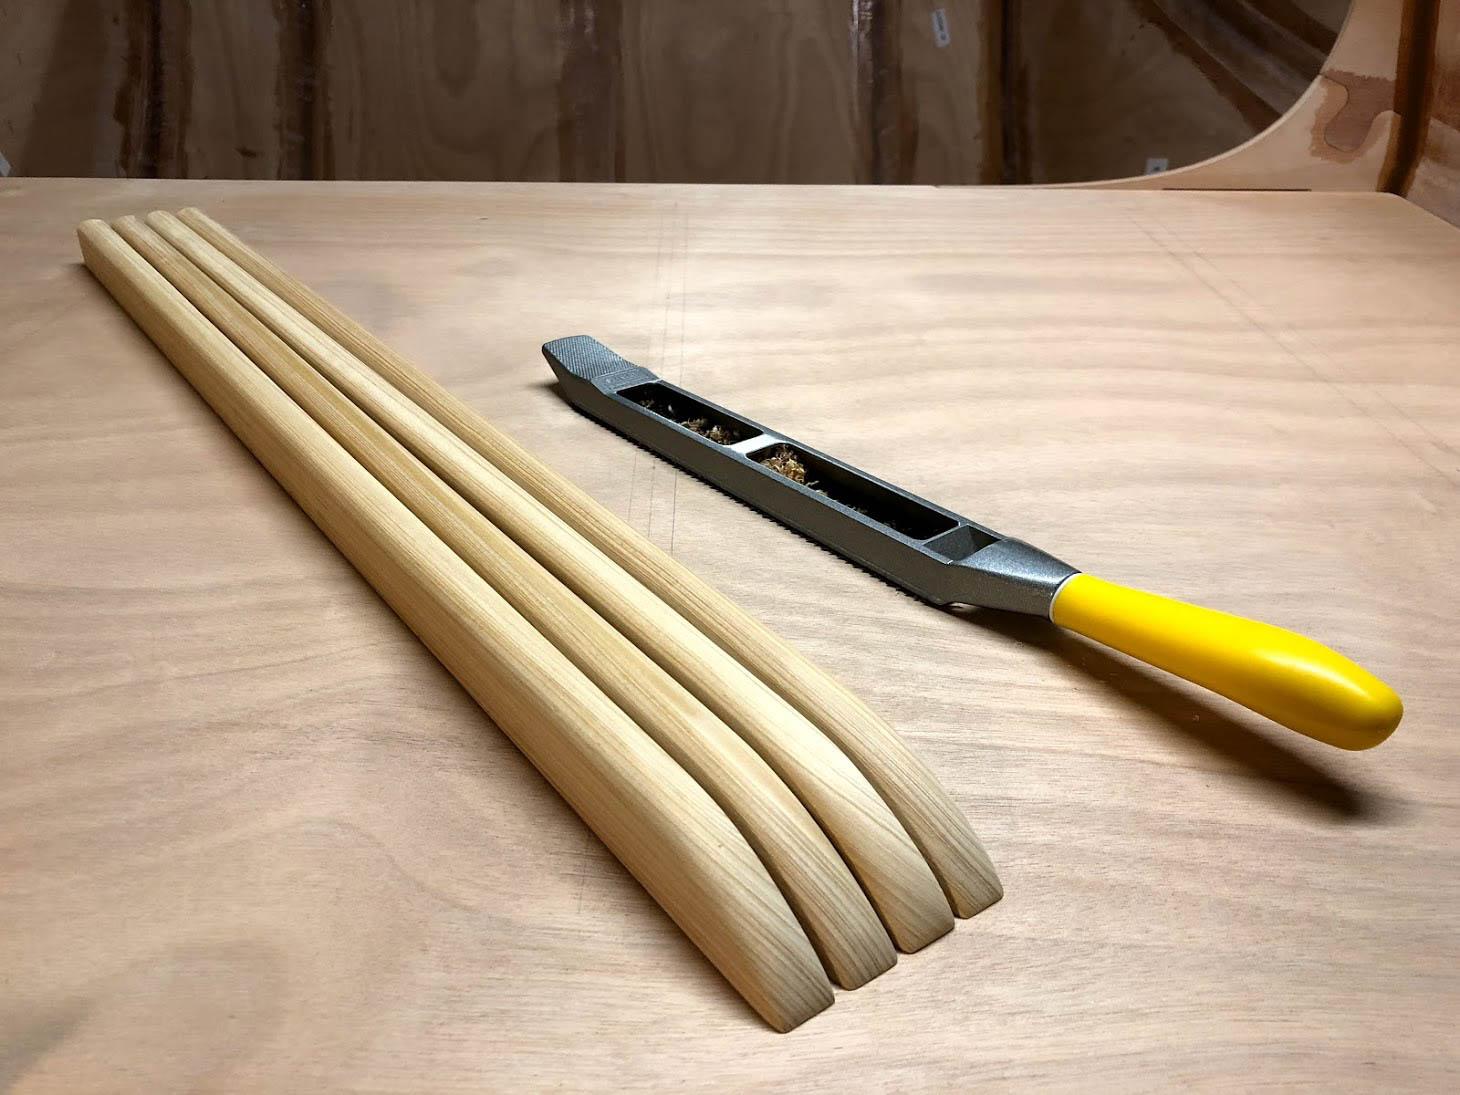
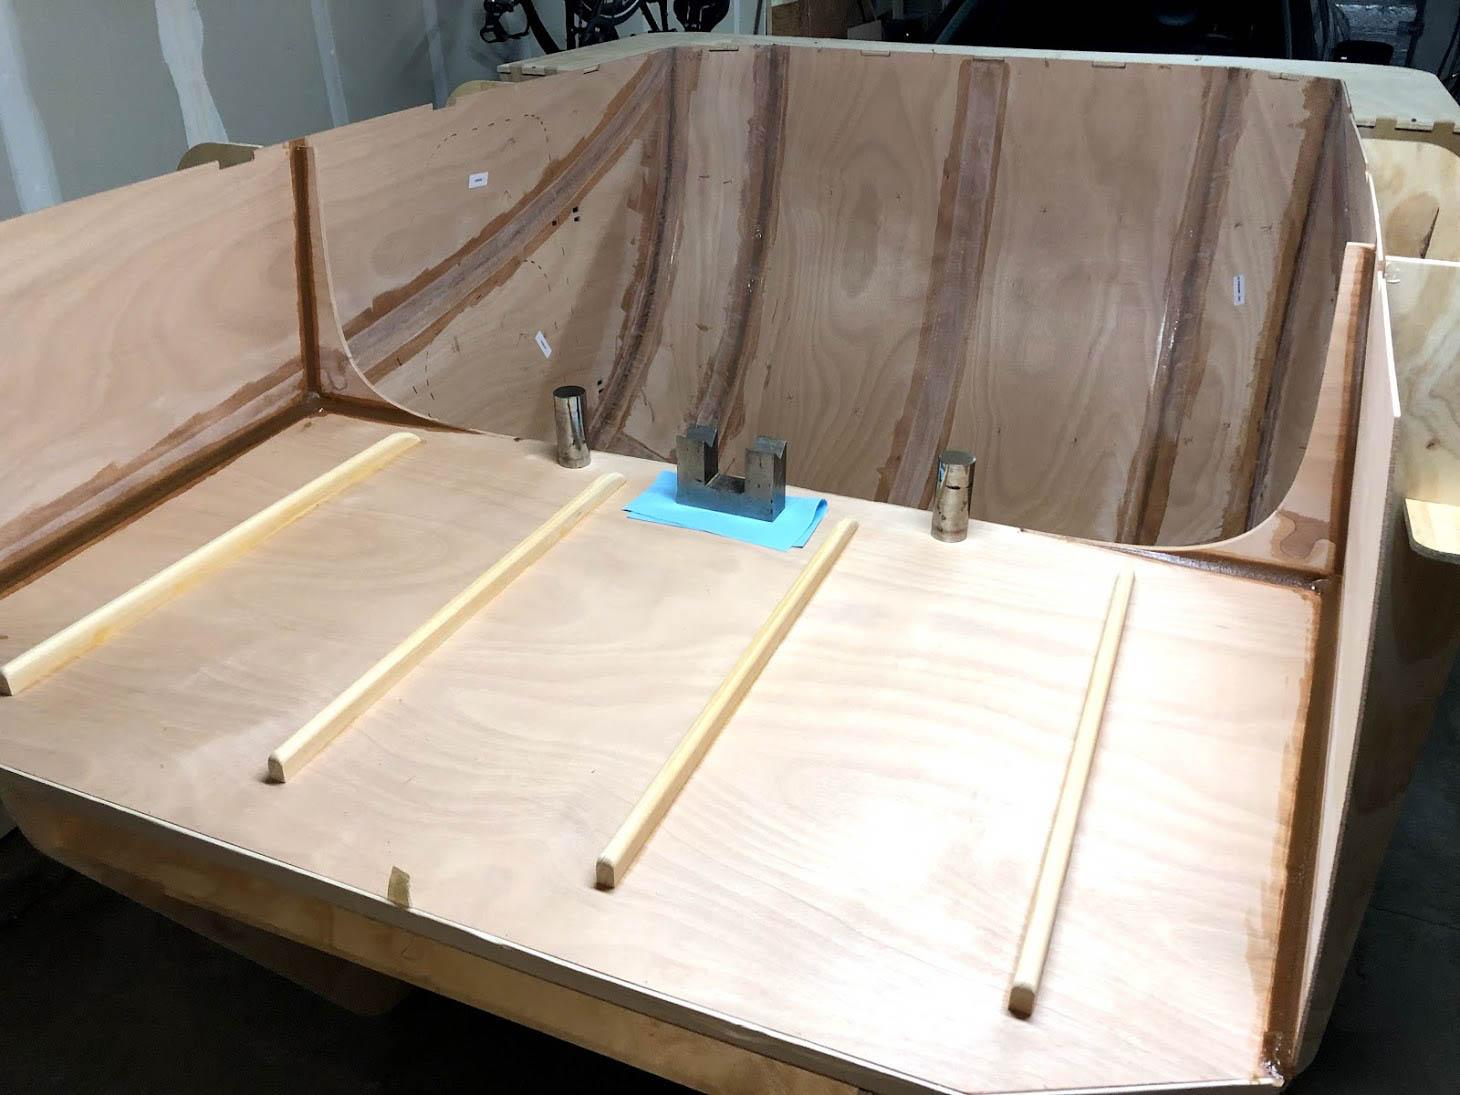
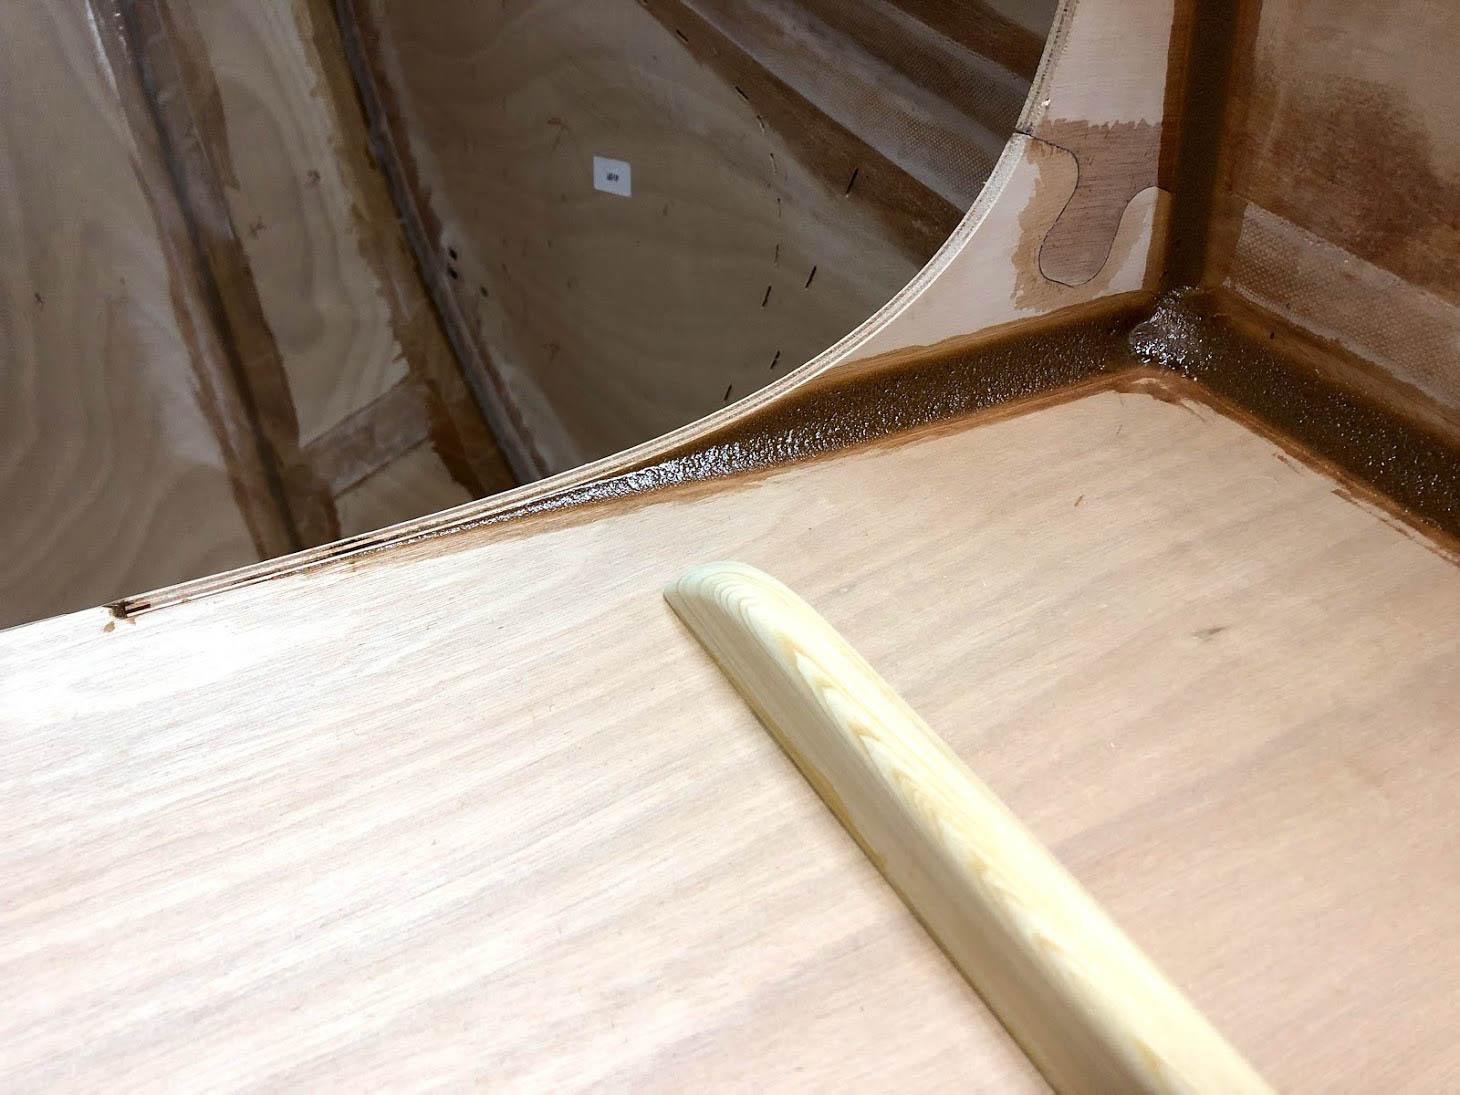
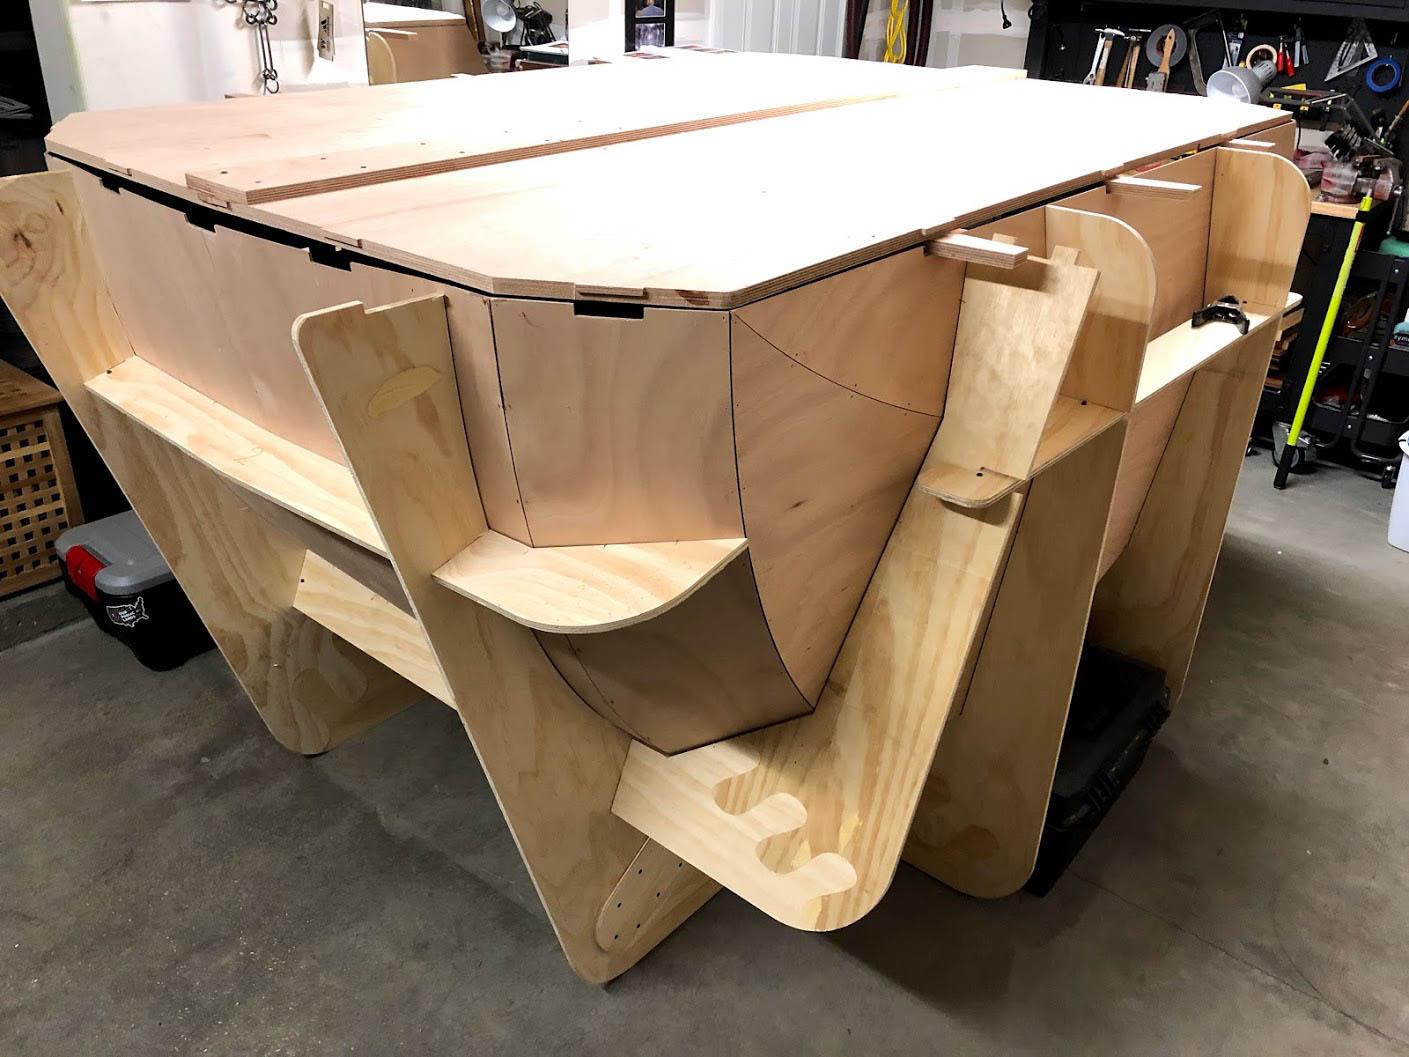
Laid up the galley flat this weekend. Thanks to my dad for routing the stiffeners for me! I then took those and aggressively rounded the cabin-facing end on my little disc sander. They’re just stuck down with wood glue which should be stronger than the wood itself, so that’s fine.
I ended up figuring out how to get the galley flat jammed into place without any trimming. There was even a bit of a gap on the starboard side. This sucked up a lot of thickened epoxy from my fillet, so I came back later and added more after the first batch had mostly hardened. I imagine I’ll have a bit of a mess when I get access to the other side.
As all the new fillets were curing, I finally unpacked the floor panels. So heavy! I should get that put together this week and installed next weekend. Stay tuned!
February 26, 2018 at 5:04 pm #1678ParticipantI like the round over on the stiffeners. Looks good.
Yeah, my galley flat didn’t require any modifications either and I also found it to have a bit of a gap. Despite having made the epoxy a bit thicker for those joints, a good amount ended up on the other side. It wasn’t an easy clean up, but it wasn’t a disaster either. A heat gun + scraper made short work of it, of course it required a careful application.
Heh, the floor is most certainly heavier than it looks, IMO. I had to solo it up on to the shell, I don’t recommend that approach. 😉
It’s looking good, can’t wait to see more.
March 1, 2018 at 3:01 pm #1684Participant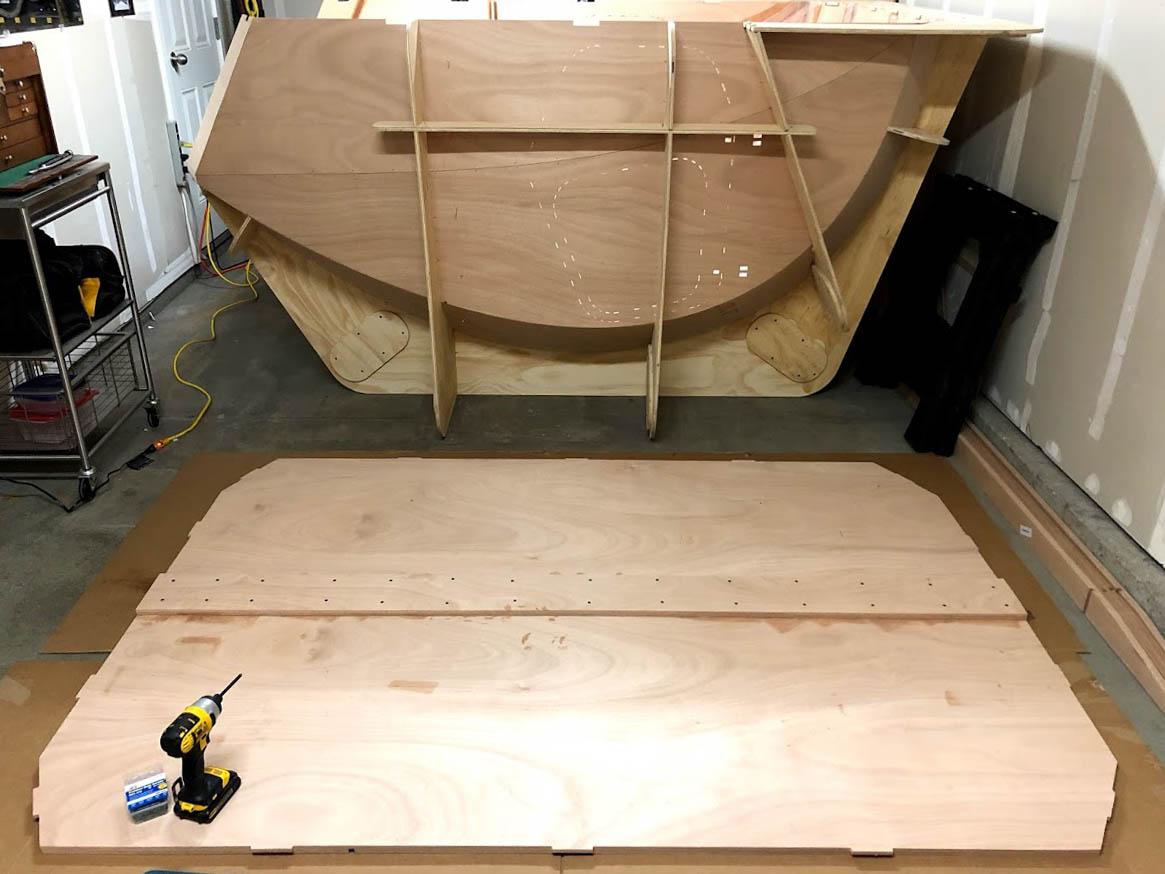
Got the bottom assembled. I am more excited to install this than any other part of the project so far. This is where it starts to feel like a real thing.
-
This reply was modified 6 years, 1 month ago by
March 2, 2018 at 9:41 pm #1689Participant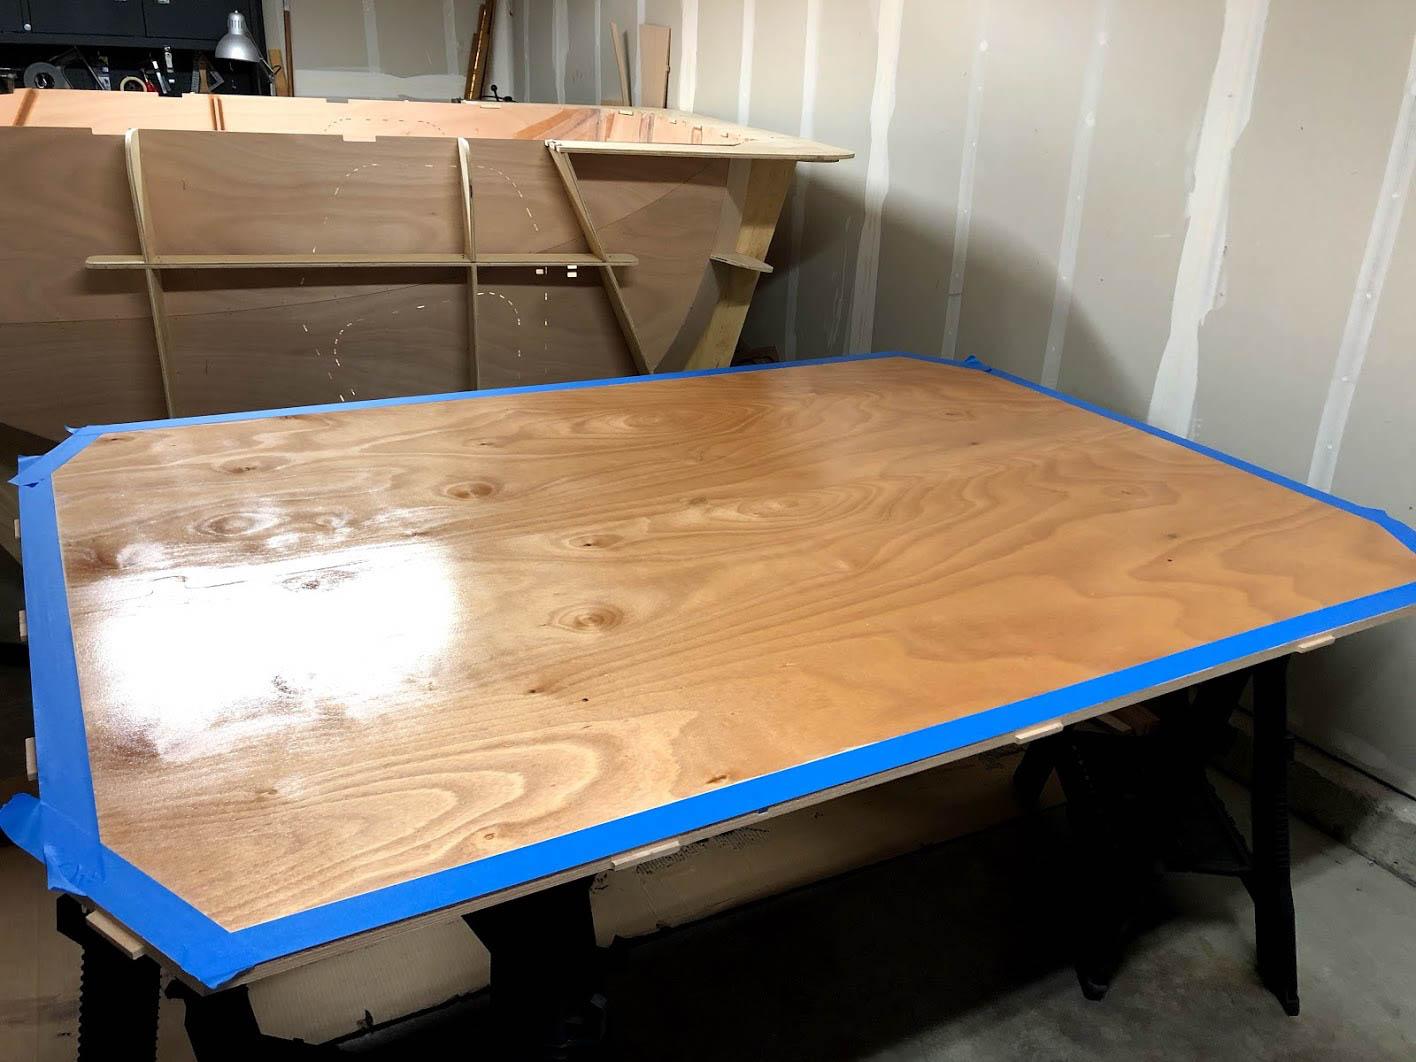
Not the best finish, but acceptable. I’m using rollers intended for non-sticky paint. They tend to introduce little bubbles in the sticky epoxy where they would leave a nice smooth finish with a latex paint. Still much to learn about epoxy. I’ll definitely be ordering some rollers rated for epoxy.
March 4, 2018 at 8:47 am #1690ParticipantI’ve been using these and they have been working great. to knock out any bubbles/smoothing the epoxy, I just take a standard foam brush and tip it out after rolling. The first coat was never smooth for me (and I don’t tip the first coat) since it tends to raise grain, etc, but after a quick hit of 220 paper and second or third coat rolled and tipped, it tends to be very smooth and minimizes the amount of prep sanding I have to do for a finish of varnish or paint.
March 5, 2018 at 12:44 pm #1692Participant
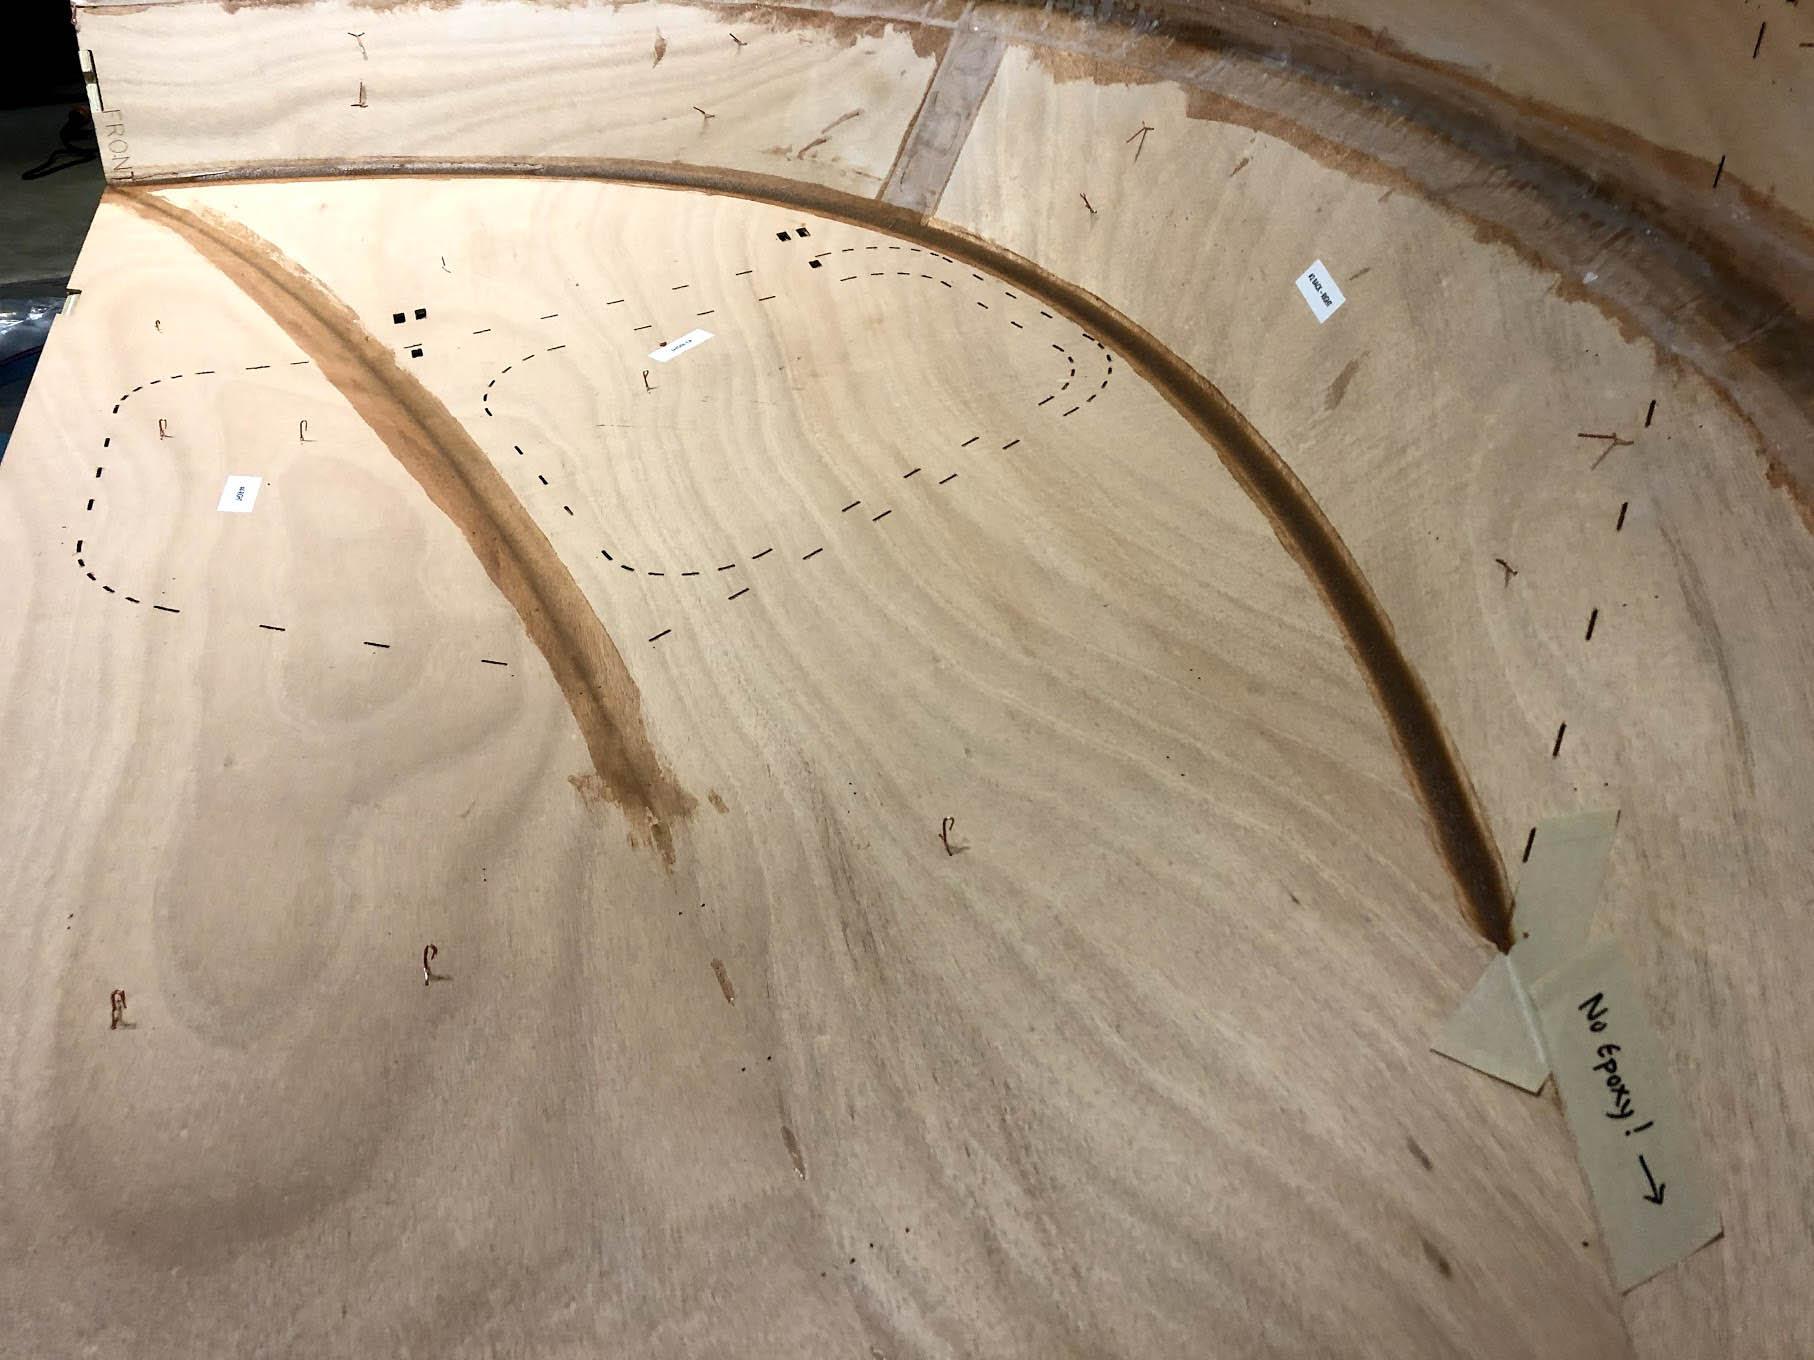
Epoxied the under-galley area. Sanded the floor. Lifted the floor into place. Trimmed the floor. Screwed the floor into place. Finally ready to flip this thing over.
I was left with some gaps in the forward corners. Those will just get taped on this side and then filled with thickened epoxy from the other side. The whole thing will be encased in fiberglass, so I’m not worried.
March 5, 2018 at 4:03 pm #1693Bob D.
ParticipantI would and did fill in with peanut butter. Later sanded a rounded edge where the router couldn’t quite finish the job, and of course glassed the bottom.
March 5, 2018 at 5:17 pm #1694ParticipantGreat progress, installing the floor was an exciting part for me as well. Once I flipped the camper right side up I couldn’t wait to crawl inside. I would agree with abrightwell the FoamPro 103 3″ rollers are great and well worth the higher price. My first mistake with the build was using different rollers, the “pink ones” that left hairs behind. I had to pluck them out one by one before the epoxy set. I have used 6 rollers so far and only just finished the first fill coat of epoxy after glassing the entire shell.
-
This reply was modified 6 years, 2 months ago by
-
AuthorPosts
- You must be logged in to reply to this topic.