Forum Replies Created
-
AuthorPosts
-
PatandRay
ParticipantI am curious about your solution to your door leak. Our doors don’t leak but the are not flush with the body. I am frustrated enough that I am looking for ways to rebuild the doors.
We did solve the mushroom vent leak with weathstripping.
ParticipantWe put LED lights under the eyebrow. Sometimes we call it the porch light and sometimes we call it the lightshield. The outside lights and the smoke “glass” seem to work.
ParticipantThe 3M seems to be finer than 120 but cuts epoxy better than most sandpapers we have used. Because of the cutting feature, you do not want to apply a lot of pressure. With easy pressure you can get an even look of grey across the epoxy and the varnish job was the easiest yet.
Another non-conventional tool we have used was neoprene as an applicator for epoxy and also a tipping tool. We were desperate and could not find a good tipping brush when we tried it. I do not have the specs on the density but it is a pretty fine grain and about a half inch thick. We can buy it locally by the foot off a 2 foot wide roll.
ParticipantAfter we built the teardrop we built a kayak. Before we went into the varnish layer, we went over the epoxy with a 3M green abrasive pad very gently. With that we obtained the most uniform epoxy surface yet. It was a very uniform grey. Varnish went on much easier than before but we mostly attributed that to the temperature.
ParticipantThere is a penetrating, two-part product called Smiths. There is a boat builder near me that uses it. It would stabilize the wood fiber without adding “bulk”.
ParticipantWe made an opening in the floor of the td to access the battery compartment. The battery compartment was built into the trailer between torsion axle wheels along with two storage compartments that ran from side to side.
That being said, we have had technical difficulty with the trailer and are searching for alternatives.
We really needed the storage as we have done two long journeys, one of 99 days and one of 115 days on the second. We used a memory foam mattress that did a very good job of filling the floor space. If we REALLY had to get to the battery, we could have done it. It would not be easy. For that reason, underfloor storage really is not an option for items that we will want to use with any regularity.
Whatever you decide, keep your bedding selection in mind.
 Participant
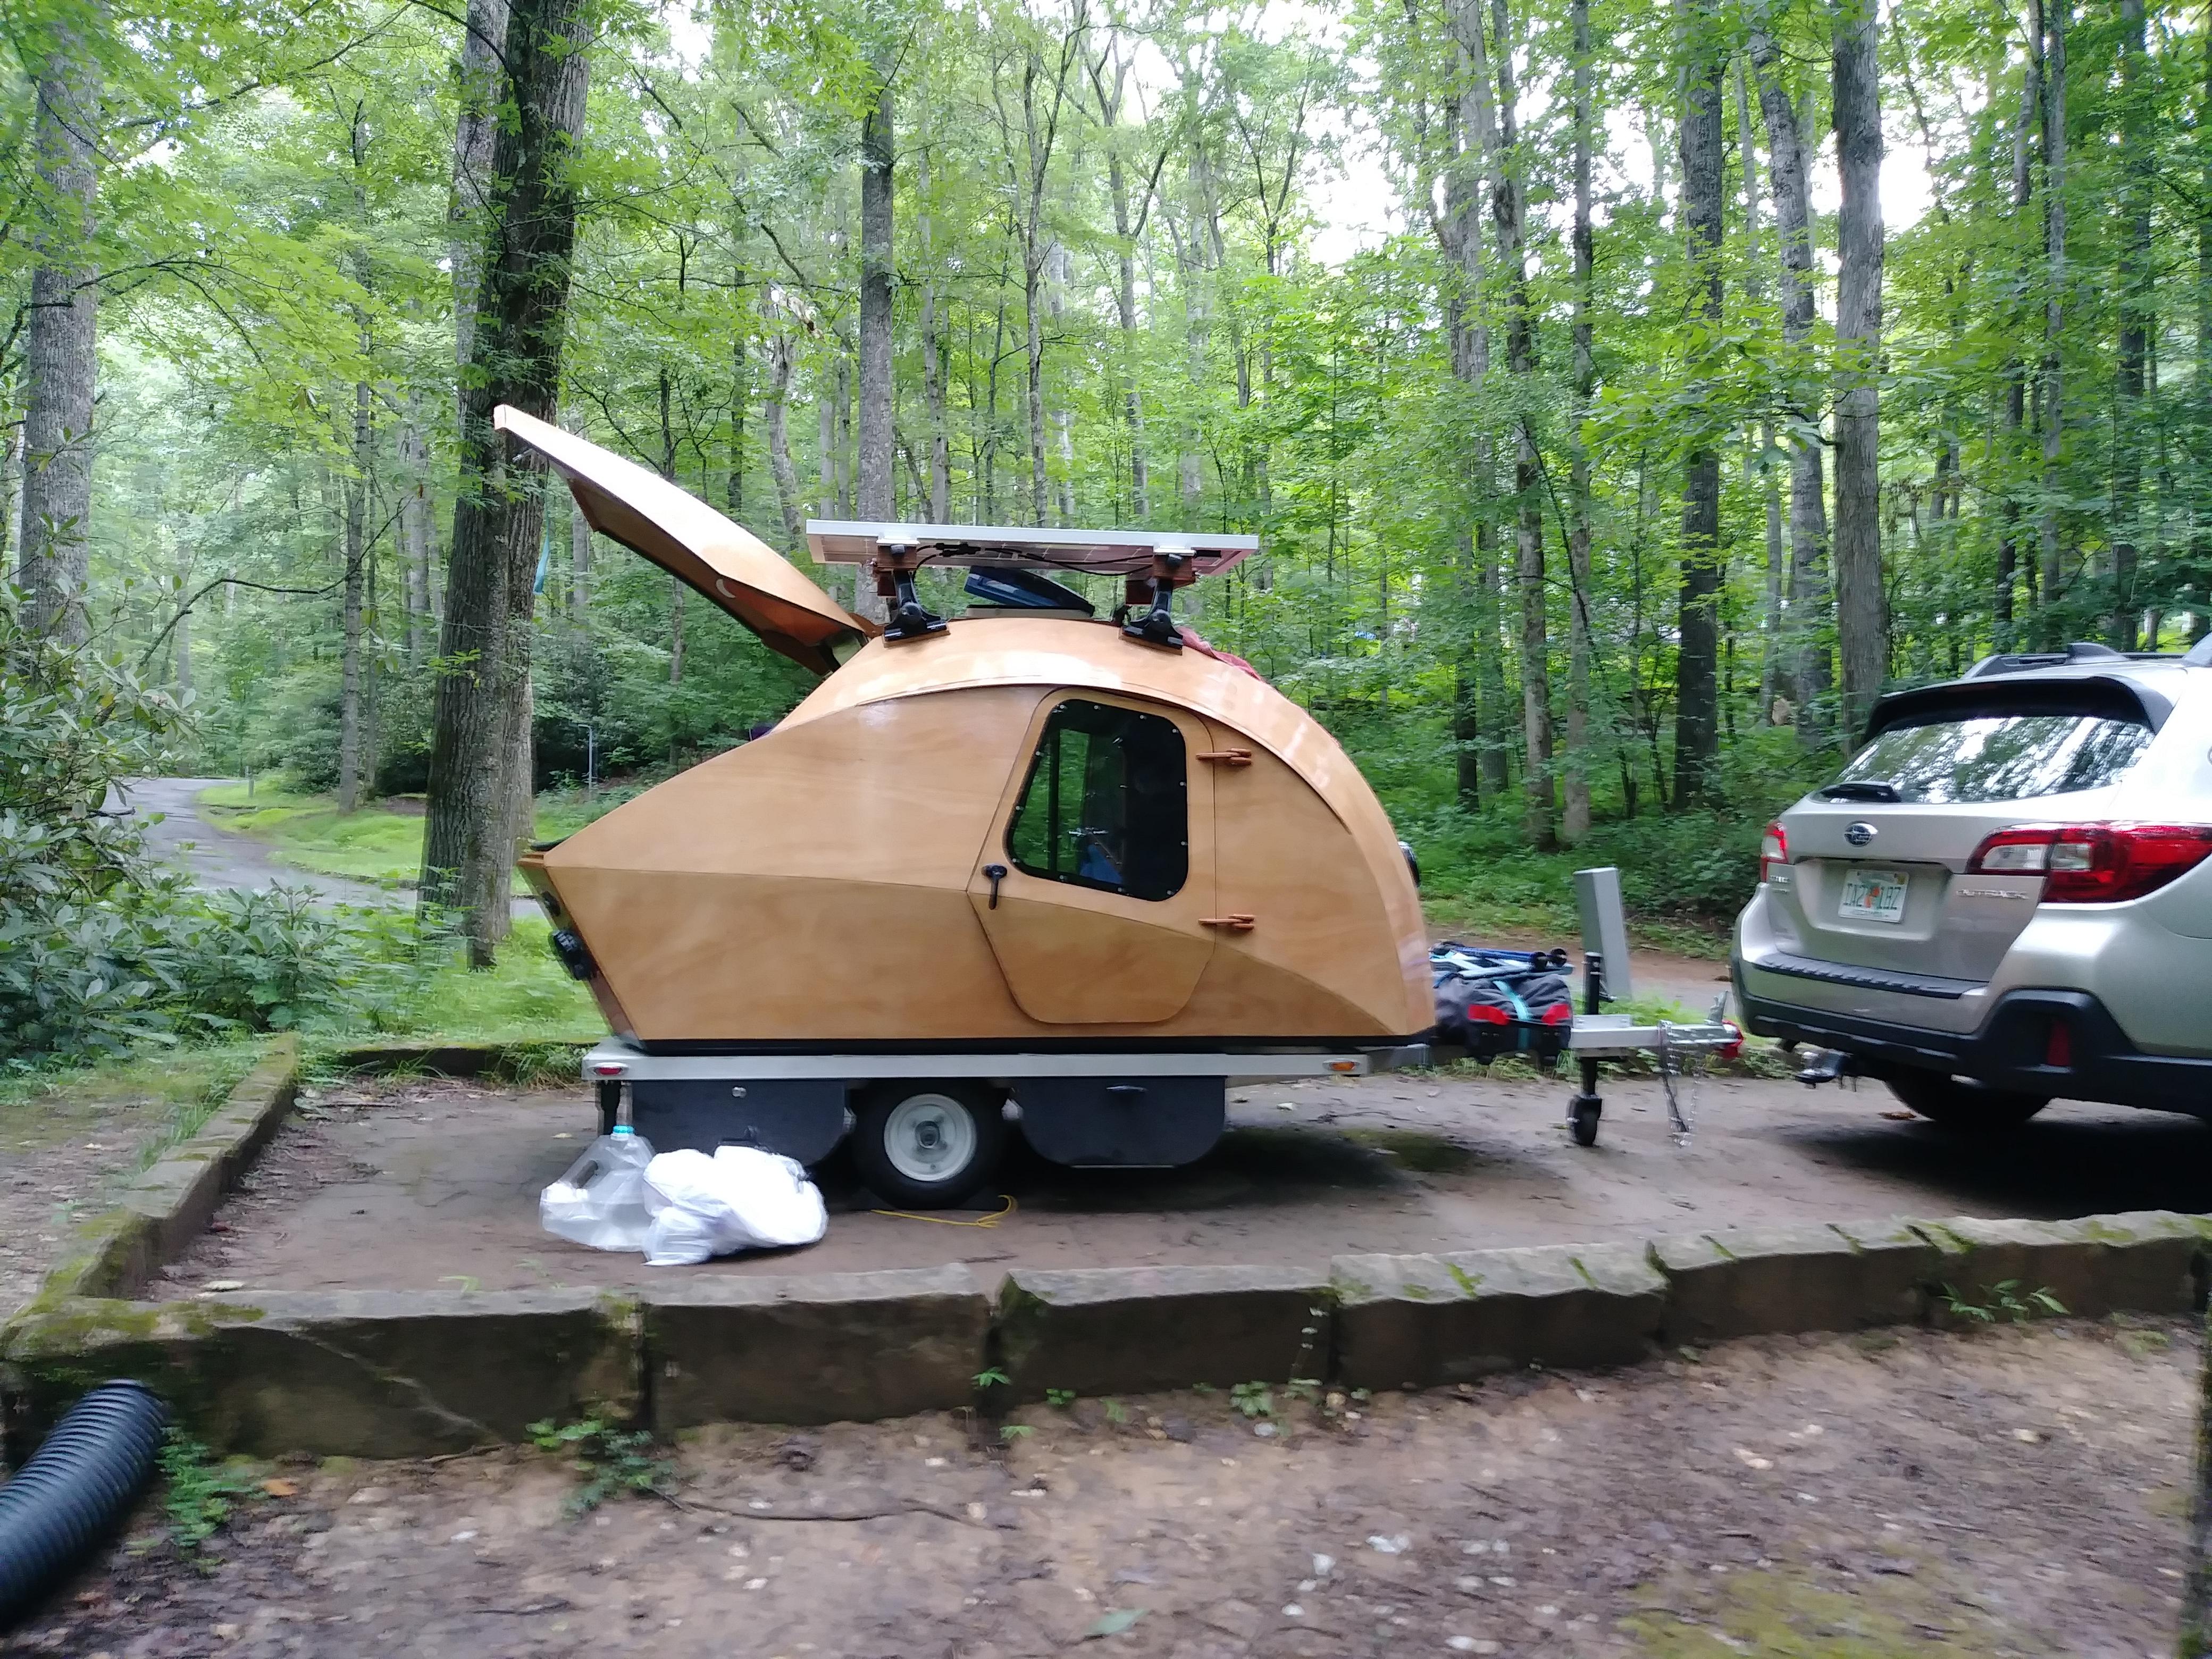
We had the same issue. Our lifters are 30 # each which just seems to be a little too much.
If we ever built another one, we would add a layer of fiberglass to the inside of the galley hatch and also the doors for extra stiffening.
We ultimately added a clasp centered on each #2 panel. The hardest part was finding something that would handle the angles. We ended up with this clasp from Amazon: https://www.amazon.com/gp/product/B01D4BKN6C/ref=ppx_yo_dt_b_search_asin_title?ie=UTF8&psc=1
Hmm.. that does not seem to be showing up as a hyperlink . Copy and paste or search for “Marine Part Depot New 316 Stainless Steel Lockable Hold Down CLAMP”
ParticipantAndrew, how are you attaching the canopy to the teardrop? What fabric are you using?
ParticipantWe also insured ours through our auto policy as an RV. At the time, CLC had a new one for sale at $18k. We used that as the declared value. I am sure they would depreciate it if they ever needed to pay out.
If it was stored at home and damaged, it may be covered as personal property on your homeowners insurance.
ParticipantWe made what I call a “Galley Girdle”. Basically it is a rectangle of girdle material (spandex would work and be cooler). I sewed a casing around the edge and pulled shock cord through it.
We put D-ring anchors on the bulkhead and on the sidewalls. Using s-biners (carabiners) we hook the the galley girdle to the anchor.
The stretch made it very practical. The amount of stuff behind the galley girdle really did not matter because the stretch if the material compensated. We did 13,000 miles this year and it FREAKIN’ WORKED!
ParticipantHello Stretch Mike,
I would really appreciate it if you would share the learning and specification process of your integrated trailer.
Ray and I built our CLC teardrop from the kit in 2018. Our 2018 trip covered about 10K miles of awesomeness!
We discovered a cracked weld in our trailer before our departure for 2019. We had the tongue of our trailer rebuilt with heavier stock and multiple reinforcements.
Last week, 331 miles from home, after 13K miles of travel, the trailer tongue broke. We were very fortunate that we were getting off the interstate to get gas. The storage box actually held the teardrop to the ball hitch.
Because we are not “trailer/towing” experts, we do not know what is causing failures at essentially the same location.
You can direct message me on Instagram… Mockturtle2.
Thanks for any help you can provide.
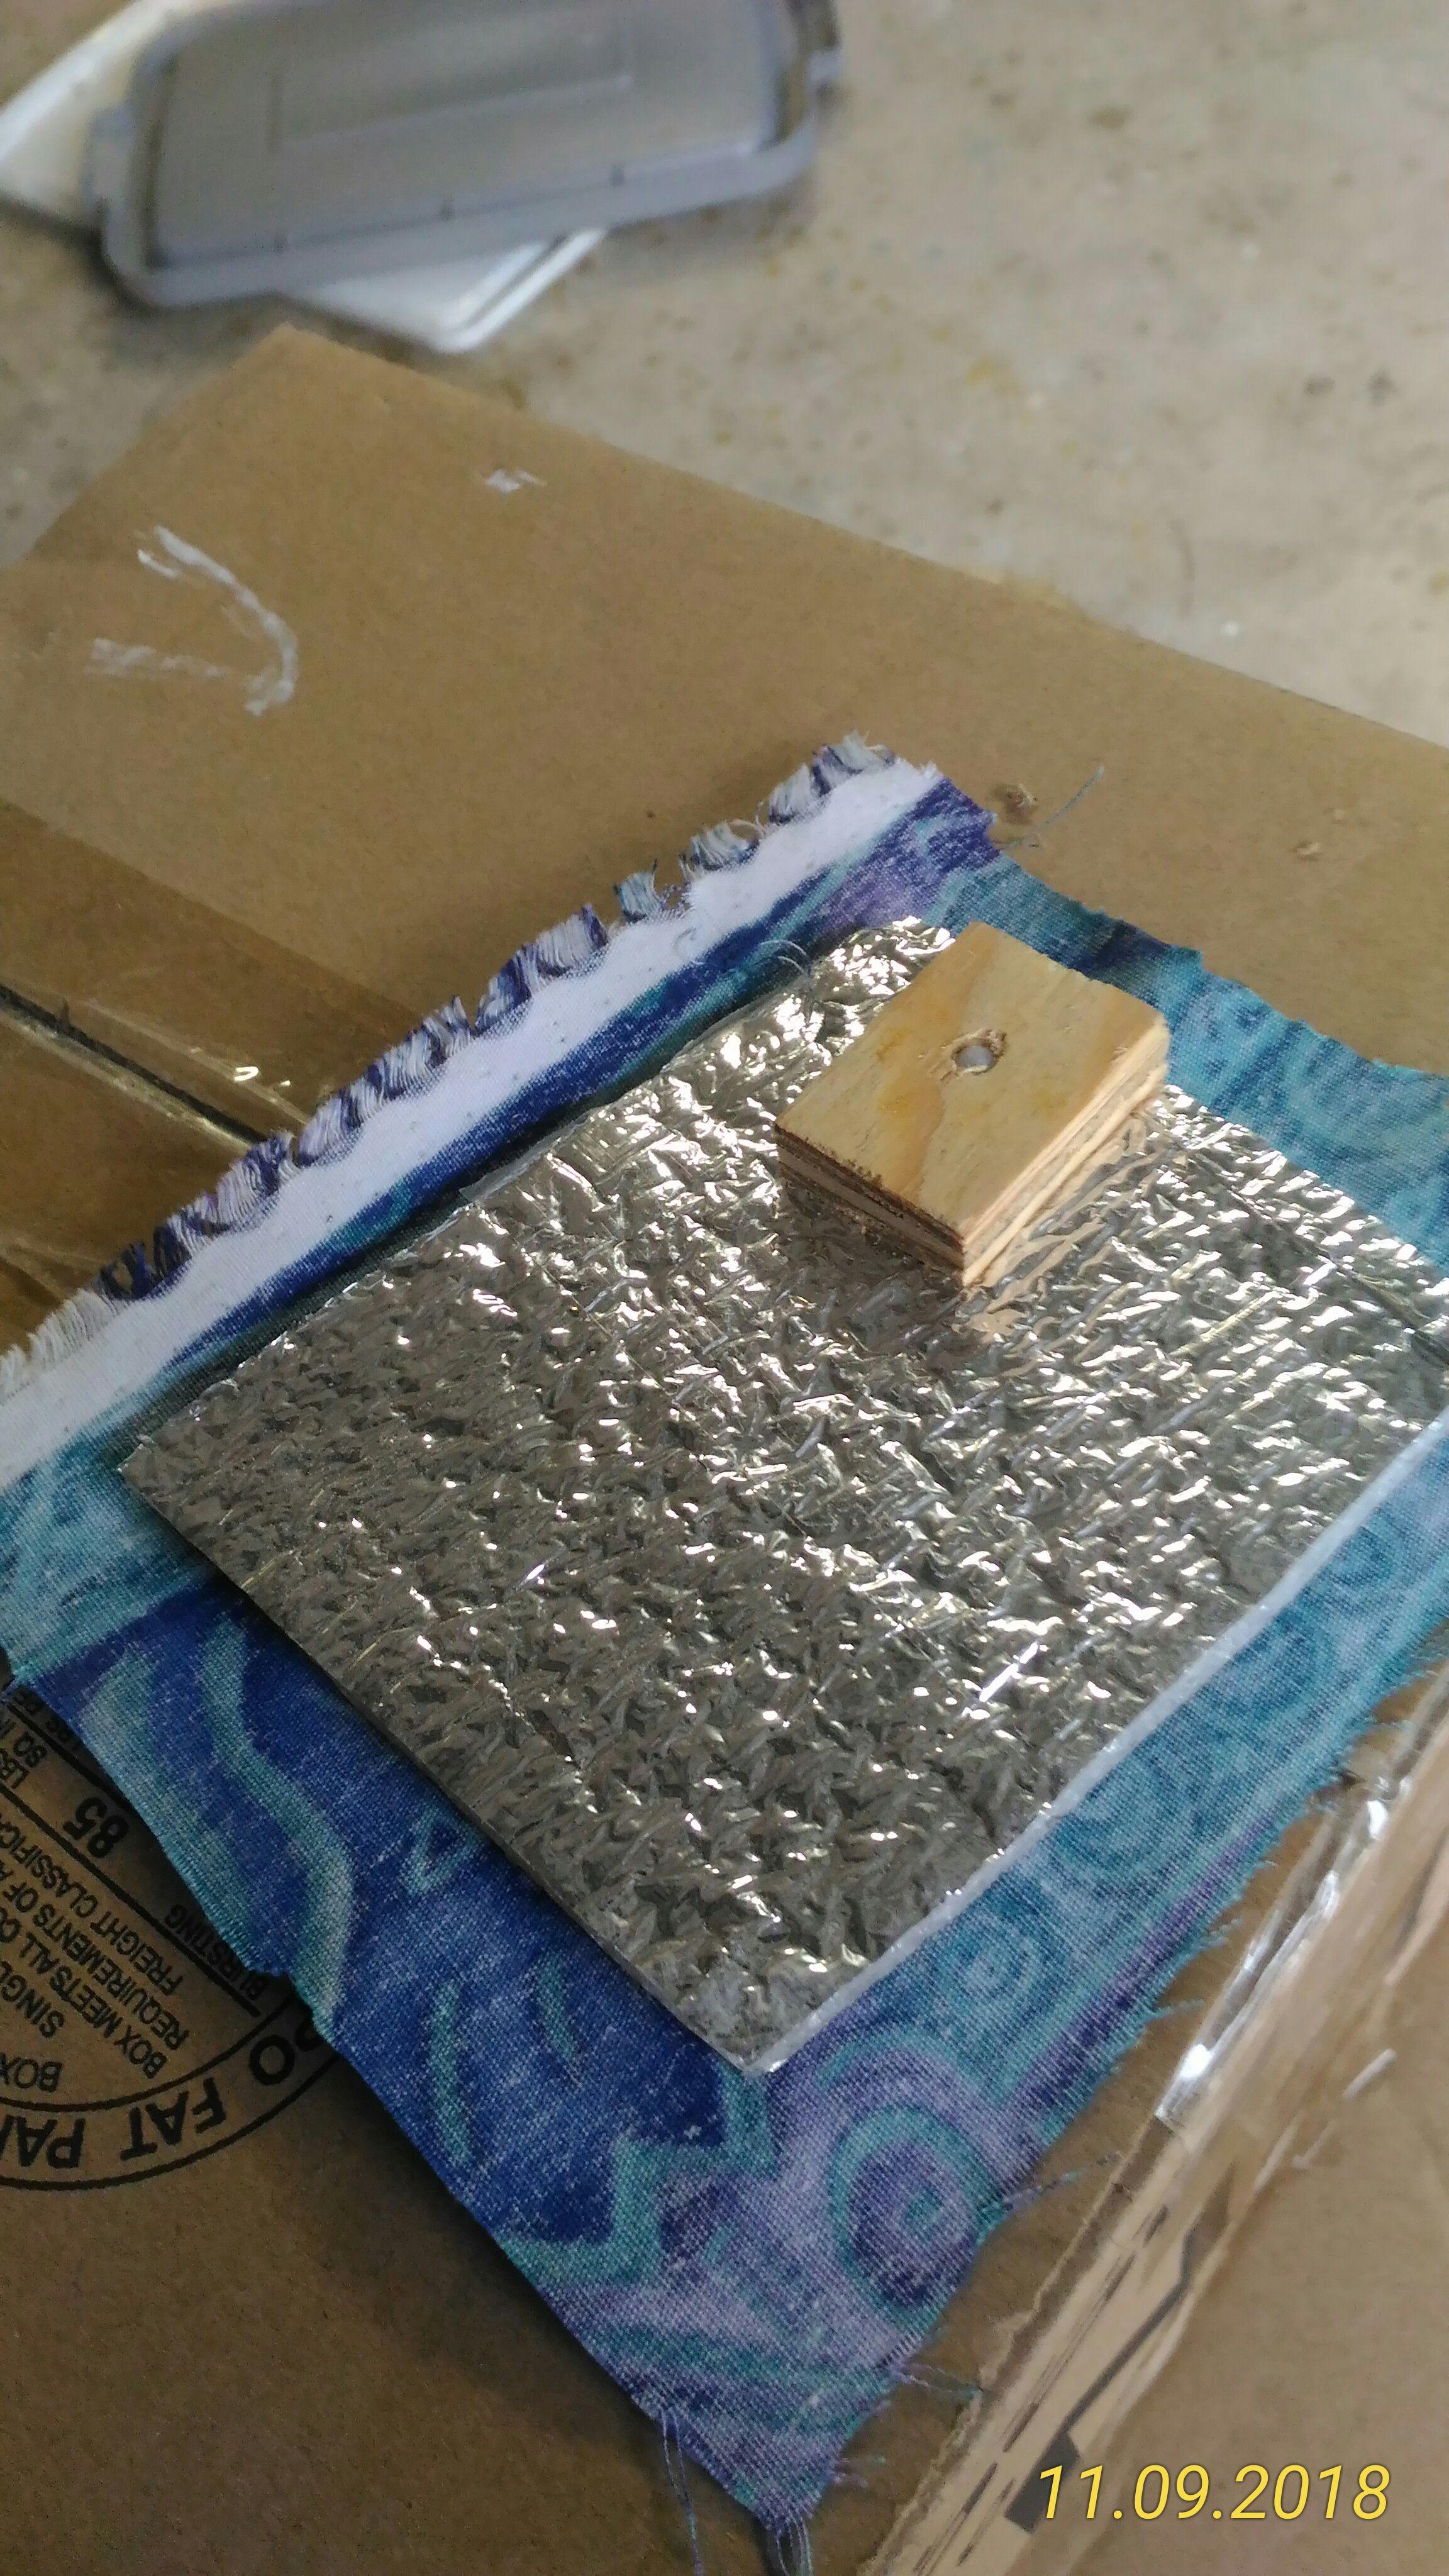
ParticipantSorry I have not updated my headliner “story”. I have not figured out how to post multiple pics in one post but in words this is what I did:
1. I found some nylon push in connectors at Ace Hardware.
2. I tested and found the size hole that they would go into and still come out with a prying motion.
3. I cut many 1 inch squares out of scrap plywood about 3/8″ thick and named them “receivers”.
4. I glued those squares to the inside of the td cabin.
5. I bought the radiant barrier (on Amazon NASA TECH FOAM CORE REFLECTIVE).
6. I cut it to resemble the pattern of the interior
7. I glued some cool fabric I had to it…. finally finding a use for some really cool fabric! (3m spray adhesive…do not skimp and follow the directions)
8. Starting at the bottom, I made small holes in the fabric/insulation pieces and pushed the nylon connectors through the holes into the receivers.
The picture shown is the assembly from the back. It worked!
Ray will post pics on Instagram related to the headliner… We are Mockturtle2.
ParticipantHi Ken:
My headliner is not vinyl. I did not use the microcell from CLC. The insulation system I used was based on radiant barrier technology. The design is a cotton fabric glued with spray glue to a closed cell, radiant barrier insulation.
I will write a post describing the whole process and system. We tested it over 99 days on the road between 38 and 80 degrees. It worked.
The advantages as I see it:
1. It is easily removable for cleaning, replacement or to modify wiring lighting.
2. It is light weight.
3. The acoustics are AWESOME! A small bluetooth speaker with a phone and it sounds like a live concert.
 October 30, 2018 at 7:27 pm in reply to: New to forum, are there any teardrops in North Georgia,… #2250Participant
Pensacola FL… Instagram Mockturtle2
 Participant
-
AuthorPosts