Welcome to TeardropForum.com › Forums › Teardrop Builders’ Forum › Warped galley lid
- This topic has 11 replies, 8 voices, and was last updated 4 years, 7 months ago by
canadianhoser.
-
AuthorPosts
-
July 21, 2019 at 3:47 pm #2565
PopeyeTheTrailerMan
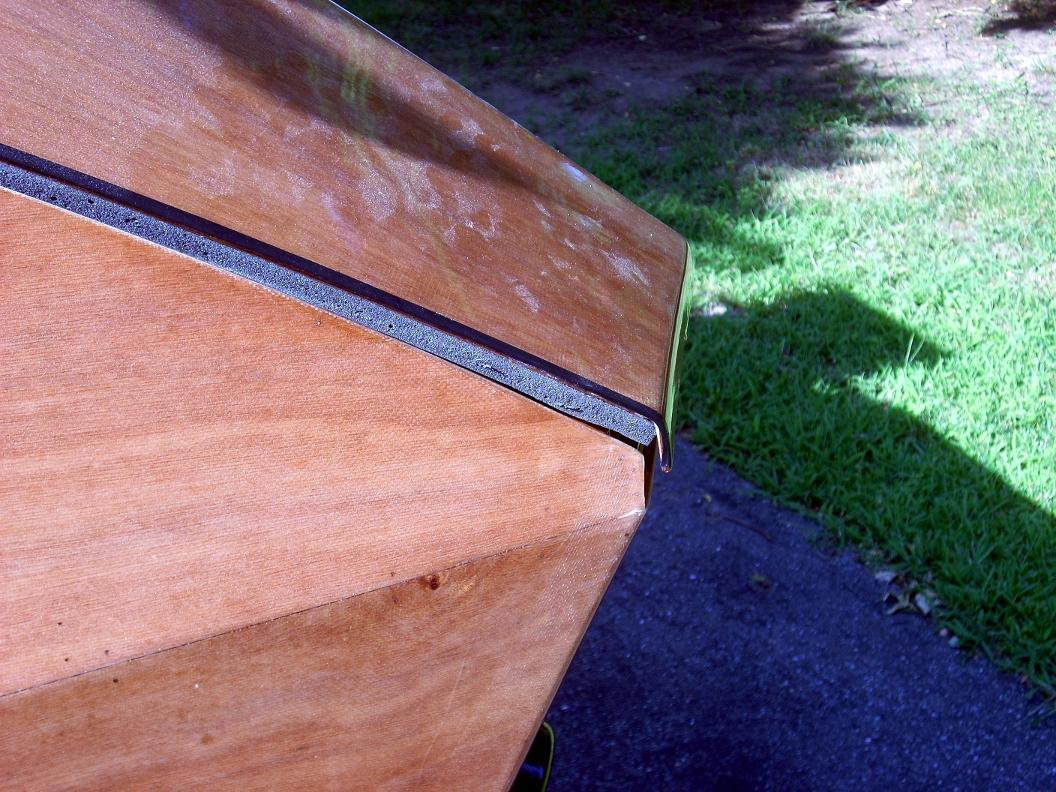
ParticipantI went on a multi-day trip in hot weather several weeks ago and while I was on the road the galley lid warped. The center, with the hasp, stayed fine, but the ends warped up so that the lid is smiling at you. All very cheerful, but it also removed the pressure on the weather stripping and during a thunderstorm about a cup of rainwater came onto the galley. Here’s how I fixed it.
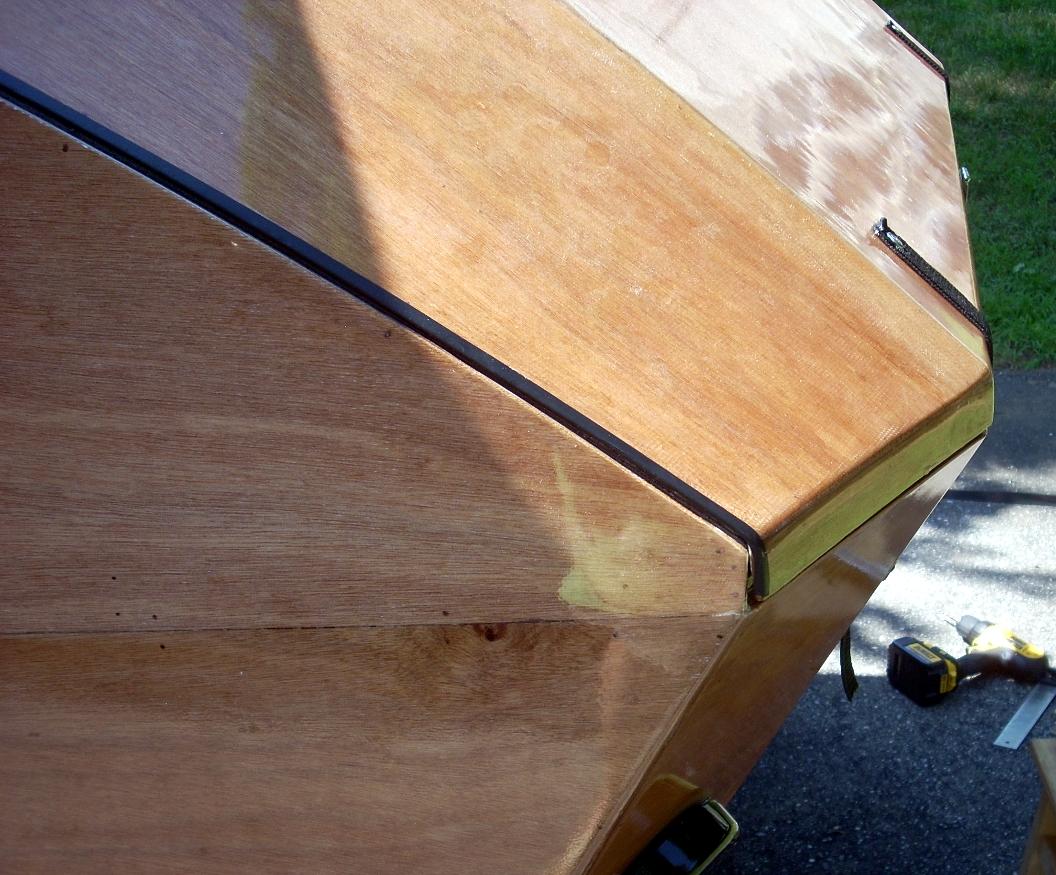
Before the fix, one of the warped corners wide open to water and bug intrusion (this is with the center hasp closed and locked):
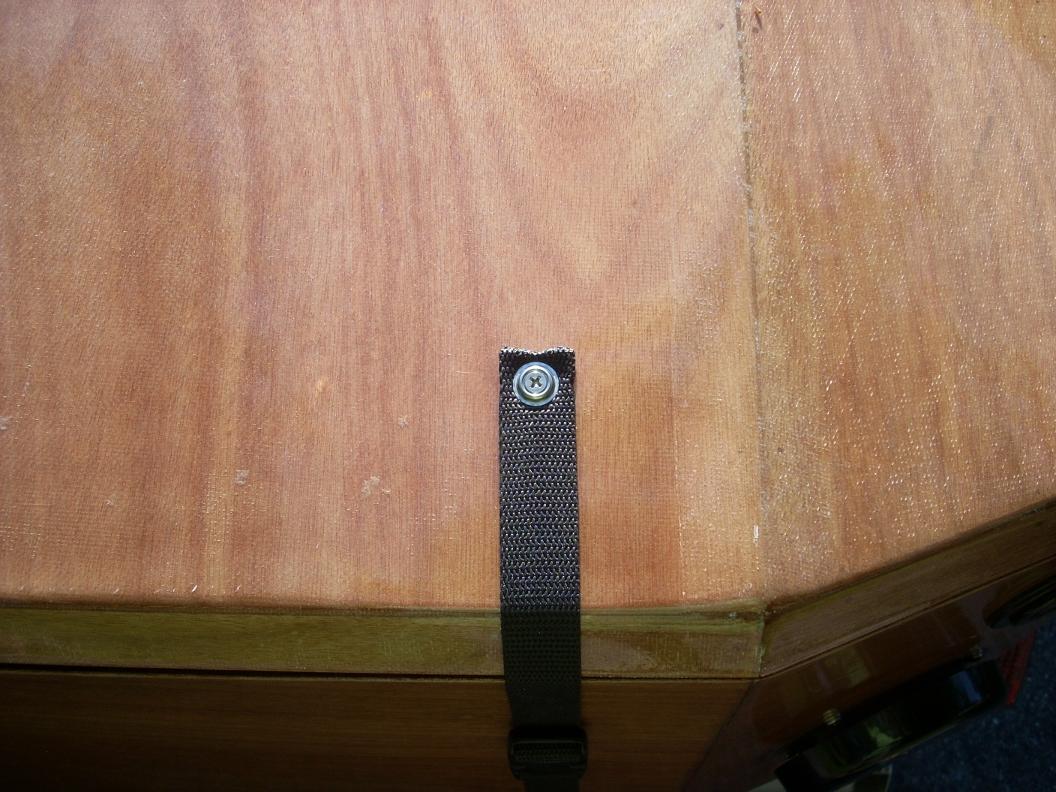
Polypropylene flat webbing attached with stainless steel flathead machine screw and flanged finish washer:
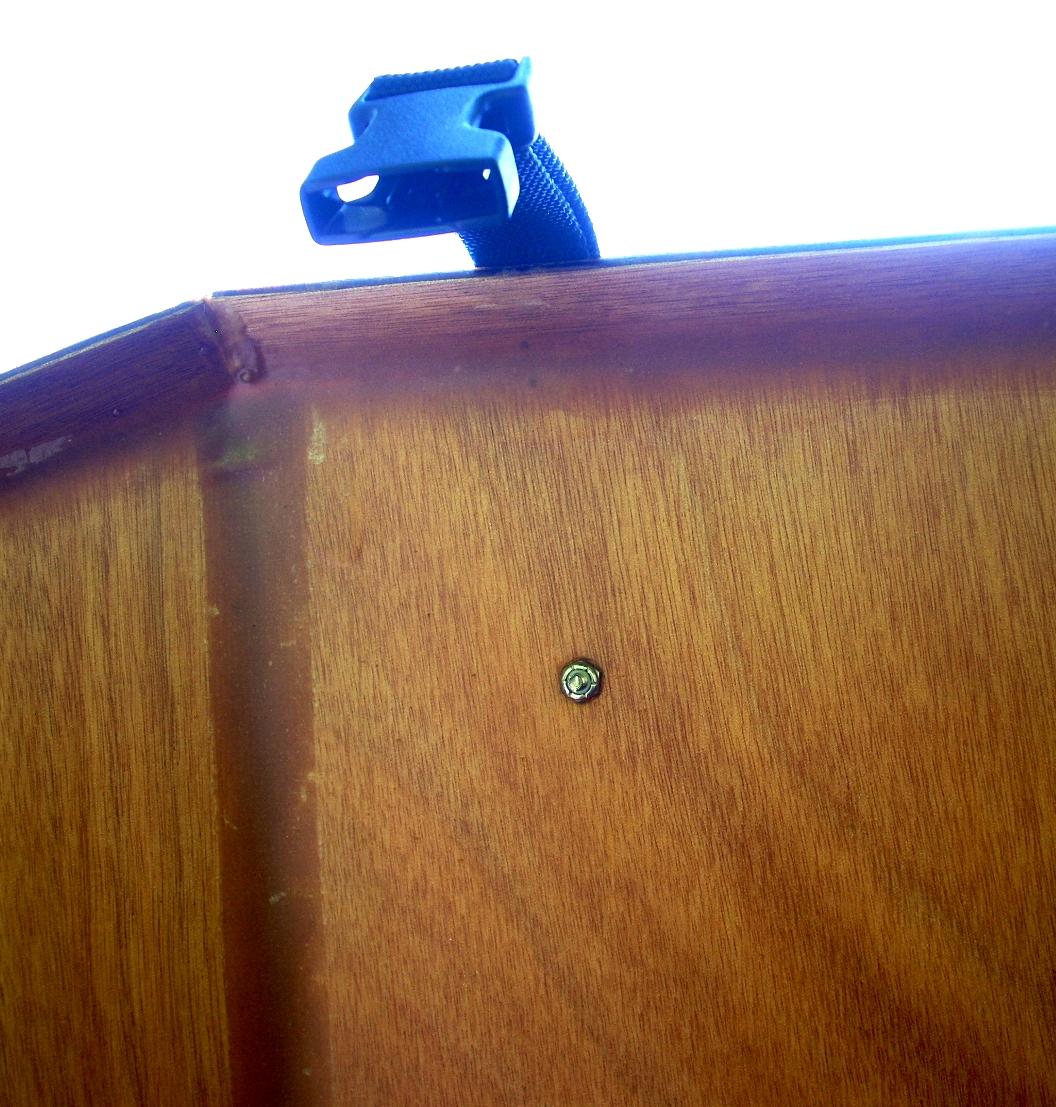
Side release buckle on end of webbing, the webbing held in place inside with a nylon locking nut, water-proofed with silicon rubber sealant compound:
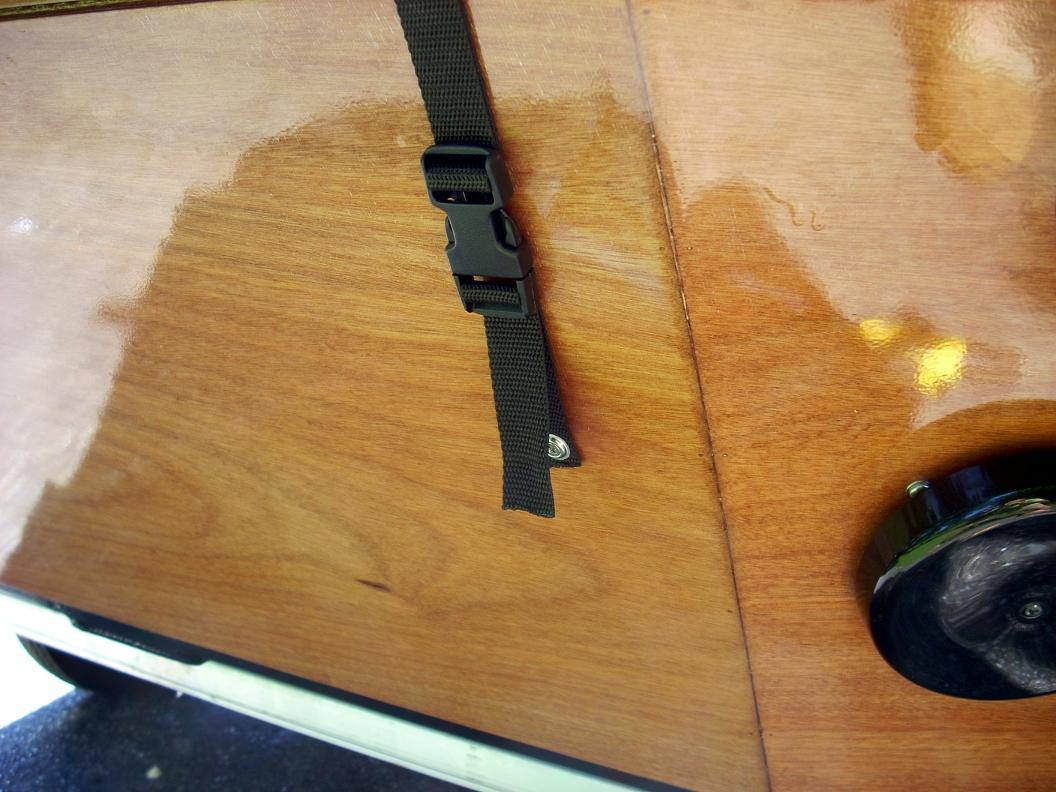
Mating strap on bottom, showing the engaged buckle. Same method of attachment as detailed above for the top strap. The loose end allows tightening to compensate for long-term stretching of the webbing.
Both straps installed, buckled and tightened:
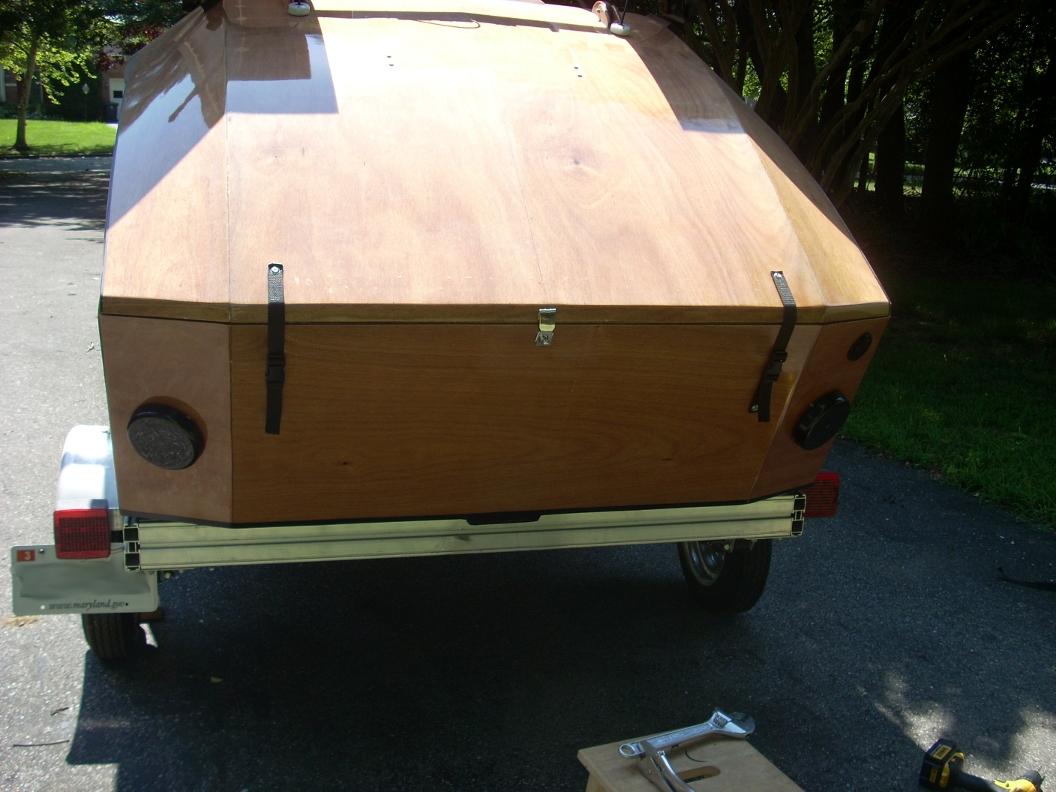
Warp at corner eliminated:
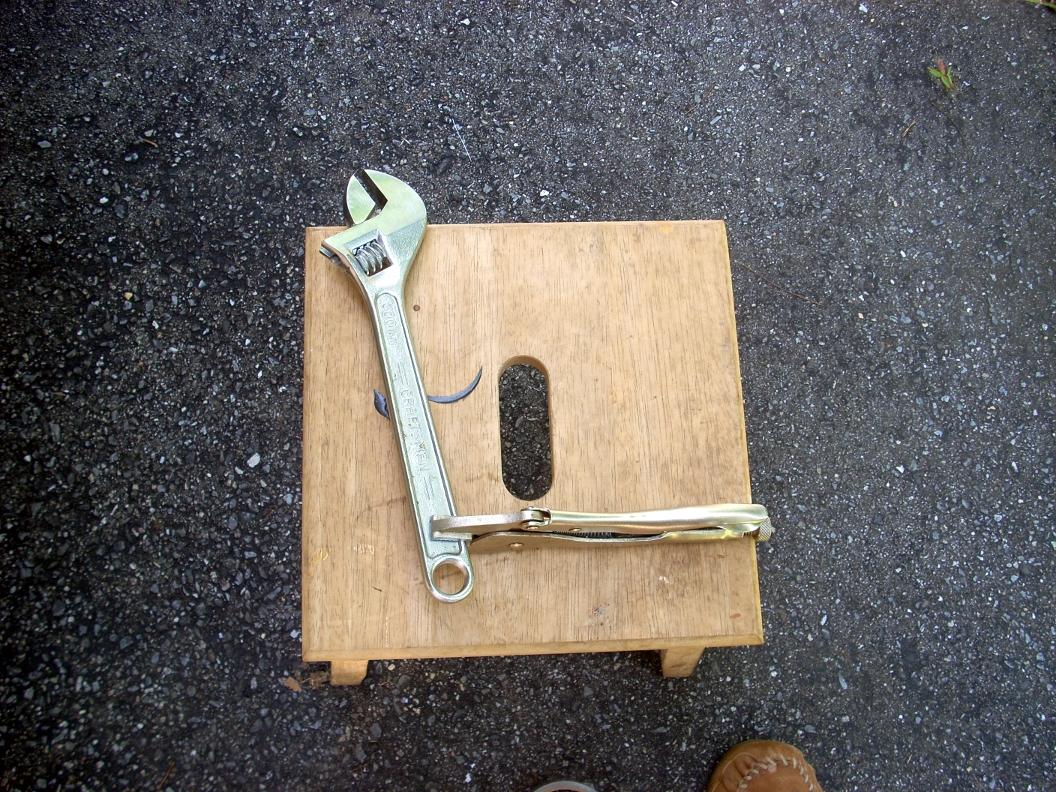
Attaching the bottom strap requires someone to hold the locking nut while tightening the machine screw. That’s fine if your arms are about 10 feet long, or if you have a helper. With normal-sized arms and no helper it can be a challenge. This neat tool takes care of the problem for you. Simply tighten the crescent wrench onto the nut such that the wrench stands vertically against the inside of the camper under the galley. The attached vise grip keeps the wrench from moving and the tool becomes your helper inside the camper keeping the nut from rotating while you tighten the screw.
The straps permanently solve the leak issue and add only a second or two to the process of opening and closing the lid. All the parts are available from CLC (follow the links), or if you’re an inveterate kayak builder you may just have them on hand. Enjoy the dry galley.
July 24, 2019 at 3:18 pm #2671Tom B Texas
ParticipantLooks ike this worked well. I would have considered adding 2 more latches to simplify. Well done 🙂
September 24, 2019 at 11:50 pm #2752Helibuff
ParticipantYep I add the same problem on mine with one handle in the middle
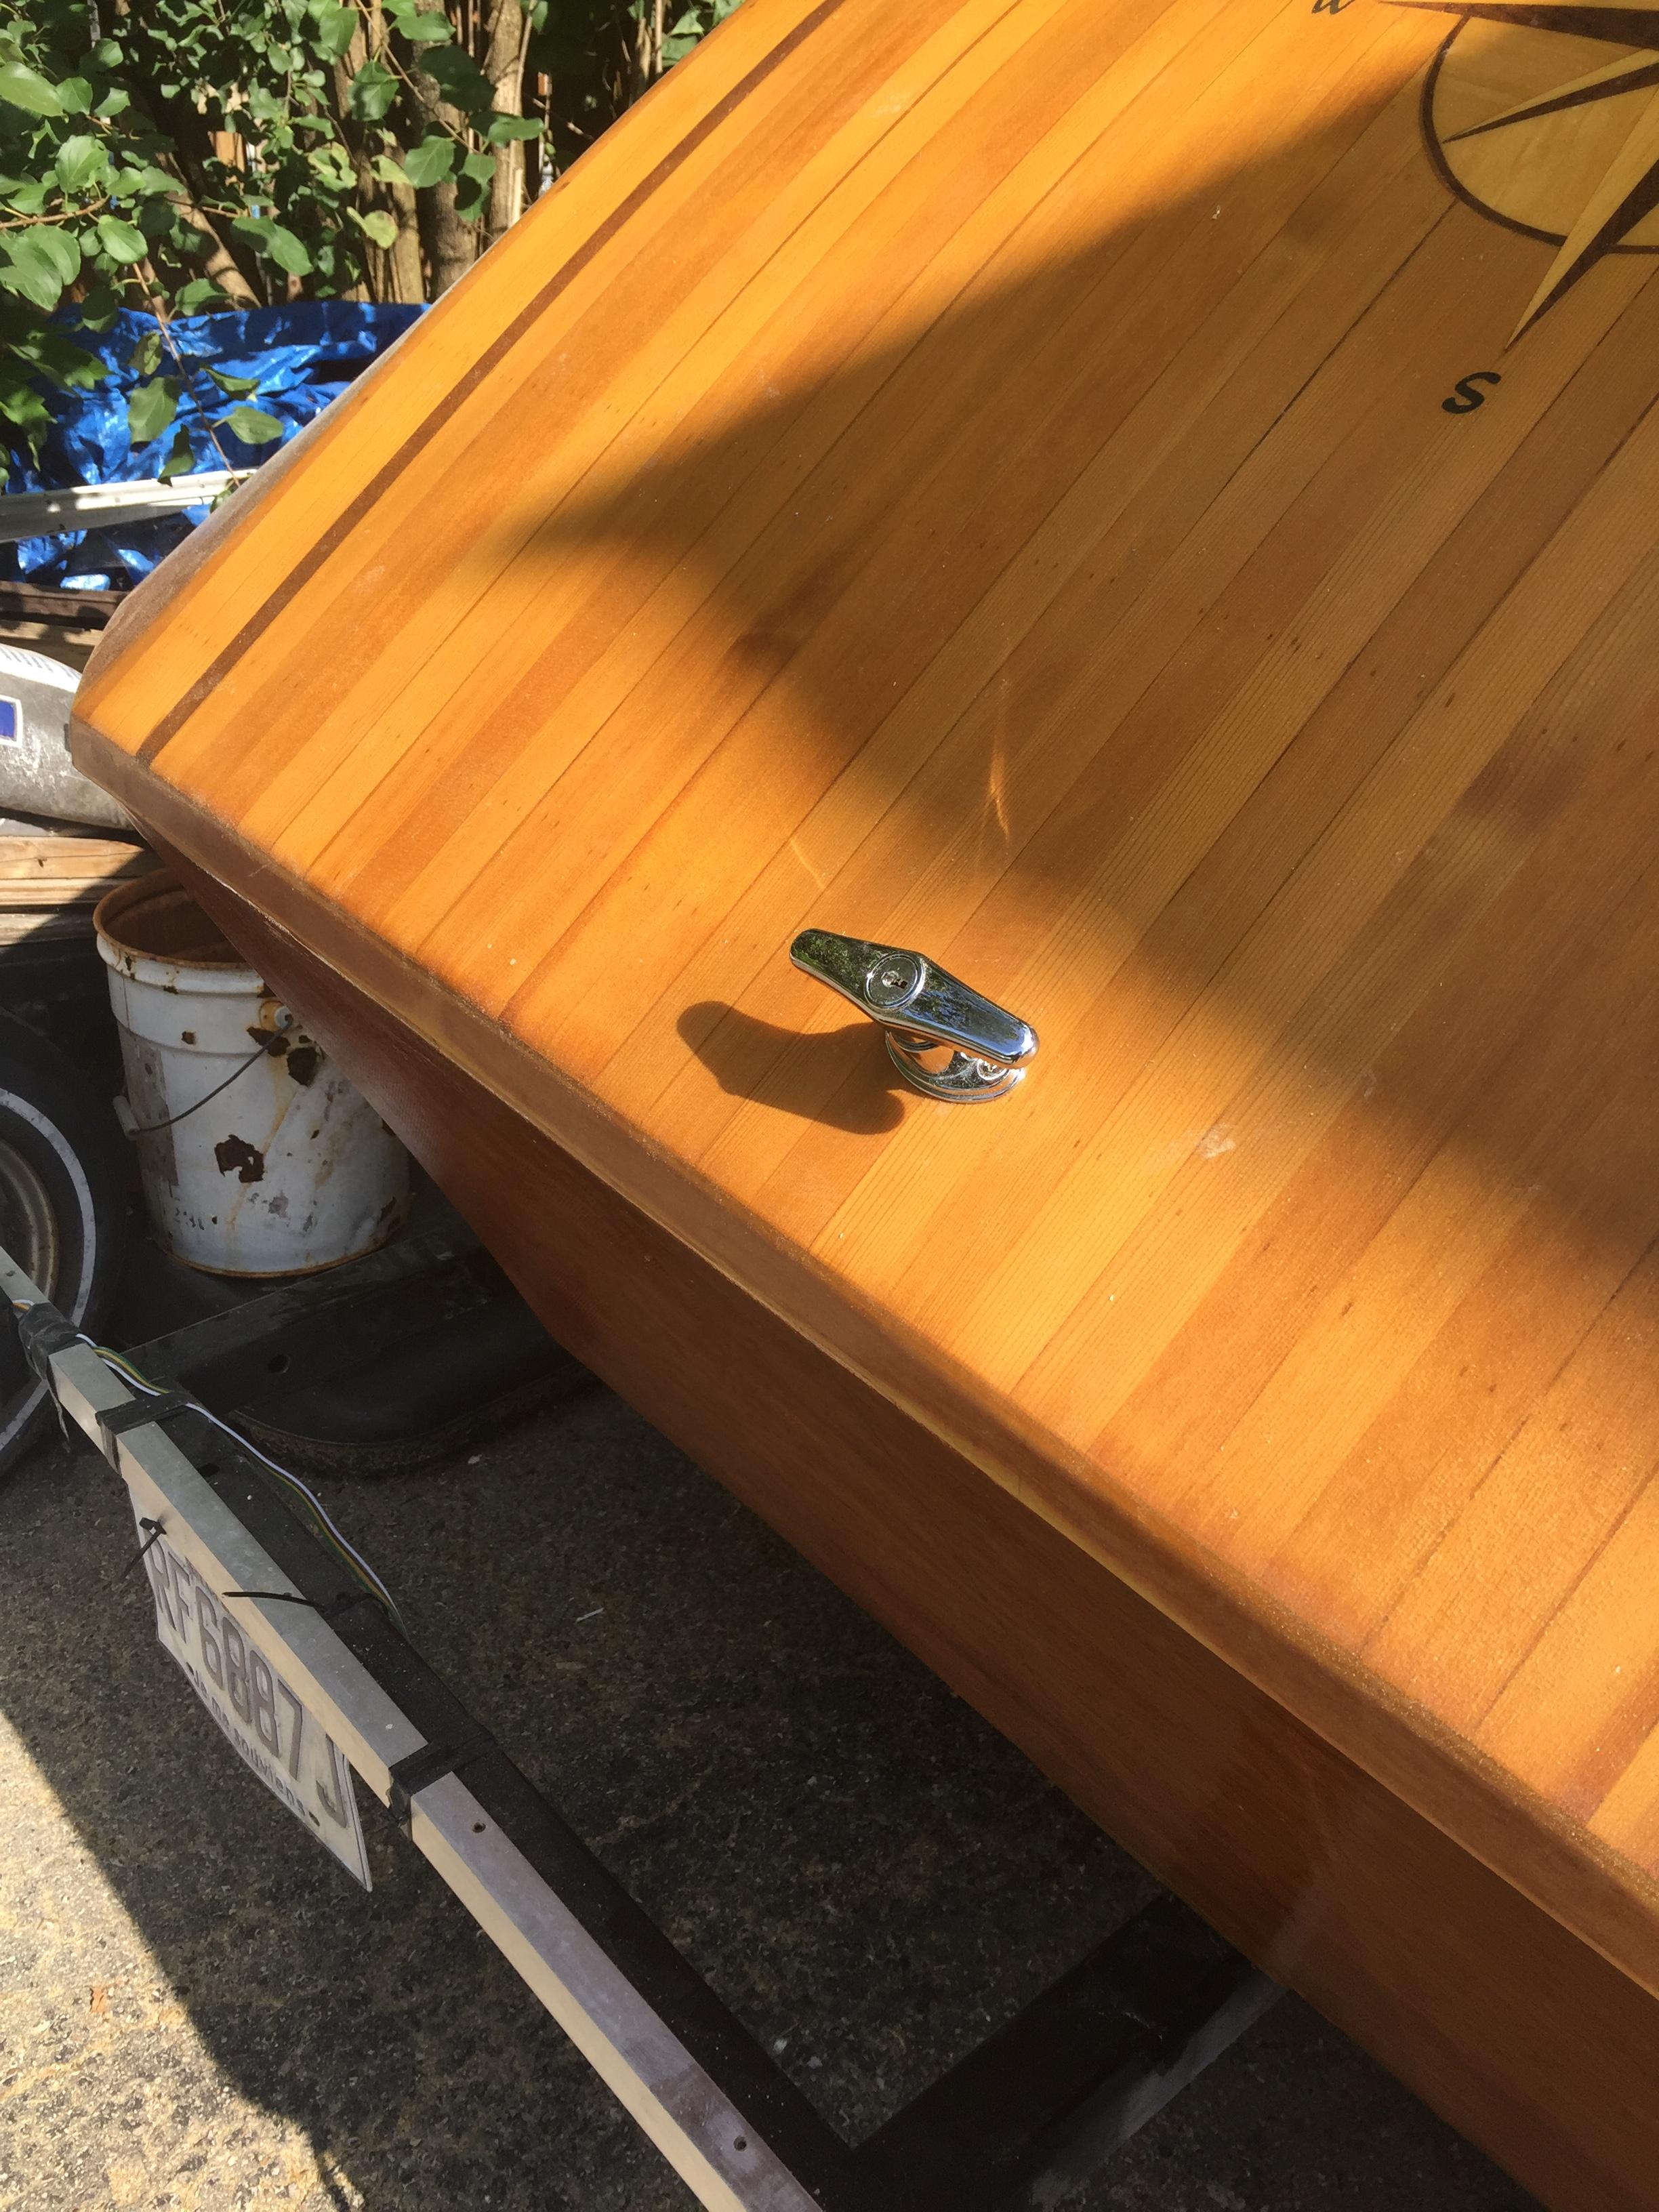
I solved the problem by installing two handdles and added a brake light to hide the hole of the old handdle

-
This reply was modified 4 years, 10 months ago by
Helibuff.
September 28, 2019 at 8:29 am #2755Arts
ParticipantI added ratchet straps from the same 2 locations on the hatch lid. They go inside to secure on the shelf. This makes it secured from the inside of the teardrop. I don’t need outside locks at all. If it starts raining hard during the night I can just tighten them up from inside too.
There are metal loops secured onto the hatch. Straps hook into there and go through a small slit in the tabletop of the galley. Then the straps secure to the ratcheting part that is screwed into the bottom of the shelf. I can unhook the straps in camp if they are getting in the way or leave them attached.
October 11, 2019 at 12:08 pm #2779PatandRay
ParticipantWe had the same issue. Our lifters are 30 # each which just seems to be a little too much.
If we ever built another one, we would add a layer of fiberglass to the inside of the galley hatch and also the doors for extra stiffening.
We ultimately added a clasp centered on each #2 panel. The hardest part was finding something that would handle the angles. We ended up with this clasp from Amazon: https://www.amazon.com/gp/product/B01D4BKN6C/ref=ppx_yo_dt_b_search_asin_title?ie=UTF8&psc=1
Hmm.. that does not seem to be showing up as a hyperlink . Copy and paste or search for “Marine Part Depot New 316 Stainless Steel Lockable Hold Down CLAMP”
October 11, 2019 at 12:32 pm #2780ParticipantNot sure if an extra layer of glass would stiffen it enough. You probably need carbon fiber with the threads oriented to align against the maximum warp. Alternatively, wooden gussets to keep the hatch from changing shape would also work, but they could interfere with things inside the galley. That’s why I went with the straps – they seemed the most cost-effective and easiest to install and use.
If you used leather, you could have that classic car look 🙂
 November 3, 2019 at 8:08 am #2794
glcmranger
ParticipantHELIBUFF: Can you explain and post photos on how you installed the galley lid handles? Specifically, how the lacking mechanism attaches under the gutter rim. I’m considering doing the same thing but might get a SOUTHCO Compression Latch.
thanks, Sue.
November 3, 2019 at 8:11 am #2795ParticipantI meant “LATCHING MECHANISM”…. Also, any techniques used to know where to drill the handle hole so the latching bar is aligned up under the gutter rim.
thanks.
November 4, 2019 at 4:59 pm #2796Gerald Baranski
Participantsame problem. different solution.
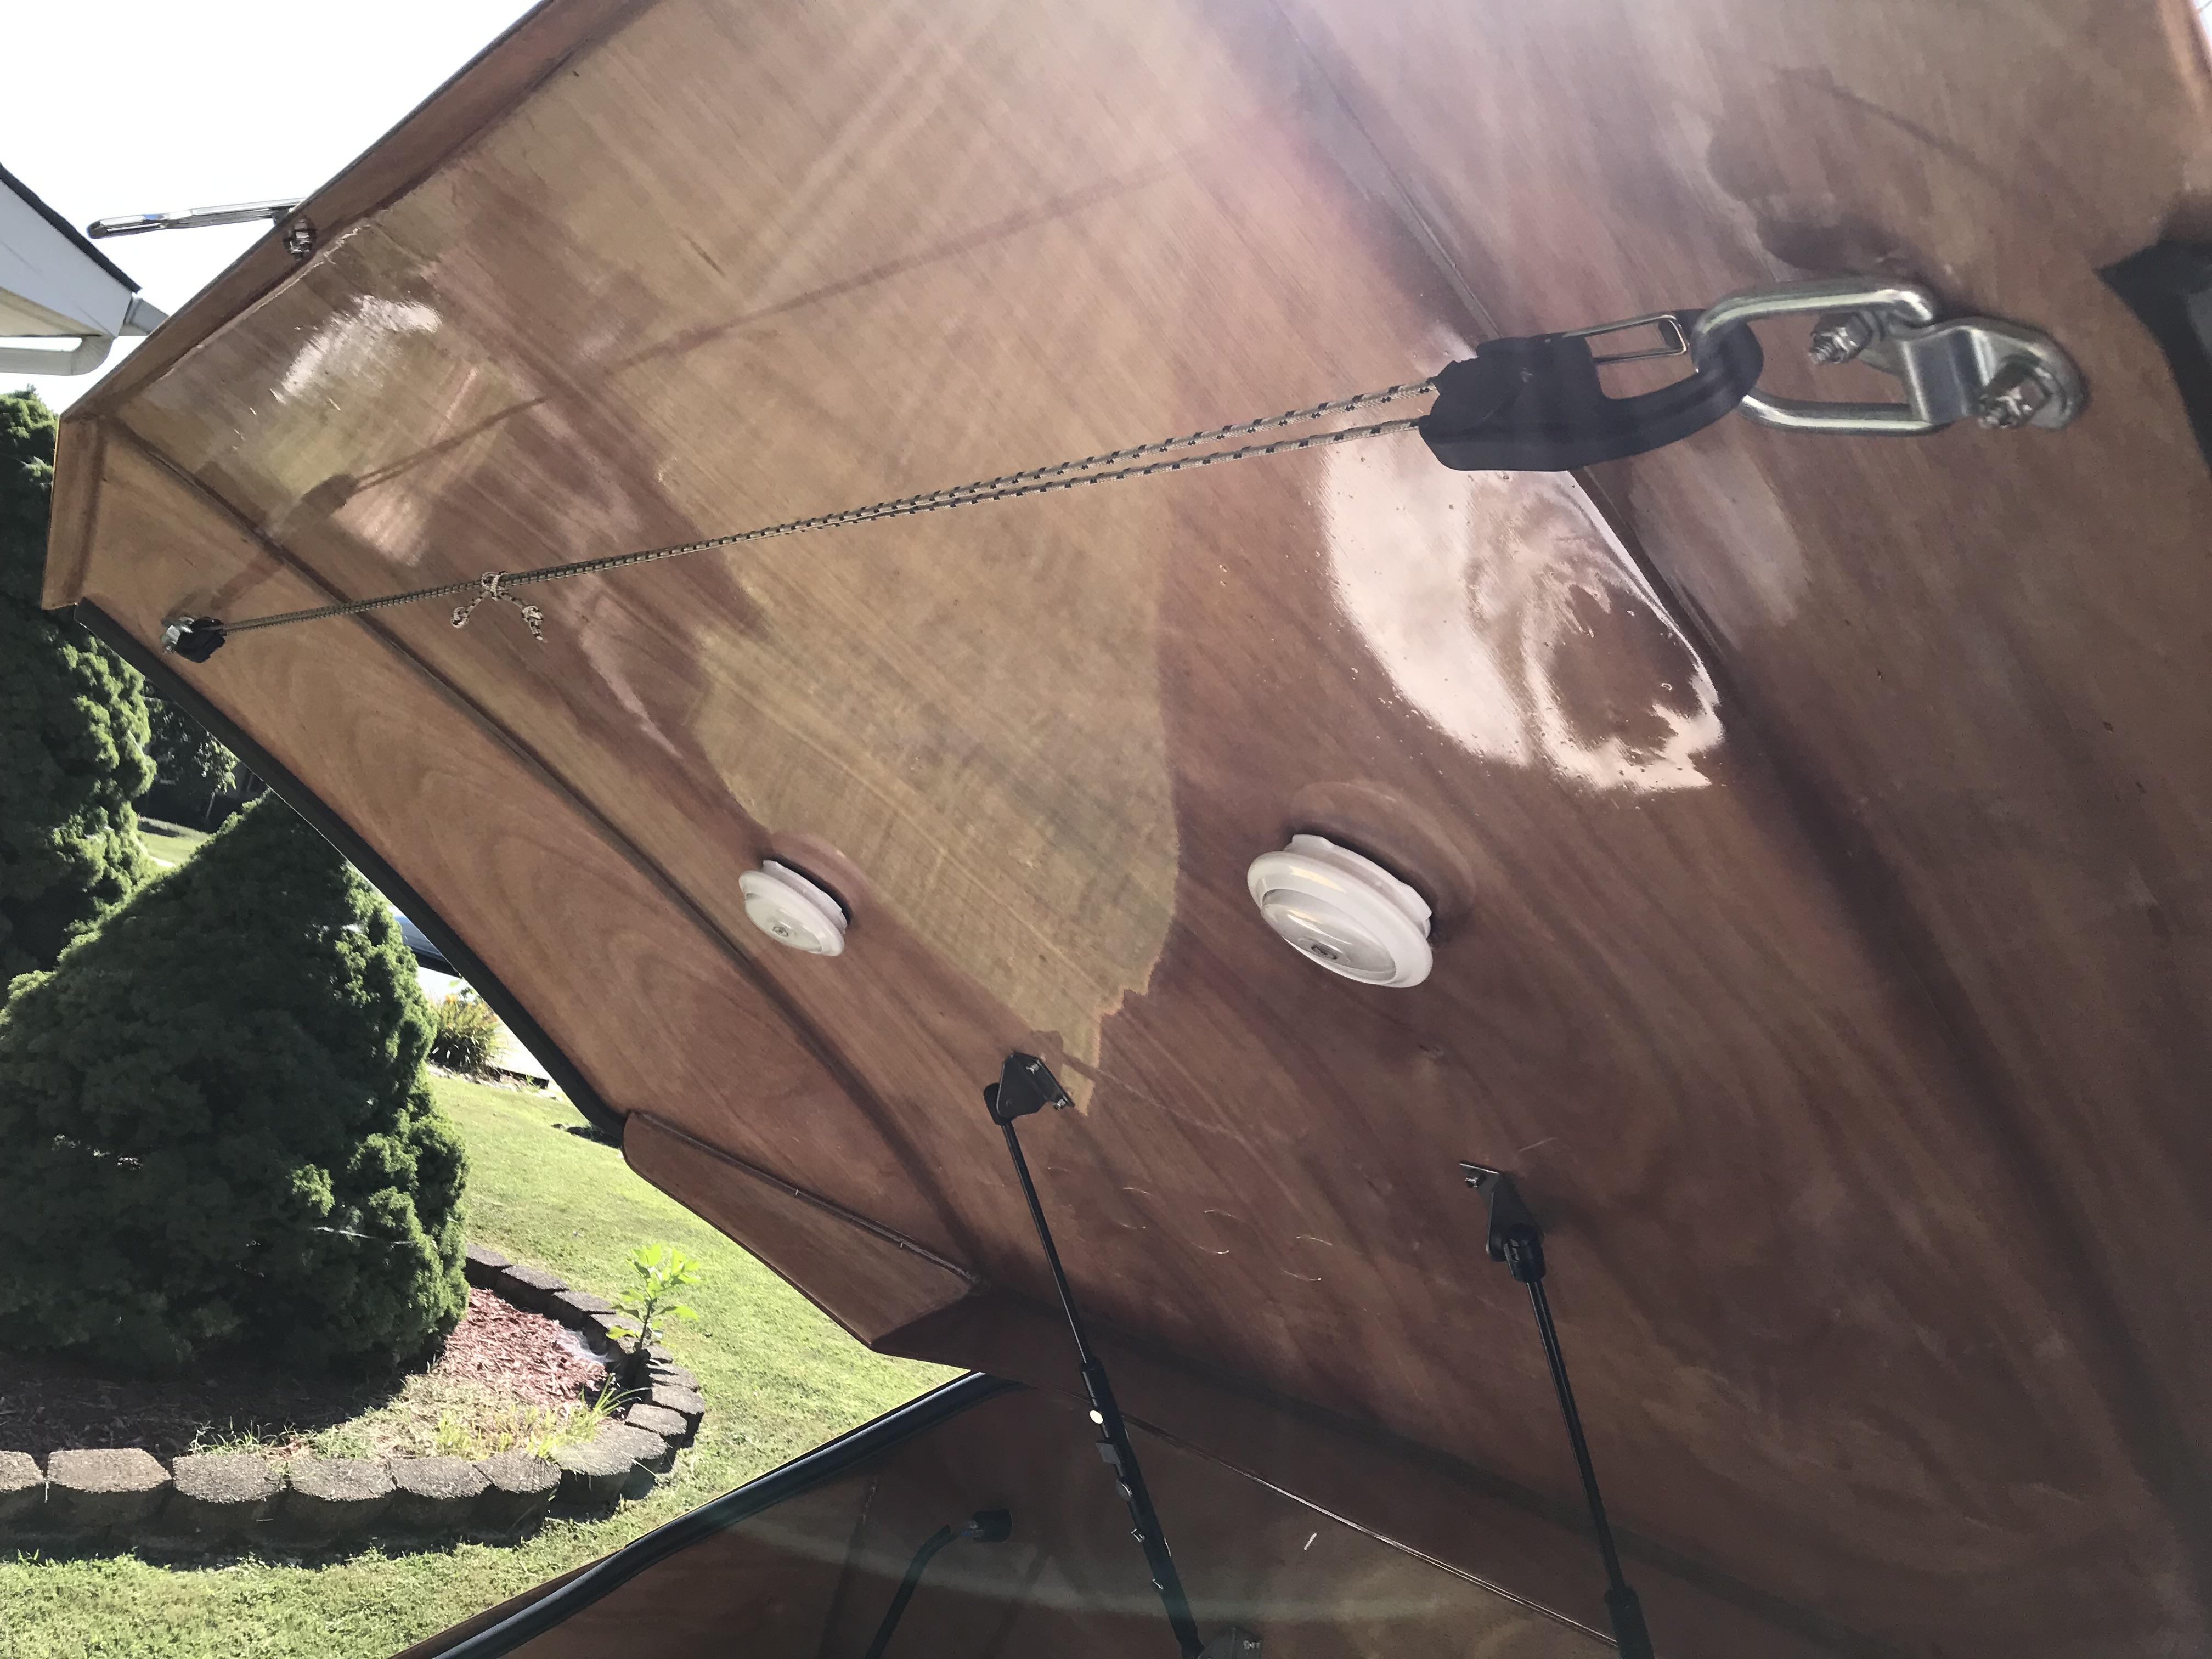 November 5, 2019 at 7:49 pm #2799Participant
the idea did not come from me , I got it from mpilone . Havwe a look were I got the idea
it,s on page 2
-
This reply was modified 4 years, 8 months ago by
November 6, 2019 at 8:40 am #2801ParticipantThanks everyone for the feedback…. gives me a better idea…
December 4, 2019 at 2:07 pm #2822canadianhoser
ParticipantI’m past this point in my build, but if I would have thought about it before I added the galley flat, I would have added a strip or two of fiberglass to the bottom section of the galley hatch beforehand. I did this to the doors before I cut them out, and I don’t seem to have any spring-back on them after they were cut out. As it is, the galley hatch only has fiberglass reinforcement on the top side, which puts it under tension to curl up, with no countertension on the underside to hold it in place. Adding the fiberglass on the underside would provide this countertension and make it more likely to hold its shape. I may still do this before I finish the underside, possibly slightly pre-tensioning it with a clamp to ensure the outside edges mate first just before the center.
-
This reply was modified 4 years, 10 months ago by
-
AuthorPosts
- You must be logged in to reply to this topic.