Welcome to TeardropForum.com › Forums › Teardrop Builders’ Forum › Staining #2 panels and doors after Form is removed
- This topic has 6 replies, 3 voices, and was last updated 3 years ago by
Youngjedi.
-
AuthorPosts
-
July 16, 2021 at 10:02 am #3745
Youngjedi
ParticipantHi, I am thinking of staining the number 2 panels and the doors. I have just installed the bottom and removed the forms. With some sanding, I should be able to stain the panels and doors fairly easy. Water based stain, Only apply with rag so no drips or runs. Has anyone else stained those area (or any area) after the shell is removed from the Camper? Since there is no epoxy in those areas, i don’t foresee any issues.
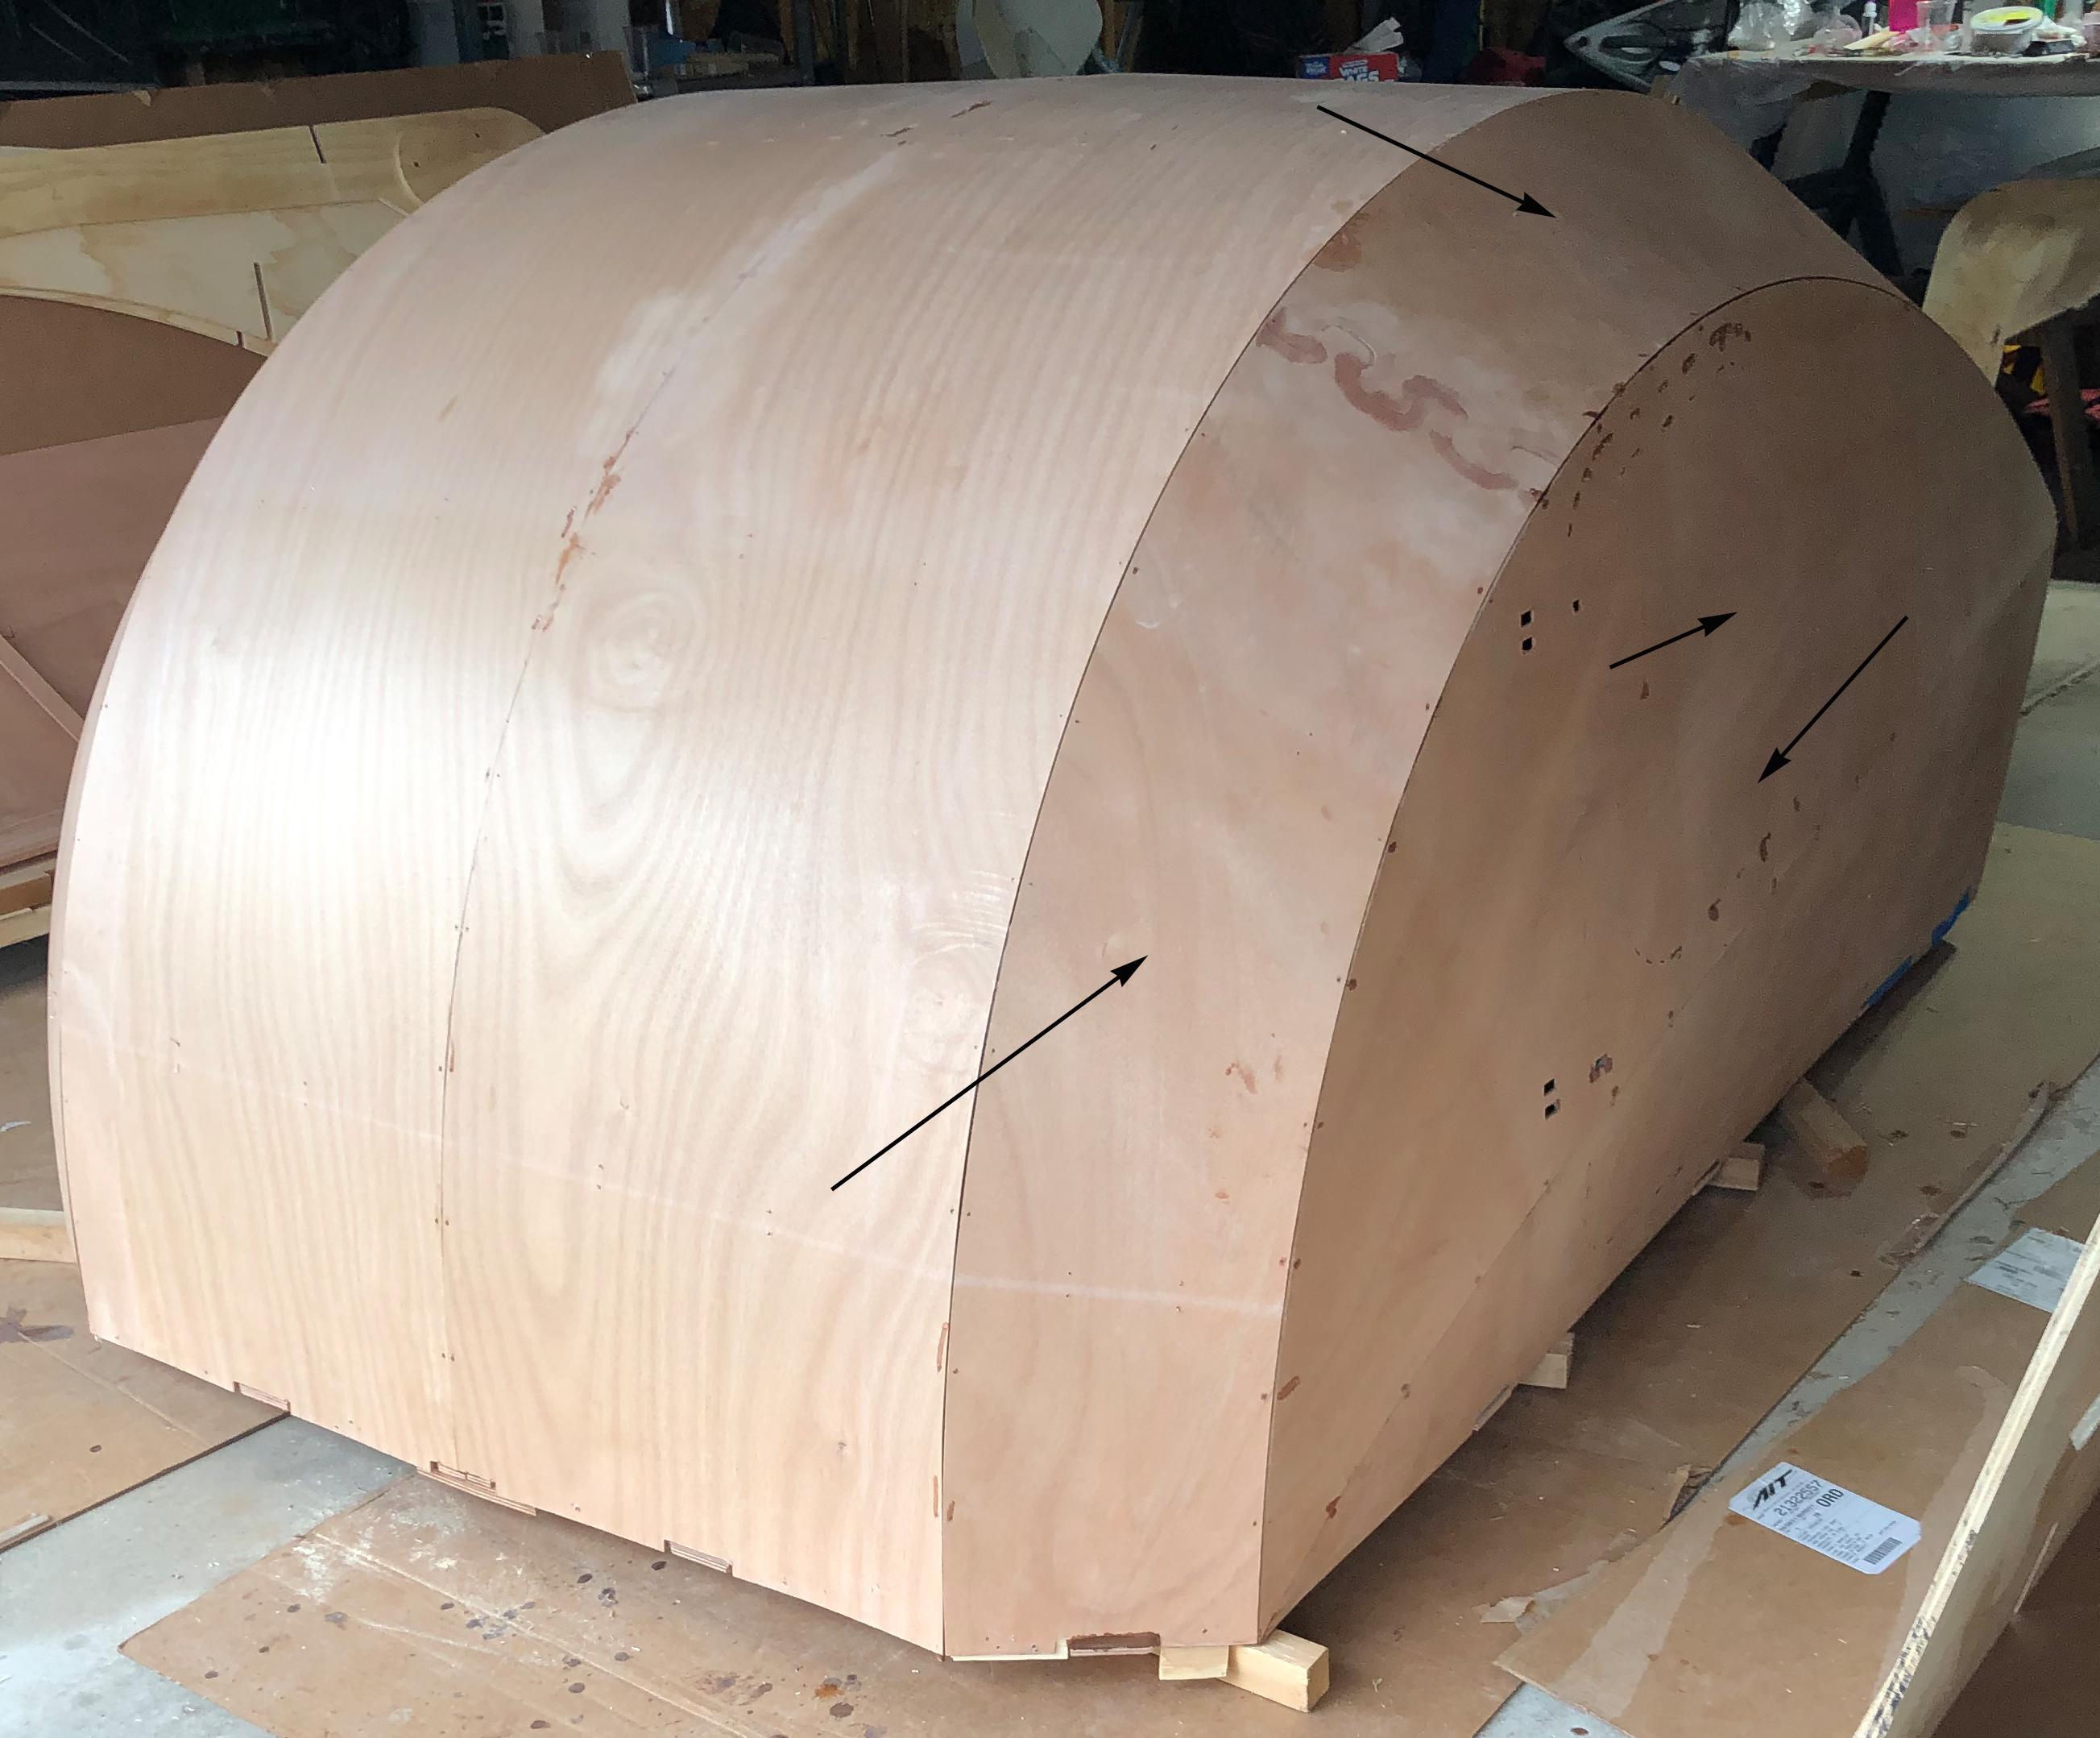
July 16, 2021 at 10:10 am #3746ParticipantHere is a quick edit to my post…adding an image.
the arrows indicate where I want to stain…light mahogany for an accent. will the panel joins be an issue?
 July 16, 2021 at 12:30 pm #3748
jb
ParticipantI did almost the exact opposite – I bleached panels 2 and 3. The seams shouldn’t be an issue but they won’t stain of course. Use them to your advantage to separate the areas to stain from those you want to protect. The stain won’t penetrate the epoxy seams so it should not spread in those areas. Use a good painter’s tape with good edge-sealing properties and put the edge of the tape in the center of the epoxy seam. I used 3M precision masking tape (maybe overkill) and it worked great.
Since you don’t have a seam to help prevent the spread of stain in the door area, you might want to take extra precautions. My assumption is that even with good masking tape, stain will penetrate the grain and go under the tape, maybe as much as an inch or more. Epoxied areas were able to resist the penetration and spread of the bleach I used and might also resist stain. You should test this, but you might consider first masking the edge of the area you WANT stained then epoxy that line. Then remove the masking tape and proceed with staining using the epoxy as a mask/resist.
P.S. Make sure you sand down epoxy on the surface at the puzzle joints on #2. The gaps in the joints tend to be darker so your stain will probably make those gaps less visible. I also forgot to mention that you should plan on the stain making its way through any wire holes and guide mark holes. If you want the inside of your camper to be unstained you should brush some epoxy around the interior of these holes to prevent stain spread.
July 16, 2021 at 1:27 pm #3751ParticipantThanks JB. To prevent the stain from penetrating, I was planning on applying it with a rag…Almost a ‘dry rubbing’ of the cloth on the areas I want it. I will test on some scrap wood.
Cheers!
July 22, 2021 at 6:14 am #3752ParticipantUpdate…i tried Minwax Waterbased stain on a test piece and then, after 24 hour dry time, i put a coat of resin on it. The resin would “blotch” within the first hour of curing. Minwax does not work.
July 22, 2021 at 5:29 pm #3755ArtisticAdam
ParticipantGlad you tested first. You will need to use a wood DYE. Dye penetrats the wood where as stain sits ontop of the wood preventing epoxy from adhering. I highly recommend Behlin Solar Lux dye. I used it on my entire camper. Avoid applying it in the heat of the day and use a rag slightly dampened with denatured alcohol to blend if needed. You can also mix a few drops of the dye with your epoxy fillet material to help color match if needed.
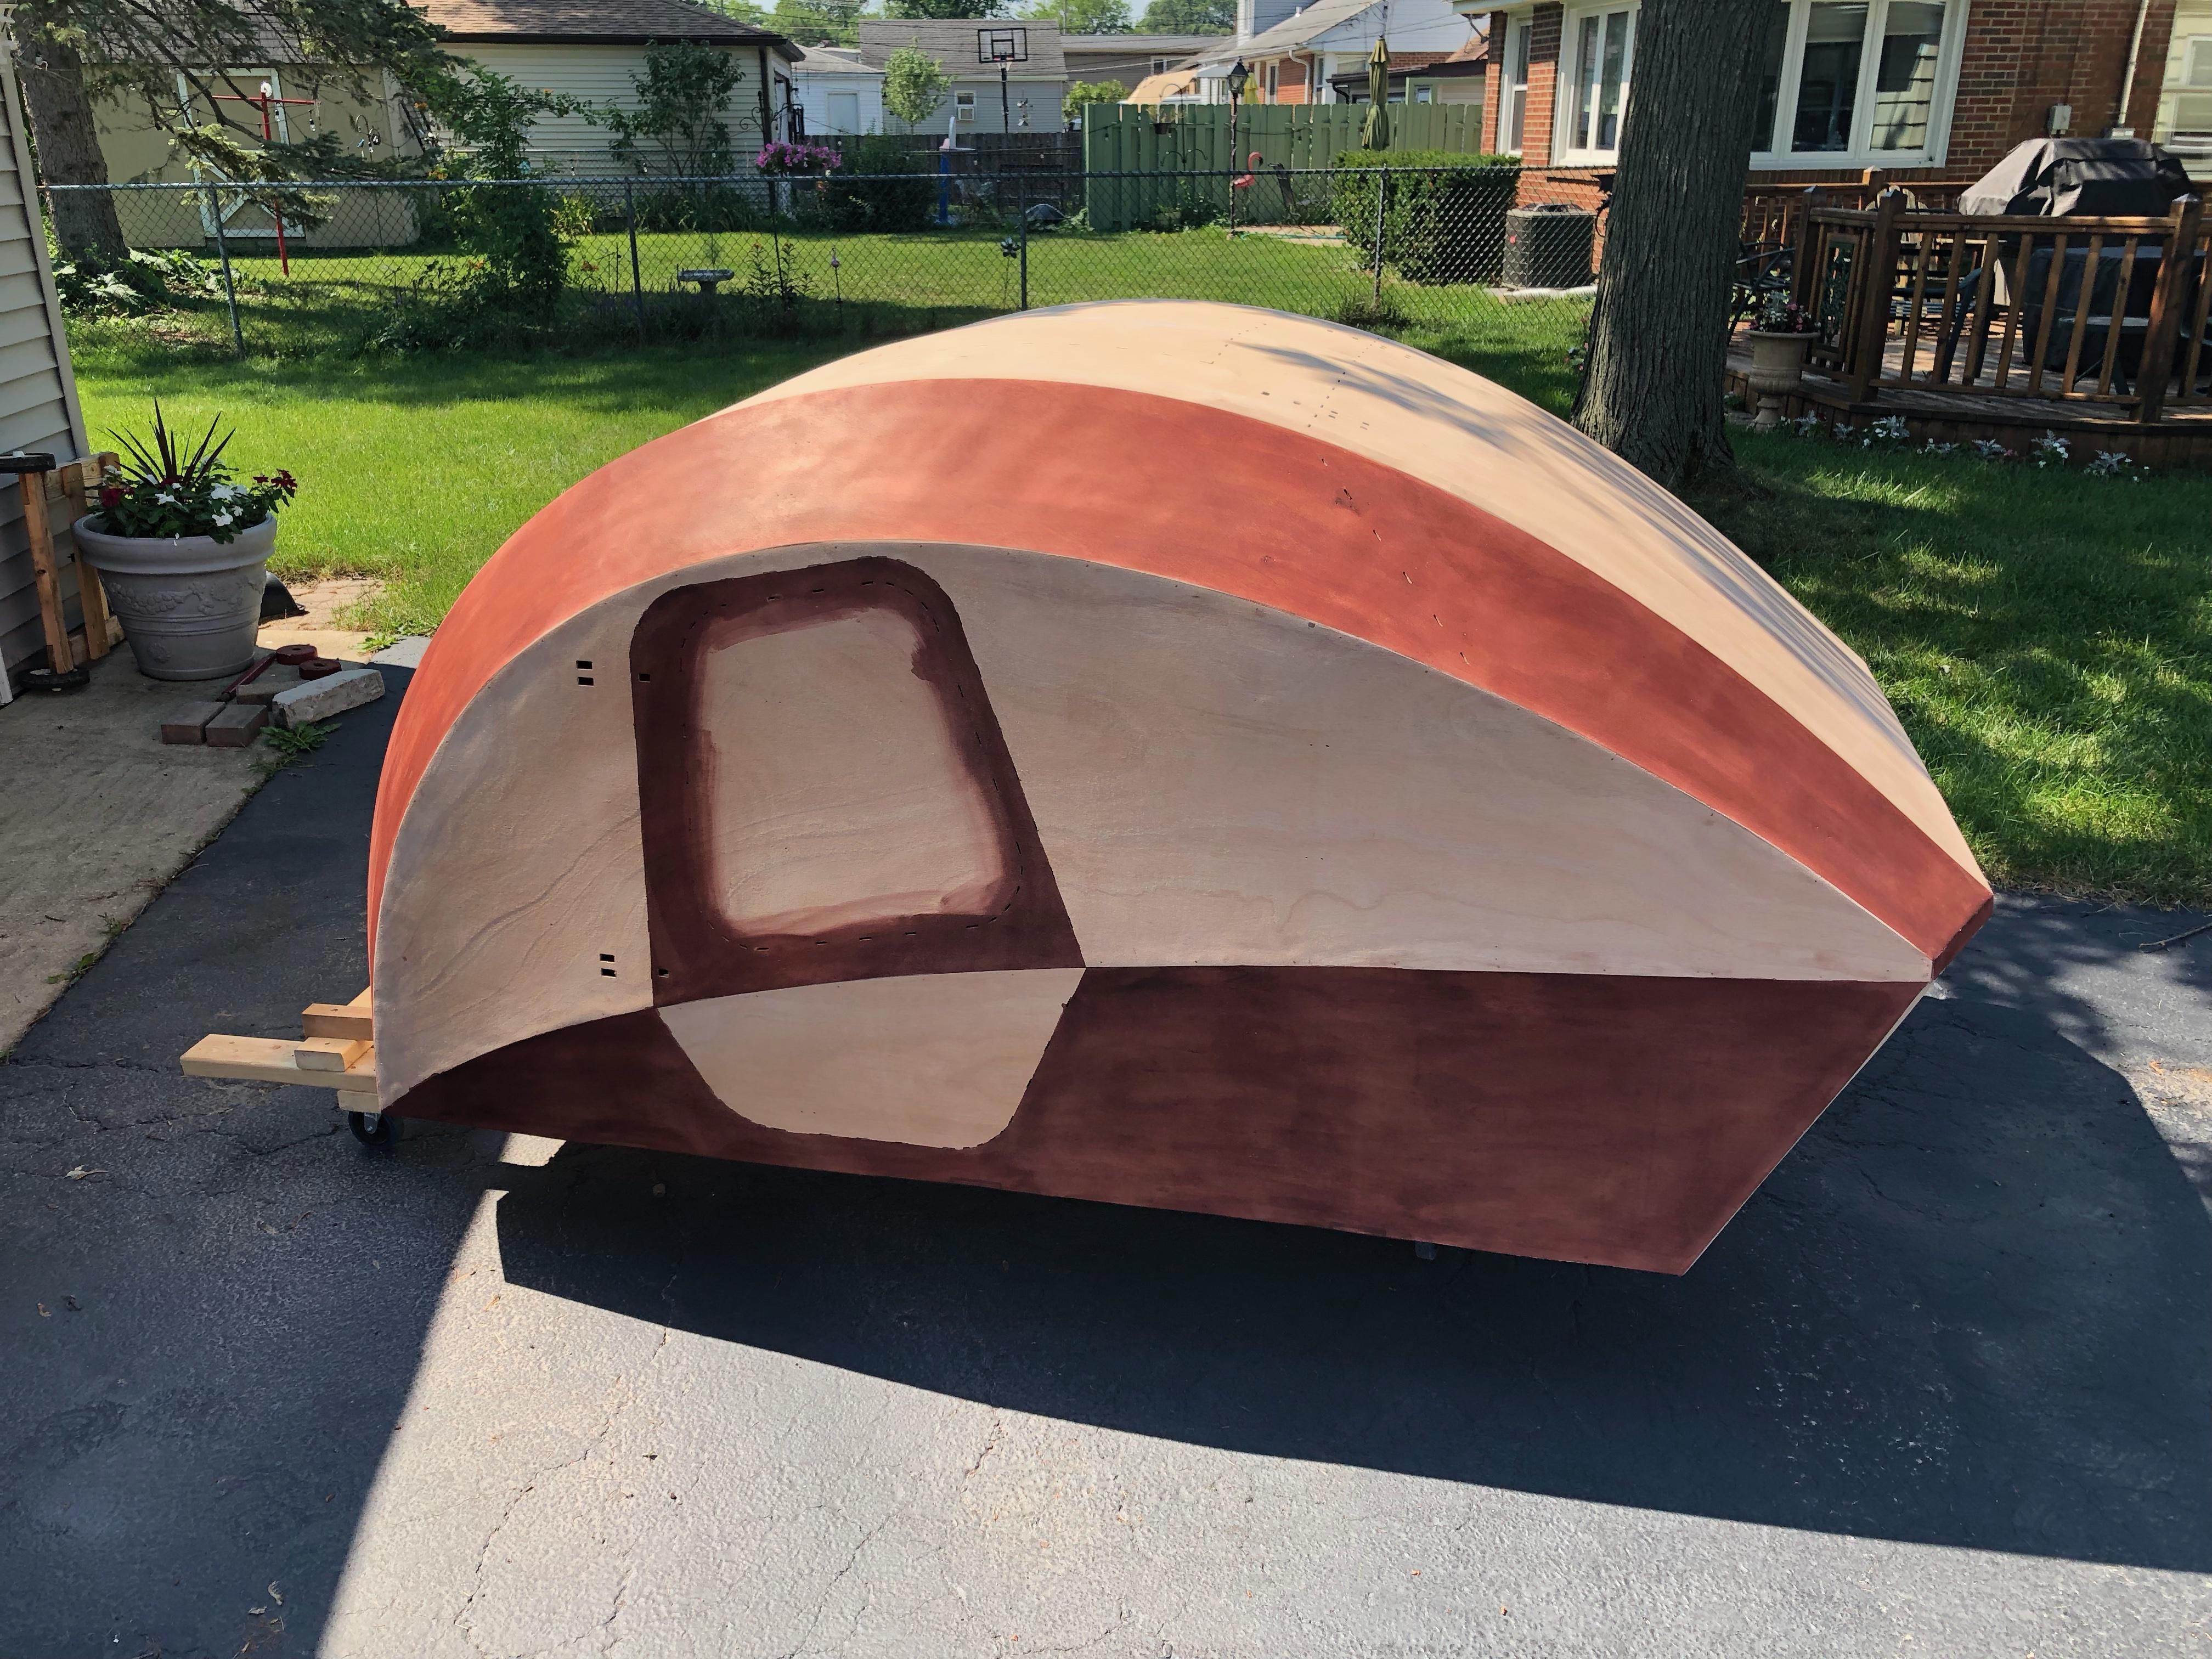
July 27, 2021 at 6:18 pm #3766ParticipantI went ahead and bought the alcohol based stain from CLC. Test great. Here it is stain with light red mahogany. The number 2 panel looks reddish and the rest looks dark. It is just the lack of sun shining on it.
-
AuthorPosts
- You must be logged in to reply to this topic.