Welcome to TeardropForum.com › Forums › Teardrop Builders’ Forum › Cabin storage
Tagged: Cabin storage
- This topic has 19 replies, 11 voices, and was last updated 2 years, 3 months ago by
madebymike60.
-
AuthorPosts
-
August 13, 2017 at 8:14 pm #1192
Bill
Participant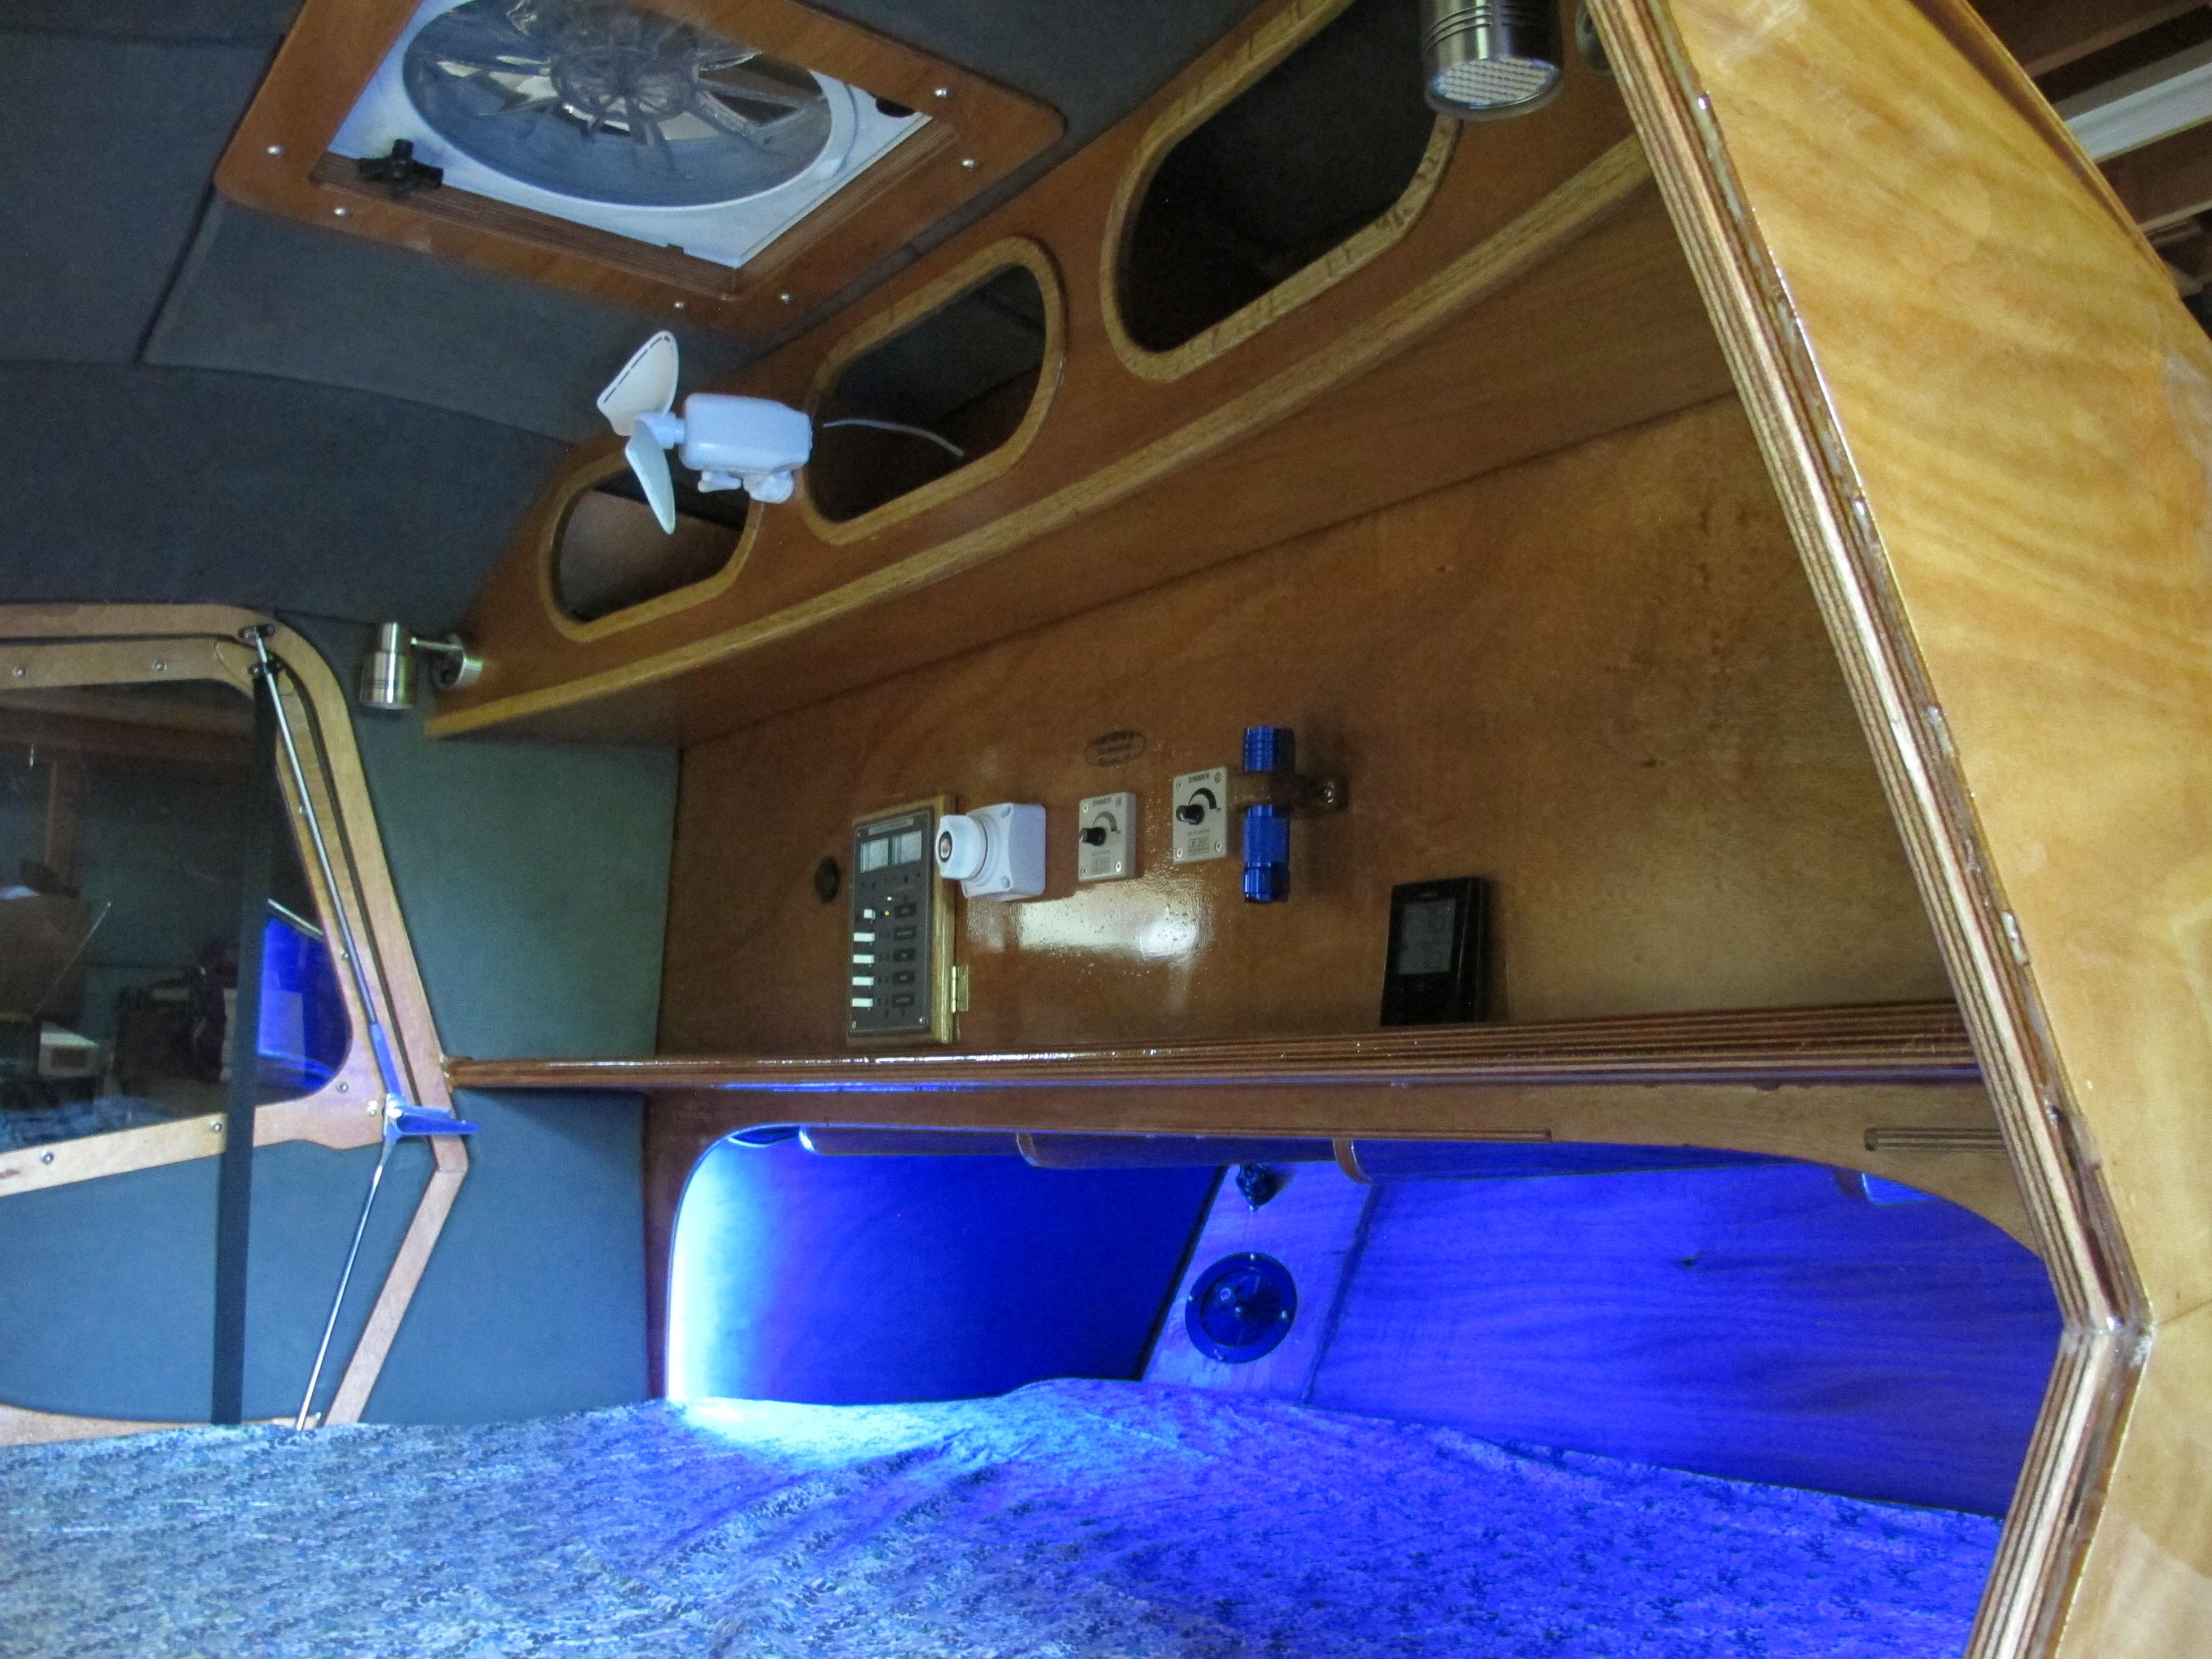
I wanted a place in the cabin to keep a few things handy and not clutter up the sleeping area. I toyed with the idea of cutting two holes in the bulkhead and procuring some cabinet from galley area above the left and right cabinet area that is sort of wasted anyway but decided against it and got more room without cramping the cabin interior or taking valuable galley space. It took at least 3 full size mock ups before I made the cabinet out of wood. I had saved all the large cardboard pieces from the teardrop packing and did some stitch and ca glue for fast construction of my prototypes. I kept the cabinet curved to match the shelf curve and even steam bent the storage openings frames. The finished cabinet fits flush to the insulated ceiling and sides and bolts to the bulkhead. I lined the bottom with some scrap carpet to hinder sliding around. I think a mentioned this when it was under construction a while back, this is it finally installed.August 14, 2017 at 9:38 am #1194comccoy
ParticipantThat looks really nice! CLC should work with you to make a kit version. I’m npot sure we have the carpentry skills to do that ourselves but it makes a great addition!
August 14, 2017 at 11:32 am #1197friz
ParticipantMe too. I need this.
January 13, 2018 at 12:55 pm #1569apkley
ParticipantBill,
Your idea is amazing! We were debating the addition of some kind of in cabin storage. Really glad we saw your design! Did you use all okoume? Wondering how you got the curve in the front panel.
January 17, 2018 at 11:11 am #1583jgrayston
ParticipantLove that idea… I’m going to incorporate a version of it in my teardrop. I’m working from plans so I have extra okume to spare for some mods. I’m thinking of adding some headboard storage as well… something sloped at an angle so that it helps with pillow space…
Jason
January 17, 2018 at 3:10 pm #1588Dan
ParticipantOutstanding! I’d planned to do exactly this in my build. I’m really glad you did it first. It looks great!
February 15, 2018 at 1:23 pm #1649ParticipantSorry Apkley it took so long to ans your question. Like I said I used cardboard from the shipment packing to make a prototype and made sure it fit so as not to deal with fitting a glued up insert. I found a supplier to purchase some extra okoume plywood. The trim around the openings are water oak as is the molding below them. Those rings were cut out of a single board and then routed to fit as well as rounded off. I made a form to shape them to fit the curve and sandwiched them in it one at a time after steaming them, just used a dutchoven with a small colander under the wood to keep it out of the boiling water for about 10 min. You should make the form have a slightly sharper than you need curve to allow for some spring back. The molding was also steam bent but in a 4” pvc pipe connected to a teakettle spout. Just make sure to quickly apply the shape desearded shape as all ability to maintain shaping leaves quickly as it cools and ware gloves. The curve for the cabinet is easy as the plywood bends easily and stitch and glue works well there, 1/4” thickness is more than strong enough and once epoxy and some fiberglass is added to some inside corners it all becomes very rigged just make sure you work on a large flat surface to prevent any warp once finished. I think I used 4 nuts and bolts to fasten it to the bulkhead and this allows me to remove it if needed in the future. Good luck.
Bill
May 12, 2018 at 2:51 pm #1838PatandRay
ParticipantOff topic to the title but what insulation/headliner are you using?
PS: Great storage idea.
October 1, 2018 at 11:03 pm #2167kelseymvi
ParticipantHI Bill,
I’m just starting this project! Curious how you secured the shelving unit to the wall and ceiling. After a year of use how did it hold up? Any idea how strong this design is? How much weight do you estimate you put up there?
Sorry about all the questions,
Thank you for the tips!
Kelsey
September 27, 2021 at 6:58 pm #3925rachelurner
ParticipantHow thick was the plywood that you used for this?
October 31, 2021 at 12:25 pm #3952sandman
Participant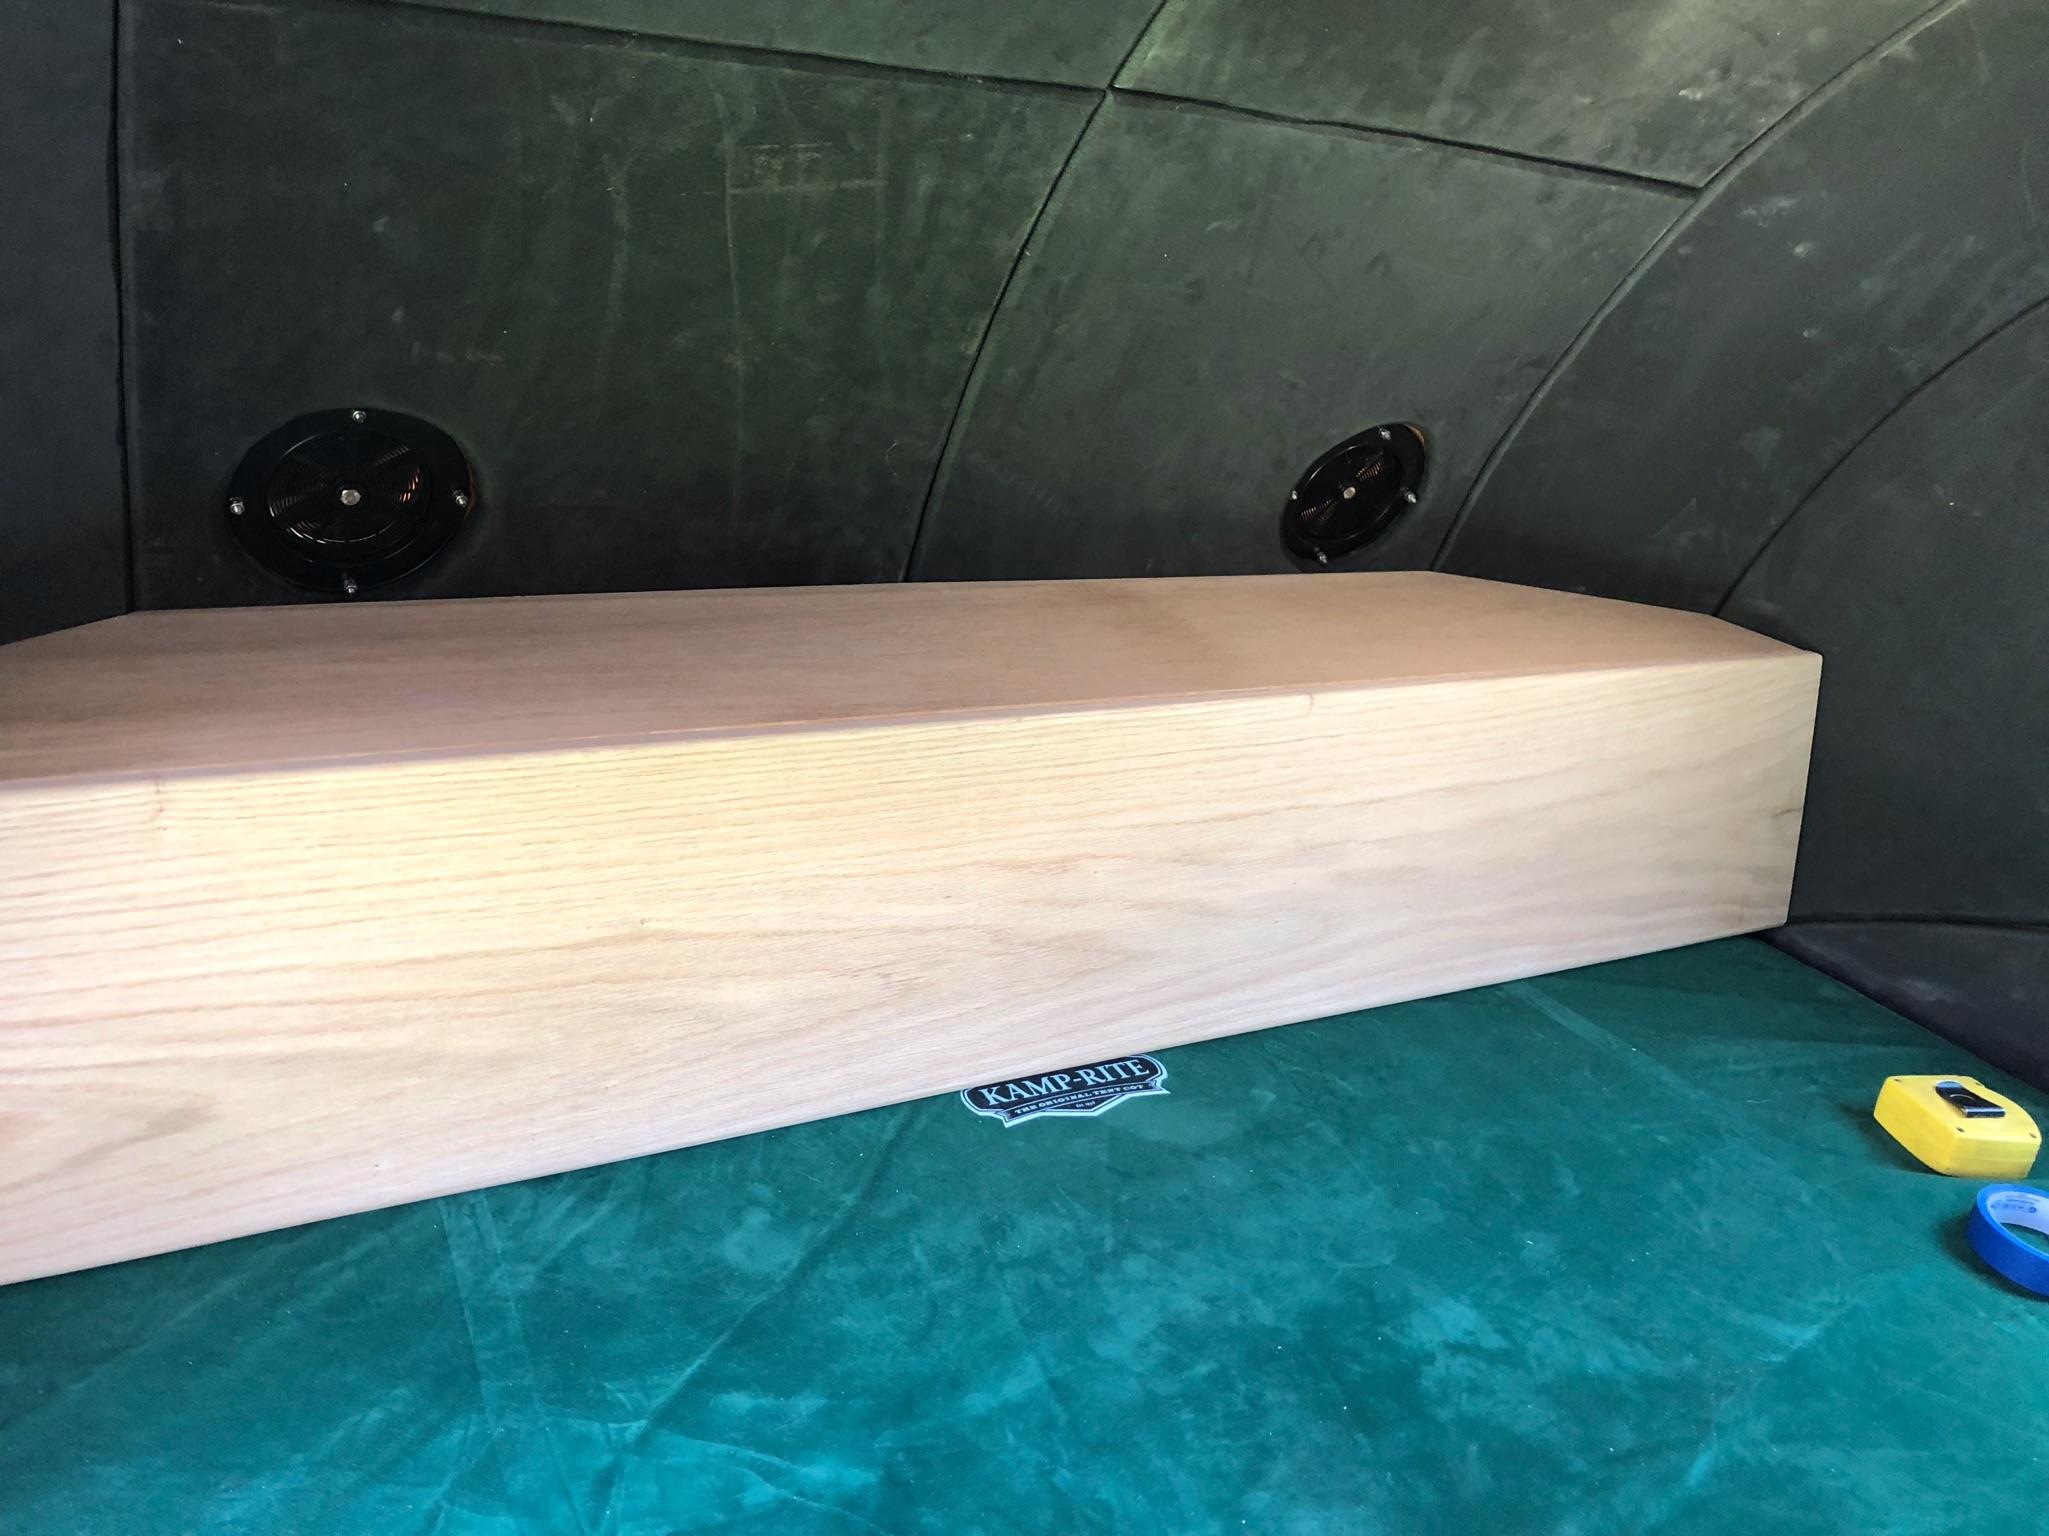
we added a storage box/backrest at the front of the cabin. The lid pops off and provides storage for blankets, pillows, etc. Uses some if the precious floor space but still leaves plenty if sleeping space for my 5’10” height. The backrest function works great for reading a book or watching tv.March 30, 2022 at 12:41 pm #4246madebymike60
ParticipantI took my first trip in the camper recently and found there are not many places for smaller stuff inside. The kit shelf provides some space and the two ideas above look great so I’m hoping more owners/builders will contribute other ways that you’ve figured out to store or organize inside the cabin. I’ll start with something simple and go on to ones that will take more time and effort.
I put a 3M hook at each door, at first not sure what they might be used for but on the trip I hung a large plastic bag from one to hold my shoes after getting in for the night.
 March 30, 2022 at 1:02 pm #4247Participant
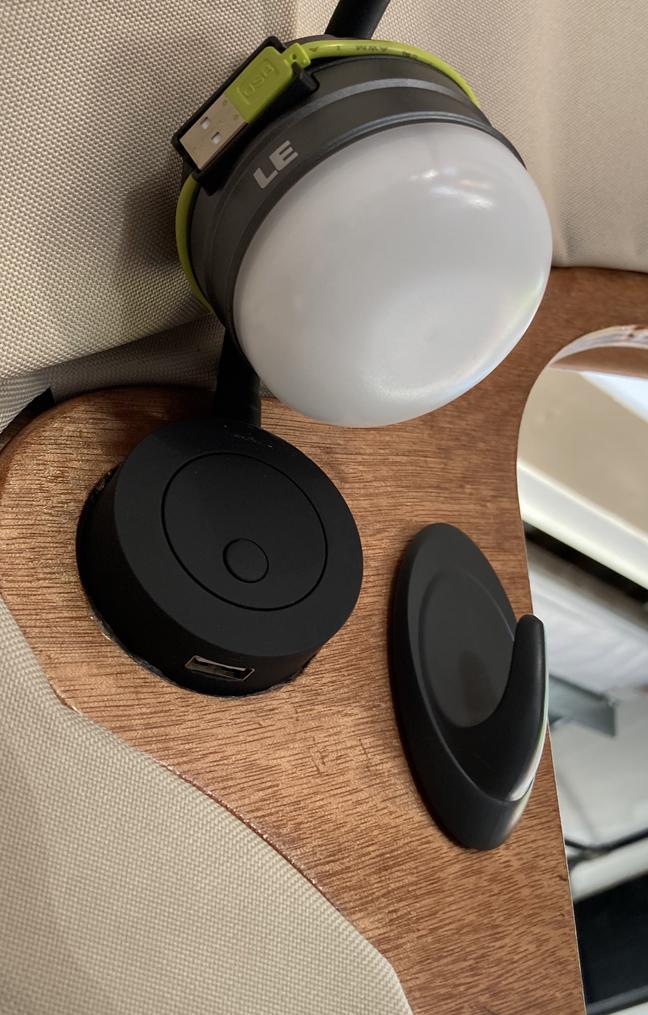
Here’s another idea that will take a little longer to put together but I like it. Months ago I had made small wooden shelves for inside the cabin but hadn’t considered the thickness of the insulation when making them. Also, I would have had more holes to cut in the insulation for the shelves to pass through so they were ‘shelved’ for a while. (Sorry, but I had to do it.)
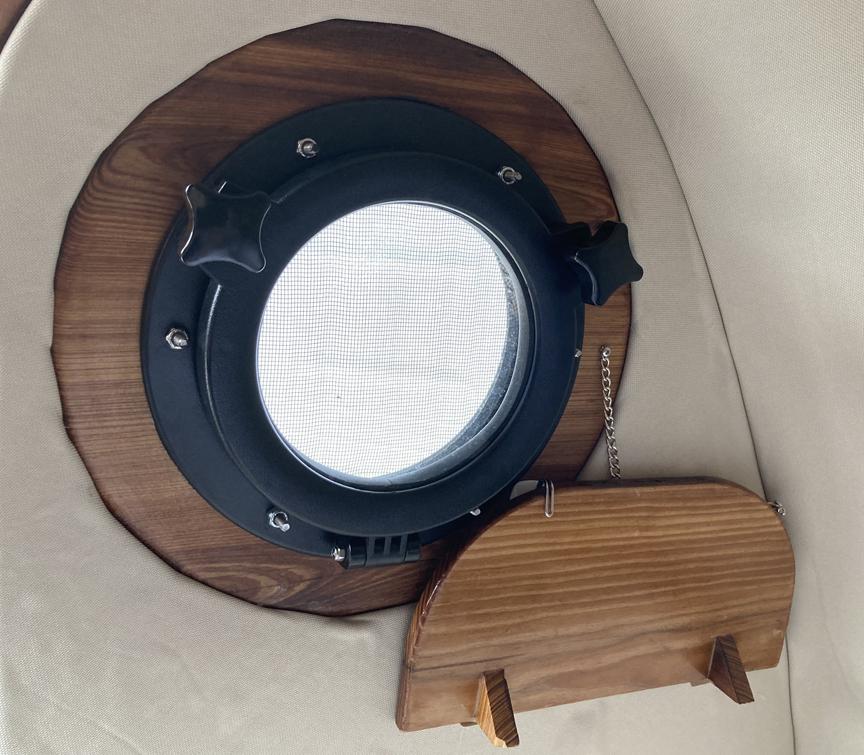
Anyway, here’s what I came up with to use them. The wood around the portholes was a good place for me to attach a chain to hold the weight of whatever is on the shelf. You would need an alternative, maybe a small hook epoxied to the inside wood or the insulation. The ‘hinges’ at the back are fabric that is stapled to the back of the shelf and hot glued to the fabric covering the insulation. The 3M hook can hold the shelf upright and out of the way if needed.
It will be a good place for a phone and/or watch, a small book or other lightweight items at night.
 March 30, 2022 at 1:21 pm #4249Participant
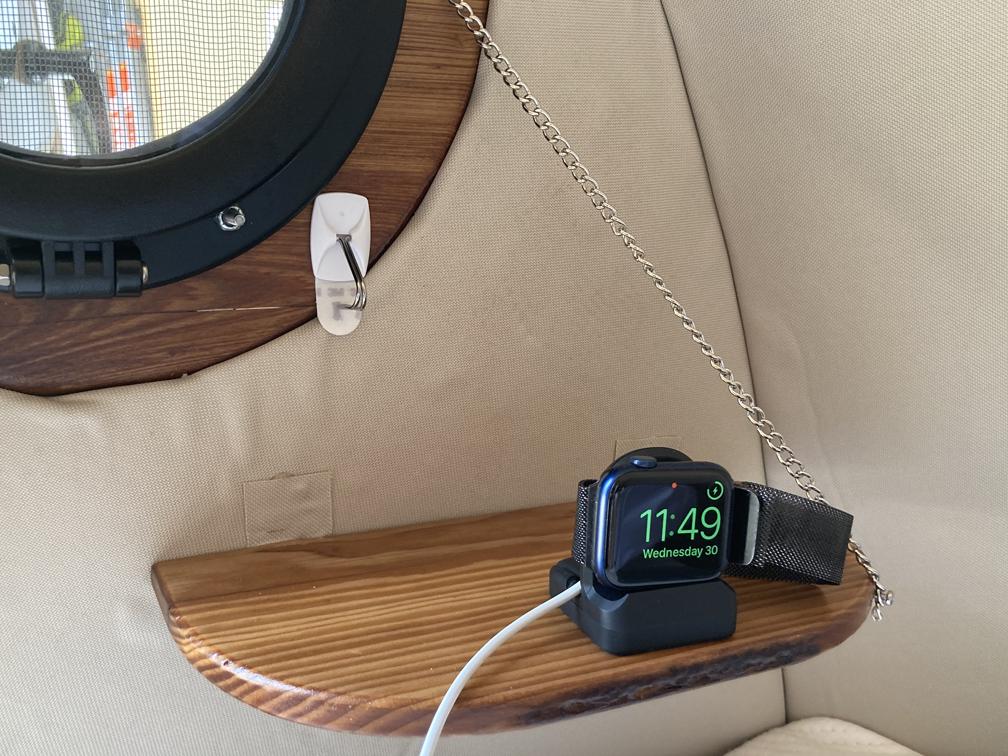
Here it is up and out of the way. The hot glue holding the fabric hinges doesn’t go on the back of the shelf so it can fold up. My shelves are about 5″ wide by 10″ long and I put one on each side.
 March 30, 2022 at 1:35 pm #4250Participant
This idea is covered in more detail elsewhere (search for ‘3793’ to see more) but I’m including it here because it fits. The drawer below holds lots of smaller items out of the way but is easy to get to. In ten nights I think I bumped it twice with my feet so I didn’t feel like it was in the way, no more than the shelf which I also bumped a couple of times with my legs. Anyway, with a medium investment of time and some basic materials, it provides some handy storage.

-
AuthorPosts
- You must be logged in to reply to this topic.