Forum Replies Created
-
AuthorPosts
-
western_flyer
ParticipantI ran into the same problem installing the bulkhead shelf. I gave it a trial fit after installing the bulkhead. It was a very tight fit and it looked like it would interfere with the door framing so I held off on the shelf until after the framing was glued in place. Of course there was no getting the shelf in place without risking damage to the TD skin once the framing was in. I wound up shaving 3 or 4 mm off each end of the shelf. This left a pretty large gap between the shelf and skin to bridge with an unsupported fillet. I thought about adding some fiberglass tape but just put an extra fat fillet where the shelf meets the door frame. It looks solid but I will keep an eye on it when I get on the road. IMO the manual needs to be corrected to showing the shelf either tacked or filleted in place before the door frames are installed.
May 6, 2018 at 1:14 am in reply to: Install & epoxy top panels 1R & 1L b/4 installing panels 2R & 2L? #1818ParticipantI wired 1s & 2s together first but tape them individually.
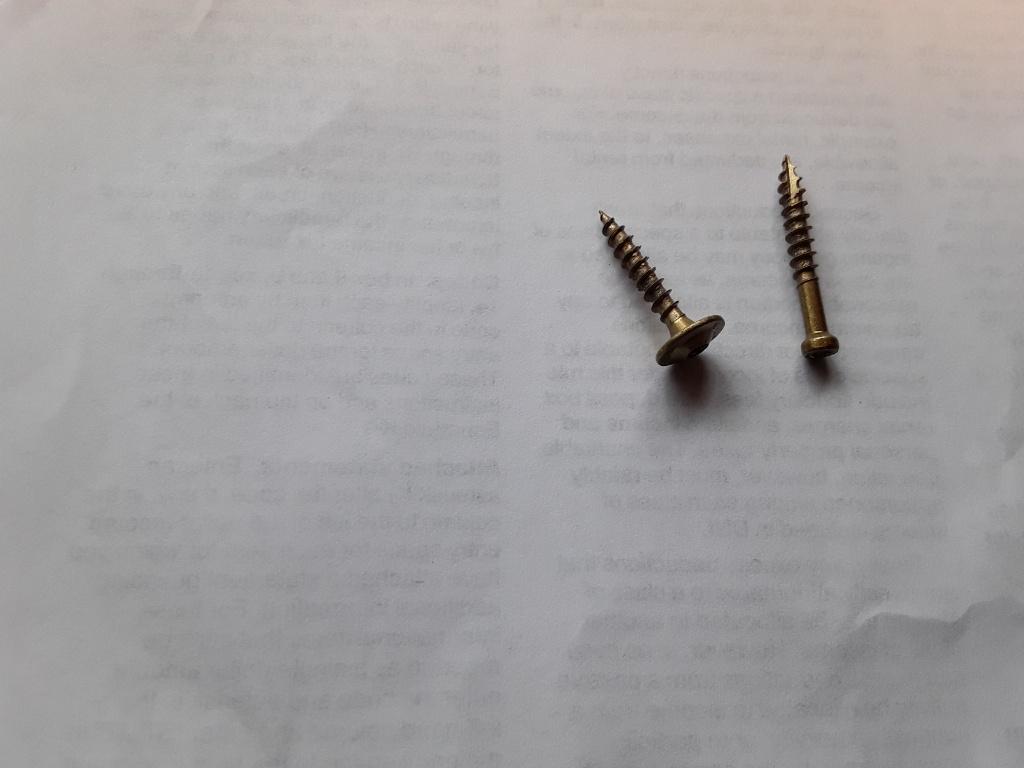
ParticipantI’m not making the CLC tongue box but in area that needed to be held in place while the expoxy set up I used outdoor “deck” screws (from Home Depot). Some examples the finishing head screw clamped the galley flat stiffeners in place and were driven home and to use the manual’s term “entombed” them when I coated the surface with epoxy. Where the Galley gutter meets the transom I couldn’t get an even glue joint and used the washer head screws as temporaty clamps. Back them out and filled the holes with wood putty.
Even though the screws are self drilling I drilled pilot holes to avoid splitting the wood. I also did the fine tightening with a screwdriver to again avoid damaging the wood.
-
This reply was modified 7 years, 11 months ago by
western_flyer.
ParticipantTry searching You Tube for answers.
https://www.youtube.com/watch?v=2PKn-59pHNM
In my opinion very small bubbles are cosmetic but not structural concerns. I got more than a few bubbles in some of the taping and the over the top glass. I filled some, sanded out a few and ignored most. If you are planning to leave your TD bright, I’m not, you have to decide which of the small bubble are in cosmetically critical areas.
-
This reply was modified 7 years, 11 months ago by
ParticipantDan, your workmanship is amazing to say the least. I had to cut a half dozen darts to get the glass to behave on panels 2. I had dozens of air bubbles over the galley section some of which I couldn’t get rid of and were large enough that I sanded them out and filled them in. And unlike you I’ve glassed two S&G kayaks and helped glass a 37 ft cold molded ocean racing sloop. On the latter we put down three layers of glass but had a very skilled fiberglass professional running a glass roller and spreader correcting our plethora of mistakes.
Anyhow a salute with my epoxy covered nitrile gloves for a job very well done.
March 18, 2018 at 3:14 pm in reply to: Joint between galley Flat and bulkhead failed when plywood delaminated. #1723ParticipantThe bulkhead bowed out during the curing leaving part of galley flat/bulkhead joint exposed. I faired in the gap with putty and covered it with 3 inch fiberglass tape. I’ll do the same when I can access the galley. That should hold it.
No pics. The TD is closed up tight right now
ParticipantI thought about just duplicating the supplied wooden hinges out of aluminum bar stock for wear and security. I’ve thought better of it and will go with the supplied CLC hinges. I’m thinking of inserting bushings into hinges to act as thrust bearings to keep the hinge parts from grinding into each other, which has been documented on this forum.
I would think something as simple as nylon radial/flange bushing would work great. For a price one could substitute bronze but I don’t see the load bearing such as to warrant the expense.
https://www.mcmaster.com/#standard-sleeve-bearings/=1bvulk4
There are some nylon bearings listed for about $1 each.
As for security, I think we need to remember the teardrop is made out of 4mm plywood. If a determined thief wanted to break in it might be better if he used a hammer to the hinges than bashing a hole into the trailer skin.
ParticipantAs I look at the the photos on page 232 & 233 some seem to show the interior sealed and other not. To me it seems much easier to seal the inside panels before the floor is attached. That’s my plan.
ParticipantI think it would not be that hard. Maybe a little thicker Lexan for the windows. Need some kind of protective canvas covers for traveling down the road. Certainly worth considering.
ParticipantI’ve had a couple of them. A 4 footer and an 8 footer. Worked out fine but mostly used for local hauling of trash to the dump and building materials to home, so not a lot of miles racked up. I did take both of them on some long camping trips. Seattle WA to California desert near Mexico and again from the Seattle area to east of the Rockies and up into Canada and Glacier National Park. Trailers handled well with no incidents. On both trips the trailers were pulled by a small Honda.
-
This reply was modified 7 years, 11 months ago by
-
AuthorPosts