Forum Replies Created
-
AuthorPosts
-
ArtisticAdam
Participantthe lip on the first 2 photos looks bad. Are you planning to paint the camper or going for the natural wood look?
ParticipantI’m in the NW Houston area. Built mine last year…still doing some electrical upgrades. Email me if you need help adam@adambutler3d.com
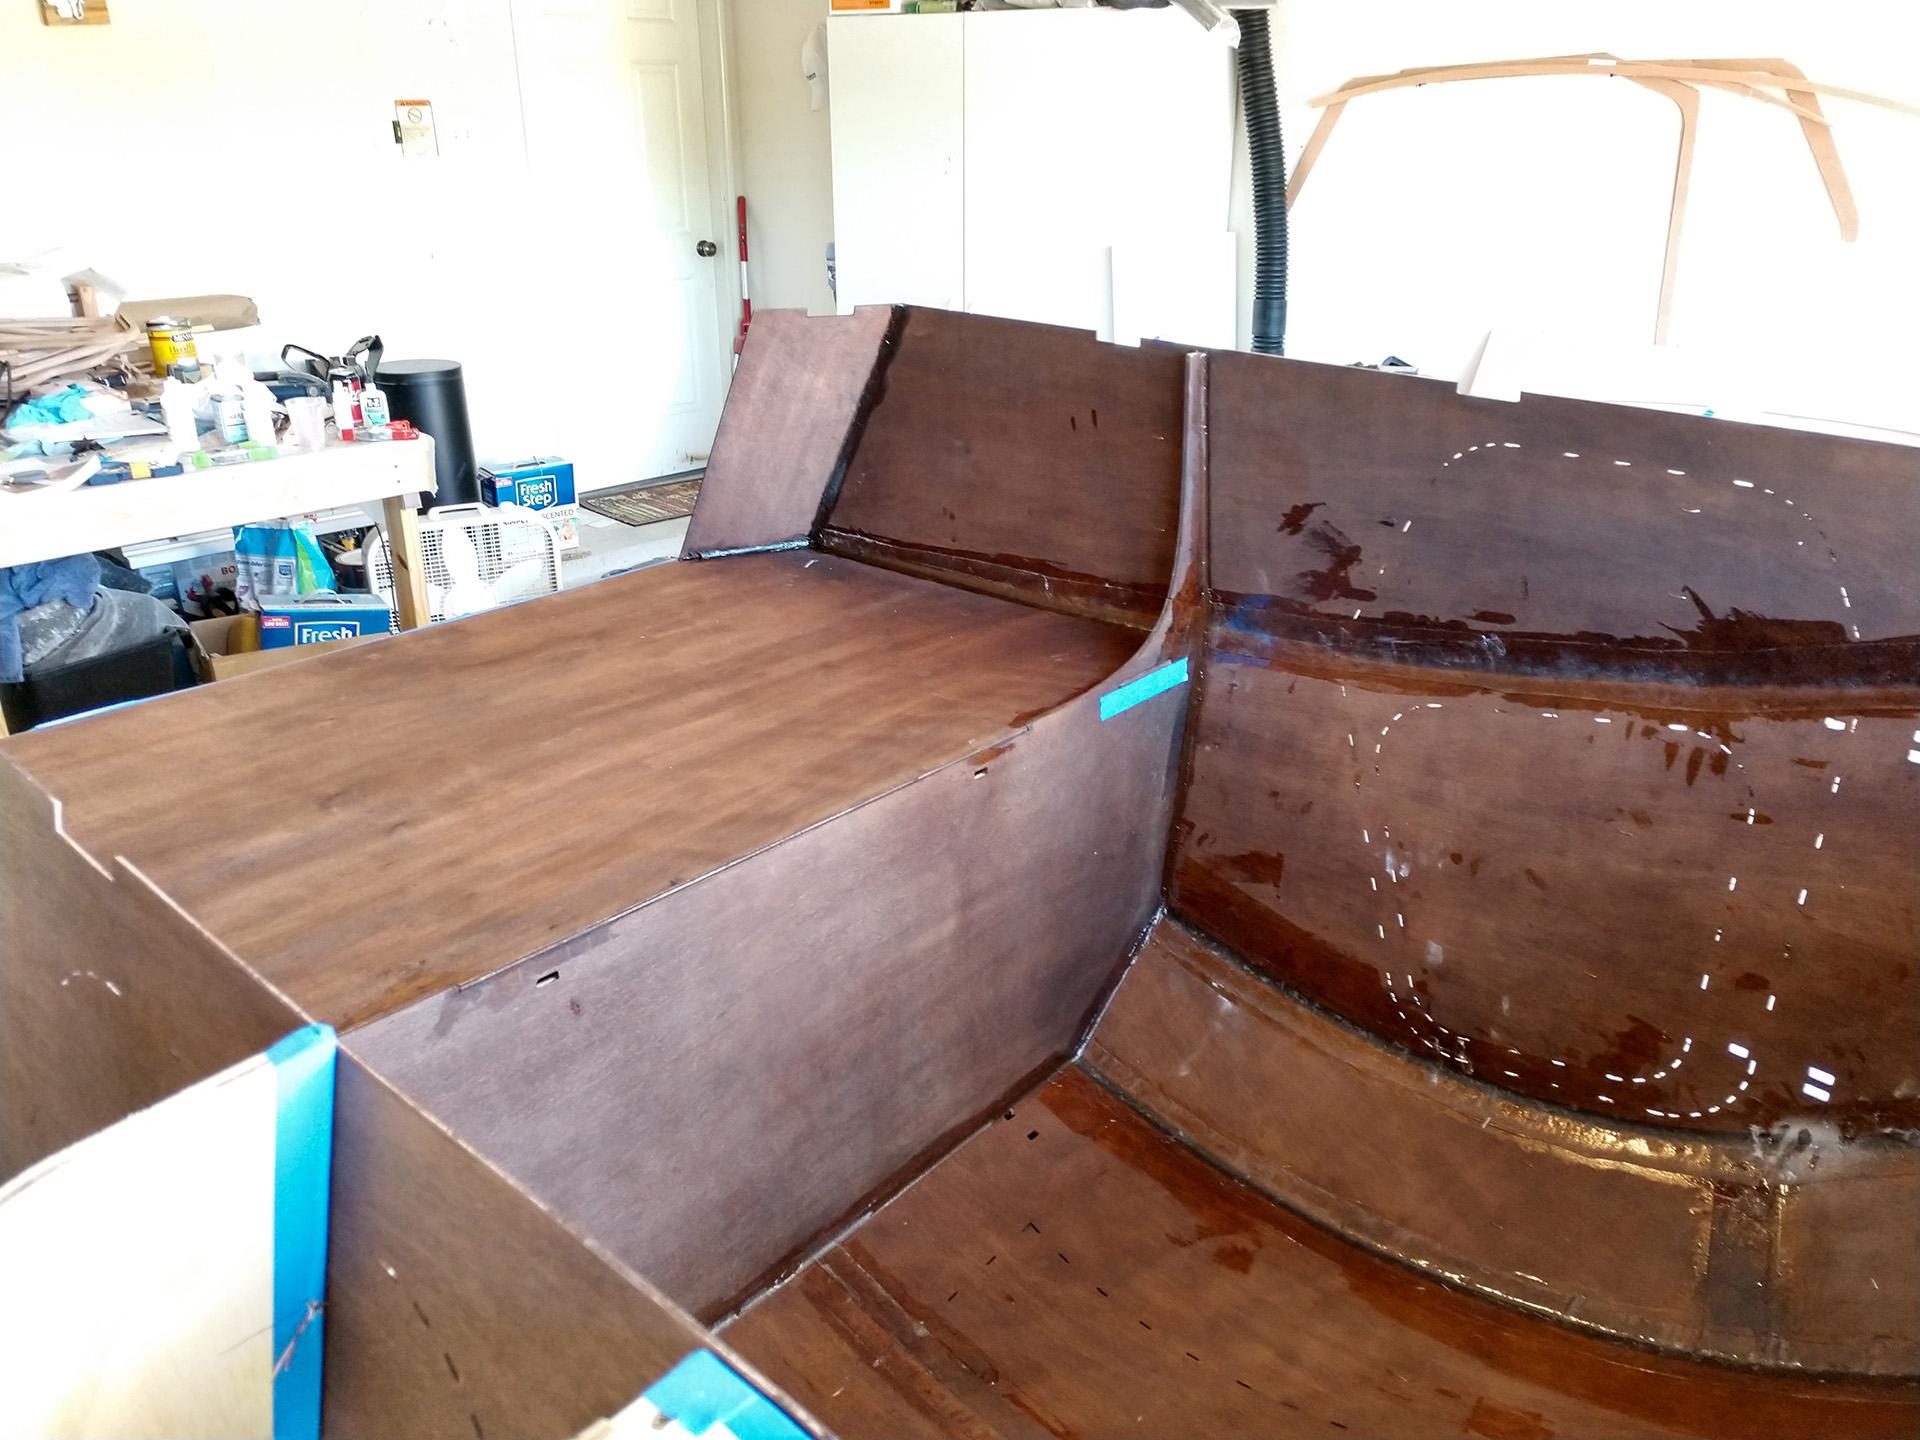
ParticipantThe first epoxy coat was the heaviest because you need to fully saturate the fiberglass cloth. After that, I did 3 coats with an epoxy approved foam roller. You will need to sand no matter what, drips/runs are easy to sand out. I had some areas that seemed shallow so I spot filled a few of those areas after initial sanding (1-2 coats more).
ParticipantHere is an example I have, all the “stains” or dark spots seen here went away completely after i covered the interior completely in epoxy.
 Participant
It’s difficult to tell exactly from the photo, can you upload another with less glare/ direct light?
As long as you are wetting the fiberglass all the way through to the wood it should blend in with the “stains” from previous steps before the epoxy even sets up. If it doesn’t blend in at the wetting stage then you may not be fully saturating the glass.
ParticipantGrandpa Tucson, I would second what CWStevens said. It’s best to build the electrical to suit your specific needs. Are you looking for a system like Waterlust, or just something to run the roof vent and some LED lights?
ParticipantI too did the same modification with a couple of 3″ stainless steel mending plates. Honestly the CLC hardware kit should include a couple of strike plates.
ParticipantThanks Volund. I would be happy to answer any questions. The stainless steel hinges on the side doors work very well, I highly recommend them. The hinges for the hatch requiring the custom hinge blocks were a bit of a nightmare to engineer, but they work like a charm.
The cutouts on the bulkhead did not seem to weaken the structure but the cabinet units are indeed epoxied in place (both to the bulkhead and galley floor structure). The cabinets, cabin shelf, and galley floor add additional strength to the bulkhead as well. None of the cutouts on the bulkhead went higher up than the gas spring mounting points so I haven’t noticed any flexing. I’ve also upgraded both gas springs to 30lb versions with no problems.
ParticipantI believe those holes were from a much earlier step when you stitched the #1 & #2 panels to the intercostal mold framework (page 45 of the manual).
ParticipantI love the retro touch! Those shapes work so well with the campers profile. Are those Cadillac lights multi function? if not you will still need to have a plan for turn signal lights as well as front/side marker lights. I can’t wait to see your masterpiece finalized.
ParticipantI installed as directed mostly… I stayed about 1/8″ – 3/16″ from the outside edge of the hatch because my gap between hatch and shell was so tight if I placed the foam right at the edge it would catch on the camper shell. My only issue was actually with the galley gutter. When the hatch is closed there is about a 3 inch section where the hatch does not make contact with the gutter gasket. On the maiden voyage i had to double up the foam on that spot… I’m still not sure of a permanent fix for that problem yet.
ParticipantstretchMike- The headliner took 5 – 46″x82″ sheets of 3/4″ Closed Cell https://www.amazon.com/gp/product/B00LBBV0W4/ref=oh_aui_search_detailpage?ie=UTF8&psc=1
This covered all of the walls including the foot-well with some extra left over for my custom galley counter and for mistakes.
I started with 3M 77 spray adhesive to secure the headliner fabric to the closed-cell foam, but finished with a bottle of 3M 80. the 3M 80 was by far better to work with and the initial hold felt more secure than the 77.
I do highly recommend an automotive headliner to wrap your pieces in. the foam backing on the headliner fabric prevents glue from bleeding through and adds a bit of padding to the finished product.
The pieces were secured to the shell with 3M self adhesive velcro to start. I wanted to test the headliner out for a bit before committing to gluing it to the shell. If I glue it in the future than 3M 80 spray is what I would use.
ParticipantIdeally you want the chains the correct length. The chains should cradle the tongue and keep the tongue from hitting the ground should it come off the ball. Always cross the chains and never twist them to “shorten” them. You can also purchase a product like a Chain-Up, seen here https://www.youtube.com/watch?v=jD1vzJTr_0s but make sure the chains will still cradle the tongue high enough off the ground if it were to pop off the ball.
ParticipantSleeper, My headliner was constructed from 3/4″ closed cell foam wrapped in automotive foam-backed headliner fabric from Rushin Upholstery
https://www.rushinupholsterysupply.com/product/2292-opal-grey-winchester-knit-headliner/
ParticipantI used Behlen pre-stain conditioner followed by Hickory colored Behlen Solar Lux NGR dye. The Dye process is a pain but it was well worth it in the end.
-
AuthorPosts