Welcome to TeardropForum.com › Forums › Teardrop Builders’ Forum › Uneven 1 & 2 panels
Tagged: -
- This topic has 3 replies, 3 voices, and was last updated 4 years, 11 months ago by
stretchMike.
-
AuthorPosts
-
August 27, 2019 at 12:00 am #2722
Rsander
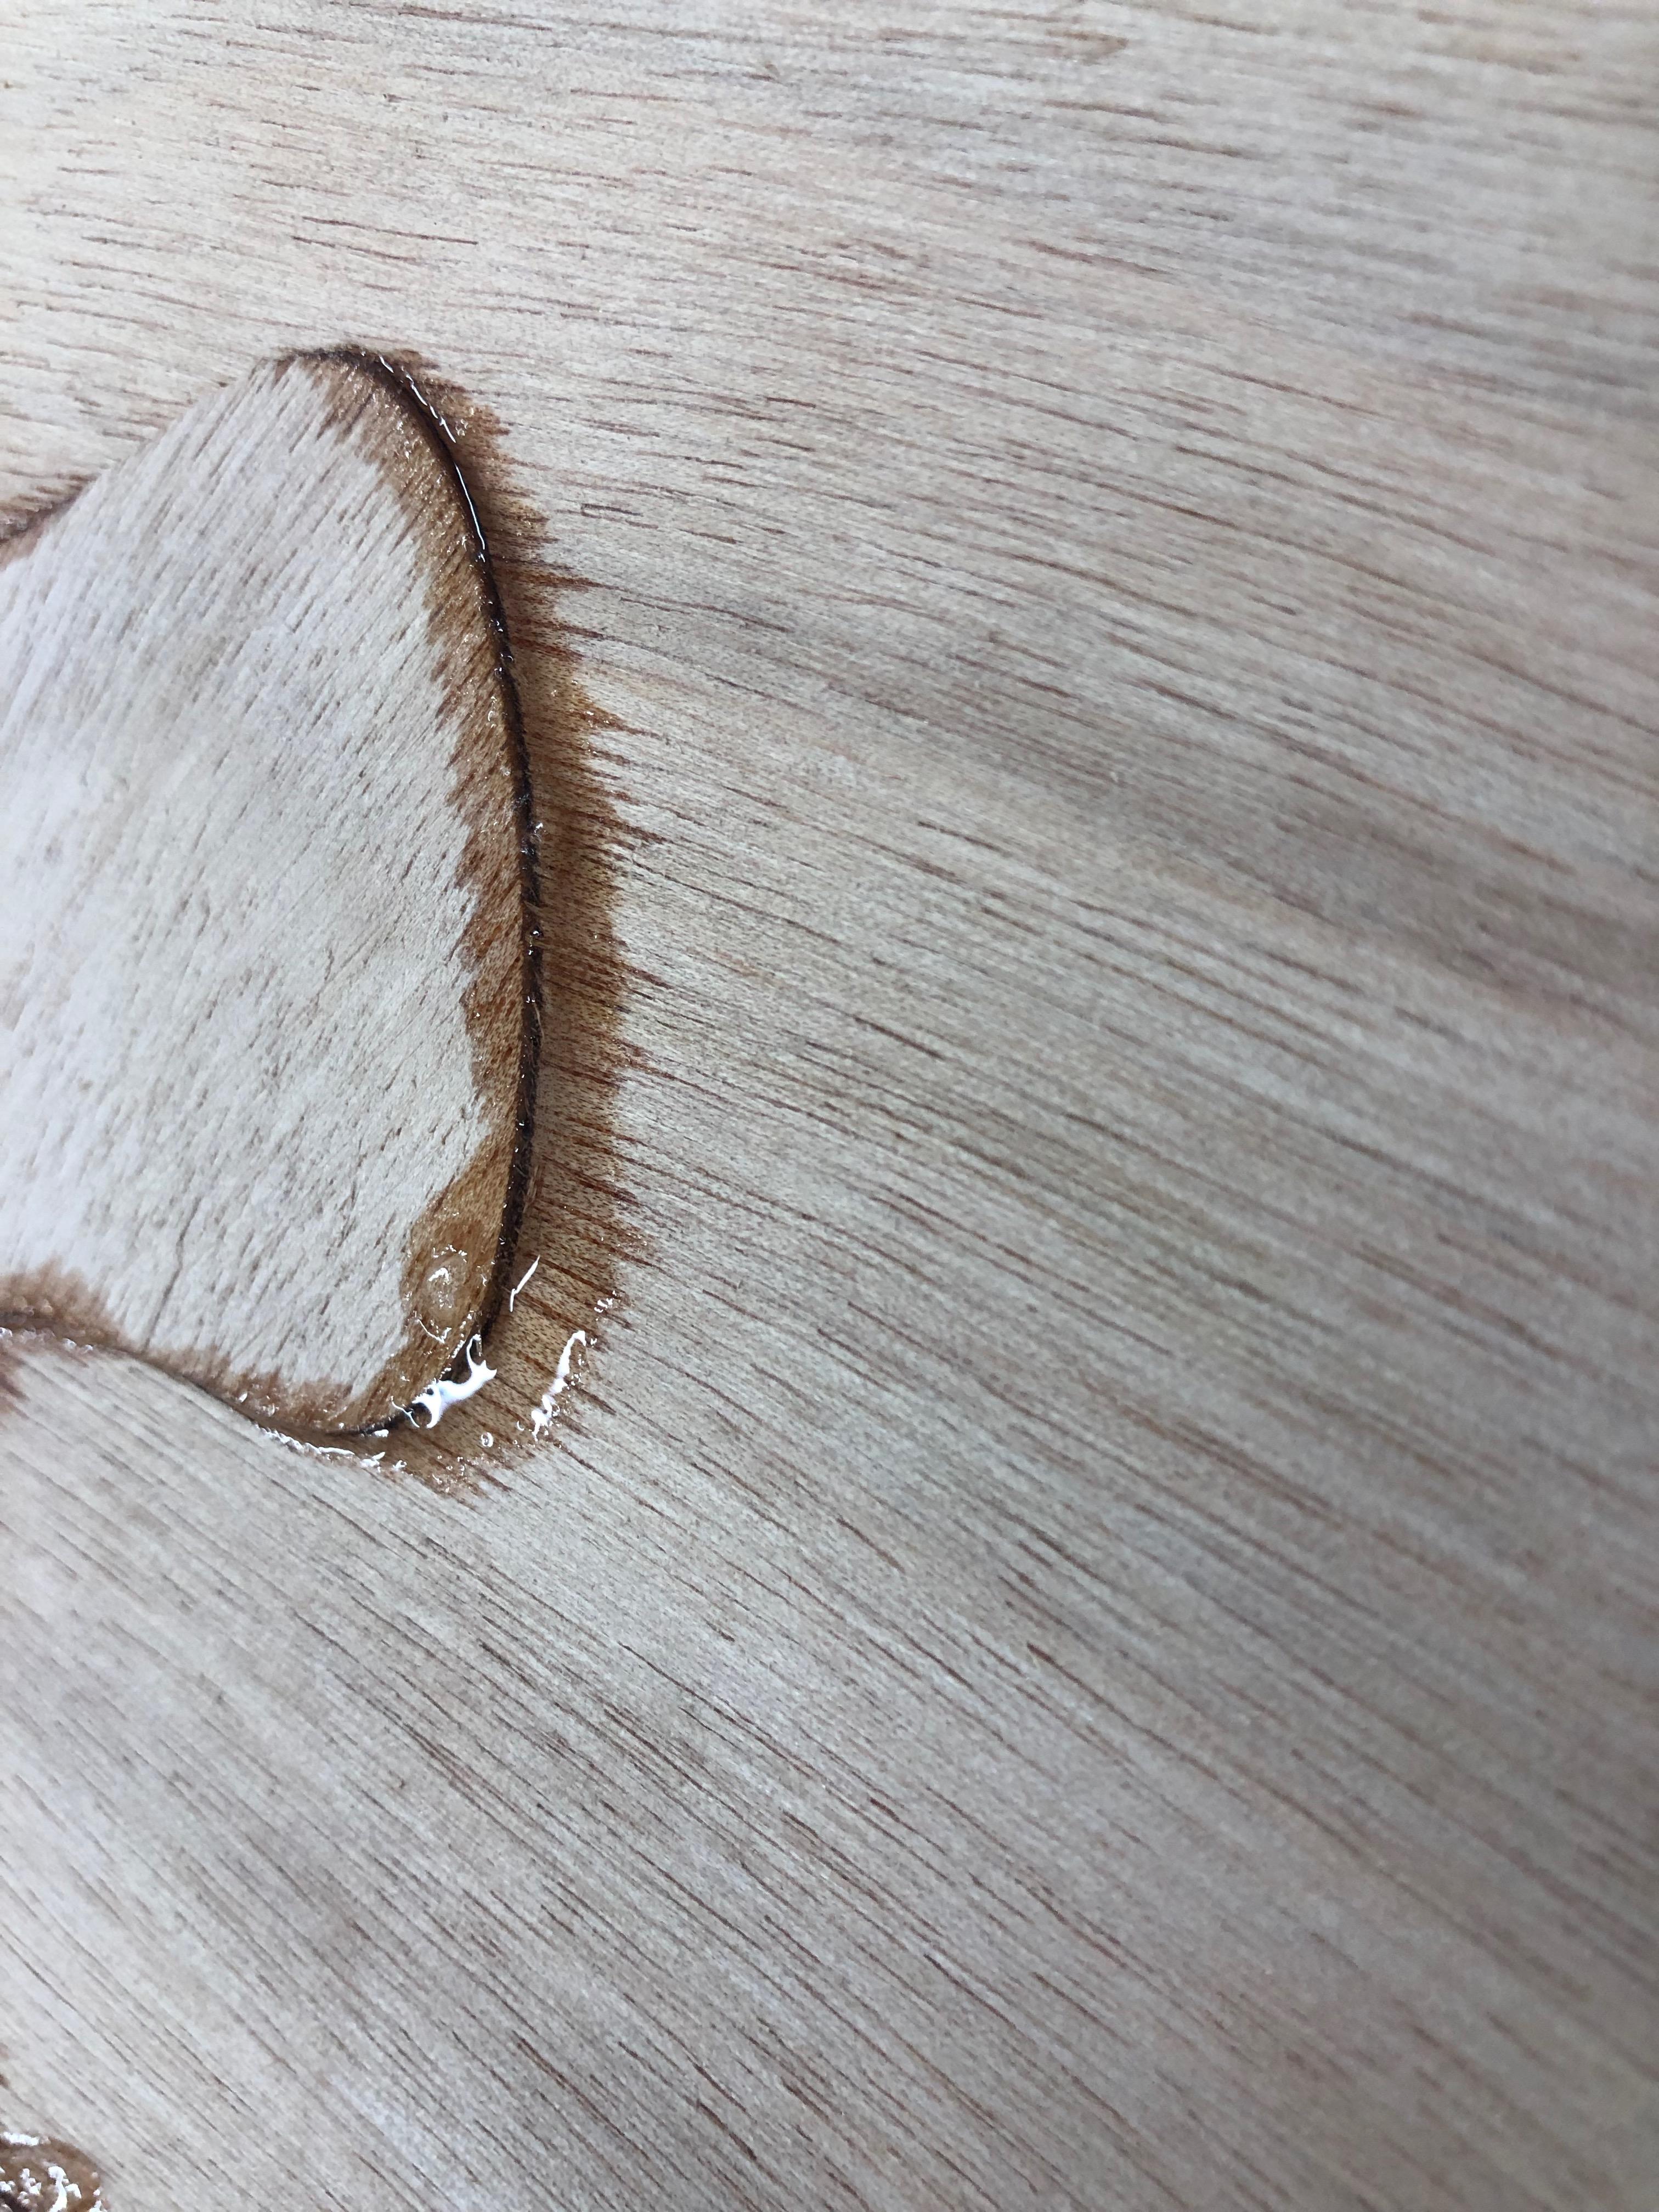
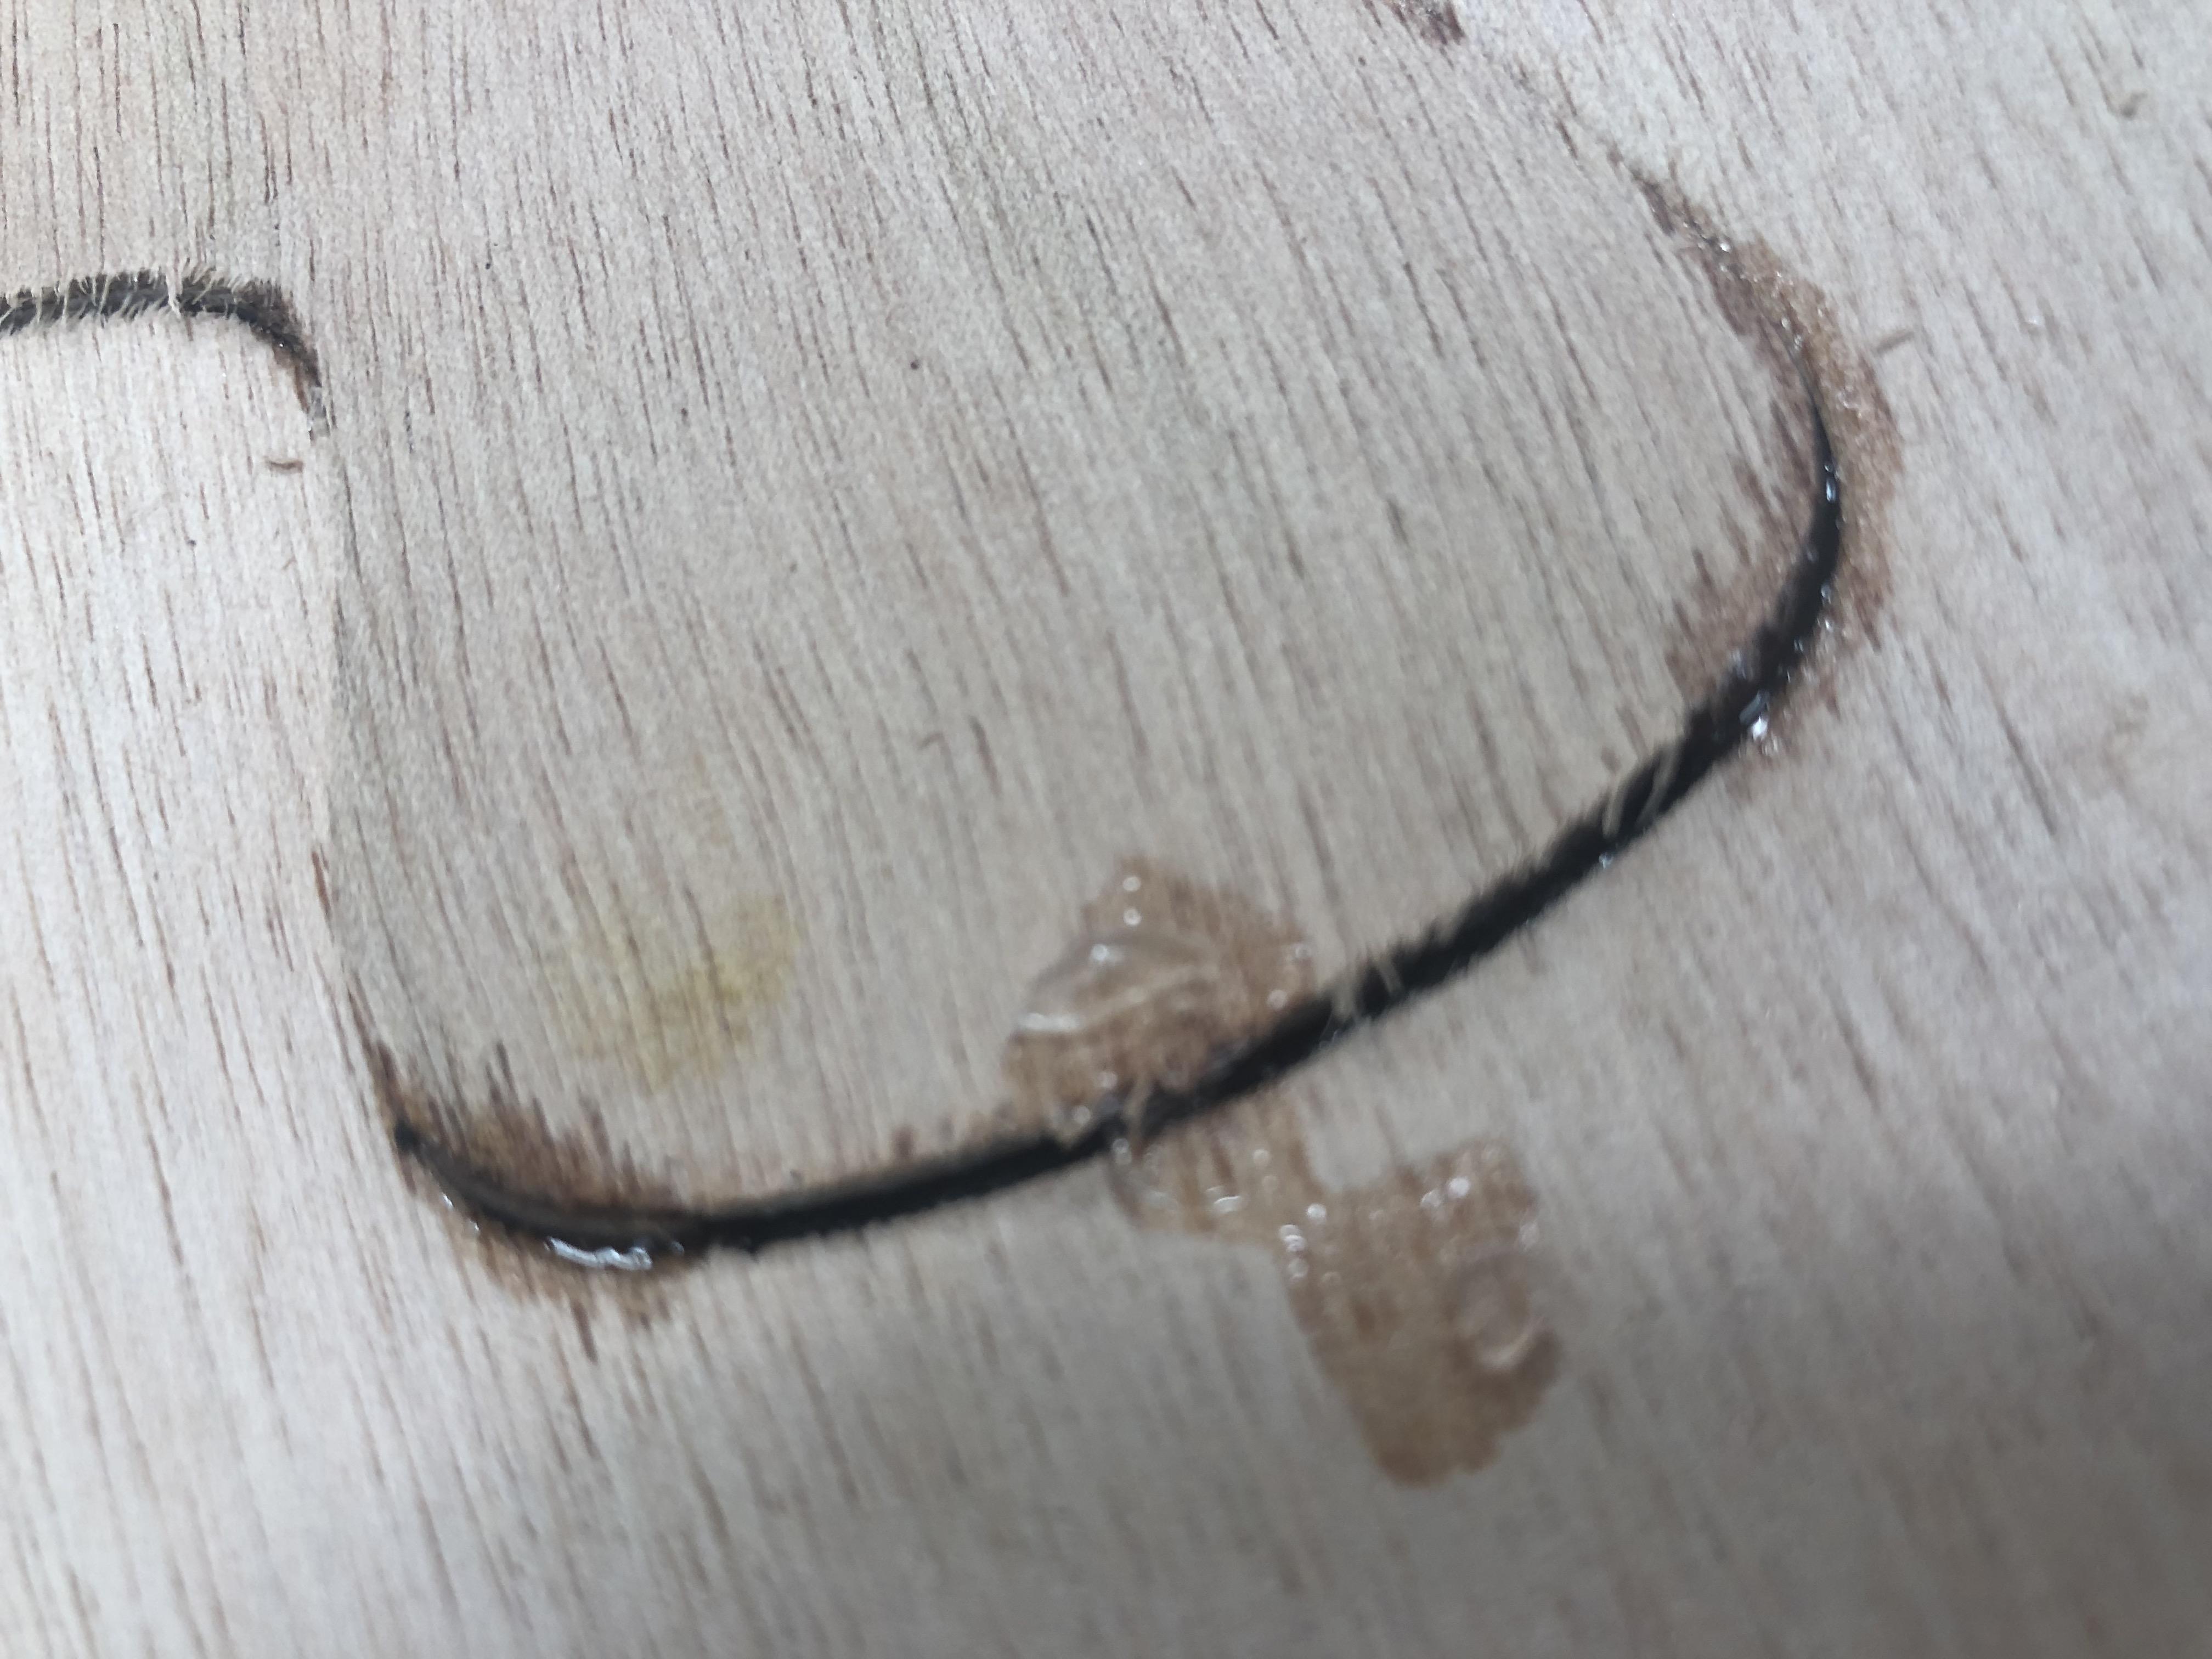
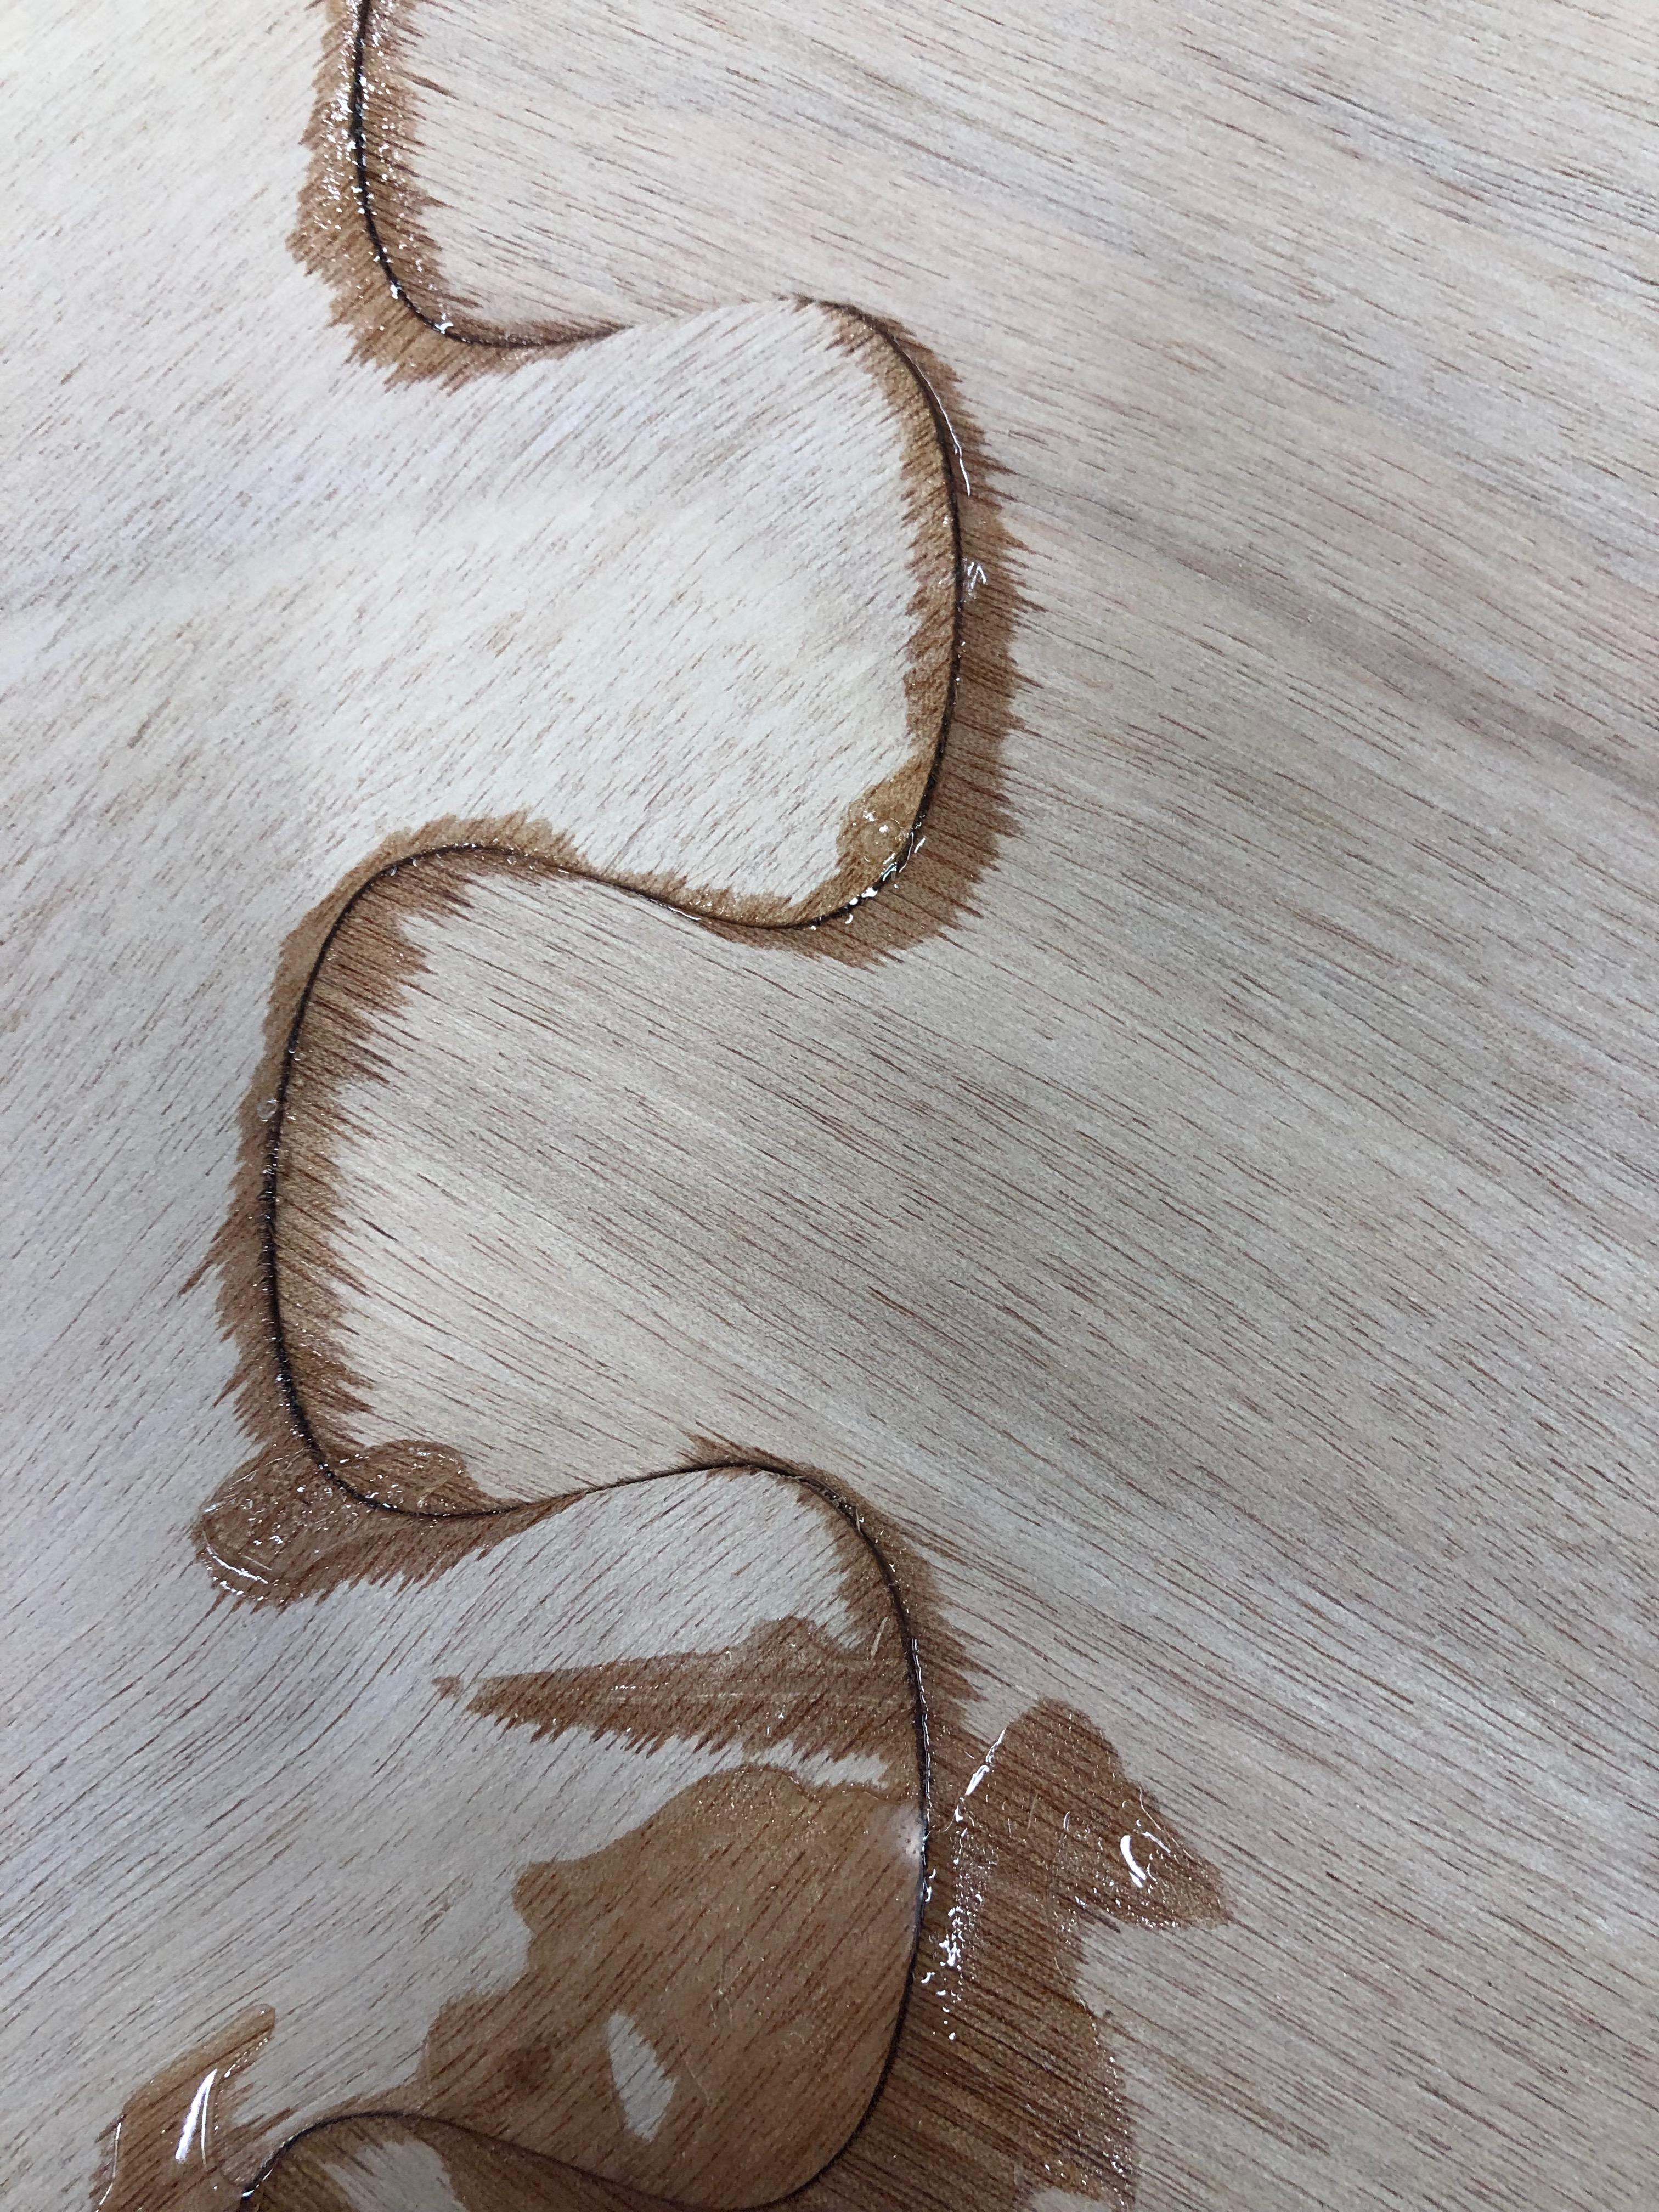
ParticipantI epoxied and glassed the 1 & 2 panels the other day. And despite my best efforts there were some uneven puzzle joints. Am I in deep trouble here or can I make this work??
August 27, 2019 at 12:18 am #2723Rsander
Participant

 August 28, 2019 at 5:45 pm #2731
ArtisticAdam
Participantthe lip on the first 2 photos looks bad. Are you planning to paint the camper or going for the natural wood look?
August 31, 2019 at 1:44 pm #2735stretchMike
ParticipantRsander, I agree with Artistic Adam on this one.
The problem is that you will need to eventually sand the outer surface smooth in order to get the fibreglass cloth to lie flat. Given that the puzzle joint is not flat you will have to sand through the top veneers on the high points. That will be highly visible with a clear finish – and the puzzle joints already draw the eye to that area. With a painted finish it won’t be a problem – but the clear wood finish is much prettier to most.
Nevertheless, I think this can be solved. This is what I would do:
1. I presume you have applied the fibreglass tape to the inside of the panels as directed. Sand that off with a pad sander and 80grit down to the wood.
2. Take a razor knife with a brand new blade and from the outside surface cut along the puzzle joint. You don’t have to go all the way through, but score it to at least 1/2 depth. You may have to use multiple new blades. Take care, this is your finished surface.
3. Take a wooden block (hardwood 2×4 or similar best) and place it on the outside surface over the puzzle joint that you have just scored. Give the block a sharp rap with a hammer. The puzzle joint should be sufficiently weakened to come apart.
4. Clean up the edges of the separated puzzle joint with sandpaper on a round block taking care not to round the edges.
5. Repeat joining process at 35-39 of the bible, but add this to avoid problem again:
- I would do one joint at a time;
- I would place it on kitchen wax paper or parchment paper on a flat surface, then epoxy and tape the joint as directed, then place more paper on the top of my joint and add a block and a heavy weight on top to get it absolutely flat.
Remember, there is no shame in taking a backward step to get it right, and if not addressed when they first appear problems tend to expand as the process continues.
-
AuthorPosts
- You must be logged in to reply to this topic.