Forum Replies Created
-
AuthorPosts
-
western_flyer
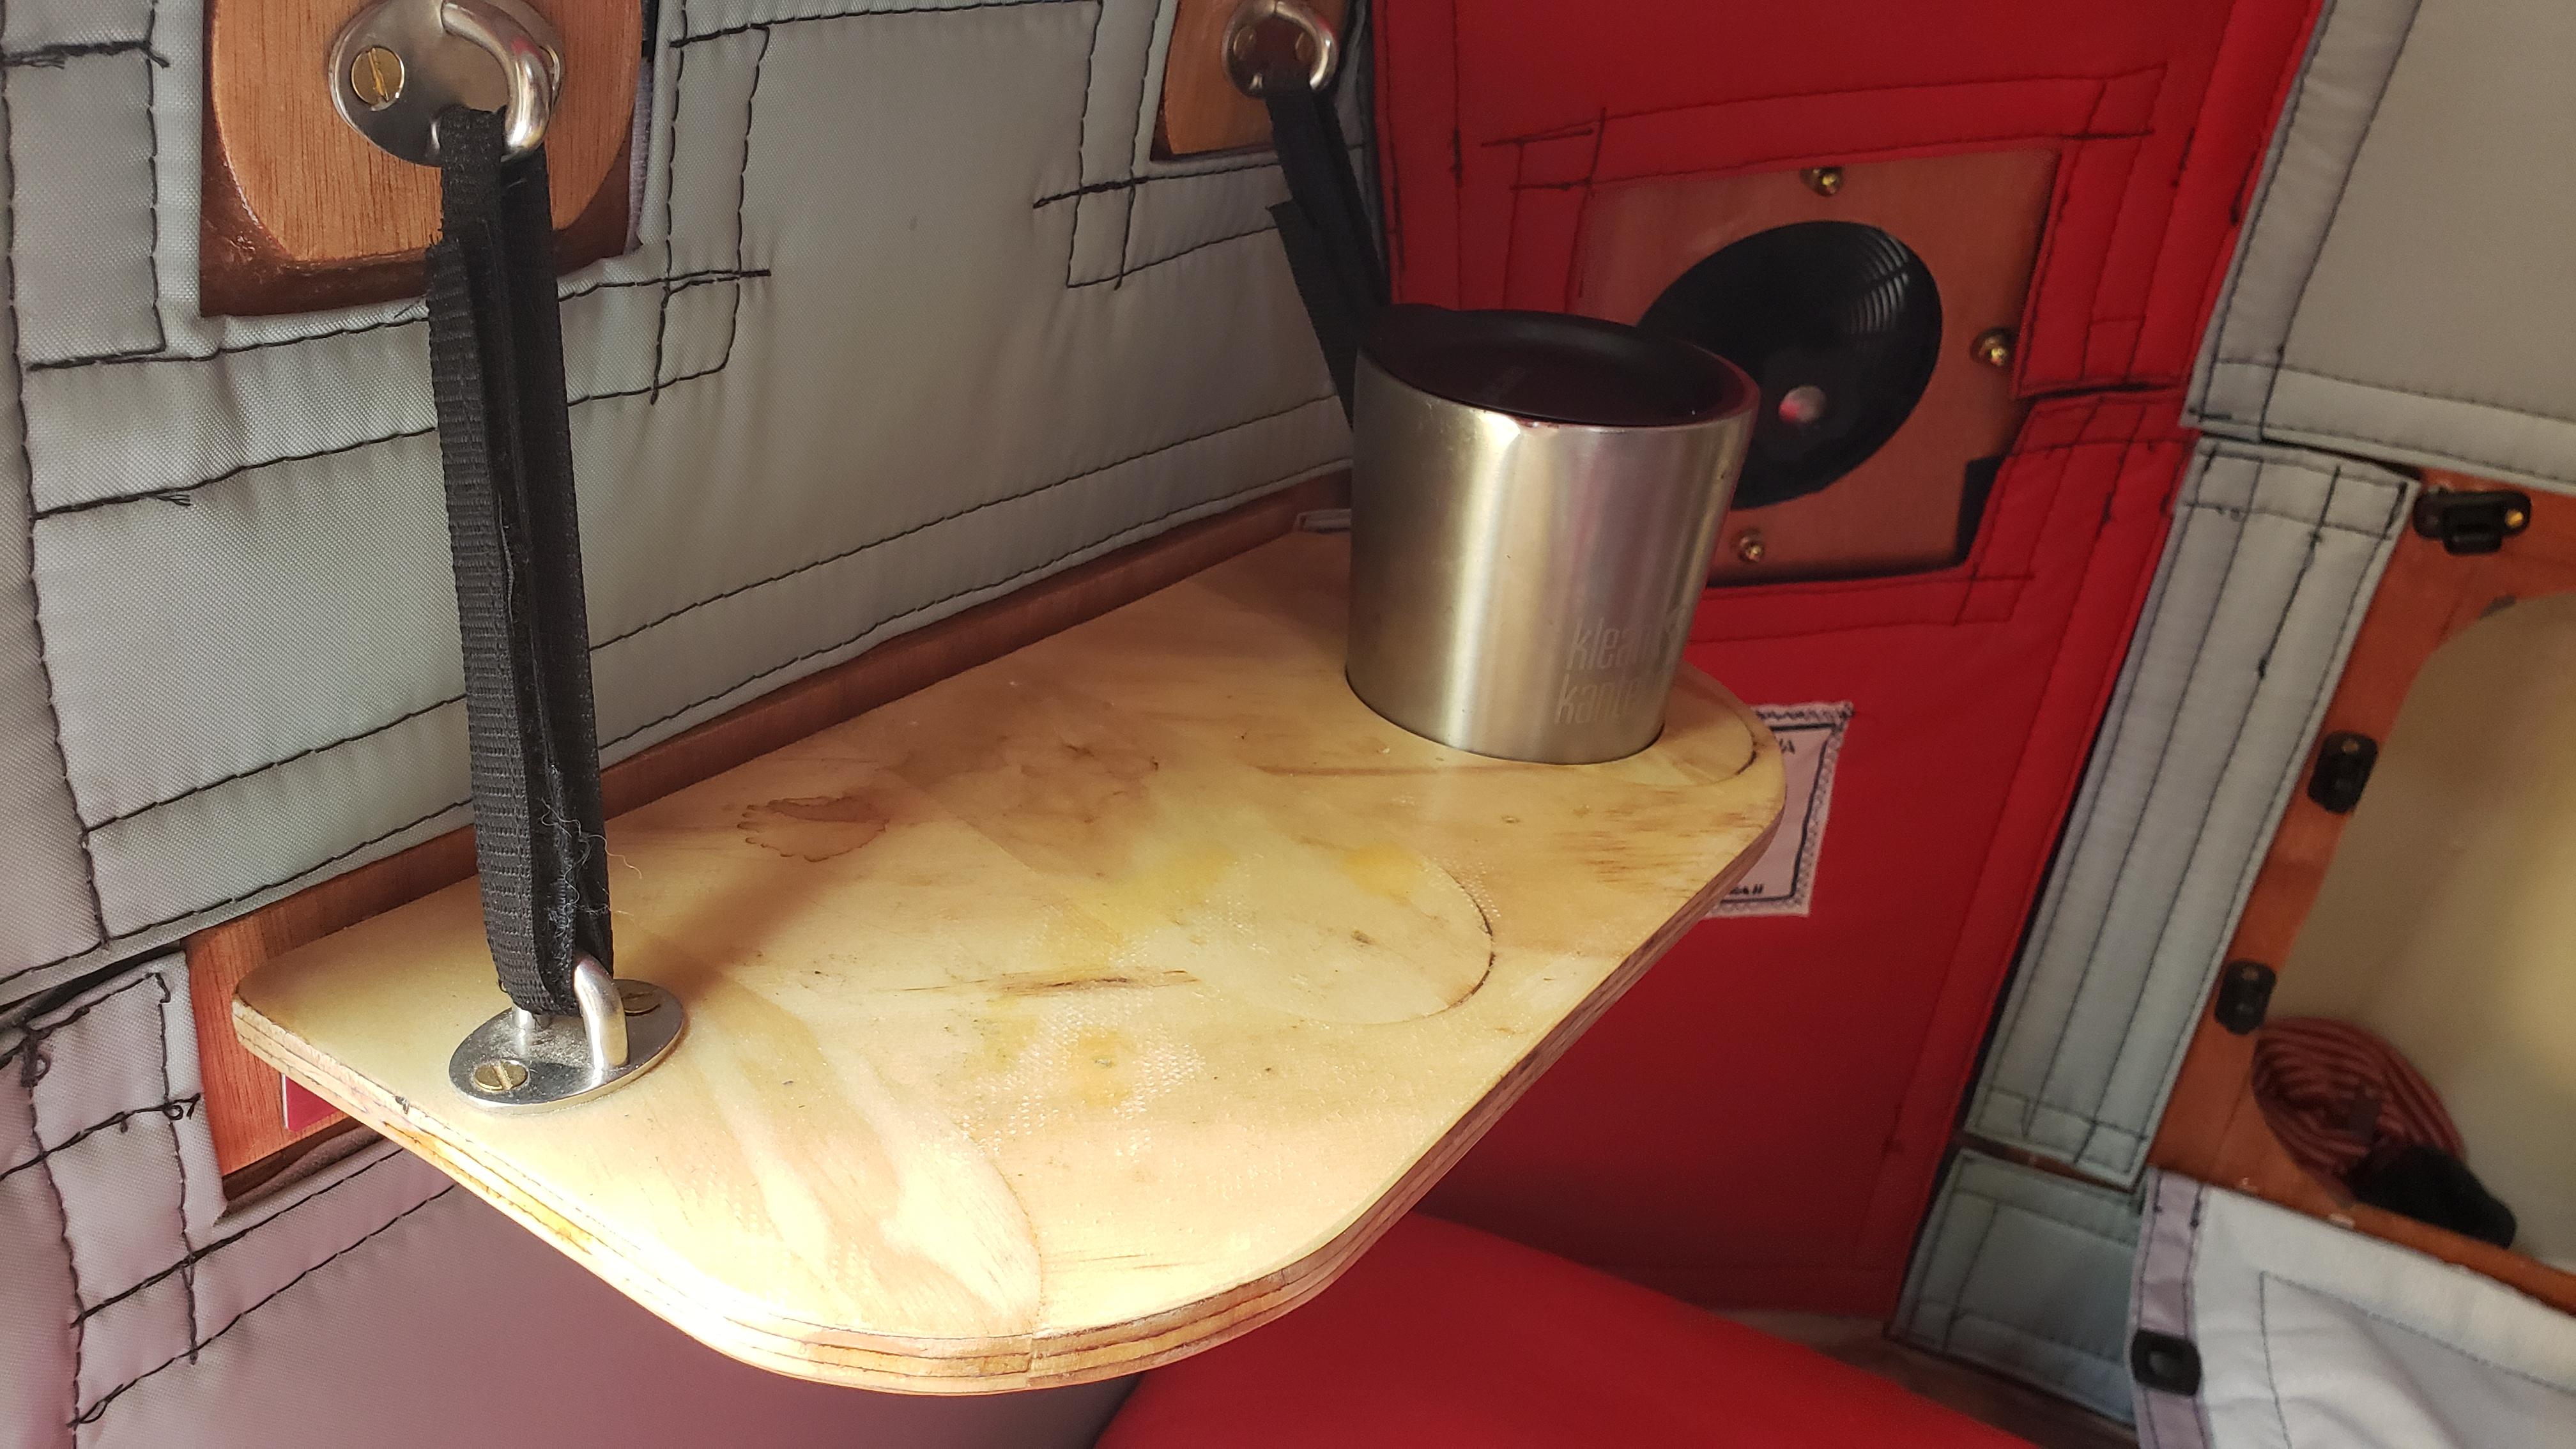
ParticipantI don’t think this is what you asking but it’s how I added a side table to the 1/4 panel.
 Participant
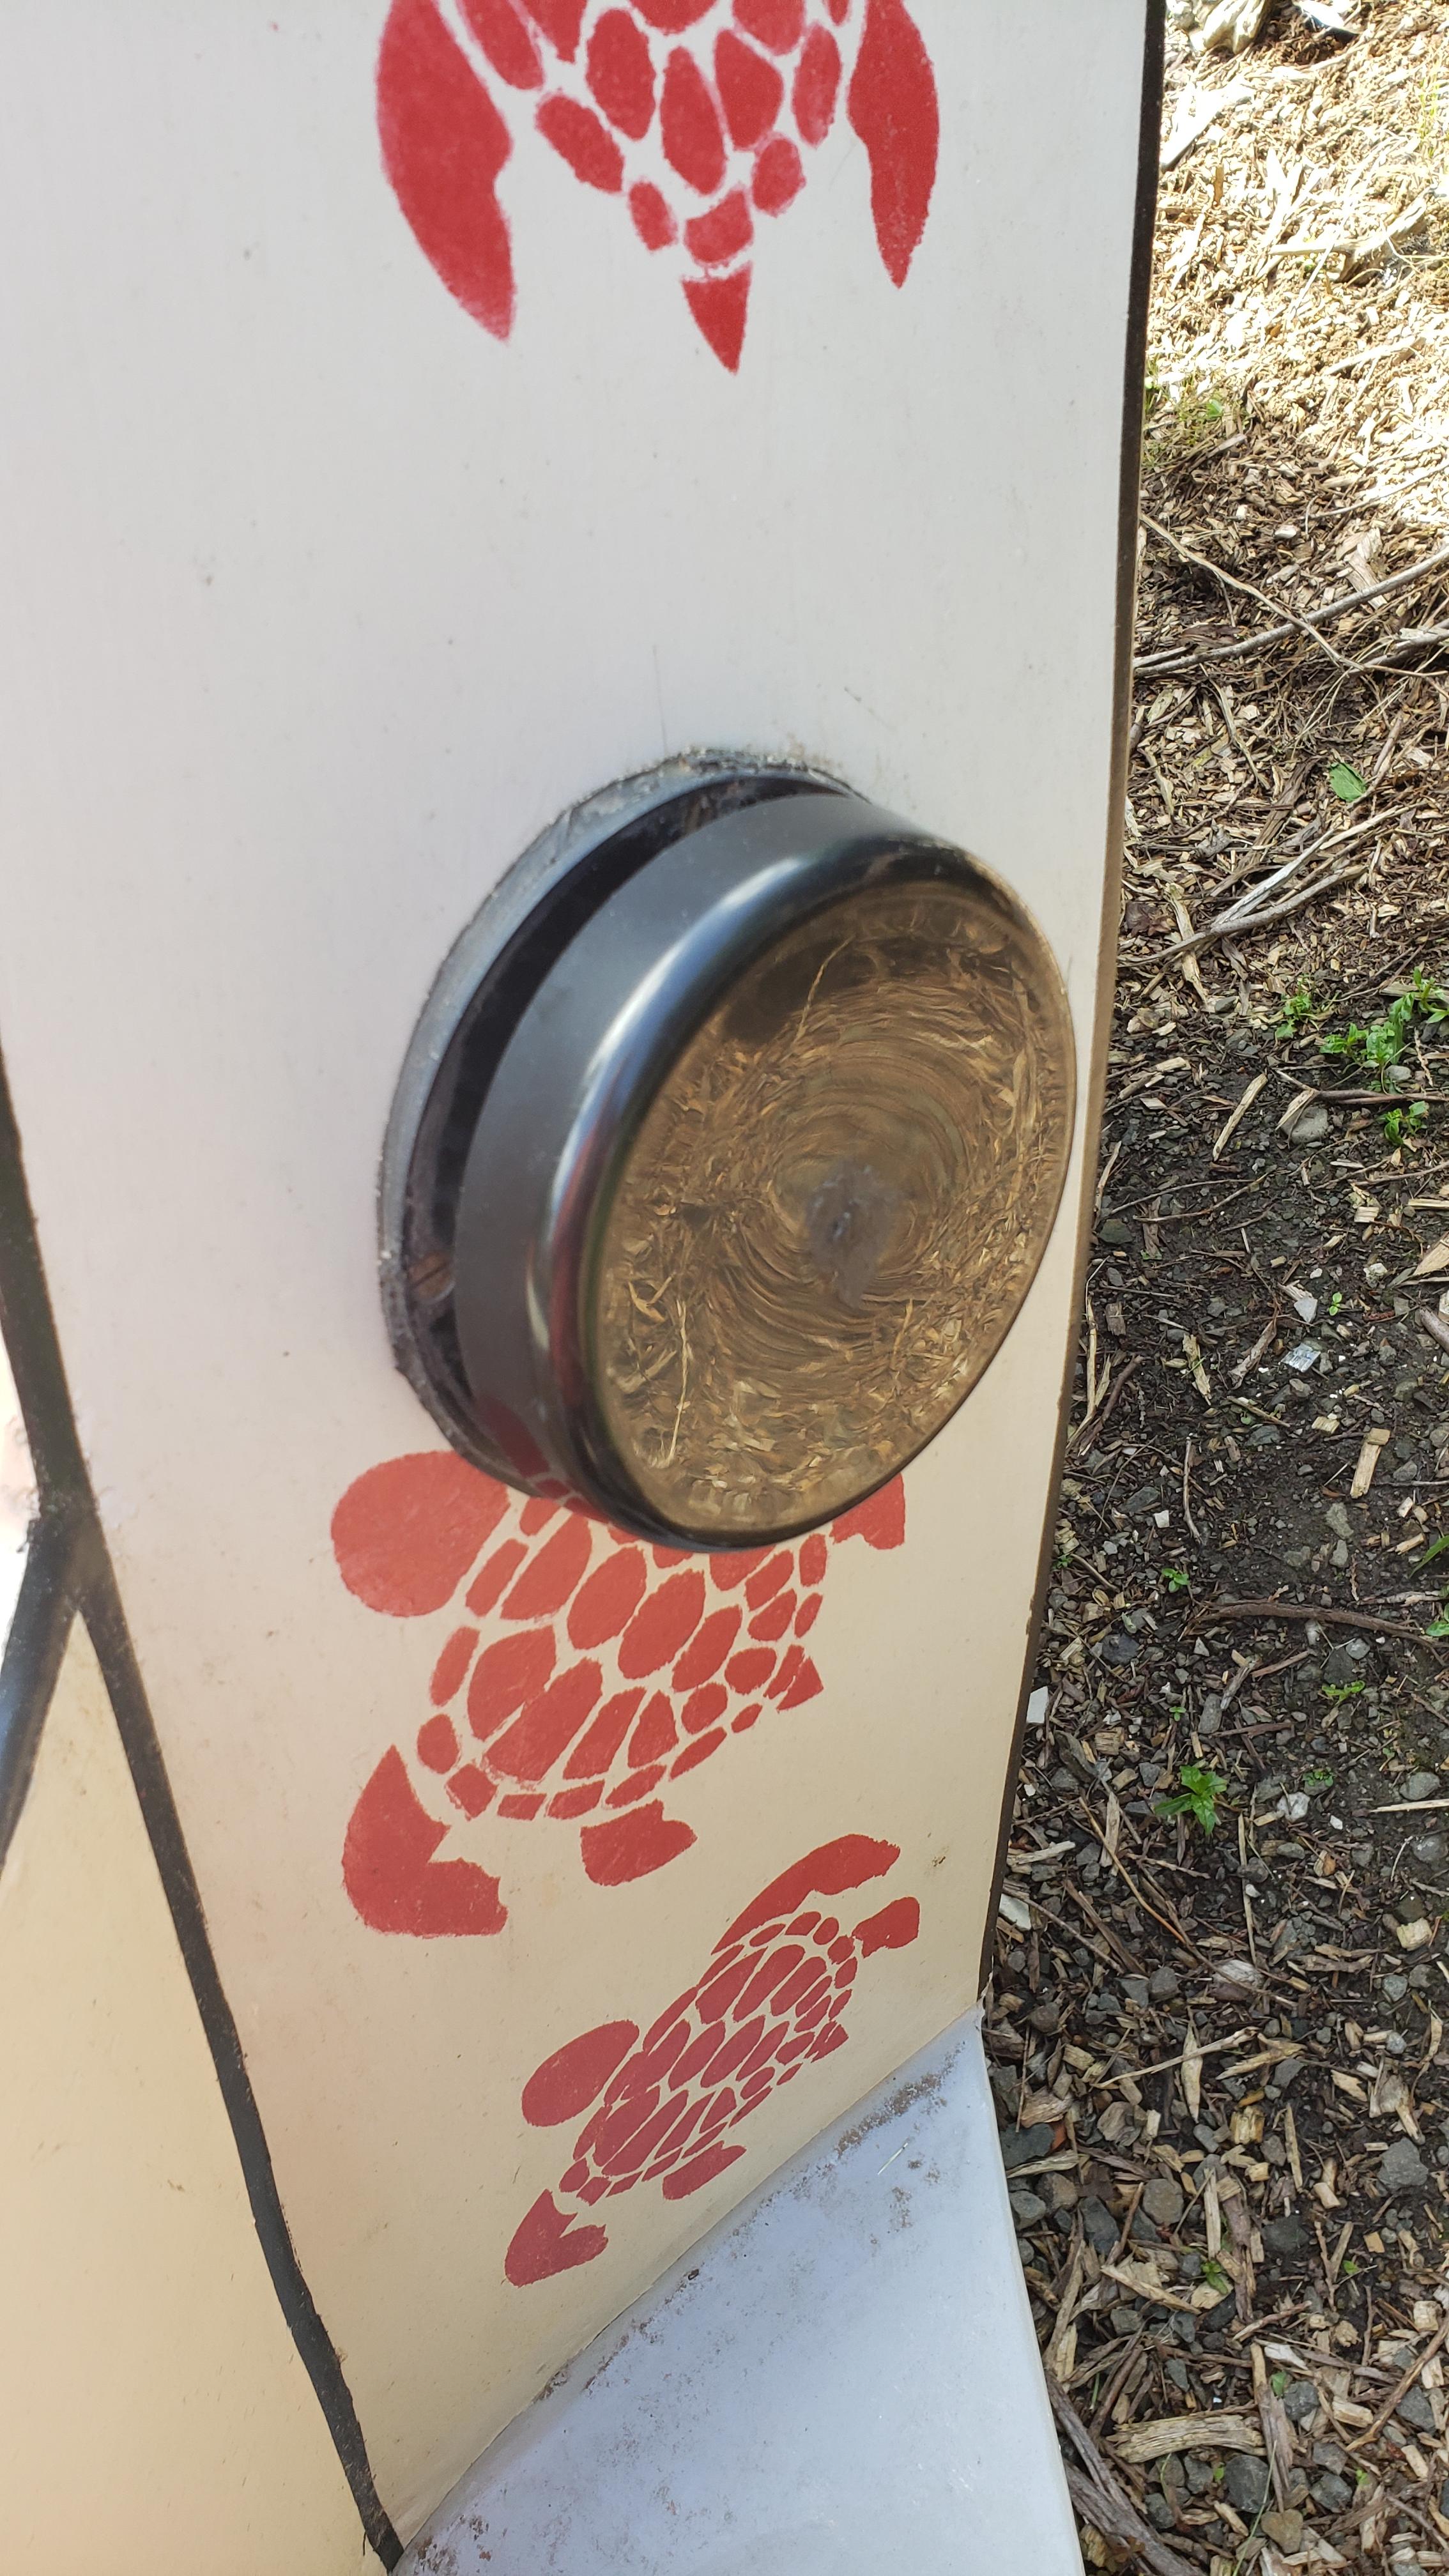 Participant
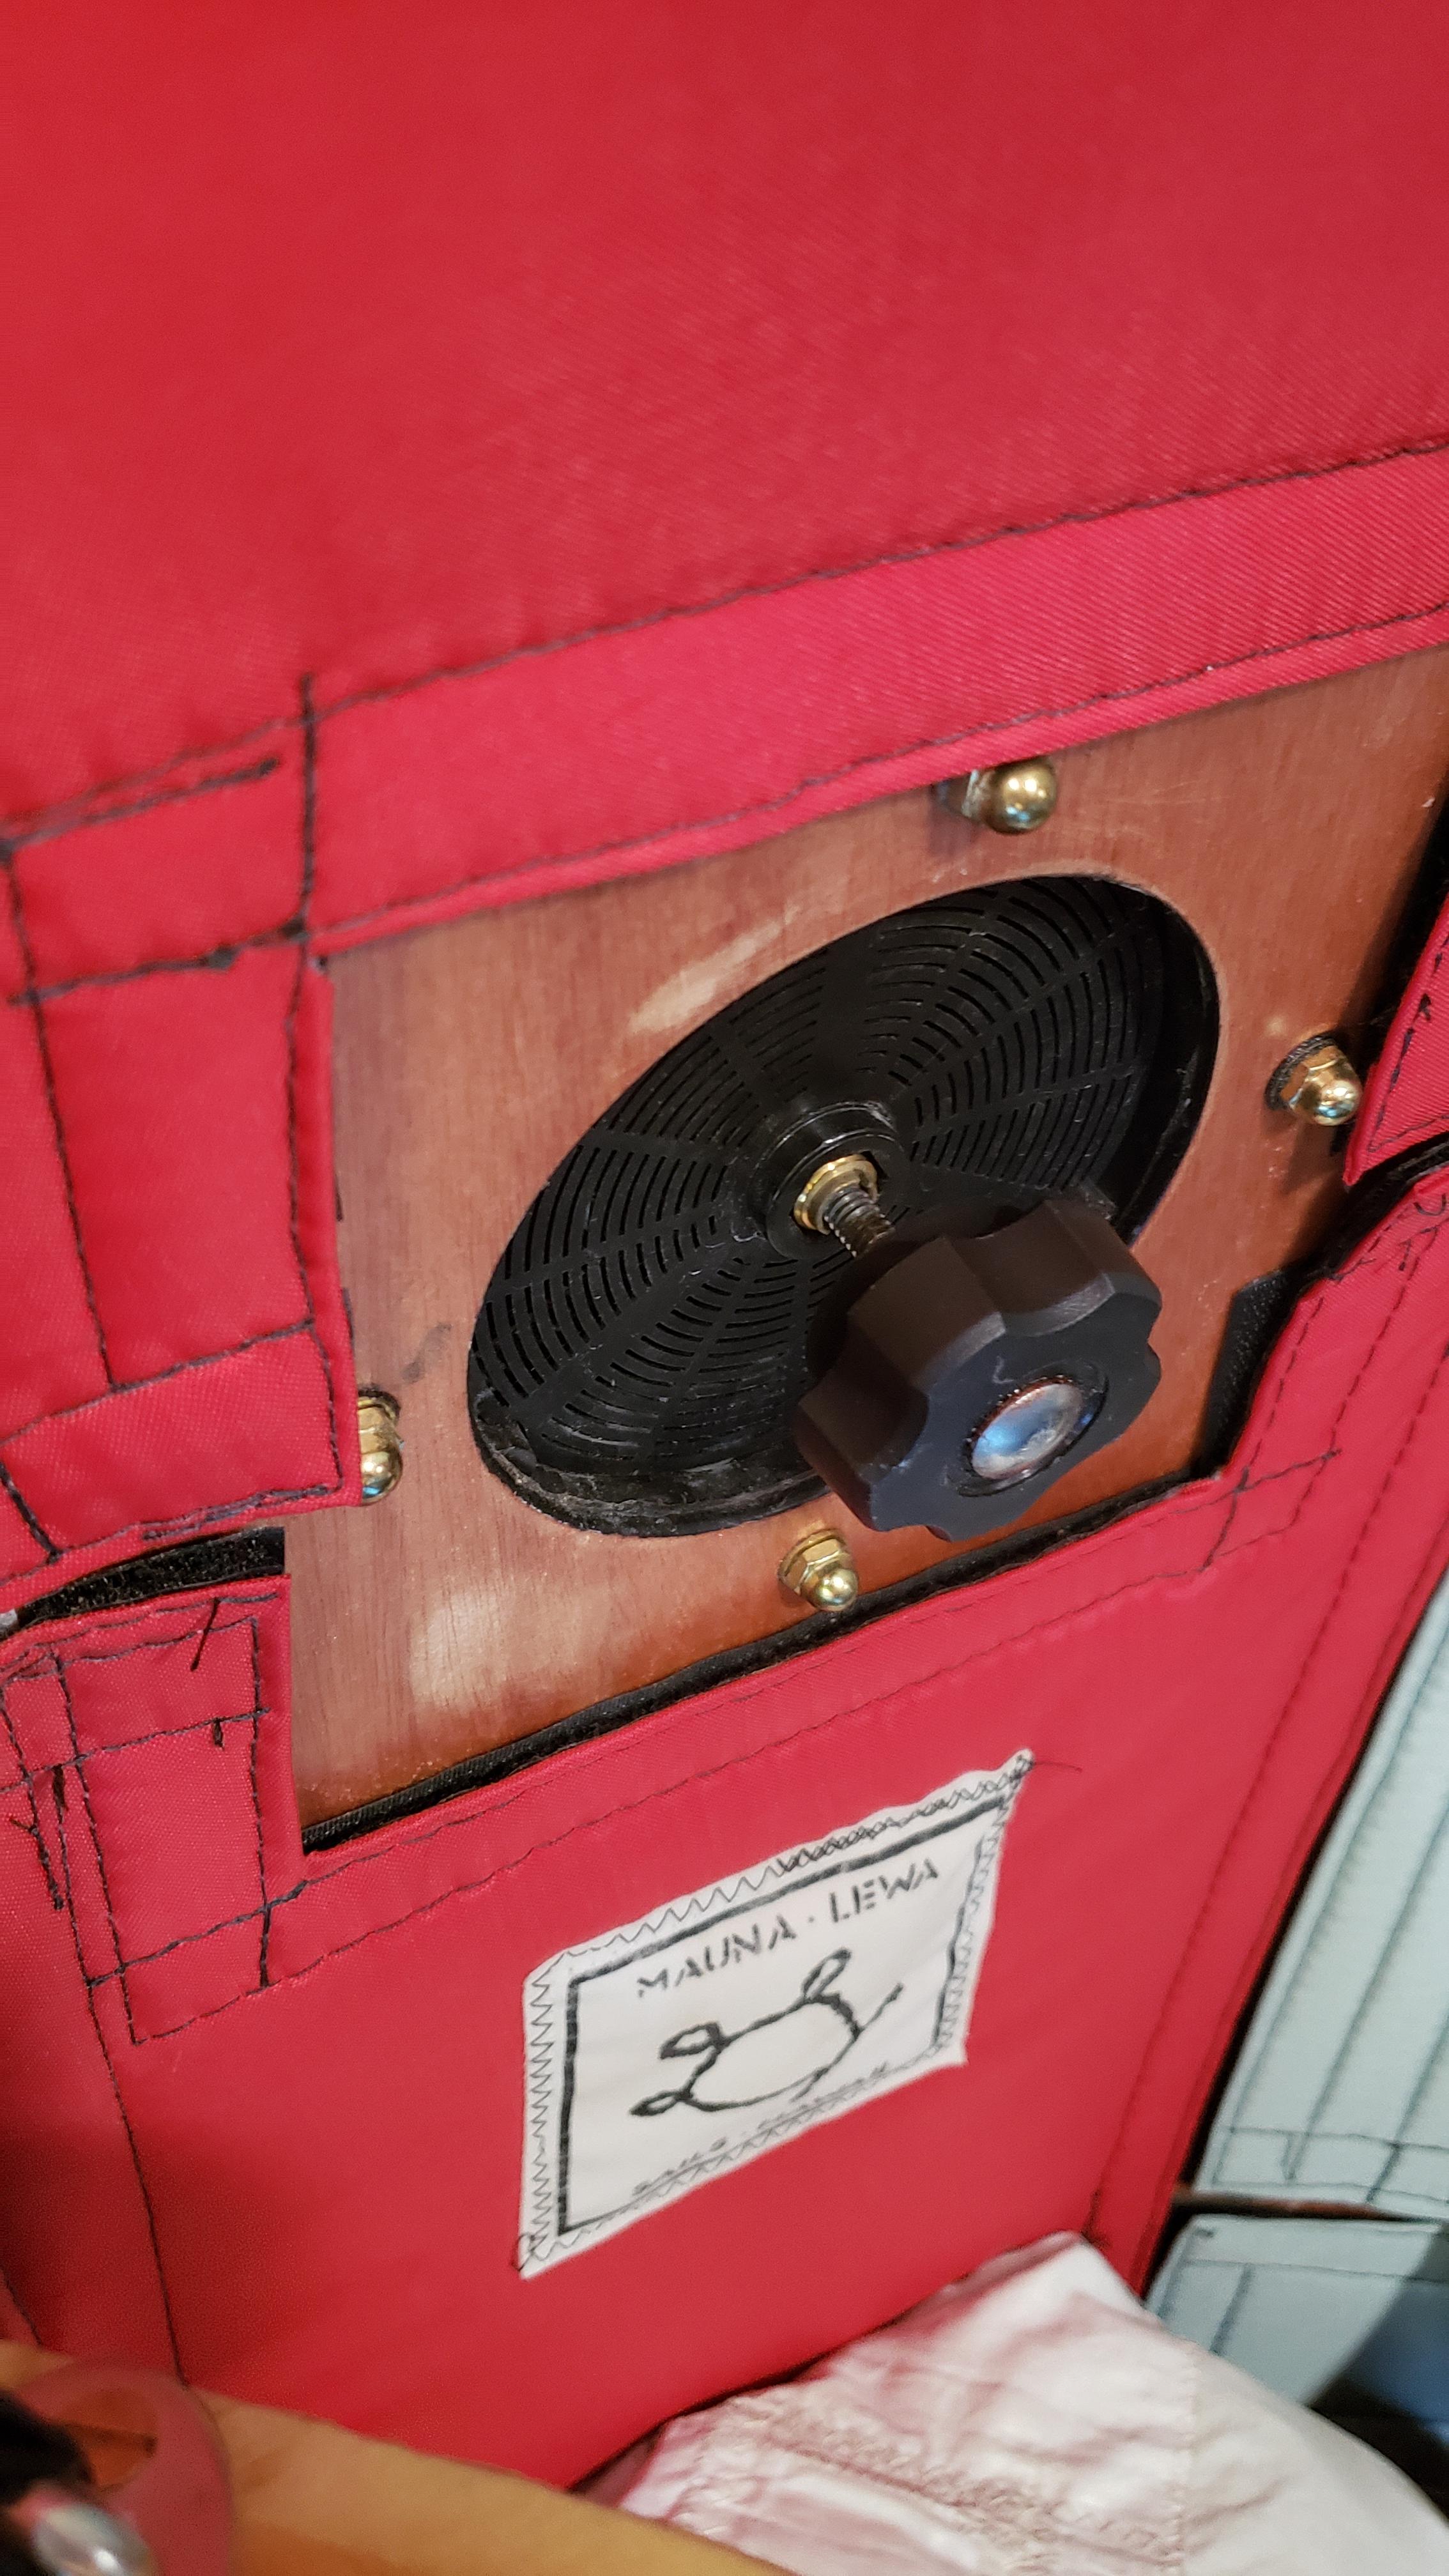 Participant
Both front and back I installed the base plate on the outside not the inside as per manual. In the front to compensate for the curved surface I used nylon shims/spacers from my neighborhood hardware store to have a flat surface for the vent to mate with. Then calked in the gaps. In the front I drilled a small weep hole (3/32?) at the base just in front of the bug screen. I also sealed the bug screen up about an inch with Marine Goo (Shoe Goo). In the rear the vent sloops down so no weep hole or Goo. Results, no leaks, no foam used.
Also note I use longer bolts and some handles so the vents can be opened and close from the inside.
Sorry I don’t seem to be able to add pictures.
-
This reply was modified 5 years, 2 months ago by
western_flyer.
ParticipantLooks really nice and inviting!
ParticipantMost of my mold also went into the firepit but I kept a couple of the joints and made folding night tables. Kind of a memento of the building process and a conversation piece for blogs post like this one. They work well and get used.
-
This reply was modified 5 years, 3 months ago by
ParticipantI put a set of ST (trailer rated) radial tires rated for 65 mph on my Northern Tool trailer. Bought a extra rim for and put one of the OME bias ply tire on as a spare.
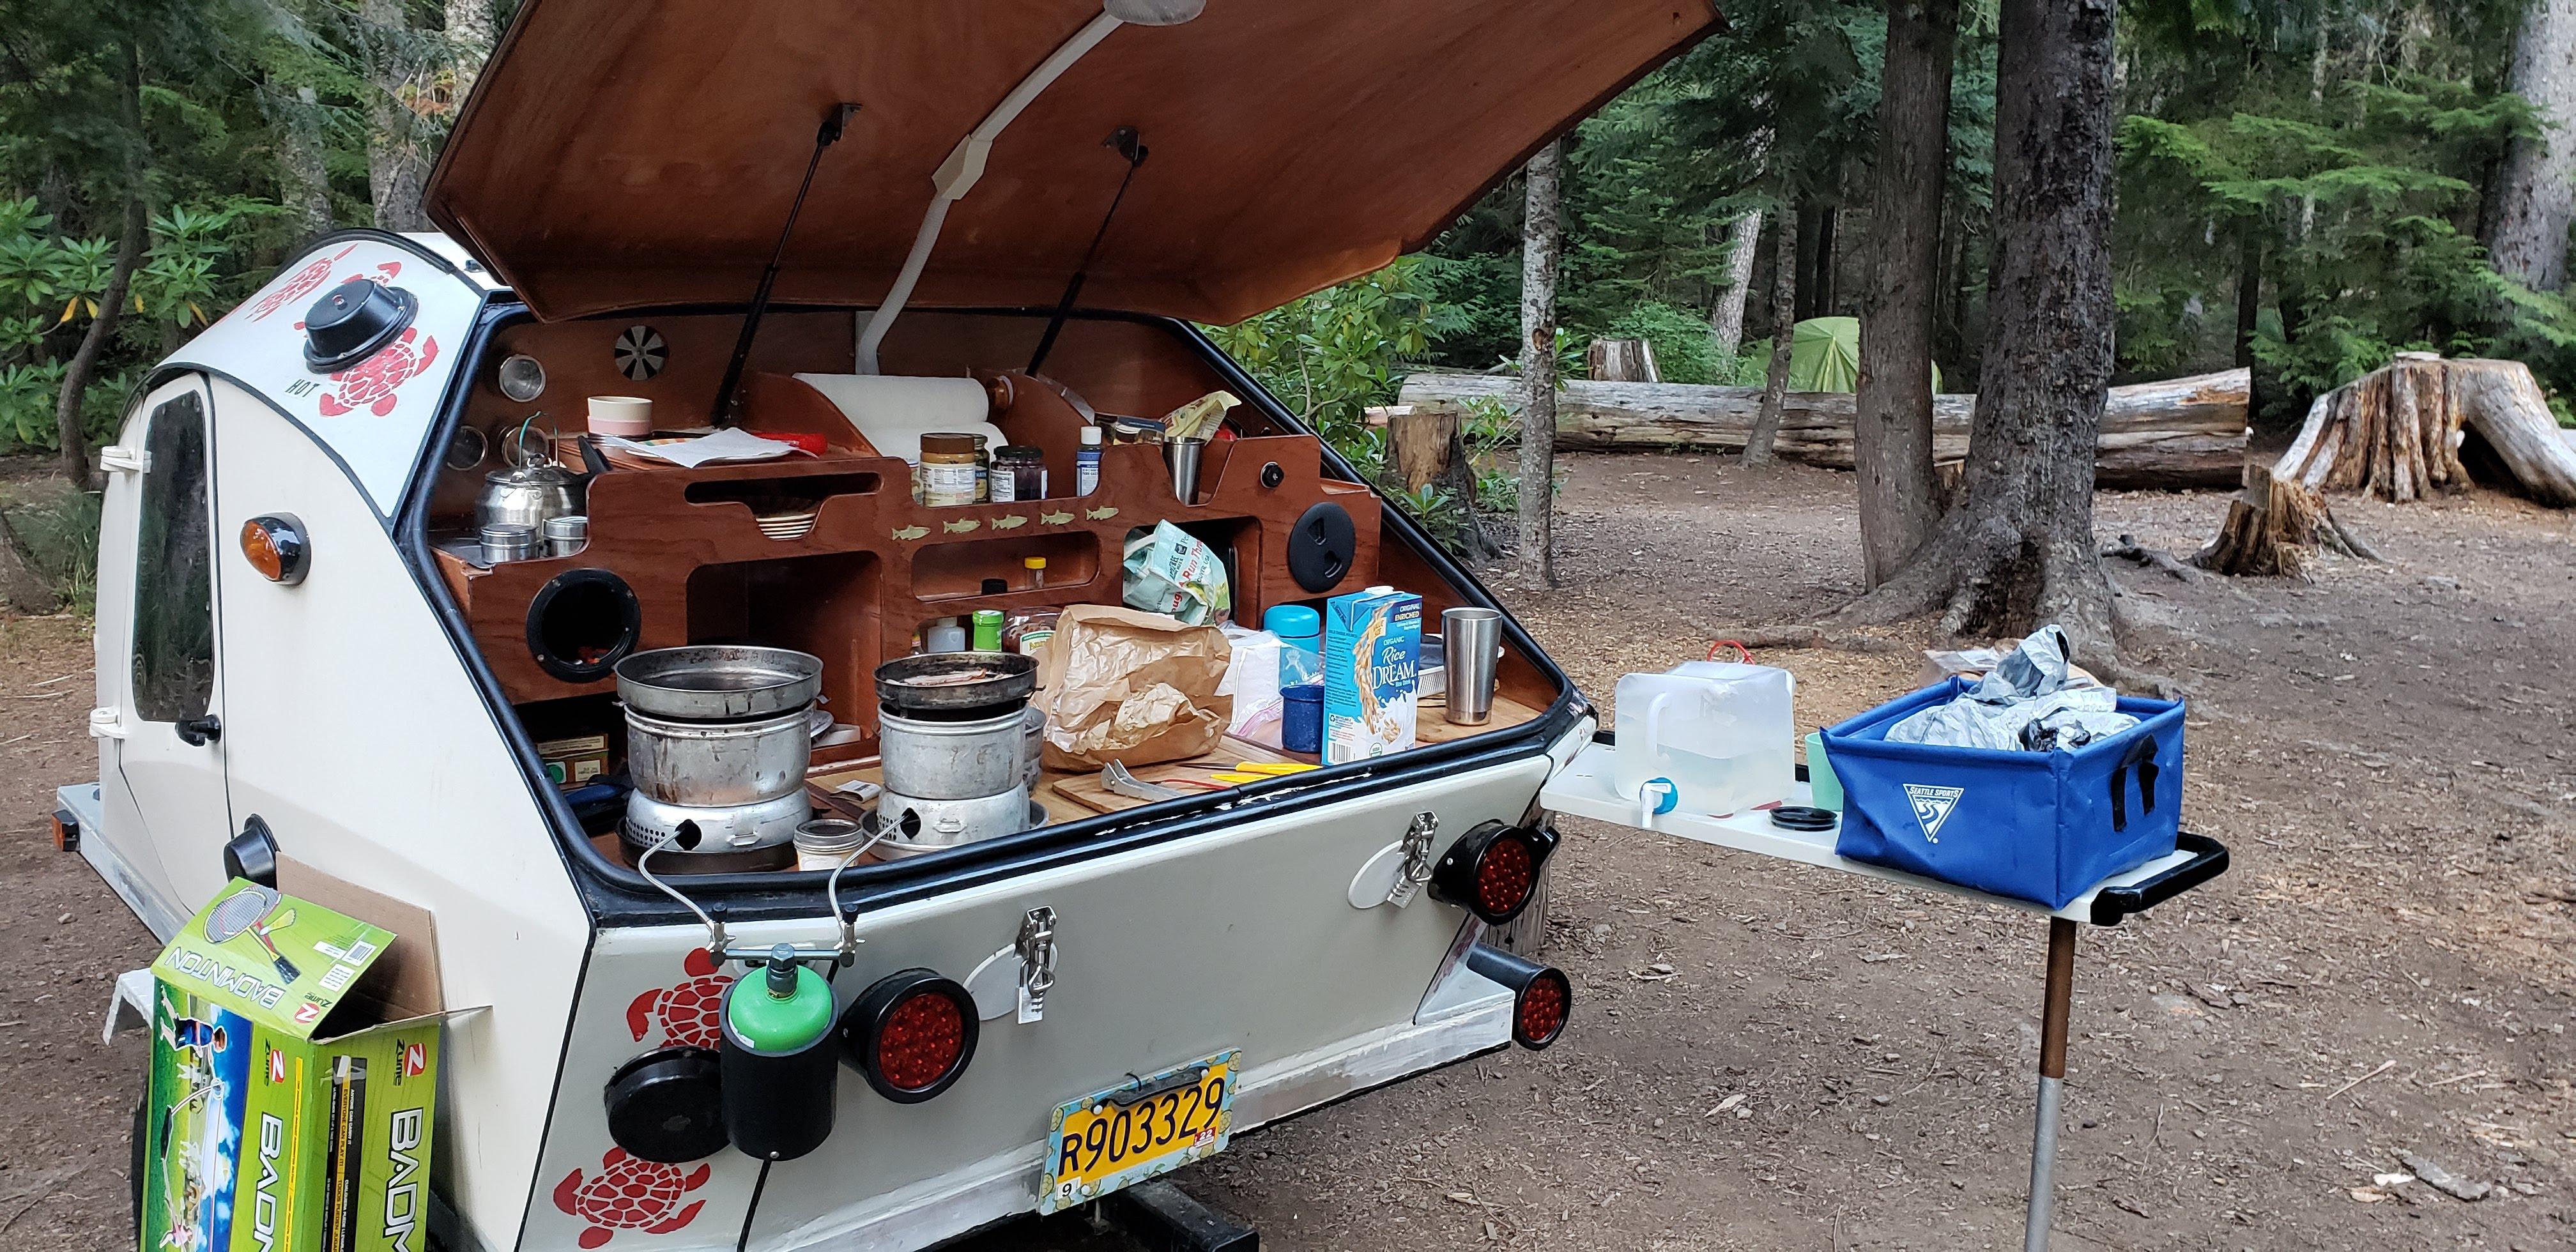
ParticipantDon’t remember where I got these marine wasps – maybe Amazon. Took a little heat and bending to get them to conform to the galley. They work well. I’m happy with them.
They’re secured with LW combination locks. With keys for the cabin doors, tongue box, receiver pin and bike rack I said “enough keys to look after”.
Participant Participant
Deep woods,
I cut them up and used the strips as structural supports on top of the trailer beams. I added some hard rubber strips to shim the difference between the cross members and the side rails.
April 22, 2020 at 10:03 pm in reply to: Ultra-Tow trailer: axle placement in relation to doors #3004ParticipantI positioned the U brace for the springs 19 1/2 inch from the end of the trailer frame. That gives about and inch clearance for the door from the fender front edge. With the tongue box and small vestibule I added, this put the tongue weight at around 60 pounds with the TD unloaded, which is in the 10 to 15% to the overall weight that is generally recommended.
An added note the stock fenders would rub and rattle against the TD sides. I put a strip of foam weather stripping between them and solved the problem.
Hope this helps.
ParticipantI found the `12-Volt Bible very helpful for figuring out how to wire my TD.
Things I learned included that amp and amp hours don’t give an accurate measure of the electrical draw of all the gizmos you might have wired up. I have things using 5 DCV, 12 DCV, 19.5 DCV and occasionally 120 ACV. As example 5 amps at 5 volts = 25 watts whereas 5 amps at 120 volts = 600 watts. A hundred amp 12 volt battery has a 1200 watt capacity. For me counting up all the lights, fans and usb things in watts and making a guess as to their daily usage had me installing a tiny 150 watts (12.5 amps at 12 volts) battery pack (for some unknown reason sold as a “solar charger”.) But that’s me. I don’t have a refrigerator, air conditioner, TV and tend to be very frugal with the electricity I do use. Your needs may vary widely from mine.
The “solar charger” makes the installation easy. They, most, include 12 volt, usb 5 volt and 120 inverter outlets built in. Mine is rated at 150 watt hours they come in larger and much larger sizes. The initial cost my be more but the simplicity is hard to beat.
What else: 16 gauge wire is the minimum and marine grade stranded wire is preferable. I used 14 gauge wire for longer runs and where more amps are used. If you do decide on a solar charger make sure it will pass through to your grid while charging. A number of the ones I looked at don’t but many do. There are so many brands and sizes on the market with good reviews I won’t make a recommendation but it is worth a look if you want simplicity.
I do have 120 ACV 20 amp shore power. It amounts to one standard GFIC two outlet receptacle in the cabin and one in the galley along with a 20 amp marine circuit breaker. The wire run is less than two feet using 12 gauge marine wire. It runs two 250 watt ceramic space heaters, a 1000 watt hot plate (Really nice for short overnight stays at “KOA” type RV parks.) and of course it also charges the solar charger and powers the 12 volt system.
Another advantage of my tiny system is the “solar charger” only weighs about three pounds and is easily to remove from the galley and plug into the car cigarette lighter to charge while driving. Yet another advantage if I am camping in a shaded area it easy to move it and my portable 60 watt solar panel to a sunny area for charging. If something like this is a direction for you, let me know and I post some pictures of the wiring interface.
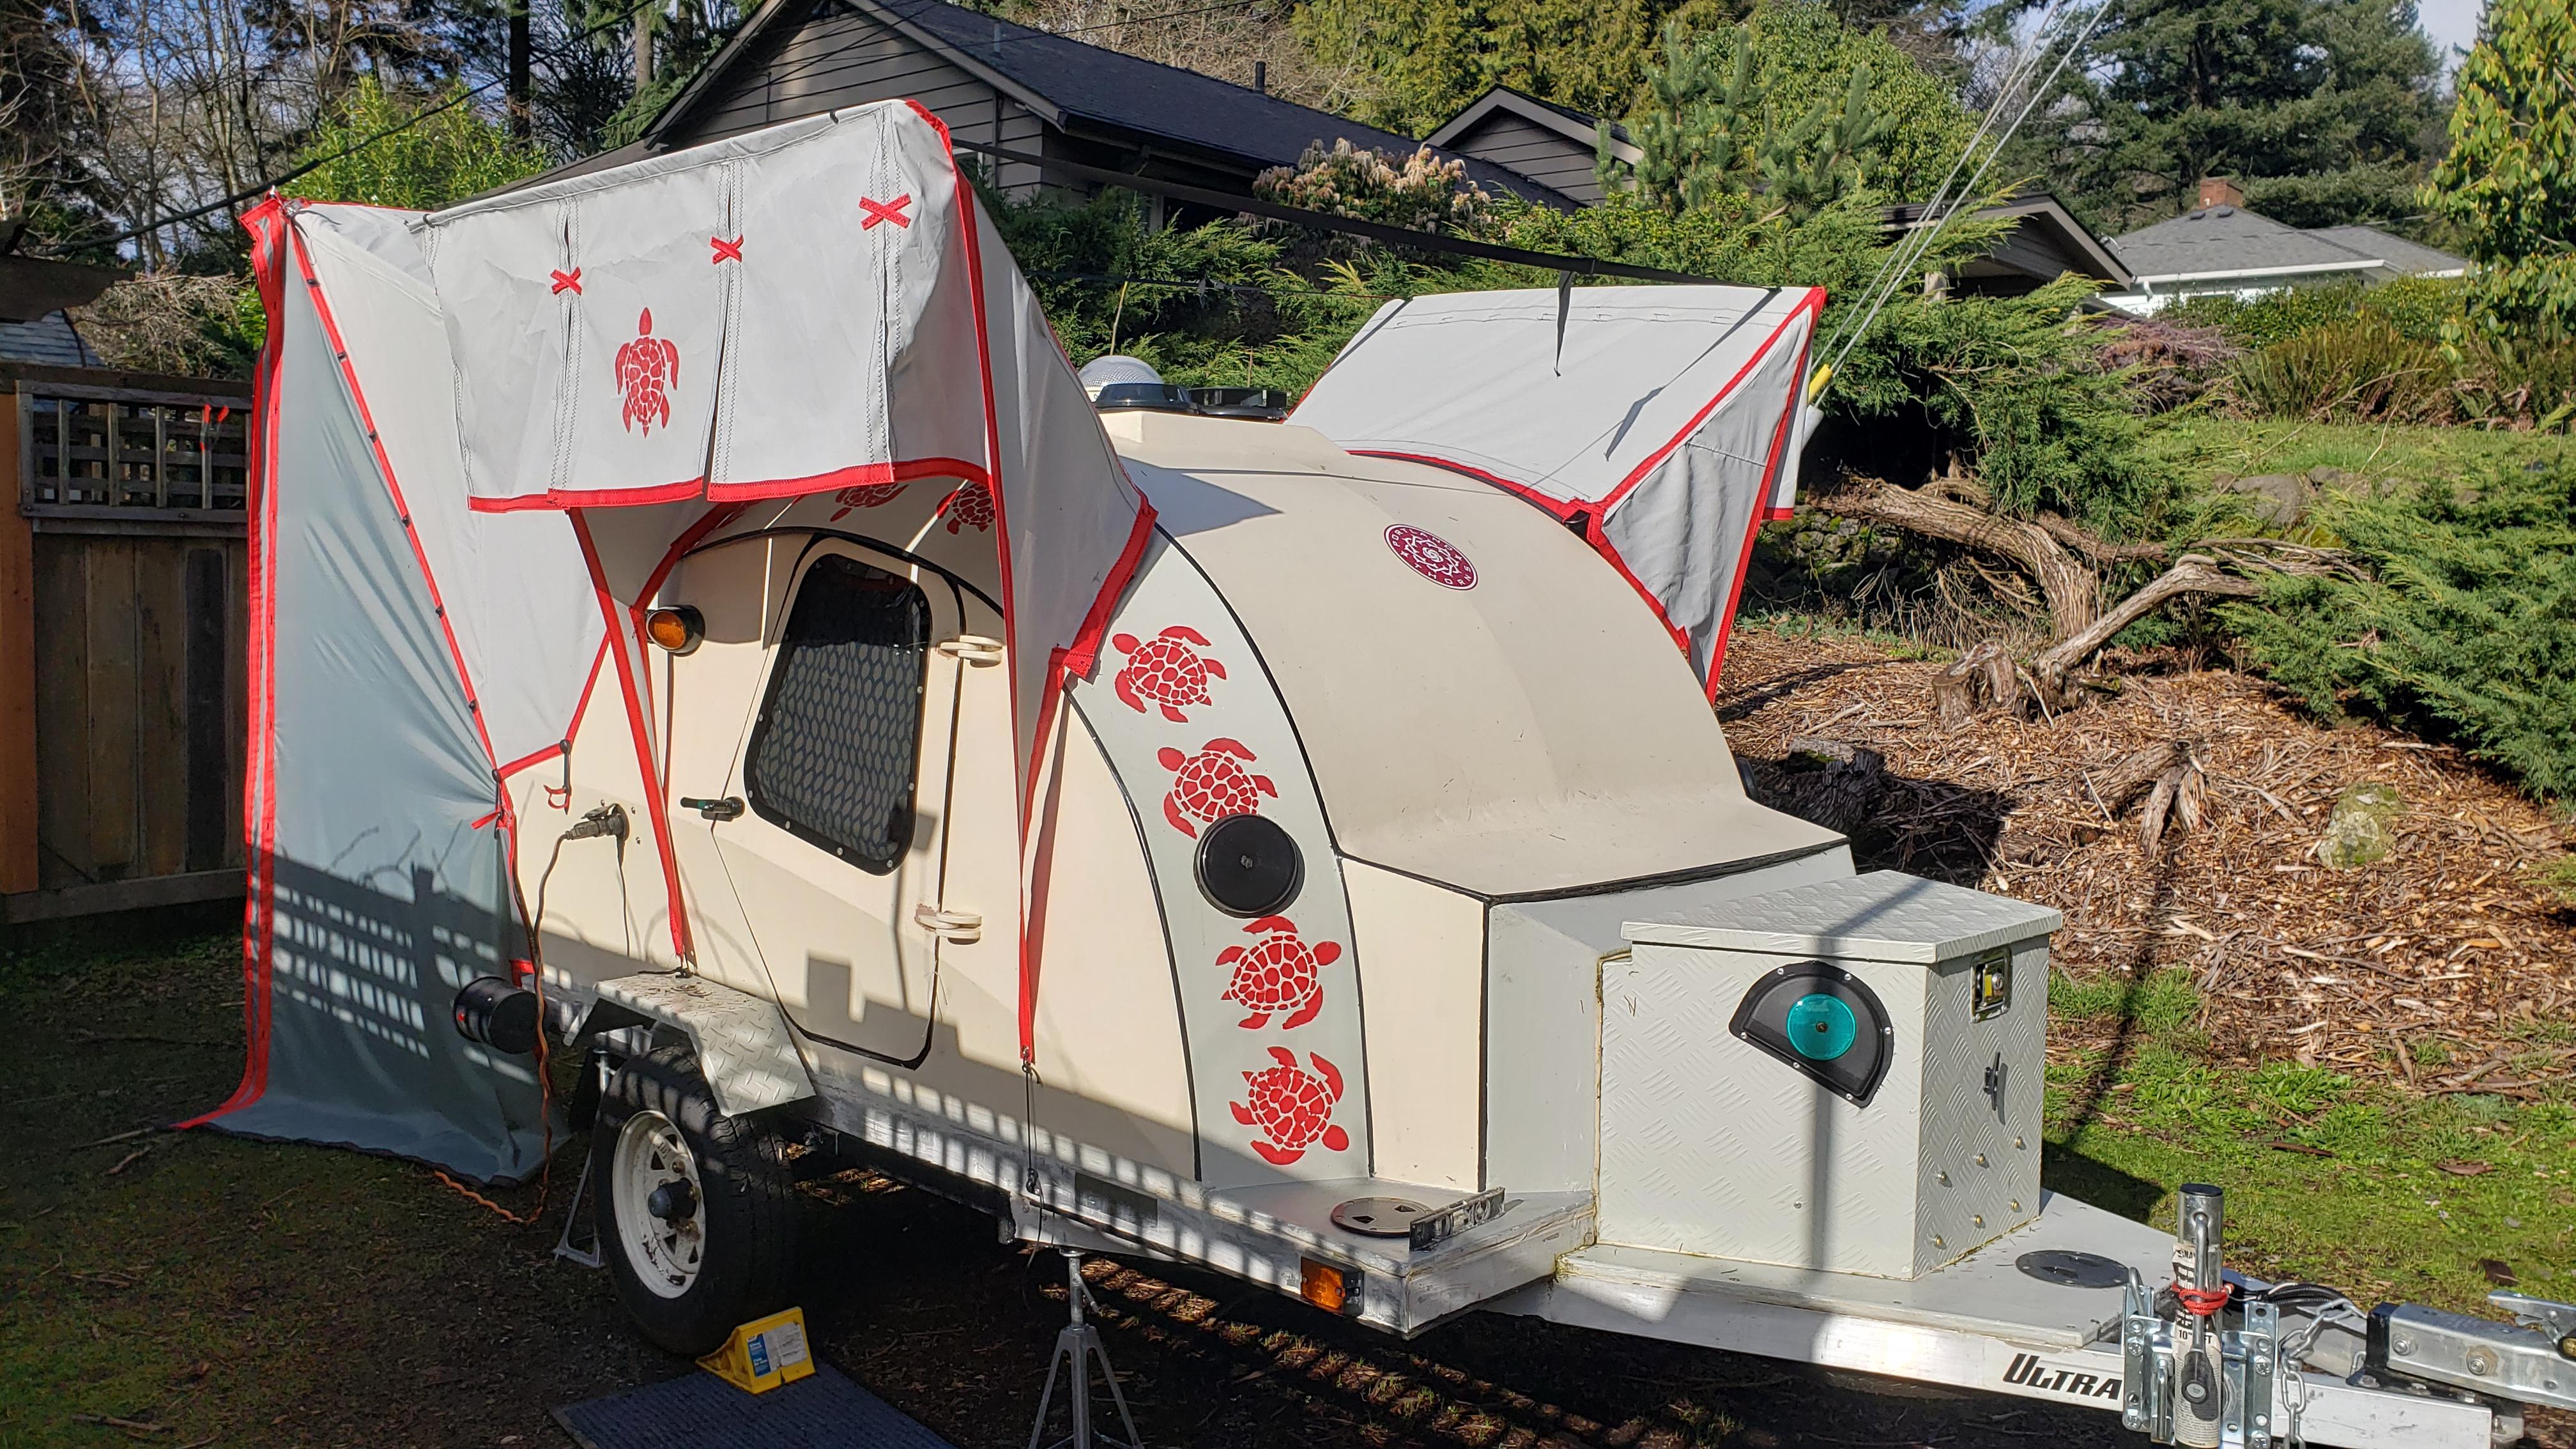
ParticipantHere goes my description of installing the keder track. Please ask if I don’t make anything clear enough. I started by viewing the Sailrite videos for installation and then modified things to suit the TD. The track requires a screws with a #4 flathead. Sailrite sells a SS #6 wood screw with a #4 FH and a square drive slot. For my TD these screws did seem appropriate. I wound up using #4 FH brass machine screws, which are tiny but seem to be adequate for the job. I drilled a hole ½ inch in from both ends and then evenly spaced holes on appox. 6 inch centers.
Starting at one end, one by one I drilled through the TD. The track follows the joint line between the 2-3 and 1-4 seams on the 3 and 4 panels. The screws were over long by ½ inch +. After drilling each hole I inserted a screw to hold the track in place and bend it to the next hole. A note, I used stainless nuts and washers. After all the holes were drilled I removed the track and swabbed a bit of Minwax wood hardener into each hole, followed by a dab of black silicone seal into each hole. Then a bead of silicon down the length of the track. It would be easier to do the install with two people but I did it solo and a little alcohol to clean up the smudges. After the fasteners were tight I cut off the extra screw length and filed them smooth. The harder SS nut made it pretty easy to cut the brass flush with the nut.
I used this brass and stainless combination with a number of “thruhull” fasteners of various sizes in the TD.
Notes: If you need to bend the keder track beyond its normal limits, Sailrite in one of their videos shows how to heat it with a hairdryer or hot-air gun and maintain the track shape. I didn’t need to do this. If you wanted more strength than the brass I’m sure SS would work. Either use the exact length (that might be a P.I.T.A. in my opinion) otherwise a Dremel with a cutoff disk of some sort would probably make short work of over long SS screws.
Hope this helps.
ParticipantI used Flex Rail (keder track) and keder rope purchased from Sailrite online. It’s worked very well. If you decided to use it I would be happy to detail how I installed it – it’s not hard.
ParticipantNot sure what you are calling an awning but I put a pair of Japanese style noren awnings over the doors. They are meant to give a bit of rain protection to get a raincoat and shoes off before entering and exiting the cabin. I’m 6’2″ and set the frame just a bit higher than that. I also made a 10×12 ramada out of 80% black shade mesh. It has adjustable poles that go from 5 1/2 ft to almost 8 ft. The idea is to be able to tilt it for the best shade and eventually to attach a portable solar panel. I don’t have a picture of the ramada yet.
-
This reply was modified 5 years, 2 months ago by
-
AuthorPosts