Forum Replies Created
-
AuthorPosts
-
SOMDTD
ParticipantPost-epoxy sanding DONE! Total was right at 9 hours of sander love. No glass sand-through anywhere, though I did get into the cloth a small amount in a few places. Sanded until I saw 95%(+) of what I call the “sparkles” go away. These are tiny shiny areas in the valleys of the epoxy from various causes, including roller texture, glass cloth wrinkles, glass roll creases, and yes, previous over-sanding. Over sanding is increadably easy to do!
Did the vast majority with 120 grit, but used a single 80 grit sanding pad to fast cut the 2″ overlap on the top. Hand sanded the vertexes between the facets using a sanding sponge, that worked well there.
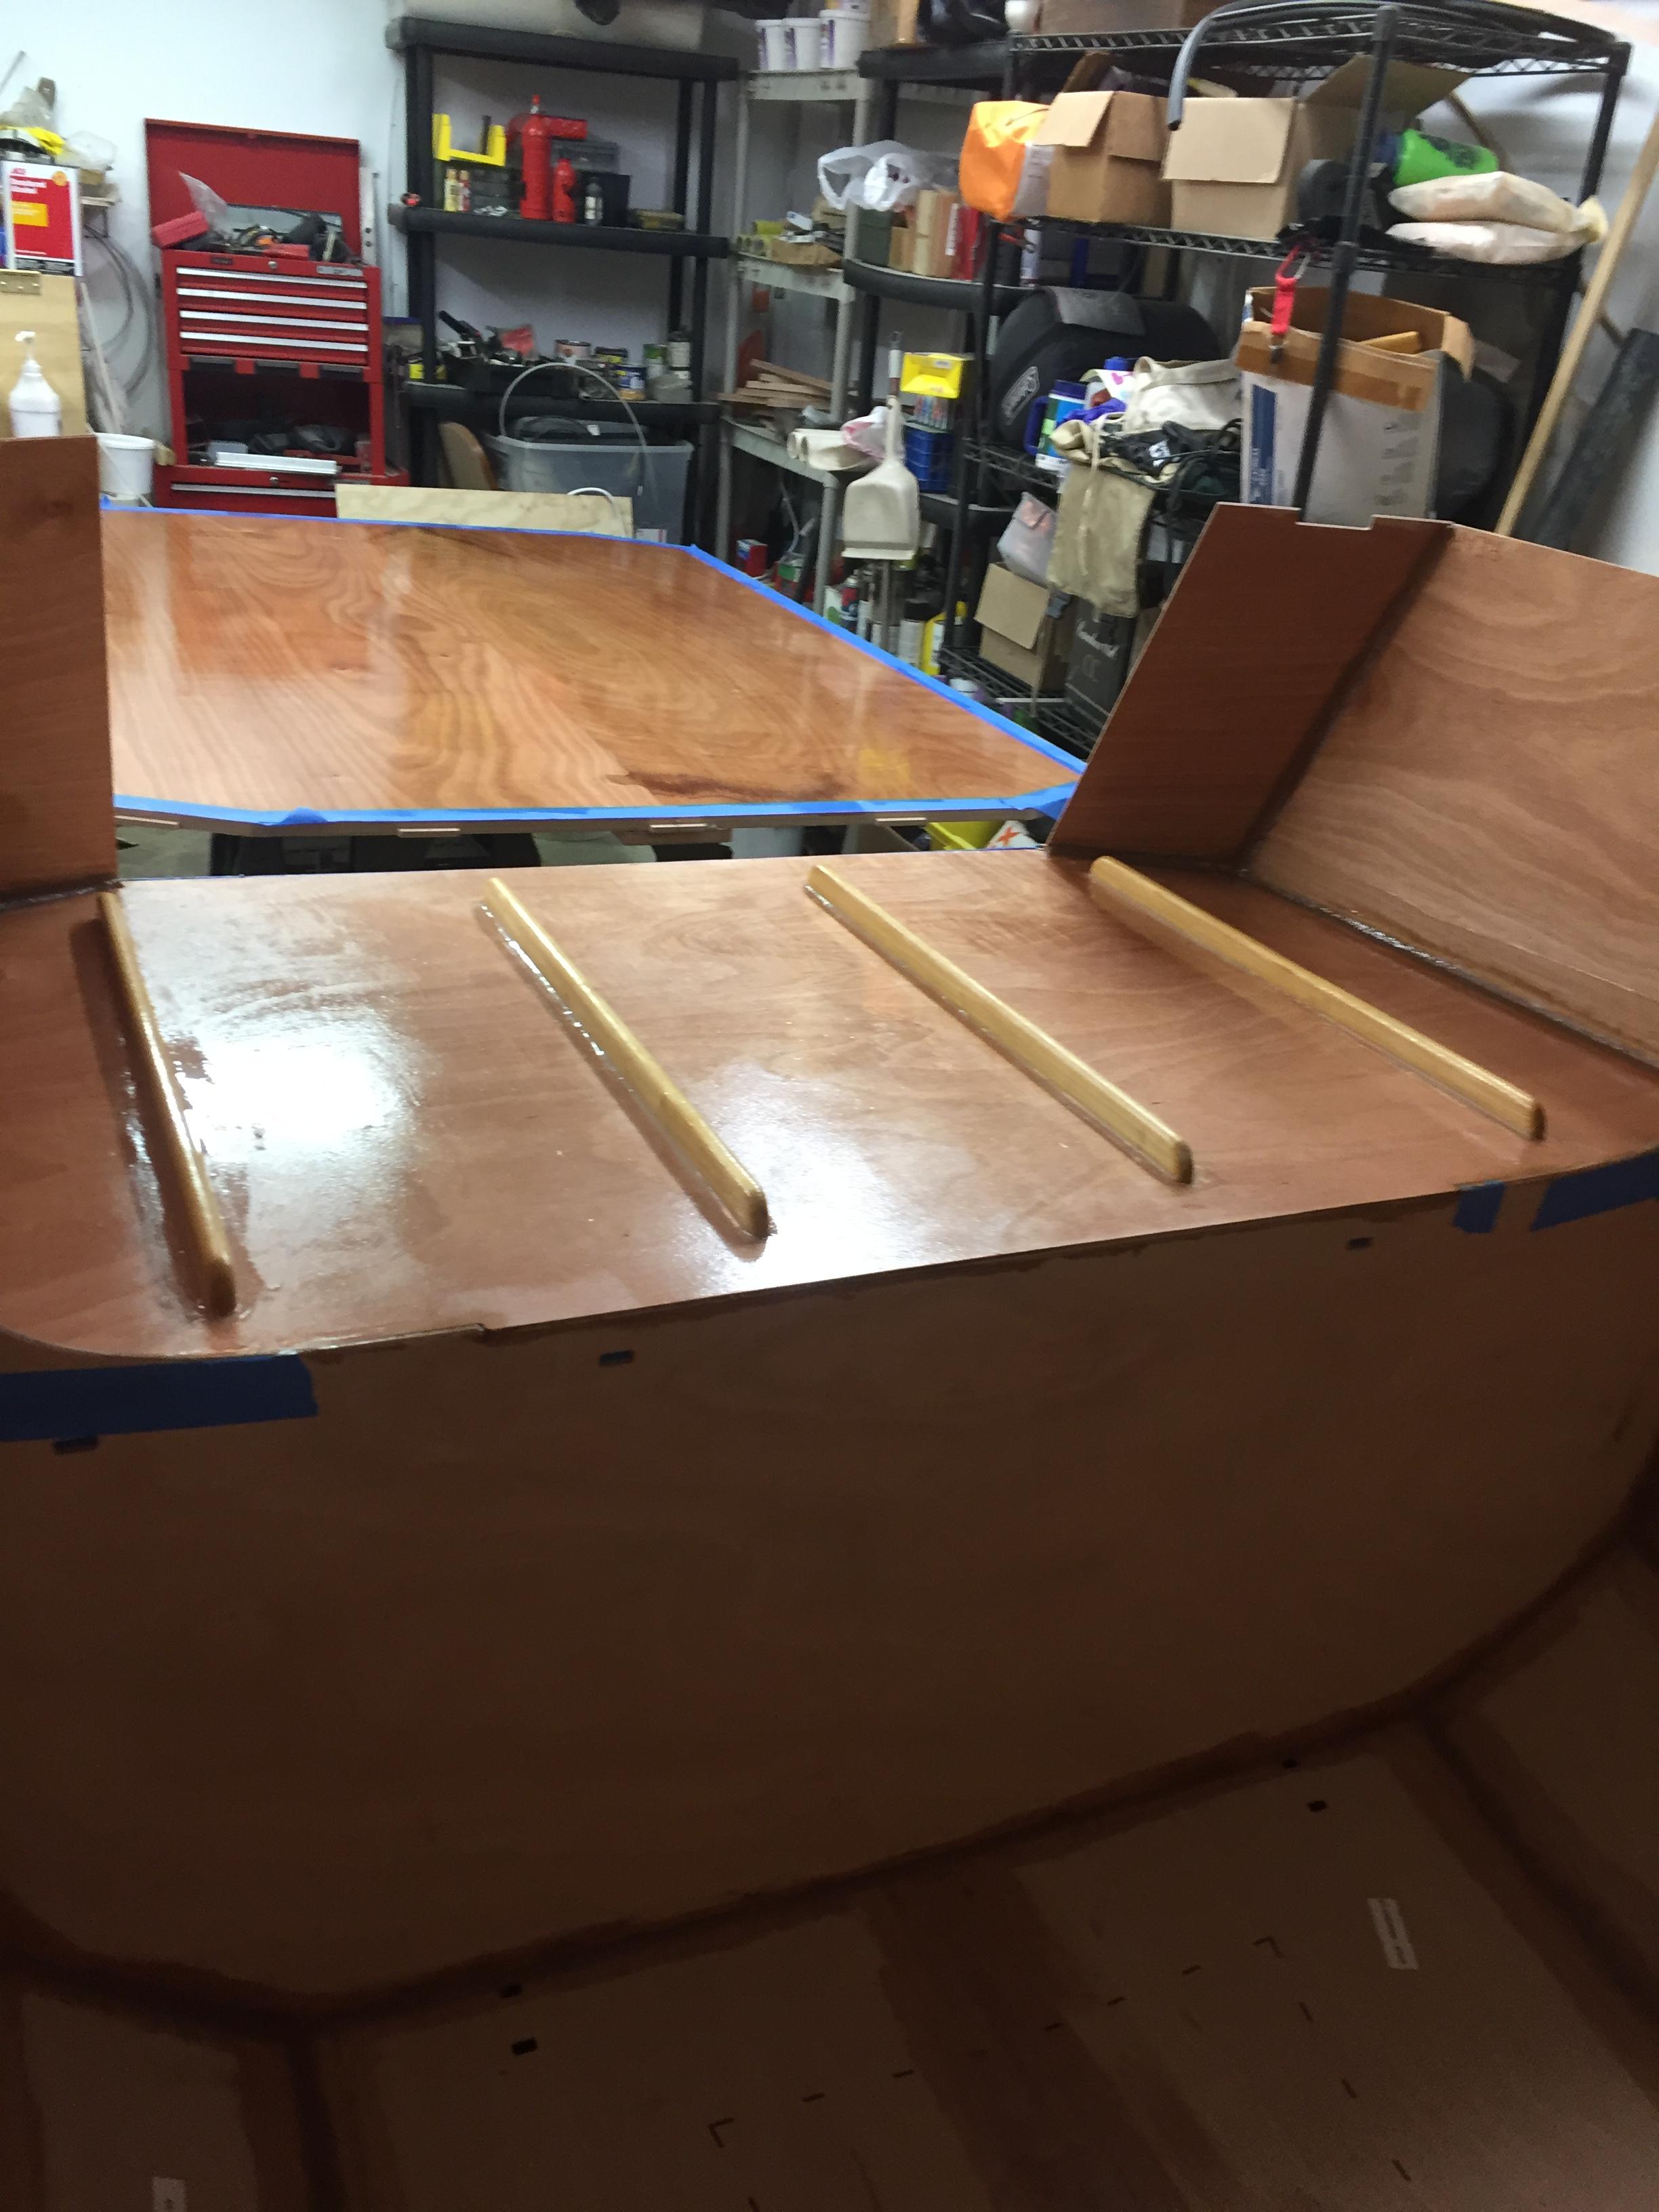
Today i I will apply the final finish overcoat of epoxy. Per the Hymnal, I’m going to roll it on and then tip it with a foam brush. Working on the milky sanded surface should make this epoxy coat easy to apply! I will apply the epoxy at 60F for added pot life working time and then when finished crank it up to 80F with the propane burner. I quit using the kerosene heater as soon as I flipped the shell right side up. While it did not put out a LOT of soot there was a little, however early on the massive heat output was useful when the outside temps were in the 20’s as I was able to actively work in the shop (and I had not purchased the propane burner yet either, the old “use what you’ve got” principal). Anyway, no fisheyes, which is what I was worried about.
ParticipantThanks! Since that last pic, I have put on two coats of epoxy, it has cured, and I am sanding it smooth today. About 4 hours worth of sanding and I am about 1/2 done.
Looing at exterior decor. I am going to put a American flag on the front and a US Navy flag on the back transom. Thinking of using WWII bomber nose art on the galley hatch. Craft beer labels on the galley face. A Gadsden “Don’t Tread On Me” flag on inside of the galley hatch. I’ll just do an epoxy wet layup to apply these….
ParticipantI like it! The only downside I see is that the hasp will be sorta hanging there when you’re cooking is all, may be better though. I’ll be keeping this in mind when I get to this stage, thanks!
ParticipantGlass is curing in the right side, it went well! Here’s some pix….


 Participant
I make a lot of good use of my oscillating saw. Works well in tight places, and has cutting saws, abrasive cutting tools, and sanding attachments. Handy, and would make short work of cutting out the electrical panel.
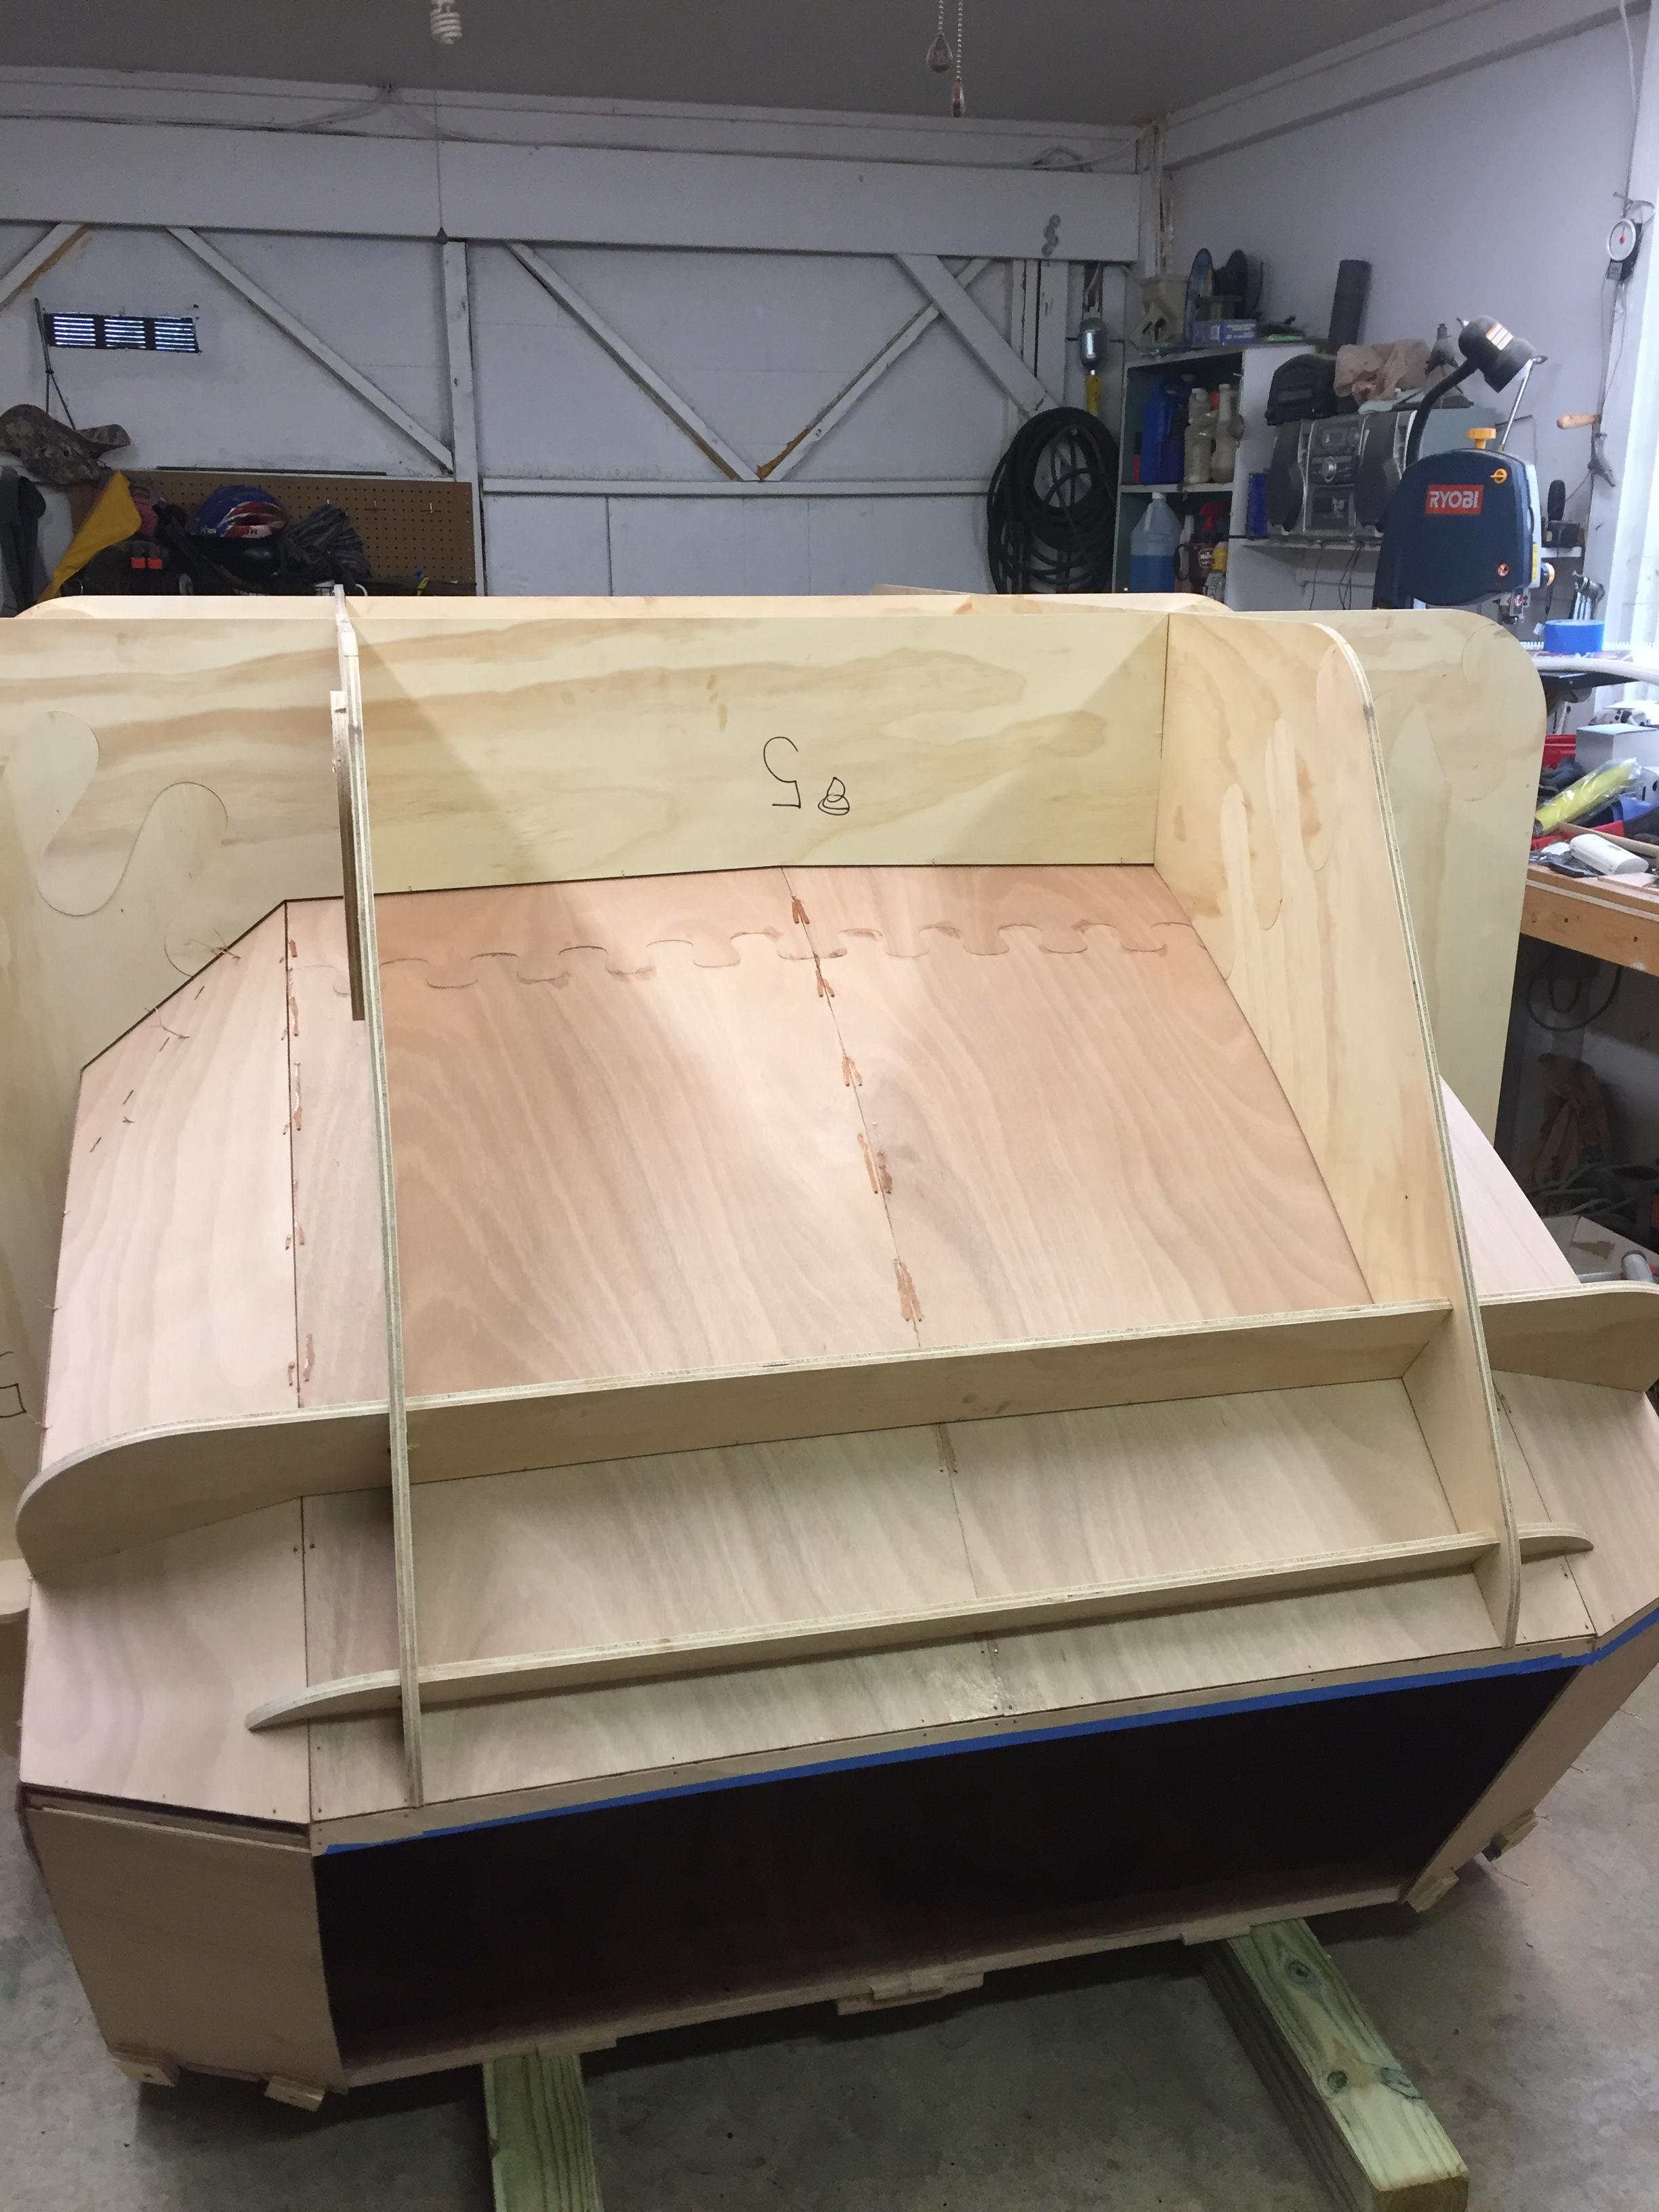
ParticipantDid a good work session this afternoon. Glassed the left side , I’m very happy with it, though I did have to call a DO-OVER on the initial glass cloth drape. I trimmed it too much! I saved the (large) chunk of glass cloth of course, I’ll probably use it on the bottom where appearance won’t matter much. I’ll be much more careful on the right side cloth, and I learned a lot doing the left side so I expect it’ll go better anyway.
I did a “pre-pump” of three Solo Cups with 30 pumps of resin and set them aside. Draped the cloth then added the hardner to each batch as I needed more epoxy. Ther hardner is considerably lower viscosity and is easier and quicker to pump, and is half the volume as well. This speeded up the time required to mix up a fresh batch of goop when I needed it, a good thing because it’s a pretty large area of glass to wet out.
Going to do the right side tomorrow, I’ll post pics then.
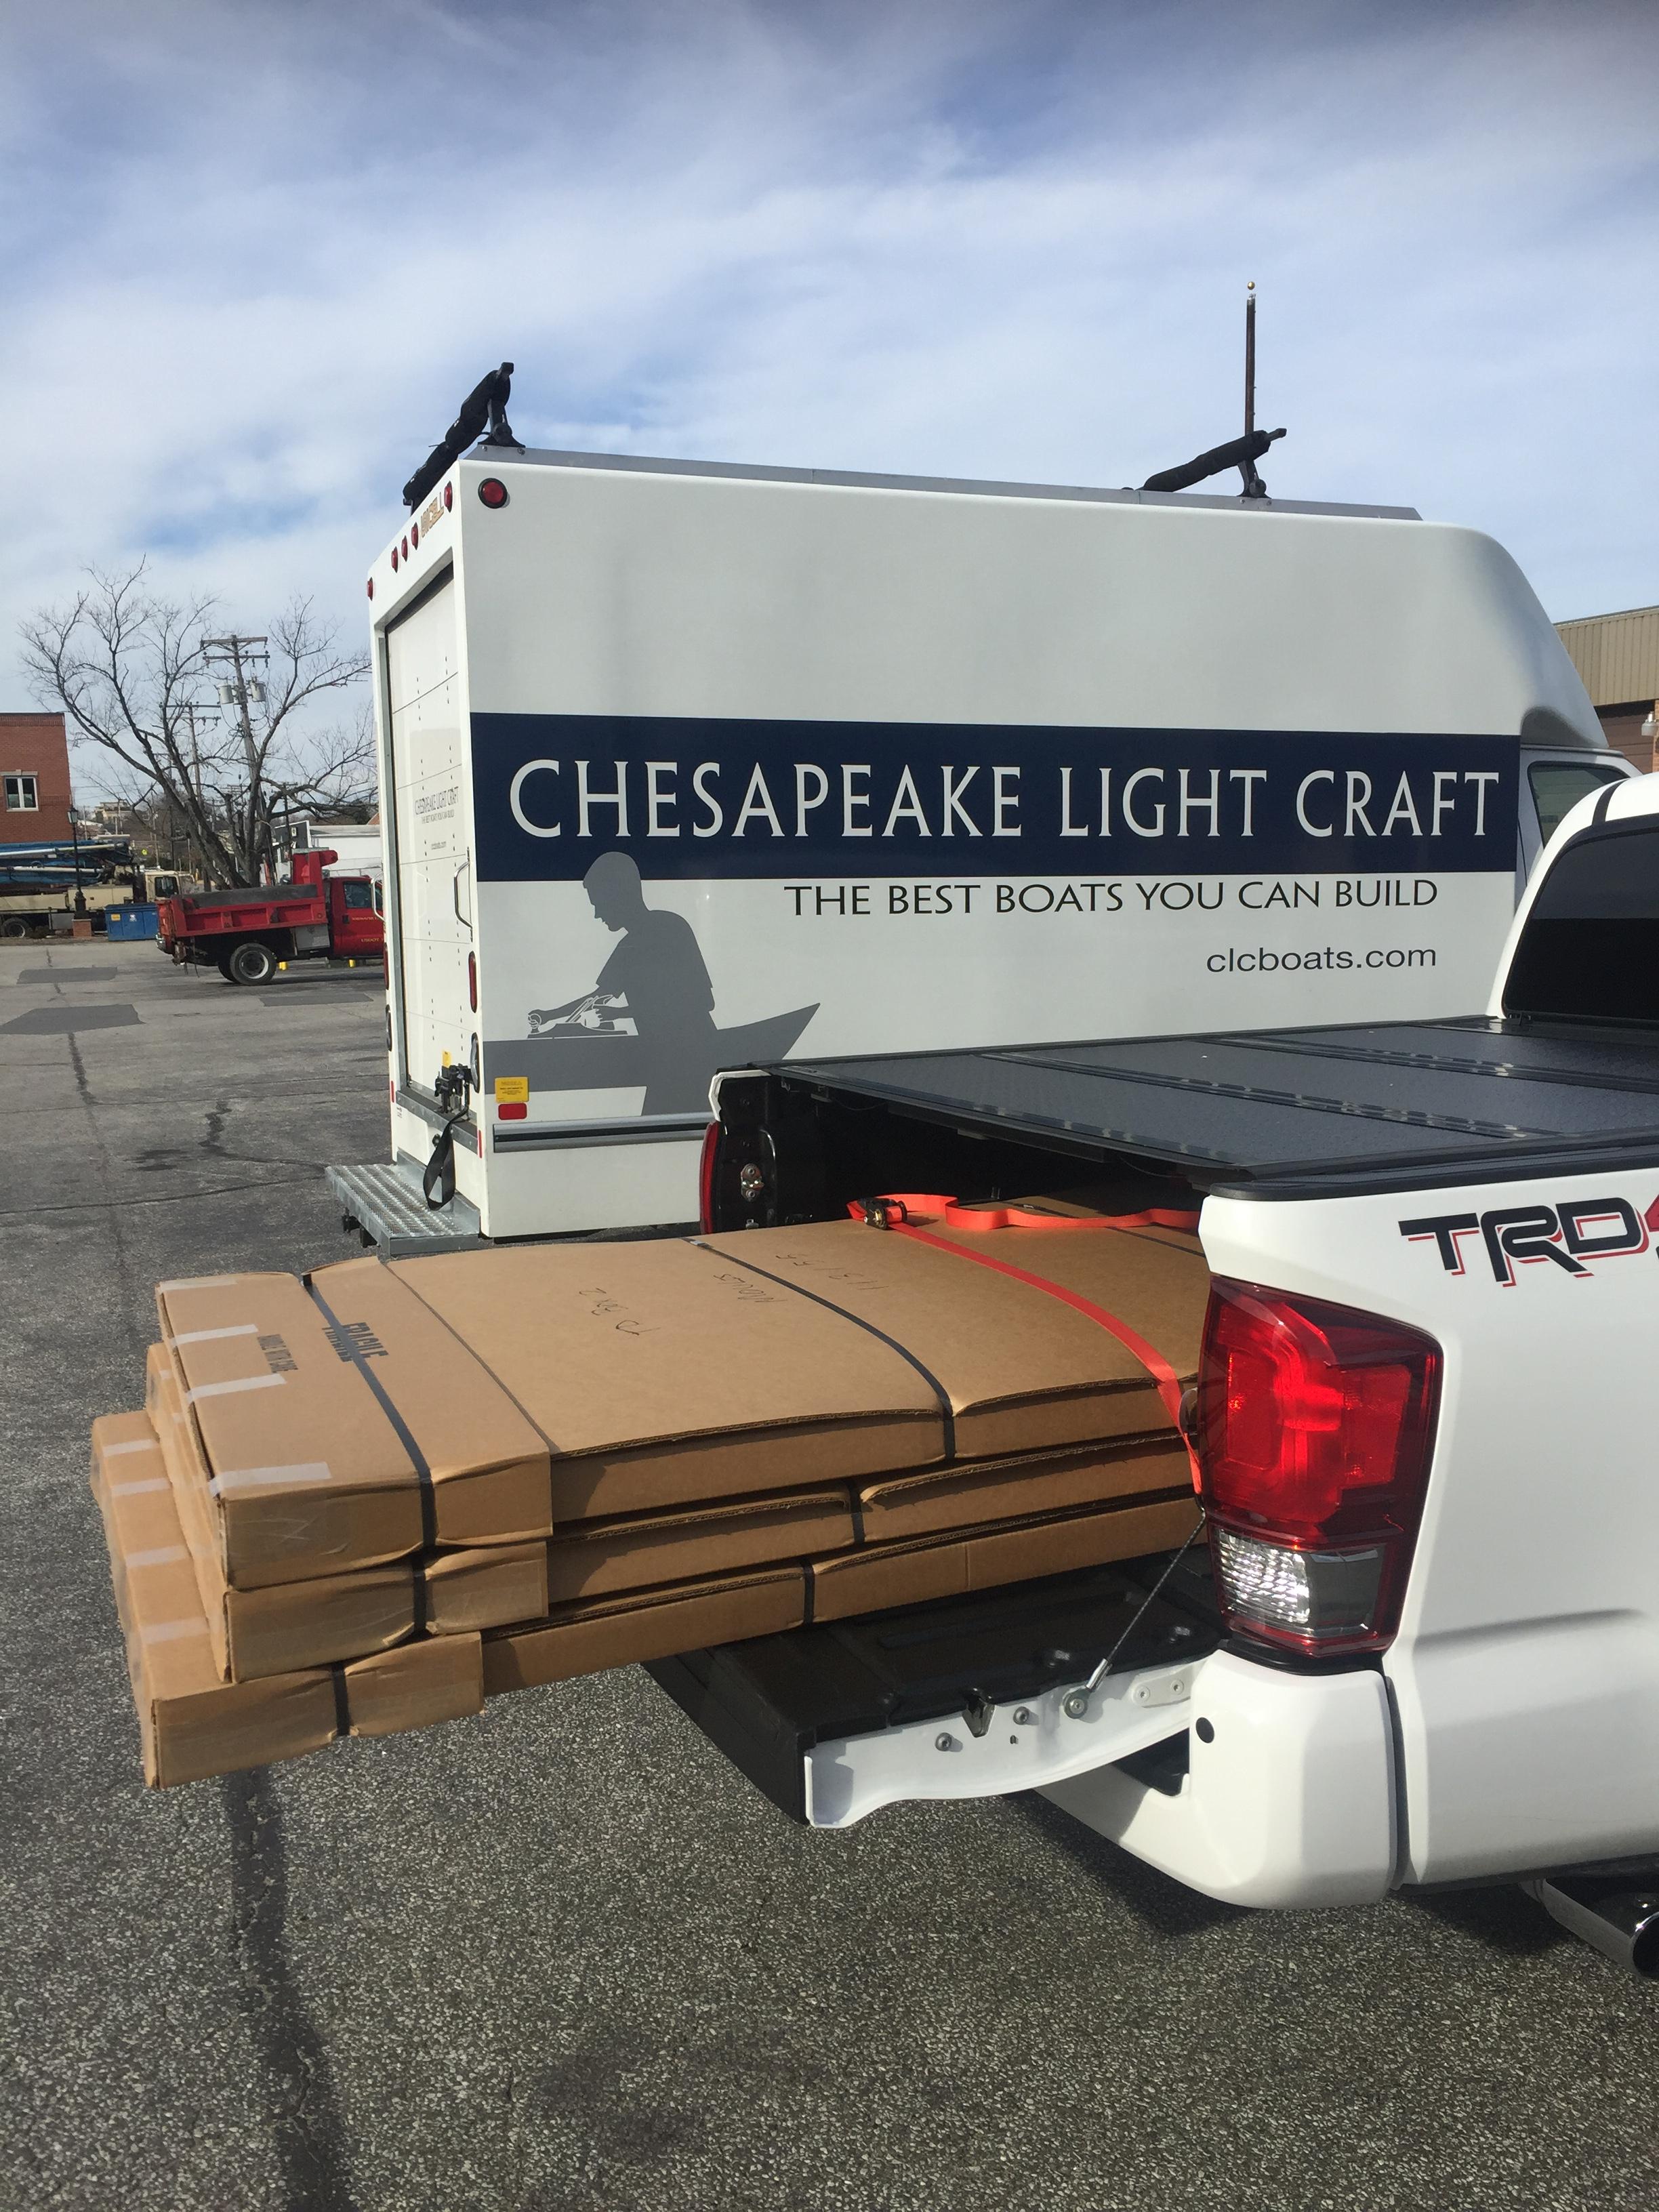
ParticipantPicked up the kit in Annapolis 12/31/16, it fit in the truck nicely.
 Participant
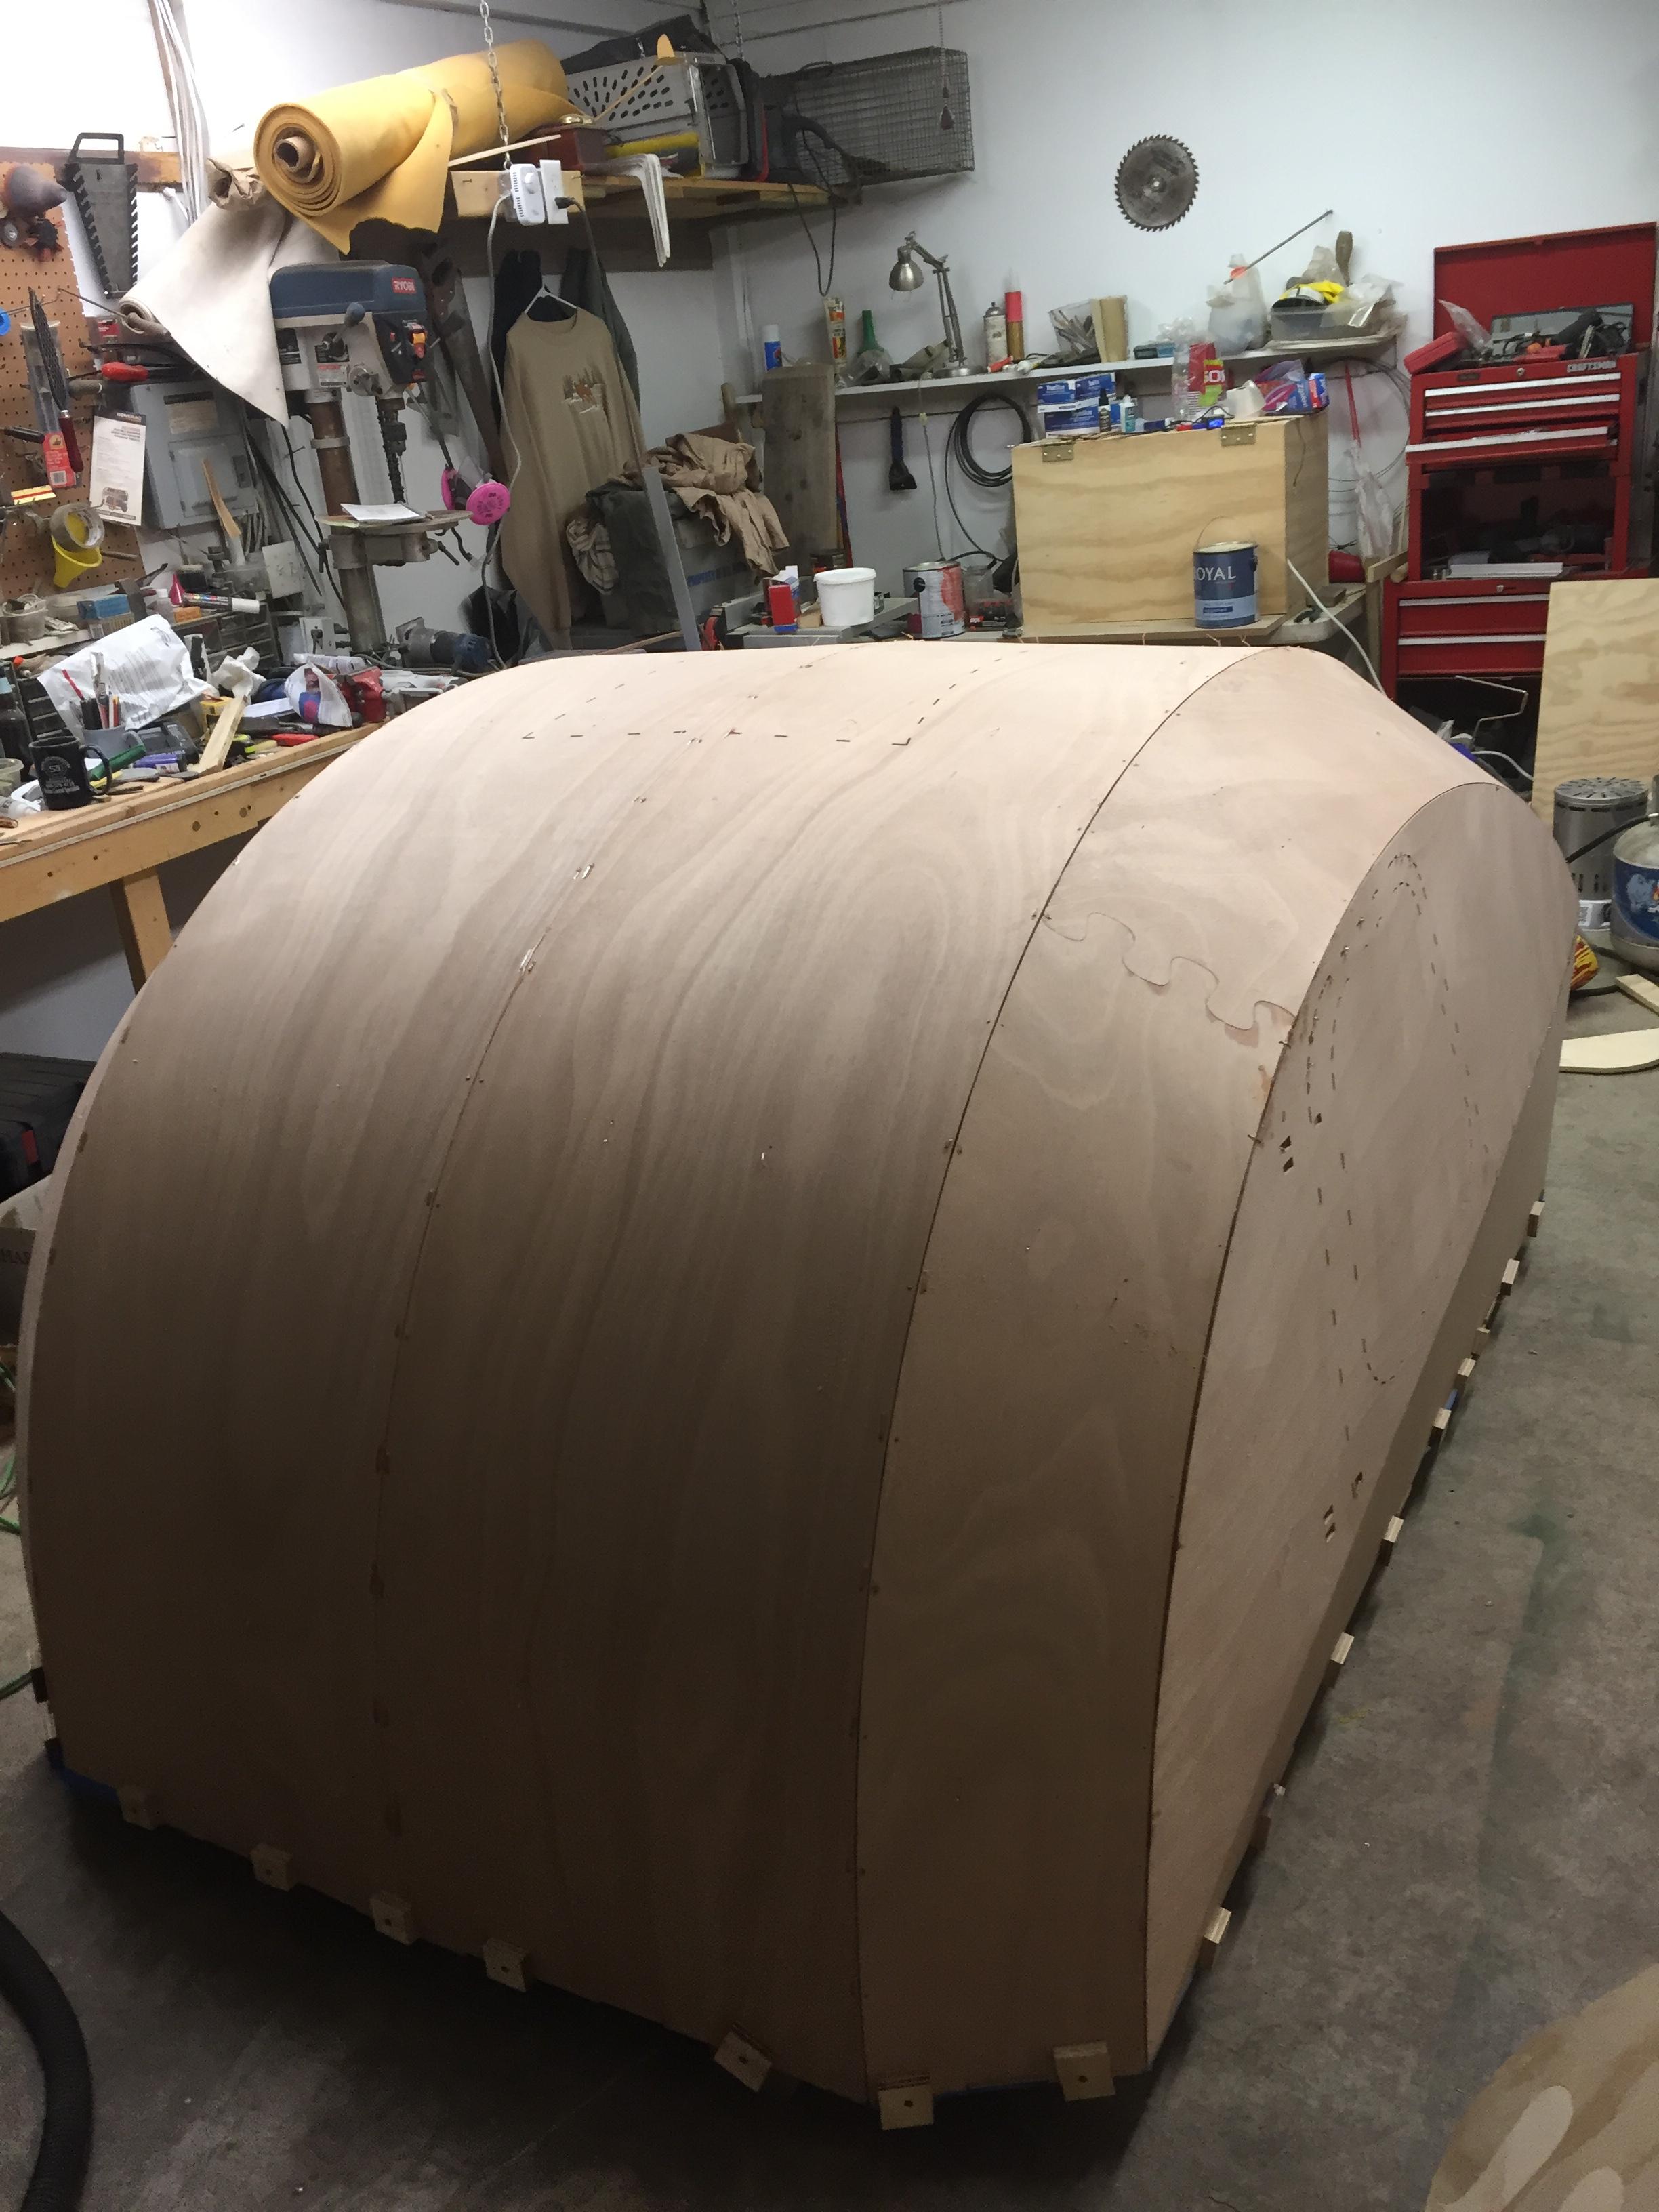
-
AuthorPosts