Welcome to TeardropForum.com › Forums › Teardrop Builders’ Forum › Hatch Clasp
- This topic has 8 replies, 6 voices, and was last updated 7 years, 5 months ago by
Eric.
-
AuthorPosts
-
January 26, 2017 at 12:43 am #484
tomtnt
Participantregarding the hatch clasp- instead of trying to bend it or going through the trouble of installing that big block for the catch, why can’t you just install the hasp upside down (screw holes on top instead of on bottom).. this allows the hasp to swing all the way towards the transom/catch without having to bend it… I will try this and post a pic
January 26, 2017 at 12:08 pm #486January 26, 2017 at 1:15 pm #488SOMDTD
ParticipantI like it! The only downside I see is that the hasp will be sorta hanging there when you’re cooking is all, may be better though. I’ll be keeping this in mind when I get to this stage, thanks!
January 28, 2017 at 10:47 am #492JakeM
ParticipantDefinitely works! I thought about this, but the other downsides are that it leaves the screws exposed which isn’t as aesthetic and would be even easier for someone to remove them and take stuff from the Galley while you are away from the teardrop.
January 30, 2017 at 7:46 pm #511cpieper
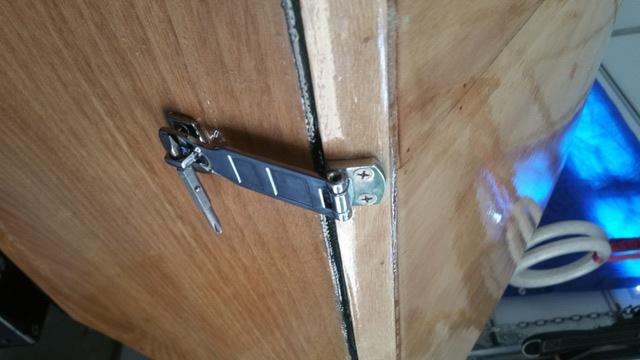
ParticipantOK, you guys are going to think I’m nuts, but the following shows what I did for my latch setup… (I hope I can figure out how to post pictures…). First, I should explain that when I cut my back hatch out, for some reason it seemed to spring a bit and the fit at the back wasn’t as good as I wanted it to be… The center back of the lid did not sit flat on the lower back end of the galley. To remedy this, I added a strongback to the lid to pull the warp out of it… I also made a toggle clamp latch to help pull the lid shut tight.
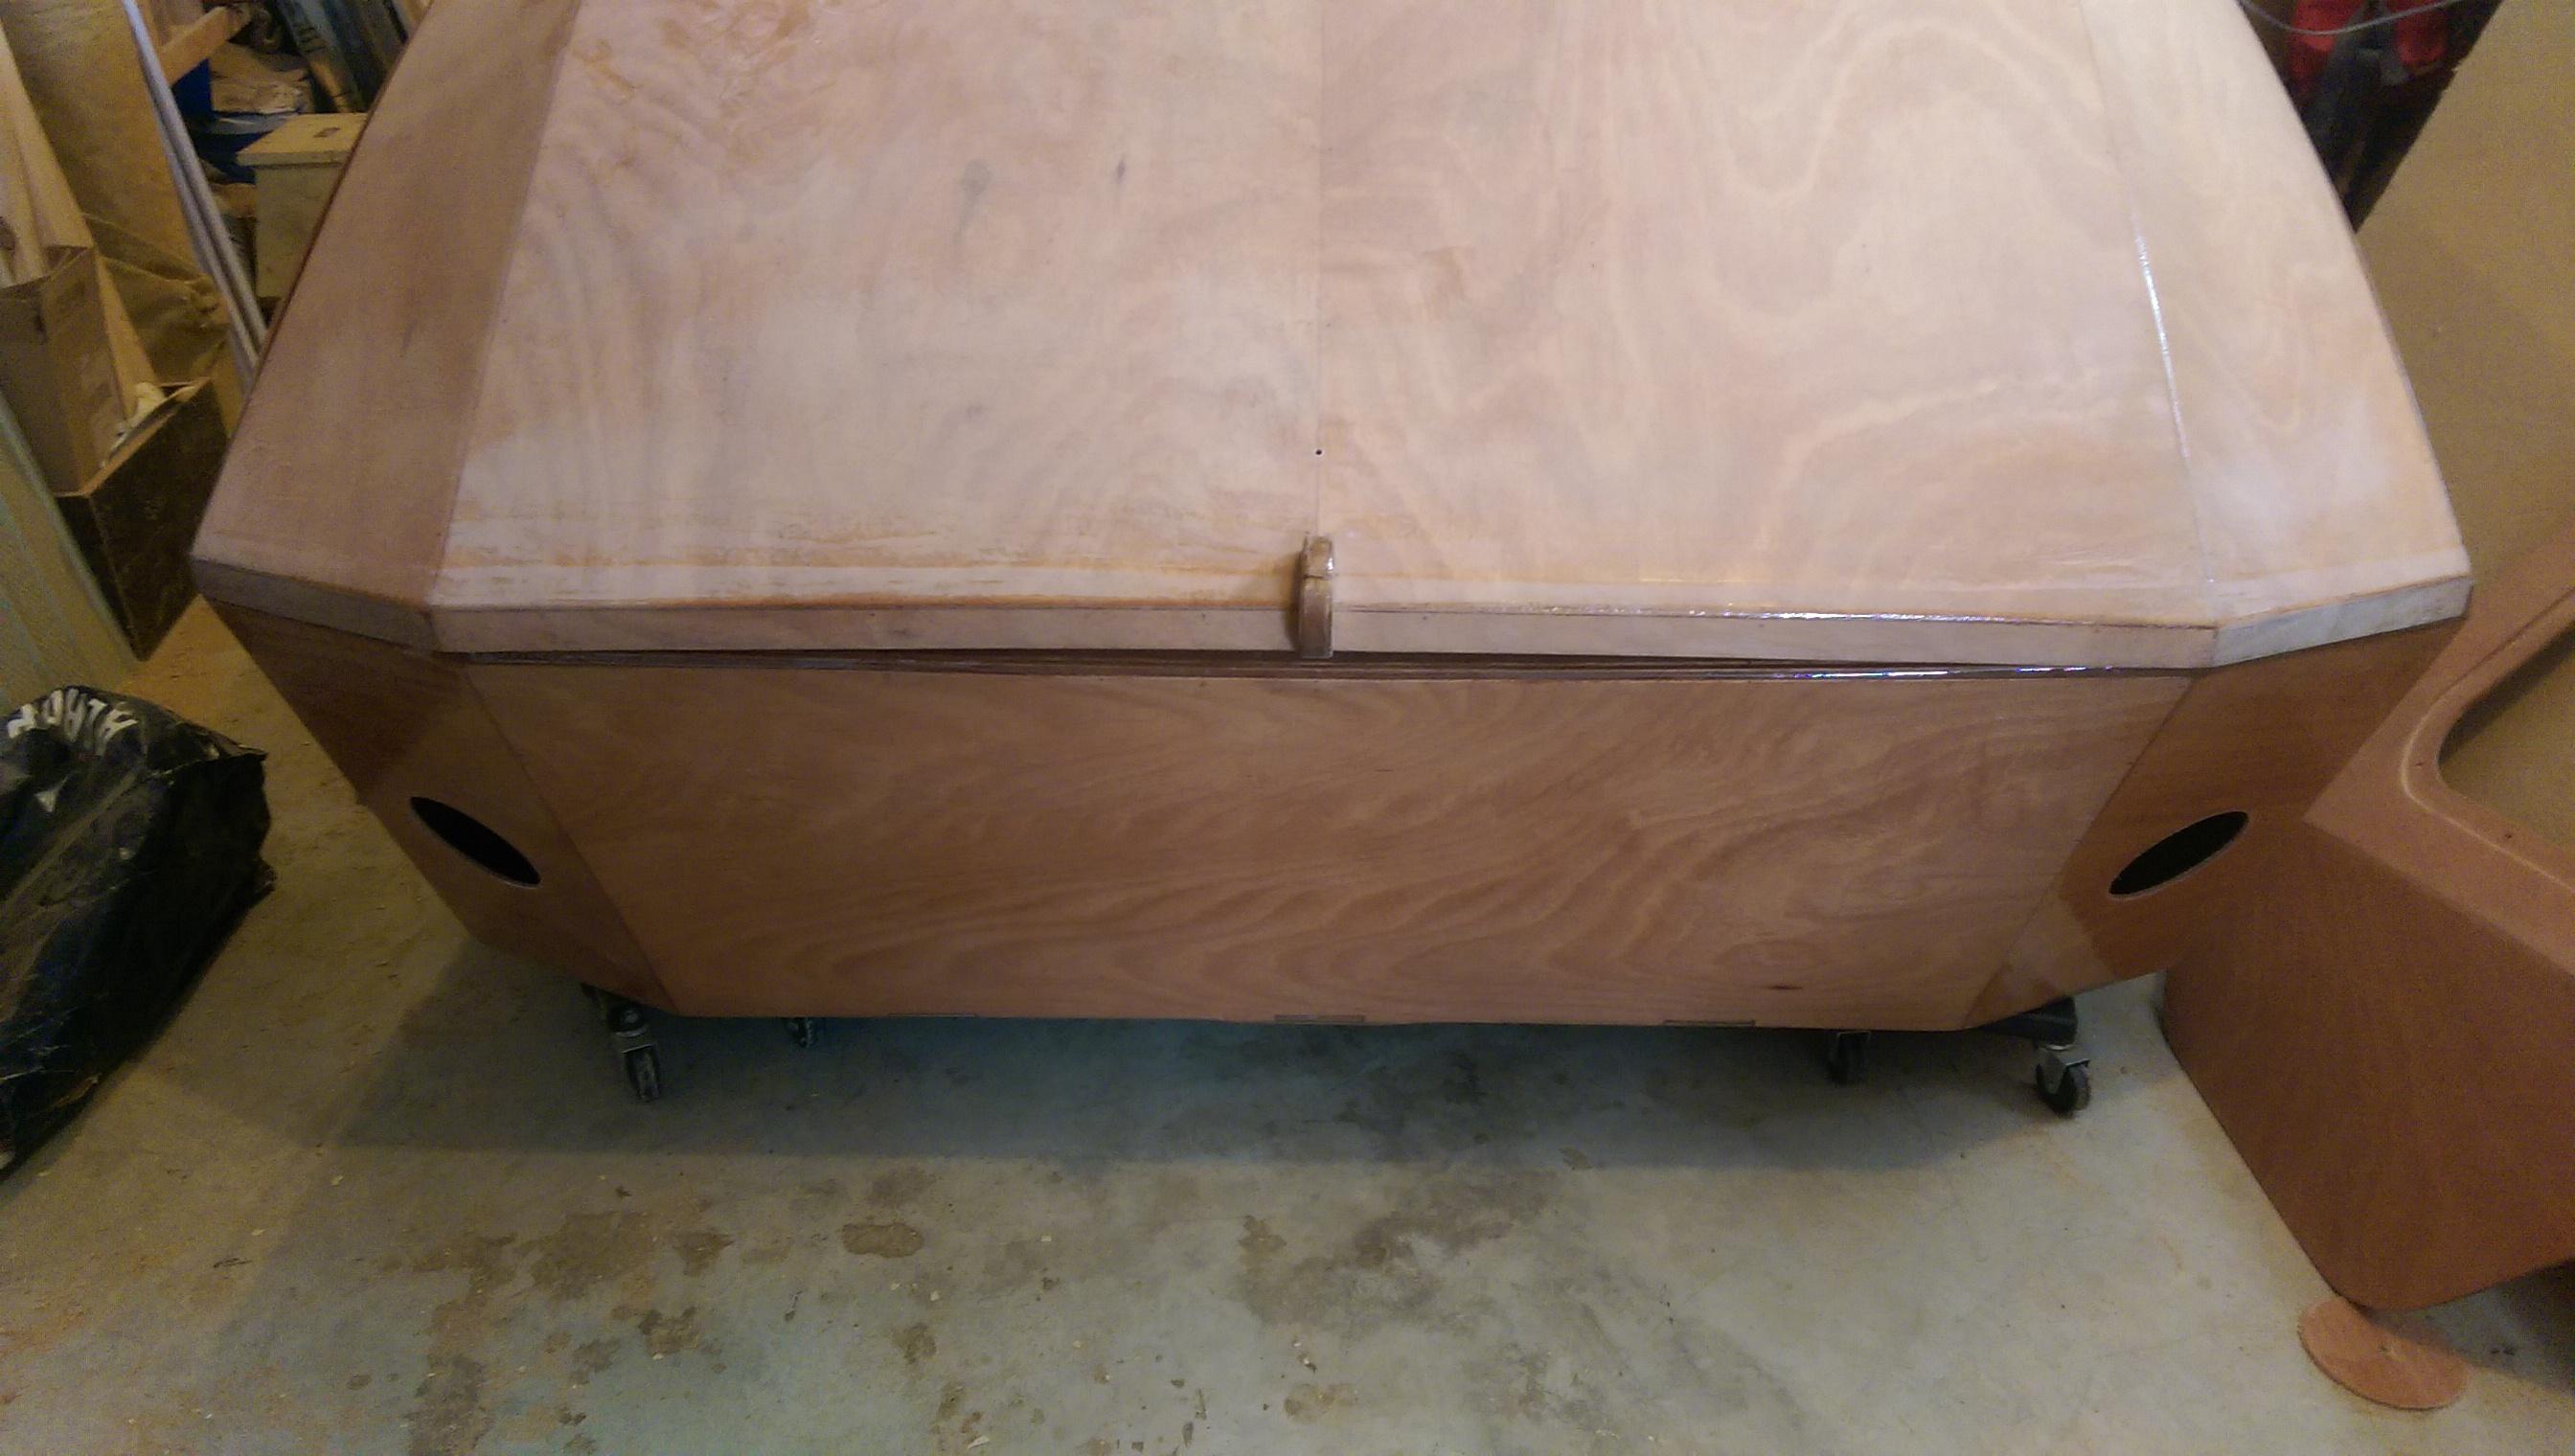
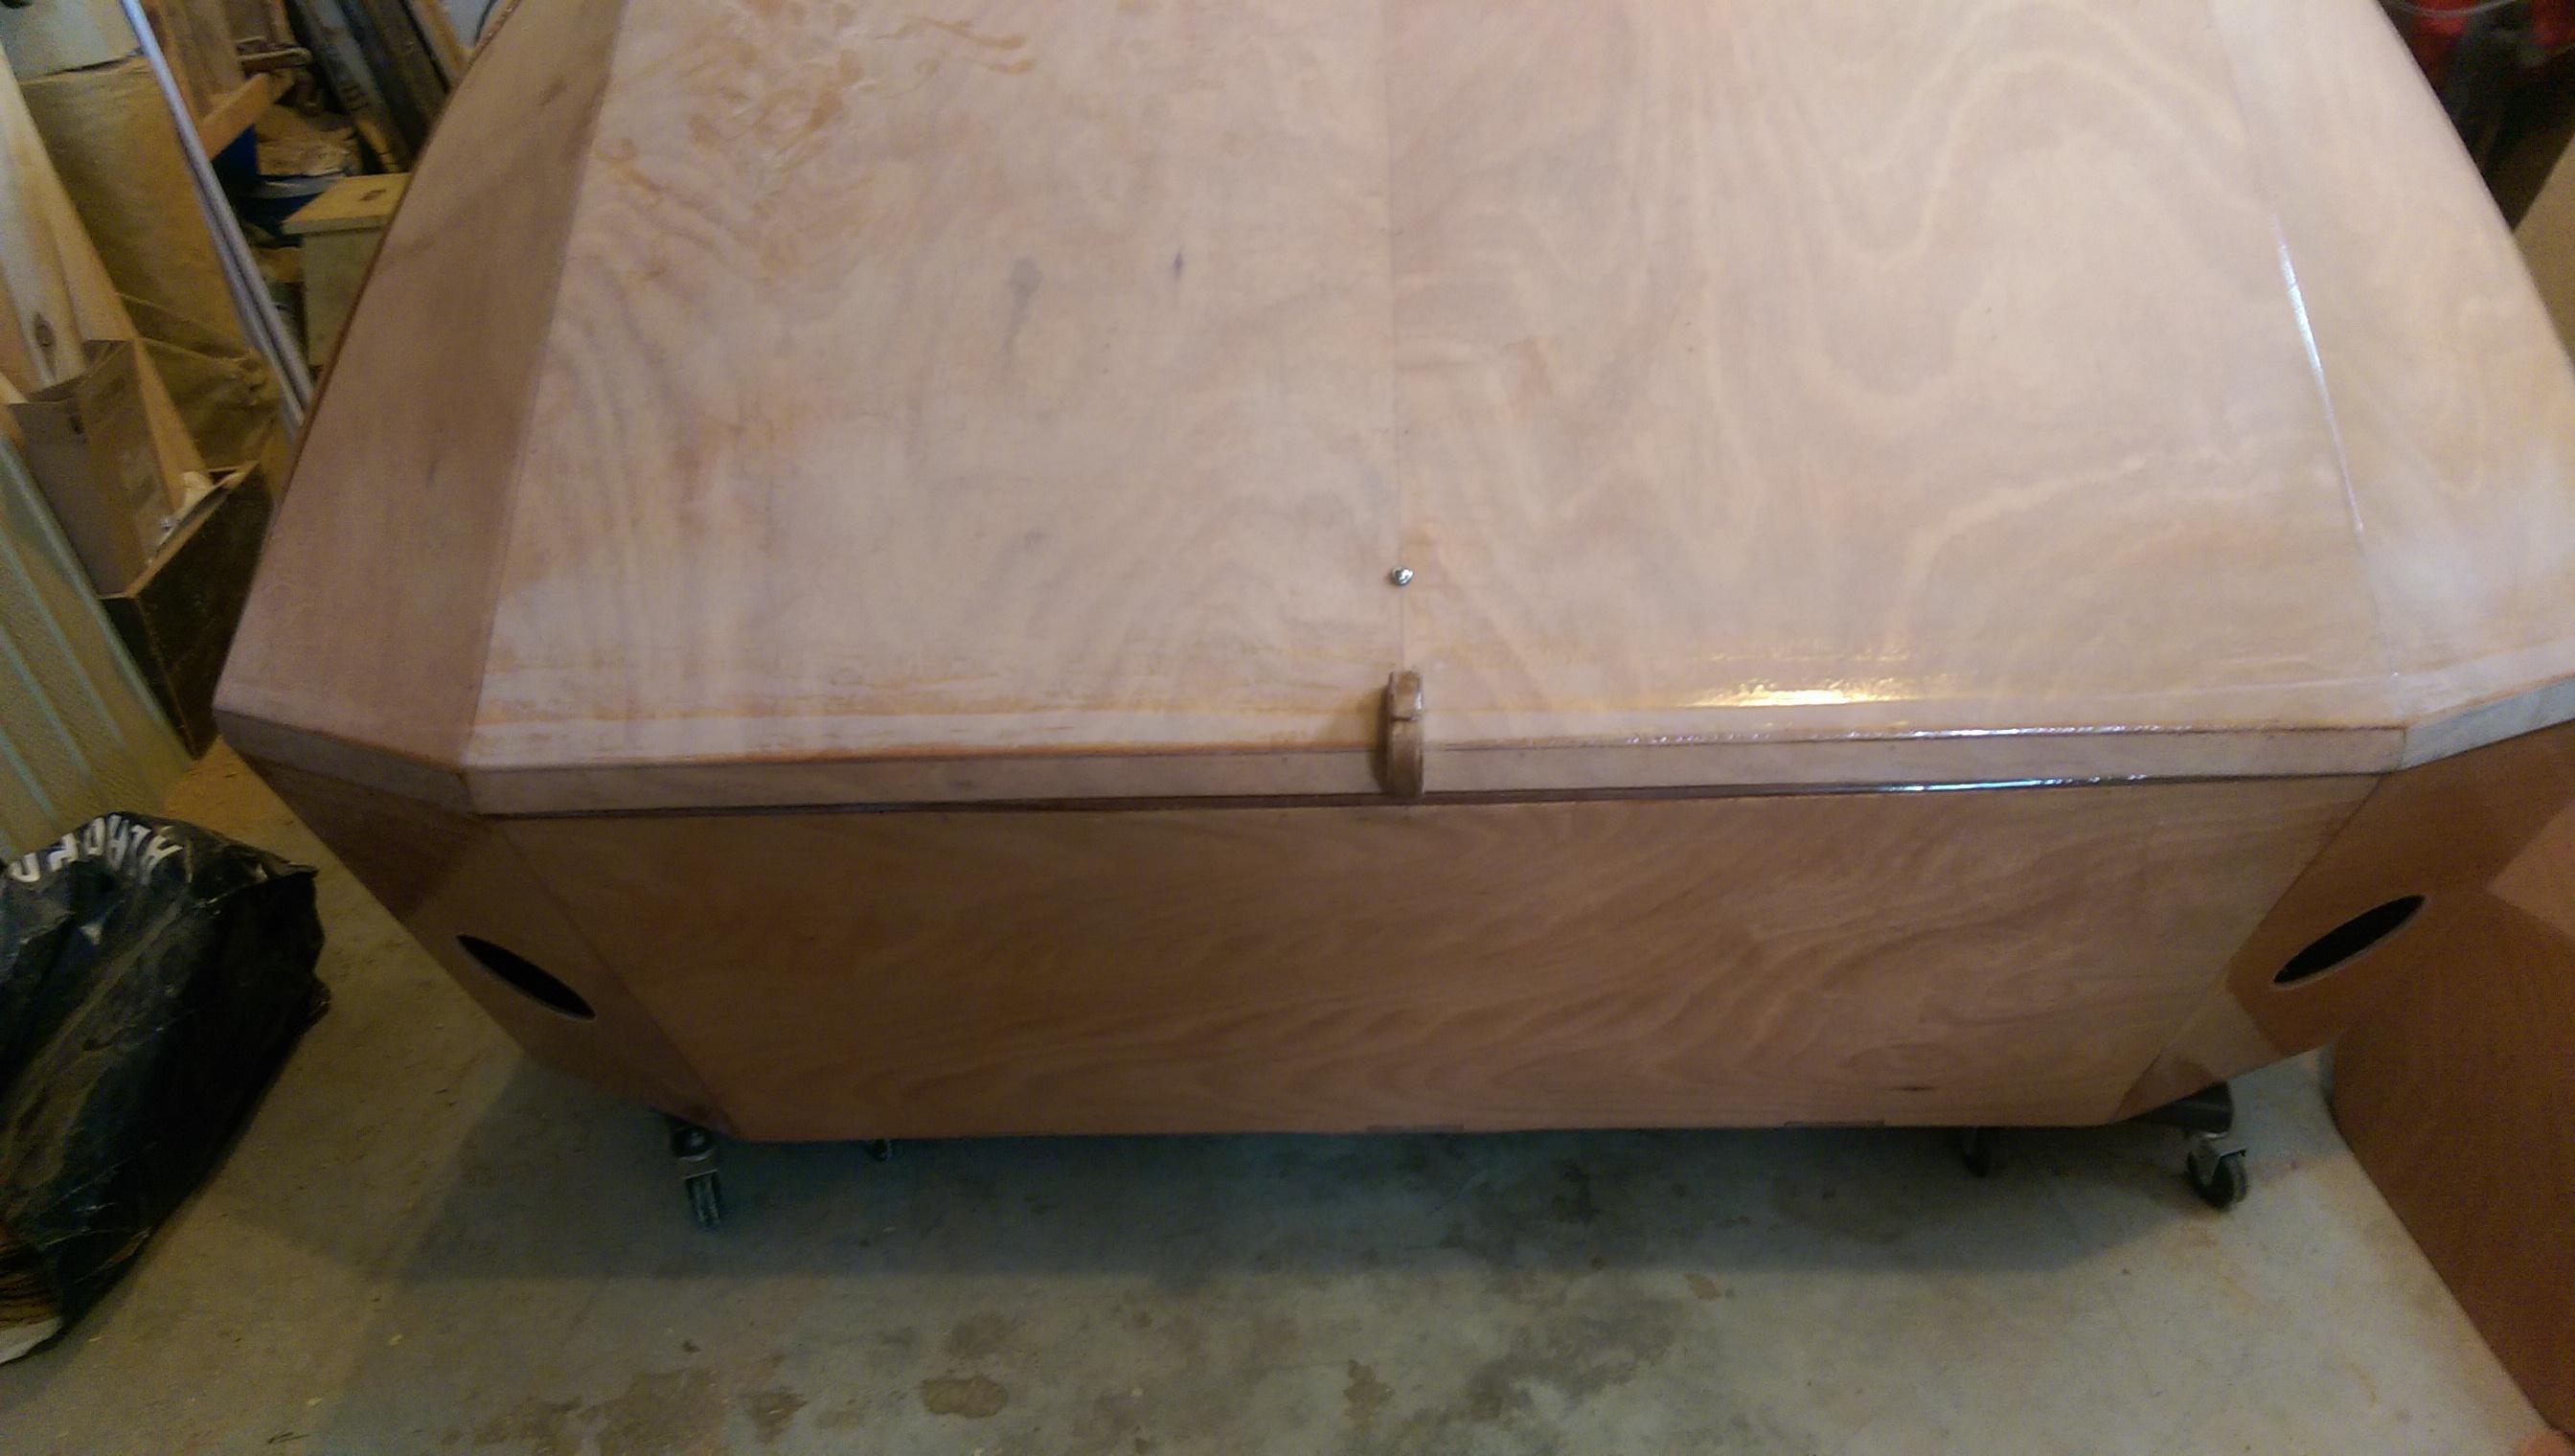

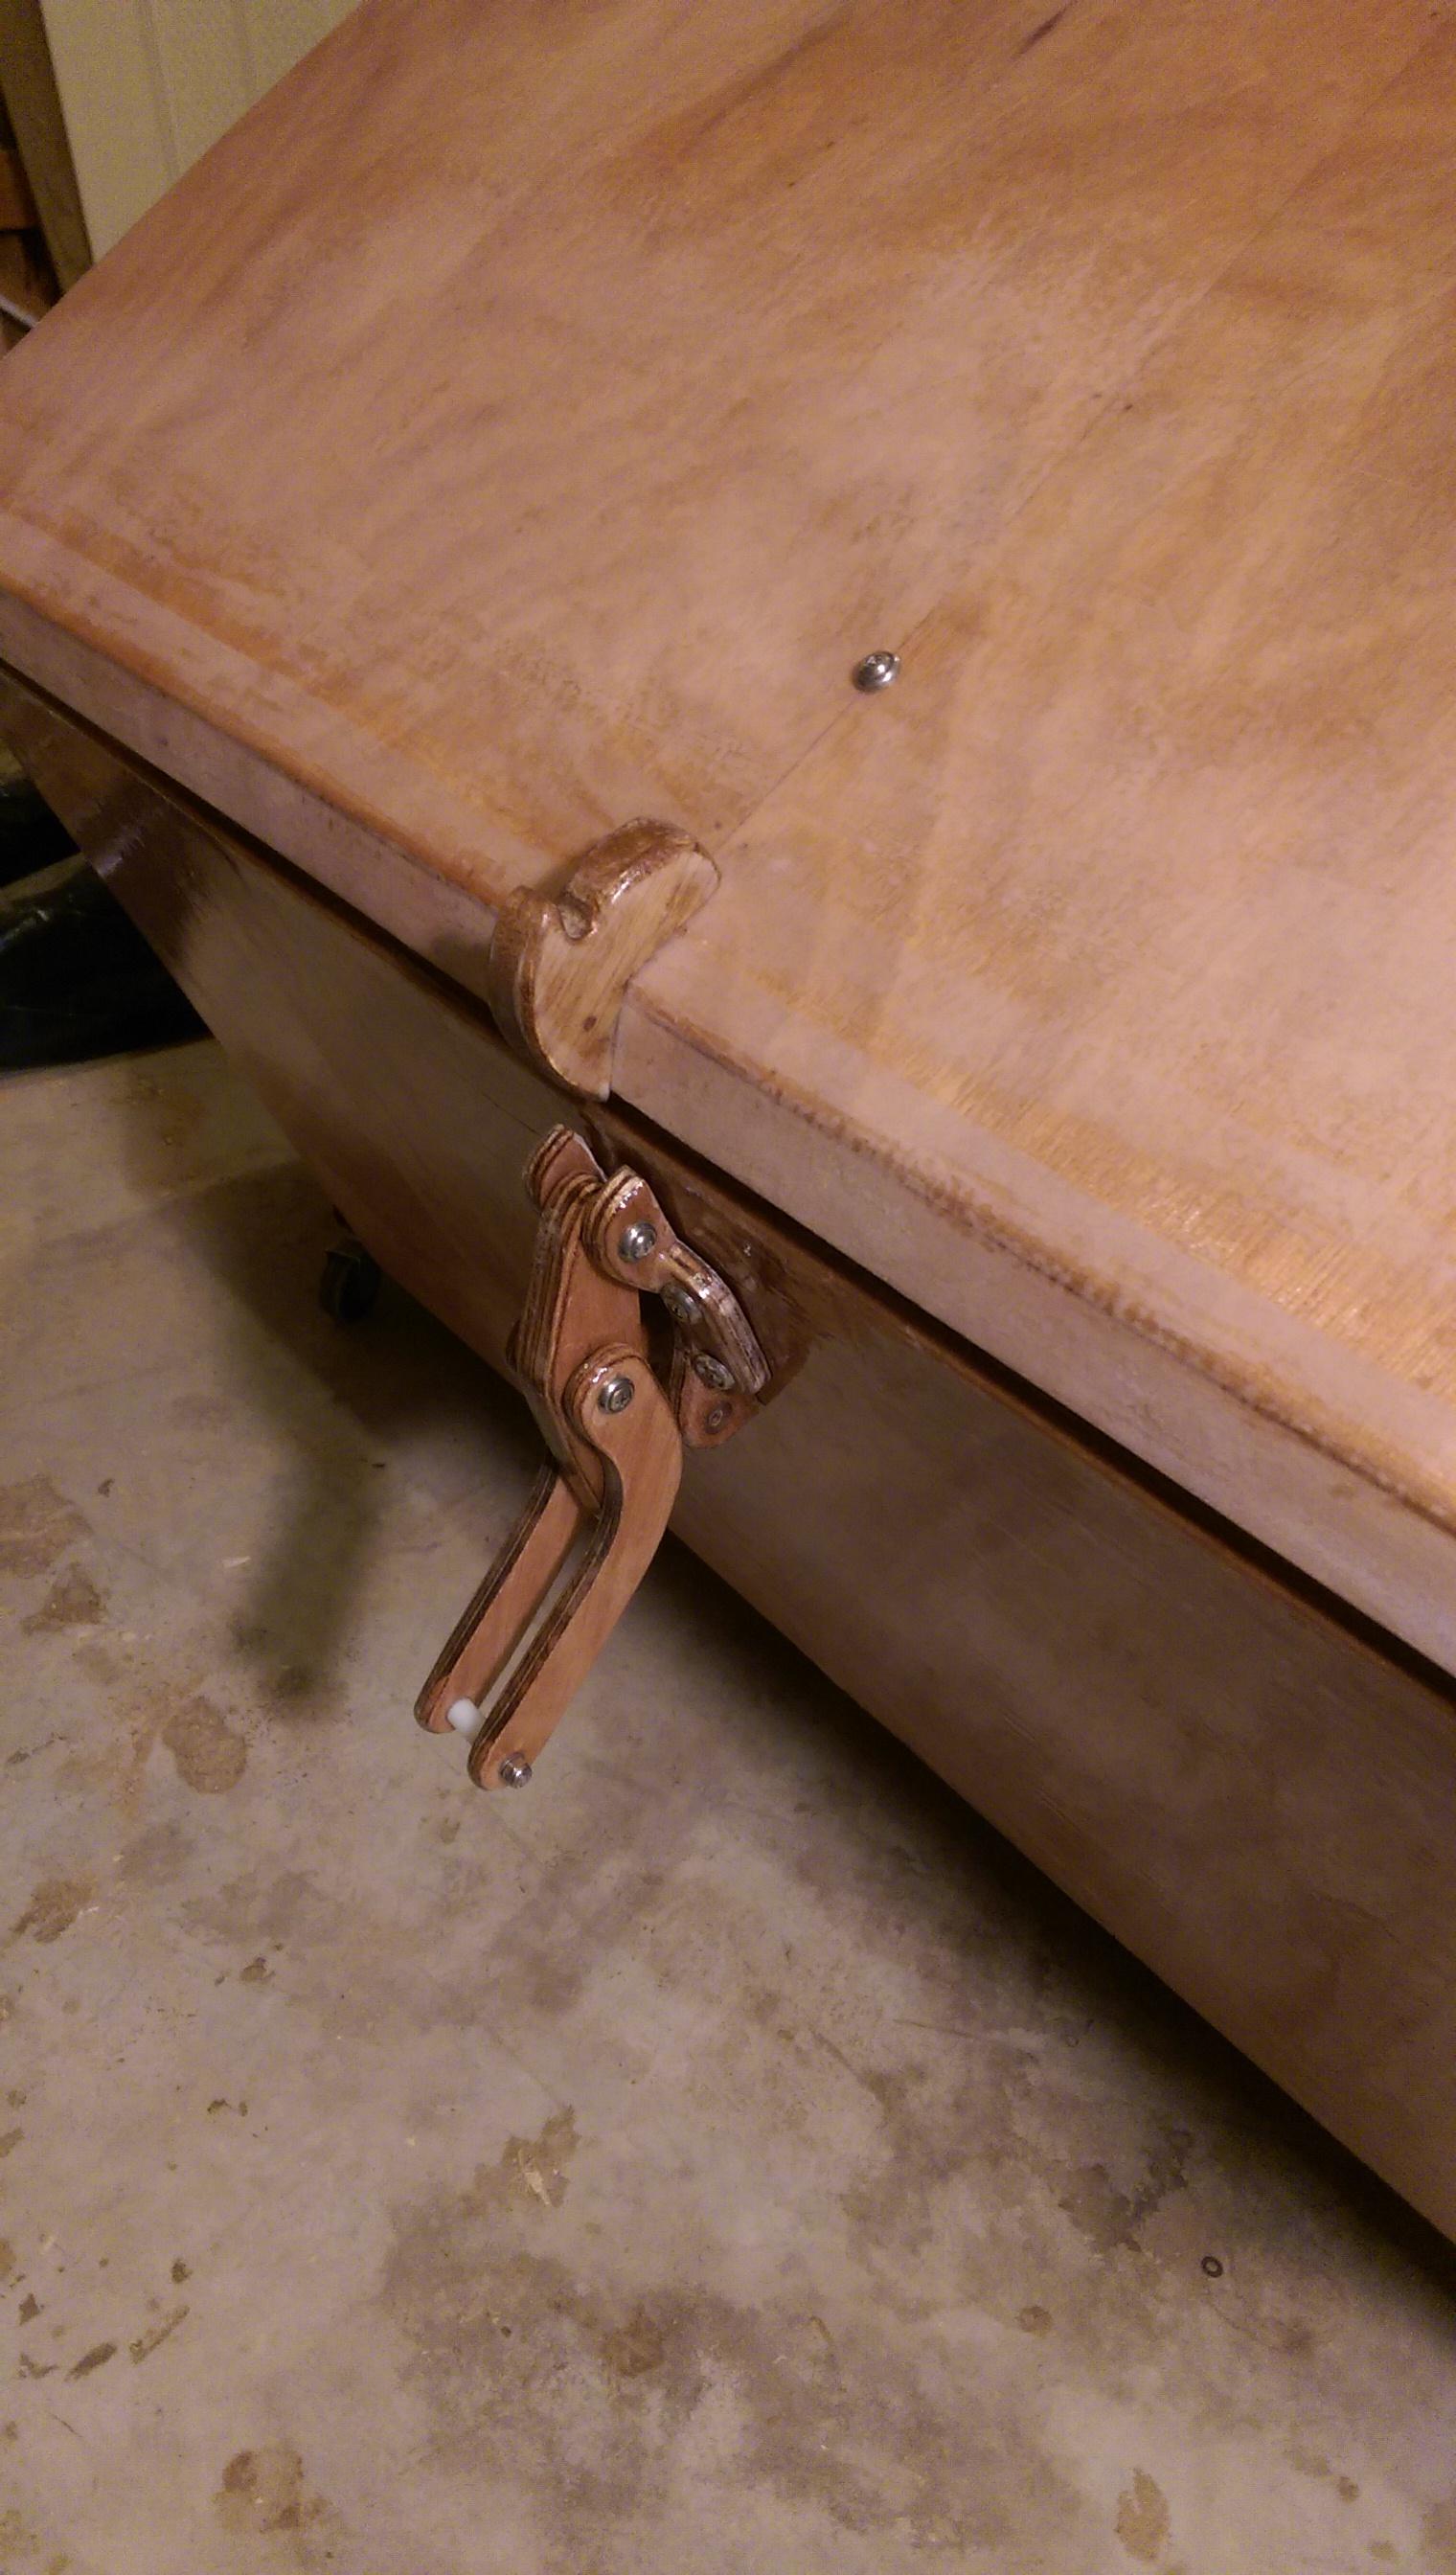

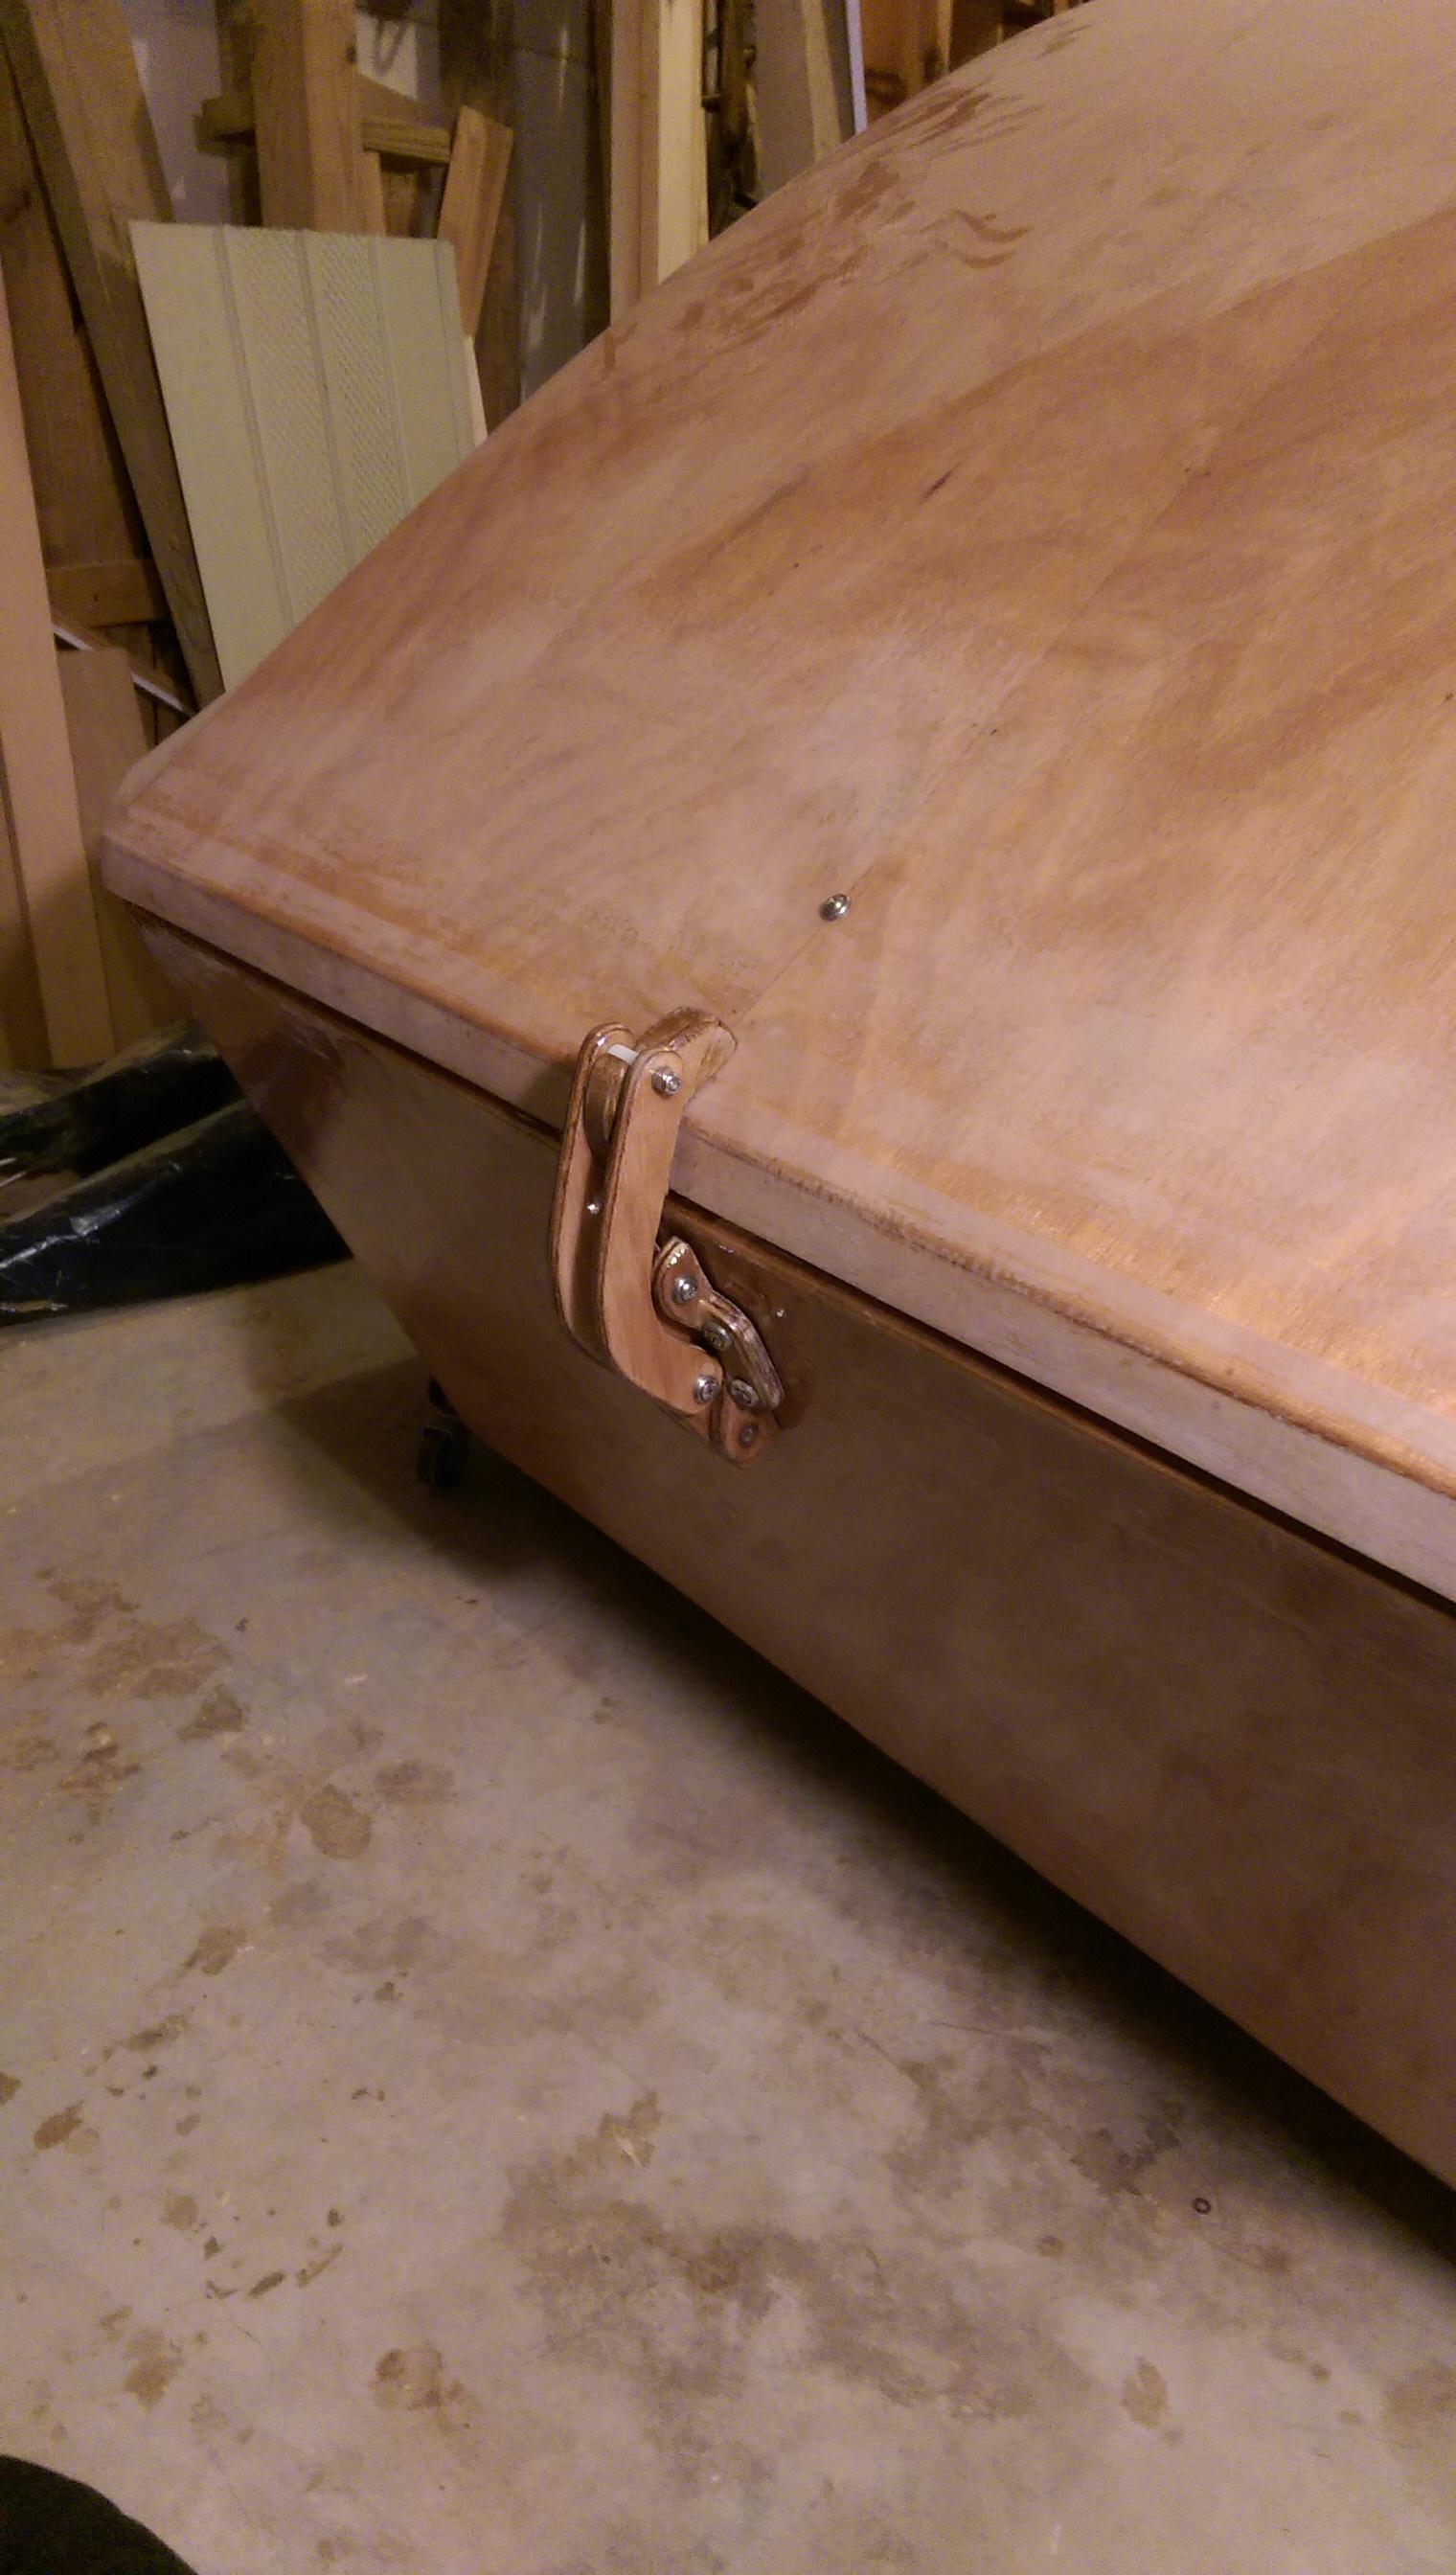
Due to the geometry of the latch, when it is closed, the tension on the latch arms keep it closed (toggle concept). I did this for two reasons; 1) to provide clamping force and 2) because I didn’t like the idea of putting a metal latch on a wooden sculpture… I’m interested to hear your thoughts about my crazy plan…
Note, the screws holding the latch in place are not tightened in these pictures. I need a helper to hold the nuts on the inside of the camper while I tighten the screws… I’m working solo today…
-
This reply was modified 7 years, 5 months ago by
cpieper.
January 30, 2017 at 7:49 pm #513friz
ParticipantVery cool! Now you need to do door latches to match.
January 30, 2017 at 7:52 pm #514ParticipantI like the door latch design as is (although I haven’t installed mine yet). I do like that this latch matches the hinge style, I don’t like that it’s bulky… But the action is real nice and it pulls it down nice and tight. I figure if someone really wants to break in, I’d rather have them cut my latch than put a hole in the shell… 😉
February 3, 2017 at 9:51 am #525Eric
ParticipantI installed my hasp with the screws showing andmused the wood block because I thought it looked good, and did so base on my philosophy on hasps and thieves. I wanted the system to deter someone without a screw driver, wrench (for the hinge pins), or wood saw, or crow bar. But if a thief has those tools, I’d much rather they use a screw driver, take my pots and pans, and leave my wood camper basically undamaged. There’s no point in building a metal fortress when you’ve got a wood structure.
All that said, I love cpleper’s solution, and may well do that later. For now I located my hasp catch such that it pulls the spring back (which I have as well) out of the rear of the hatch center.
February 3, 2017 at 12:16 pm #526ParticipantRegarding the hasp hanging down: you can simply flip it up. It stays flipped up, I tried it. I think the screws look nice. And with the nylon nuts a screw driver alone is not enough for a thief to remove them. So I hope he resorts to drilling them out before reaching for his saw or crowbar.
-
This reply was modified 7 years, 5 months ago by
-
AuthorPosts
- You must be logged in to reply to this topic.