Forum Replies Created
-
AuthorPosts
-
jmb_builds
ParticipantDo those align with the grooves in the trailer bunk halves? (If so, they are probably missing on the portside panel…) As I understand the manual, those are pre-drilled for mounting the shell on a basic harbor freight trailer. In any case I would fill them with thickened epoxy (and re-drill if eventually used).
ParticipantI don’t want to make anyone nervous, my apologies in case this has already happened. Perhaps my case is too specific as I’m not using a CLC-supplied epoxy (no apparent big brand in the background).
Short story: in my case the epoxy did not properly stick to the coat applied two weeks before. Had I sanded between, I could have avoided this.
Long story with additional speculation and gibberish: my camper might be subject to amine blush, but since I have no reference and I don’t perceive a waxy consistency, I don’t actually know. Pictures on the net & those I have make it look like it is amine blush. Perhaps I should double-double check this when doing the next coats. Honestly, I just start to think about this in detail now, as I’m writing here. It simply made me super-frustrated. Now I should stop stealing your topic & drifting away into something that is very much likely a non-issue for you.
Back to the topic: I’m with John, light layers would be the key. Thick ones would only sag into hills & valleys.
ParticipantJust make sure you stick to the time frame between coats suggested in the manual. I did not think of it when I applied a fill coat after a two weeks break. I’m still not done sanding that messed-up coat off, 18 hours WASTED so far…
ParticipantSounds good! I would fit a rim to the hatch cover in order to reinforce it, and to have a ‘pressure edge’ (non-english writer here, so I’m not sure about the exact term) that creates some interlocking with the seal. I doubt that an all-flat cover would be waterproof for long.
ParticipantHave not built one into my camper, but designed some for ocean going ships. You need some gasket between your hatch cover and the coaming, I assume that’s clear. Then you need to apply sufficient pressure evenly across the whole gasket area to prevent water ingress. On the CLC kayaks, they use small toggles, but I doubt they will be able to sustain highway speed and vibration. Depending on the purpose of the hatch, I believe the design can become quite complex. How do you want to use it? Escape hatch? Additional ventilation? To be opened from the inside, outside, or both? So many questions 😉
ParticipantWhat’s the proposed radius? If it’s big like 1/2″, do it in several steps (e.g. using smaller radius heads first, or retracting the head for the first run), that should avoid splinters, and you get used to handle the router along the ICC before going all in.
ParticipantHi & welcome to the community!
I sent you a rather extensive E-Mail Friday night. Maybe you have to check your spam filter, as I already attached some files (drawing & images).
BR Johannes
ParticipantSince no one with more experience has replied yet, I give you my two cents:
In case you just fill the “valleys” with more epoxy, you could risk having a poor bond between the previous coats and the fill, and end up with the task to sand all of it down again… I had to do it to the full camper exterior, and it is no fun at all. So I advocate for sanding the current coats level first, and then put on a final coat of epoxy.
For the second issue: if you intend to apply varnish, it will be visible. If this might bother you: better invest the time to fix it. I for myself sanded through the fibreglass on several occasions at the side panels and will have to patch those anyway…
So heads up, you’re not the only one with a bit of struggle 🙂
ParticipantGreat looking camper, well done!
We made some fibreglass mistakes and will go for a paint/varnish combination. Felt bad first, now I’m really looking forward to it 🙂
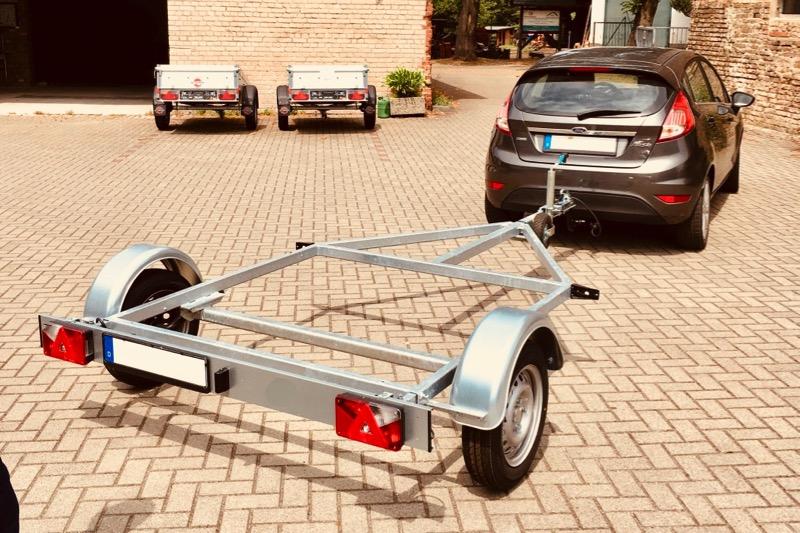
For the trailer, ours is quite similar, custom made according to my specs and drawing (of course based on the dims provided by CLC). Got it from a company that builds mainly boat trailers. It was quite affordable for a specific, new trailer. So if you’re in Germany, intending to build, and want to go the same path, let me know…
 Participant
I am currently building, in north west Germany, and I think someone recently posted he’s completed one in the UK (at least he stated he’s using UK electrical sockets…).
Got my kit from Fyne Boat Kits in England. So far I’m happy with it (approx. half way through) and would recommend them.
I’m also curious about other builders in Europe. Quite a few in NZ and Australia, but no “verified” ones over here…
-
This reply was modified 4 years, 8 months ago by
jmb_builds.
ParticipantI watched the class time lapse dozens of times. Of course working in a group helps a lot, as quite a lot of jobs can be done simultaneously by various people. What they don’t do in class is finish the whole thing (paint or varnish, plus sanding in between), which does account for a large chunk of the 250h (I’m not there yet, but would estimate it might be somewhere between 50-80h). Coming back to your question: doing super-fast assembly like in the class, and splitting most of the paint jobs between you two, perhaps you can bring it down to 160-200h? Just an educated guess, though. Just don’t rush too much 😉
ParticipantAfter buying the kit in January, making only “the bench parts” for six months, and now one week of decent progress (planning to remove the mold on Thursday), here’s all I can add to the other repliers: if in doubt (or discouraged), E-Mail the CLC team. They will answer quickly, precise, and encouraging. Did it a couple of times already and it always helped me to move forward!
Enjoy your project 🙂
-
This reply was modified 4 years, 8 months ago by
-
AuthorPosts