Forum Replies Created
-
AuthorPosts
-
abrightwell
ParticipantI’ve been using these and they have been working great. to knock out any bubbles/smoothing the epoxy, I just take a standard foam brush and tip it out after rolling. The first coat was never smooth for me (and I don’t tip the first coat) since it tends to raise grain, etc, but after a quick hit of 220 paper and second or third coat rolled and tipped, it tends to be very smooth and minimizes the amount of prep sanding I have to do for a finish of varnish or paint.
ParticipantI like the round over on the stiffeners. Looks good.
Yeah, my galley flat didn’t require any modifications either and I also found it to have a bit of a gap. Despite having made the epoxy a bit thicker for those joints, a good amount ended up on the other side. It wasn’t an easy clean up, but it wasn’t a disaster either. A heat gun + scraper made short work of it, of course it required a careful application.
Heh, the floor is most certainly heavier than it looks, IMO. I had to solo it up on to the shell, I don’t recommend that approach. 😉
It’s looking good, can’t wait to see more.
ParticipantBrilliant! I’ve been thinking about how to lock the latch internally and I think you hit the nail right on the head. I believe that I’ll be doing something similar. Thanks for sharing!
ParticipantI had about the same experience as @faithie999. Except, I got it to magically slip in twice, once for a dry fit and once for the final install. Don’t ask me how it happened, because I have no idea. Interestingly enough, despite the difficulty I had trying to get it in every other time, once it was in, it was a loose fit. So much so that I was a bit concerned about the ‘peanut butter’ ending up on the other side… so I made it a bit ‘thicker’ for that fillet. 😉
ParticipantI’ve seen it done with large portions of cloth. The basic process that I’ve observed is that you lay out a sufficient length of polyethylene sheet, layout your cloth on it, then saturate. Then using some form of stick, you roll it up on it, squeeze out excess and then go apply.
Here’s a video: https://www.youtube.com/watch?v=WdaPecHY4VQ
My experience was that those first two seams were the most difficult. The middle went off without a hitch, it was beautiful. But the Panel #1-#2 seams were a bit of a PITA. As others said, don’t fret it as no one will see those seams and there are things you can do after you start working on the galley hatch to make it look better where they might. And as you’ve learned, it is better to work in small batches. I had a helper mixing small amounts for me while I applied the seam. Just take your time and enjoy the process. 🙂
ParticipantIt’s an interesting thought for sure, but I agree, 12V or 5V it really doesn’t matter. When thinking about battery life what matters is total current draw. Which you can determined from the wattage/power consumption of each device. Ohm’s Law can help to work that one out.
Here’s a good write up on Voltage.
I’m not sure, but you might want to also take into consideration the power consumption by the step-down. Perhaps it is a negligible value but when dealing with low current devices such as LED’s I’m curious if there would be any net savings.
ParticipantReading the manual multiple times is a good idea. I actually got an electronic copy of it from CLC that I started reading immediately. The lead time on my kit was about 4 weeks, so that was plenty of time to get ahead of the game. I simply emailed them mentioning my order, etc and they sent it to me.
As for the fabric for the bottom. I ran short from the perspective that I did not have two lengths long enough to cover the bottom and the transom as singular pieces. So I simply did the ‘ layer approach with thumb tacks like you might have seen with the top to the sides. Here is a picture of it. It turned out great without any complications. The reason I ran short on the length was simply due to a mis-cut for one of the sides. Just take your time and I’m sure you’ll get it right on the first try. If not, then at least you know there is an easy and simple fix. 🙂
Good luck!
ParticipantWell, there ARE pre-drilled holes. Those are meant for aligning the ‘bunks’ that are provided with the kit. If you intend to mount to a trailer that is narrower than the camper itself, then you ‘might’ need to use them. Essentially, the ‘bunks’ are longitudinal rails, made out of 18mm plywood, that are used to elevate the shell about 3″ above the mount point (in most cases, that’s the wheel wells). My impression is that they were meant for mounting to a smaller ‘harbor freight’ style trailer. For most other trailers, you’ll be doing a ‘drill-fill-drill’ where it makes the most sense for your case. Hope this helps.
-
This reply was modified 6 years, 3 months ago by
abrightwell.
Participant@ArtisticAdam, I was thinking about doing a pin stripe but hadn’t settled on it. I think the white stripe on top of the blue might very well be a winner. Thanks for the suggestion, I really like the way that looks!
Participant@apkley, luckily it wasn’t that. I’ve tried getting a good picture of it, but this is about the best I can do right now.
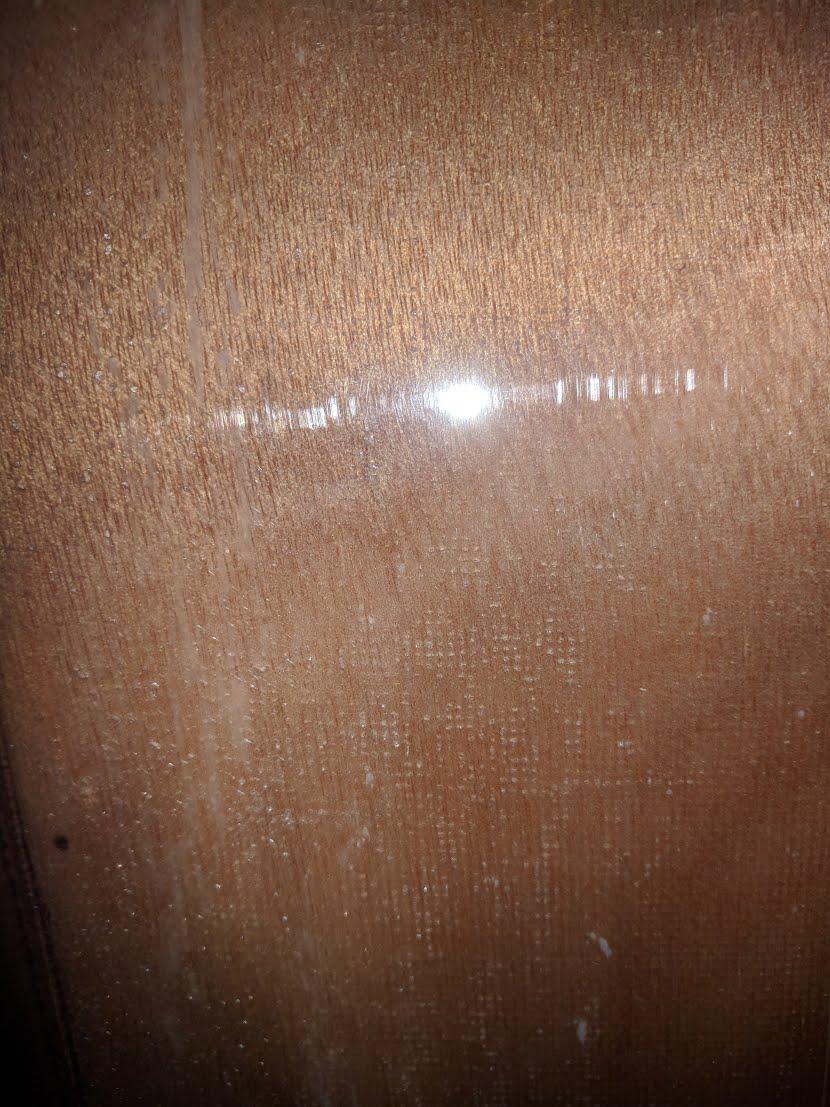
Basically, really tiny air bubbles that got trapped. In some cases they made it all the way up and left a little pin hole which was taken care of by the second and third fill coats.
Unfortunately though, it isn’t isolated to one patch. It isn’t over the entire shell, but there are enough to make grinding and patching not worth the effort at the end of the day.
If I were to do it all over again, I’d probably consider doing a pre-coat of epoxy. Though, I’ve read that it doesn’t always prevent it. In either case, it seems to be isolated to the #1 panels, so while I’m not ‘happy’ about it, I think I can live with it painted. 😉
Participant@apkley – That’s precisely why I had chosen white for the top. I figured it was the best color to minimize heat. As for panel #4 being a dark color, that’s definitely had me scratching my head on whether or not it will impact the overall temperature inside. I have the vent fan as well I intend on installing the mushroom vents and other cabin fans. Though, living in the Southeast and knowing that the majority of my usage will likely be on the Florida, Georgia and Carolina coasts, I’m absolutely sure that fans just won’t cut it during the warmer months. So, I intend on working one of the ClimateRight AC units into the design.
I’m still working on how I’ll integrate it, the only real requirement for it that I have is that no new holes will be made specifically for it. So my initial thought is to repurpose two of the mushroom vents during the warmer months (or even colder since it has a heater as well). I’ve got some ideas for an adapter sketched out and I intend to CAD it out sometime in the next month or so. Then I’ll start prototyping it with my CNC or a 3D printer. If I can make something work (fingers crossed), then I’ll make the design available to anyone that wants to use/modify it for their own purposes.
@tbellenger – Thanks for the input and opinion, I kind of like it too. Being candid, I’m a little bummed at the imperfections, primarily due to ‘outgassing’. When I was laying up those panels, the temperatures were wildly variable throughout the day and almost impossible to control in my garage. I read and discussed many recommendations on how to control it, but I guess I’m not that good yet. Nothing a little paint can’t fix. 😉At any rate, I’m not necessarily concerned about having to spray/wash it off after each use as I’m sure that will be standard procedure. And besides, if it’s not dirty when you’re done, then you’re not doing it right… right? 🙂
January 2, 2018 at 3:16 pm in reply to: spring/fall camping: keeping warm OUTSIDE the teardrop #1524ParticipantCampfire… portable propane heater… coffee? 😉
ParticipantI’ve just finished the bottom and I am about ready to flip it over and set it on the trailer. It’s been a lot of fun so far, I hope you’ll enjoy the process just as much as the rest of us.
So, I’ve found that the ‘lamp trick’ described on CLC’s website (and I think in the manual) works quite well also. Though, for the ‘bigger’ jobs obviously not so much. I recently pulled out the forced air propane heater torpedo thing to get my space up to a ‘workable’ temperature due to the ridiculously cold weather. Luckily, my space is so small it only takes about 30-45 minutes to take it from 50F to ~80F. It seems to hold out for about 6-8 hours while it is in the 30’s outside before I have to run it again. I also sealed off any small gaps around doors in the garage. That’s helped probably more than I realize. I have a carbon monoxide alarm and keep the heater isolated/away from everything else in the garage to keep things ‘safe’, I wouldn’t necessarily recommend this approach, but I had to paint the bottom when it in the 20’s outside because I wanted to keep to my schedule.
So, one thing I don’t see discussed much is the concern for outgassing when dealing with fluctuating temperatures. I unfortunately, thought I had beat it, but after the fill coats were laid, I noticed quite a few areas where outgassing had occurred. If I were to do it all over again, I think I’d do the following.
- warm space
- allow to cool for an hour or more
- only lay one layer of glass at a time
I think by following that, you’d be able to avoid outgassing because the wood would be ‘cooling’ and no longer expelling gas/air. (I would only start epoxying the big jobs as the temperature is falling and I know the wood temp is at least the same as the ambient.) And then you’d also have less glass to saturate and therefore less chance of missing any spots and under saturating. Just my two cents.
Also, keep or store your resin/hardener in a ‘warm-ish’ place. The difference between resin at 65 and 70 is night and day in my opinion. It definitely has had an impact on how easy it is to mix and work into the glass. Granted, it will also affect to some degree your ‘work time’ with it. But small batches helps with that. 😉
Good luck, I hope to see more pictures as you make progress.
-
This reply was modified 6 years, 3 months ago by
-
AuthorPosts