Welcome to TeardropForum.com › Forums › Teardrop Builders’ Forum › Omitting the galley: Build log
- This topic has 6 replies, 1 voice, and was last updated 7 years ago by
restonthewind.
-
AuthorPosts
-
June 10, 2017 at 7:58 pm #871
restonthewind
ParticipantMy kit arrived last week, and I’ve started building the camper without a galley to create more interior space. The modified camper has the galley hatch, but opening it reveals the interior rather than an external galley, so the camper has more interior space and a hatchback for loading/unloading. Tent fabric can be attached between the open hatch and the lower camper to create a much larger interior, so the galley hatch is also the roof of a pop-up portion of the camper. I’ll report my progress here.
I’ll follow the manual closely through the end of chapter four but modify the procedure in chapter five as follows.
1. Before fitting the bulkhead and galley flat, modify these parts as follows.
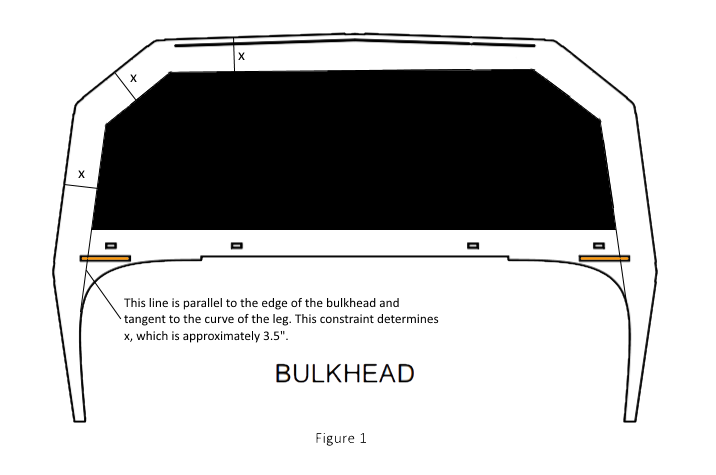
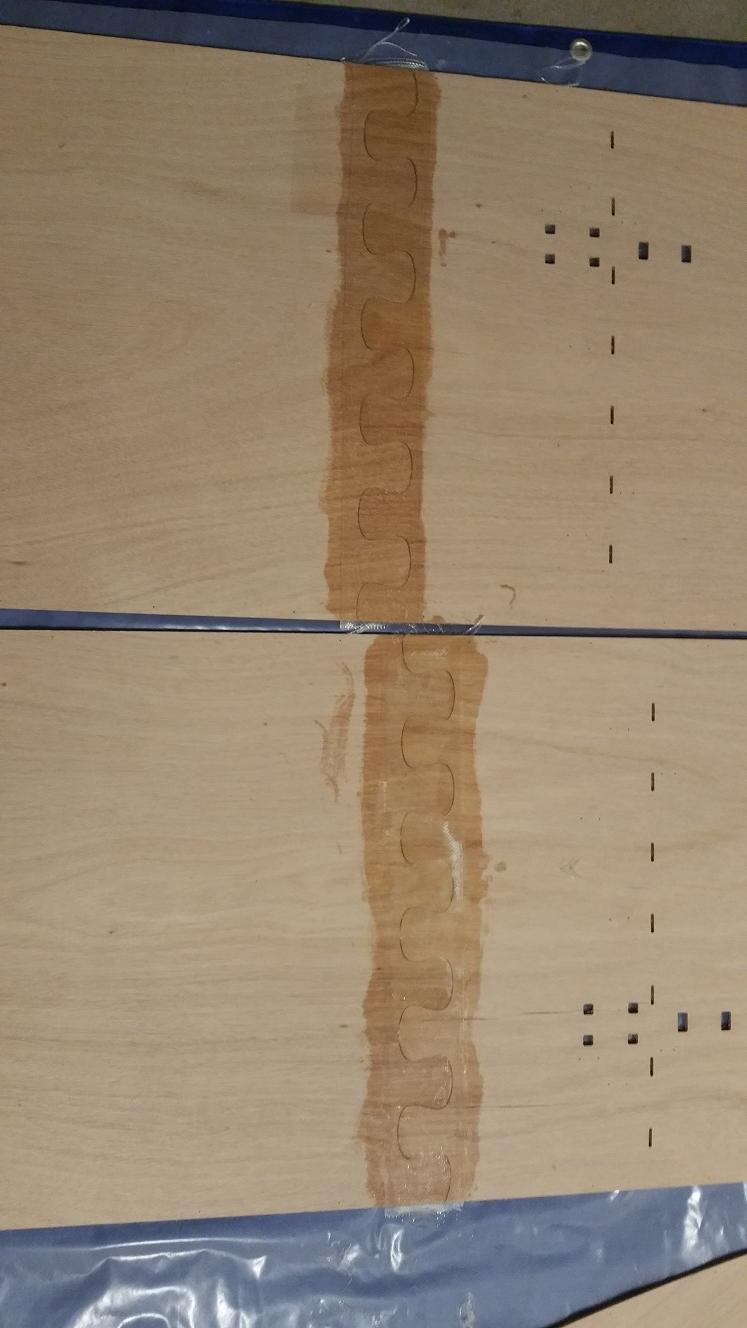
A. Cut a hole in the bulkhead as indicated in Figure 1, and mark the bulkhead with the indicated lines. Fill the slots for the galley flat with wood putty and sand after curing.
B. Cut from the galley flat the parts fitting the slots filled in the bulkhead.
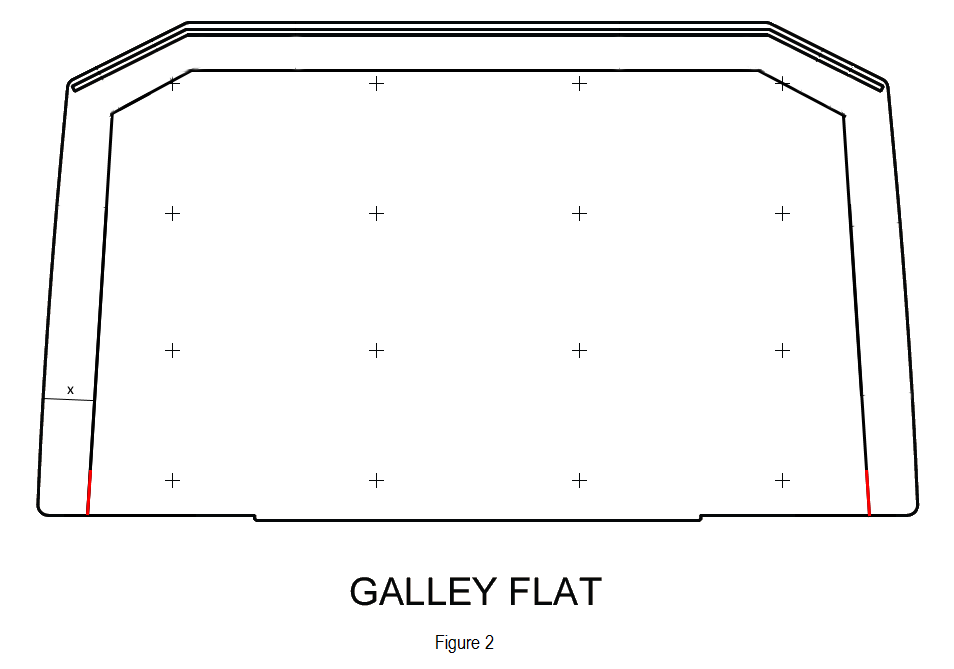
C. Mark the galley flat with the line indicated in Figure 2 and cut the portions of the line in red. Secure a thin piece of something into the cut to prevent pressure on the side of the flat closing it.
2. Modify instructions in Chapter 5 as follows.
A. On p. 87, omit the stiffeners.
B. On p. 92, apply no glue to the bulkhead slots. Wood putty fills the slots.
C. On p. 93, apply no glue to the mating edge of the bulkhead.
D. After dropping the flat in place on p. 93, drill holes and stitch the flat to the bulkhead along the mating edge.
E. On p. 94, apply the epoxy fillet between the flat and bulkhead only up to the red line cut in 1.C.
F. On p. 98, do not round the edges of the bulkhead and flat.
G. On p. 99, do not epoxy the surface of the flat within the line marked in 1.C.
3. After cutting the hatch, at the end of Chapter 7 or anytime thereafter, remove portions of the bulkhead and galley flat.
A. Remove the stitches applied in 2.D.
B. Cut the galley flat along the line marked in 1.C. Remove the portion within the line.
C. Cut the bulkhead along the lines marked in 1.A. Remove the portion between the lines.
D. Sand and epoxy the cut edges.
What can go wrong?
Removing so much of the bulkhead and galley flat reduces the rigidity of the shell. The walls could buckle, particularly with load on the roof.
Solution: Attach a kevlar line, possibly with a turnbuckle, between the bulkhead borders at or above the level of the flat to add horizontal rigidity. It’s a clothesline or something, and it’s easily removed. With no load on the roof, the support seems unnecessary. If I load the roof, I’ll only load it for transport, and I’ll also support it with a removable pole.
June 10, 2017 at 8:12 pm #872ParticipantAs luck would have it, my kit arrived with a bulkhead damaged in transit.
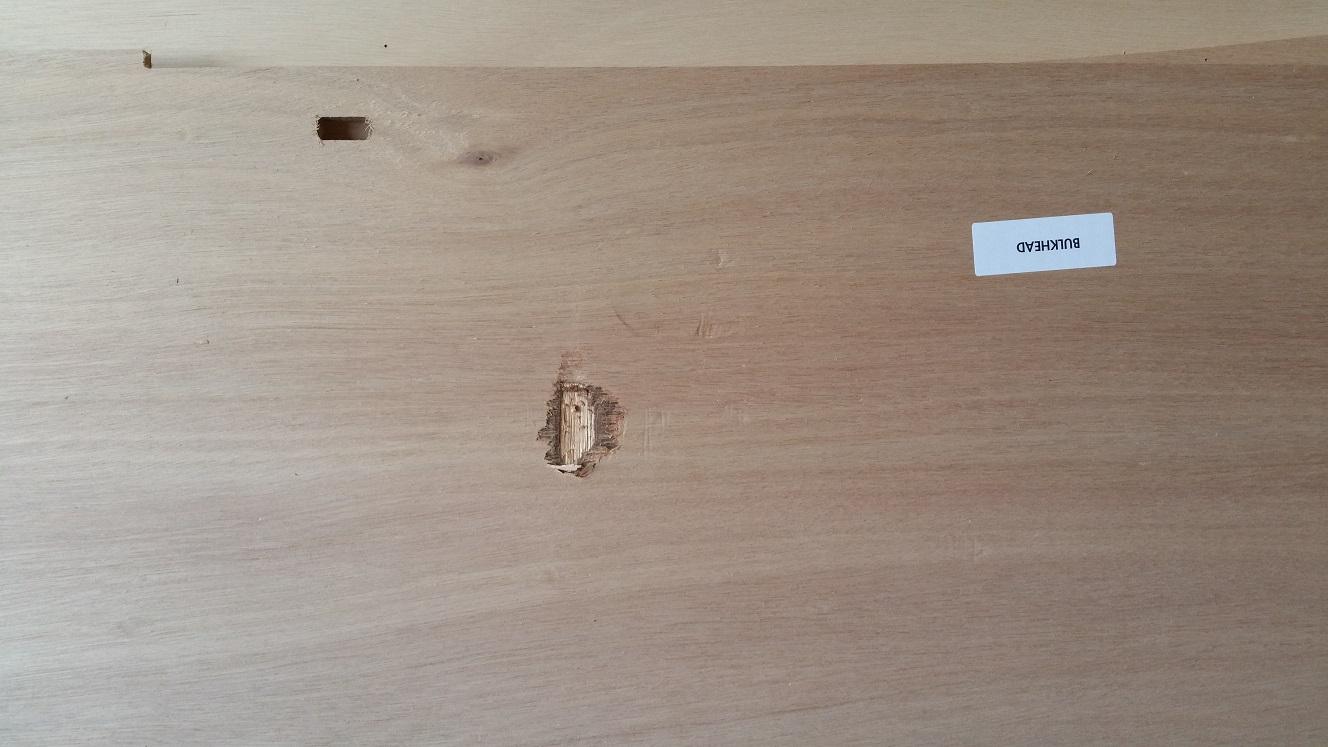
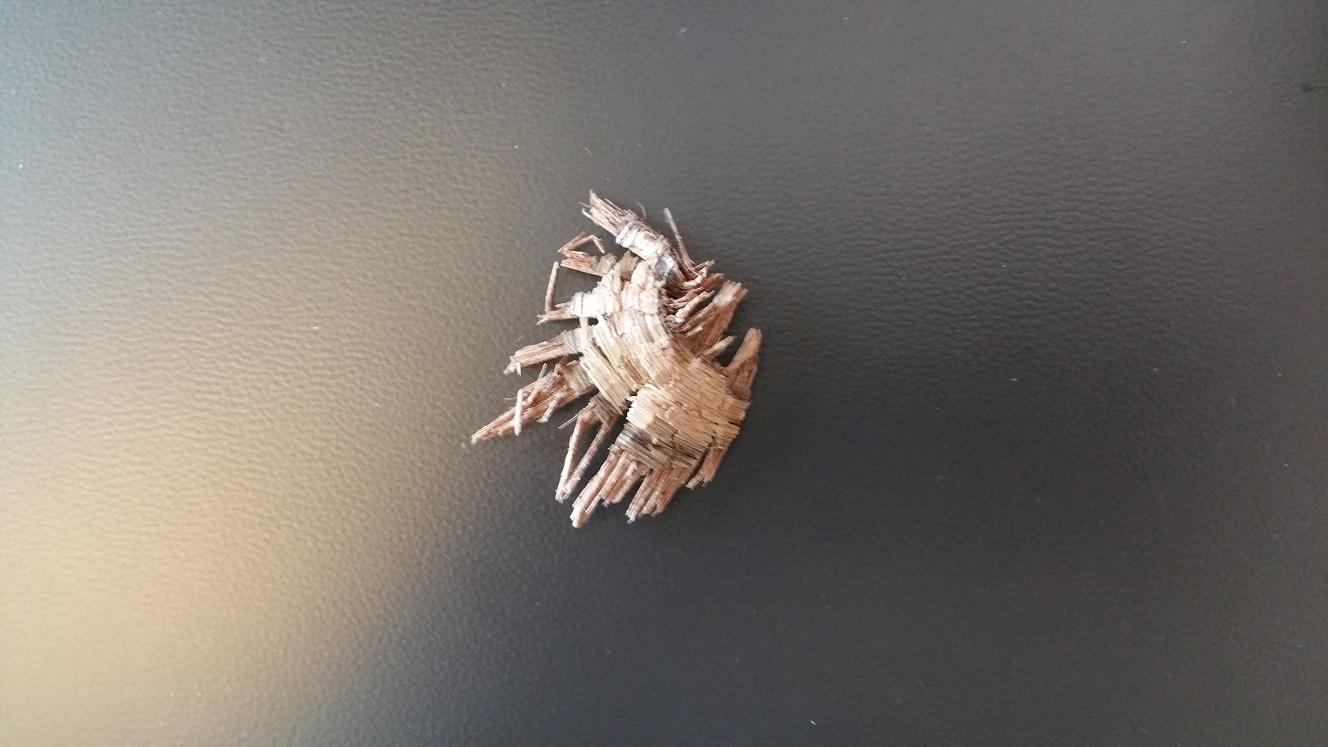
The damage presumably occurred in transit, because the box was damaged on one side and the material gouged from the bulkhead was also in the box.
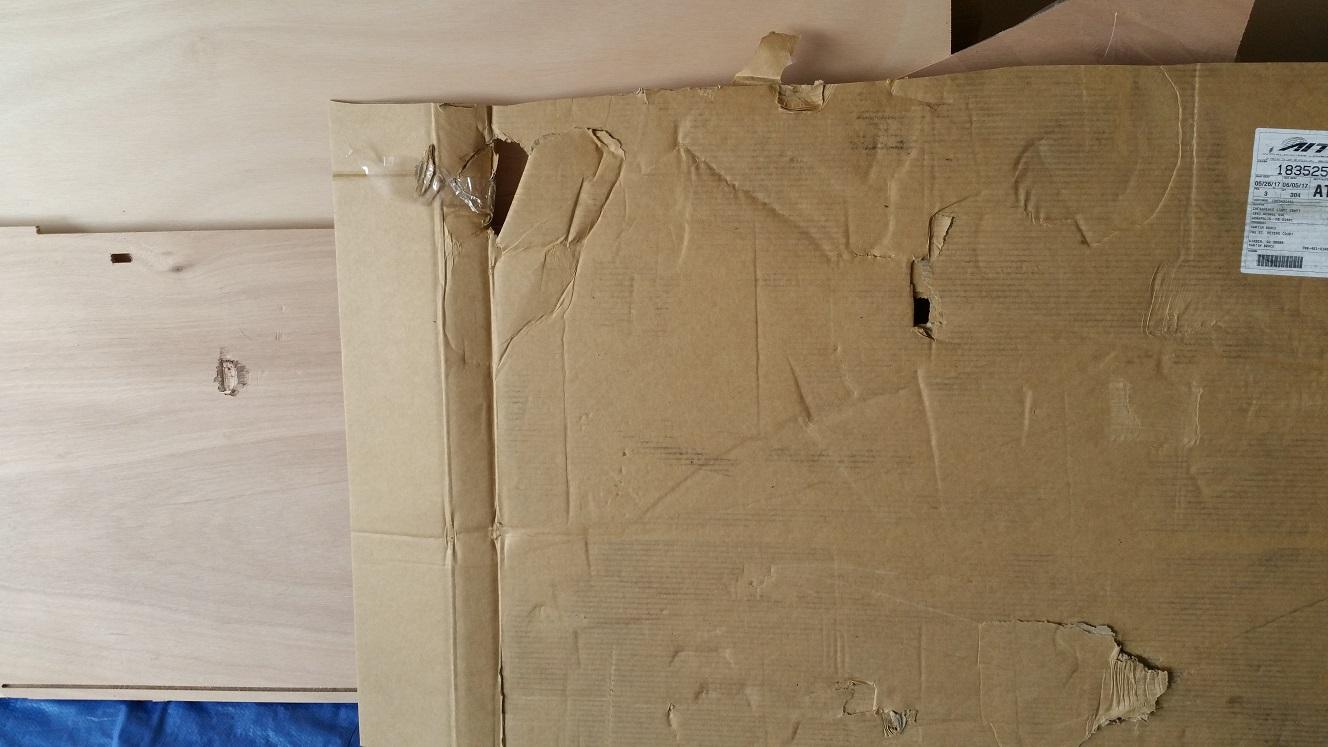
I possibly could have used the damaged bulkhead, because I’ll remove the damaged portion anyway, but CLC is providing a new part. The upside for me is a second bulkhead for experimentation. I have practically no woodworking experience and no experience with a circular saw or saber saw. If the damaged bulkhead seems too flimsy after cutting the hole from it, I’ll reconsider the whole idea (no pun intended).
June 10, 2017 at 8:48 pm #873ParticipantMy first mistake occurred while building the frame.
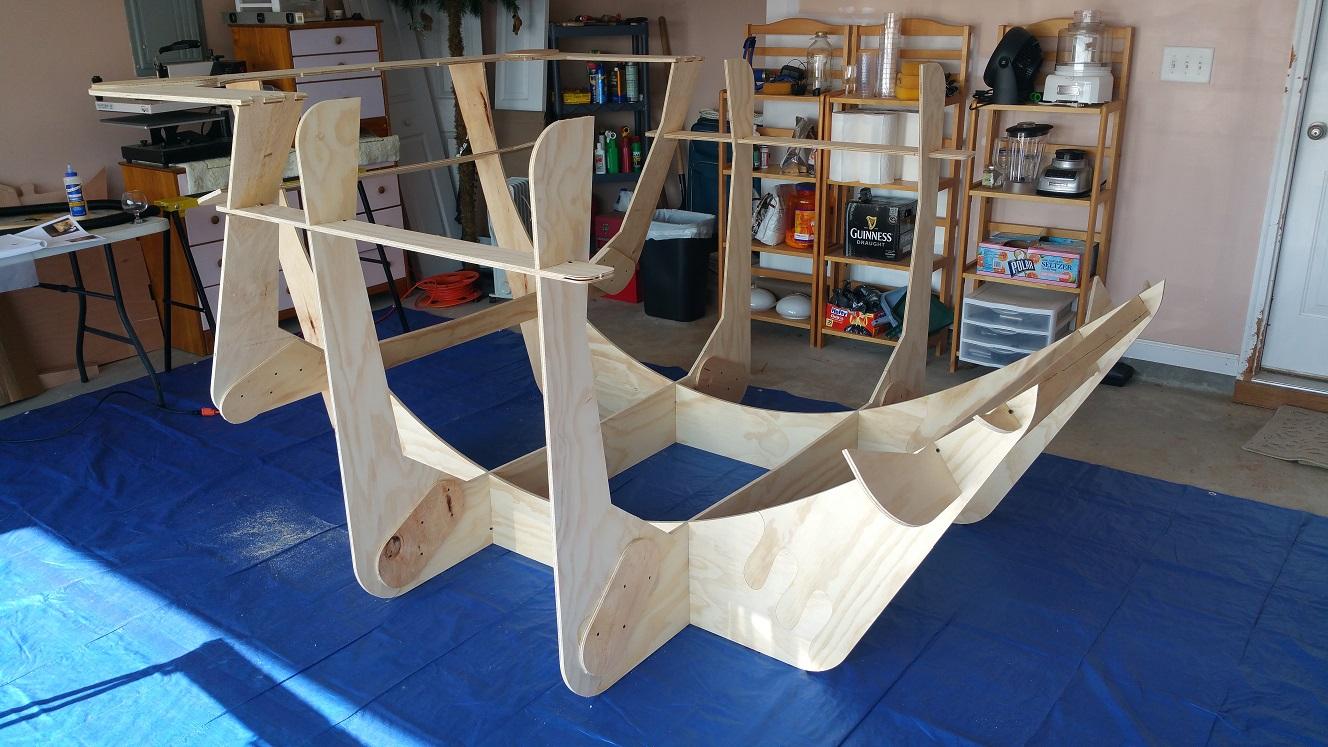
I read the manual first, honestly, but by the time I glued and screwed the butt blocks to mold frame 3, I had forgotten the warning on p. 24, so I had to cut away part of two butt blocks.
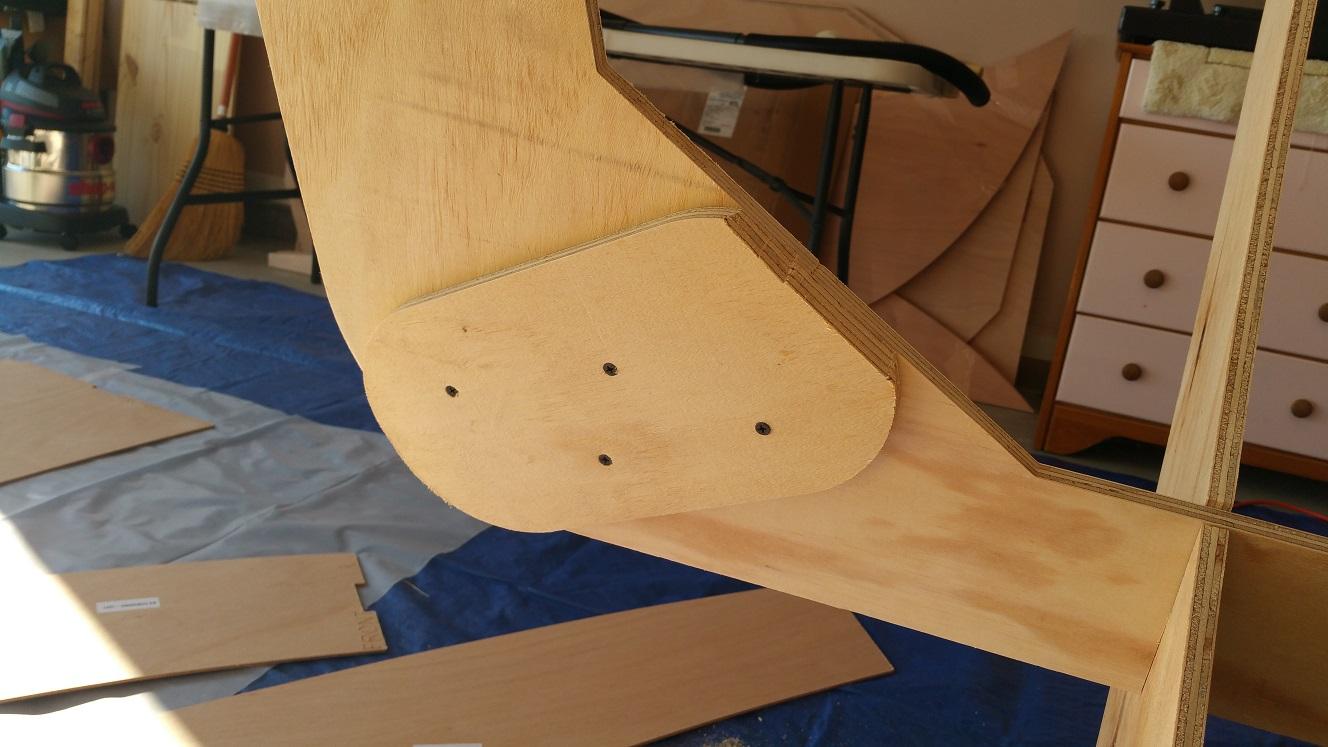
The mishap provided my first experience with a Japanese handsaw. The cut on the other butt block is cleaner. On the second attempt, I seemed to be sawing into the mold frame, so I started over. the cut in the butt block is beveled, and I restored a smooth surface to the mold with the sander.
June 10, 2017 at 9:22 pm #874ParticipantThe second mistake occurred while joining parts of the top and side panels with fiberglass tape and epoxy.
The first three joins look good, but by the time I reached the fourth, the epoxy was thickening. I didn’t notice the heat until too late. Some of the tape was covered with thickened epoxy, and even after mixing a new batch, I couldn’t saturate it.
I applied too much epoxy and still couldn’t saturate some of the tape. I’m still waiting for the epoxy to cure. After sanding in a few hours, I may remove unsaturated tape with the sander and add a patch, but I’m inclined to live with it. Most of the tape is saturated. Insulation will cover this joint on the interior, and the exterior fiberglass will hold the parts together eventually, so some weakness in the bond seems tolerable.
I wasted quite a bit of epoxy and a length of fiberglass tape on this exercise but learned to be more attentive to the consistency of the epoxy. The temperature in my garage is already in the high eighties in the afternoon and will reach the nineties soon, so I’ve moved the unmixed resin and hardner inside. It will be around 70 degs before mixing, and I’ll confine my epoxy work to the early morning and late evening.
-
This reply was modified 7 years, 1 month ago by
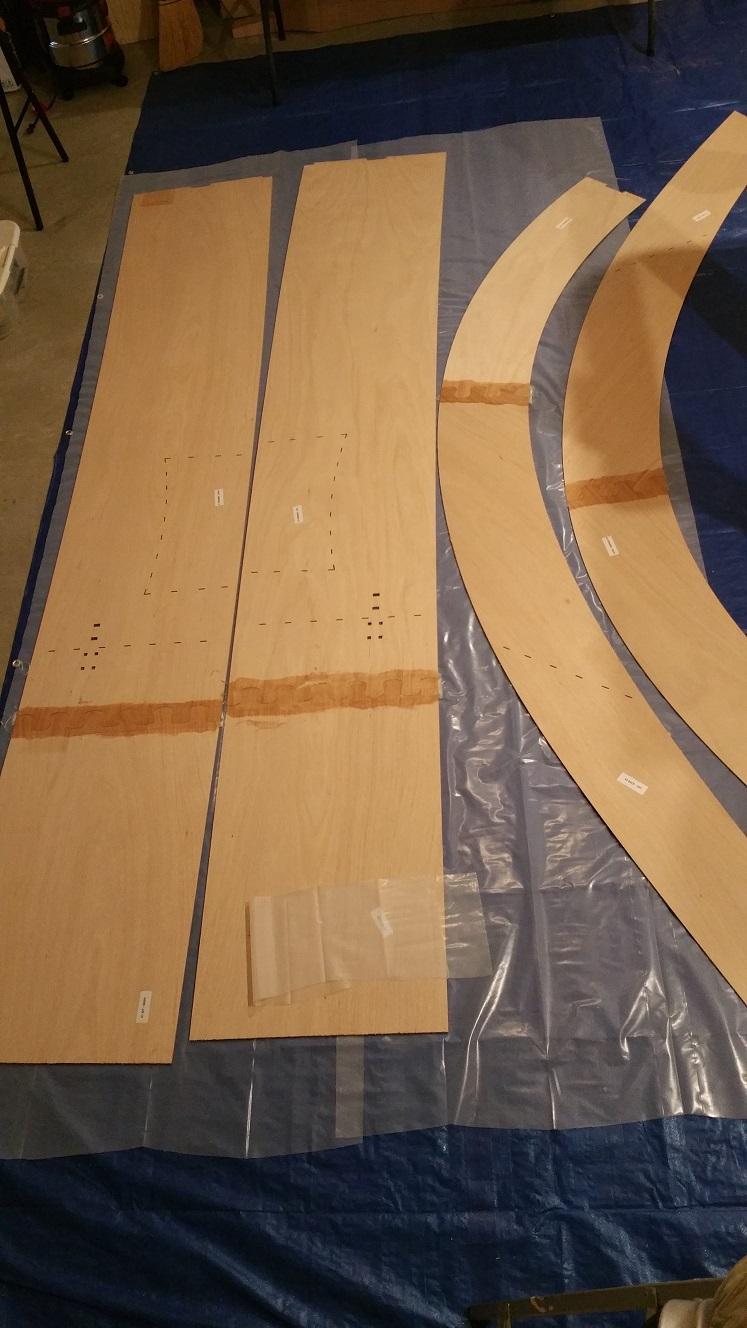
June 11, 2017 at 11:27 am #882ParticipantWhile fitting the top panels into the mold, one of the panels fractured.

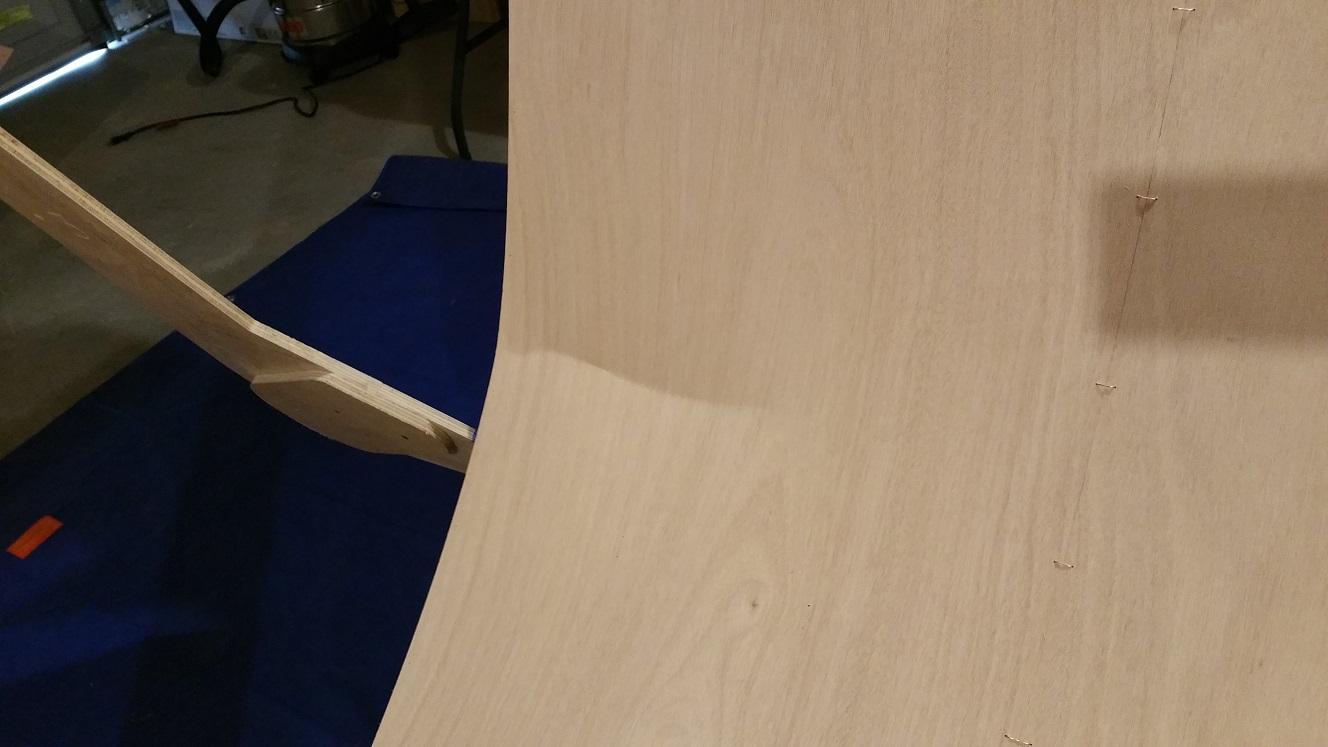
I was applying light pressure to the panel from behind mold frame 1 while my wife pushed from the other end to work the panel into the mold when the panel fractured, so I may be responsible for the damage. Regardless, I don’t believe I can continue with this part, so I’ve asked CLC to replace one or both top panels (two or four parts). Ed may recommend a repair with fiberglass tape instead, but I wouldn’t attempt one without advice from CLC. Ed Whigglesworth is managing my account and has been very helpful.
The panel with the more successful fiberglass taping job fractured, so if replacing both panels is not much more costly than replacing one, I’ll replace both. I’ll log the cost of these mishaps as they occur. It’s Sunday, so I don’t expect a reply today. Hopefully, my replacement bulkhead hasn’t shipped yet.
I didn’t much expect to reach the end of project without replacing a part, but I hoped it wouldn’t happen so soon. Hopefully, I’ll be back in business before next weekend. I’m traveling the following weekend and will be away from the house for two weeks.
-
This reply was modified 7 years, 1 month ago by
June 11, 2017 at 12:06 pm #884ParticipantThe same panel also fractured at the roof hatch. This fracture occurred earlier when I wasn’t doing anything unorthodox, though I’m not sure I was fitting the panel into the mold properly. I heard the fracture and later saw a slight discontinuity in the shade of the surface at the roof hatch on the inside, but I wasn’t sure what had happened, and the fracture wasn’t apparent from the inside. After the larger fracture occurred, I removed the panels and inspected the roof hatch fracture more closely.

-
This reply was modified 7 years, 1 month ago by
June 29, 2017 at 8:33 am #953ParticipantI probably could have repaired the cracked panel with fiberglass tape, but since CLC was shipping a new bulkhead anyway, I elected to replace both top panels in the same shipment. My taping job on the second panel wasn’t so bad, but being so close to the beginning, I still hope to finish without a flaw.
Because my bulkhead was damaged in transit, CLC only charged me for the panels, a total of $95. If I had paid for the shipping, the cost would have more than doubled. A company called AIT handles the large box shipments from CLC, and their service hasn’t impressed me. Despite scheduling a delivery after the boxes arrived at AIT’s delivery terminal, the first shipment arrived a day late and was damaged, so my wife will take pictures of the boxes before opening this time. My second shipment is due today, but I’m away from home this week and next.
I have cut the damaged bulkhead as illustrated in Figure 1 above. I don’t have a picture, but I was happy with the result, particularly since I had never used a circular saw. The cut removed practically all of the damaged portion, so I could have used the damaged part, but the practice with a circular saw was worthwhile.
-
This reply was modified 7 years, 1 month ago by
-
AuthorPosts
- You must be logged in to reply to this topic.