Welcome to TeardropForum.com › Forums › Teardrop Builders’ Forum › Headliner
Tagged: headliner
- This topic has 50 replies, 15 voices, and was last updated 5 years, 9 months ago by
friz.
-
AuthorPosts
-
July 5, 2017 at 1:32 pm #982
apkley
ParticipantStarMan,
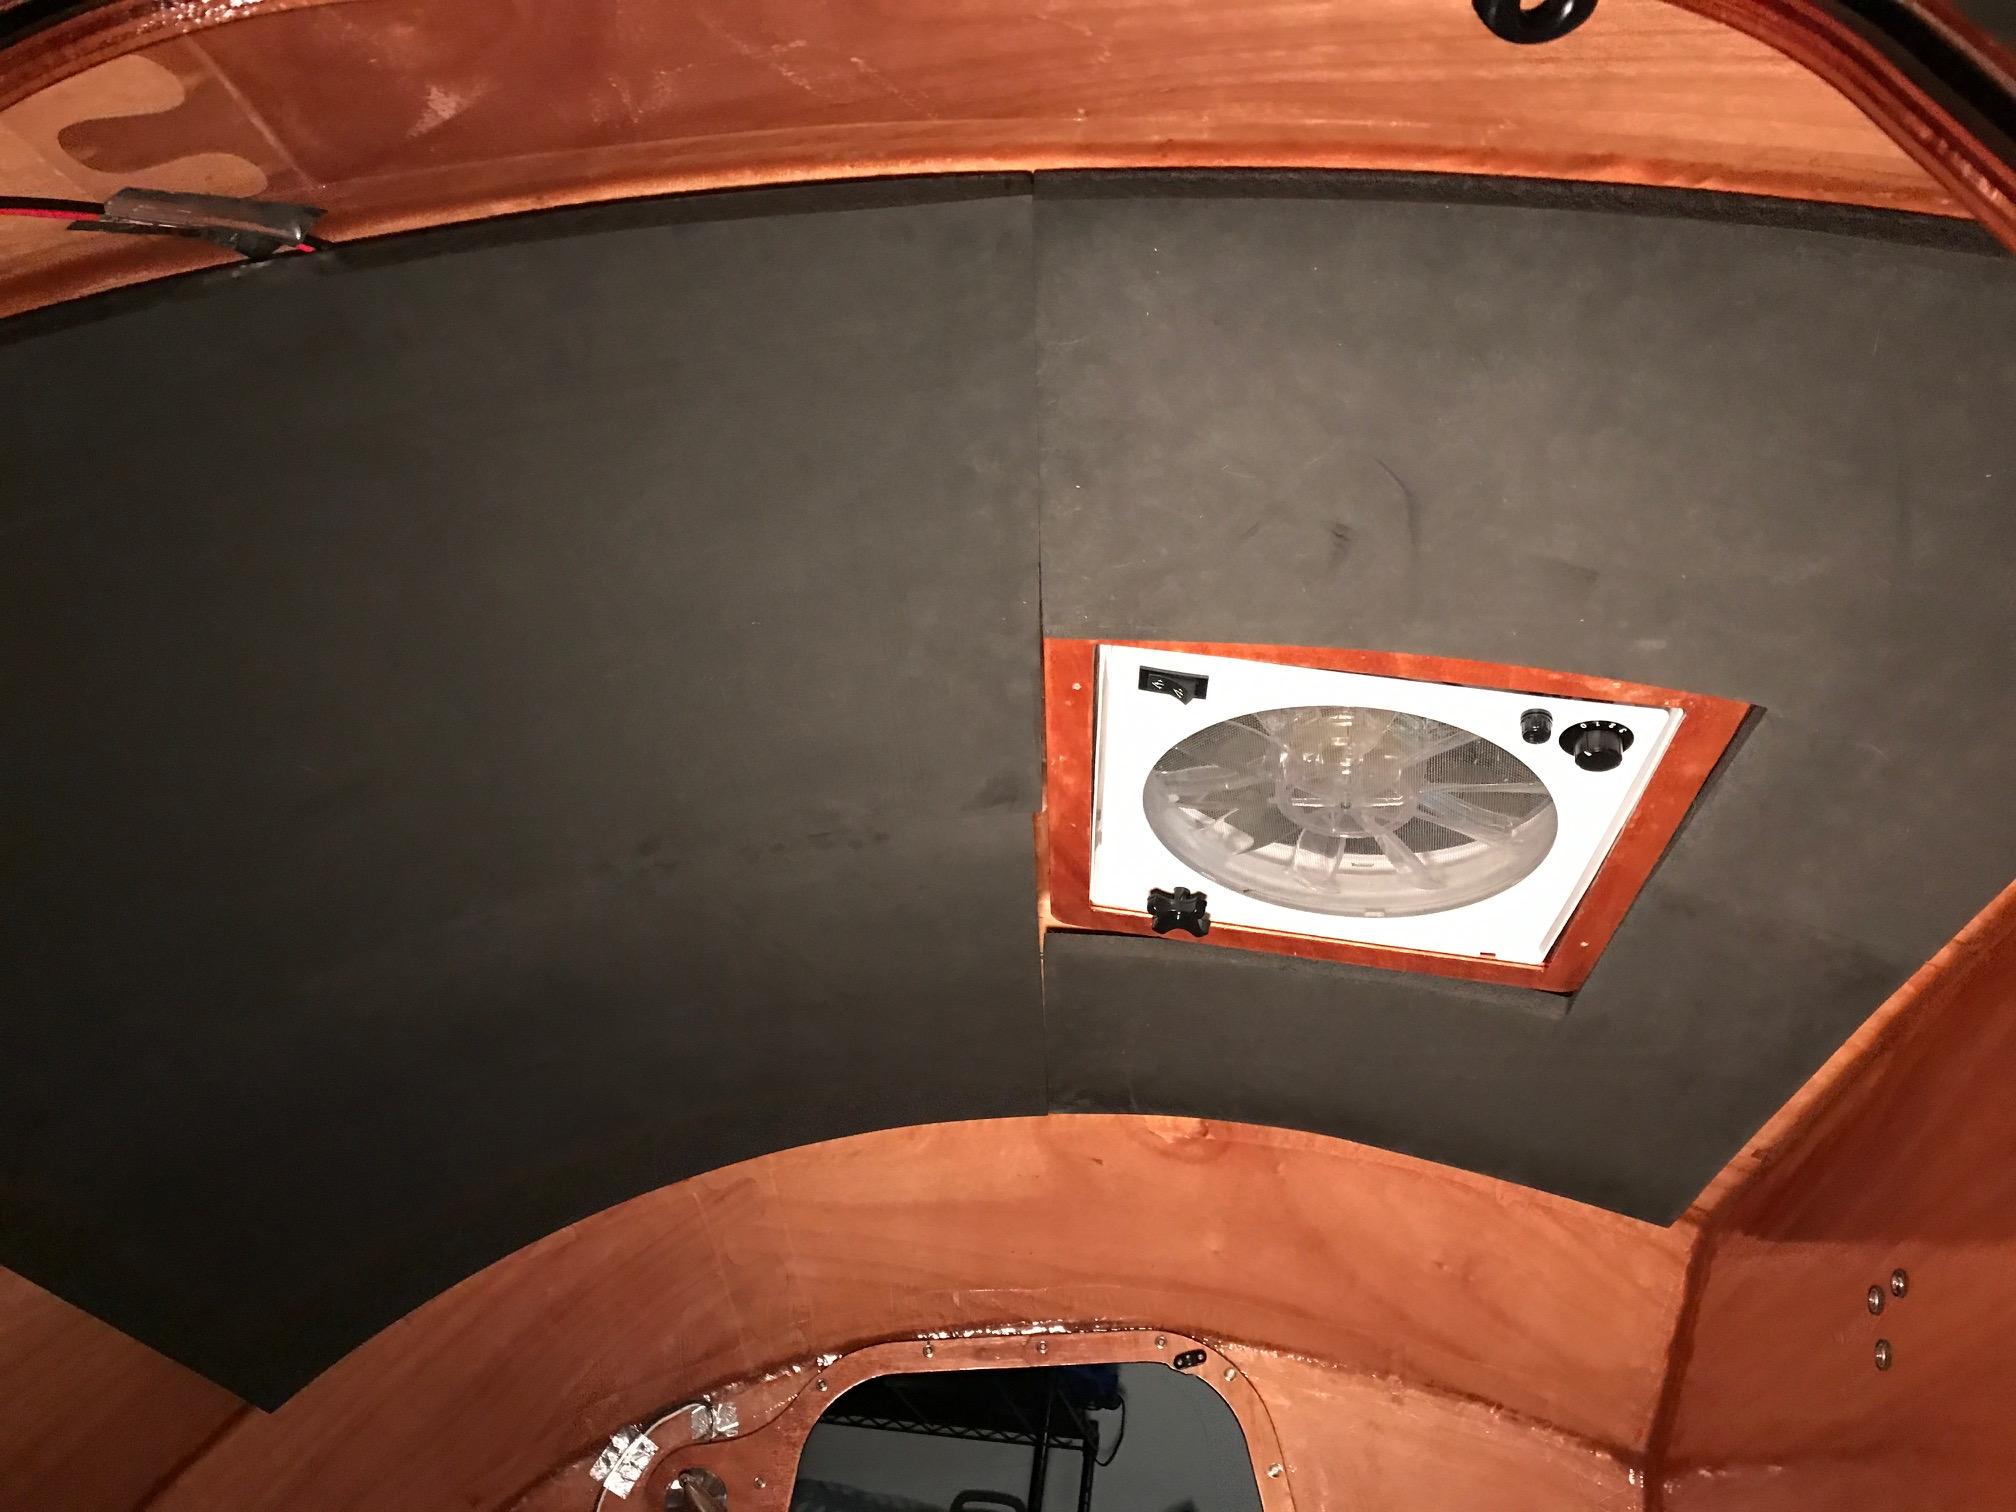
I notice from the photos you do not have holes for the front mushroom vents. Did you not install, or just not cut holes into the headliner yet? Curious because I must figure this out later.
July 5, 2017 at 4:12 pm #985StarMan
Participantapkley,
I haven’t installed the Mushrooms. I am just not in the mood to cut more holes into the project. I am waiting to see what ventilation needs are required before. So, going on a trip or two first. I am first going to make a screened cover for the door(s) like the one posted on the forum. I will use velcro instead of the snaps i think.
September 16, 2017 at 10:56 pm #1320comccoy
ParticipantHas anyone actually tried a temporary mounting of the headliner yet? That removable tape looks interesting.
We just did our final inside epoxy job tonight and will be moving on to varnish this week and then the headliner. We have a test run trip coming up next month but I won’t have the electrical done so I want to be able to remove the headliner panels to neatly run wires. But I don’t want the headliner falling on our heads in the middle of the night in a rain storm!
Not mention our initial accuracy on things is not always great so being able to dry run them and adjust will be a huge benefit!
September 17, 2017 at 12:00 pm #1324faithie999
Participantthere was quite a thread on this a couple of months ago. at the time I decided to do some testing. I still haven’t gotten around to installing the headliner yet, but I will do so later this week.
after some research, I bought a spray can of Scotch Super 77 adhesive (maroon can). at the time I hadn’t yet sanded/varnished the inside, although I had done so on the inside of the galley hatch on the workbench. I sprayed a light coating of the 77 on a piece of rubber floor mat, made of the identical material (pkg of 8 2×2 interlocking panels $10 at Costco). I let the spray dry until tacky. but not wet, as directed. I pressed it onto the inside of the hatch, inverted it, and left it overnight.
the panel remained attached, and when I removed it, it came off cleanly, as it surely would not have with contact cement, or even perhaps carpet tape.
I bought it at Michael’s with one of their weekly “40% off one item” coupons. the can says it will cover 200 sq ft.
ken
September 19, 2017 at 12:57 pm #1328ArtisticAdam
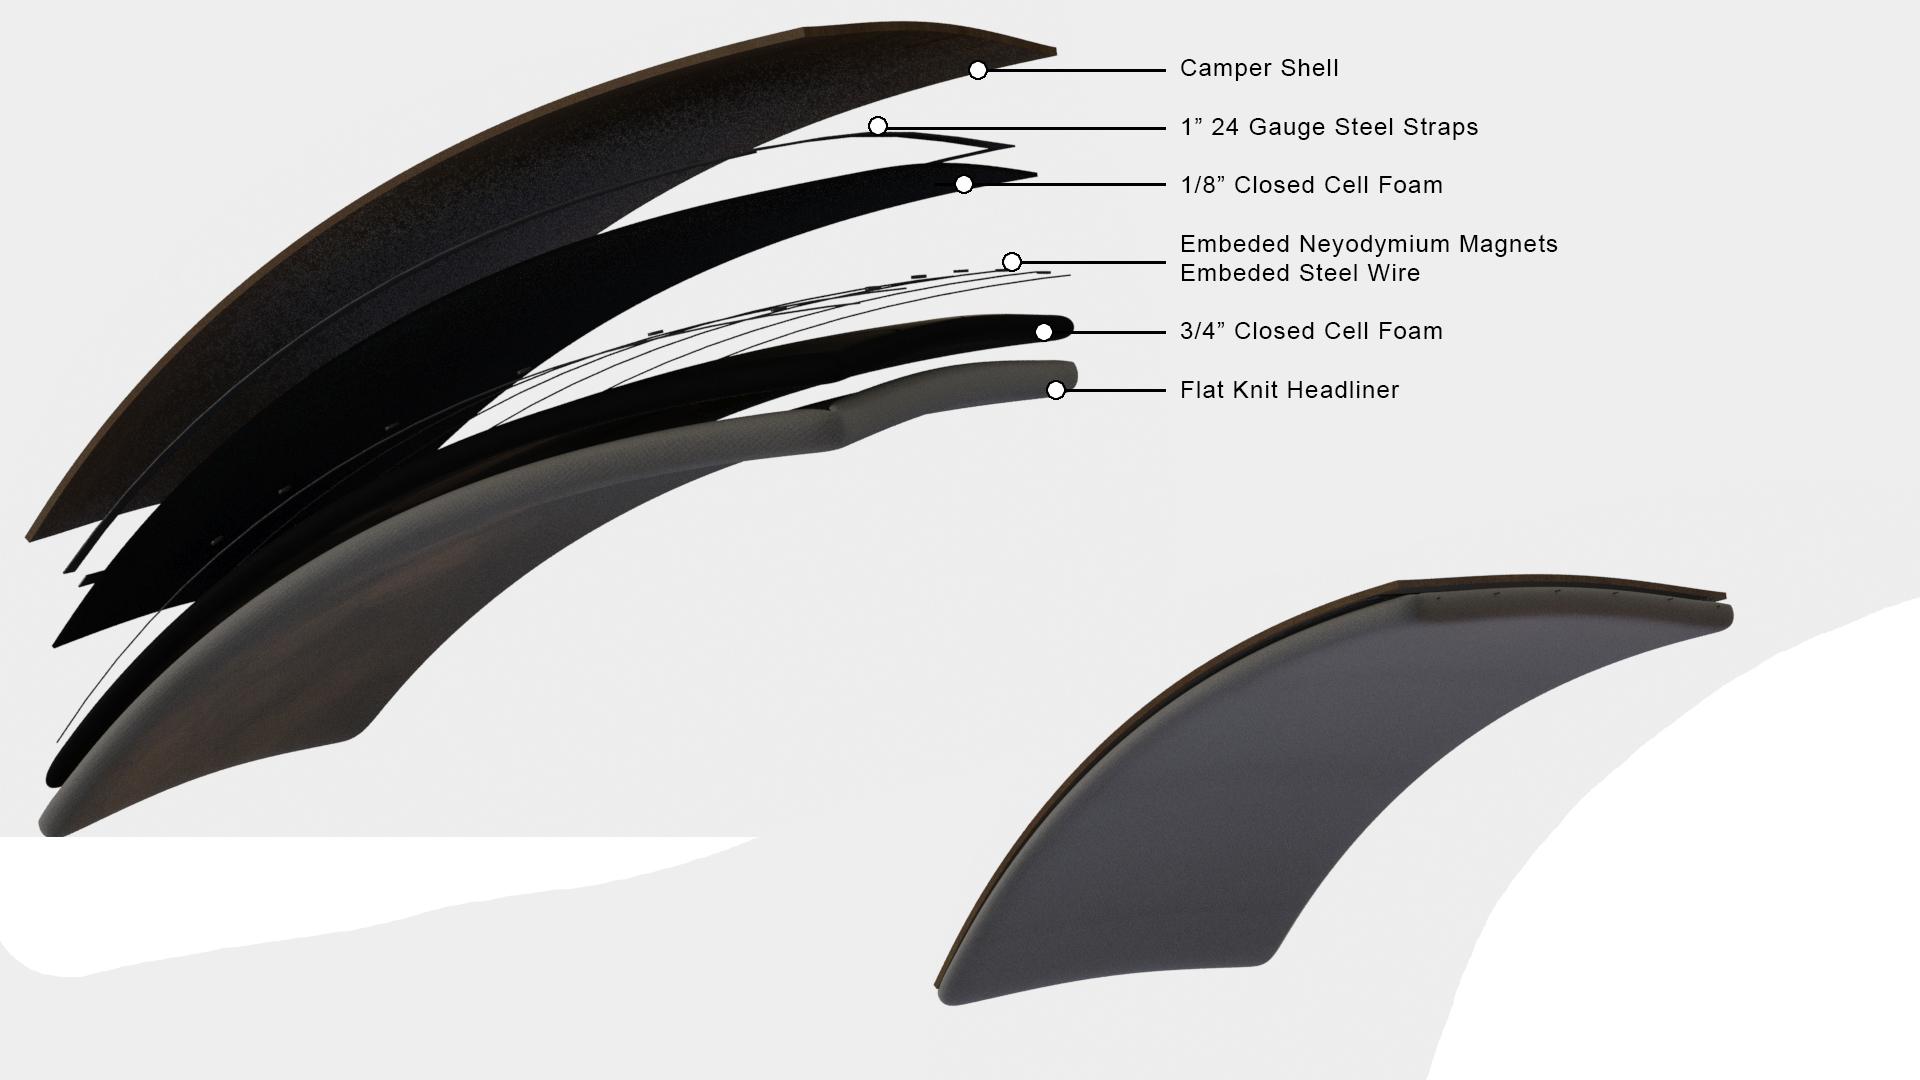
ParticipantI’m not at this stage in construction yet, but here is my plan i’m considering for a removable headliner using magnets.
I will be cutting the panels from 3/4″ Closed Cell Neoprene foam. Inside the 3/4″ foam will be embedded steel wire to conform the shape of the headliner pieces to to the curve of the camper shell. Neodymium disc magnets will be embedded and glued in the foam around the border edges (size of magnets and their spacing will be calculated based on the final weight of each panel.)
The 3/4″ foam will be wrapped in a Flat Knit Automotive Headliner. An additional layer of 1/8″ foam backing cut 1/2″ under the outer dimensions of the 3/4″ foam panel will be glued to the thicker panel. This extra foam ensures no air gap caused by the wrapped headliner.
Finally on the inside of the camper shell I will permanently attach 1″ wide 24 gauge galvanized steel straps along all of the panel seams for the magnets to stick to.
 January 2, 2018 at 6:17 pm #1530Participant
Since I started this thread on the headliner, I thought I should give an update on our own headliner installation, given that I was overly optimistic on how close we were to install (by only about 7 months!). Hopefully this writing will help some other builders with information to make a decision (pictures at bottom).
With all the solutions discussed, we opted to attach the headliner with heavy duty Velcro (Lowes 15’x2″ black self adhesive 10lb hold, ~$28/roll). After inspecting the headliner and getting a feel for how it behaves, we were not ready to commit to a permanent adhesive solution (my complete thoughts on the headliner material I’ll post in a different thread). In addition to possible electrical expansion, we chose the Velcro option for these reasons:
1) the headliner seems to scuff and scratch VERY easily (it also arrived with gouges out of the box). Given that camp life can be dusty and dirty, often including unusual pointed objects, I’m not sure how anyone can hope to keep the headliner clean without damaging it. Any installation requires extreme care to avoid anything with a sharp edge – especially hidden dried epoxy boogers!
2) the CLC Hymnal purports the MiniCell is used in $100,000 sports cars. I’m sure this is true – but I’m confident it is also covered by some sort of upholstery to prevent damage. To avoid the complications described above, we will eventually find some material to stretch over each panel. Black speaker utility fabric (Joanne’s) is a leading candidate but there are other options. Thus, we need to be able to remove each panel in order to attach the fabric. We also figure we may eventually replace the headliner if it gets too damaged.
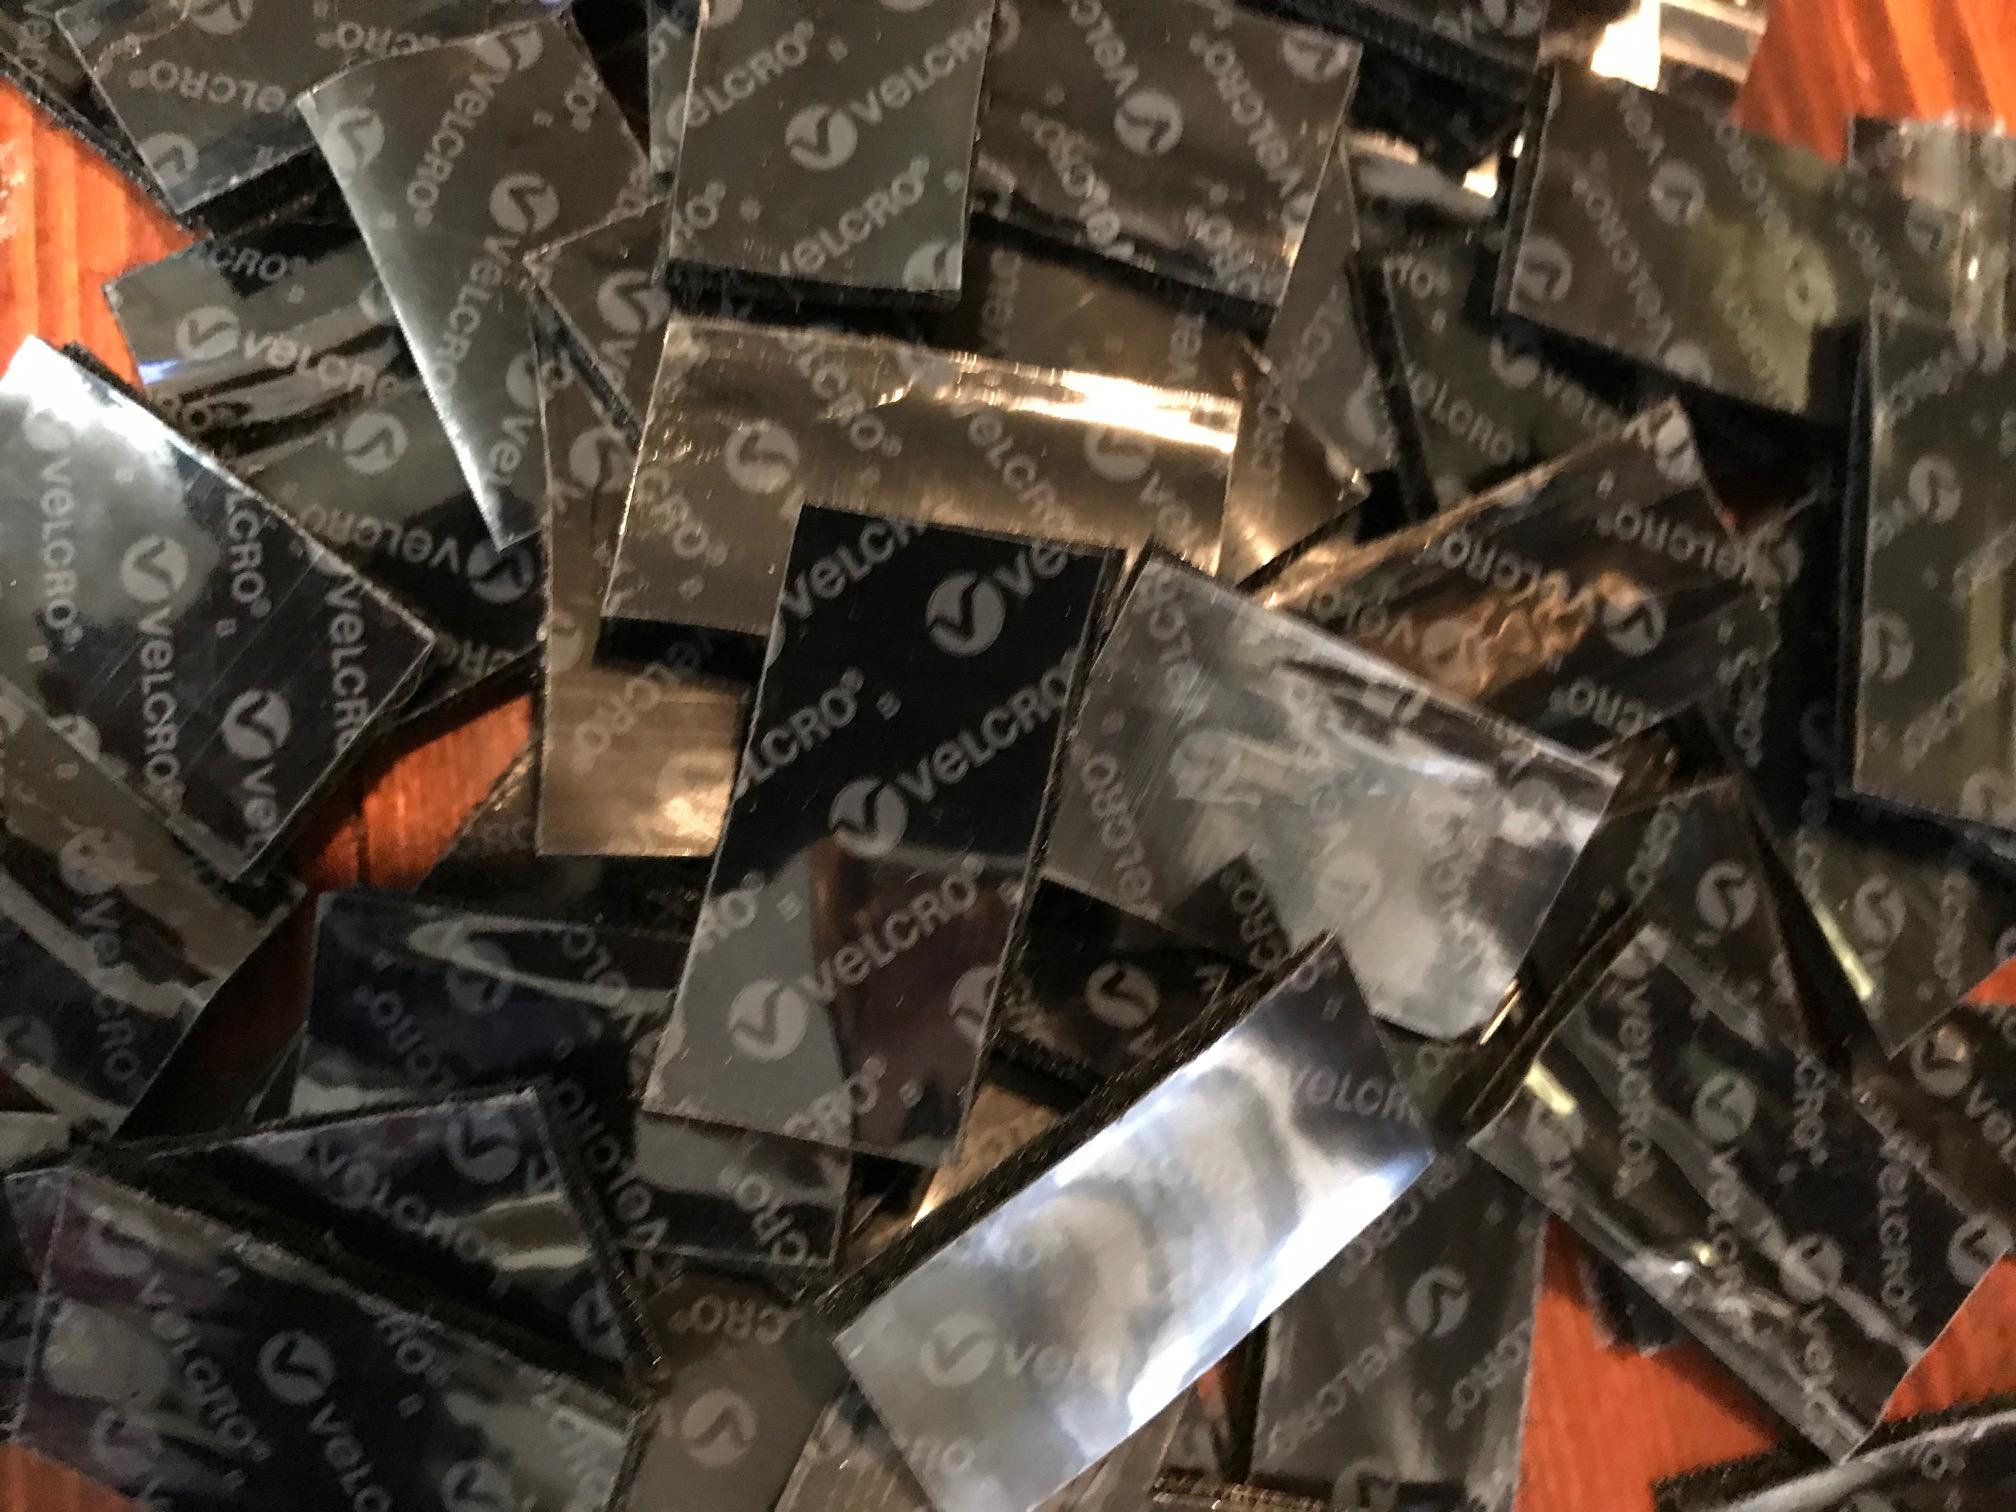
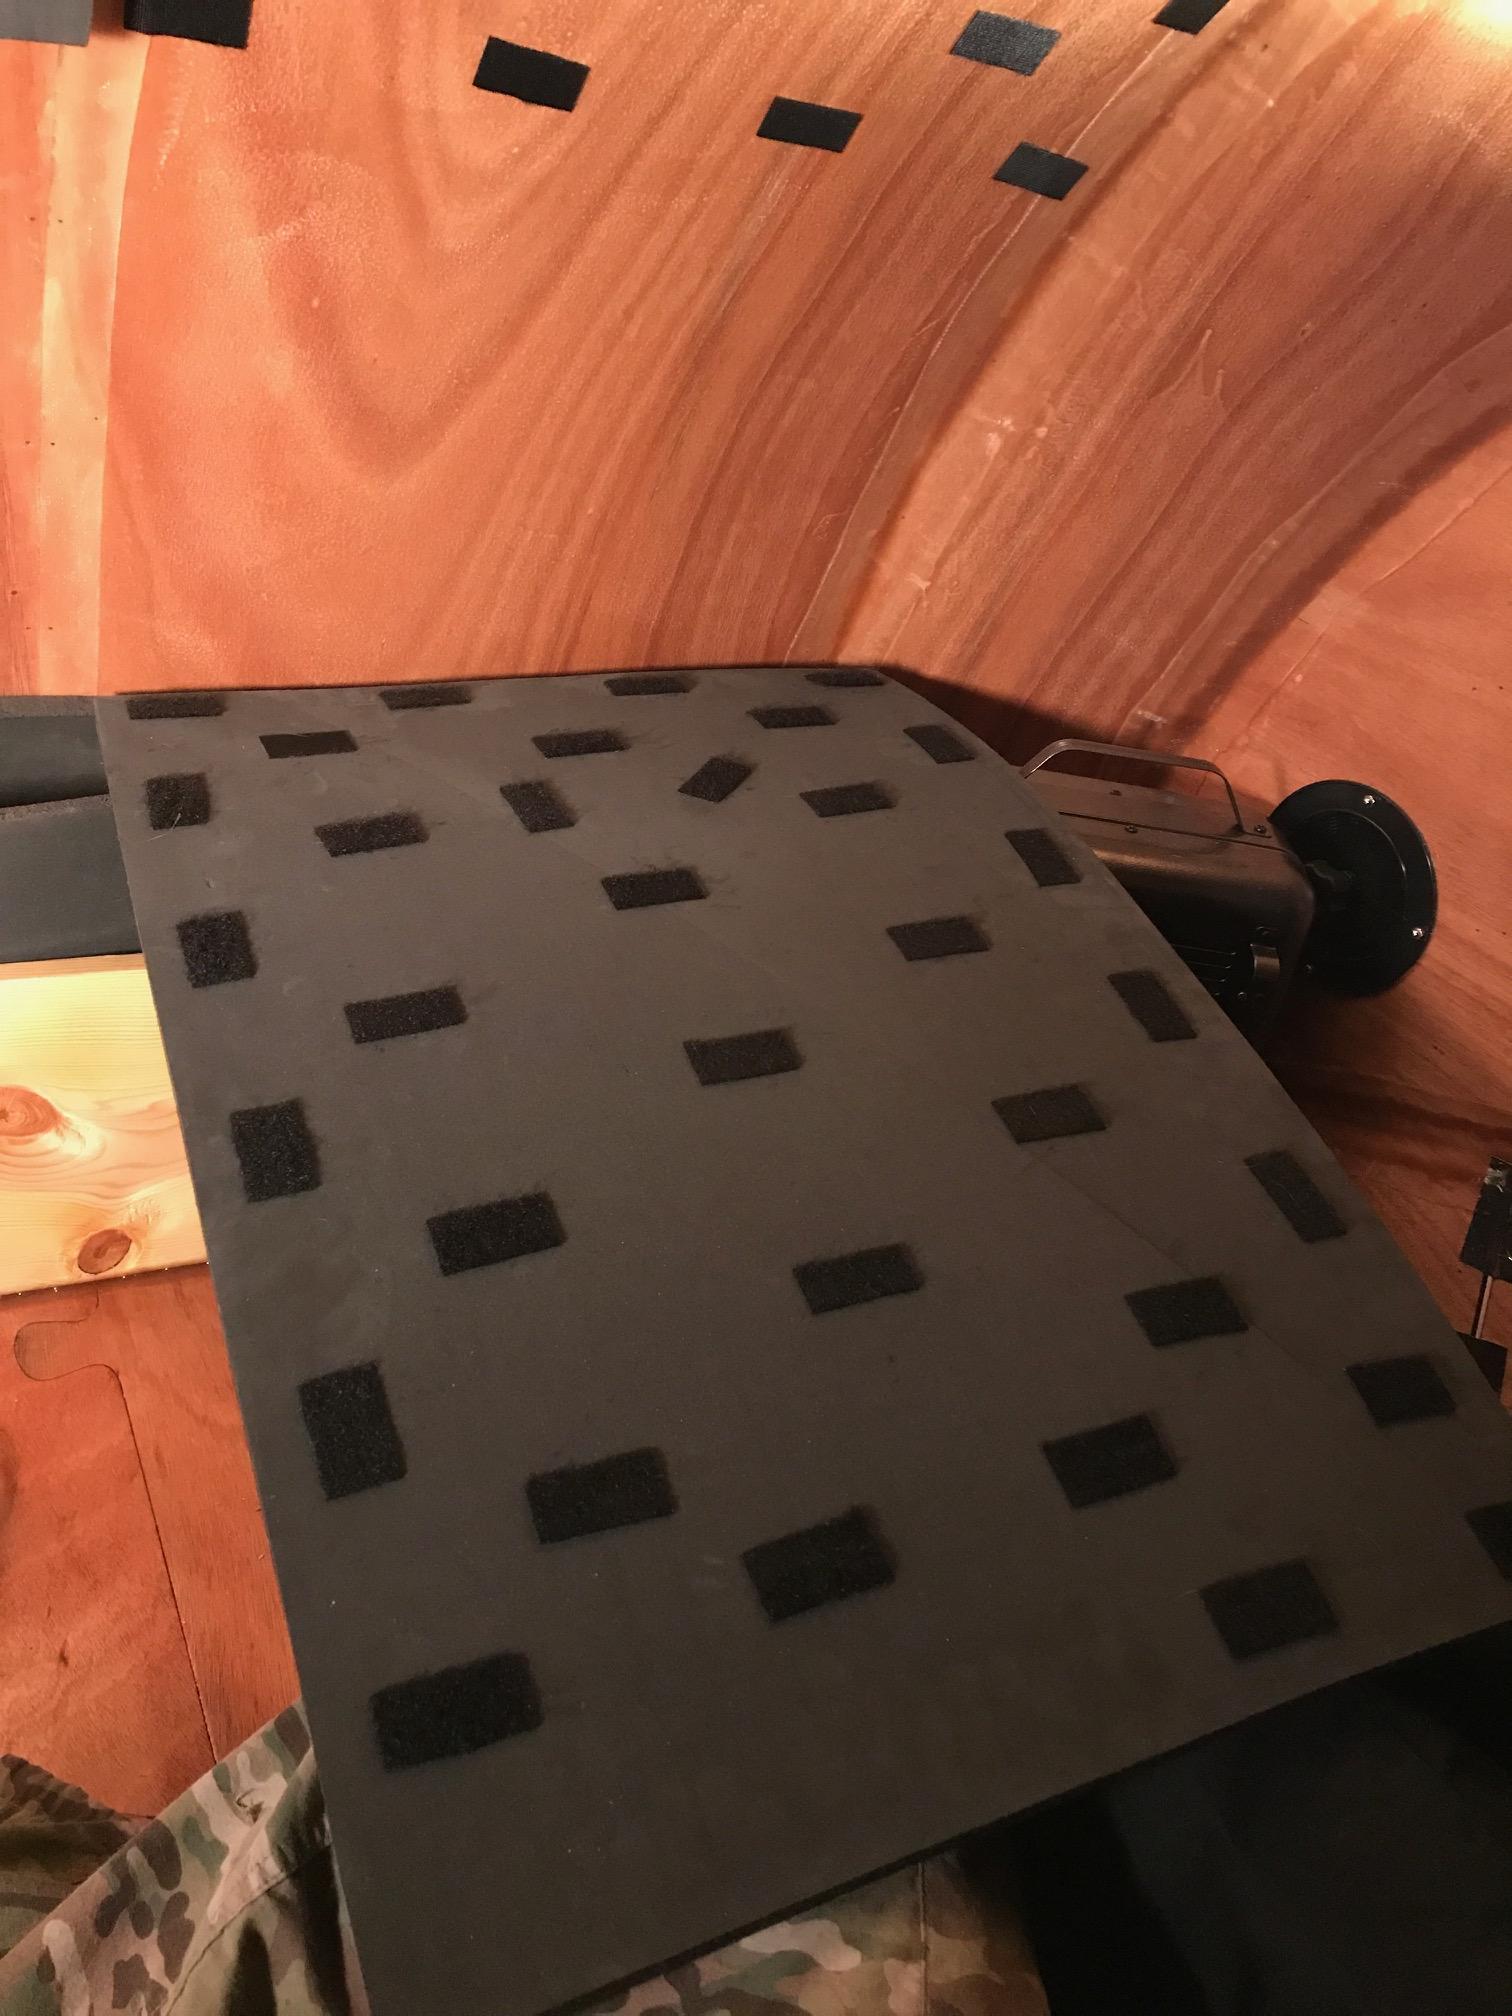
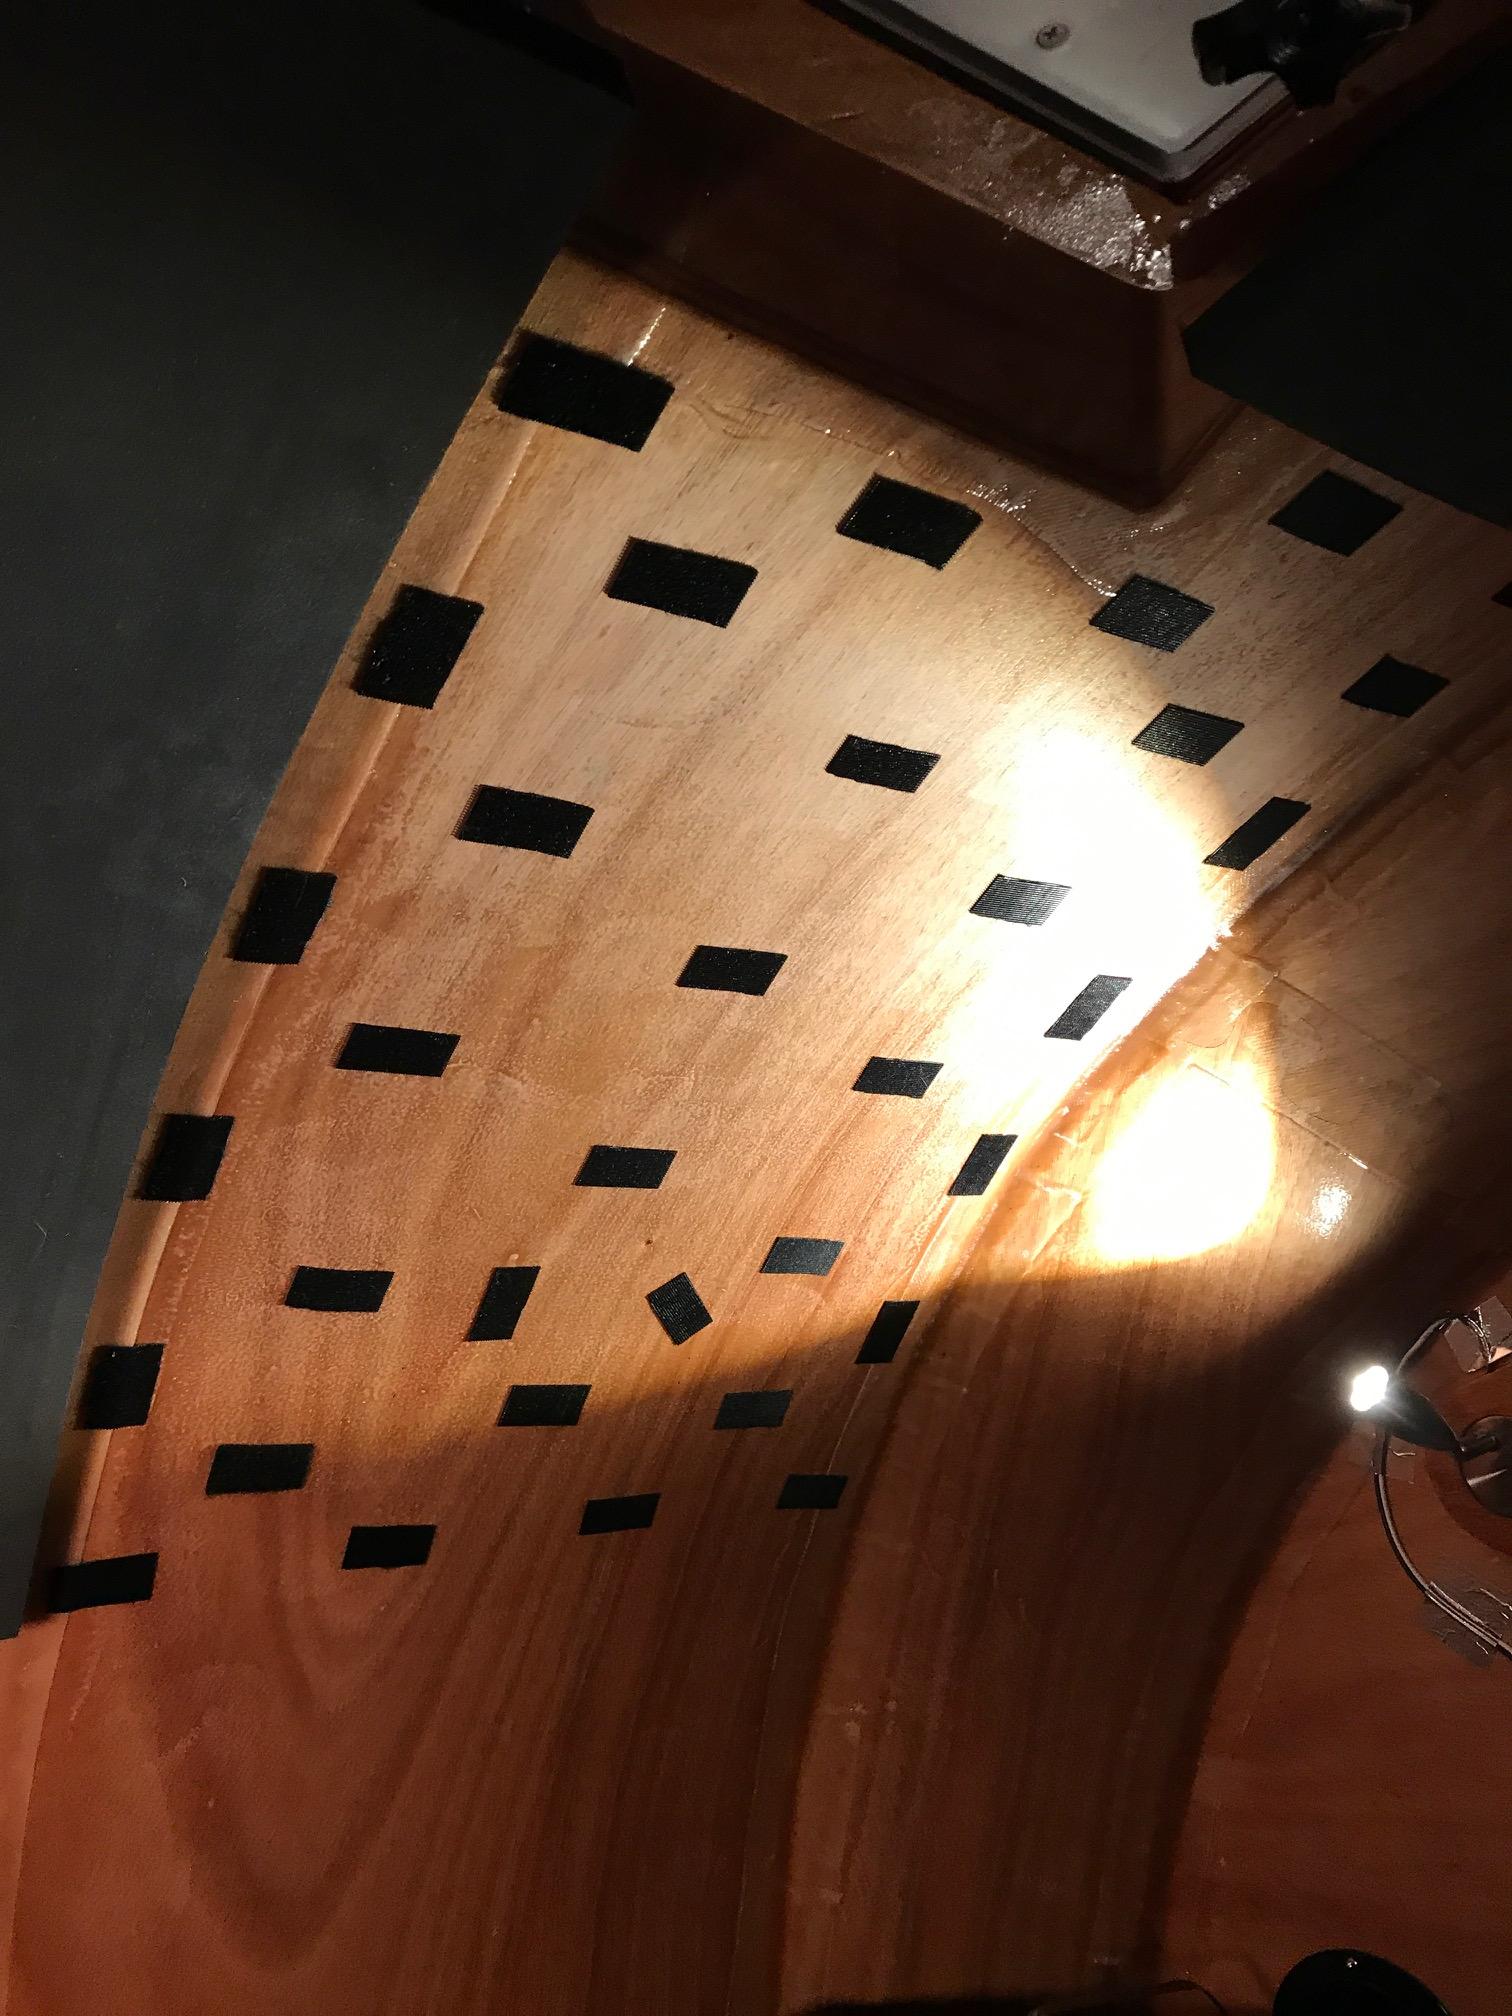
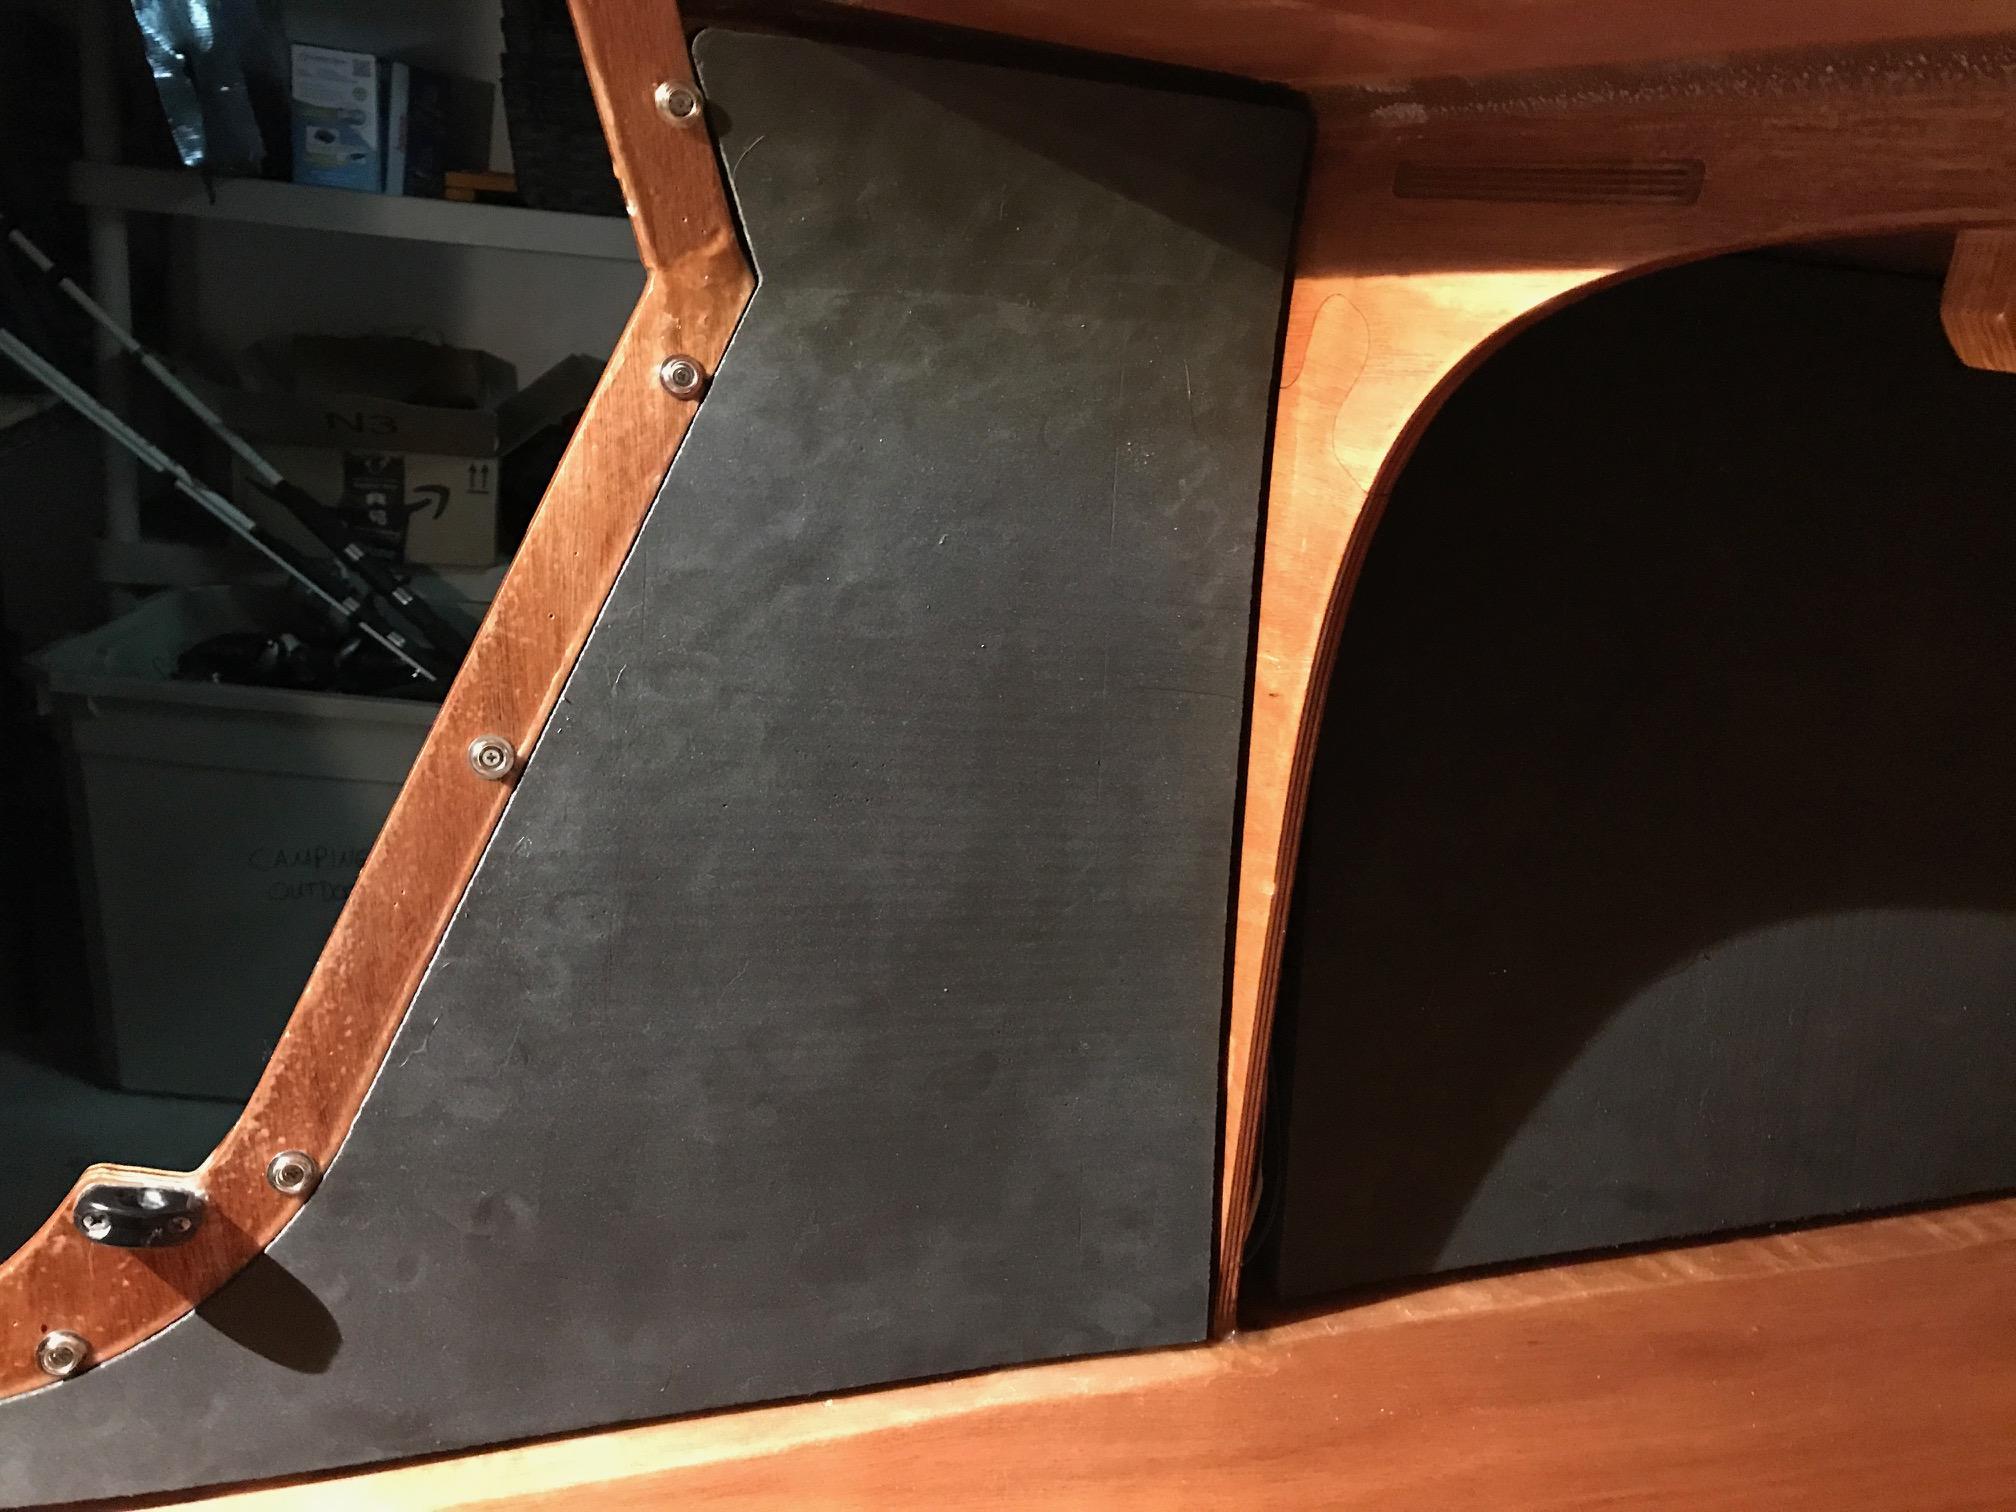
For our installation, we cut the tape into 1″x2″ rectangles oriented about 3″ from each other. Based on our progress, we estimate it will take about three rolls to achieve adequate coverage on all panels, although I’m sure you could stretch two rolls. We’re about 1/3 done as of this writing and very pleased with the results. The Velcro tape glue is more than adequate to hold the lightweight panels, and it does stick very well to the interior shell (we had epoxied and sanded the interior). Most importantly, we can remove the panels easily exactly as intended (see pictures).
During installation, we have noticed an added benefit to the Velcro… it is more forgiving than contact cement (provided you adhere it to the correct side and dry fit your panels beforehand). We found we can “slide” adjust panels using the hook/loop connections to push panels together, resulting in more attractive seams between panels (if we don’t get it the first time).
As for the concern of condensation: the Velcro does add about a 1/8″ gap between the headliner and the shell; however, we think this is no reason to discount this solution. It may actually aid in the insulating effect without condensation, as condensation is formed when warm moisture laden air (from the occupants) contacts a cooler surface (the shell). If the headliner prevents this air contact, then no condensation forms on the shell. To my understanding, the effect any insulation provides is achieved by creating an air barrier, like vacuum sealed doubled-pane windows. The air pocket created by Velcro then acts as a temperature barrier. (I’m not an engineer or steeped in physics, so please double check my work).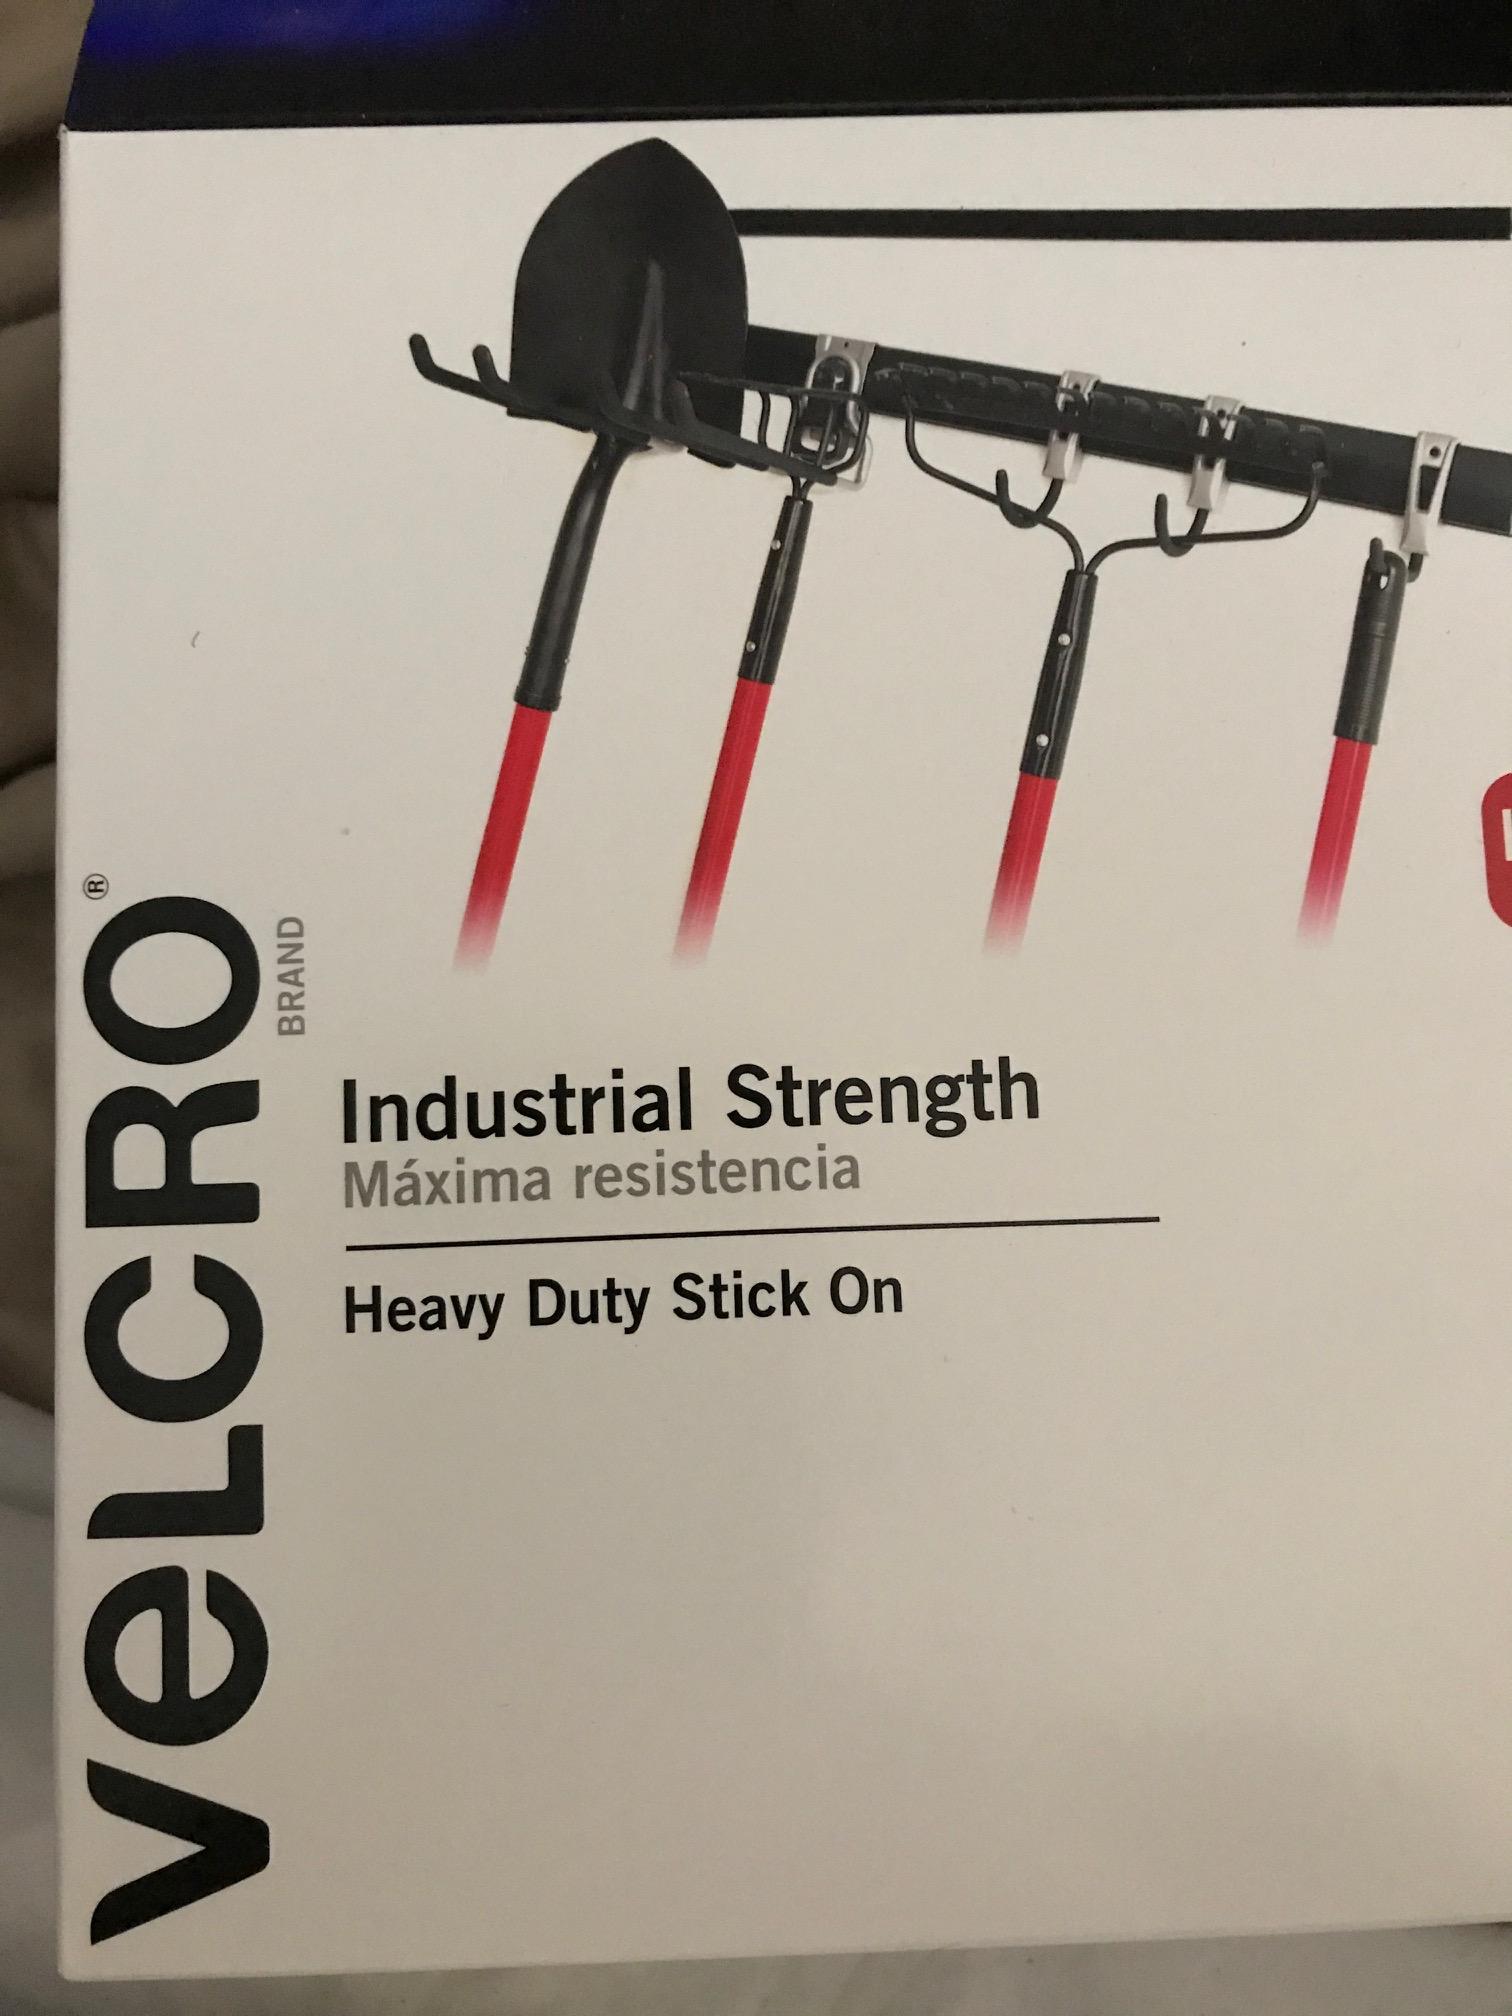

 January 2, 2018 at 6:32 pm #1531
friz
ParticipantI thought the headliner kit was to come with a fabric to cover the panels?
January 2, 2018 at 6:35 pm #1533ParticipantMy bad. I just reread the description. it is just the bare foam. I may be rethinking my head liner.
January 2, 2018 at 6:57 pm #1534ParticipantI think I am going to do 1/4 or 3/8 rigid foam with headliner material.
January 2, 2018 at 7:16 pm #1535Participantthe CLC headliner material appears to be the same material as the lock-together high density foam padding used on the floor in workout rooms, etc. Costco has this for about $10 per 6 2x2ft squares. the flooring material is a bit thinner, but if I had it to do over again I would have saved about $300 and used the flooring material. I was not impressed with the pre-cutting of the material by CLC. yes, there will be slight variations in the construction the shell from builder to builder, but even given that there was too much trimming and fitting required, given what we paid.
January 2, 2018 at 7:17 pm #1536ParticipantWhile velcro is a great option, I highly recommend and adjustment your method. The gap between the foam and shell created by the Velcro will result in condensation on the interior of the shell. It will also greatly reduce the efficacy of the insulation. For an air barrier to work it needs to be a %100 sealed air barrier. With your setup the air can find all the gaps between foam panels and circulate behind them.
I would recommend a few strips of Velcro per panel running the full length of the panel edge in parallel with the curvature. Then between the strips of Velcro (on the foam panel) glue an additional 1/8″ of closed cell foam. This will seal up any air gap assuming your Velcro is <= 1/8″ thick.
January 3, 2018 at 10:21 am #1539mpilone
Participant@faithie999 I agree that the headliner kit is a little overpriced for what you get. As @apkley pointed out, the material scratches and nicks very easily and as you pointed out, it still requires a good bit of work to fit, trim, and round over all the edges. It does look nice when complete but not $300 worth of nice.
It is definitely thicker than the interlocking floor mat material and it has a nicer, suede like texture to it. I debated for a while on installing it and looked at using floor mats or carpet squares. I priced them out to about $120 for the same amount of material assuming you don’t want to piece together a bunch of small scraps. But after considering the time to make templates and cut all the odd curves and shapes I decided to go with the headliner and make more progress on the trailer.
It would be nice if CLC sold a $30 template set for the headliner and then let you pick your own material. Other than the CNC or printer time for CLC it would be pure profit and people could then pick the material that works best for them. While I do think the headliner is over priced, if you value your time at all I think it is the fastest way to get the job done. When this liner gets scratched and dinged, as it inevitably will, I’m hoping to use the pieces as the templates for the next set I make out of cheaper materials which offsets the cost a bit in the long run.
-mike
January 3, 2018 at 1:04 pm #1541ParticipantI plan to pull my primary patterns from the outside of the camper and pull the details from the inside as a second step.
January 3, 2018 at 8:42 pm #1545Participantif you decide to forgo the velcro method, I would strongly suggest using 3M spray adhesive “77” (maroon can). I used it. it is tacky enough to hold the headliner in place, but not nearly as strong as contact cement, so you can remove a panel without damaging it if you want to install wiring, etc. IIRC it only took one large can, which I bought at Michael’s with a 40% off coupon.
January 3, 2018 at 8:52 pm #1546Bob D.
ParticipantI worry that the adhesive on Velcro will fail on the first sunny day in the summer.
-
AuthorPosts
- You must be logged in to reply to this topic.