Welcome to TeardropForum.com › Forums › Teardrop Builders’ Forum › Gasket around the galley idea
- This topic has 6 replies, 2 voices, and was last updated 2 years, 3 months ago by
madebymike60.
-
AuthorPosts
-
December 18, 2021 at 4:43 pm #4052
madebymike60
Participant1) When it’s time to attach the gasket to the galley, the directions say to use an ‘adhesive sealant’ to hold it in place. One you might not think of but might want to consider using is butyl tape. Silicone and other caulk-type sealants can be messy to work with but the butyl tape is not only neater and easier to use, it won’t dry out, peel or crack. I started by expanding the ‘grip’ part of the gasket using a thicker piece of plastic which made the gasket easier to slip over the gutter but still be tight enough to hold on. I used butyl tape that was 1/8 x 3/4 and cut pieces of it lengthwise – about a foot or so at a time.
 December 18, 2021 at 4:45 pm #4053Participant
2) Then just stick the butyl tape pieces to the edge of the gutter, trying to center it as best you can.
 December 18, 2021 at 4:48 pm #4054Participant
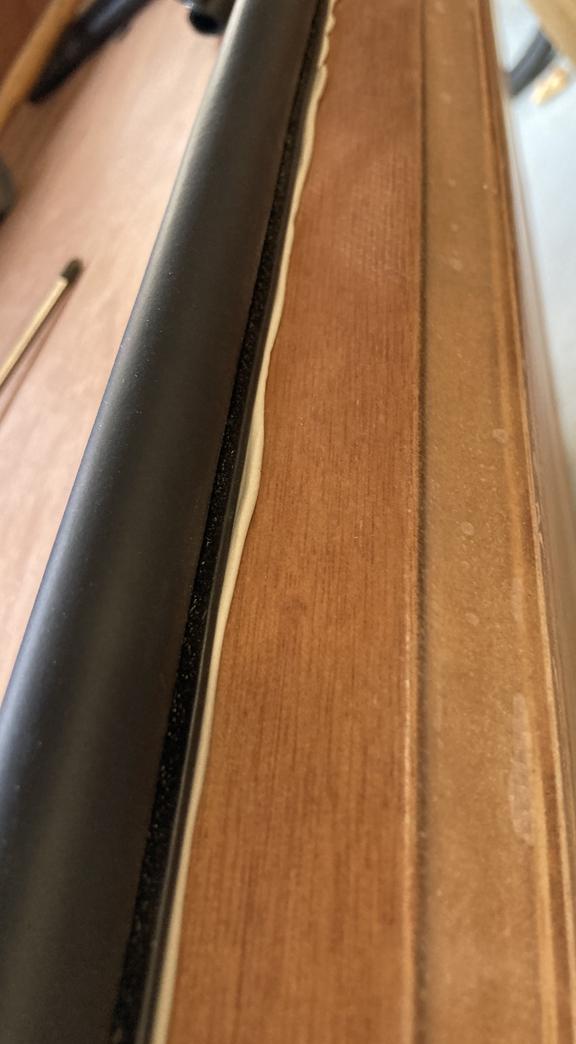
3) After a little while, you’ll have a continuous ‘bead’ of the soft material all the way around the gutter. There’s no need to hurry and get the gasket installed because the butyl won’t drip or dry out.
 December 18, 2021 at 4:58 pm #4055Participant
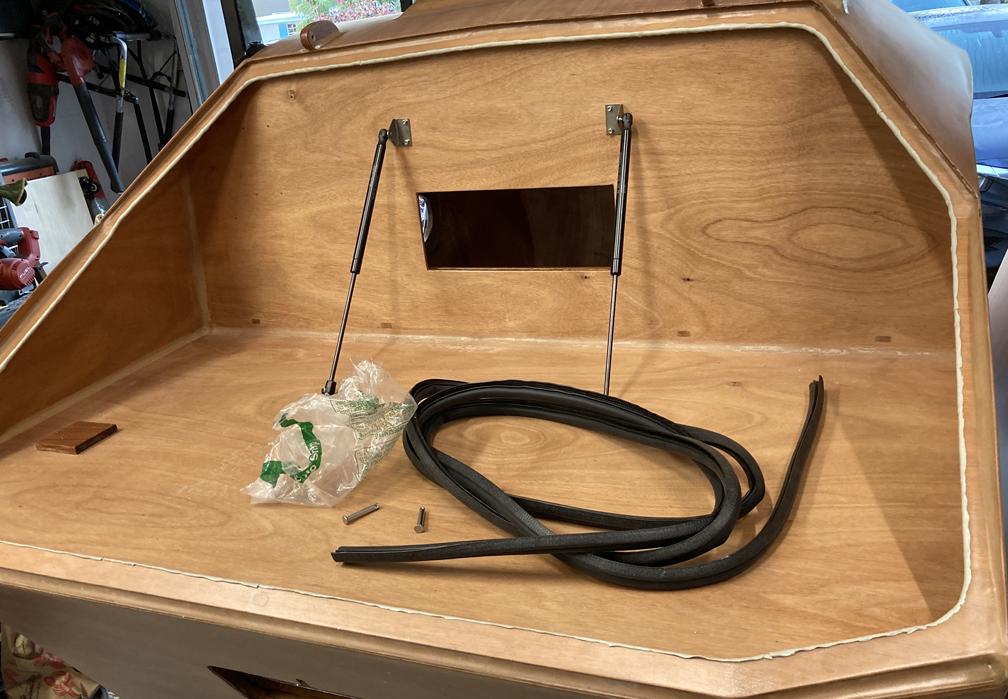
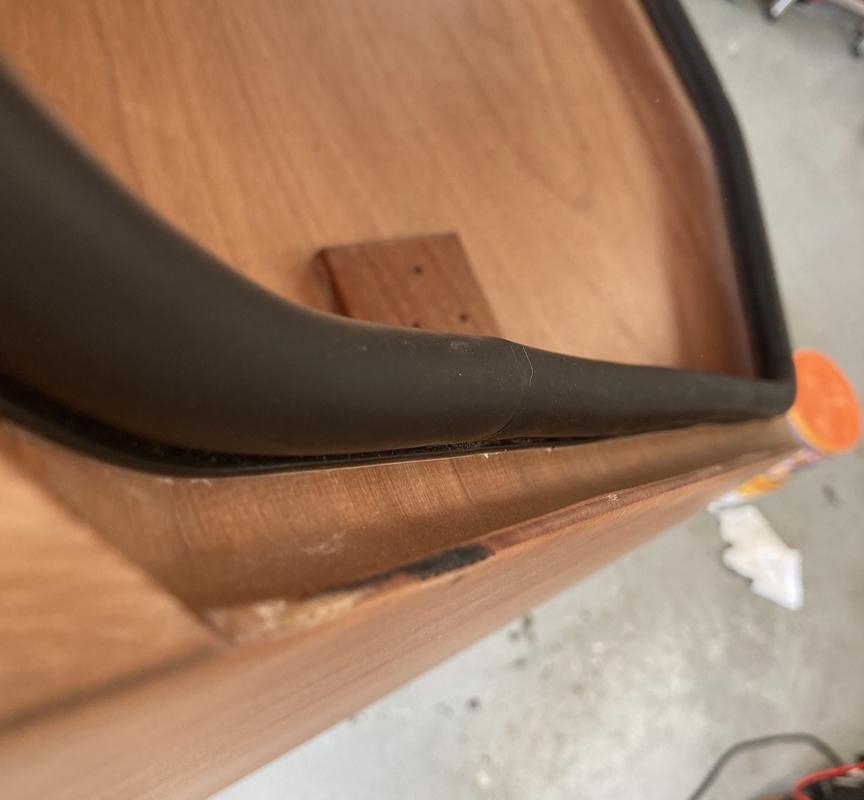
4) When you are ready to install the gasket, start at the bottom back (like the directions show) and work your way around, squeezing the gasket onto and tightly over the gutter. It takes some force to get the gasket on well and at times I used a rubber mallet to persuade it to go all the way on. Make sure at every change of direction, no matter how small a change, that you squeeze the gasket into the ‘corner’ really well before moving on. I didn’t one time and had to pull some of the gasket off, back up and try again, something that would be very difficult (and messy) if I had used silicone. When you’re done, you should have a pretty consistent amount of squeeze out all the way around.
 December 18, 2021 at 5:08 pm #4056Participant
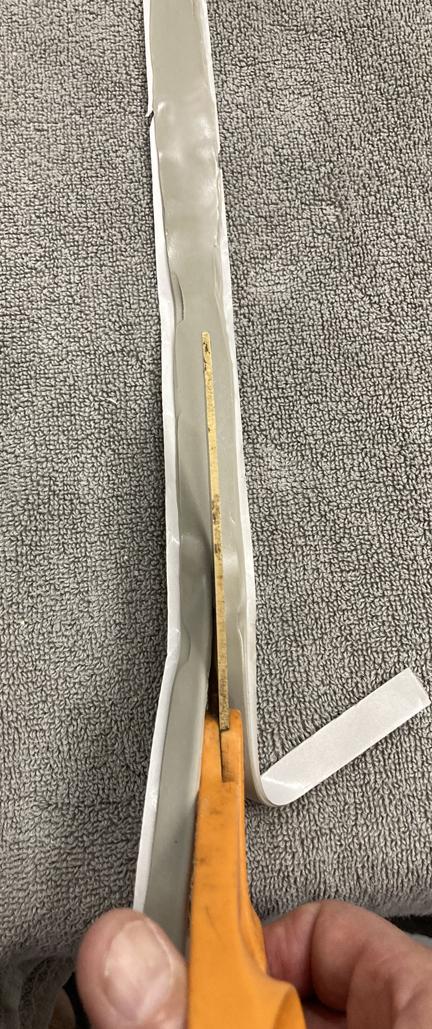
5) Finally, clean up is pretty easy. You can use a utility knife to score the butyl right at the edge of the gasket. Be careful with this, you don’t want to cut through your wood finish. The butyl cuts easily and you don’t need to cut all the way through it for it to peel away. It helps to use a small amount of extra to dab at and pull the squeeze-out off. You might find that a day or so later you need to do that again because the butyl will continue to ooze out. That makes it sound like it’s messy but it’s not. When it’s cleaned up, you’ll have a neat installation. If you look up ‘butyl vs silicone’, you’ll see others’ opinions about using it on RV’s and boats but it seems like it will serve this purpose well.
 April 13, 2022 at 7:57 am #4274
kimf
ParticipantSo I tried this method and ended up with leaks because too much butyl was squeezed out during installation. At first I didn’t think this was the cause, but then I climbed into the galley and had my husband close me inside while he sprayed the lid with water. Turns out the gasket is so tight when you install it, we squeezed a lot of the butyl out of the connection, allowing water to penetrate right under the gasket material. If you do i stall the gasket this way, be sure to use plenty of butyl and make sure it encloses around the outer lip of the gasket. Our solution to this issue (because we didn’t want to redo that step) was to apply clear silicon on the entire outside lip of the gasket to keep water from passing through the areas where we had less butyl. It worked! No leaks – from that issue anyway. We still have issues with water rolling in from the drip edge on the side and we’re solving that with an additional piece of expandable foam that compresses down from 1.5” to 1/4” to fill any remaining voids that allow water to enter.
April 13, 2022 at 11:12 am #4275ParticipantI’m sorry it didn’t work as well for you. I don’t know if you saw or tried it but in the first post I mentioned expanding the part of the gasket that slips over the wood. I used a plastic automotive pry tool to open it up just a little since it was so tight to begin with (as you also noticed). I tried for a ‘snug’ fit but not one that I felt like I would have to hit with a mallet to get on. Doing that not only made it easier to install but would have allowed a little more space for the butyl material. Glad you figured out a solution to the problem though.
-
AuthorPosts
- You must be logged in to reply to this topic.