Welcome to TeardropForum.com › Forums › Teardrop Builders’ Forum › Flange Spacer Install Before Hatch cut
- This topic has 7 replies, 6 voices, and was last updated 2 years, 10 months ago by
wayne3676.
-
AuthorPosts
-
August 2, 2017 at 7:12 pm #1139
comccoy
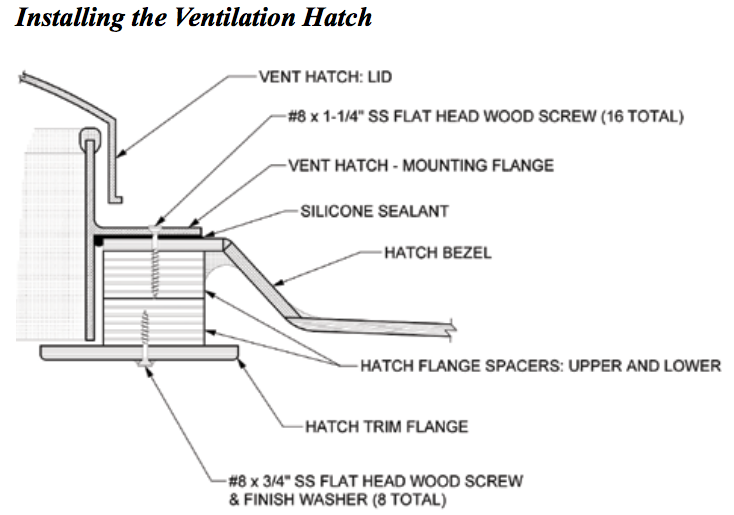
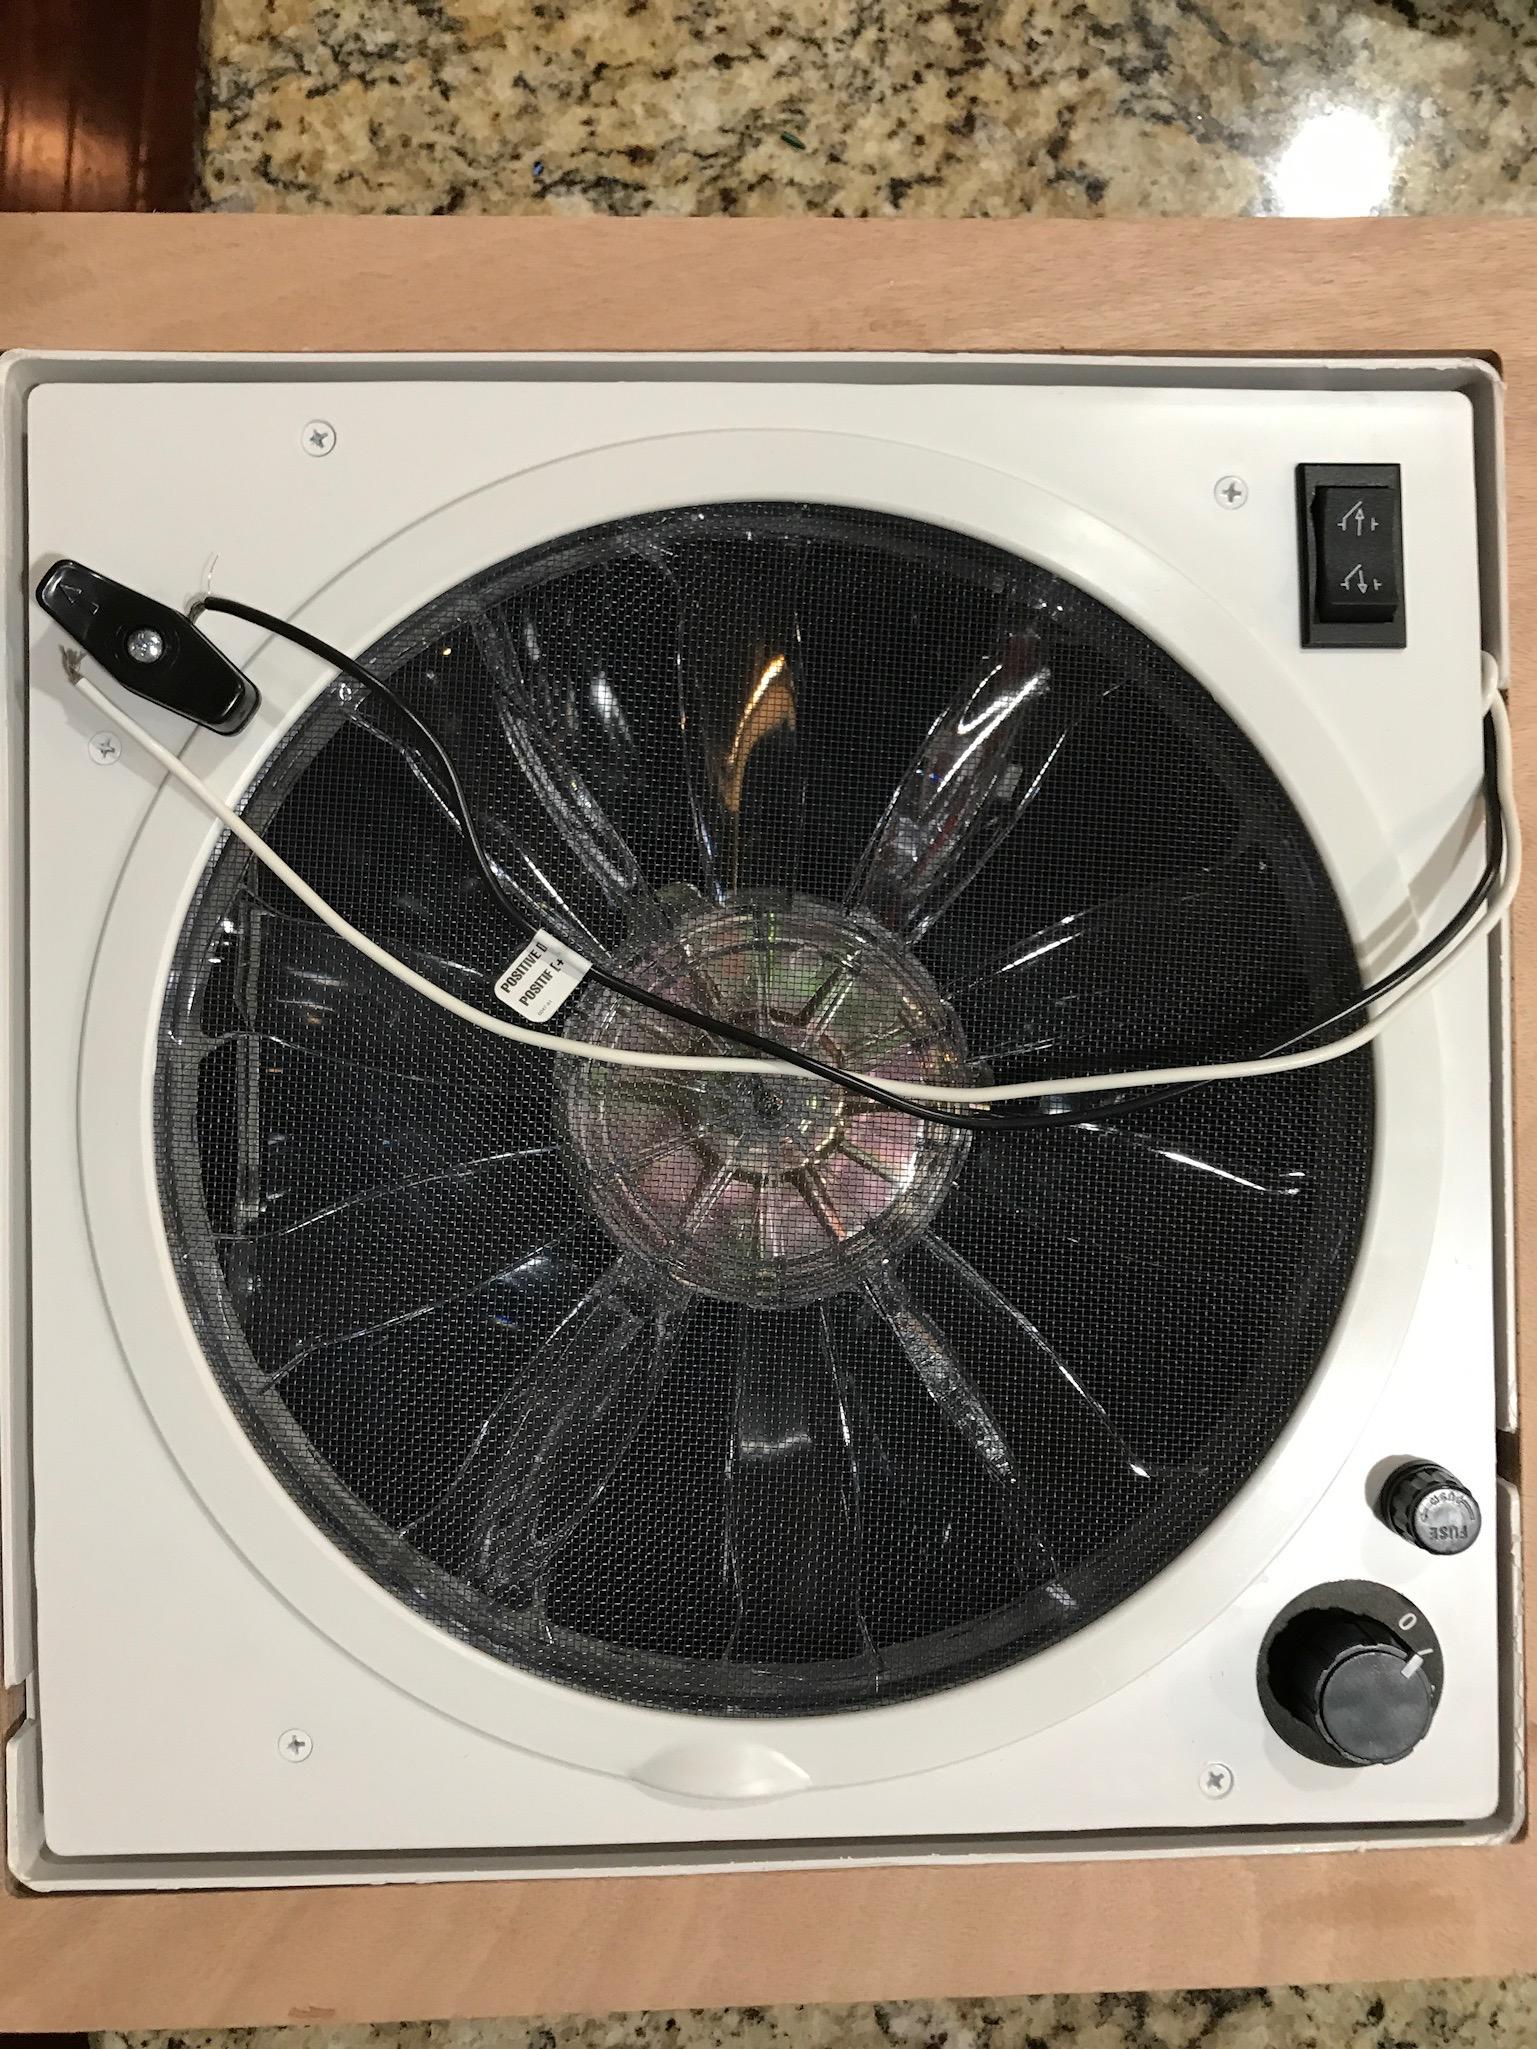
ParticipantWe have purchased the vent kit from CLC. It looks like the flange spacers fit very closely around the fan housing. As we are not always the straightest of cutters with the jigsaw I am wondering at the wisdom/value of epoxying the flange spacers in place early.
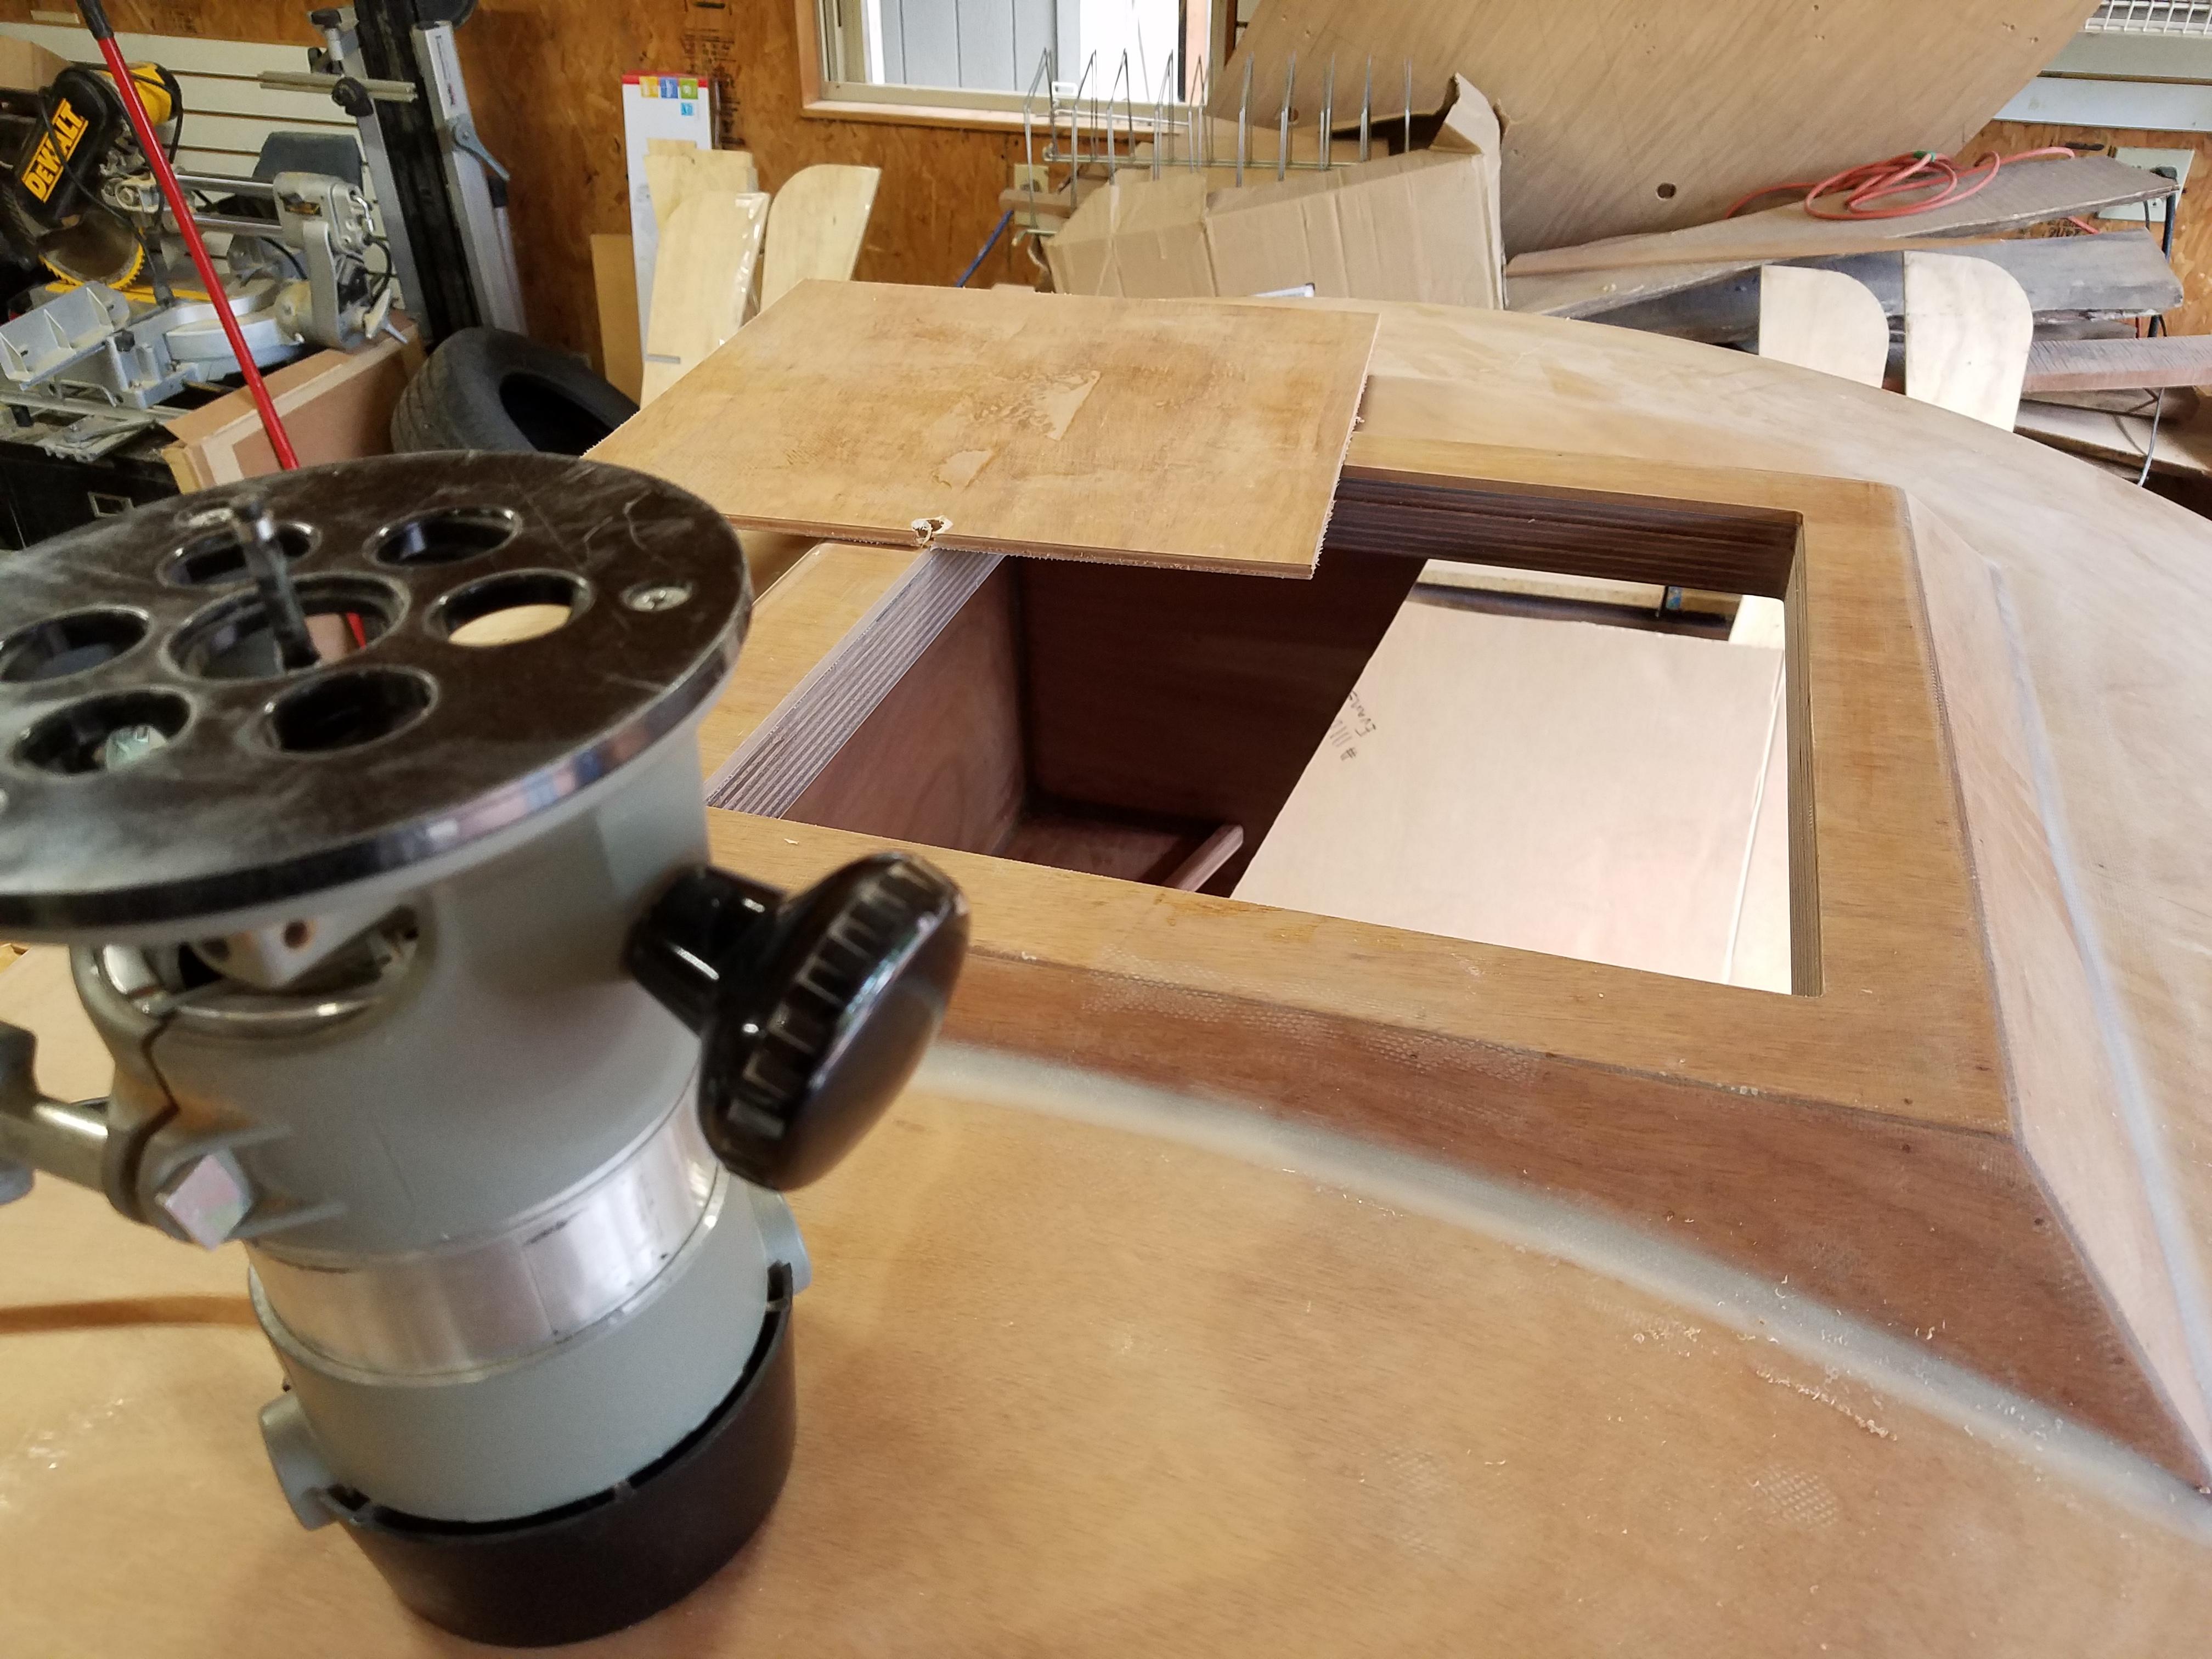
Right now we still have the shell flipped over and perched on a couple foam boards and a sawhorse supporting the galley flat. My thought is to epoxy it down now, holding it in place with some heavy stuff. Once we flip it over I could easily drill a hole and pop my trim router down with a straight cutting bit with a ball bearing guide and simply let the spacers be the guide to cut a near perfect hatch hole for the fan. Has anyone else done this? Is my logic not sound for some reason I am not seeing?
The only risk I can see is getting enough weight to get a tight enough bond for the flange spacers as without the hole cut it won’t have the pinch of many clamps. But it is thickened epoxy on a glassed/epoxy’d surface so the 30lbs+ I could manage to get on it should be enough.
 August 2, 2017 at 7:42 pm #1140
mpilone
ParticipantI like the idea of using a flush cut bit to square it up but why not wait until you flip the unit upright, trace the square on the top of the hatch using the fan or the spacers as a guide, then cut 1/4″ inside the line. Then you can glue on the spacers using clamps with the 1/4″ overhang and clean it up with the router, rasp, or sand paper?
My concern with trying to glue it in place while upside down is that it will want to slide when you put the weight on it. You could probably put something in there to wedge it in place but it seems easier to use your clamps and give yourself a 1/2″ of play (1/4″ on all sides) when cutting the hole.
-mike
August 2, 2017 at 10:09 pm #1141rovineye
ParticipantIf you can keep the alignment it will probably be stronger than with clamps. Alternatively, once right side up you could use CA glue to hold it in place and use the router, then break the CA glue bond and glue with epoxy with clamps.
August 3, 2017 at 1:18 pm #1142friz
ParticipantI cut a sloppy under sized hole, glued and clamped the spacers, and then routed the opening with a flush bit.
August 3, 2017 at 3:38 pm #1143ParticipantFritz for the win! Would eliminate most sanding.
August 9, 2017 at 9:32 pm #1167ParticipantI did wait until we flipped it over, though in hind sight, with enough weight, I think I would have been fine with even better alignment had I done it when flipped over. I used a cheap straight bit I had to carve a lazy ugly square, epoxied the flange in, then flush cut the hatch opening. I am VERY pleased with the results! Thanks all!
-
This reply was modified 6 years, 11 months ago by
comccoy.
September 11, 2021 at 9:02 am #3888madebymike60
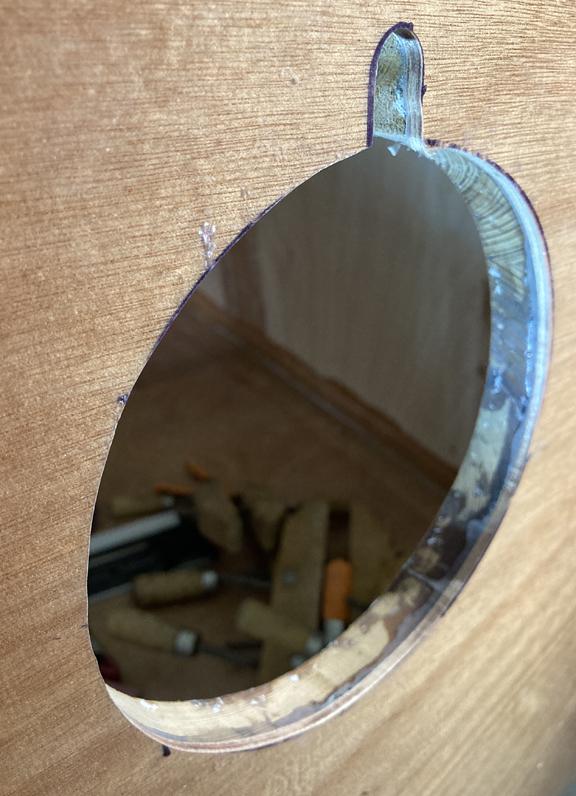
ParticipantI second the idea of a flush trim router bit. I’m almost to the fan install so will be using one there soon but here is where I used it to clean up the holes for portholes. Just make sure any epoxy is out of the way of where the bearing will go and the bit will remove plywood shell and any extra epoxy very neatly.
 September 12, 2021 at 9:05 pm #3897
wayne3676
ParticipantI
 glued the spacers with a lot of weights. then when I flipped it over used a flush bit. smooth
 -
This reply was modified 6 years, 11 months ago by
-
AuthorPosts
- You must be logged in to reply to this topic.