Welcome to TeardropForum.com › Forums › Teardrop Builders’ Forum › Covering your teardrop for the off-season
- This topic has 6 replies, 5 voices, and was last updated 2 years ago by
madebymike60.
-
AuthorPosts
-
December 16, 2020 at 2:20 pm #3307
canadianhoser
ParticipantNow that we’re in the start of the winter months, my trailer isn’t getting the use it deserves. How is everyone protecting their teardrop when not in use? Any suggestions for tarps or covers? The CLC option seems to be very pricey, and it doesn’t seem to account for the roof racks or accessories on top. Should any covering be completely water repellent, or allow some aspect of breathability?
Thanks in advance.
December 19, 2020 at 12:44 am #3311ArtisticAdam
ParticipantI opted for a midsized ATV cover. Works well enough for me but im just using it as a dust cover since the camper is in a garage.
December 19, 2020 at 5:11 pm #3312trisar
ParticipantWe’ve built a little 8×12 shelter for it.
We’ve found it hard to find the right fabric cover for all the roof attachments.
 January 7, 2021 at 10:35 pm #3336
Daniel
ParticipantI am storing mine in the garage, but that is a fairly dusty space, so I have put over it a modified cover.
Lucky me, I found at Goodwill a brand new cover ($25) designed for the small R-pod camper, which turned out to be way to large. So, I broke out the sawing machine and retrofited that cover for the teardrop. Not the best looking seams, but it does the job.
the other week I left the camper for four days in a campground in FL, while I was offshore, and the modified cover worked just fine, it keept all the bird poop off of the camper.
July 9, 2022 at 12:04 pm #4387madebymike60
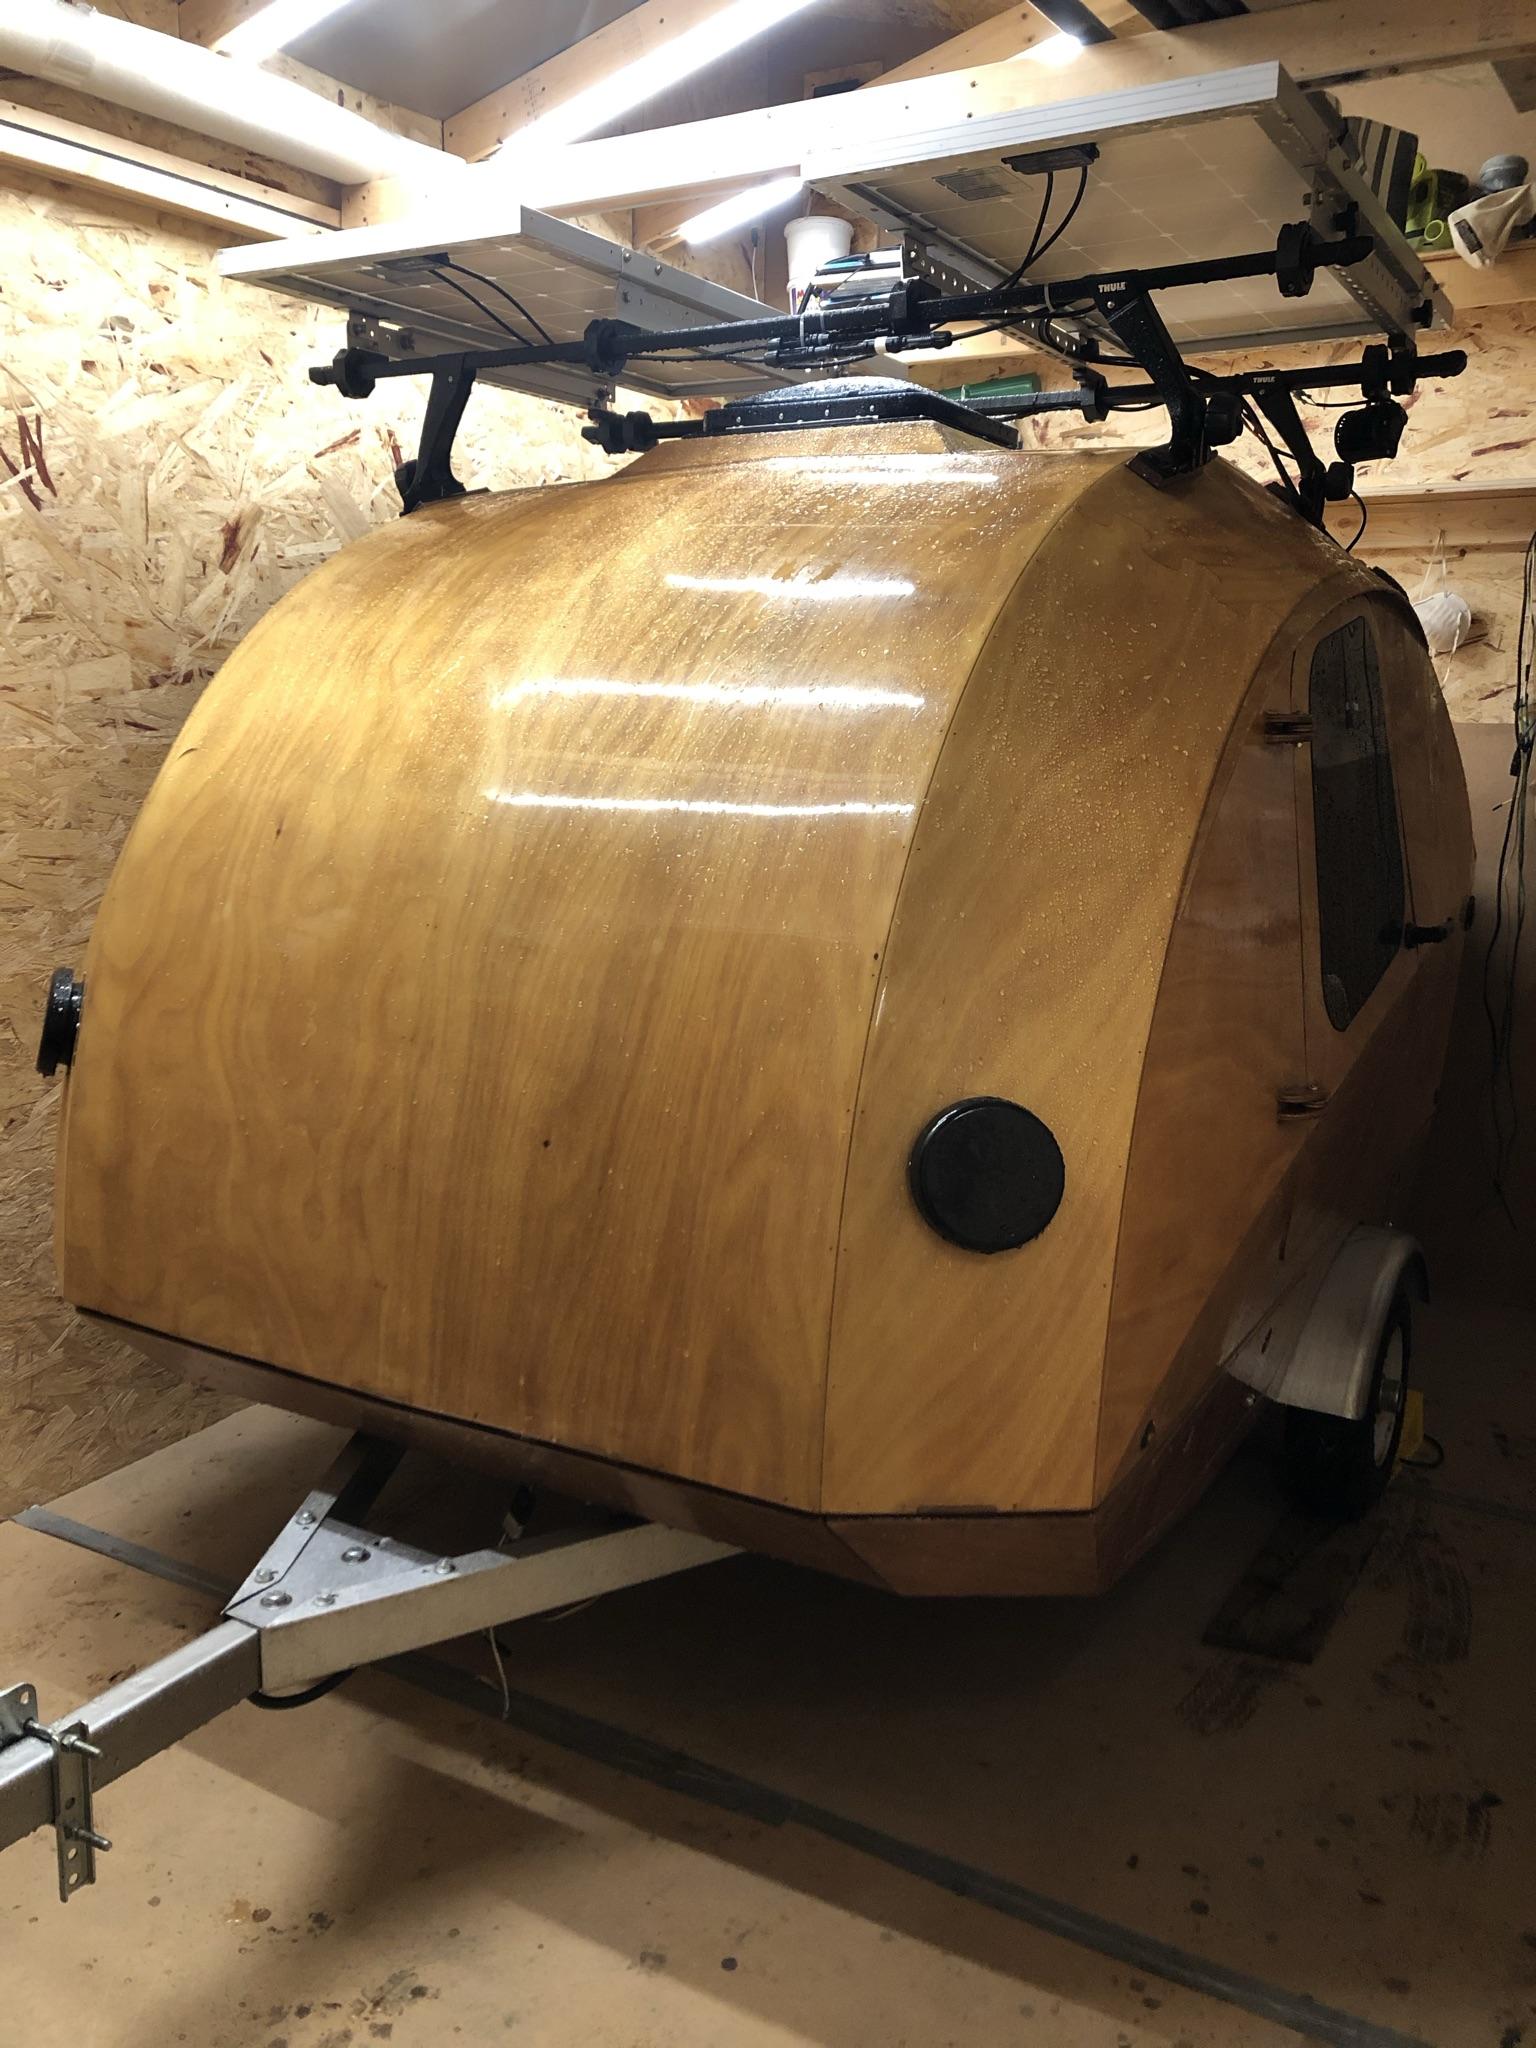
Participant$1200 for a custom cover from CLC is a lot so I bought some Weathermax 80 fabric recently from Joann (online) when it happened to be $9.99 a yard – normally about $33. I assume it is the same fabric that CLC uses or close enough. I am not a seamstress by any means but by using my daughter’s sewing machine it took about 5-6 hours total to get this far. My camper has roof racks and a solar panel – maybe one day I’ll add an opening for the panel to be exposed but for now it is fine. I also may add an opening for access to one of the doors but again, for now it’s good. Total investment was about $120 (11 yards of fabric and outdoor thread) plus some time but this will do the job of protecting my camper while outside in the Florida sun.
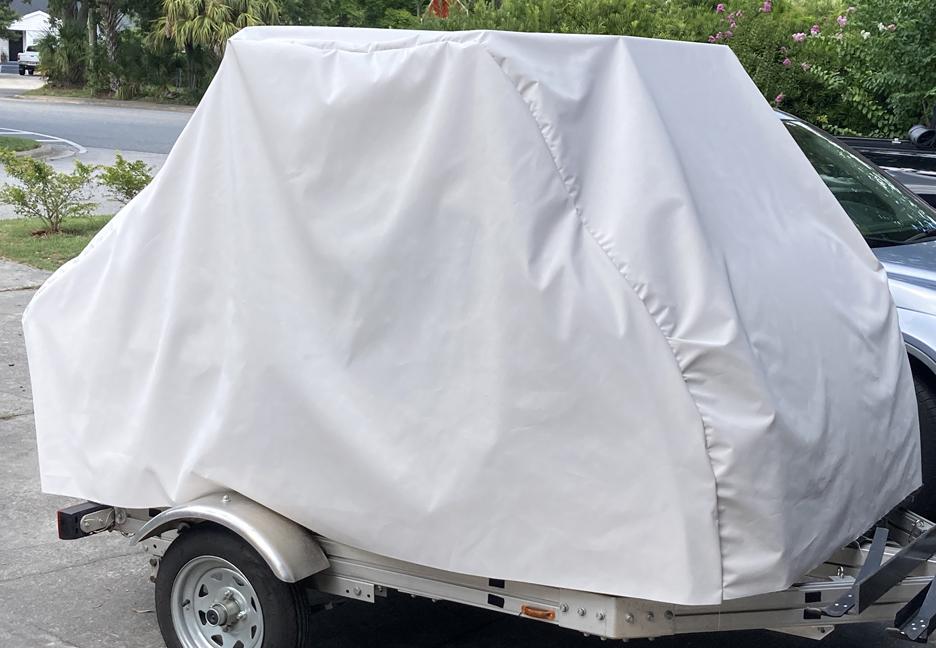
The process was fairly easy with the hardest part(s) being moving, holding or clamping the fabric in place. I started at the front and unrolled fabric to cover the entire camper and cut it off at the back. The 60″ width pretty much went from one side to the other. Then I unrolled a piece big enough to cover a side and clamped it (to the roof racks) so the bottom edge was about right. Then I cut the extra off that side piece to match the top piece making sure to leave a couple of inches of overlap. I sewed that side to the top, put the whole thing back on the camper and repeated the process for the other side piece.
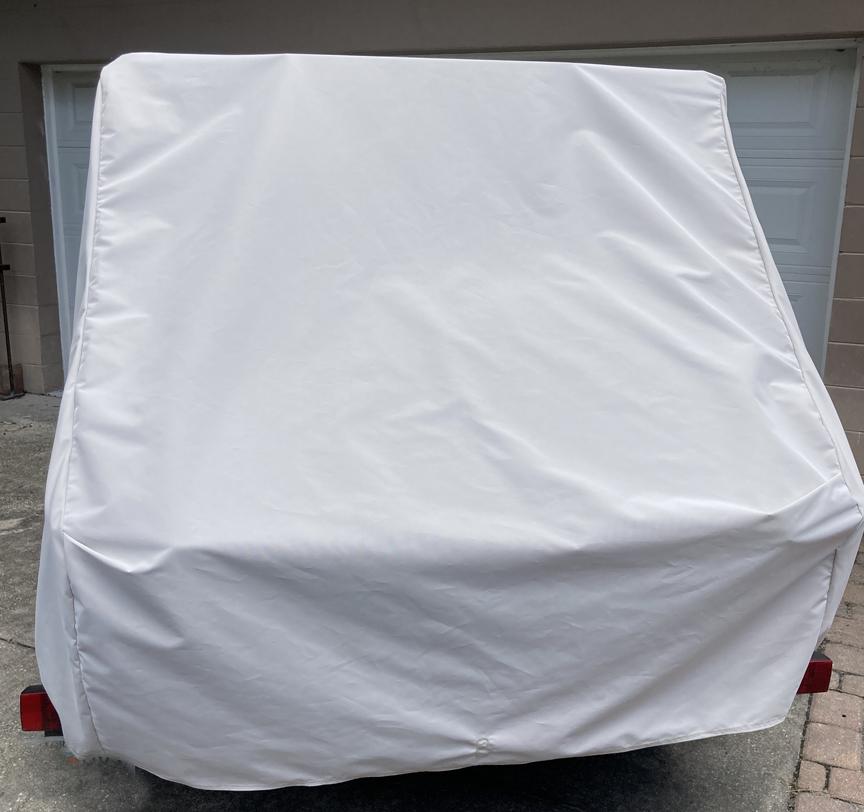
July 10, 2022 at 12:36 pm #4390ParticipantHere’s another view of the cover after stitching the bottom all the way around to keep it from fraying.
 July 10, 2022 at 12:40 pm #4391Participant
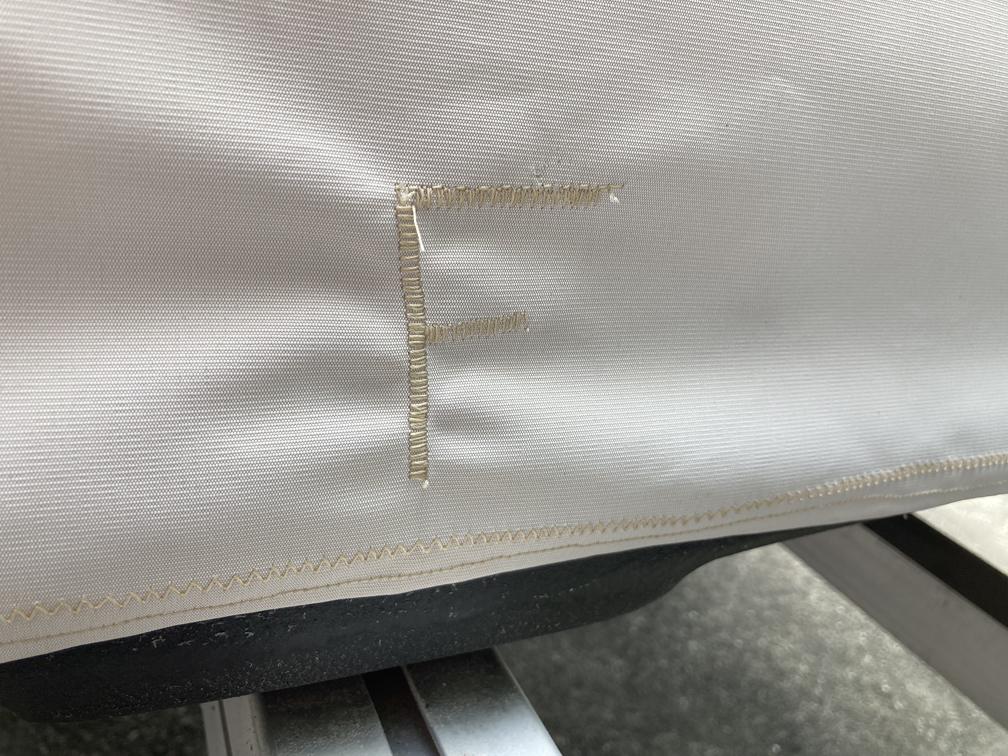
One last detail is below. The cover is pretty symmetrical side to side but not as much front to back so an ‘F’ sewn on the front keeps it from being put on backwards.
-
AuthorPosts
- You must be logged in to reply to this topic.