Forum Replies Created
-
AuthorPosts
-
madebymike60
ParticipantHere’s the amount of storage space, which is enough for a change of clothes, extra shoes, snacks and more. I thought about a thin plywood back but the whole unit fits pretty snug against the insulation so it wasn’t needed. I did put in some pieces to keep really small items from falling behind it. The ‘floor’ of it is actually the top of the base that fits into the space between mattress and insulation. The doors simply slide down in place and are held in place by the plywood cleats attached on the backs.
 Participant
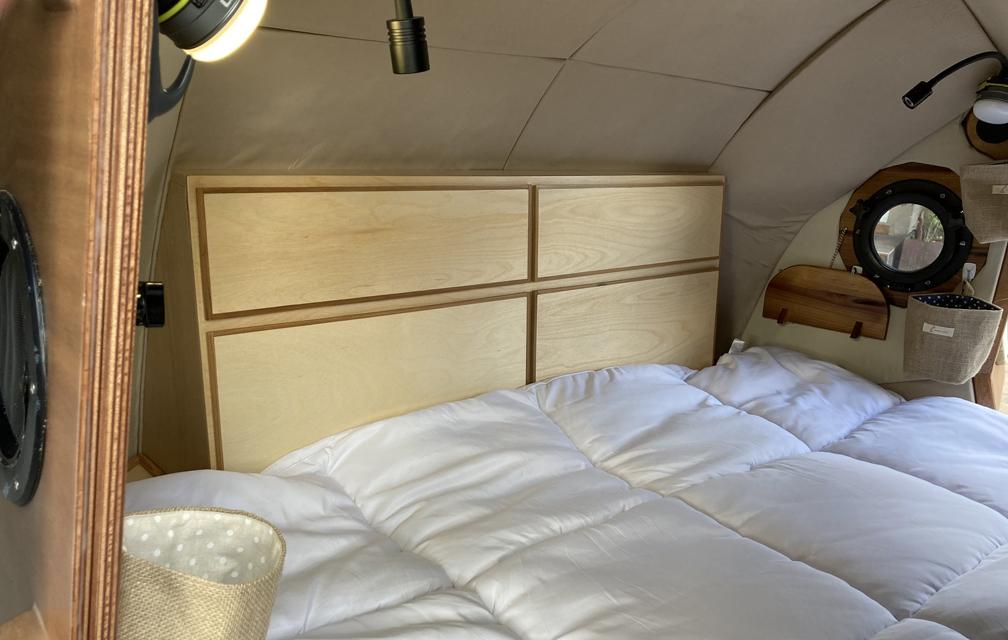
Here’s another idea. Sandman’s box got me thinking and I came up with something similar. It provides some storage and is a back rest for watching a movie or reading. It does take up a few inches of mattress space but there’s still plenty of room for me. It’s hard to tell from the picture but the front is slanted a little so it’s a bit more comfortable than something straight up and down. The four compartment doors can be removed for a reasonable amount of storage space.
 Participant
Thanks for posting this. I enjoy seeing how others creatively approach a problem. It looks like the contact cement did a good job sticking fabric to insulation. My 3M-90 sprayed installation is showing a lot of ‘bubbles’ in the fabric, almost as if I didn’t apply adhesive all over, though I’m sure I did. I think my choice of a thicker, stiffer fabric wasn’t a good one.
Participantkimf, the average was about two times a day that someone would ask about the camper – at rest stops, gas stations, restaurants, camp sites – pretty much anywhere I stopped for a while. I never tired of telling about it.
Our plan is to visit Acadia this summer with a stop at a wooden boat show in Connecticut on the way. I’m looking forward to it.
How did you do your insulation? It looks great but it’s hard to tell if it is CLC’s kit covered or you came up with your own idea. I expect others will want to know, so if you post your answer in one of the ‘insulation’ topics (which makes more sense), I’ll look for it and it would be easier for others to find.
ParticipantI’ve built many things over the years including a deck, lots of furniture and two stitch and glue boats but I have to say the sense of accomplishment from finishing this camper is probably above anything else. It’s not perfect but it’s as good as I can do and that’s saying a lot. I appreciate CLC’s phone support and especially the help from this forum. It would have been much harder without the shared ideas and experience of so many others.
 Participant
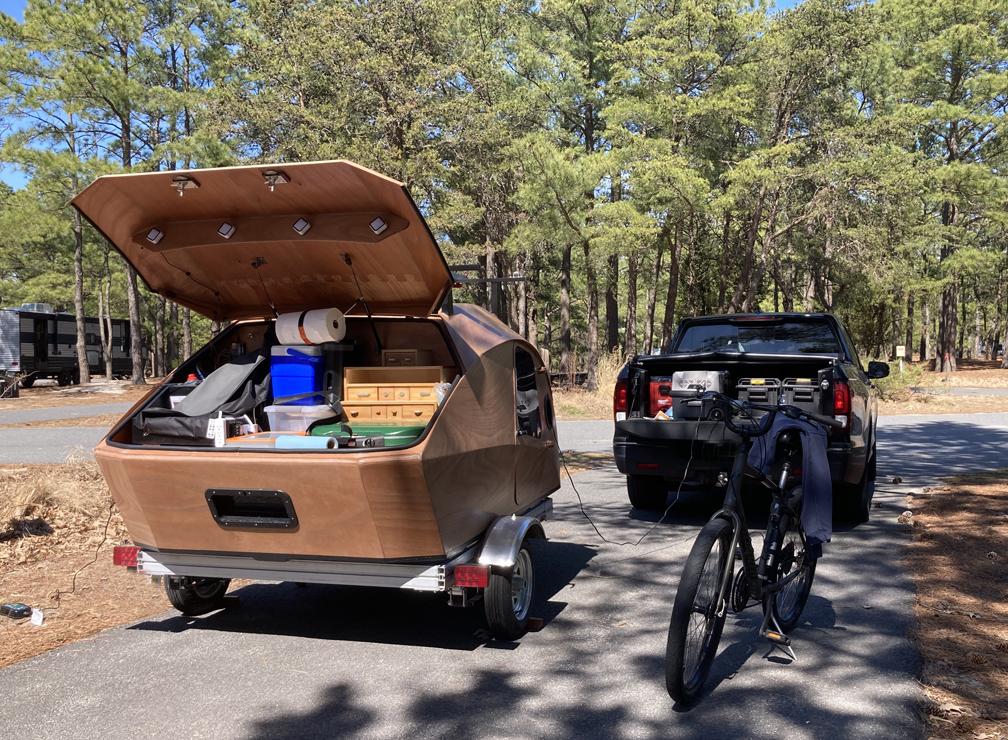 Participant
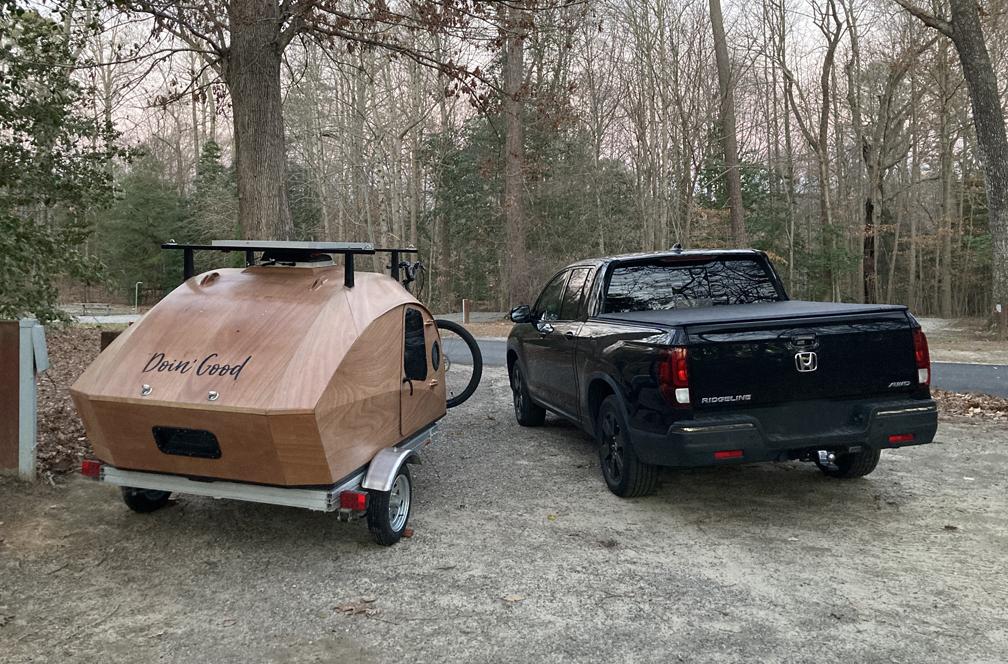 Participant
My first trip in the camper was from Orlando to Delaware and back by way of Tennessee…a little over 2000 miles. No issues with towing or the camper in general. It did great. Only one rainy day but no leaks. One night in Virginia was about 22 degrees for a low but I was warm enough, just barely.
 Participant
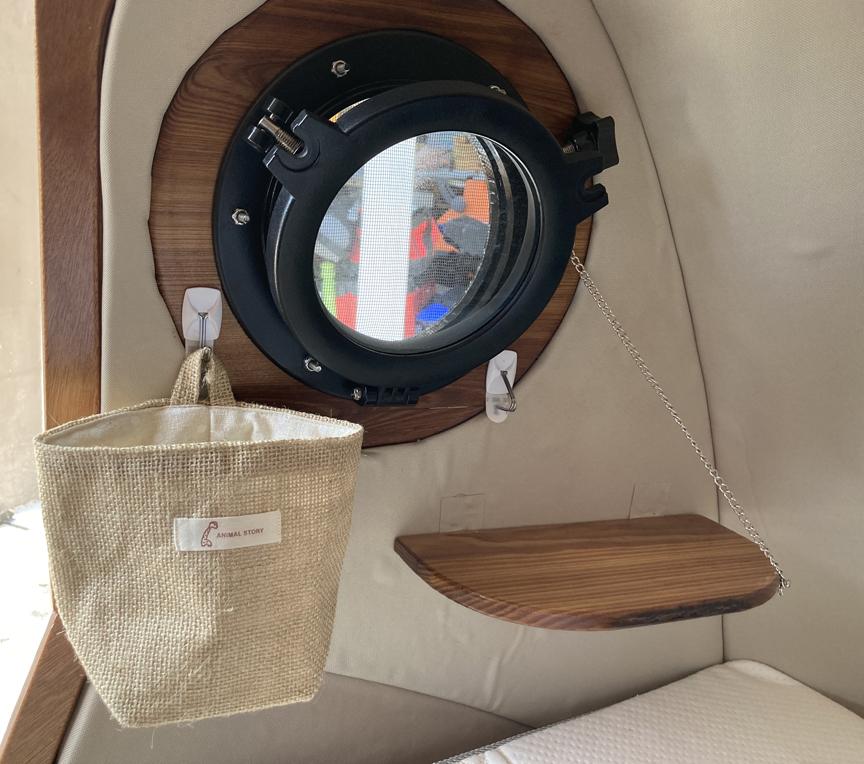
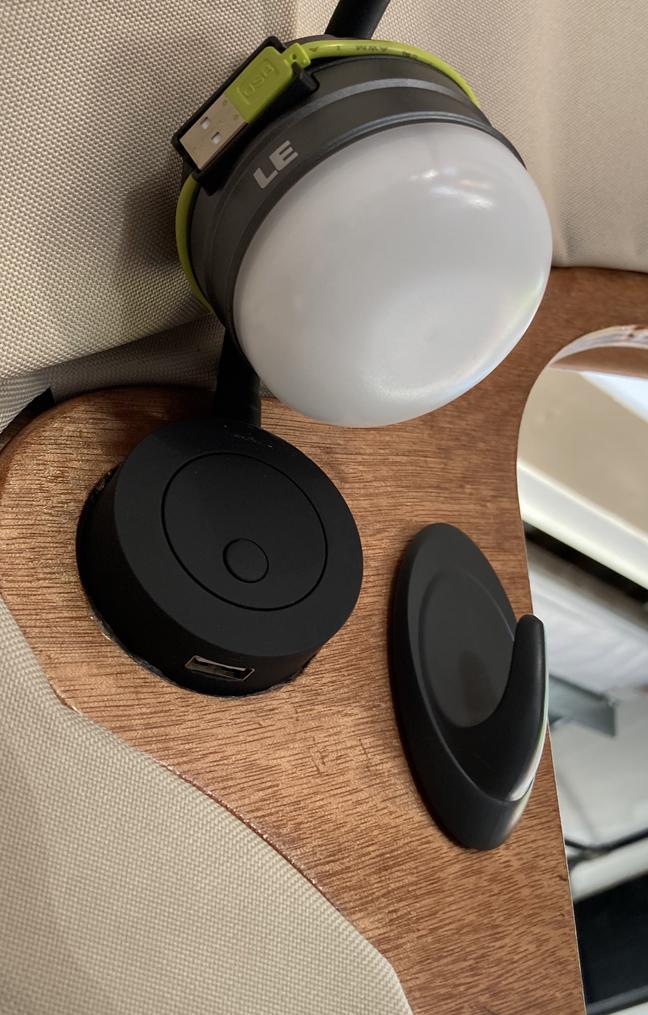
Here’s another easy one. 3M hooks and some ‘mini hanging storage bags’ from Amazon can give you a place for smaller items just about anywhere. Being next to the shelf, I’m not sure if this one will be used, but I think it will…I’ll need to go on another trip to find out. The 3M system makes it easy to move if this is not a good spot.
 Participant
About the drawer above, I opened the cabin door a few times after driving a while to see it extended about as far as you see in the picture. It hadn’t fallen out but I didn’t like it. I tried wedging it but that didn’t work well so here’s my solution. I drilled a hole through the galley floor stiffener and into the shelf (on the left) and inserted a larger cotter pin into the hole to keep both the drawer and shelf in place while traveling. A couple of rubber pieces keep the drawer from hitting metal in the little bit that it slides back and forth.
 Participant
This idea is covered in more detail elsewhere (search for ‘3793’ to see more) but I’m including it here because it fits. The drawer below holds lots of smaller items out of the way but is easy to get to. In ten nights I think I bumped it twice with my feet so I didn’t feel like it was in the way, no more than the shelf which I also bumped a couple of times with my legs. Anyway, with a medium investment of time and some basic materials, it provides some handy storage.
 Participant
Here it is up and out of the way. The hot glue holding the fabric hinges doesn’t go on the back of the shelf so it can fold up. My shelves are about 5″ wide by 10″ long and I put one on each side.
 Participant
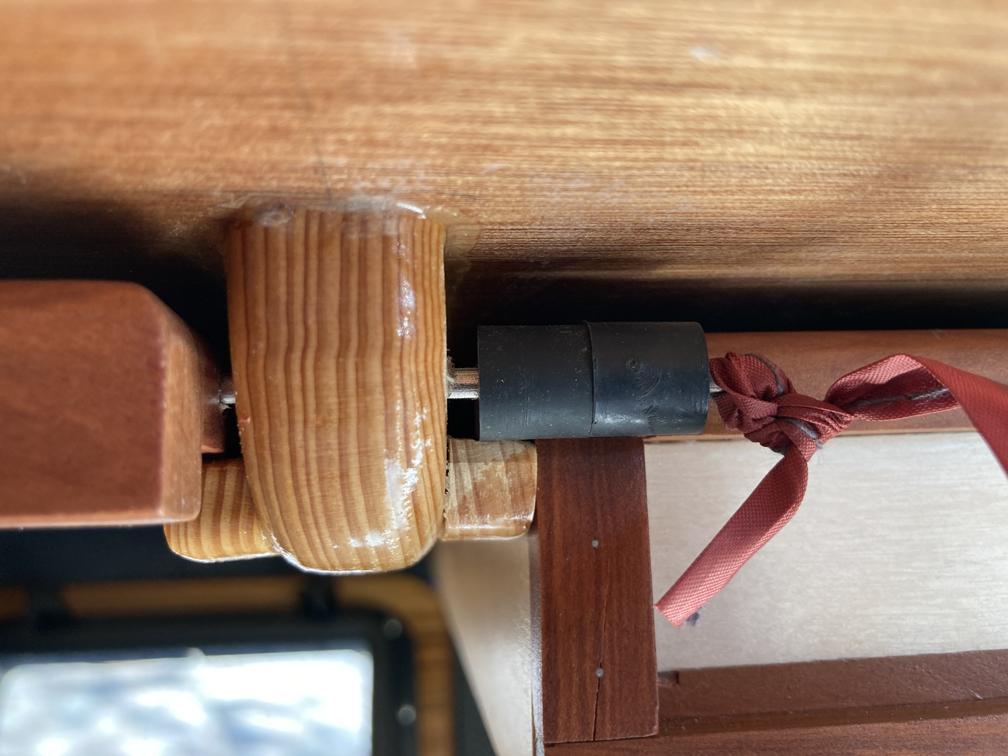
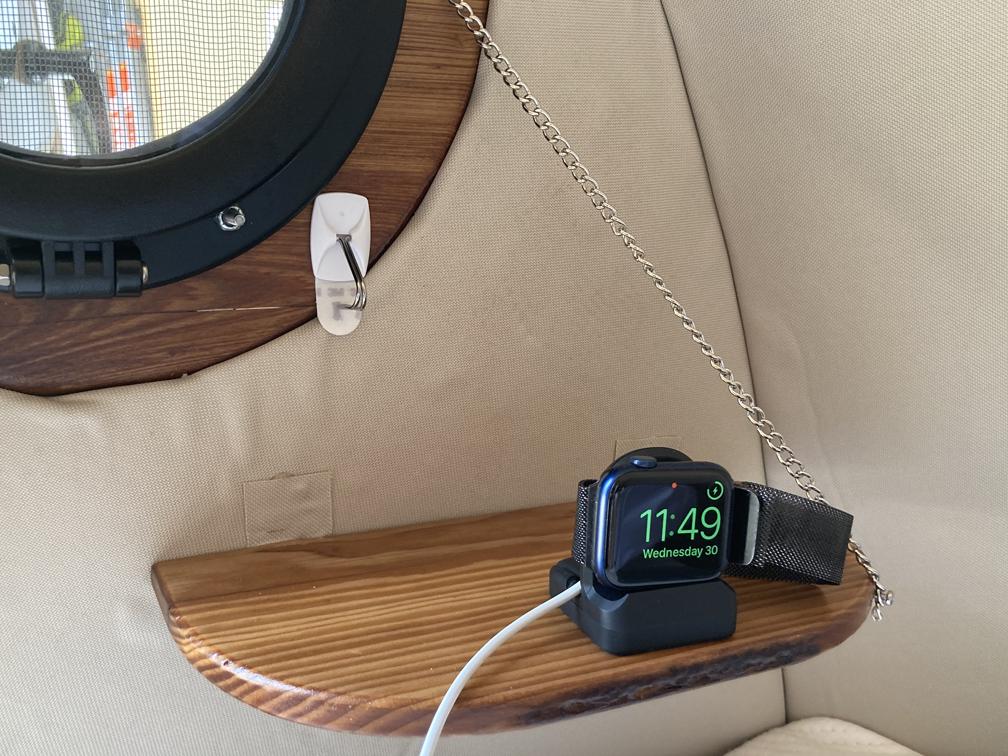
Here’s another idea that will take a little longer to put together but I like it. Months ago I had made small wooden shelves for inside the cabin but hadn’t considered the thickness of the insulation when making them. Also, I would have had more holes to cut in the insulation for the shelves to pass through so they were ‘shelved’ for a while. (Sorry, but I had to do it.)
Anyway, here’s what I came up with to use them. The wood around the portholes was a good place for me to attach a chain to hold the weight of whatever is on the shelf. You would need an alternative, maybe a small hook epoxied to the inside wood or the insulation. The ‘hinges’ at the back are fabric that is stapled to the back of the shelf and hot glued to the fabric covering the insulation. The 3M hook can hold the shelf upright and out of the way if needed.
It will be a good place for a phone and/or watch, a small book or other lightweight items at night.
 Participant
I took my first trip in the camper recently and found there are not many places for smaller stuff inside. The kit shelf provides some space and the two ideas above look great so I’m hoping more owners/builders will contribute other ways that you’ve figured out to store or organize inside the cabin. I’ll start with something simple and go on to ones that will take more time and effort.
I put a 3M hook at each door, at first not sure what they might be used for but on the trip I hung a large plastic bag from one to hold my shoes after getting in for the night.
 Participant
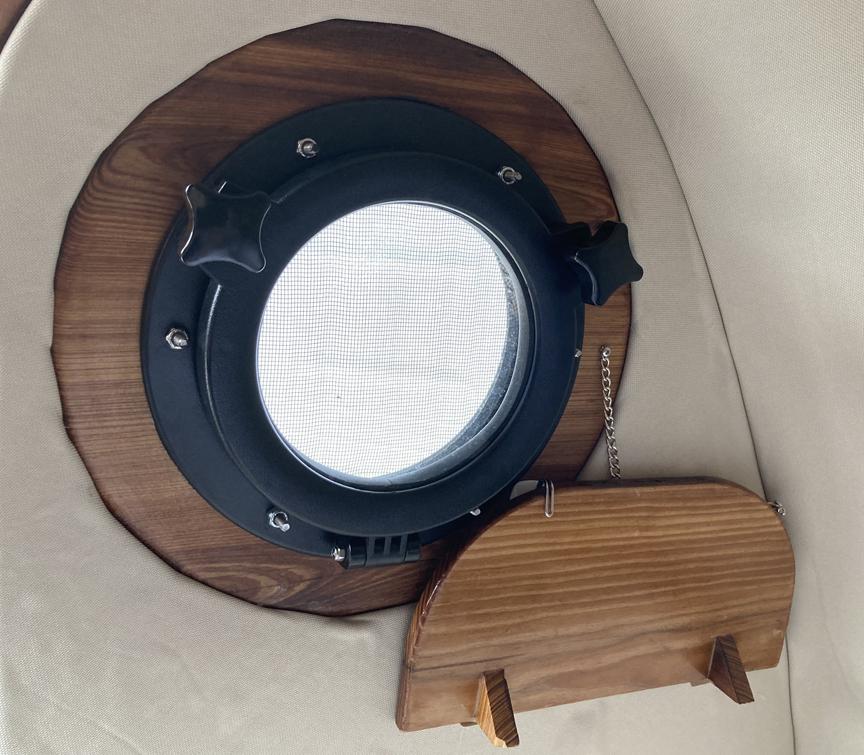
venableme, it’s from Amazon. The complete description is – ‘Amarine Made Boat Yacht Rectangle Opening Portlight Porthole 15-3/4″ x 7-7/8″ Replacement Window Port Hole – ABS Tempered Glass, Color: White, Black’
Do a search in this forum for ‘3883’ and you’ll see a few posts about putting it in. There’s information about round ones earlier in that same topic if you’re interested.
I like the rectangular one because it adds a different look to the back of the camper than most have. I put it in for more ventilation but the two round ones in the front will be all I usually need.
I’ve sprayed water on it from a hose and none gets in but it hasn’t been rain tested yet. I installed it using black butyl tape as a sealant, which should last for many years. Because of that and its location, I don’t think leaking will be a problem.
Something to note – a few poor reviews mention that the holes on the inside and outside parts don’t match up but that’s on purpose. It’s meant to be installed on a thicker ‘wall’ using screws to attach the parts and the screws won’t hit each other. The round portholes use bolts that do go through matching holes (at least mine did).
-
AuthorPosts