Forum Replies Created
-
AuthorPosts
-
RowingBoatmanSteve
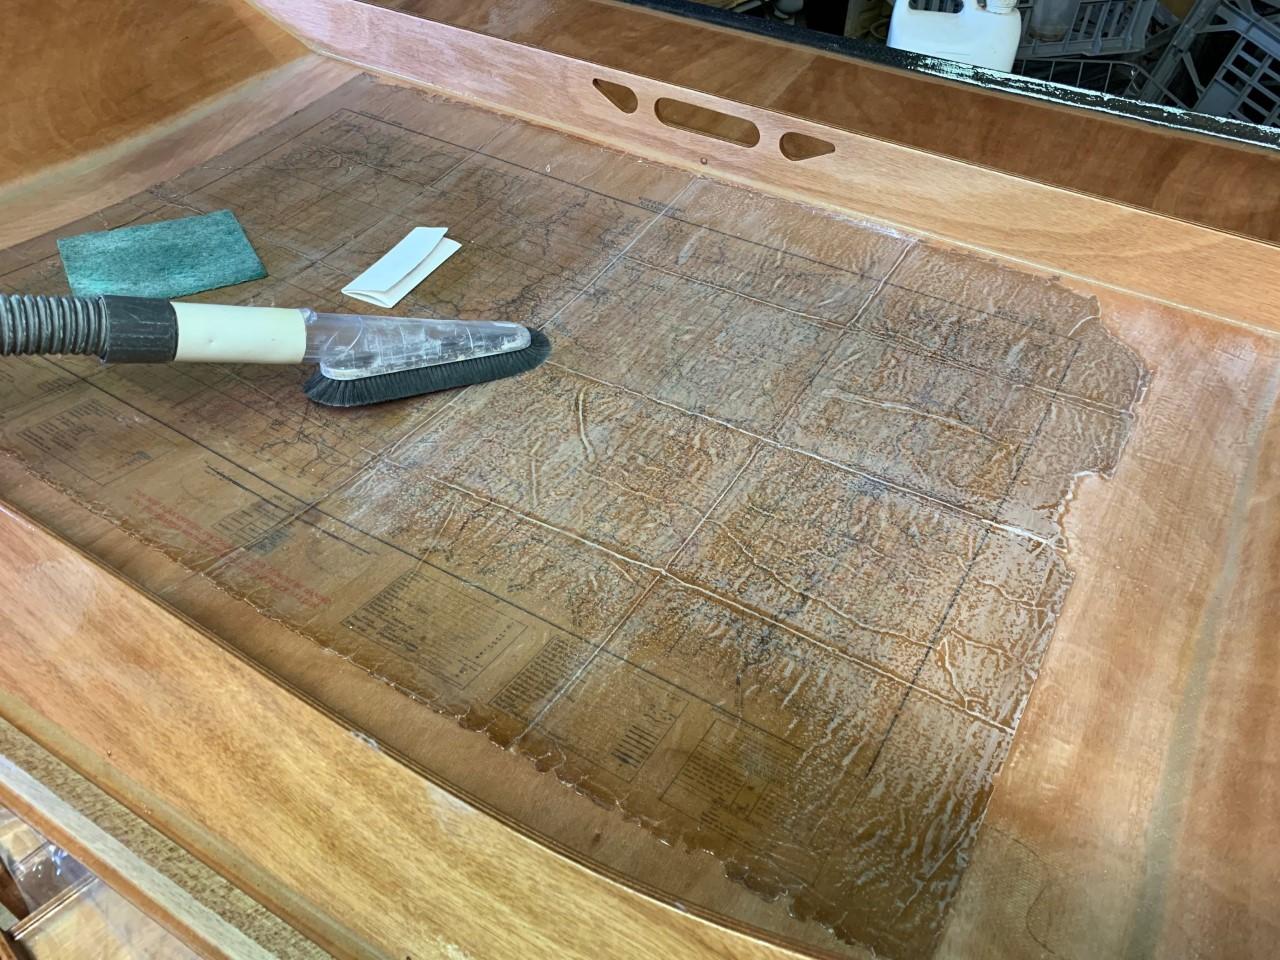
ParticipantThe map has some meaning too- it is a vintage military map that belonged to my Dad, and shows the area that he grew up in. It also shows the location where my wife and I began our honeymoon 25 years ago.
I added two layers of fiberglass on the inside of the hatch along with an additional ply batten for stiffness, before embedding the map under a final couple of resin coats.
The galley hatch edges don’t flex when it is closed, and the added ply stiffener acts as a great handle when closing and opening the lid.
Here’s a pic of the process underway – sanding between epoxy coats…
 Participant
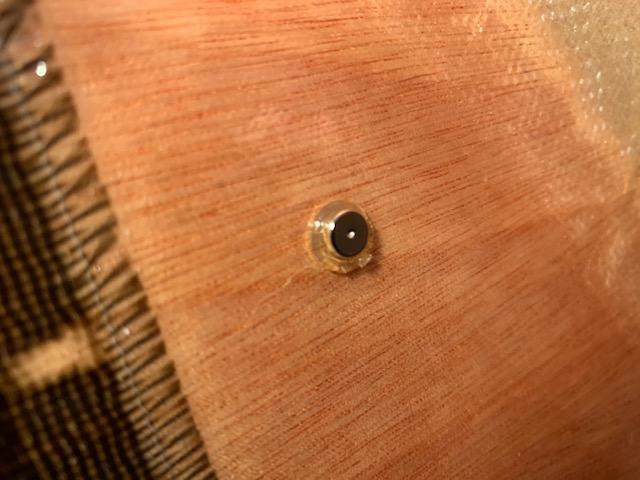
…the magnet attached to the camper, perfectly aligned with the foam-embedded magnet!
Participant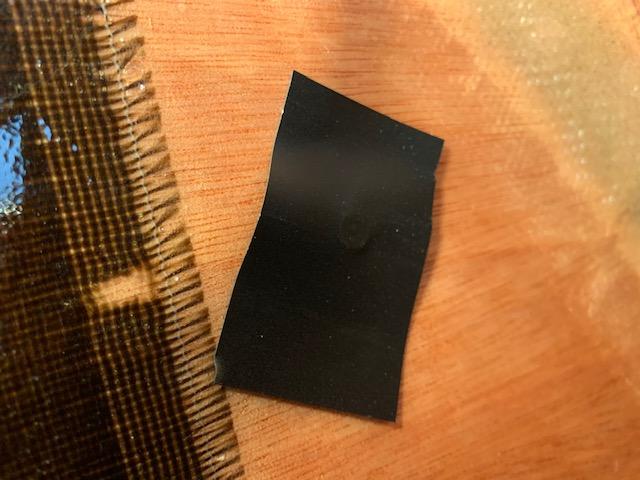
… the tape holding the glued magnet to the camper while the glue sets…
Participant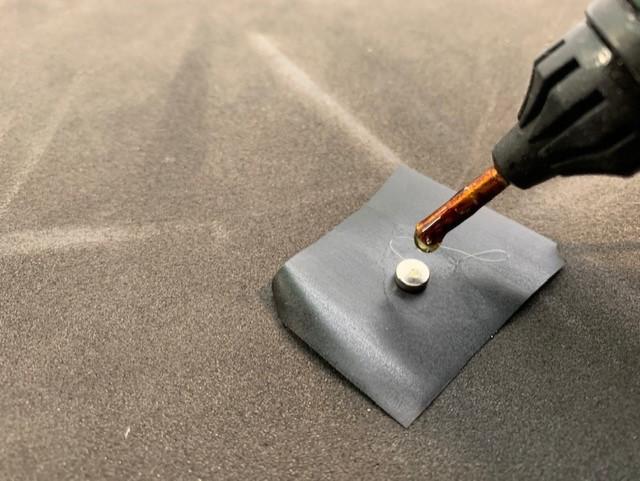
… glue being applied to the second magnet (CA or hot-glue)…
Participant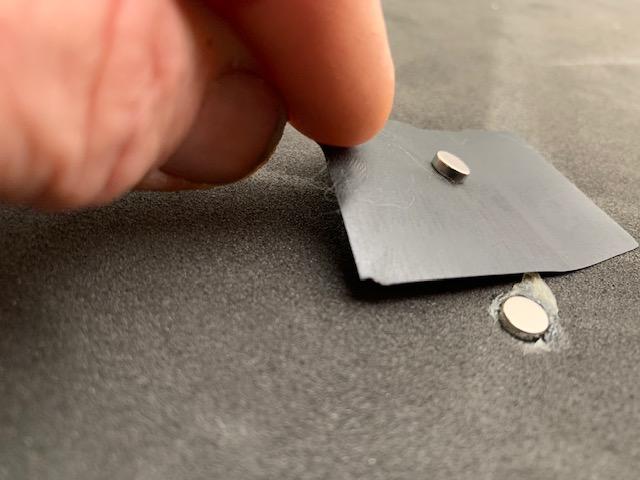
… the first magnet embedded in the foam, with the second magnet on top of sticky-side-up tape…
ParticipantHere’s an idea that has worked well for my build: by using matching pairs of rare-earth magnets, the attachment is positive, secure and easy to install.
Wall panels- 6 x 2mm paired with 6 x 2mm neodymium magnets (six pairs per panel)
Roof panels – 8 x 5mm paired with 6 x2 mm neodymium magnets (the 8x5mm magnet embedded into foam) (eight pairs approx. per panel)Process:
FOAM PANEL
- using the tip of a hot-glue gun, make a hole in the foam slightly larger than the magnet
- fill the hole with hot glue
- place the magnet into the well of hot glue, to the level of the foam surface (or the fabric fold if covered) and allow to cool
CAMPER WALL
- place a piece of sticky tape (gaffa tape etc) STICKY-SIDE UP on the magnet already embedded in the foam
- drop a second magnet onto the tape – it will self align instantly
- apply CA glue/hot glue to the new magnet
- align the foam panel and press gently onto the camper wall, to cause the tape to make contact
- carefully roll the foam panel off the wall
- check the tape is now holding the magnet to the camper while the glue sets
- remove the tape once the glue sets
- I embedded all the foam magnets first, then proceeded gluing two wall magnets at a time. This allowed me to accurately align the panels.
BENEFITS
- the panels are secure, but easily removed if needed
- the process is neat and simple to do
- the faces of each magnet pair need to make contact with each other: if any of the connections are held apart by fabric thickness etc, simply drop another magnet onto the pair to make up the space!
- I covered my panels with polyester fabric, so the magnet placement in the foam was often well in from the outer edge of the foam panels – this wasn’t a problem
Hope this helps!
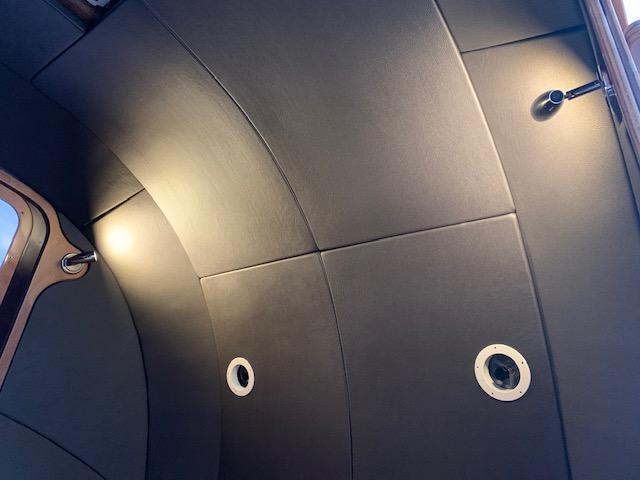
…the end result!
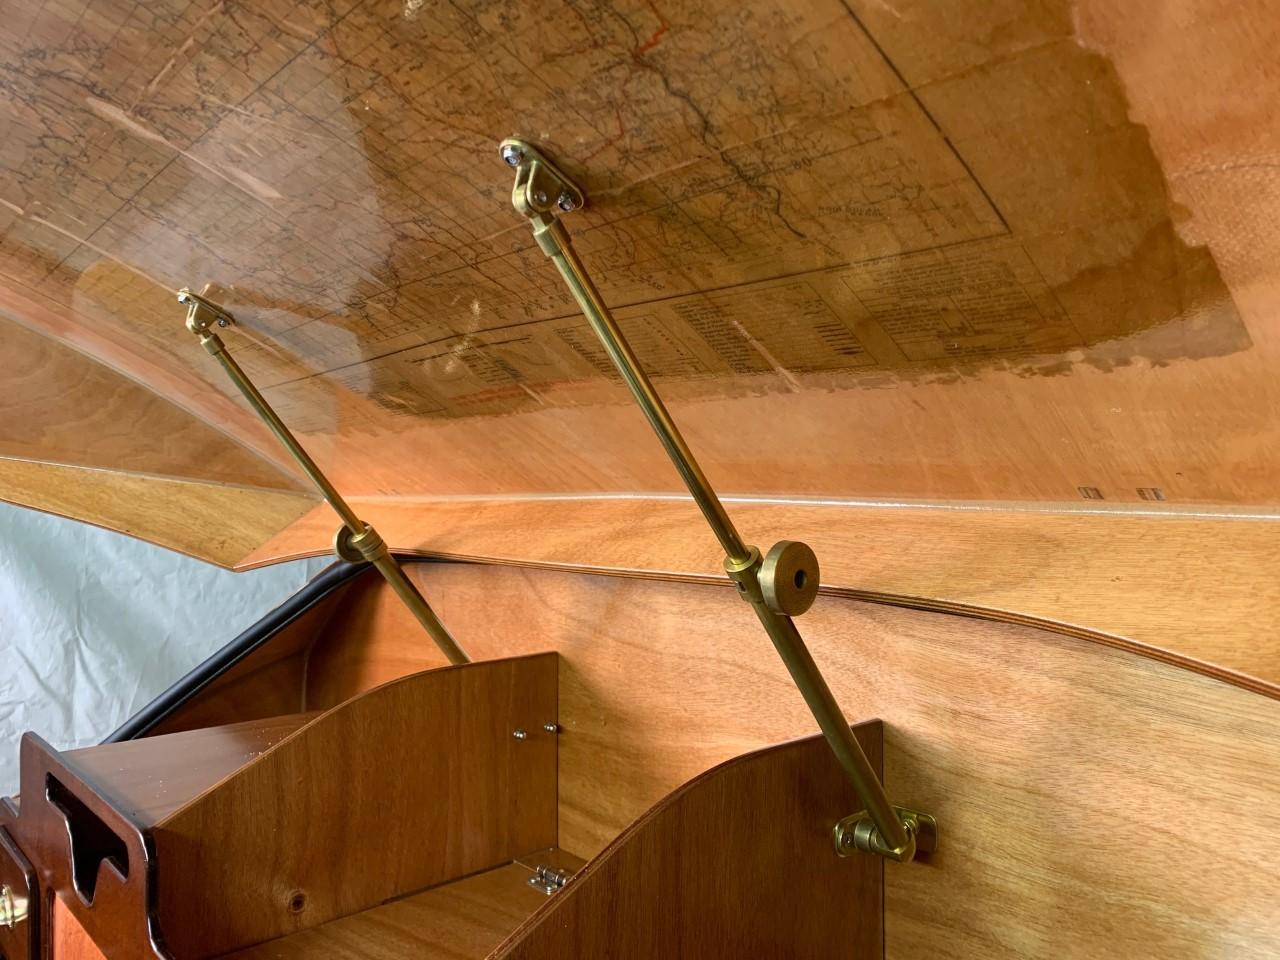
ParticipantThe brass stays (also available in chrome plated) are made by Foresti & Suardi in Italy.
- A couple of sizes are available, but the one to suit the CLC Camper is 320mm-500mm, and remember to order a left and right side!
- (Available in Australia through Classic Boat Supplies), so I’m sure there would be a supplier in your part of the world.
If you go ahead with the install, the position measurements that worked for my build were:
- on the lid: 300mm away from the stiffener (as per manual)
- on the galley bulkhead: approx. 410mm up from galley shelf (to rest on left side galley unit shelf)
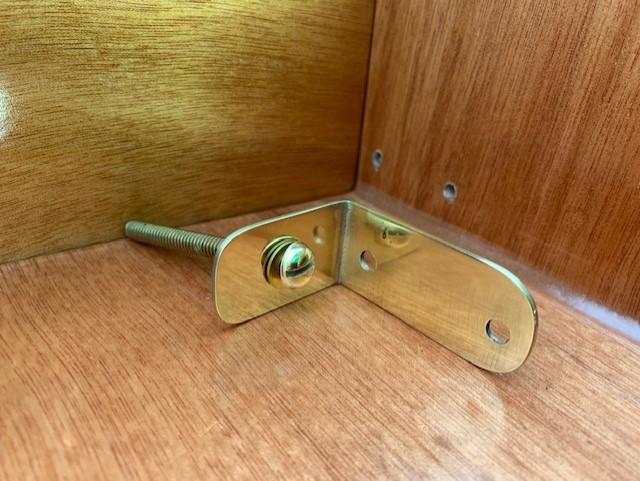
I fabricated a brass bracket to spread the load to both the bulkhead and the galley unit (if you have one). If you don’t have a galley unit, a mounting block will be needed (due to the orientation of the brass attaching hinge). Here’s a picture to illustrate the bracket (95 x 25 x 1.5mm):
Hope this helps!
ParticipantHere’s an option – to avoid issues with upward pressure acting on the hatch when closed, I chose to go old-school and fitted brass telescopic stays instead of the suggested gas struts. Very secure, with the added bonus of infinite height adjustment!
-
AuthorPosts