Welcome to TeardropForum.com › Forums › Teardrop Builders’ Forum › Southern Maryland TD Build Log › Reply To: Southern Maryland TD Build Log
You know, a cheap thrift store kitchen mixer would work pretty well actually. One mixes a LOT of batches of epoxy goo and hand stirring gets old pretty quick. I’d also get a kitchen timer. Though, I’d admit, the “one song on the radio” timer works ok too. Most radio advertising spots are 30 seconds long, too.
Stain would work out for a darker tone, however I’d be concerned that it would tend to accentuate certain build errors / scratches / sandthroughs / oopsies.
Tip: Never EVER use a utility knive / razor blade to cut fiberglass over the wood on the trailer. It leaves a clear dark line after epoxy is applied unless sanded COMPLETELY out.
Today is Door Mounting Day. Hatch too. First step: Run to the hardware store for bigger clamps. Early on I bought a batch of 120 cheap 4″ Chinese made spring clamsps. They break easily but they have worked well, the whole batch was $35 off of eBay. 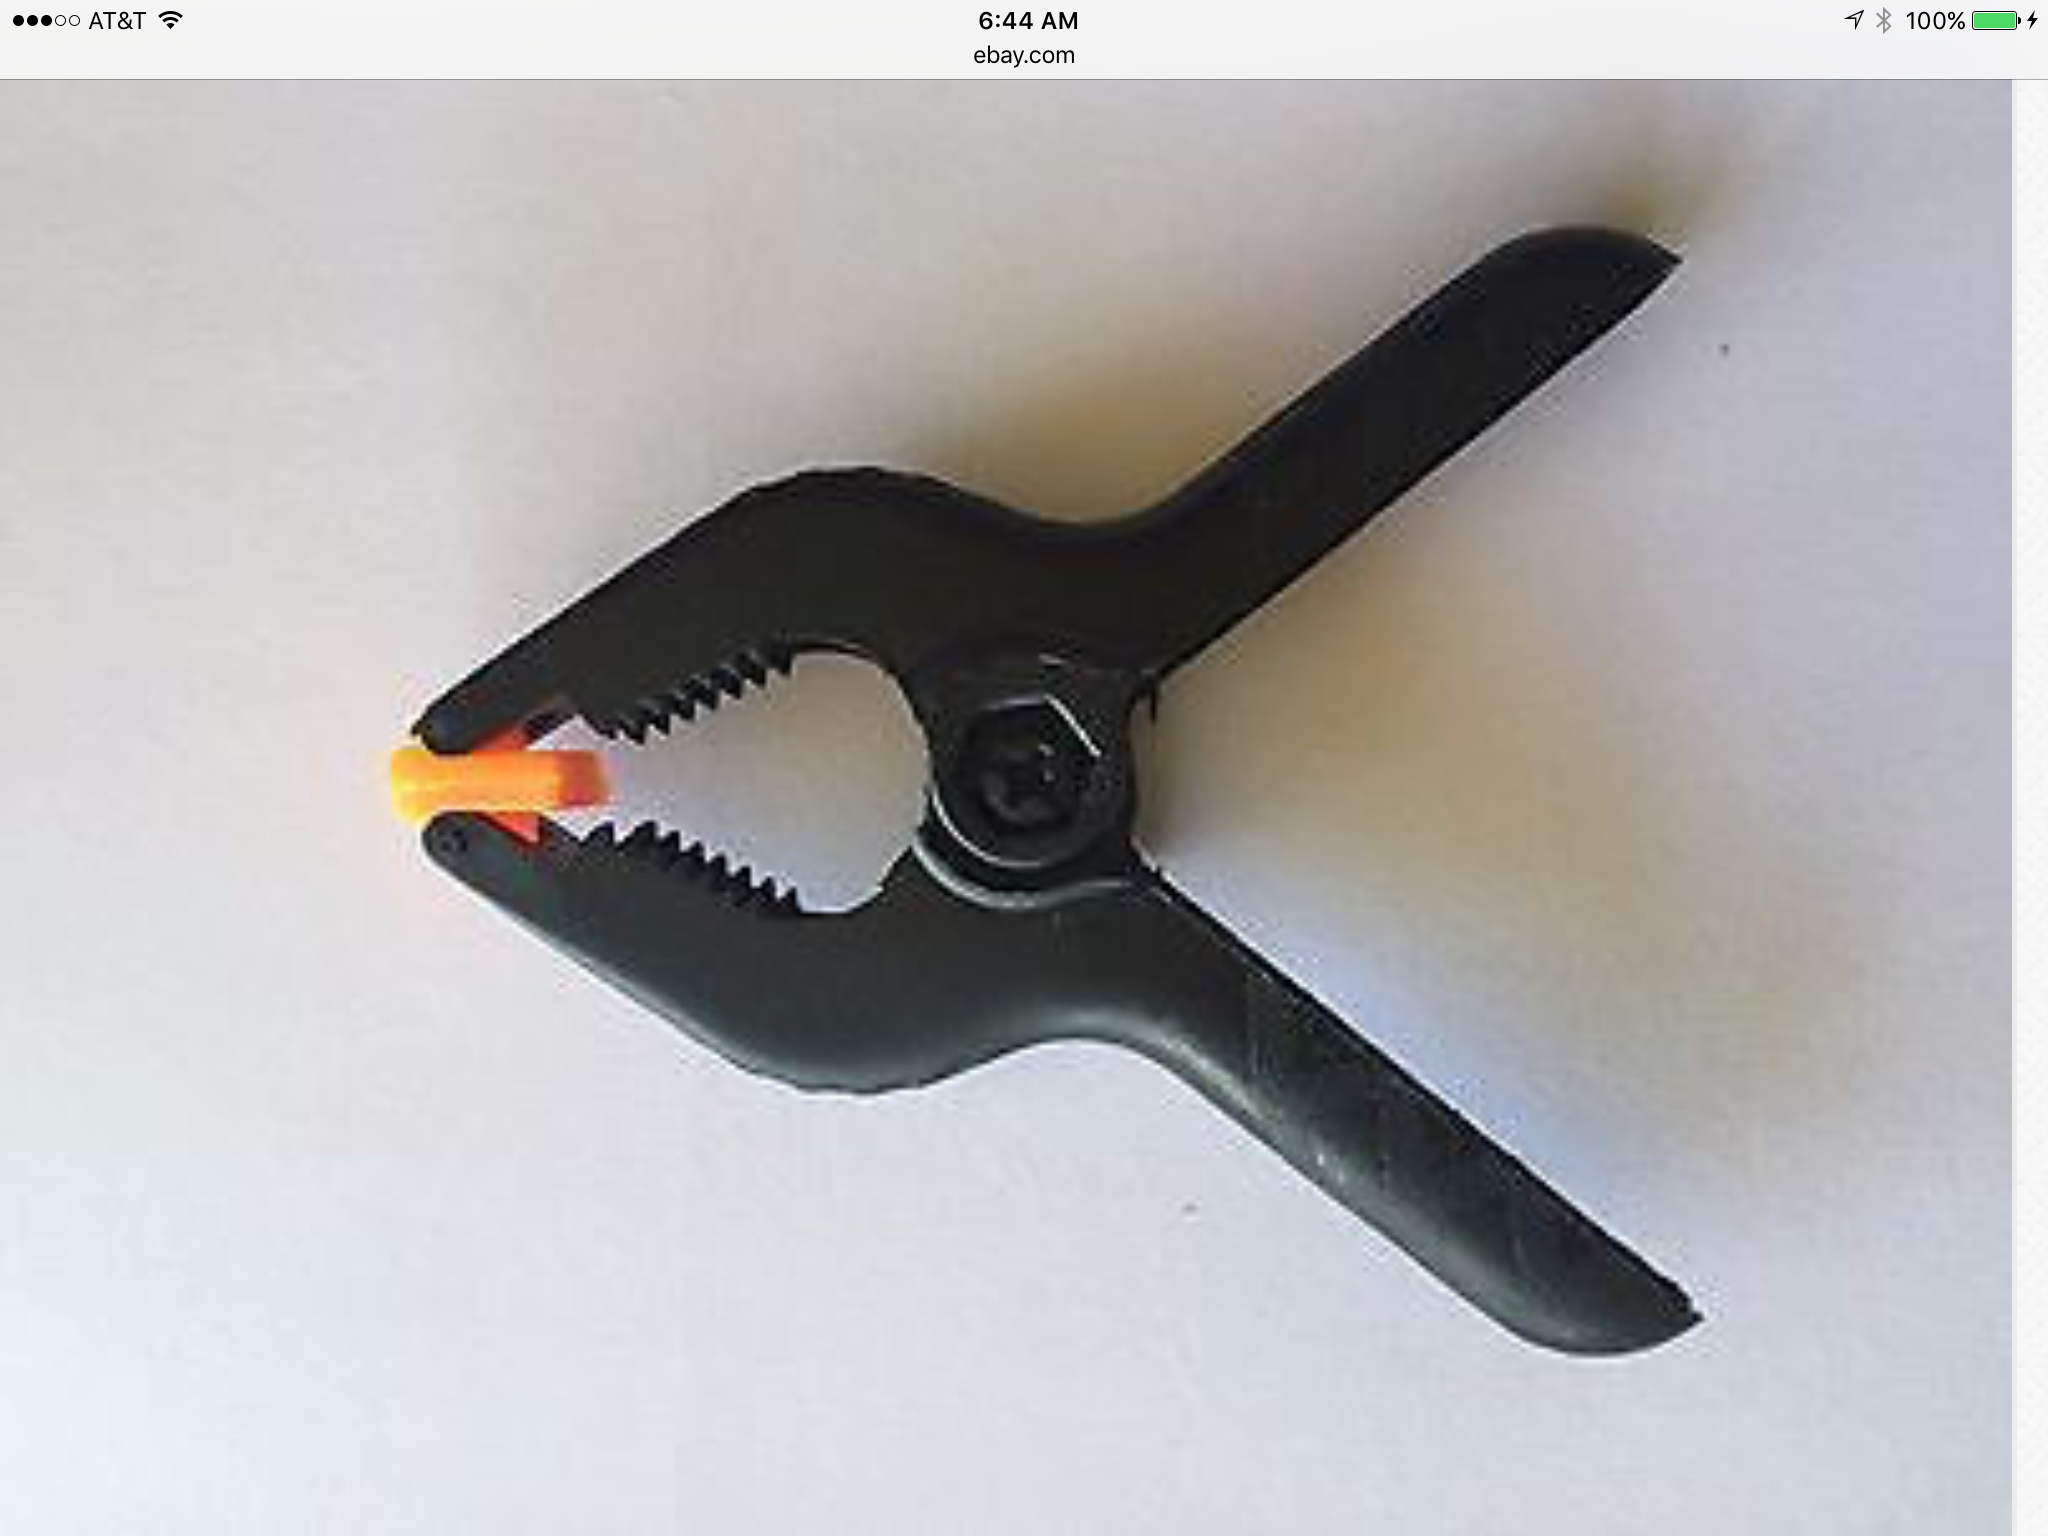
Also, I laid in a supply of “chip brushes” off of Amazon. Pack of 36, I’ve used about half so far, $15.23. I found a deal on foam brushes at the local hardware store, an assortment pack for $1.79 so I bought six of them — each bag has a 3″, 2x 2″, and 6 1″ foamies.
I had a pretty good collection of general purpose sandpaper so, other than 5″ 8 hole DA sander disks I haven’t bought much of that.
BUY CLC’s foam epoxy roller covers! Do NOT use Lowe’s black foam roller covers, they fall apart.
Buy CLC’s fillet tool or, lay in a stock of plastic spoons in different sizes. The plastic spoons work pretty well for fillets. One can vary the angle of “the swipe” to make a larger or smaller fillet. Clean up excess epoxy like a fiend. Always have the mind set that epoxy left behind when wet is epoxy one will have to sand off later.
Buy a box of wooden shims at Lowe’s. I bought the big ones that are 14″ long. Carpenters use them when setting doors and windows in houses. I use the bandsaw to slice them in half so they are about 1/2″ wide, then in half so they are about 7″ long. Instant stir sticks! The tapered thin end works great for applying and cleaning off excess epoxy goo, either thickened wing Cello-Fill or wood flour.
Buy and use the 3M rubber dust mask with interchangeable filer cartridges. They look kinda stupid wearing them but with the amount of sanding one does it’s essential. Swap out the filter for the organic vapor filter when doing varnish. Honestly I don’t wear a mask doing epoxy, the MAS epoxy is nearly odor free and I have pretty good general ventilation in my shop anyway.
Especially of your shop does not have regulated heating, consider building a “epoxy box”. Mine is about 24″ x 24″ x 30″ built from random plywood I had laying about and drywall screws. It is not an example of fine craftsmanship! One might insulate it if you happen to have some handy but that’s optional, really, it works either way. I then installed a electrical 4×4 box, a light bulb base (like you see in attics), and wired that to another 4×4 box that I put a “electric baseboard heat” thermostat. The thermostat is a bi-metallic mechanical thermostat with 120V contacts. It was about $20. This regulates the temperature inside the epoxy box. I them rigged a little thermometer display bought off of Amazon
From a company called “KEYNICE” . It’s a 1″ x 2″ digital thermometer with a three foot long wire that has a temp sensor on the end. $10.18 I think it was. I run it off a USB LiPo battery pack, a 1000 MaHr battery pack runs for 3-4 days. Or plug it into a wall charger, whichever. The point is, monitor your epoxy temperature.
Red SOLO cups! If you are at Costco, buythe 120 cup stack. I have used about 50-75 so far. Also, buy smaller, maybe 3-4 oz plastic cups for those tiny batches of goo that you need every once in a while. The “one pump” batches. Speaking of batch size….
Epoxy batches: I have sort of standardized on sone batch sizes that seem to work for me.
A “big batch” in a standard Red SOLO cup is 30 pumps. Used for major fiberglass wet out jobs. Also for major epoxy coating jobs. It’s a $20 – $30 batch of goo. For the first roof double thickness fiberglass wet out I needed three of these Big Batches. Pre-pump the resin into Solo cups and set them aside, adding hardner and mixing (3 minute rule!) as you need more goop. This is a great “little helper” job, one can teach a 9 year old kid how to mix epoxy. Old clothes (because they WILL get epoxy on them), a face child or goggles, and disposable gloves that fit the kids hands are the order of the day here. Maybe that kitchen mixer from the thrift store?
A “half batch” is 15 pumps. Used for BIG fillet jobs.
10 pumps size is most common fillet wood flour goo batch size.
5 pumps is a good size for small to medium coating and goo mixes. I used a 5 pump batch for my door window sill install for example, using Cello-Fill to make the goo.
Oh, btw, mix the Cello-Fill goo THICK, you do not want the consistency to be at all “runny”. Think warm play-doh. Slightly thinner than “putty”. CLC uses food thickness descriptors like “peanut butter” and “jam”. In general terms and not carried to extremes, thicker is better than thinner. You don’t want your fillets to run, you want them to stay in place as formed. When filling a gap with goo, you want your goo to NOT run though the gap and form a spooge on the back side (ask me how I know this, ref: Galley flat install).
After you do a few you figure out where various batch sizes comes to on the “SOLO” letters molded into the cup so if you want to just pour instead of pump you know the exact amount to use. Measure accurately as the epoxy 2:1 ratio by volume is important. One could also weigh out the ratio I suppose but by weight the ratio is slightly different, see MAS Epoxy’s web site for the exact number.
“Rags in a Box”. Basically heavy duty paper towels. I’m on my second box.
Shop vac. Required item IMHO. Buy hose extensions as required to be able to reach every corner of your shop. Hook up your DA sander to it, it helps sandpaper disc life tremendously and is very helpful controlling dust. Empty and clean / replace the filter every day or two. I just take mine outside, preferably on a day when there is a slight breeze, and use compressed air to blow my filter clean.
Shop air: I have a big ol’ belt driven air compressor with a 40 gallon tank, but I also have done a good bit of sheet metal fabrication (building airplane parts). As a result I have a full set of air tools. Nothing beats an air drill, thought I use my Porter Cable 20V cordless a LOT. Blow gun to clean off dust and clean the shop, die grinder is way better than a Dremel. Spray varnish maybe. NOT essential but I have always had “shop air” as a general shop resource. Getting even a small “buzzer” compressor is probably good enough, and you can maintain your vehicle tire pressure with it too. Harbor Freight or Northern Tools are good sources for cheap air tools. Not what I’d get for professional use but great for hobbies and home use. A pro air drill might be $300 but the Chicago Pneumatic “Harbor Freight”, made in China, drill might be $40. I have the high dollar ones and the CP cheap ones and the CP ones are going strong after years of use. The chuck is a little better on my nice drill but the CP one is fine, though it’s a metric chuck key size 😉
Shop heat. I started out with a kerosene “torpedo” heater and that worked well, however it does produce a small amount to soot that slowly accumulates onto everything. I saw it on my yellow epoxy spreaders first. Reported to cause epoxy and varnish fish eyes. I switched over to a cheap propane burner. Your needs will vary based on your shop size. I suppose one could use the plastic tent and shop lights method but always just struck me as a pain in the butt.
Bottom line on shop heat is, manage the shop temperature carefully. I bought and use a data logging USB thermometer to record shop temps; it plugs into my PC and i can read out the shop temp profile. I use the propane to provide bursts of heat while working and also have a electric 1500 watt oil filled heater that dramatically slows down the temperature drop rate. It is able to maintain about 50F shop temp in 25F outside temp conditions on it’s own; in a single car garage sized insulated shop. It takes about 6 hours for the temp to drop to minimum starting at 75F. At 35F the minimum is about 60F, which is my goal “minimum epoxy working temp”.
Shop tables: I use those standard plastic “banquet tables”. I cover them with a sheet of plastic because they will see a lot of epoxy, the last thing you want is a part one has epoxy coated and set down upon a workbench to become glued to said workbench! It happens!
It’s worth noting that these are NOT particularly flat, in fact they tend to bow a lot. If you need “flat”, put down some 2×12 dimensional wood, plywood, or whatever (or use the floor) and check it’s flatness with one’s 48″ aluminum rule. Lowe’s has these pretty cheap, or the orange fiberglass reinforced plastic 48″ levels will also do. You want a reference tool for “straight / flat / level” handy in the shop.
Sawhorses: Build a pair of 8″ to 12″ tall low sawhorses for the TD cabin to sit on while you work. I just got some 2×4’s and four of those “sawhorse clips” at Lowe’s and used the chop saw and drywall screws to put mine together. The height you choose will depend on how tall you are!
I also use a pair to 4×4 timbers for the cab to sit on when I want it lower. I also make extensive use of a pair of plastic 32″ high folding plastic sawhorses. CLC’s super nice sawhorses are awesome and if I were building boats all the time I would build some of those. The cheapie plastic ones are fine for as much as I use them though.
One can spend a lot on shop stuff and tools or get “good enough to get by” and save a LOT of money. If you like building stuff and see long term uses further down the road on different projects, by all means, invest in good tools. If the budget is tight then getting the cheaper, but “good enough” tools is fine. Certain things are worth spending on to get great quality but other things, that might be used much less often, it might be ok to get the cheaper version. Get quality sockets, hand wrenches, and screwdrivers. Oh! Found a total GEM of a tool thanks to CLC on this project, that Saw Rasp! Buy it from CLC or Amazon or wherever, but this thing is AWESOME. Also a Japanese razor saw. I’d get the small one, you don’t use it often but the precision of the cut / kerf, well nothing else can do what it does.
Wow, kinda went long on this post. The dogs woke me up at 0530 so just typing and having my morning coffee. Hope my sharing some of my shop ideas and tips and tricks helps somebody!
Don
-
This reply was modified 7 years, 5 months ago by
SOMDTD. Reason: General editing & spelling