Forum Replies Created
-
AuthorPosts
-
madebymike60
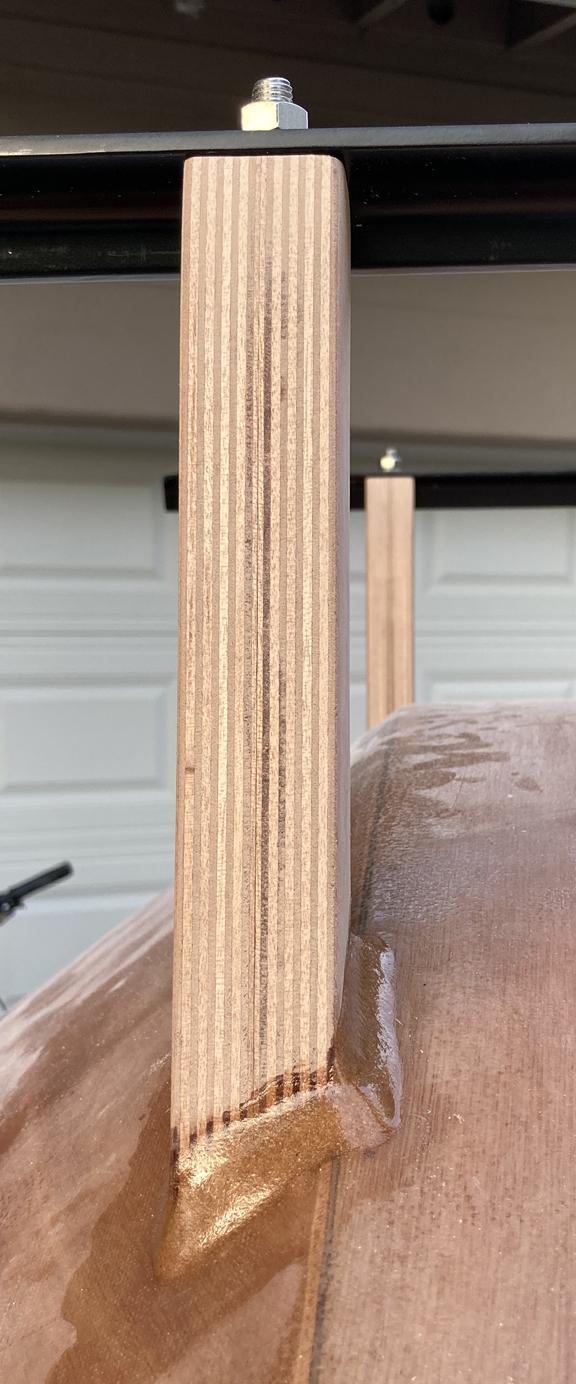
Participant6) I mixed cell-o-fil with epoxy to attach the bottom of the supports to the camper. After about 40 minutes I scraped the extra away and a couple of hours later added the fillets you see below. My supports are approximately where the Thule ones would be but basically the rear ones are about as far back as possible (close to the galley hatch) and the front ones ended up 30 inches away (straight line measure). This picture shows how the front and rear supports should ‘align’ with each other when looking at both. This is important to do before the epoxy cures. If both are plumb, they will align but eyeballing it is a quick way to tell if one might be a little off.
After the epoxy cured, holes were drilled in the aluminum cross pieces to match the distance between the stainless studs. I measured, drilled one hole, placed the cross piece over that one bolt and marked where the other hole should be.
 Participant
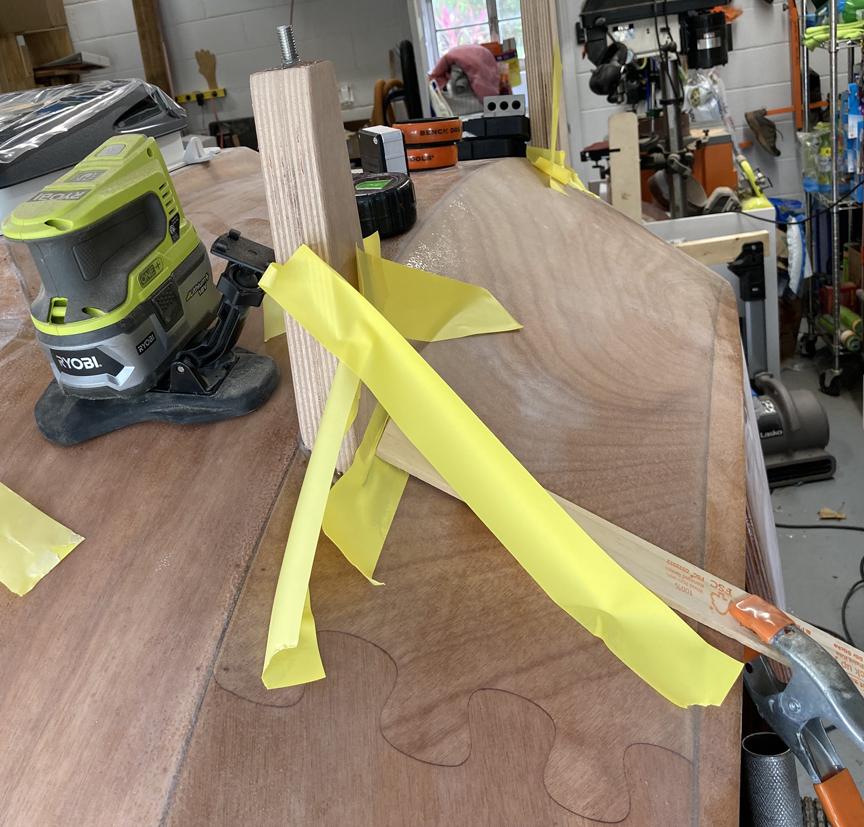
5) You’ll have to be creative to hold the supports in place while the epoxy cures. The near one is held by a clamped paint stick, lots of tape and and car phone holder (with extra weight on it). I worked when it was about 78 degrees – not too warm but close – and I could only do two supports before the epoxy in the cup got too hot. It took a while to check plumb, adjust, tape and then repeat several times for each one. I realized too late that dry fitting was easier because the uprights stay in place better with just a little tape. They tend to slide on the epoxy, something I hadn’t thought of and they needed many more things keeping them in place.
 Participant
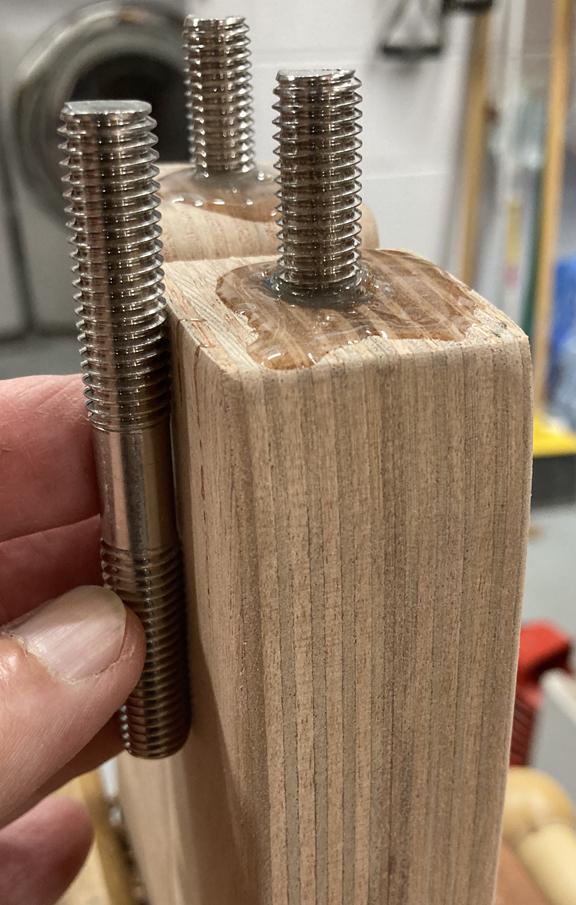
4) When the supports are ‘dry-fit’ pretty well (there may be a tiny wobble because you’re fitting a flat surface against one with a slight curve), I epoxied some stainless studs into the supports. This picture gives an idea of how much is in the wood. I just clamped the support piece and drilled a slightly oversized hole as straight up and down as I could.
-
This reply was modified 4 years, 4 months ago by
madebymike60.
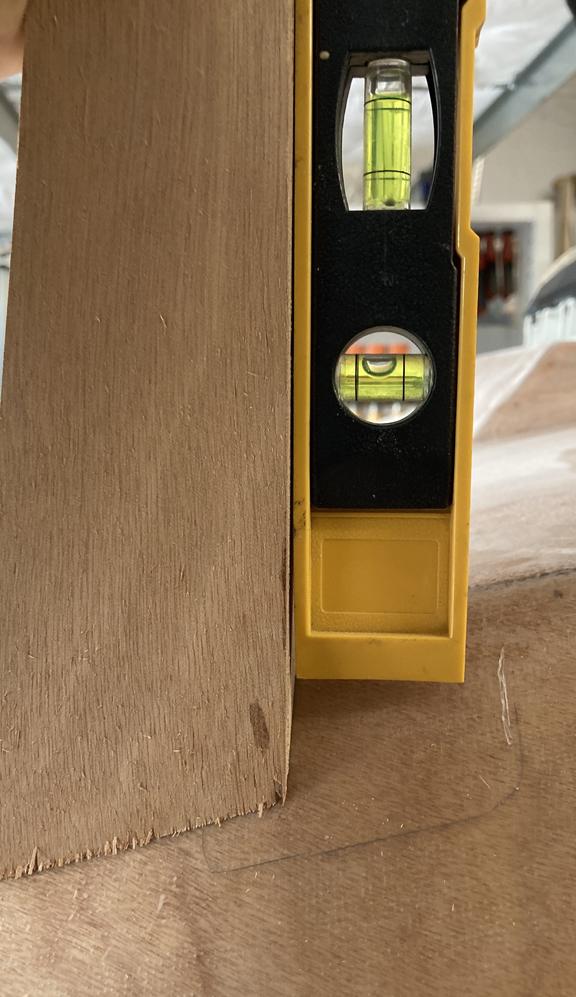
ParticipantI spent a lot of time making each support fit at its location on the camper. A torpedo level was used to plumb the back (non-tapered) side of the supports. I then outlined on the camper where the base should go. (The pencil outline in the picture is from the first ones I tried but ended up not using.)
 Participant
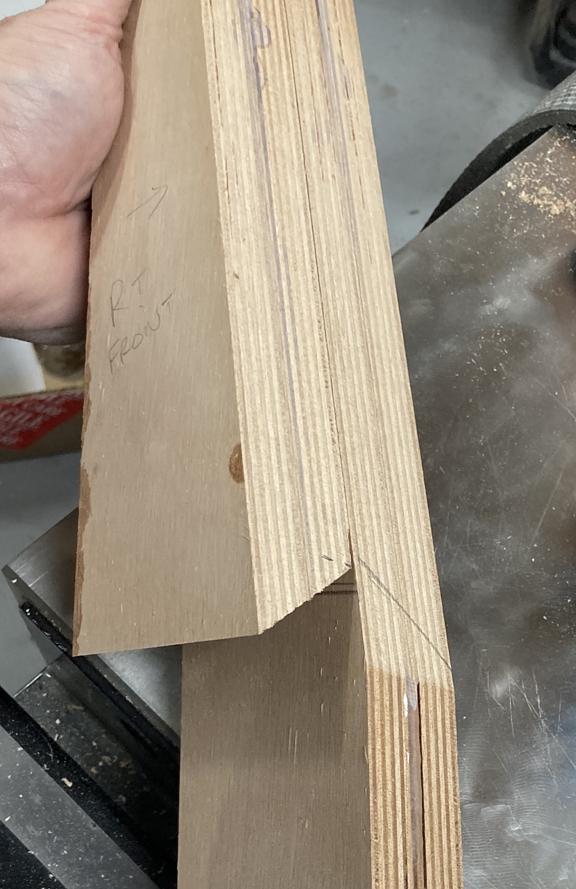
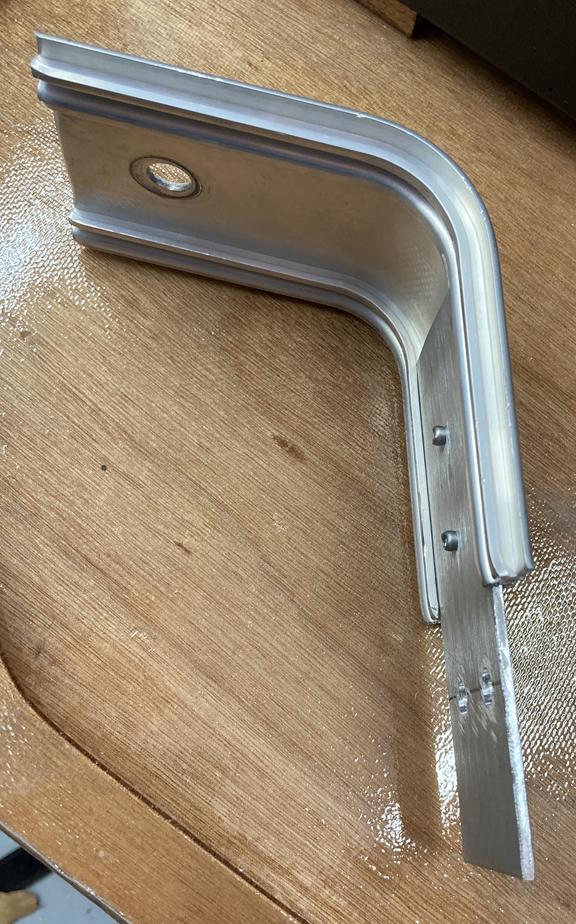
2) I used the ends of the bunks because I like the tapered look. I faced the taper/angle of each upright toward the front of the camper. You could also cut pieces from the middle of the bunks and not have an angle. (I actually tried that first but didn’t like it as much.) About 13-14 inches of the ends of the bunks were cut off and two pieces were epoxied together using cell-o-fil to end up with four upright supports. Two are in the picture below. The bottom of each is a compound angle cut. For mine, one angle was about 37 degrees and the other was about 12 degrees but yours may be different depending on your build and where you decide to put the supports. One support in the picture has the compound cut already and I’m using it to mark the other piece. Notice the piece is marked with its location on the camper (right, front) and and arrow to remind me which way faces forward.
 Participant
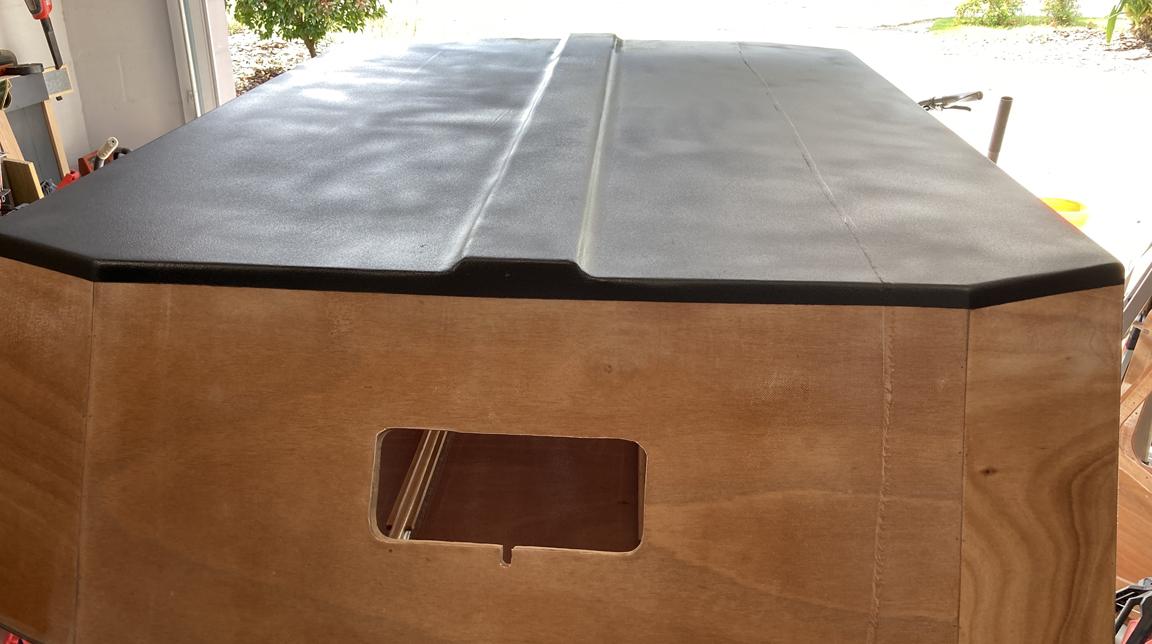
Here it is nearly finished. I’m still working on the end supports and figuring out what to use as spacers between the fender and trailer but it’s getting there.
 Participant
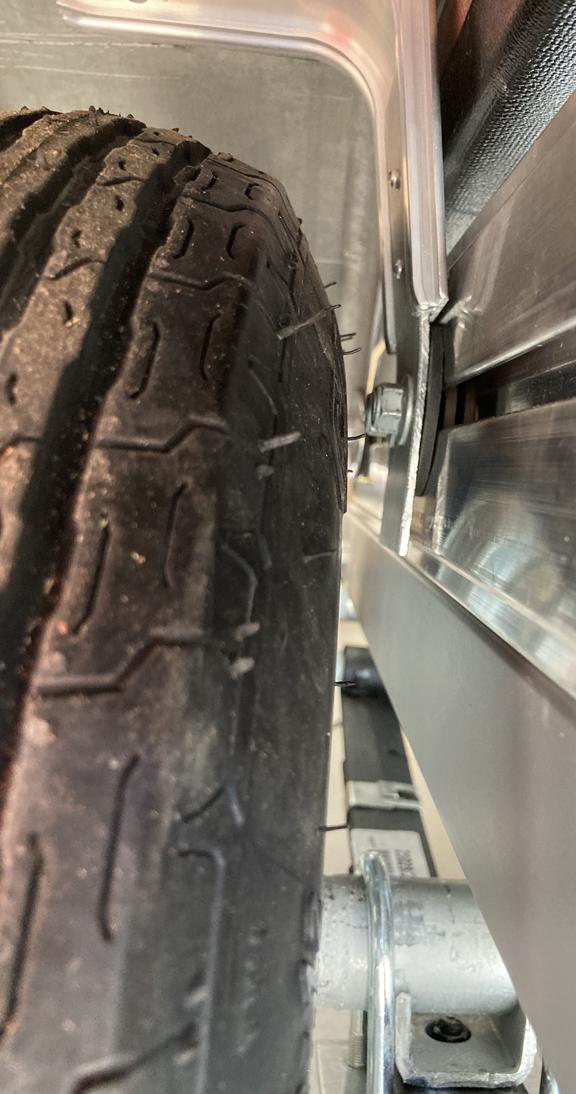
Once you have it bolted in place, it should look like the picture below. It’s slanted a bit upwards because of opening the angle before but now just push on the bracket to bend it and the extension down so that the top of the bracket straightens (levels) out. This will also pull it away from the side of the camper. (My camper is slightly wider across than the trailer and if the bracket goes straight up, there’s not enough room for the camper to fit much less have a little clearance.) Then go back and use tentnomore’s idea of spacers and longer bolts to pinch the ends of the fender.
-
This reply was modified 4 years, 5 months ago by
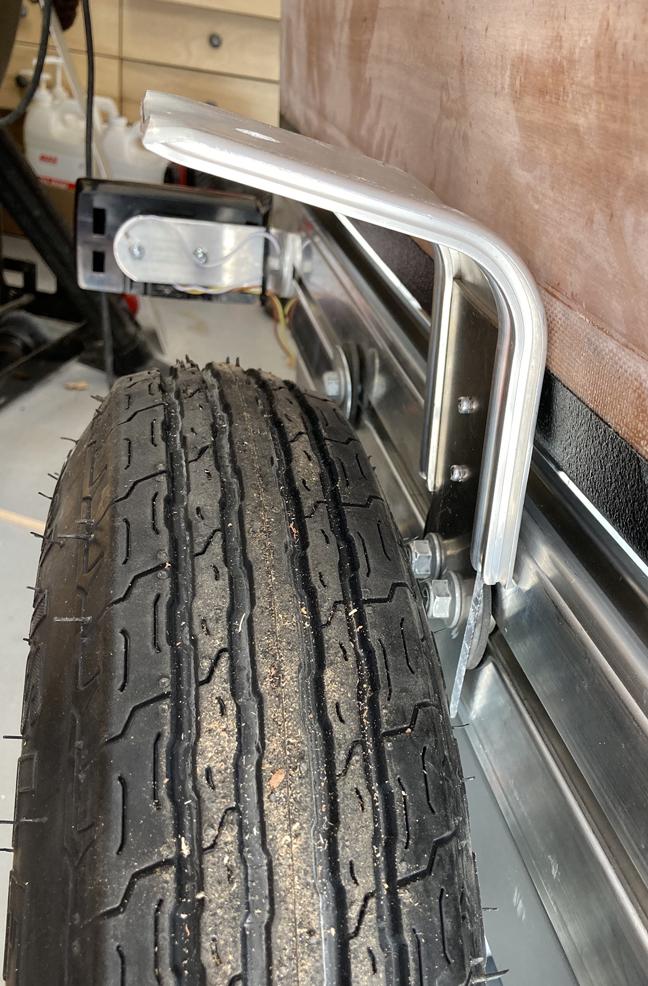
ParticipantYou’ll need to drill two holes in the extension piece for bolts. I held mine in place against the trailer and marked where the channel/track was. Two holes about an inch apart seemed good. The picture below shows the extension/bracket attached to the camper. I used rubber washers as spacers rather than try to bend the extension to fit snug up against the trailer.
 Participant
Before hammering the extension into the kit bracket, I ‘opened up’ the angle of the bracket. I started by tracing the outline of the bracket (to know where it started) and then set it on a concrete floor like a tent and gave it a couple of good whacks with a small sledge hammer. Don’t go crazy because it will be very hard to bend back but since the new extension will be bent a little bit outward to clear the camper, the fender would be crooked without the bracket having a wider angle. You can see below how much I changed the angle and it seemed about right. I also added a couple of aluminum rivets to help keep things together though if you cut the extension correctly, it should be a very snug fit.
 Participant
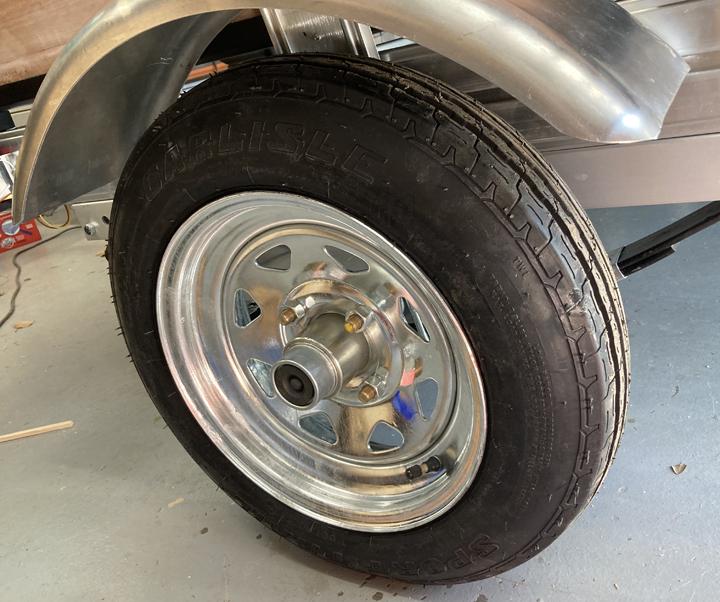
We also thought the camper/galley height was too tall on 12 inch wheels and changed the axle to overslung. To solve the fender issue, I made an extension for the kit fender bracket to raise it up a few inches. I used a piece of 1/8 inch thick aluminum cut to 2.5 x 6 inches. The 2.5 inches will just fit into the grooves that are on the inside of the bracket though the grooves on mine were crimped a bit at the ends and had to be ‘opened up’. I used a die grinder and cut off wheel but a file might work. Also, the 6 inches doesn’t matter as much as the 2.5. You can see in the picture that my extension goes all the way to where the kit bracket curves but also leaves enough length to drill two bolt holes for attaching to the trailer. I added a couple of aluminum pop rivets to help hold things together but if you cut the extension piece right, it should be a very snug fit. I had to hammer the piece into the kit bracket to get it in all the way.
 Participant
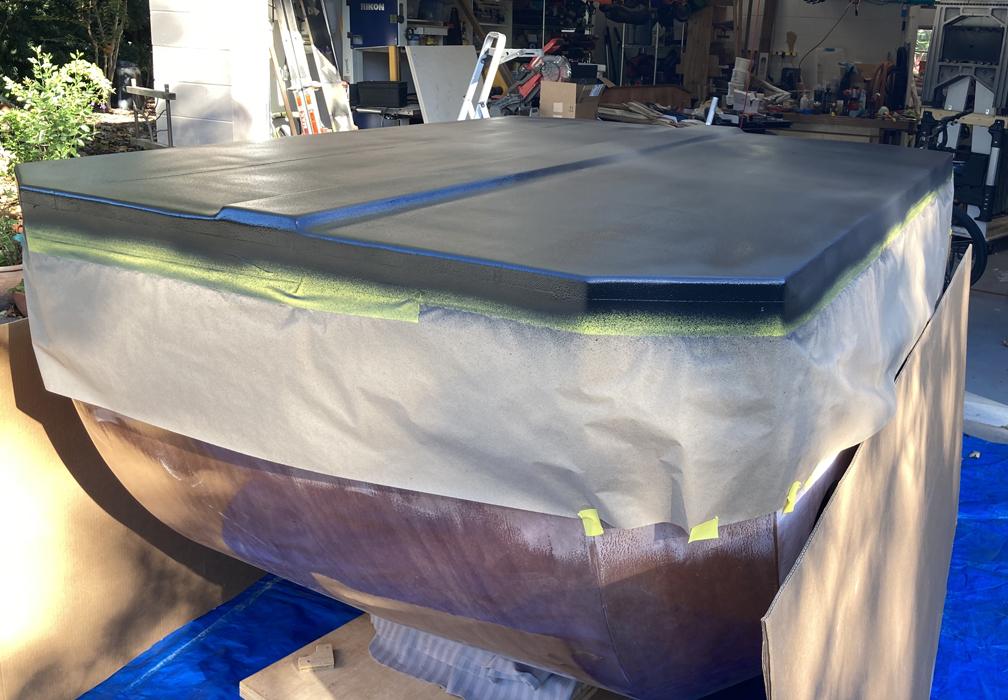
Here’s how the U-pol raptor liner turned out. Each bottle of liner provided a good coat over the entire bottom and I used two bottles about an hour apart (each one thinned about 20%). Right now it looks great with just a slight texture. I can’t say how long it will last but from online reviews and feedback on this forum, it should protect for many years. As others have said, use a good respirator and work where you have ventilation if possible.
 Participant
Here’s another vote for U-pol Raptor. I have a Fuji HVLP 4-stage system but used the suction feed gun from an older system. The raptor liner was thinned just under 20% and it went on very nicely. There was very little overspray but the camper sides were protected by paper and cardboard just in case.
 Participant
I’m doing the inside ‘ceiling’ while the camper is upside down and the bottom is being fiberglassed. It’s easy to get at now and you avoid trying to brush epoxy on over your head if you were inside the upright camper. Something that helps is an extension for your roller, if you use one. I have a 3 foot dowel that’s threaded at one end and it makes reaching most of the inside pretty easy.
 Participant
I’ve since seen what I overlooked in the directions before – they do show adding a fillet between the gutter riser and galley flat on page 174. I would still be patient and not try to do too much fillet work around the gutter at one time. This advice is also in the directions but if you’re more of a ‘picture person’, you might miss it. So much of this area will be visible every time you open the galley hatch and you don’t want it to be sloppy.
-
This reply was modified 4 years, 6 months ago by
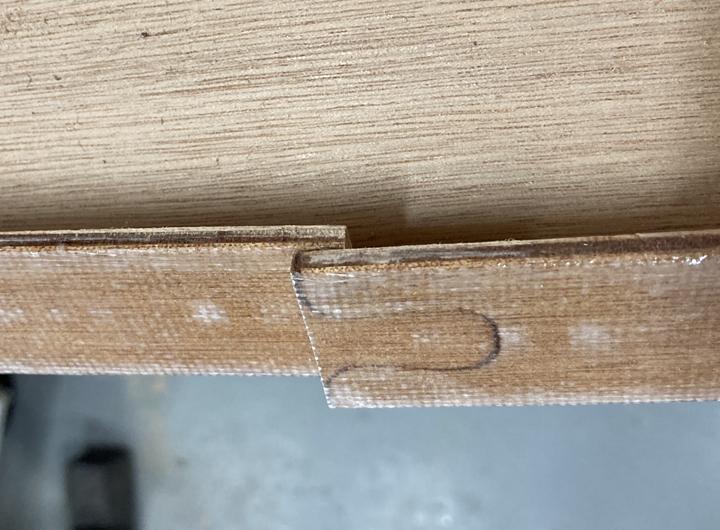
ParticipantTwo last tips…first, here’s how much I had to cut for the lower gutter to fit. By dry fitting, I could tell it was too big so I cut the gutter at the joint, clamped it in place and cut off the amount that overlapped. I didn’t need to cut where the upper and lower pieces met but everyone’s might be a little different.
And finally, page 162 of the manual has you put a fillet above where the gutter will go and taping off the slot for the gutter. On page170, you’re putting another fillet in the same area above the installed upper gutter. I did both fillets at the same time, after installing the gutters.
And finally again, (this time for real) I would not try to do all the gutter fillet work at the same time for two reasons. It’s a lot to try and get in place and neat but mostly because if you haven’t put a fillet at the back of the gutter riser (the long, thin piece that goes in the groove and the gutter sits on), this is a good time to do that. I’m not sure where the instructions ever mention adding that fillet but page 189 shows one in the diagram so they expect you to have it. Anyway, to reach the upper gutter fillet work, you’ll probably need to lean against the galley and you don’t want to do that with uncured epoxy there.
-
This reply was modified 4 years, 4 months ago by
-
AuthorPosts