Forum Replies Created
-
AuthorPosts
-
tmh2111
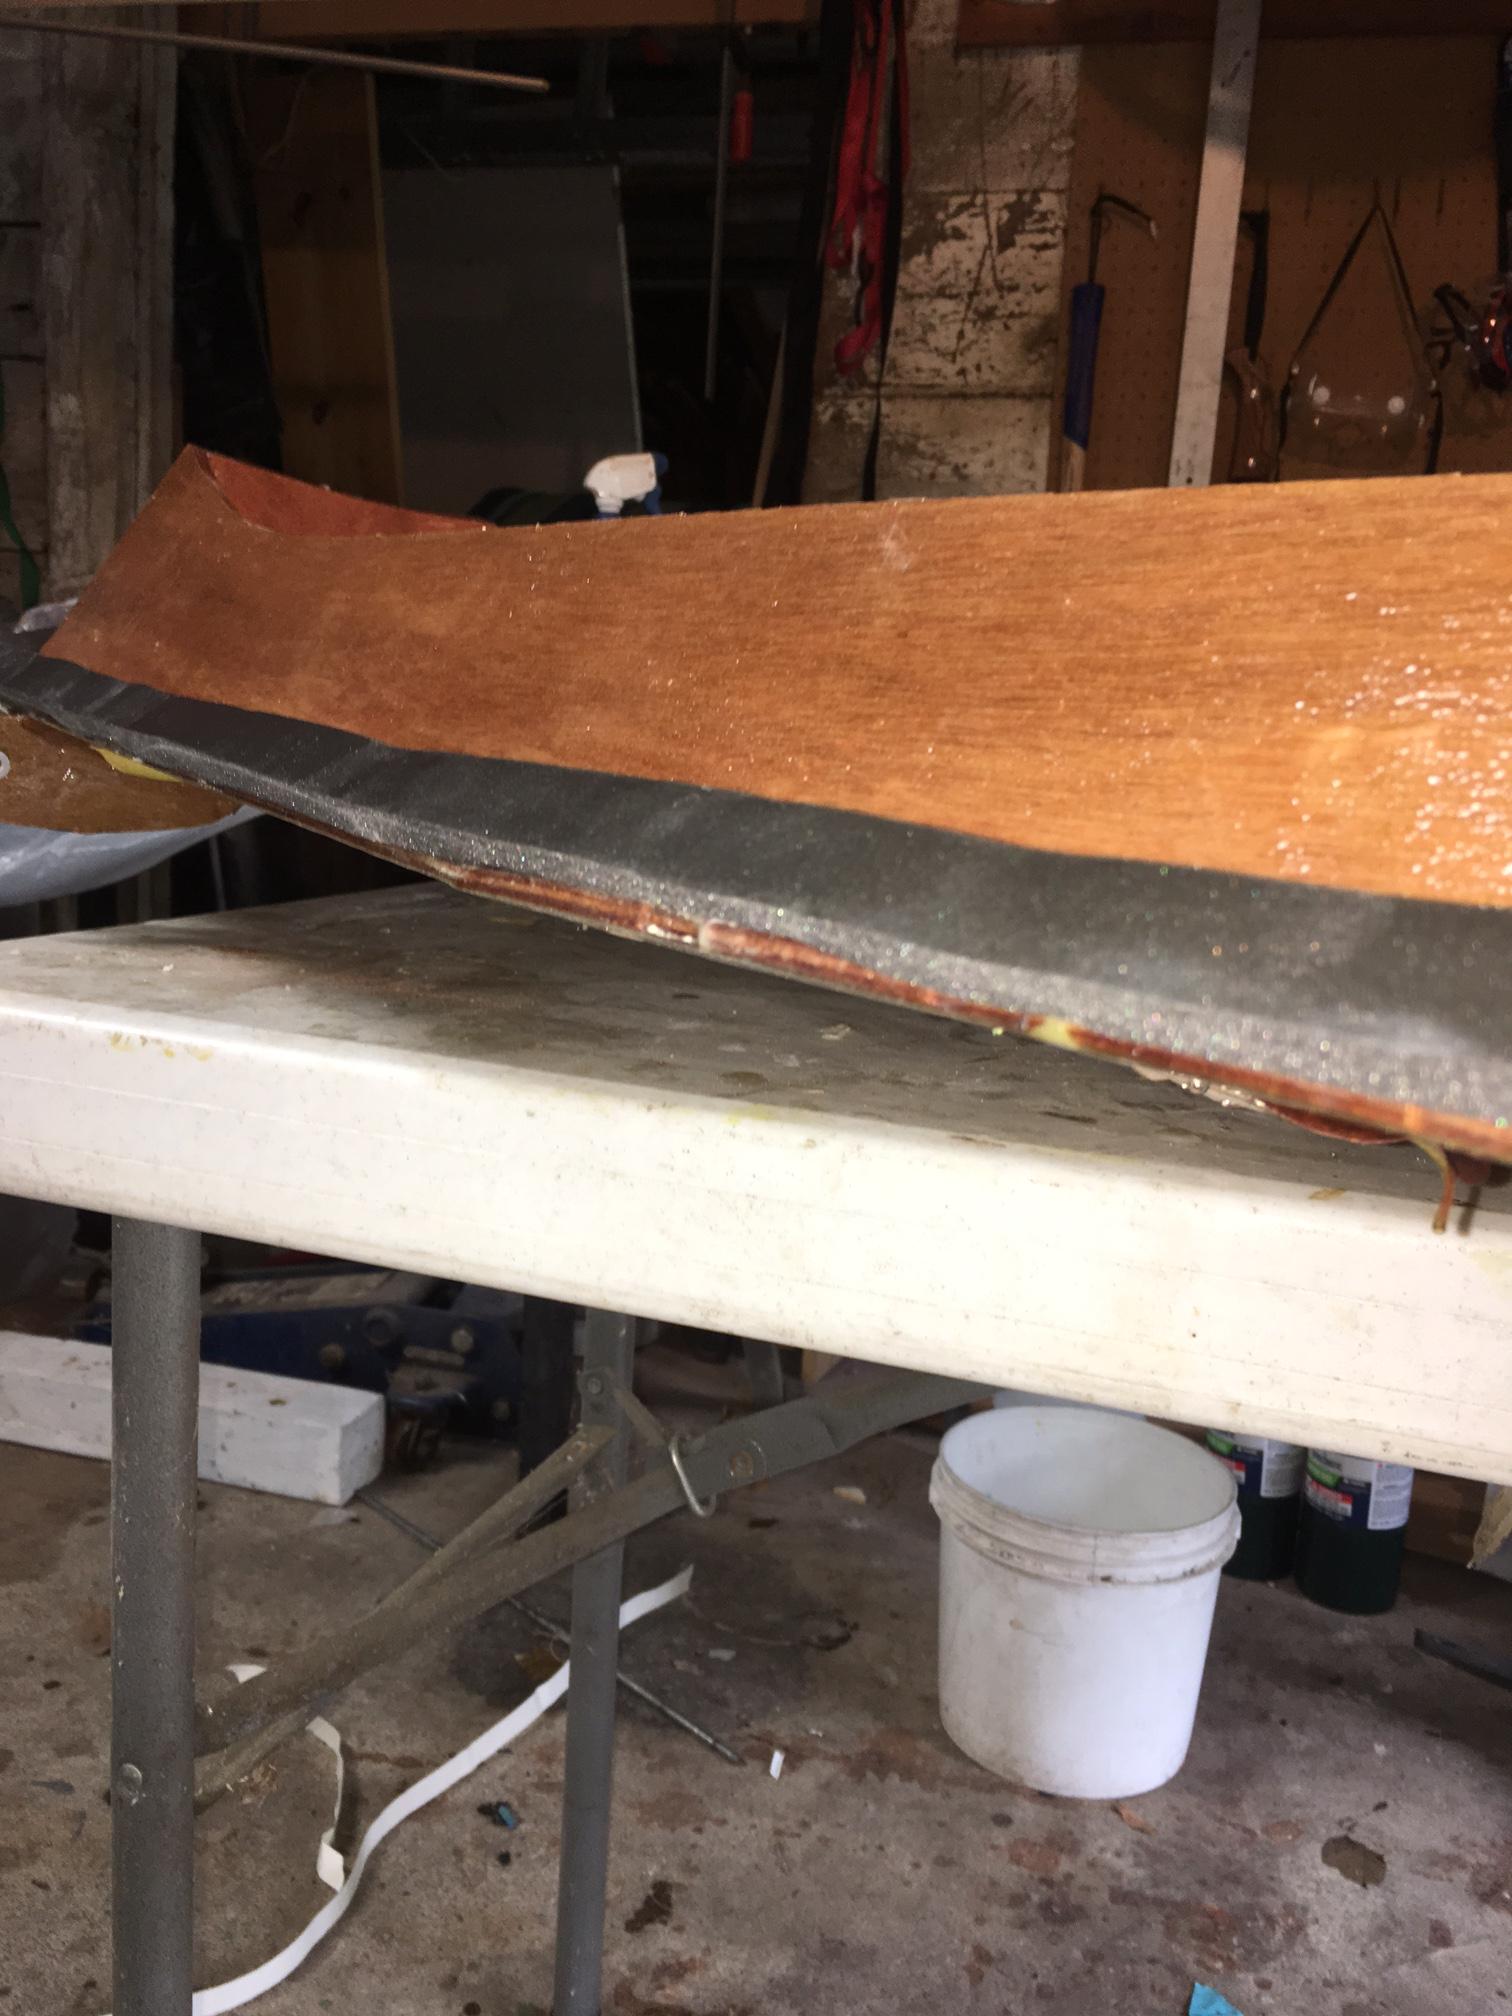
ParticipantWell, this is what I did today (see attached pictures). I removed my first gasket, cleaned up the old residue with goo gone (and probably took some varnish with it), and then put down new foam gasket. As I said earlier in the thread, no problems with leaks on the bottom end of the hatch which is good because I ran out of gasket about 2 inches short of the bottom. I only ever had a problem with the top edge. So I made sure the new gasket hugged the edge on three sides. I suppose I will have to wait for the next rainy day, or pull the hose out, but based on prior experience, this should do the trick. Will provide updates.
 Participant
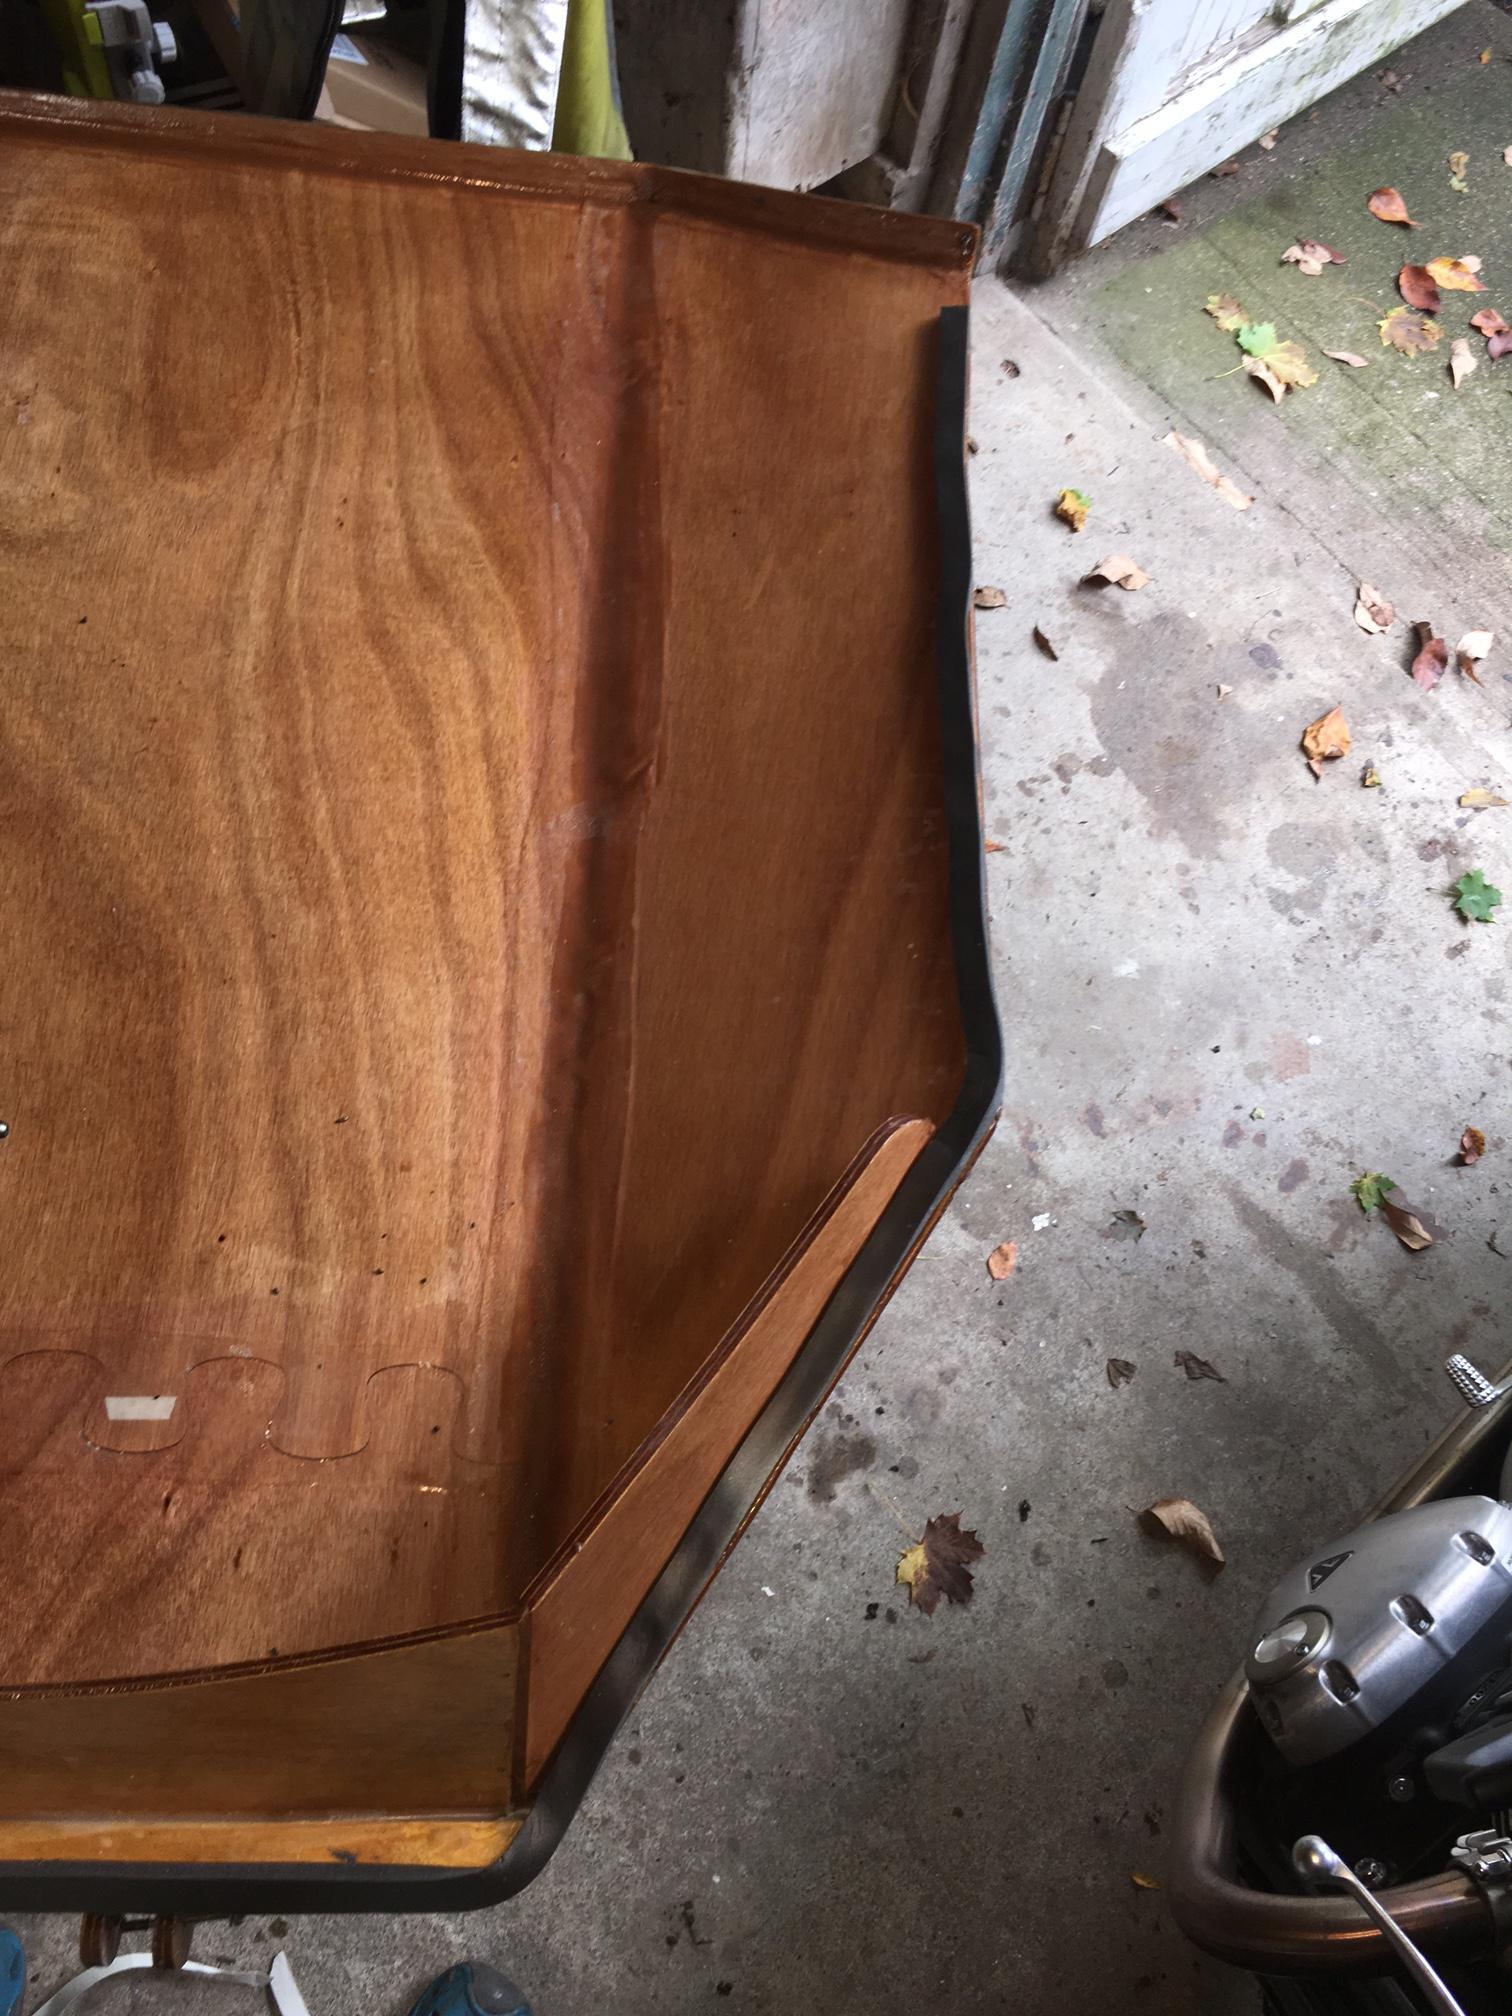
No, there is not a lot of space between the drip edge strip and the edge of the hatch. About what you say. I did not need to compress the foam gasket. It seems ( from my leak) that I just needed to be diligent about running along the edge of the lid. I will take a few pictures as I am about to re-run the gasket now. Any idea how to post them on this forum? Do I need a web hosting service?
ParticipantI only did the seal on the hatch lid on three sides. The top and both sides. Not the lower edge. I will say that in the main, it seems to work just fine. However along the top edge I have to put the weatherstrip right up along the top edge,
even in front of the 1 inch wooden strip in front of the hatch stiffener. There was about 6 inches where the foam strip sliped back a little bit away from the forward edge because I was not diligent in my lining it up, and I got a small leak. So in sum,The best results for me have been to run the foam sealing tape right up against the absolute perimeter on the left right and top sides.ParticipantAh yes this was a clear case of RTFM. I neglected to see page 305 which says foam gasket on the underside of the hatch itself and CLC kindly showed me so. Friz, thinking ahead, where exactly did you run the bead? Do you have a picture?
-
AuthorPosts