Welcome to TeardropForum.com › Forums › Teardrop Builders’ Forum › Southern Maryland TD Build Log
Tagged: heater
- This topic has 48 replies, 9 voices, and was last updated 5 months, 1 week ago by
Sandman408.
-
AuthorPosts
-
January 22, 2017 at 7:28 pm #469
SOMDTD
ParticipantI started building on 1/1/17, so three weeks into it. Shell is built, in the glassing stage. Center glass is on, doing the side glass over the next couple of days.

-
This topic was modified 7 years, 3 months ago by
SOMDTD.
January 22, 2017 at 7:47 pm #471Participant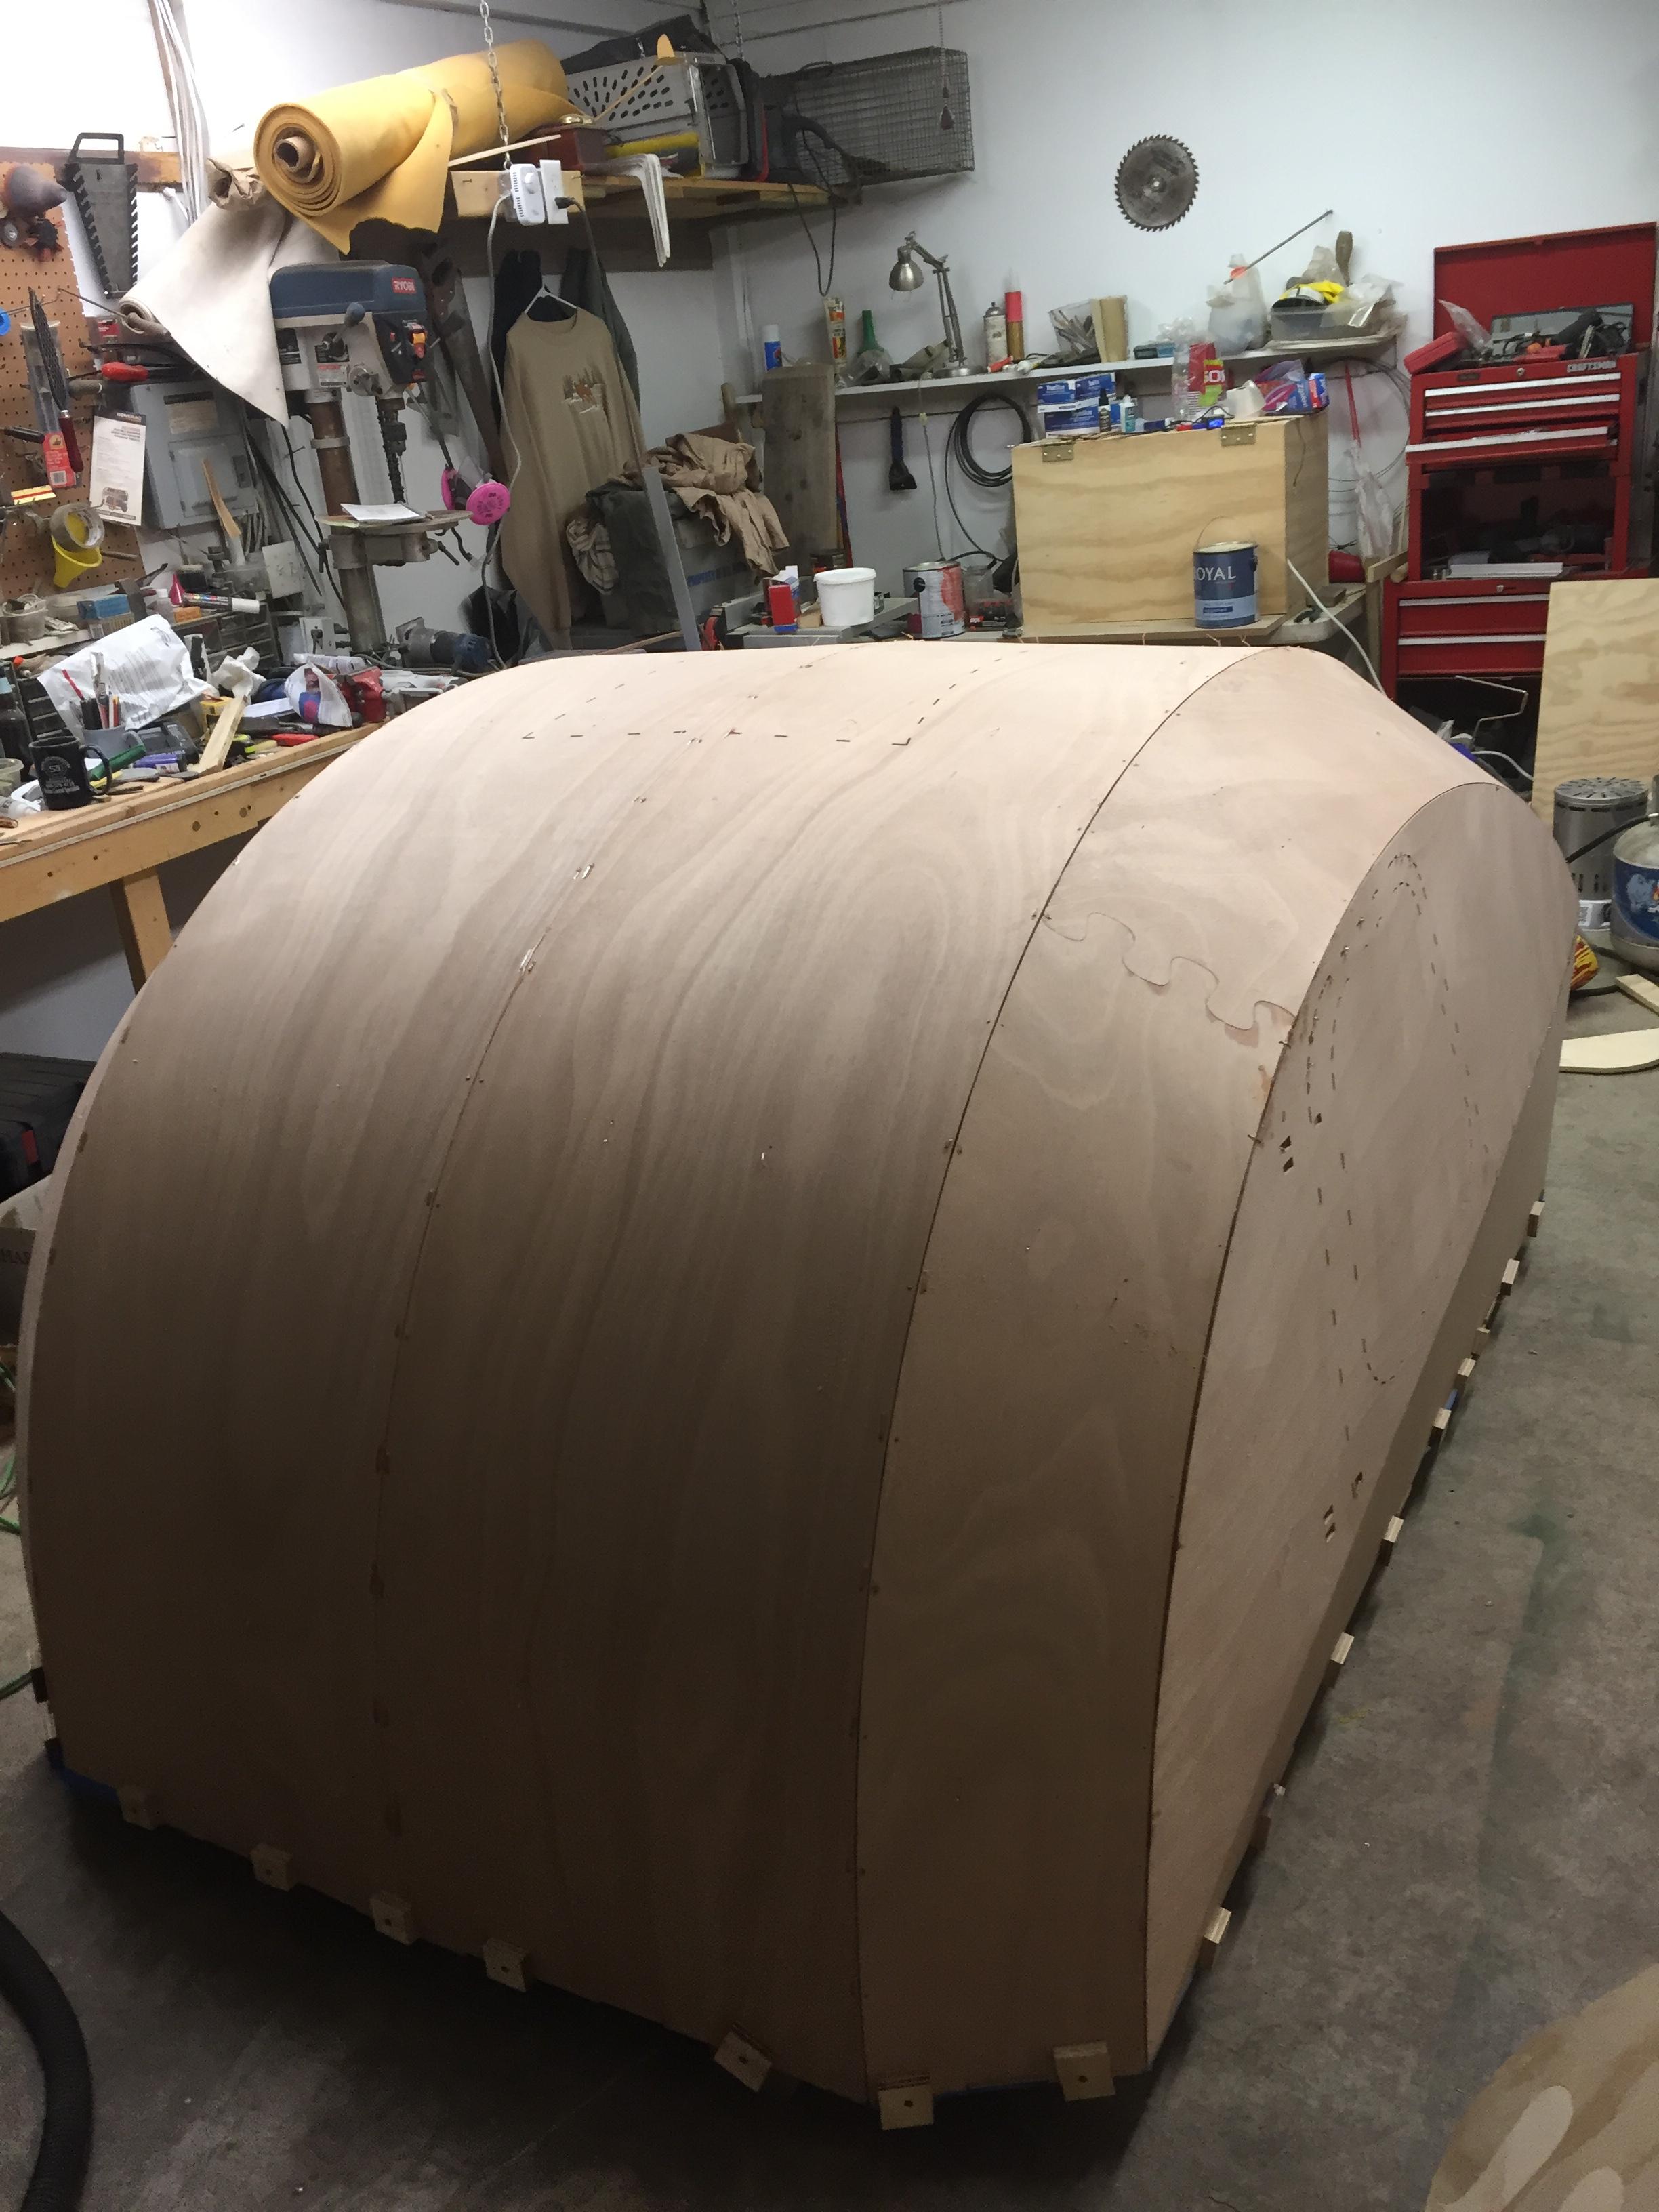
 January 22, 2017 at 9:56 pm #472Participant
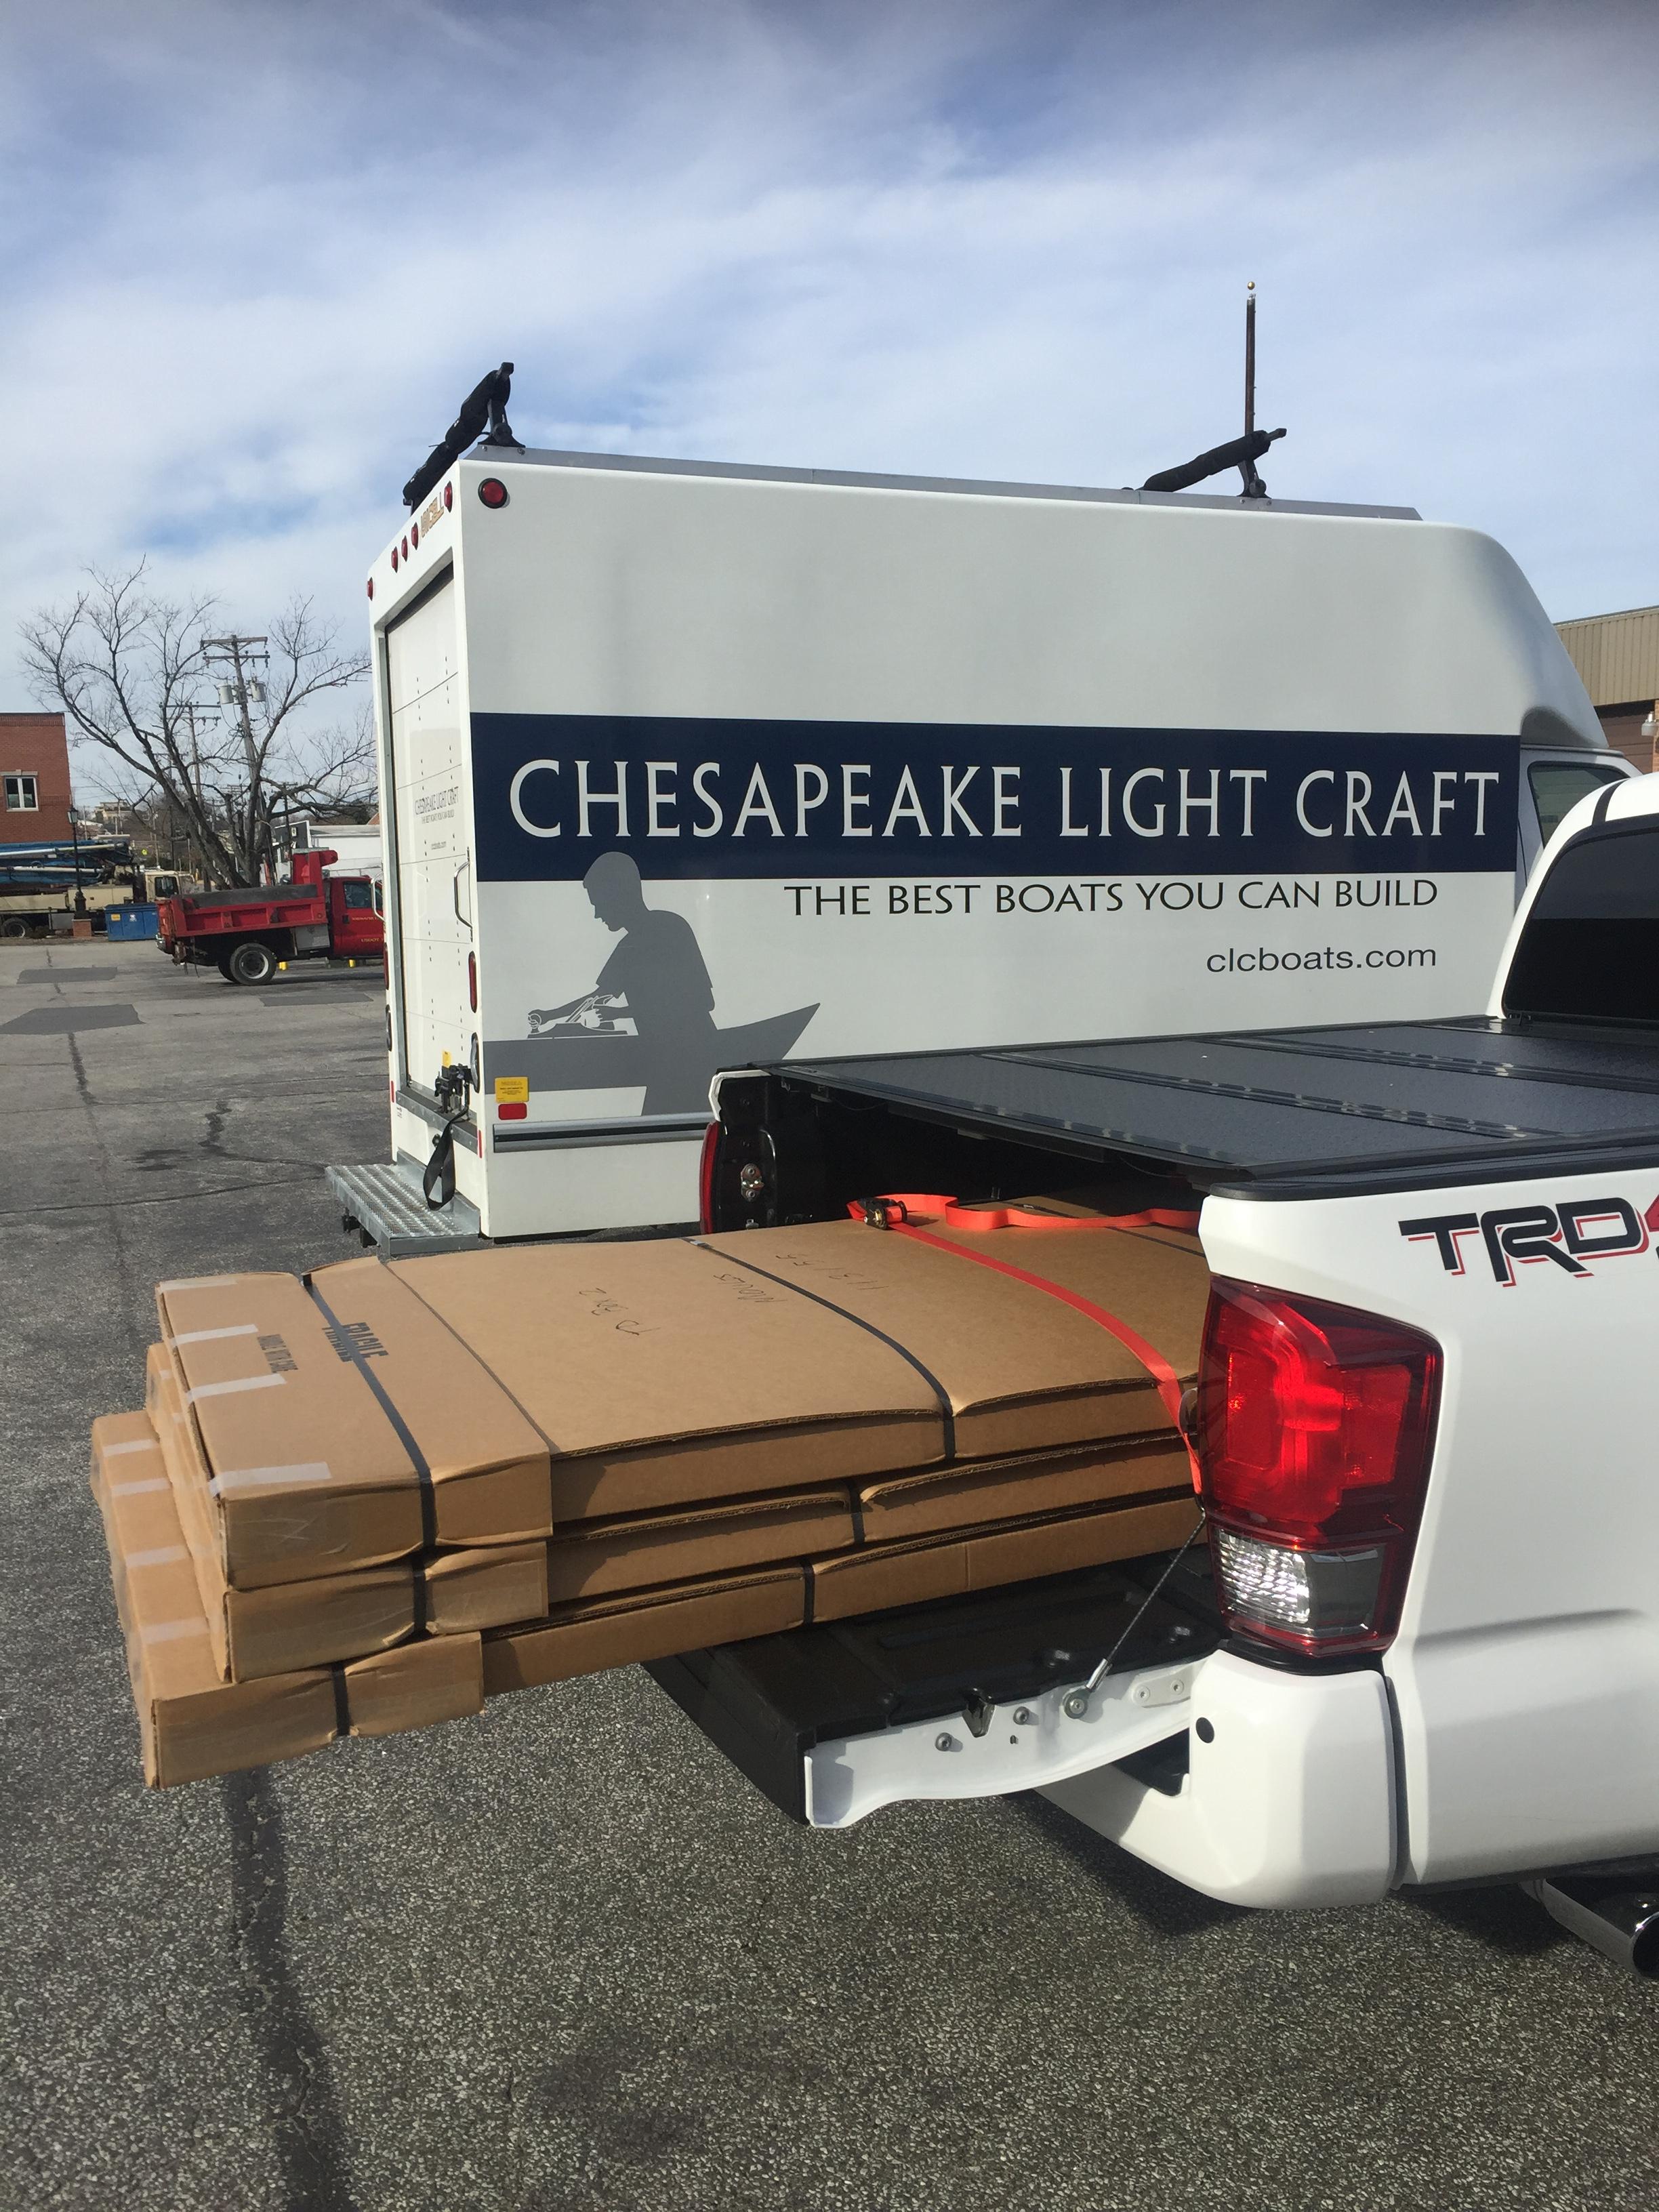
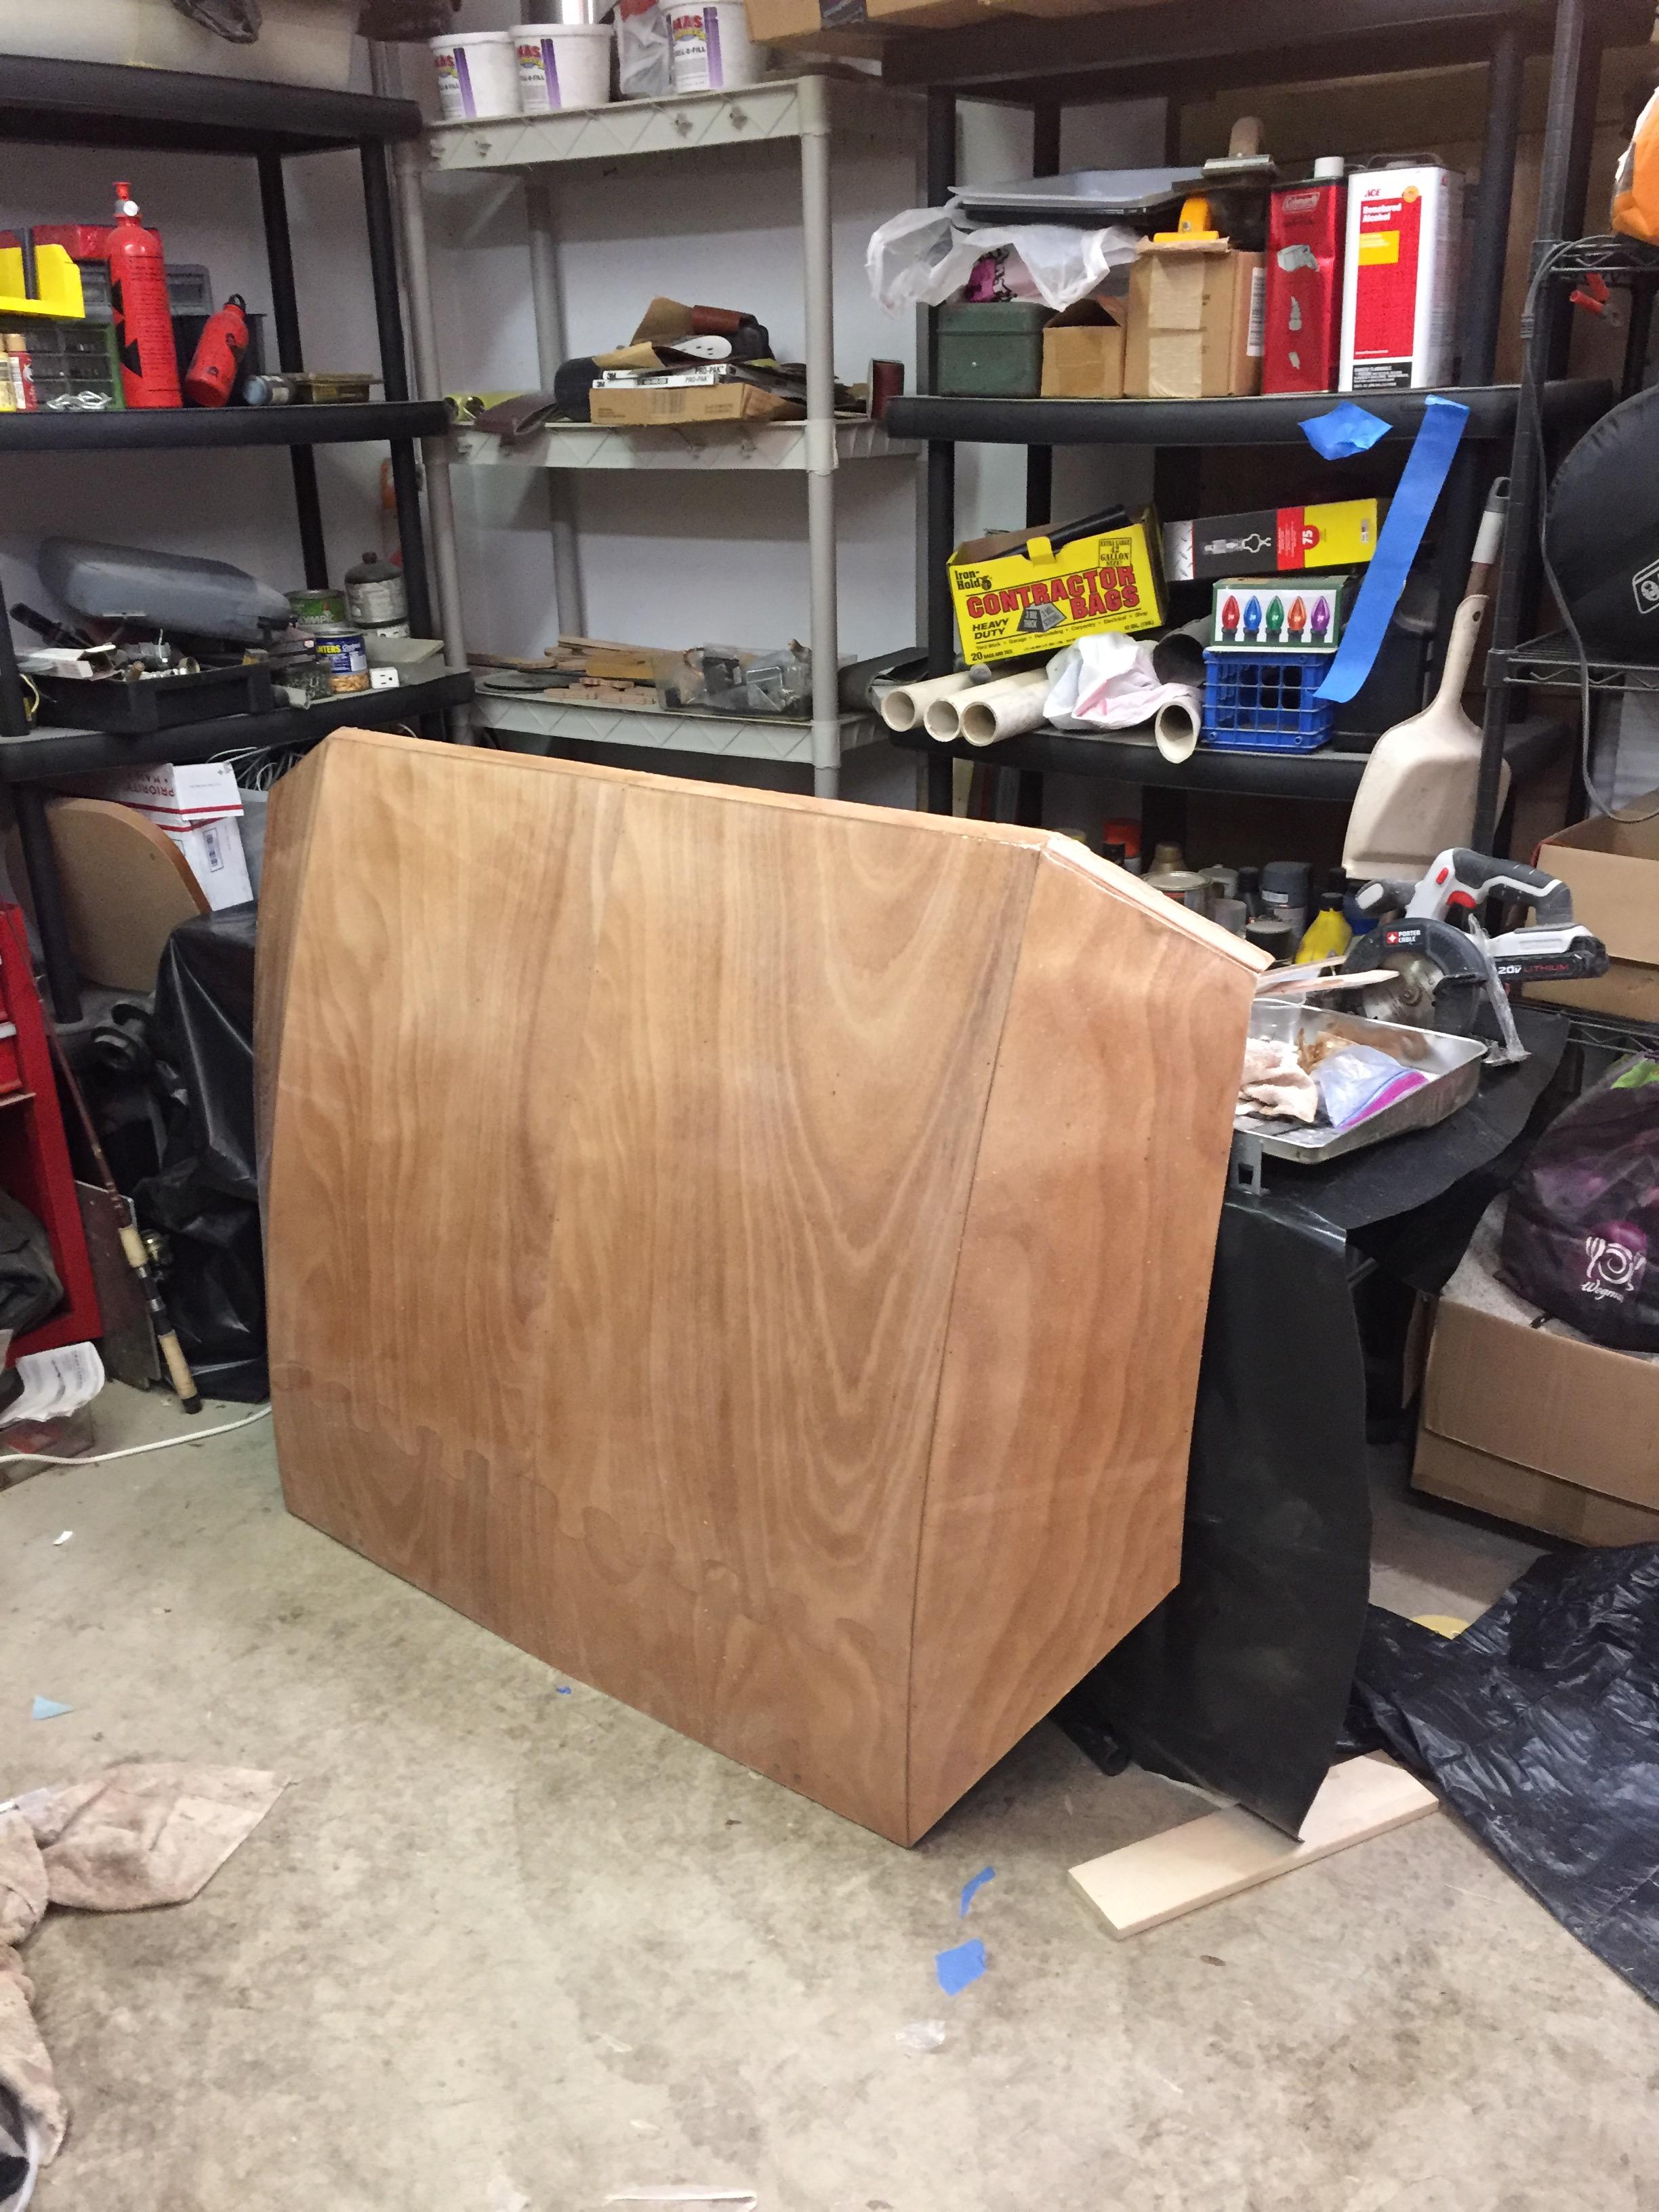
Picked up the kit in Annapolis 12/31/16, it fit in the truck nicely.
 January 23, 2017 at 7:38 pm #474Participant
Did a good work session this afternoon. Glassed the left side , I’m very happy with it, though I did have to call a DO-OVER on the initial glass cloth drape. I trimmed it too much! I saved the (large) chunk of glass cloth of course, I’ll probably use it on the bottom where appearance won’t matter much. I’ll be much more careful on the right side cloth, and I learned a lot doing the left side so I expect it’ll go better anyway.
I did a “pre-pump” of three Solo Cups with 30 pumps of resin and set them aside. Draped the cloth then added the hardner to each batch as I needed more epoxy. Ther hardner is considerably lower viscosity and is easier and quicker to pump, and is half the volume as well. This speeded up the time required to mix up a fresh batch of goop when I needed it, a good thing because it’s a pretty large area of glass to wet out.
Going to do the right side tomorrow, I’ll post pics then.
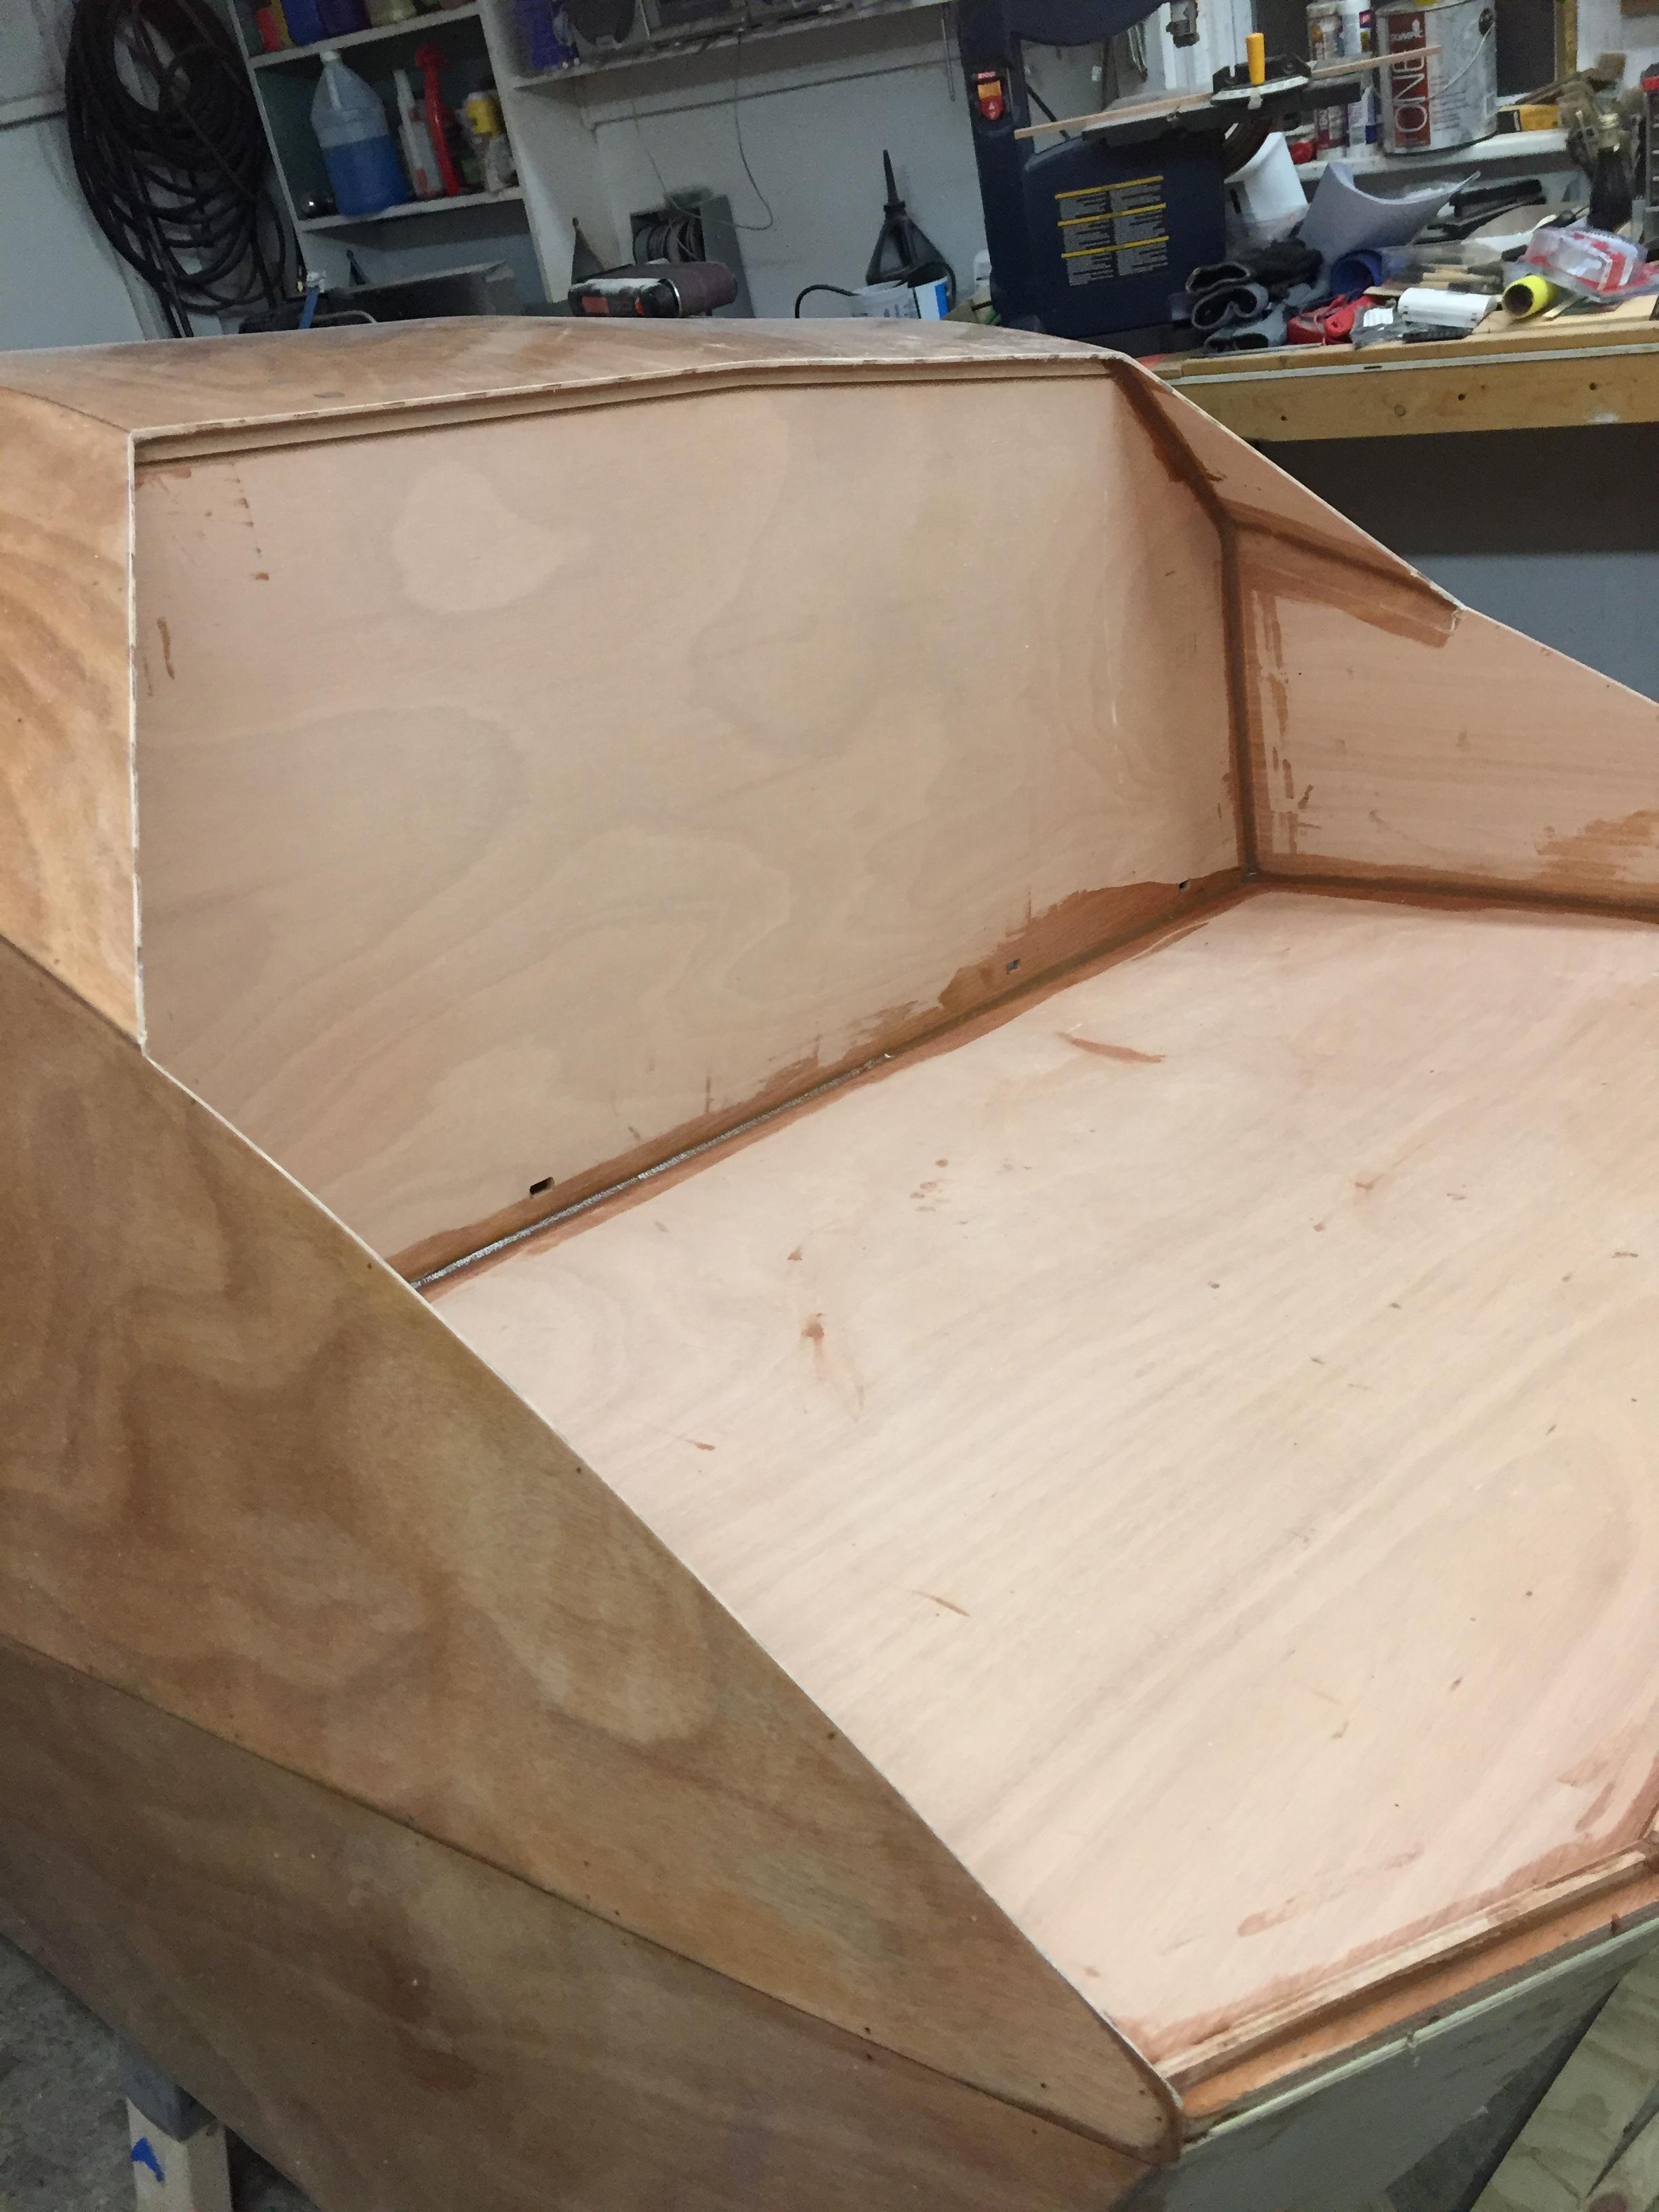
January 24, 2017 at 2:26 pm #478ParticipantGlass is curing in the right side, it went well! Here’s some pix….


 January 28, 2017 at 10:52 am #493
JakeM
ParticipantKeep em coming! Looks like you are doing a fantastic job, and the wood grain on your pieces is beautiful!
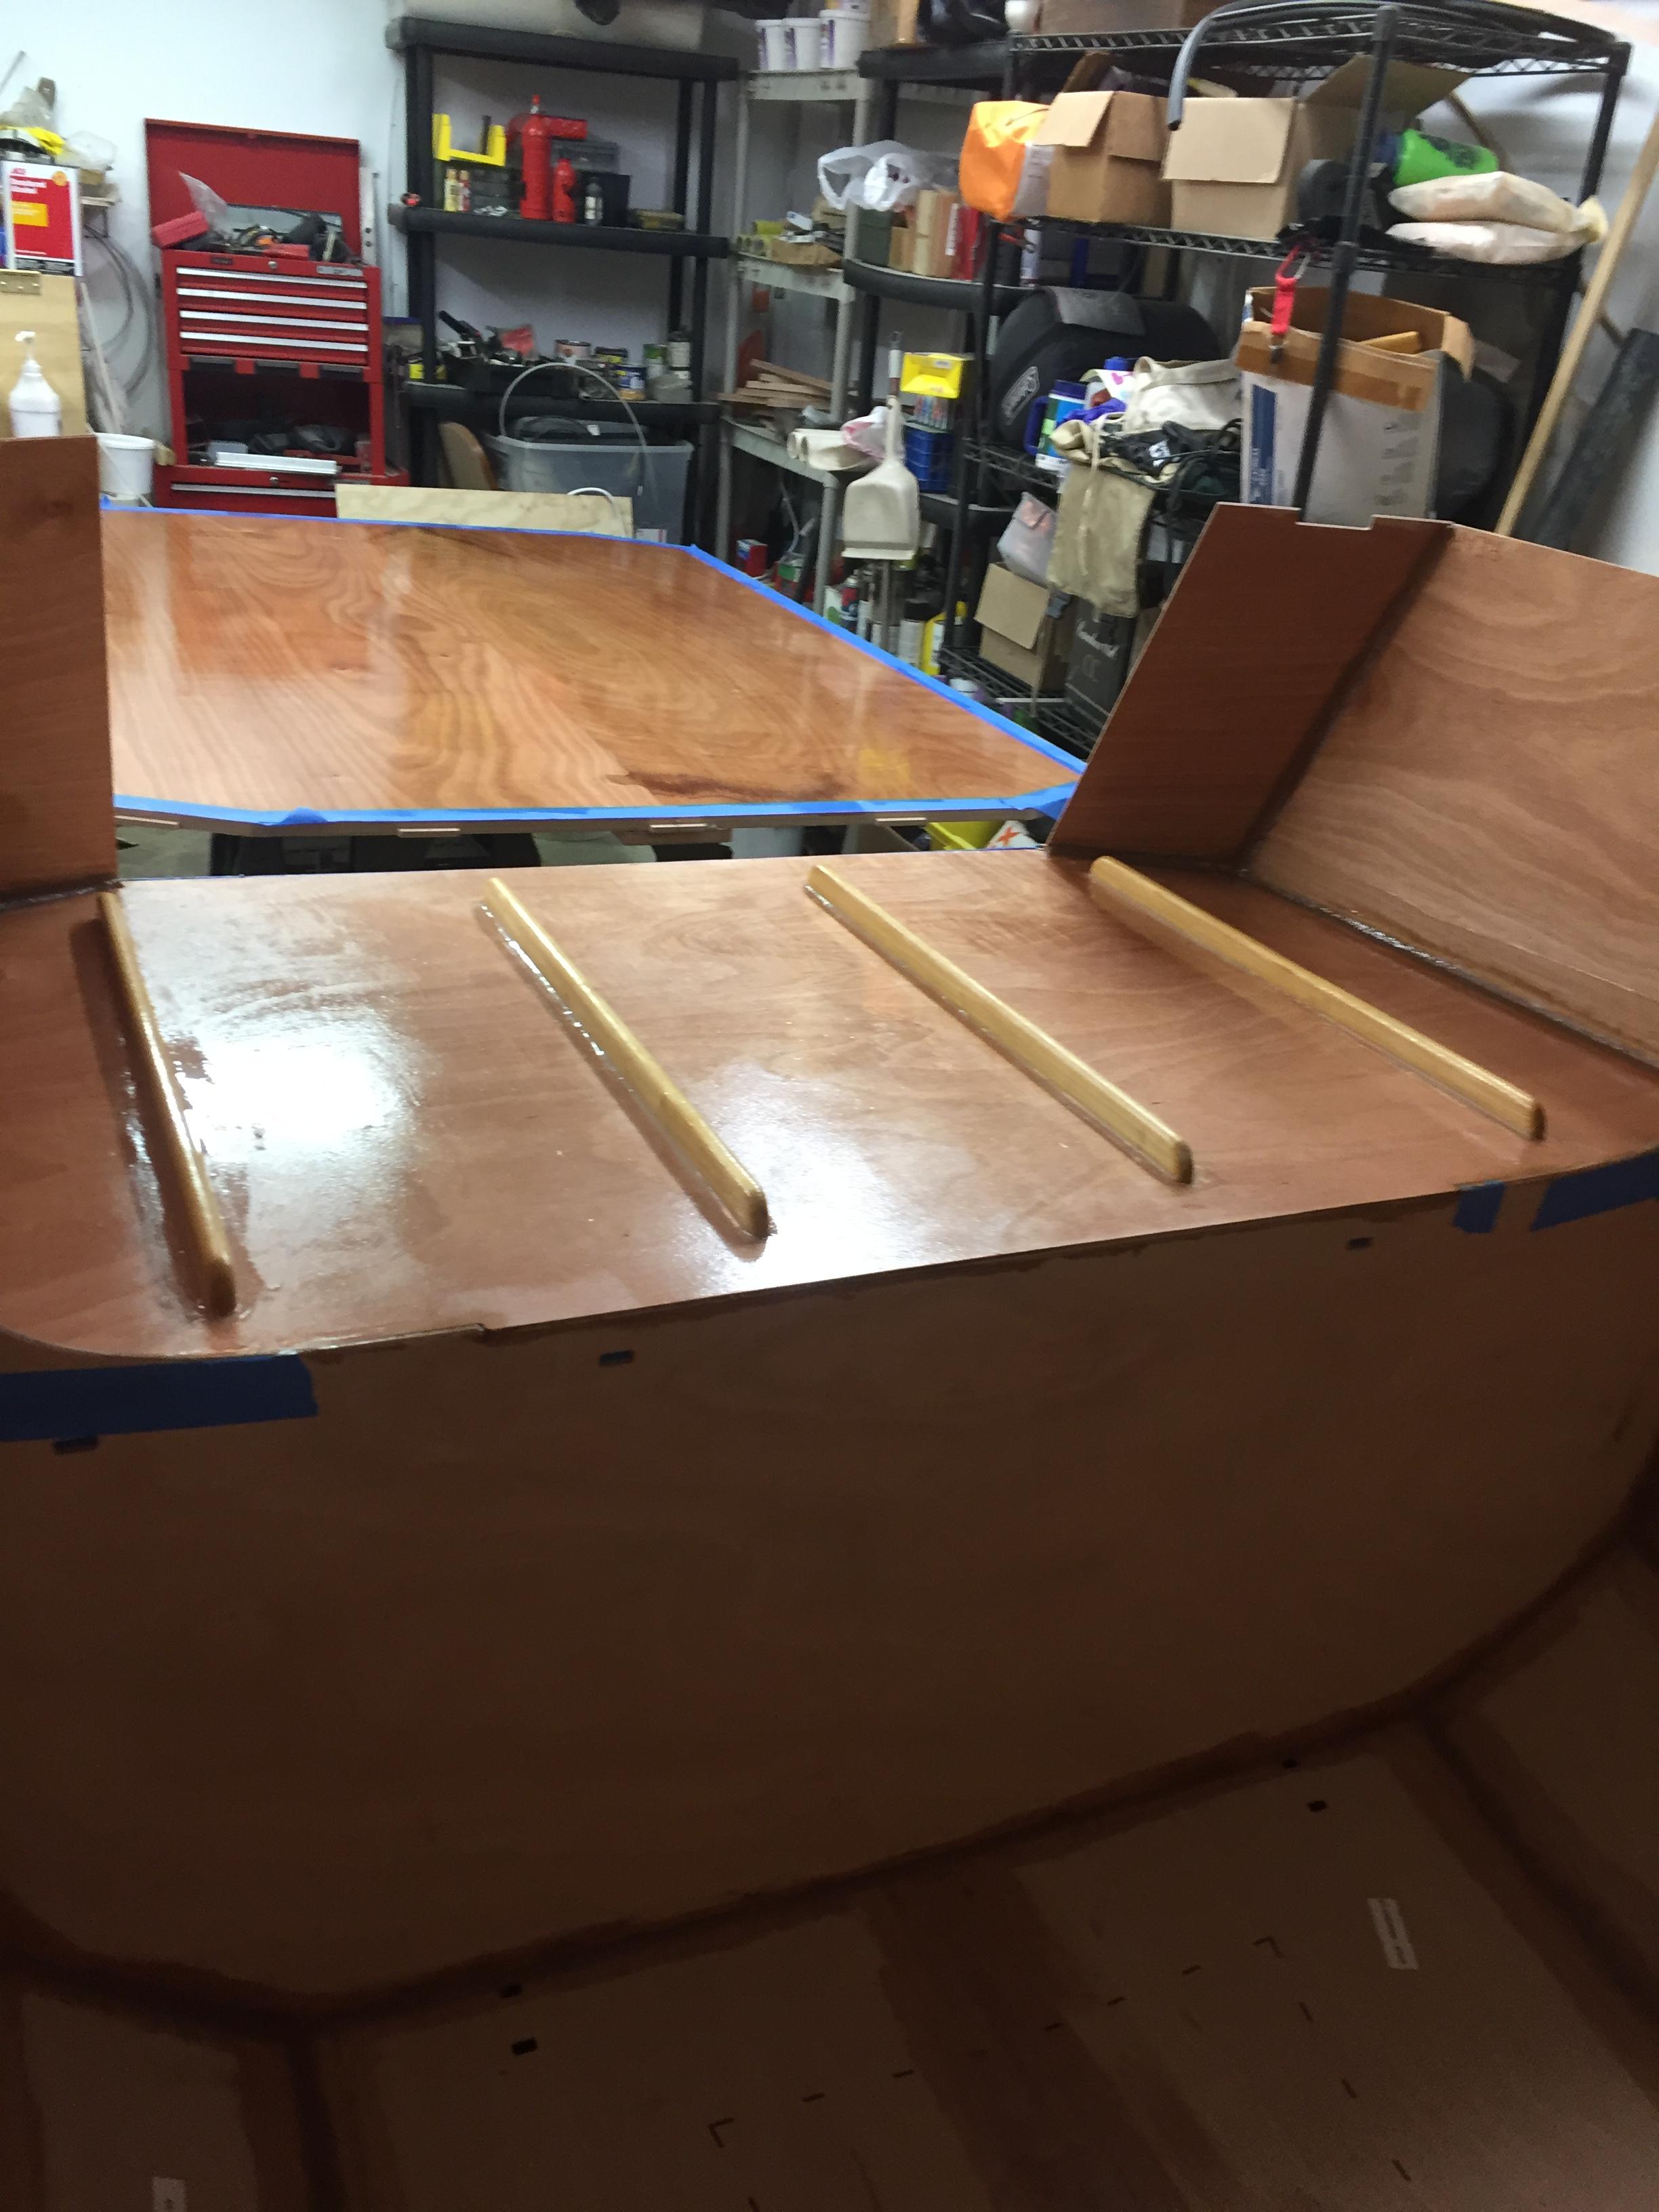
January 28, 2017 at 3:21 pm #495ParticipantThanks! Since that last pic, I have put on two coats of epoxy, it has cured, and I am sanding it smooth today. About 4 hours worth of sanding and I am about 1/2 done.
Looing at exterior decor. I am going to put a American flag on the front and a US Navy flag on the back transom. Thinking of using WWII bomber nose art on the galley hatch. Craft beer labels on the galley face. A Gadsden “Don’t Tread On Me” flag on inside of the galley hatch. I’ll just do an epoxy wet layup to apply these….
January 29, 2017 at 10:16 am #496ParticipantPost-epoxy sanding DONE! Total was right at 9 hours of sander love. No glass sand-through anywhere, though I did get into the cloth a small amount in a few places. Sanded until I saw 95%(+) of what I call the “sparkles” go away. These are tiny shiny areas in the valleys of the epoxy from various causes, including roller texture, glass cloth wrinkles, glass roll creases, and yes, previous over-sanding. Over sanding is increadably easy to do!
Did the vast majority with 120 grit, but used a single 80 grit sanding pad to fast cut the 2″ overlap on the top. Hand sanded the vertexes between the facets using a sanding sponge, that worked well there.
Today i I will apply the final finish overcoat of epoxy. Per the Hymnal, I’m going to roll it on and then tip it with a foam brush. Working on the milky sanded surface should make this epoxy coat easy to apply! I will apply the epoxy at 60F for added pot life working time and then when finished crank it up to 80F with the propane burner. I quit using the kerosene heater as soon as I flipped the shell right side up. While it did not put out a LOT of soot there was a little, however early on the massive heat output was useful when the outside temps were in the 20’s as I was able to actively work in the shop (and I had not purchased the propane burner yet either, the old “use what you’ve got” principal). Anyway, no fisheyes, which is what I was worried about.
January 29, 2017 at 9:29 pm #499ParticipantEpoxy overcoat done. Turned out just “ok”, it will need 400 grit sanding and probably another overcoat of epoxy. No biggie though as the overhead vent hatch construction will cause a need for additional epoxy overcoats anyway.
Tomorrow is the door and galley hatch cutout job! I have prepped the galley gutter as a work-ahead.
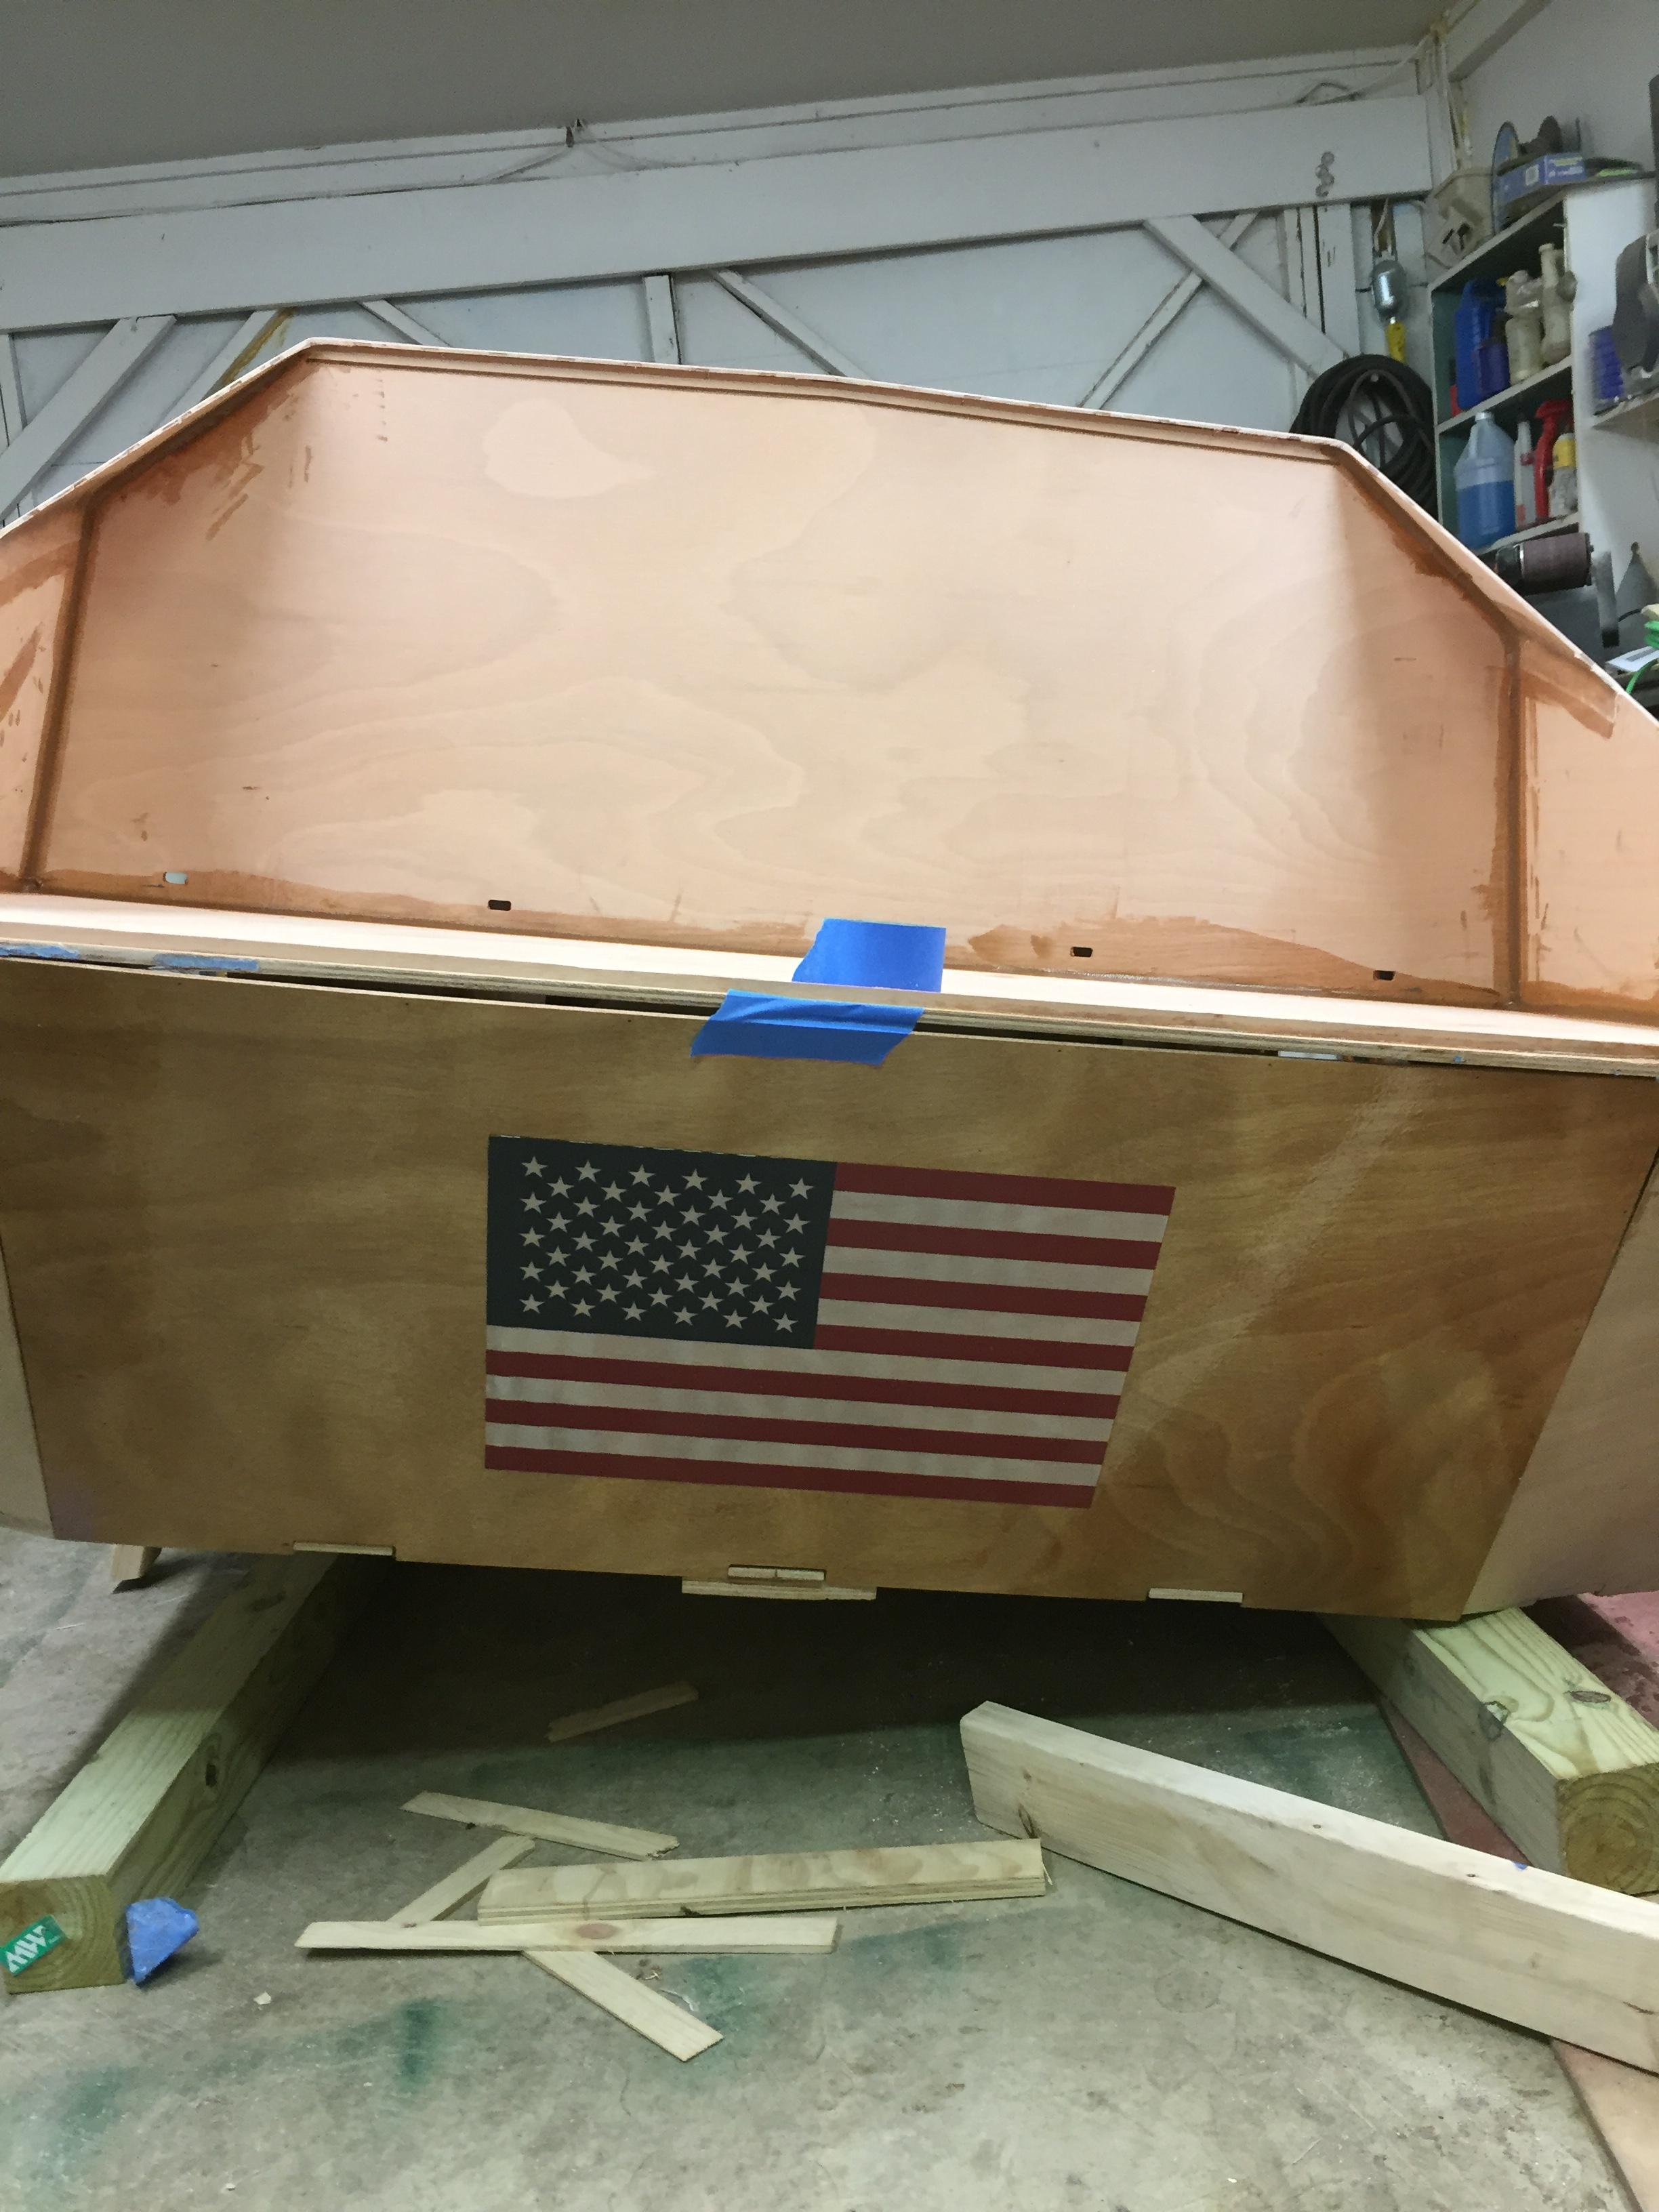
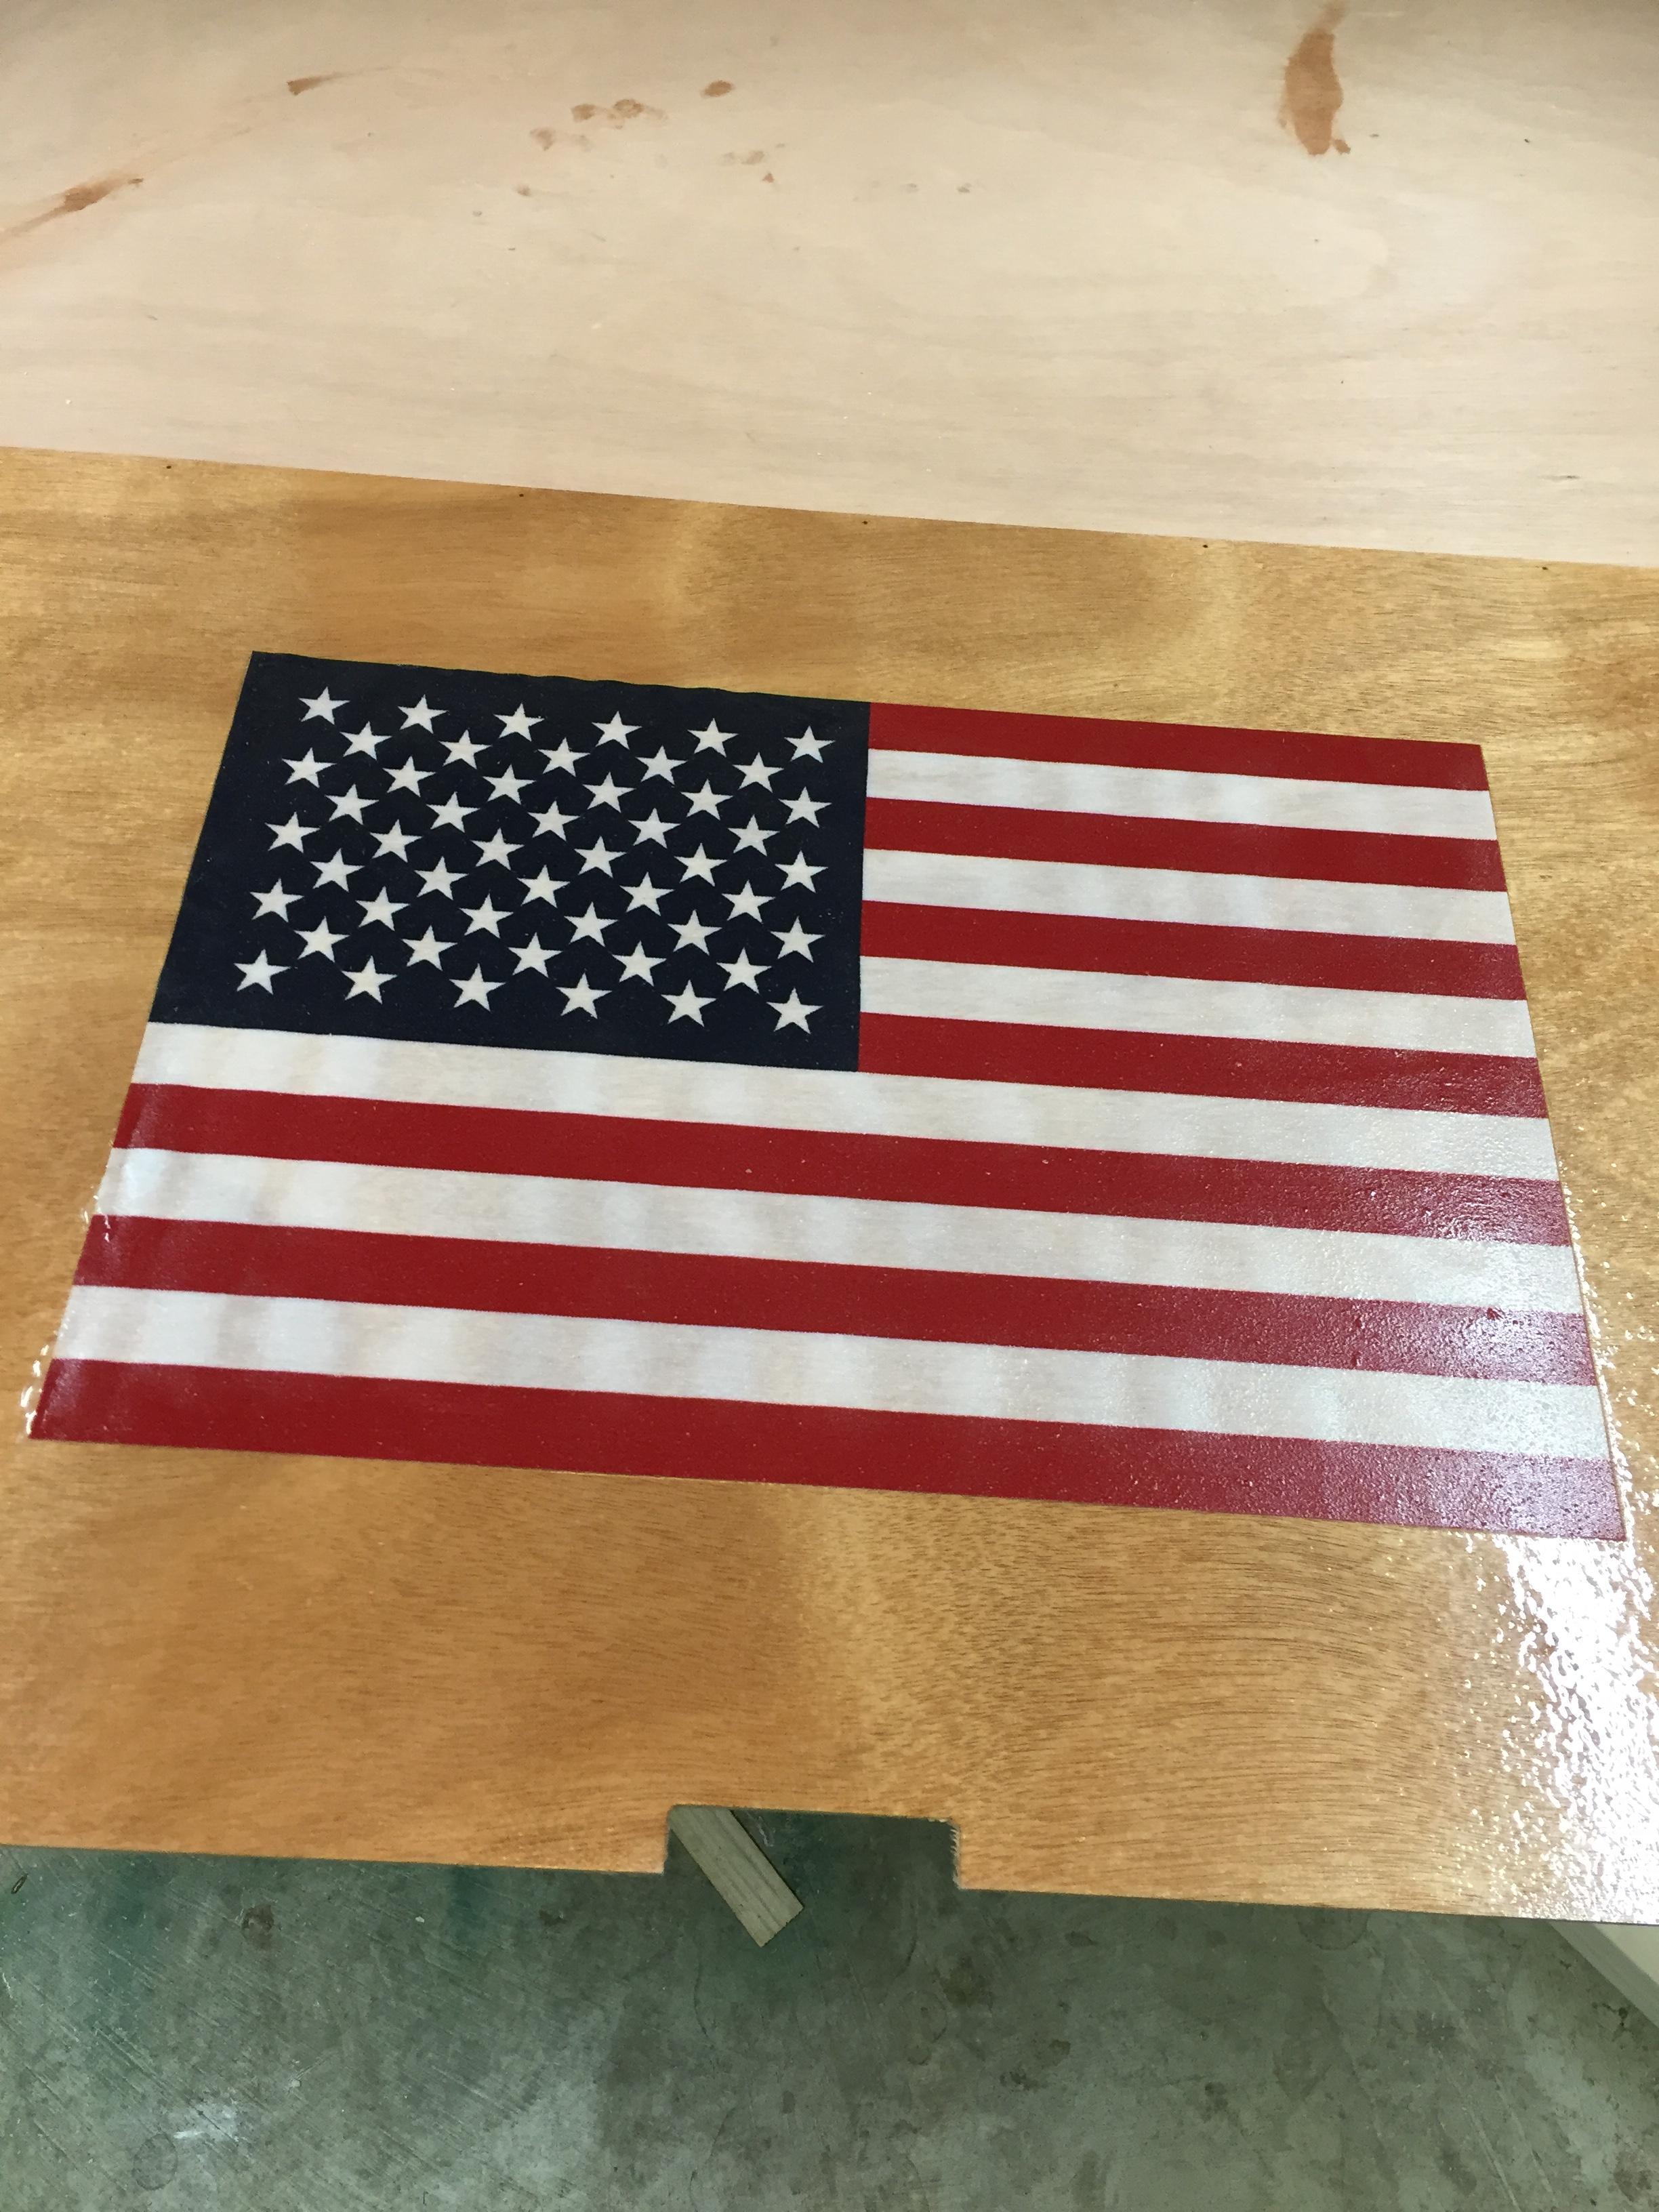
January 30, 2017 at 9:11 am #506ParticipantI applied a US flag to the transom last night, mostly as a test as if it turned out ugly I can either just use it on the inside or make a new transom pretty easily from a new piece of plywood, no biggie. Turned out “just ok”, learned a couple of lessons though that I thought I’d share.
I used a 12 x 18 “stick flag”. It was a printed flag, not one with embroidered stars. I think you could use an embroidered star flag but it won’t lay flat very nicely and you’ll get air bubbles. The flag had starch or some sort of sizing on it, as it was a bit stiff in texture. It came stapled onto a stick, I used needle nose pliers to pull the staples.
The basic process was to lay down a thin coat of epoxy, lay the cloth down and position it, then roll a medium coat of epoxy over the top. This all went reasonably well, except the area where the flag has been stapled to the stick. With the stiffness from the starch // sizing there was a little curl to the fabric that would not really quite lay flat in the area. Next time I think I will a) first rinse out the flag in hot water to wash out some of the sizing and let it dry and b) iron the thing totally flat, before trying to laminate it on.
The flag was made out of some sort of not too tightly woven cotton or polyester and it retained it’s colors pretty well, perhaps made them a bit darker when saturated with epoxy. I am wondering how a nylon flag would do, in particular will white areas turn transparent or bleed through underlying grain etc. similar to fiberglass cloth?
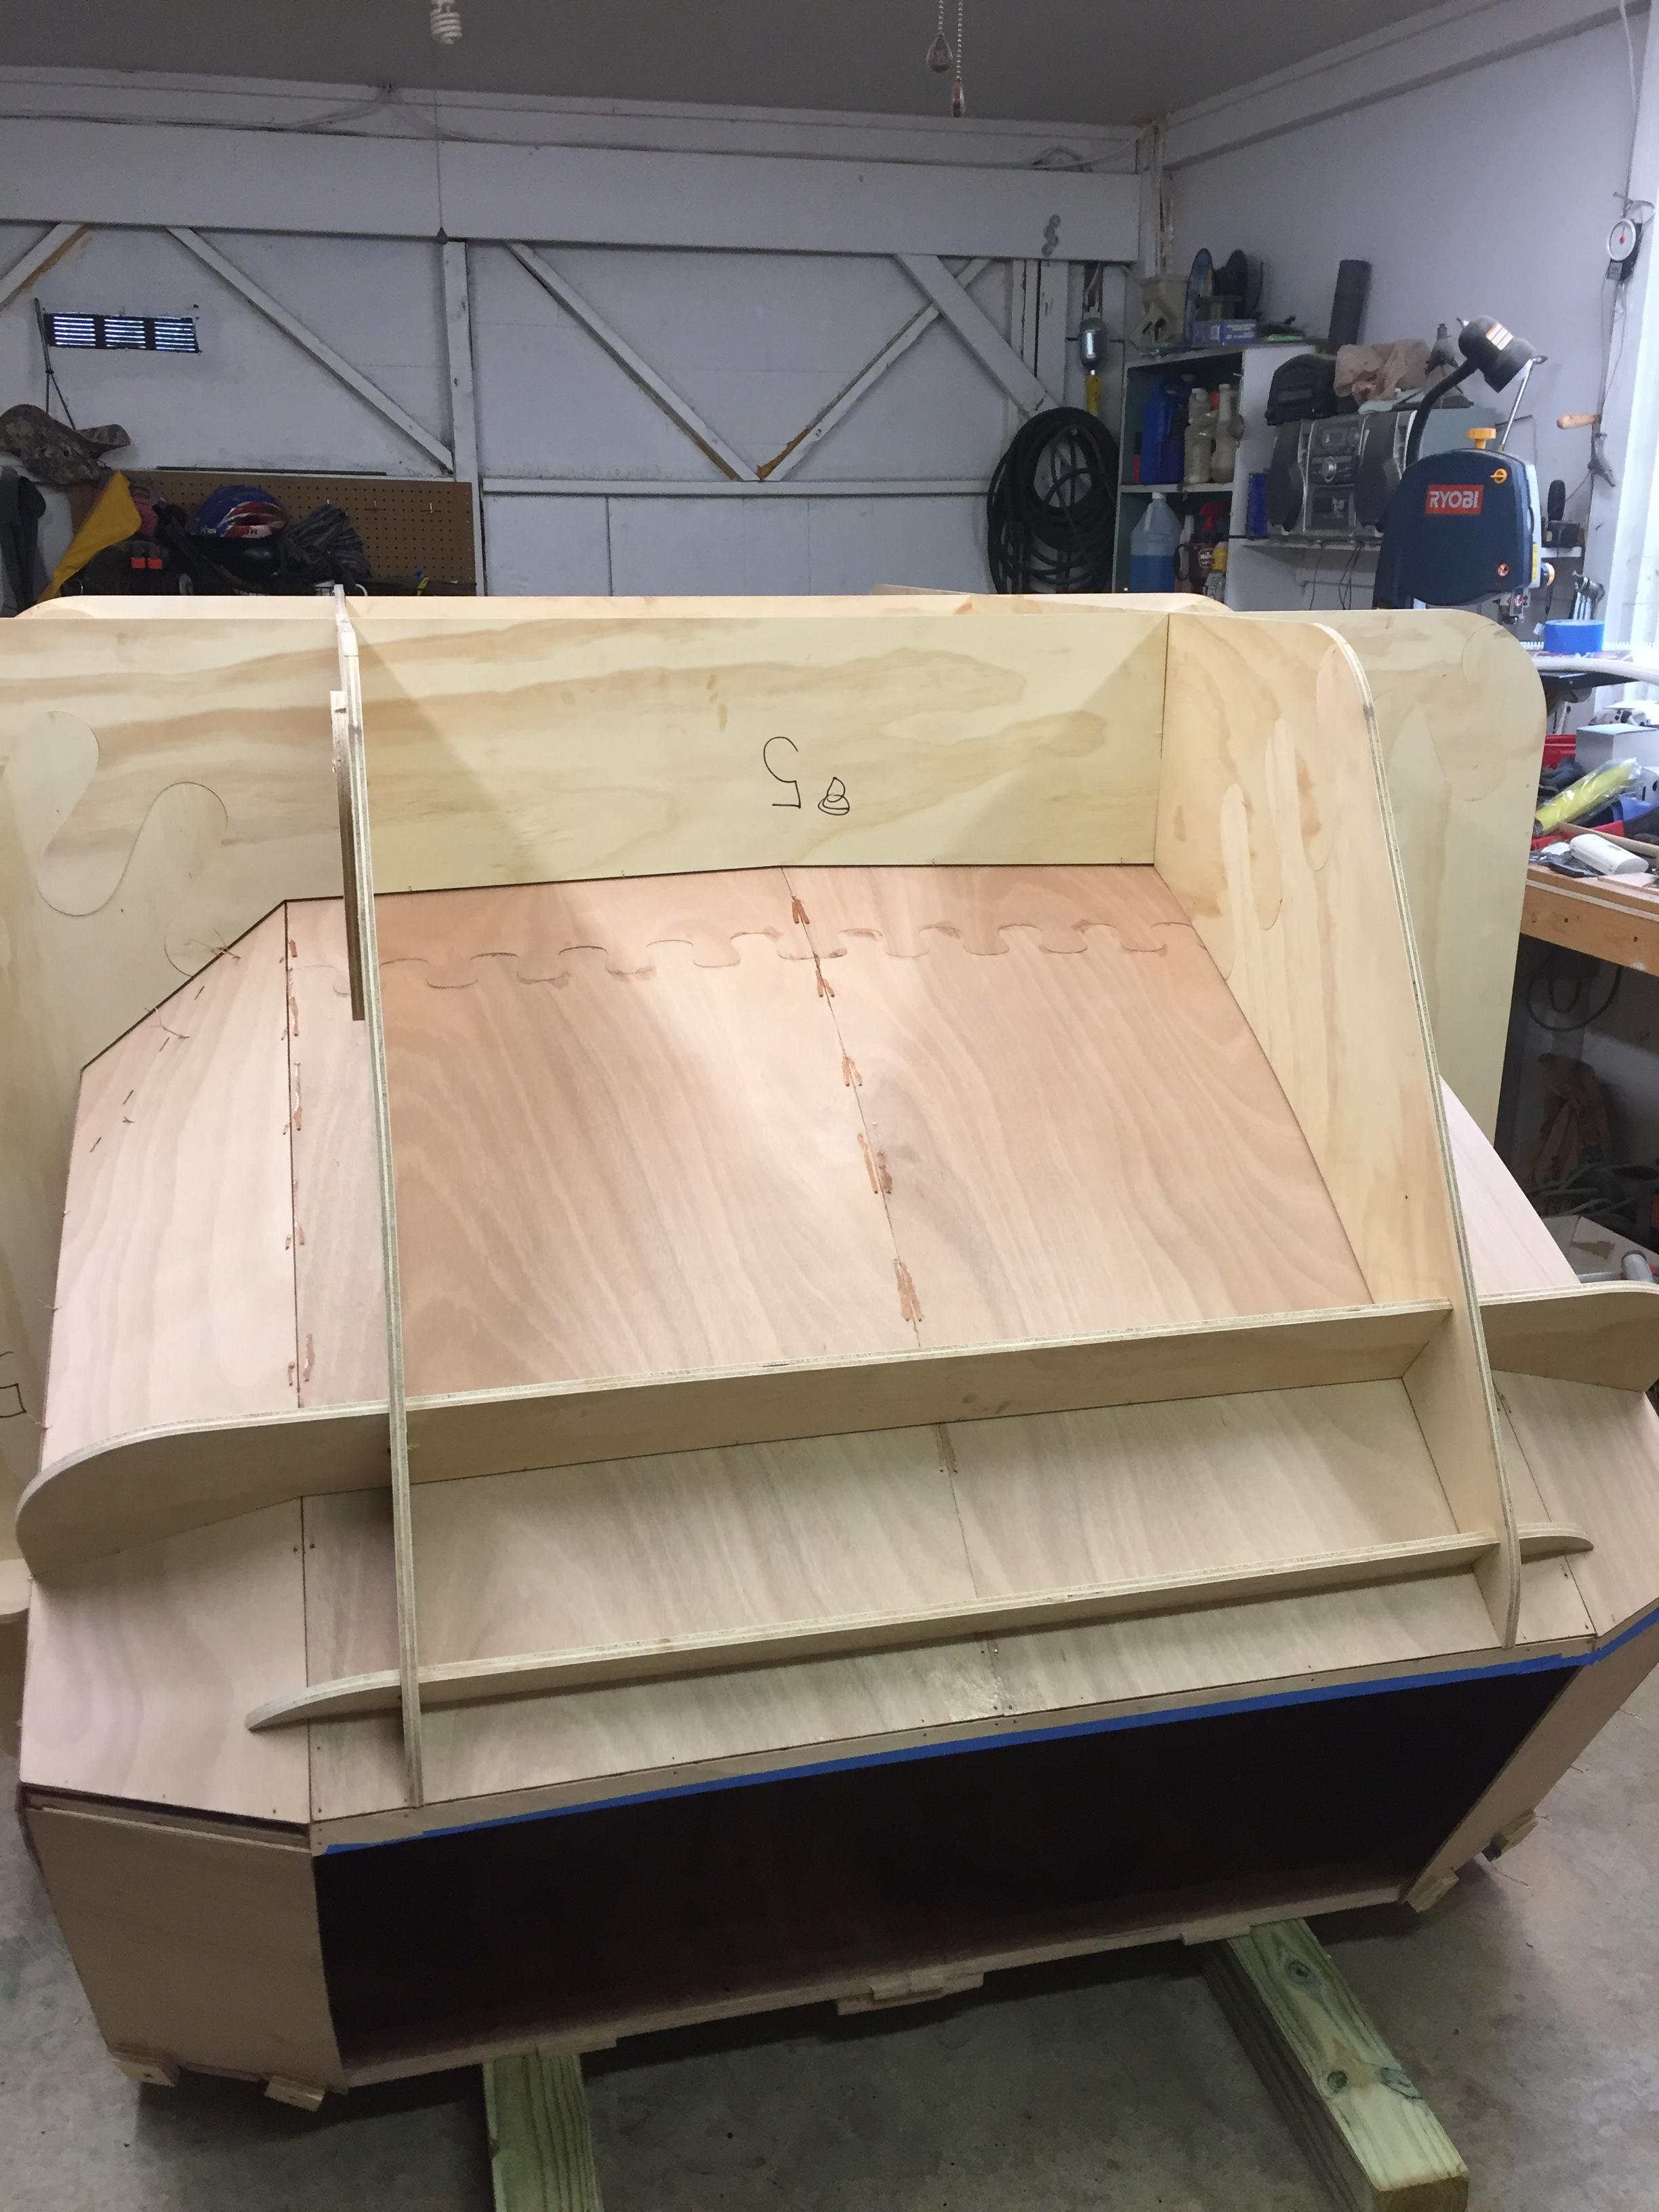
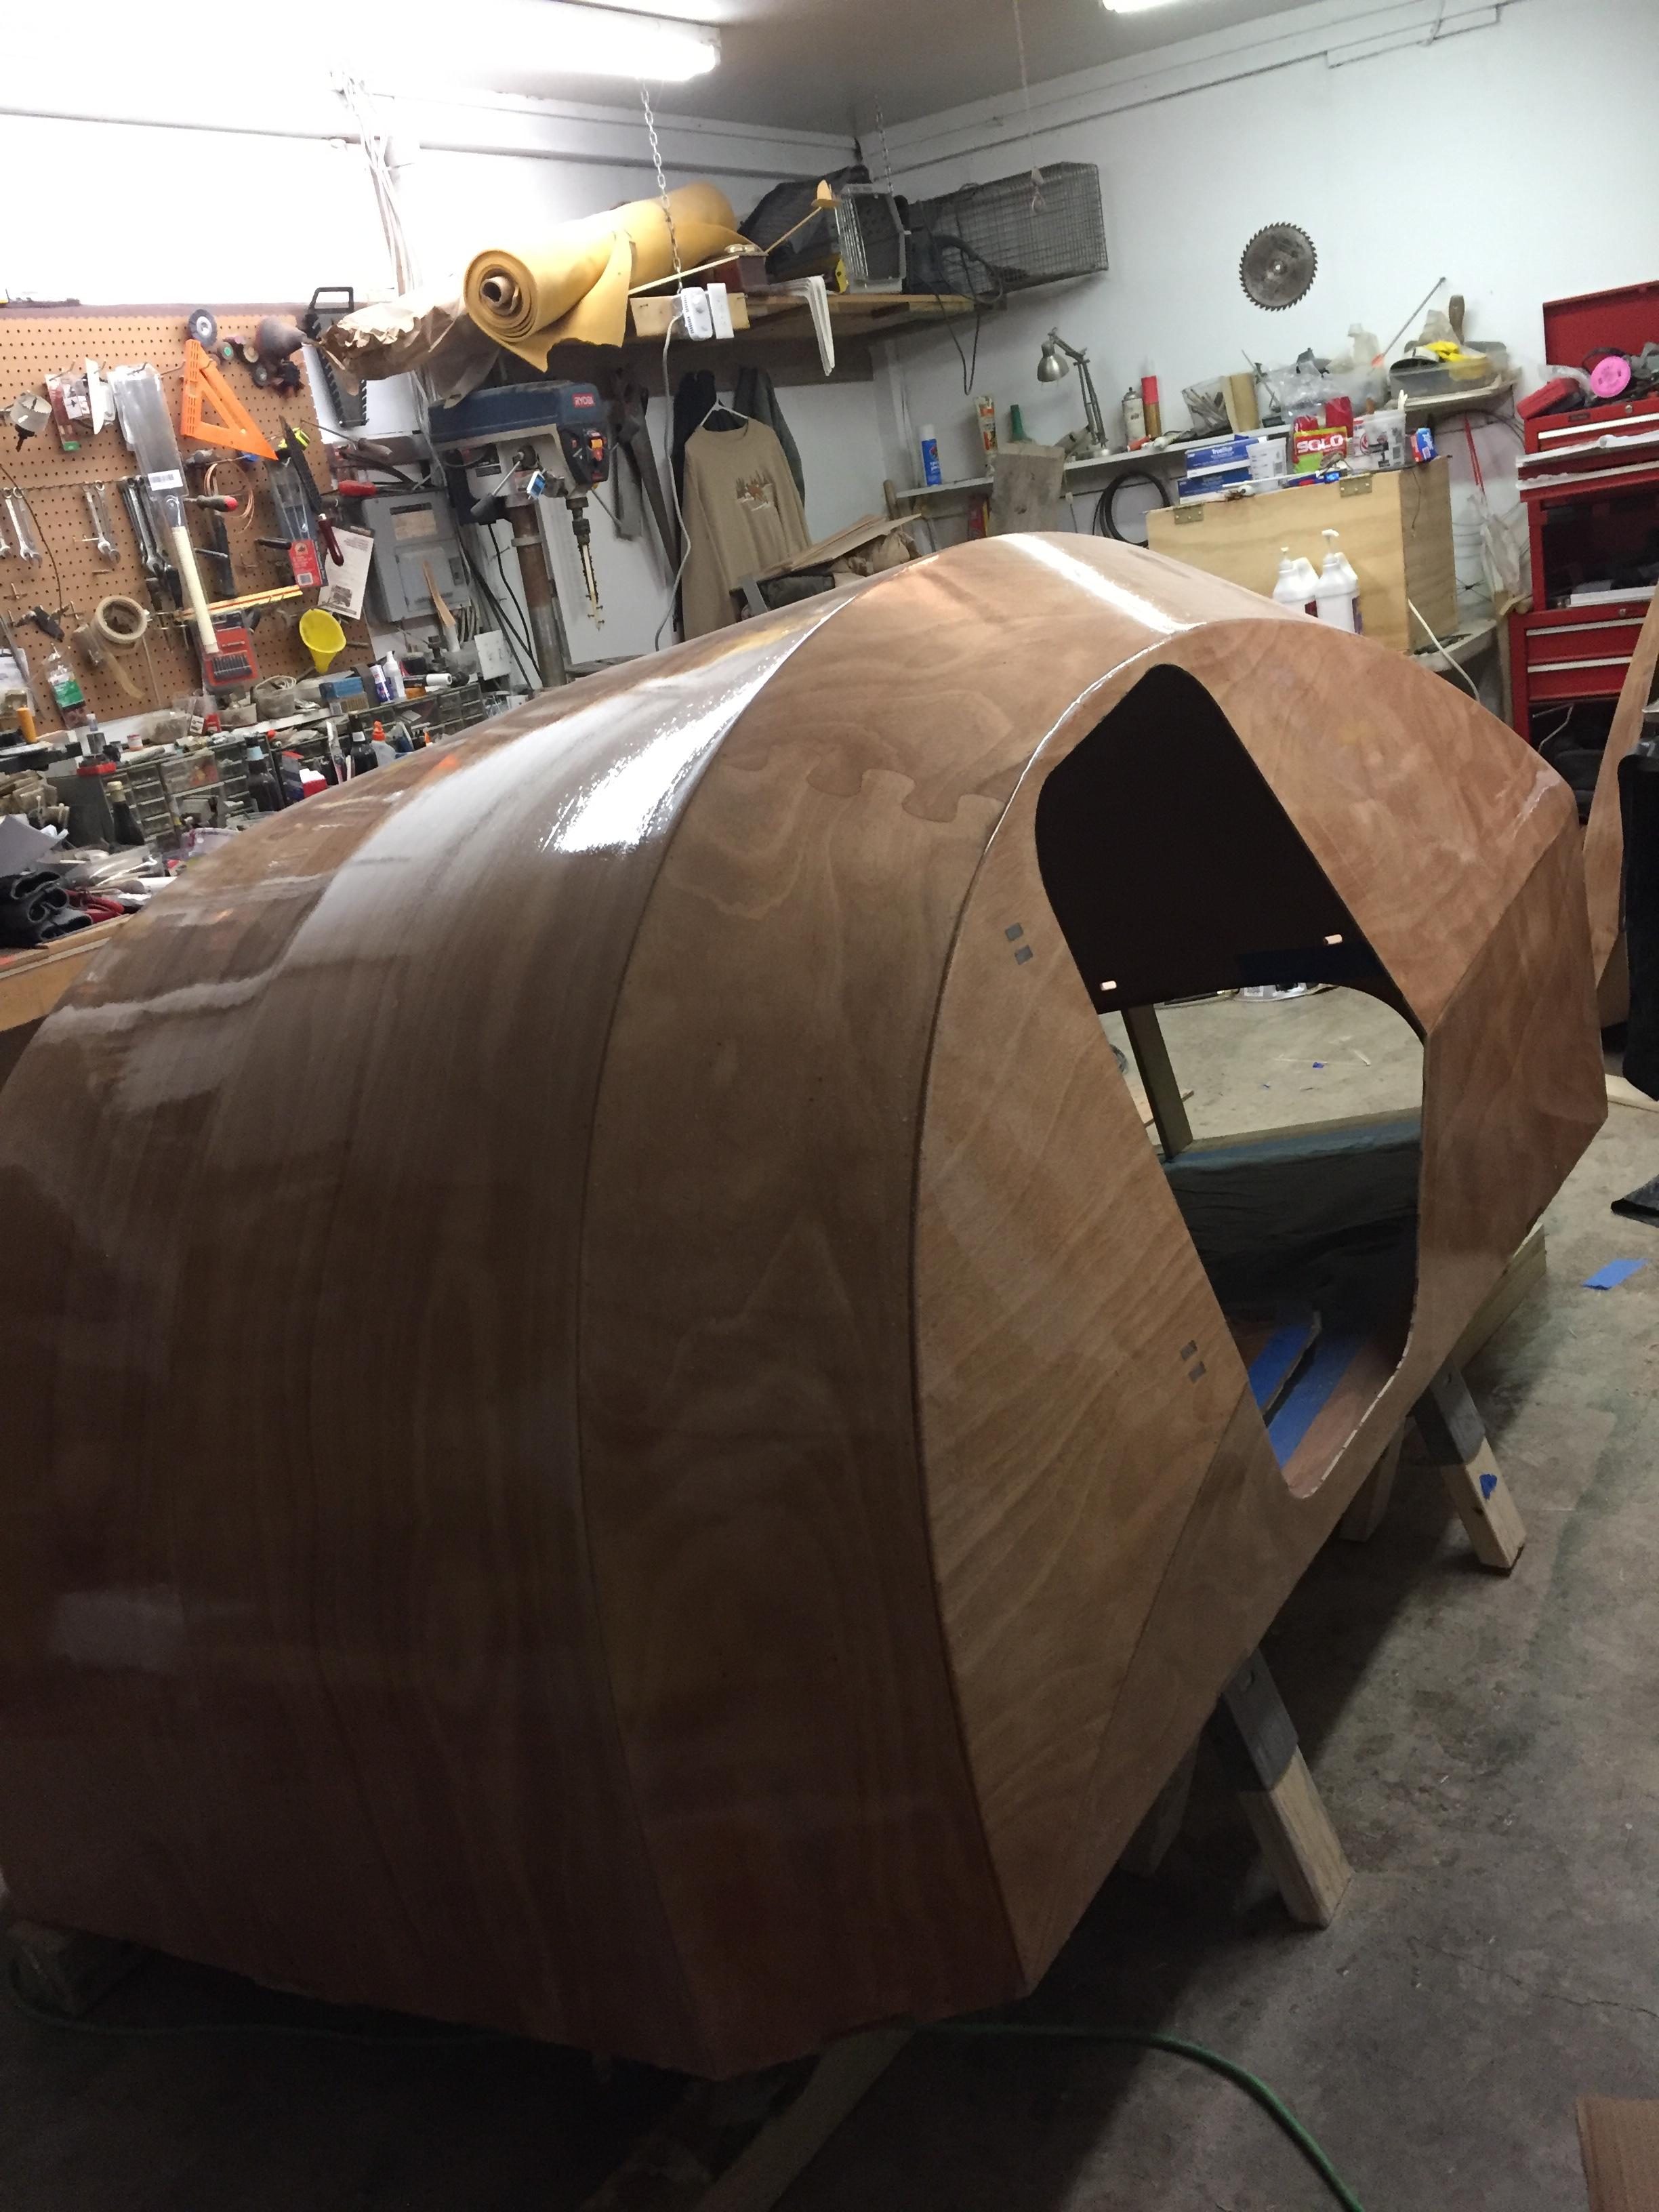
January 30, 2017 at 7:39 pm #510ParticipantHad a major work day today! Did the “Big Cuts” and separated the galley hatch and the doors! I found that the galley flat sagged about 1/4 inch in the middle. I made a temporary brace they pushed it back where it is supposed to be, before installing the galley gutter. Fillet’ed the galley flat and that’s curing now.
Whew, glad that big cut is done. Got a tiny bit crooked at one point but I think it’s going to be fine, it’ll result in no more than 3/16 gap between the hatch and the shell — CLC’s demo TD galley hatch has 1/4 inch gap all around.

 February 1, 2017 at 2:32 pm #515Participant
Built the vent hatch this morning, fillet and glassed. Easy glass layup! Finished the galley hatch gutter, that was a PITA. Came out just ok. Going to hit it with the sander this afternoon and clean it up and fair it in better.


 February 2, 2017 at 6:48 am #518Participant
Picking up the galley kit this afternoon…. the trailer is on order, should be here in a week or so!
February 4, 2017 at 9:13 pm #545ParticipantHatch is installed and glassed. Did a bunch of sanding on the galley gutter. Fitted the transom, but ran out of time to fillet & glass it in. There is no way CA is going to hold it — have some small gaps — so I’m going to have to entomb some stitches in the transom install. Coming along! I’ll sand and fair in the vent hatch glass tomorrow as well and fill the weave in. Then more sanding….
February 4, 2017 at 9:26 pm #546ParticipantOh, yesterday was a run up to CLC, picked up the galley kit and had a nice chat with John Harris. He was very interested in my feedback on the kit, and he reads the forum here! It was great to finally meet him in person, he’s an interesting fella to talk with.
The trailer arrived yesterday as well, about ten days after placing the order. I’ll defer assembly for a few days, so it’s all still in boxes for now.
-
This topic was modified 7 years, 3 months ago by
-
AuthorPosts
- You must be logged in to reply to this topic.