Forum Replies Created
-
AuthorPosts
-
RowingBoatmanSteve
ParticipantMike – many thanks for your generous compliments. Yes, it really was worth the time invested in the build and the sense of satisfaction each time we use it. You are absolutely right about the quiet forum – in fact that’s what prompted me to start contributing recently with the hope that it might inspire current/future teardrop builders. There used to be regular contributions and ideas flowing but something changed with the format of the site some time back, and yes, the search function doesn’t work. I remember pouring over the posts before I committed to my build, keeping notes and sketches in anticipation! So many good ideas out there (like your “drawers under the galley flat idea”, and your bike mount on the trailer…)!
I’m not on Facebook, but will keep chipping away with snippets on this forum as time permits. Maybe I’ll drop an email to John Harris and his team to see if they are aware of the search function issue…
Participant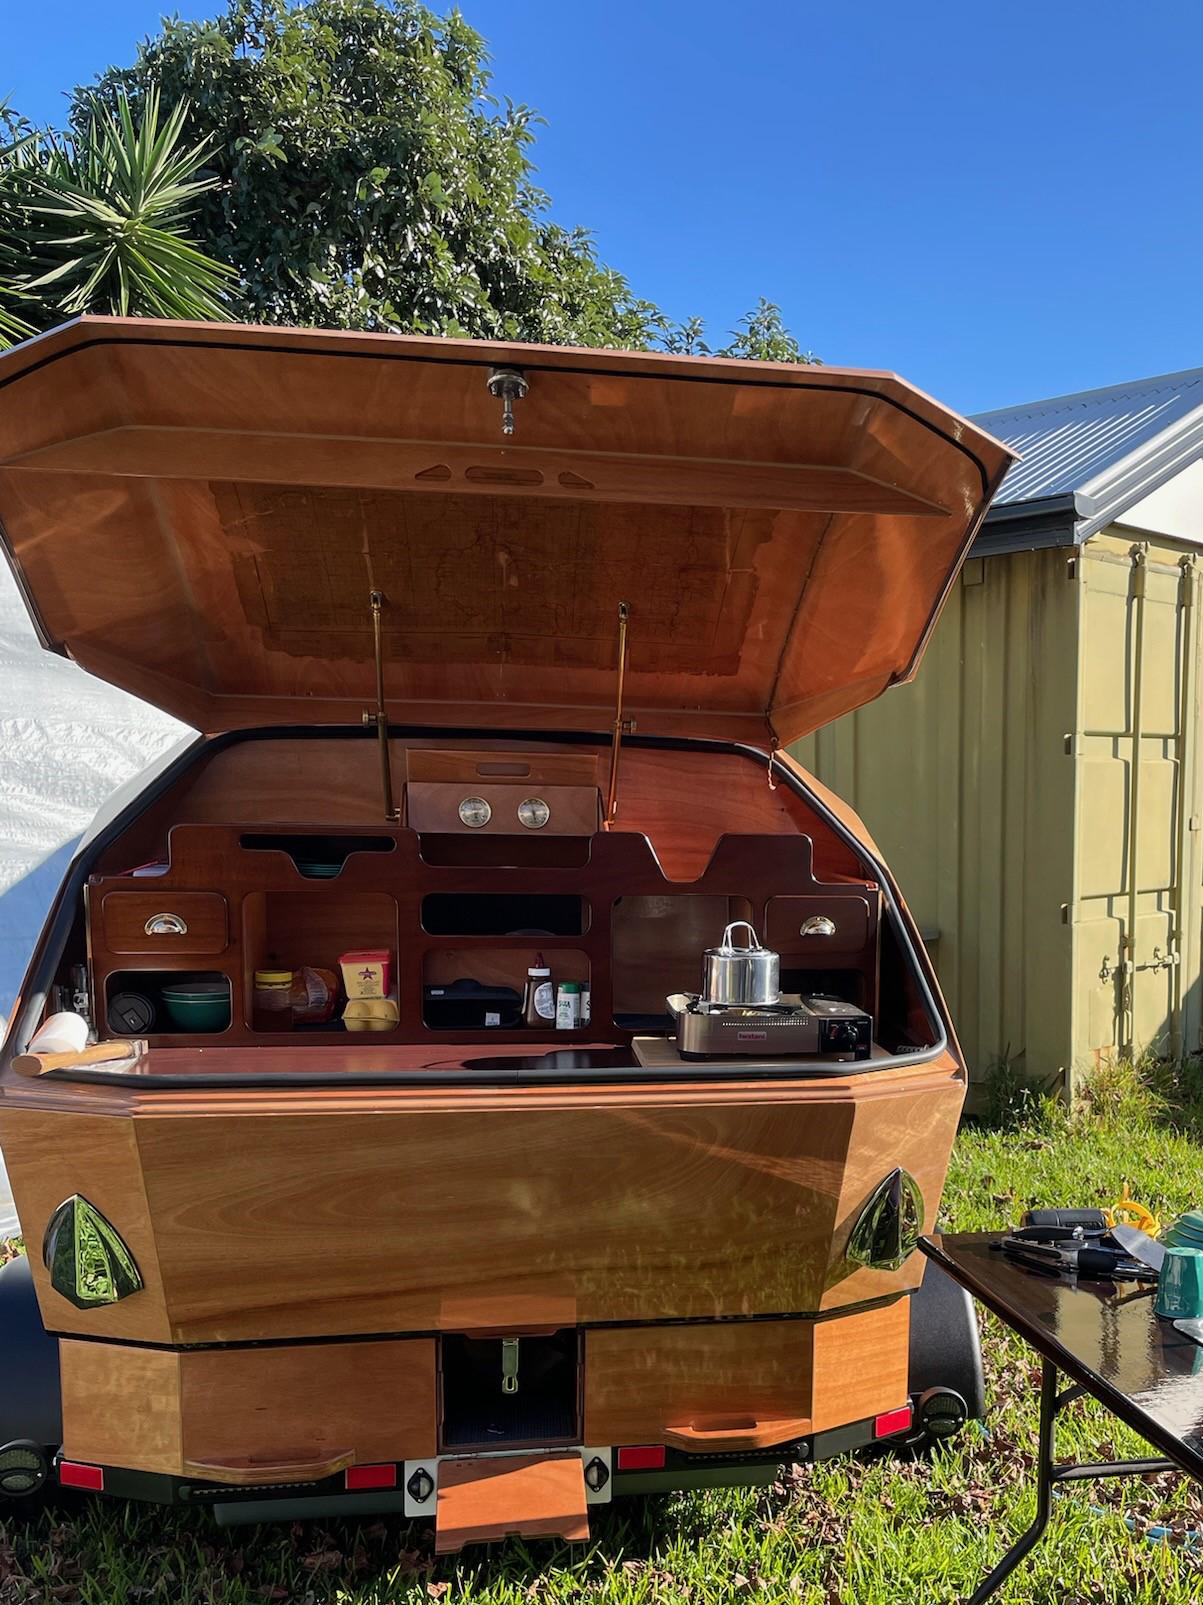
…so this addition solved the problem (top of the photo). The neoprene seal running the full width of the lid is approx 3mm in thickness. Matching the actual profile of the gasket below and transferring it to the lid above was a challenge. I laid the self adhesive neoprene seal on the lower gasket, sticky side up and held in place with the occasional piece of temporary tape across it. The lid was then lowered down onto the seal.
I found the best way to check if the seals were in fact touching was to place a piece of paper between the seals and close the camper lid. The paper was either captured by the seal (success), or able to be slid out (not compressed enough).
Participant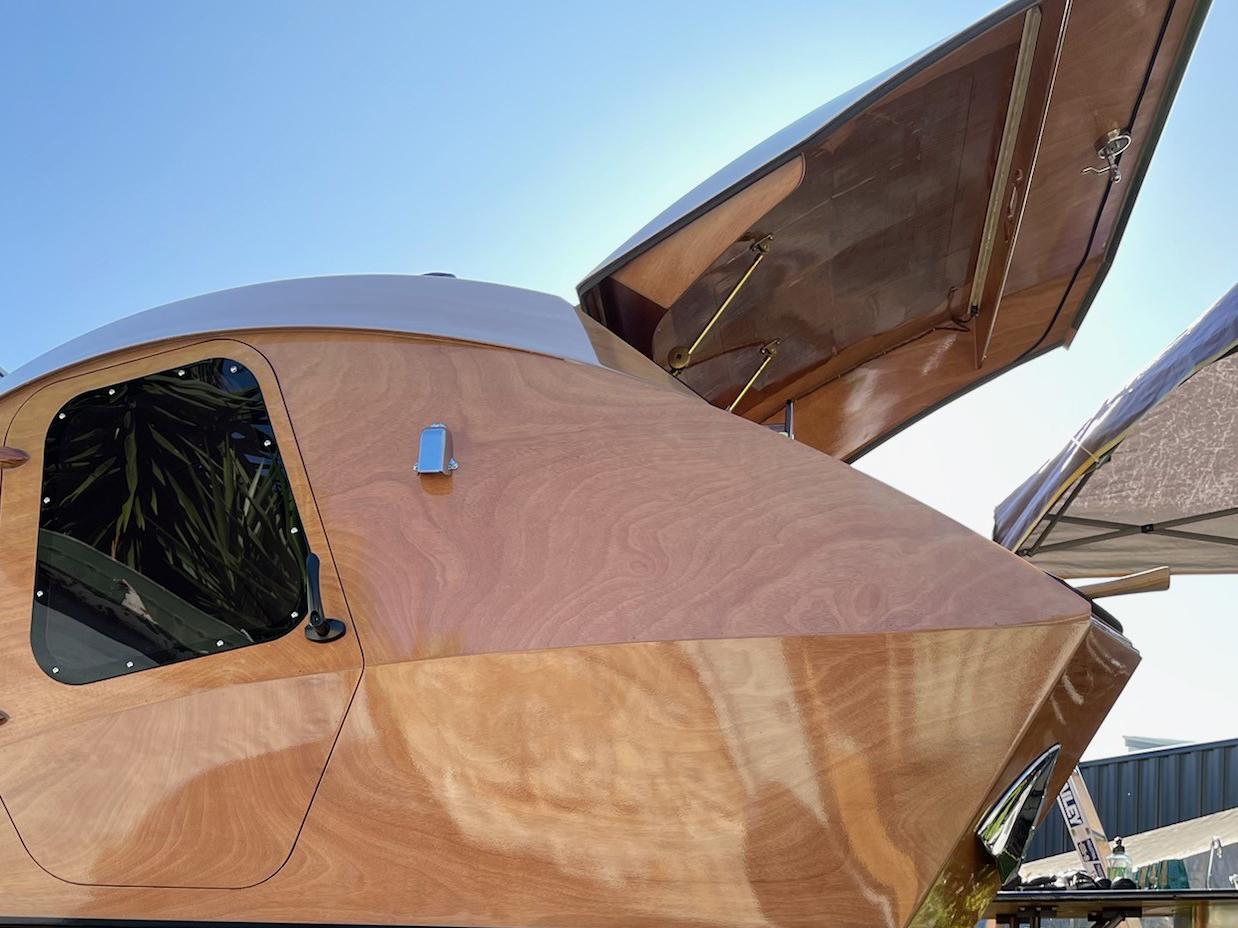
The final piece in the “leakproof puzzle” for me was to add a strip on neoprene foam to the underside of the galley hatch, to match with the rubber gasket on the camper edge below. This can be seen in the picture above. I’m sure each build is different, but on my camper the rear seal didn’t make positive contact with the lid above, allowing dust and water to enter on highway runs…
Participant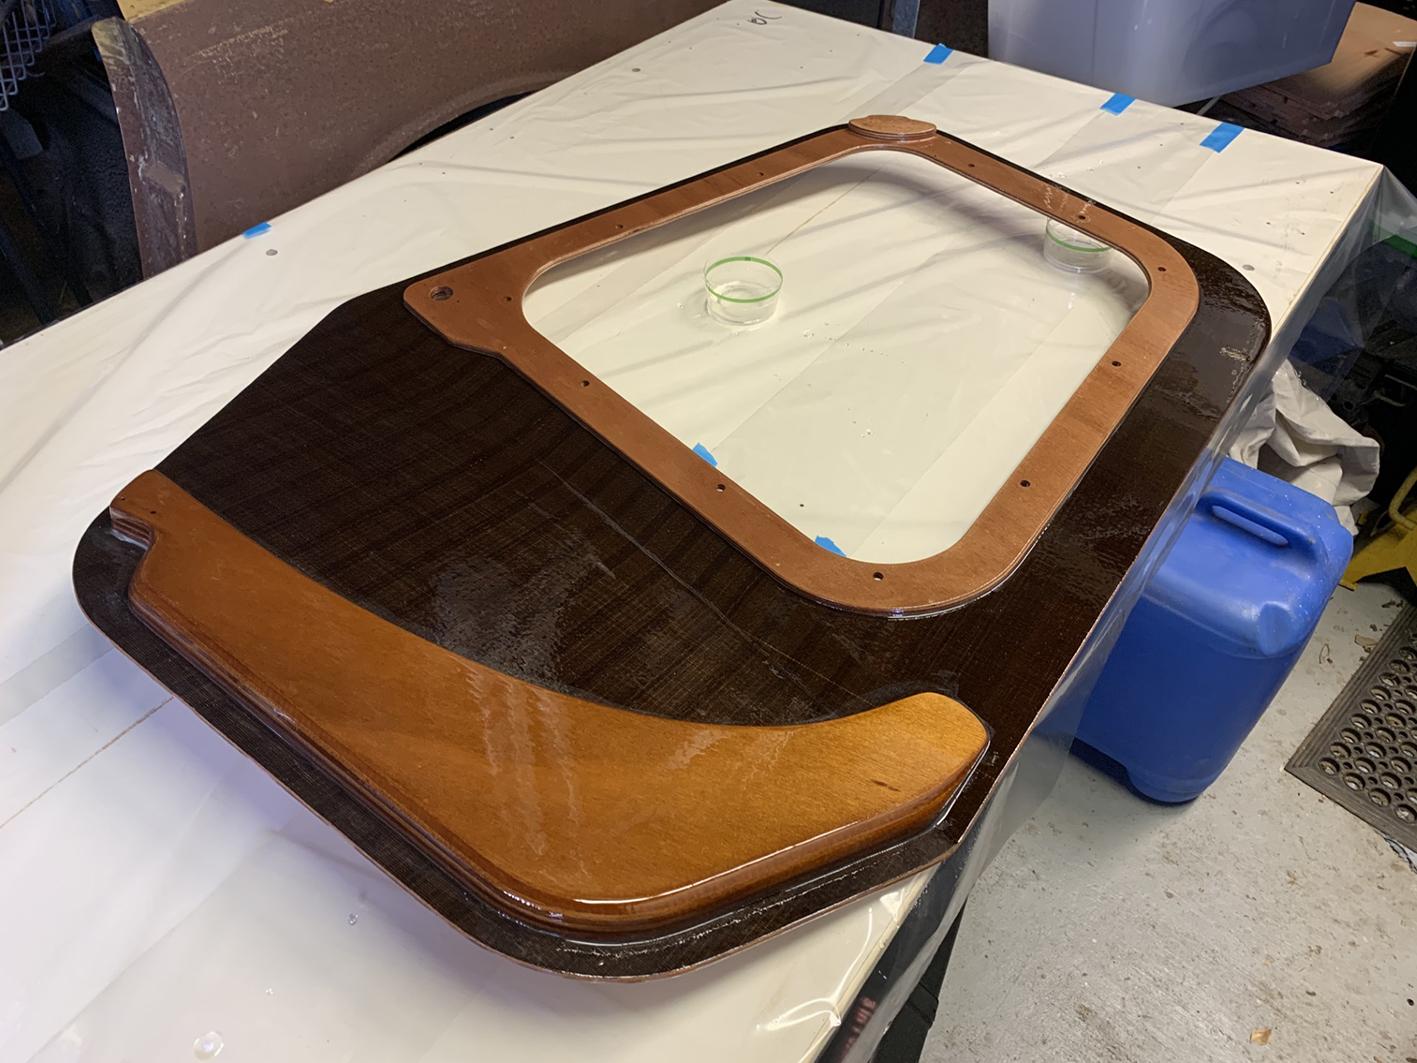
The finished door with stiffening provided by the additional basalt fiber layer. (Could alternatively be fiberglass/carbon etc). I was able to omit the addition of the internal webbing “grab handle” as suggested in the manual.
Participant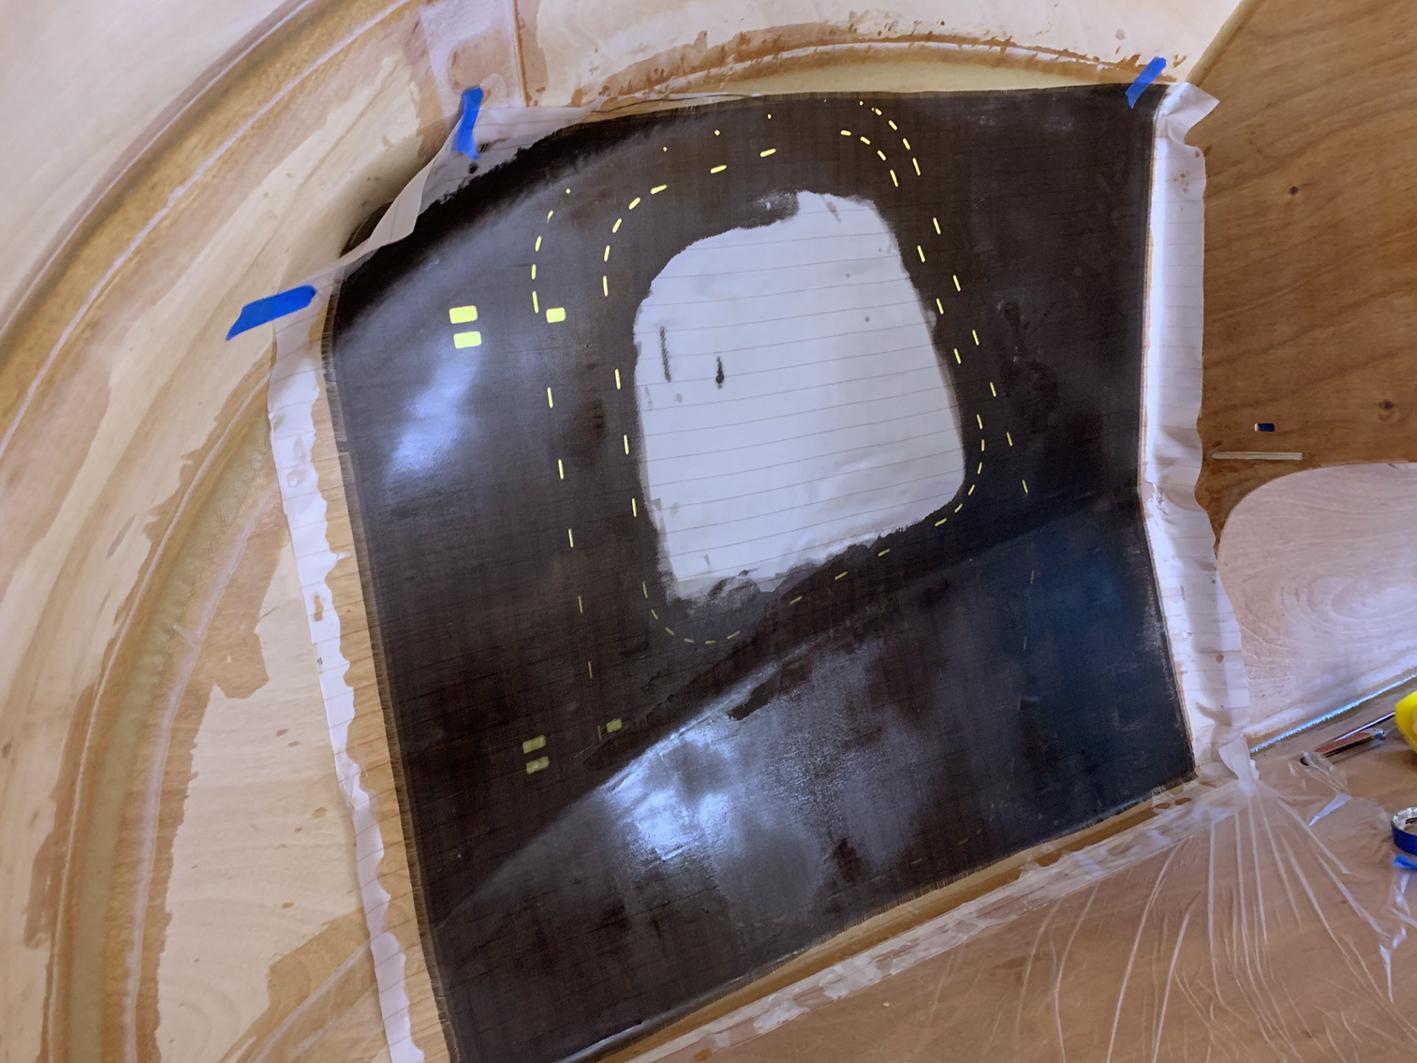
This photo show the layup of (Basalt) fiber internally during the shell construction stage to stiffen the doors (my upgrade). The unwetted center section is me saving resin on the window cutouts!…
Participant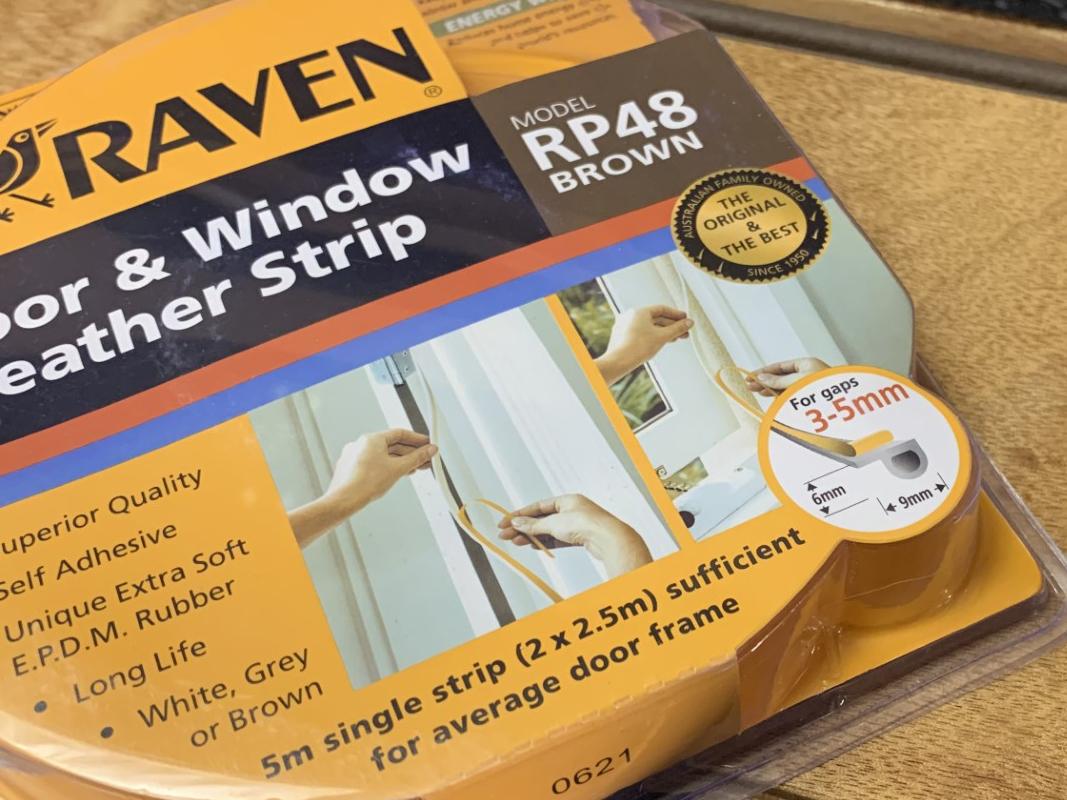
The packaging shows the dimensions of the foam profile…
On a side note, during the build process I added a layer of fiber to the internal surface to stiffen the finished door. This stiffening has also helped to keep the doors leakproof…
Participant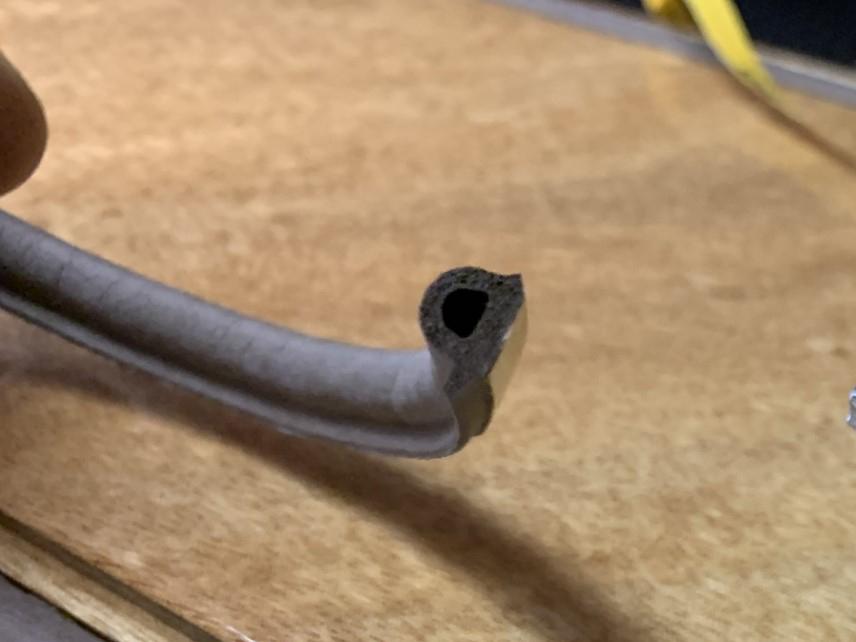 The lower profile seal (compared to the kit supplied foam) seals well, without distorting the ply doors…Participant
For the Teardrop doors:
I chose a slightly different seal profile to the ICC doors…
 Participant
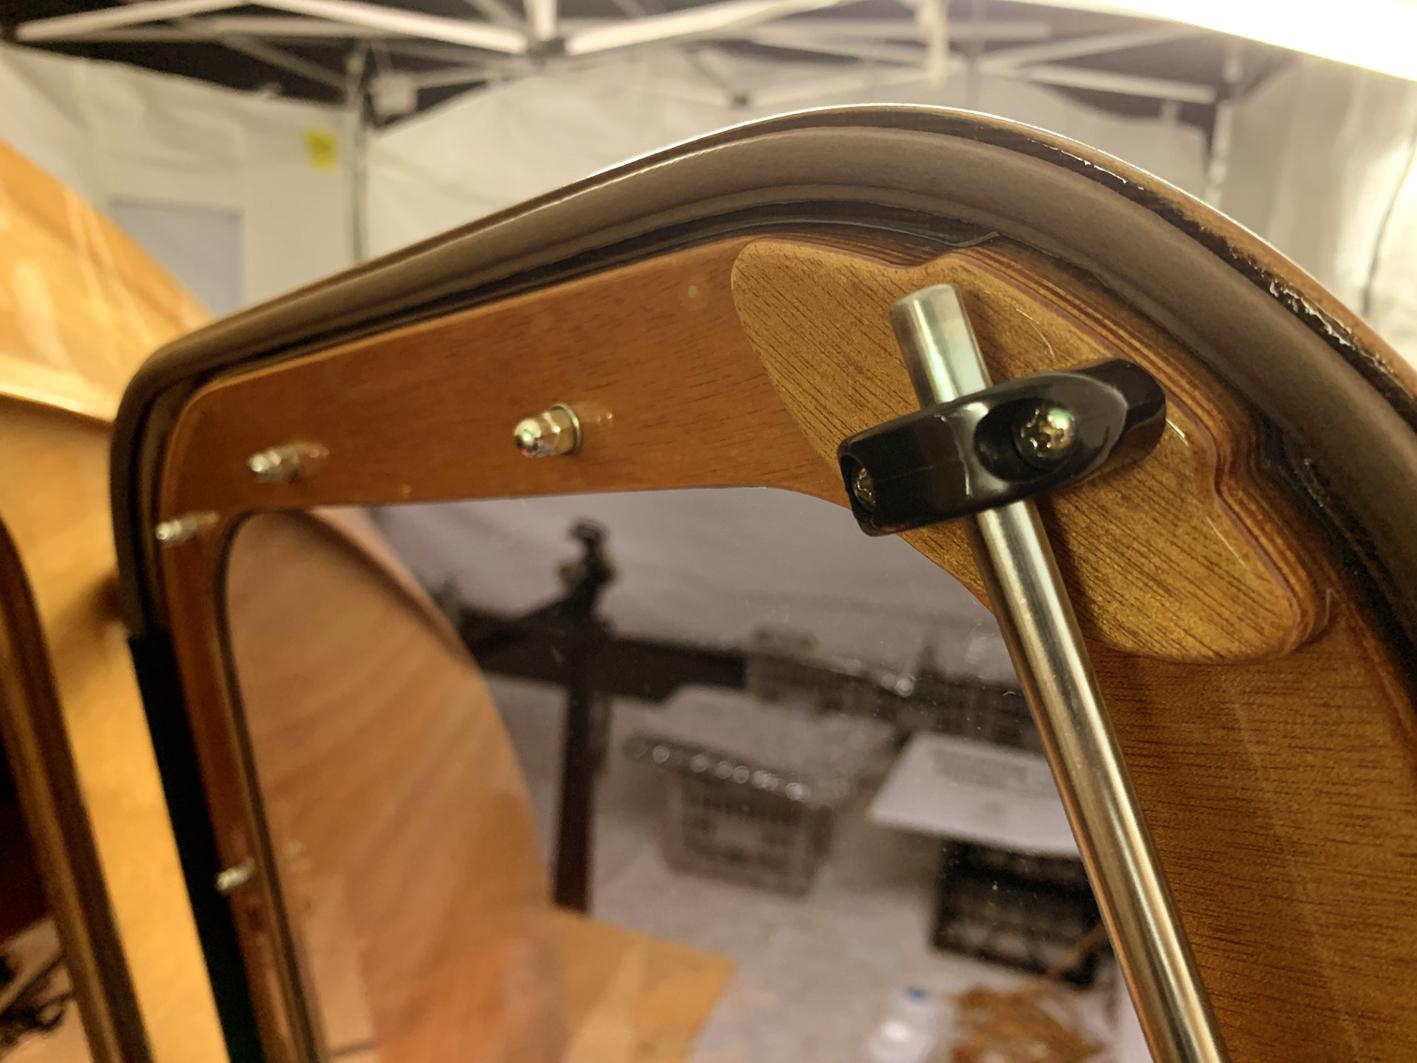
In addition to the smaller rubber seal, I replaced the supplied door hardware (as seen above) with a flush stainless compression latch. Apart from having a lower profile and sleeker look, the latch compresses the door on closing …
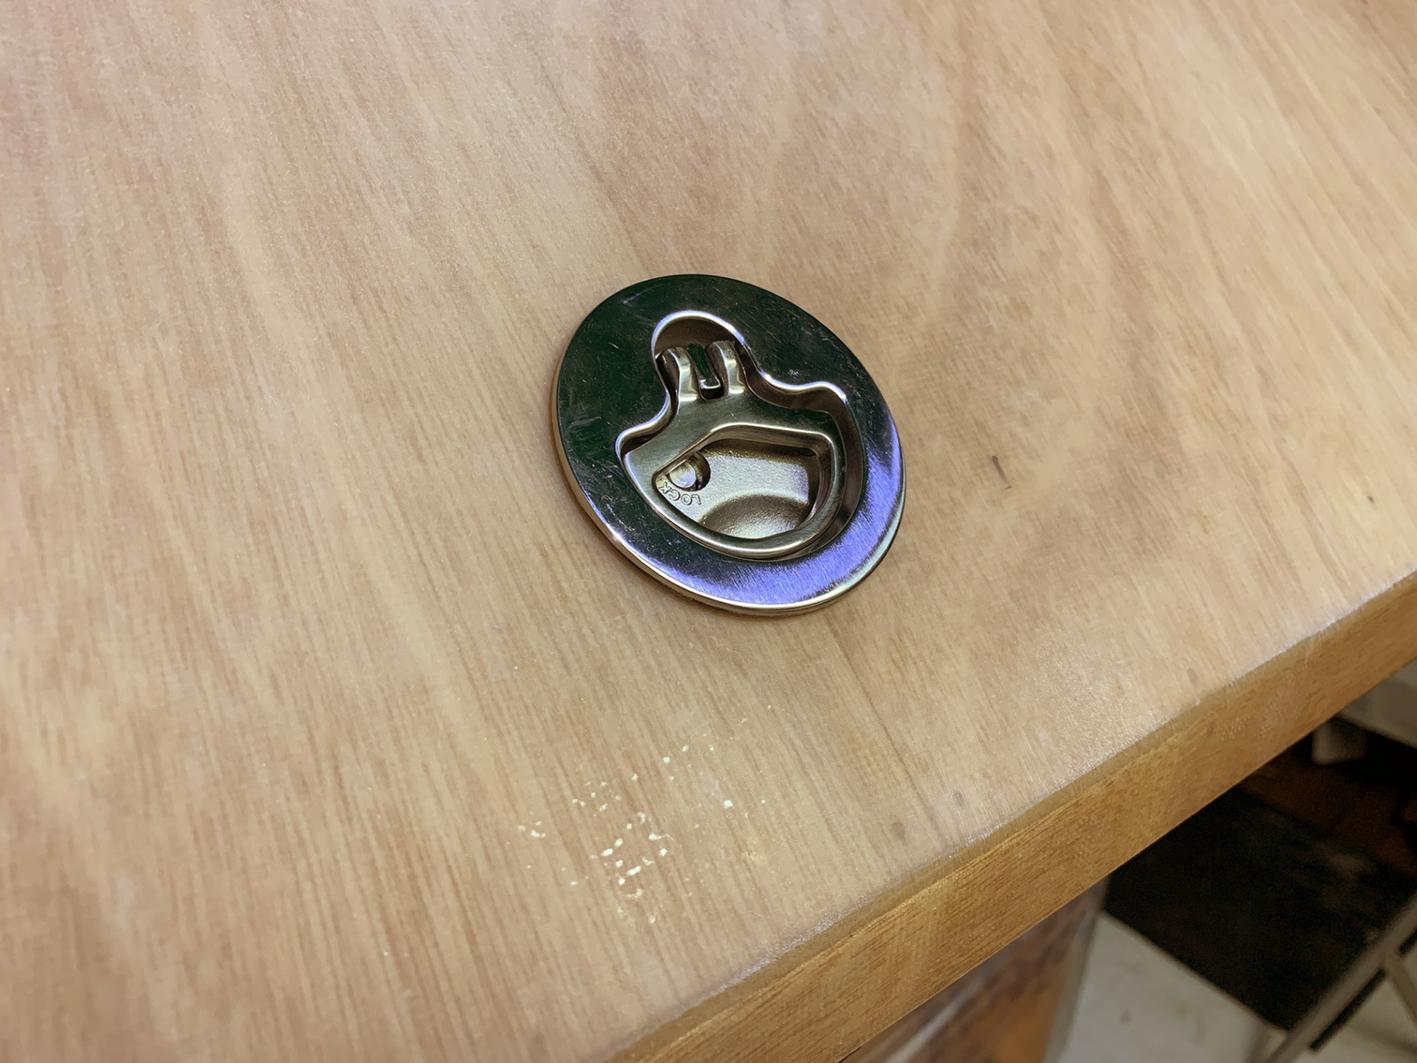
These latches turn to engage the internal tongue with the camper body, then compress down about 3mm as the latch is laid flat. I used them for both ICC doors as well as for the galley hatch. They are also lockable.
ParticipantIn my experience the door seal material supplied in the kit was too thick and not suitable for the application. It created an uneven closure of the doors, heavily compressing the material at the hinge side and distorting the ply profile around the outer perimeter of the openings.
For the ICC doors:
My solution was to source an alternative material, so I took a visit to my local hardware store to look for alternatives.
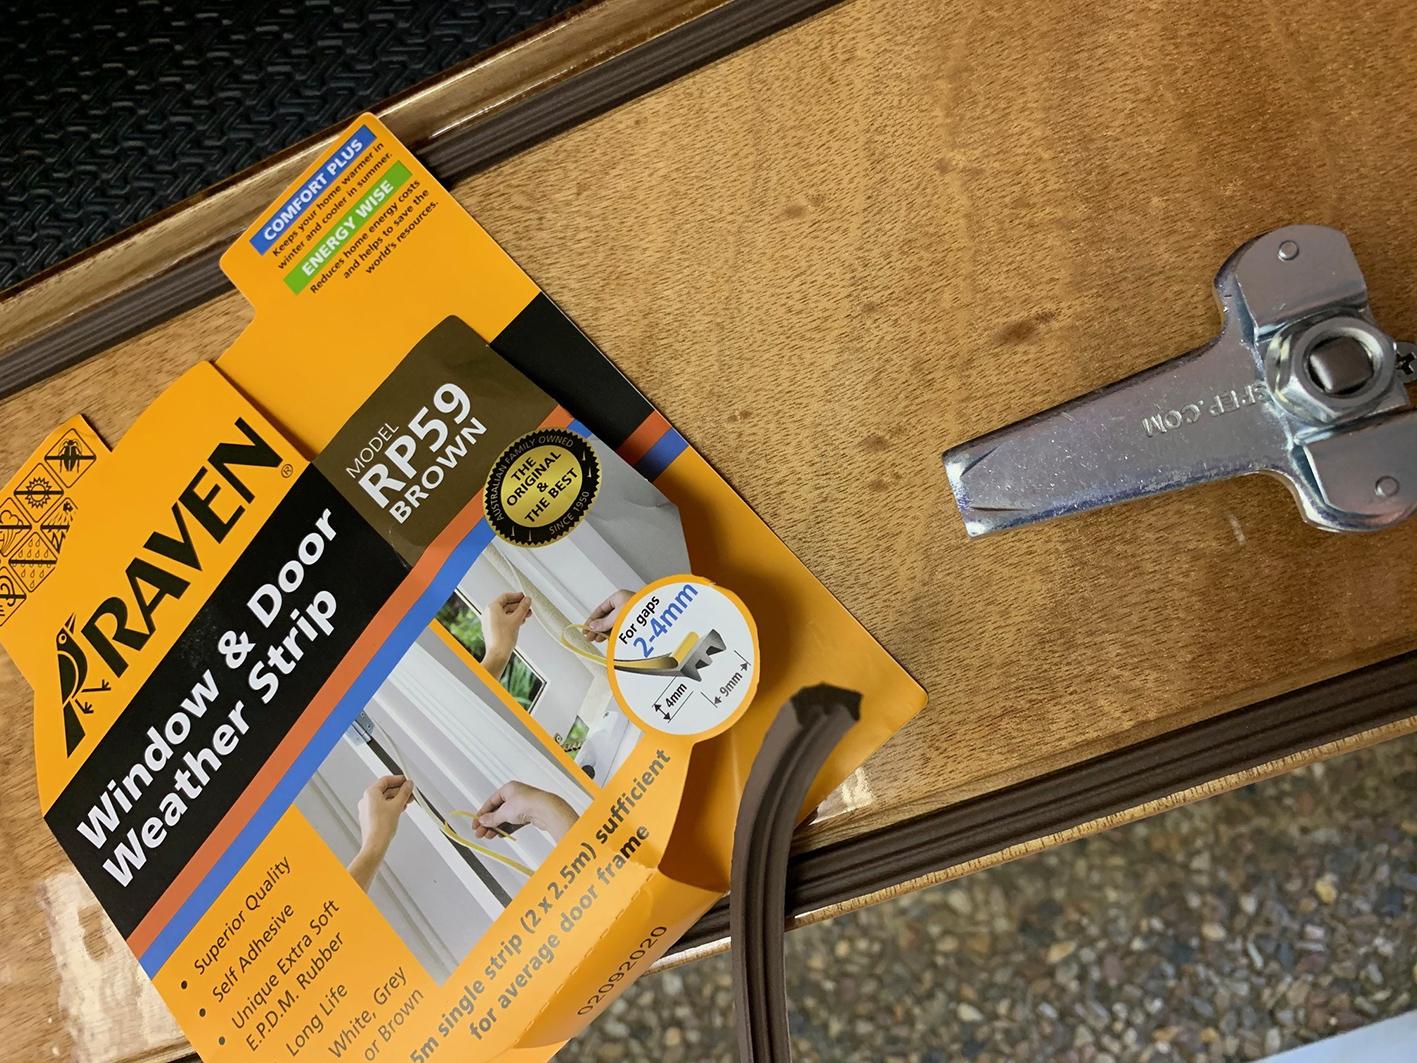
This self adhesive rubber strip compresses sufficiently without distorting the closure of the ICC doors. The ribbed profile prevents water passing the seal.
Participant
…and then the wires were secured to the floor of the ICC enroute to the battery. (The additional hole in the floor shown in this shot is to route power to the opposite side of the ICC for lighting).
Participant
…and into the ICC on the forward side of the drawer bulkhead (to prevent the wires being chaffed by the drawers)…
Participant
This photo shows the wires passing through the floor of the camper into the ICC below…
Participant
The wires, bus bars and fuses are hidden behind the galley module (as described in a previous post). The 12v supply wires enter the floor of the galley shelf from the footwell of the camper…
ParticipantThanks Kirt – it’s been inspiring to see the range of customised designs in the picture galleries over time…
-
AuthorPosts