Forum Replies Created
-
AuthorPosts
-
madebymike60
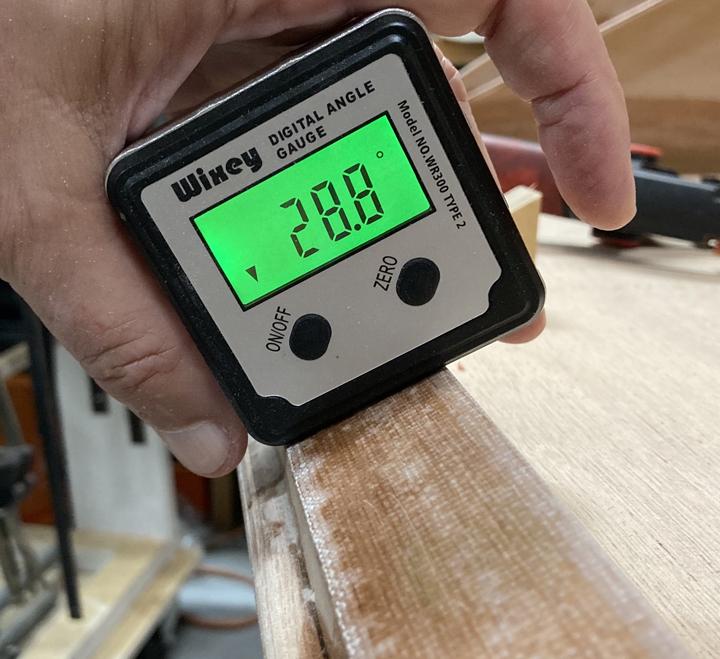
ParticipantIf you happen to have one, the digital angle gauge can also be used to get the angle right. Just set it at ‘zero’ on the galley flat and try to hold the gutter at about 29 degrees (or 28.8) before adding the CA glue.
 Participant
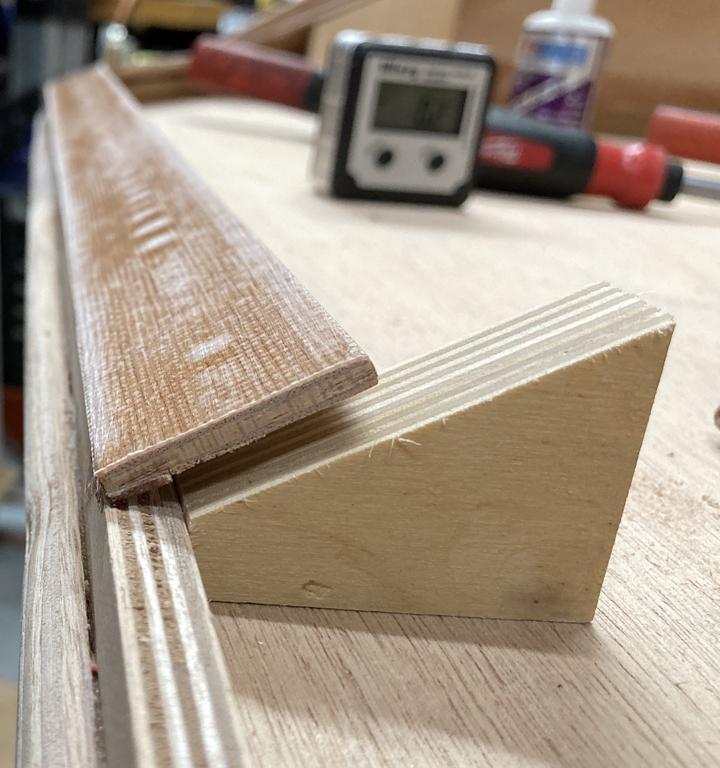
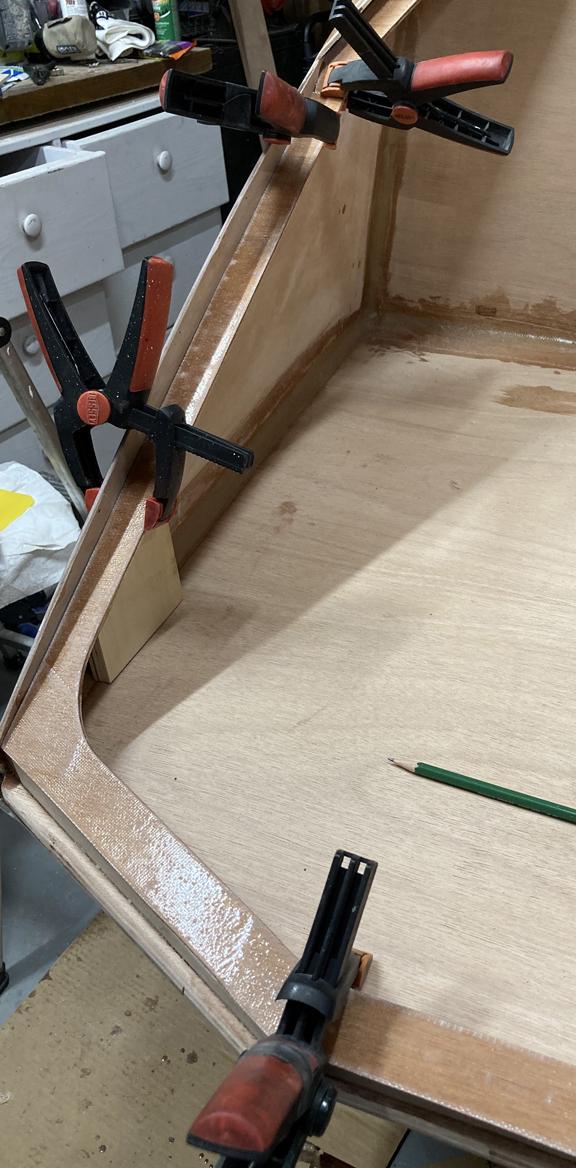
To get the angle of the gutter right, I used someone else’s idea (thanks for it by the way) of wood cut at 29 degrees. I used a small and larger piece. Here’s the small one up close and larger one is in the blurry background behind the digital angle finder.
 Participant
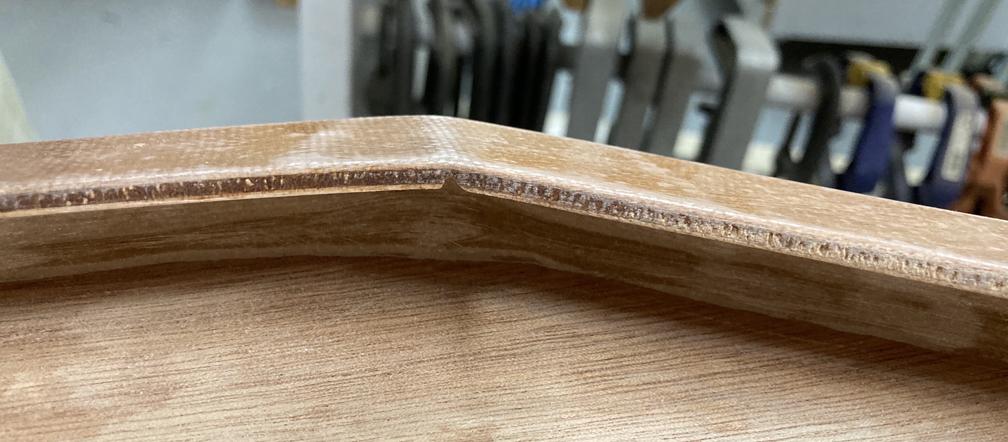
Here it is installed. It helped a lot to make that ‘turn’ and get the gutter to lay flat without forcing it.
 Participant
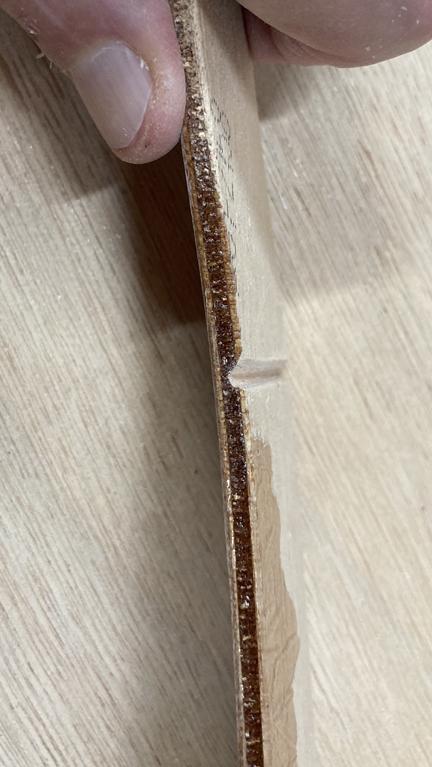
I had a difficult time making the lower gutter want to bend where you see one of the clamps above. This is at the bottom where it straightens to meet the other side. Rather than force the issue, I cut (very small) notches right at that bend. A slightly angled cut no more than halfway through should work.
 Participant
Here are some ideas for the gutters. I’ll try to put them all together but because multiple pictures have been an issue, they may be in other responses following this one. Bessey makes a clamp that was helpful for holding the lower gutter in place (Bessey XV5-100 4-Inch VarioClippix Sliding Arm Plastic Spring Clamp). They have an adjustable ‘arm’ that allows you to open them up for wider clamping. One held the upper and lower parts together and others held the gutter in place for the CA glue. They’re not quite as strong as other spring clamps I have but I’ve found several uses for them while building the camper.
 Participant
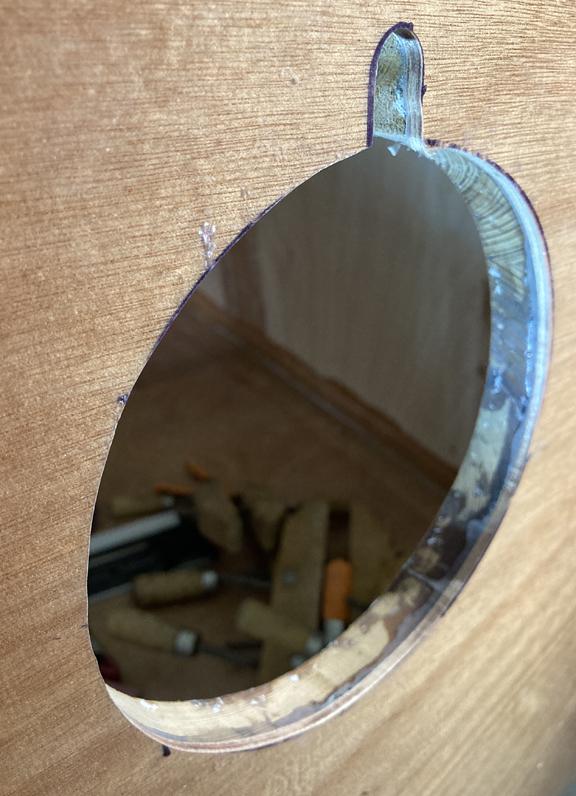
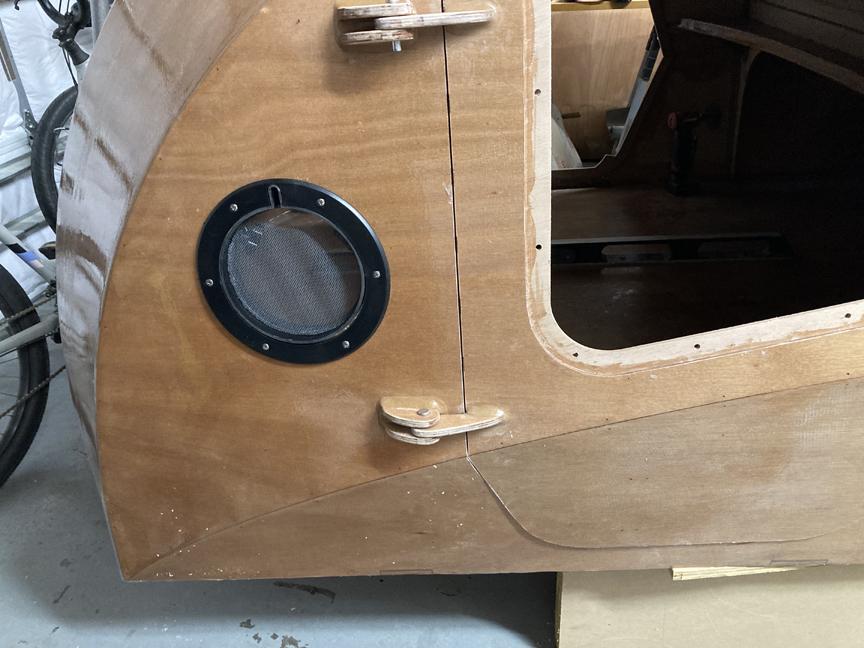
I second the idea of a flush trim router bit. I’m almost to the fan install so will be using one there soon but here is where I used it to clean up the holes for portholes. Just make sure any epoxy is out of the way of where the bearing will go and the bit will remove plywood shell and any extra epoxy very neatly.
 Participant
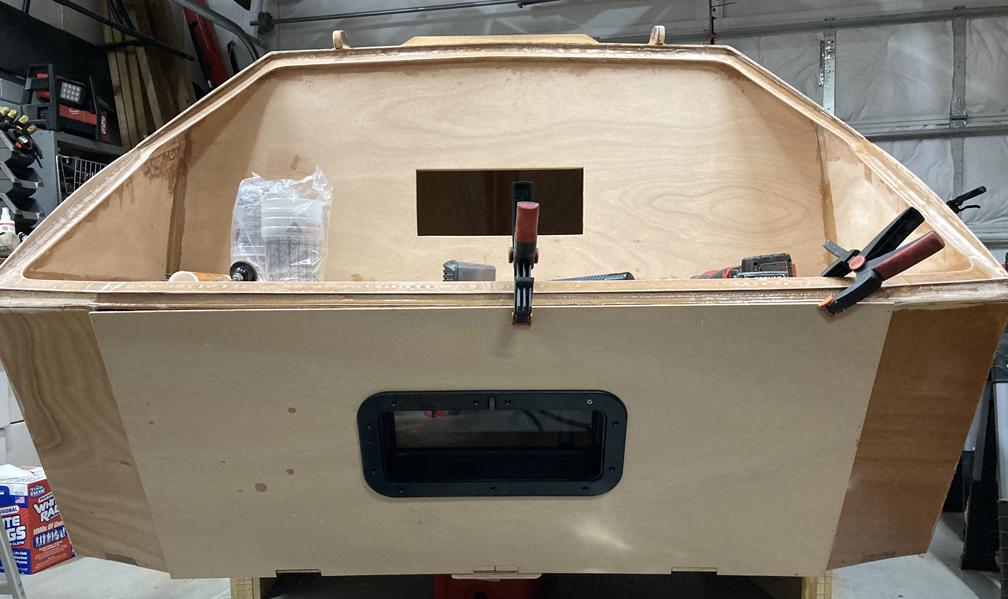
Here is my plan for some rear ventilation. I thought about two more round portholes toward the sides but decided on one rectangular one in the middle of the transom panel. I made a thick frame (about 1 and 1/4 inches) for the inside so that the plastic of the porthole will be flush with the outside trim piece when everything is installed and tightened. This was easier to do while the transom was still off. I’ll remove the porthole before fiberglassing the bottom and rear of the camper.
 Participant
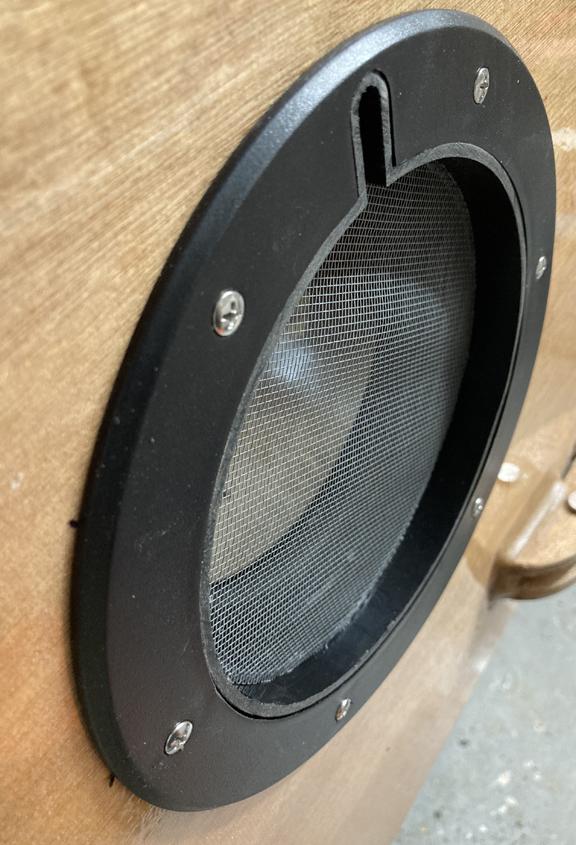
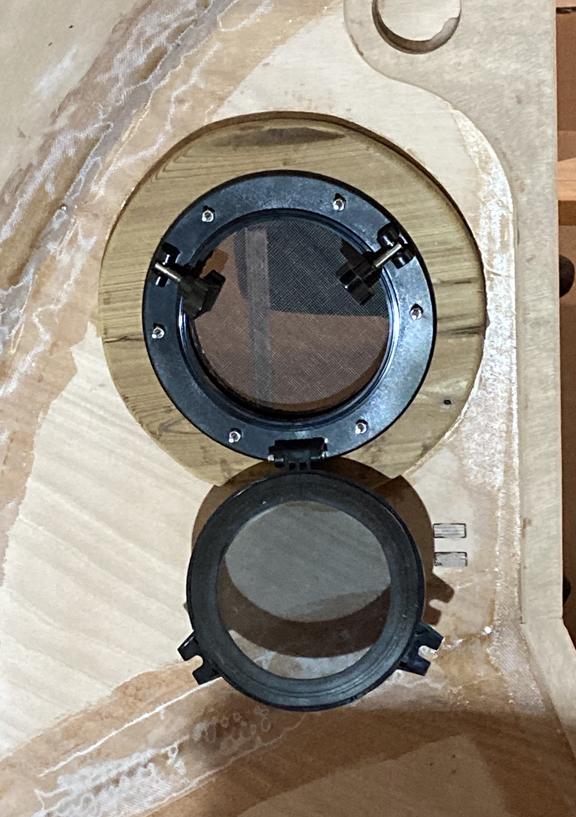
(Part 7) Both sides turned out well. Each is a snug fit which will have to be pushed out from the inside to remove them.
 Participant
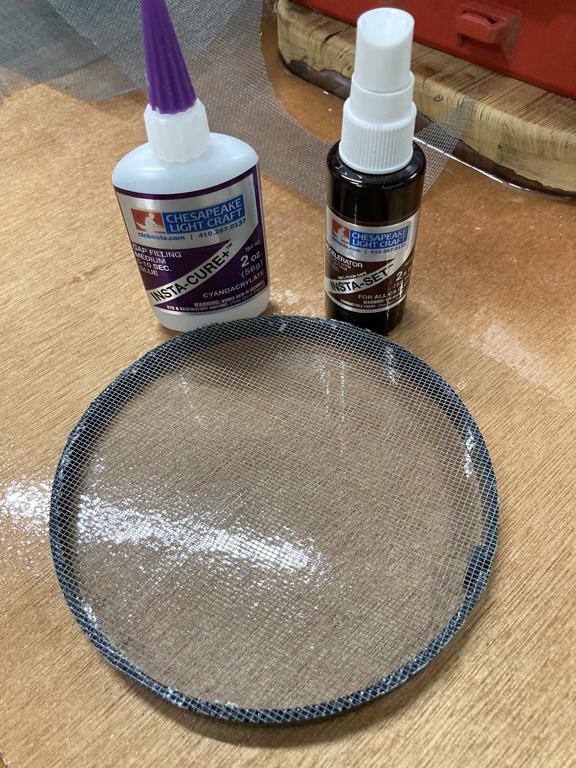
(Part 6) With the circle glued back together, attach some screen with the CA glue/accelerator combo.
 Participant
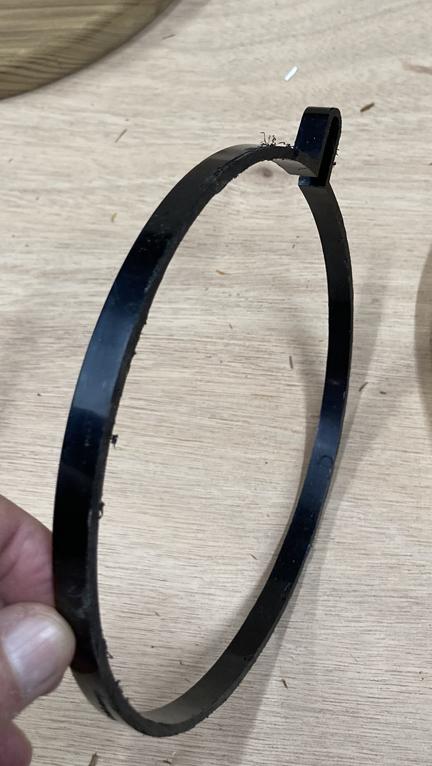
(Part 5) To make the cut off piece into a screen for the porthole, first cut the ‘U’ shaped extension out right at its edges (so no extra circle is cut). For the ring to fit inside the window, you’ll need to cut a little more of the circle – about 3/8 of an inch for an 8 inch porthole. Use that small piece to glue the ring back together but dry fit it first to make sure it is a snug fit. Here’s what it looks like.
 Participant
(Part 4) Here’s what I ended up with. I thought it would be thrown away but then figured out it could be used to make a screen for the porthole.
-
This reply was modified 4 years, 6 months ago by
madebymike60.
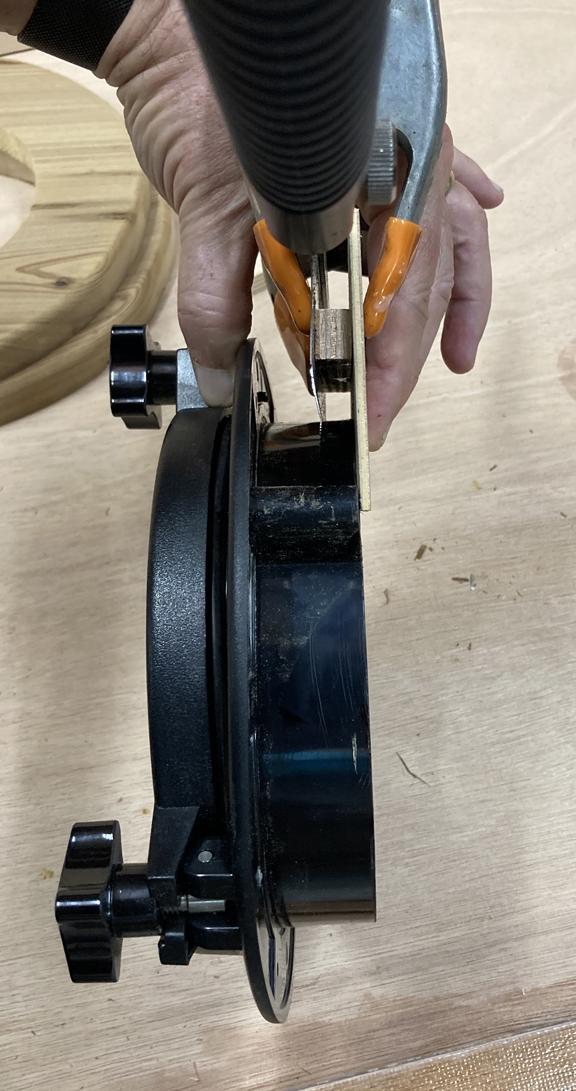
Participant(Part 3) I could have just made a thicker frame but solved it another way. I used a couple of scrap pieces of wood clamped to a hand saw to cut away a ring from the plastic. Here is the saw set up. It worked pretty well. The skinny piece on the right followed the edge of the porthole and the spacer in the middle (of the saw and skinny piece) keeps it at the right distance from the edge. I just took my time and scored it all the way around, then finished by cutting through.
 Participant
(Part 2) – The portholes I added also came from Amarine on Amazon. They seem quite well made with the only complaint many people having is they don’t come with a screen. (Mine has one which I show how to make in other replies.) The portholes come with about an inch and a half of plastic that would stick out of the camper (all but about 1/4 inch). I didn’t like that idea and made a frame for the inside to take up some of that extra plastic. The frame in the picture is made from about 3/4 inch thick reclaimed wood which means some plastic would still ‘stick out’ from the camper.
 Participant
Yes, thanks for this idea. I also went with round portholes in the front – 8 inch instead of 10. I figured out a way to make a screen using a cut off piece from the porthole. Since the forum seems to have issues with me sharing more than one picture, I’ll share how I did that in several more replies to this post.
 Participant
I did the door stiffeners before cutting out the doors also. Like Danita says, it’s a pain to crawl in and out but if it saves spending lots of time (or frustration) trying to realign the doors later, it’ll be worth it. I put wire through the two pre-cut holes and also I drilled an extra hole through each stiffener and door toward the front end and inserted wire to help hold them in place while arranging clamps. Here is my set up.
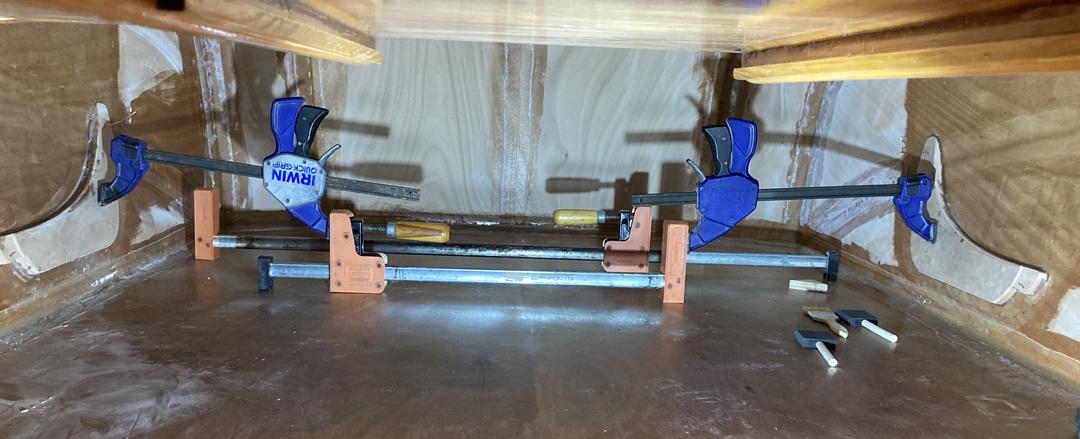
The stiffeners were flush nearly all the way around so they didn’t require much clamping pressure. If yours don’t fit well, one clamp on each stiffener won’t be enough. Follow the book or figure out something else. It worked for me but it wasn’t easy arranging three clamps in a straight line like you see here since they tend to go sideways as you add more pressure. Then again, I didn’t want too much pressure because I thought it might deform the camper shell and I’m trying to have everything keep the shape it happens to have right now as much as possible.
-
This reply was modified 4 years, 6 months ago by
-
AuthorPosts