Forum Replies Created
-
AuthorPosts
-
CWStevens
ParticipantFor the lights and fans, I chose as high as I could, keeping in mind you’ll have to wire around the upper lip in the rear bulkhead galley area.
I ran the rear lights and center fan through the starboard side of the shelf, then into the electrical area, under the shelf. No grommets, but EPOXY coat the holes prior to running wire. Then use flexible plastic conduit to dress the wiring.
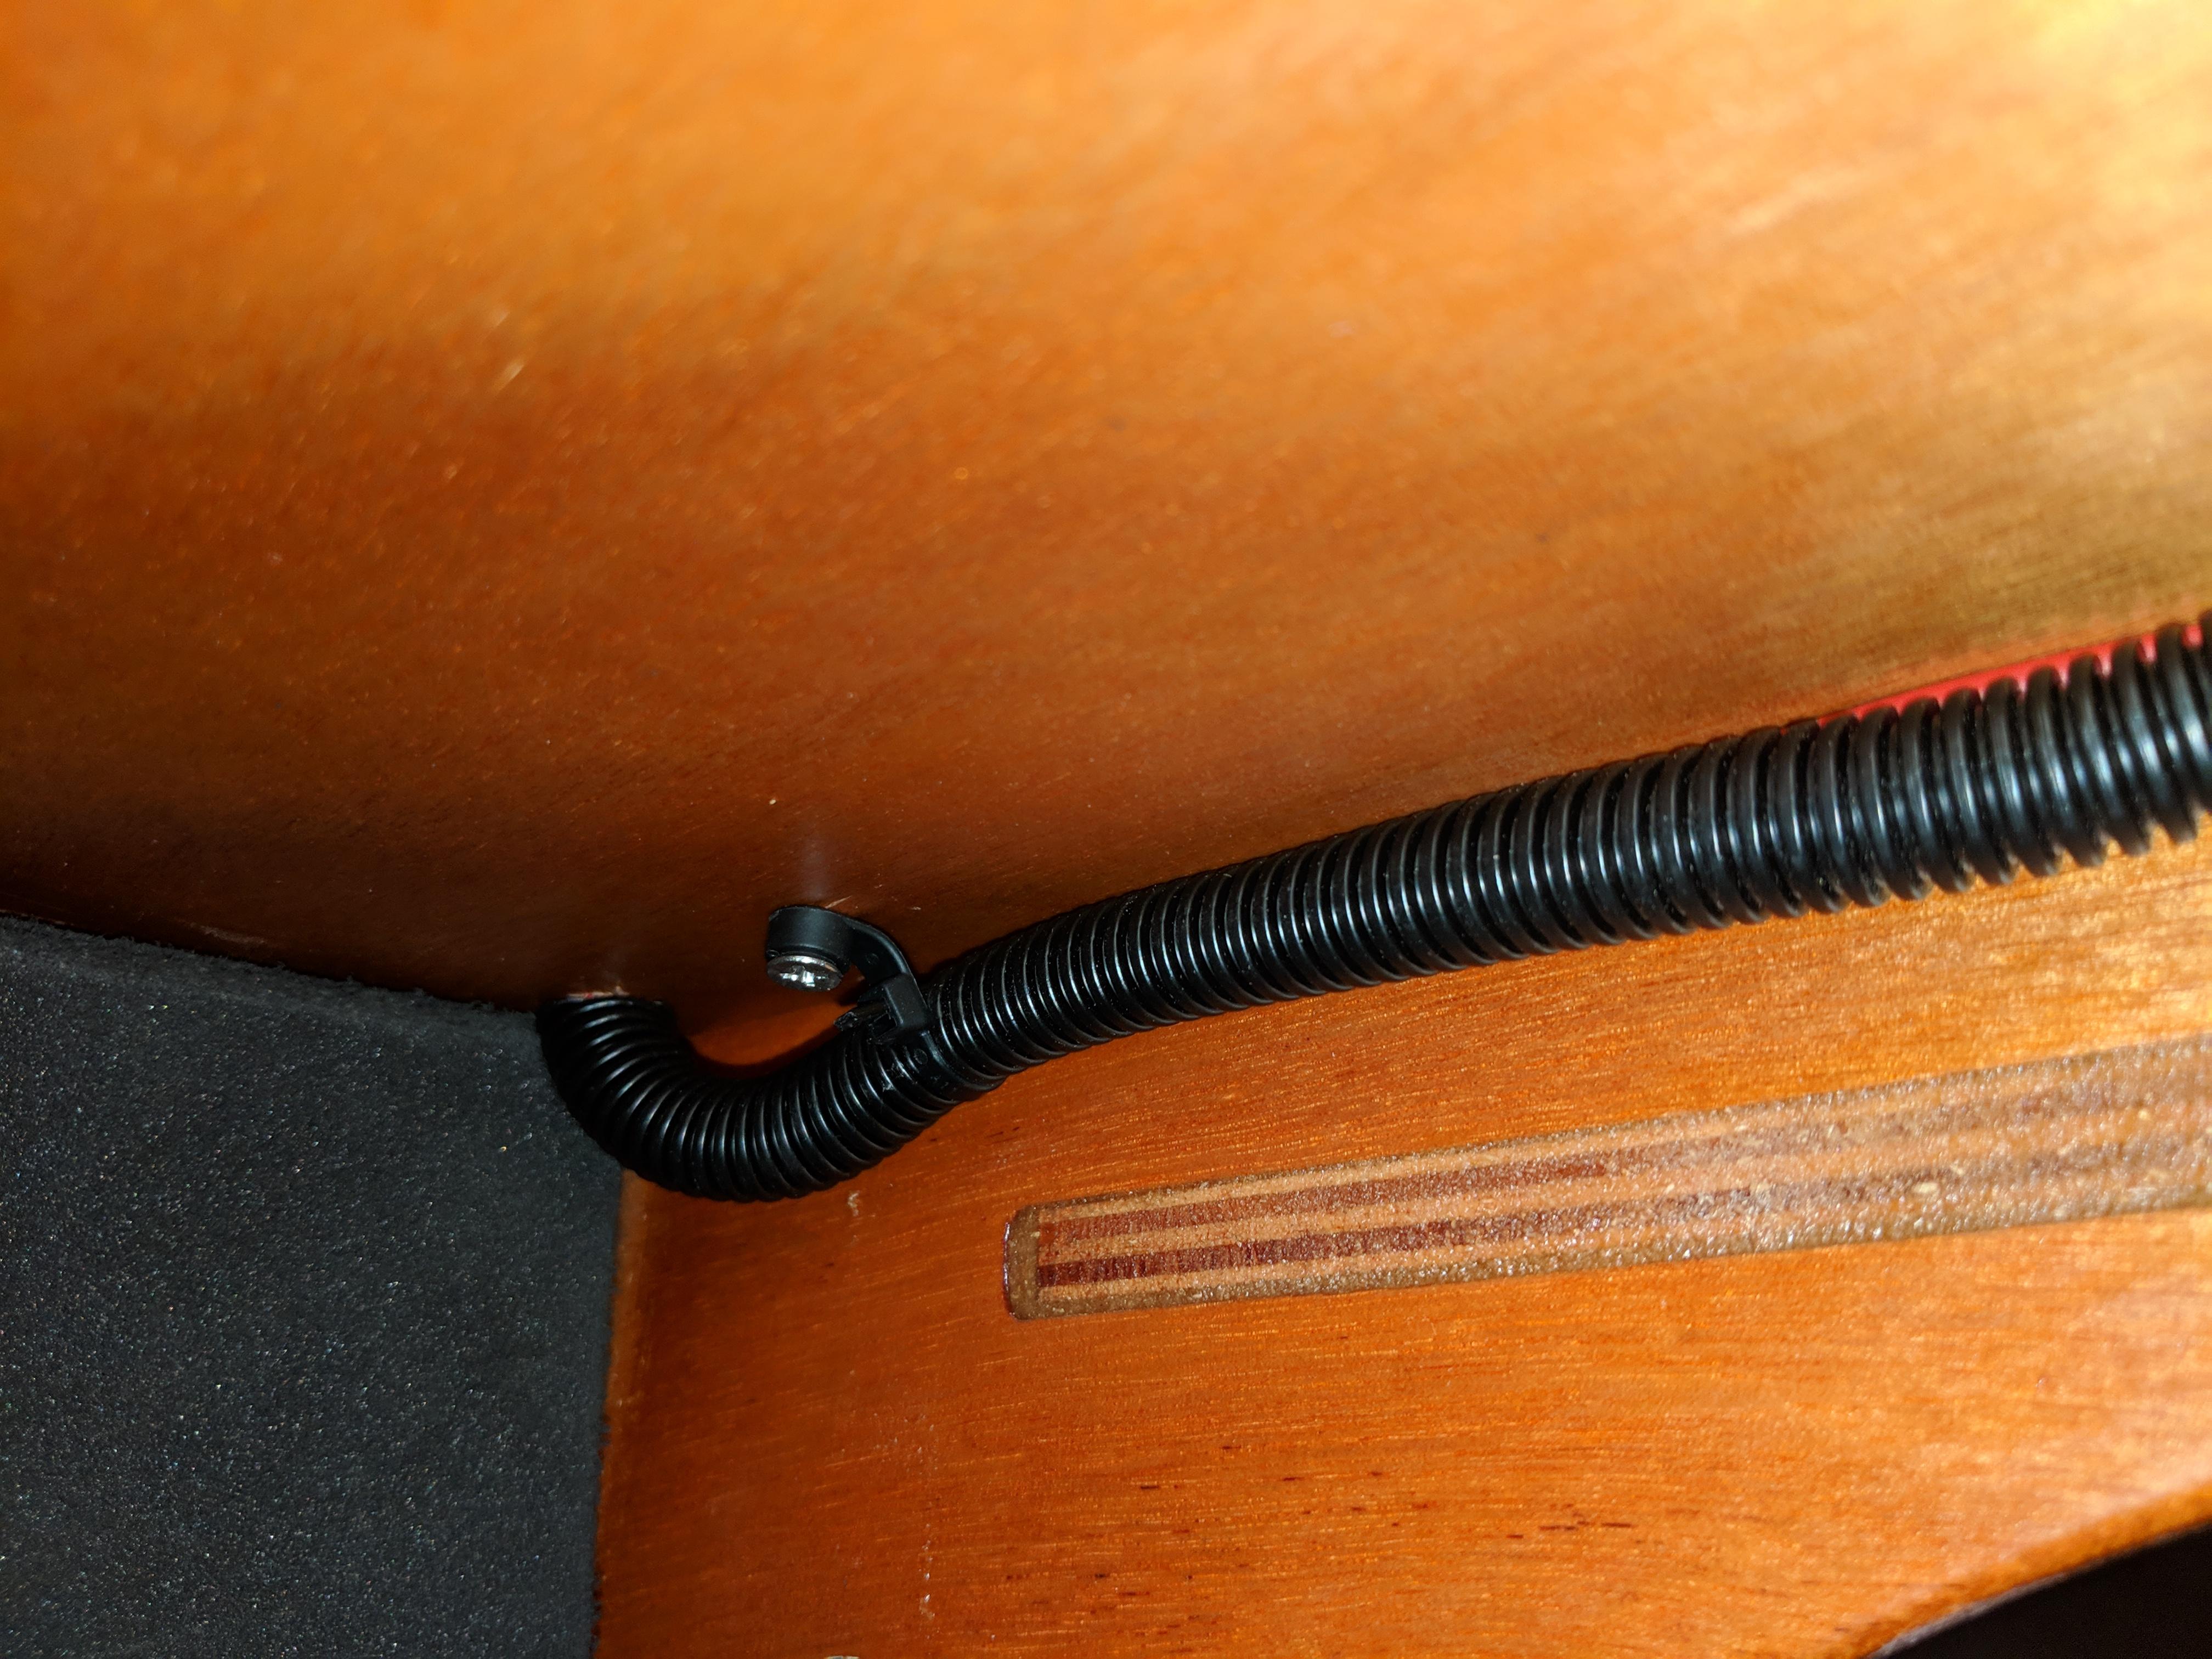
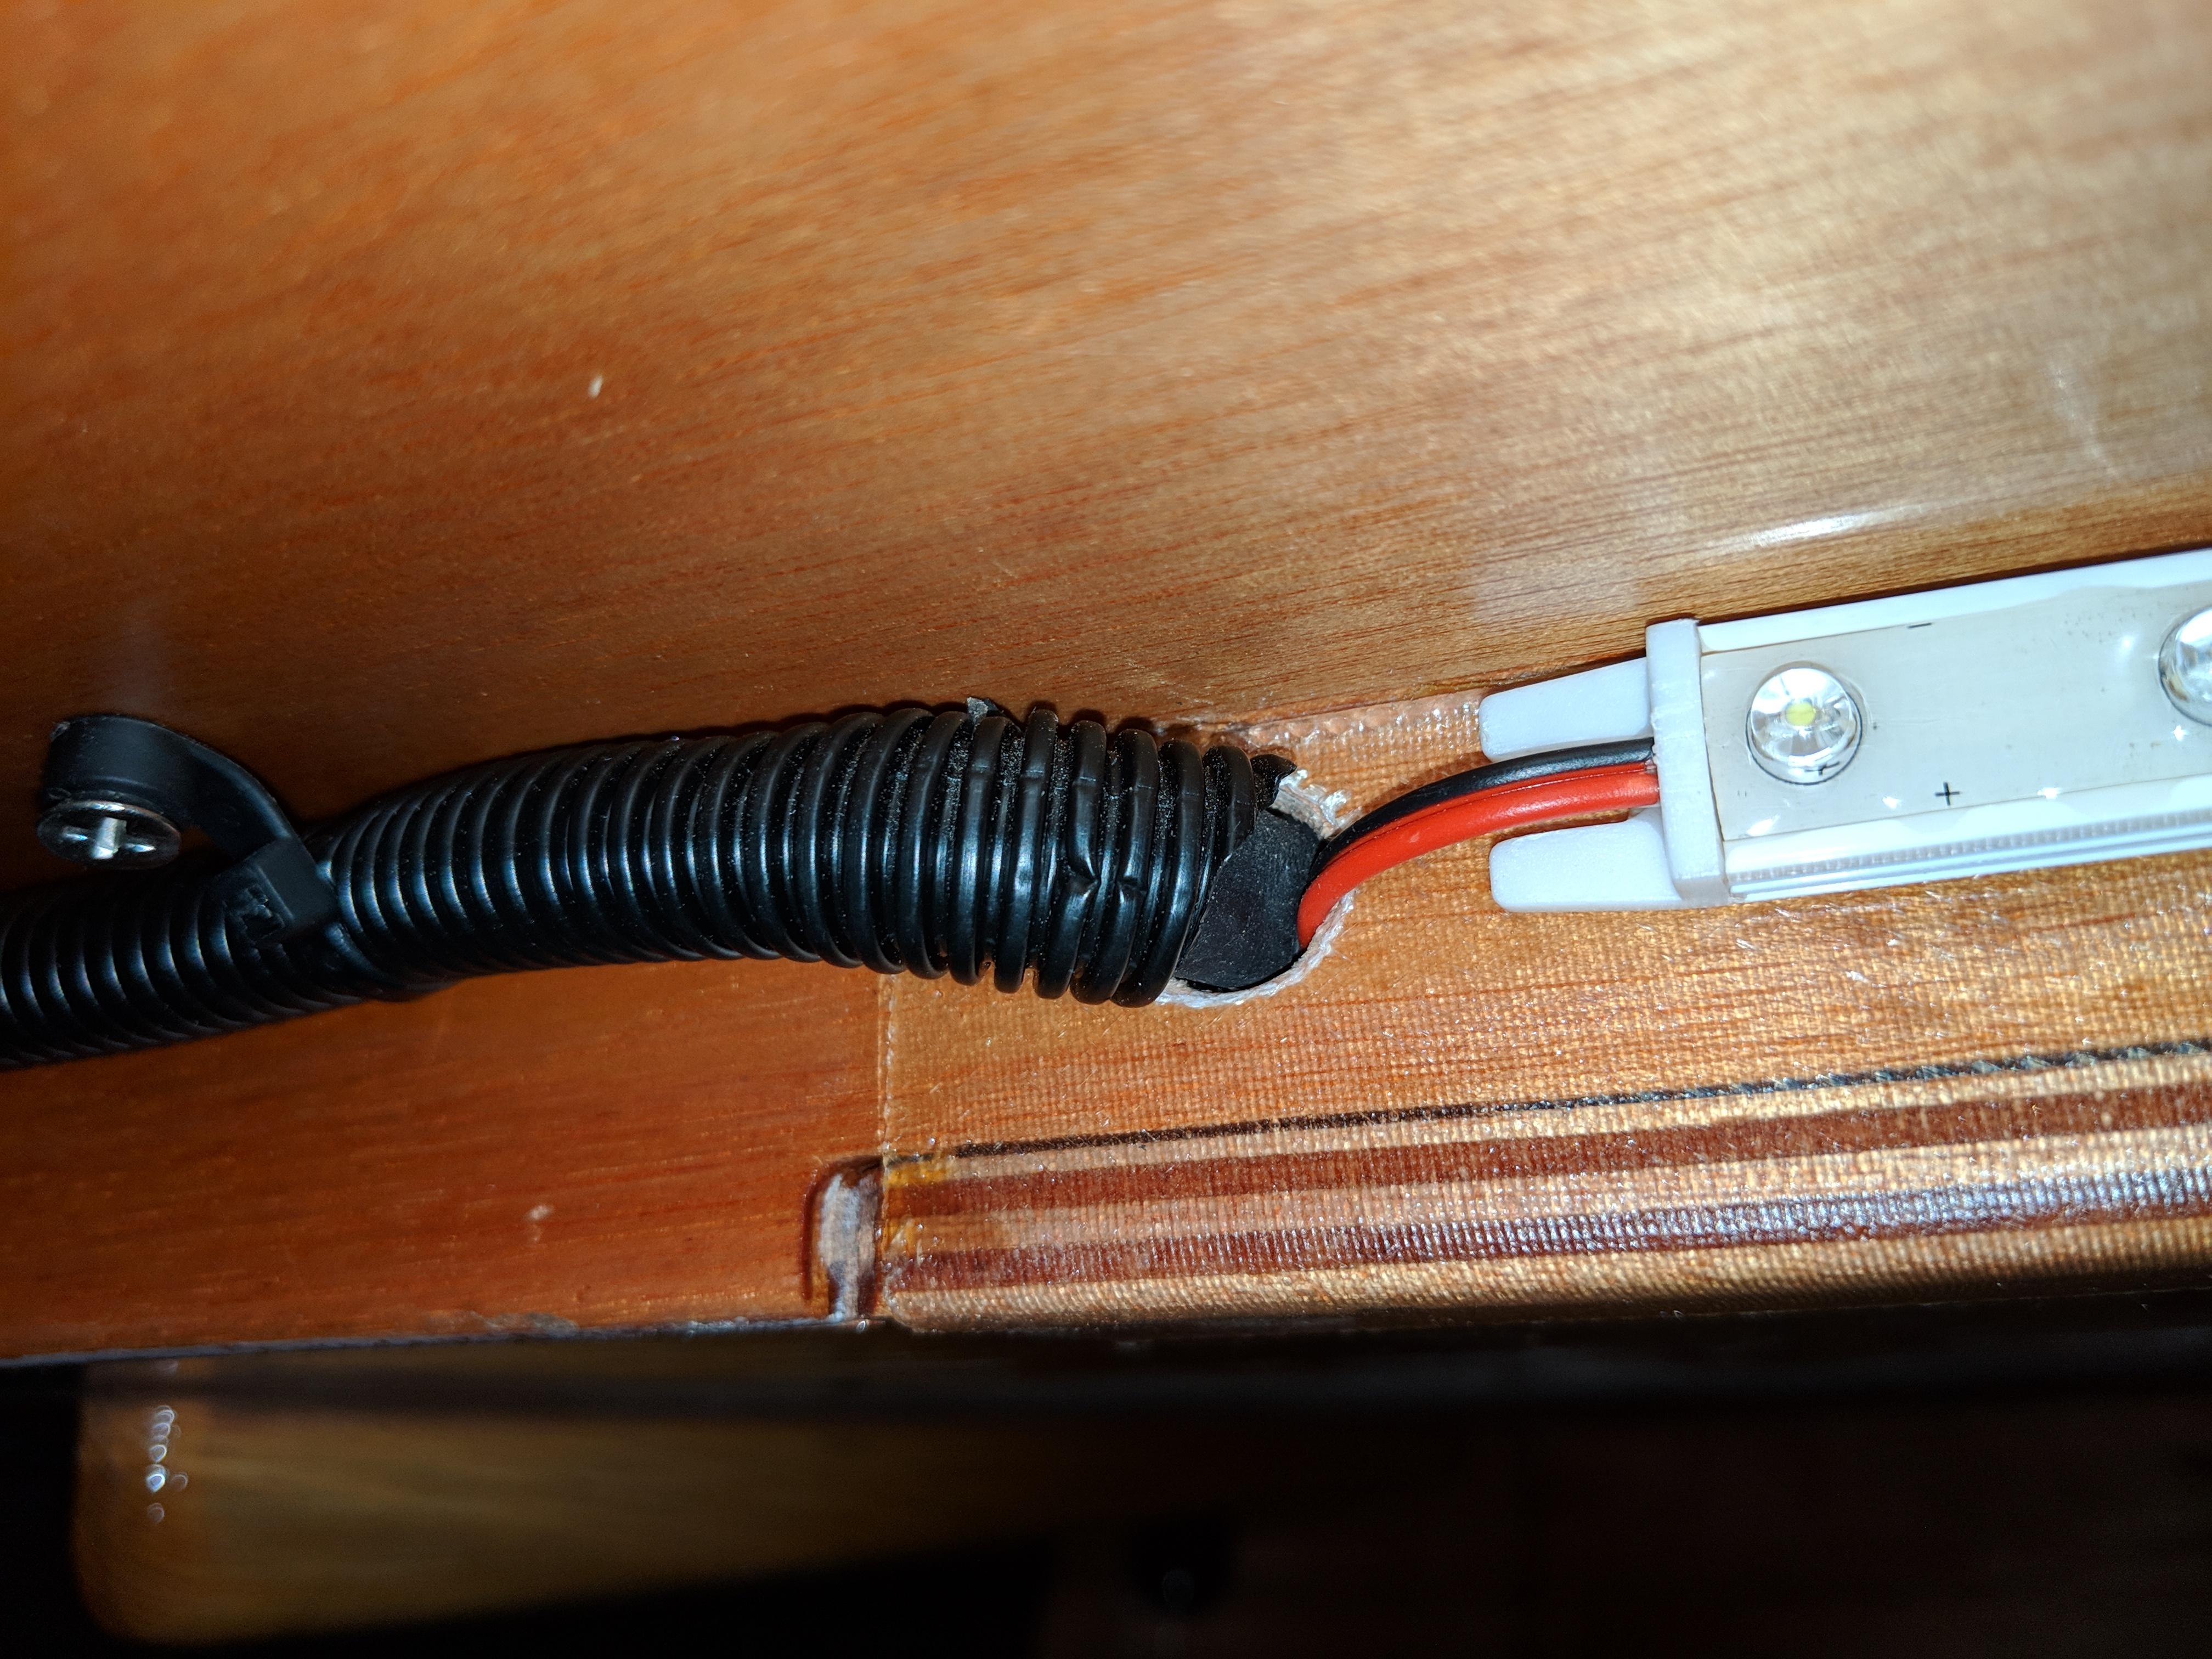
I aimed my lower cabin lights down, not into your face, as CLC did. Use very short screws, the shelf plywood is thin!
Make sure you epoxy all holes, since condensation can be an interior issue when it’s cold outside and moist inside.
Chris
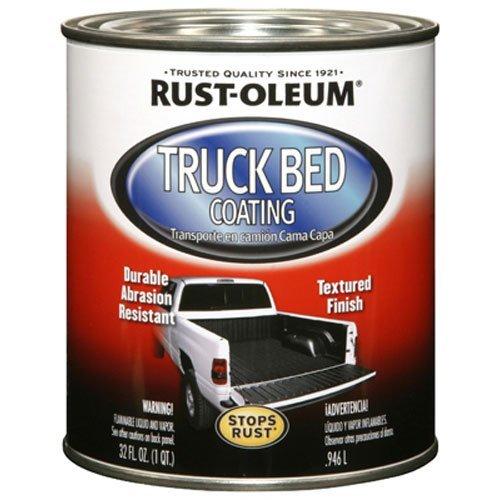
ParticipantWe put it directly on the epoxy. I can tell you… Do *NOT* use this stuff without ventilation and VOC canisters. It took overnight to dry before we could flip it back over. Once home, we still had to do several fill-coats of epoxy on top, which still seems to adhere well over-top the the black liner coat. (Varnish as well.)
ParticipantI just bought some Rust-oleum Truck Bed Coating from Amazon. It’s what we used in the class.
https://smile.amazon.com/gp/product/B0070S7U4Y
 Participant
I also cut mine precisely per the hymnal. As I recall, the top was exactly correct. The bottoms, I had to add 1/4″ on round 2. I believe the rods were about $5 each from CLC.
IMO, this should be listed as a TECHNICAL BULLETIN!!!
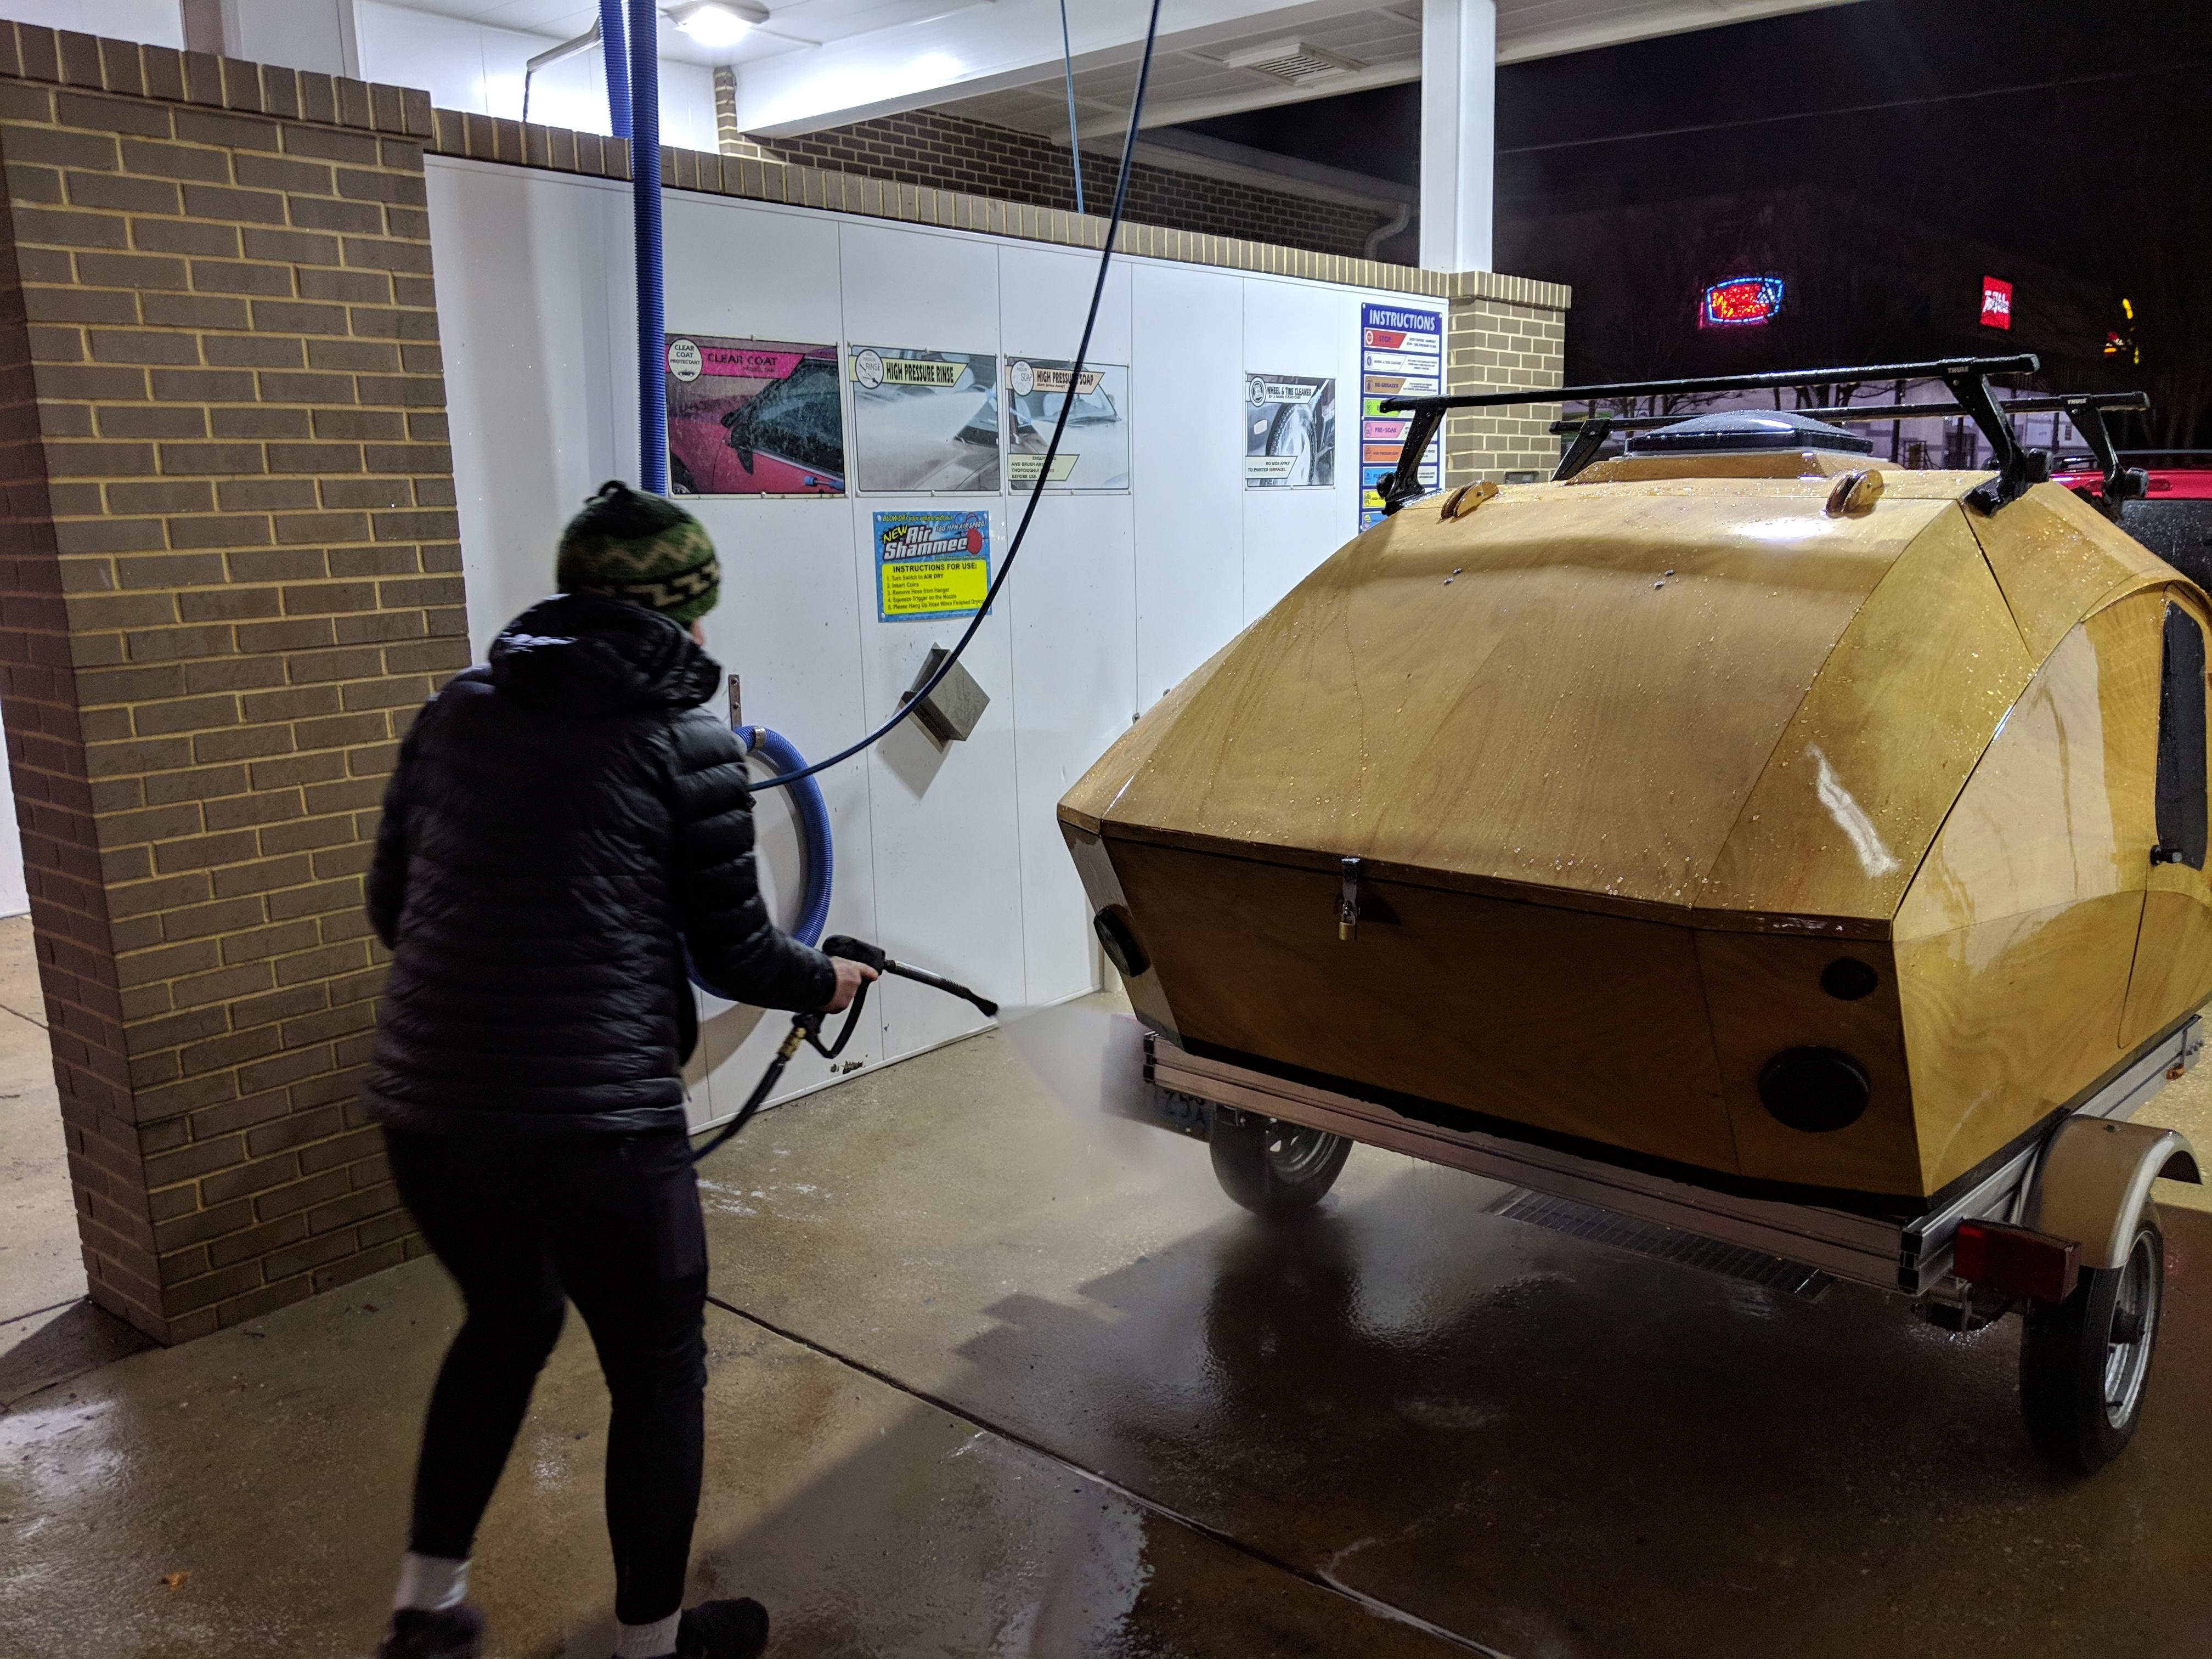
ParticipantWe finally finished our build… Unfortunately, no rain in the forecast to test with, just snow.
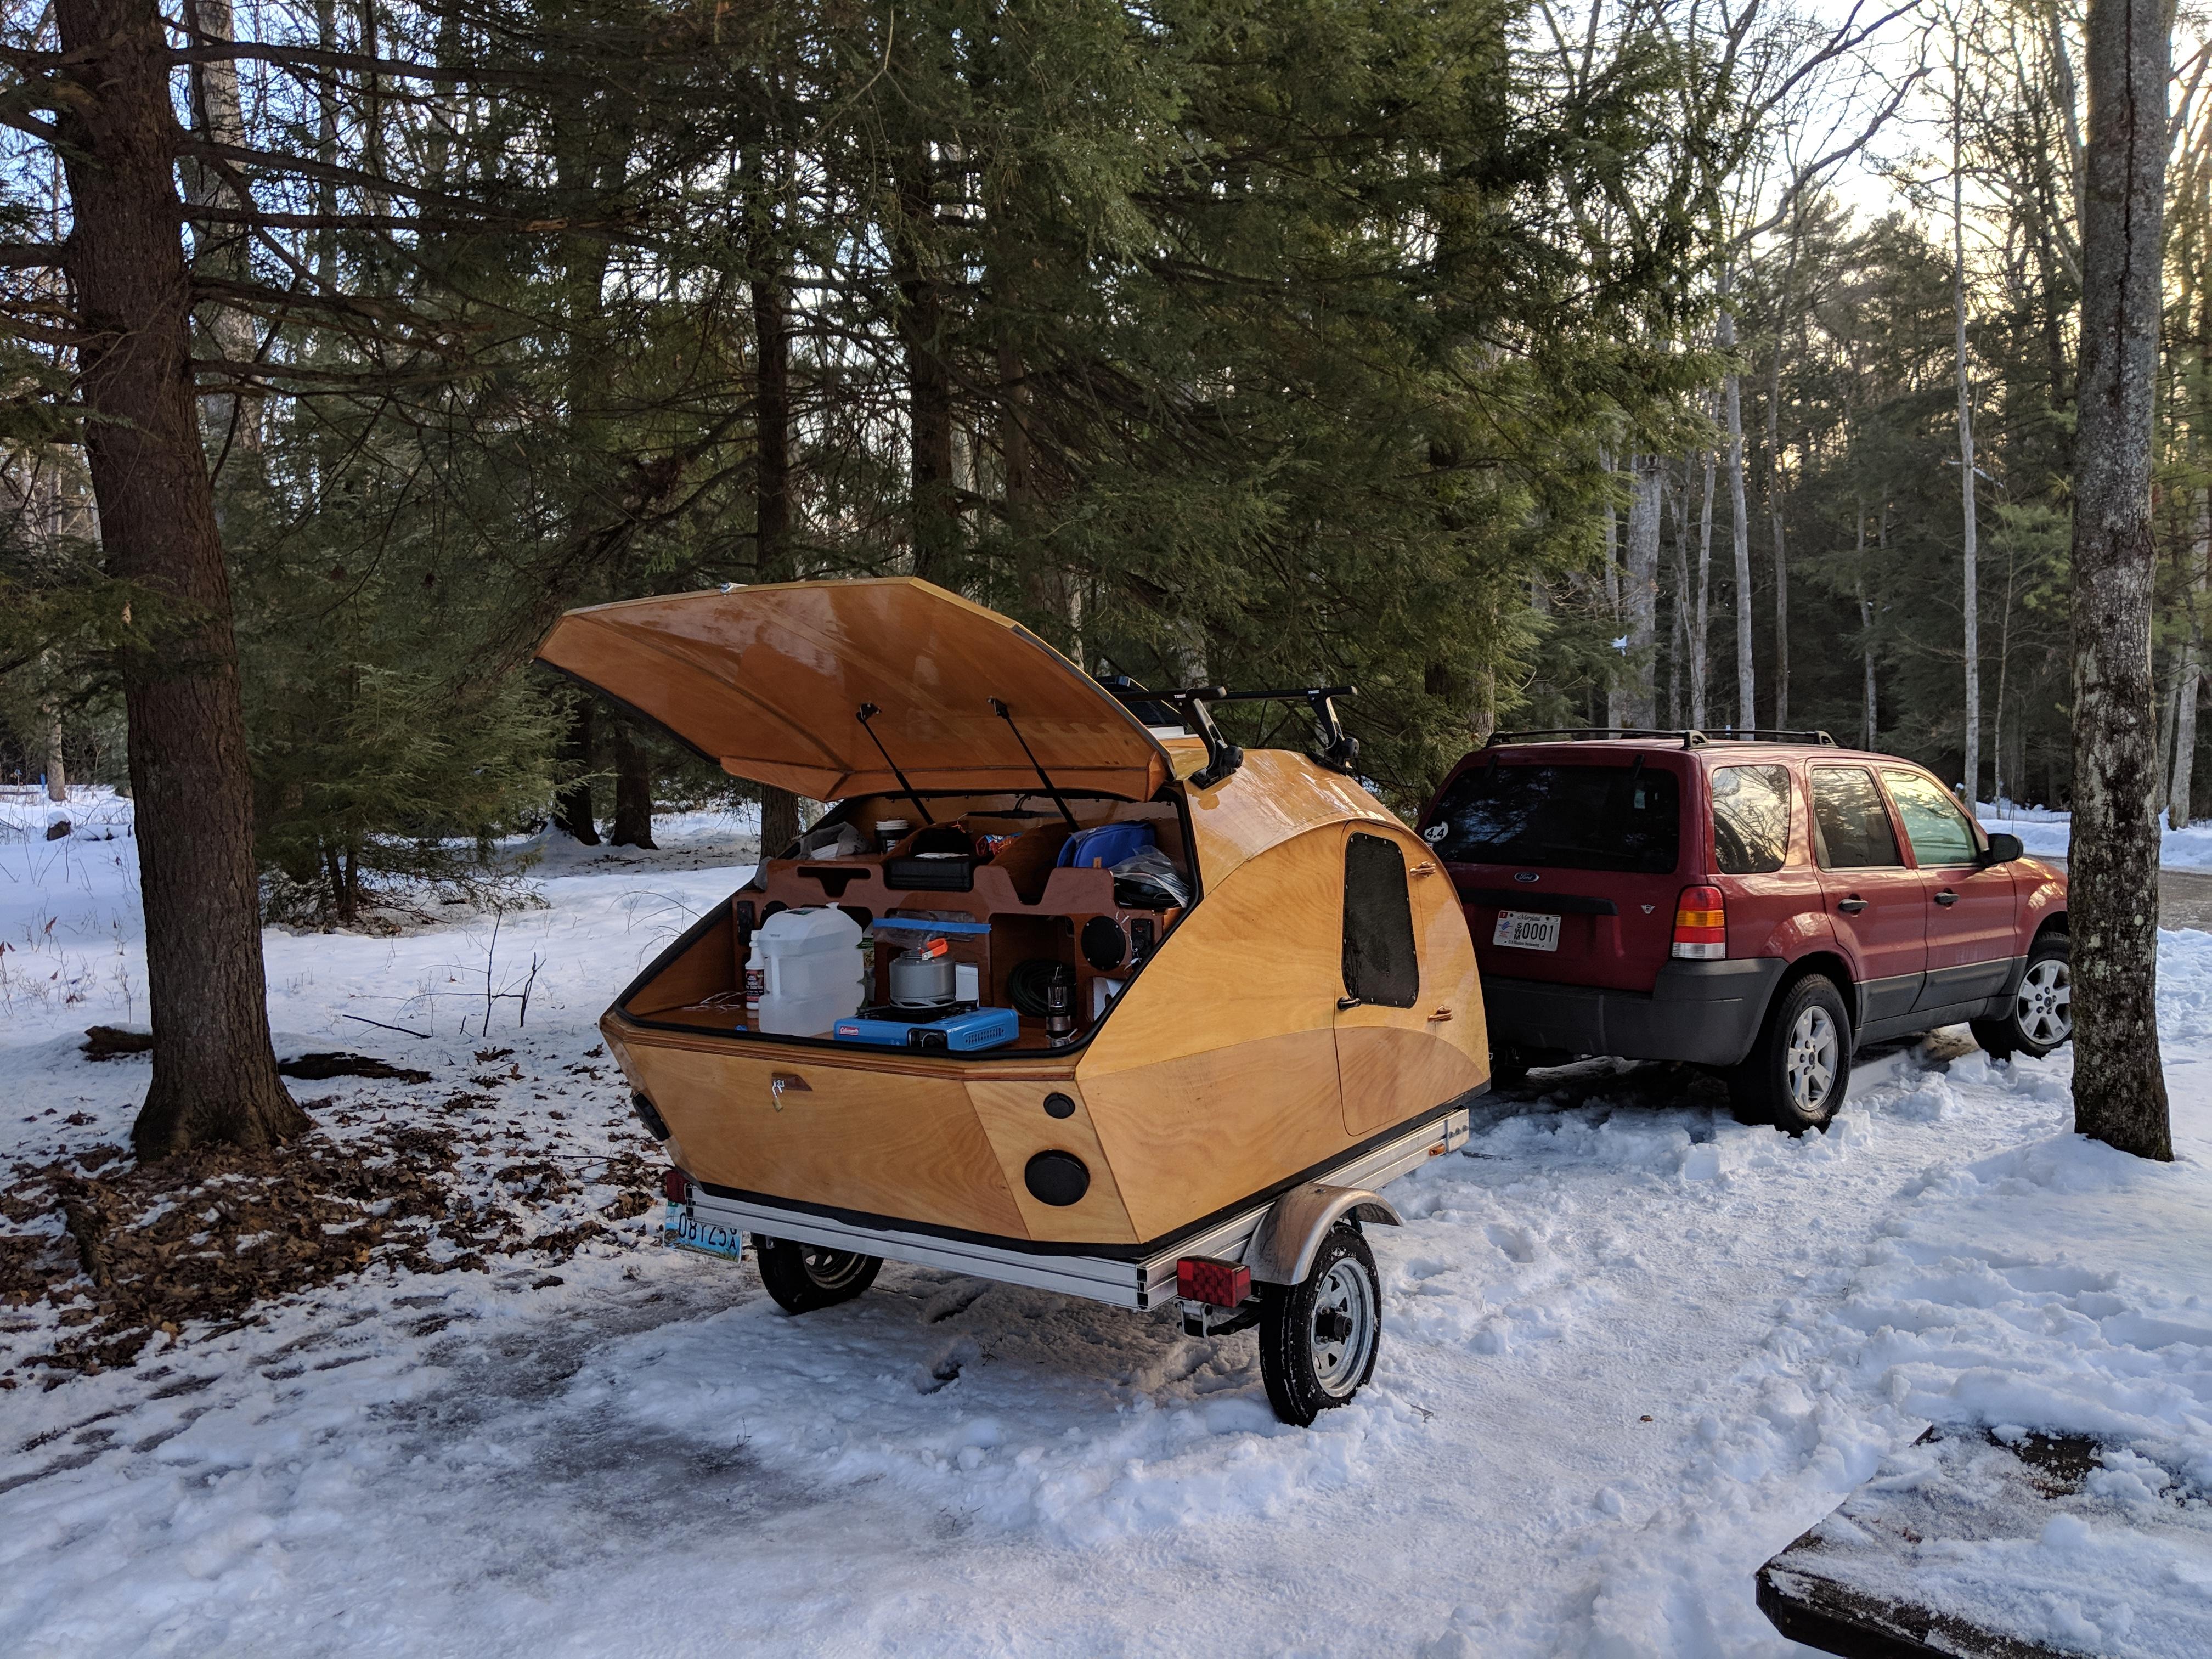
But we power washed it at the end of the trip, and no leaks!
 Participant
I had better results with a low wattage solder iron (pencil). No charring on the surrounding wood, and the heated wire was easily removed with a pair of needle nose pliers.
Participant<p style=”text-align: left;”>
 </p>Participant
The Waterlust electrical system was clearly designed to support boon-docking (camping for extended periods away from conventional charging hook-ups.)
As an electrical engineer, I can offer you this advice.
Step 1 – Make a list of your requirements.
What type of camping do you want to do?
Are you going totally rustic? (That’s an option, you know… Battery power lanterns are very cost effective!)
Will you only need lights or fans?
Stereo? TV (if you must)? etc.
Or will you need a heater and be able to charge your laptop while away from civilization for extended periods?Step 2 – How long will you be away from conventional charging options? (If you’re only taking 1 or 2 day trips, you probably won’t need a 100-200W solar charging system.)
Step 3 – Determine the power requirements in order to size the capacity of your power source(s) aka battery.
Step 4 – Determine your budget. A low-AH battery and a simple switch panel is way cheaper than a full-up solar system. Also keep in mind, you can take a phased approach and add things later as your budget allows.
Step 5 – Design your system to meet your requirements.
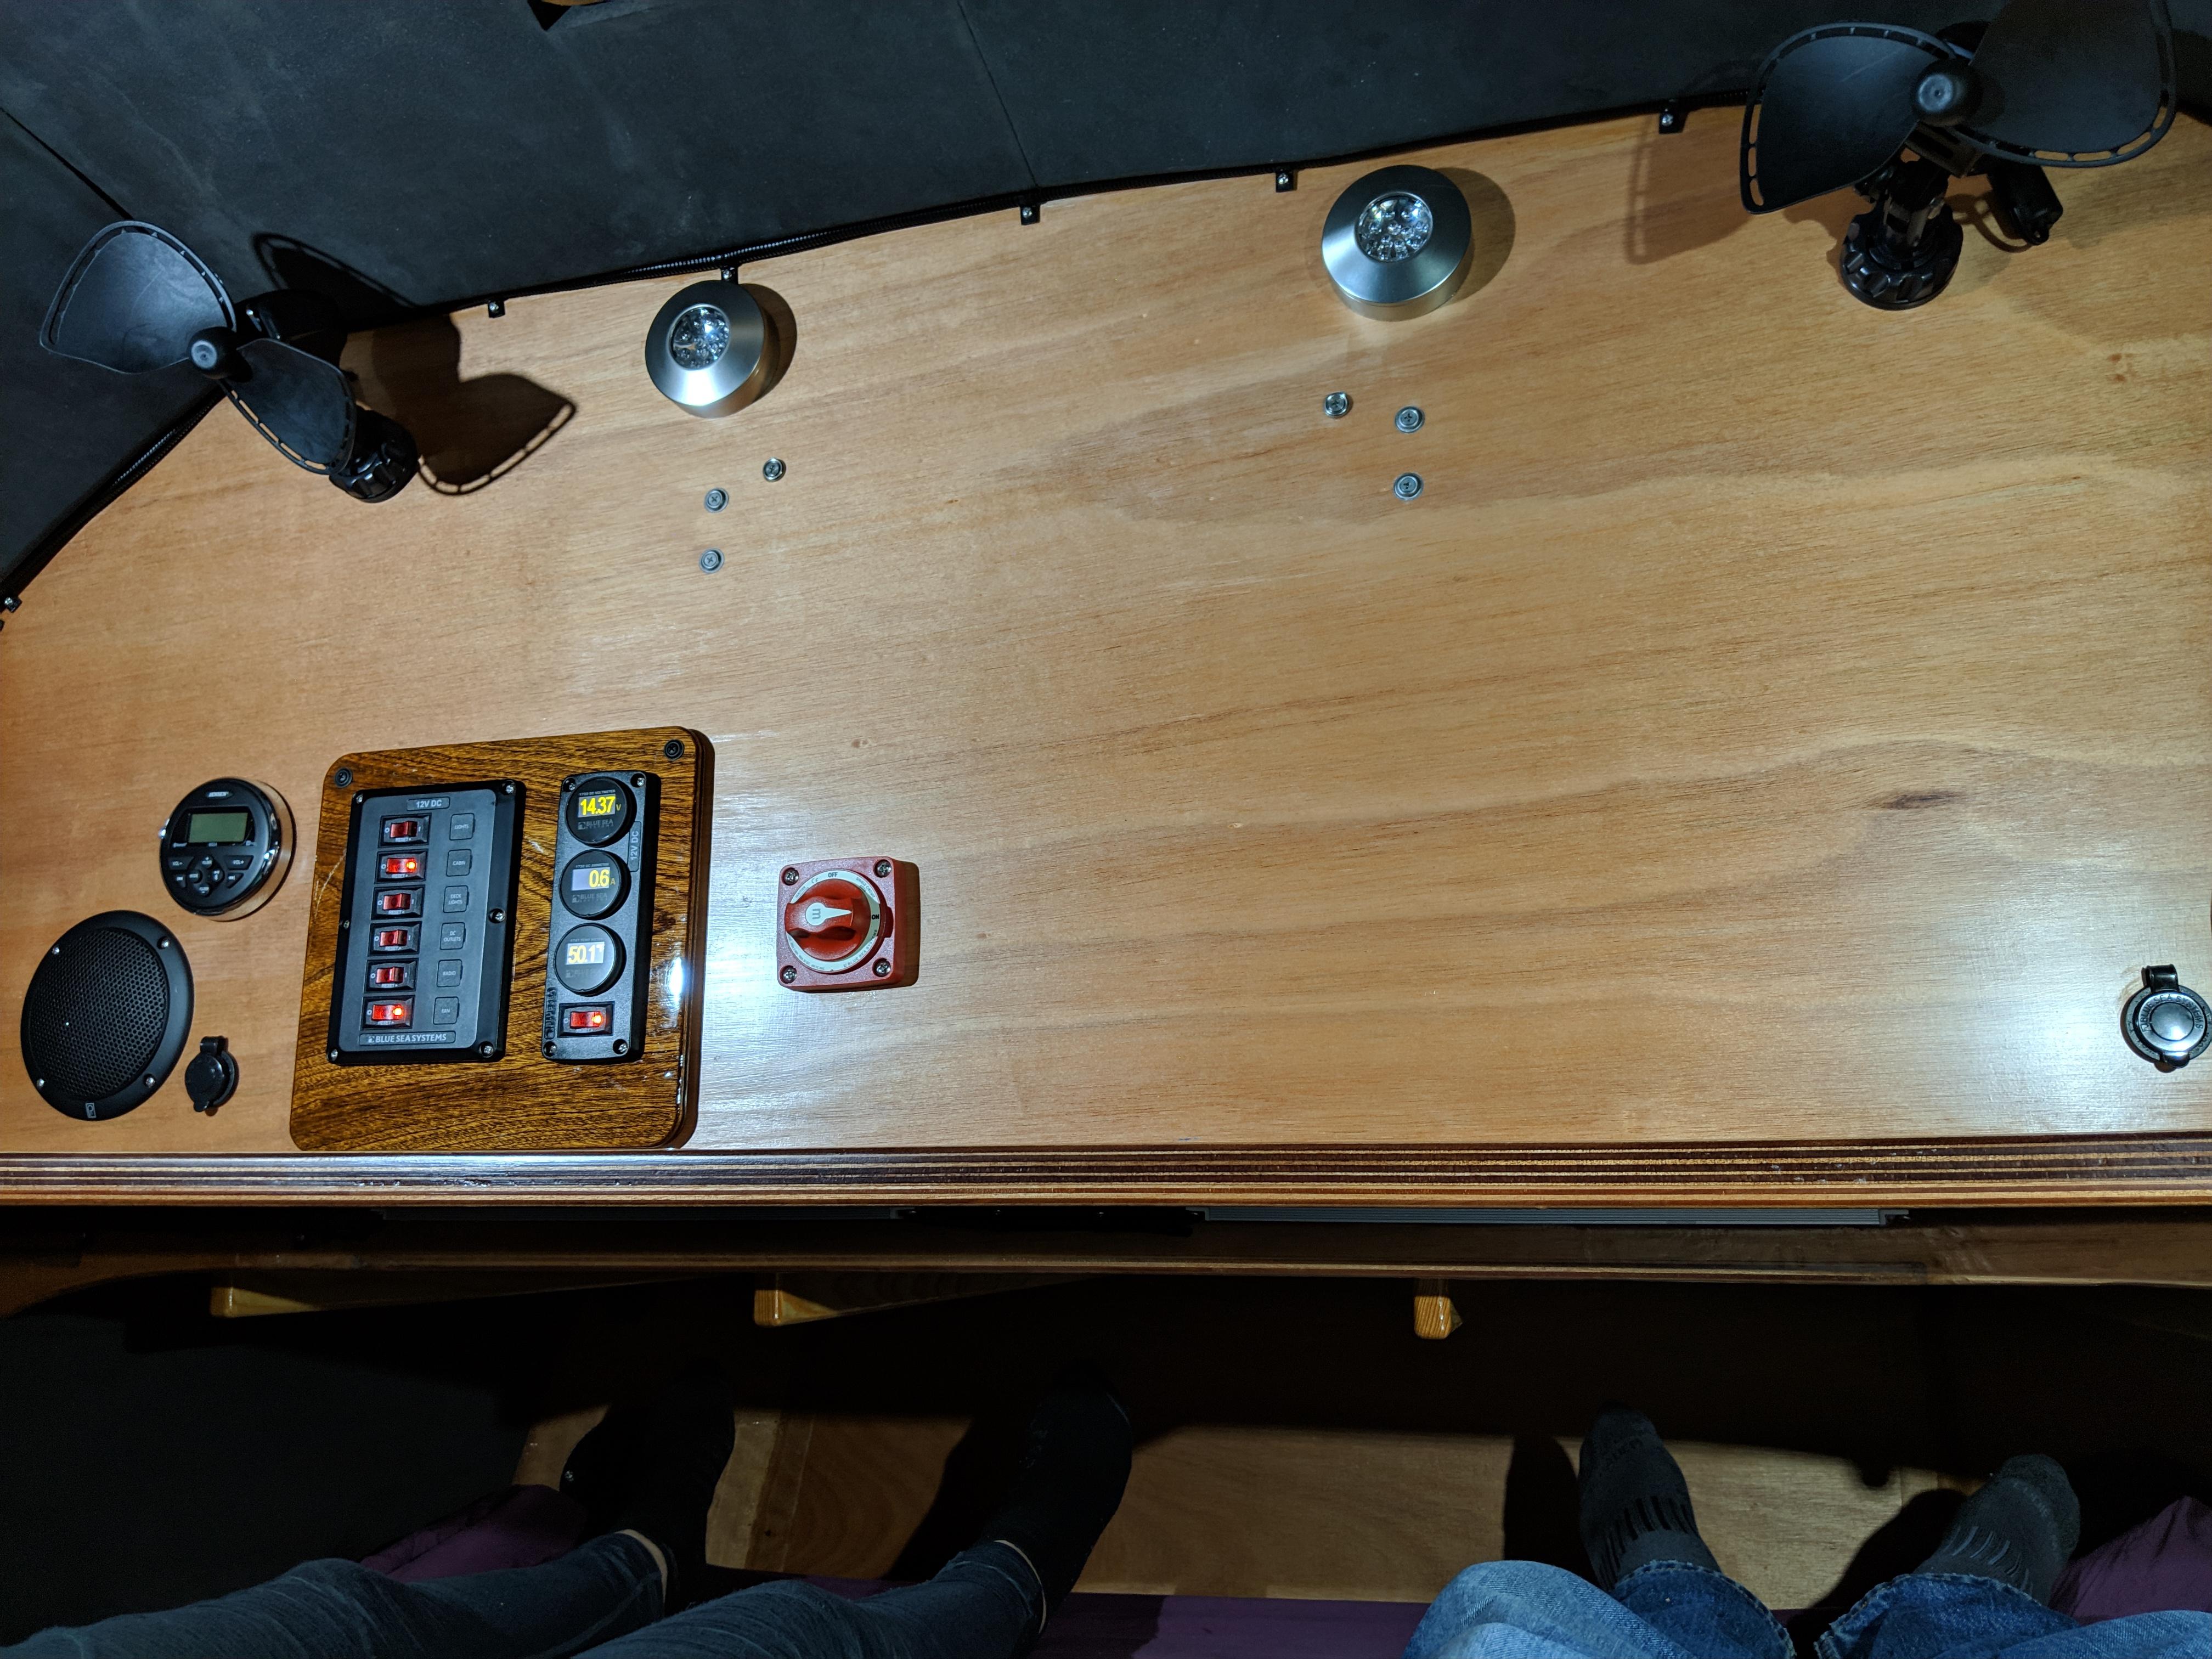
I wanted the following:
Bulkhead fans, Overhead exhaust fan
Moveable reading lights
Cabin lights (high and low)
Bluetooth stereo
12V power in the galley, and cabin
USB power in the galley (for string lights) (I plan to use a car-charger in the cabin for phone charging.)
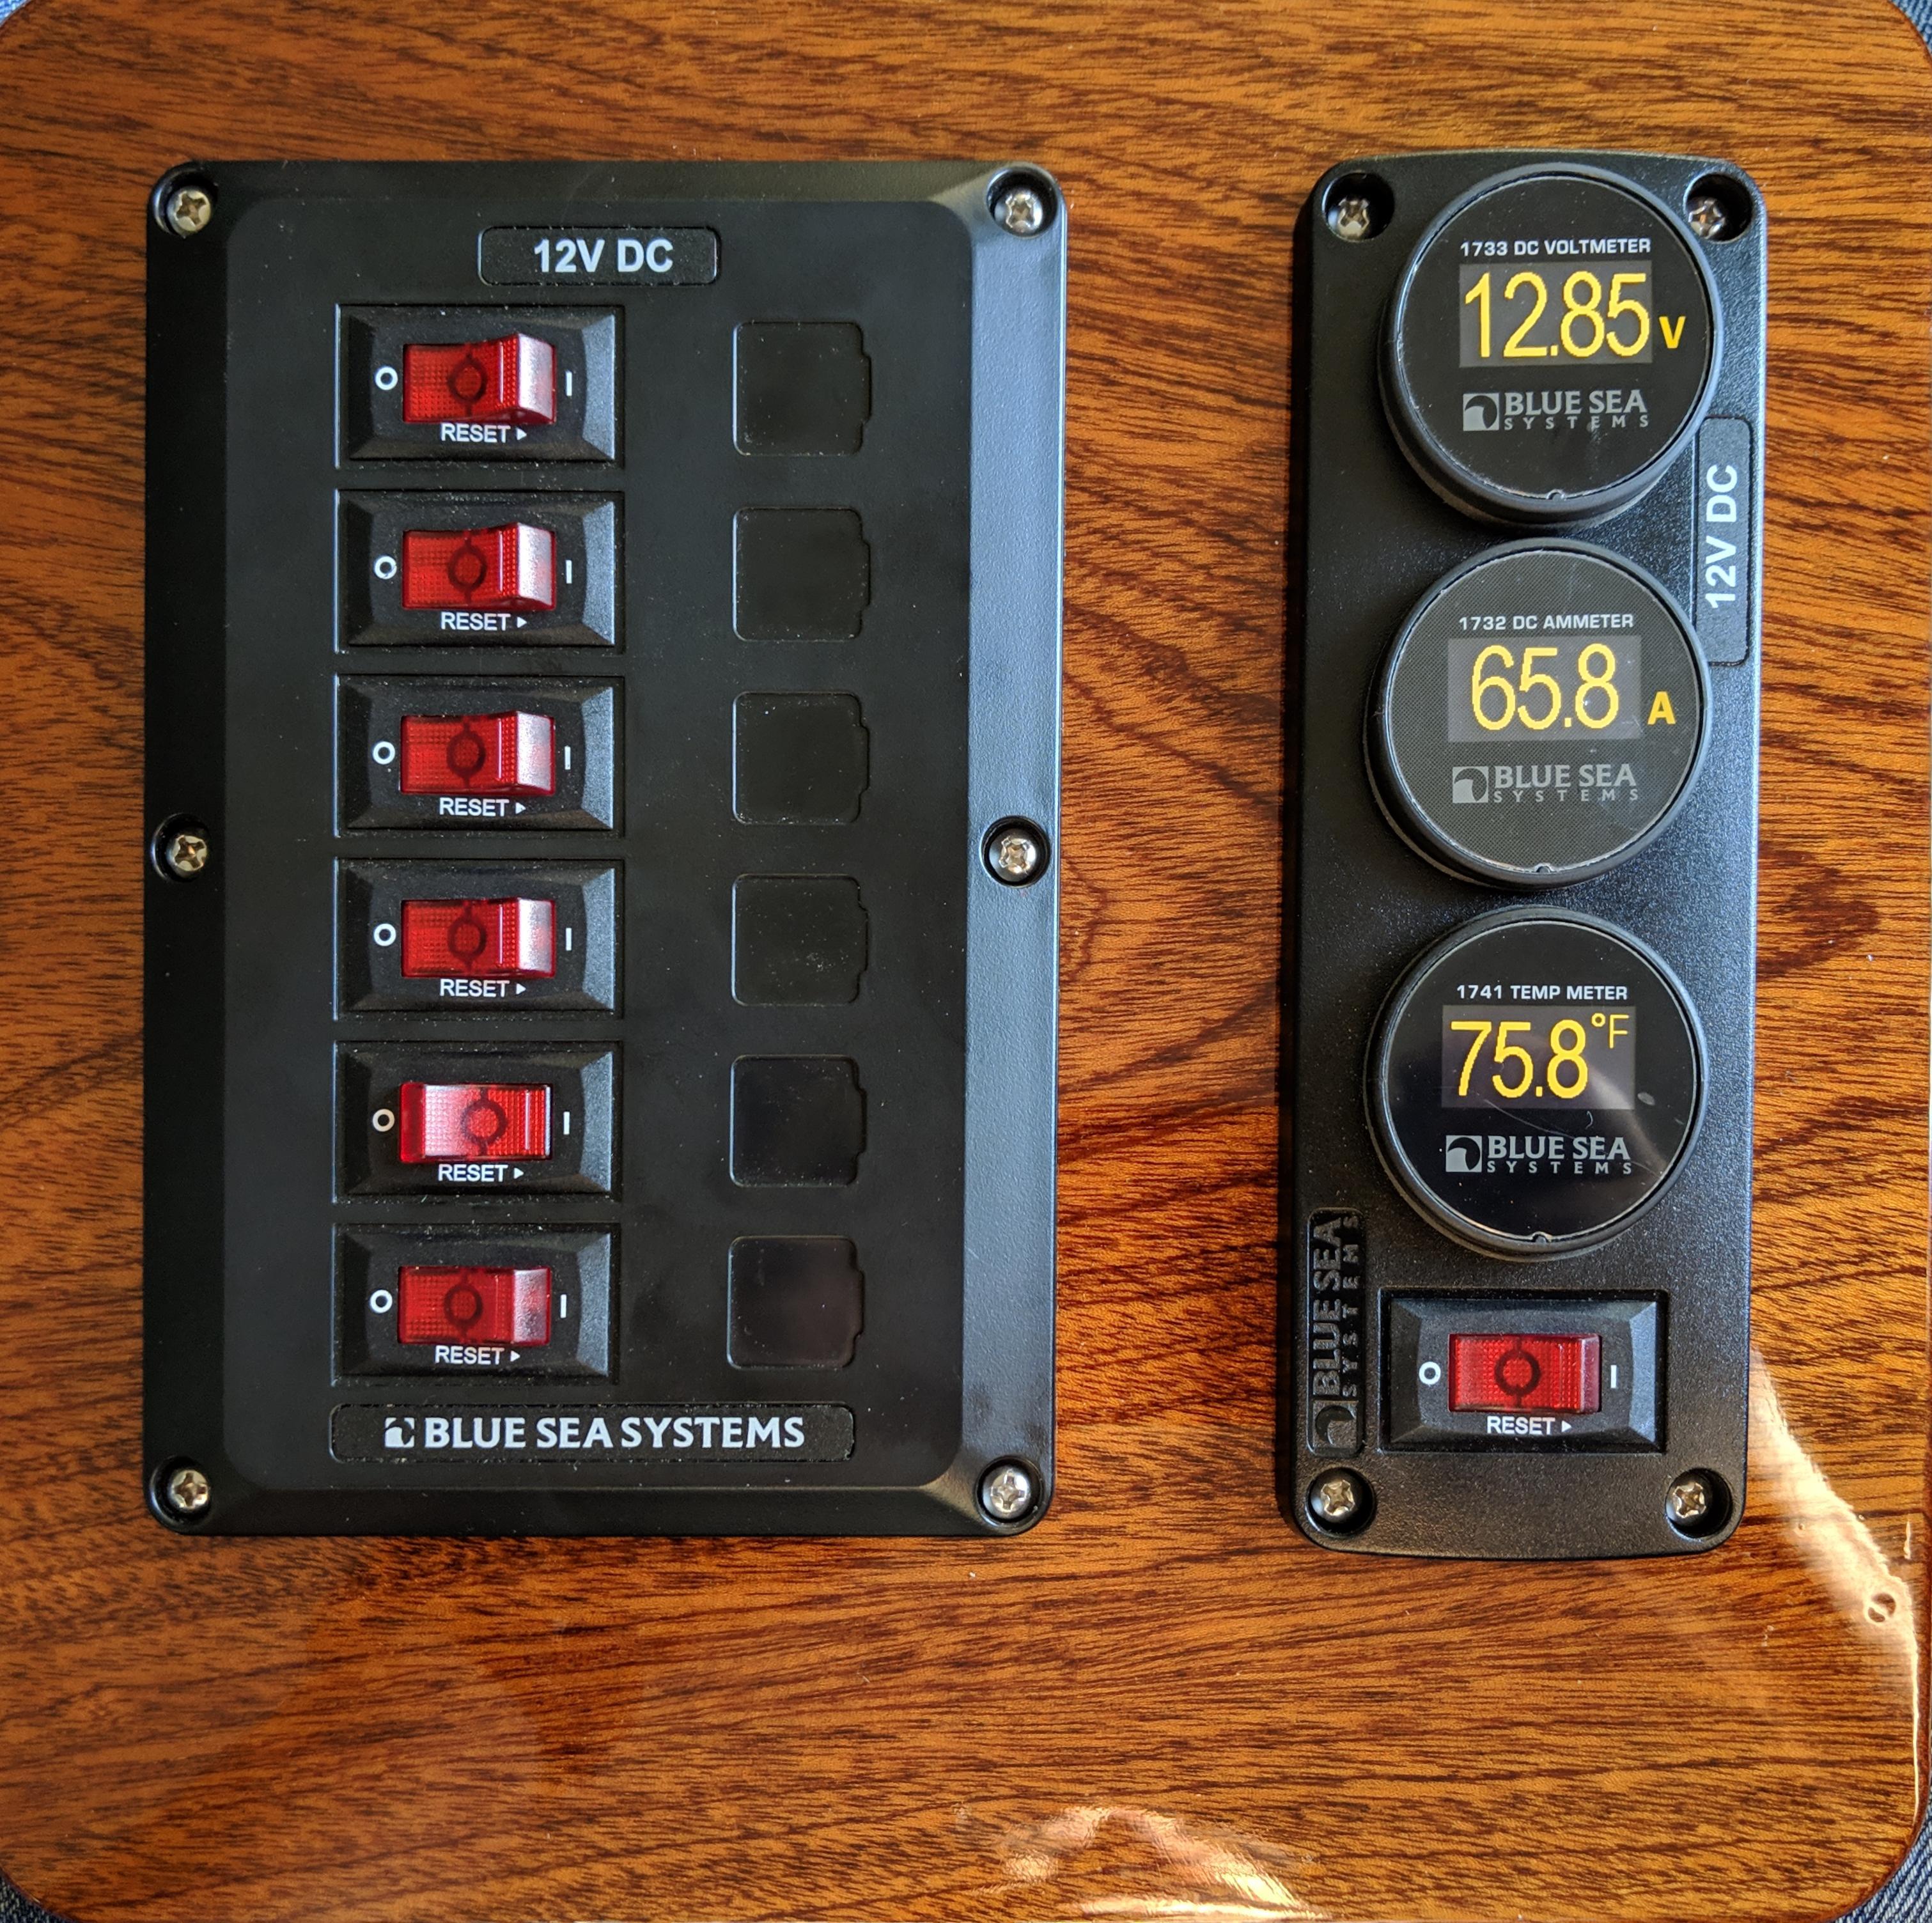
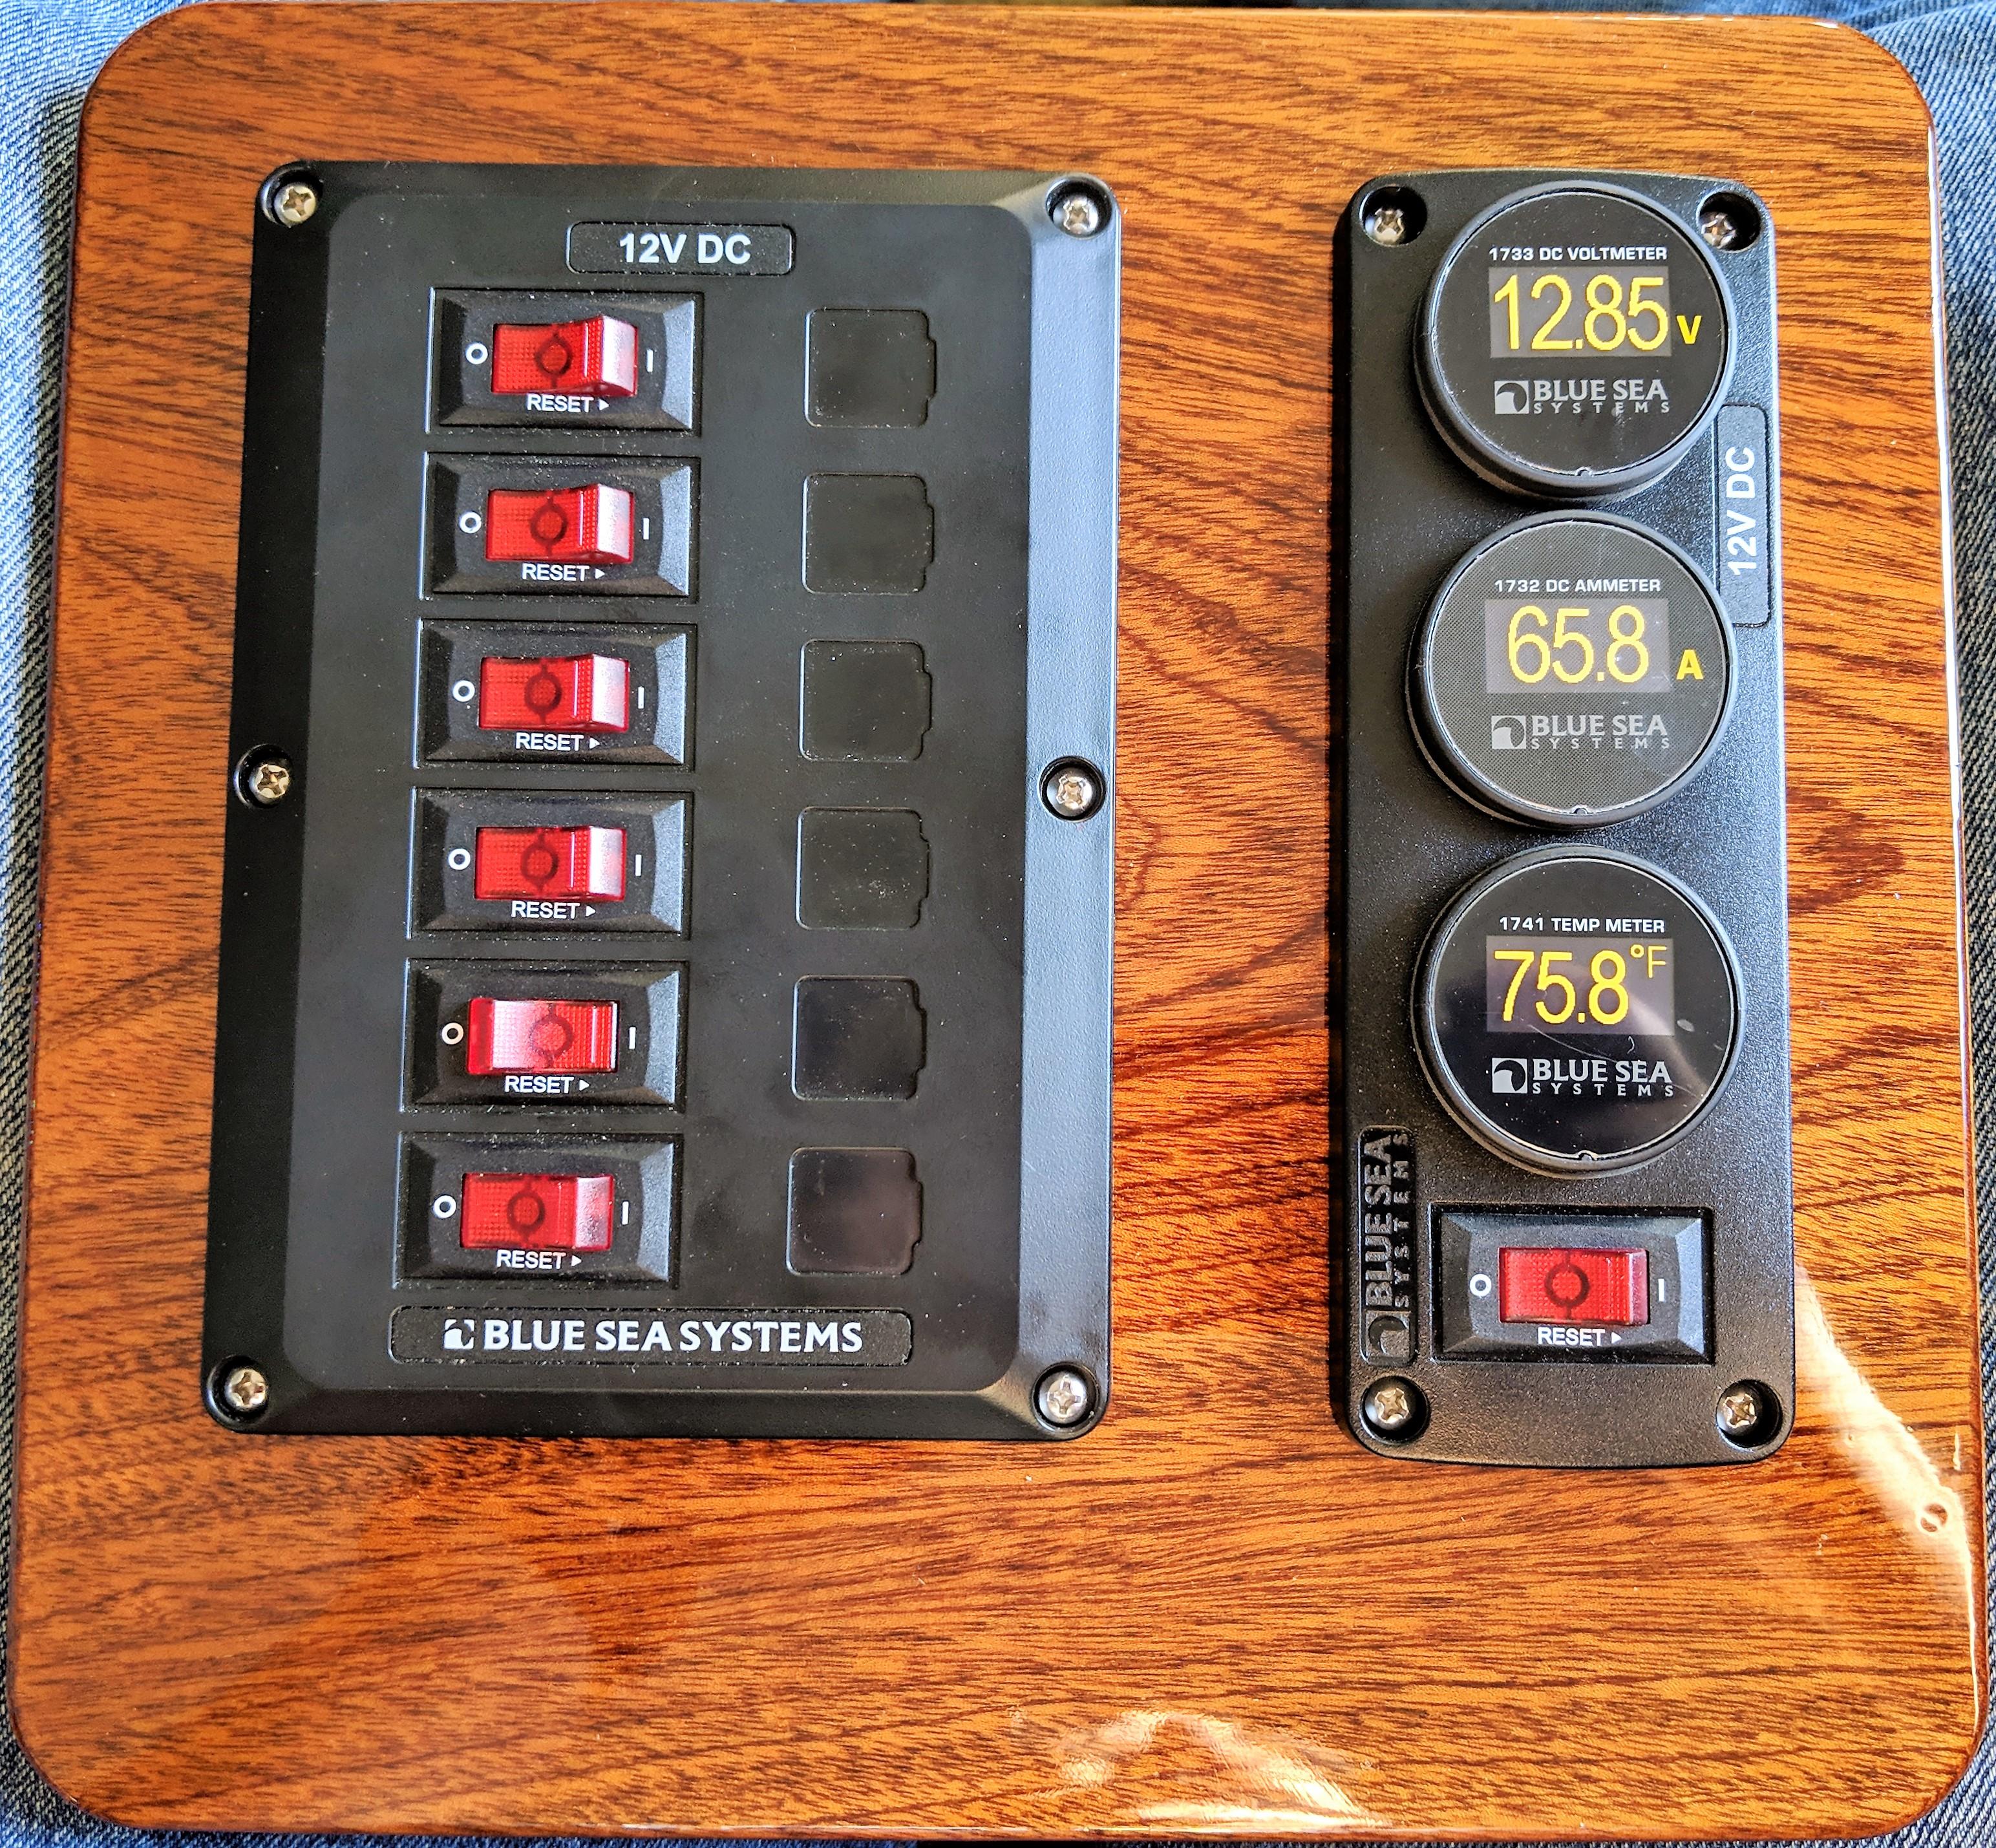
A digital panel for V and mA usage (I can’t see using a full-up battery monitor system, at this point.) I splurged with a thermostat.On the back of this panel, I’ve mounted a ground bus-bar, the ammeter shunt, and one additional 12V fused distribution panel (5 fuses).
 Participant
Fear not… Since epoxy will soak the entirety of the wood veneer (even through the fiberglass), it will all blend together into a nice uniform tint!!! And the fiberglass will become transparent.
(CA glue spots are another story… They will remain little light specs anywhere you were overzealous with your application.)
Chris
ParticipantI wonder if this might not make the doors too “straight” stiff. You’d have to take great care to match this to the shell, and yet, you’re still *very early* in the process.
As an example, my hatch was perfectly fitted to the shell when it was separated. But as I added layers of epoxy and later varnish – I didn’t take into account that supported only in the center by the tongue-jack, it would curve the port and starboard sides downward. It turns out this was beneficial, as the port and starboard sides now have increased downward pressure when the hatch hasp is engaged. But the point is, things will change as you add epoxy and varnish layers. You may end up needing increased tension to overcome the added stiffeners.
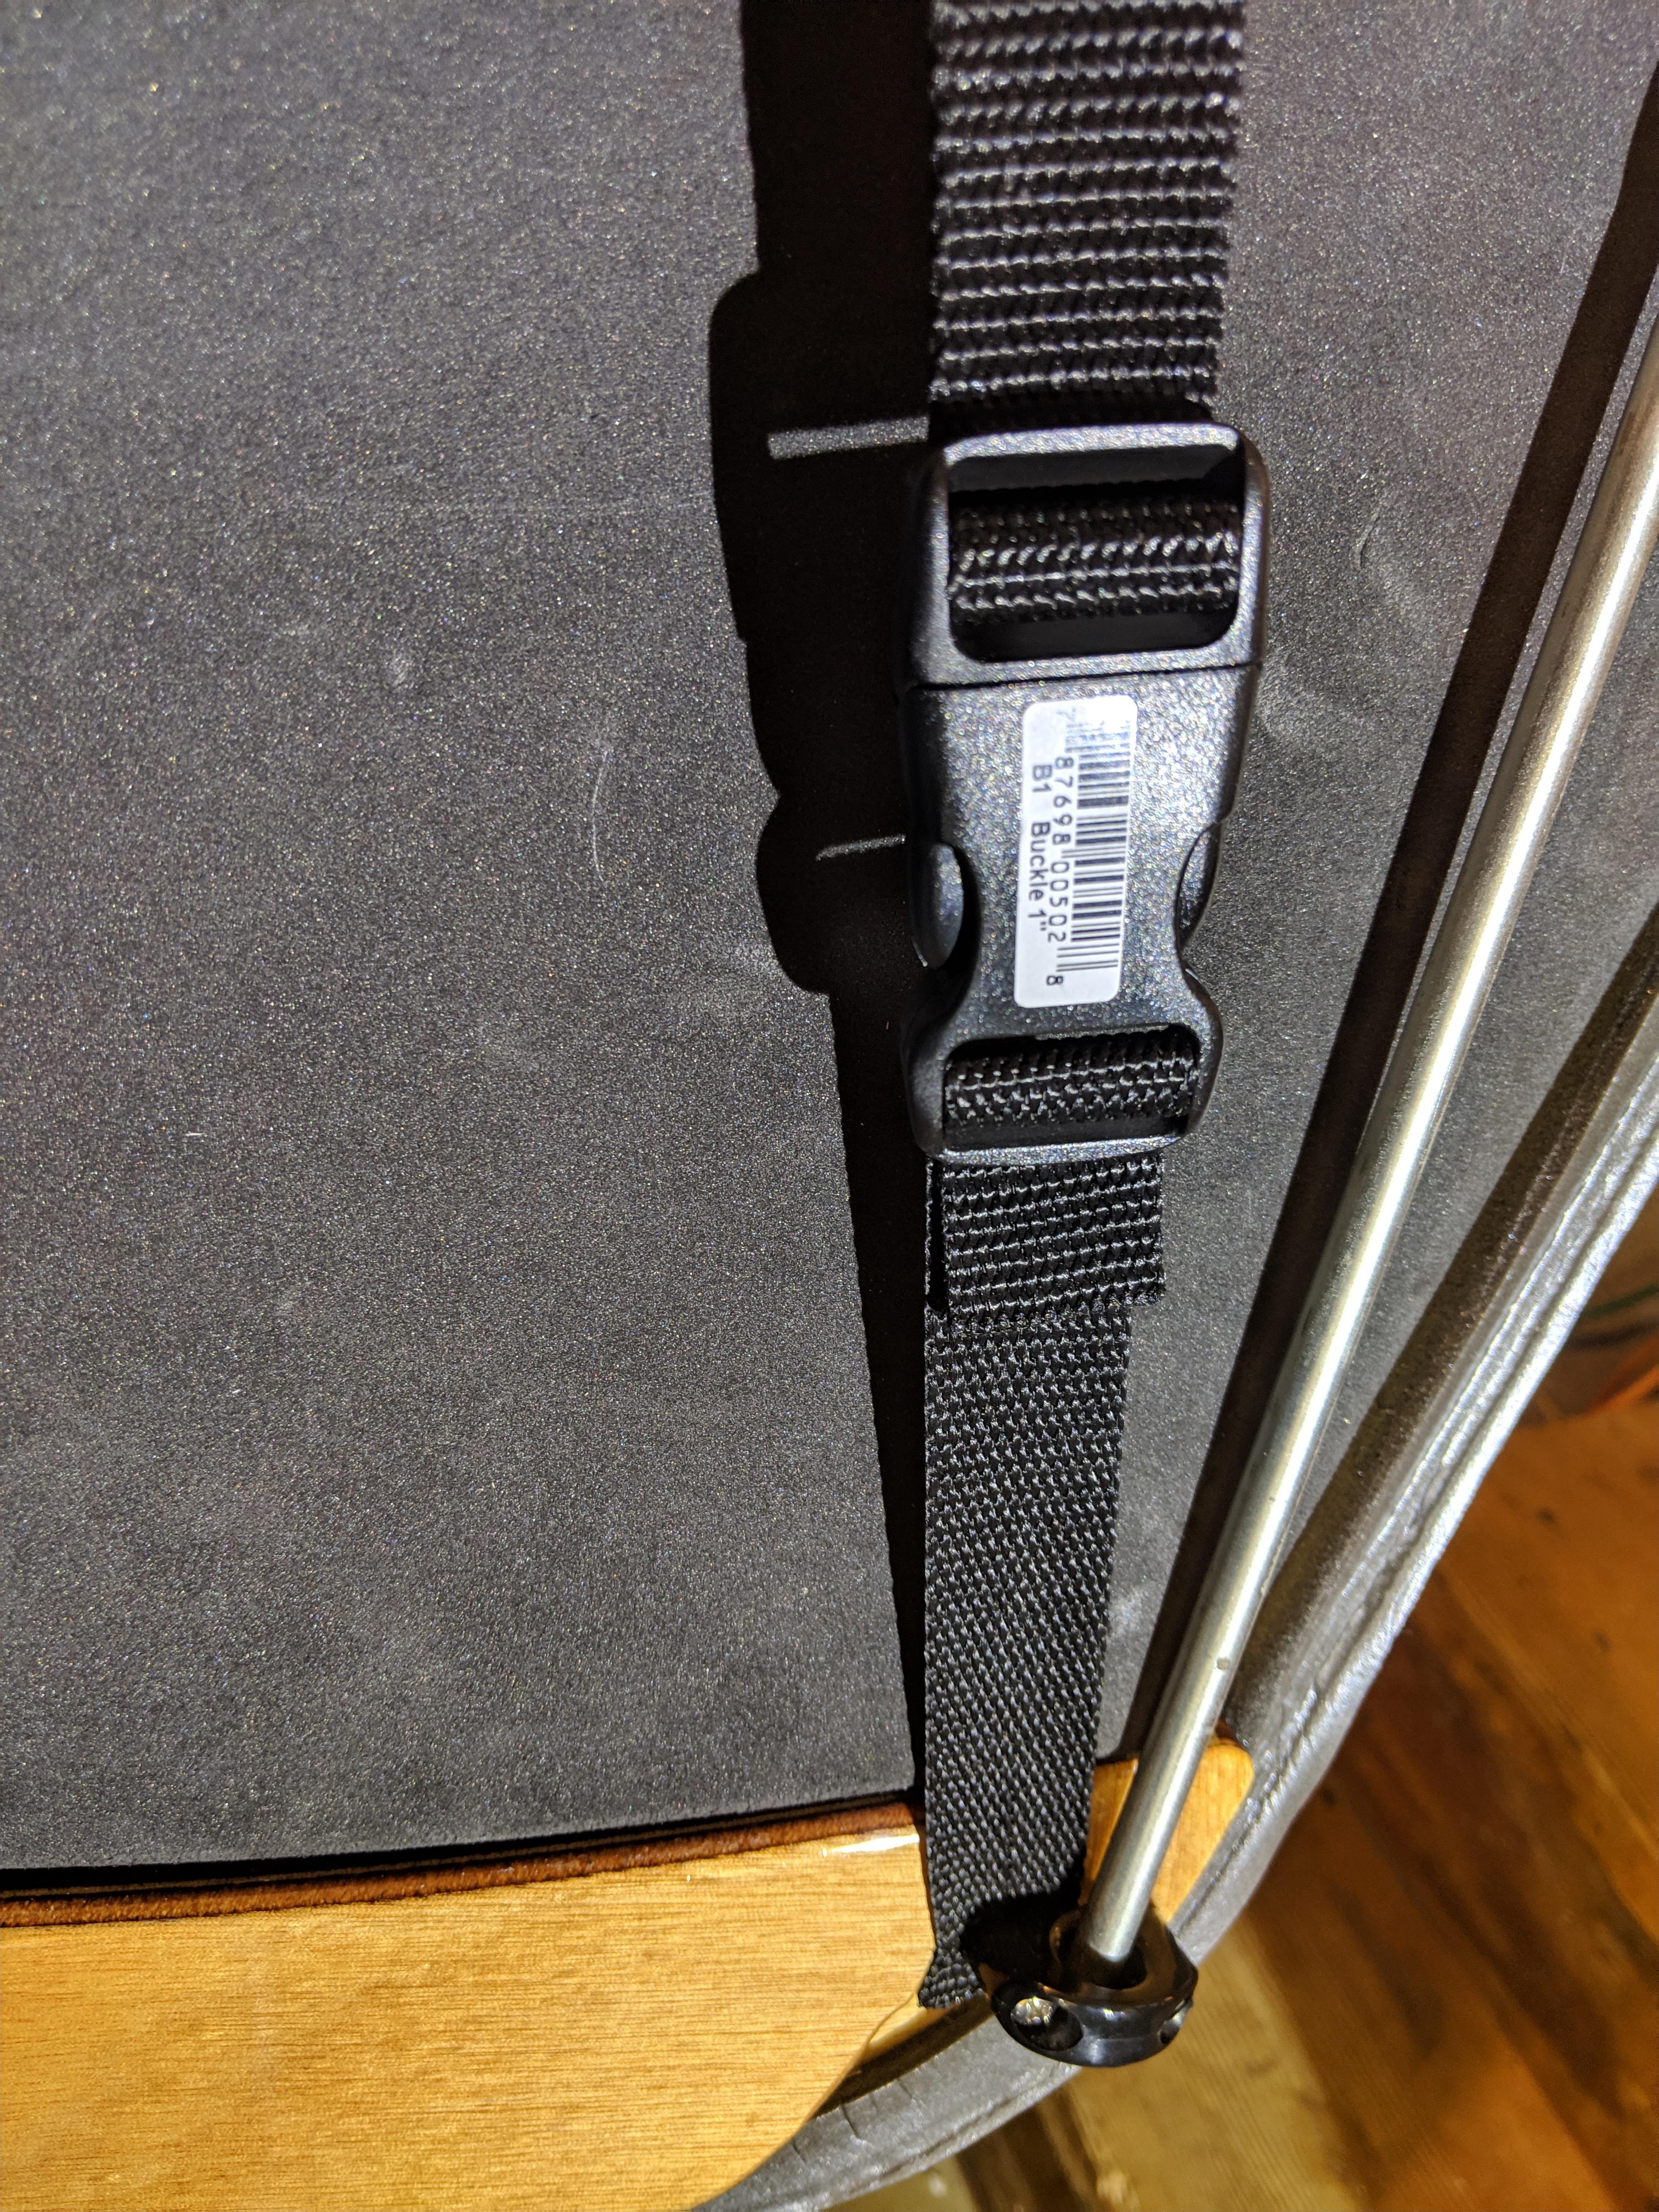
I’m pretty happy with this minor alteration to the tension strap: http://teardropforum.com/forums/topic/door-tensioning-strap/#post-2310
These clips can provide up to 75 lbs of tension, and are more readily field adjustable. (And easier than adding a layer of glass and fabricating extra stiffeners.)
ParticipantI tried these, but they couldn’t hold the tension without slipping out… (i.e. I don’t recommend them!)
https://www.amazon.com/dp/B00GS9L5U6
I tried these next, with great success!!!
https://www.amazon.com/dp/B001AW63JY
It’s easily adjustable over time, and doesn’t require the use of a ratchet strap to make field adjustments!
Chris
ParticipantThere’s a better student discount for materials if you take a class, but the holiday sales tend to be the best you’ll see on the kits and supplies.
I’ve shopped around pretty extensively, and the price for most everything is usually at or below what you can find at any online or brick and mortar stores.
ParticipantI *highly* recommend the stop-loss bags from CLC. https://www.clcboats.com/shop/products/boat-building-supplies-epoxy-fiberglass-plywood/marine-paint-varnish/clc-stoploss-kit.html
As far as pin-holes go – it sounds like you’re describing fish-eyes. These are caused by some sort of contamination on the surface of your project. I’ve heard a number of things will contaminate the varnish, so it’s best to avoid it altogether.
Anecdotally, I’ve heard the following things are known to cause fish-eyes:
- Any kind of oil mist in the project area, lawnmowers, air fresheners, candles, etc.
- Pollen, localized grass-cutting, etc.
- Fabric softeners and/or dryer sheets, especially when used on wipe-down rags.
- Some covers may have PVC out-gassing issues.
- Contamination from fingers, hands, etc. (Ooo, it looks like glass! Is it wet? Lemme touch it!)
You get the idea… TRUST NOTHING.
What can you do about it? Vigorously scuffing (matte finish) the most egregious violations. Followed by:
- A wipe-down with denatured alcohol, using a clean cotton t-shirt material rag.
- A wipe-down with blue windex, using another clean cotton t-shirt material rag. (ONLY BLUE WINDEX.)
- A wipe-down with denatured alcohol, using a third clean cotton t-shirt material rag.
And waste very little time after you’ve completed the three wipe-downs.
I was successfully able to launder my t-shirt rags using unscented dye-free liquid laundry detergent, and a healthy dose of bleach. And remember, don’t use laundry sheets in the dryer!
Good luck!
ParticipantI second the soldering iron method. Make sure to wet the tip with a bit of solder to get optimal heat conduction. I found that 3 to 5 seconds with a low wattage soldering iron did the trick in every case.
November 14, 2018 at 10:10 am in reply to: Tools and disposables. Favorites and were you got them #2276ParticipantHome Depot Spring Clamp: https://www.homedepot.com/p/ANVIL-2-in-Spring-Clamp-99691/302755764
Jen 3″ Foam Brush (36): https://www.amazon.com/dp/B000N9MFQK
Chip Brush: https://www.amazon.com/dp/B00CXCFUOY
Scotch-Brite Maroon 07447 (varnish scuffing): https://www.amazon.com/dp/B0002SQYF0
Norton 120 5″: https://www.amazon.com/dp/B003XRQQXC
Norton 220 5″: https://www.amazon.com/dp/B000BPAHUC
Polycrylic Satin (interior): https://www.amazon.com/gp/product/B000BZYYH4
Norton adhesive sandpaper 2-3/4″ X 25 YDS (120 Grit): https://www.amazon.com/gp/product/B00U9UA6VE
-
AuthorPosts