Welcome to TeardropForum.com › Forums › Teardrop Builders’ Forum › Southern Maryland TD Build Log
Tagged: heater
- This topic has 48 replies, 9 voices, and was last updated 2 years, 6 months ago by
Sandman408.
-
AuthorPosts
-
March 7, 2017 at 2:49 pm #642
SOMDTD
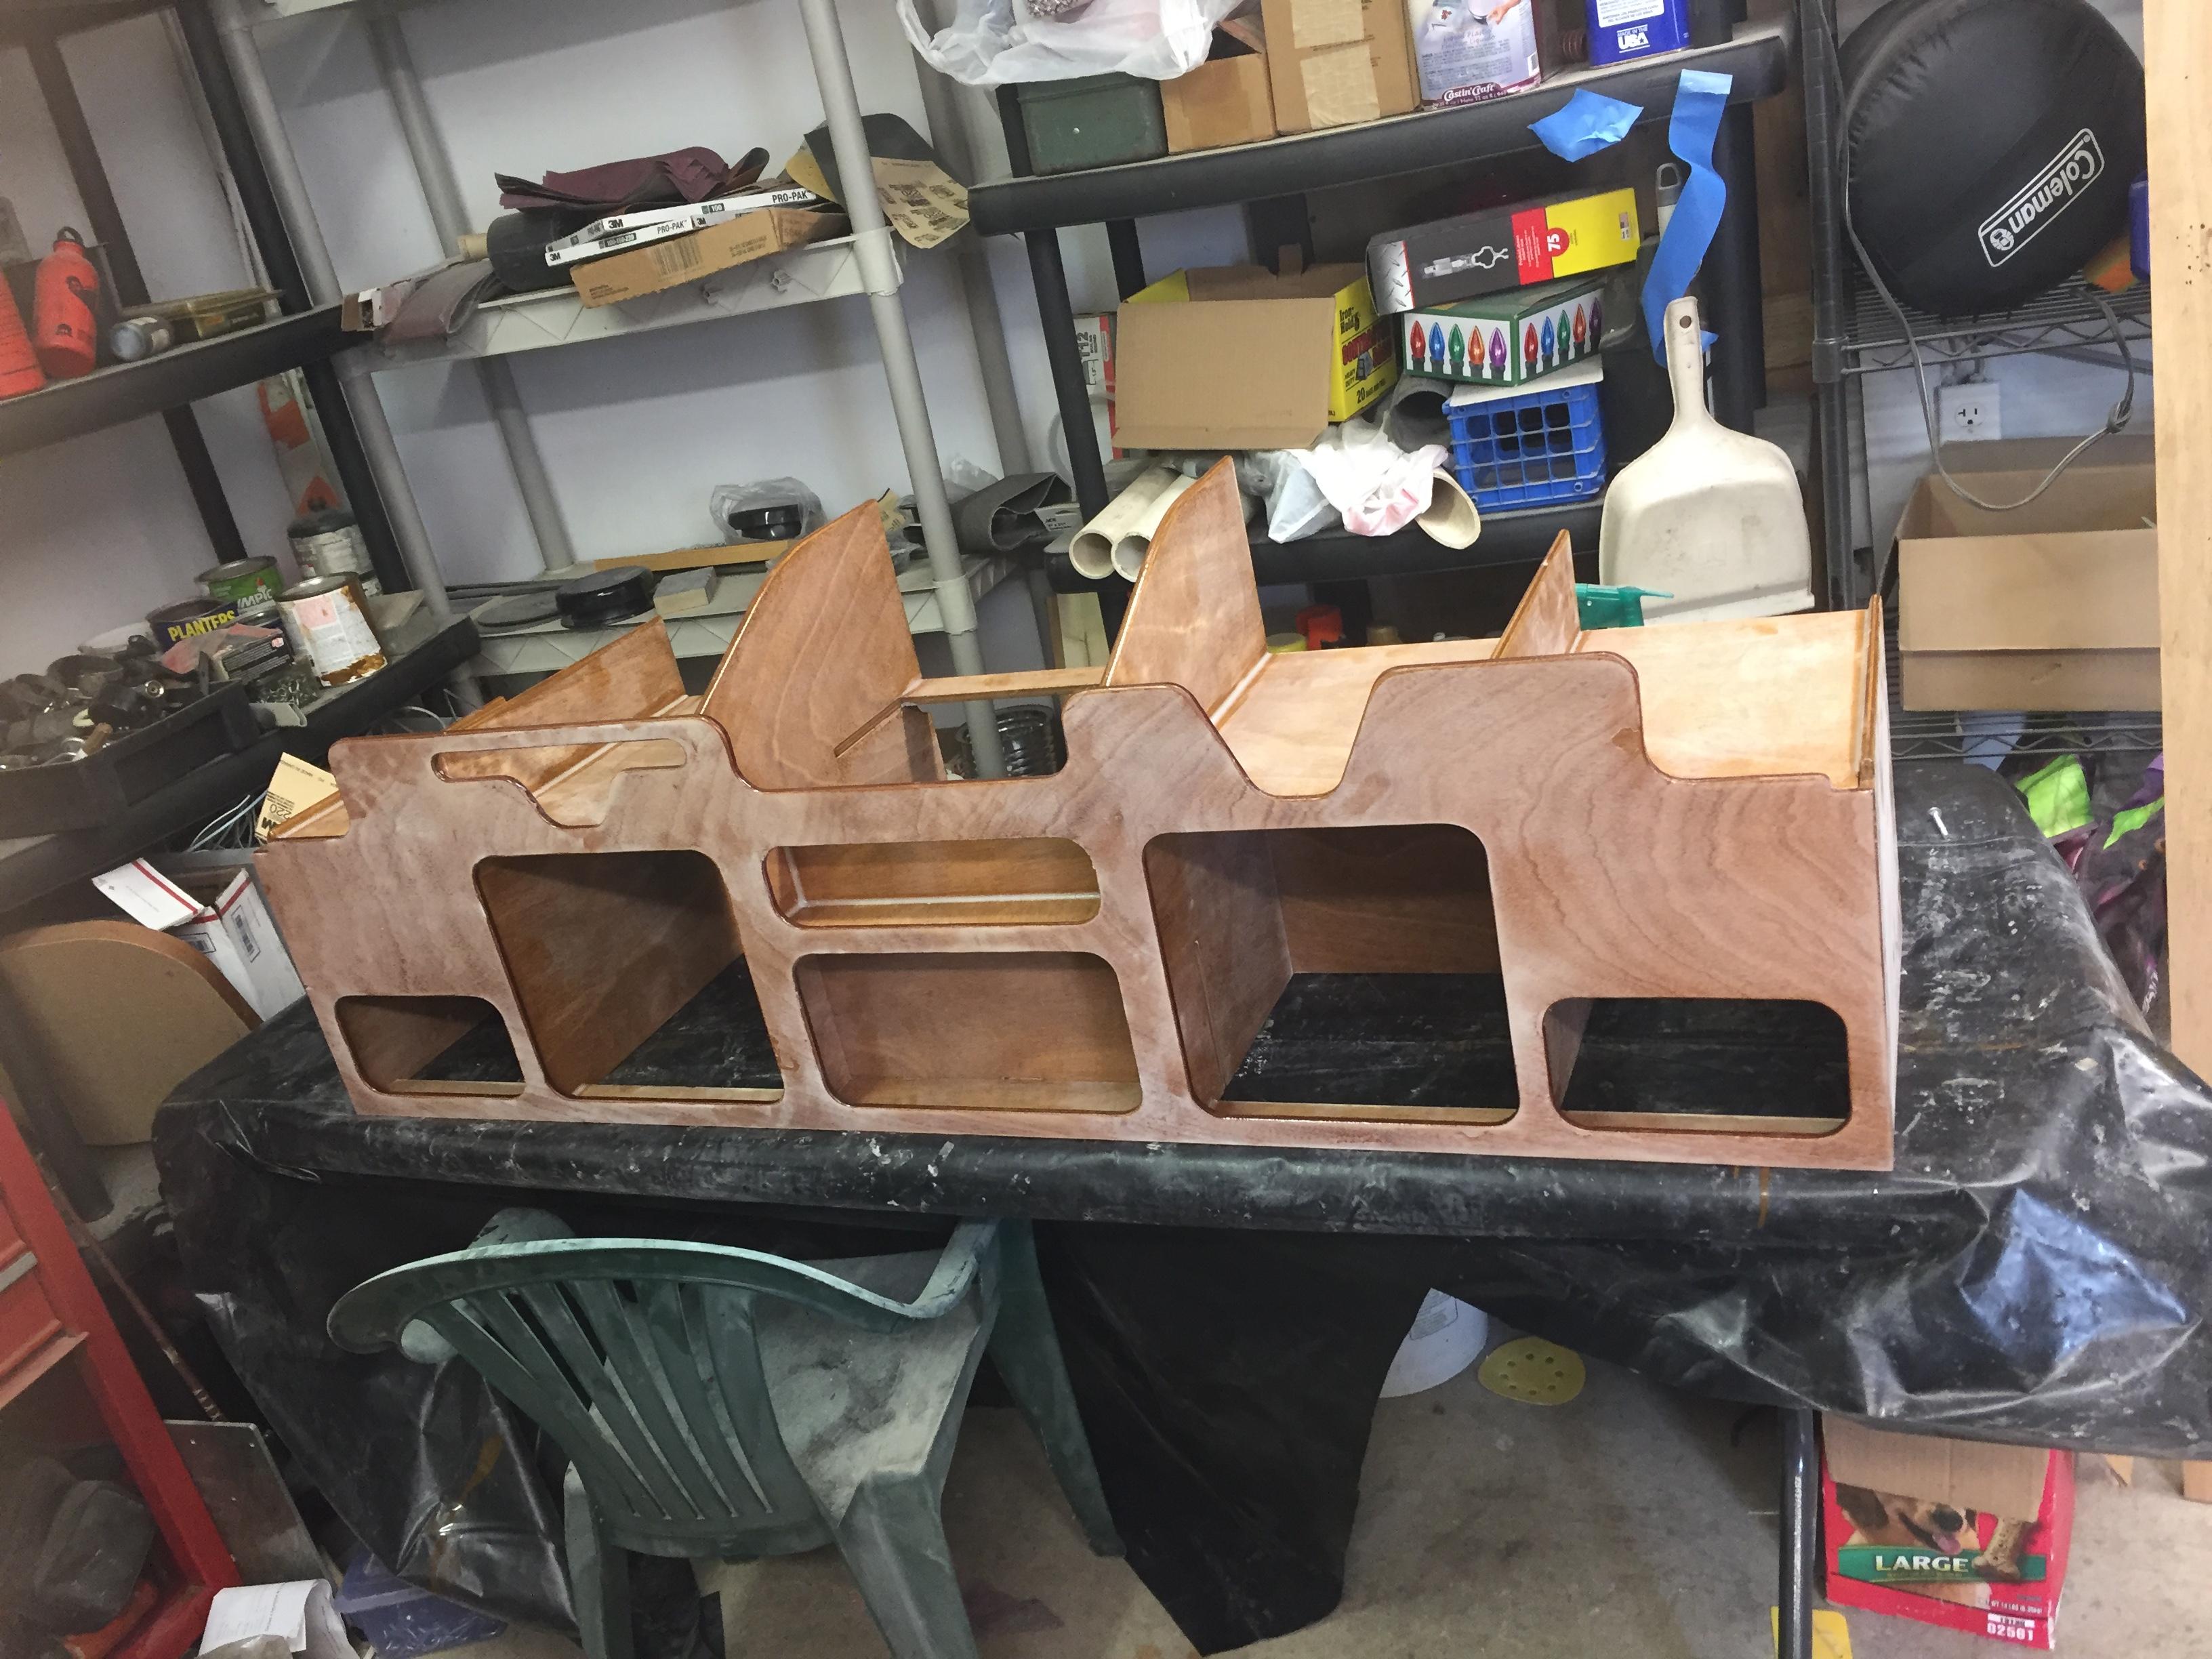
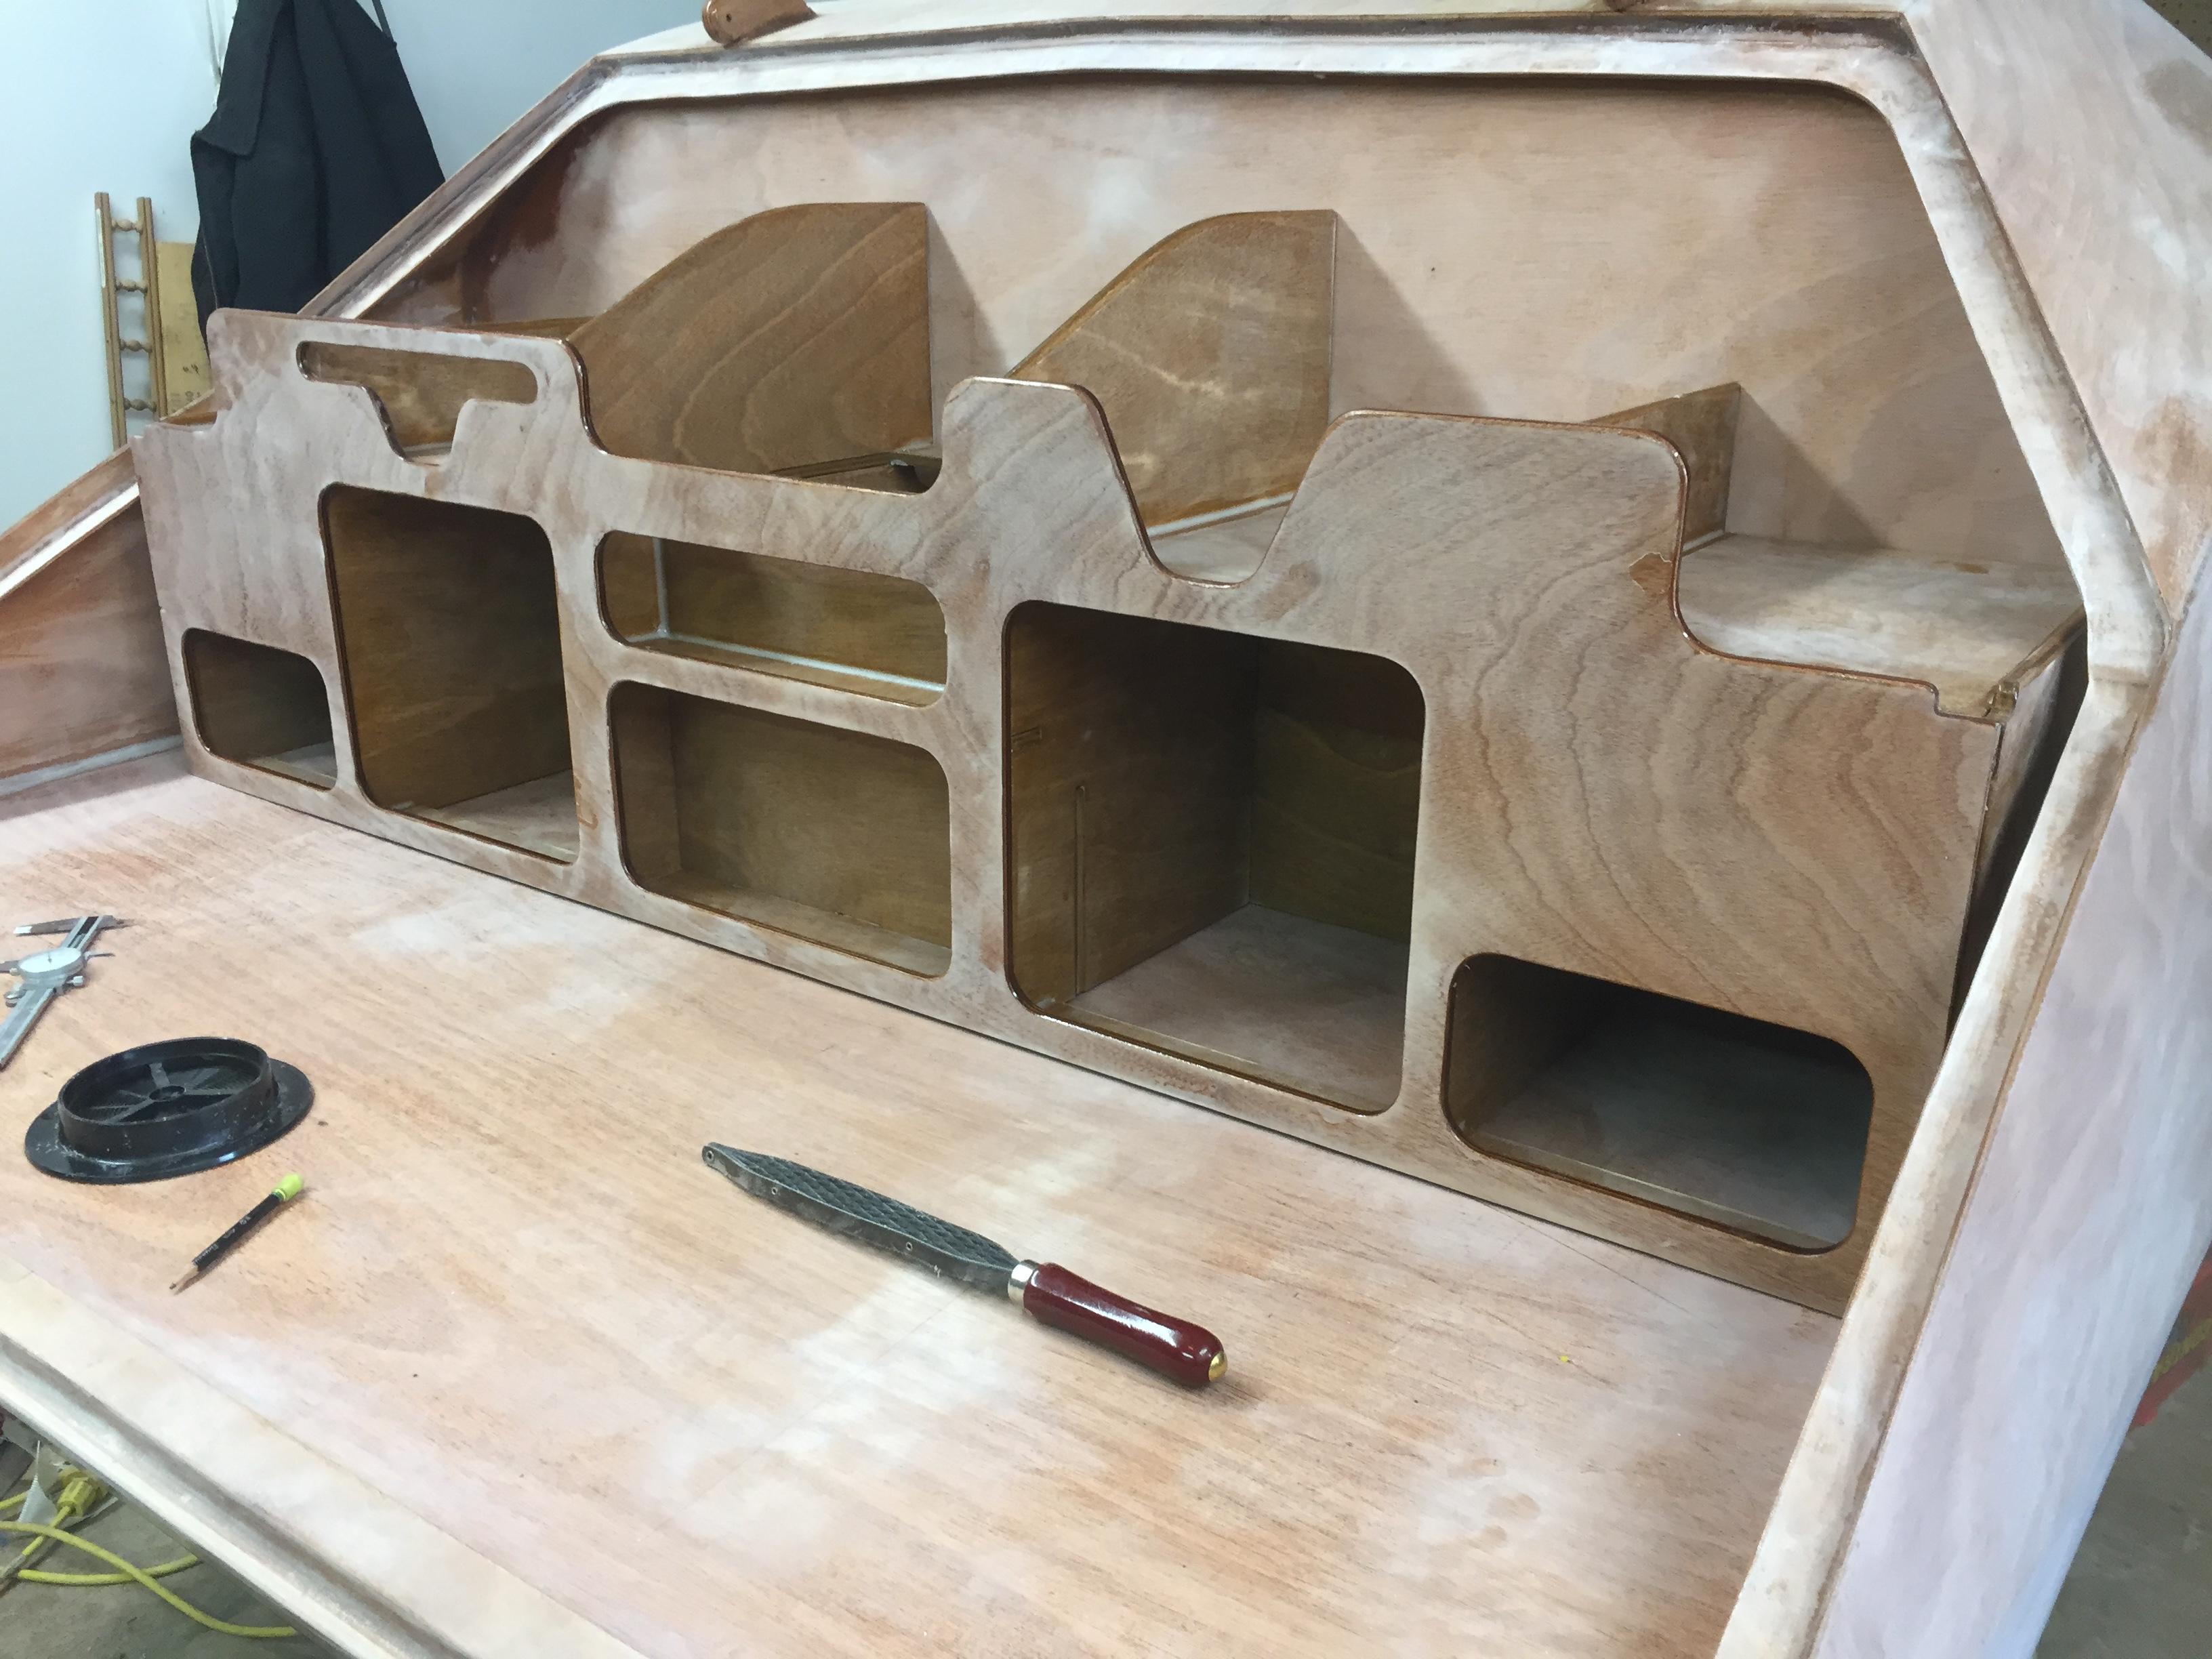
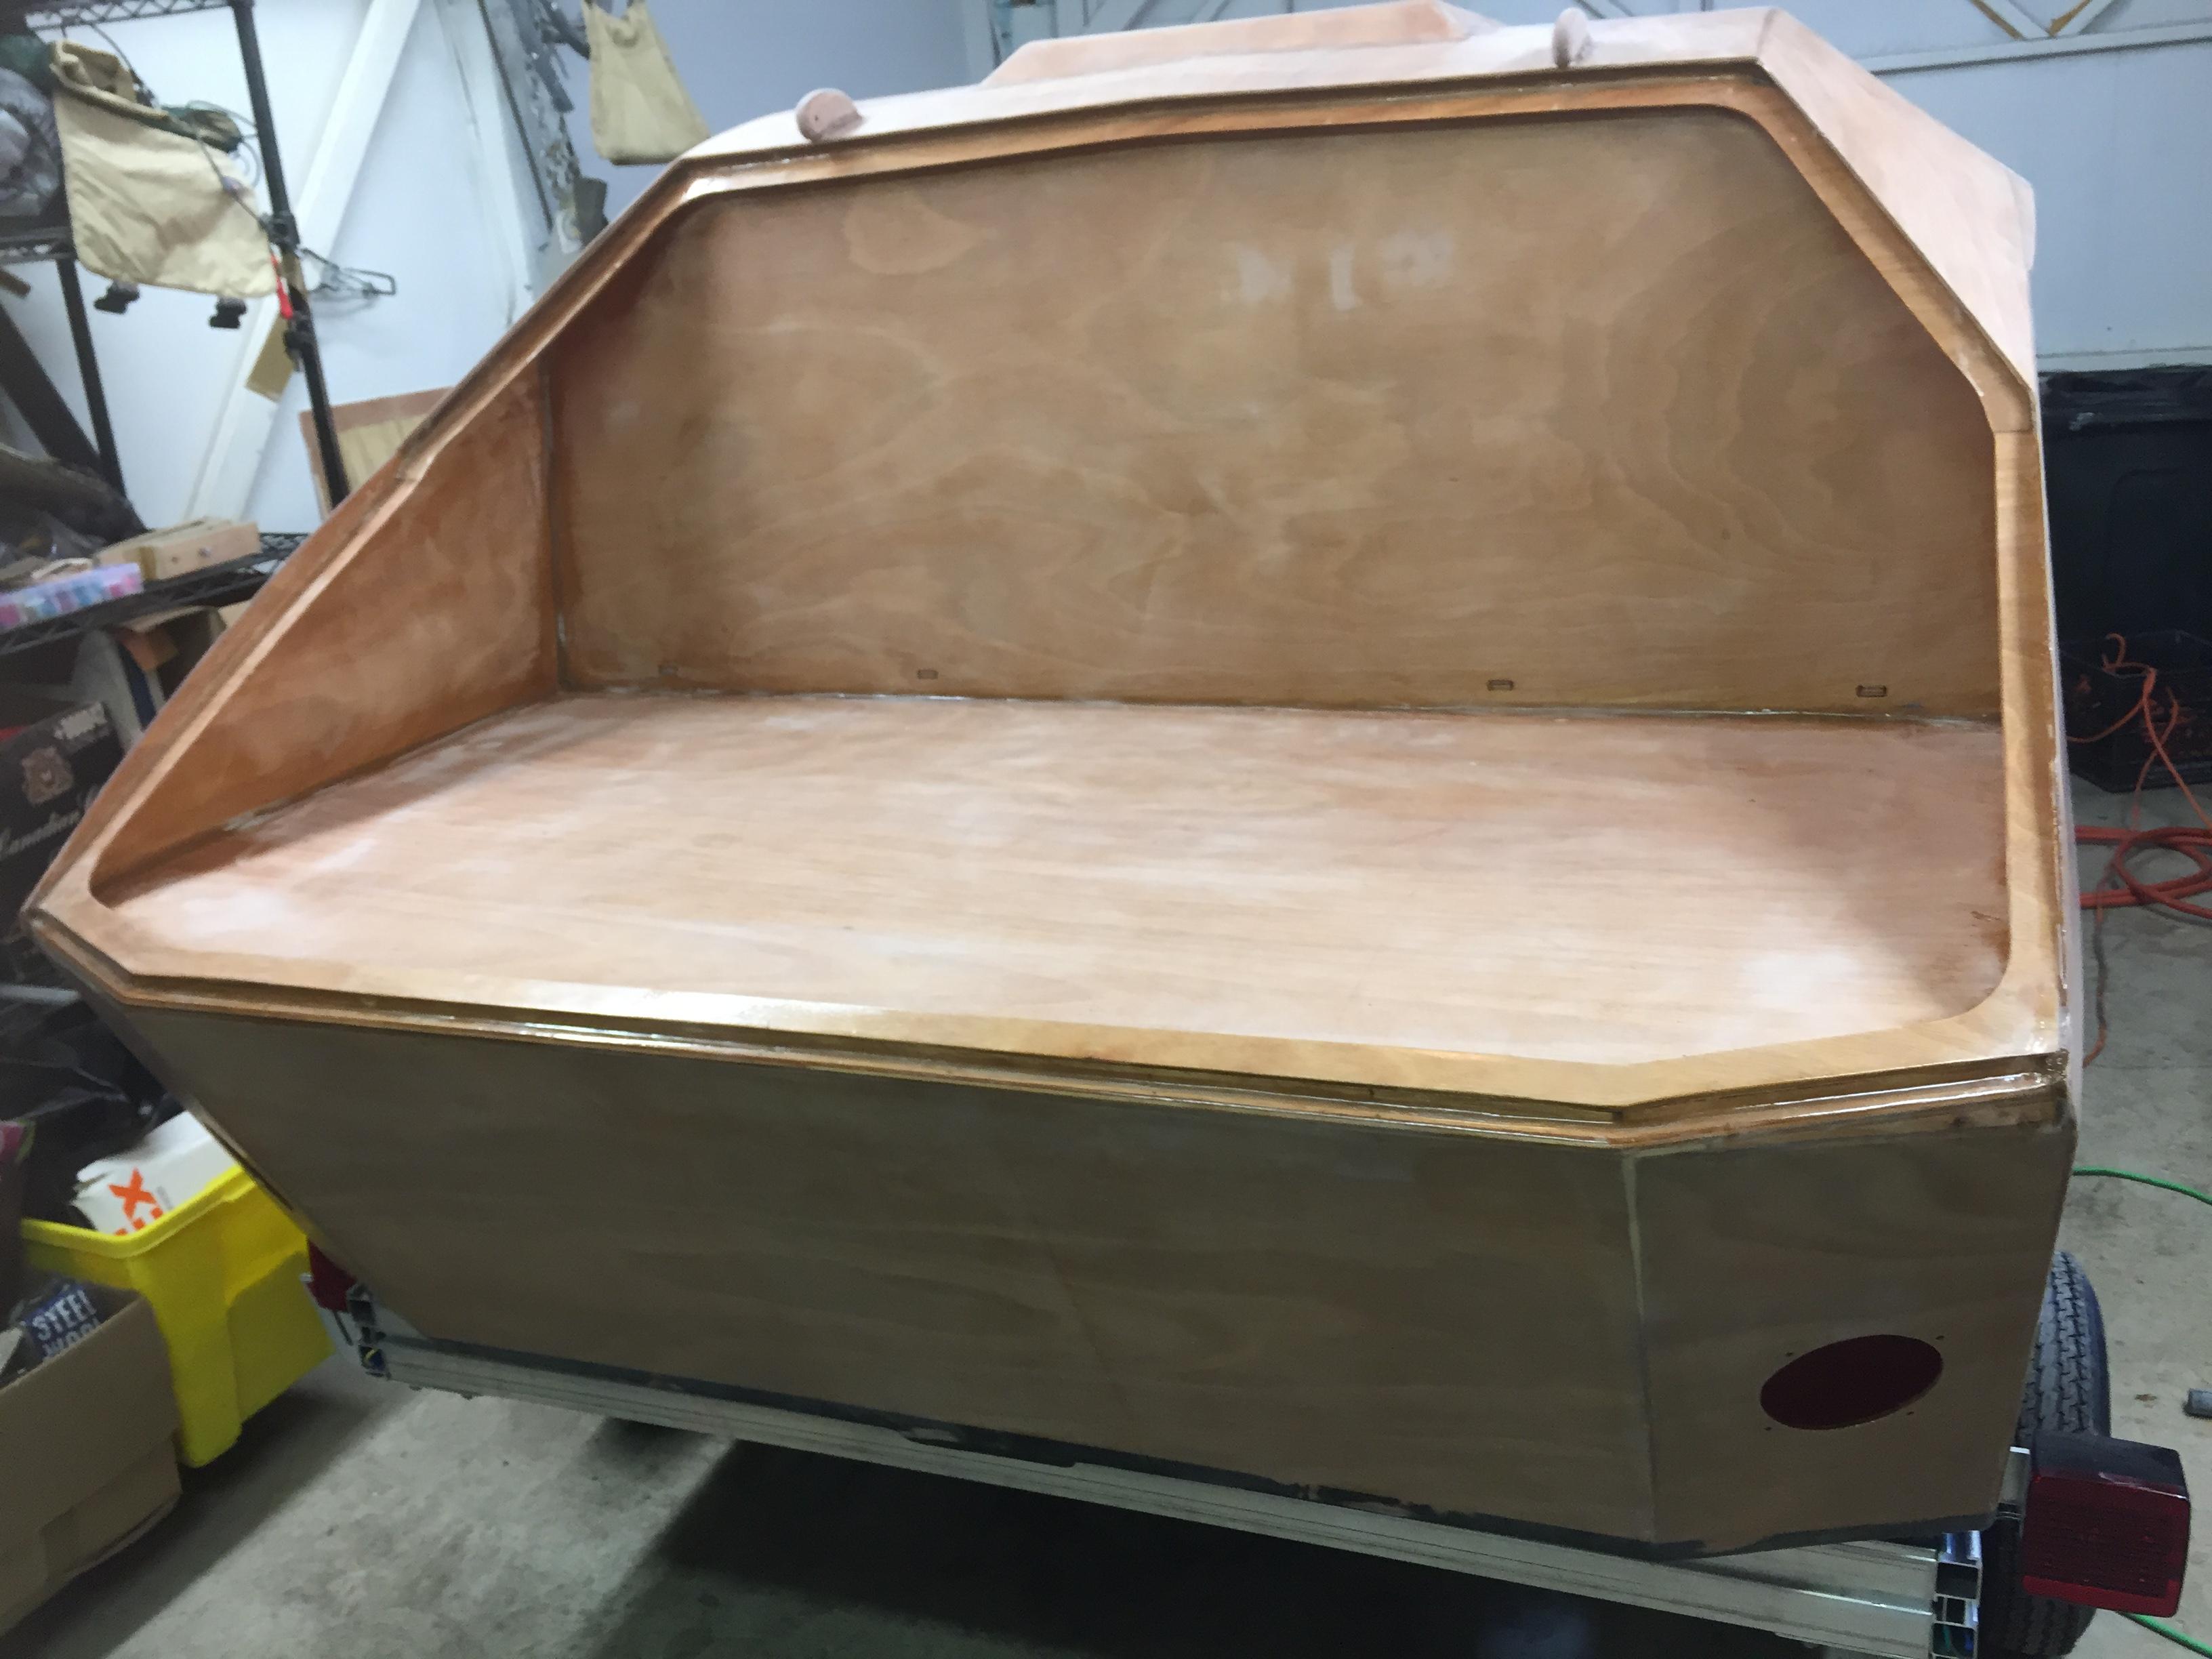
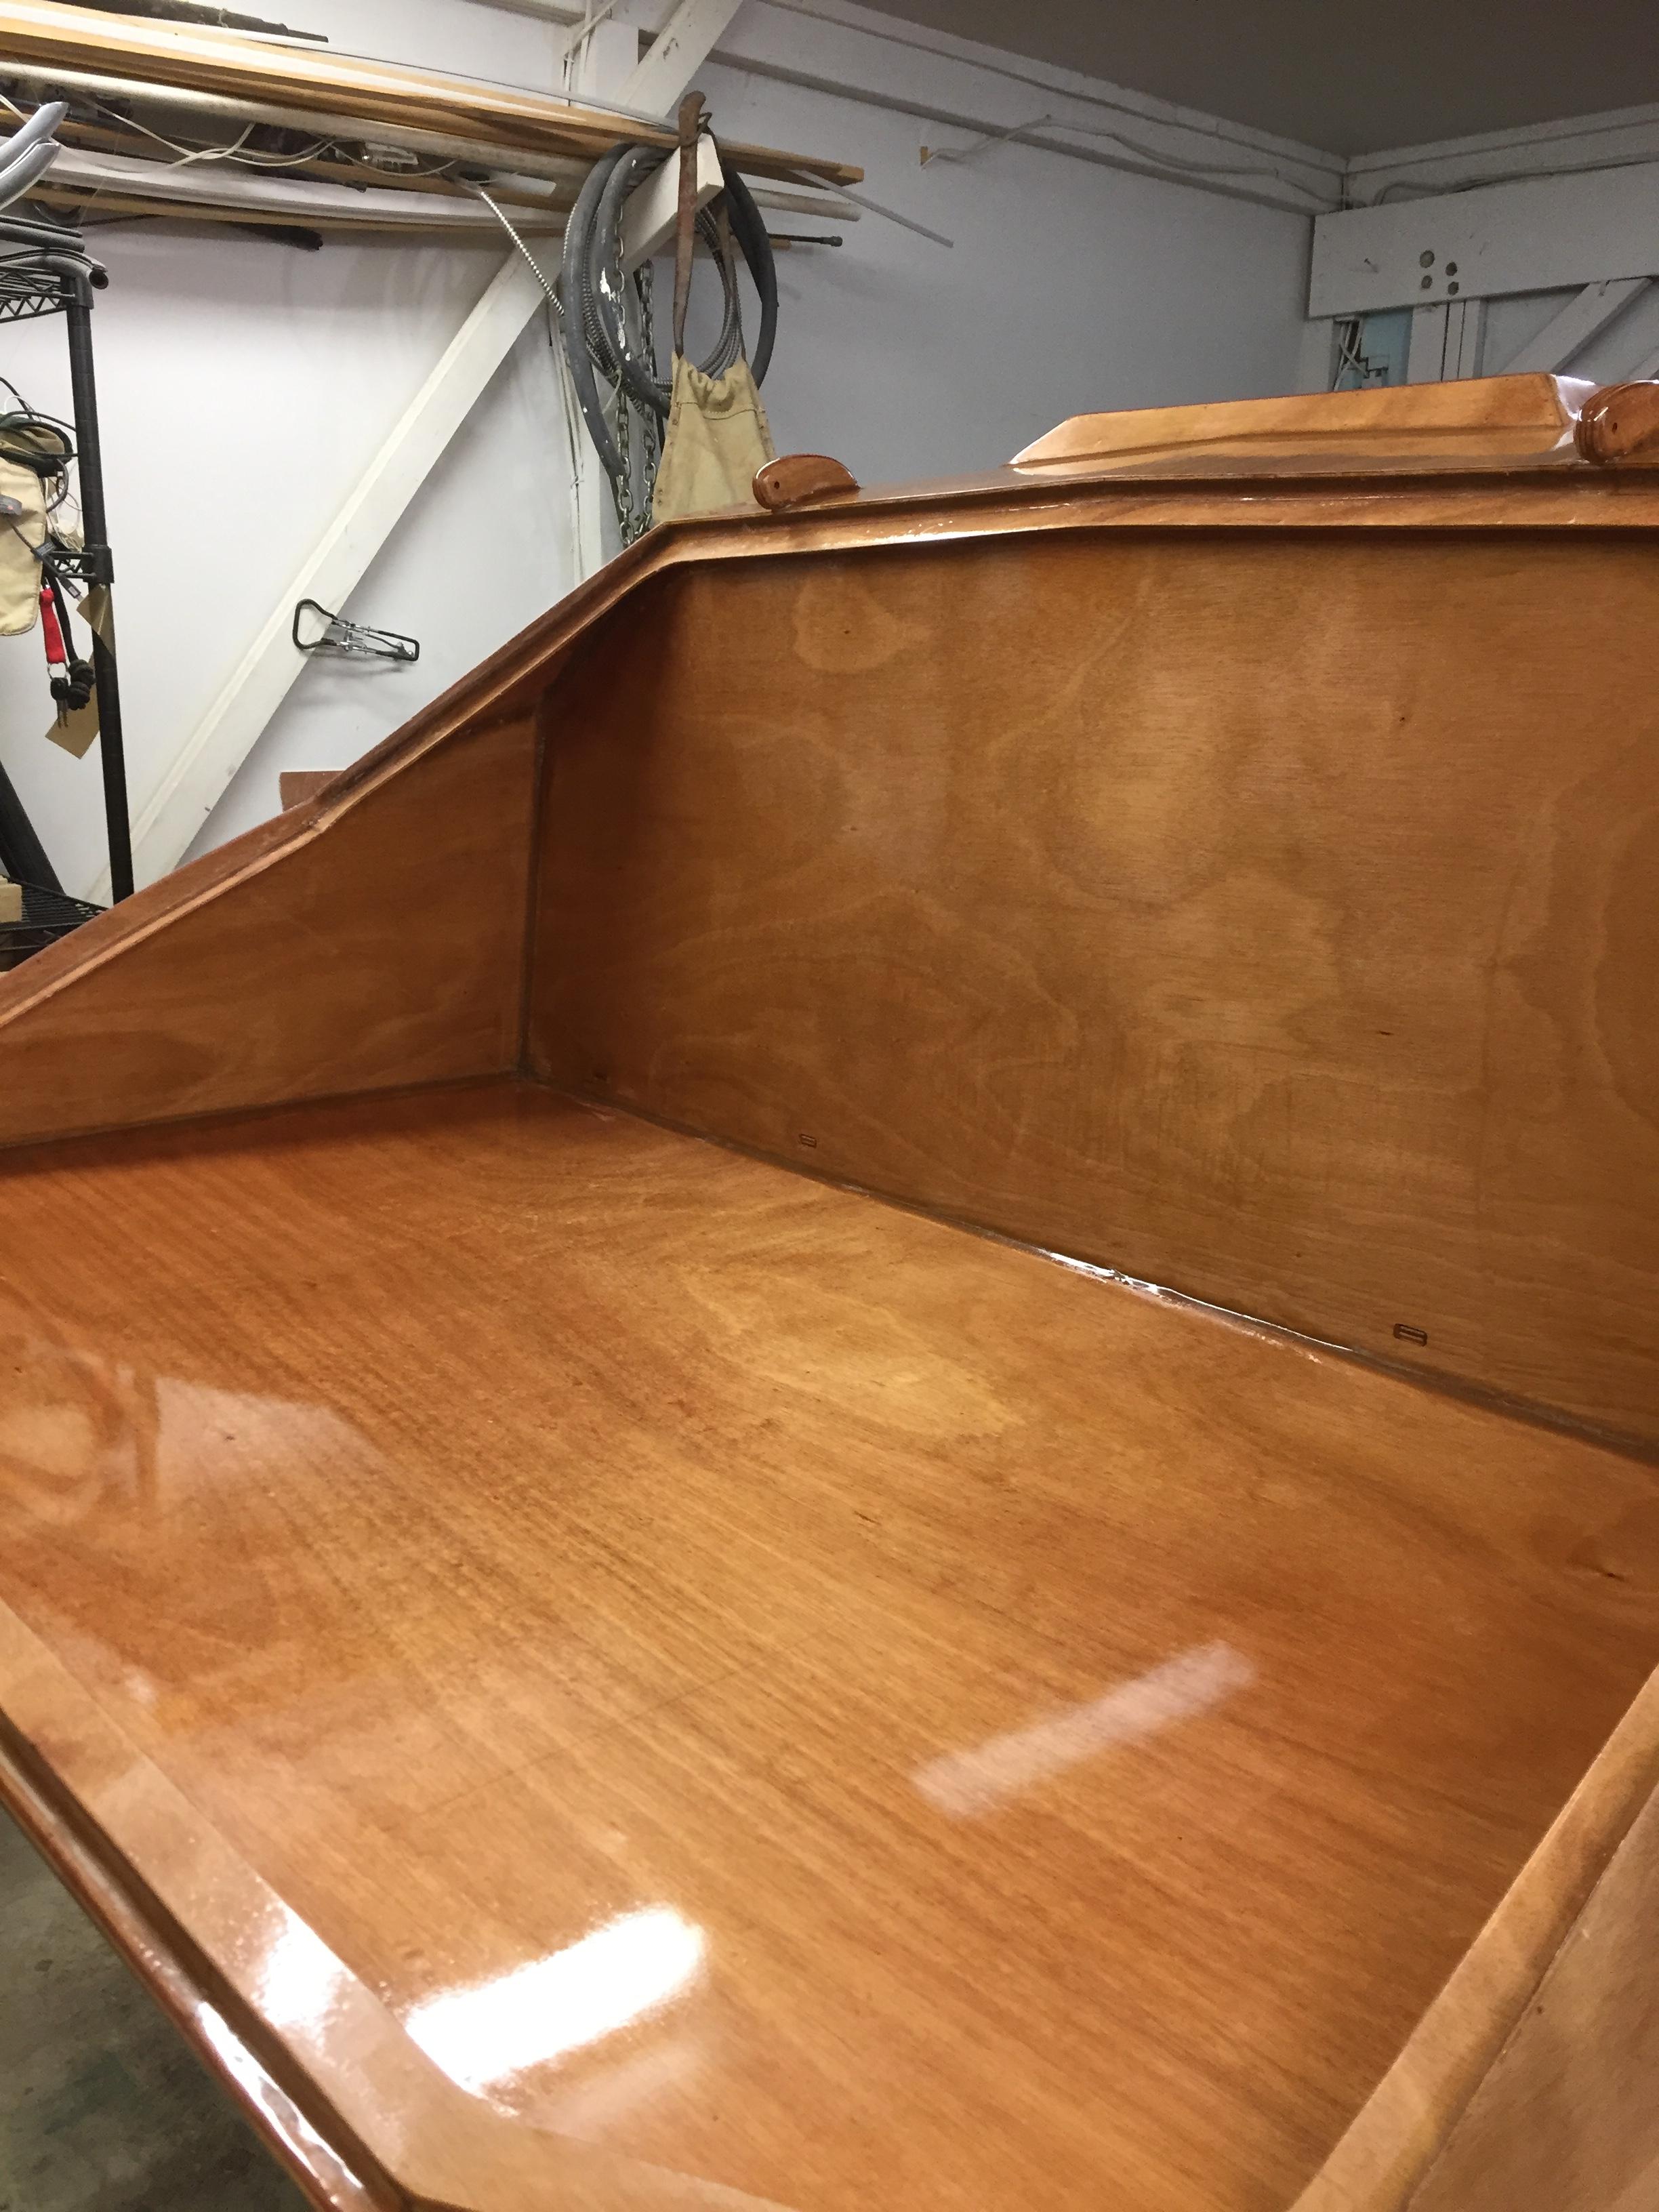
ParticipantBuilding continues. Finished assembly of the galley module. Tip: mix a little wood flour in with the cello-fill epoxy glue so the glue fillets aren’t white. Like I didn’t’ do. I’m going to skim a wood flour fillet over the cello-fill fillets to make them match up better with the wood color.
Rounded off the aft edge in prep for the glass tape that goes there.
Cut the holes for the mushroom vents. They are a nominal 4 1/2″ but ended up needing to be 4 5/8″ in diameter for the vents to fit well. I used a dial caliper as a “scribe / compass” once I located the hole centers, locked the calipers down at 2.250″ and zipped a scribe line in the fiberglass surface with the “inside” caliper jaws. Rough cut the holes with a roto-zip bit in my drill (couldn’t find the right collet for the roto-zip chuck) which was a little slow but it chewed right through in less than 5 minutes per hole. Then fired up the die grinder with a 1″ carbide burr that I’ve had for years and never before used. All the holes done in about 45 minutes and look nice!
 March 11, 2017 at 5:56 pm #649Participant
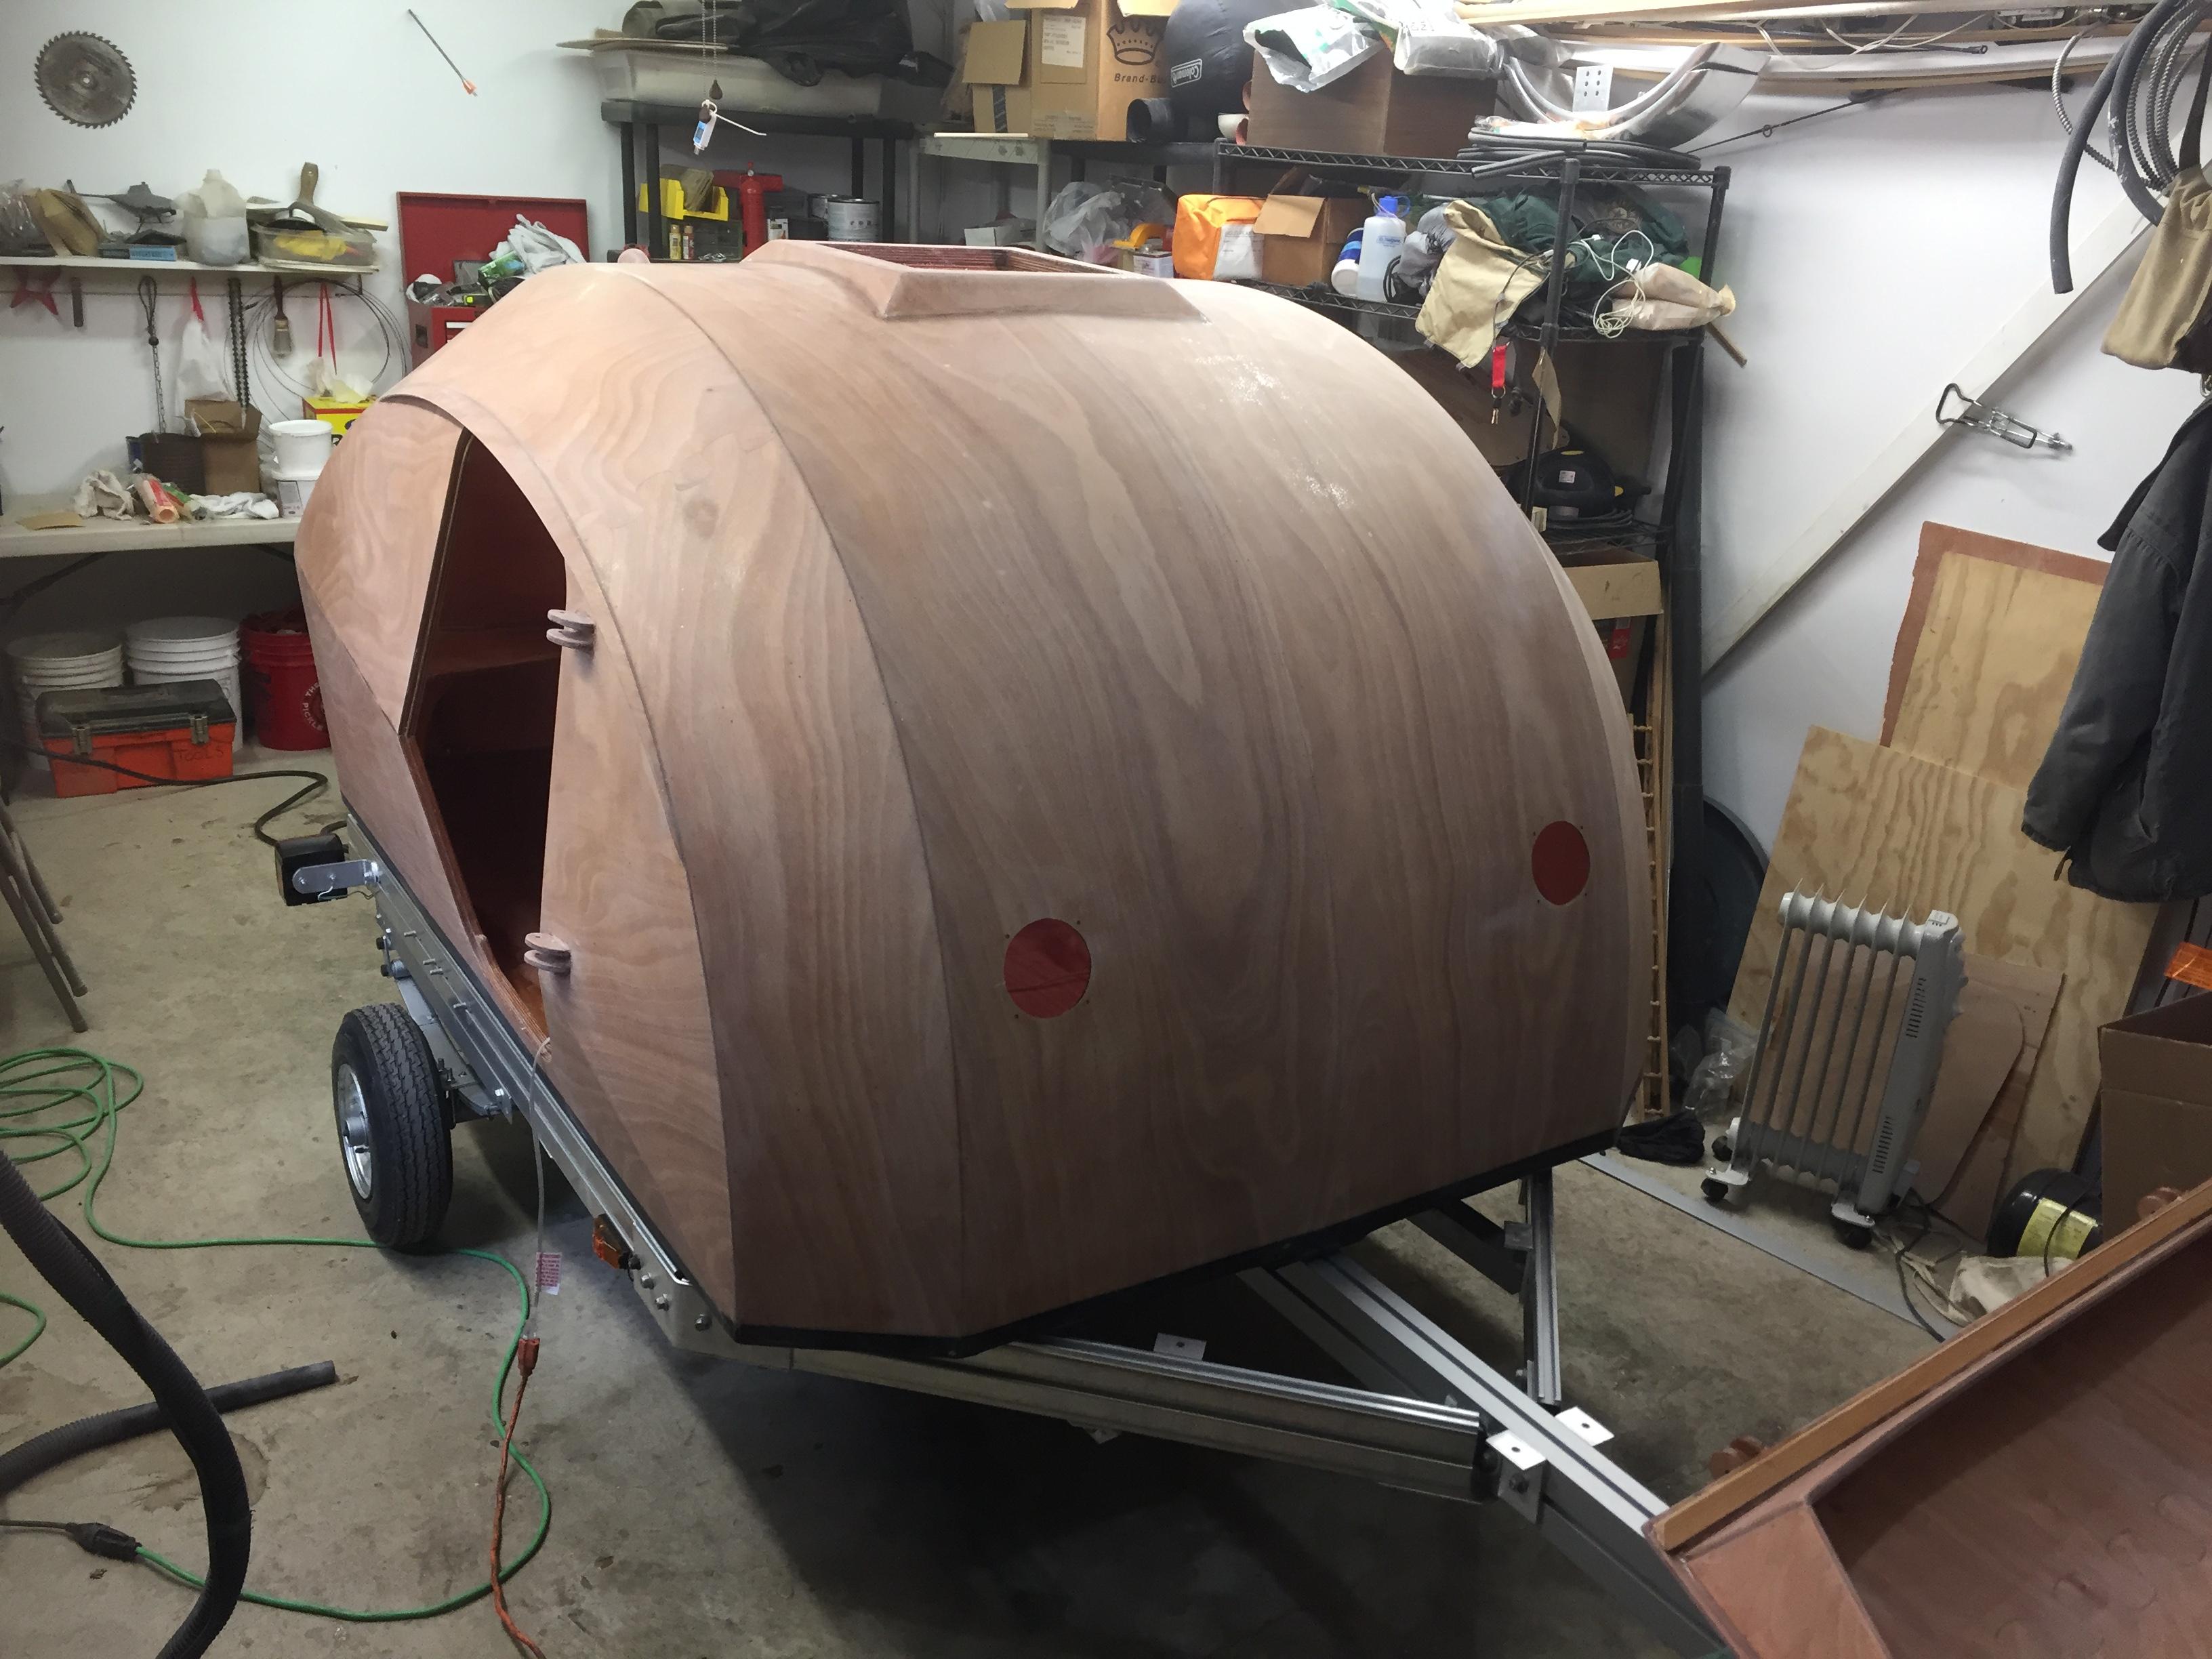
Applied a last coat of epoxy over the whole camper. Working on interior epoxy as well, doing finish detail sanding. Amazing how many “nits” there are when you start running your hand over everything. Also de-dusting with an alcohol rag, which also finds nits. Did an exterior finish sanding session and got about 1/2 done with the initial 220 grit sanding. I’ll hit it with 320 and then wet sand with 400, then varnish.
March 11, 2017 at 11:52 pm #651Bob D.
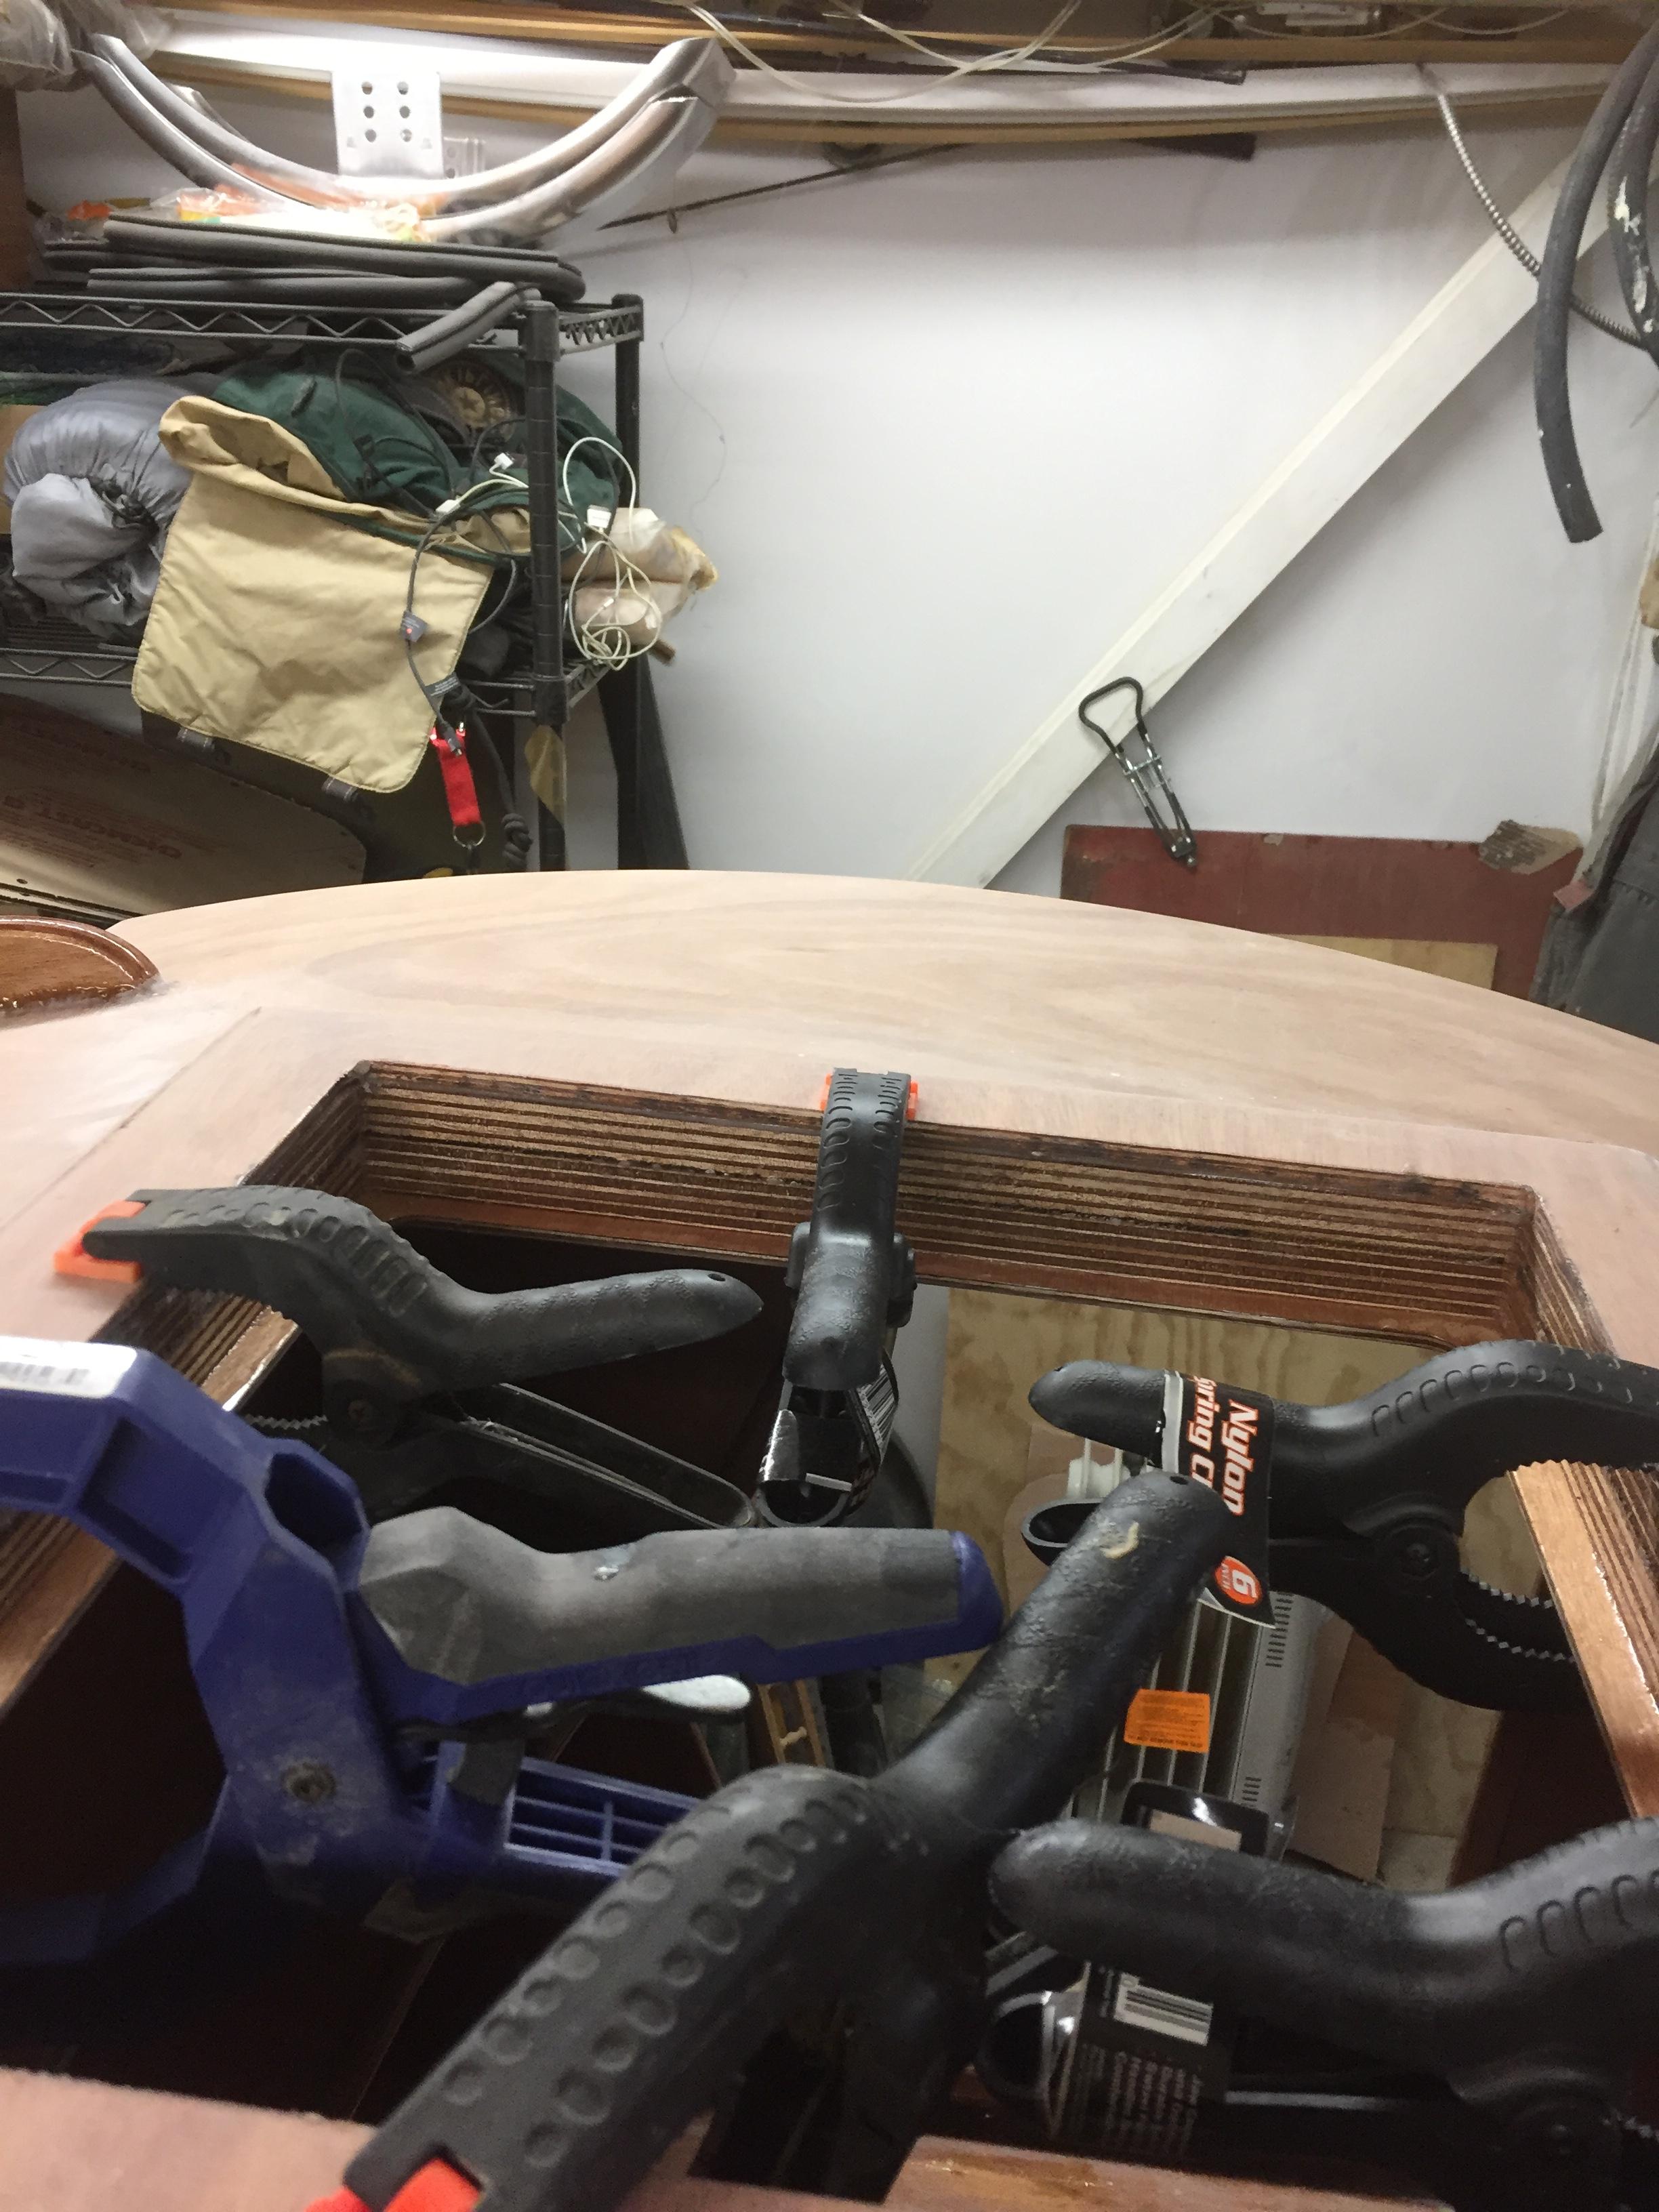
ParticipantMan, that’s looking really nice. I’m officially on page 101 if you ignore the 2nd coat of epoxy still TBD in the bottom / foot area. Tomorrow I’ll assemble the bottom. I may even open up the galley kit to start rounding over corners.
I bought a Bosch PR20EVSK “variable speed palm router kit” for $99 at Lowe’s today (Amazon has them for the same price) and a 3/8″ round over bit for it. It made fast work of the galley stiffeners as well as the forward edge of the galley flat.
What kind of varnish are you going with?
-Bob
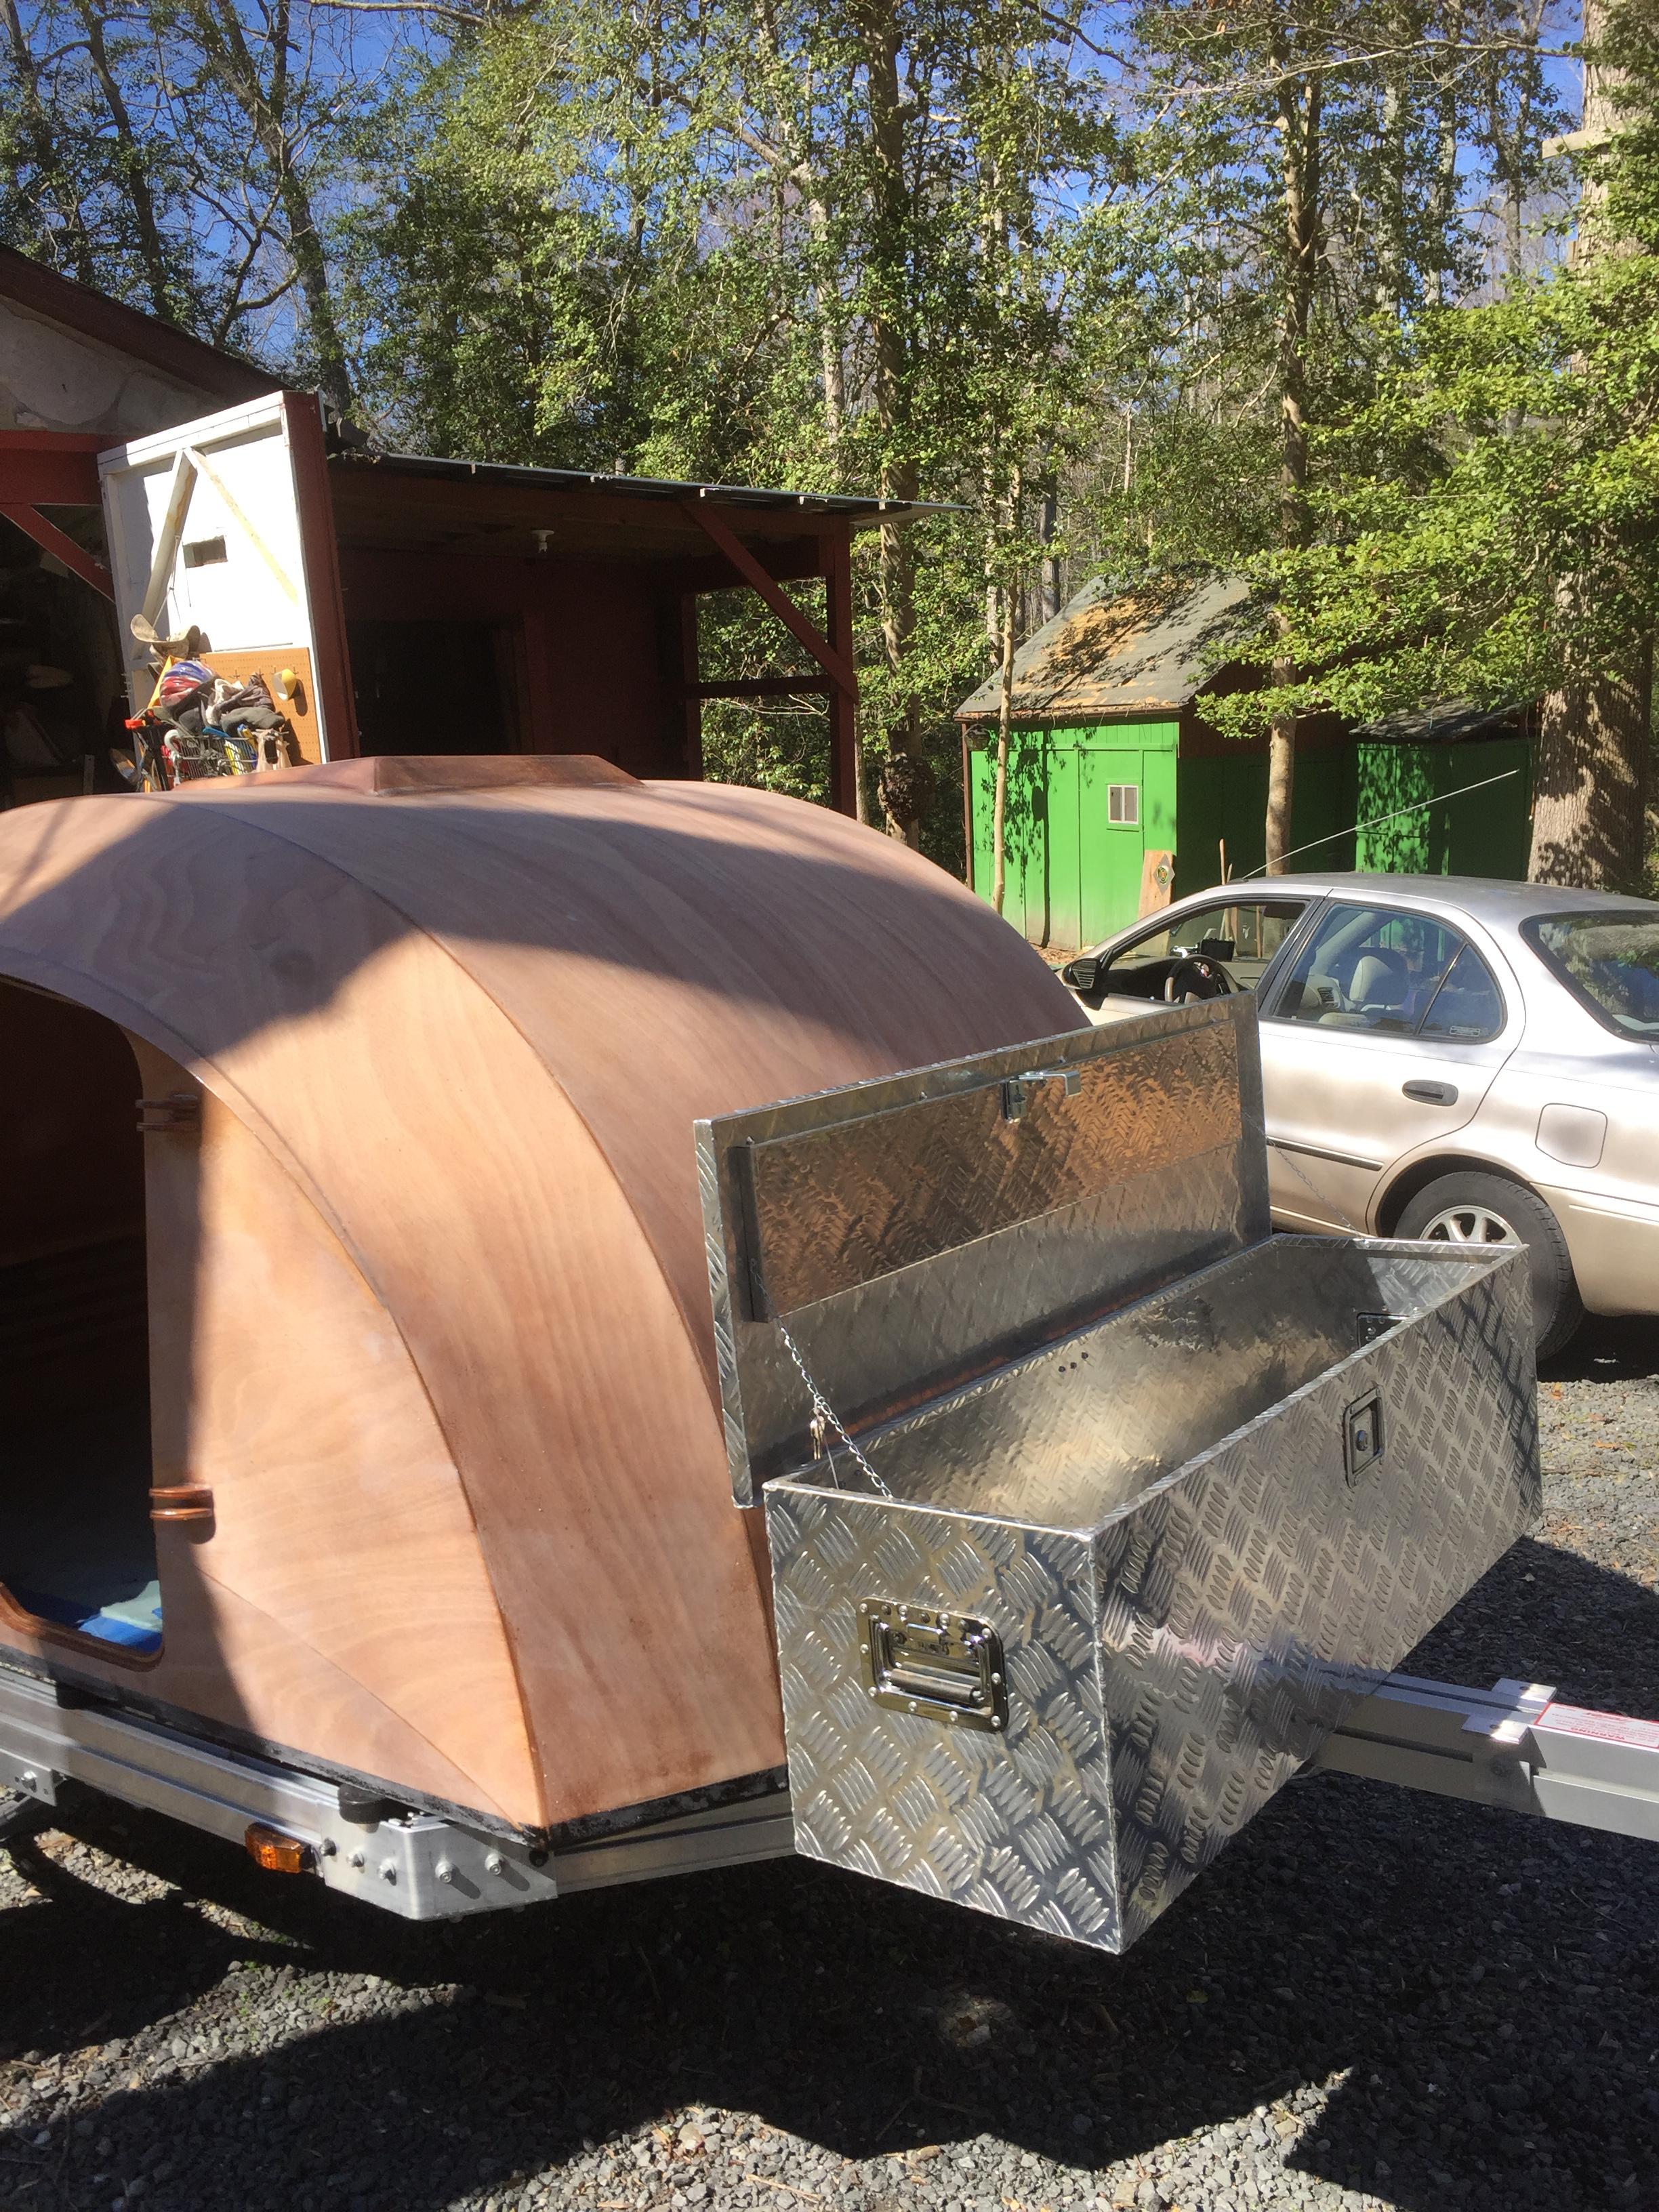
March 12, 2017 at 5:51 pm #654ParticipantSet the shell onto the trailer today. Looks like the hockey pucks will work PERFECT. They are 1″ thick and leave a nice 1/4″ gap from the butt block to the trailer. Since they are rubber, I am not going to use the rubber fender washers at all.
I aligned up the shell on the trailer and drilled the mounting holes. I make a little makeshift “drill bushing” that fit into the mounting flange holes and used that to drill nicely aligned pilot holes. It was just a piece of aluminum tubing that i wrapped masking tape around until it just fit into the trailer flange holes. I then used some electrical tape on a #30 12″ drill bit to match the drill to the ID of the tubing. Worked well, drilled all 10 holes in about 15 minutes, and followed up with a 5/8″ spade bit from the top. The holes came out quite clean. Masking tape on the bottom and the fill epoxy is curing now. Total time to mount onto the trailer will be about 2 hours.
I set the aluminum tounge box on there just to see the look of it. It’s actually kind of nice that it’s not a separate sub-project at this point.
 March 17, 2017 at 9:03 pm #665ParticipantMarch 17, 2017 at 9:15 pm #667Participant
Interlux Schooner 96 varnish. Did a MAJOR shop cleanup and de-dust effort today. After mucking and putting all the tools away I set up a couple of box fans and took the backpack leaf blower to the shop. Sure is easier now that the shell is bolted onto the trailer, moved it out to the driveway and blew the dust off of it with compressed air. Tomorrow is the first coat of varnish!
-
This reply was modified 9 years, 2 months ago by
SOMDTD.
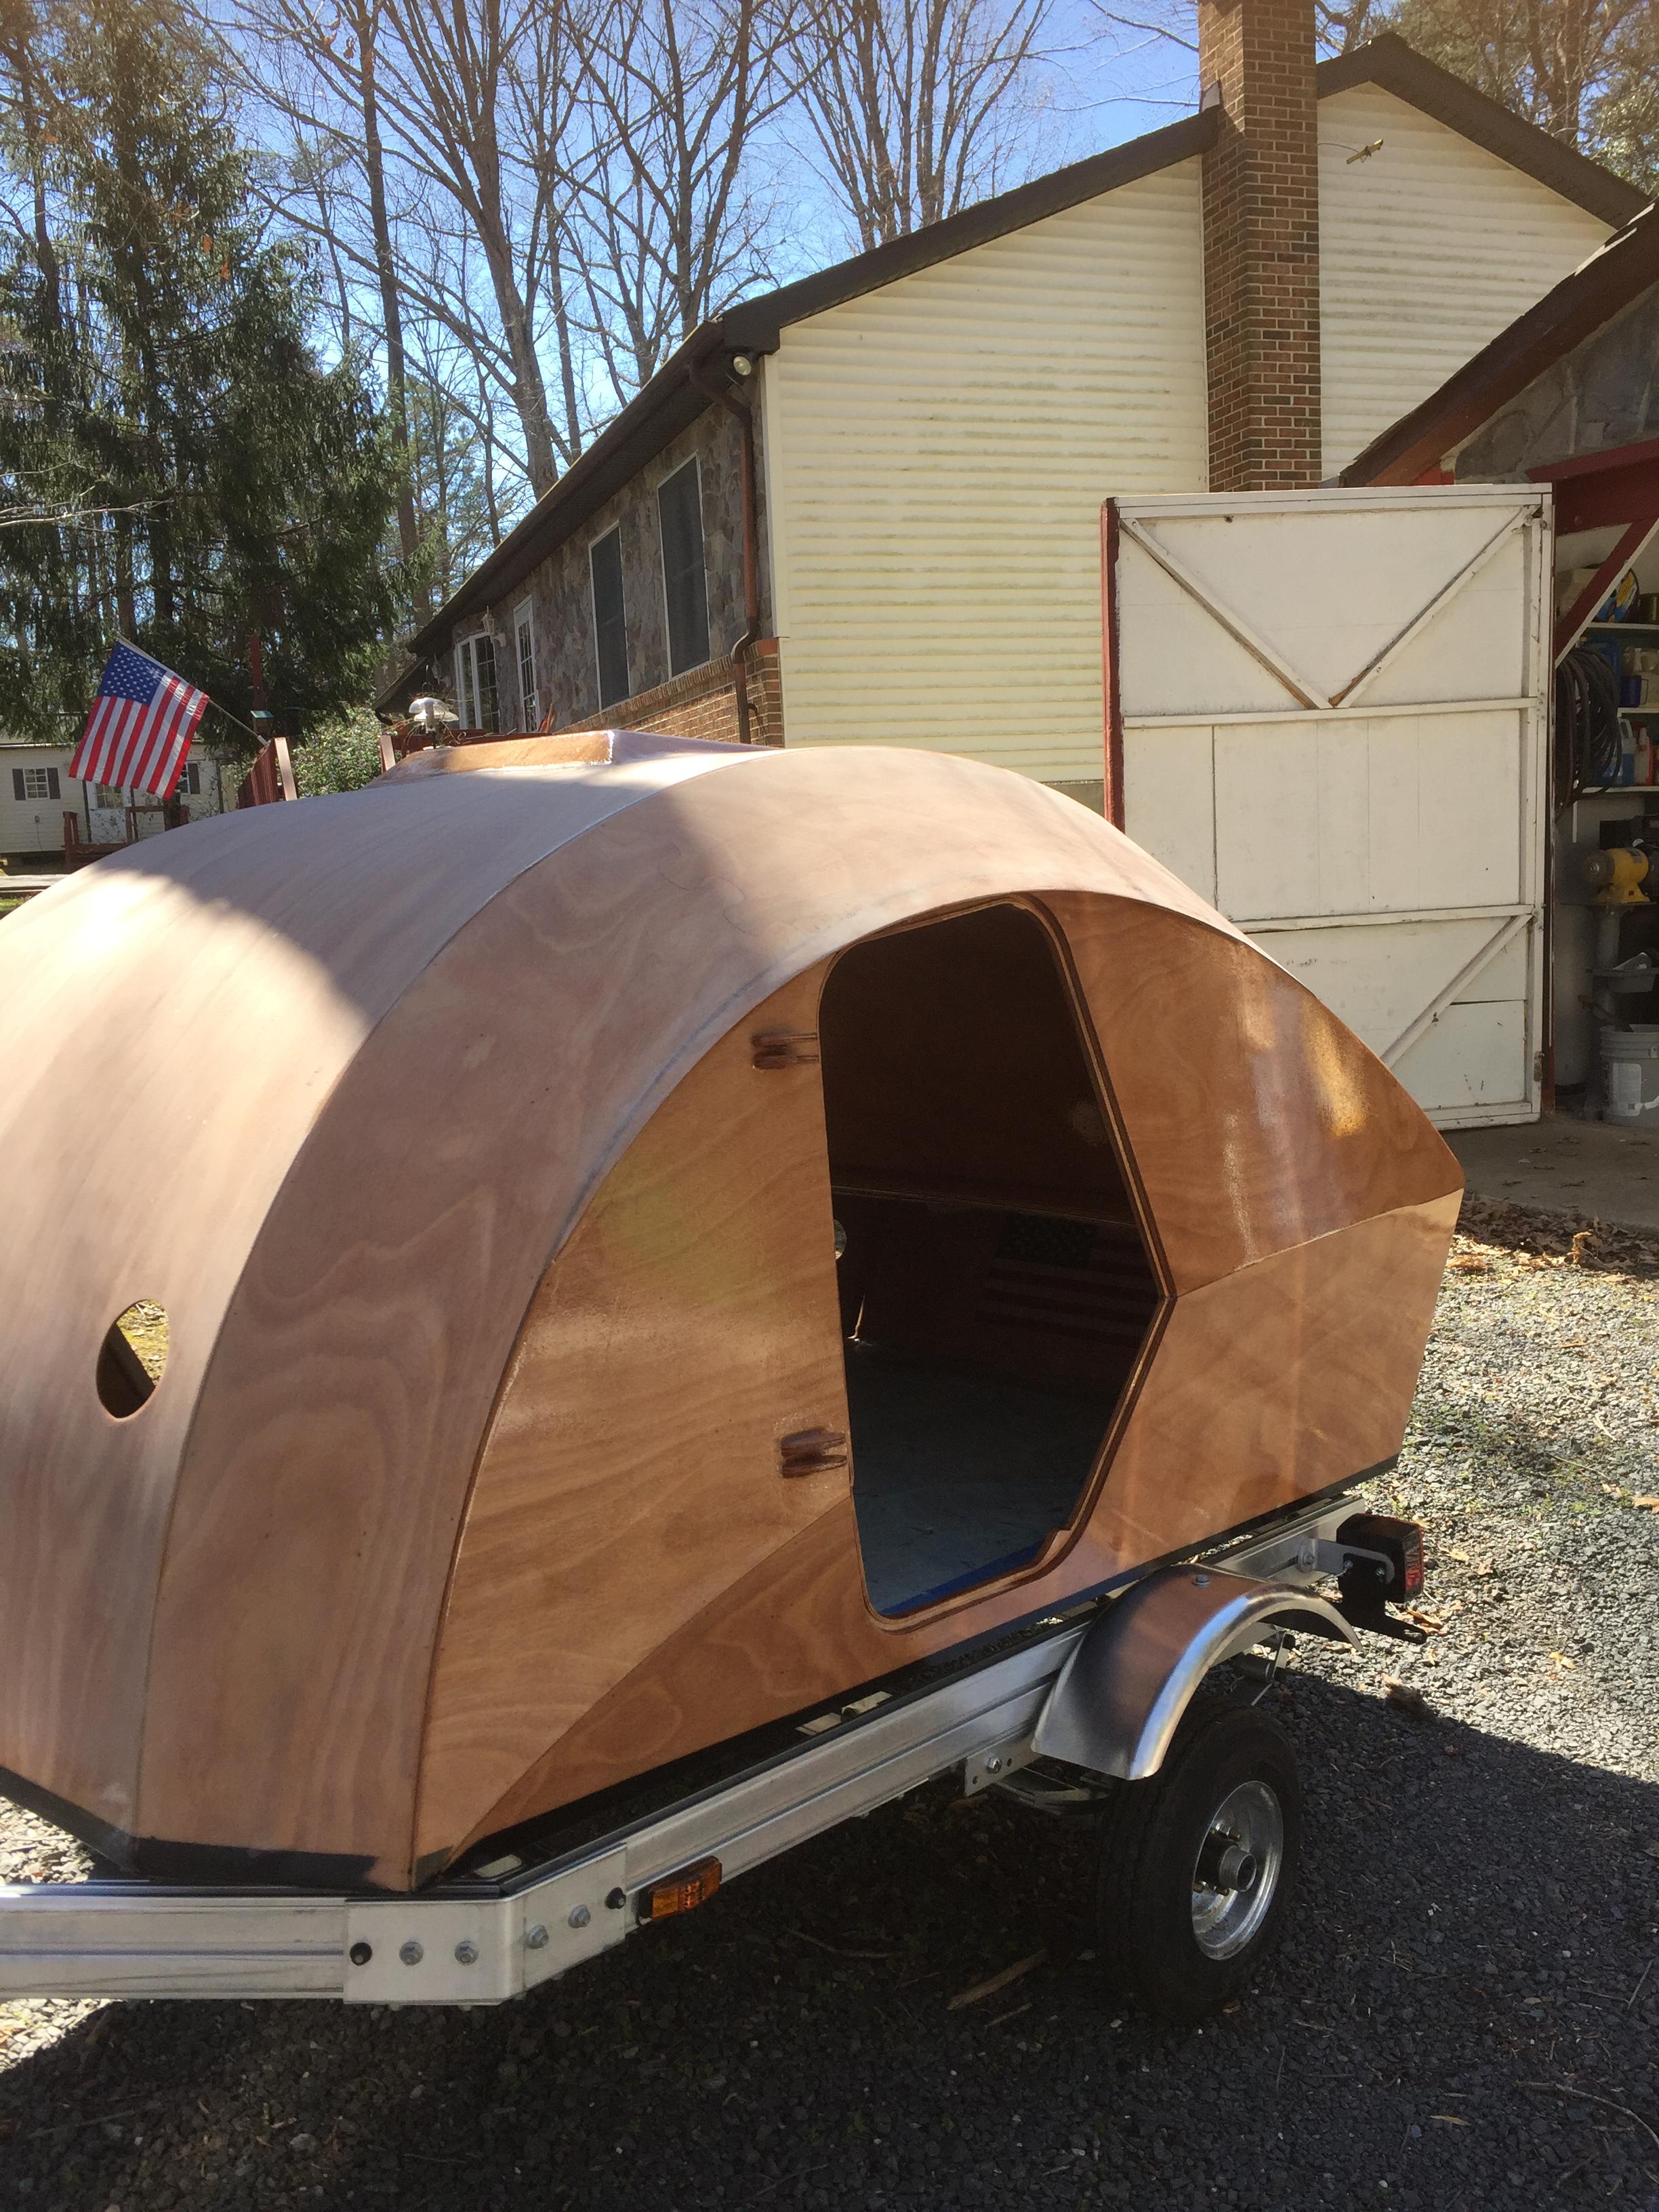
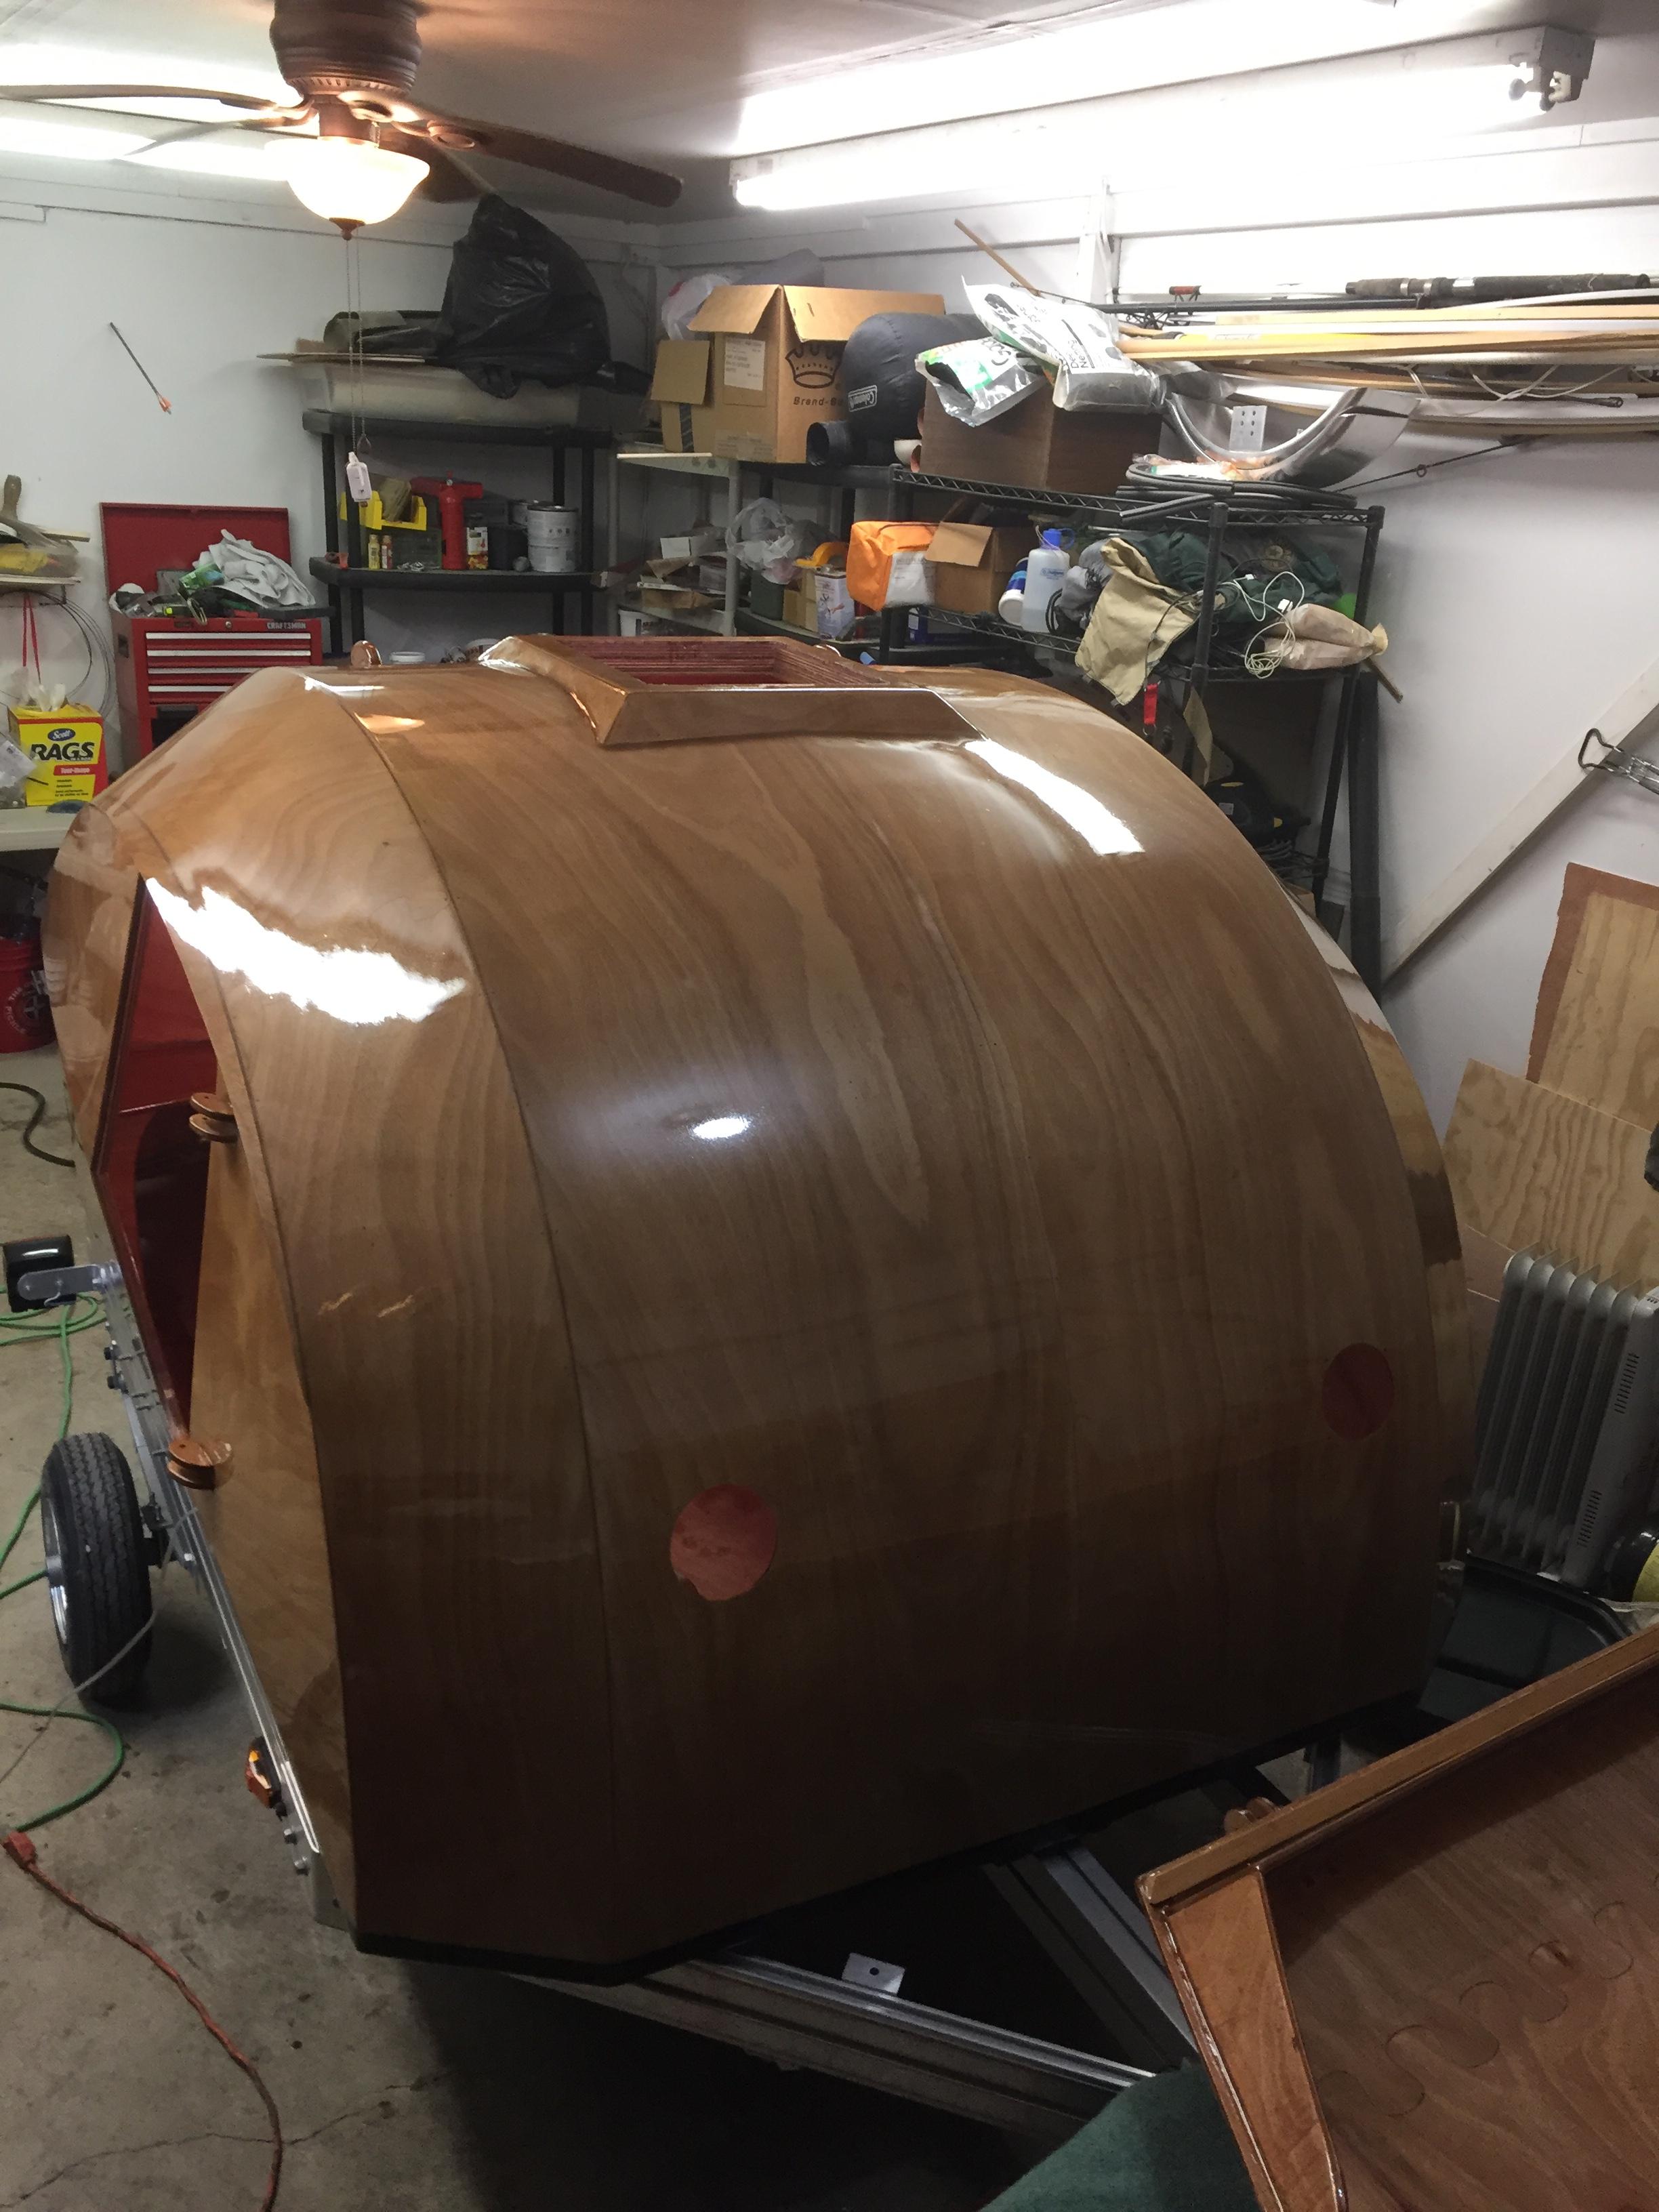
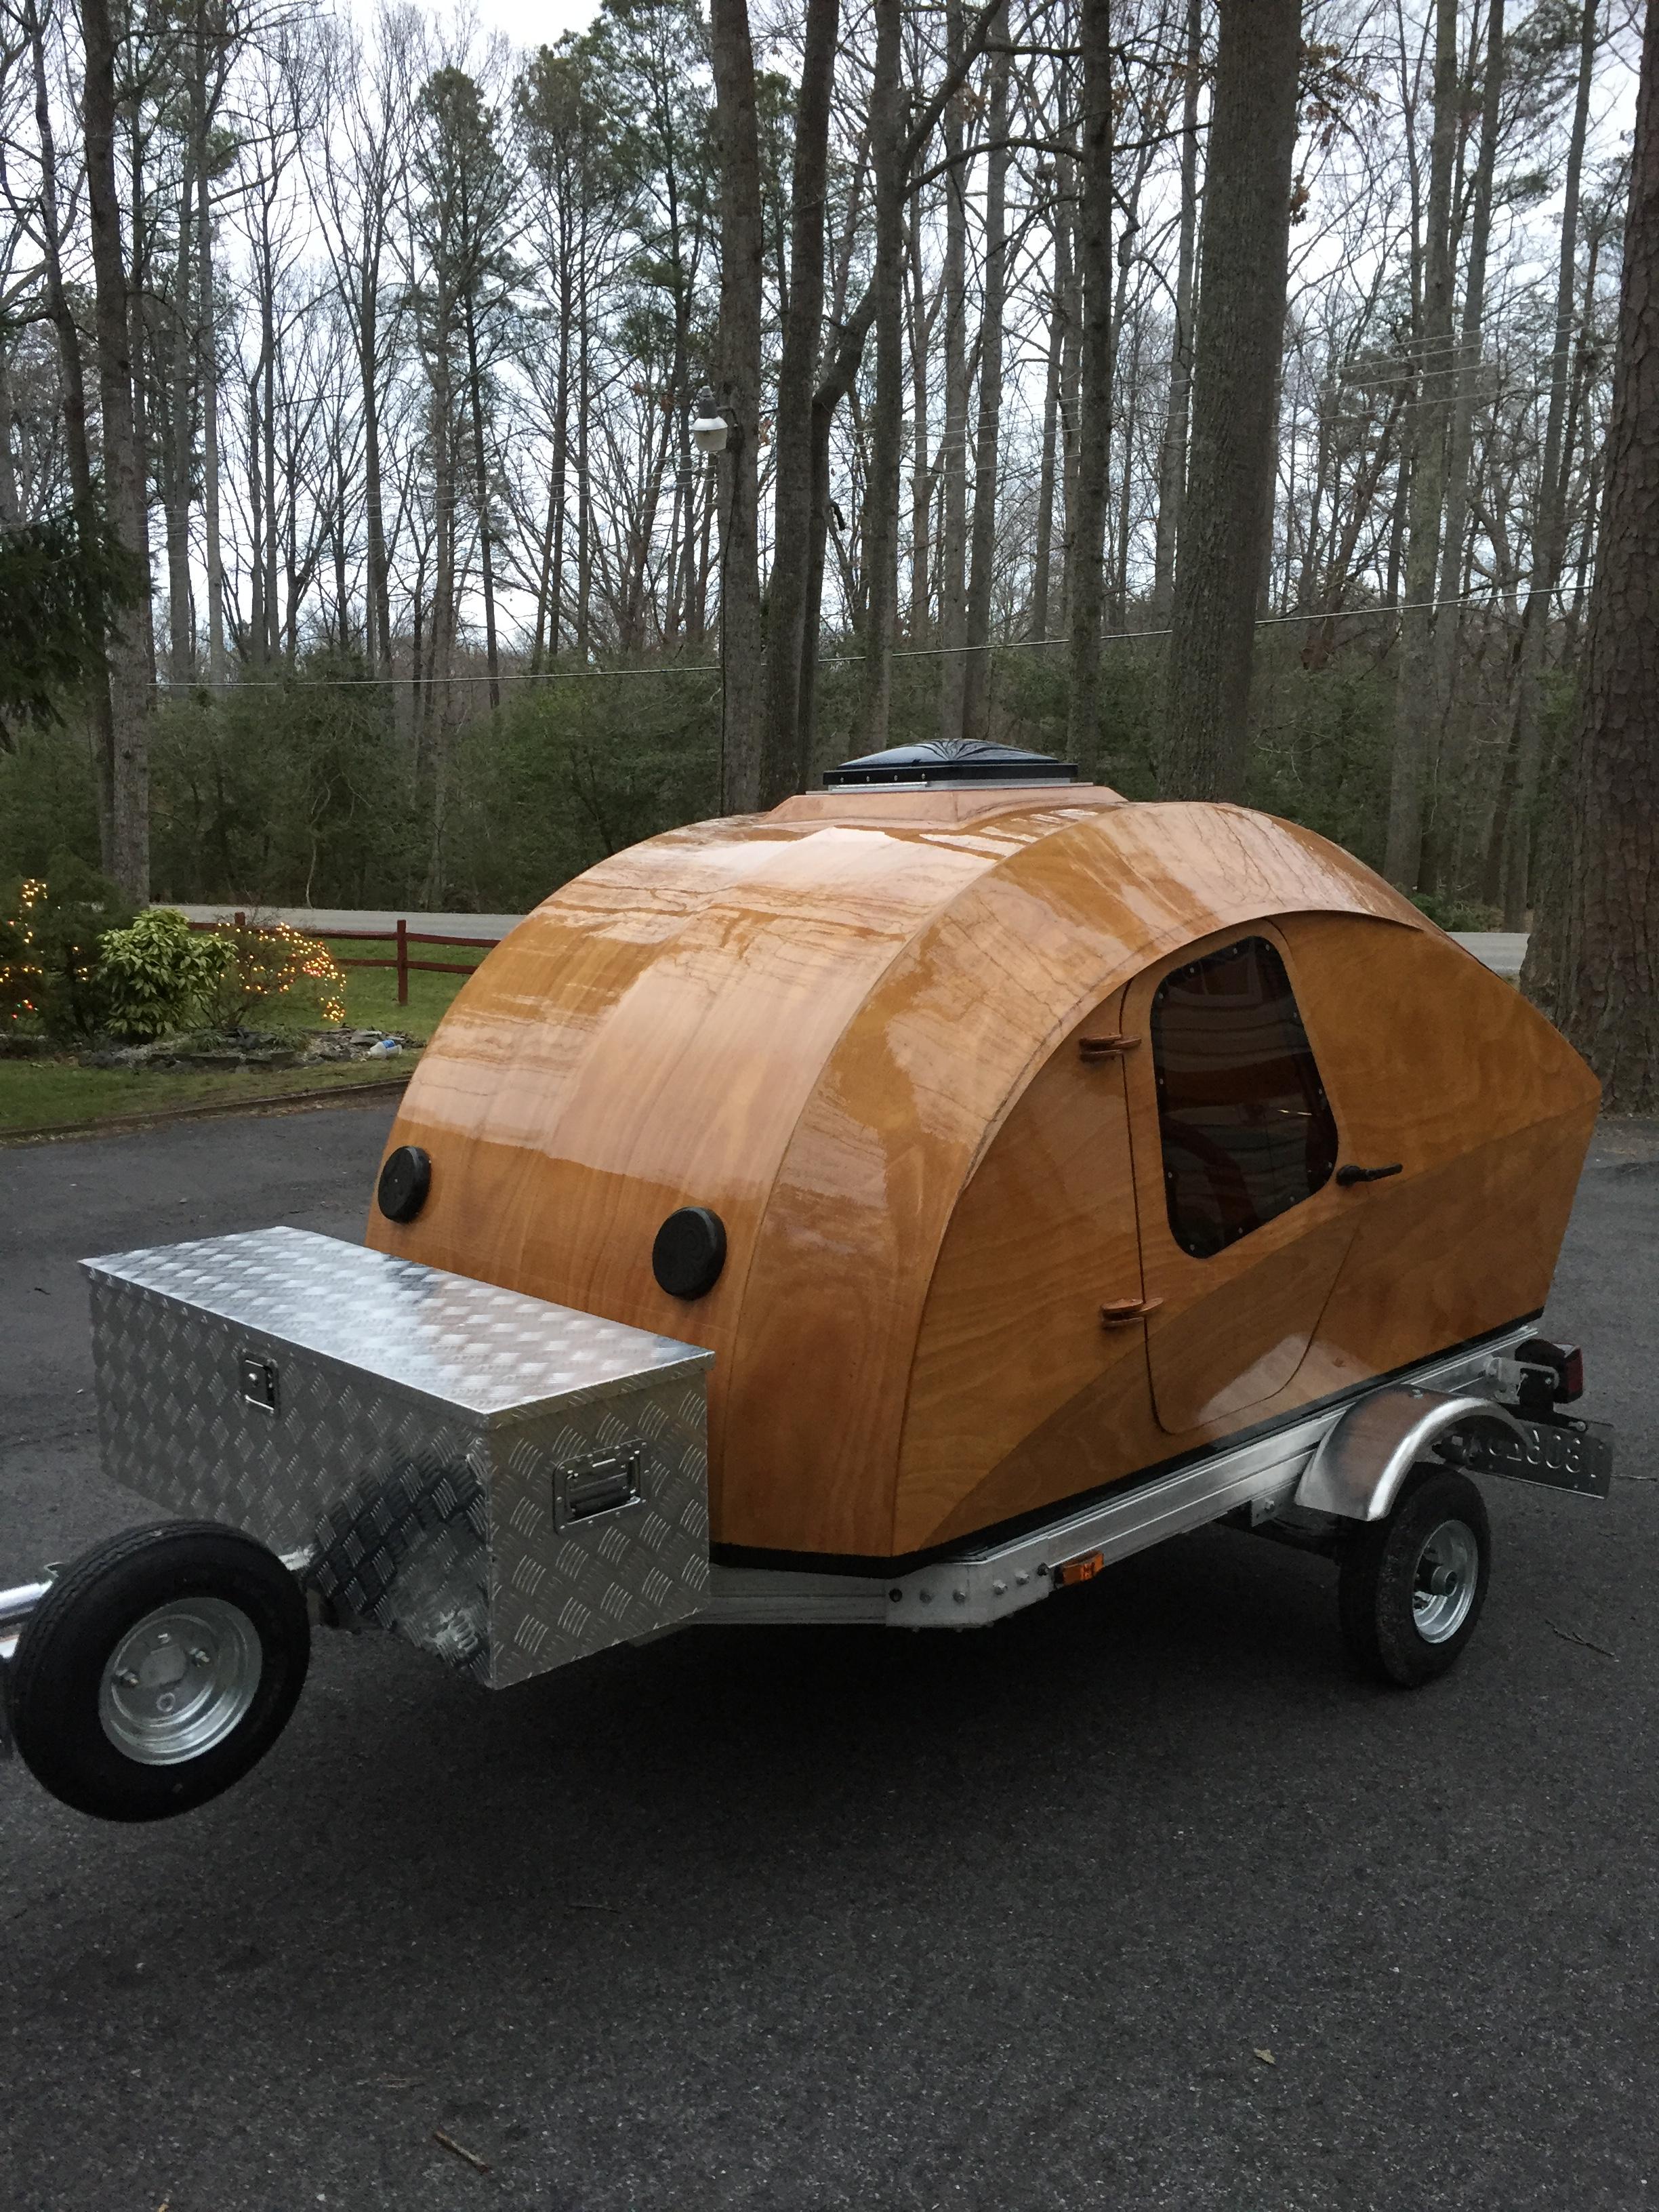
March 18, 2017 at 4:39 pm #673ParticipantVarnishing! I did a MAJOR shop cleanup, pulling the camper out since it’s bolted to the trailer now. Put all the tools away, organized, and de-dusted.
put on. The first coat of varnish. Sure is easier to work with compared to epoxy!
Before and after pix, just the first coat:
 March 21, 2017 at 8:12 am #678Participant
Third coat is on the shell. 2nd coat on the galley hatch exterior, one coat on the interior. 3 coats on the door exterior, two on the door interior. Galley module not started, as it needs sanding and I’m trying to minimize sanding while I am doing varnish.
I did sand with 320 grit between the first two coats. It’s amazing, the surface is getting easier and easier to sand as it fills in and gets flat. I scuff sanded the entire exterior in about 30 to 45 minutes, including the small areas that need hand sanding. SO much faster than sanding epoxy where a sanding pass took two to three hours with 120 grit! I think I am seeing the payoff for all that time getting it prepped.
I bought some scotch bright sort of stuff yesterday, a little coarser than the green kitchen scrubber kind. I think I am NOT going to sand the third coat before applying the fourth coat, just scuff it with the scotch bright.
After each sanding I am doing a initial rough alcohol wipe down with a “dirty” rag, then a 2nd pass with a alcohol “clean” rag, then a wipe down with a tack cloth. My shop is by no means “dust free” but it’s not horrible. I biggest source of “nits” has been cat hair! We have several cats and I am starting to change shirts before going out to the shop to varnish.
Inevitably there is some small amount of extra varnish after each application session. I have been using up this otherwise scrap varnish on the interior floorboard, the walls, etc. so as to not let it just go to waste. Wouldn’t want to pour it back into the can, and those quart cans are expensive! I am about to open up my third quart can but I think that will do it.
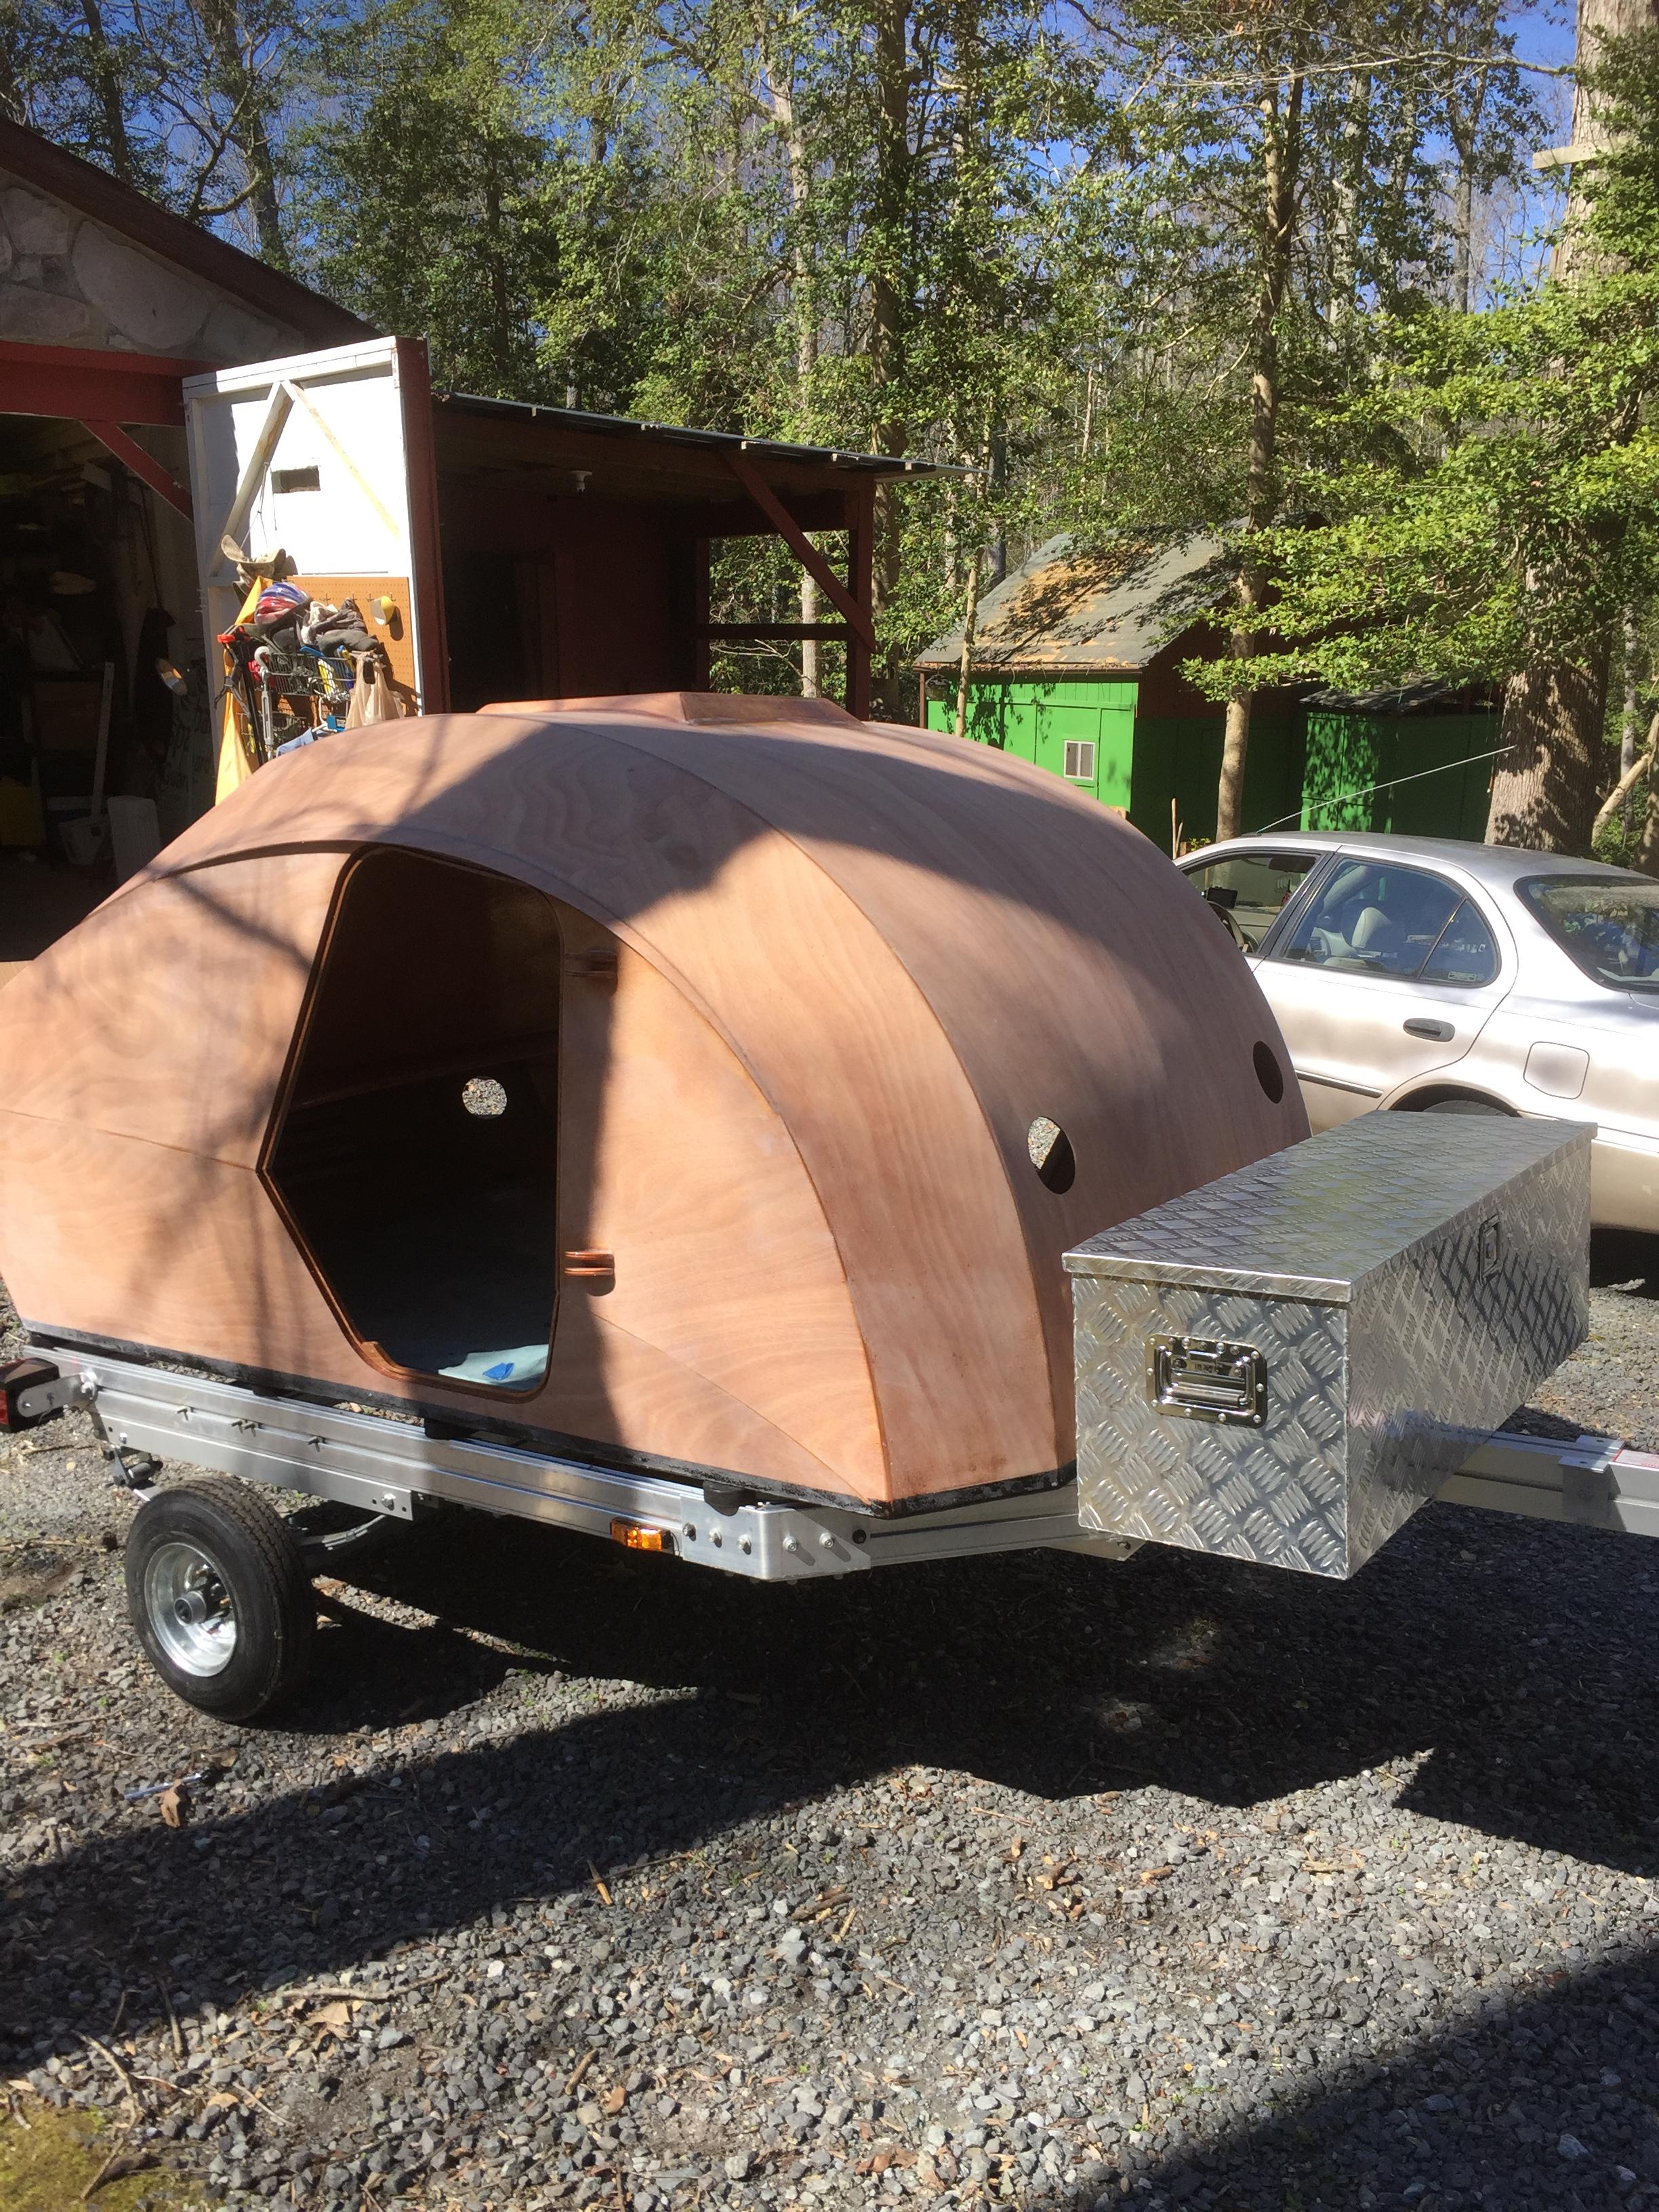
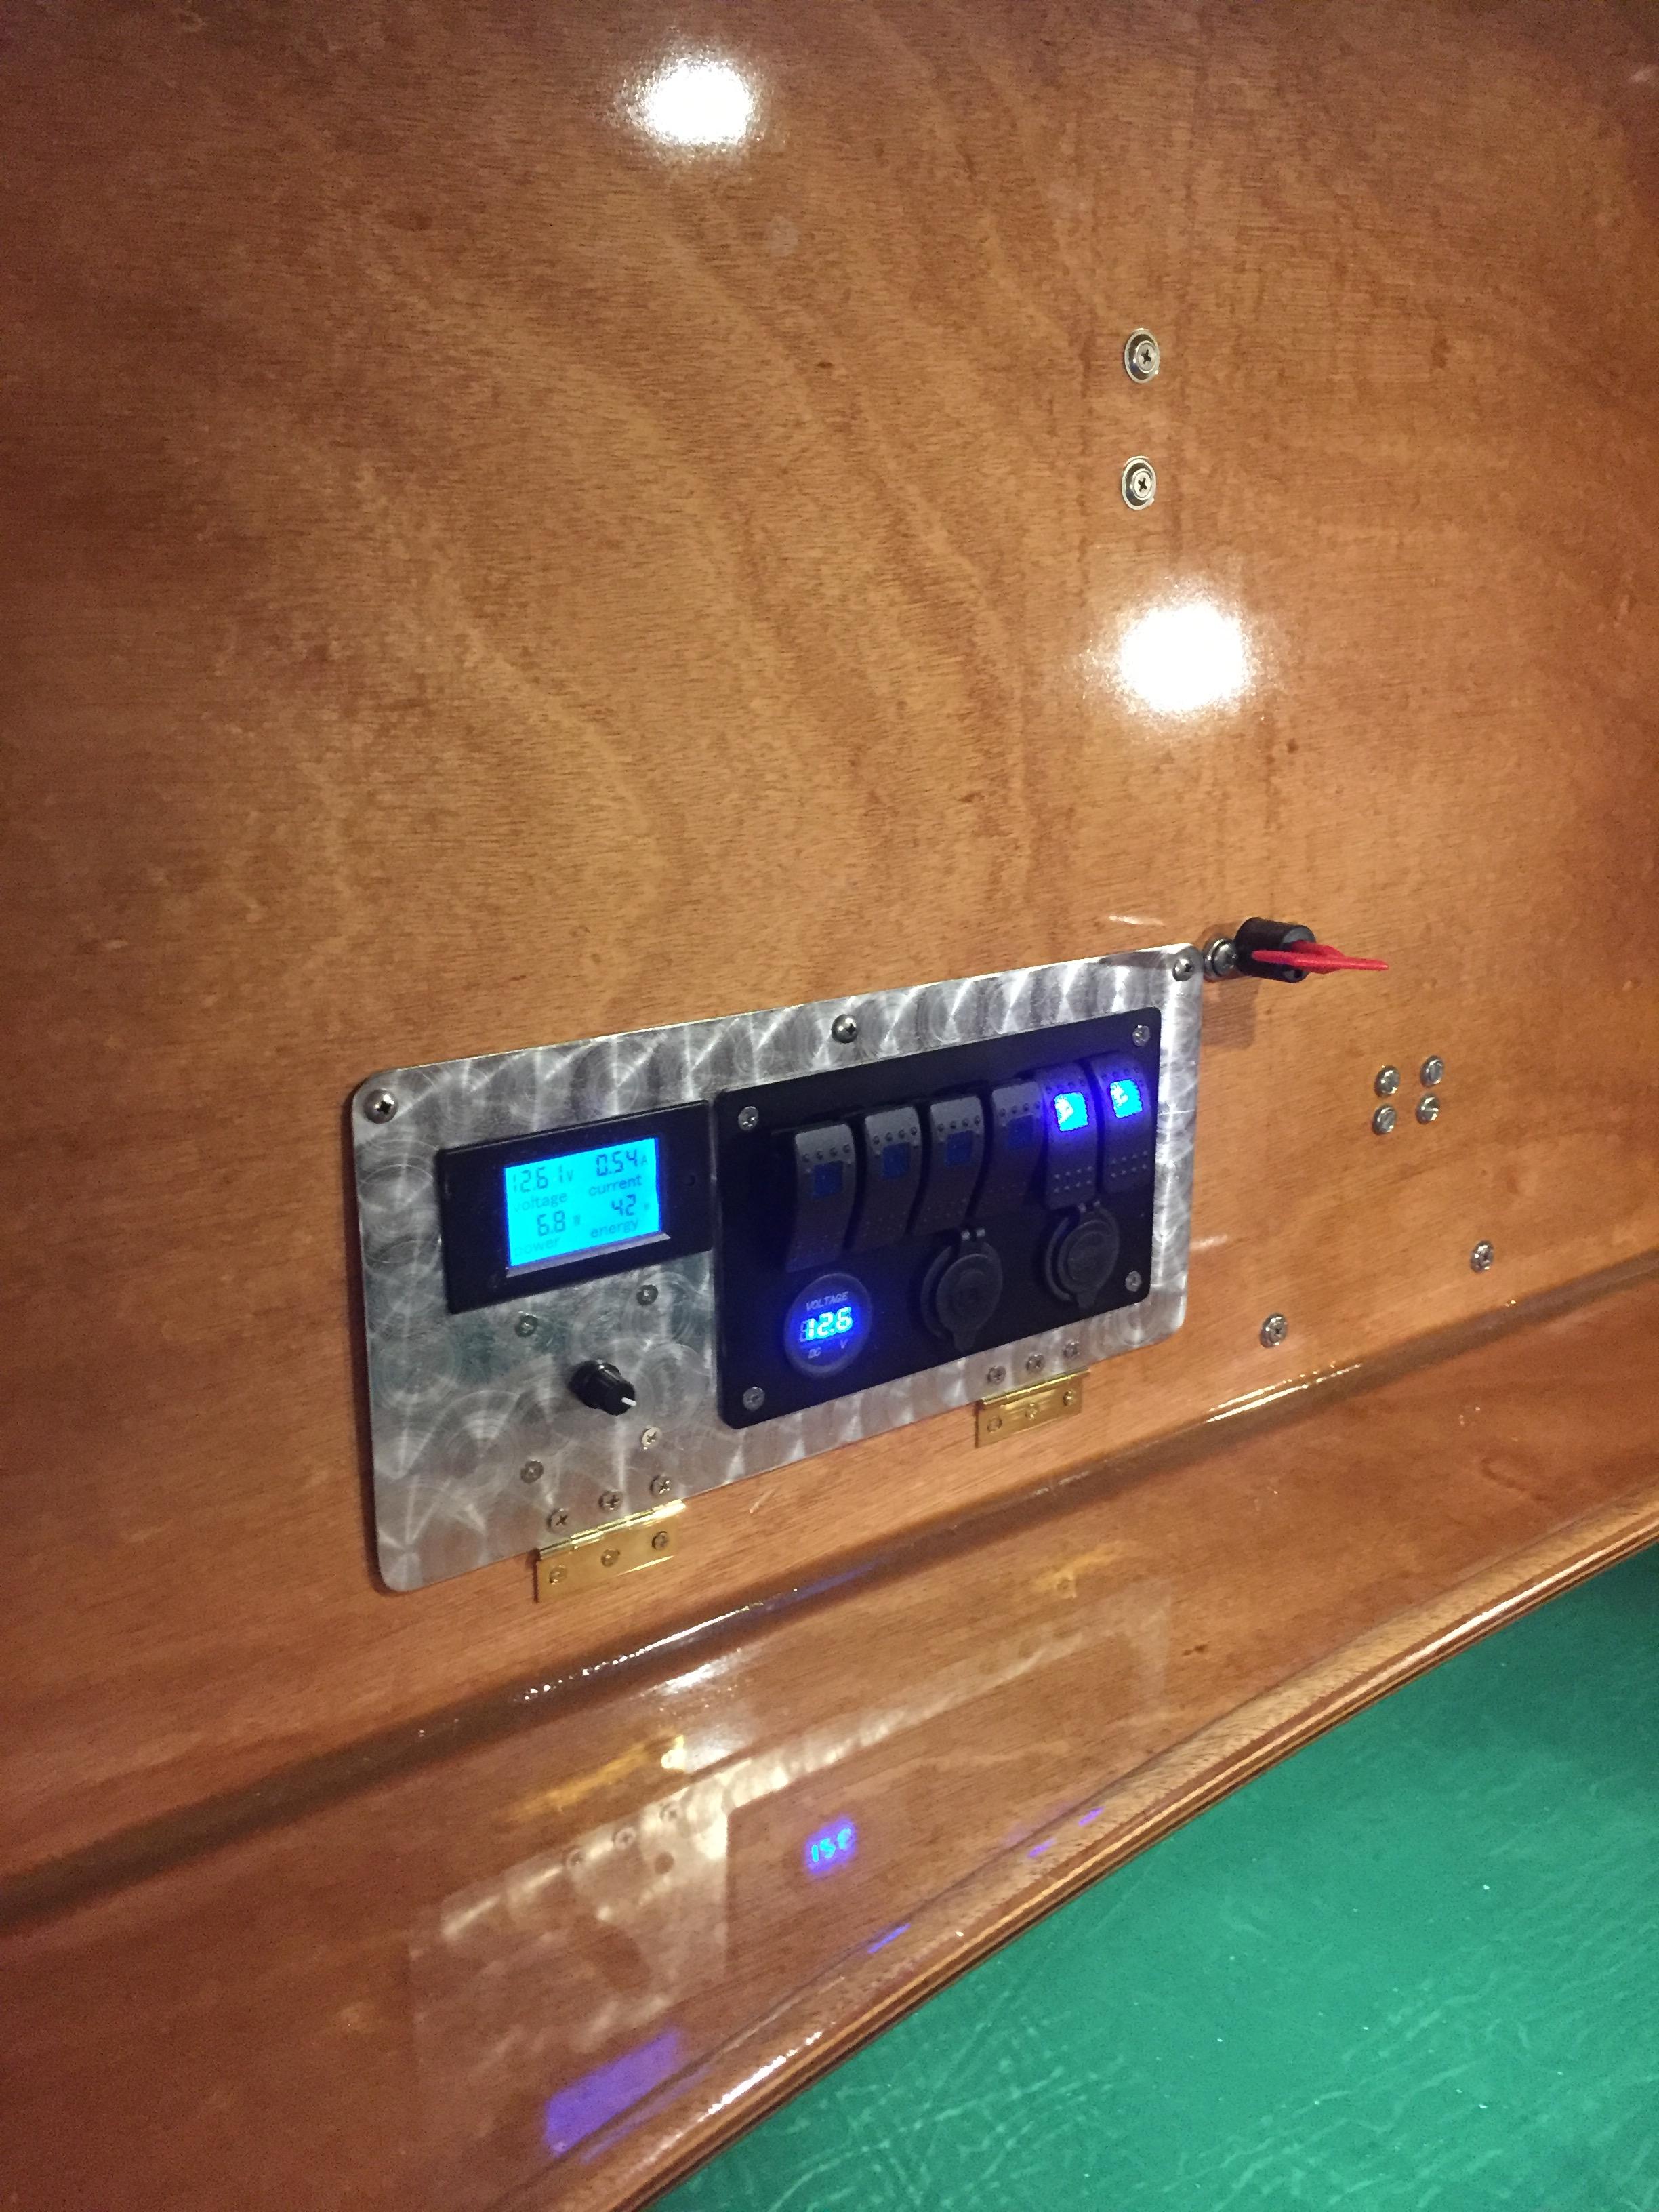
March 31, 2017 at 8:50 am #691ParticipantAlmost DONE. Took the camper our for a test tow yesterday. Electrical is done, door assembled and installed, galley hatch installed. Putting that hasp block on was a minor PITA.
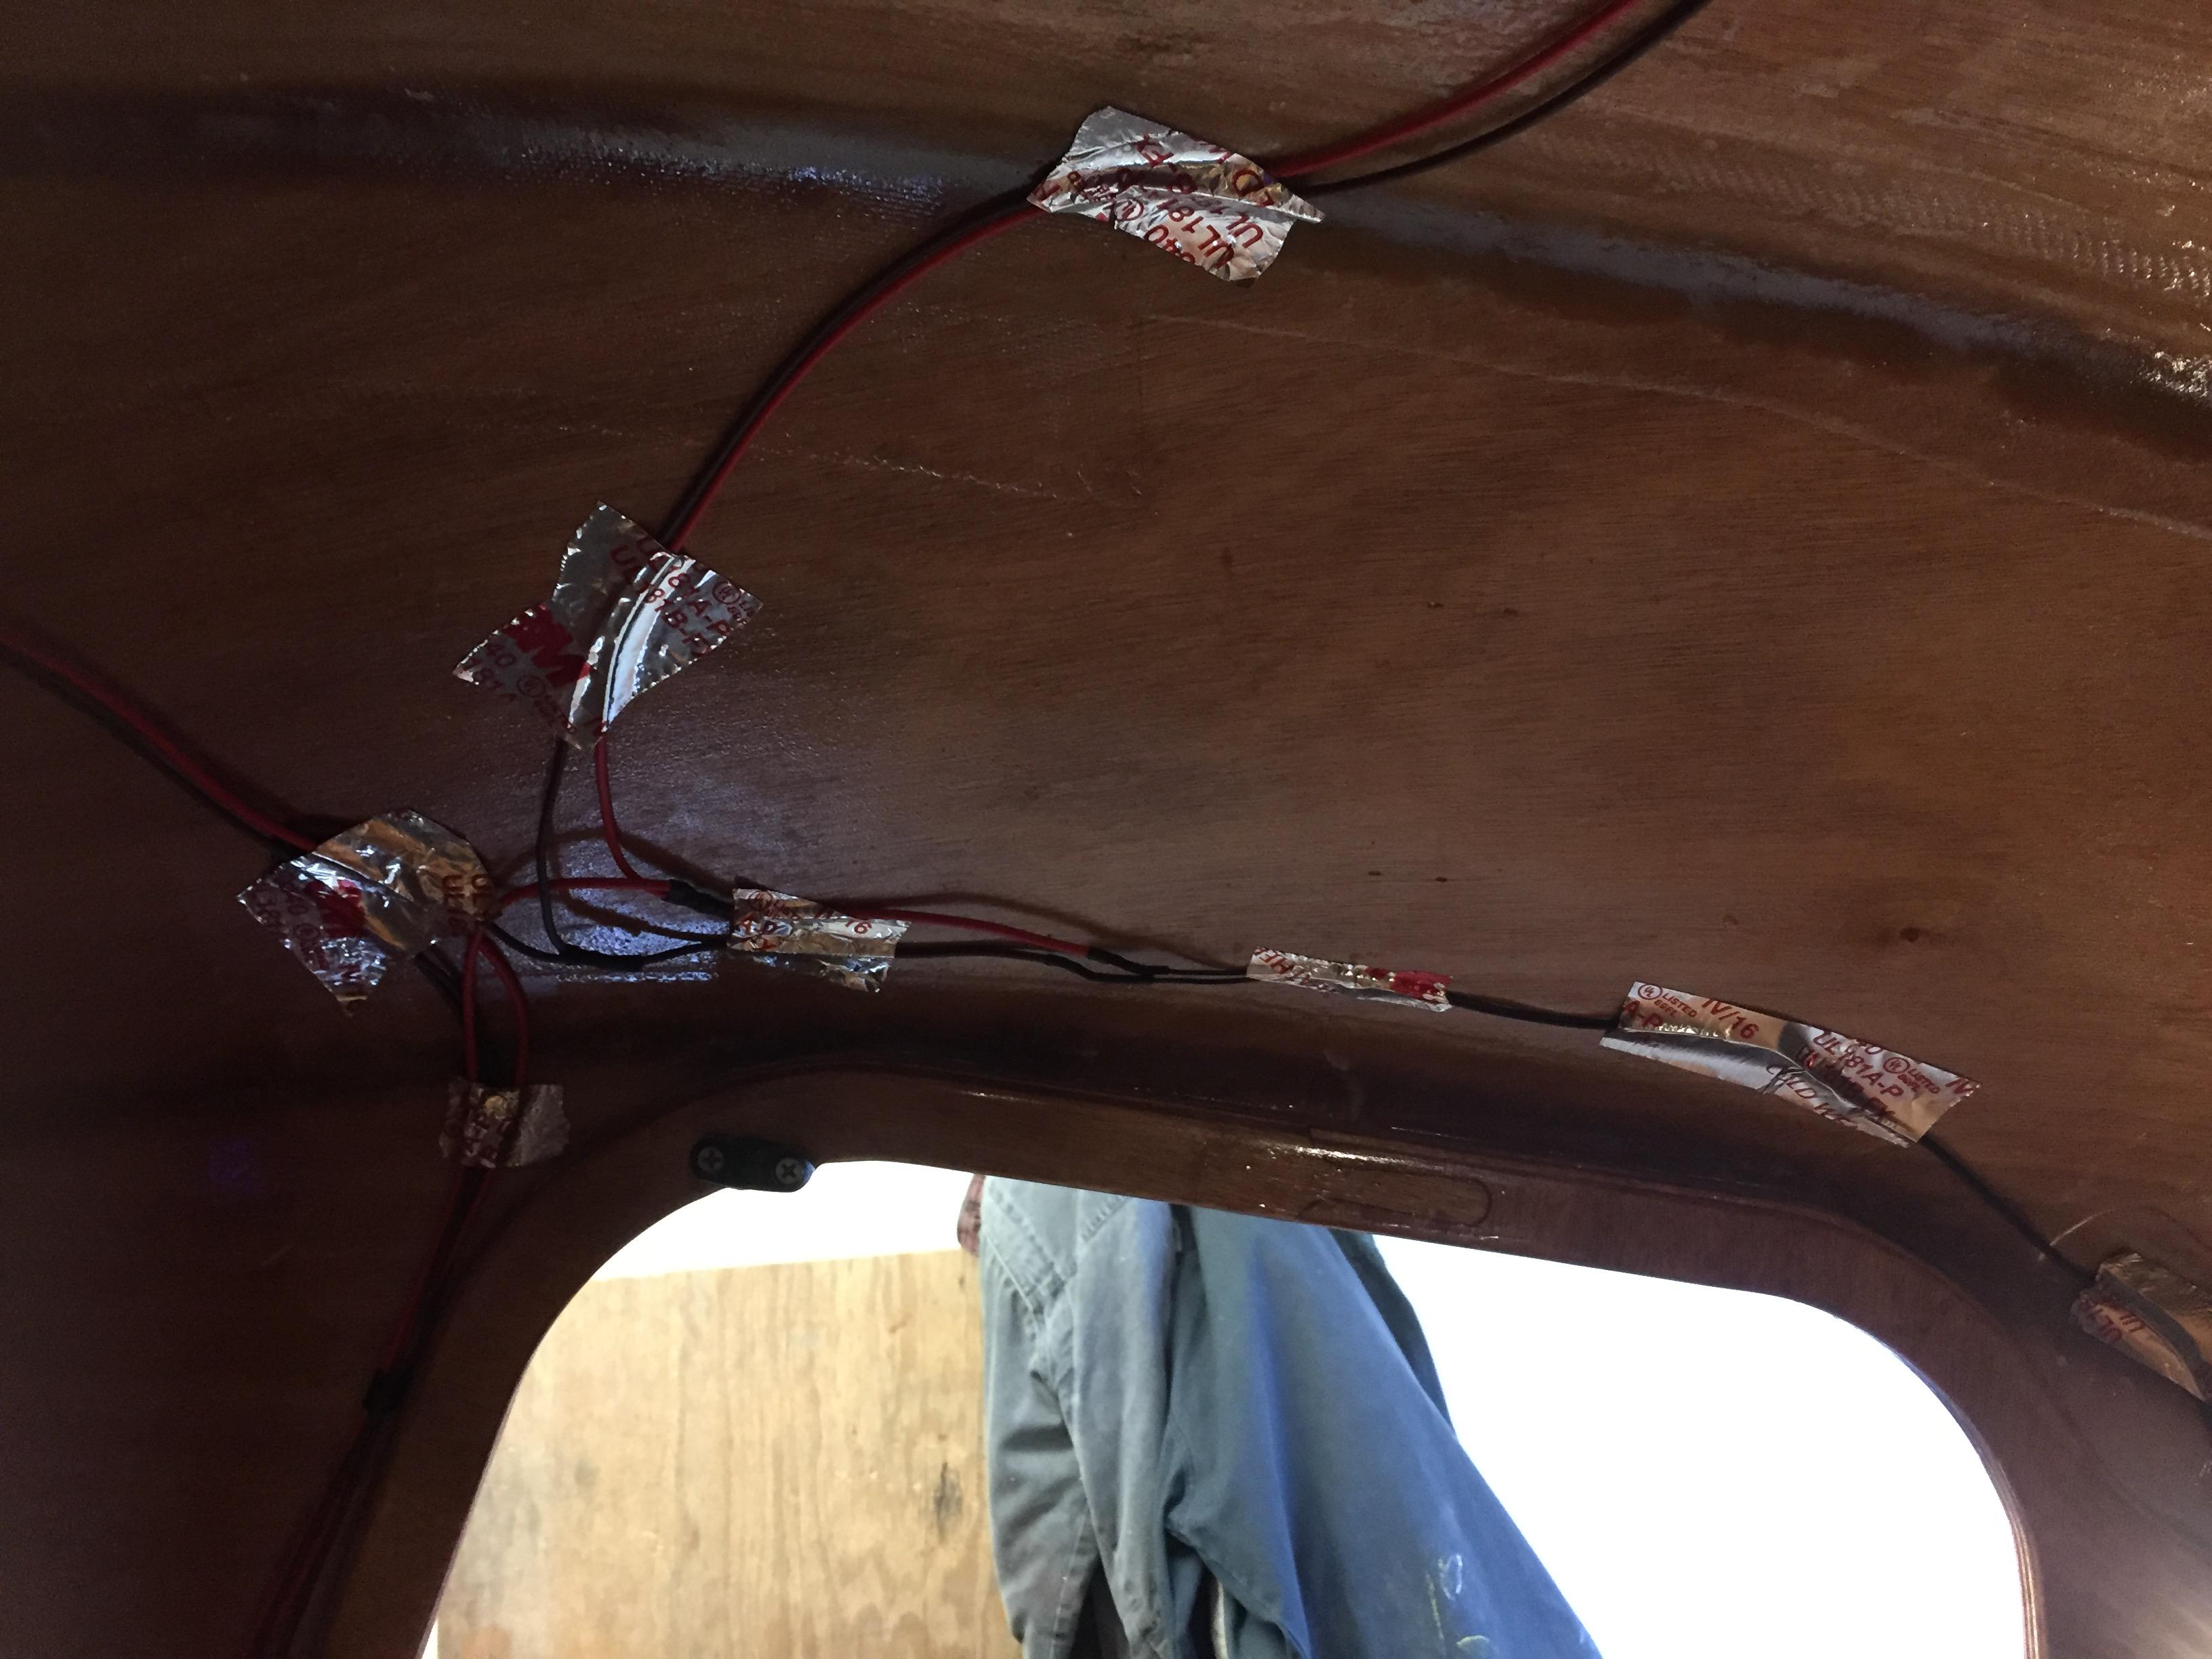
Building tip: Aluminum dryer duct tape works very well for holding wires in place against the shell before installing the headliner.
 May 12, 2017 at 4:12 pm #817Participant
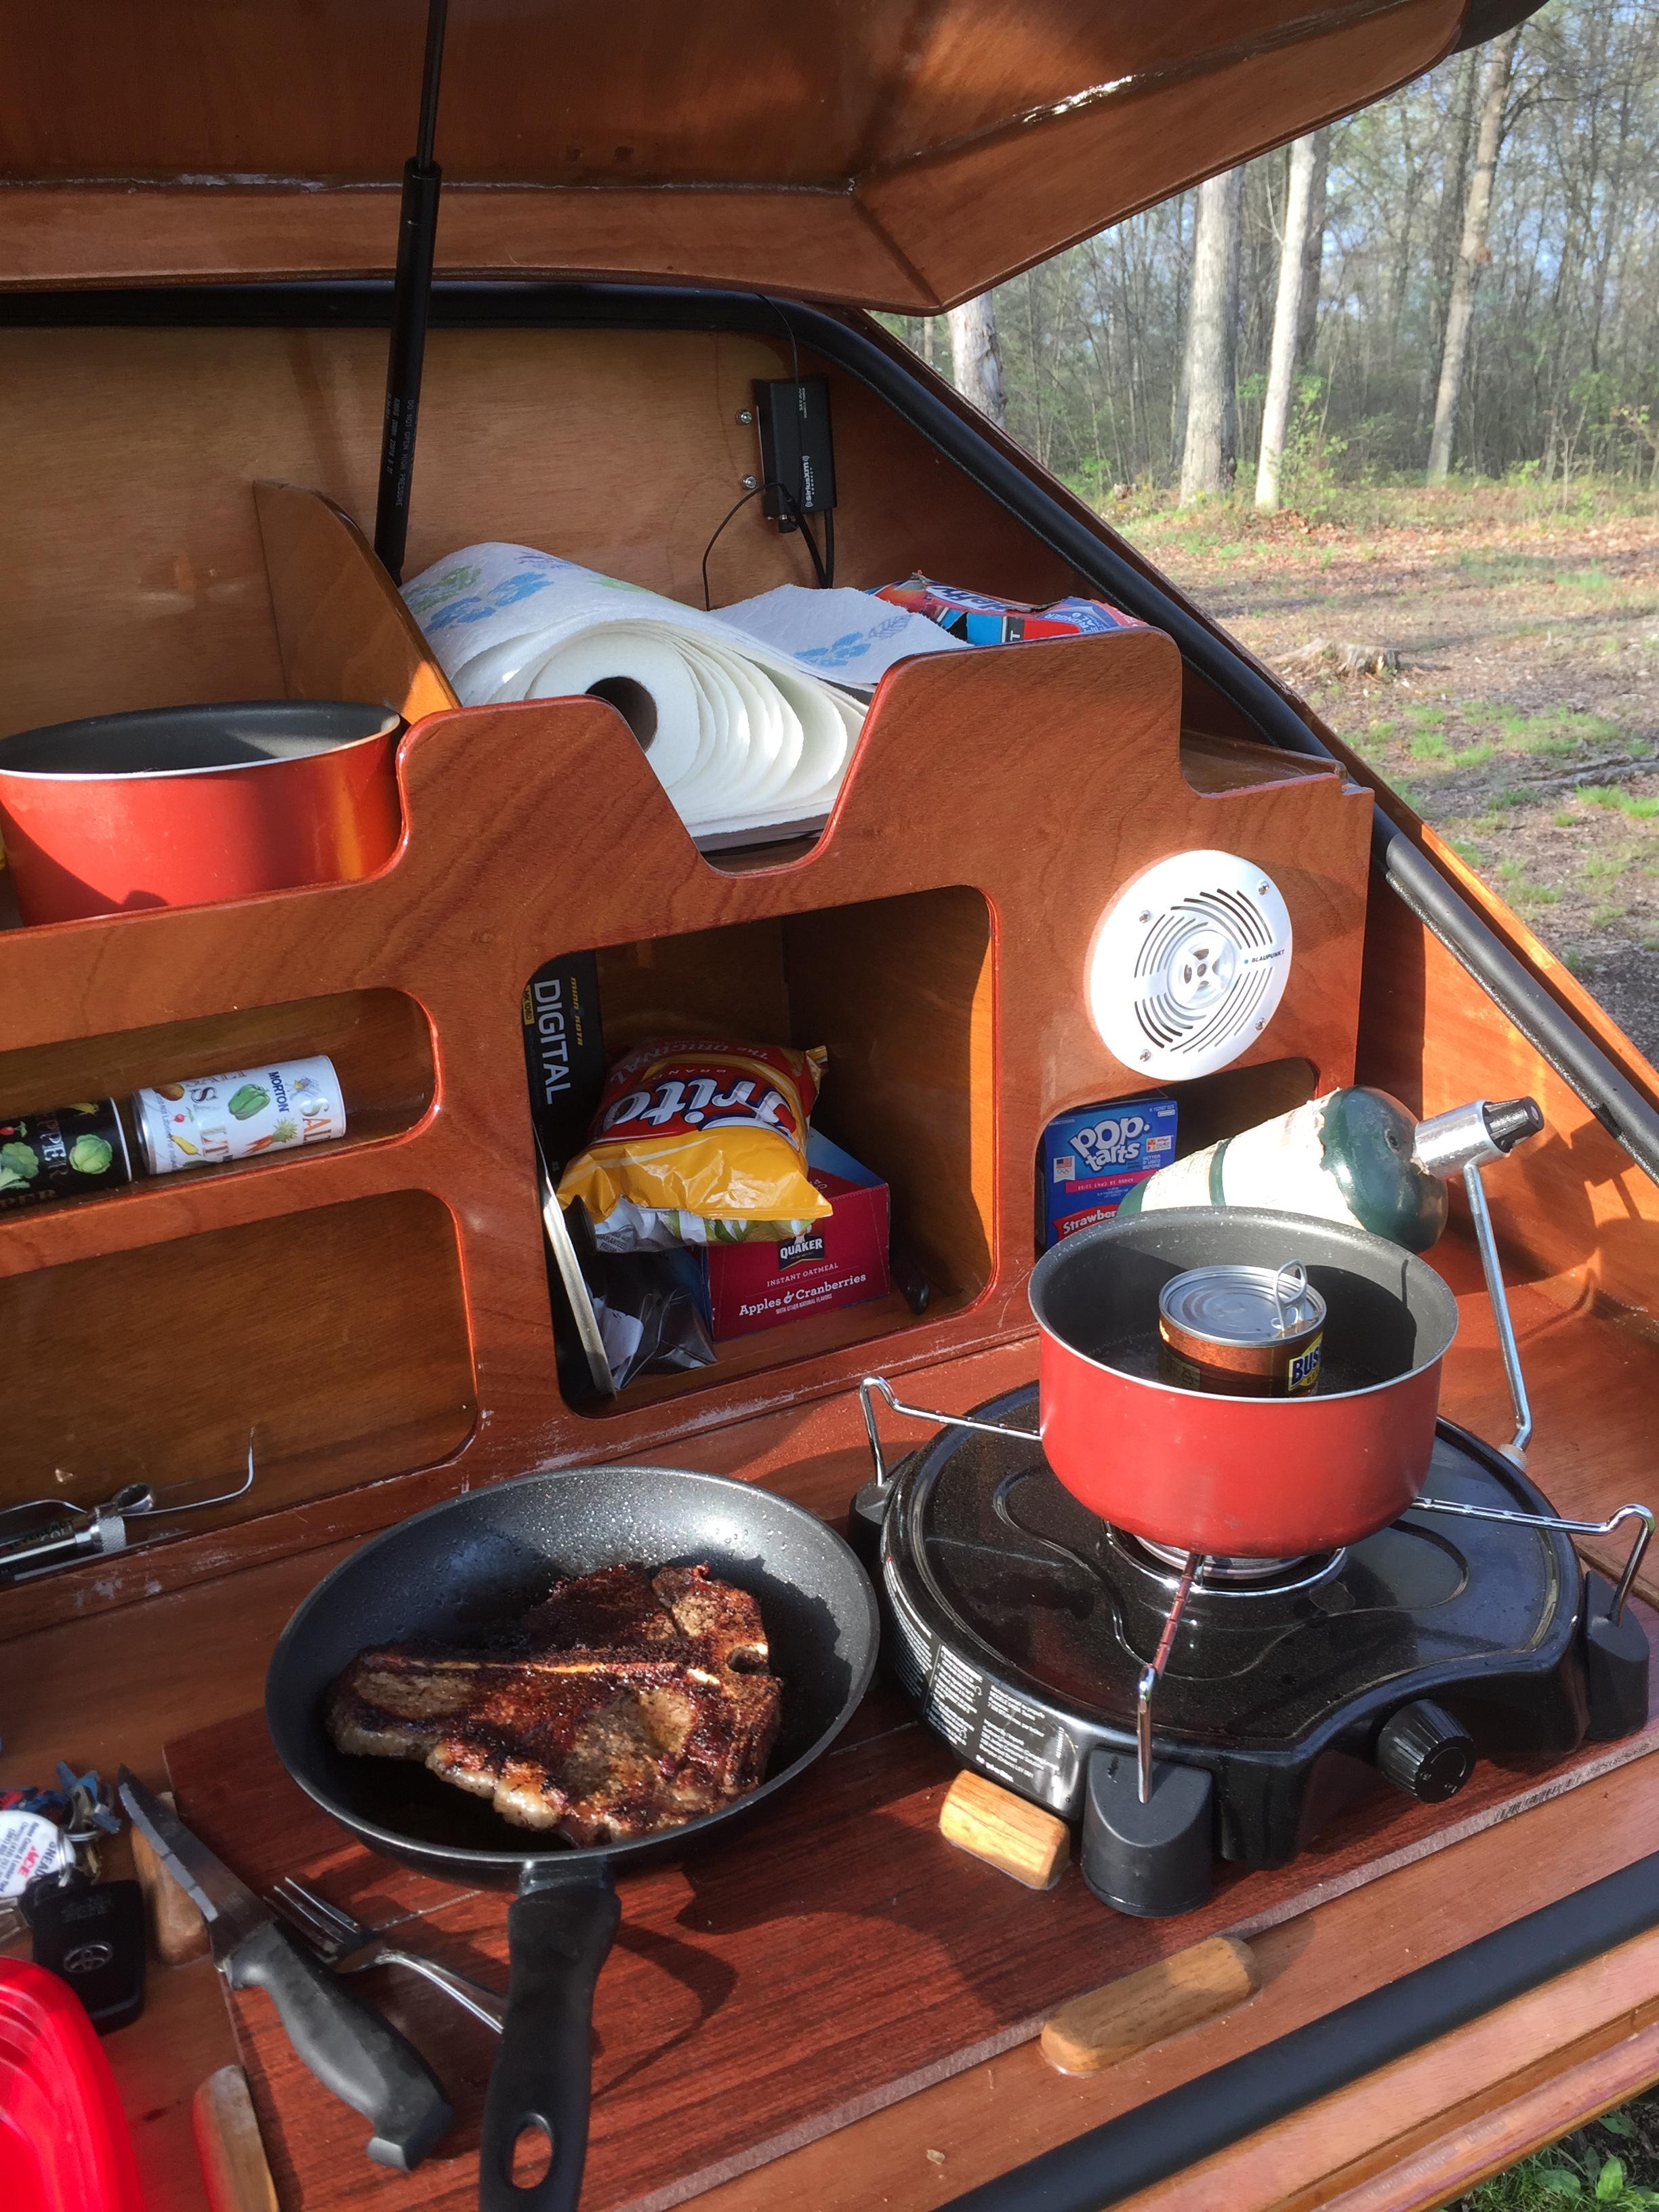
First “big trip” done about a week ago. Found out that it leaks a little around the galley hatch, working on fixing that. I installed a pair of 6″ x 24″ ceramic tiles (Lowe’s) to act as an insulator underneath the Coleman propane stove. Used the 24″ length tiles so as to have a place to set a hot pan down and not damage the wood surface. This works well. I found out, however, that just “fiddles” are not enough to hold them in place. I have since added some small plywood catches (overhanging attached with screws) to prevent them from coming loose. Installed battery operated LED lights on the inside of the galley hatch. Could have used 12V LED lights but then I would have had wires to deal with.
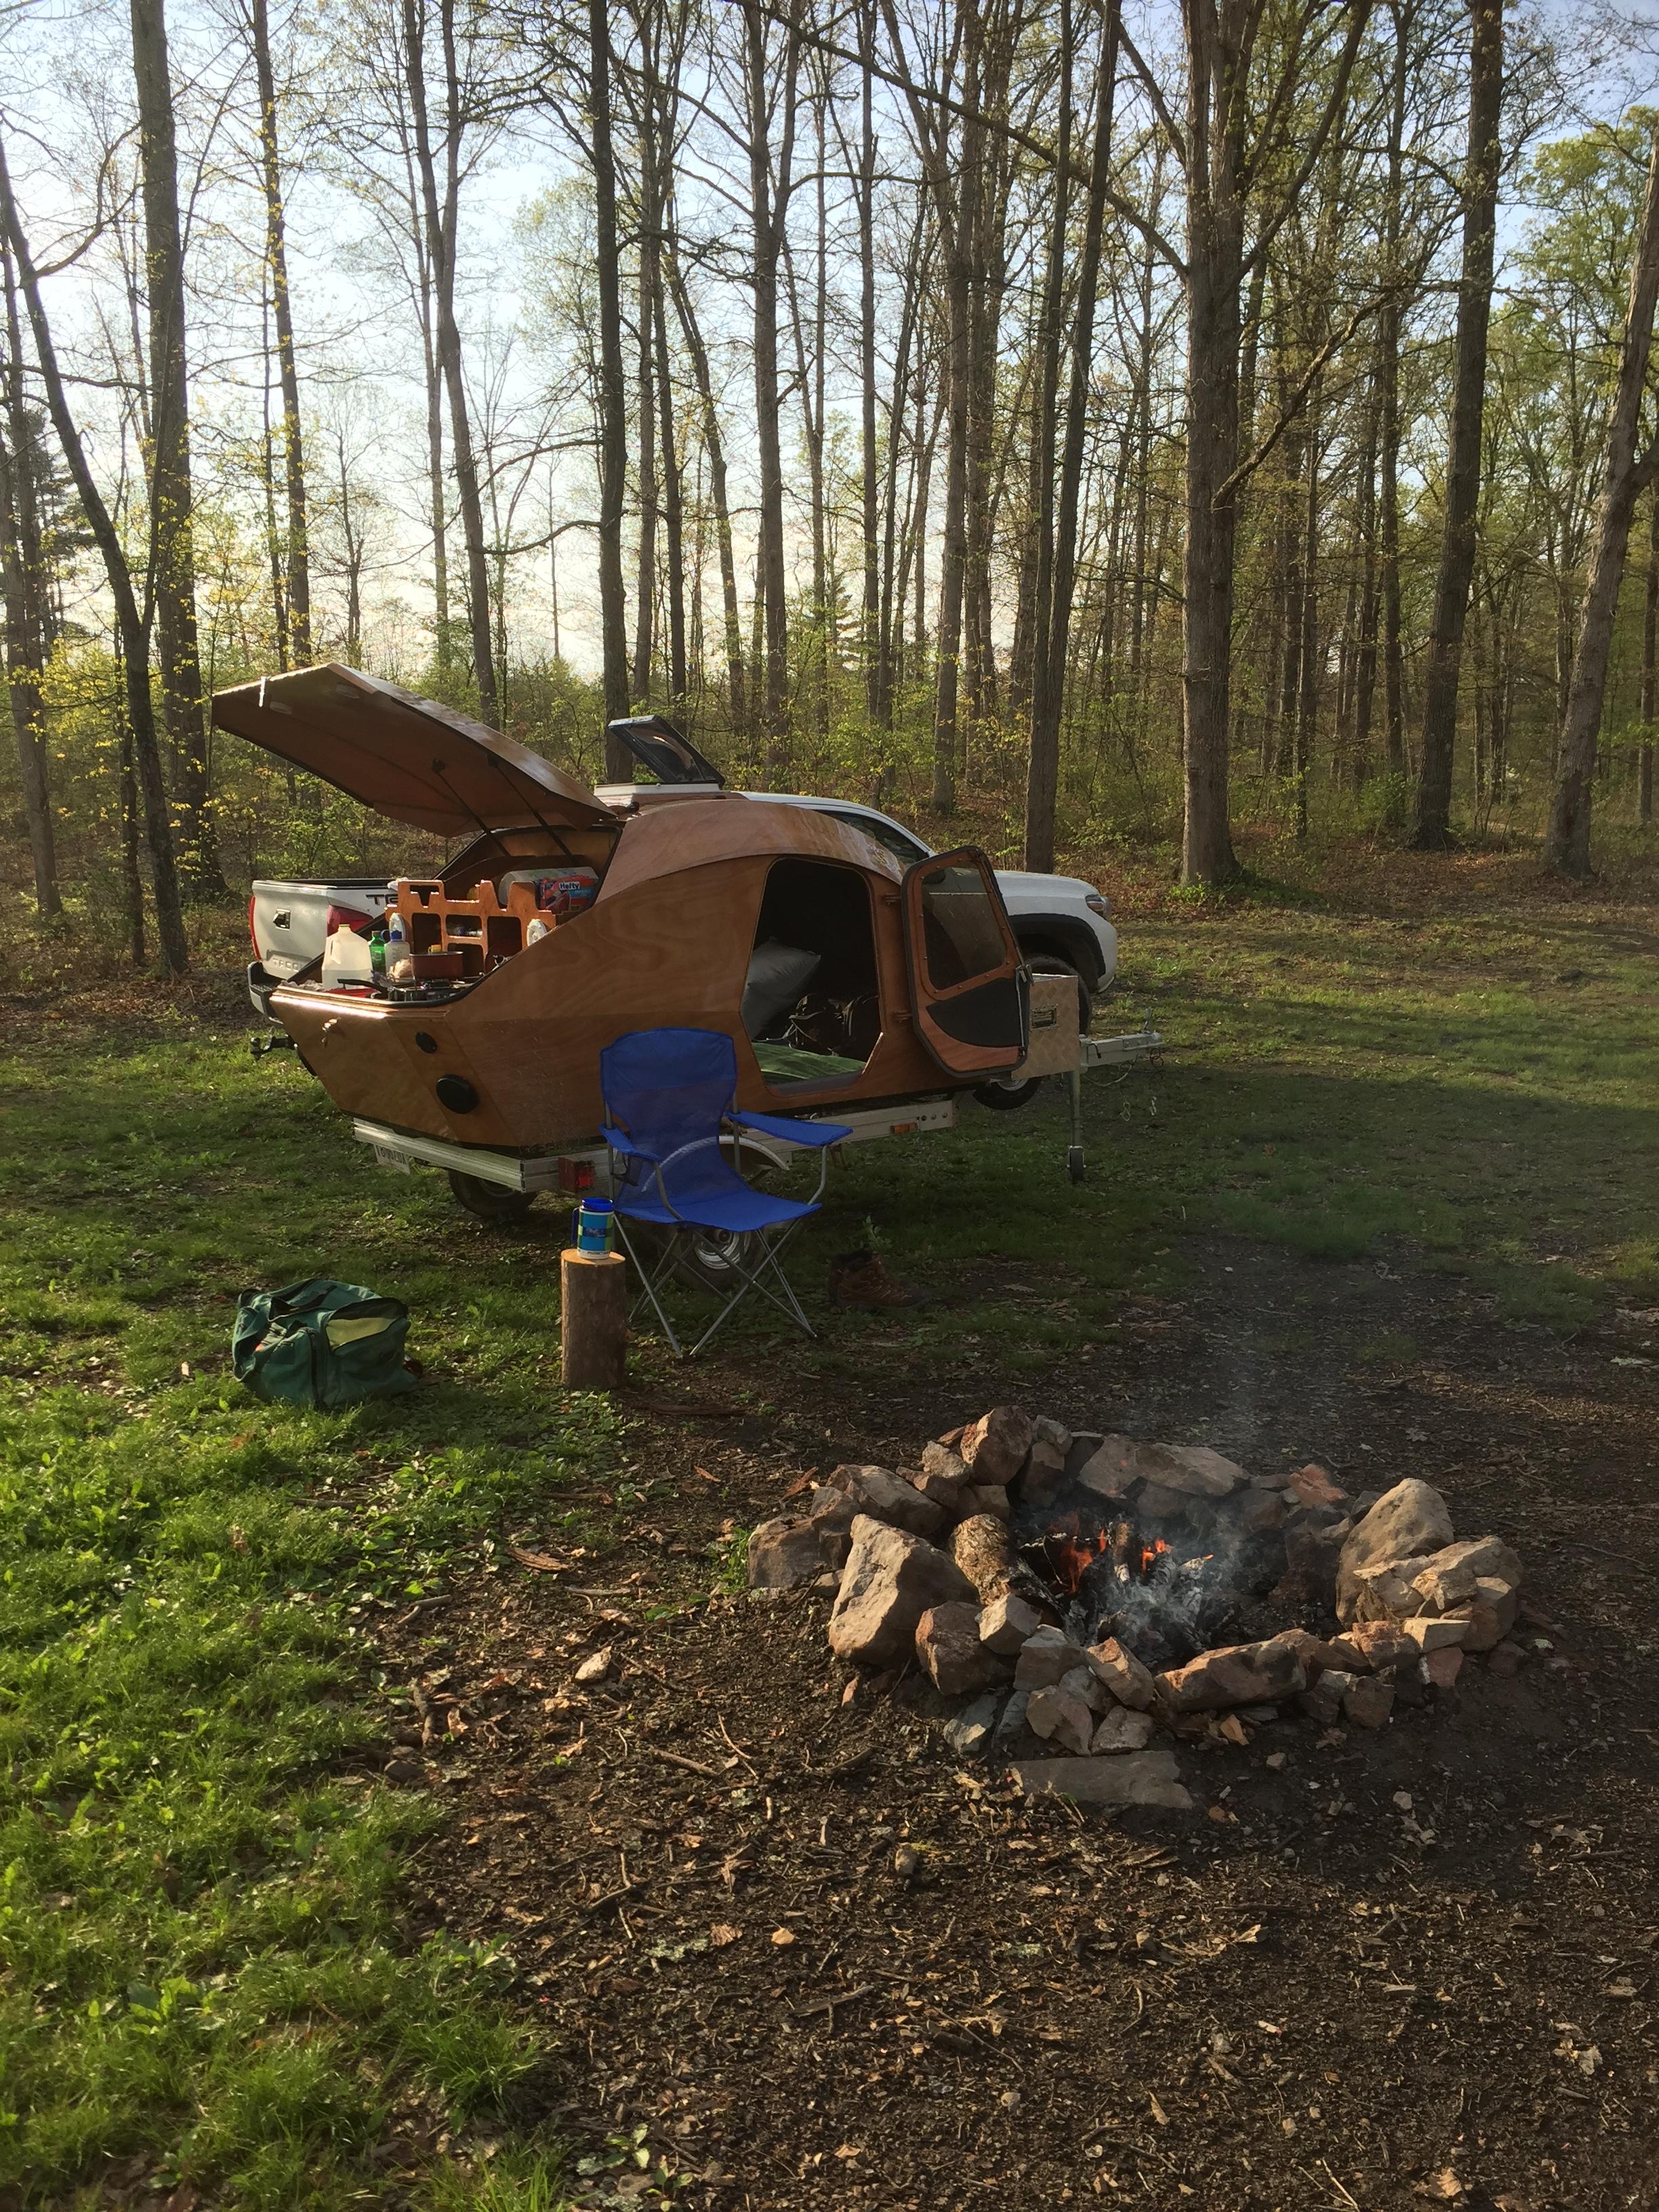
I went down some pretty rough roads – yup, got it muddy.
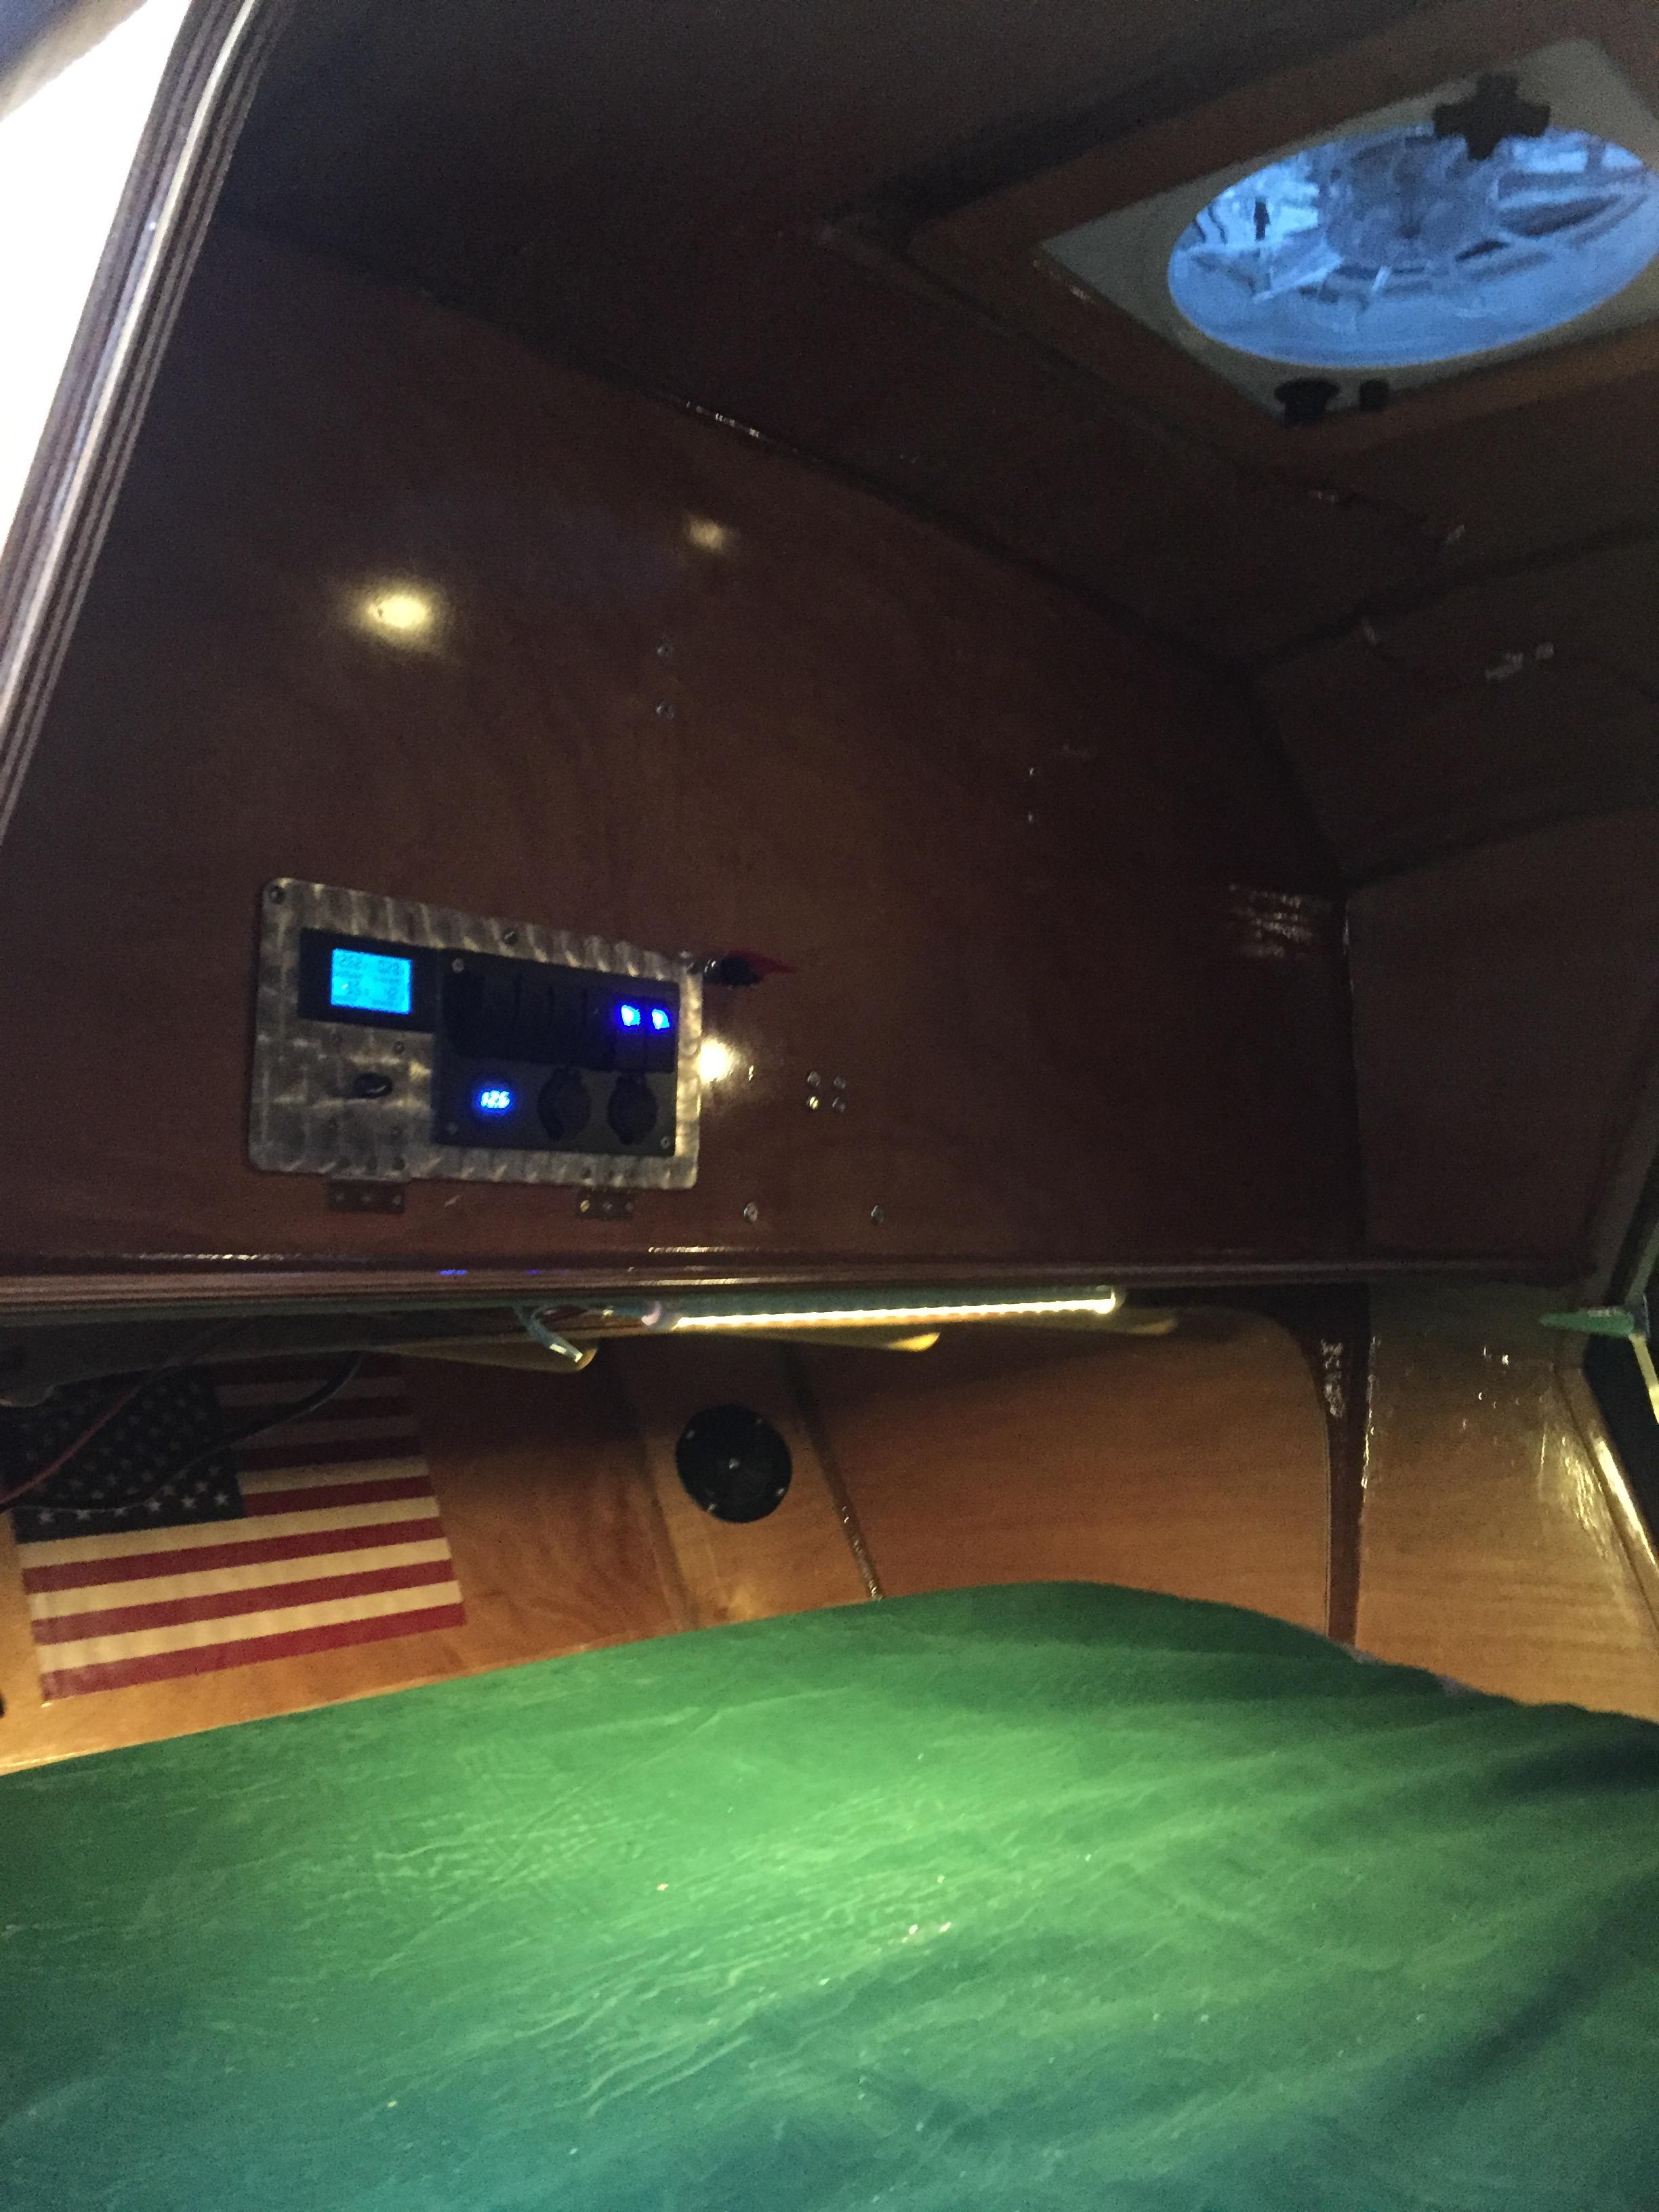
Installed a little 12V heater, too. Draws 20 amps so it would drain the battery very fast if left on. Learned that this is quite nice .. 50F is clammy to sit and read, inside the camper, but I can go from 50F to 75F in about 5 minutes of heater run time as the cabin volume is quite small. With the headliner insulation it drops to 65F in about 30 minutes at 50F outside temp. Another 2-3 minutes running the heater, repeat as needed. Was on battery for two days and while fairly low, still had plenty of juice to run the lights, radio, fans, and computer/monitor, drawing from the 75 amp/hour battery.
 May 12, 2017 at 4:17 pm #818Participant
Another creature comfort item that is turning out to be a big hit is a 12″ foam wedge pillow. See:
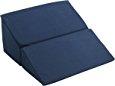
Without it you are awkwardly flat on the cabin floor. It folds so one can stash it out of the way pretty easily.
May 20, 2017 at 3:10 pm #836ParticipantSuper nice day at Okumefest yesterday, albeit quite warm. I pulled the galley forward a bit, as far as it would go without disconnecting the battery, to show folks the electrical system. Hopefully gave some folks an idea of what to think about with regards to electrics. Met several fellow TD builders, all of whom had a gazillion questions; I hope I helped some of them. Sort of provided the music for the BBQ. I was sure hoping to see some other TD builds there, however I was the only one! Shame, shame! Next year I want to see at LEAST a half dozen! I figure if we have a bunch, John will judge us and give us swag! 🙂
September 18, 2017 at 11:48 am #1326Anonymous
InactiveIs there certain type of wood that really perfect for this? What fits best, the hard wood or the light one?
Cheers,
Dennis|http://caldwells.com/August 8, 2018 at 8:56 pm #2020ParticipantOk, one year (give or take) since completing the camper. Just finished a 2500 mile road trip from Maryland to Oshkosh, WI. Ten days on the road, including three days in a Walmart parking lot.
Overall it’s getting comfortable to use the camper, definitely some learning curves. I have pretty much solved the galley water intrusion problems with additional weatherstripping. I added two 5” x 24” ceramic tiles in the galley go run the Colman propane single burner stove on, to protect the galley deck (see pic above). Big problem on the road through! With road bumps and vibration the tiles won’t stay in place! I’m about to go ballistic over this (after trying at least 4 different fixes) and drill holes in the tiles and just bolt them down. I have glued 1/8” rubber on the bottom of the tiles.
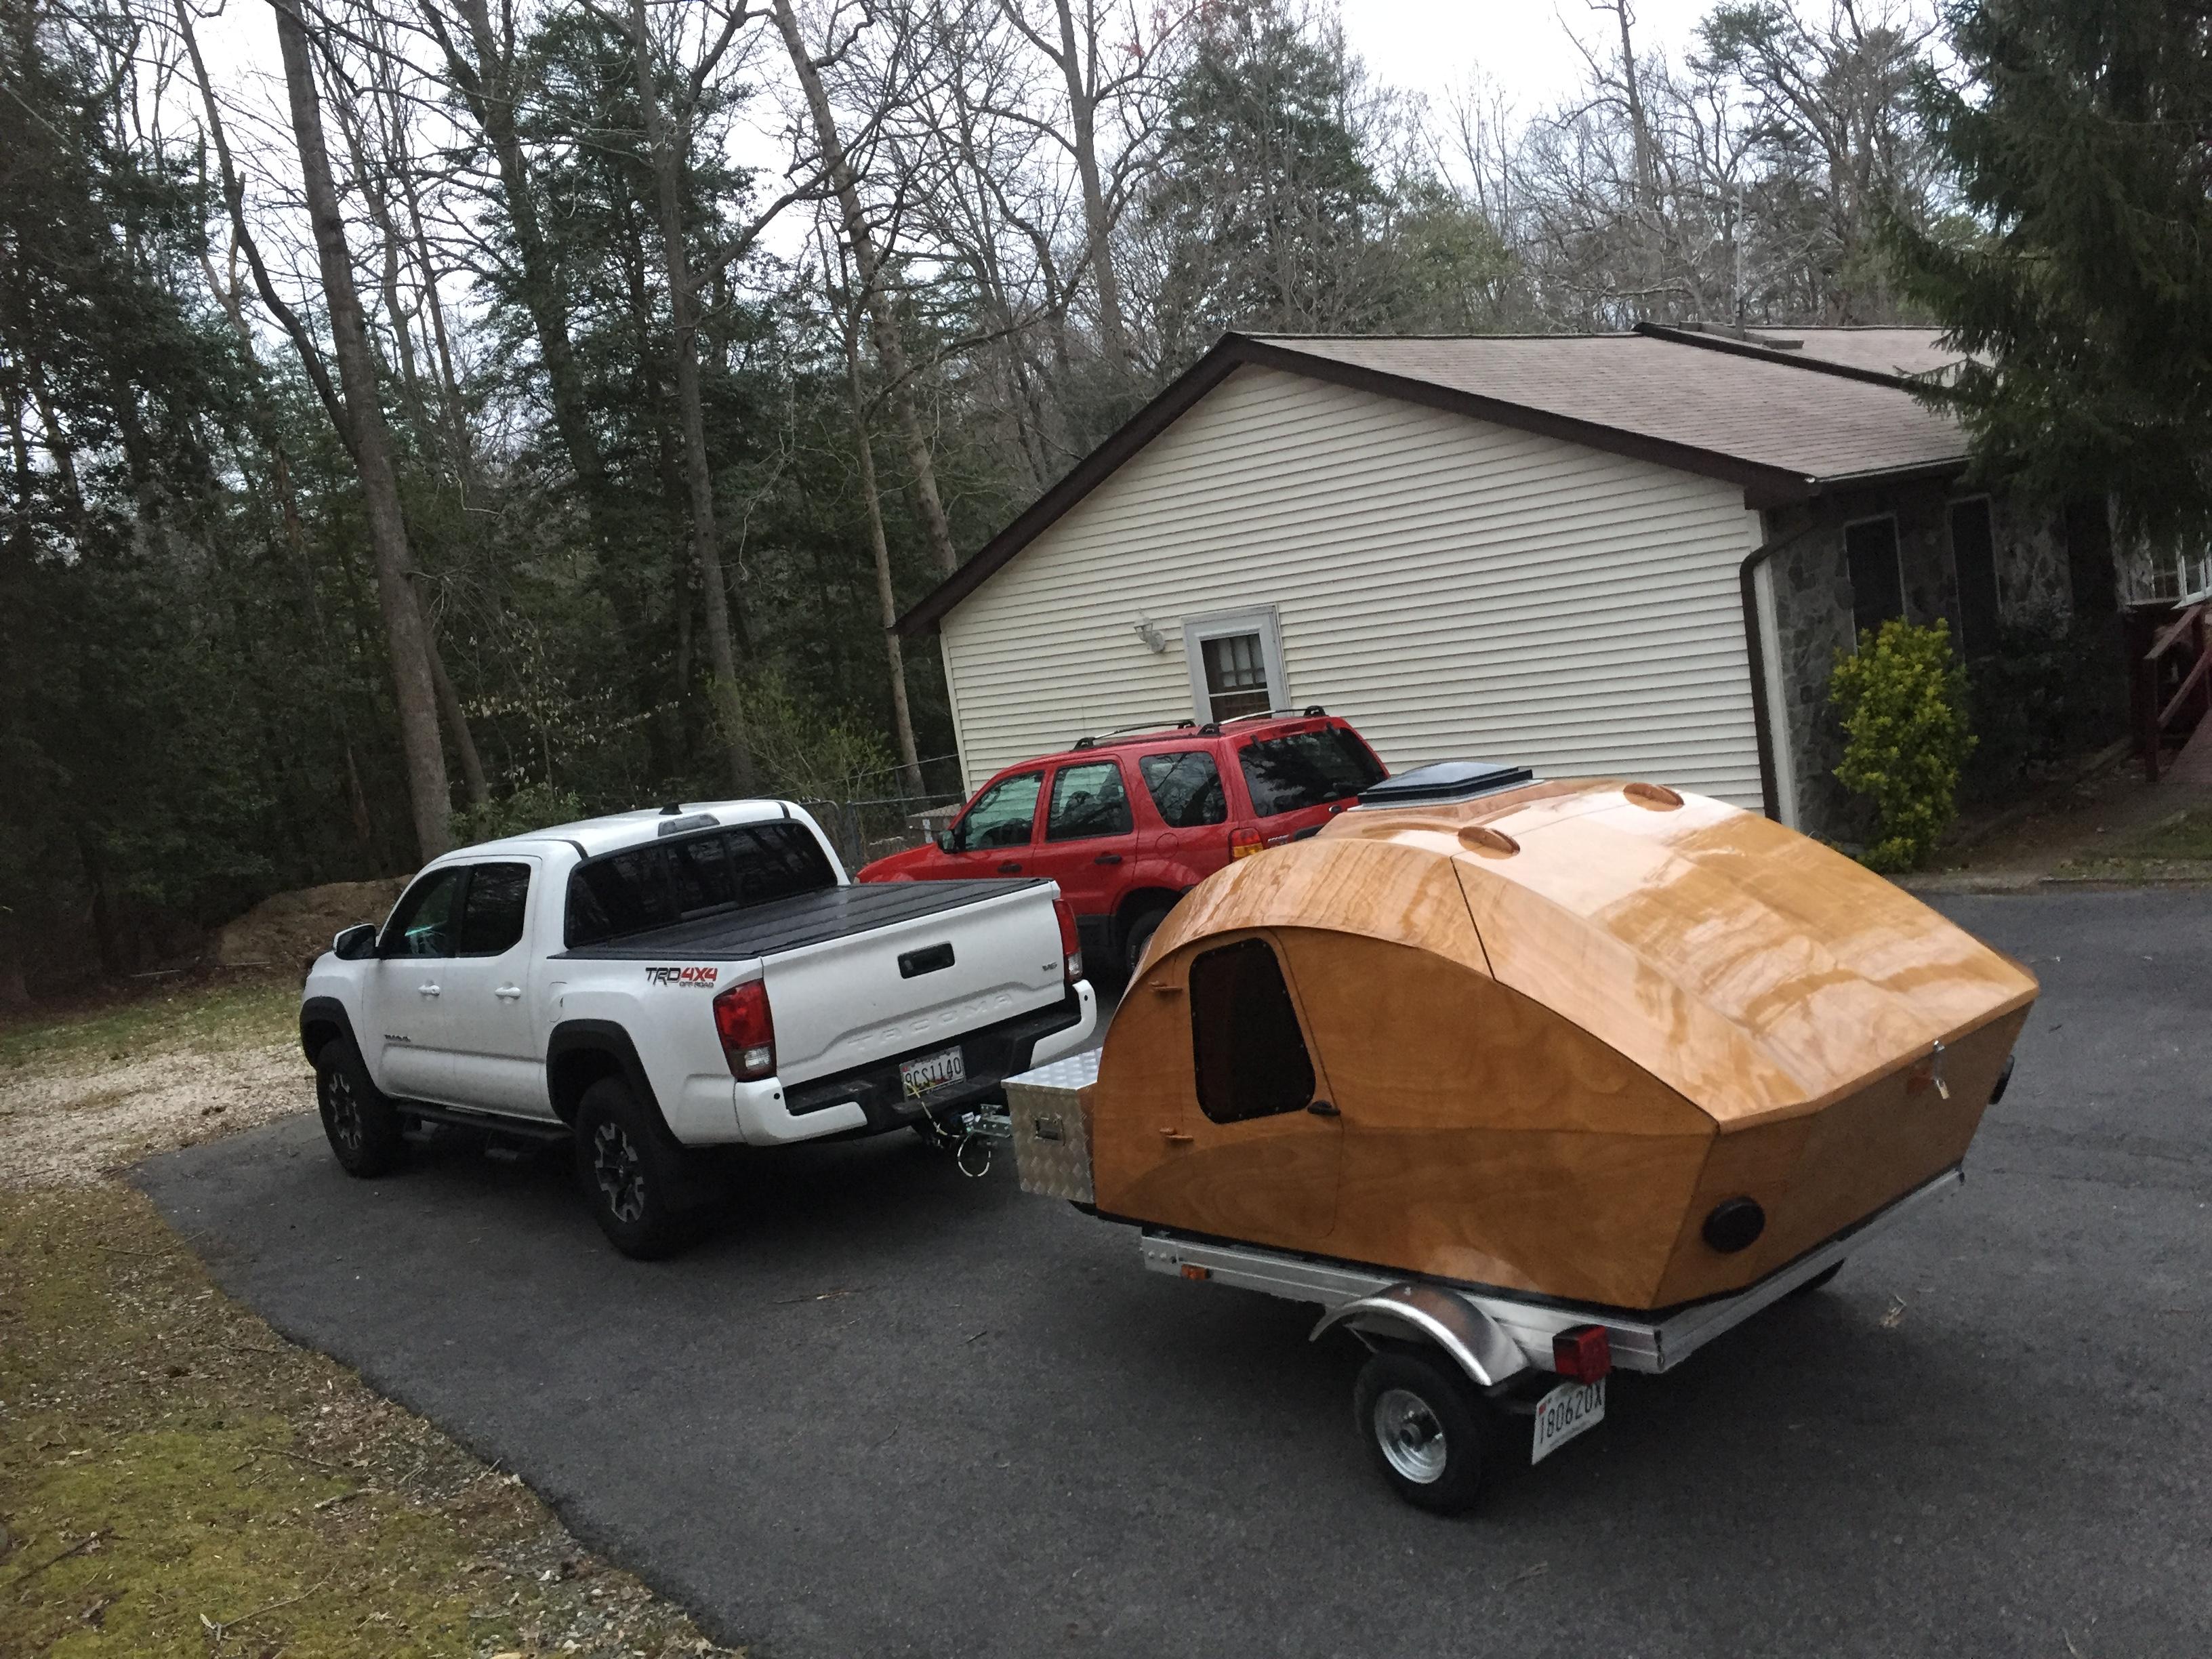
The pickup and camper combo is working well. Having the hard tonneau bed cover on the truck gives me the needed road trip storage volume I need for cooler, water, all sorts of stuff.
The basic camper is holding up really really well. The time spent sealing and fiberglassing is paying off.
I will post more later..
don
August 8, 2018 at 11:20 pm #2022ParticipantOh, and I have discovered a serious downside to the CLC camper. I get the “did you build that”question over and over and over and over. I am seriously thinking of making up a one sheet handout page and print off like 50 copies. It’s fun at first but after a while it gets annoying.
-
This reply was modified 9 years, 2 months ago by
-
AuthorPosts
- You must be logged in to reply to this topic.