Welcome to TeardropForum.com › Forums › Teardrop Builders’ Forum › Interior Insullation
Tagged: headliner fabric
- This topic has 16 replies, 5 voices, and was last updated 1 year, 10 months ago by
Alan.
-
AuthorPosts
-
March 31, 2022 at 7:28 am #4260
kimf
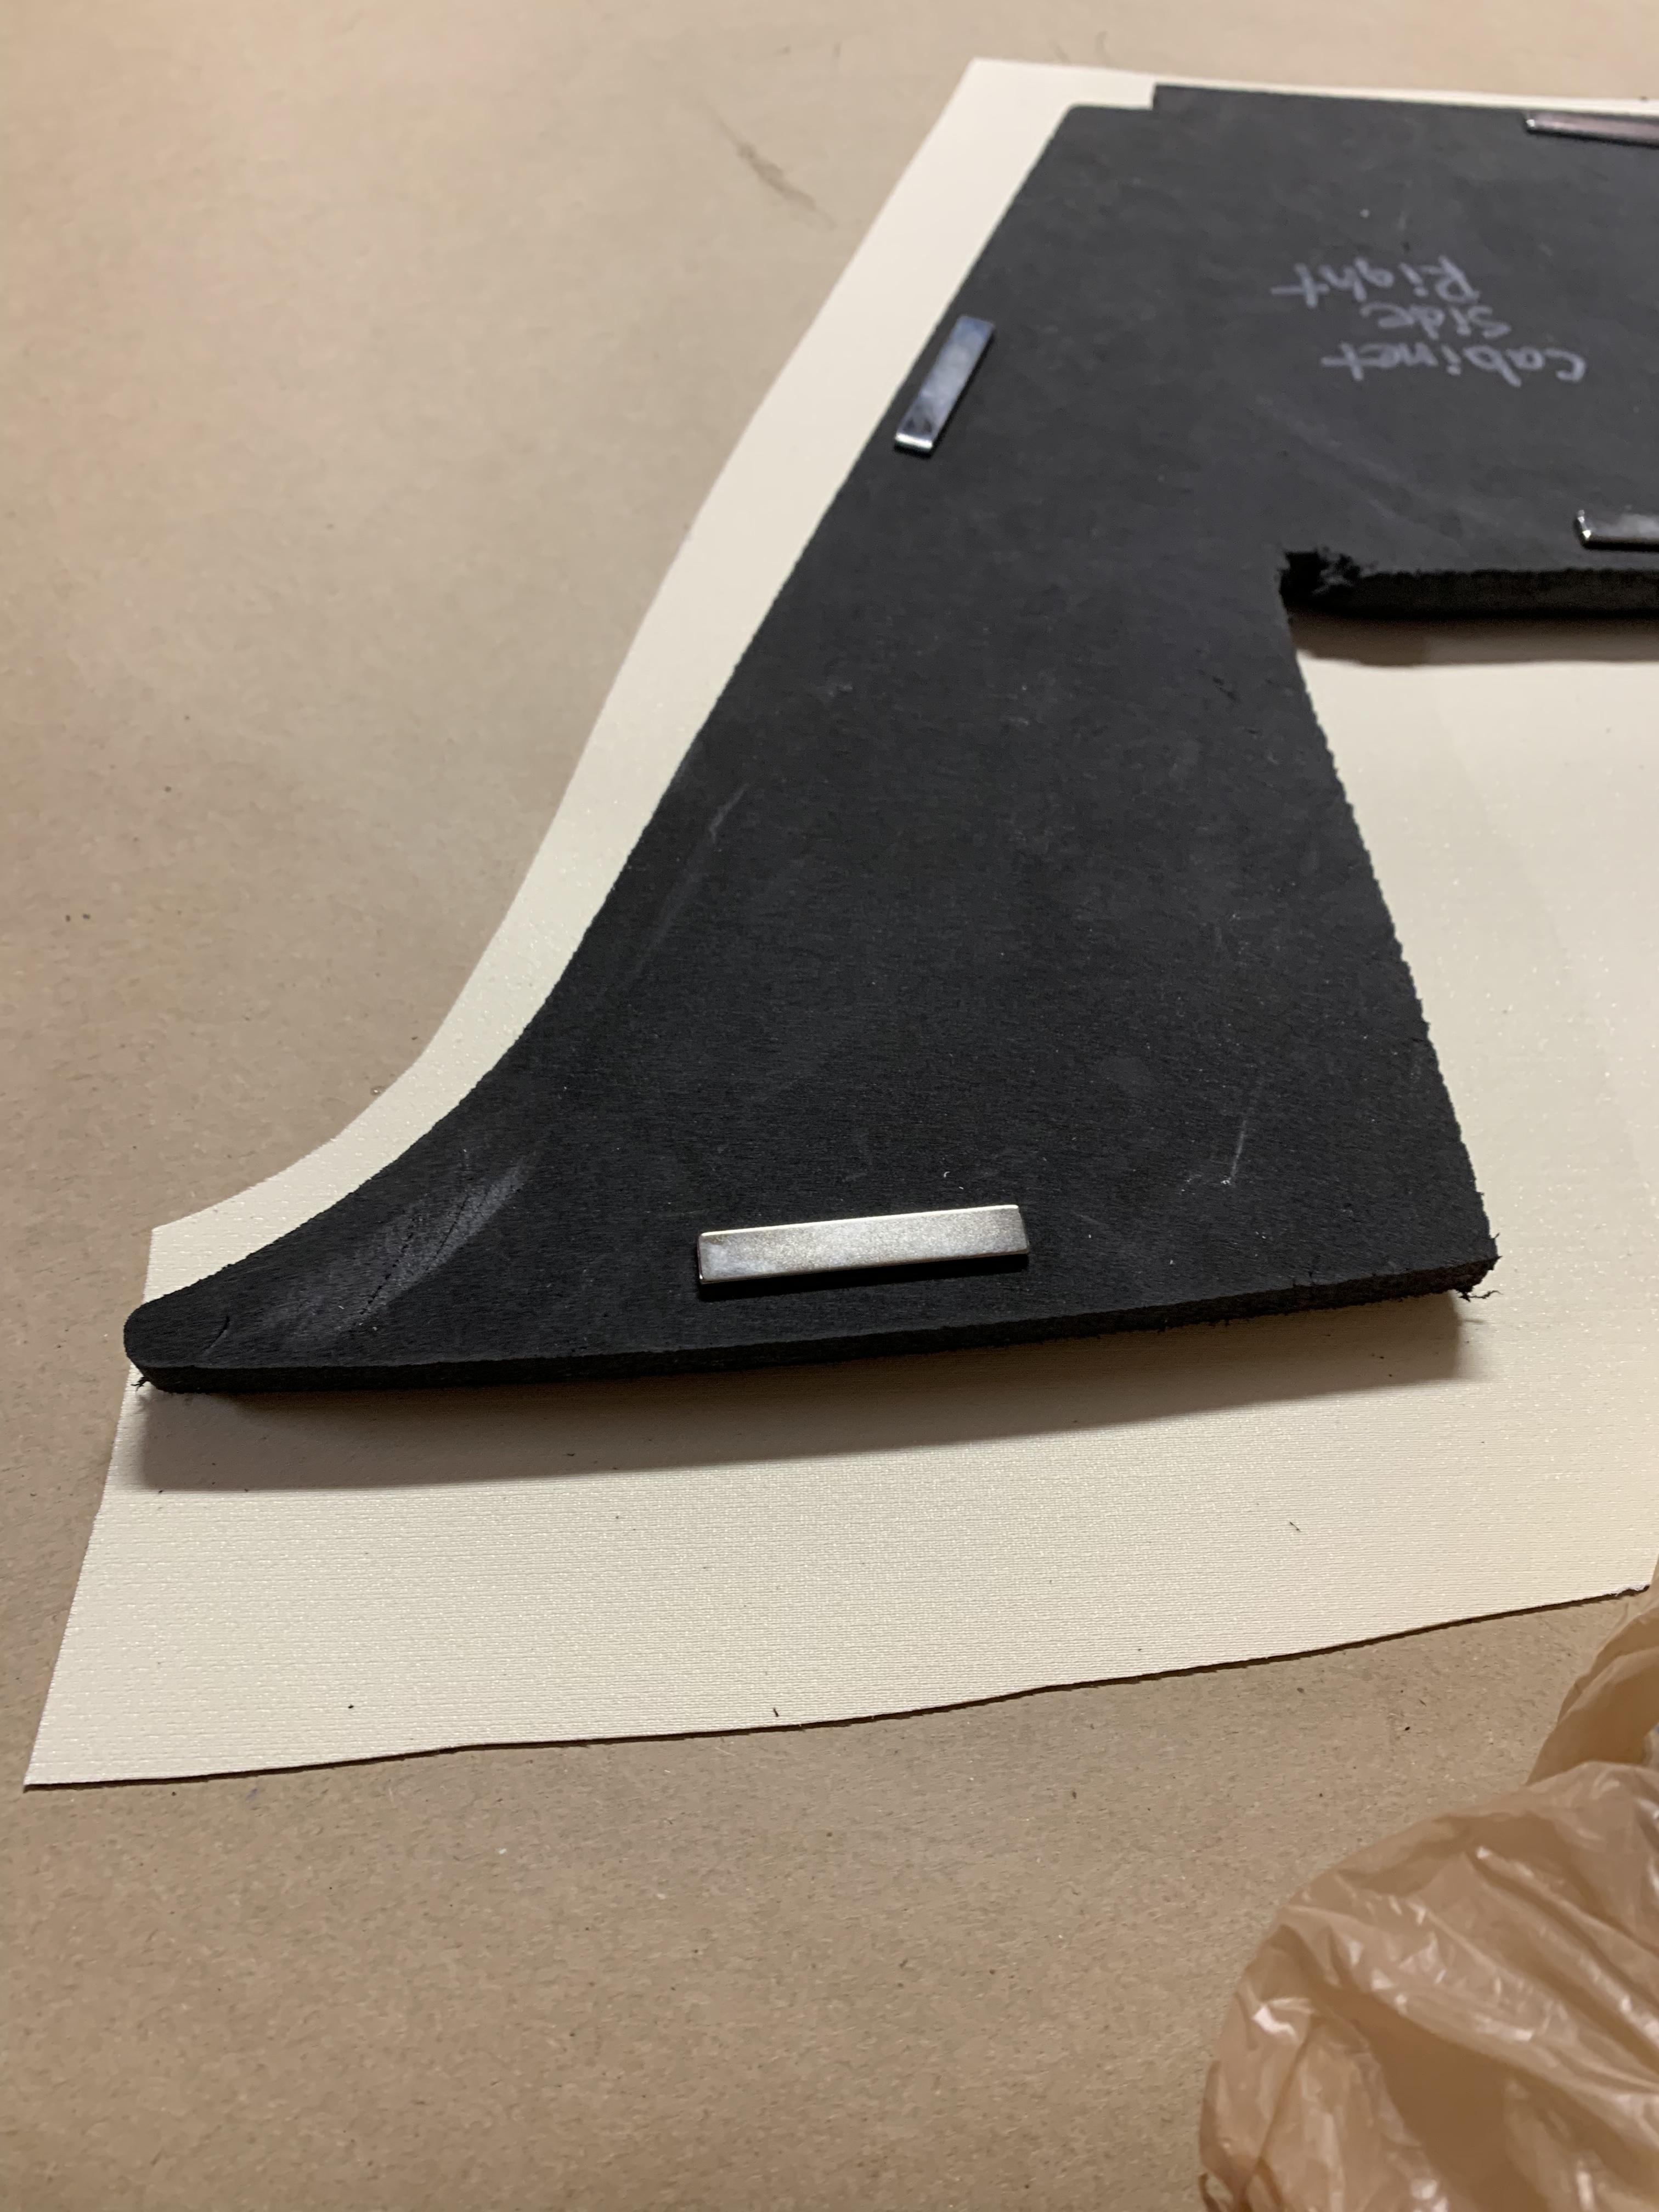
ParticipantI’ve had a few questions regarding my cabin’s insulation. I tried posting earlier but the multiple images put the post in quarantine so I’ll post east step separately. I used CLC’s liner and covered with non- padded vinyl. Although the pieces are close, they still need to be trimmed to size. I used puzzle lock gym flooring for the foot well pieces that had no insulation. Once cut to size, I covered each piece and the corresponding vinyl with contact cement. Next I glued trim around each piece and it gave it a very polished look.
On the back of each panel, I sandwiched a strong magnet between the insulation and the vinyl. Then I used a staple gun to hold it in place. I wanted to make the panels removable in the event that I needed to get to my wiring so I used metal strips backed with 3m extreme double sided tape. I placed the metal strip on the magnet, tape side up, then pressed the panel in place. Each panel is securely in place and didn’t budge over out 2500 mile shake-down trip!
 March 31, 2022 at 7:29 am #4261Participant
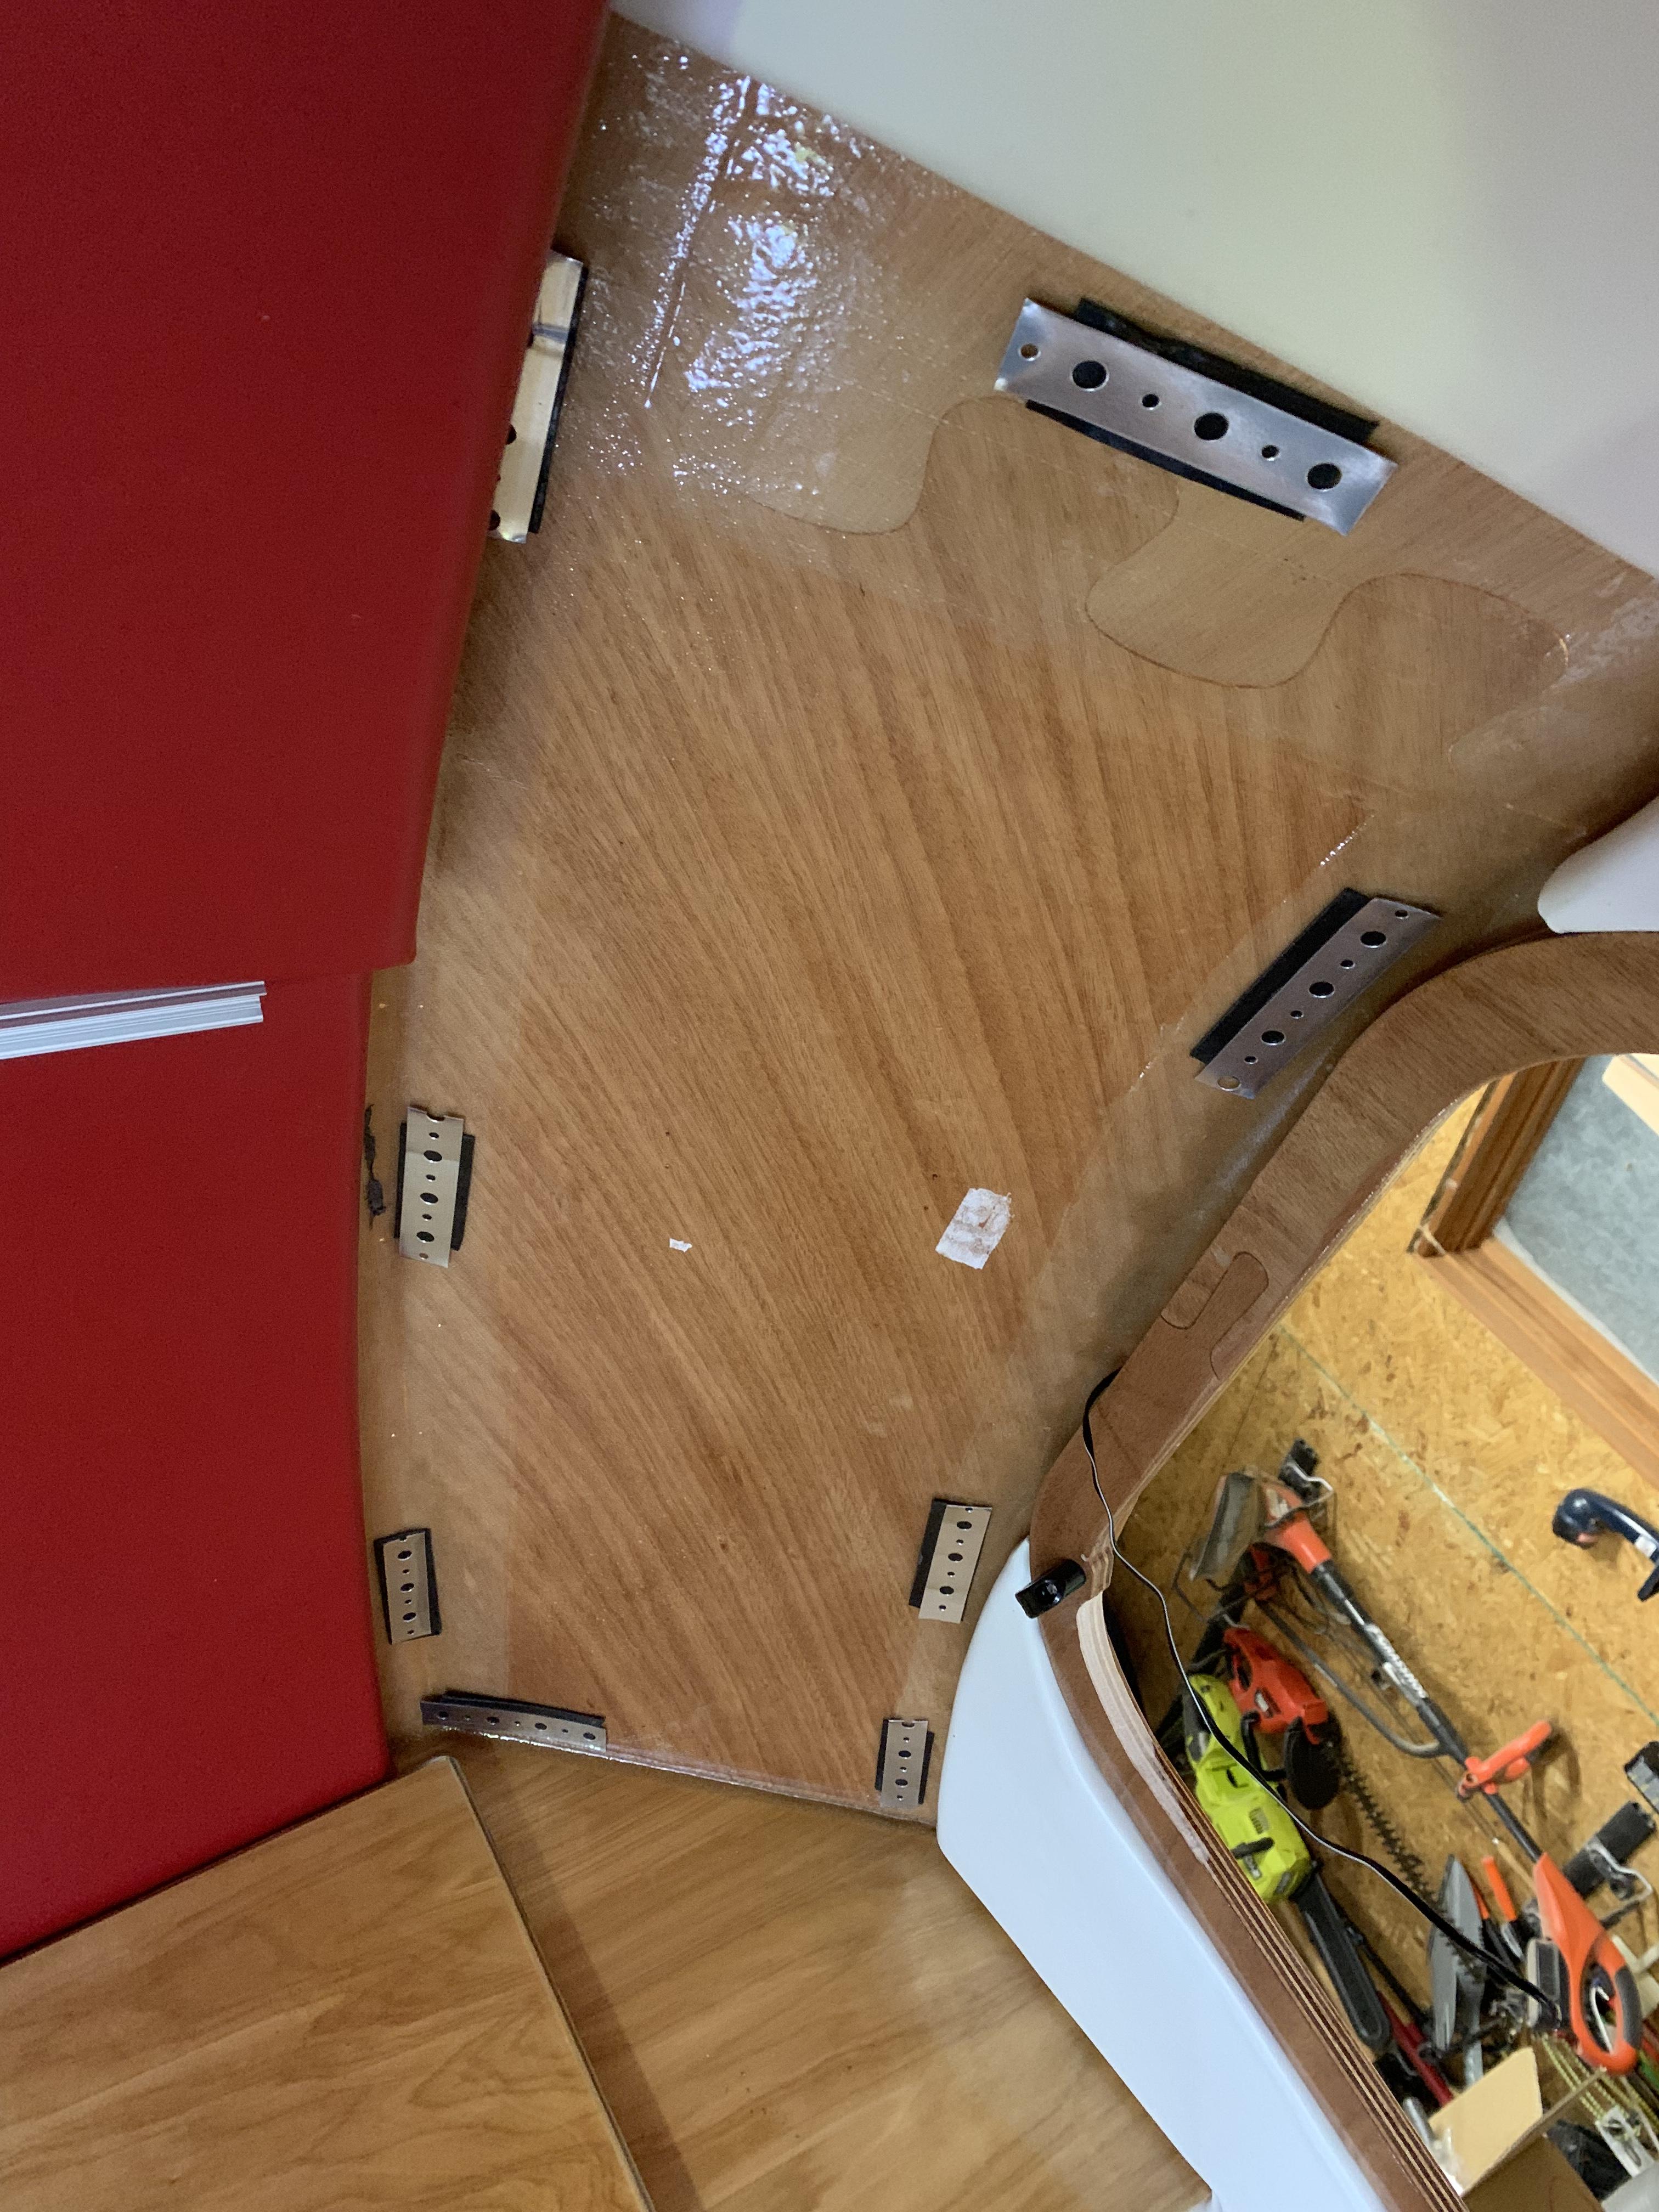 March 31, 2022 at 7:31 am #4262Participant
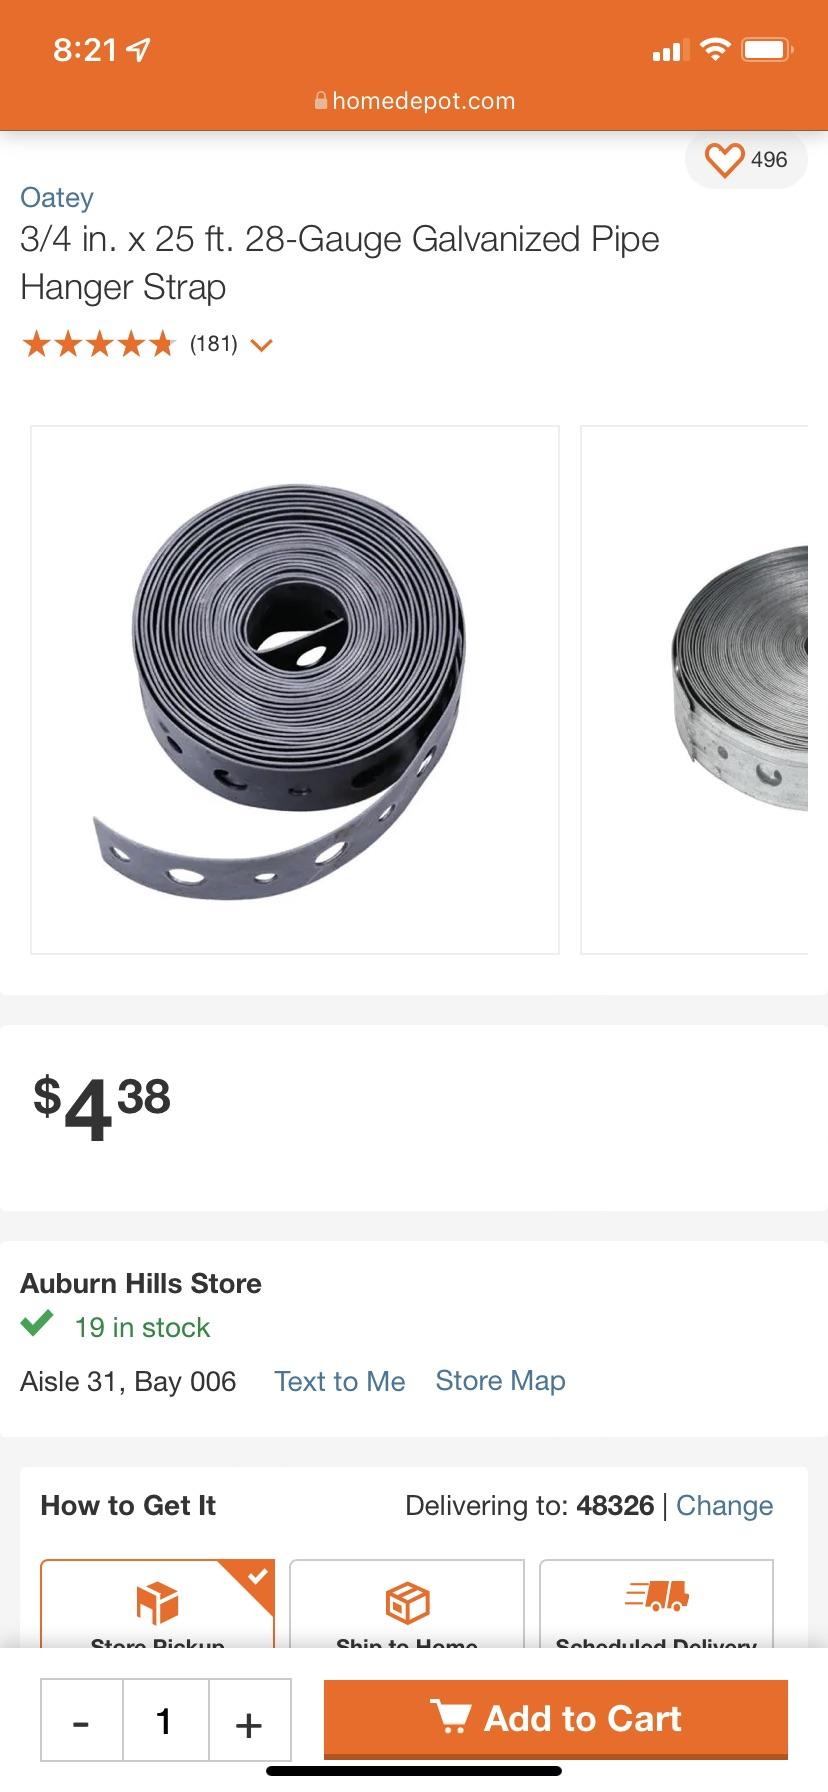 March 31, 2022 at 7:32 am #4263Participant
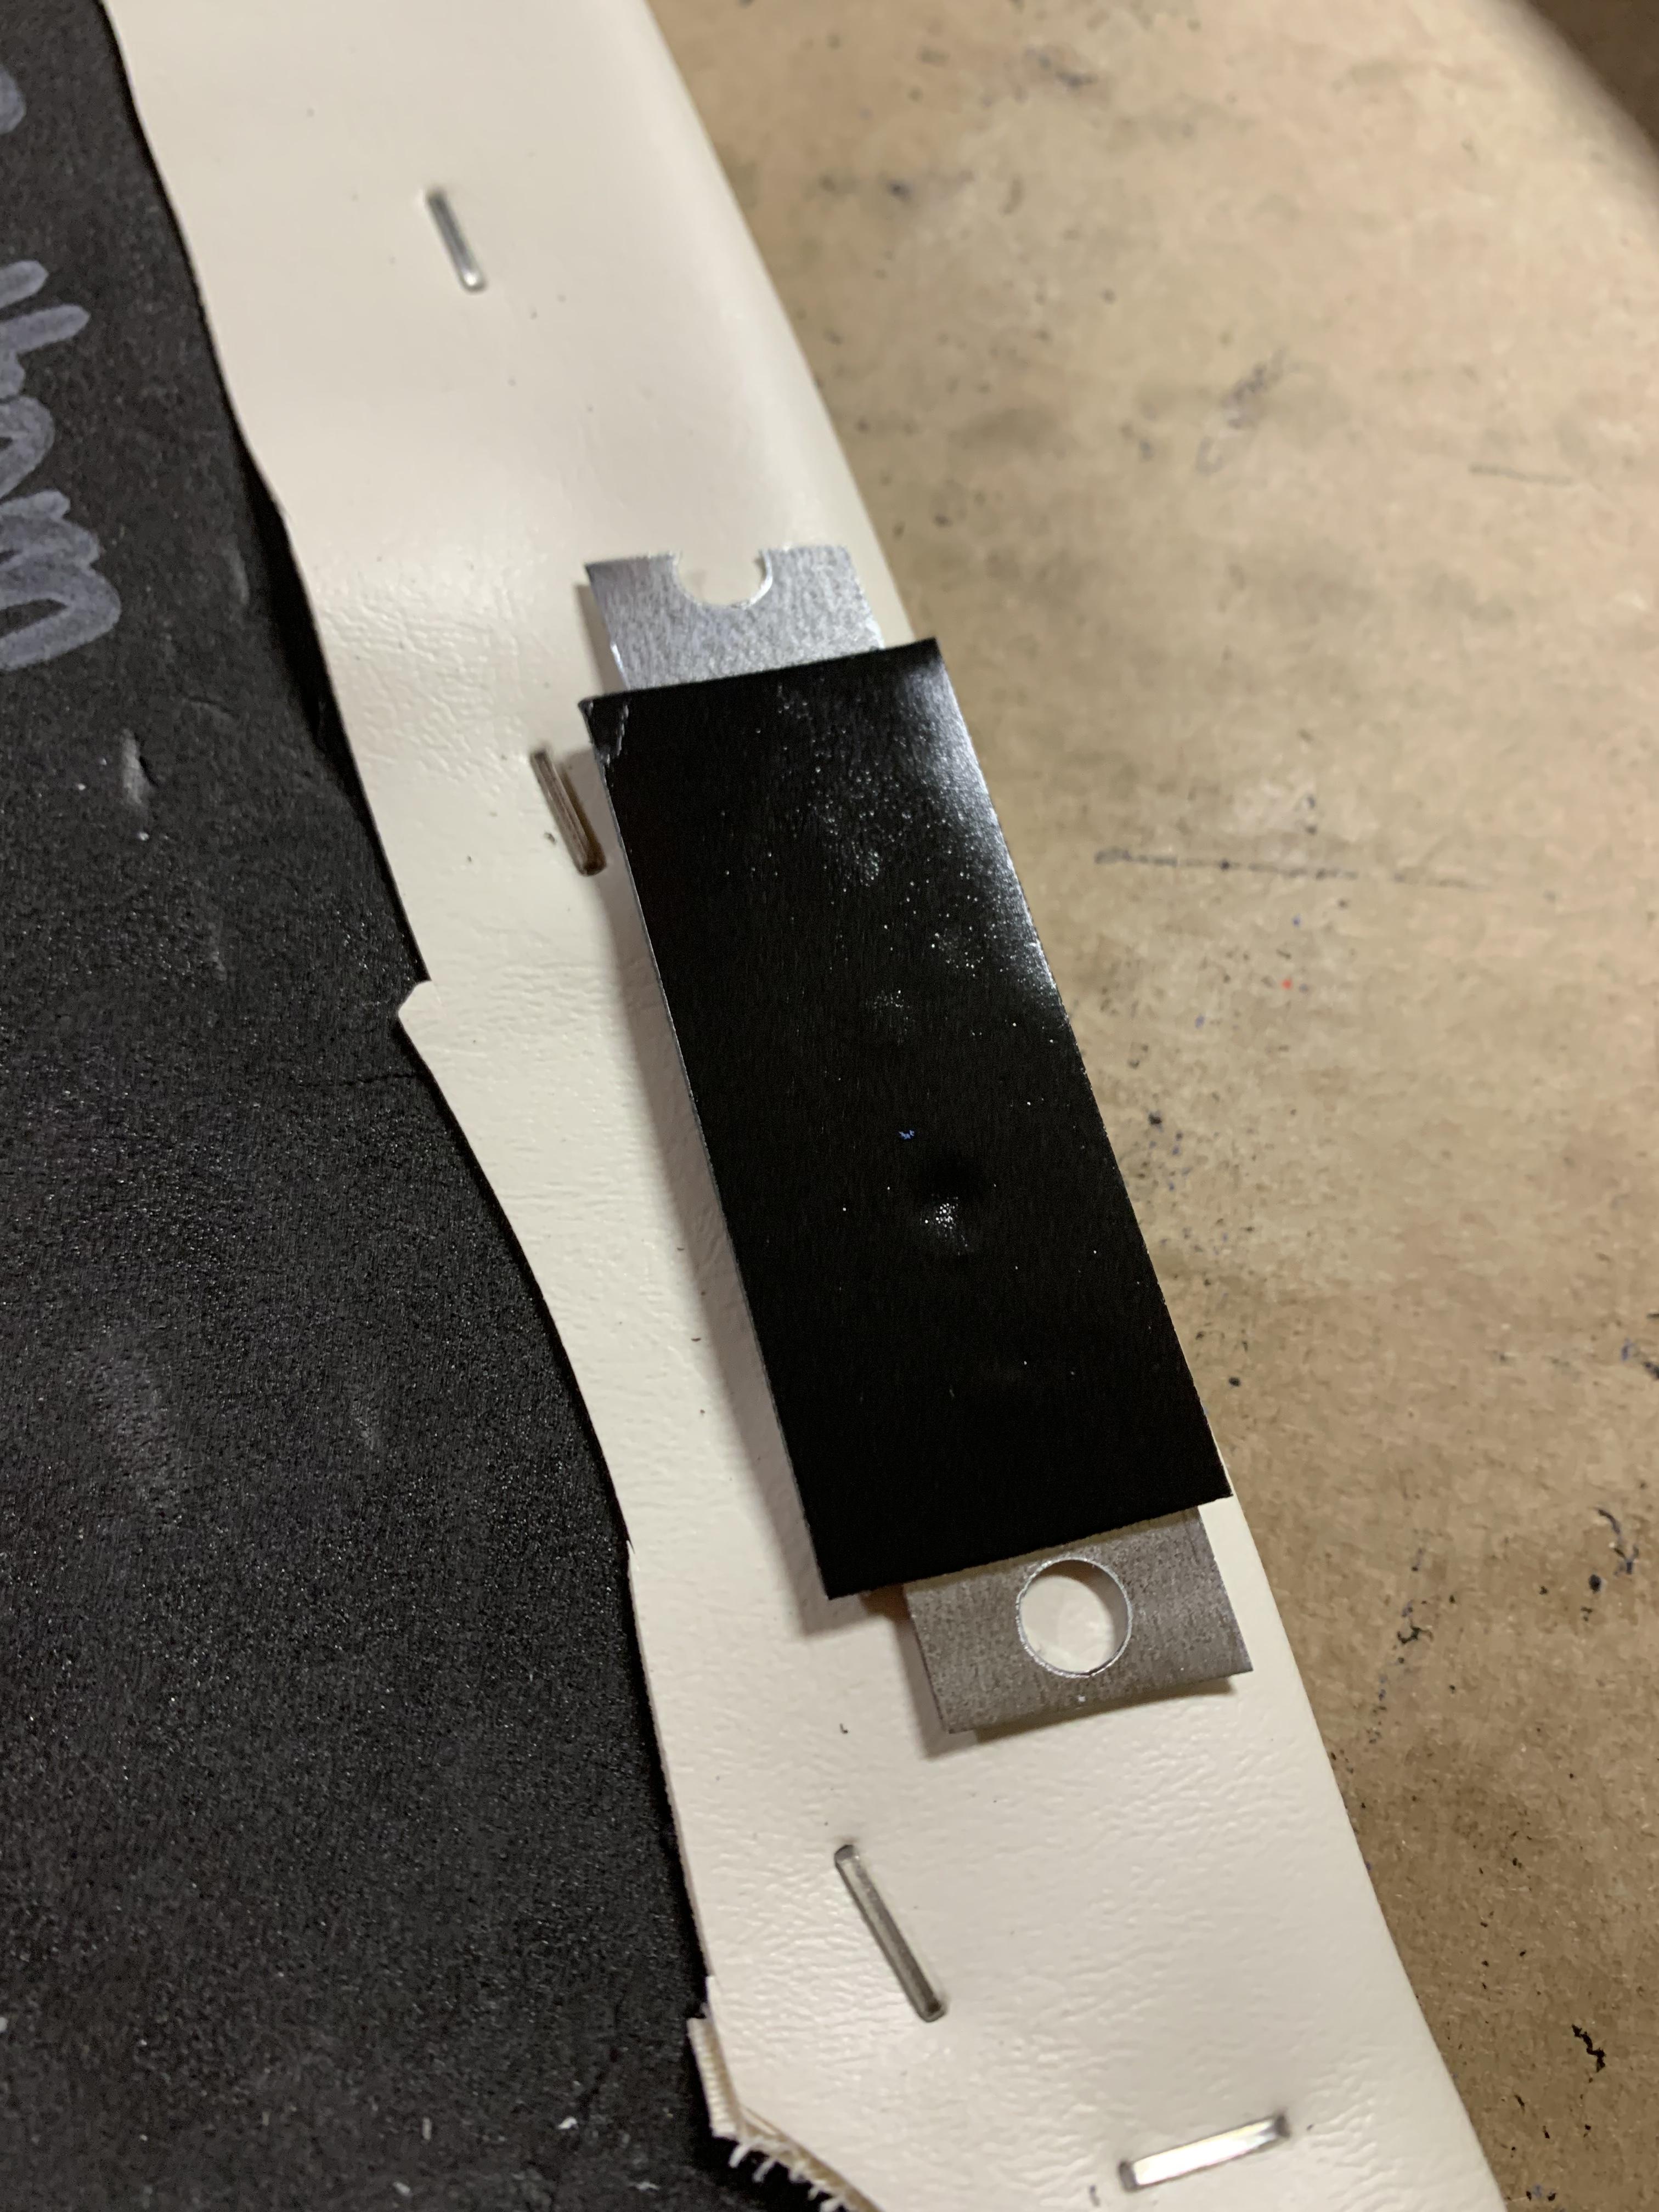 March 31, 2022 at 7:33 am #4264Participant
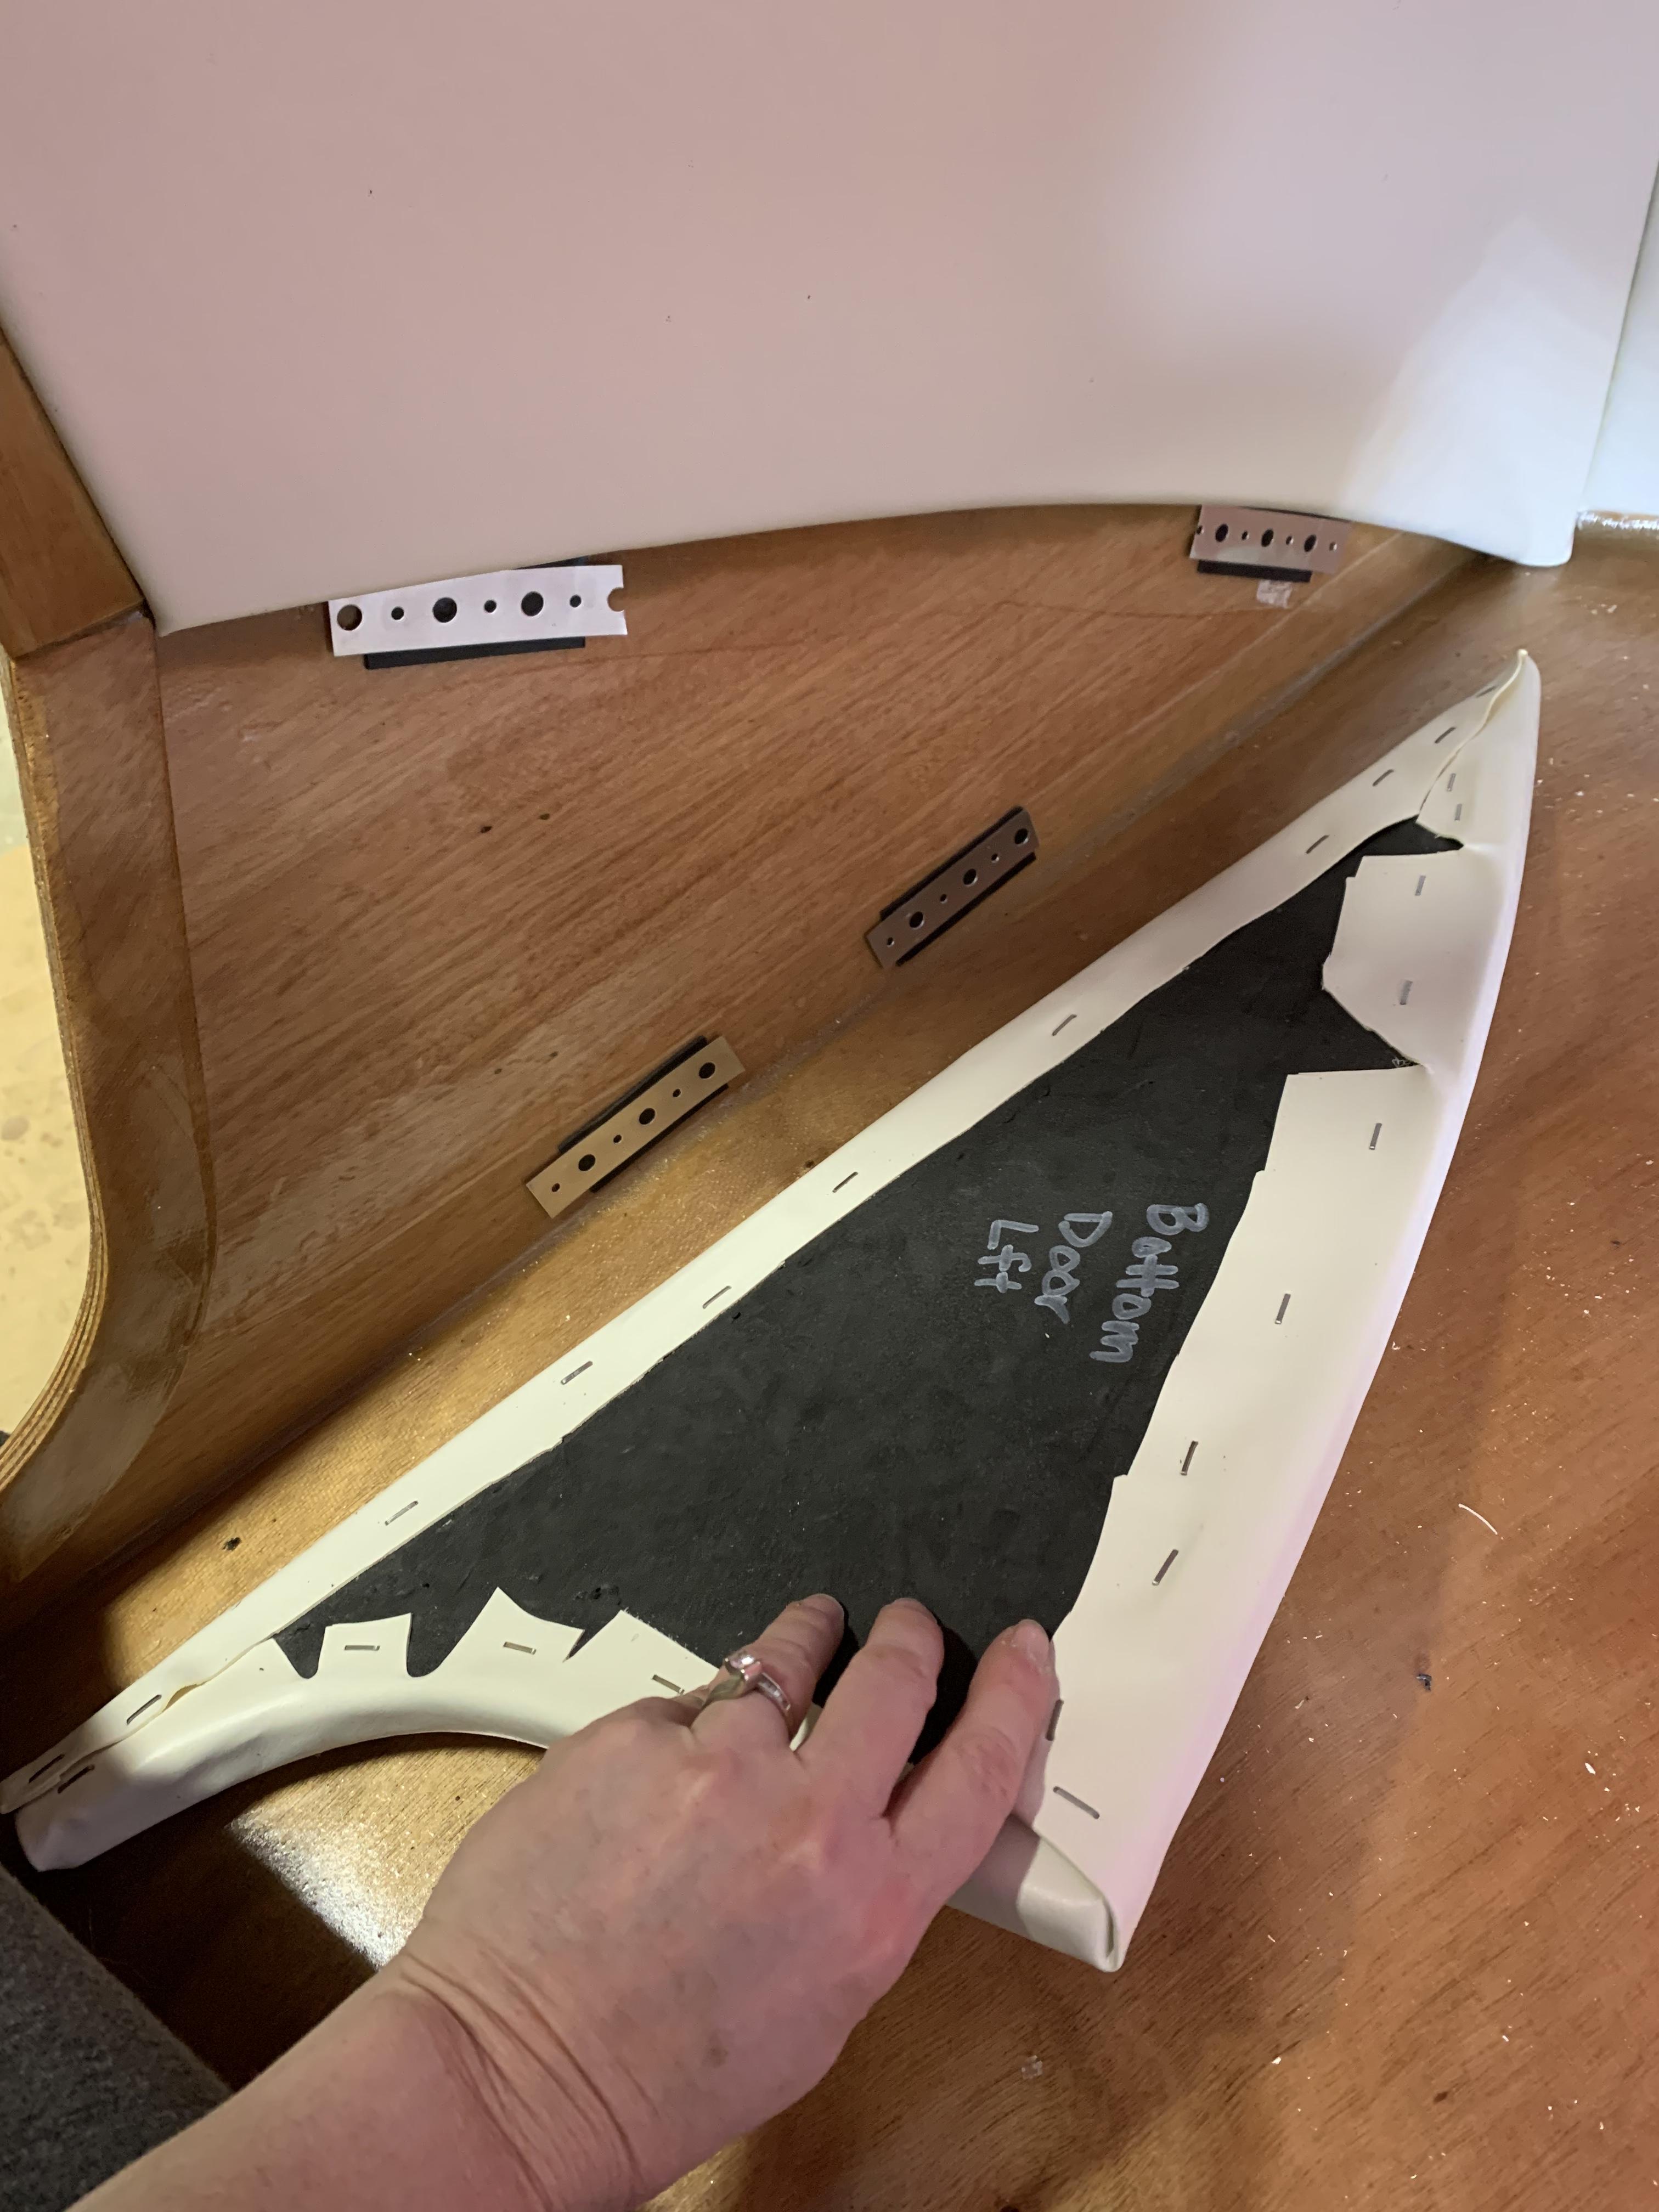 March 31, 2022 at 7:34 am #4265Participant
 March 31, 2022 at 7:36 am #4266Participant
 March 31, 2022 at 9:50 am #4267
madebymike60
ParticipantThanks for posting this. I enjoy seeing how others creatively approach a problem. It looks like the contact cement did a good job sticking fabric to insulation. My 3M-90 sprayed installation is showing a lot of ‘bubbles’ in the fabric, almost as if I didn’t apply adhesive all over, though I’m sure I did. I think my choice of a thicker, stiffer fabric wasn’t a good one.
March 31, 2022 at 1:50 pm #4268Participant@madebymike60, I had that issue too when I brushed on the contact cement. I found the roller did a much better job getting an even coat. I used a disposable brush for the backside though because I could apply a more narrow line of adhesive along the edge and keep it only on the vinyl overlap area.
I got my inspiration from many who have posted here and I’m so thankful for this forum and what I’ve gleaned from everyone! 😊
April 2, 2022 at 12:08 pm #4269breescyclust
ParticipantWhile we’re on this topic, how much material is needed to cover the headliner?
Thanks in advance,
Brian
June 15, 2022 at 11:08 am #4349ParticipantSo far, nothing I’ve tried has kept some of the insulation panels in place against the cabin. They happen to be the four larger ones covering the ‘ceiling’. I haven’t tried contact cement (seems too permanent) but combinations of sticky velcro, magnets and hot glue and/or 3M mounting tape haven’t worked.
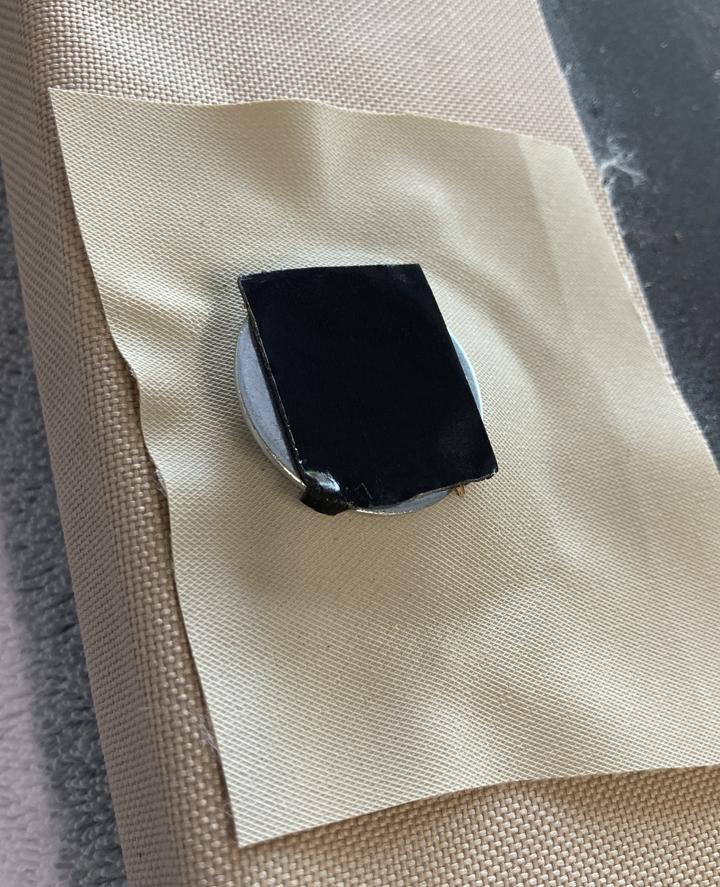
I decided to piggyback off of kimf’s idea and ‘trap’ the magnets under some material and that seems to solve my issue.
Here is everything in place before putting the panel back in. My fabric was already attached, so I put a strong round magnet under the extra fabric piece which is hot glued around the magnet. I used large washers in place of the hanger strap – Everbilt zinc fender washers; 1.25″ across with a quarter inch hole – but any that are at least an inch across should work. I believe the adhesive is 3M ‘Extreme’ mounting tape, which works very well on the cabin walls. Four to six of these around the edges of the pieces that were falling is now keeping them in place.
 July 4, 2022 at 1:04 am #4370
RowingBoatmanSteve
ParticipantHere’s an idea that has worked well for my build: by using matching pairs of rare-earth magnets, the attachment is positive, secure and easy to install.
Wall panels- 6 x 2mm paired with 6 x 2mm neodymium magnets (six pairs per panel)
Roof panels – 8 x 5mm paired with 6 x2 mm neodymium magnets (the 8x5mm magnet embedded into foam) (eight pairs approx. per panel)Process:
FOAM PANEL
- using the tip of a hot-glue gun, make a hole in the foam slightly larger than the magnet
- fill the hole with hot glue
- place the magnet into the well of hot glue, to the level of the foam surface (or the fabric fold if covered) and allow to cool
CAMPER WALL
- place a piece of sticky tape (gaffa tape etc) STICKY-SIDE UP on the magnet already embedded in the foam
- drop a second magnet onto the tape – it will self align instantly
- apply CA glue/hot glue to the new magnet
- align the foam panel and press gently onto the camper wall, to cause the tape to make contact
- carefully roll the foam panel off the wall
- check the tape is now holding the magnet to the camper while the glue sets
- remove the tape once the glue sets
- I embedded all the foam magnets first, then proceeded gluing two wall magnets at a time. This allowed me to accurately align the panels.
BENEFITS
- the panels are secure, but easily removed if needed
- the process is neat and simple to do
- the faces of each magnet pair need to make contact with each other: if any of the connections are held apart by fabric thickness etc, simply drop another magnet onto the pair to make up the space!
- I covered my panels with polyester fabric, so the magnet placement in the foam was often well in from the outer edge of the foam panels – this wasn’t a problem
Hope this helps!
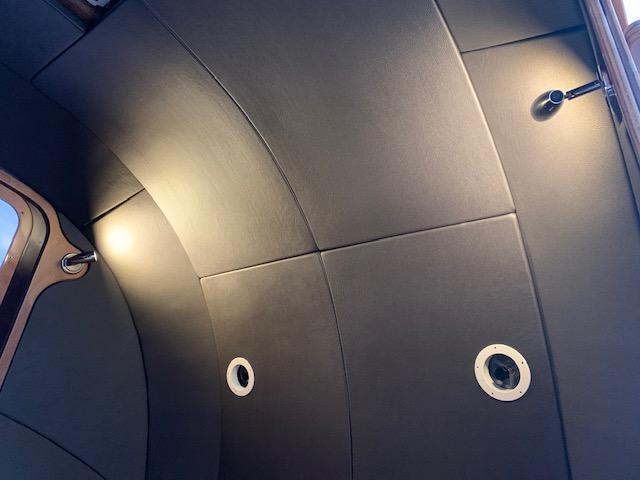
…the end result!
July 4, 2022 at 1:06 am #4371Participant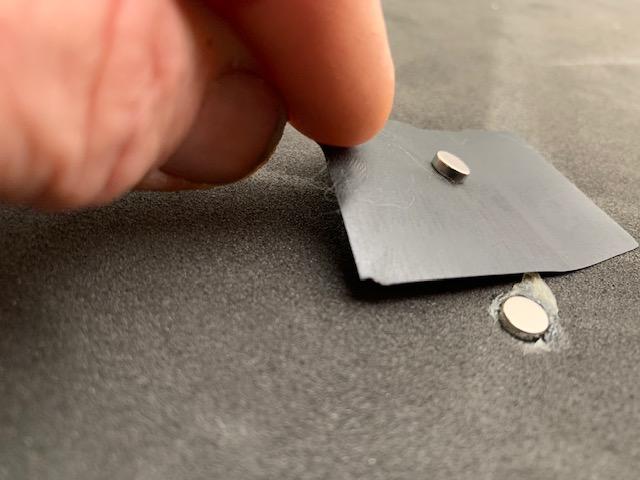
… the first magnet embedded in the foam, with the second magnet on top of sticky-side-up tape…
July 4, 2022 at 1:08 am #4372Participant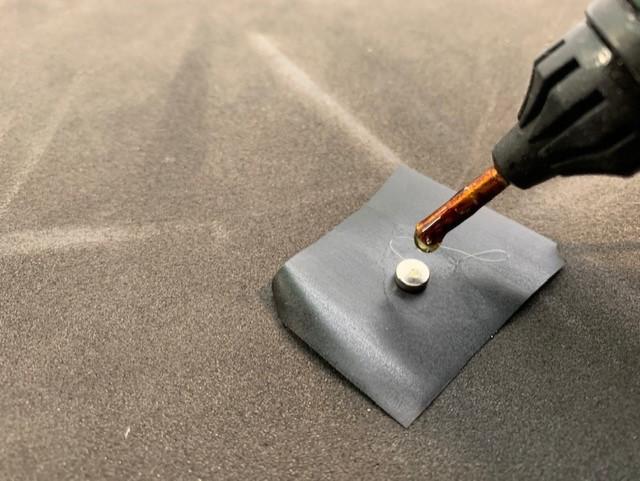
… glue being applied to the second magnet (CA or hot-glue)…
July 4, 2022 at 1:13 am #4374Participant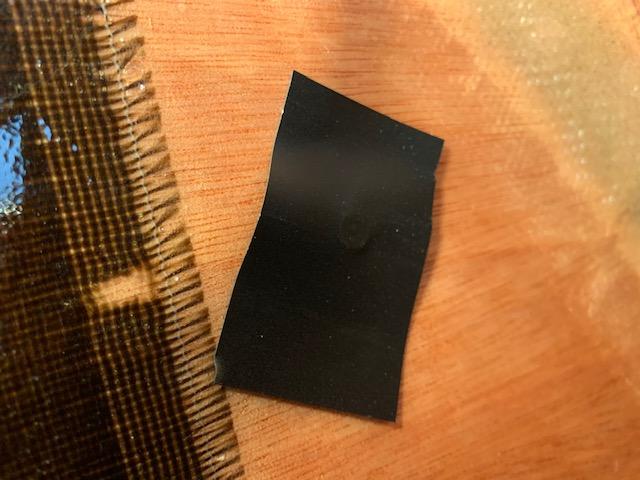
… the tape holding the glued magnet to the camper while the glue sets…
-
AuthorPosts
- You must be logged in to reply to this topic.