Welcome to TeardropForum.com › Forums › Teardrop Builders’ Forum › Eye brows around doors and hatches?
- This topic has 11 replies, 4 voices, and was last updated 1 year, 9 months ago by
Peter.
-
AuthorPosts
-
January 3, 2022 at 9:53 pm #4090
metric_pinecone
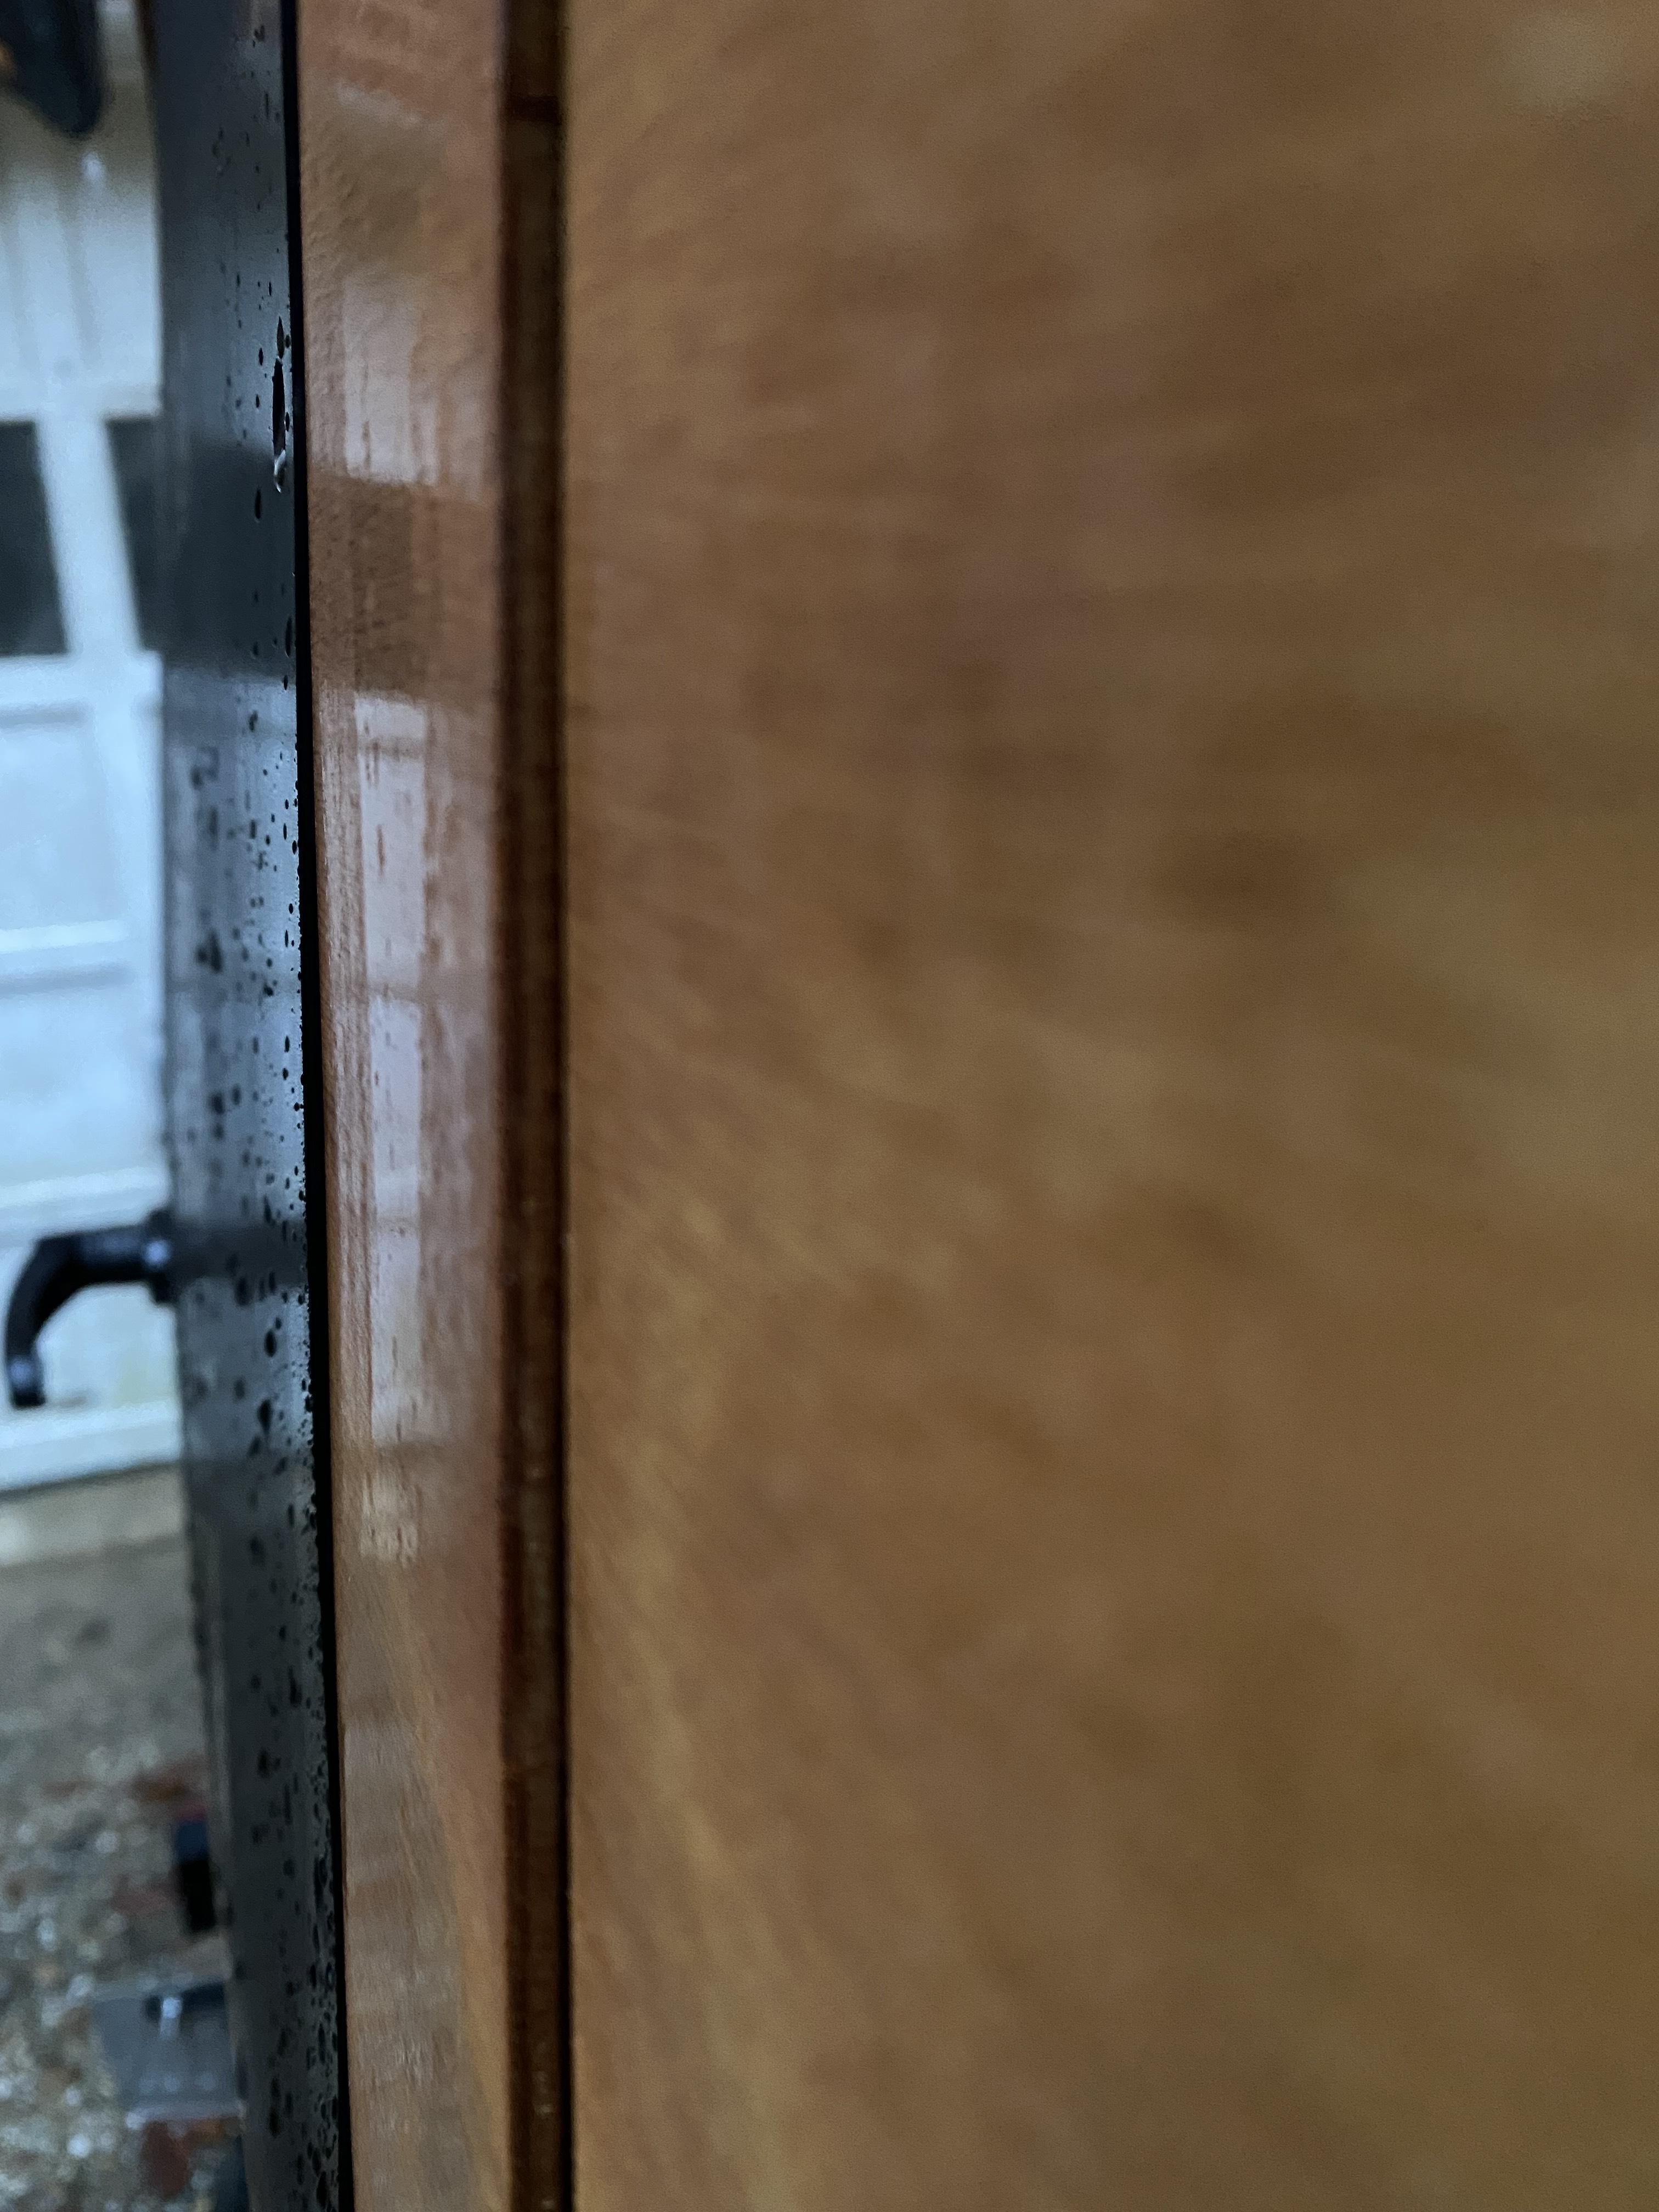
ParticipantThere has been a lot of said on this forum about preventing leaks. It seems some are lucky (or skilled builders) and don’t have many issues. I haven’t been one. After quite a bit of trial and error, I’ve got it totally water proof except when driving highway speeds in the rain when water pushes in in places where the door isn’t totally flush with camper body (see photos). I’m thinking about added really tiny “eye brows” around the forward and top edge of the doors, side compartment, and hatch back.
Is this crazy? Has anyone experimented with anything similar? Or is there another solution I should consider?
-
This topic was modified 4 years ago by
metric_pinecone.
-
This topic was modified 4 years ago by
clcnancy.
November 16, 2023 at 11:03 pm #21623348david2.384
ParticipantI have the same issue. Did anything work? I was thinking about trying some weather stripping on the outside.
David
November 17, 2023 at 11:20 pm #21625536RowingBoatmanSteve
ParticipantIn my experience the door seal material supplied in the kit was too thick and not suitable for the application. It created an uneven closure of the doors, heavily compressing the material at the hinge side and distorting the ply profile around the outer perimeter of the openings.
For the ICC doors:
My solution was to source an alternative material, so I took a visit to my local hardware store to look for alternatives.
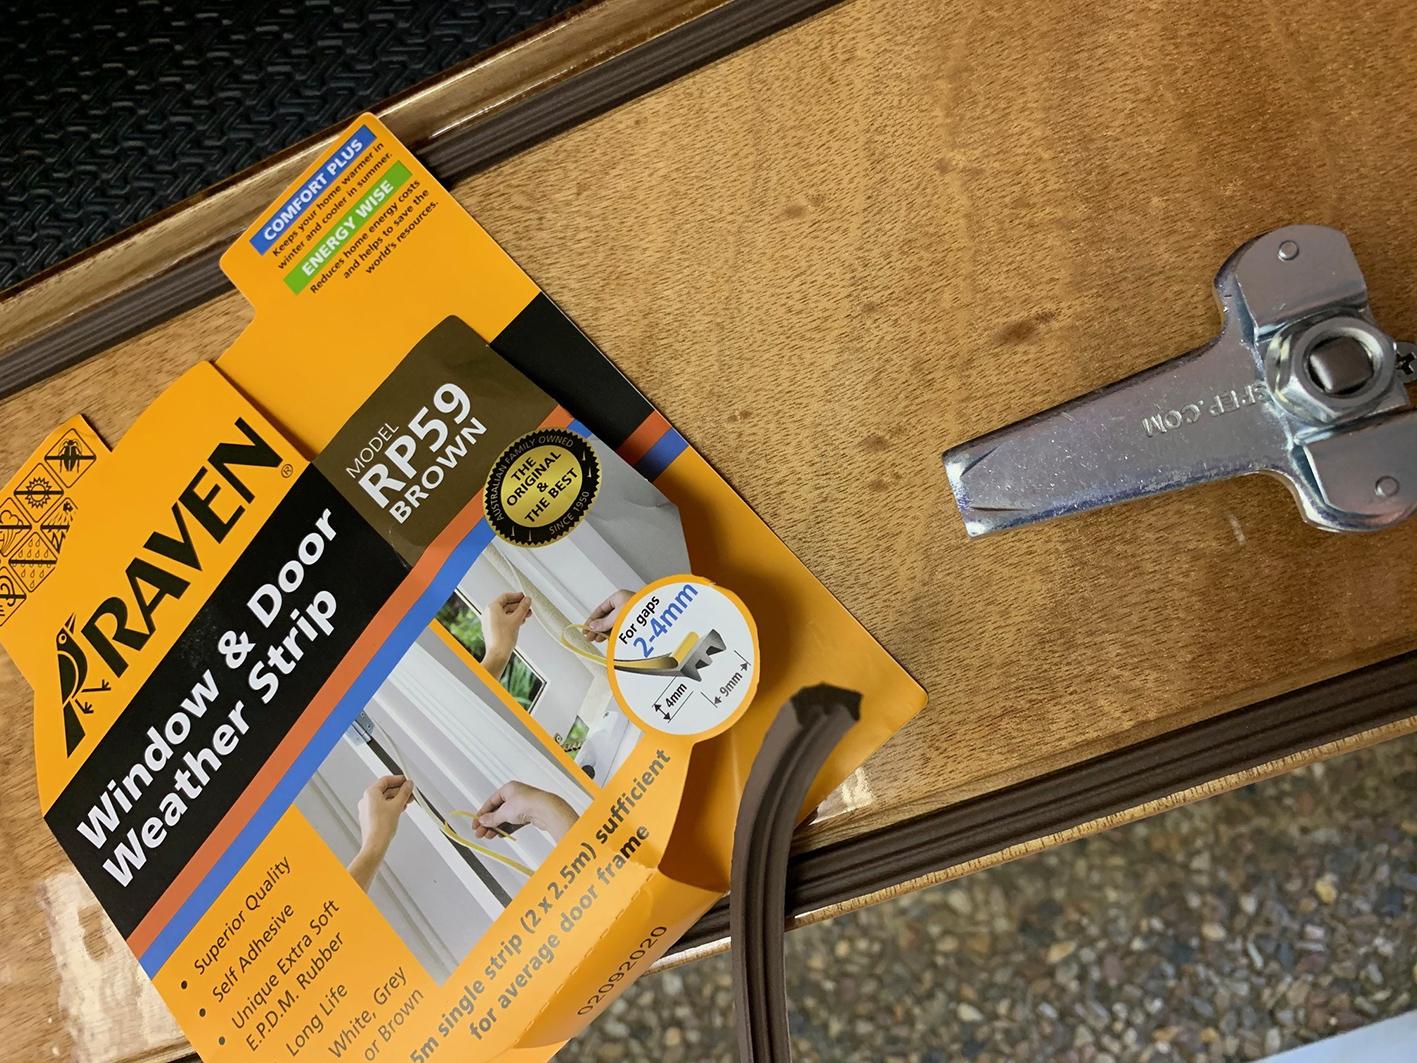
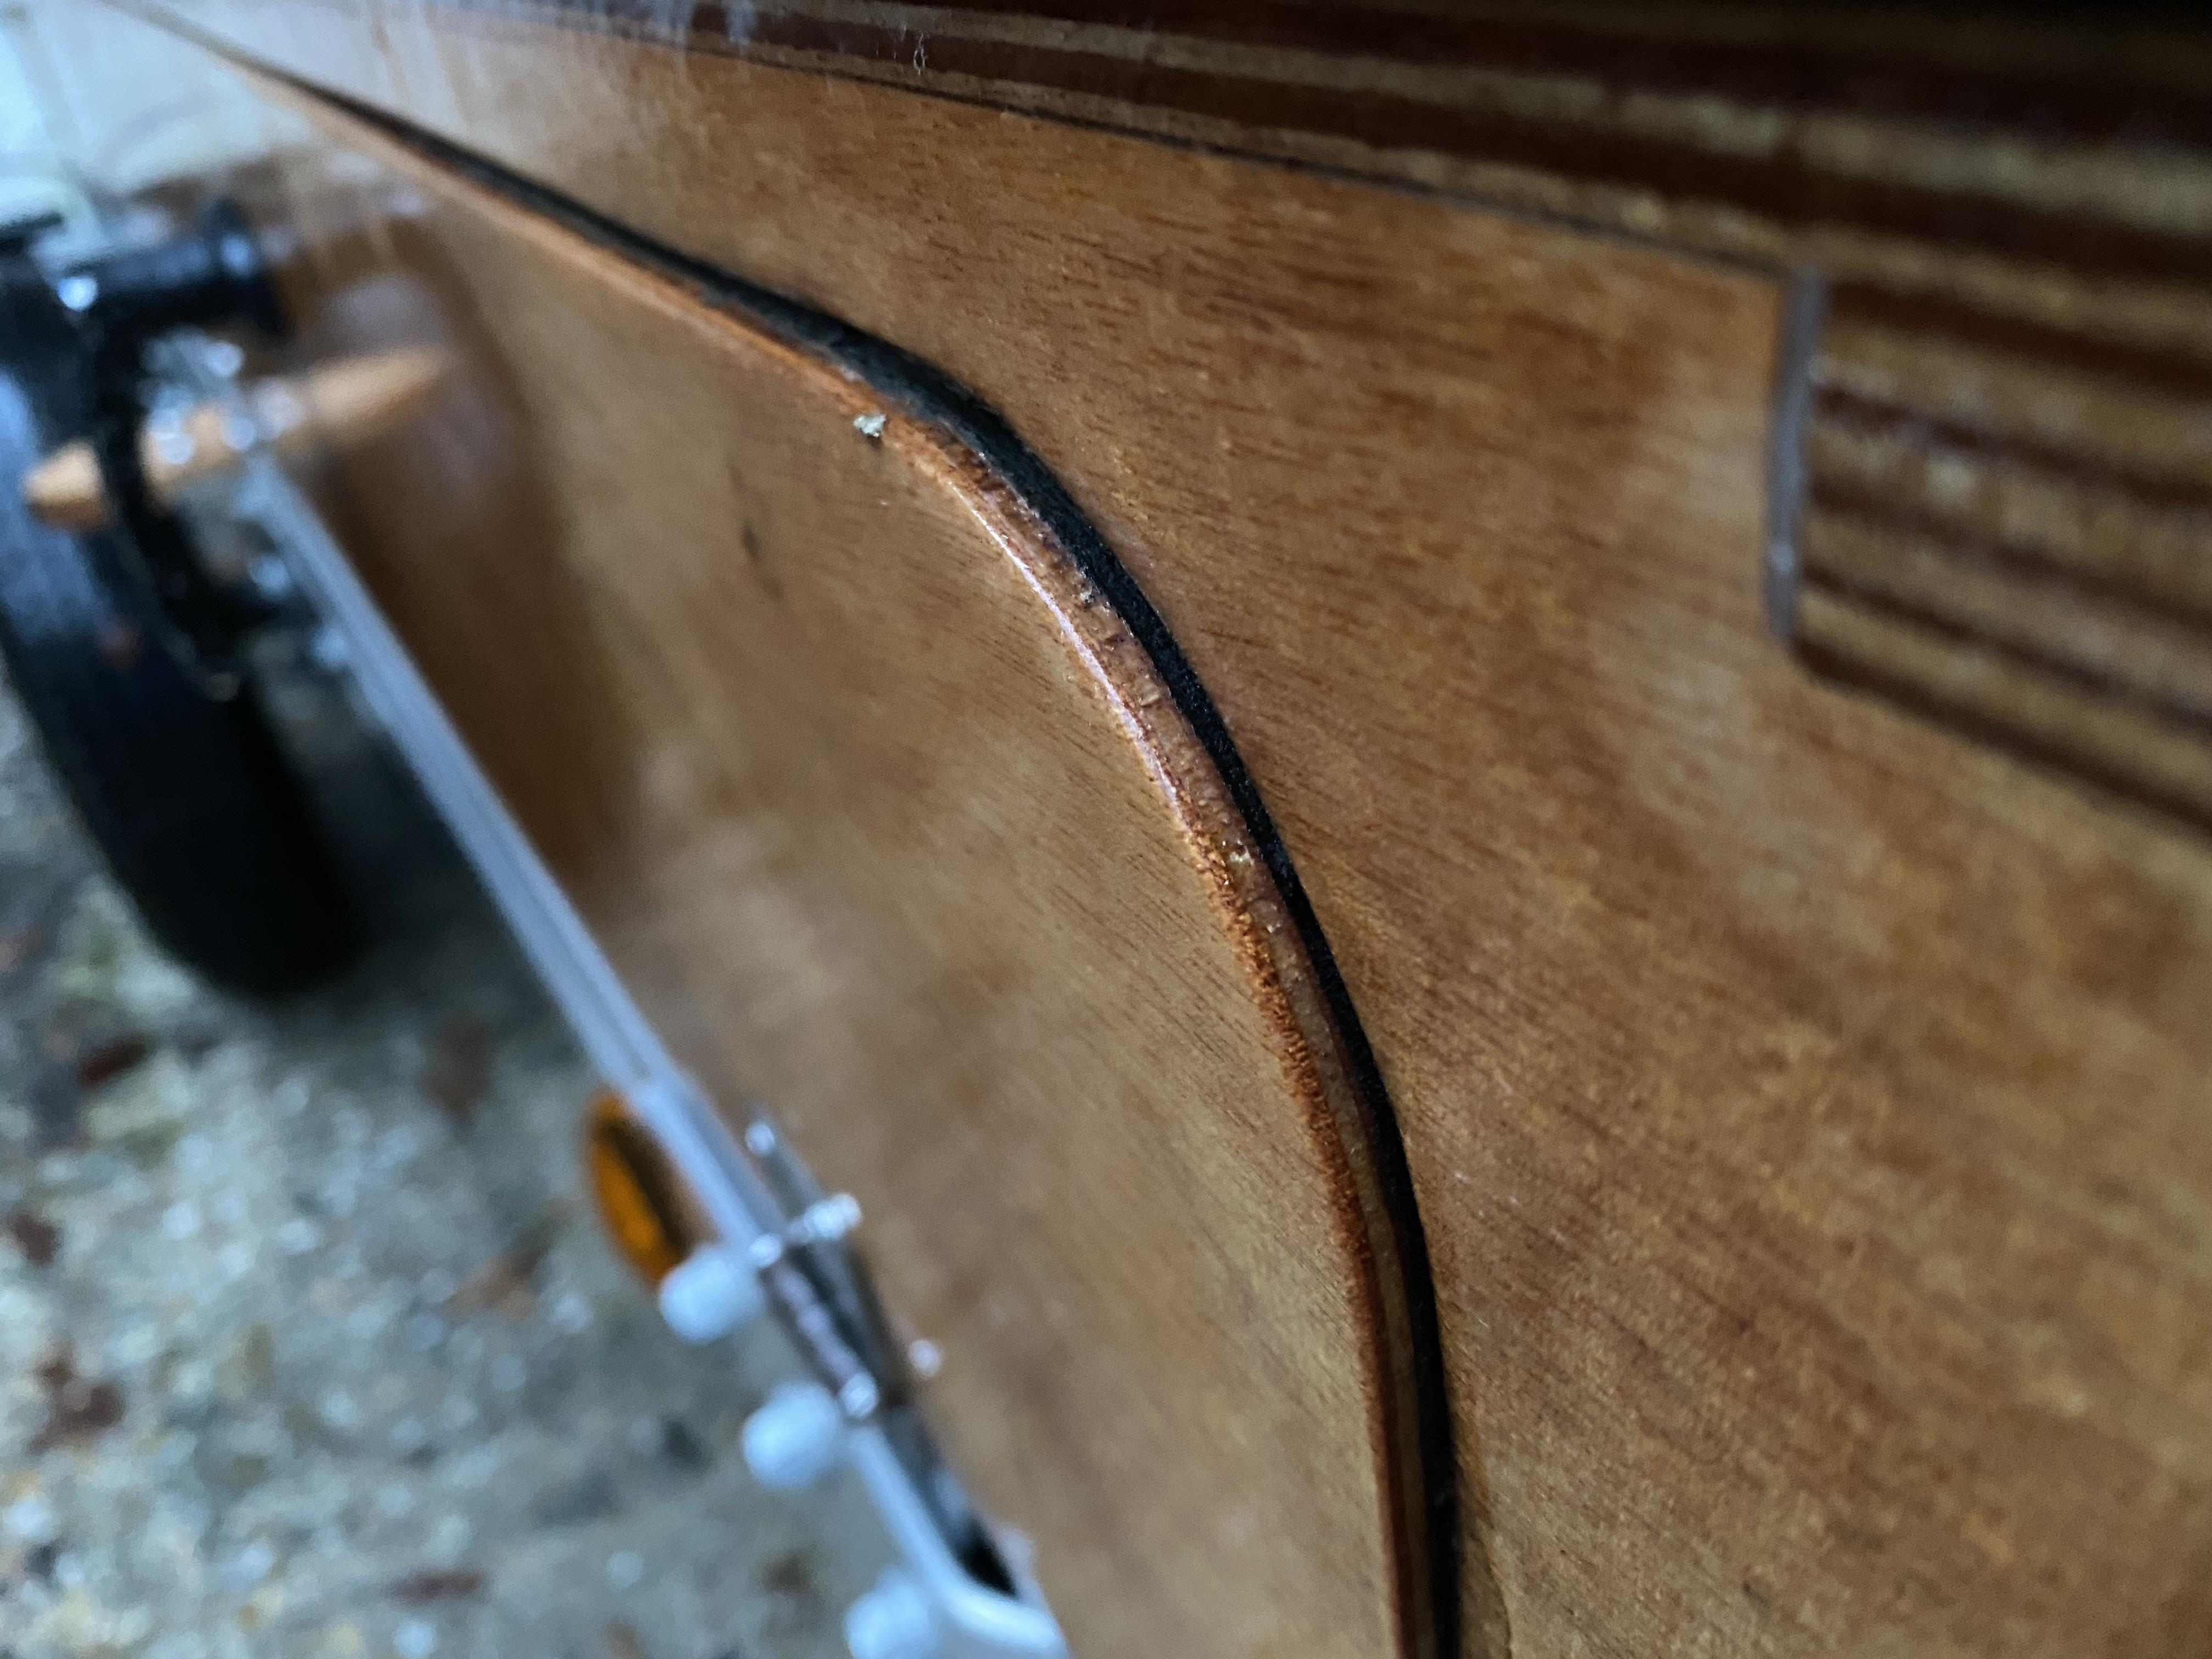
This self adhesive rubber strip compresses sufficiently without distorting the closure of the ICC doors. The ribbed profile prevents water passing the seal.
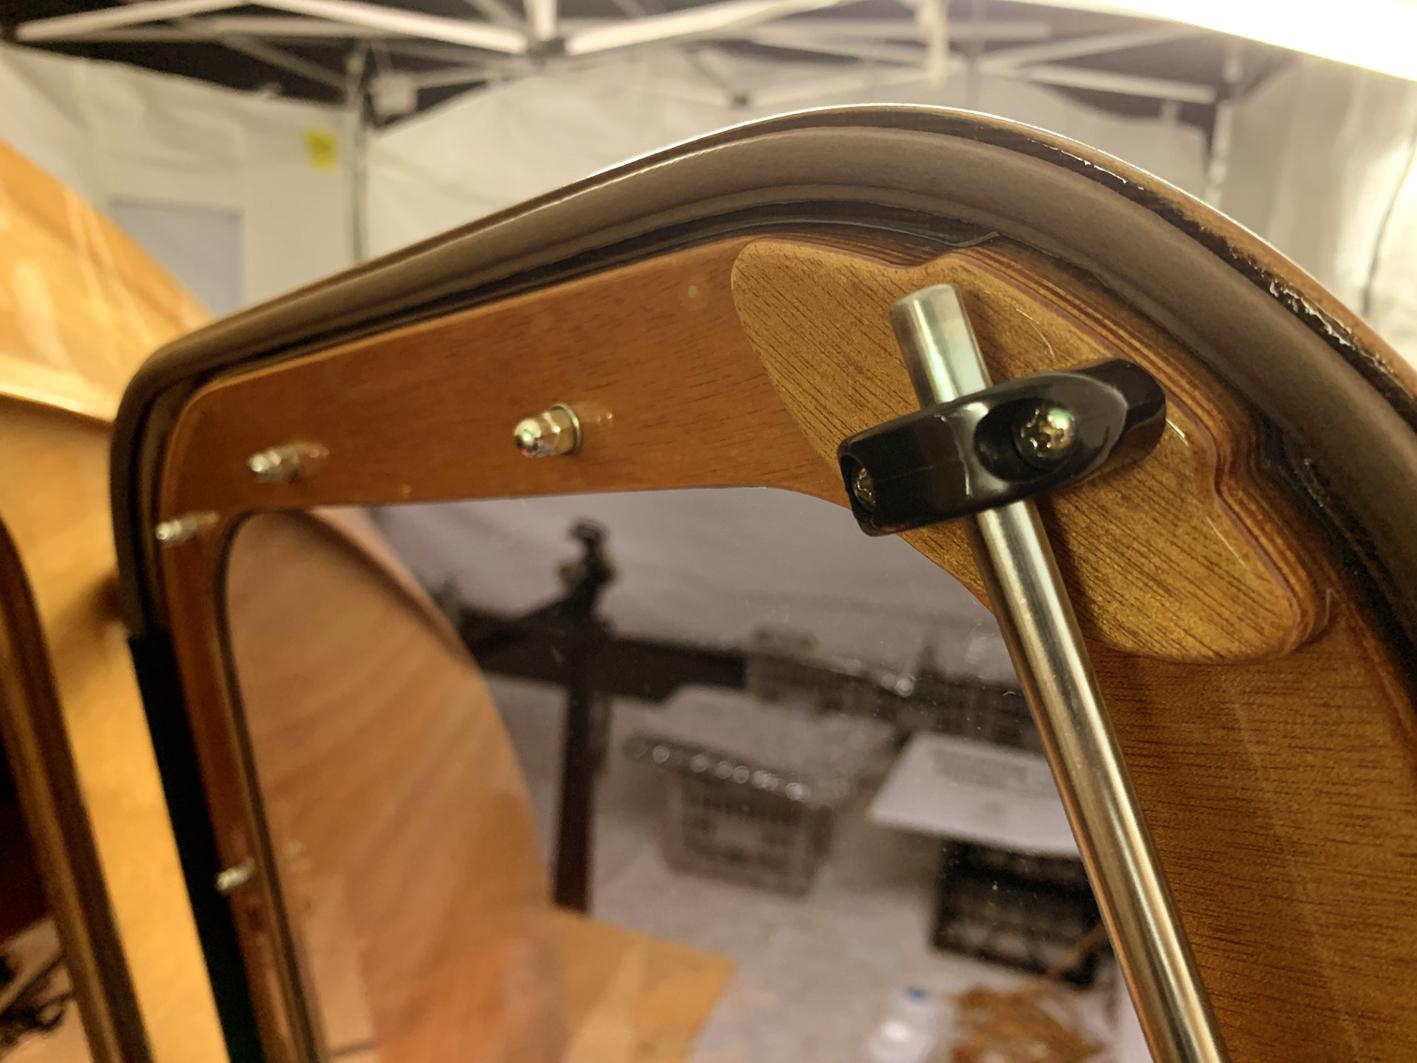
November 17, 2023 at 11:31 pm #21625549ParticipantIn addition to the smaller rubber seal, I replaced the supplied door hardware (as seen above) with a flush stainless compression latch. Apart from having a lower profile and sleeker look, the latch compresses the door on closing …
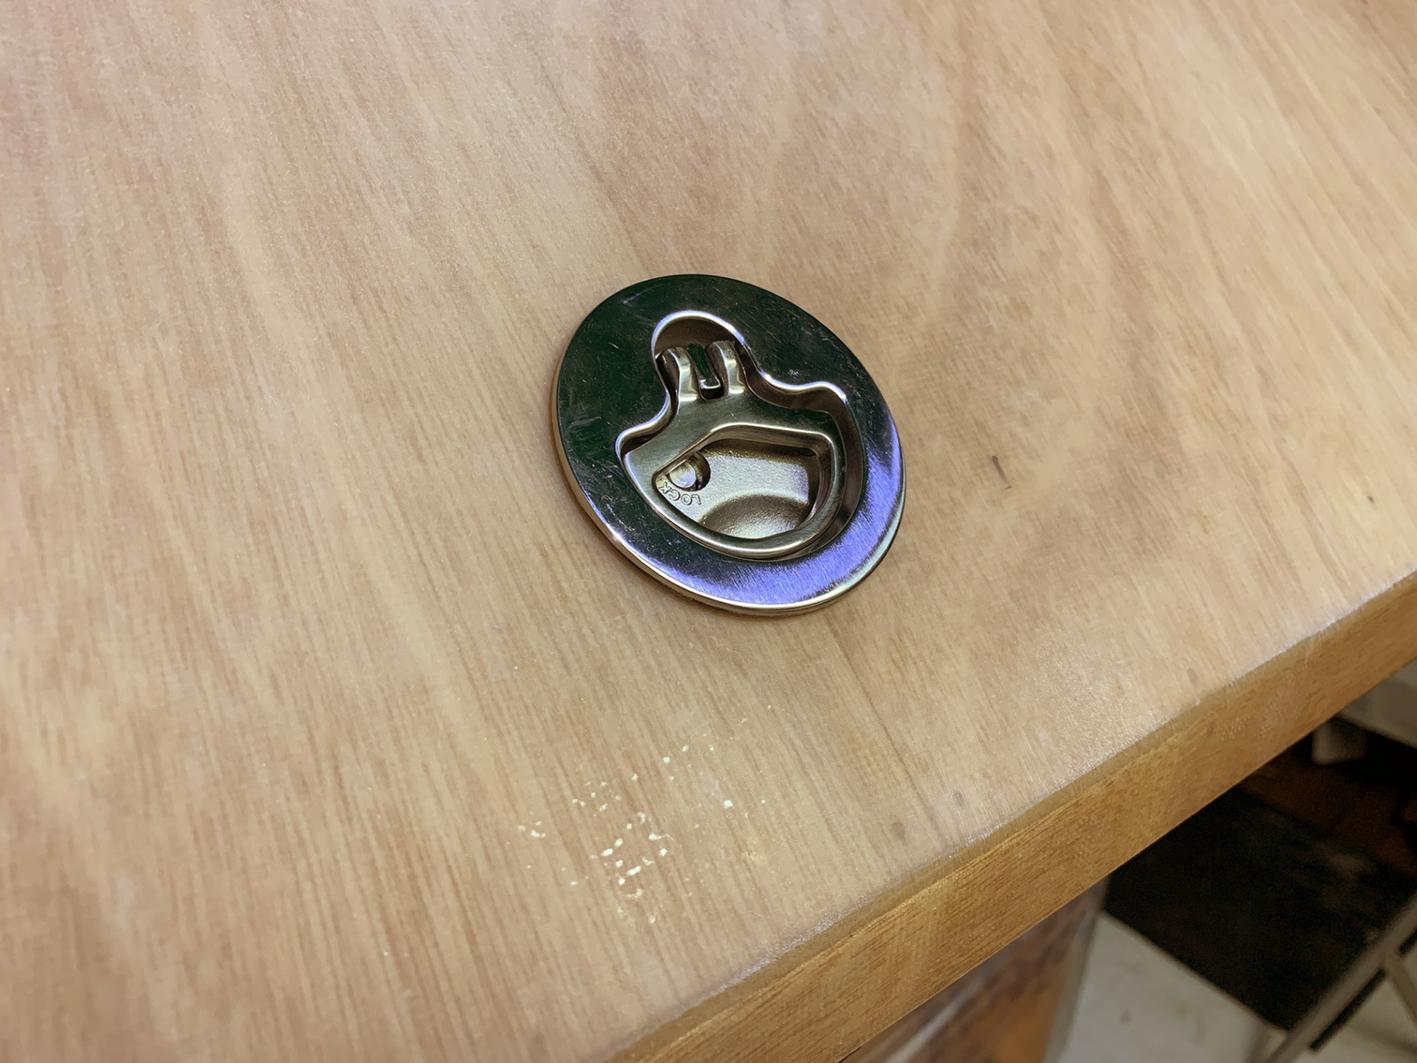
These latches turn to engage the internal tongue with the camper body, then compress down about 3mm as the latch is laid flat. I used them for both ICC doors as well as for the galley hatch. They are also lockable.
November 17, 2023 at 11:53 pm #21625595ParticipantFor the Teardrop doors:
I chose a slightly different seal profile to the ICC doors…
 November 18, 2023 at 12:15 am #21625619Participant
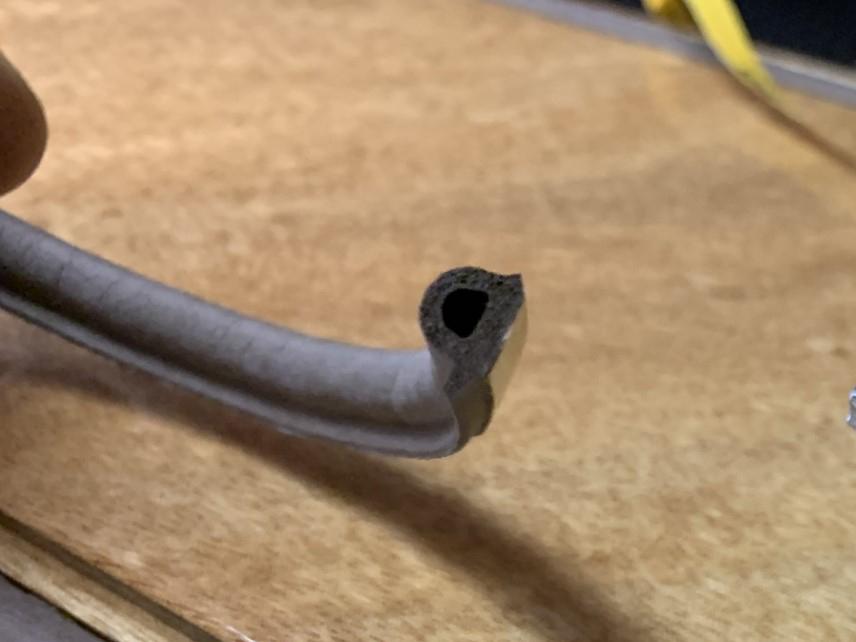 The lower profile seal (compared to the kit supplied foam) seals well, without distorting the ply doors…November 18, 2023 at 12:17 am #21625622Participant
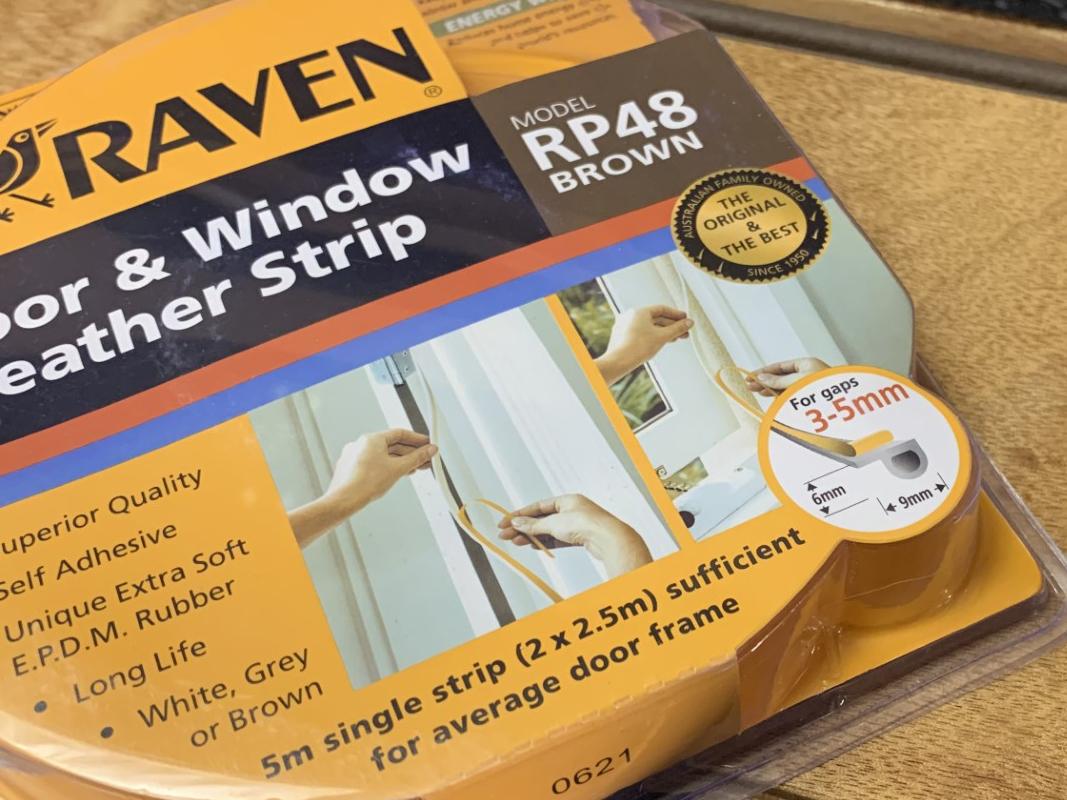
The packaging shows the dimensions of the foam profile…
On a side note, during the build process I added a layer of fiber to the internal surface to stiffen the finished door. This stiffening has also helped to keep the doors leakproof…
November 18, 2023 at 12:23 am #21625632Participant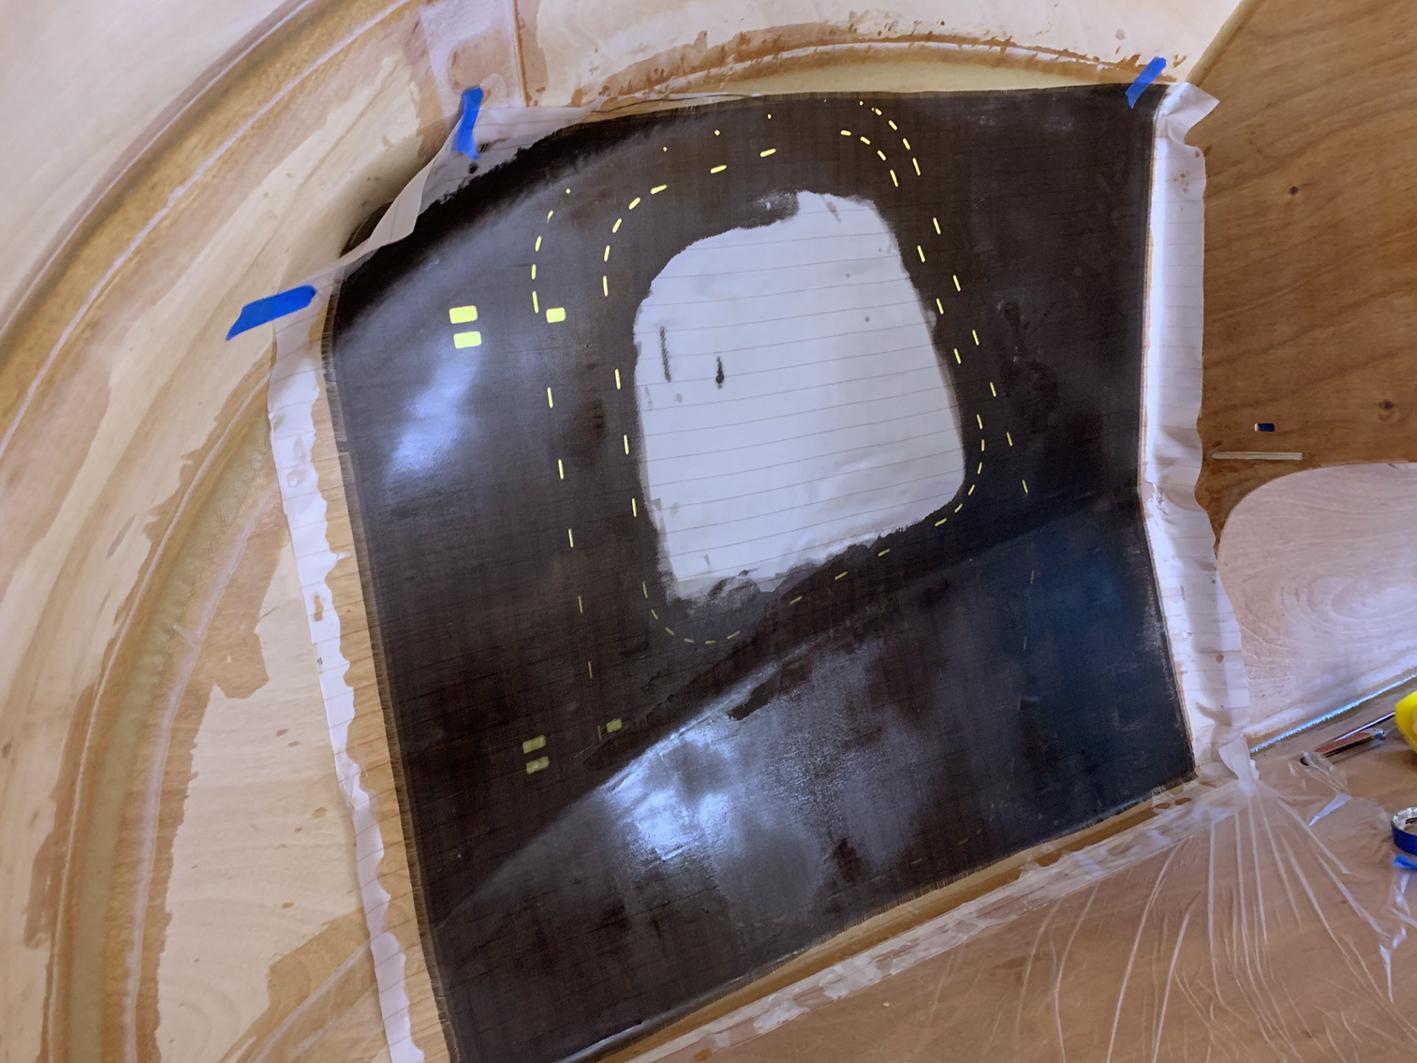
This photo show the layup of (Basalt) fiber internally during the shell construction stage to stiffen the doors (my upgrade). The unwetted center section is me saving resin on the window cutouts!…
November 18, 2023 at 12:33 am #21625642Participant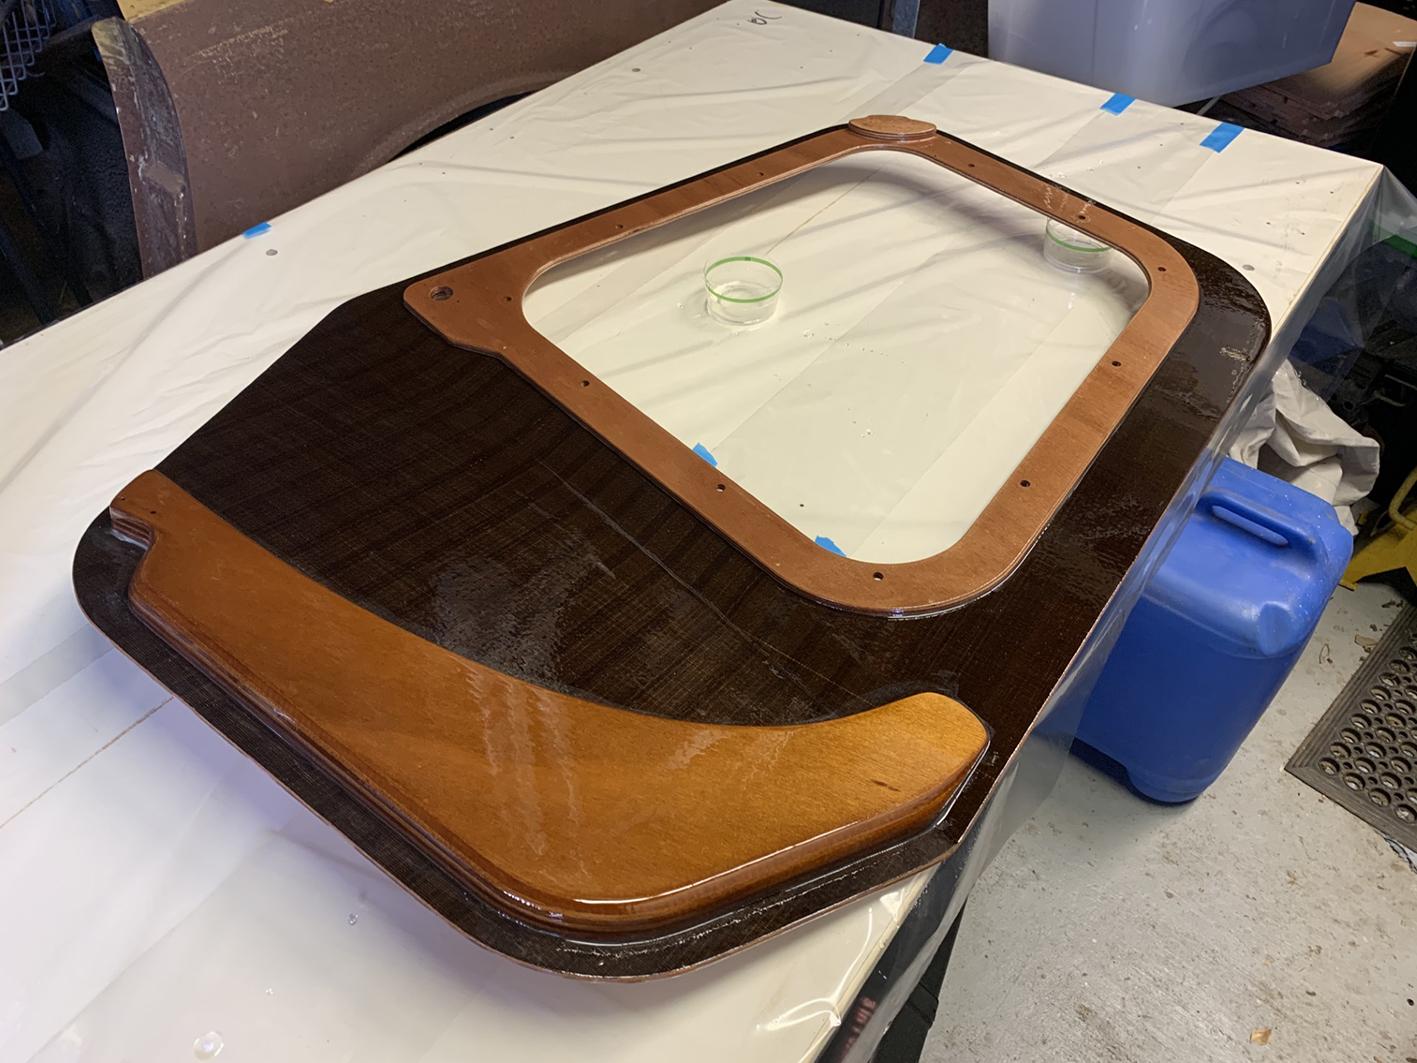
The finished door with stiffening provided by the additional basalt fiber layer. (Could alternatively be fiberglass/carbon etc). I was able to omit the addition of the internal webbing “grab handle” as suggested in the manual.
November 18, 2023 at 12:58 am #21625666Participant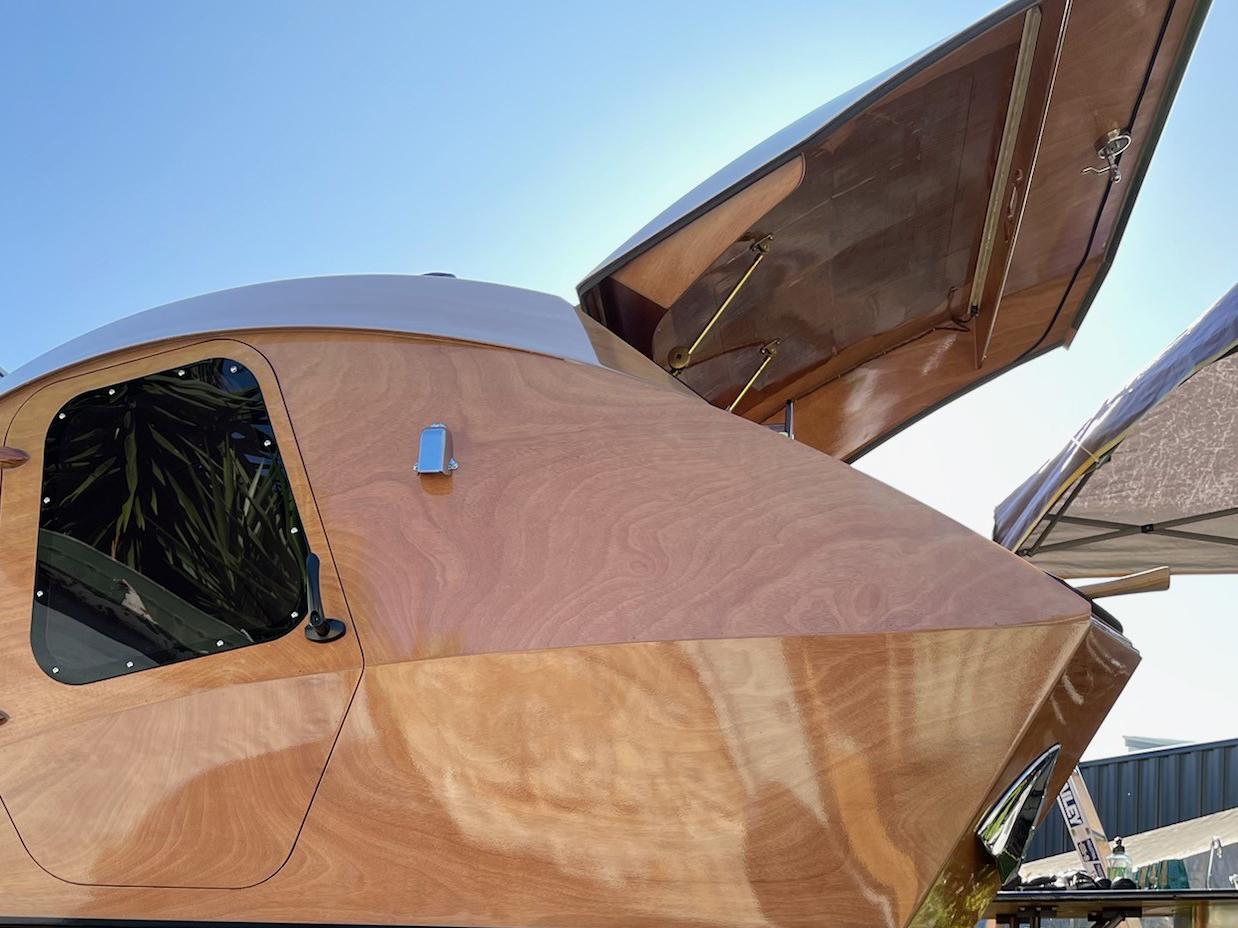
The final piece in the “leakproof puzzle” for me was to add a strip on neoprene foam to the underside of the galley hatch, to match with the rubber gasket on the camper edge below. This can be seen in the picture above. I’m sure each build is different, but on my camper the rear seal didn’t make positive contact with the lid above, allowing dust and water to enter on highway runs…
November 18, 2023 at 1:12 am #21625681Participant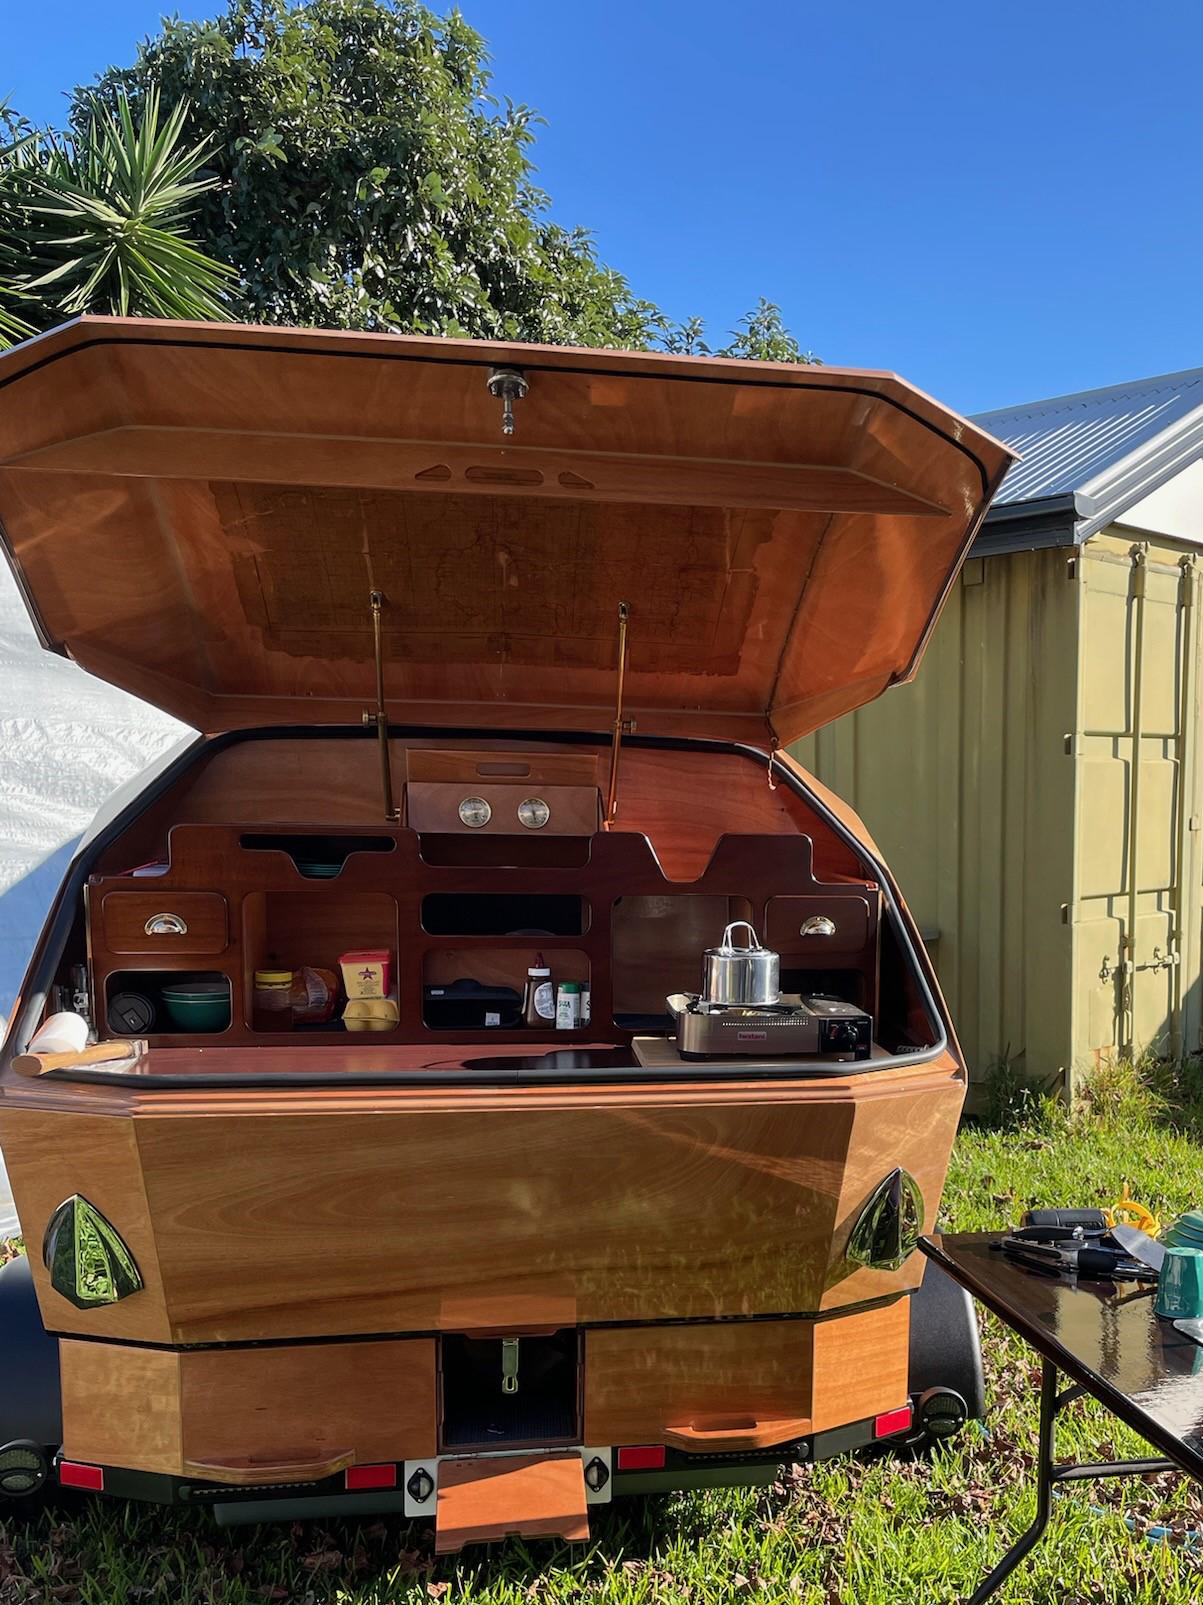
…so this addition solved the problem (top of the photo). The neoprene seal running the full width of the lid is approx 3mm in thickness. Matching the actual profile of the gasket below and transferring it to the lid above was a challenge. I laid the self adhesive neoprene seal on the lower gasket, sticky side up and held in place with the occasional piece of temporary tape across it. The lid was then lowered down onto the seal.
I found the best way to check if the seals were in fact touching was to place a piece of paper between the seals and close the camper lid. The paper was either captured by the seal (success), or able to be slid out (not compressed enough).
April 21, 2024 at 11:13 pm #22138452Peter
ParticipantThose are fantastic suggestions! Thank you for taking the time to share them.
-
This topic was modified 4 years ago by
-
AuthorPosts
- You must be logged in to reply to this topic.