Forum Replies Created
-
AuthorPosts
-
Bob D.
ParticipantHoly crap what a pain in the ass the bottom was. So damn much epoxy. I think I used a good half gallon. What little was left over was spread around the interior when I started feeling the cup get warm. That happened twice and the last time it was getting sticky while brushing on but it came out just fine and is not critical, nor visible. Just need a layer to keep condensation from attacking the wood.
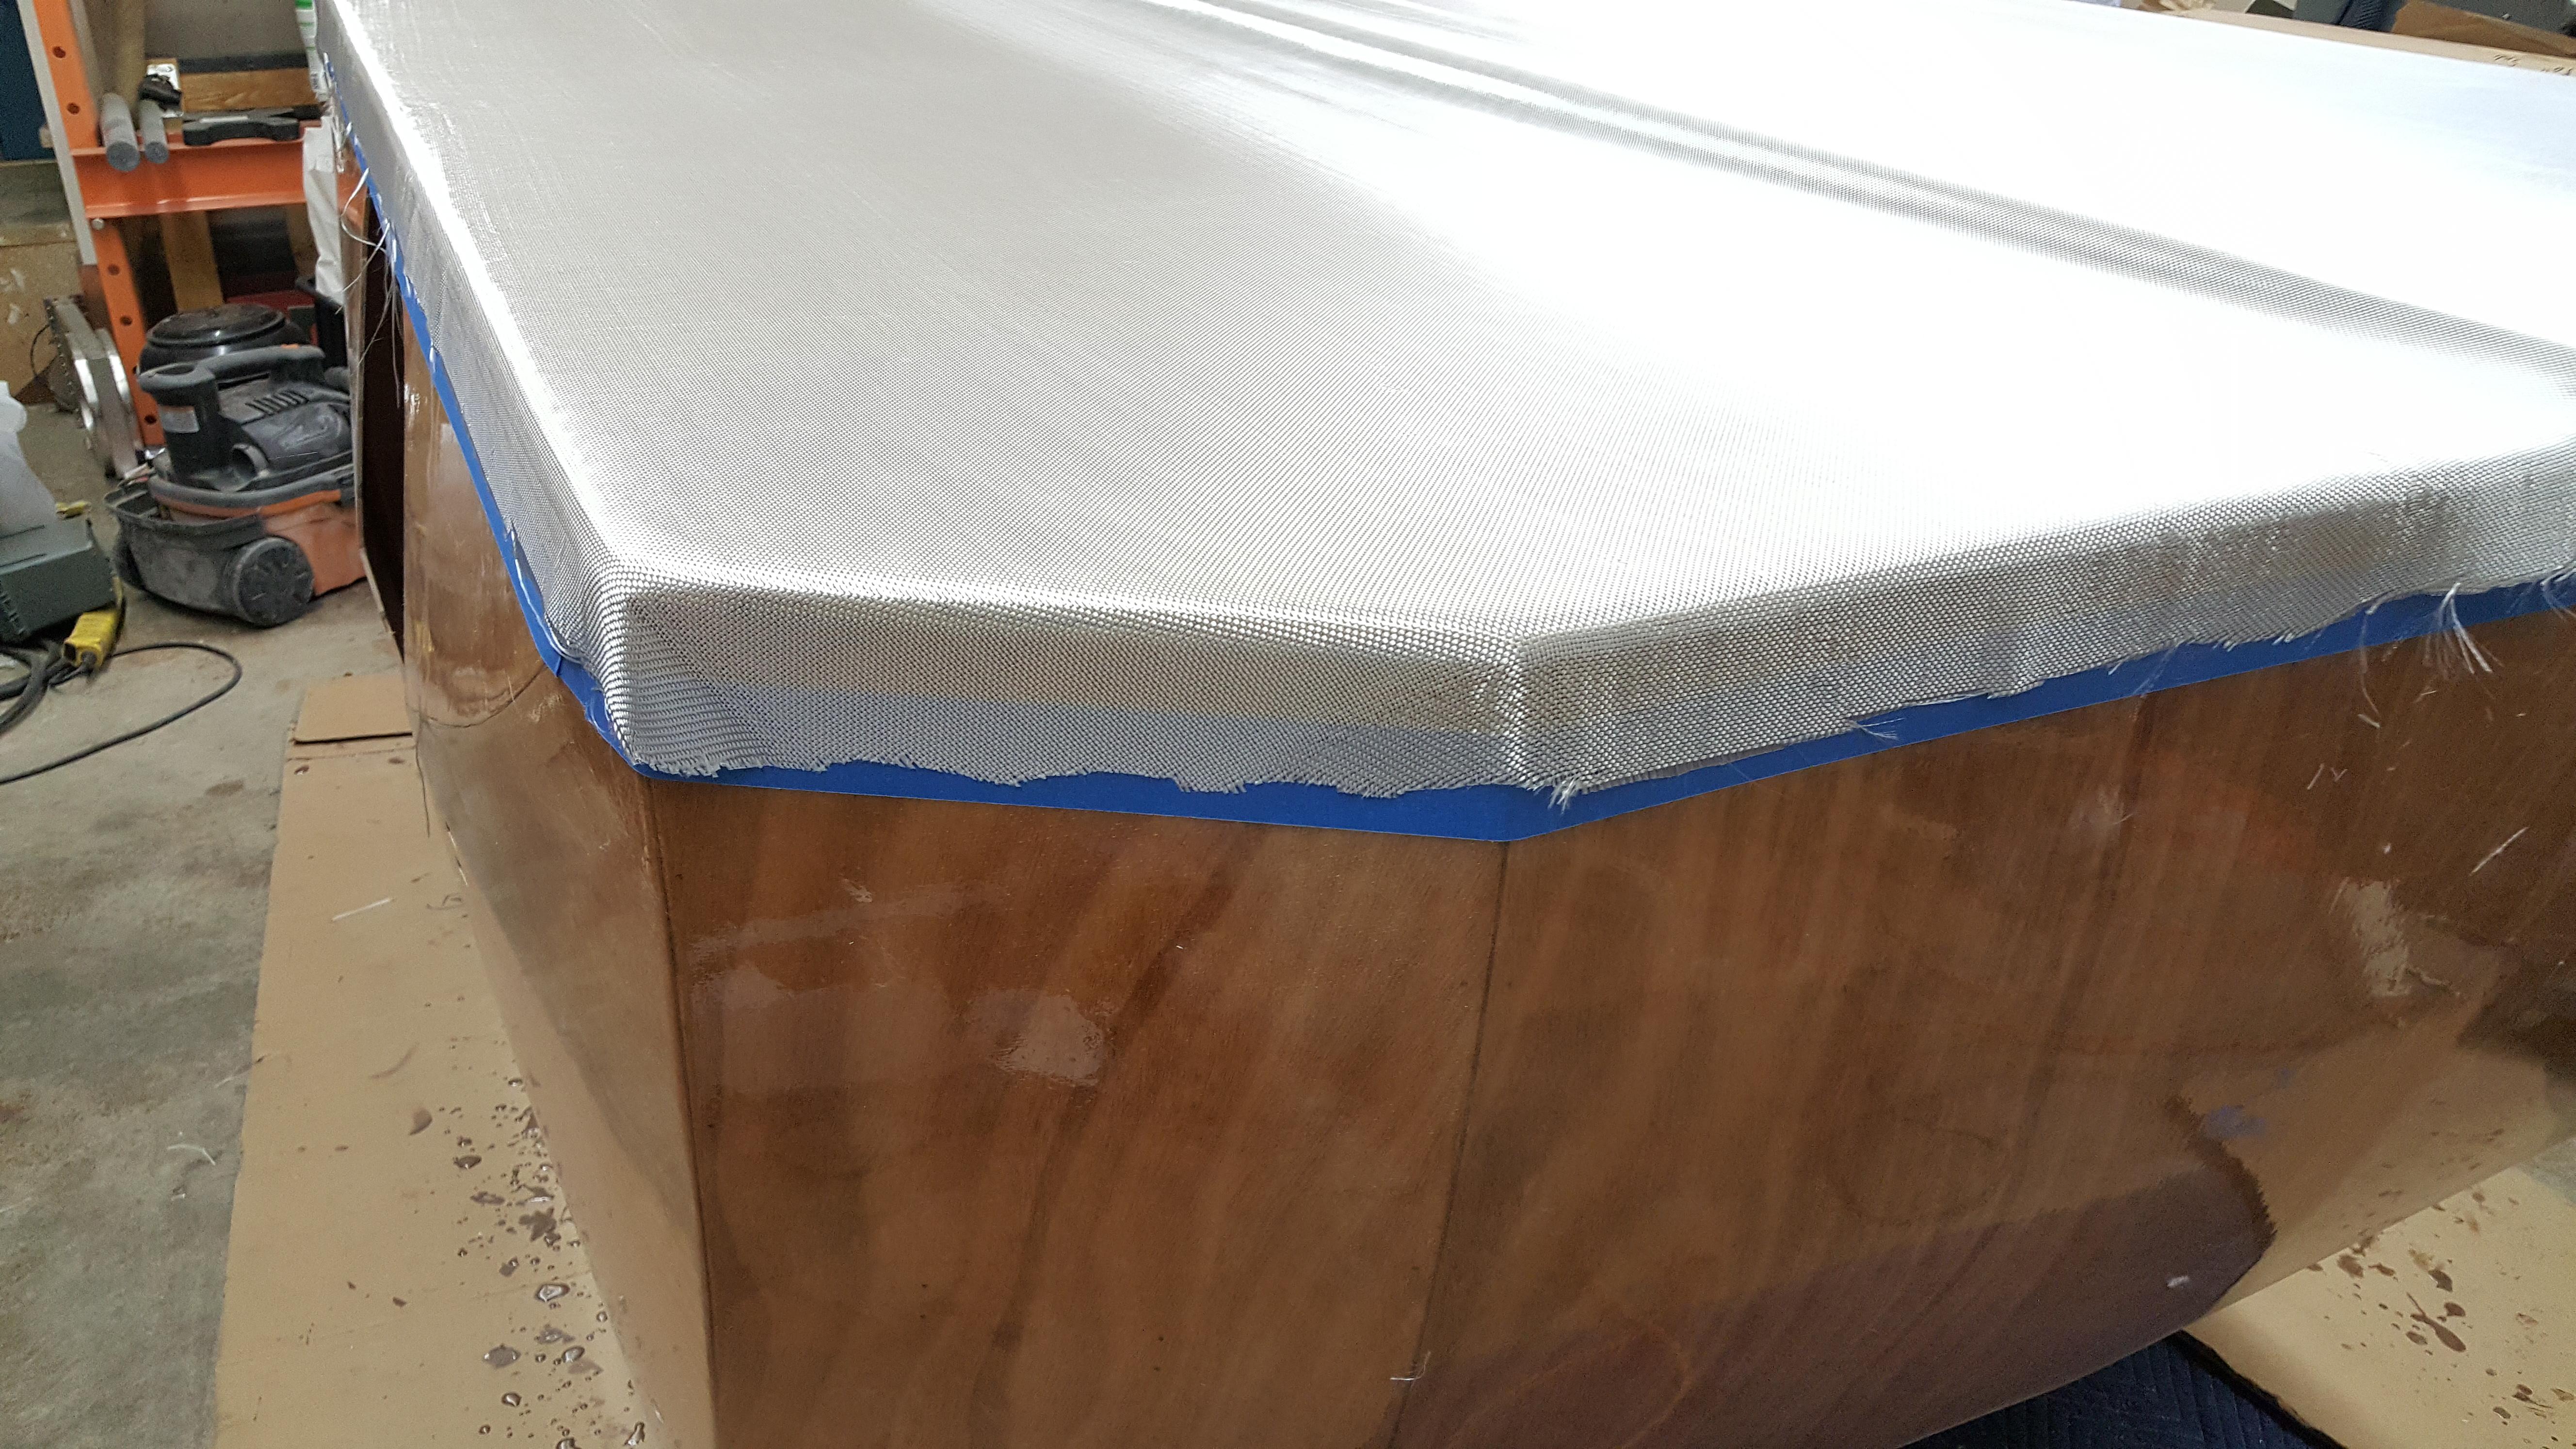
Also, I used blue painters tape around the border where the glass was going down, epoxied everything above the blue tape. I then went in with a rotary cutter to trim and this is the second time doing that and it worked perfectly. Ya gotta be careful with the pressure to cut the wet glass and not dig in too far into the hardened stuff below. If you get the timing right, the epoxy sags just enough to fill in that little cut/groove the rotary cutter makes and it comes out exactly right. No worries if not, the fill coat later will take care of it.

Also, I have a question into Ed @ CLC specifically asking about varnishing over the black interlux polyurethane marine paint that CLC sells. Do I need to mask it off? Should I varnish first? etc. I’ll post back when I hear. This is coming up very quickly. I expect to paint the bottom Friday or Saturday depending on how fill coats go over the next day or two.
I’m still trying to bust my butt to get this thing done (enough) to use 6/24 through 6/25.
-Bob
-
This reply was modified 6 years, 10 months ago by
Bob D..
ParticipantHoly crap what a pain in the ass the bottom was. So damn much epoxy. I think I used a good half gallon. What little was left over was spread around the interior when I started feeling the cup get warm. That happened twice and the last time it was getting sticky while brushing on but it came out just fine and is not critical, nor visible. Just need a layer to keep condensation from attacking the wood.
Also, I used blue painters tape around the border where the glass was going down, epoxied everything above the blue tape. I then went in with a rotary cutter to trim and this is the second time doing that and it worked perfectly. Ya gotta be careful with the pressure to cut the wet glass and not dig in too far into the hardened stuff below. If you get the timing right, the epoxy sags just enough to fill in that little cut/groove the rotary cutter makes and it comes out exactly right. No worries if not, the fill coat later will take care of it.
Also, I have a question into Ed @ CLC specifically asking about varnishing over the black interlux polyurethane marine paint that CLC sells. Do I need to mask it off? Should I varnish first? etc. I’ll post back when I hear. This is coming up very quickly. I expect to paint the bottom Friday or Saturday depending on how fill coats go over the next day or two.
I’m still trying to bust my butt to get this thing done (enough) to use 6/24 through 6/25.
-Bob
ParticipantLooks fine to me. Just sand smooth and don’t try to sand into the glass. Leave the low spots low and fill in later.
ParticipantThanks for the tip. I was planning on using a router and am glad somebody tried before I did. What radius did you use? Something like half inch? 3/4″ ? I will be flipping it over tomorrow to deal with the butt block and prep for glassing so I’m nearly ready to round over.
I need this thing done for 6/24 and 6/25 (ARRL Field Day (ham radio thing)). One door has been cut out after epoxying in the window sill and door stiffener. It came out and held its shape… for now. I just epoxied in the door stiffener on the other side earlier today so I’ll cut the door out tomorrow. I managed to cut the fiberglass for one side short so instead of patching in a very visible place, I just used a whole new piece. I *might* have enough for the bottom but wasn’t taking chances and ordered 5 yards from CLC earlier this week and it showed up today so I’m ready to go.
-Bob
-Bob
ParticipantThe transom isn’t installed yet.
ParticipantSo at the risk of being the jerk that hijacks threads…. here goes (and I’ll do better in the future).
I’m wrong about clamping force squeezing out too much glue. I read up on it last night and there is no way these spring clamps can squeeze so hard that it would weaken the joint in any significant way -IF THIS WERE WOOD GLUE. Here’s some useful info with experimental data and such: http://woodgears.ca/joint_strength/glue_methods.html
I don’t know how epoxy behaves in a test like this so I retract my above comment. I did end up using spring clamps a plenty for my window sill install because, no surprise, the side of the camper isn’t at all flat but the sill is flat. Clamping these parts together absolutely did change the shape of the door and whole side. Bummer.
The manual says something about buying a bunch of extra 1/16″ drill bits cuz we’ll break them. I didn’t break any so I’m using them as alignment dowel pins for the window sill, and later the door stiffener.
Here’s where I am right now:
 Participant
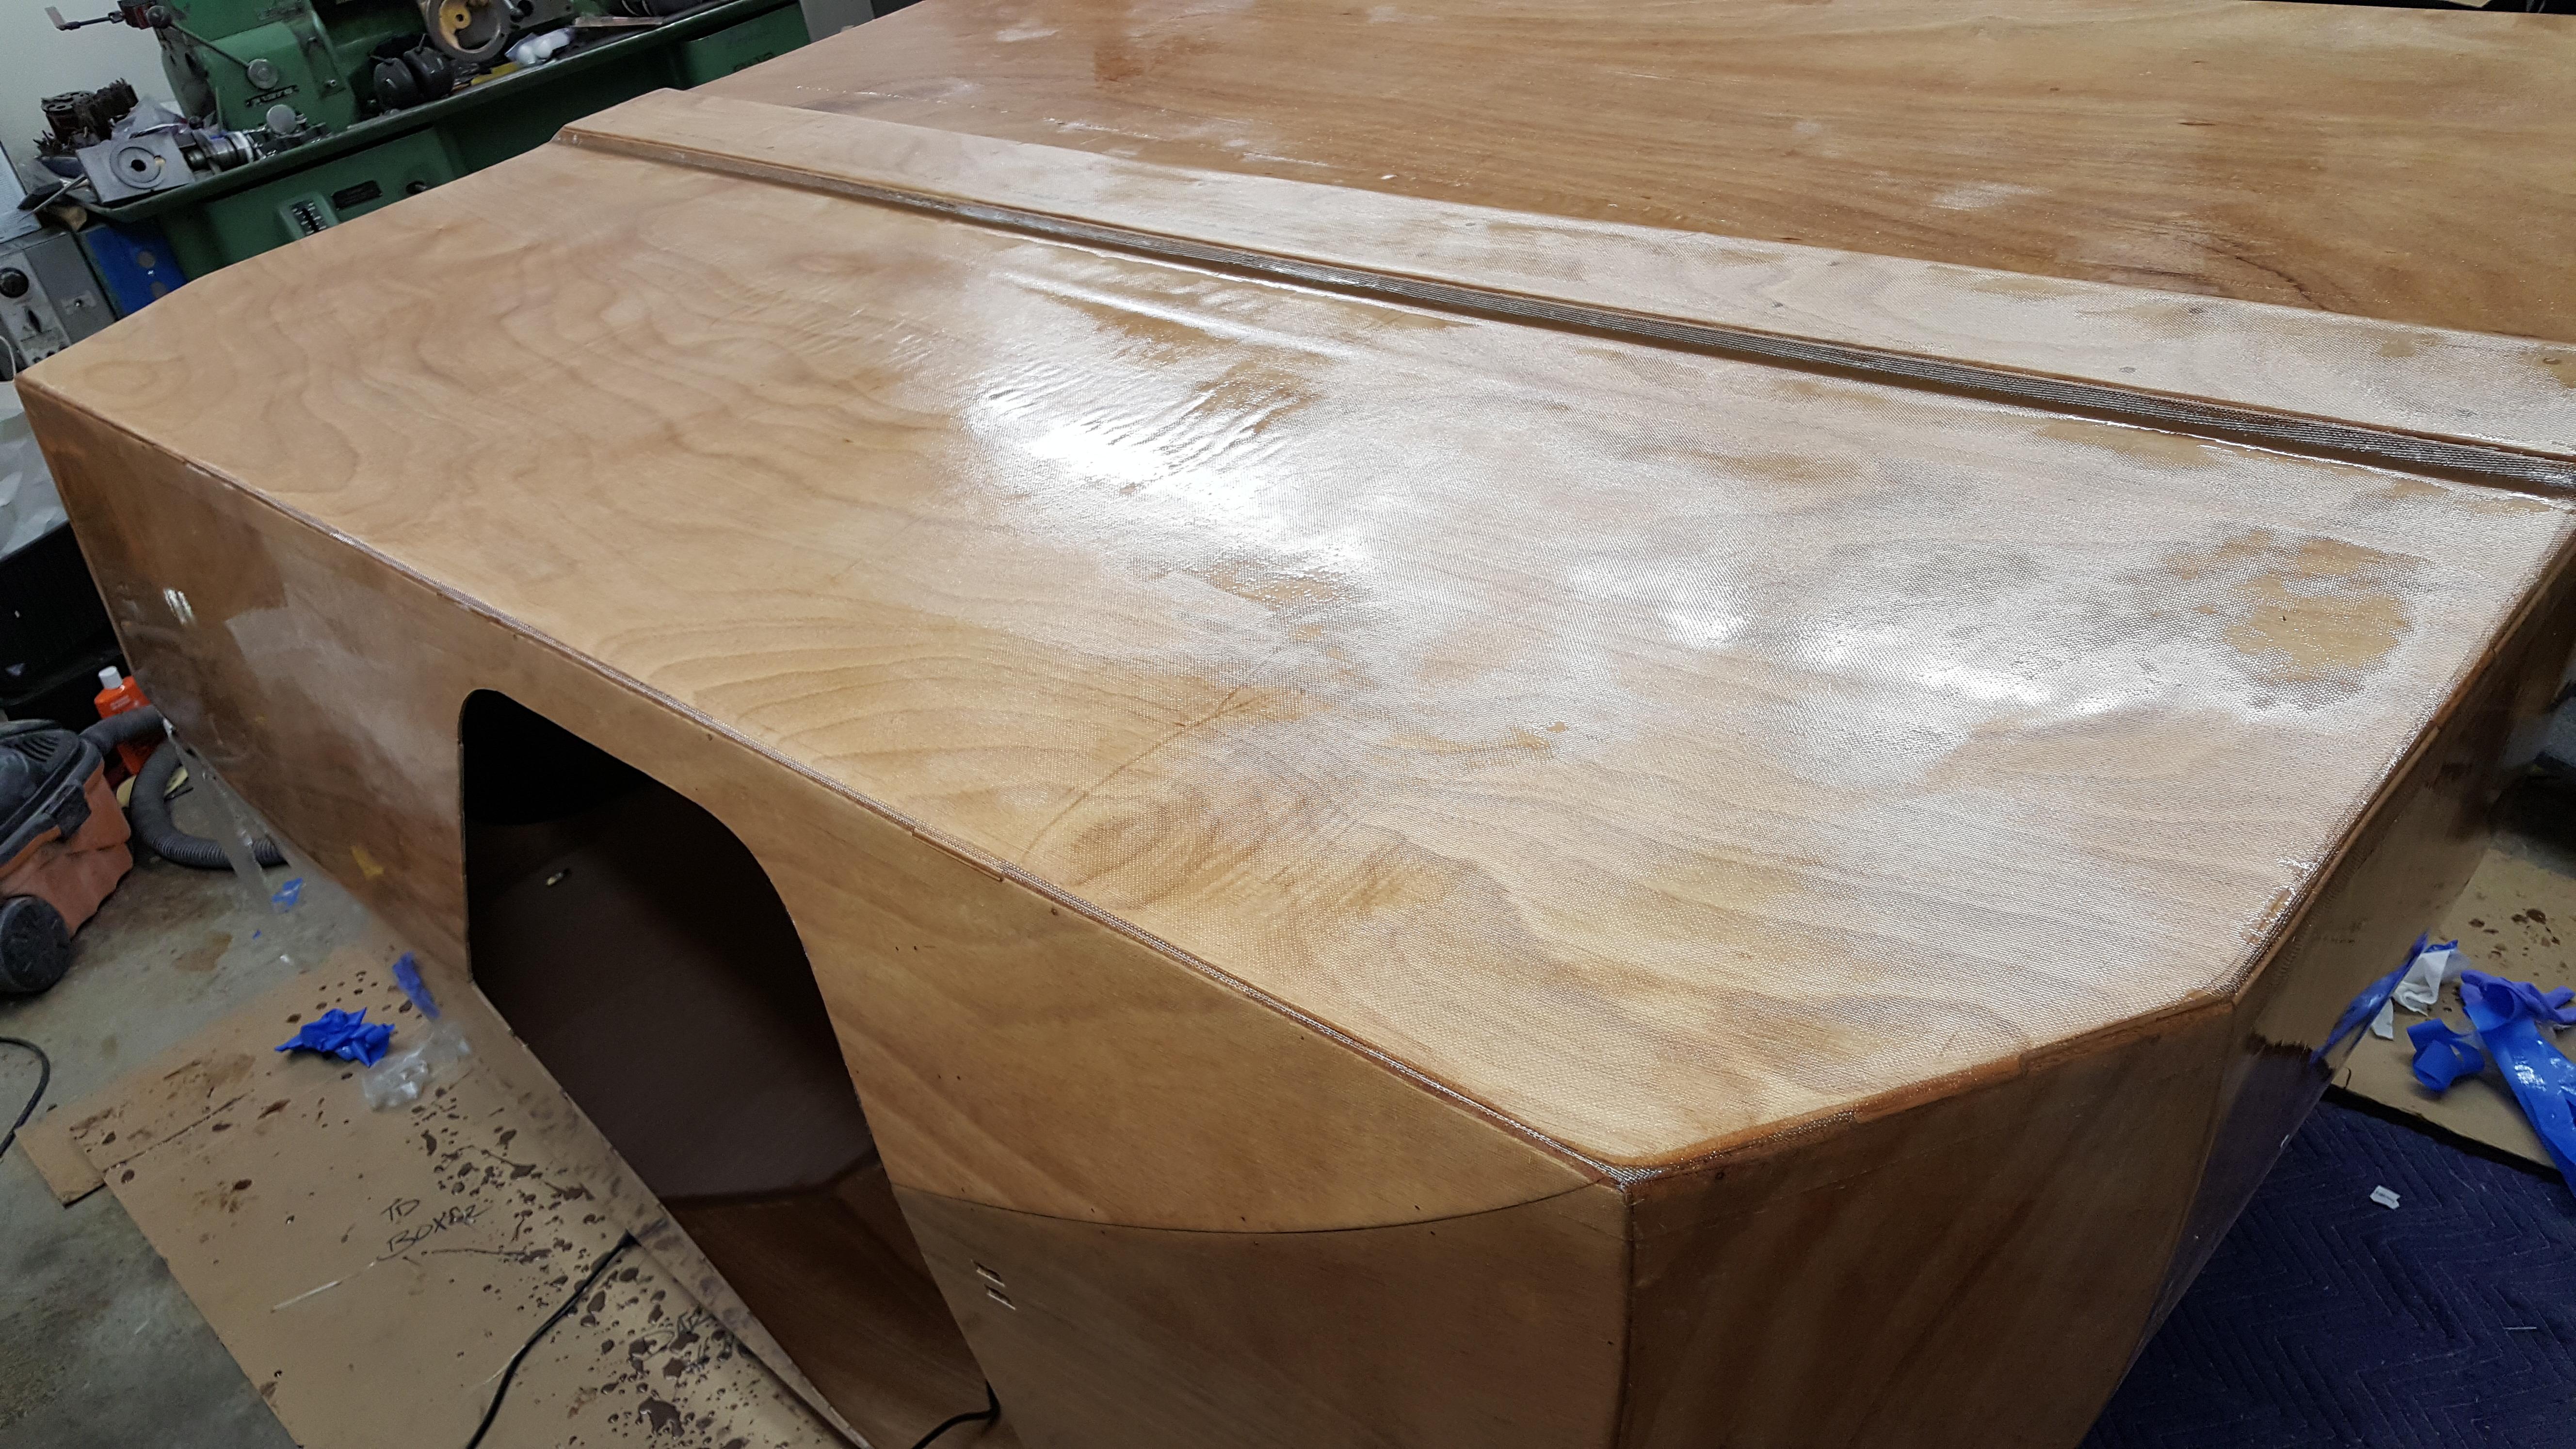
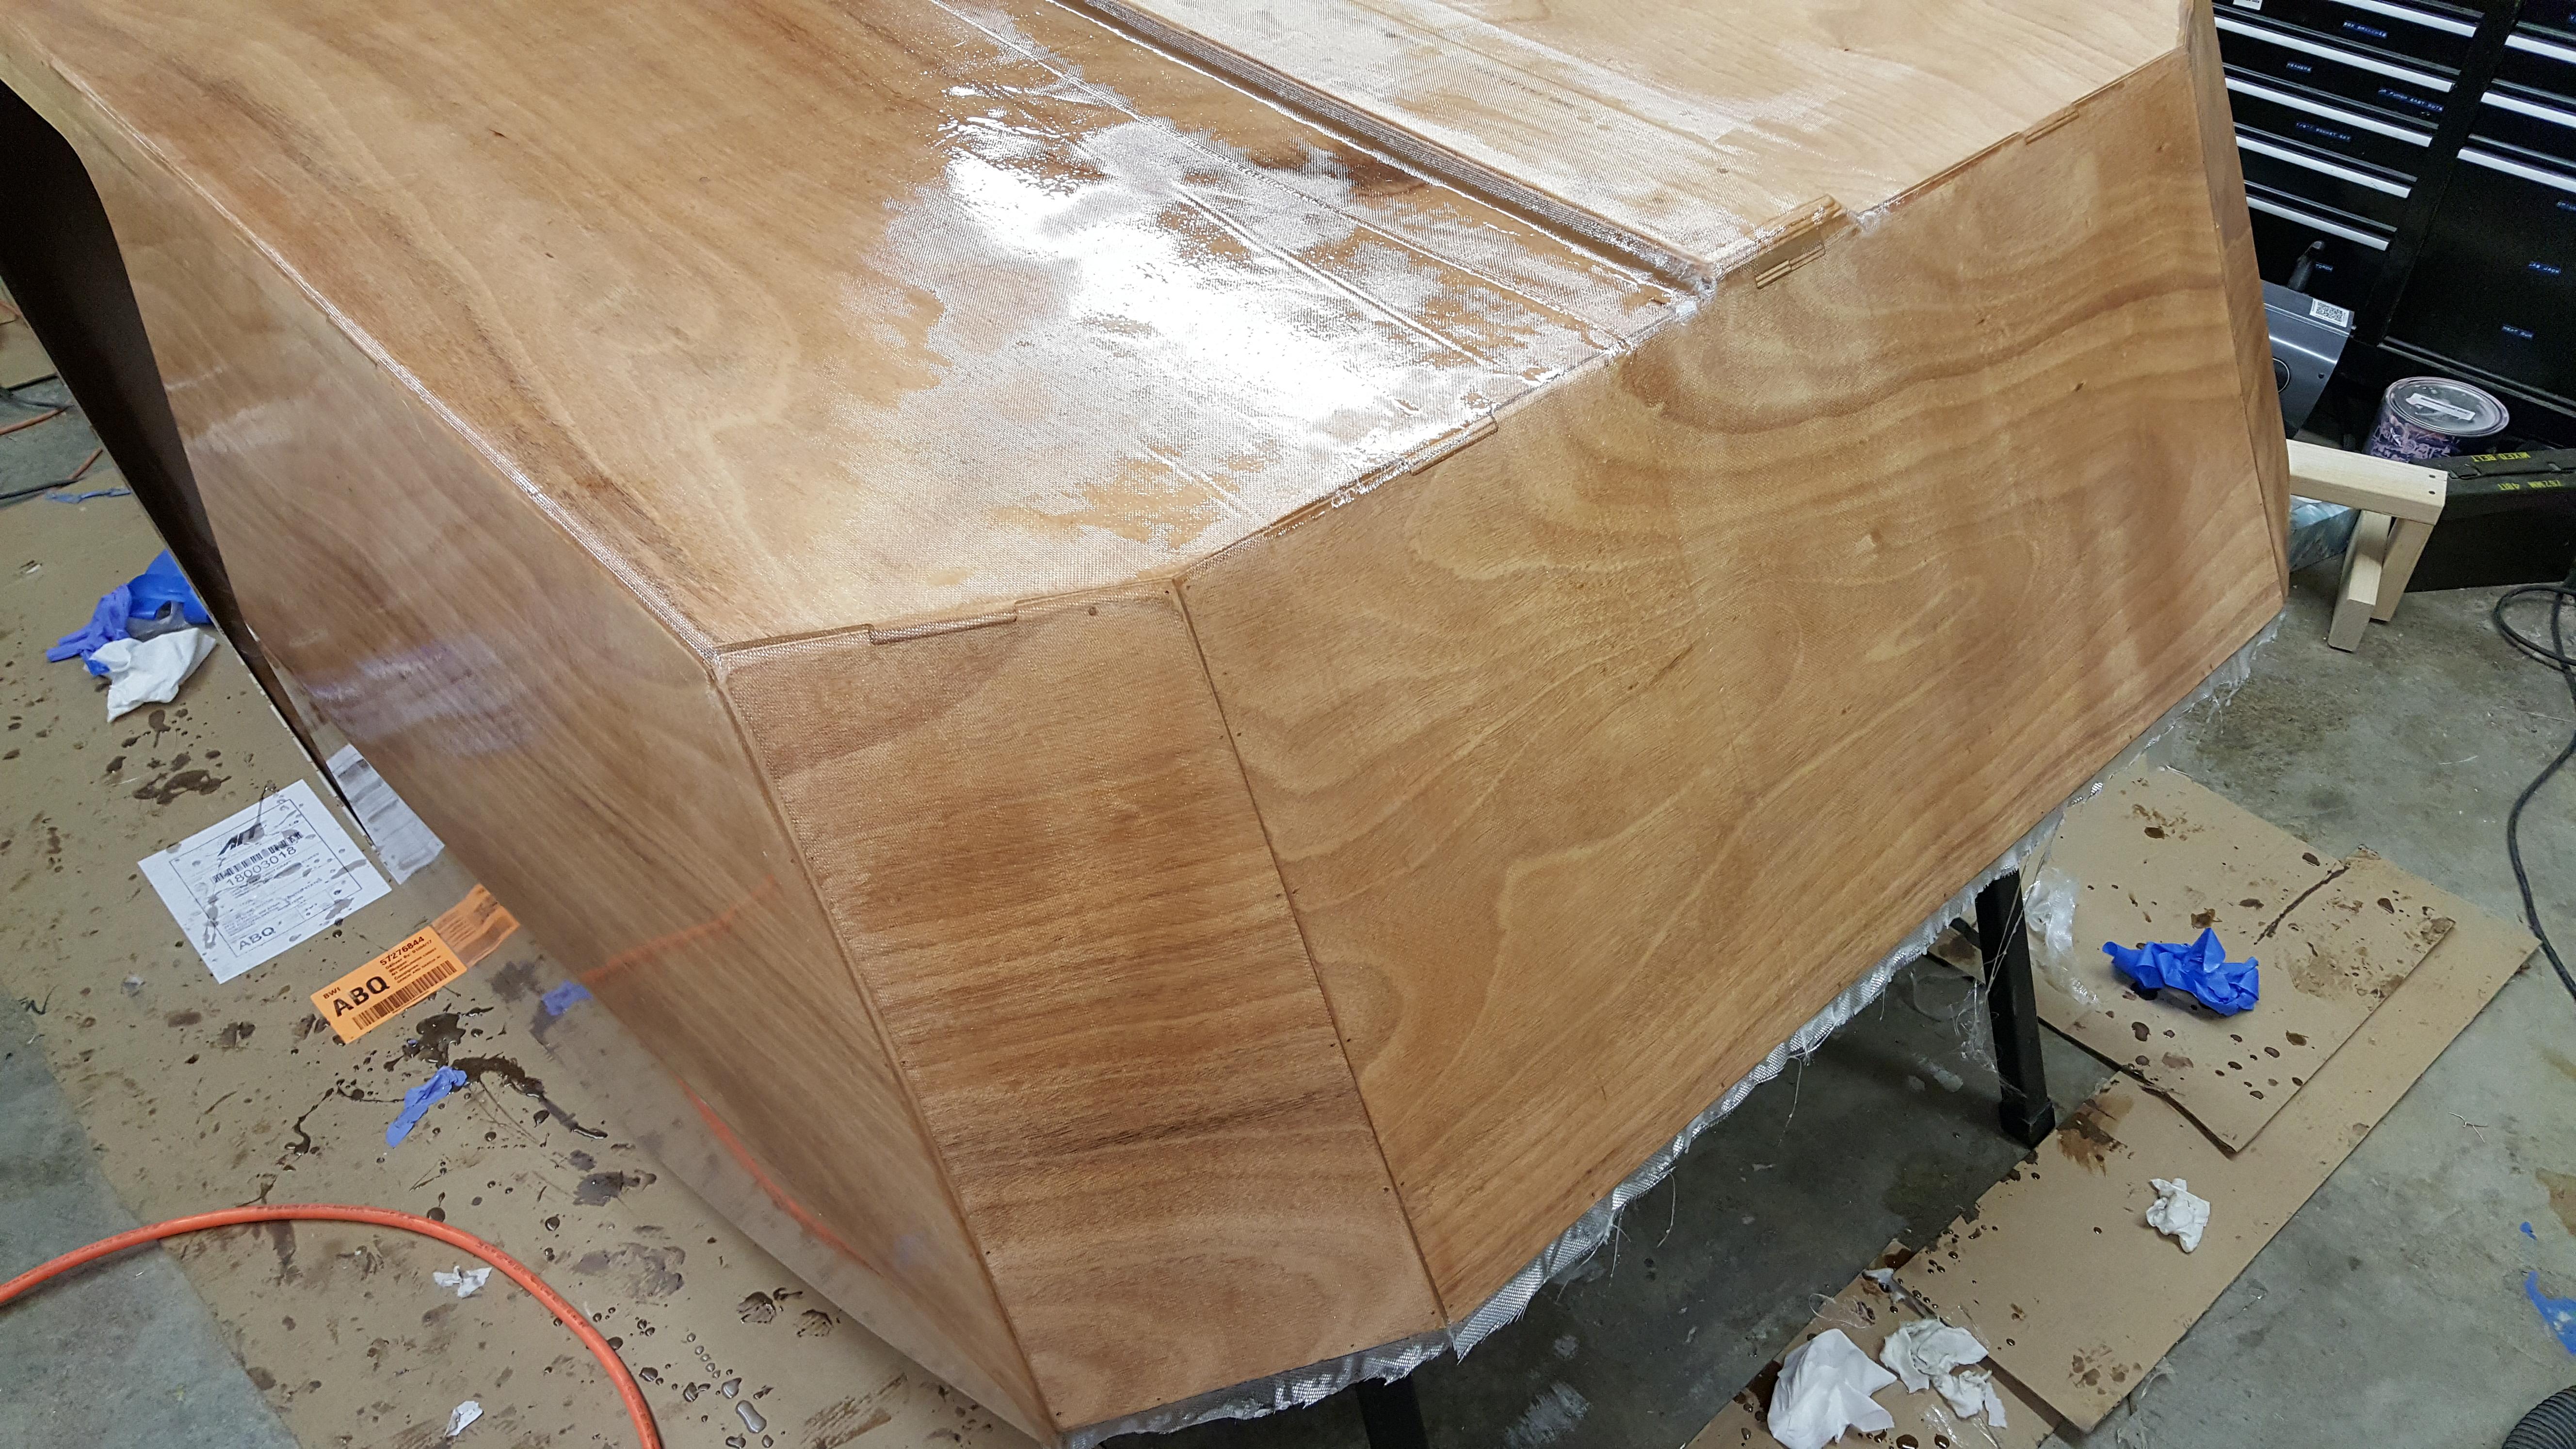
I deviate from the manual all the time. Mostly it’s to streamline the build. The biggest example is I had the roof box installed and fiberglassed in (from the outside) before ever applying the 2nd epoxy fill coat. I did the fill coat on the roof box while sanding the first fill coat smooth. Did that a week ago, and only just last night cut out the galley hatch. Next up, door windows. Not the doors. I’m doing that so I can install the stiffeners and window sill (forget the official name) before cutting the door out in the hopes that everything fits later. I think one of the big problems with the doors is due to how many clamps people are using. If you squeeze the door to another part that doesn’t exactly match it, two things happen. The parts change shape, and you squeeze out all the adhesive. You’d never do that in a woodshop, so why do it when building a camper?
-Bob
ParticipantUnless there was an art collector with a major fetish for pretty teardrop campers, you’d likely be hard pressed to get more than $5k for one of our pieces of rolling art.
Maybe check with an insurance company and get it appraised and insured?
May 5, 2017 at 12:48 pm in reply to: how important is the 2" fiberglass overlap on the top of the TD? #770ParticipantYou’re probably just fine the way it is now.
ParticipantUse a little anti-seize on the threads to prevent galling. I learned about this phenomena the hard way when bolting an ISO flange together. The nut/bolt was still loose on the flange but the nut kept getting tighter even though there was still a lot of travel left. I then tried to back it off and it got even tighter! Had to use a grinder to get the bolt off and started over using a little anti-seize (aka, personnel seeking compound because it gets everywhere).
I think the stainless hardware supplied with the Trailex trailer is aluminum or tin plated to do exactly this without the mess.
-Bob
ParticipantDitto. Just got the email about it today. I haven’t opened mine so I don’t know for sure if it’s the wrong one, but I don’t want to screw around with it. I bought the camper because of how it looks, and the odd version of this fan throws off that look. A lot.
-Bob
ParticipantMan, that’s looking really nice. I’m officially on page 101 if you ignore the 2nd coat of epoxy still TBD in the bottom / foot area. Tomorrow I’ll assemble the bottom. I may even open up the galley kit to start rounding over corners.
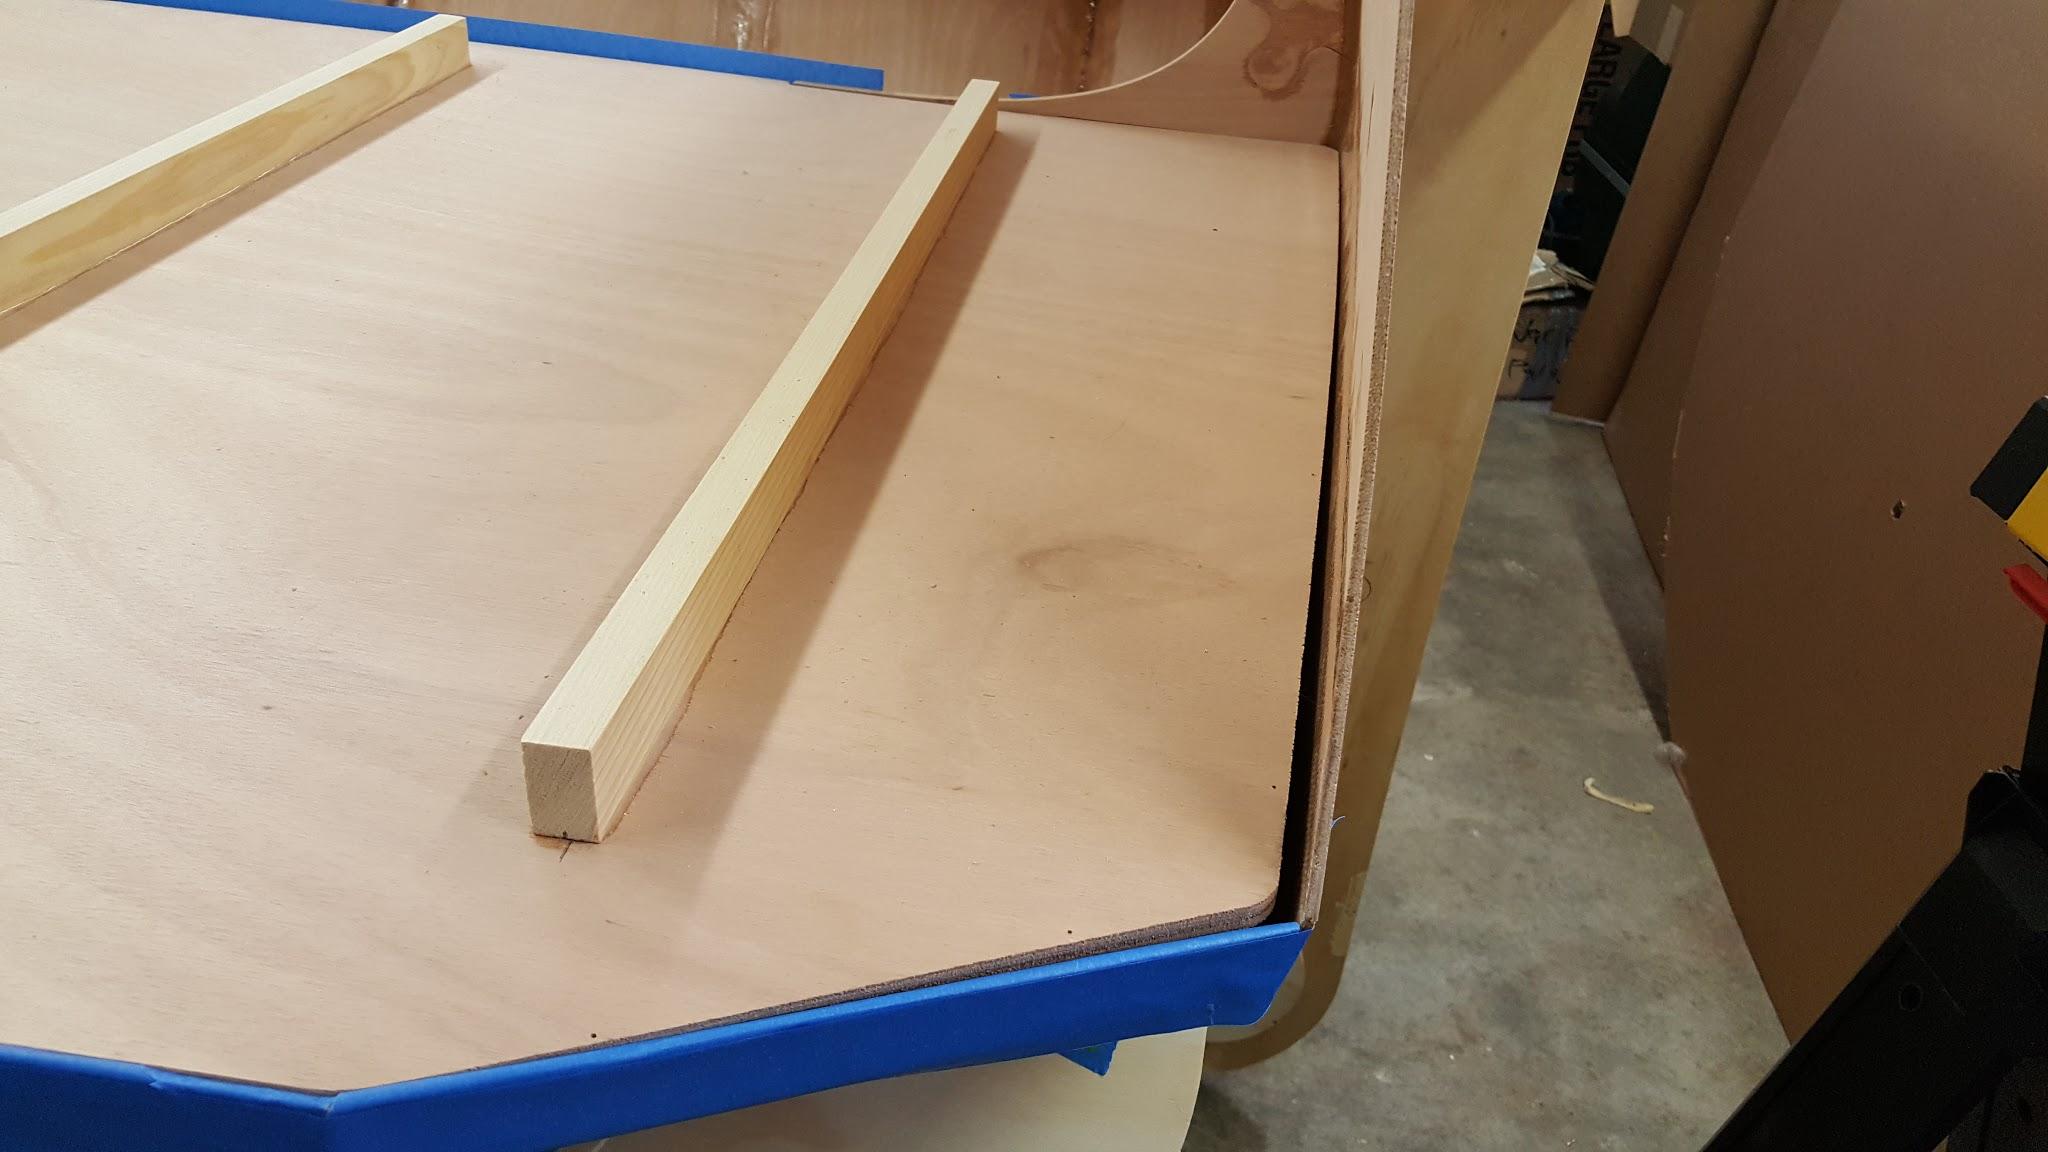
I bought a Bosch PR20EVSK “variable speed palm router kit” for $99 at Lowe’s today (Amazon has them for the same price) and a 3/8″ round over bit for it. It made fast work of the galley stiffeners as well as the forward edge of the galley flat.
What kind of varnish are you going with?
-Bob
ParticipantWith the help of my wife, we were able to get the galley flat in without any trouble. It just kind of went in. I even had the stiffeners epoxied in place. The gap at the sides is bigger than I realized it would be. About 1/4″ back toward the hatch opening. Any thoughts on this guys, before I start filling it in with epoxy and wood flour? The camper shell is in the wooden mould and looks right.
 Participant
If there is glue on both pieces of wood, let it soak in for 10 secs or so before hitting it with the accelerator. And hold the parts together for a good half minute or more. That *should* do it.
ParticipantYeah, I think before I get the bottom built that I will put a layer of glass over the entire door from the inside to stiffen it up.
Right now I’m working on galley flat fitment issues. Holy crap this thing just doesn’t want to go in. I’ve managed to chip a 1″ x 1″ chunk of the outer layer of plywood back, but it’s clean and being glued up now. This will never show. The problem is this was on the first try and I couldn’t get the flat anywhere near close to being installed. More muscle, sanding, and swearing will be applied tomorrow.
-
This reply was modified 6 years, 10 months ago by
-
AuthorPosts