Forum Replies Created
-
AuthorPosts
-
Bob D.
ParticipantThey should be very near the battery. They compensate for temperature of the battery during charging so ideally will be within a few inches in the same compartment.
ParticipantI checked three different Harbor Freight trailer manuals and they all use nylon lock nuts (nylocks) on the axle U bolts. My Trailex came with regular nuts, and only two per U bolt. Nothing to lock them or prevent them from backing out. No split washers. Thank you for posting bout this. I think it’s a major safety issue that they should probably address.
ParticipantI used compressed air to clean out the few areas like this I had. Make sure if you’re using a compressor that it’s not spraying oil along with that air.
ParticipantThese locks all use the same key. Heck, they open all my data racks at work and every IBM data rack in North America. 60% of the RVs and campers out there use them. Get a Glock, and replace those locks.
ParticipantI use surgical scissors for that. eBay.
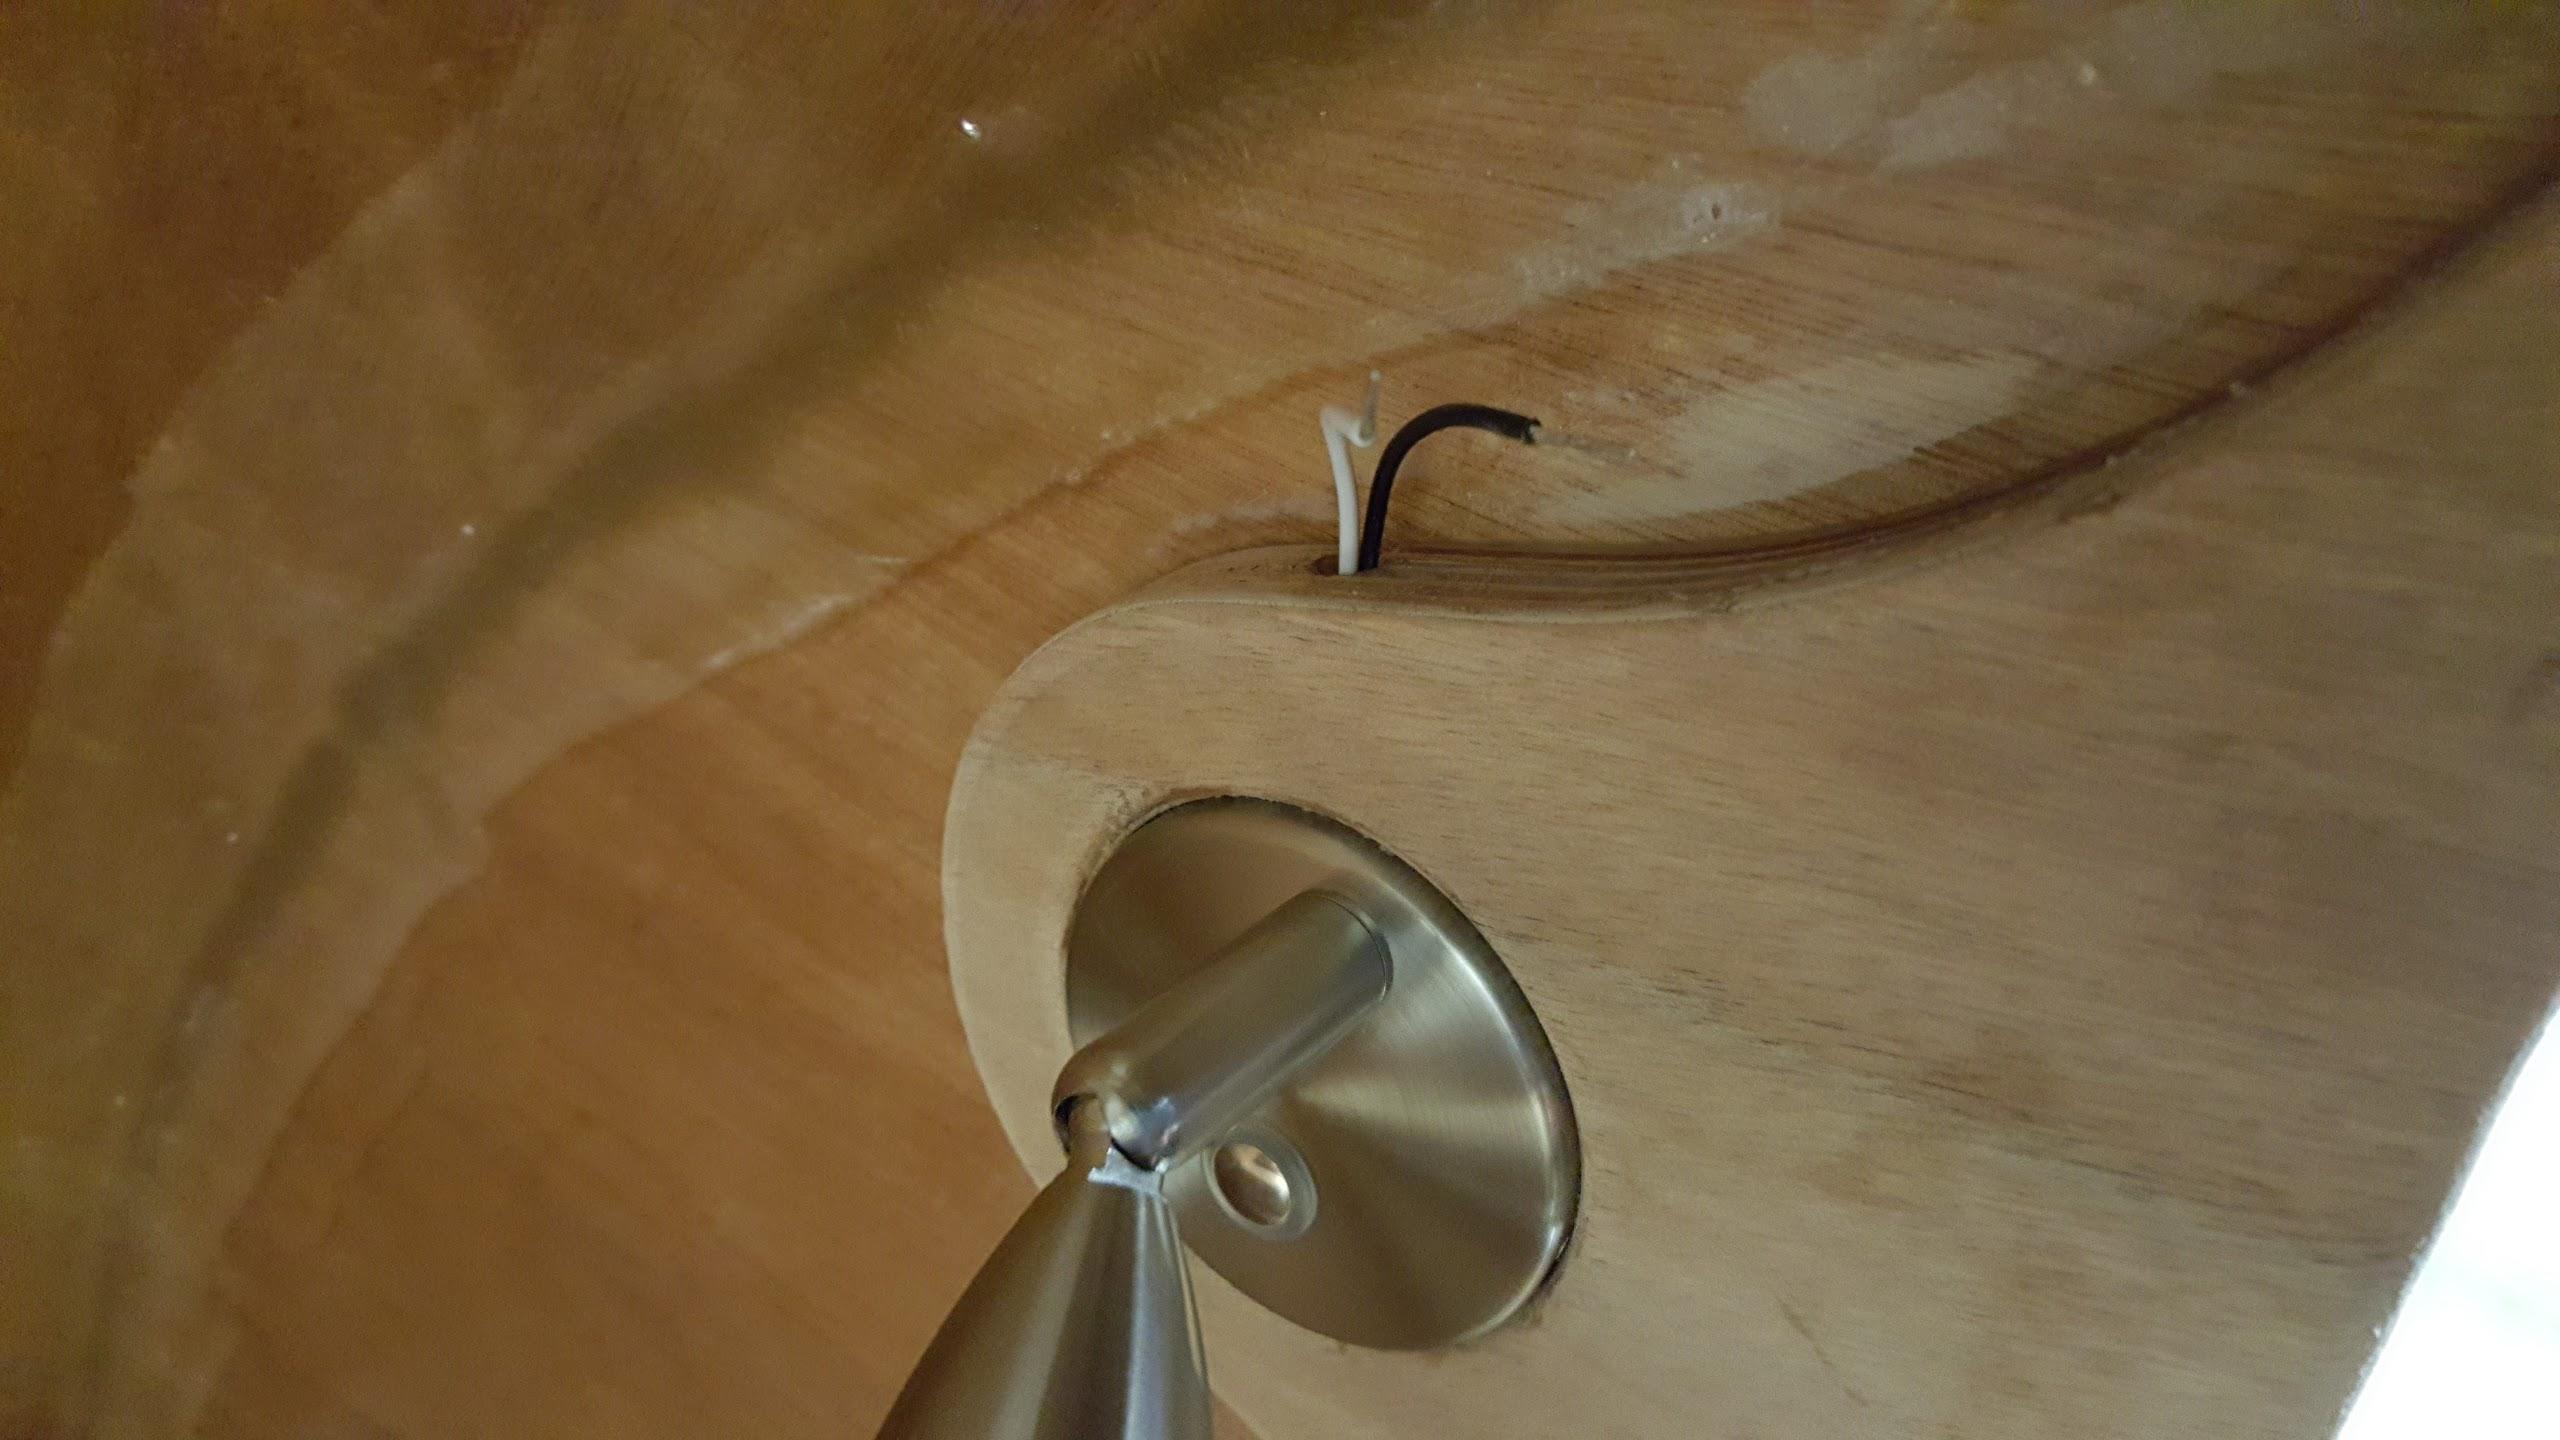
ParticipantHere’s what I did for lighting inside. Basically I clamped the door sill so I couldn’t split it, then drilled a hole on the edge where I wanted to route wires, then used a small saw to turn the hole into a keyway / slot.
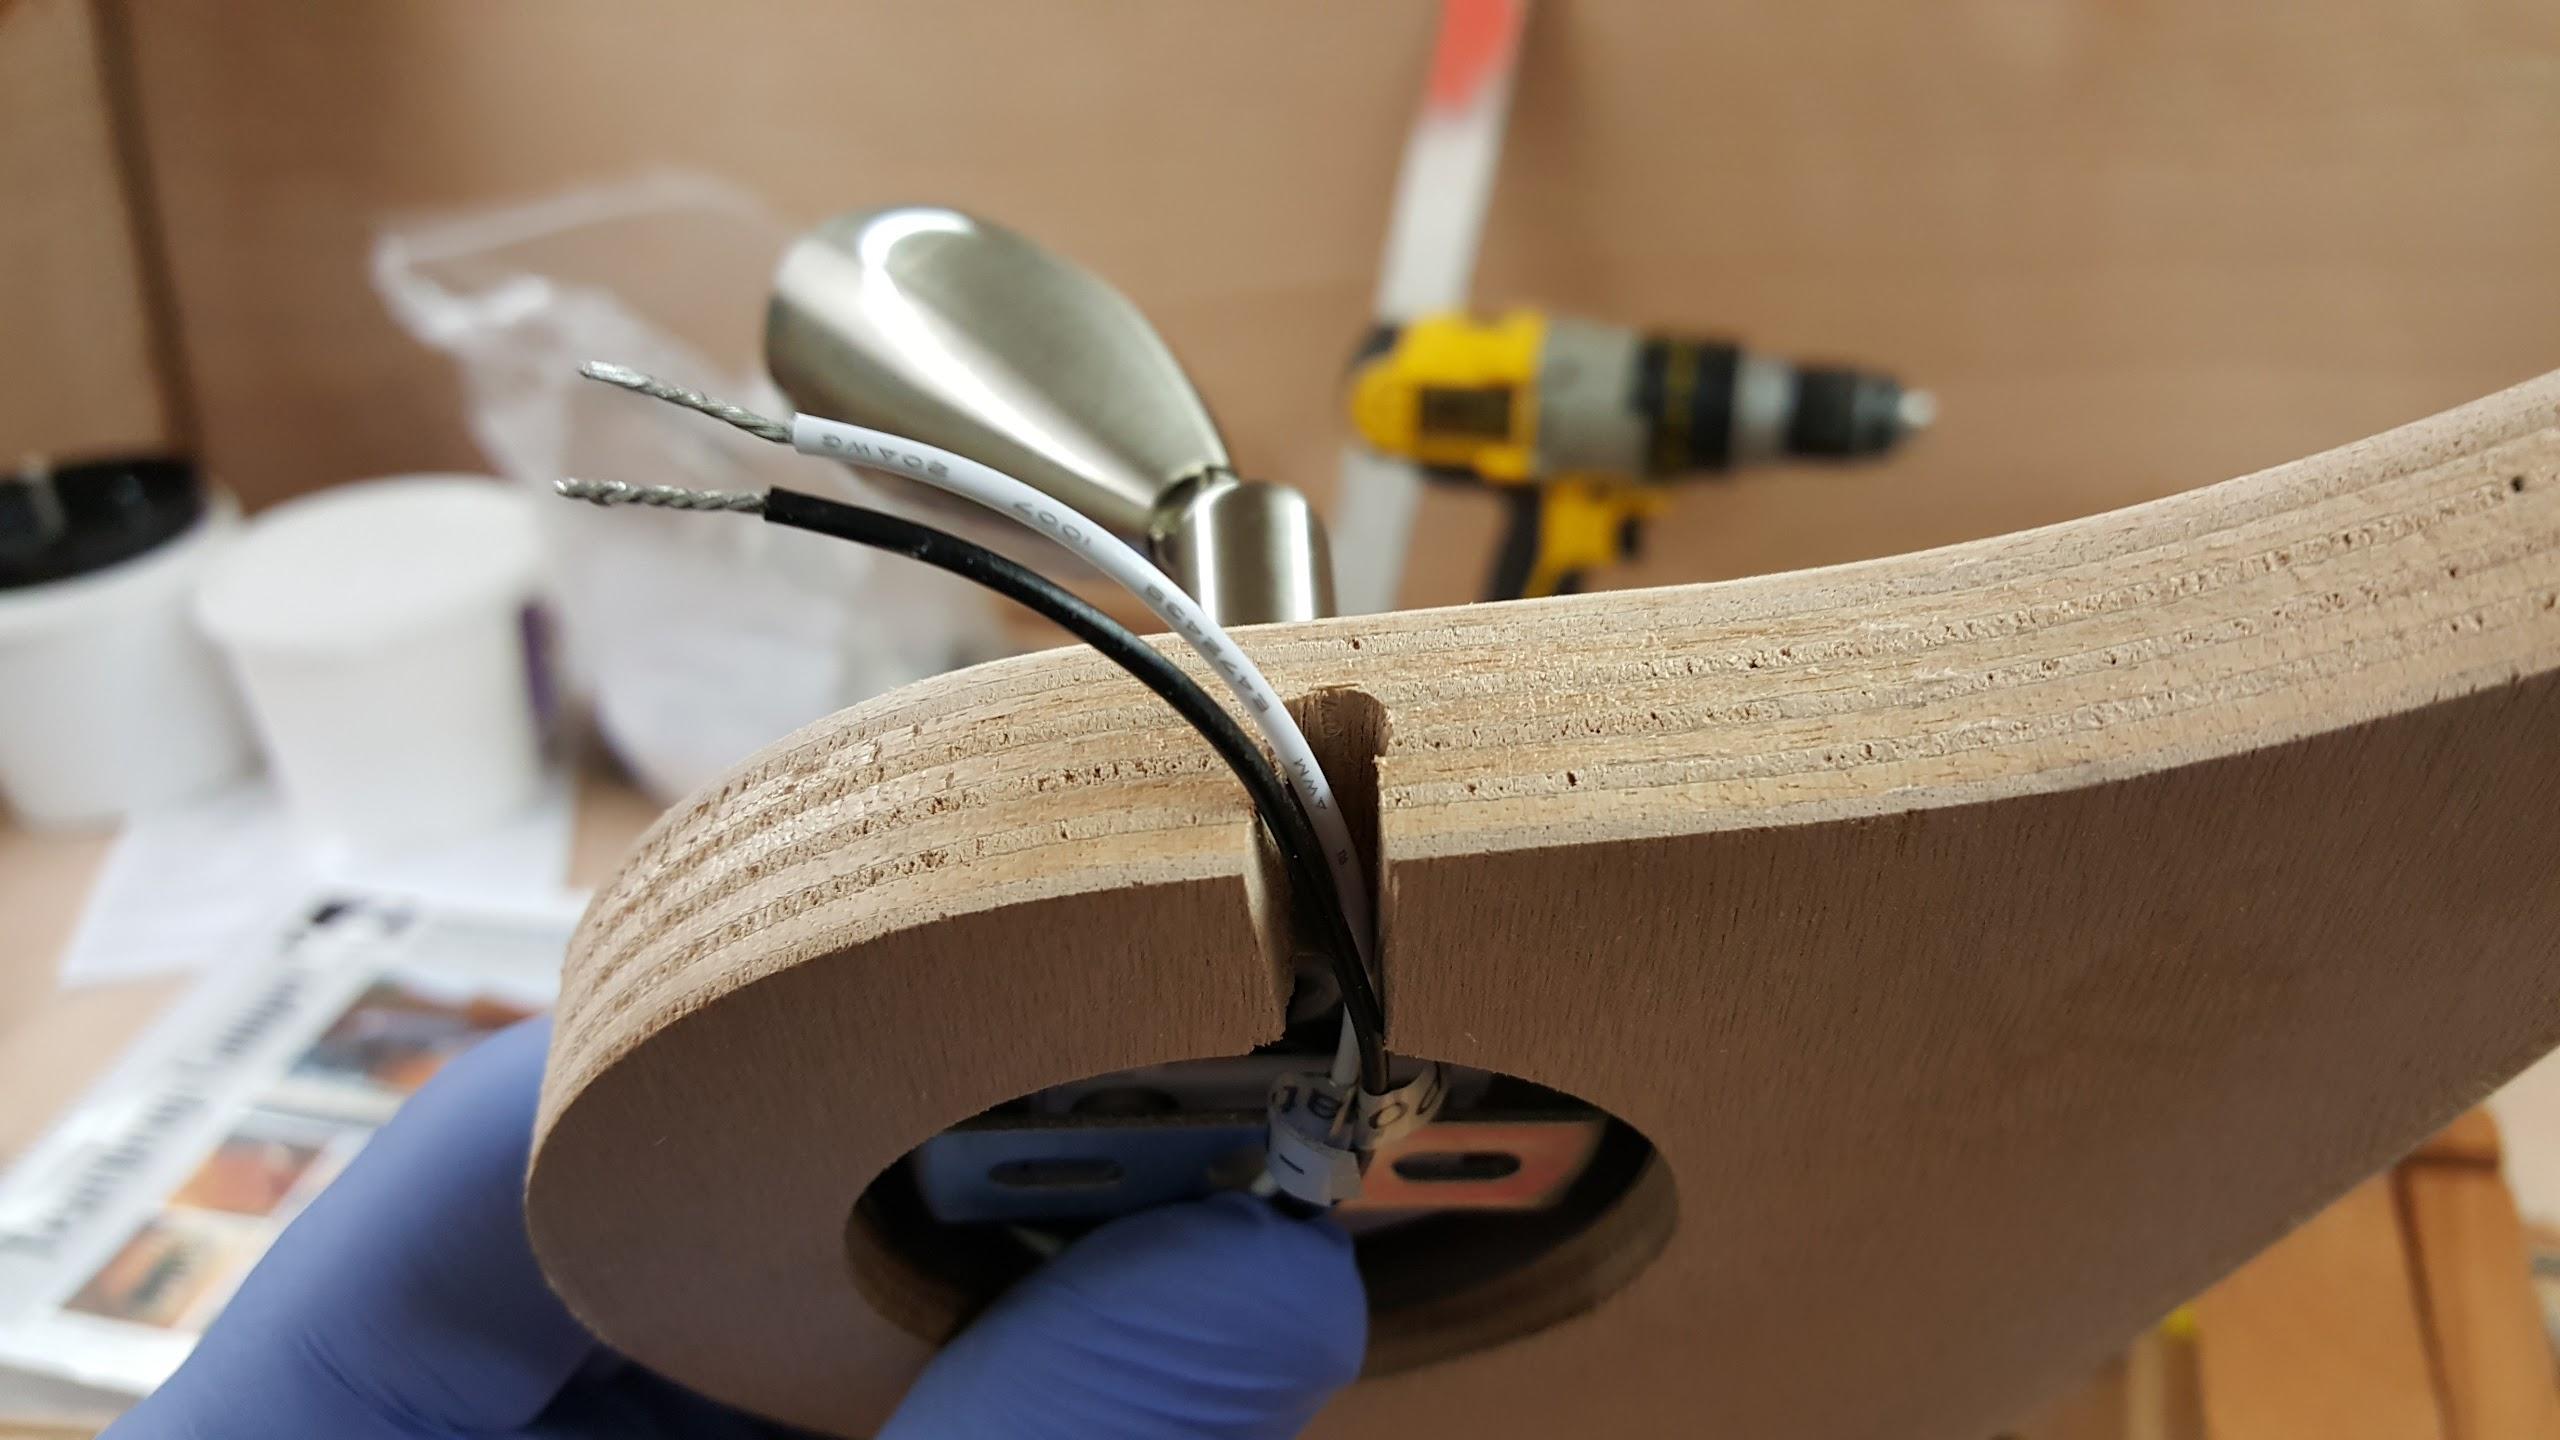
And installed:
The lights I’m using are these from Amazon: https://www.amazon.com/dp/B071DGQNDR?ref_=pe_623860_70668690
They seem to remember the dimmer setting between power cycles. The blue nightlight ring can be turned off so you don’t have a blue light shining into the camper all night.
Edit/update: forgot to mention that if I were doing this again, I would coat that slot with epoxy before gluing up inside the camper. I’m sure enough of the thickened stuff got in there because I had to push it out with some small tools, but it never hurts to purposefully coat it first.
Also, the above lights happened to just fit exactly. I’m going to use a small strap across the front rather than use any kind of adhesive. Maybe a strap (wooden strip and 2 screws) and a dab or two of silicone to keep it from moving around.
-Bob
-
This reply was modified 6 years, 9 months ago by
Bob D..
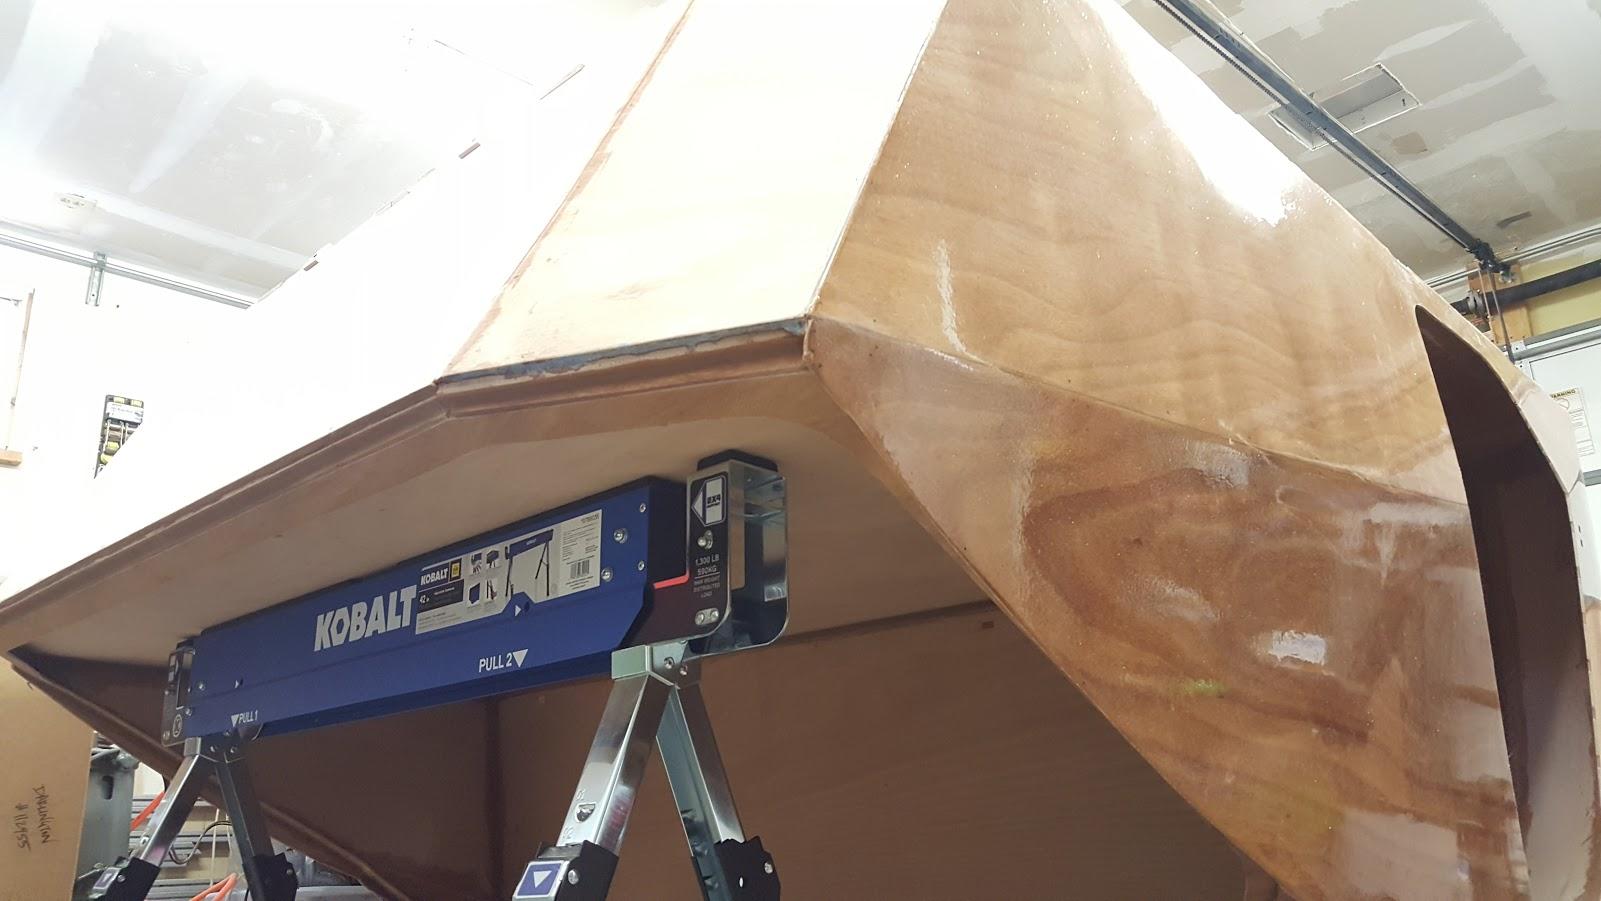
ParticipantGet yourself one of these: https://www.lowes.com/pd/Kobalt-42-in-Steel-Adjustable-Saw-Horse-1-300-lb/1000105591
One of the settings is just the right size to support the galley flat when the camper is upside down. For $35 it’s worth it to not screw around with making a 26.6875″ (or whatever the manual says) sawhorse out of 2x4s and screws.
 Participant
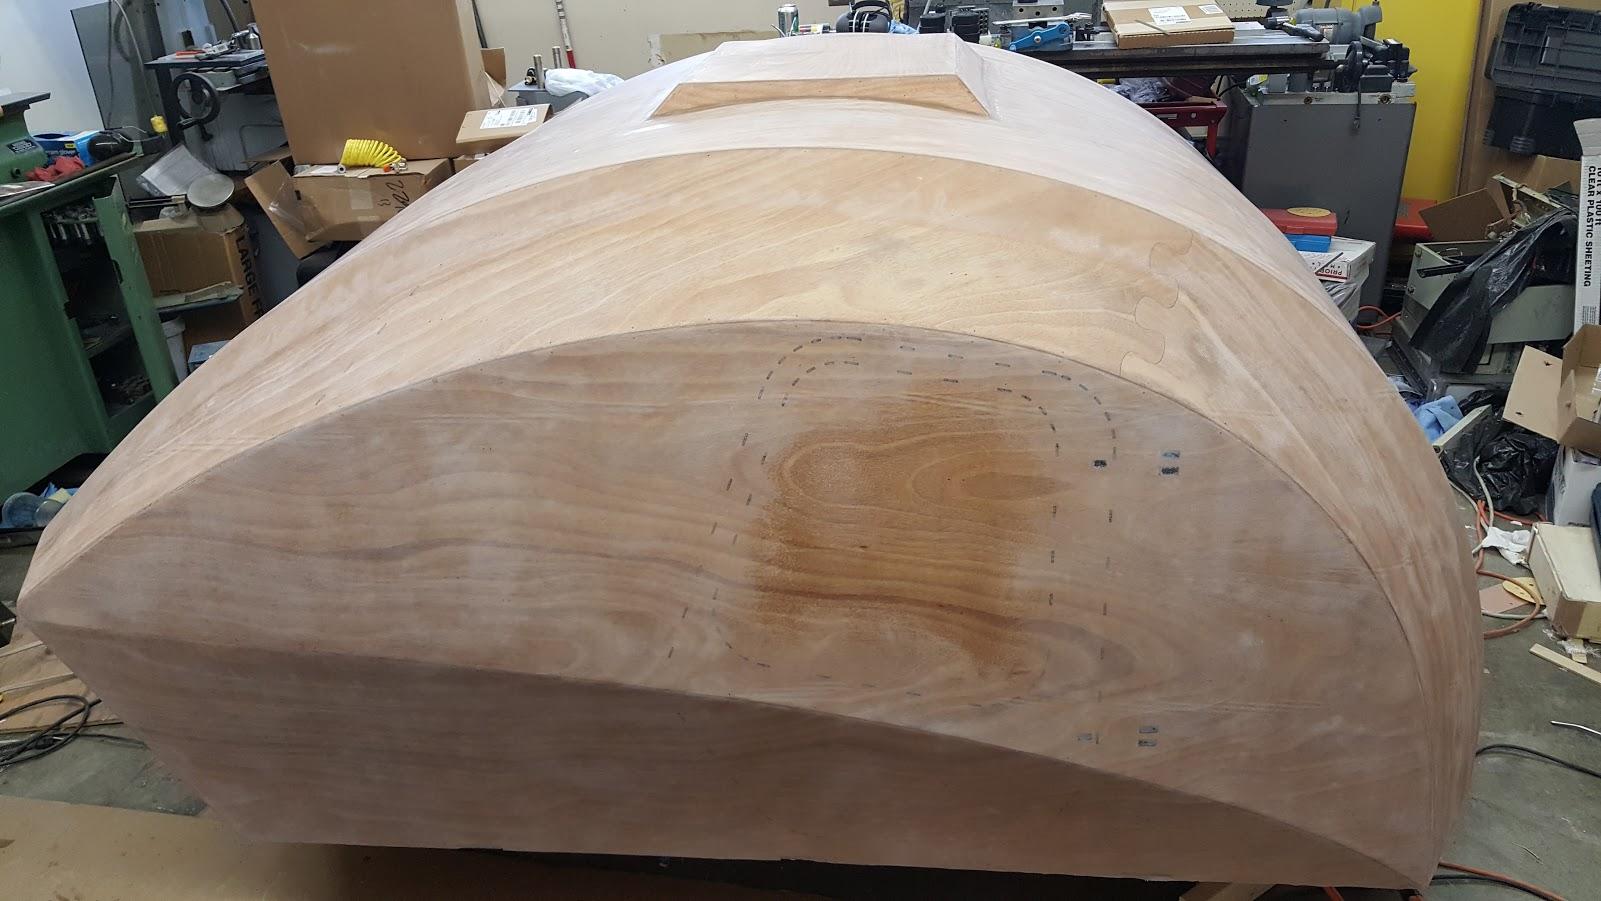
To save a bunch of time, I installed the roof vent box before cutting out the doors and installing the transom. Why not? I was able to time the epoxy fill coats and sanding just right so I didn’t waste any time on it. Also, make sure you are conservative on the cuts for the roof/vent box. Mine barely fit without falling in. The hole was too big, even though I cut exactly on the line. Well, perhaps not too big, but really really close to being too big. If I had to do it again, I’d leave a good bit of the dashed/dotted pre-cut lines showing so I don’t risk having to deal with a hole that was too big for the roof box. It’s trivial to sand the extra down once the whole assembly is flipped over. Not so easy to put material back if you take away too much.
 Participant
Use a round over router bit to round over these stiffeners BEFORE you install the galley flat. It was impossible to get to the ends of the two outside most stiffeners due to interference from other bits of the camper.
Do it at this step. Not after installation:
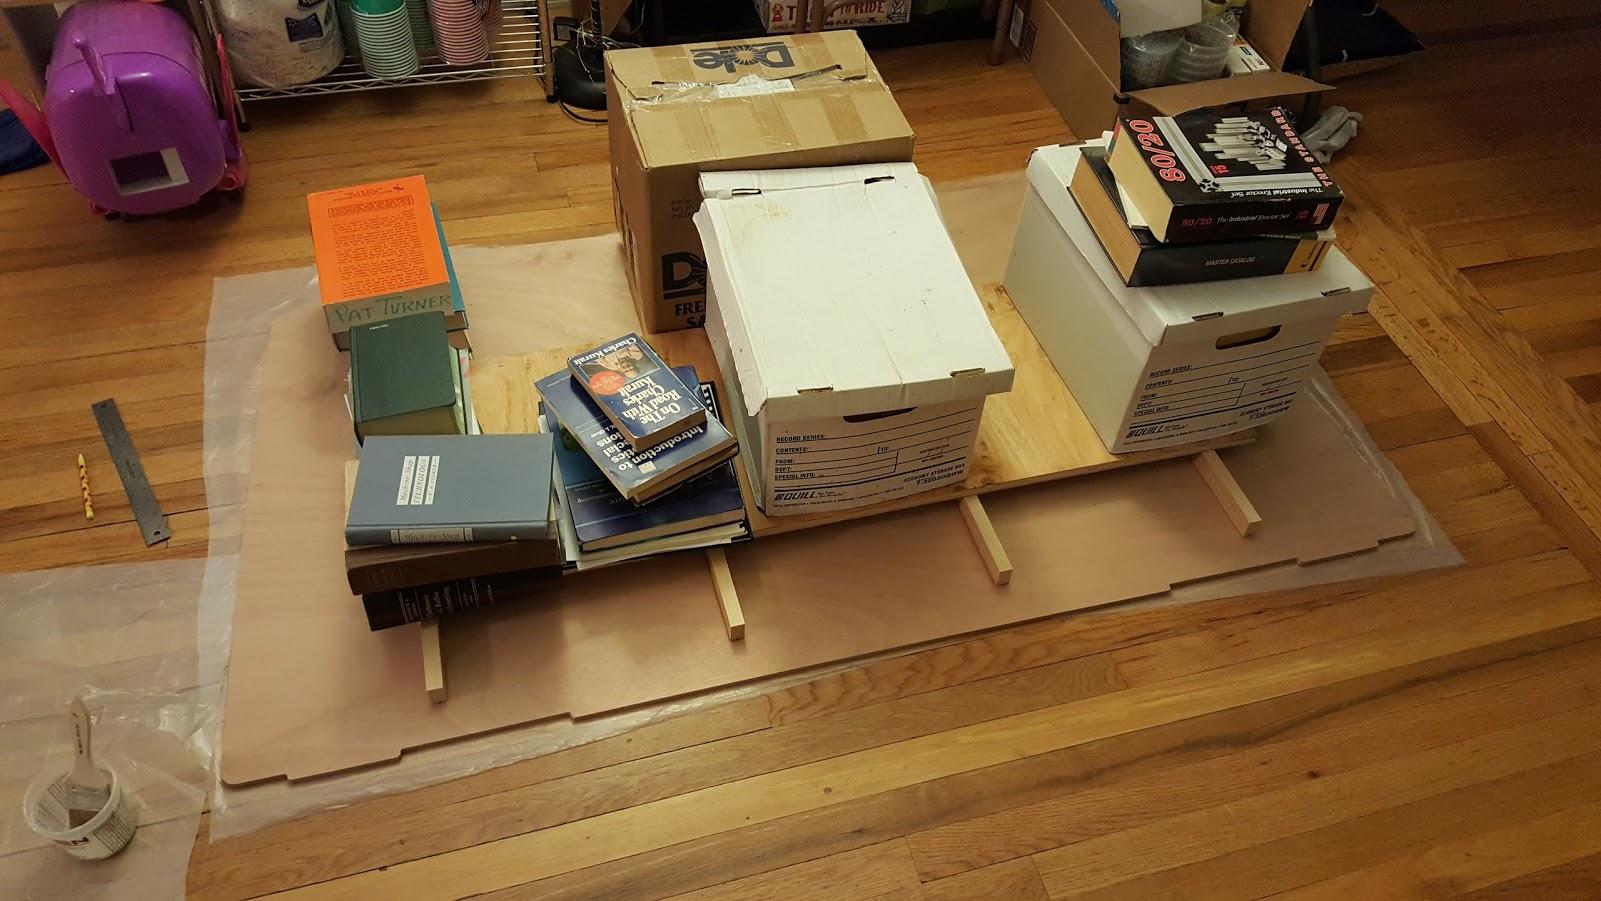
Also, use lots of physics and computer science books to hold everything together while the epoxy sets up. I made little pencil marks at each end to line up with the holes drilled into the flat. The bars did shift slightly, but it was rather easy to push them back where they should go once the epoxy is on them.
ParticipantOne thing I learned after it was way too late was to connect the dots, so to say. At this stage:
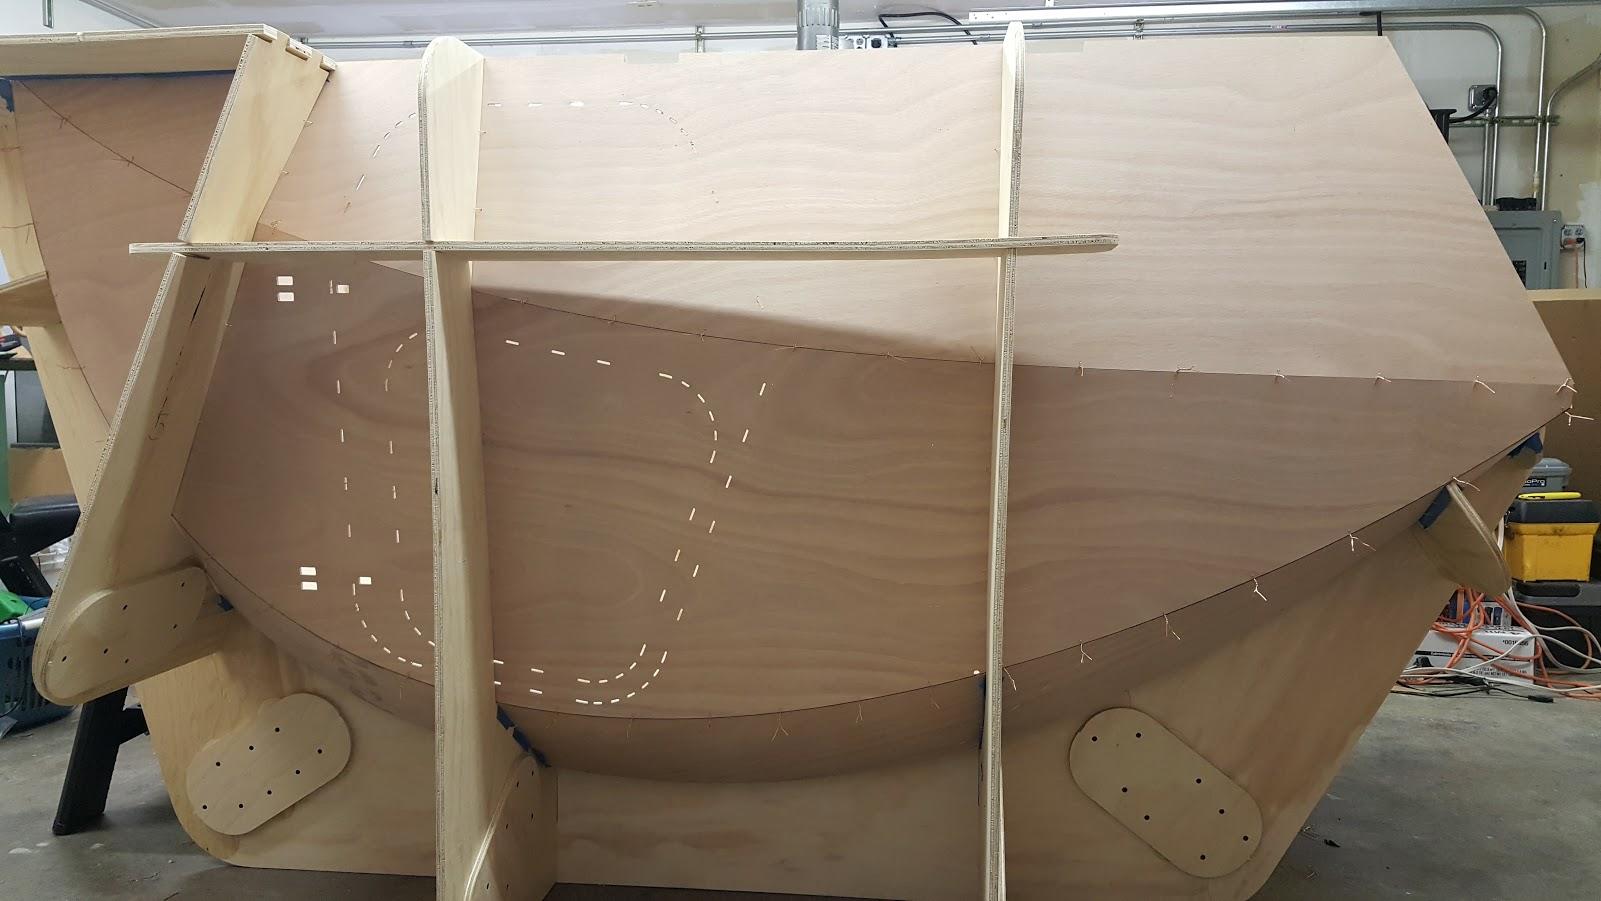
verify that the side panels #3 and #4 line up exactly right. Yes, we’re told this, but I thought everything was fine. Till it came time to draw the lines to mark where I was cutting out the doors. One side wasn’t as perfect as I’d like. Nothing sandpaper can’t fix, but it’s probably best to use a straight edge and hold it dead center along the oval cuts (dotted lines) and make a tiny pencil mark right at the edge of the panel so you can see how the panels and door cut out lines will match up. Hindsight is 20/20.
ParticipantGotta love how that last post had all the HTML markups mixed in. I didn’t type a single one. It’s the forum software screwing up.
Participant<p style=”text-align: center;”>Door stiffener install</p>
<p style=”text-align: center;”></p>
<p style=”text-align: left;”>I installed my door stiffeners before cutting the doors out because I didn’t want to change the shape of the door by clamping it tight to the stiffener. The strongest bonds (with glue, can’t vouch for epoxy) are with a nice layer of glue and no clamping at all according to the Internet (search my previous posts for the URL where the tests are documented if interested).</p>
<p style=”text-align: left;”></p>
<p style=”text-align: left;”>To get the sanded area roughed out to the approximate shape, I held the stiffener on the OUTSIDE of the camper and used a compass to scribe a line with a constant distance from the outside surface of the camper shell. I wish I took pictures because it was very simple and you’d see exactly what I mean. But I didn’t. Another method I considered was to use a contour gauge. I didn’t have one, but I did have a compass.Once I got the stiffener sanded and fitting good enough I was faced with how to hold it level and also pressed against the inside surface of the camper shell.</p>
<p style=”text-align: left;”></p>
<p style=”text-align: left;”>Well, there were two alignment holes in the thin section for the door lock parts to mate with. I simply drilled a 1/16″ hole on the opposite side of the stiffener straight through the camper shell and used one of the several drill bits I bought for the project as an alignment pin. The manual says something about buying several because we’ll break them. I didn’t, so I had 5 or 6 to work with. Drill this hole from the inside. Resist temptation to drill through with the stiffener held to the outside. Even though it’s lined up, the hole won’t be perfectly perpendicular to the stiffener and it won’t line up once you move to the inside. Trust me on this. I have the experience to back it up!</p>
<p style=”text-align: left;”>Before glue up showing pins through shell:</p>
<p style=”text-align: left;”>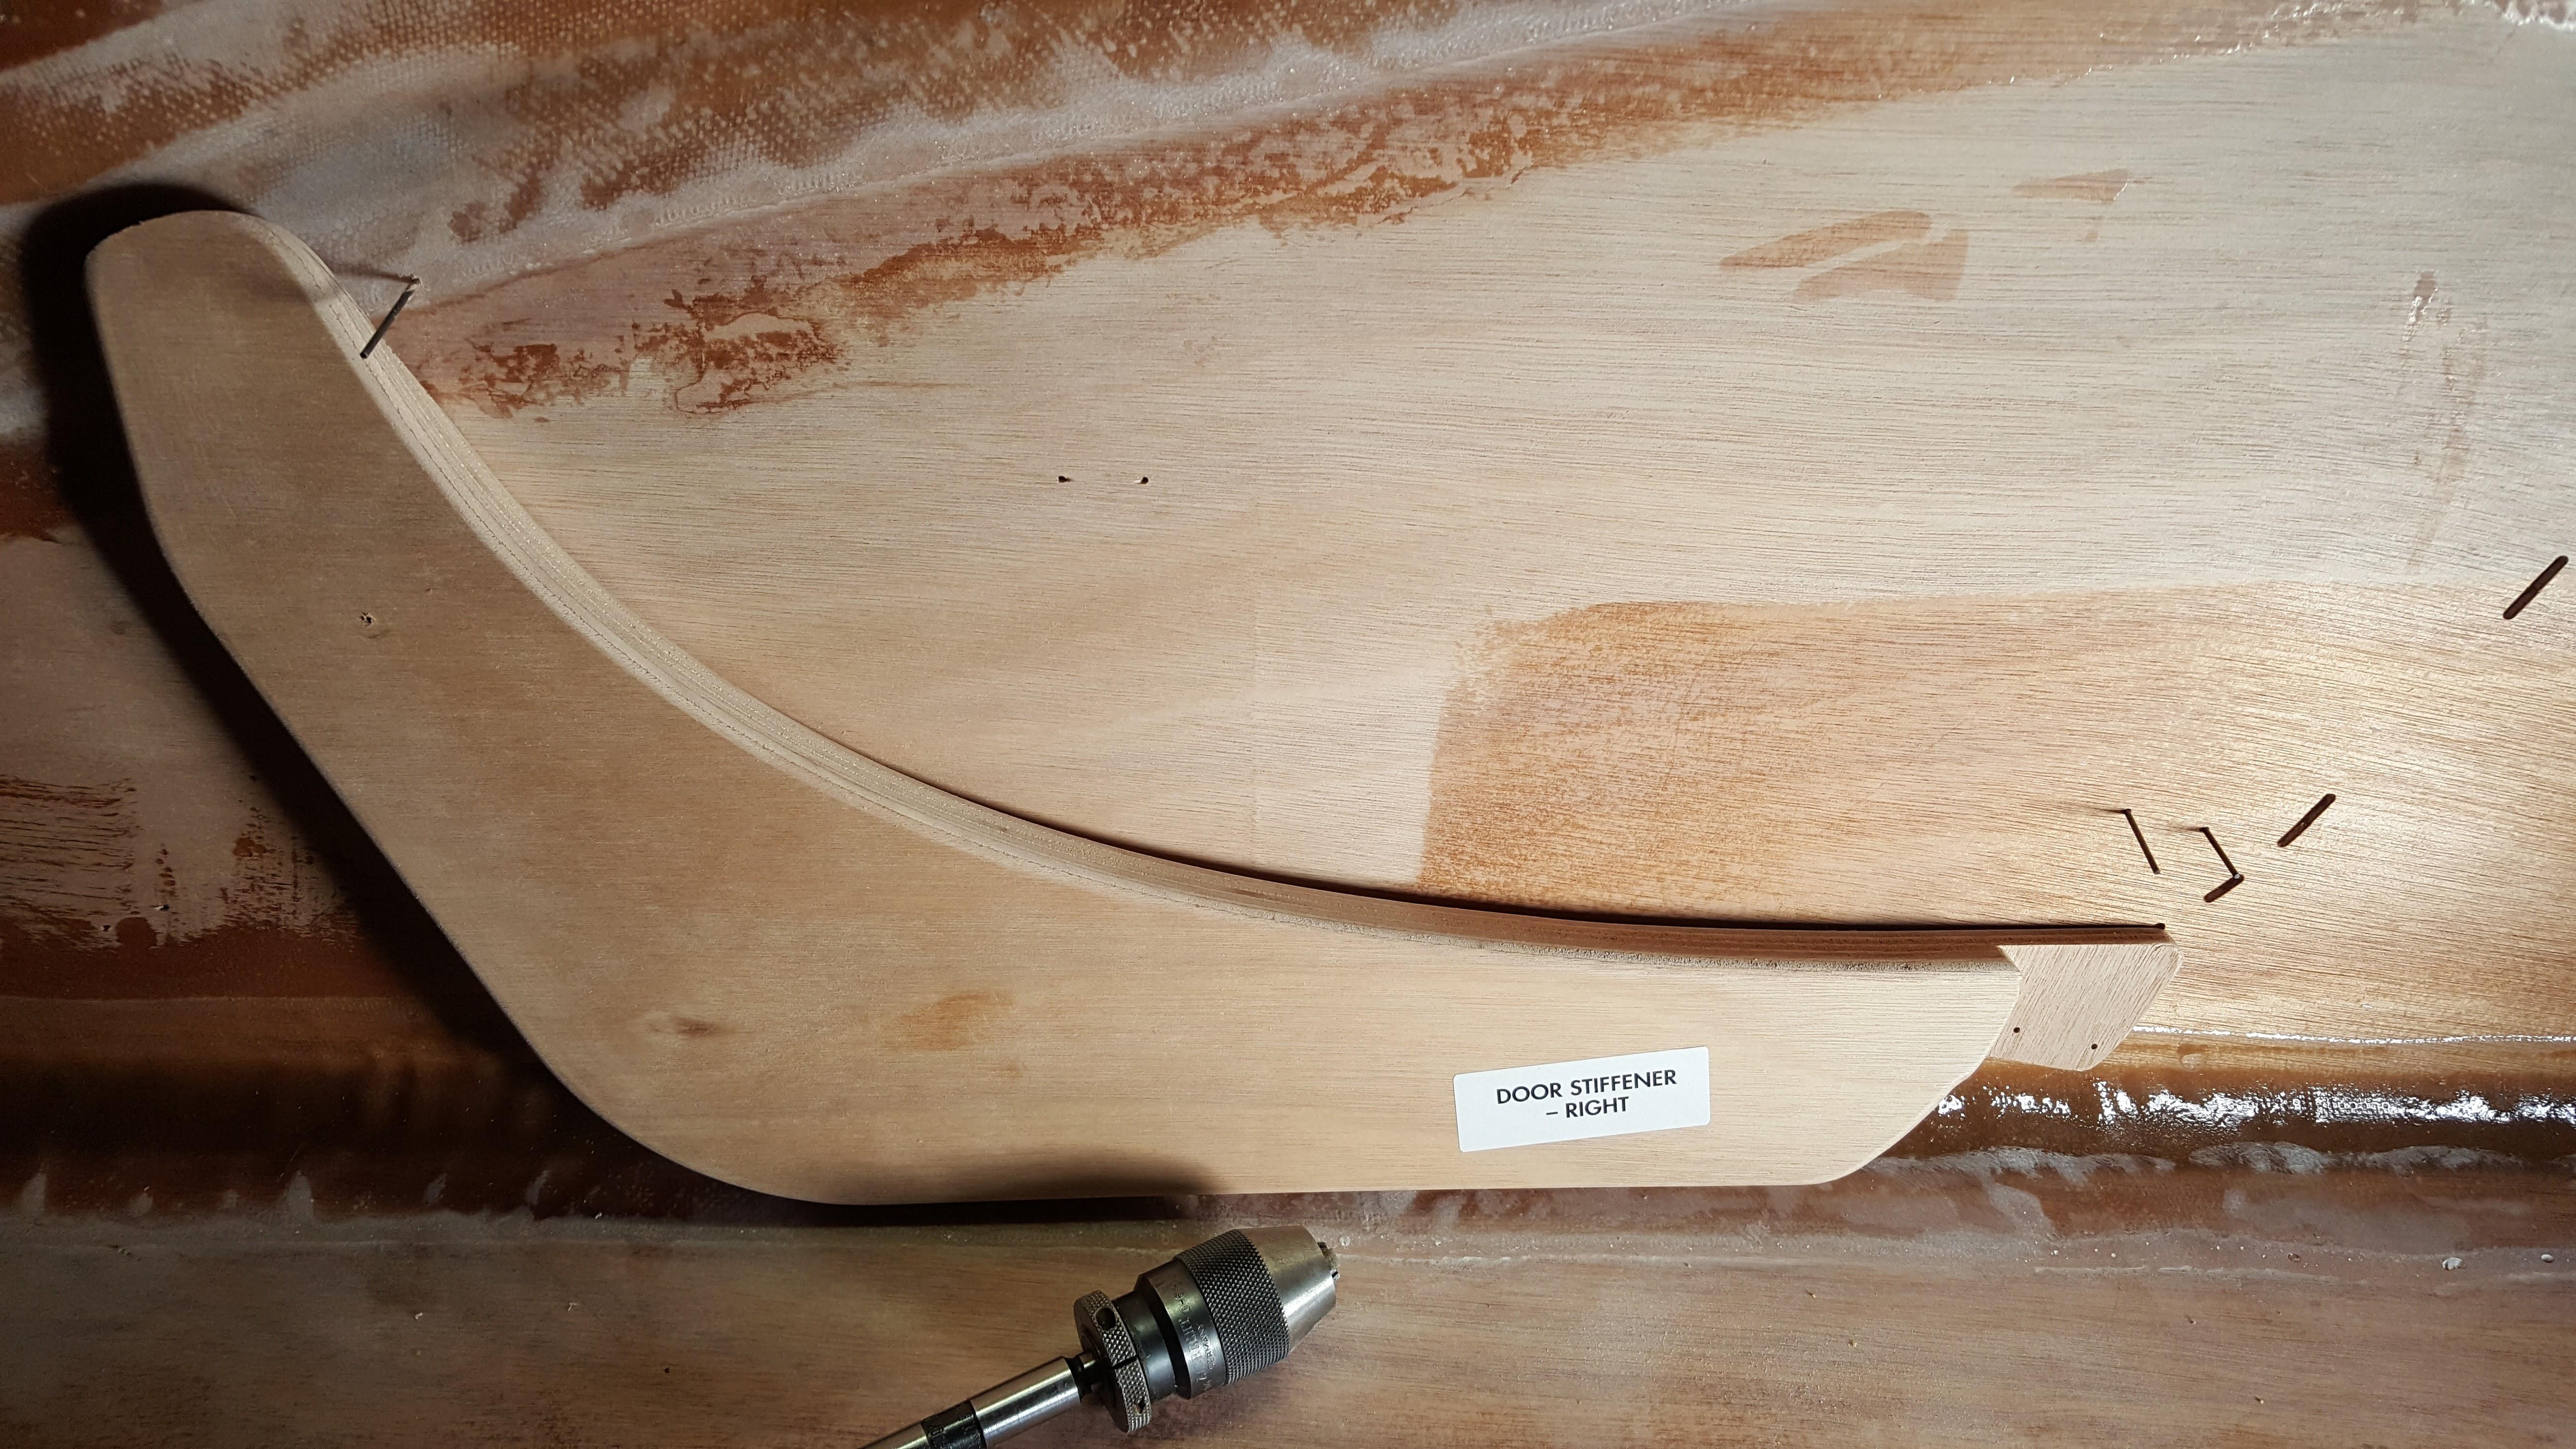 </p>
</p>
<p style=”text-align: left;”></p>
<p style=”text-align: left;”>And here it is after installing:</p>
<p style=”text-align: left;”>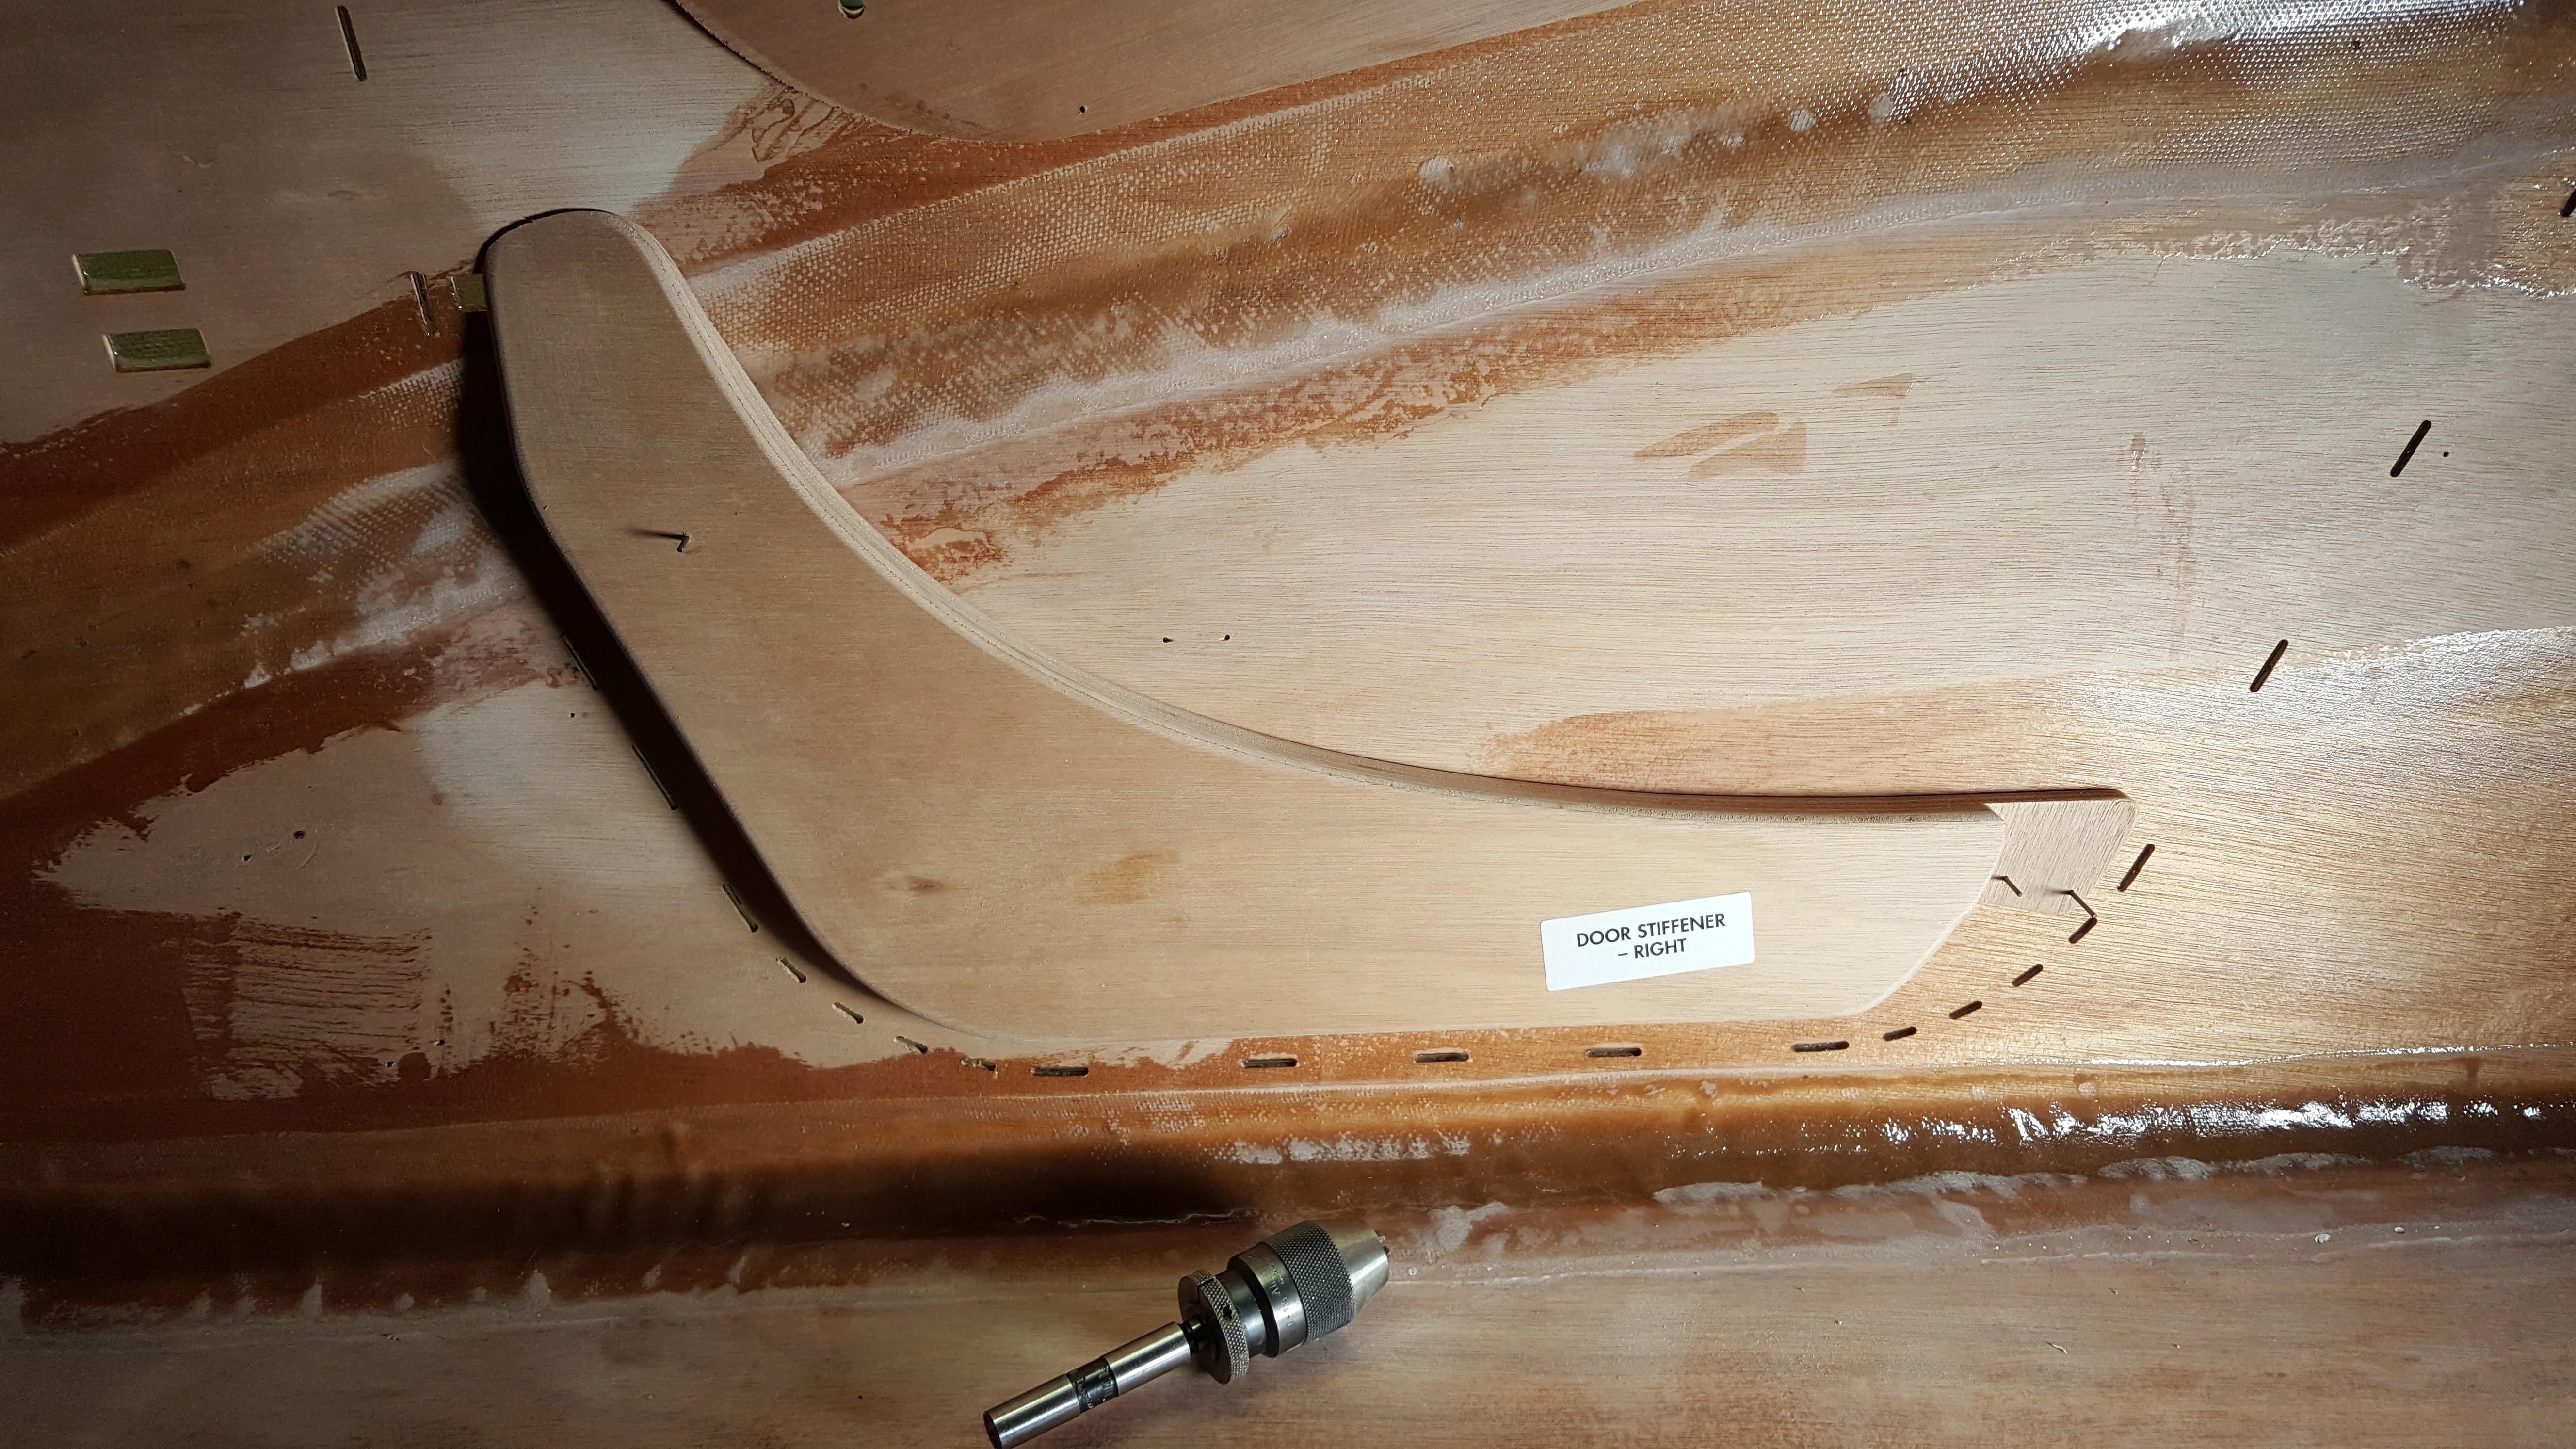 </p>
</p>
<p style=”text-align: left;”></p>
<p style=”text-align: left;”>Once I mixed up the epoxy cell-o-fill and spread it on the back, it was just a matter of lining up the pins, pushing it together and leaning a heavy weight against it. I used one of the metal plates that came with my hydraulic press. Worked great and didn’t get in the way like the clamps do when it came time to remove the excess epoxy mix.</p>
<p style=”text-align: left;”></p>
<p style=”text-align: left;”>-Bob</p>
<p style=”text-align: left;”></p>ParticipantI just drilled a 3rd hole in the stiffener and used 3 1/16″ drill bits as alignment pins. I then leaned a weight against it to keep it pressed to the door before I ever cut it out.
ParticipantI just cold called CLC about varnishing over top of the 1″ or so black paint extending from the bottom up over the sides.
Mask it off. They said one or the other, don’t varnish over the paint. No difference if you varnish or paint first. But one or the other.
This doesn’t jive with what I’ve seen on the net, but that’s fine with me.
I also researched fill coats for the bottom. Everything seems to point to it being for cosmetic reasons only so I’m not going to bother other than to fill the weave on the overlap up the sides. I accept that it will be harder to clean and the unfilled weave will hold dirt a bit more, but it’s the bottom and I simply don’t care. Hosing it off when I’m home from a camping trip is probably more than I’d normally do anyway and would work just fine.
ParticipantAnd sorry for the double post. When it came up the pictures were little icons of a broken picture so I edited and tried again and adjusted the picture size and changed the pics and sure enough it came up and now I see the first post even though I did an edit and didn’t create a whole new post. And please forgive this 3rd one apologizing for the mess above.
-
This reply was modified 6 years, 9 months ago by
-
AuthorPosts