Forum Replies Created
-
AuthorPosts
-
CWStevens
ParticipantThis is the way!
Be very sure the sales receipt does not include the camper or kit, lest you will pay MD State sales tax on the entire value.
I had to get the trailer inspected first, even though mine was built at the factory.
CWStevens
ParticipantI did the two week course, so 80 hours, plus occasional evenings and an occasional weekend… Tongue box, galley, liner, solar charging electrical system… 10 months additional. So we started in late spring and had it on our first adventures in late winter.
CWStevens
ParticipantLike John says, “it depends”…
I have the CLC standard trailex trailer, <span style=”text-decoration: underline;”>without</span> the under camper storage, and mine max’s out at 87″. And that’s if I ensure it’s pushed open to the maximum height.
If you have a very small garage, make sure it will also clear the door opening. I installed the roof rack, and an extendable awning from Thule, and it *just* clears my door. I have to make sure it’s fully opened when I back in, and not a “lazy” open. 😉 (That said, so far it’s never been an issue.)
Chris
CWStevens
ParticipantIt’s *way* easier to work with than varnish. We still did roll-and-tip (foam brush), but that was mainly just to get any bubbles out and smooth the finish which isn’t entirely necessary for non-visible areas… But hey, I’m an Engineer.
CWStevens
ParticipantWhile there won’t be UV on the interior, you will have moisture collecting on the interior walls, and the adhesives used for the headliner may interact with the epoxy.
On the recommendation of CLC, we used a water based polycrylic. It’s less toxic and durable. Amazon product: B000BZYYH4
CWStevens
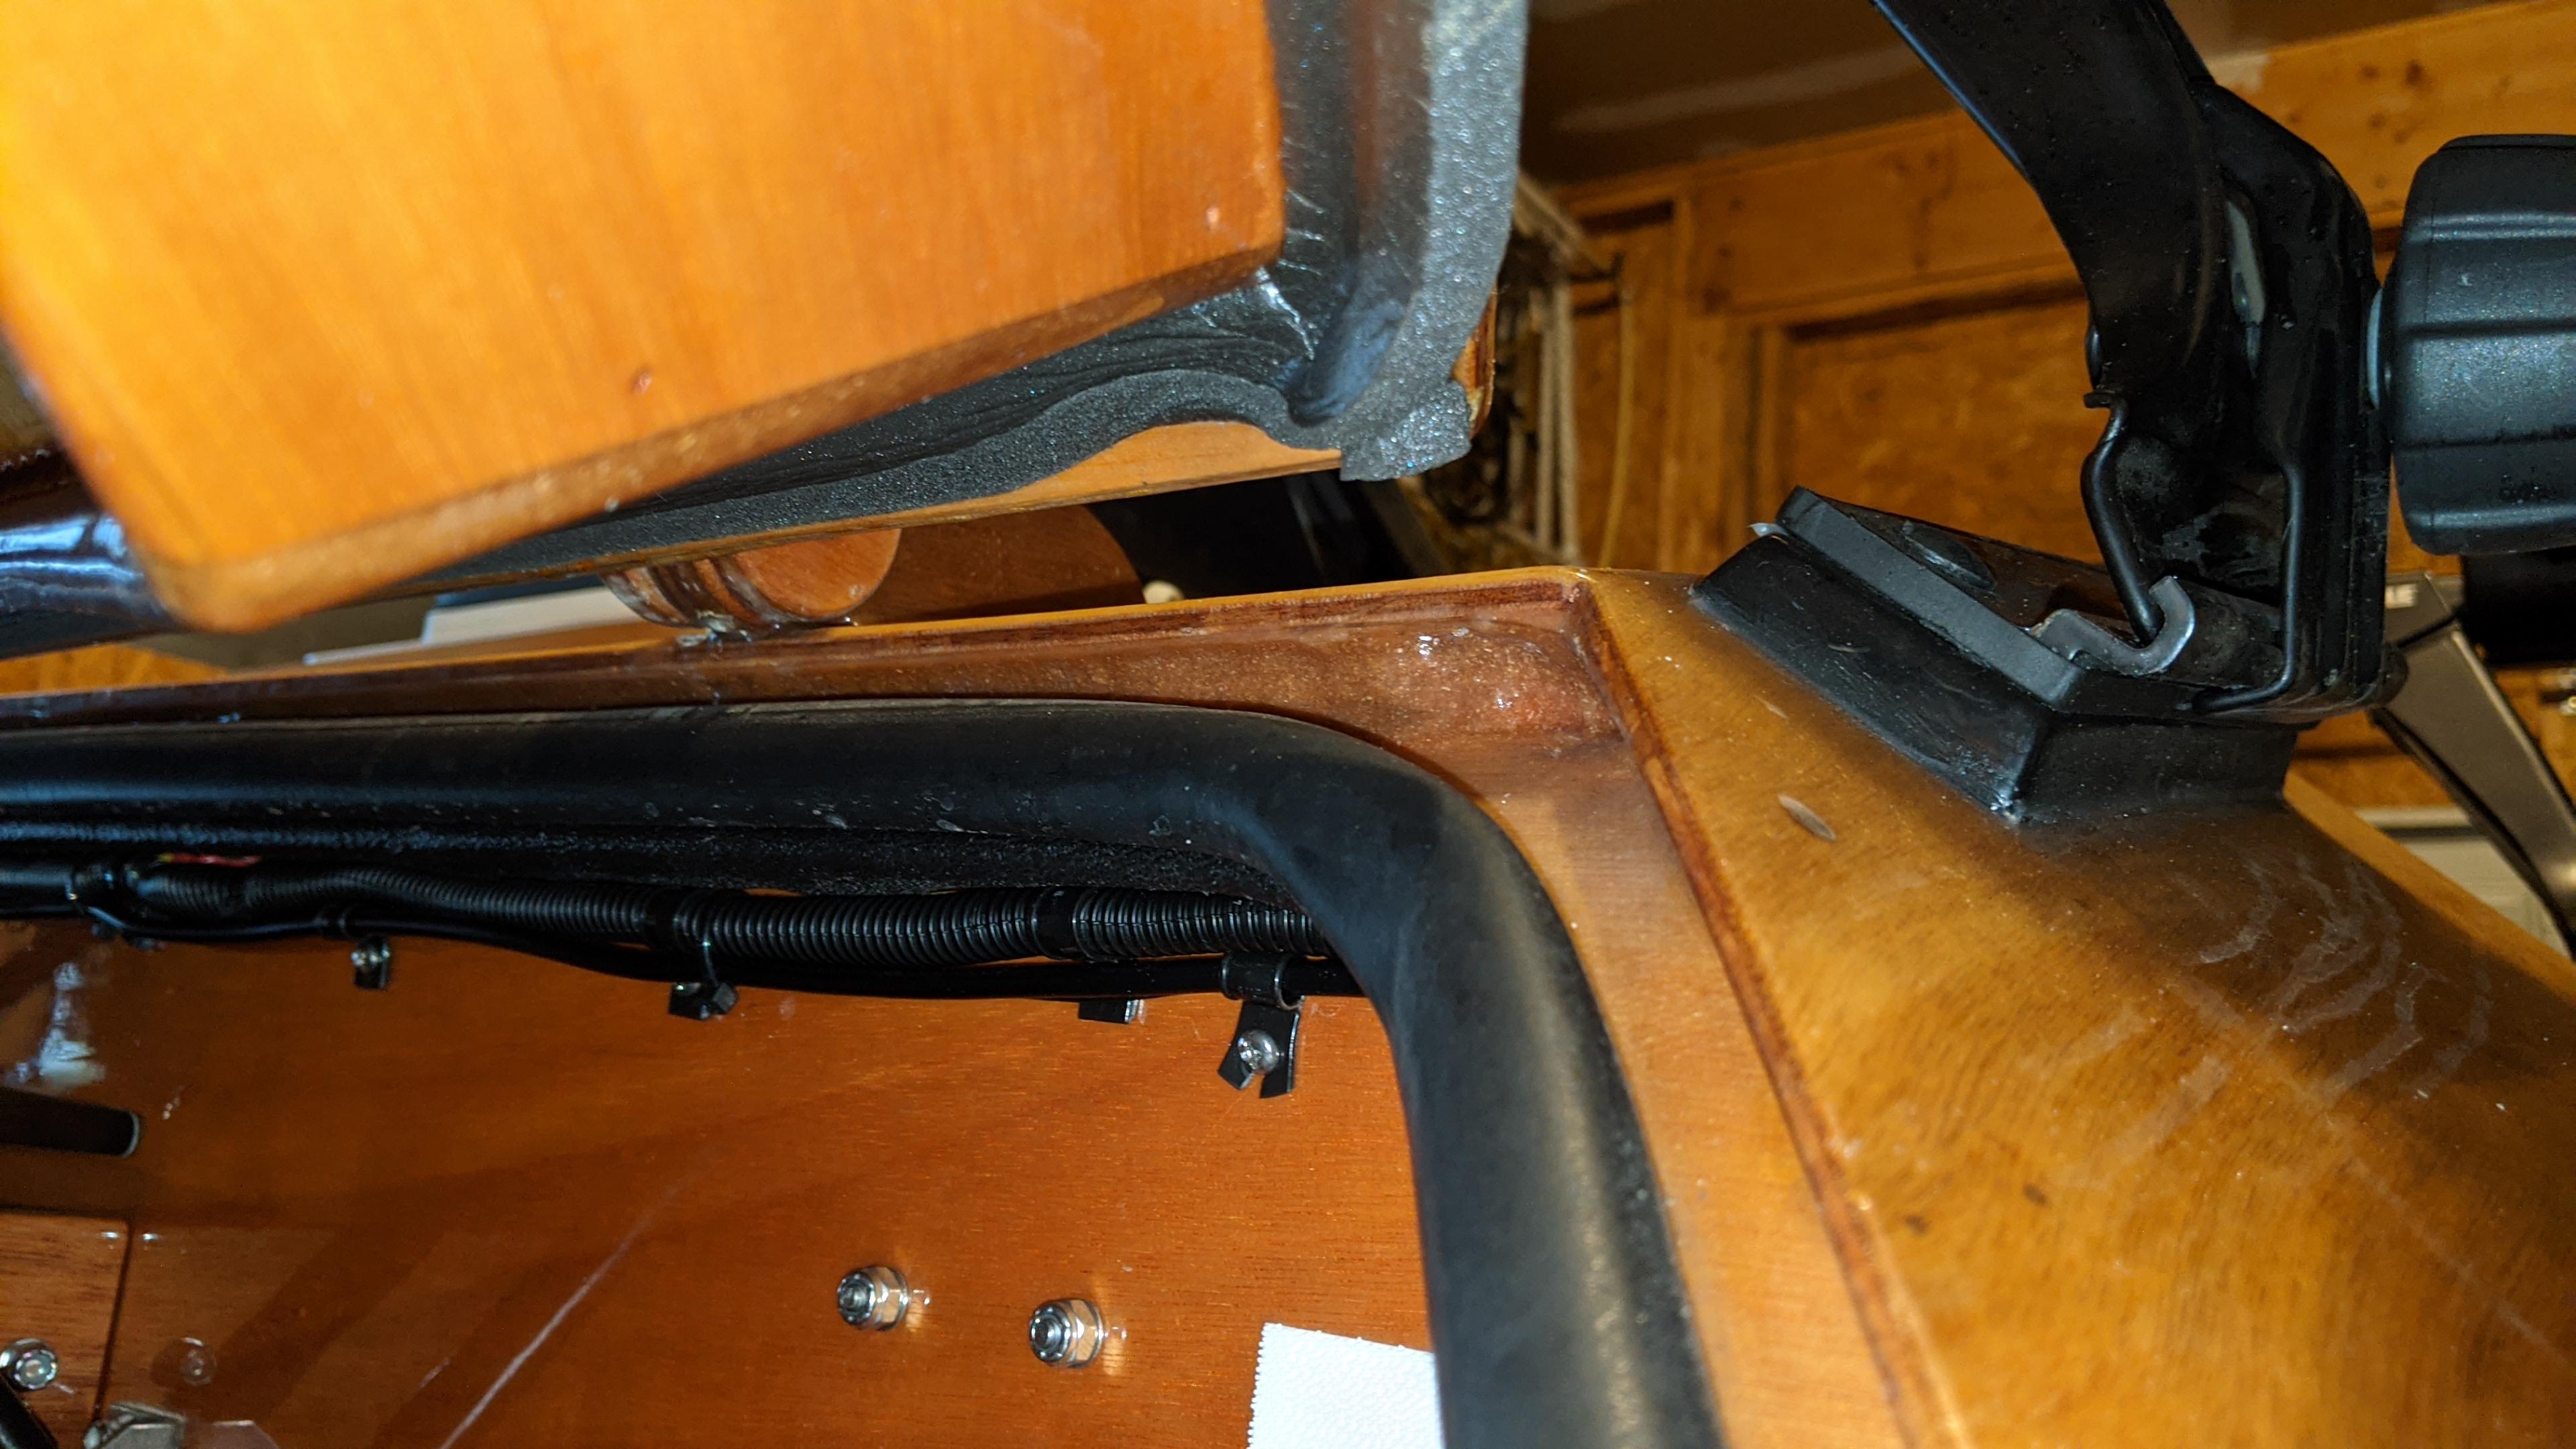
ParticipantI wouldn’t recommend it… I’d use your random orbital sander to smooth out any rough edges, apply a few coats of epoxy, and continue on.
The weather seal is actually on the inside, where the squishy foam presses against the galley coaming. Adding additional edge gaskets may separate the foam from the coam. (Pun intended, I couldn’t resist.)
CWStevens
ParticipantI cut right down the middle, then used the remaining CNC “dotted lines” as guides on how far to sand each side. You can also use the plexiglass to check the fit of the window cutouts.
CWStevens
ParticipantFactor in materials in you decision… The trailex is lightweight aluminum, so no worries about the trailer rusting over time. I’ve had my trailex at >highway speeds without issues. <knock on fiberglass/epoxy coated wood> I do keep an eye on tire pressure and grease my bearings.
CWStevens
ParticipantHmm… It makes it harder to cut the plywood and avoid the hinge?
It does sound like an interesting idea, though.
Chris
CWStevens
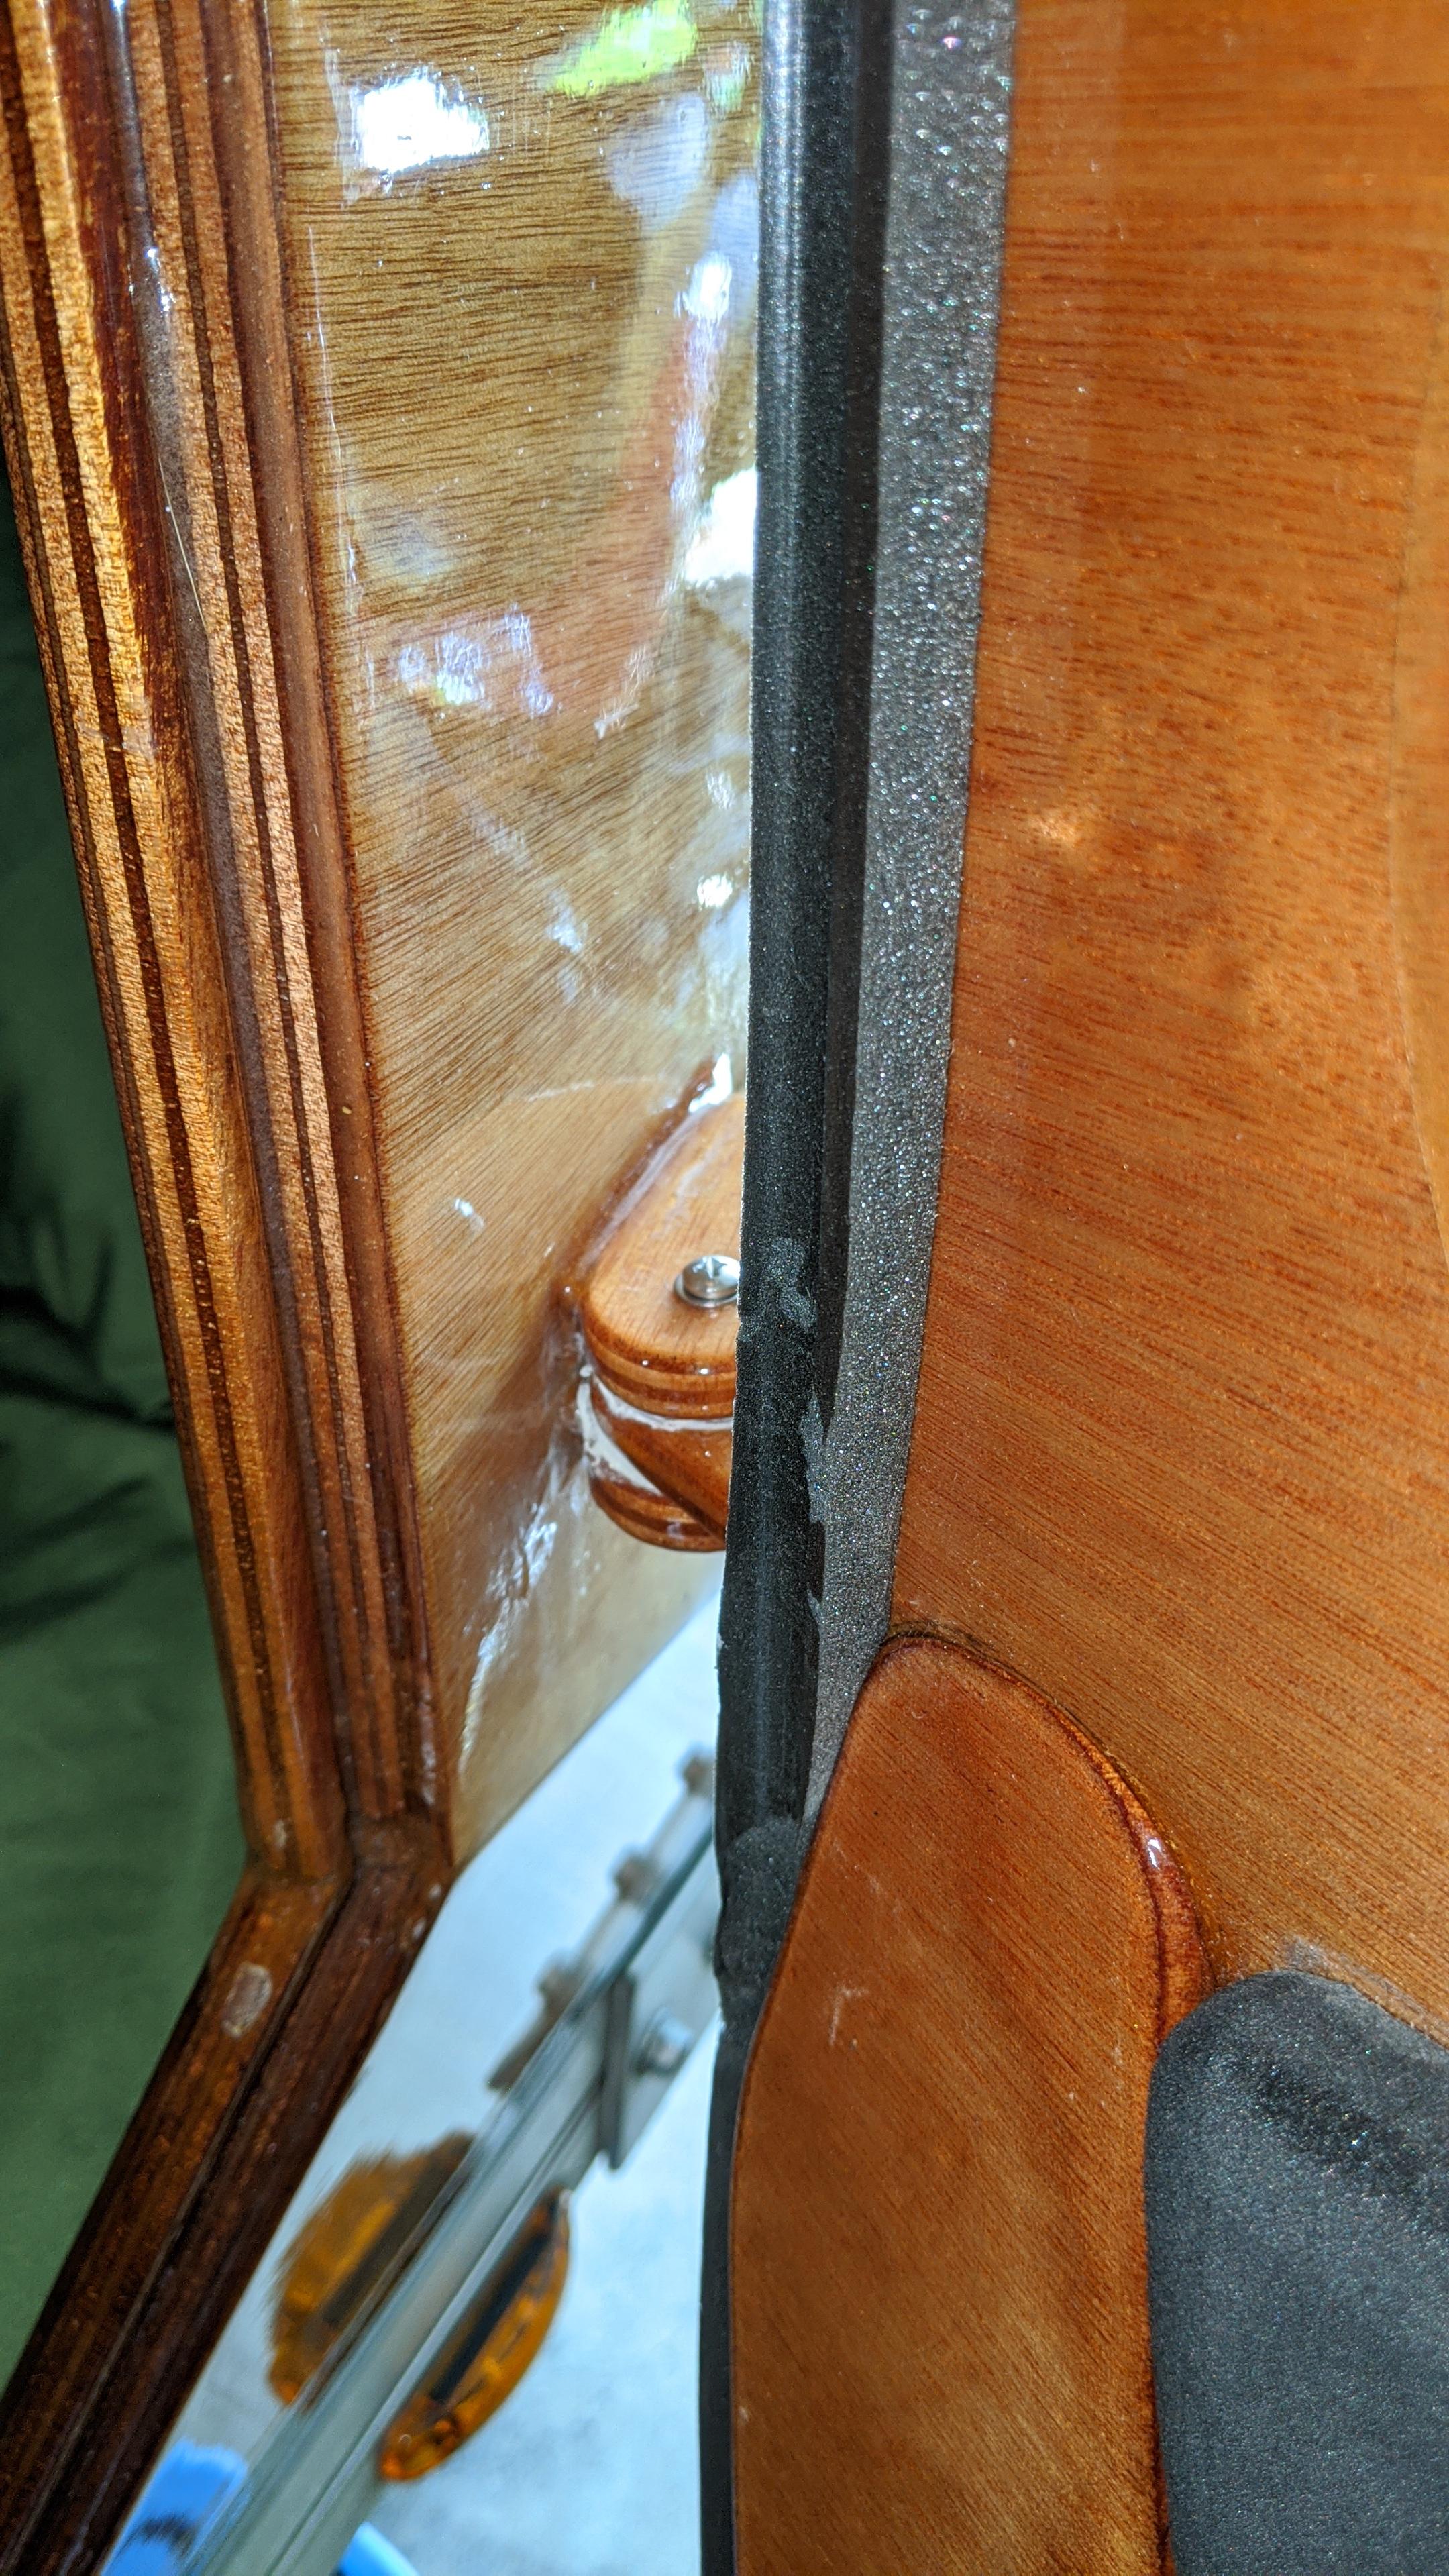
ParticipantI believe the foam weatherstripping is supposed to be applied to the perimeter of the door, not the door-frame. Then, (where you currently have weatherstripping) the water travels around the door and down to the bottom like a gutter. Weatherstripping in the top and bottom gutters may be preventing your door from closing properly in the mid-section.
Chris
CWStevens
ParticipantGood luck!!!
I’m loving mine! Where are you located?
CWStevens
Participant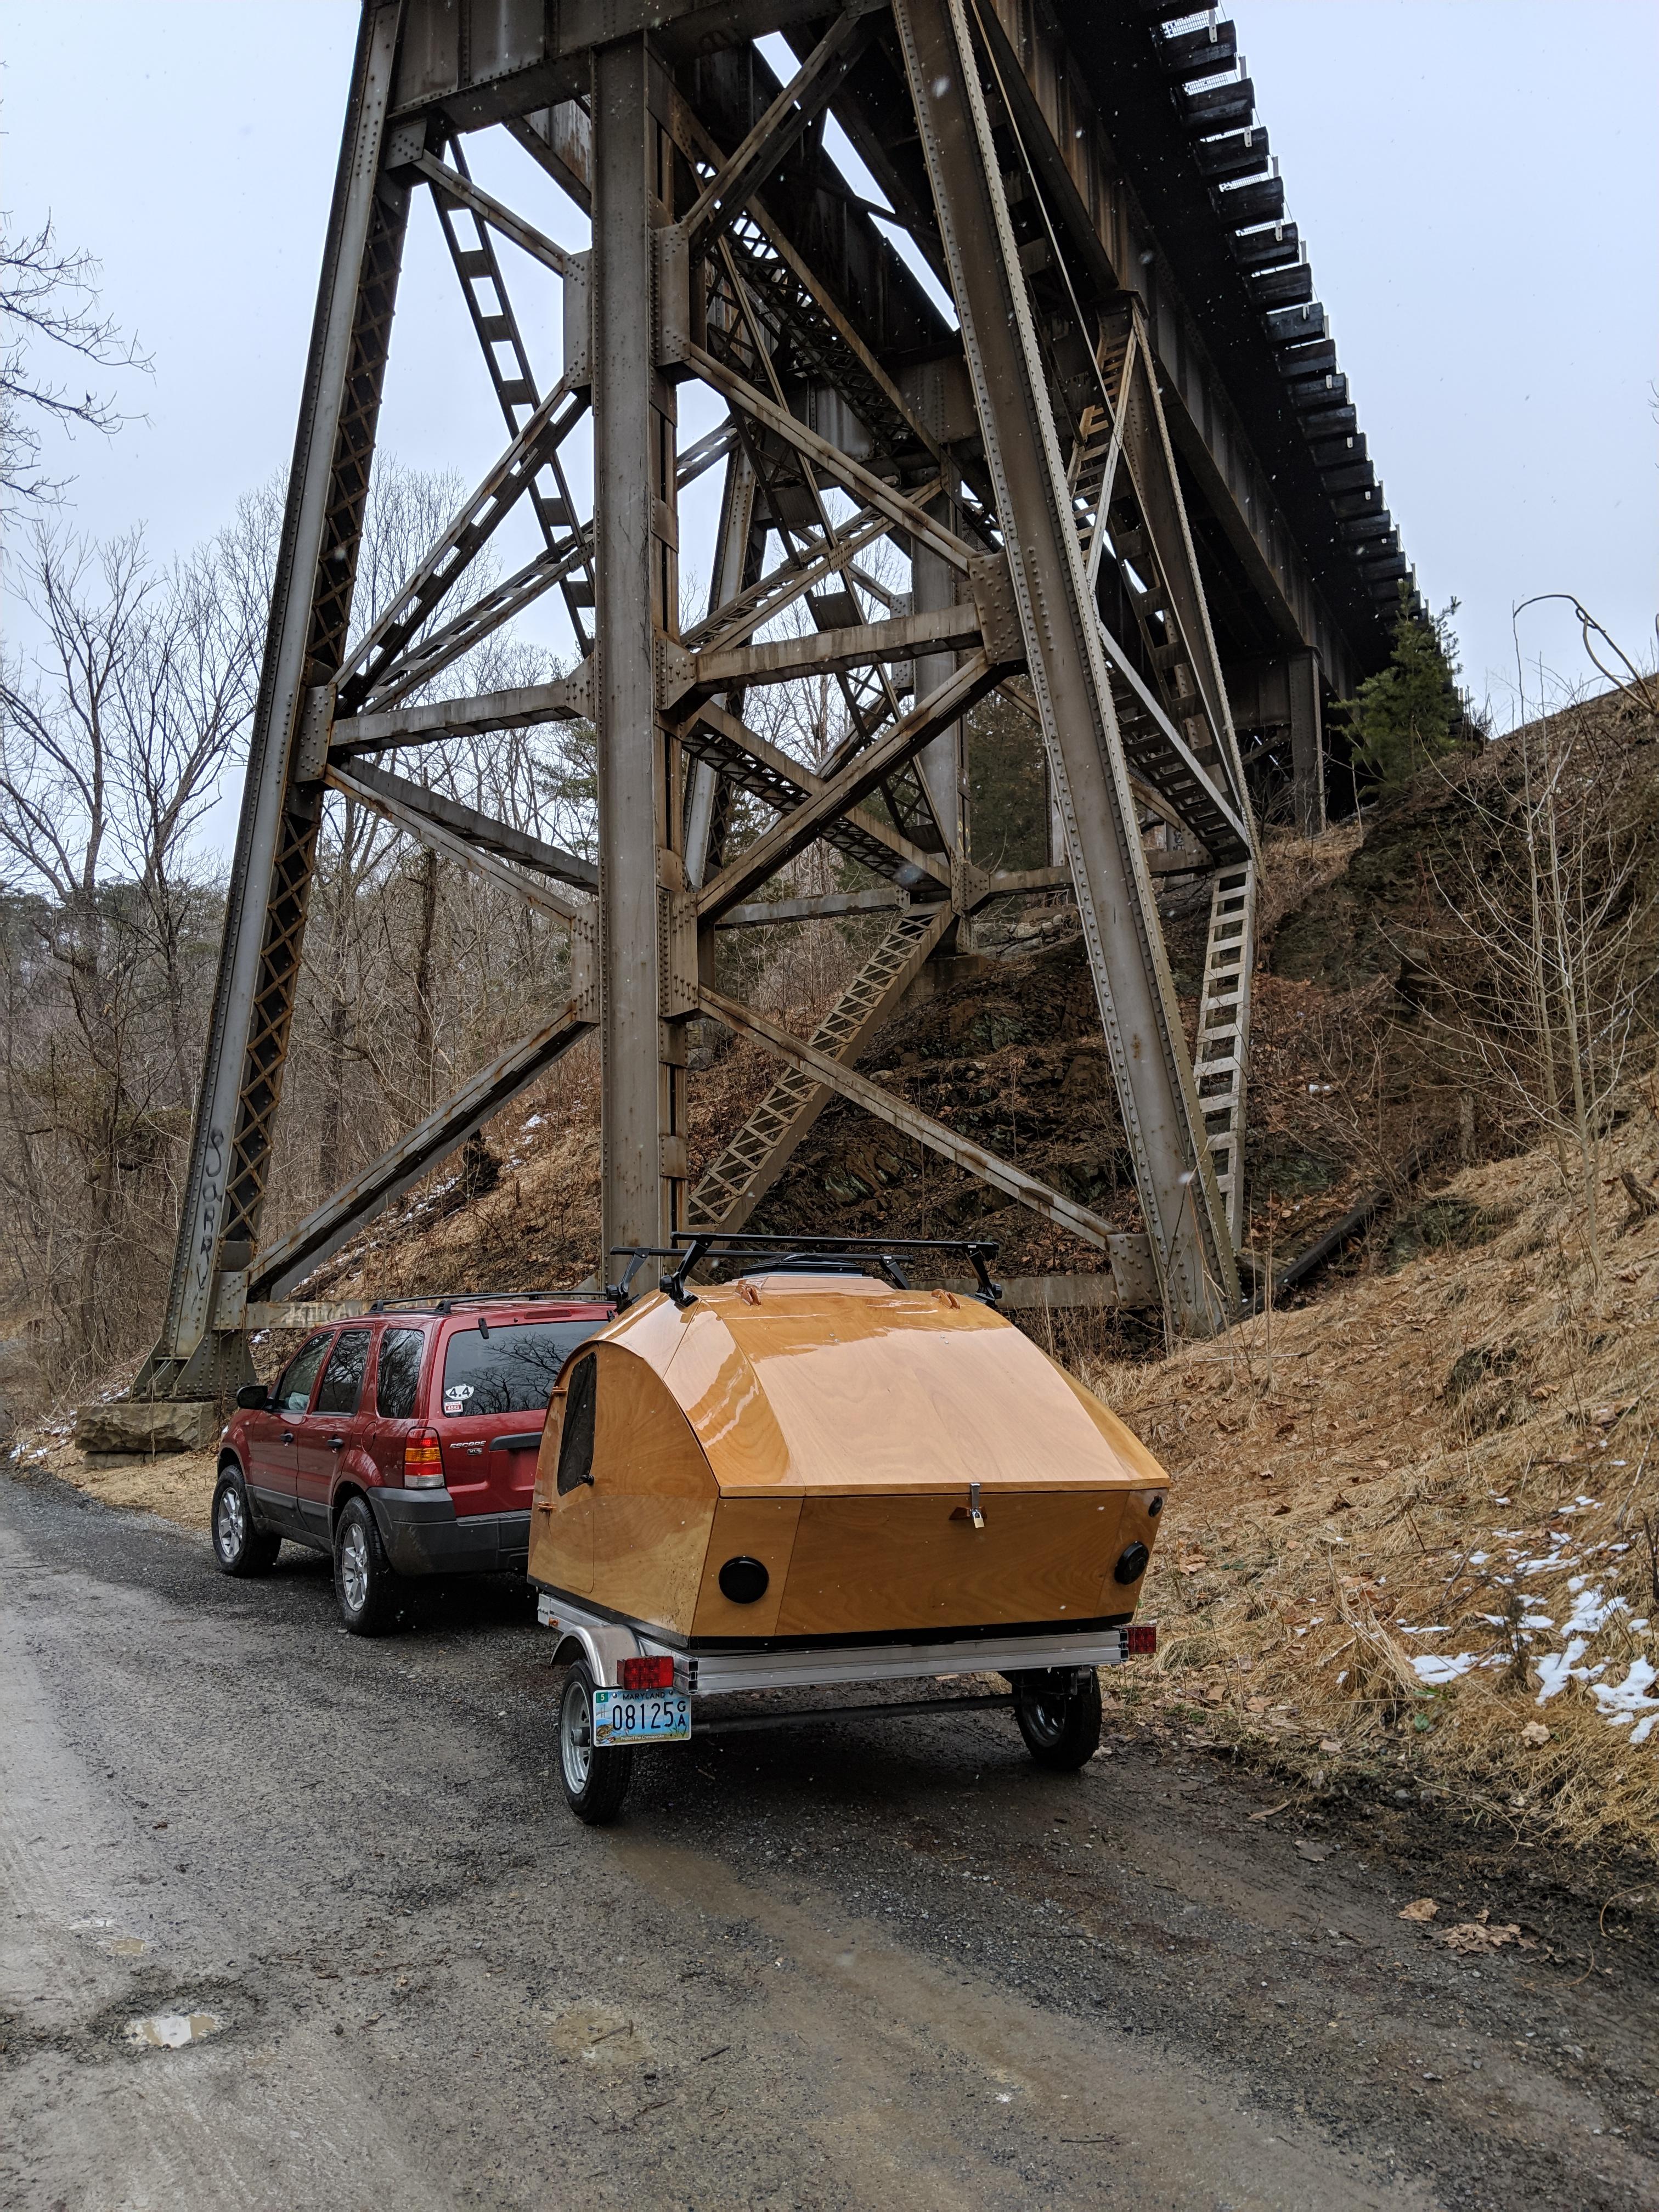
CWStevens
ParticipantThe camper “costs” about 10% in mpg to pull. I don’t believe the cross section of a solar panel would produce a significantly additional amount of drag. (IMHO as an engineer.)
If you’re considering making it removable, I wouldn’t let drag/efficiency be a factor. Rather consider, do you want to alternate between going off-grid and kayaking or cycling? Or would you rather have the convenience of mounting it, and forgetting about it? (That’s how I’m leaning, but I have a rack on my car.)
Another consideration is that removable solutions run a small additional risk of improper installation each time you re-install the panel.
Chris
-
This reply was modified 5 years ago by
CWStevens.
CWStevens
ParticipantYou could switch to fast hardener, but most everyone would recommend waiting for warmer weather.
Something you may also want to remember about working in colder weather, your hands have to be able to work too! I can’t see filleting with gloves on!
CWStevens
ParticipantFor the lights and fans, I chose as high as I could, keeping in mind you’ll have to wire around the upper lip in the rear bulkhead galley area.
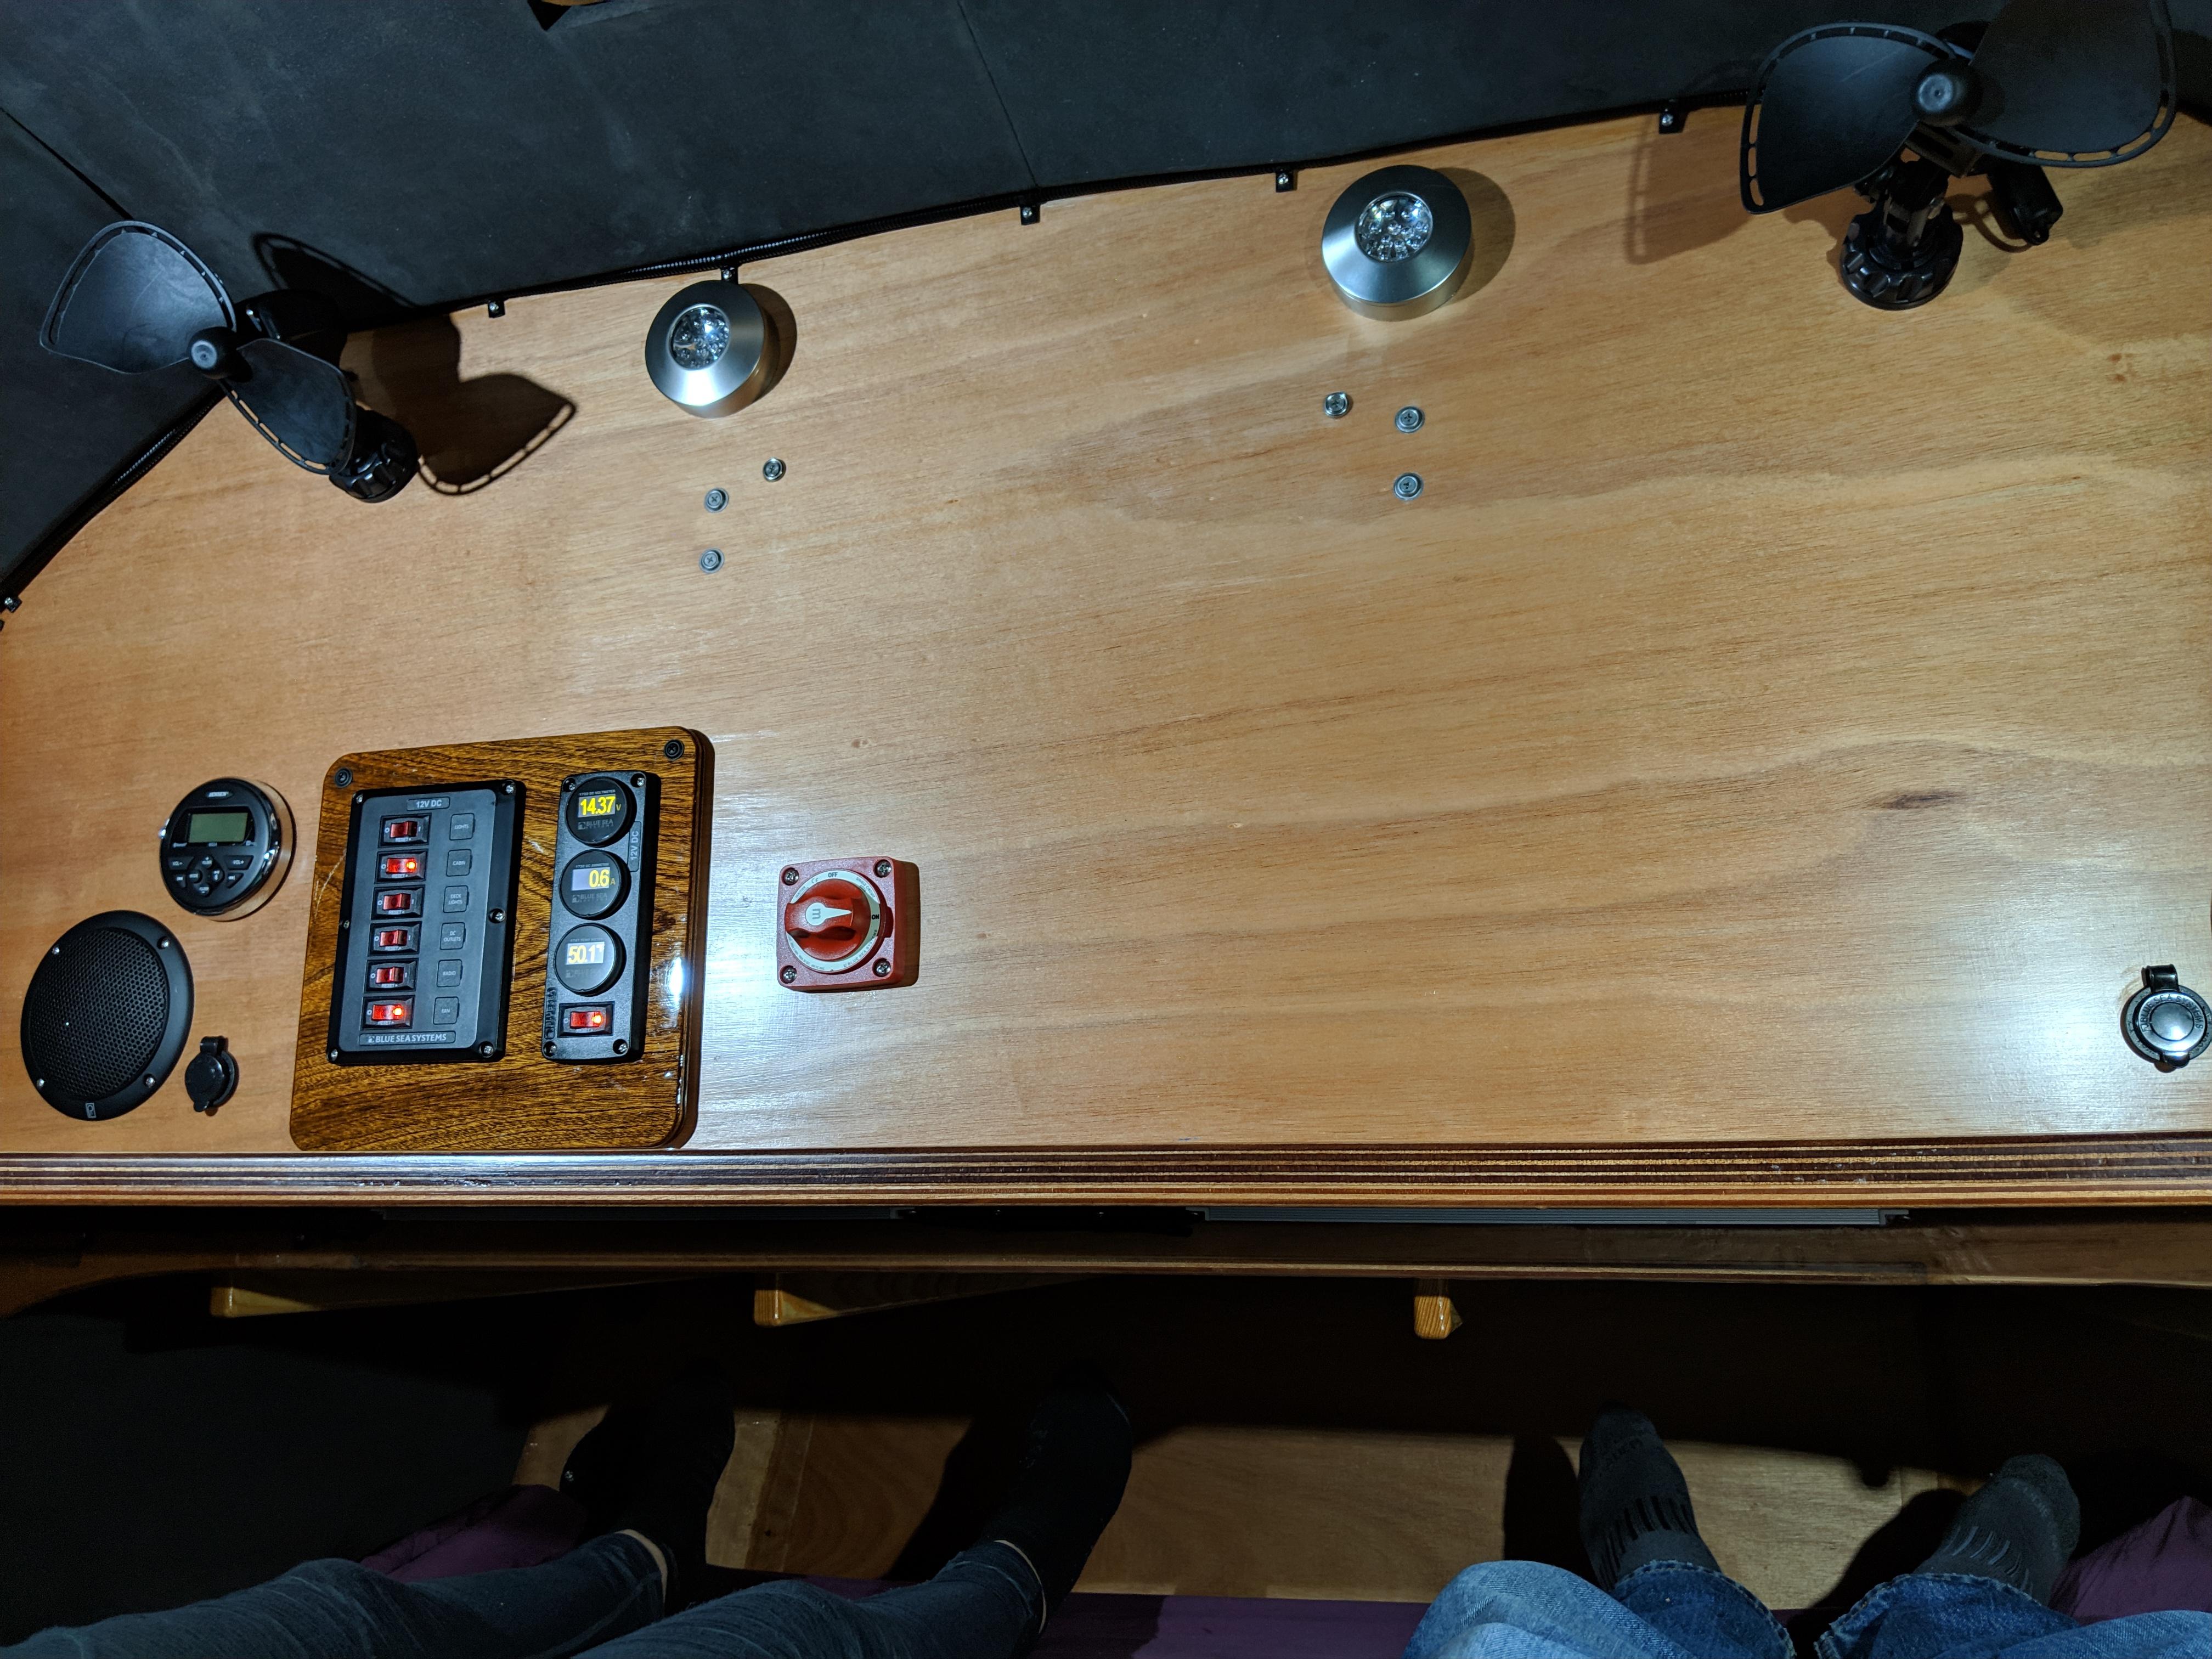
I ran the rear lights and center fan through the starboard side of the shelf, then into the electrical area, under the shelf. No grommets, but EPOXY coat the holes prior to running wire. Then use flexible plastic conduit to dress the wiring.
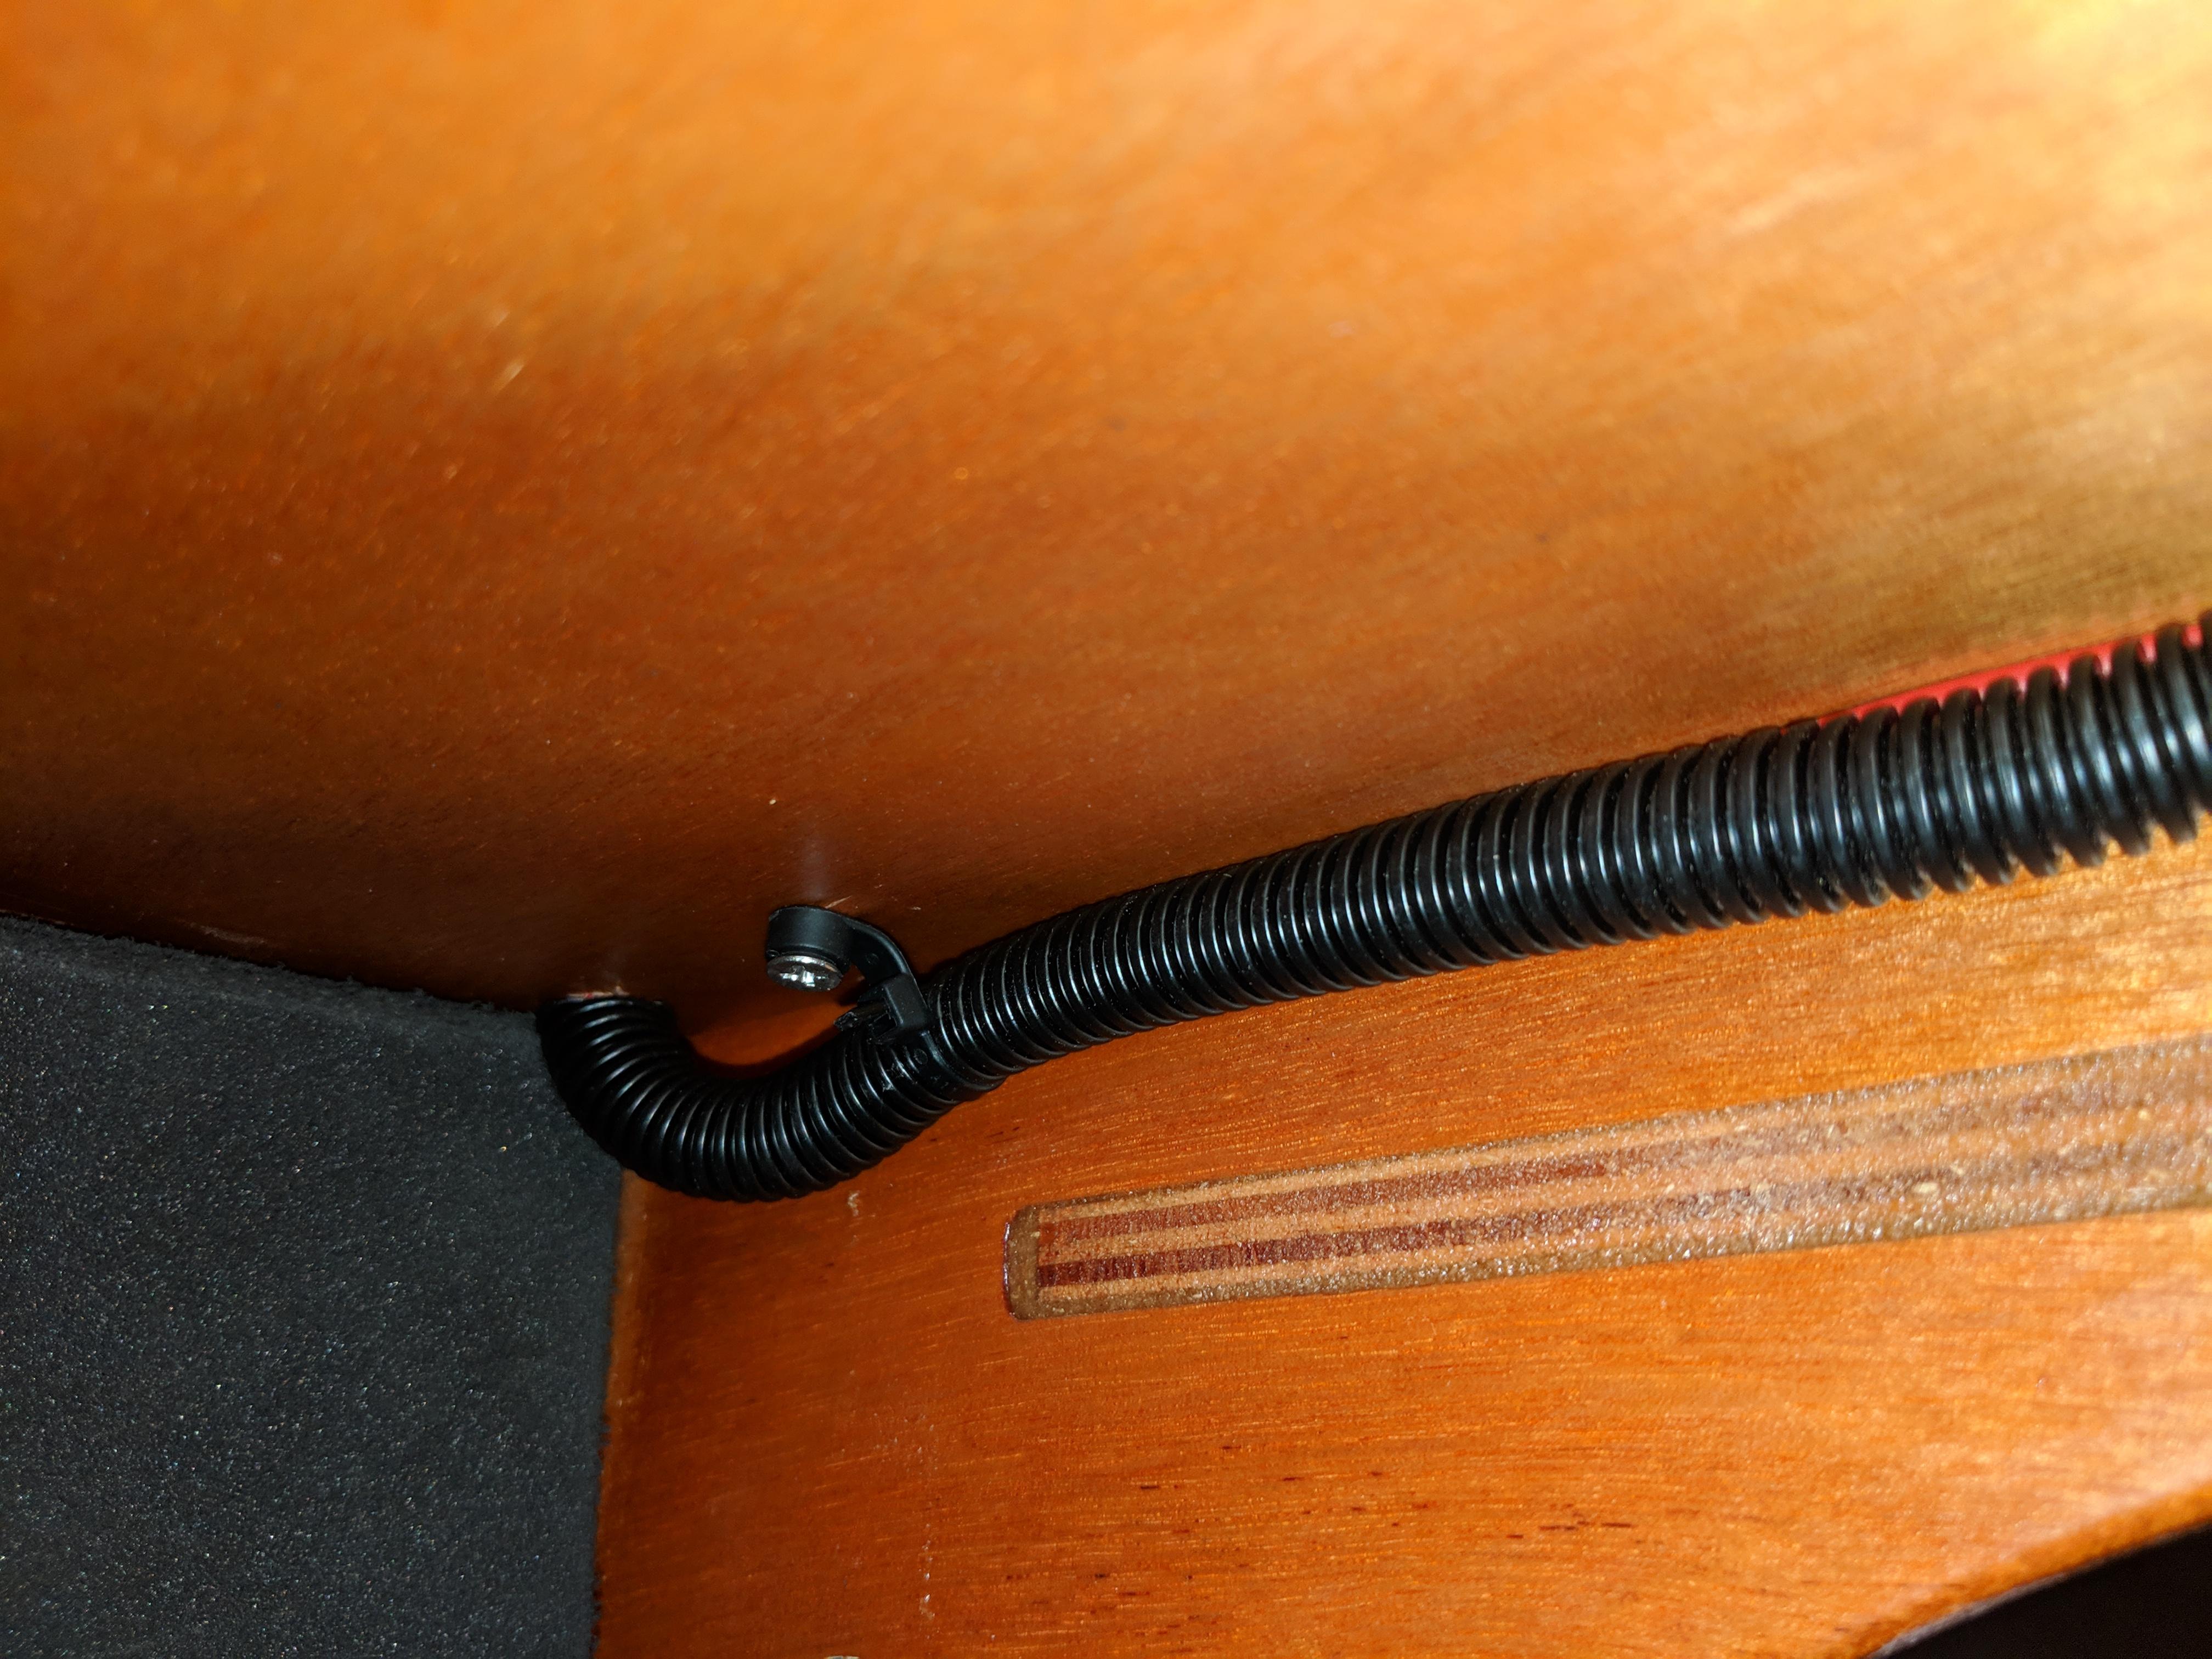
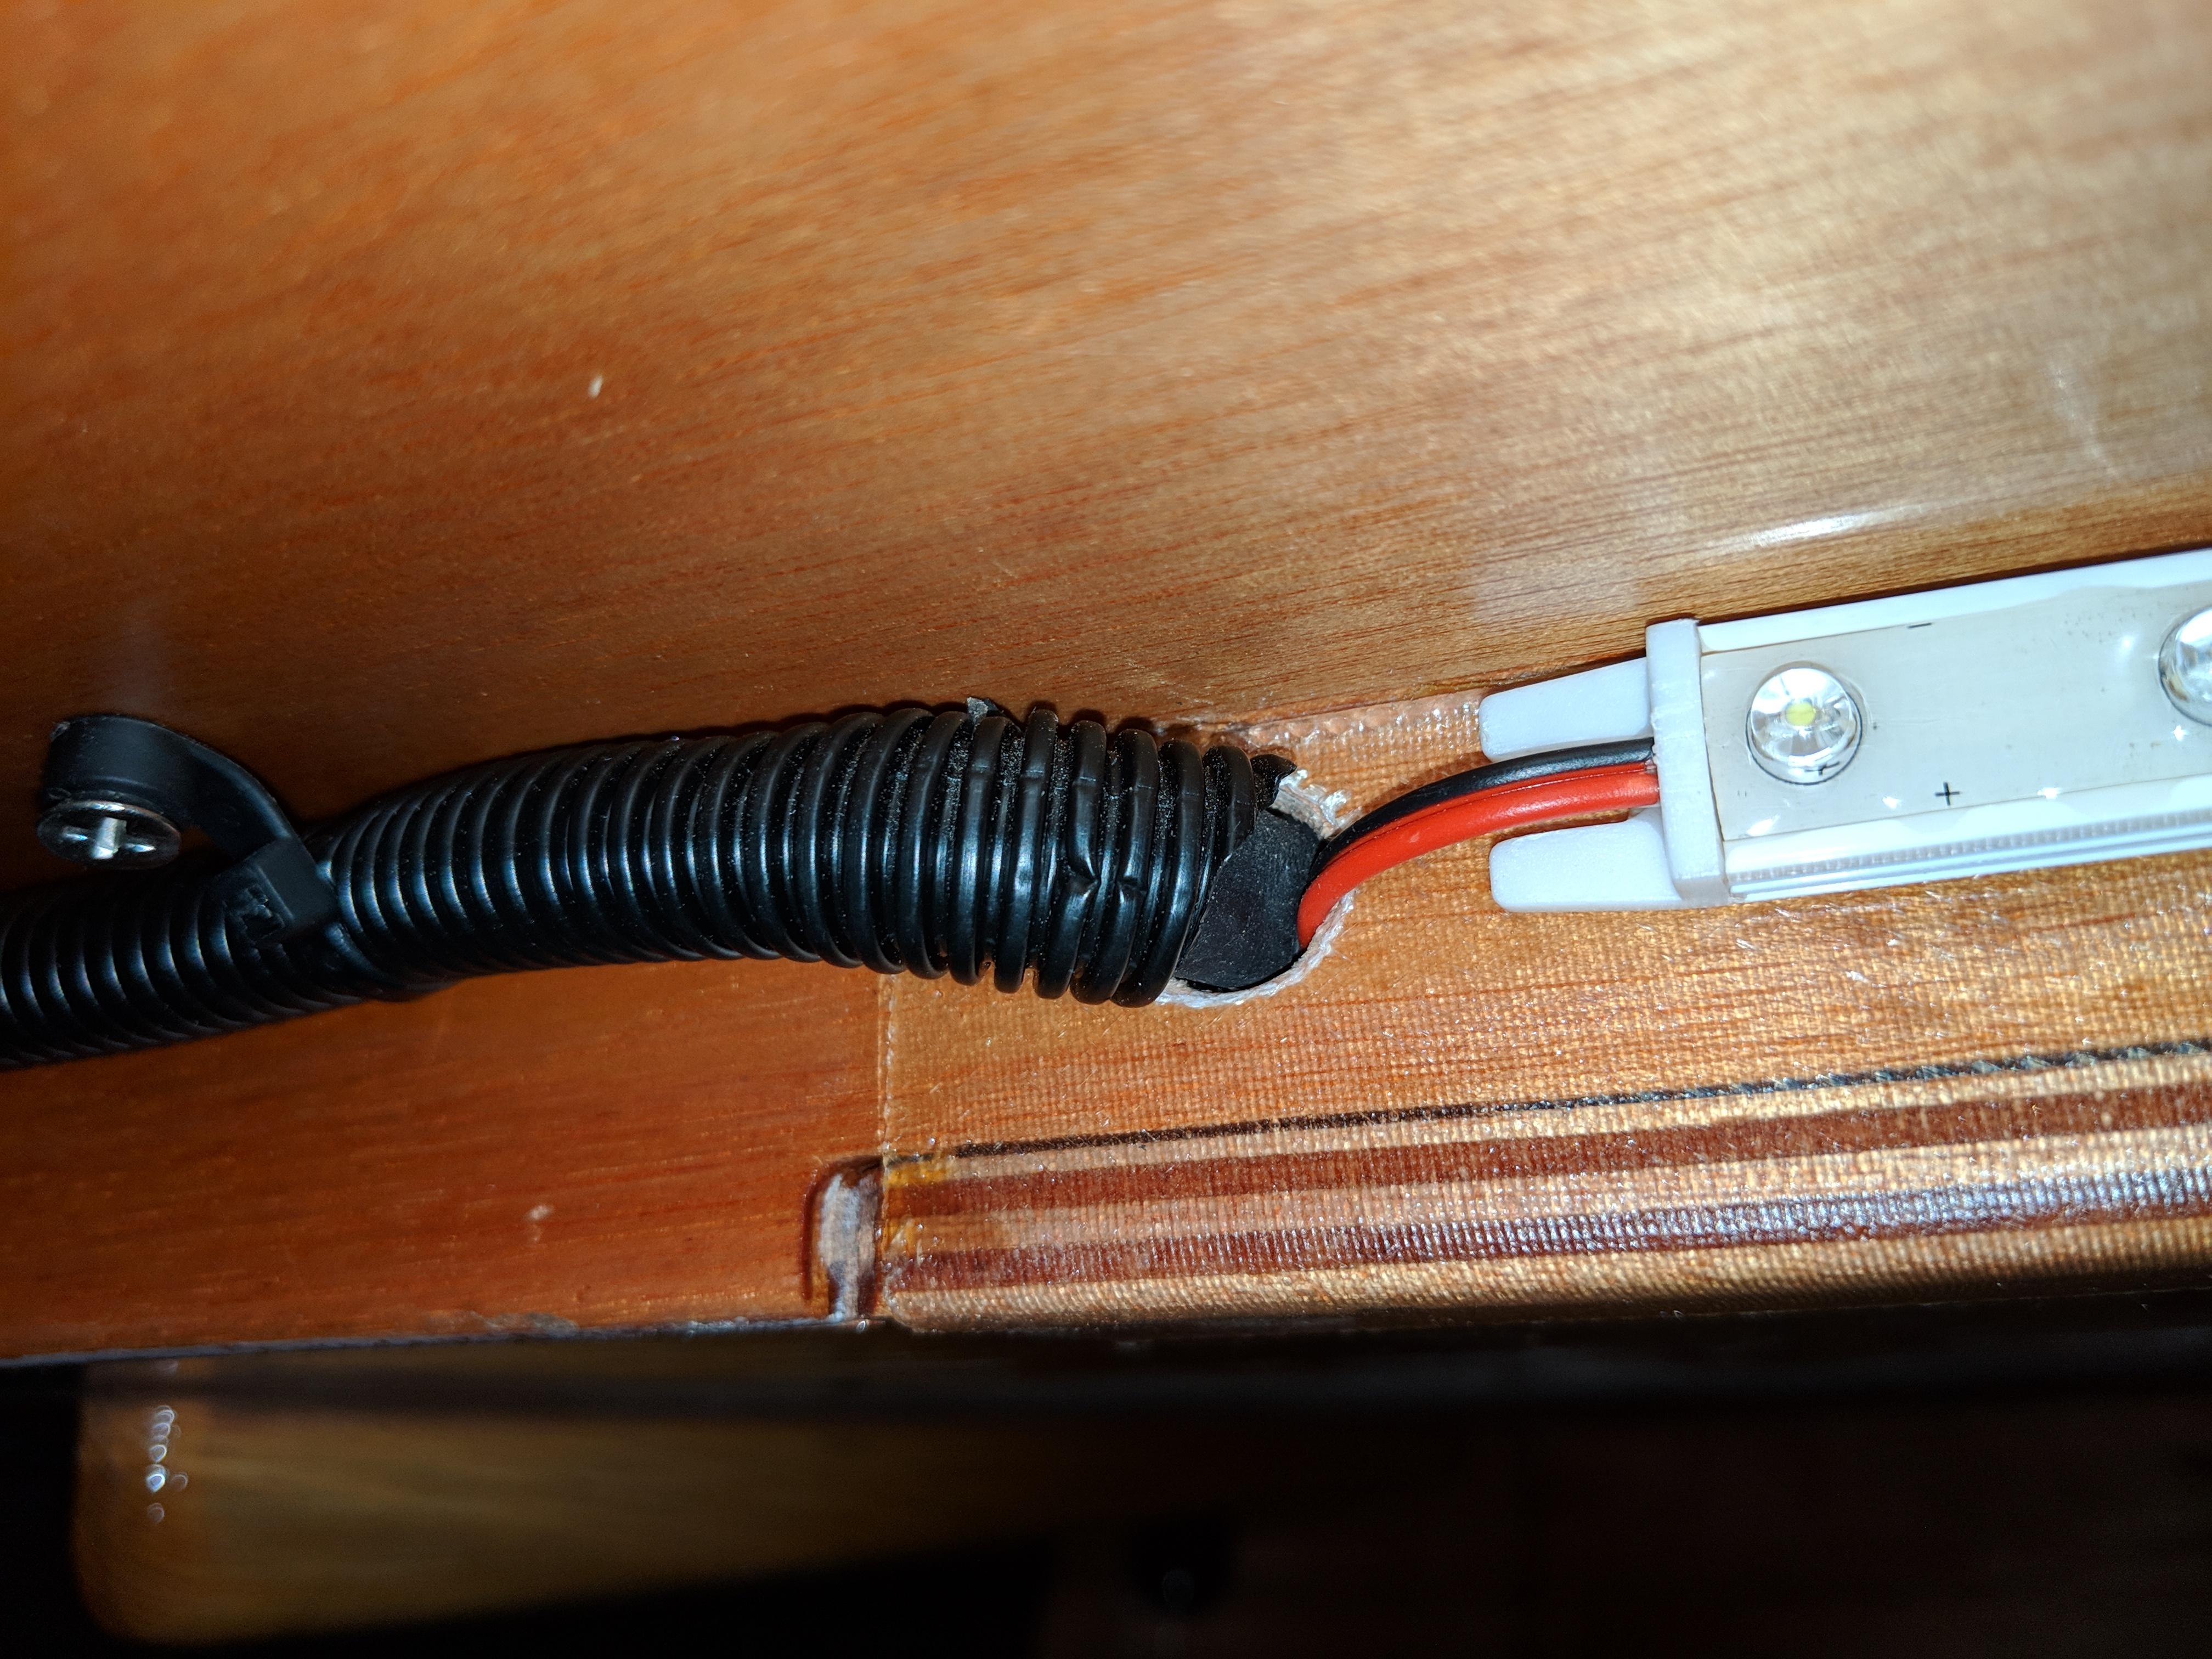
I aimed my lower cabin lights down, not into your face, as CLC did. Use very short screws, the shelf plywood is thin!
Make sure you epoxy all holes, since condensation can be an interior issue when it’s cold outside and moist inside.
Chris
-
This reply was modified 5 years ago by
-
AuthorPosts