Forum Replies Created
-
AuthorPosts
-
ArtisticAdam
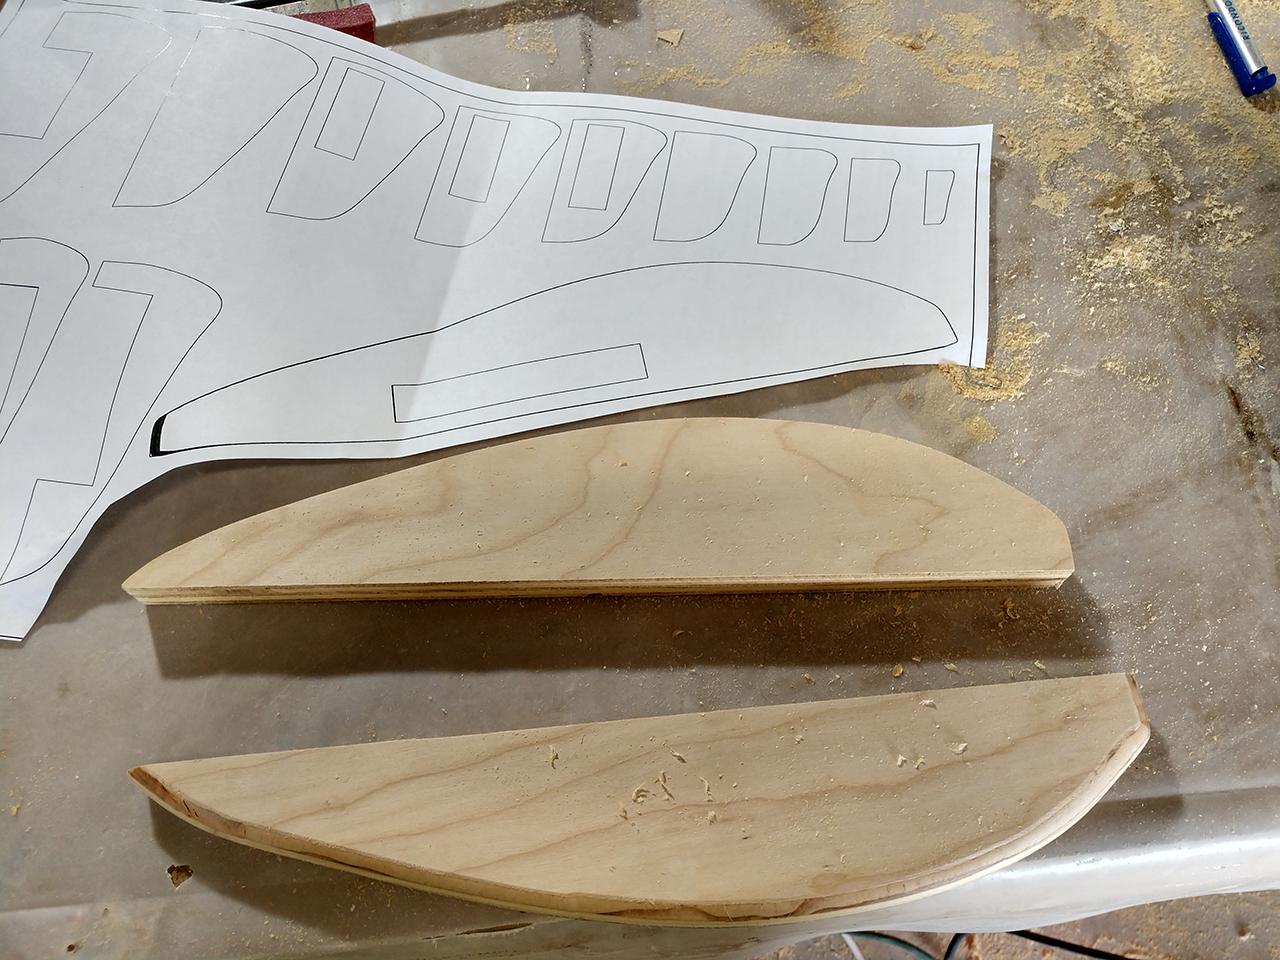
ParticipantNo reason to leave this area uncovered, not sure why their kit doesn’t cover it. I would get 3/4″ closed cell foam to match the rest of the CLC headliner kit you have. Also page 380 of the build manual has the headliner parts labeled.
ParticipantThat is a future upgrade for mine as well and I plan to do something similar to Wester_Flyer. You may want to try searching for a marine drop-in storage box like this https://www.boatoutfitters.com/drop-in-storage-tub-11×15
ParticipantDry fit first to make sure it fits well. Then mix up Thickened epoxy with wood flour for the “tabs” and the surfaces of the bulkhead that touch the galley flat. I put the epoxy on the bulkhead tabs/edges without adding any to the galley flat. This way moving the galley flat into place will reduce the chance of smearing epoxy where you don’t want it. I agree that thickened epoxy doesn’t really brush on… it’s more like spreading a layer of frosting on a cake. Once the galley is in place clean up any drips or smears. You will later fillet between the galley flat and bulkhead on the bulkhead side.
also keep in mind that you want to be as neat and clean as possible. drips of epoxy on the galley side of the bulkhead cannot be cleaned up once the galley flat is in place.
Hope this helps.
ParticipantLooks to me like your fix should work. My only concern is if your door stiffeners still fit.
ParticipantI went with the 12″ wheels and so far i believe it is a must to flip the axle to overslung position. Ground clearance is still good but it is much easier to get into and out of. The galley height is still a bit much and i would assume almost unusable if you don’t flip the axle.
The axle is easy to flip with no modifications needed. I had everything assembled and the wheels on when i decided to flip it. My process was as follows:
1) jack up the trailer at the rear
2) put the spare tire or chalks under the swivel jack
3)disconnect the 4 u bolts
4) remove the 2 bolts attaching the back of each leaf spring to the trailer
5) let the leaf spring hang while you roll the axle & tires backward.
6) roll axle and tires forward over the leaf spring.
7) bolt leaf spring back into place while axle hangs from it (you will need another pair of hands for this)
8) bolt axle back onto the leaf spring with the same u-bolt hardware
This is the only photo i have of the TD on the trailer, this was AFTER the axle flip. I didn’t even try to mount it prior to flipping the axle.
 Participant
Thanks Dan. The Trailex trailer is certainly an example of you get what you paid for I will go ahead and flip the axle. Just not looking forward to removing and tightening the nuts on the u-bolts again… I think they were a tad long.
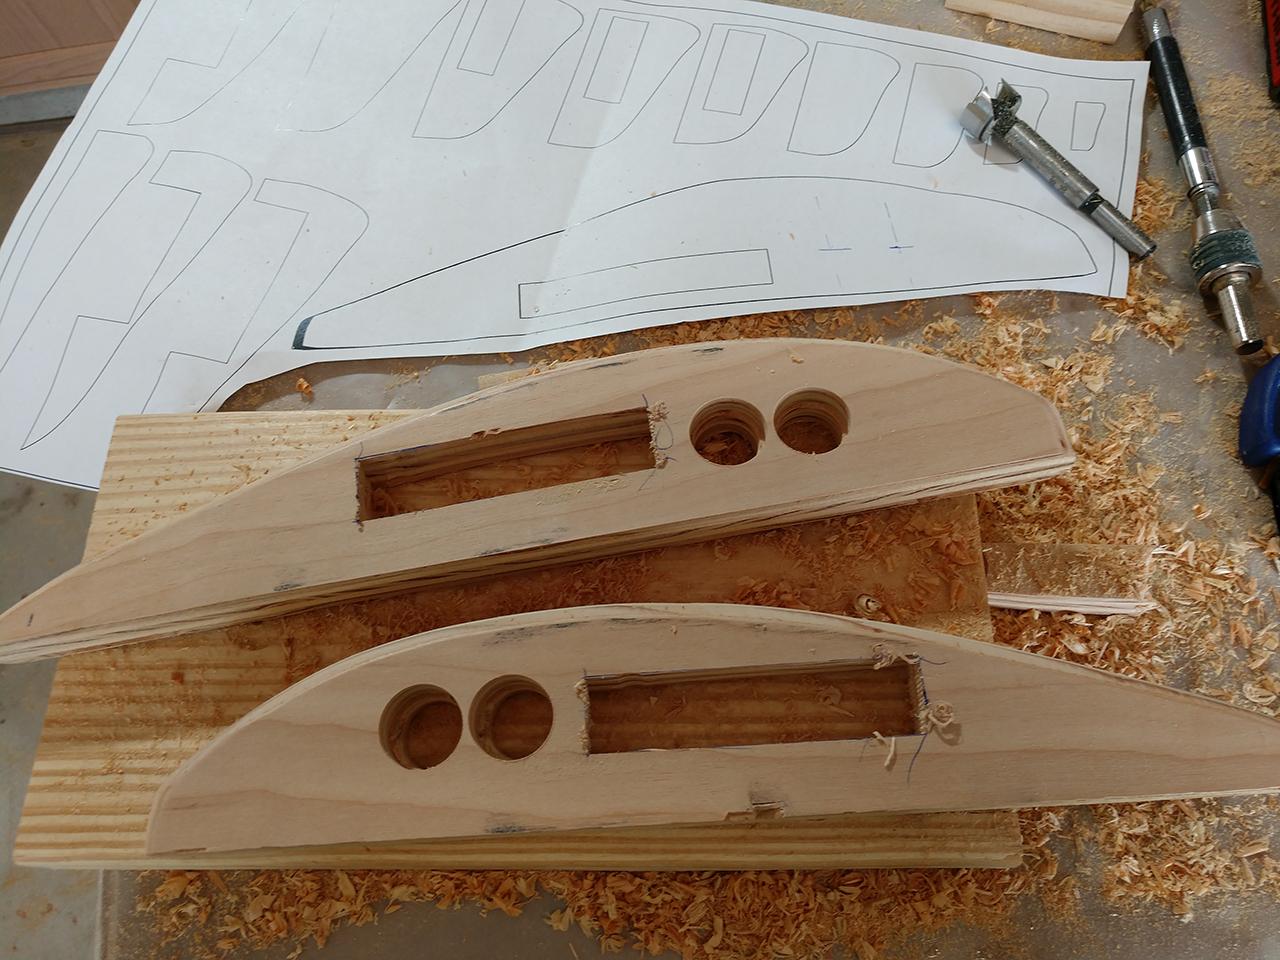
ParticipantProgress Update (Time Spent To Date ~300 hrs) Galley & Cabinets are finished, minus a few holes to drill for the door latches. This was a huge victory and I couldn’t be happier with the results! Left/Right boxes are interior cabinets while the center is for all the electrical components. The 3 galley counter pieces are removable and sandwiched between these and the original galley top will be the plumbing, wiring and insulation.
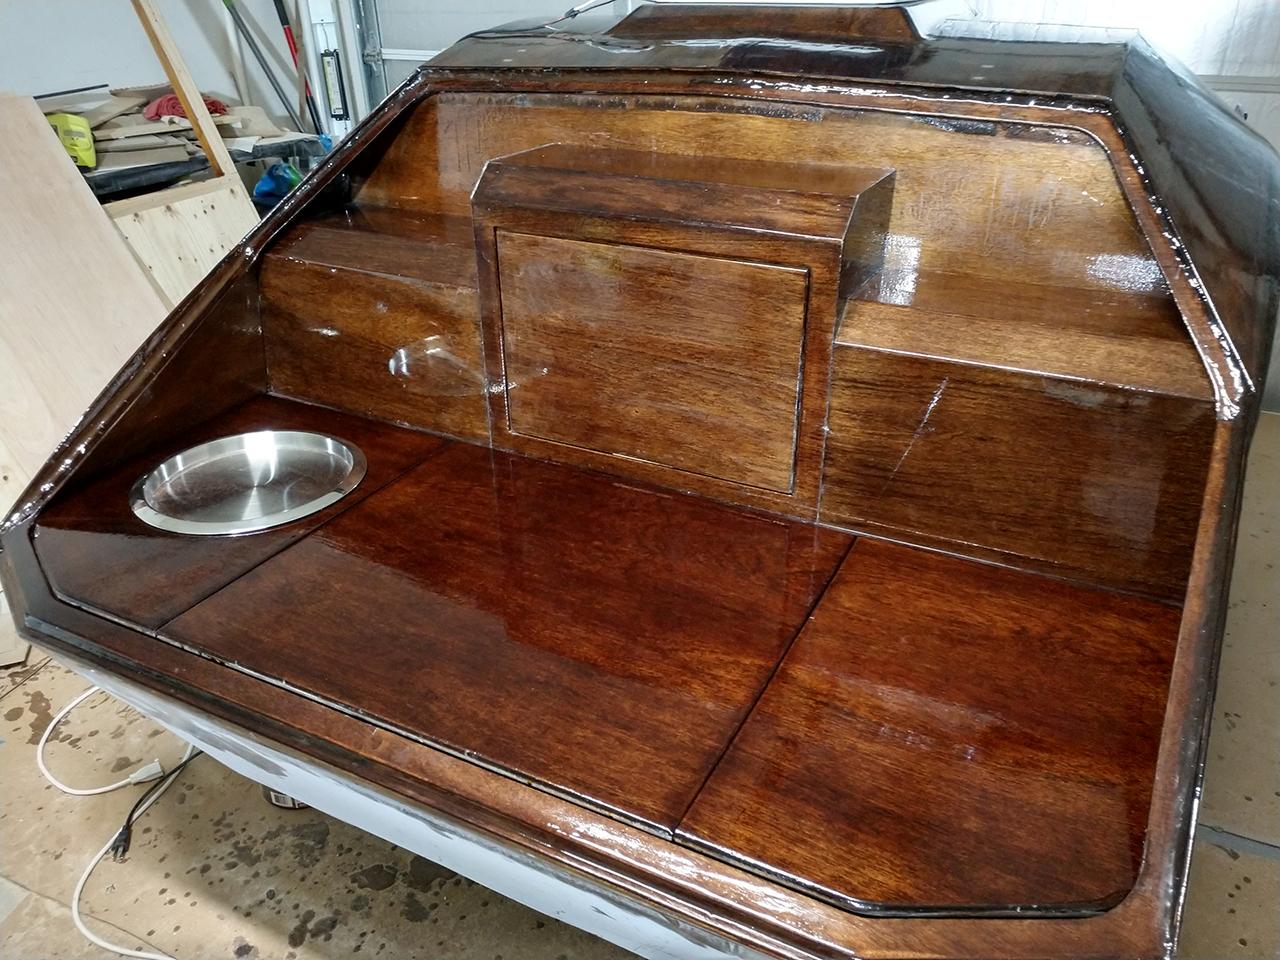
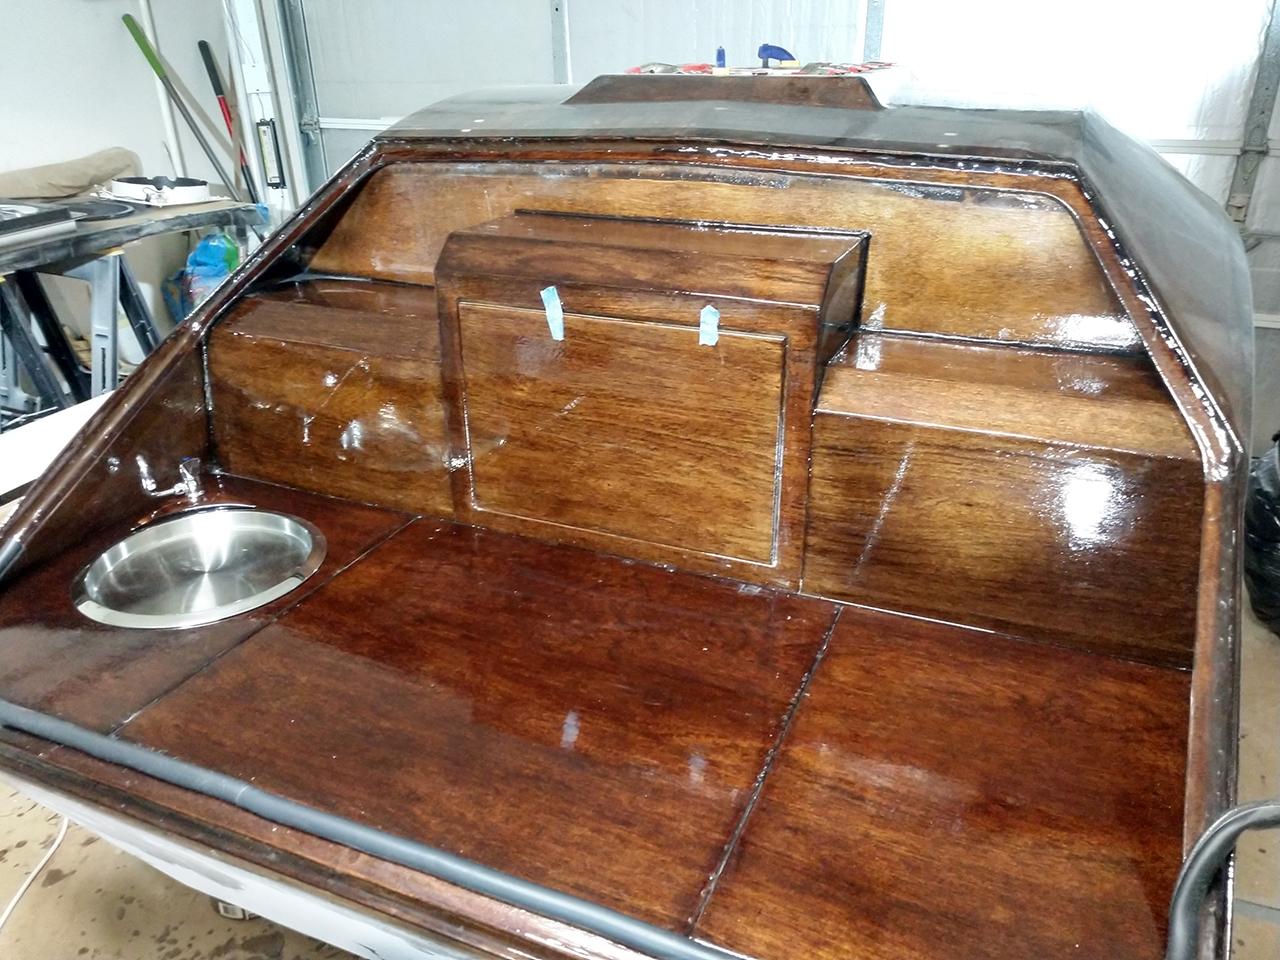
Started work on the armrest/nightstands seen on the bottom left corner in my concept image:

The armrests will have speakers, a slot for a cellphone with USB charging, and controls for fans and lights.
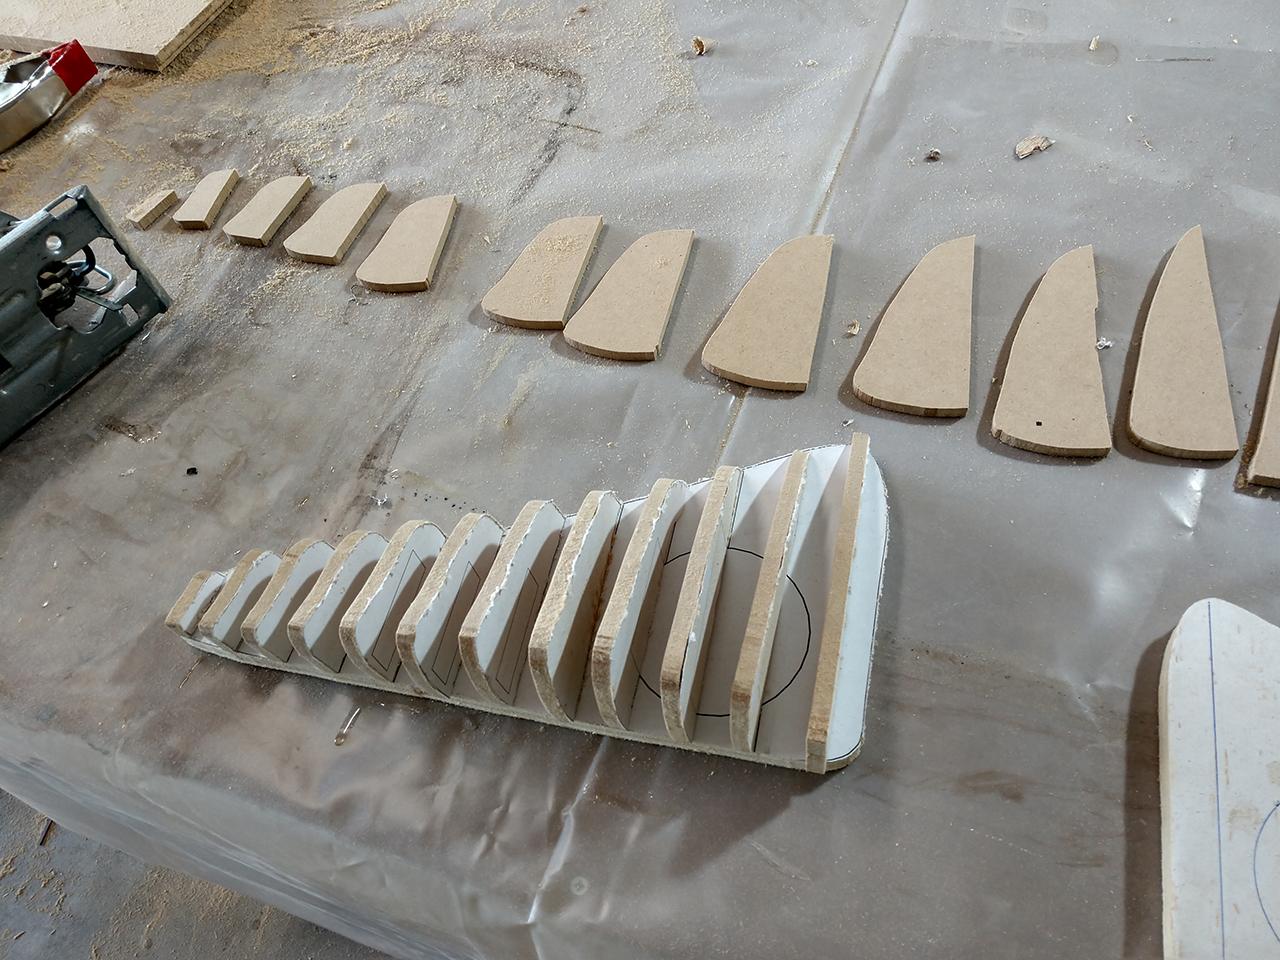
Next step is to shave/shape the foam which will then be wrapped with the same headliner fabric and capped with the stained wood piece seen above.
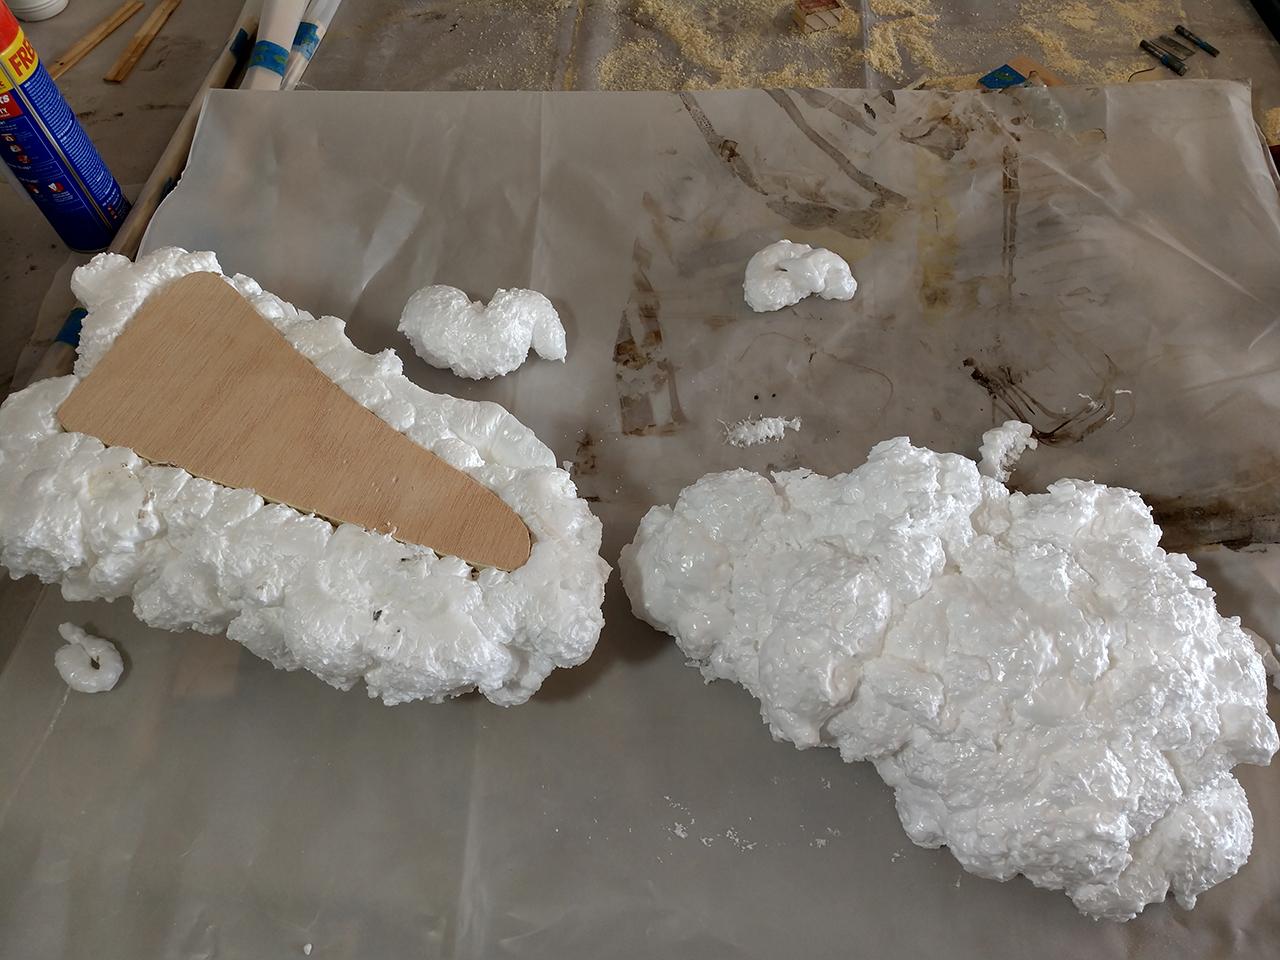
I think I may have used too much foam.
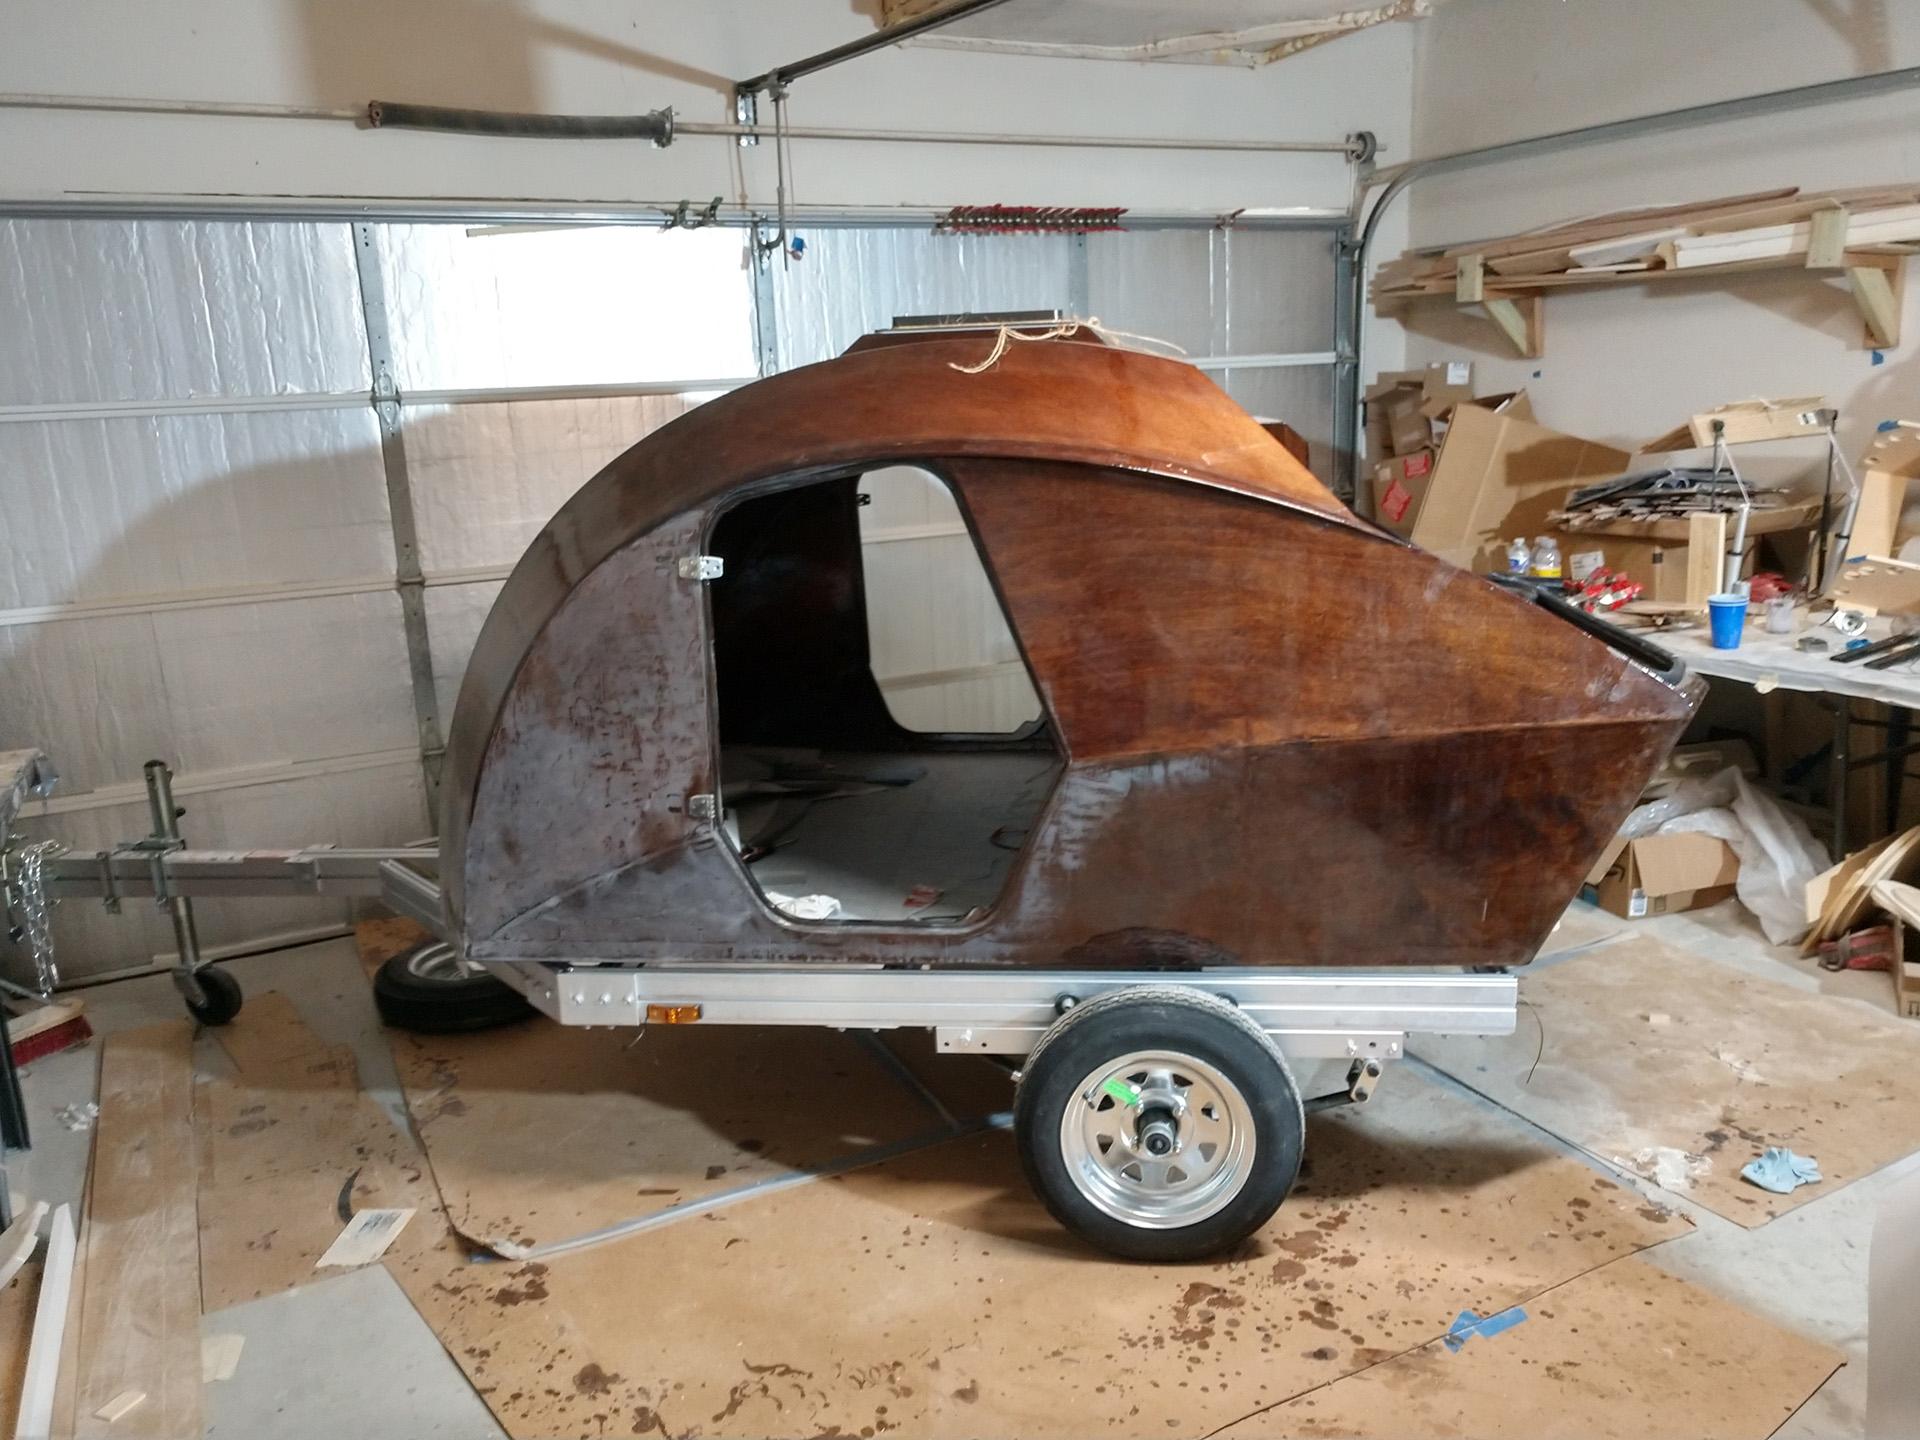
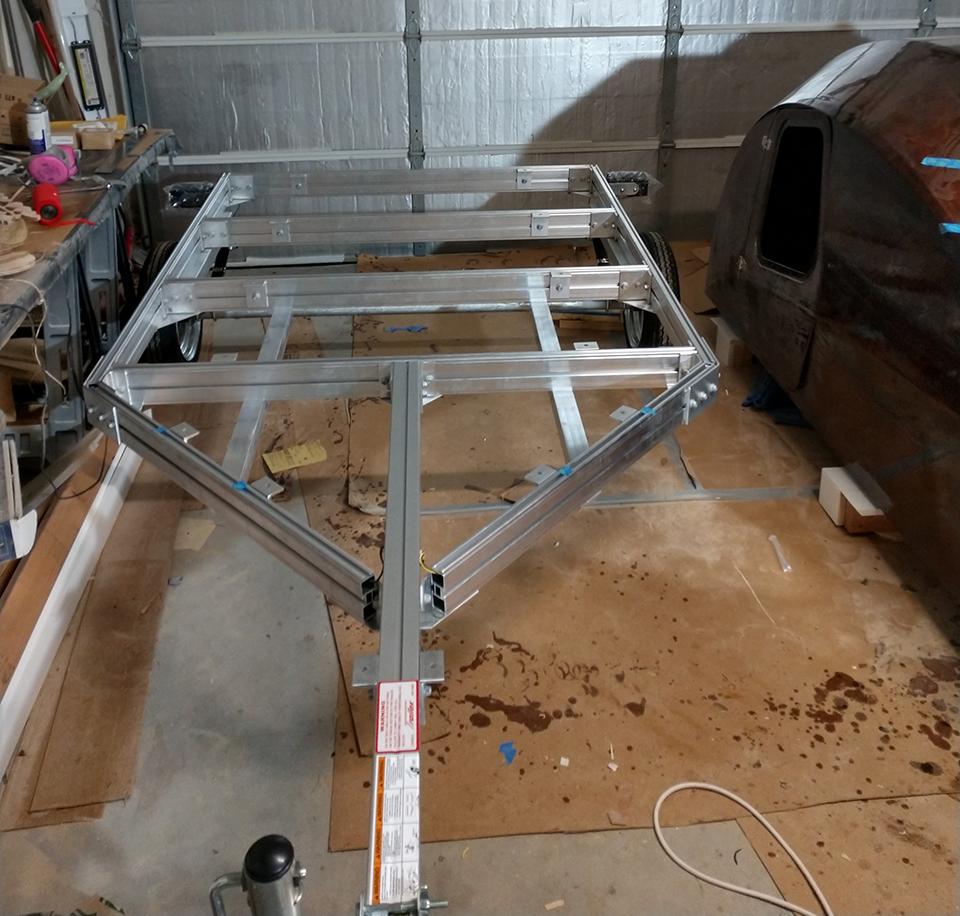
ParticipantThank you all for your input. I pulled the trigger and went with the Trailex one as well. Ordered it Sunday night and had it on my doorstep the following Friday (Trailex +1 / Northern Tool -100) haha. I still need to mount the TD to the trailer but so far i’m very pleased with it. The trailer is well built and the added bonus of the t-slots allows me to add some custom brackets to mount my water tank.
One thing to note, I went with the 12″ tires but the ride height may be a tad too high for my wife to easily crawl into. The directions called for installing the axle in an under-slung configuration. Have any of you tried the axle over-slung? I’m thinking this would drop the ride height right to the sweet spot but i’m not sure if the fenders will clear the camper.
 Participant
Is that 1/4″ rigid construction foam you plan to use for the headliner?
ParticipantIts looking better. Is your galley flat glued in at all? If not, try the alignment without it in place. My galley flat required a little shaping to fit the width properly.
Otherwise I would back out the screw/washer you added just enough to pop that hatch panel on the inside of the #3 as apposed to over the #3 like you have in the second picture. The transom and quarter panels should also butt up to the hatch lid pieces. You are shooting for a complete shell, no gaps, no overlap.
ParticipantDon’t stress too much I too had some difficulties with this area of the build as well. So many pieces all coming together at odd angles.
I’m not entirely sure what step in the build you are on but I assume its the fitting of the quarter panels.
First thing I would recommend is to address this gap seen in your picture below. Was this seam already glassed because it looks like epoxy on that edge? If so it may not bee too much of an issue, you will be cutting along this seam to create the galley hatch. If it wasn’t glassed you can add a stitch back in to tighten up that gap for now.
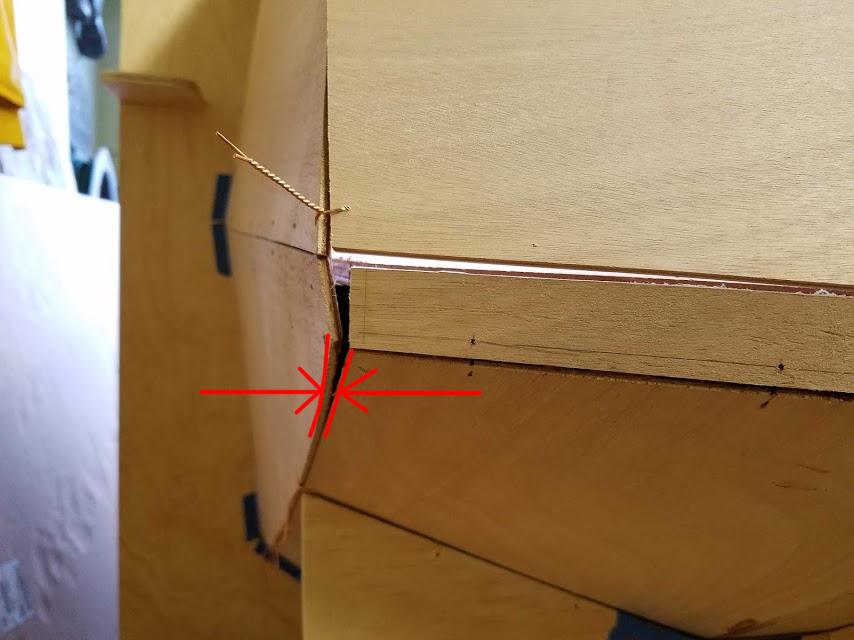
Next add an additional stitch point seen here in blue
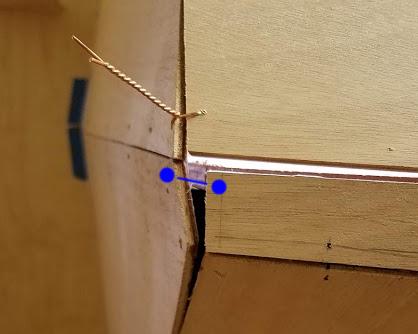
You can remove both of these stitches after you have the quarter panels secured to the galley flat.
Now that those gaps are tightened up you can secure the galley flat.
Finally once the galley flat is in place and you are on step/page 95 of the manual you can do what I did that worked well to ensure proper alignment. When filleting the quarter panels in place I had temporarily stitched the quarter panels AND transom panel together. Then once the epoxy set up on the quarter panels i clipped the stitches and removed the transom knowing it would fit perfectly later on down the road.
Hope this helps.
ParticipantBelow is the video in question for installing the shelf. Just make sure you round off the back corners of the shelf to accommodate the fillet between the bulkhead and camper shell. The 4 holes that the shelf slot into also needed some cleanup from epoxy drips. I opted not to install the fiddle rail so hopefully this process works for those with the rail. No additional sanding on the shelf was required for me to fit it in place.
https://www.dropbox.com/s/w8z3zm4yd8h1hw0/VID_20180328_212408356.mp4?dl=0
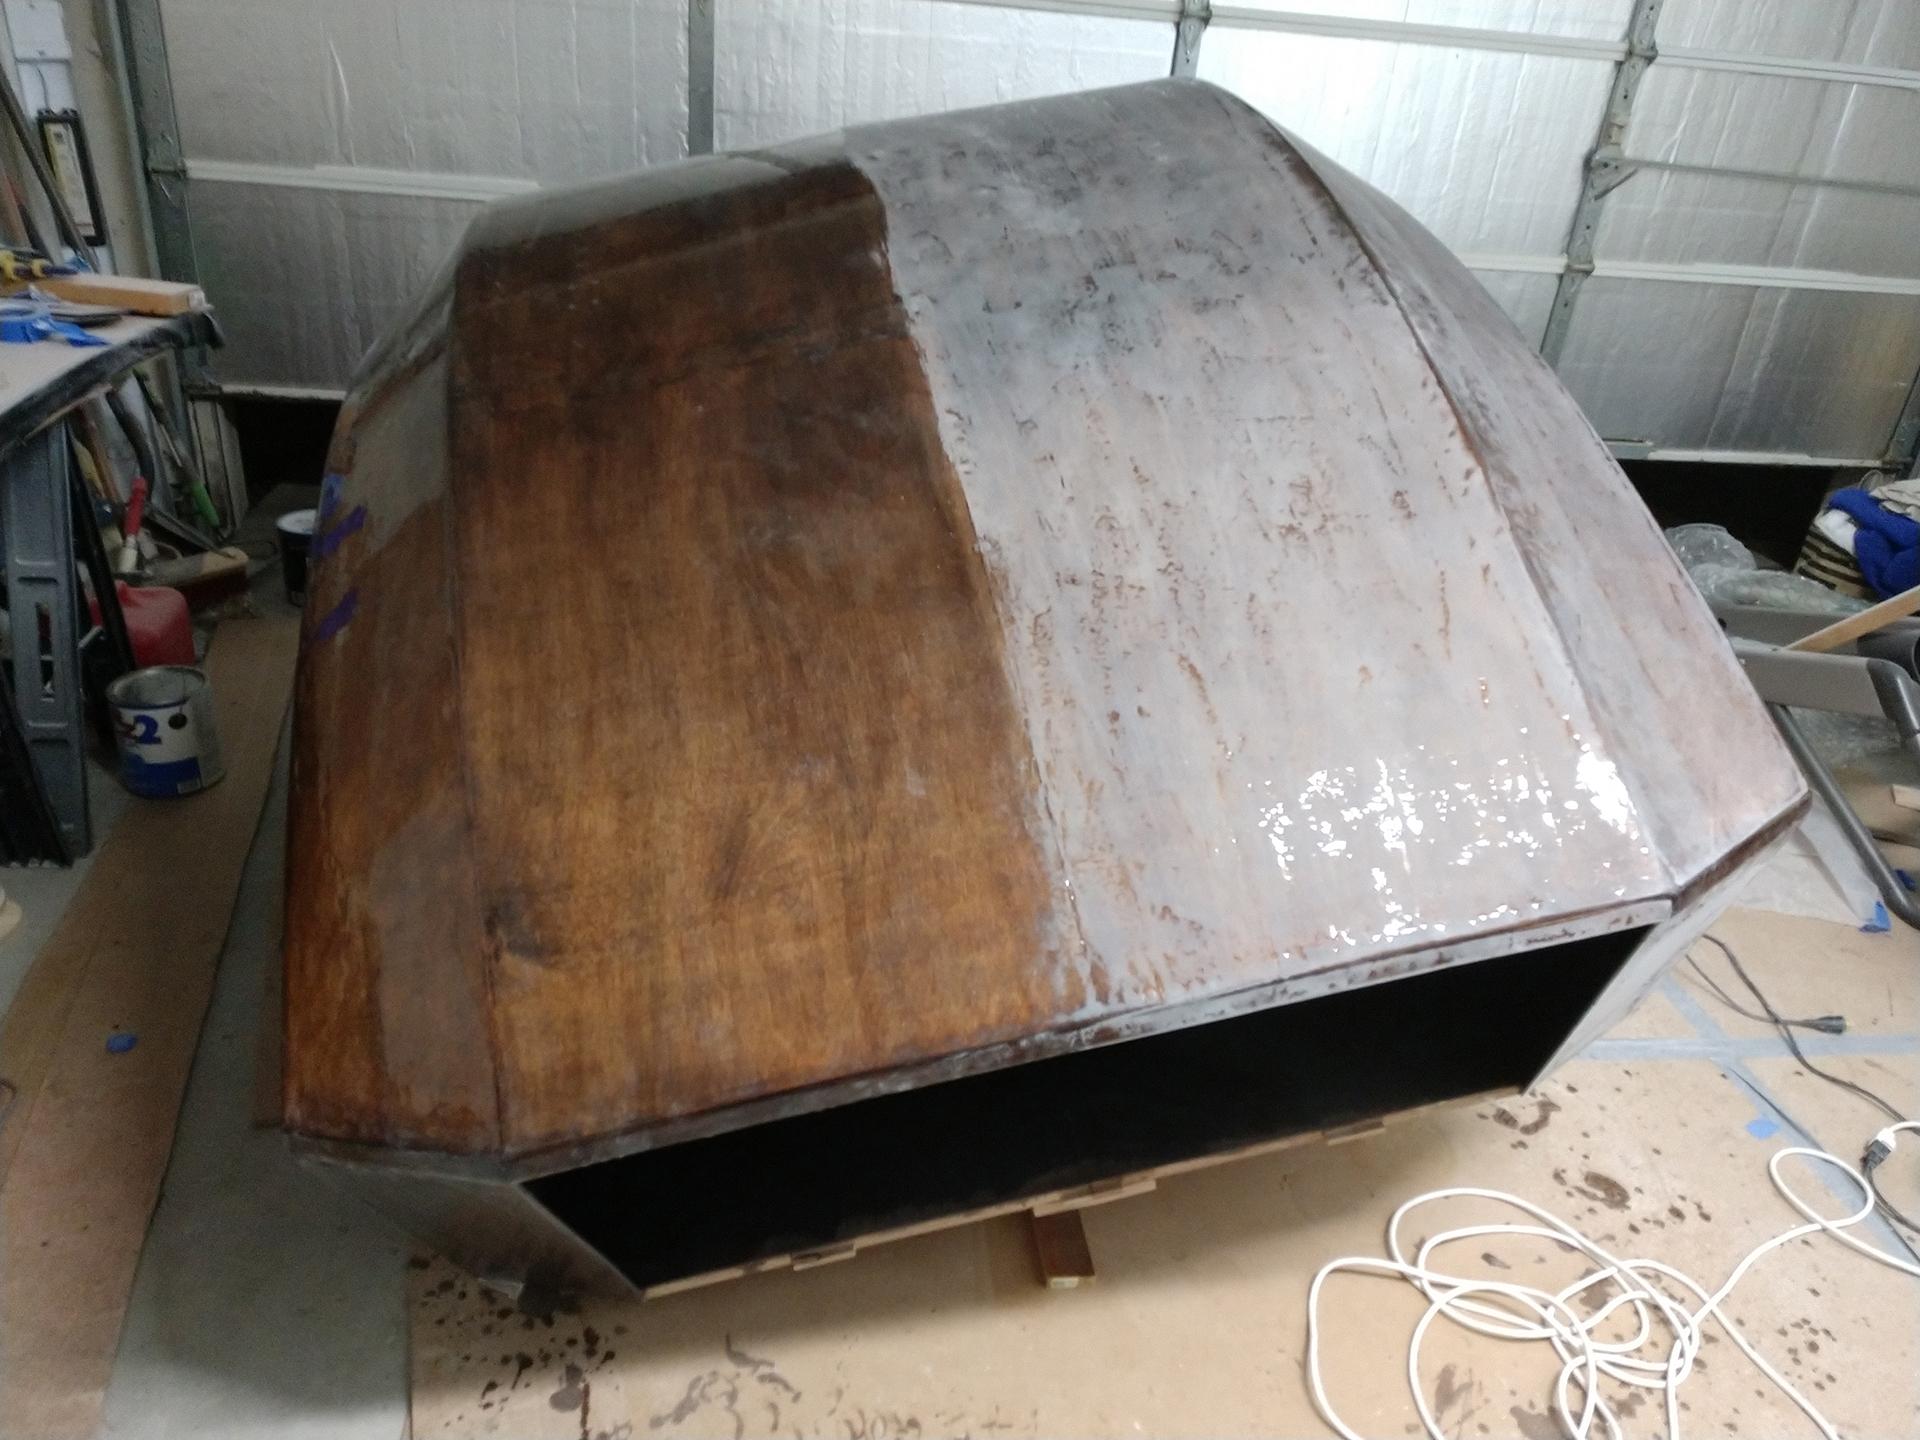
ParticipantThey will need more than one light coat before you start sanding. For example on the camper floor, after one coat with a roller there were still some areas that showed bare wood due to the surface tension of the epoxy.
This was after the second coat before tipping with a foam brush.
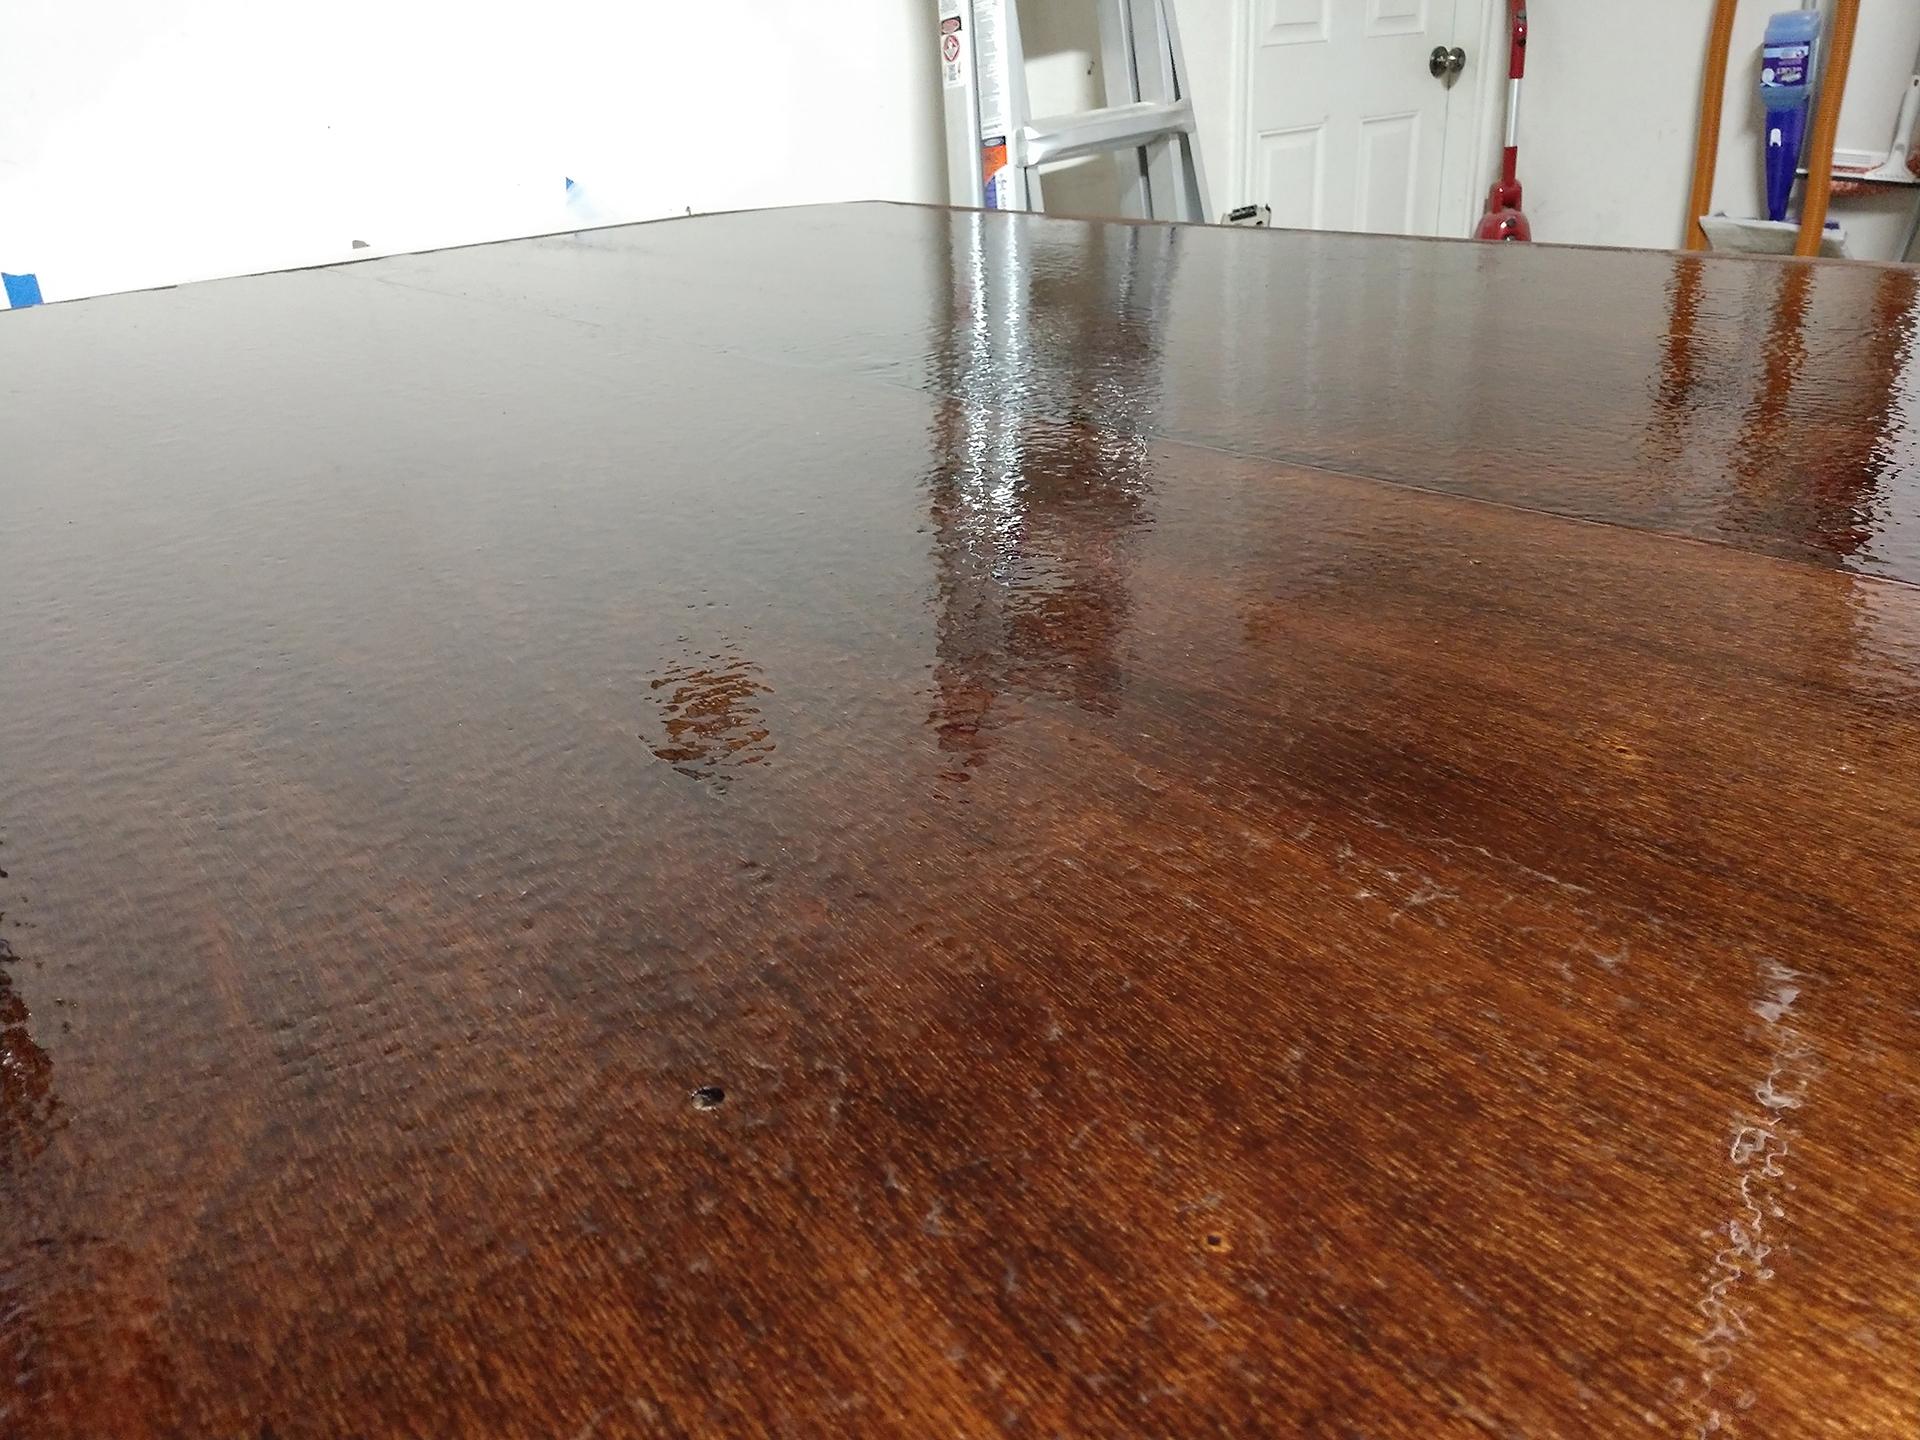
Then when you sand it you are looking for a uniform Gray/white surface without sanding too far. The appearance will go in stages as you sand, from small white spots which develop into larger patches of white and then finally isolated pockets of dark in a sea of white. See below. These areas that are dark are valleys in the epoxy. Depending on how deep the valley is, it could be filled in with a dab of resin then sanded flush. If the valley is shallow enough than the future coats of clear sealant and sanding will level it out.
 Participant
The sanding to “feather” the edge is only needed for the 2 top layers because it is so thick. After the top 2 sheets and the side sheets have received their wet out coats you will do 2 “fill” coats.
Do Not Sand Before The 2 Fill Coats.
You will only need to sand After the 2 fill coats prior to the last (3rd) coat. This is the sanding step that will smooth out any bumps or ridge caused by the side glass overlapping on the top 2 fiberglass sheets which should be minimal.
After your 3rd and final coat you can rest easy, the hard parts are done for a while. Hope this clears up any confusion.
ParticipantIt’s difficult to say without knowing your exact configuration (load, hitch specs and weights). Did you shorten the NT trailer at all? From the photo it looks like the TD is mounted all the way to the back of the trailer. Do you have anything mounted to the front or on the tongue like propane tanks or storage compartments?. If you have not shortened the trailer and indeed the TD is mounted all the way back with no extra load to the front, then it would be better and safer if you moved the axle back as well. Your current setup (including loaded gear in the TD) likely has a very low tongue weight if any at all. You should have about 10-15% of your weight on the tongue while staying under the max tongue weight rated for the hitch. You can test your current tongue weight with a bathroom scale, see Etrailers webpage for a how to https://www.etrailer.com/faq-how-to-determine-trailer-tongue-weight.aspx
You can also use this calculator to help you determine the best location for your axle https://www.engineersedge.com/calculators/trailer-weight-balance.htm
With this calculator the Extra weight W1 I would simply sum up the total weight of all your gear and battery in the galley area. Once you have all your measurements and weights you can play with value C – Wheel Center From Rear (your axle location) until your tongue weight is at the desired amount.
-
AuthorPosts