Forum Replies Created
-
AuthorPosts
-
ArtisticAdam
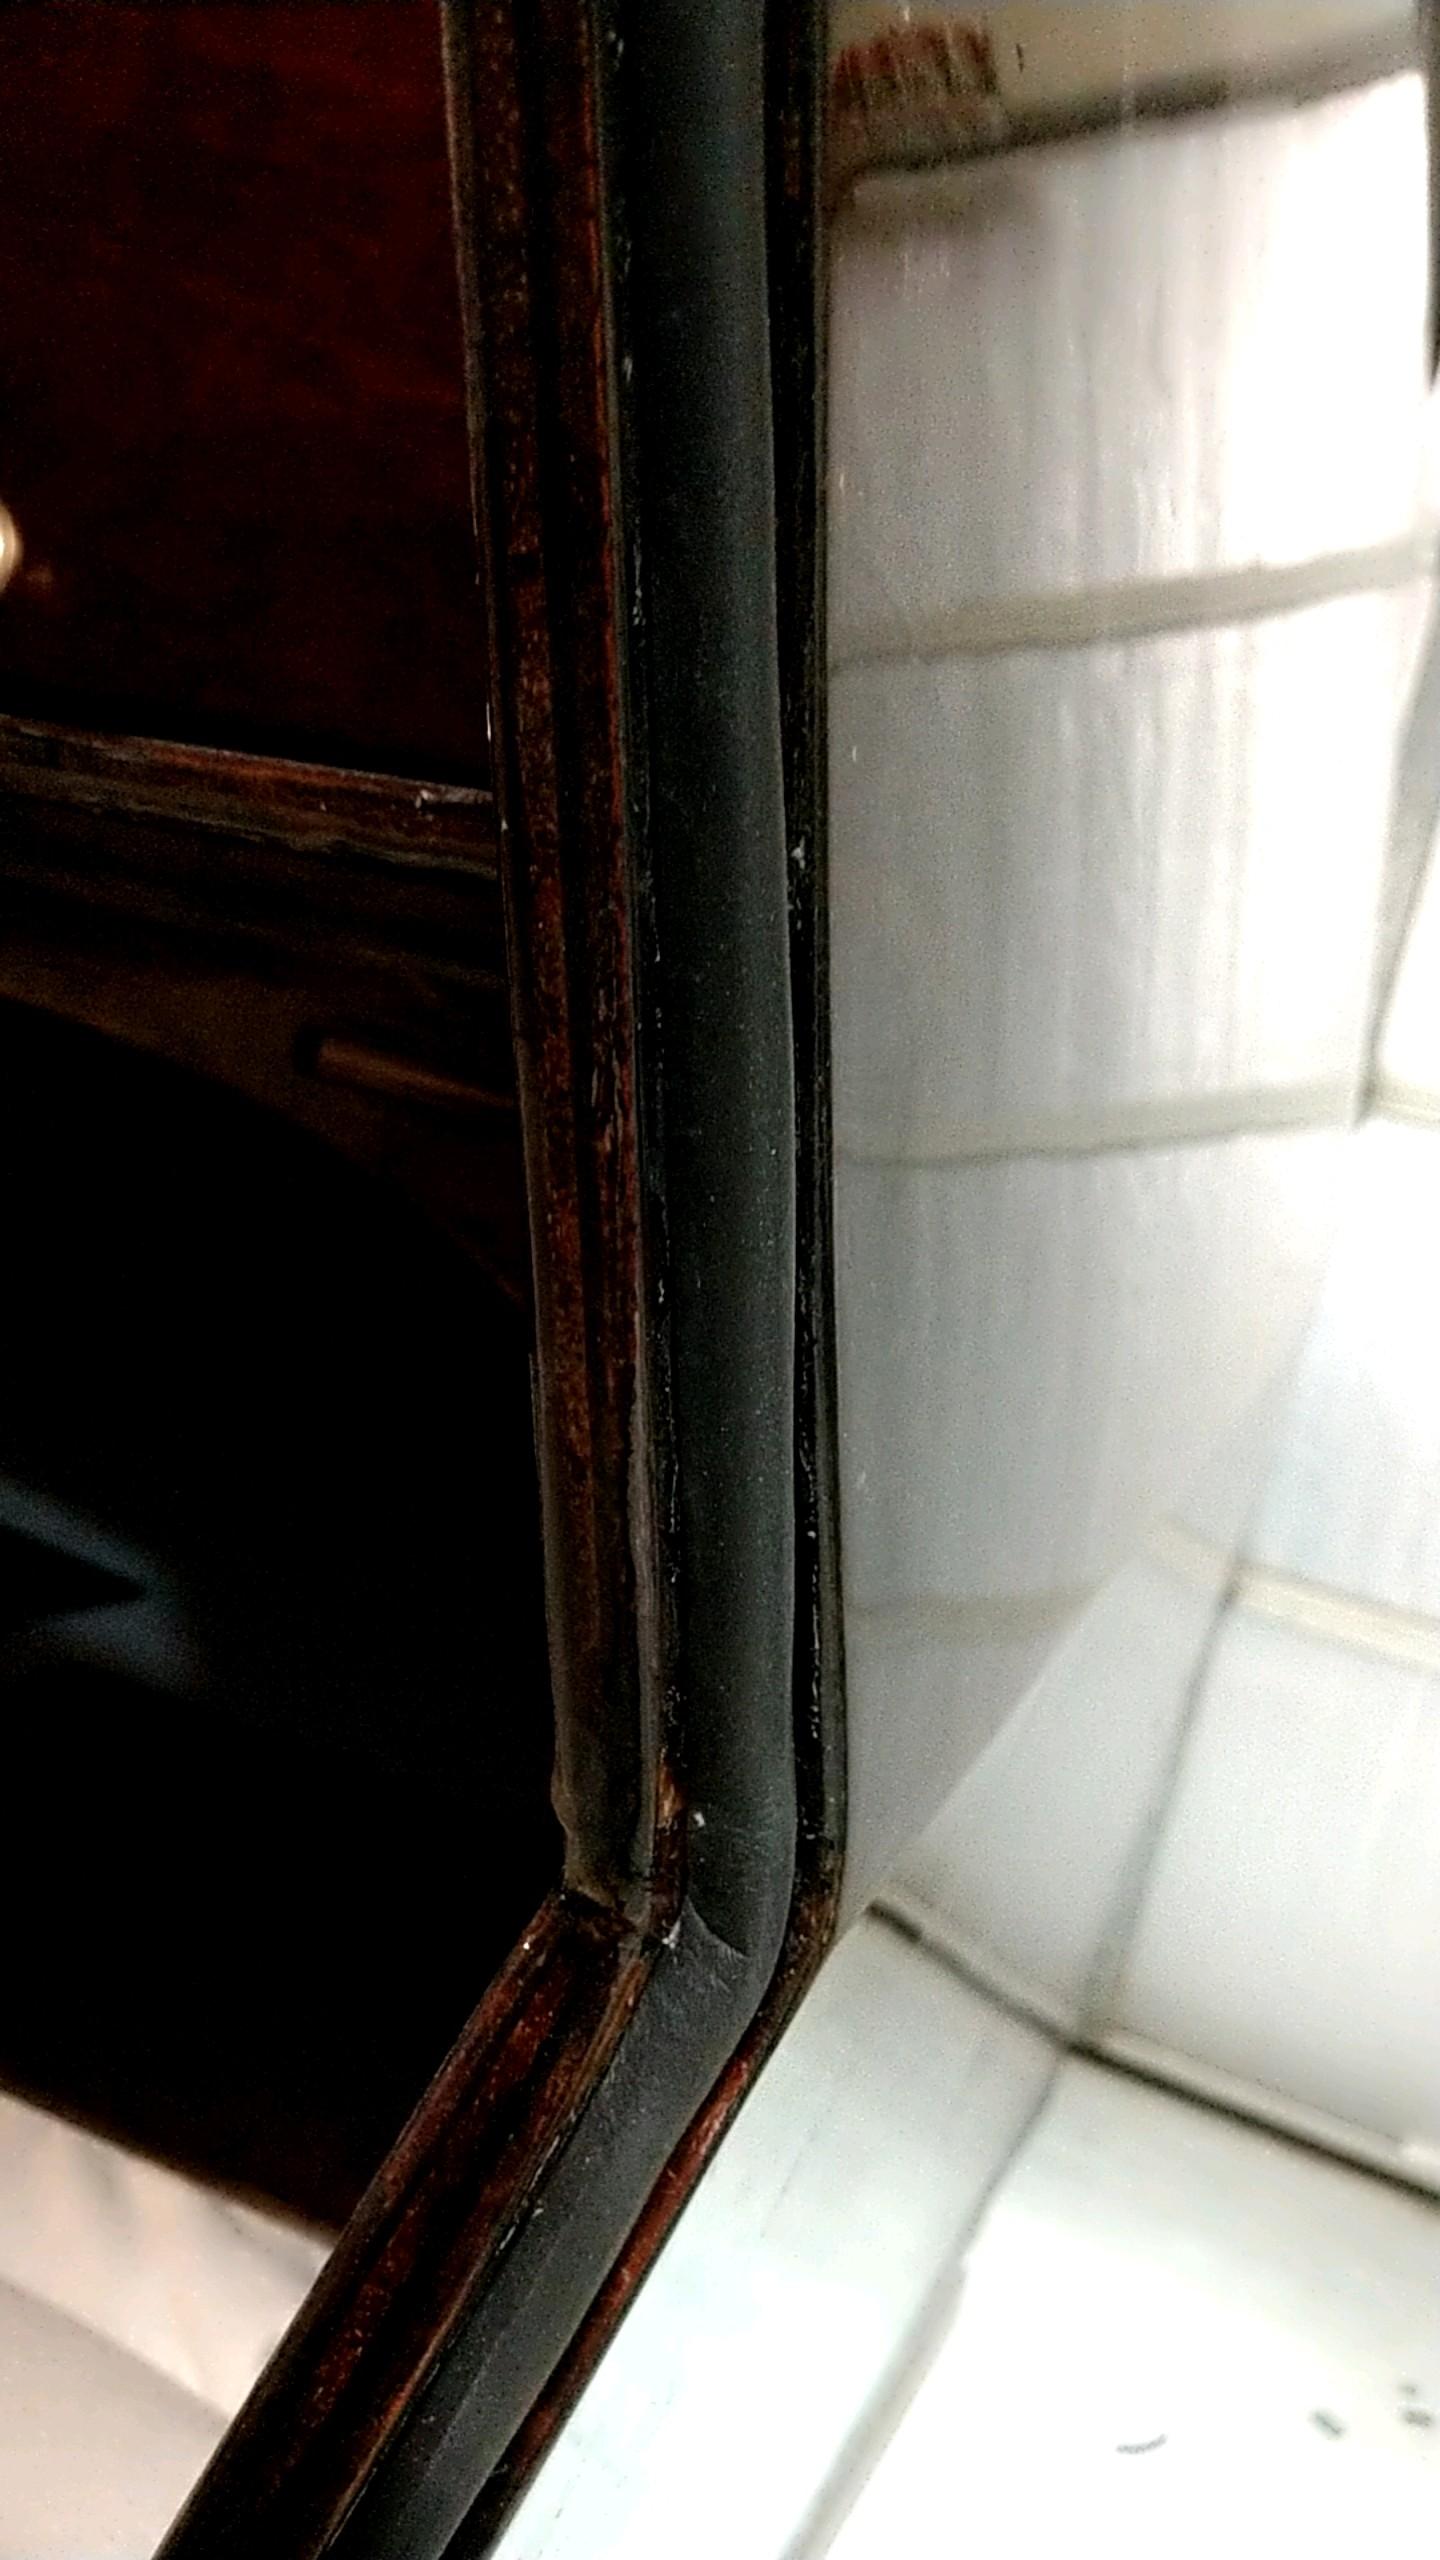
ParticipantIt was way too thick on both dimensions for me, so much so that I could not close the doors. I changed the design and bought some Trim-Lok D-Shaped Rubber Seal. Instead of lining the door with it, I put it into the channel on the door sill.
This option looks more professional and the gasket is less likely to be damaged over time. I do however have a leak to track down on one side, likely due to the door strap not being tight enough or the fact that I only temporarily installed the gasket just using its adhesive backing. I bet if I used marine sealant and tighten up the strap that should solve my issue.
 Participant
It would certainly be possible to change this but would require a lot of modifications.
- Bulkhead would have to change its shape entirely, possibly requiring a new piece.
- the cutout for the galley hatch opening would change
- the hatch gutter pieces would need to be modified
- you may need different length gas springs to accommodate a shorter hatch
- the shelf and its fiddle rail would need to be cut shorter
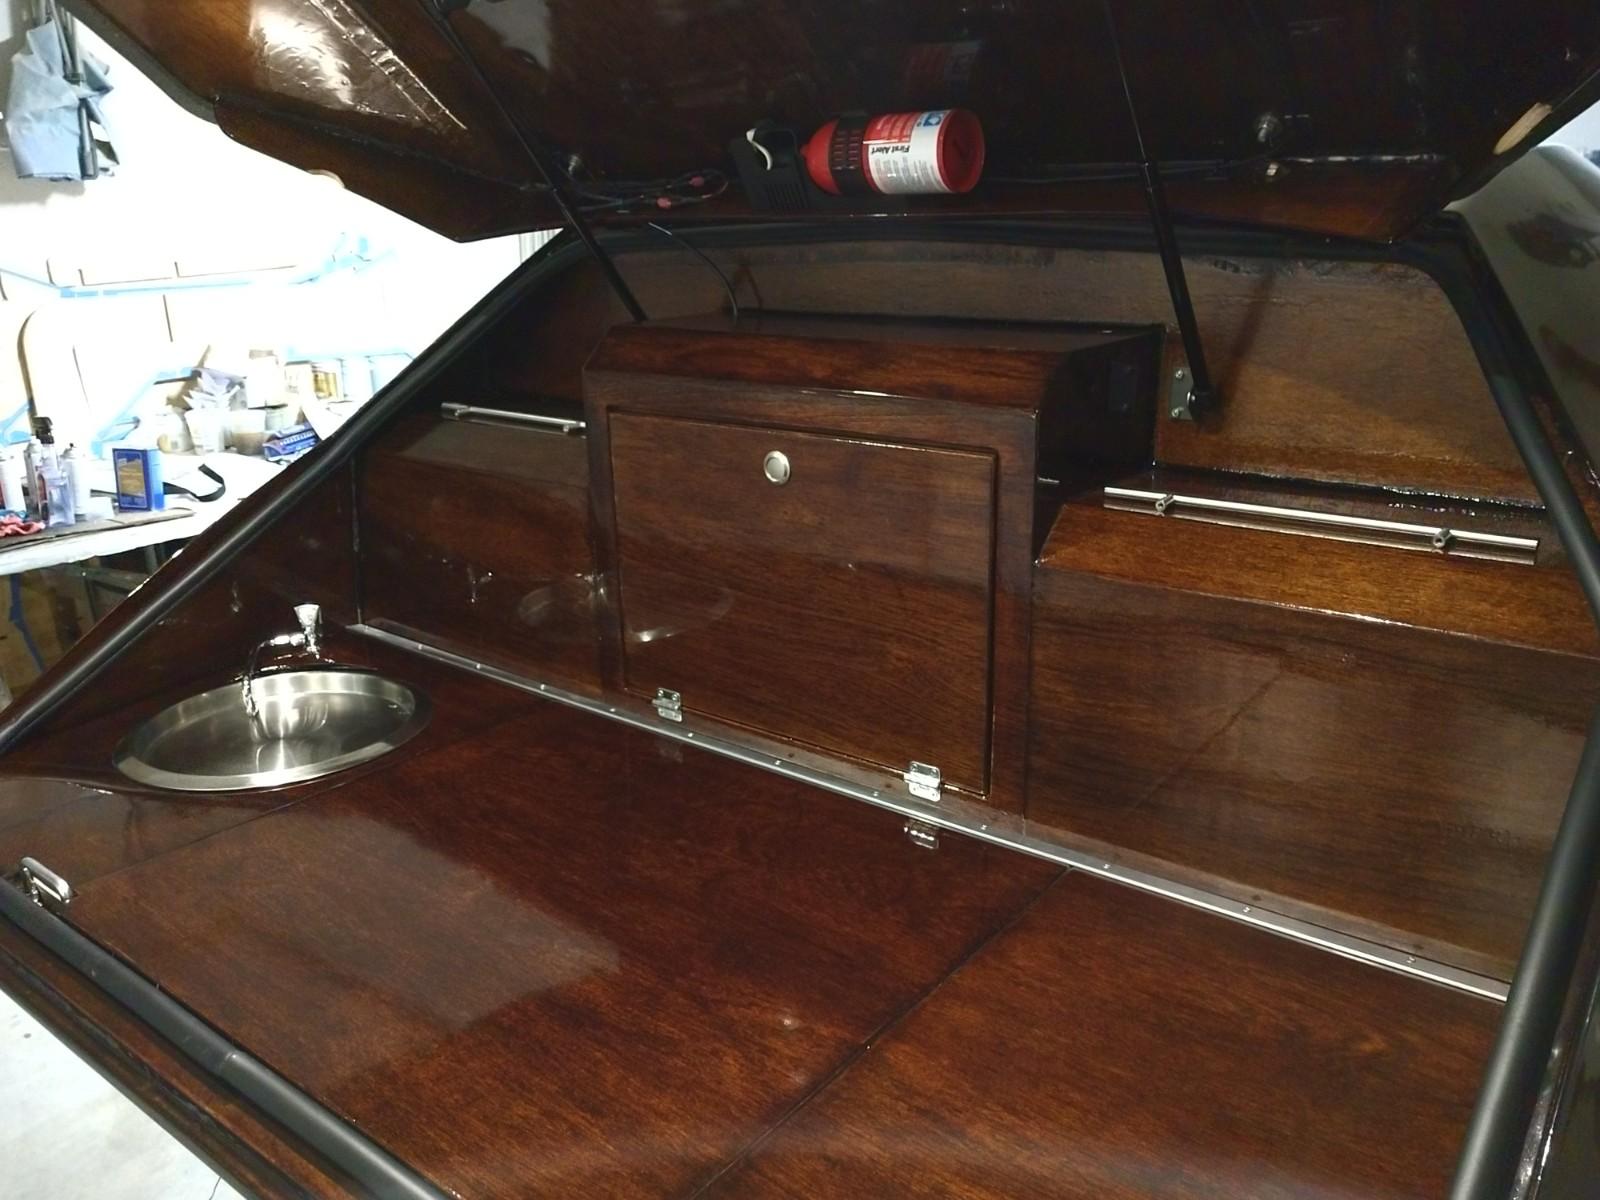
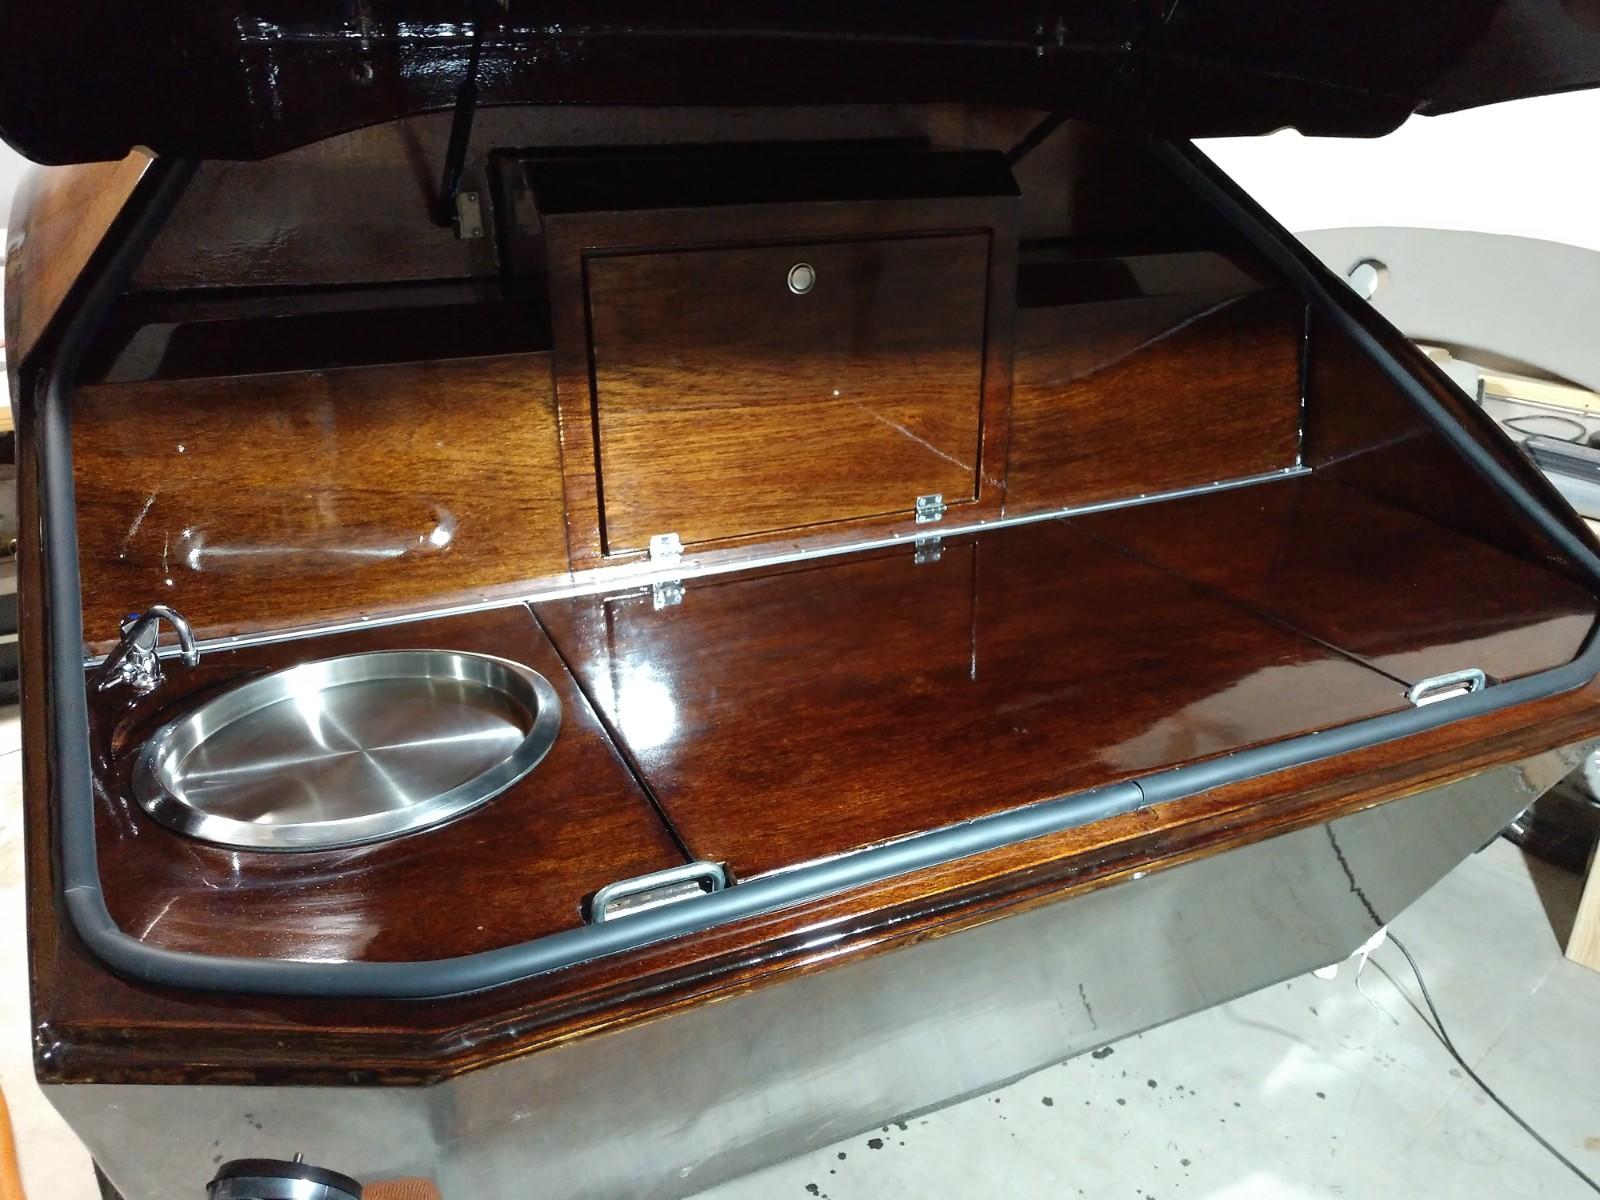
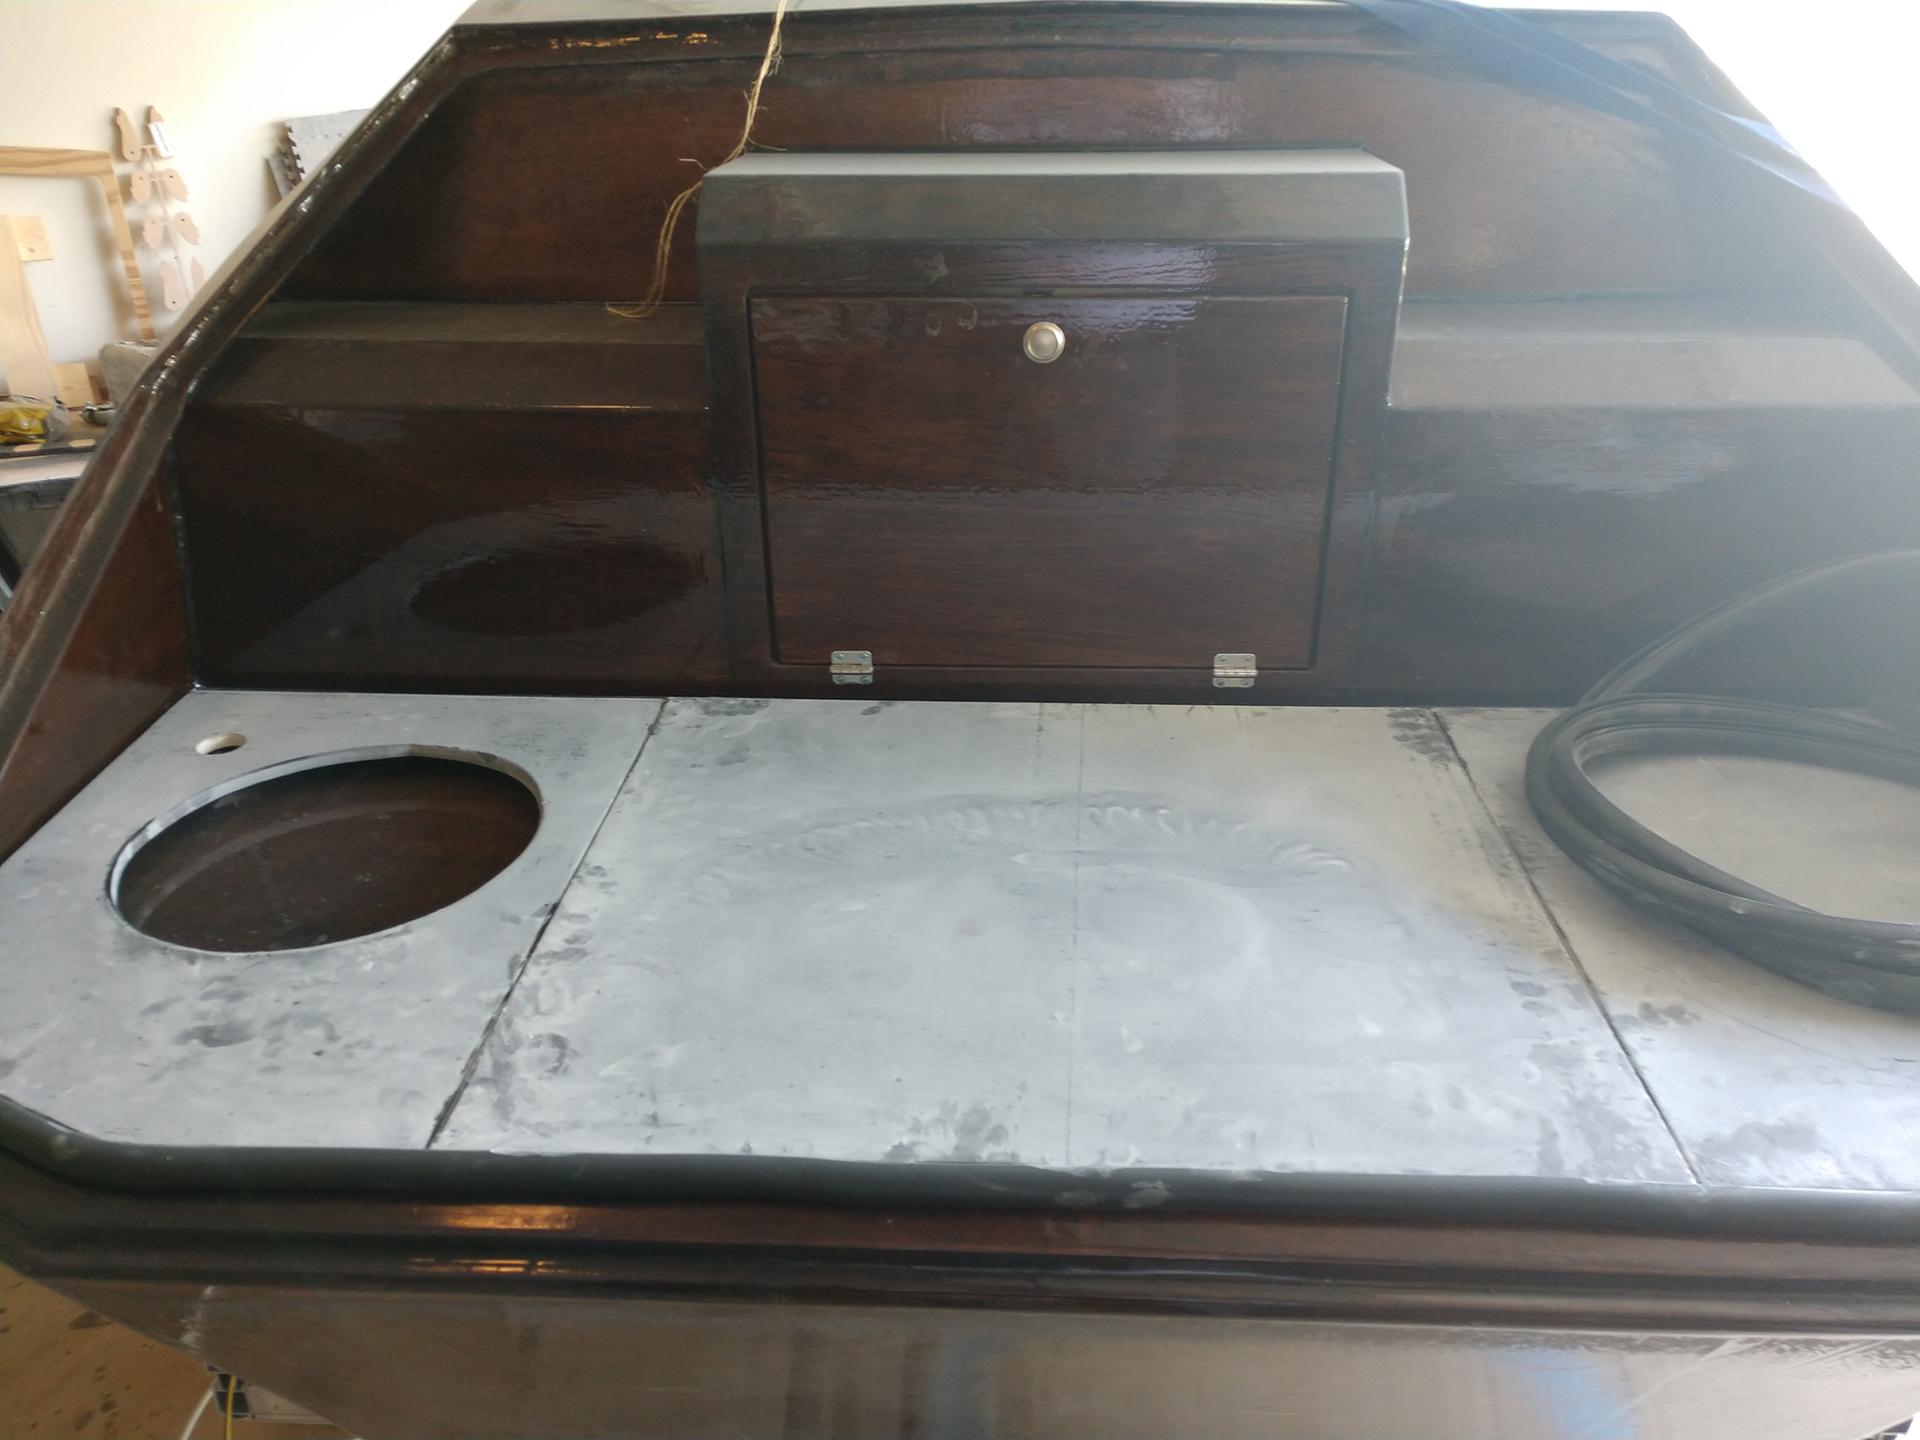
I too thought the galley space was larger than I needed, that is why I opted to use part of the galley space for cabinets which are accessed through the bulkhead. The cabinets didn’t require much modification to the base construction, and I believe they were an invaluable addition.
Left and Right boxes are the cabinets, the center is for the electrical.
 Participant
Wheel Fenders removed, the top bolt was rubbing and gouging out chunks of the tires when it hit bumps in the road.
 Participant
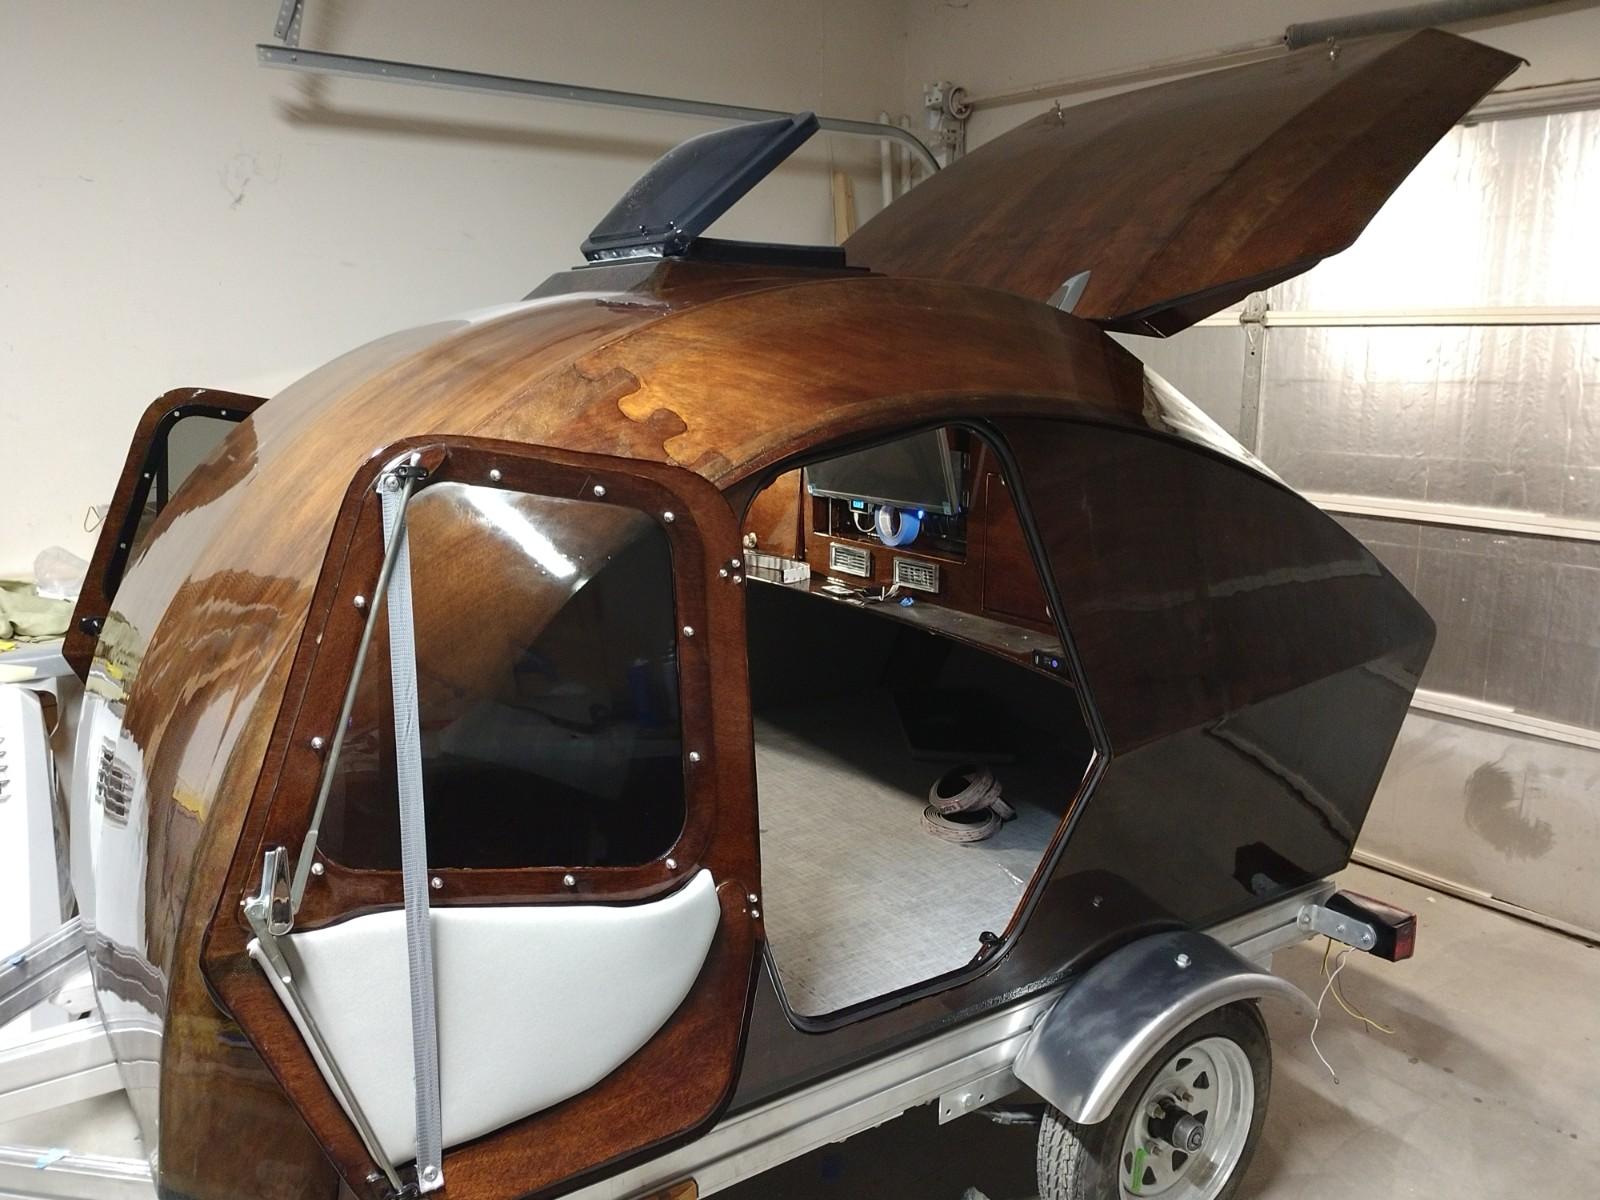
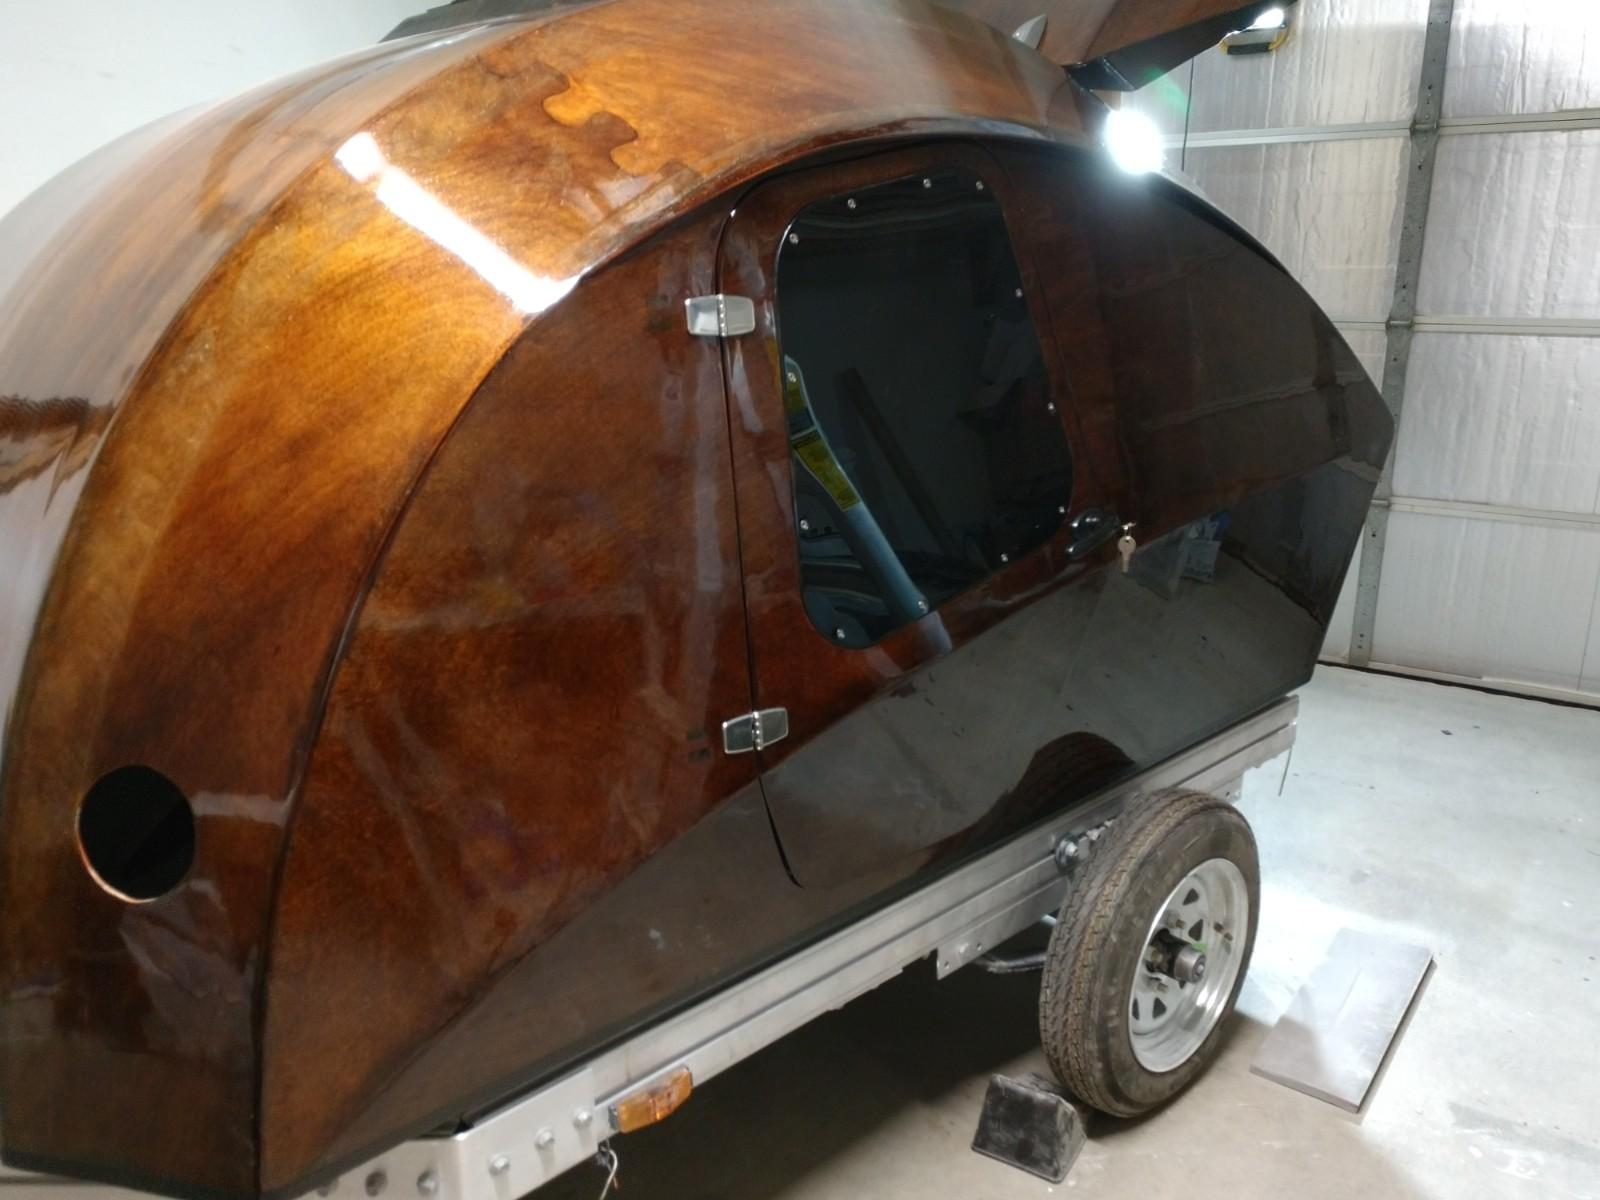
Progress Update: Varnishing is complete and I’ve been installing hardware. It’s difficult to take pictures of the camper at this stage because it’s soooo glossy. Aside from the gas springs not providing enough lift the hardware install has been simple and straight forward.
Hinges look great. In hind sight I should have tried to fill the precut hinge holes with wood instead of epoxy.
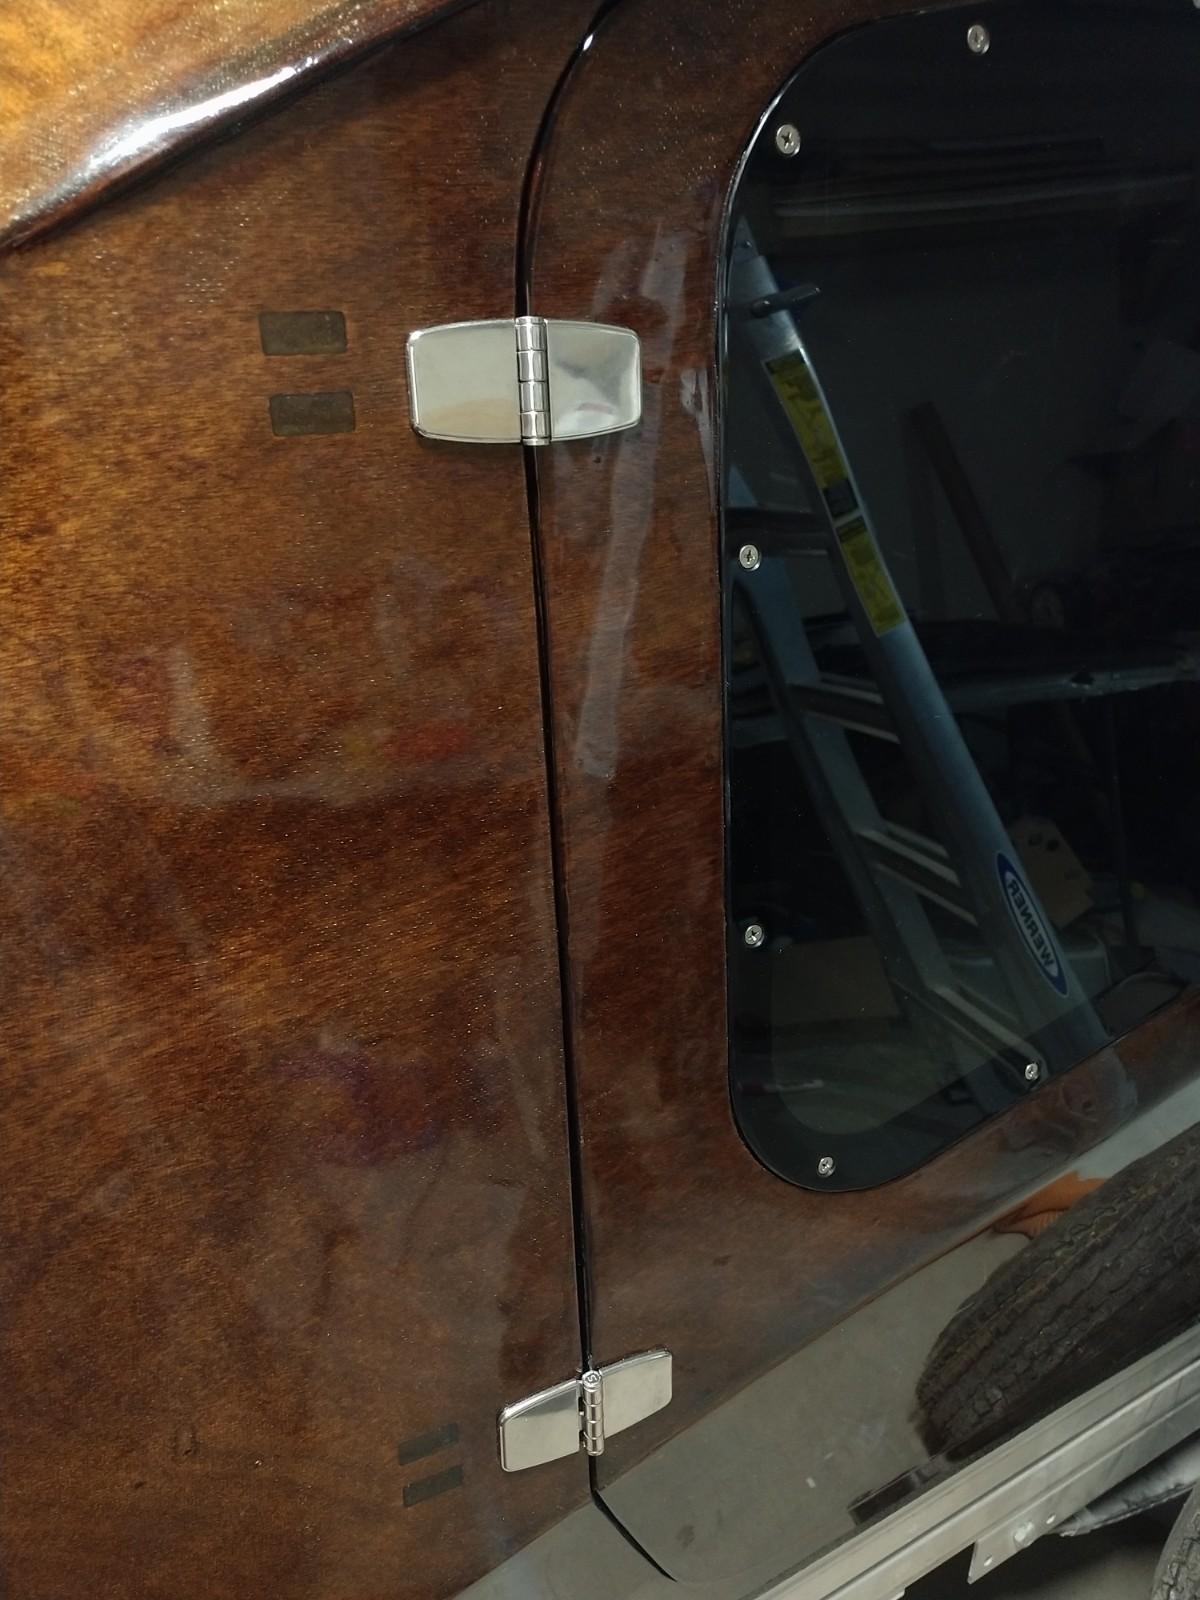
CLC didn’t mention it in the manual but I highly recommend flame polishing the edges of the window plexi glass.
I opted for 2 Cam locks.

The 2 cam locks engage the u-bolts that are bolted through the original galley top. A simple adjustment on the height of the U-bolts will affect how tightly the hatch is held down when locked.
 Participant
I love the locking mechanism you came up with for the gas springs. Thanks for sharing. I’m swapping mine out for 30# versions but will likely incorporate your mechanism as well.
ParticipantSadly yes you will have to start over, But on the bright side you can take the lessons you learned from painting it the first time and apply them to the second go around.
Start with sanding off all of the “NEW” paint. If you have a good pressure washer you could likely speed up the process of stripping the bad paint. Once the paint you applied is stripped completely, rough up the original painted surfaces with 220grit. After sanding, deep clean with some degreaser followed by a tack cloth. Once the surface has some tooth and is completely cleaned apply a new primer coat and base color… don’t forget a nice amount of clear coat for a durable and lasting finish. And always apply more lighter coats as apposed to fewer heavy coats.
Good Luck!
ParticipantYou could always cover the front face of the headliner with fabric. I made my own headliner with 3/4″ closed-cell foam and covered it with a padded automotive headliner fabric.
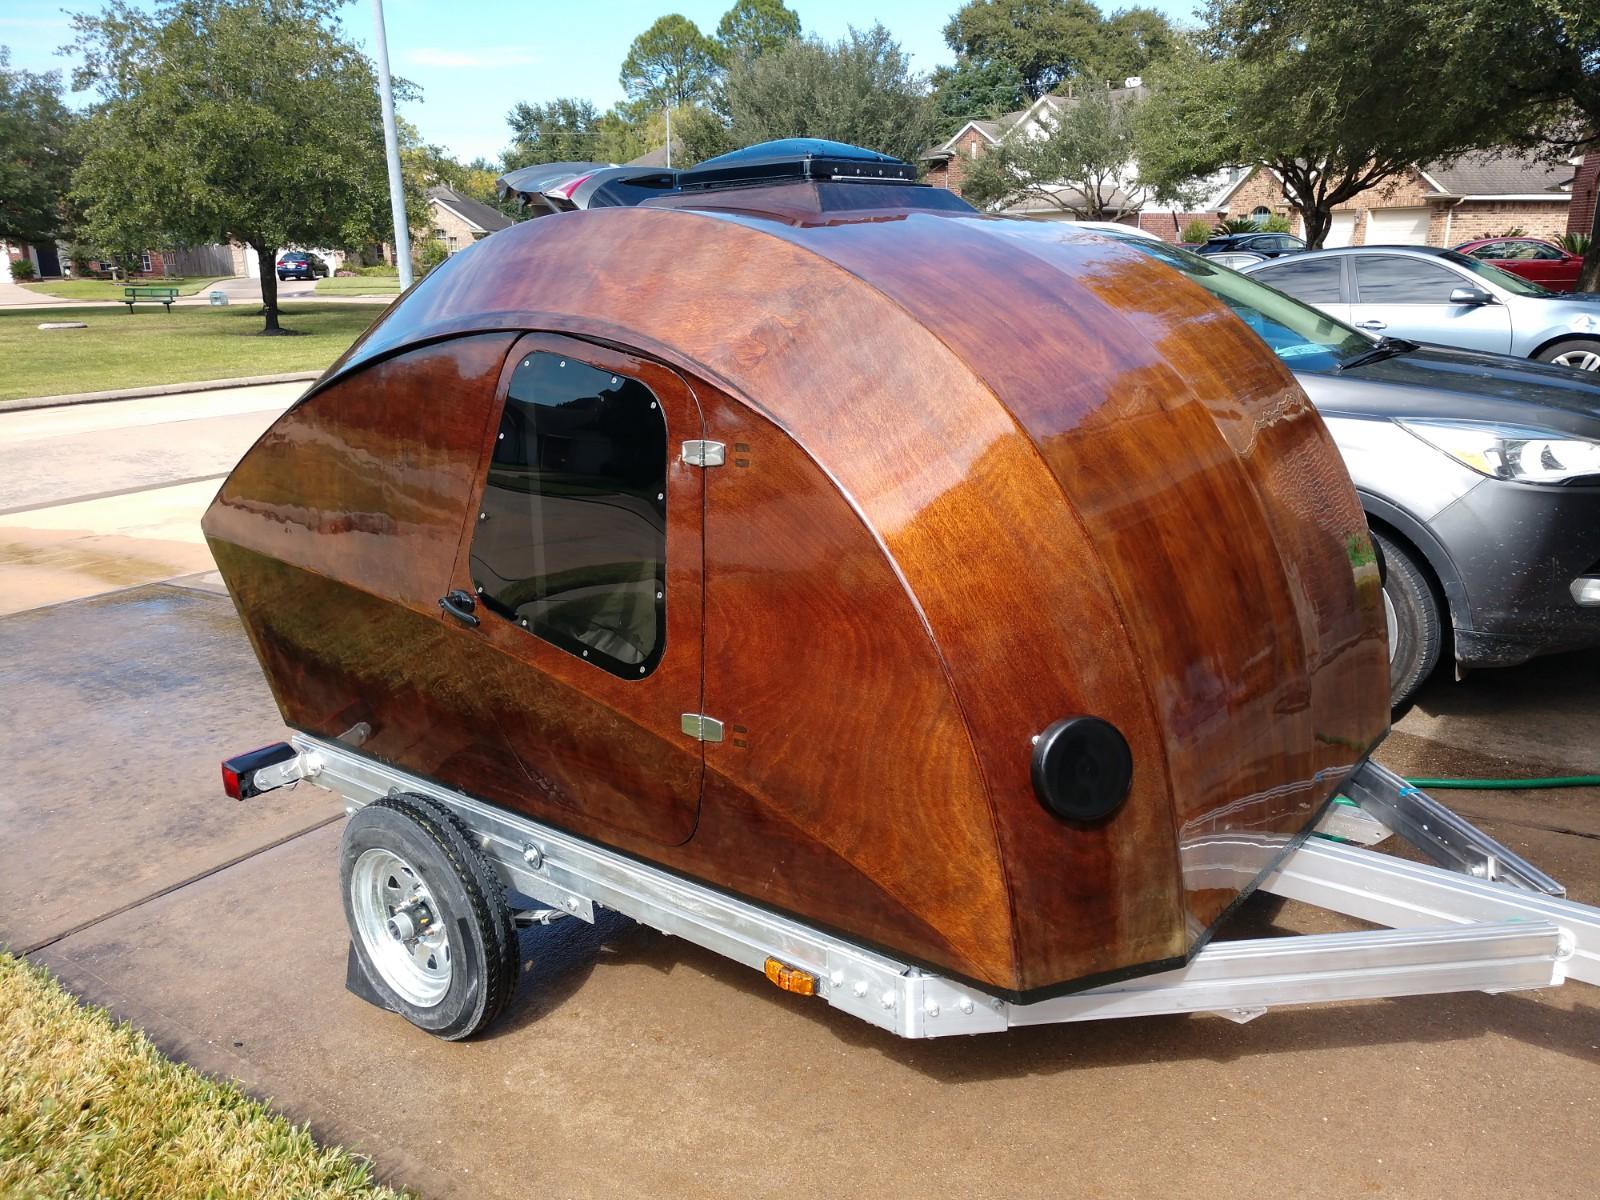
ParticipantKevin, I decided not to flip it because it is too heavy for my wife and I to flip at this point. I’ve added some additional weight with my custom cabinet and galley modifications. Also the last time we flipped it I heard some cracking noise. No visible damage, but I didn’t want to risk it. In hind sight I suppose I should have sprayed the bedliner material on the bottom when it was flipped the first time, right after I glassed/epoxy the bottom.
I chose to spray the bedliner before any varnish. The the 1″ band of bedliner material along the side of the camper is now sealed under a few coats of varnish. I felt this was the best option to soften the top edge (the bedliner material is thick) and it will prevent any wear or chipping of that edge.
ParticipantSerously Dan? Sounds like Total Boat Gleam goes on very thin. I used the recommended Schooner Varnish. Rolled and tipped my first coat which took almost a whole quart. I did have a few extra custom parts though and I was able to hit the bulkhead and shelf. The first coat seemed a bit heavy so the second coat I decided to spray it on, that used only half the can. I preferred spraying as apposed to roll and tip because it went on in a fraction of the time looks just a good if not better and was able to get those hard to reach areas in the galley and door sils.
A side note I agree with CWStevens the Stop-Loss bags are a must have.
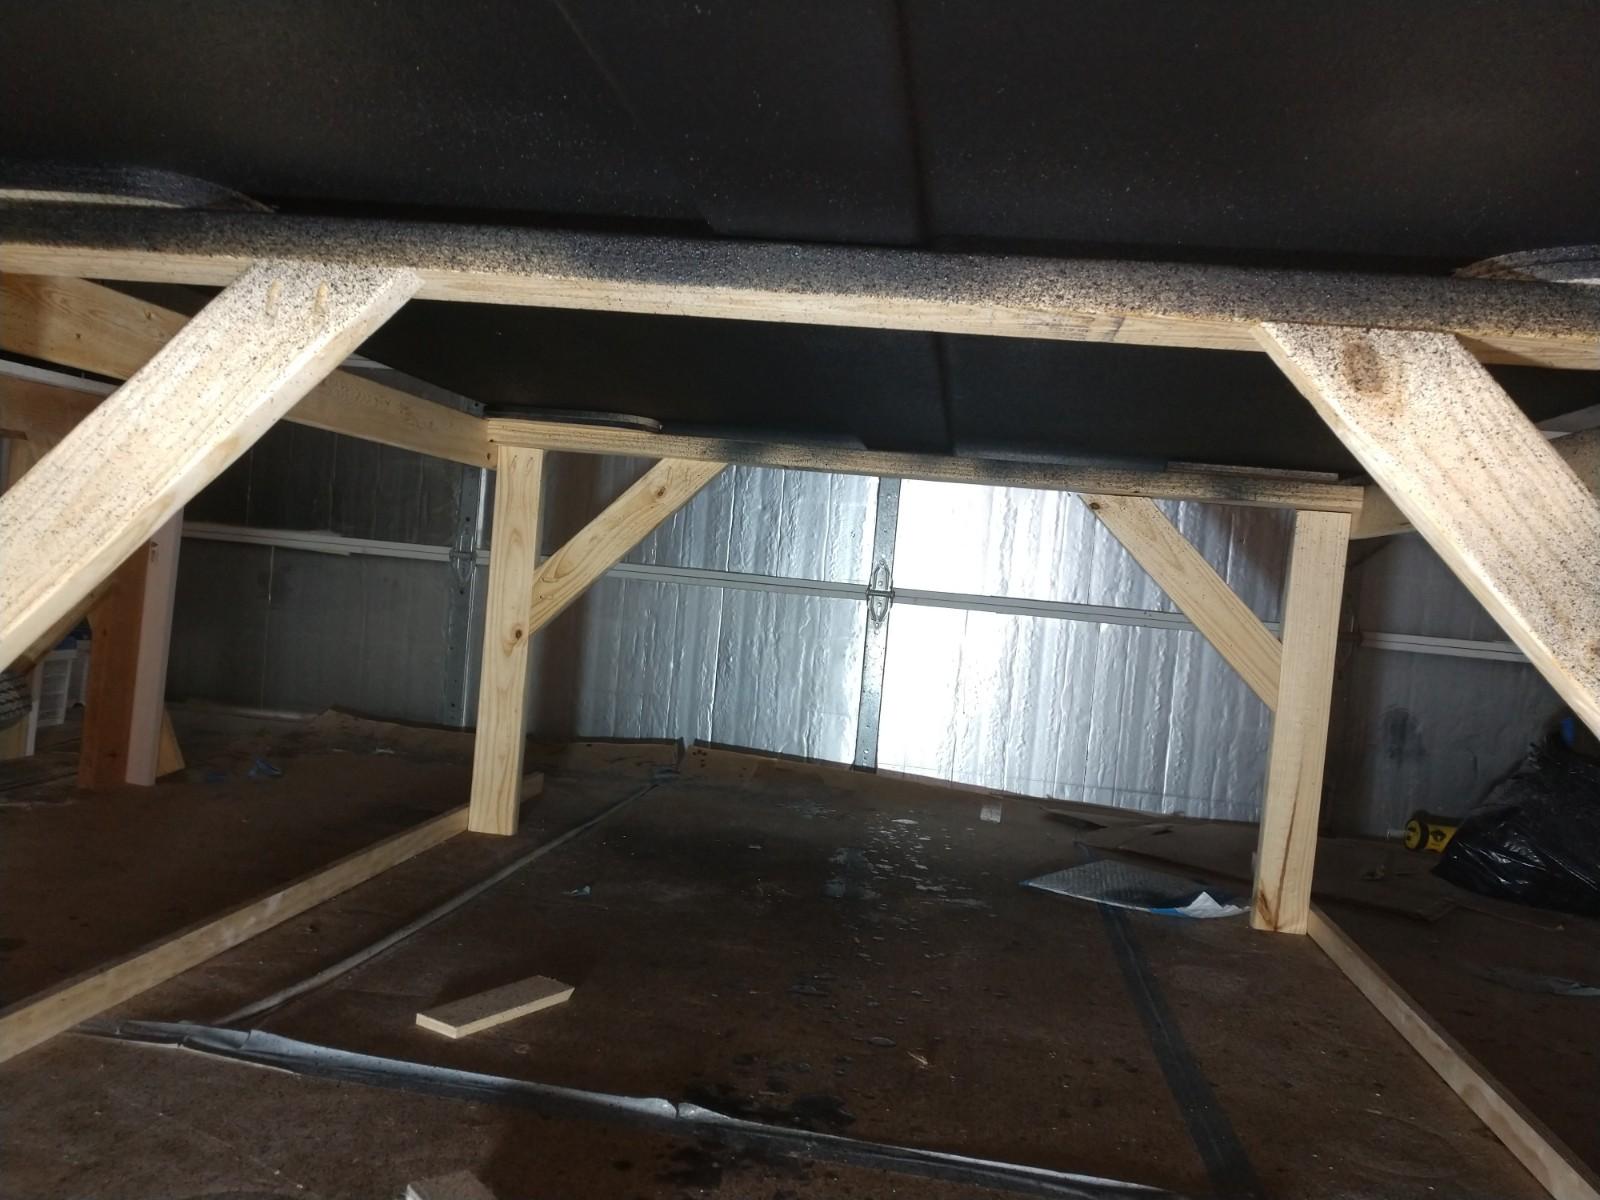
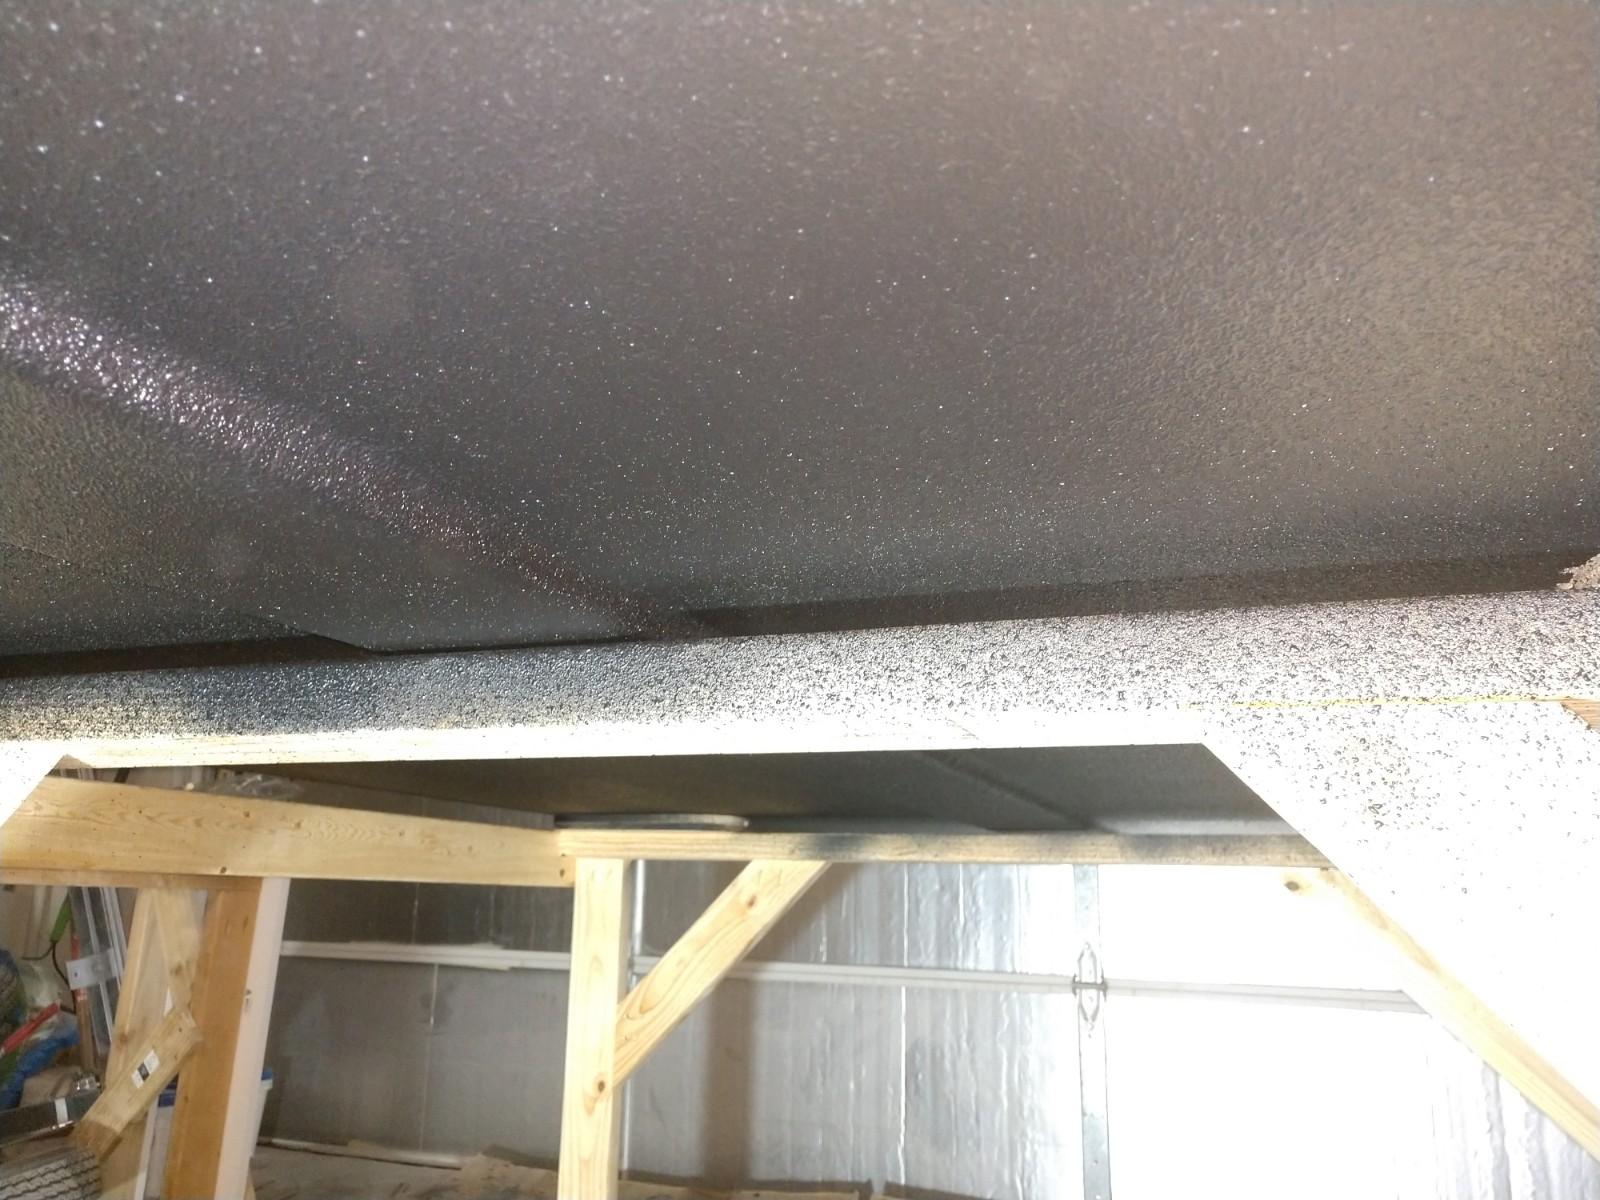
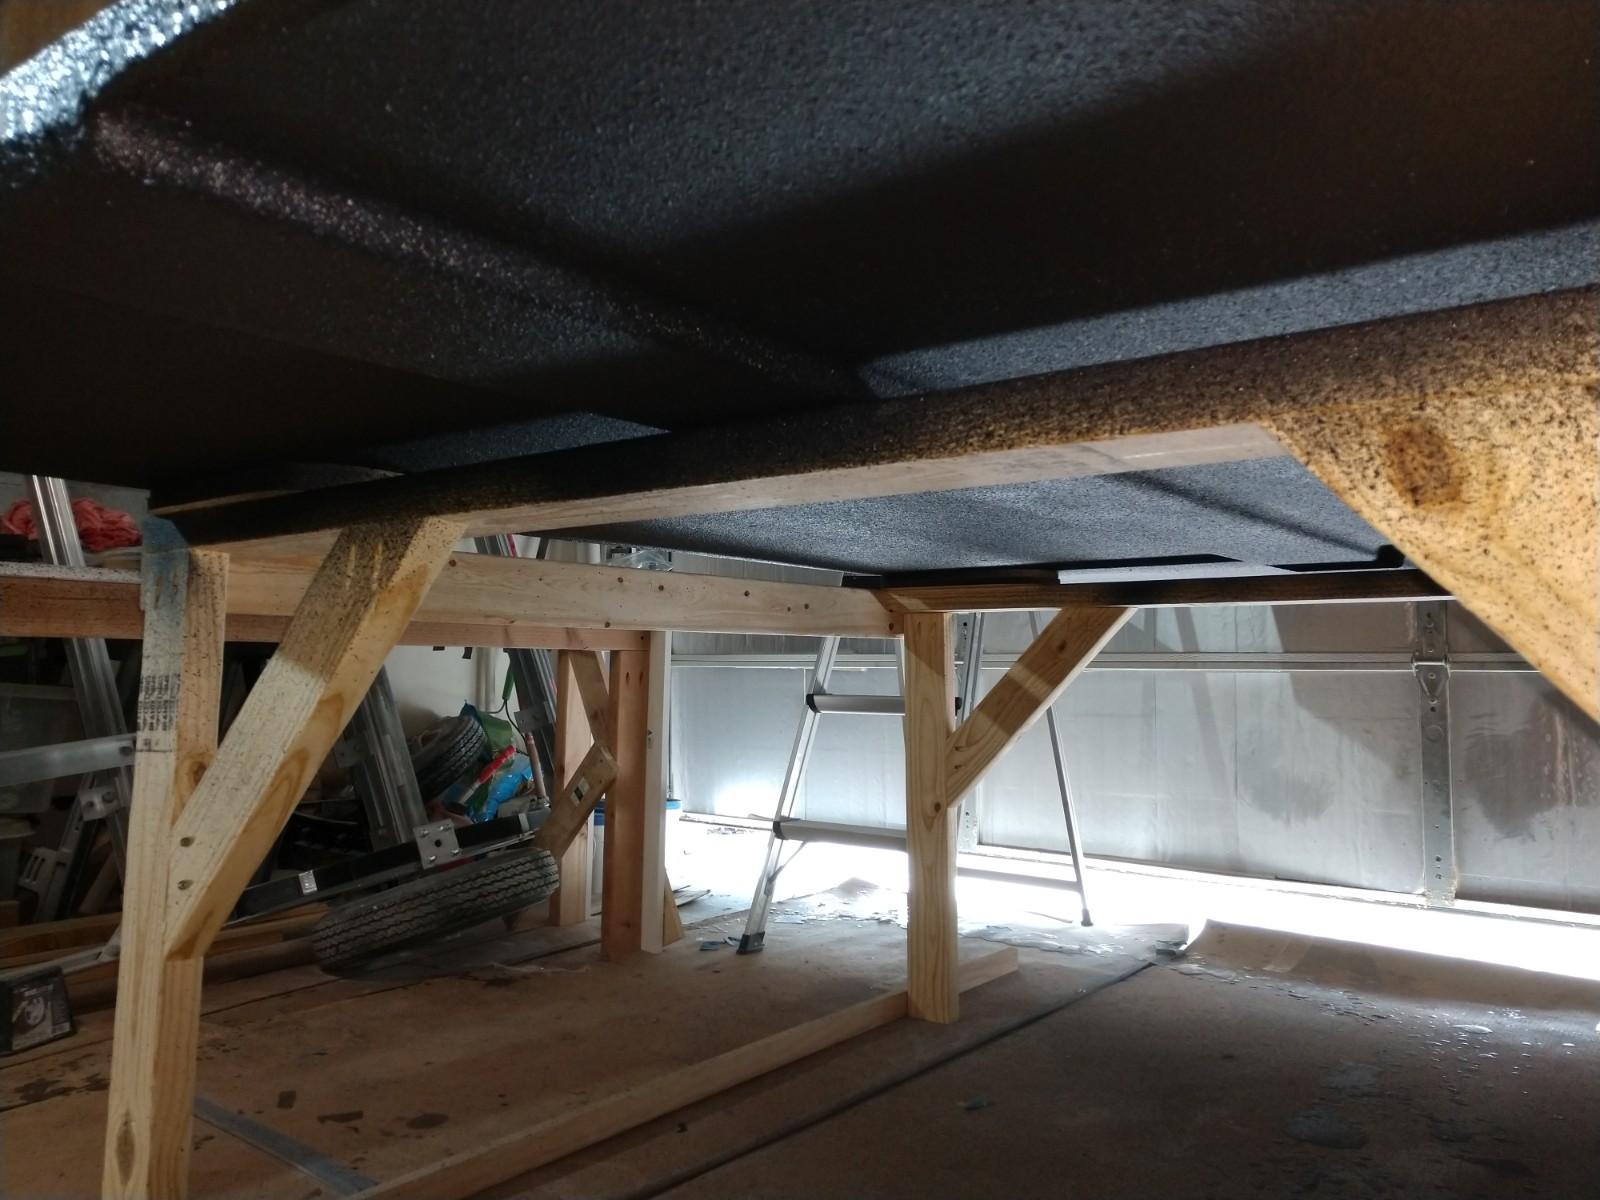
ParticipantI just sprayed a bedliner material on the under side of my camper and am very pleased with the results, it feels durable and saved me many hours it would have taken to either paint or varnish the underside. The liner product was U-POL Raptor in Black and came as a spray on kit with 4 bottles and the spray gun. I used 1 bottle per coat and 2 coats were plenty. I will need to come up with something else to spray this stuff on since I have 2 bottles left.
Prep and application were simple, sand with 120-180 grit paper to give it tooth, clean off the dust and wipe with a tack cloth. They recommend for epoxy applications to spray 2 coats of U-Pol GRIP#4 Universal Adhesion Promoter. I propped the camper up about 3ft off the ground on some custom saw horses so i could spray it without flipping the camper. This worked well as long as I was spraying at about 45deg and not directly over my head. Wear plenty of protection and a proper mask when using this stuff.
I masked 1-inch up the sides so the bedliner can protect the bottom edge. Used 3M automotive tape (the yellow kind) and it works great. Also make sure to put plastic or paper on anything you don’t want sprayed since its messy and goes everywhere (you can also paint it on with a roller if you want). After the first coat of Raptor I let it cure 24hrs (usualy it sets in 60min but I wanted to give it time before putting weight on it). Then I moved my “saw horses” so the second coat would hit the areas previously blocked by the saw horses.
 Participant
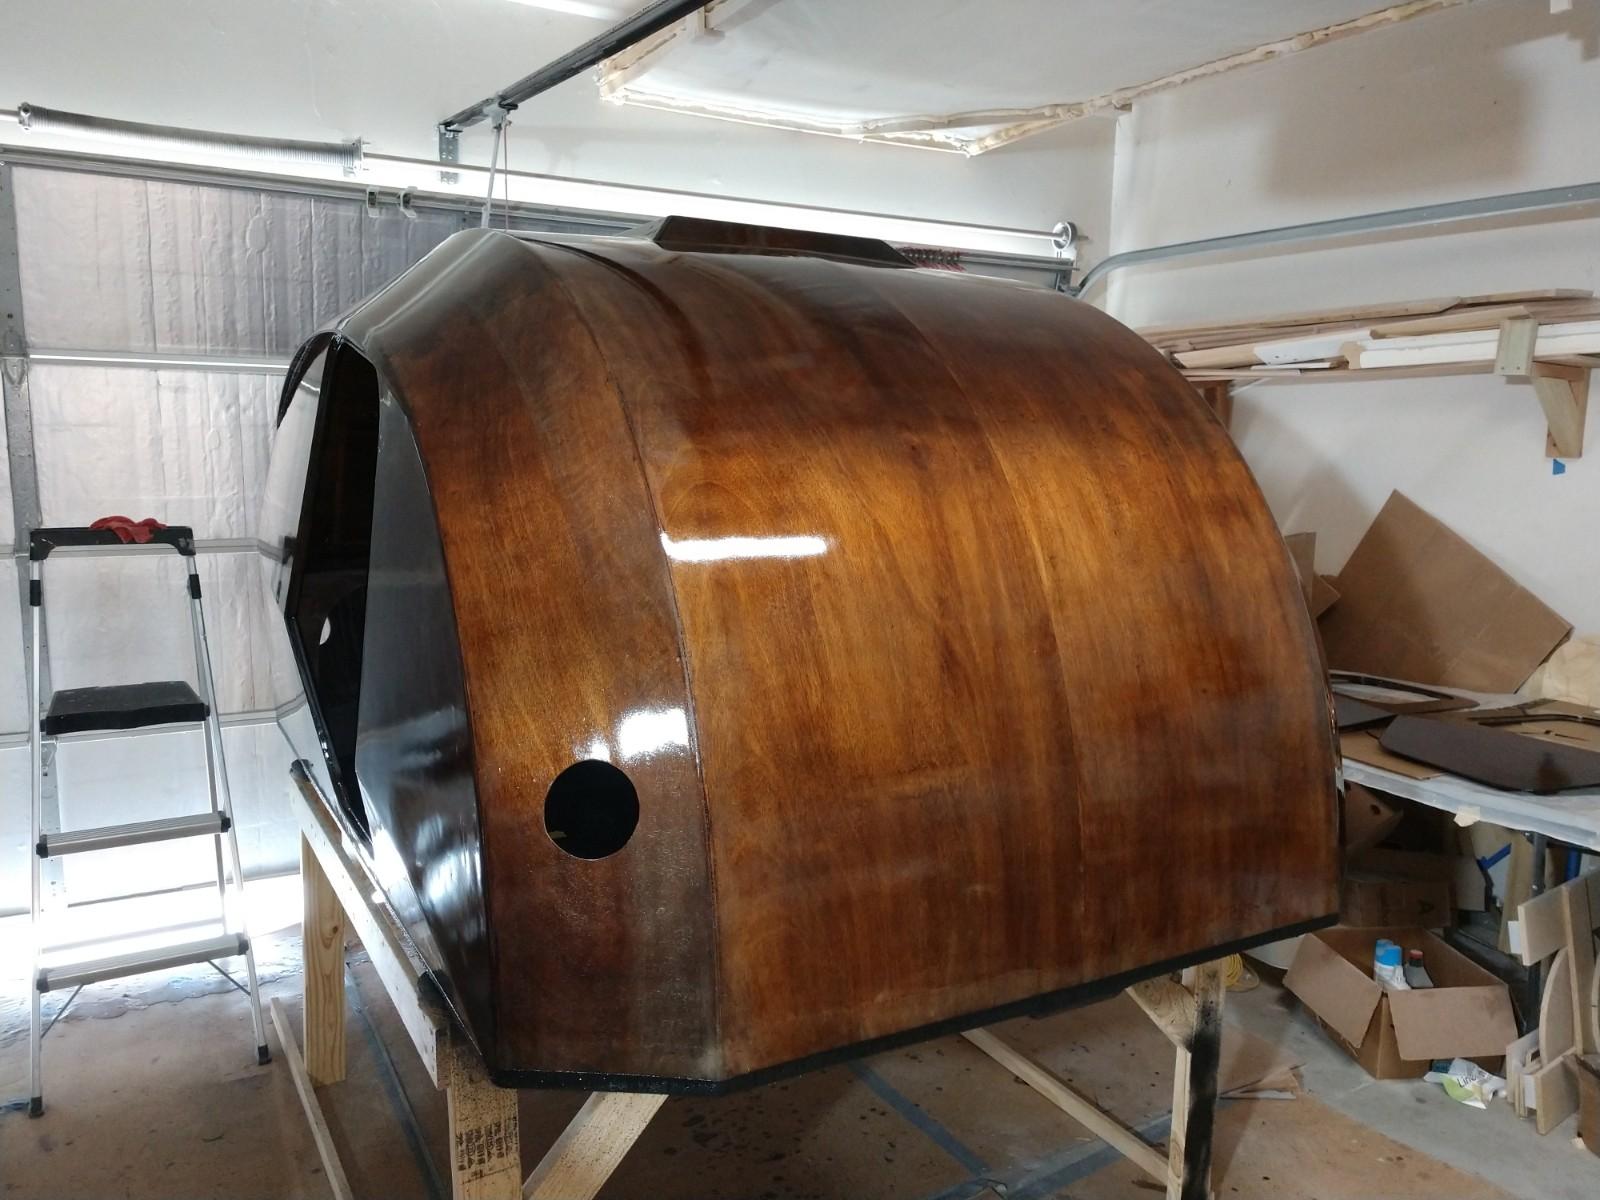
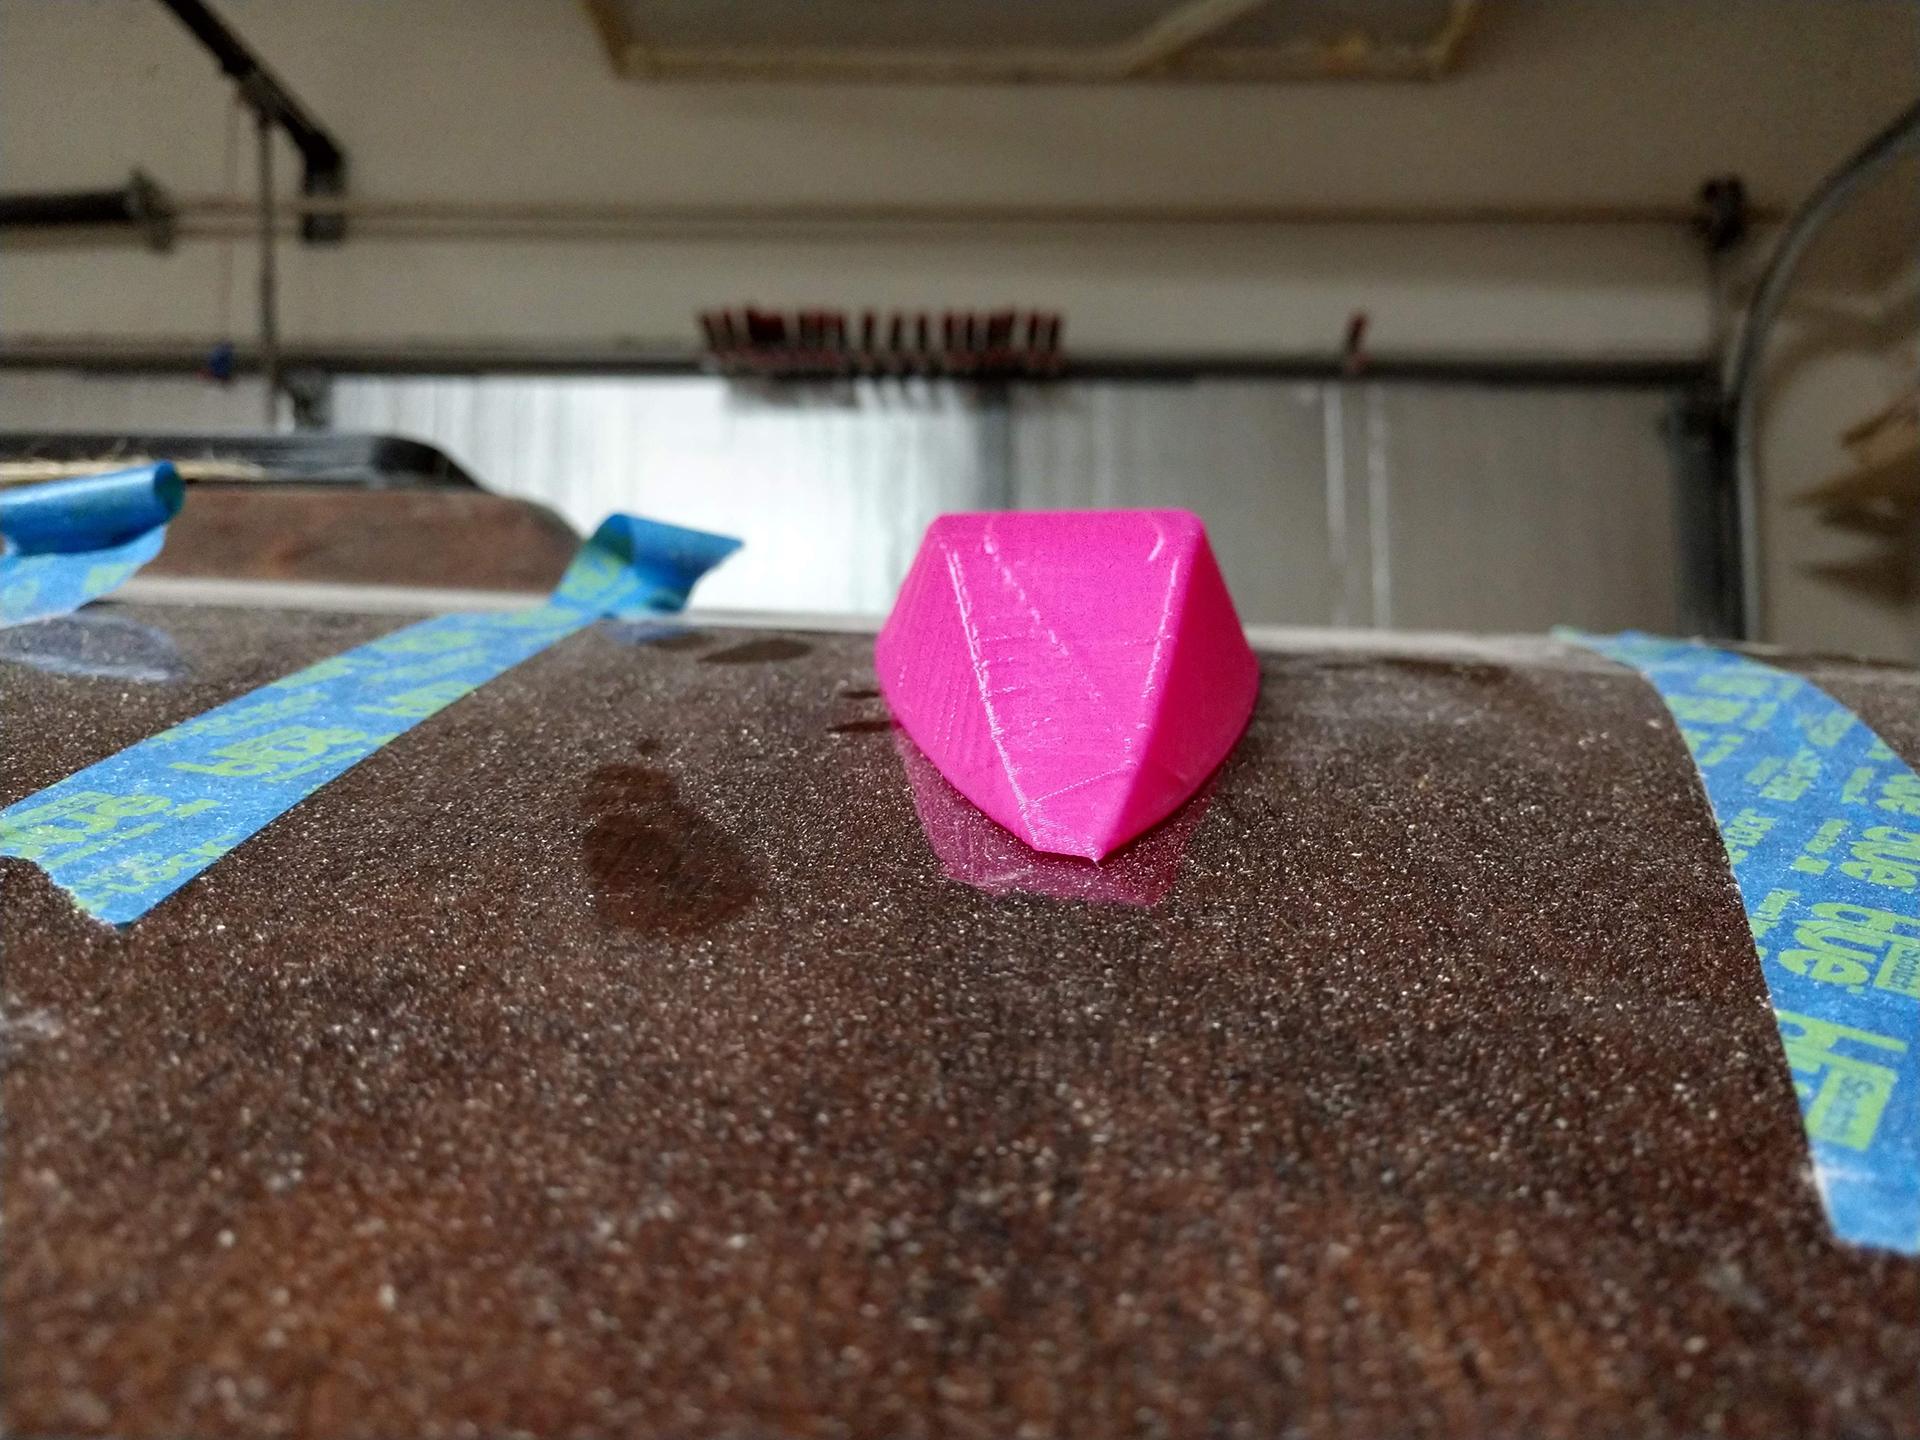
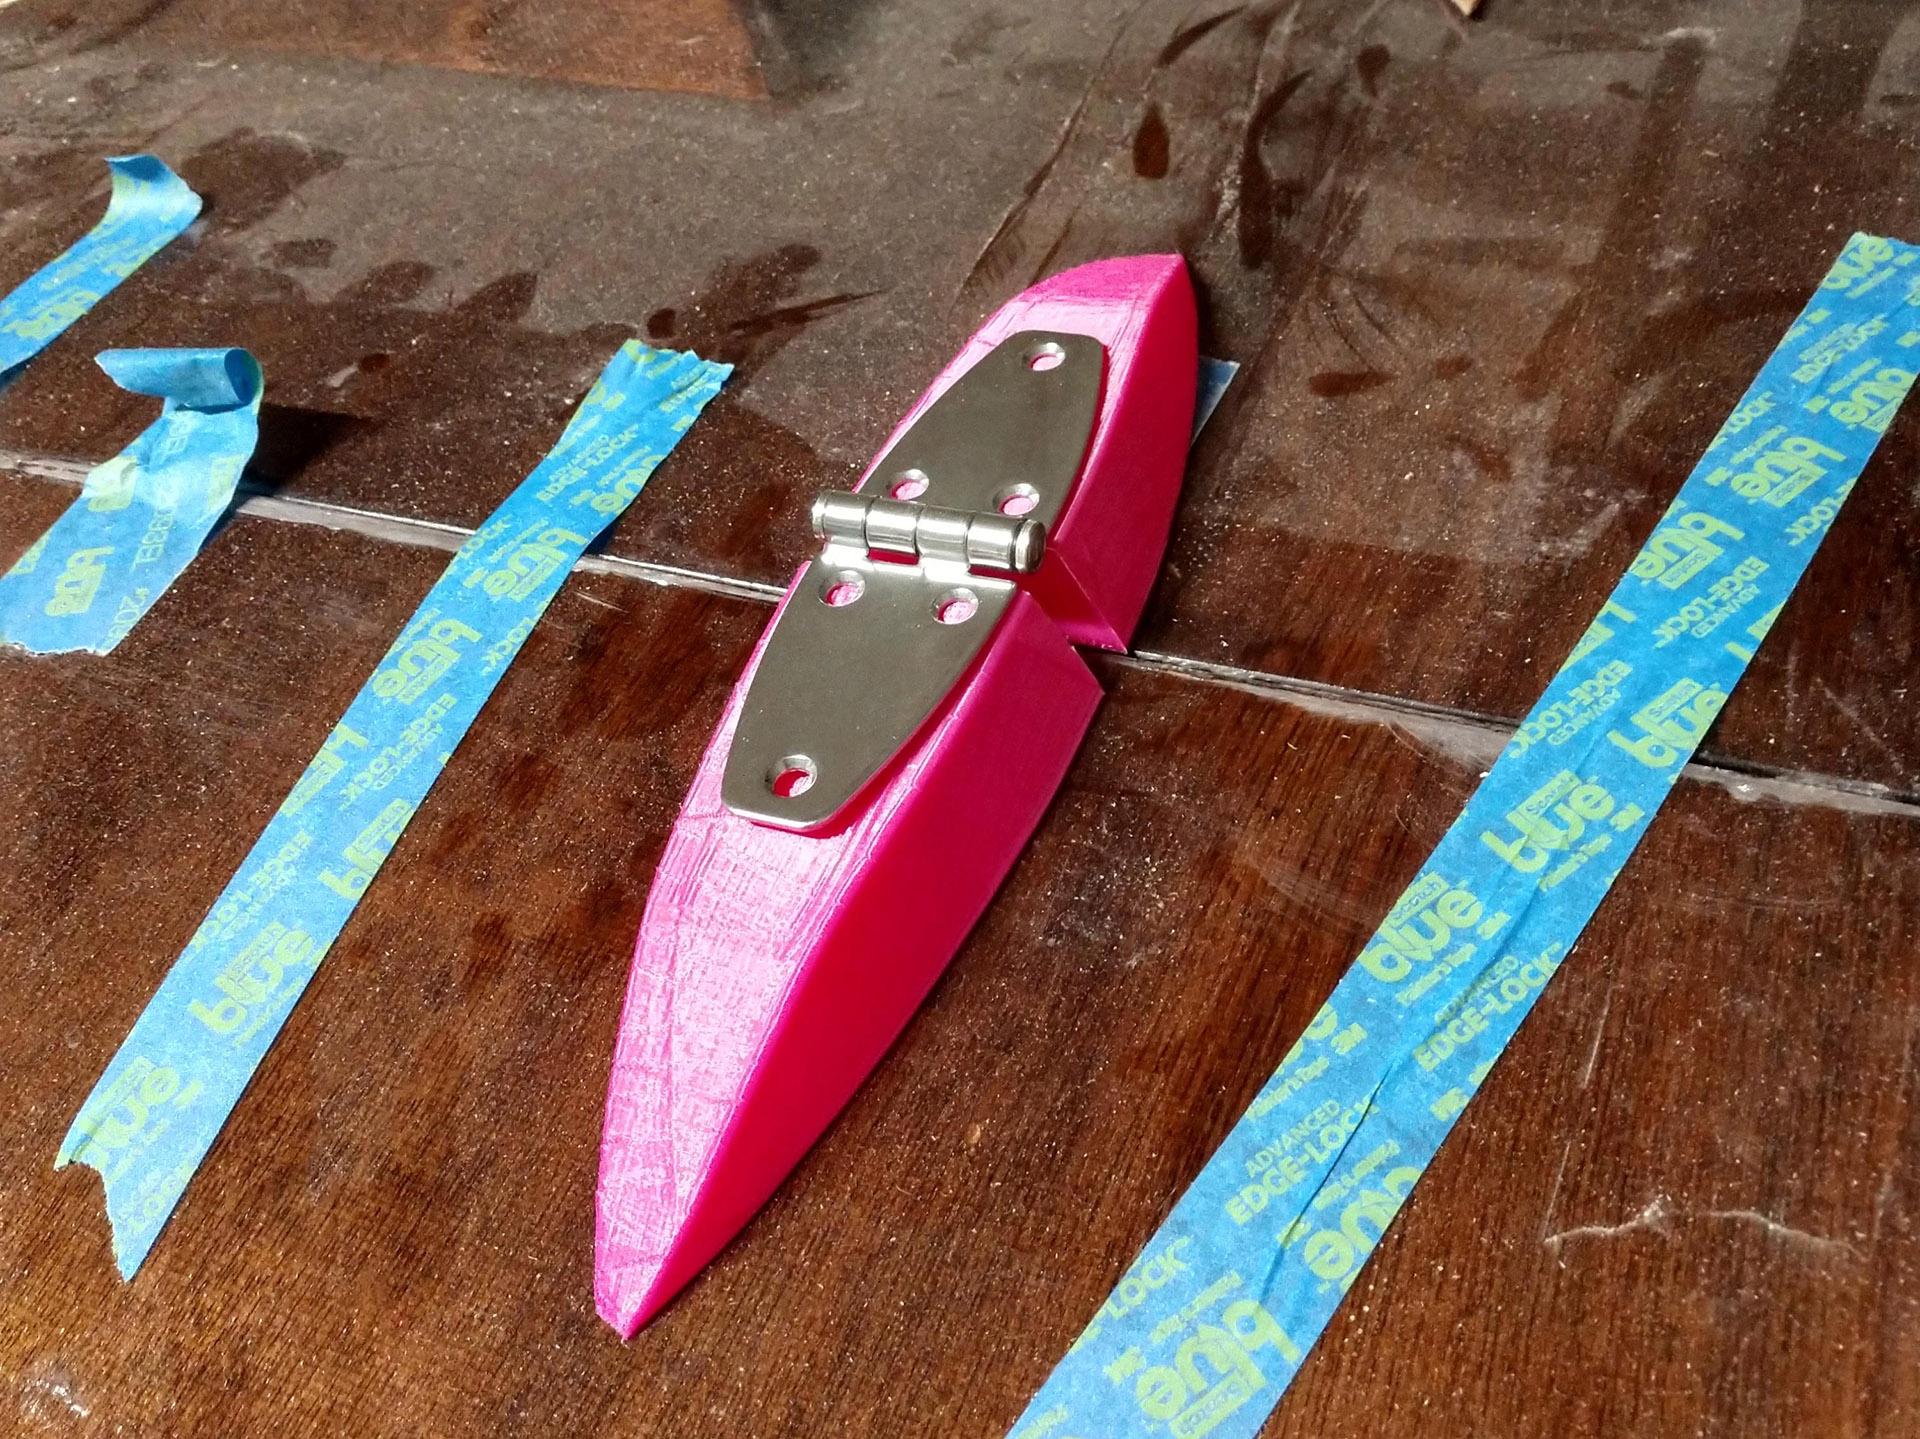
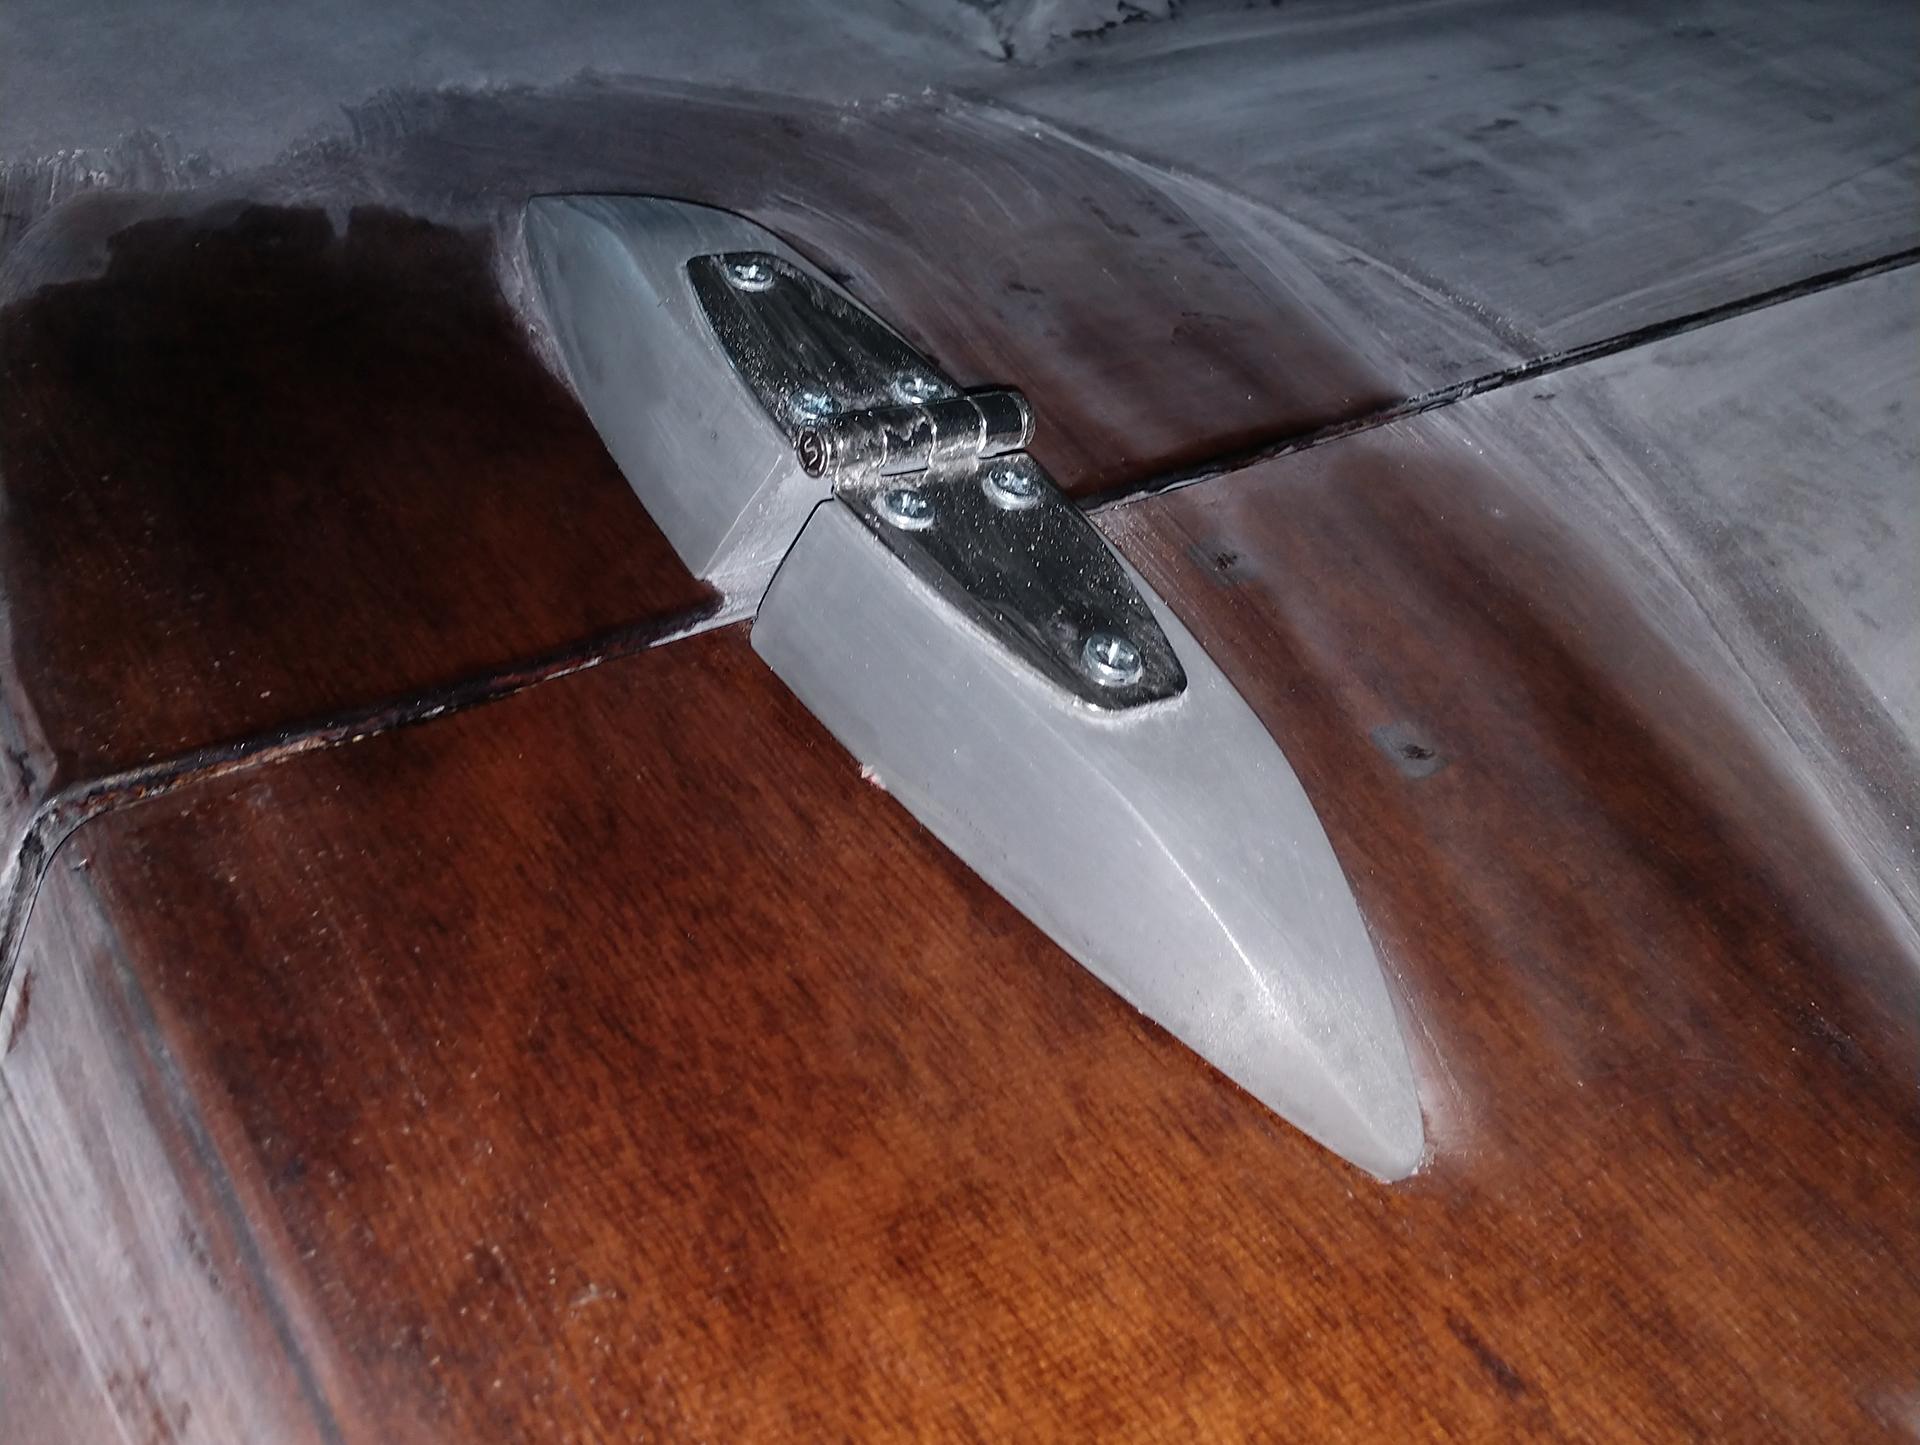
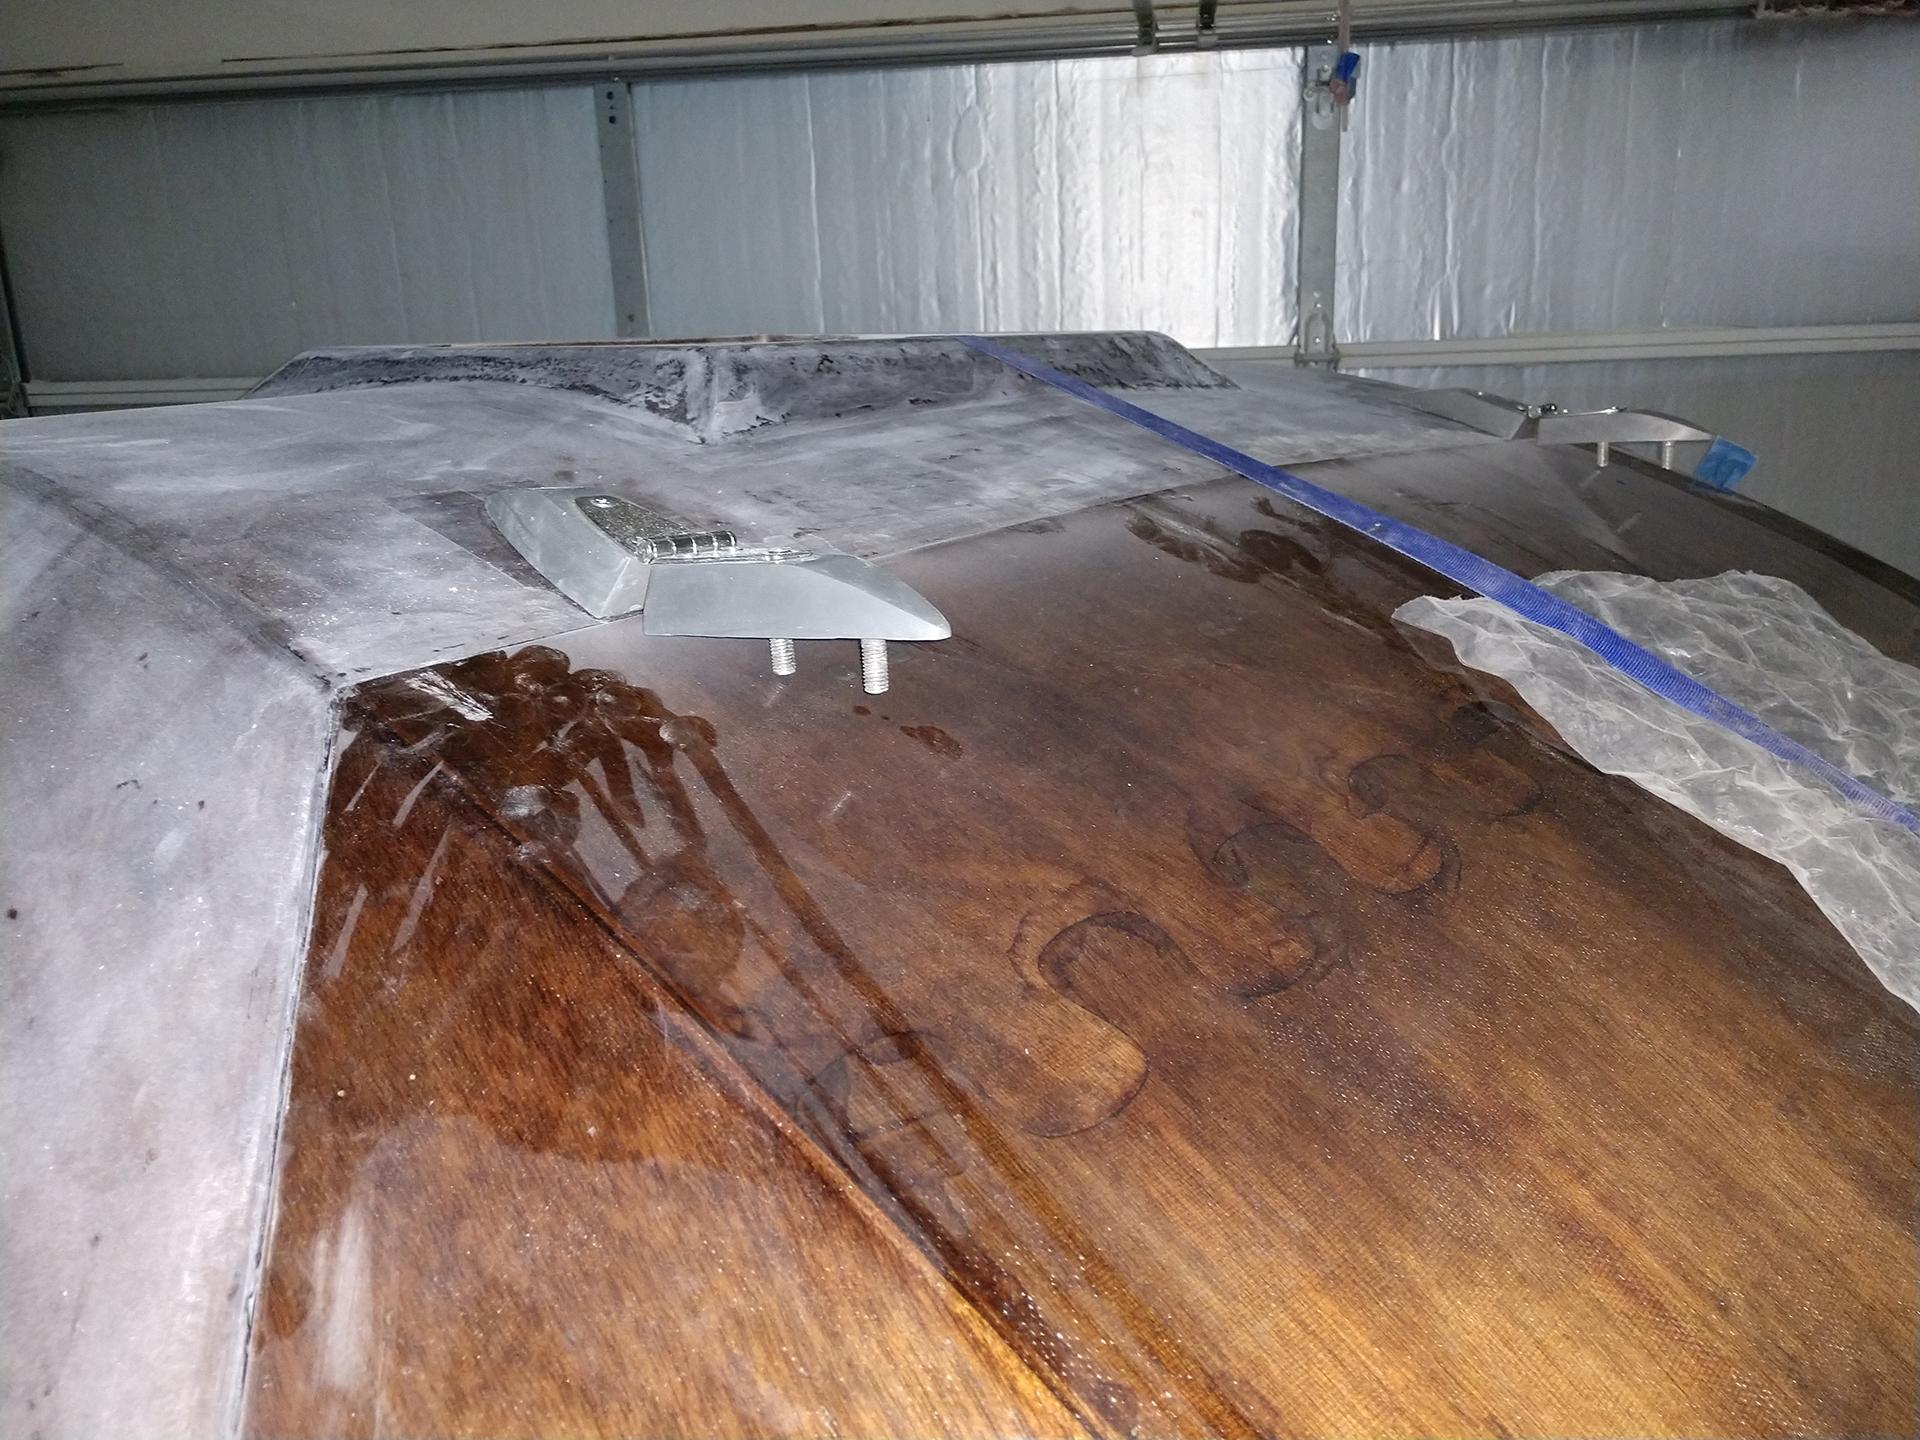
Just a quick update on some of the off the book modifications. I’ve had great success with my galley hatch hinge blocks. The pink ones were 3D printed and used to create a silicone mold. The final hatch hinge blocks were then cast using Task-18 resin with bolts embedded in the blocks for mounting to the shell. Later I will replace the resin hinge blocks with solid metal one but these will work for now. I’ve finished sanding and getting it prepped for varnishing and hope to have the Camper finished in the next 6 weeks. More photos soon to follow including the custom headliner foam. Wish me luck .
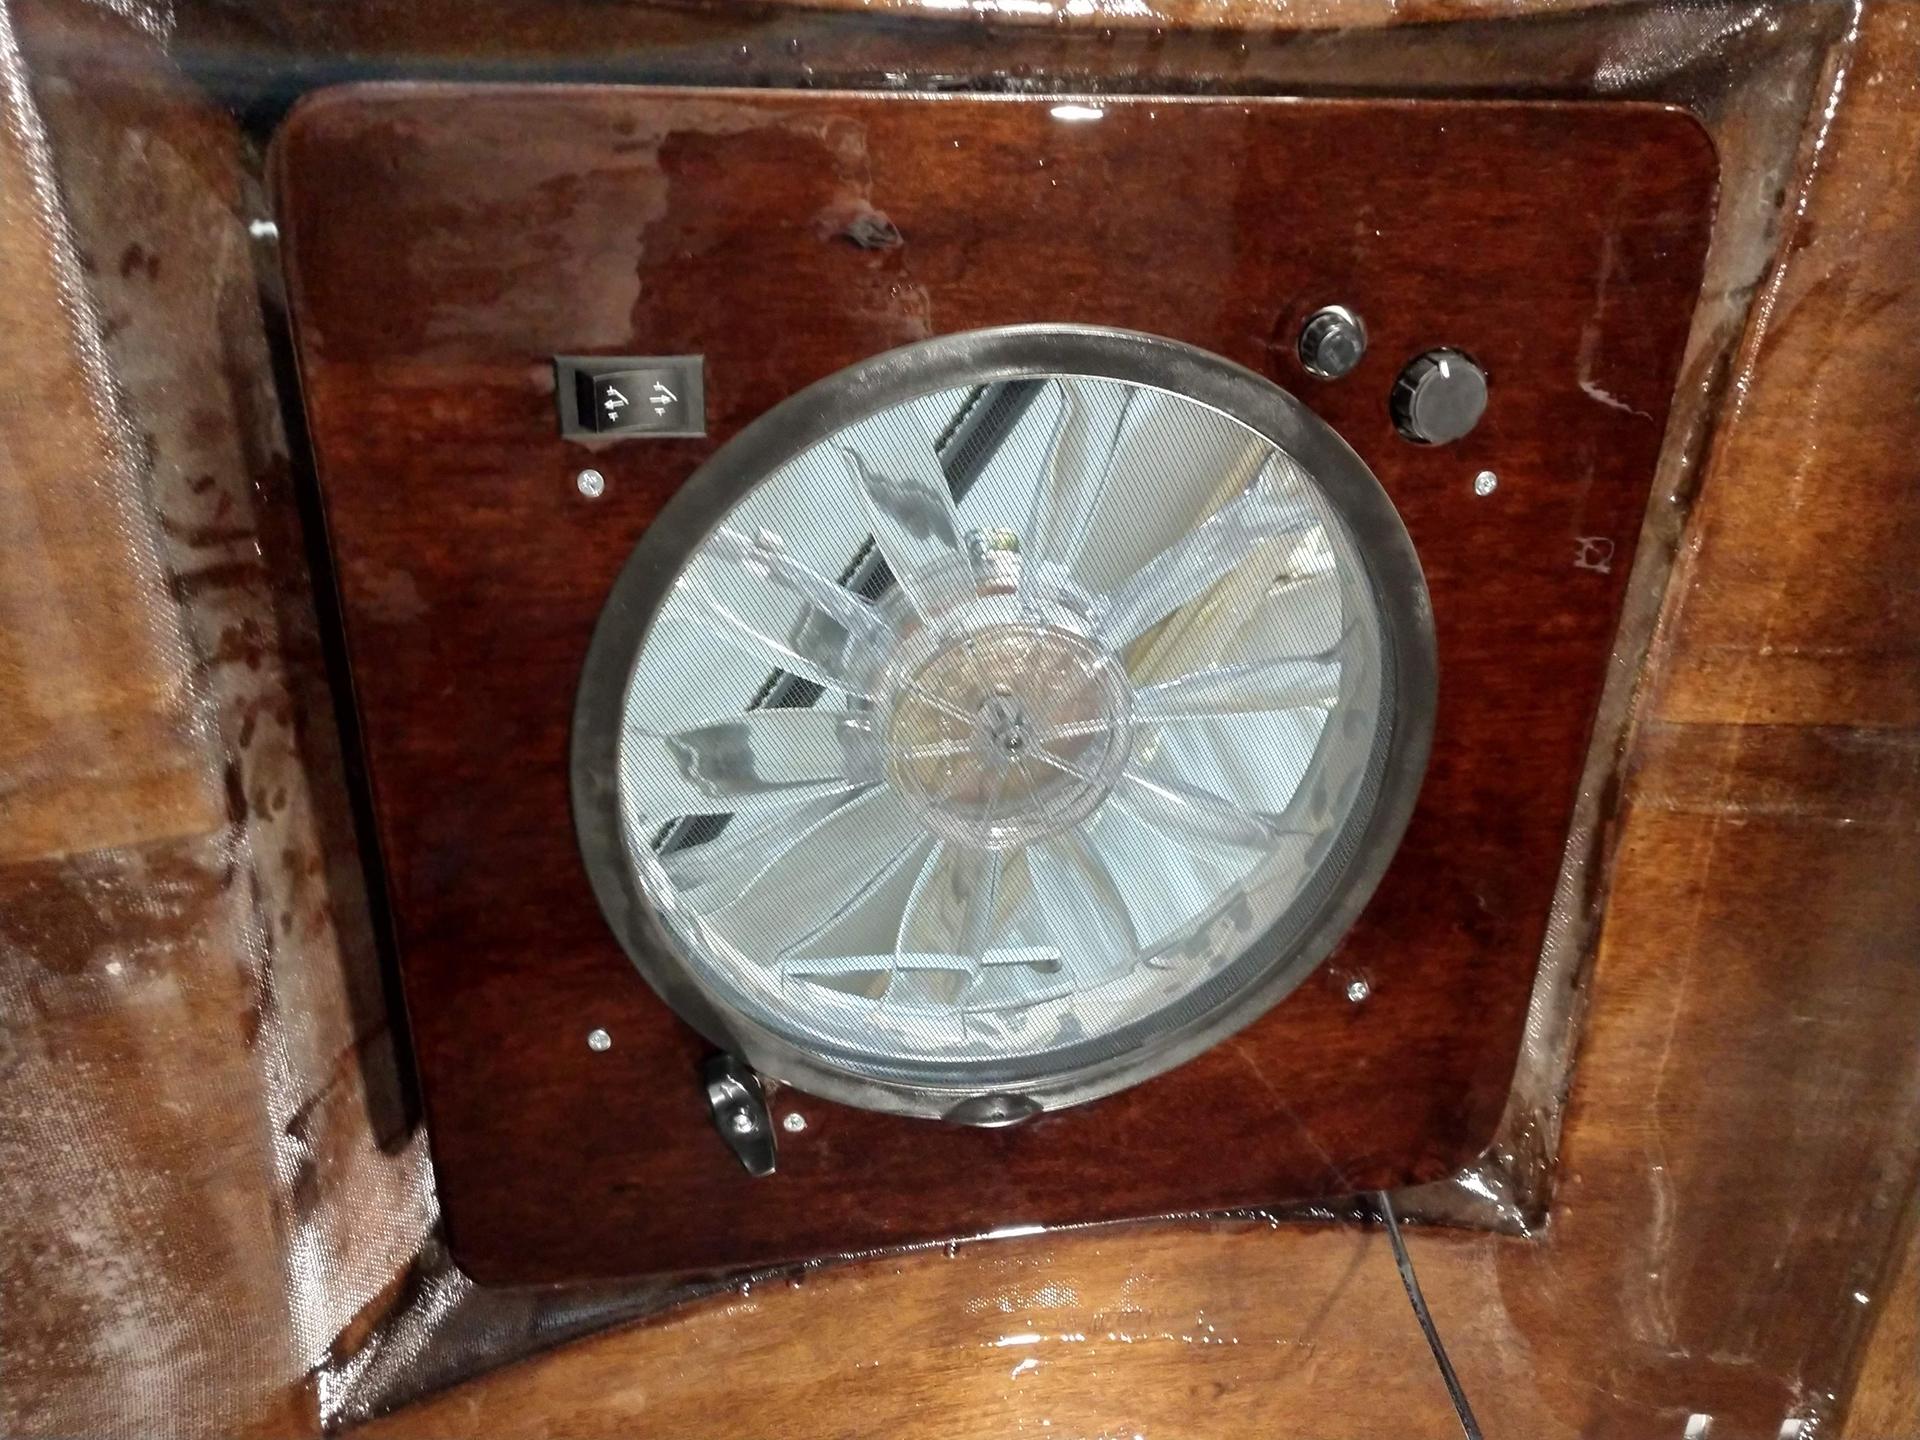
I’ve also finished the custom roof vent cover to replace the one provided by CLC. The original wood cover showed too much of the boring white plastic.
Started the final sanding with the galley counter top inserts, with any luck the reset of the camper will be this uniform after sanding.
 Participant
I second what abrightwell said, Having a narrower trailer with the wheels under the camper will raise the height significantly. You would be looking at a galley height of 42″ with 12″ wheels. A typical kitchen counter height is 36″. A narrower wheel base would also raise the center of gravity and be less stable (not unsafe, just not as stable as a 5′ wide).
If you haven’t already, take a look at the finished campers here http://teardropforum.com/forums/topic/completed-clc-teardrop-camper-photo-gallery/ It looks like almost half use 4′ wide trailers and many of those with smaller wheels. Just something to consider.
I ended up with the CLC Trailex trailer myself after numerous issues sourcing either a HF or NorthernTool trailer. However if you want a wider trailer with a lower price point then i’d recommend the Ironton 5ft. x 8ft.
ParticipantDon’t forget to varnish or paint the interior
ParticipantDan, Looking good as always. If you want to attach the gas springs to the hatch without bolts going through, I would recommend gluing a larger “cleat” block of wood to the inside of hatch. Then use wood screws to attach the gas spring to the cleat. This way you would have the best of both worlds, no hardware on the outside of the camper hatch and the ability to remove the gas springs down the road for servicing. You could also do the same procedure for the mounting of the gas spring to the bulkhead.
Participantsee page 373, CLC mentions they elected not to use the insert either. Take that white insert out, and line the inside of the “cap” with some self adhesive foam weather stripping. it should seal tightly against its self. The cap should not rub against the outside of the shell though.
-
AuthorPosts