Forum Replies Created
-
AuthorPosts
-
apkley
ParticipantI was able to cover it by claiming it as an extension of my existing auto policy, paying for its own separate collision and comprehensive (I have USAA). Only costs a few extra dollars/mo. I had to register the trailer VIN as part of the transaction. I was able to bargain that it is more valuable personal property rather than a traditional RV/Motorhome. My renter’s policy covers any other camp gear I might have with it.
I added up all the mail-order stuff and rounded to $5,000 for cushion. Regardless of how much we adore our camper, you likely won’t be able to claim any more than what you paid for the trailer, kit, lights, battery, etc. Good luck trying to add value by claiming all the ancillary cost in consumable epoxy resin, brushes, sandpaper and all the “sweat equity” labor cost!
Be forewarned – Insurance companies have not caught up to the teardrop movement. I looked into Geico, Progressive, and even a site called RVInsurance. They all scratch their heads when you tell them CLC is the manufacturer. Not many traditional insurance companies will cover it because of the “homemade” aspect – they confuse it with a TinyHouse and probably imagine frayed wires and makeshift plumping squatting on land you don’t own*. If you claim it as anything similar to a traditional pop-up or travel trailer, expect to pay exorbitant rates – I was quoted as high as $40/mo – that are completely unnecessary for a teardrop.
*Personally I’m a fan of TH and modest living and know this isn’t true for most of that community, but that is the real perception out there…
-
This reply was modified 5 years, 8 months ago by
apkley.
Participant@szerby: we have had the headliner installed for about 6 months now. We installed them in Oklahoma, but have since moved to Missouri. We have not noticed any shrinking of the panels like what you describe…but the temps have not been excessive (comparative to the southwest).
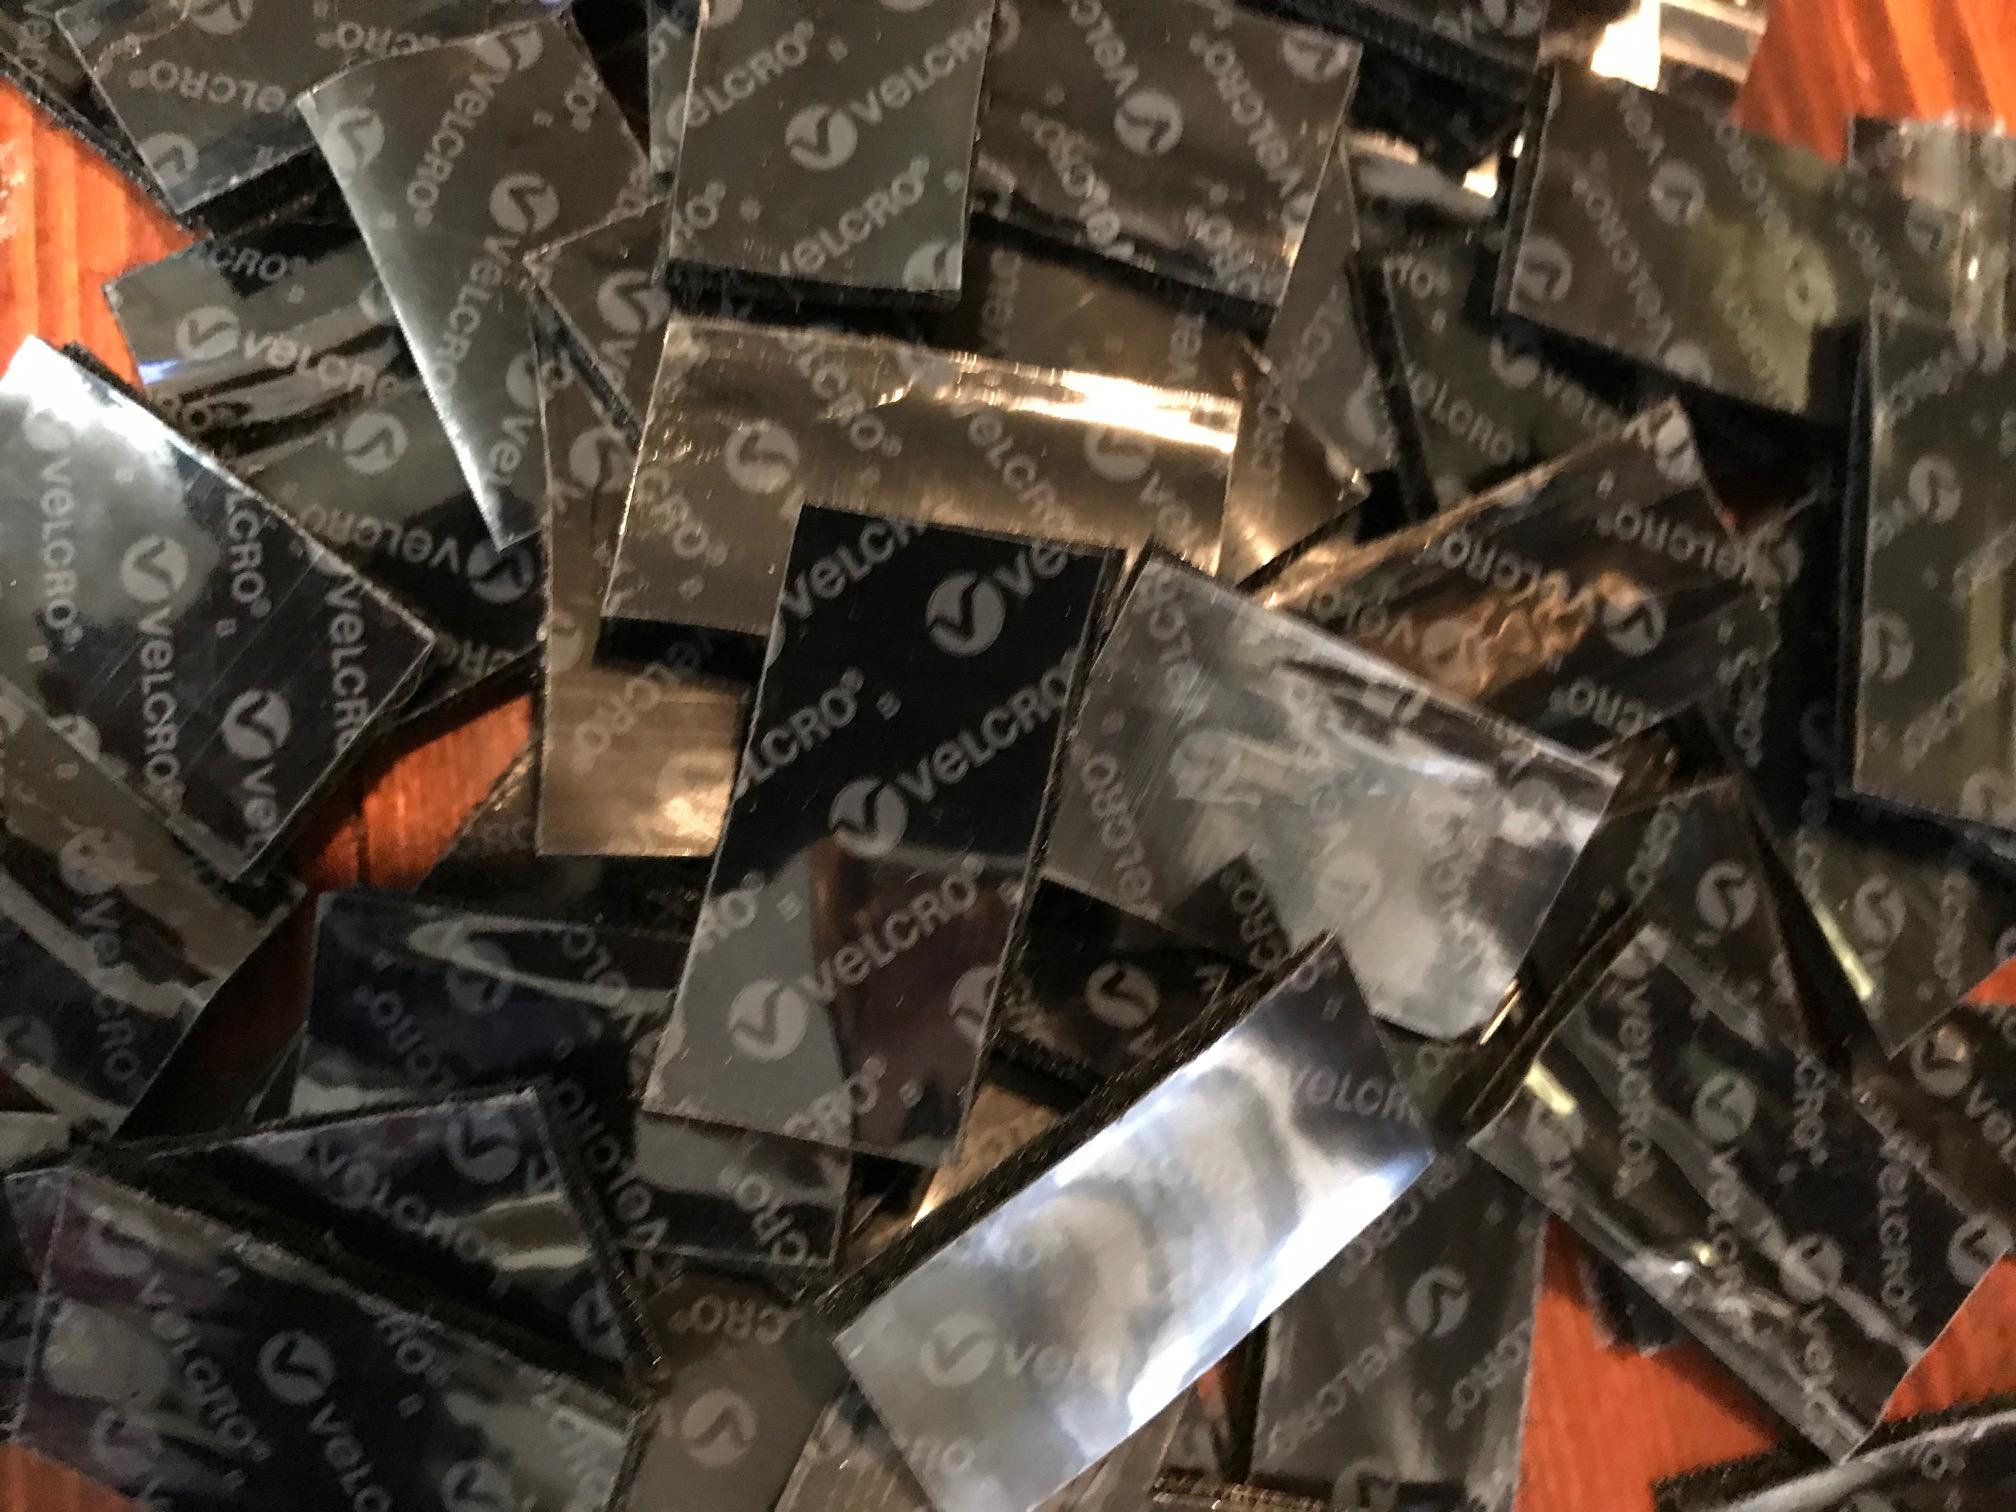
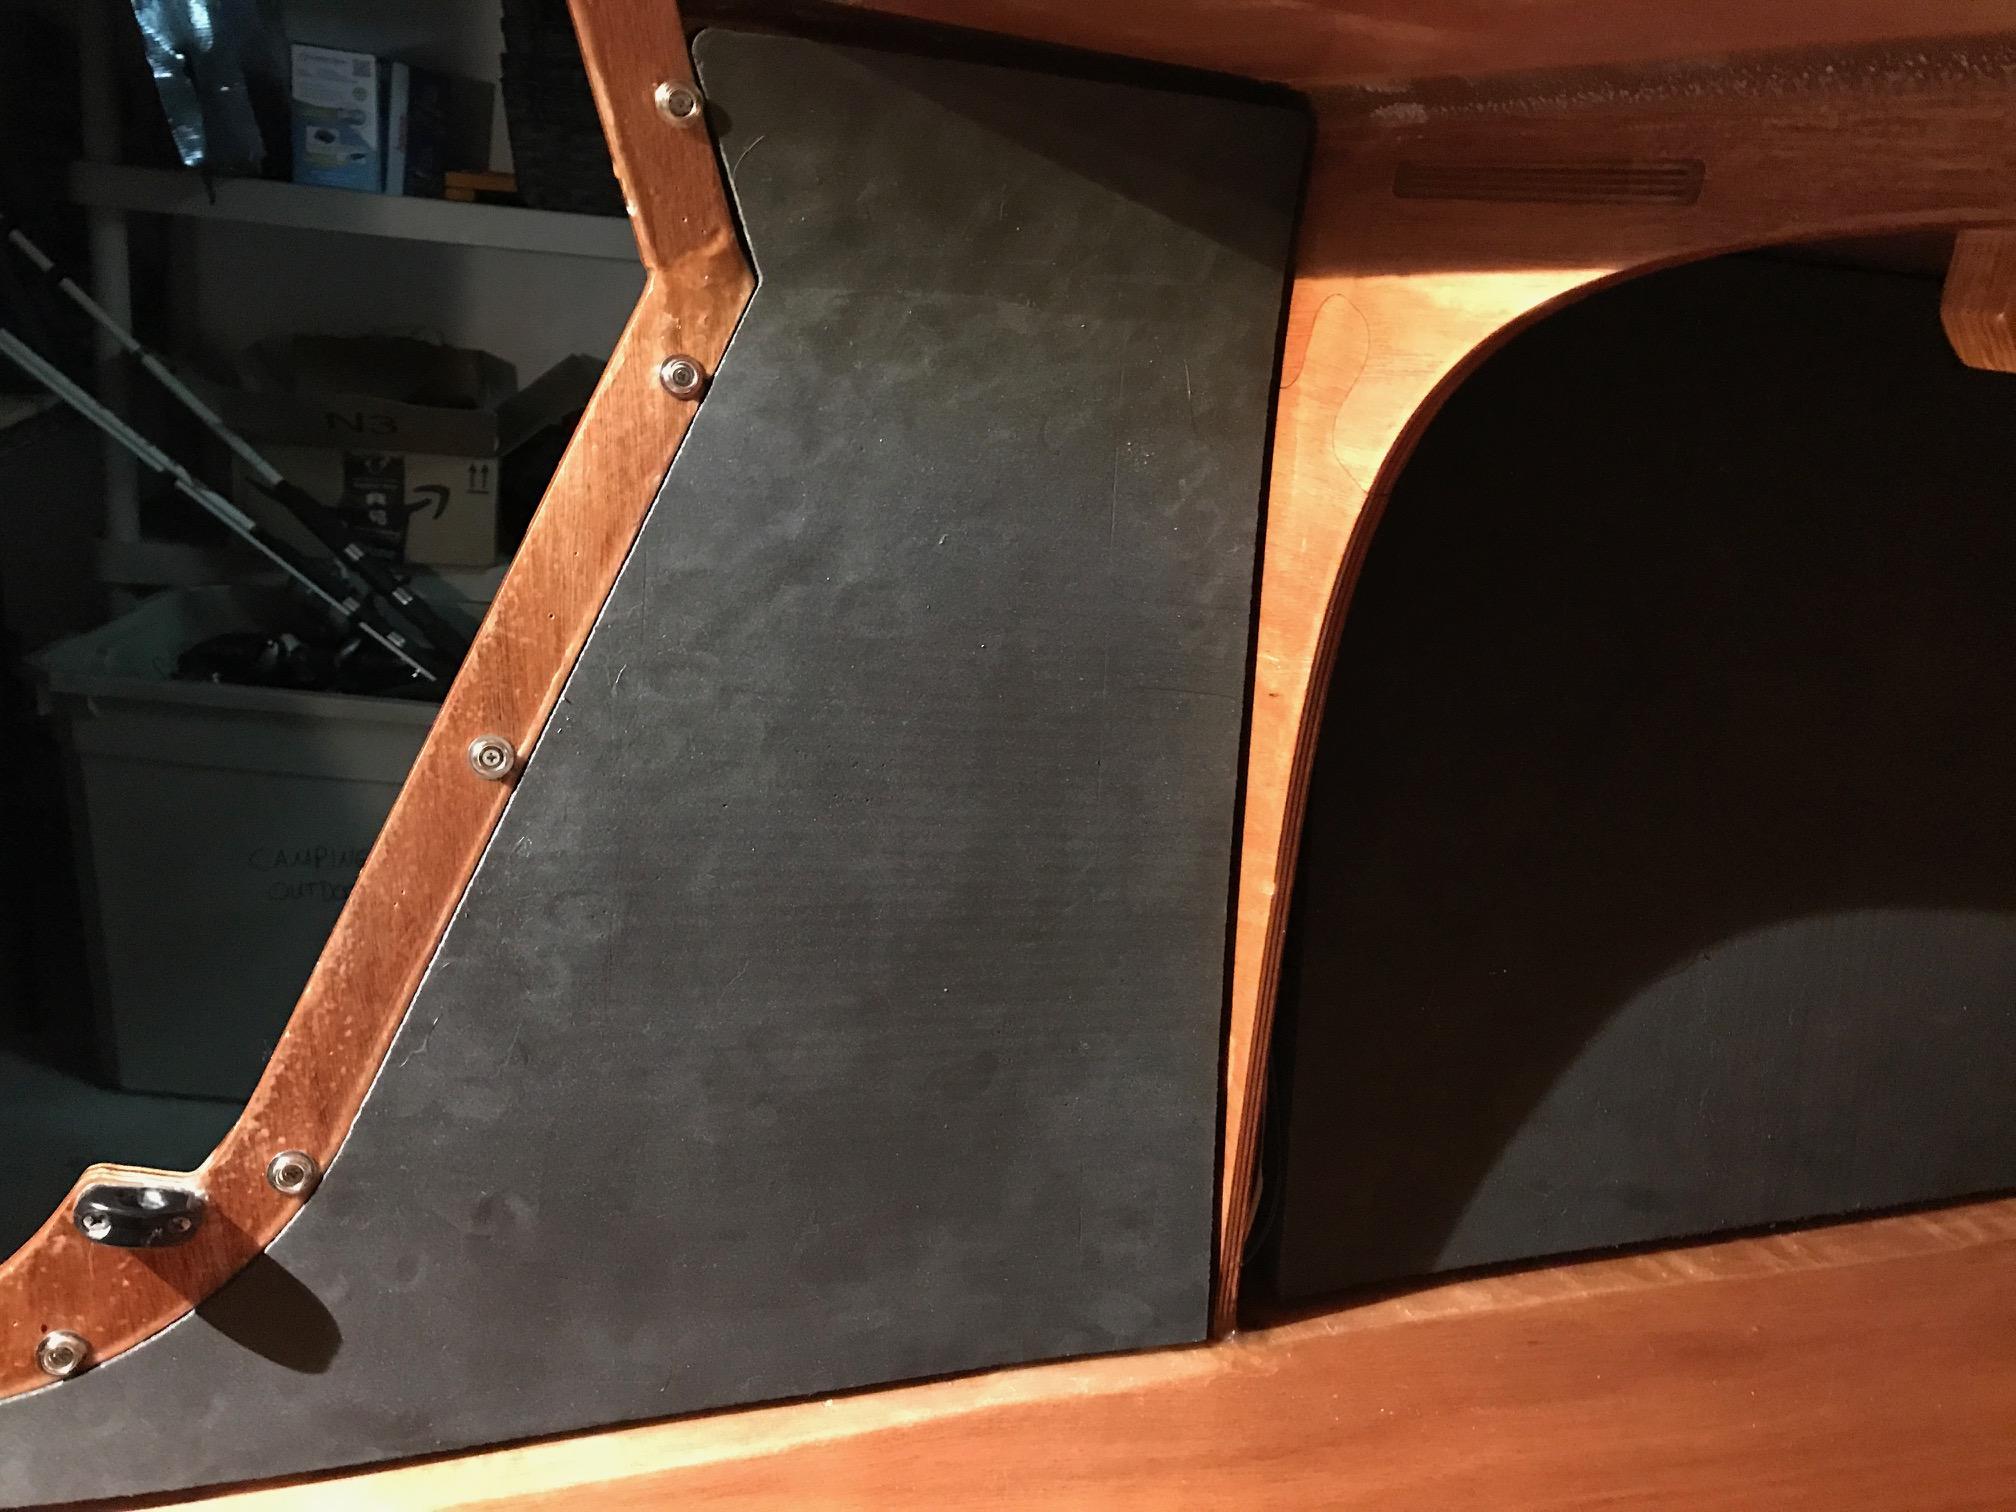
However, as an update to my previous post about the headliner installation: While I kept it out of direct sunlight and covered while not in use, the ambient temperatures (highest mid-90’s) have been hot enough to cause the glue on the HD velcro pieces to melt, causing the panels to detach and bow in some areas. There doesn’t seem to be any damage to the panels or shell. It is a minor inconvenience for now, but we definitely plan to re-attach the panels with a more permanent solution (thinking the 3m 77 stuff). Also, as someone else pointed out to me, the gap between the panels and shell still results in condensation, but it is not a large concern due to the epoxy on the inside. Live and learn.
For those still considering how to mount the headliner, the velcro did allow me to achieve what I wanted – it just didn’t have any durability.
ParticipantI second the CLC/Trailex option. Expensive, yes – but worth the lightweight material. Have towed it for a year now with no complaints. As someone in a previous post mentioned months ago, be sure to have lock nuts on the u-bolts that hold the axle to the frame. I’m not sure Trailex addressed that specific issue.
ParticipantBill,
Your idea is amazing! We were debating the addition of some kind of in cabin storage. Really glad we saw your design! Did you use all okoume? Wondering how you got the curve in the front panel.
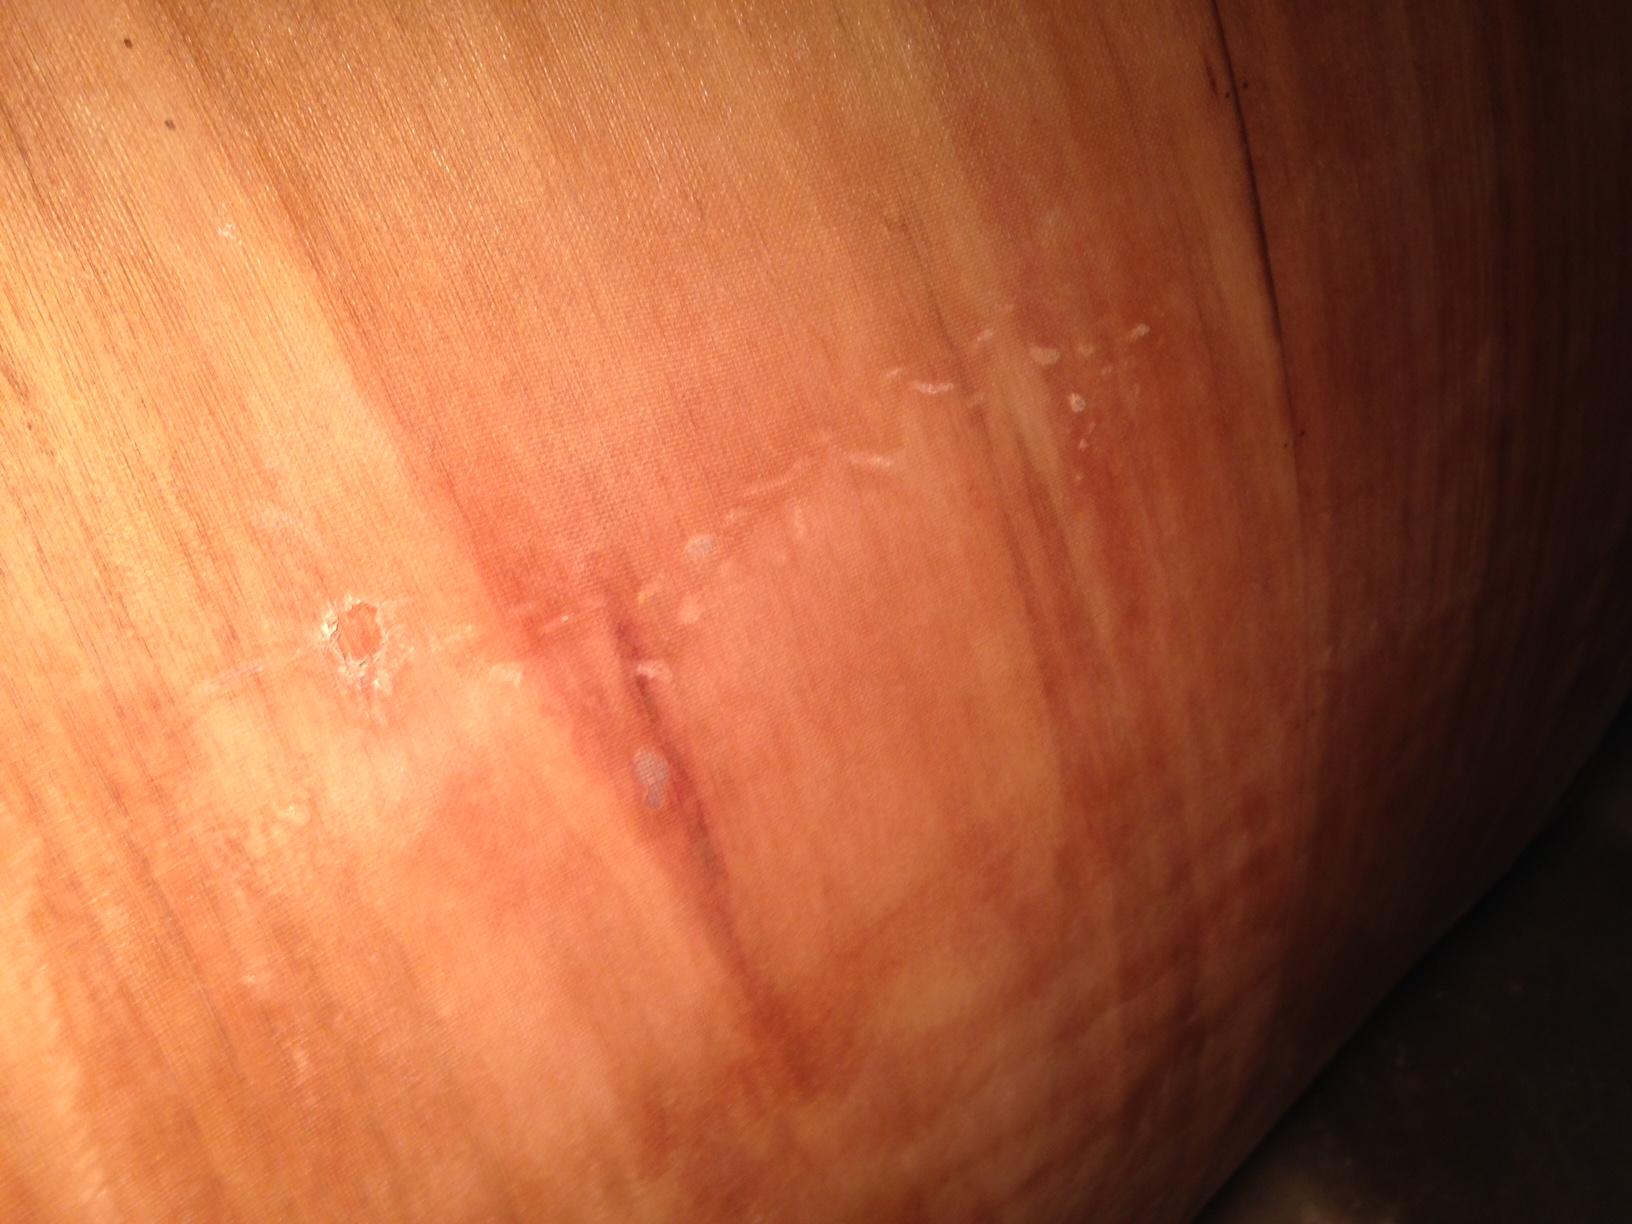
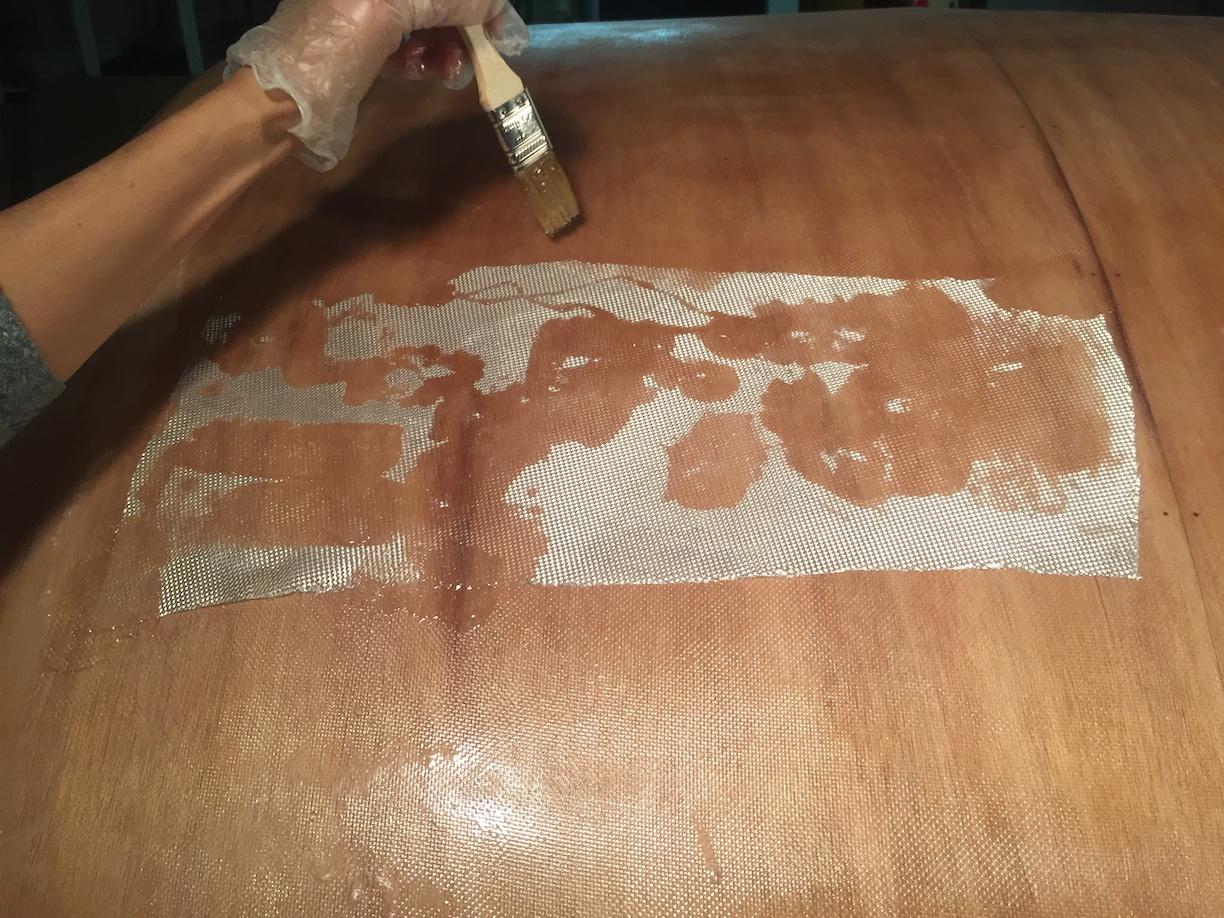
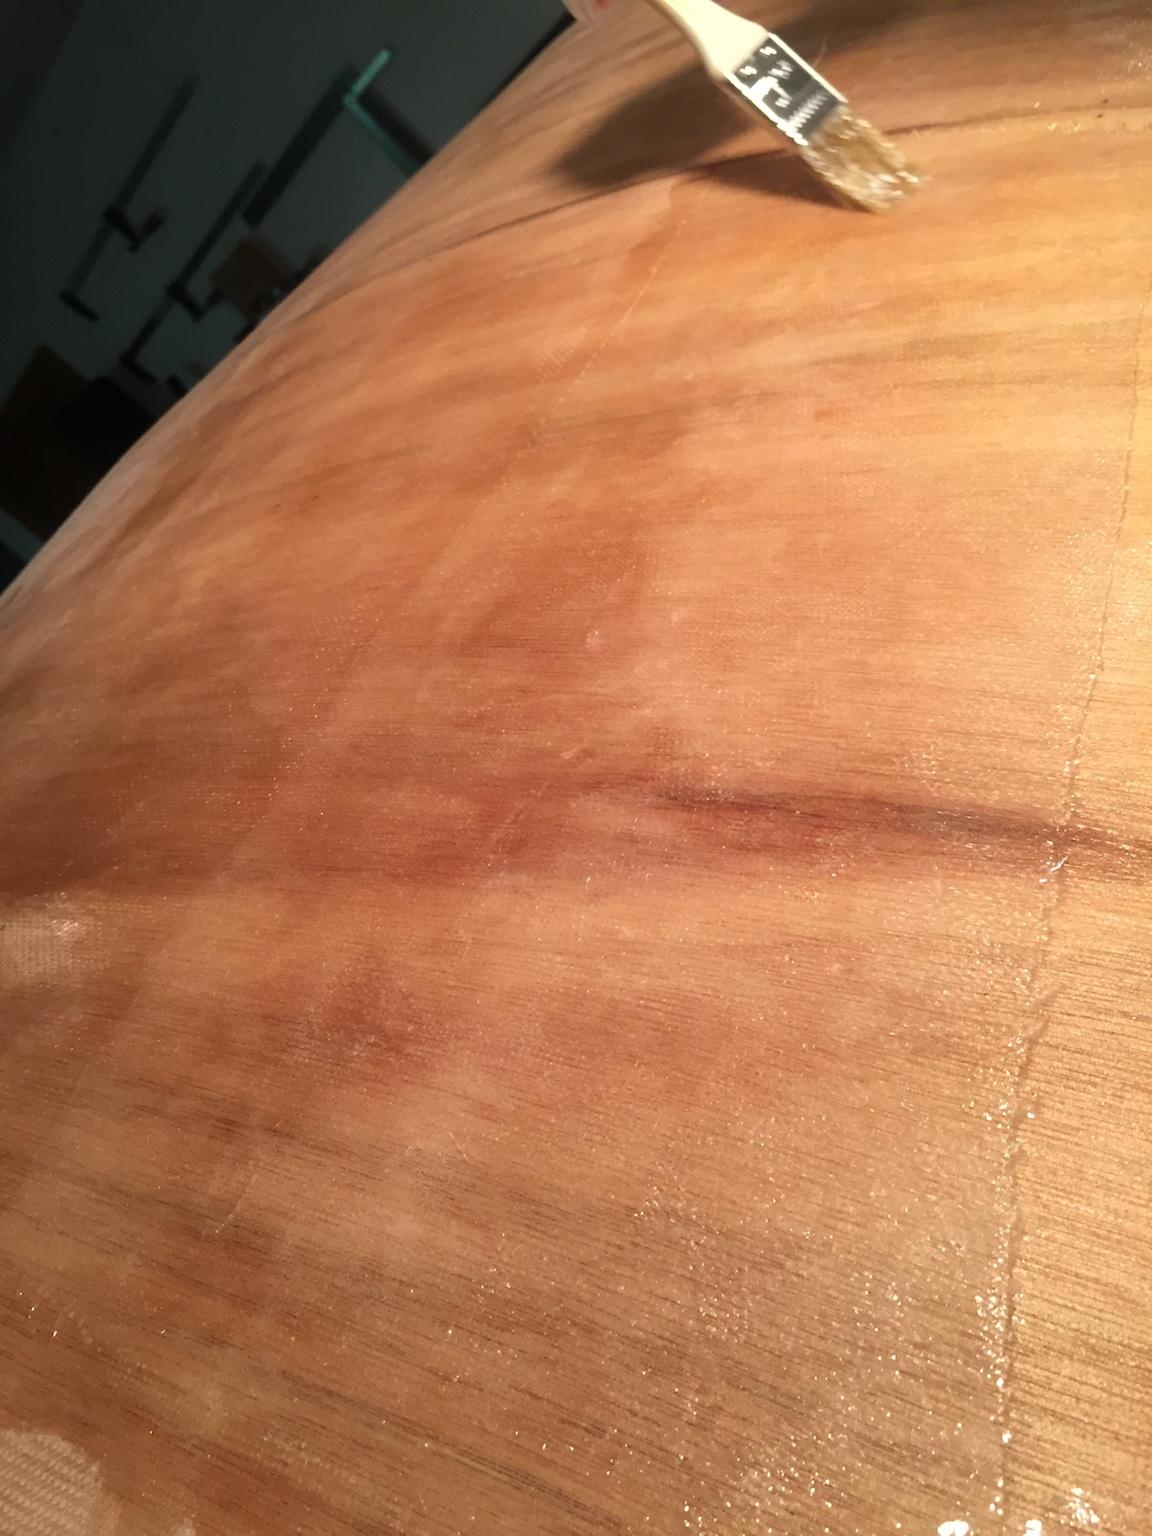
Participant@abrightwell, if you had bubbling beneath the fiberglass (i.e. the fiberglass looks like it bulged out) due to temperature variation, it sounds like you are describing a bad mix ratio of resin/hardener, not outgassing (uncured epoxy expands according to my conversations with CLC). If that is the case, you might be able to salvage it and not have to paint at all.
We had similar bubbles during our build along both #1 panels about two feet down from the fan bezel, where the curve really starts rounding toward the bottom. We didn’t notice them until a few weeks after we epoxied when the temperature changed dramatically. We thought we would have to paint over or cover them with a stripe.
Our solution was to surgically remove the fiberglass bubbles down to the wood with a razorblade (VERY carefully to protect the wood), and then clean out the soft uncured resin with denatured alcohol. We then patched the holes with two layers of fiberglass (one the size of the hole, the next a square patch covering the hole), both soaked with epoxy. Once dried, the edges have to be smoothed out into the surrounding ‘glass. The whole process was time consuming, but the end product looks natural and we can’t tell there were ever any bubbles (but it will look patchy until the varnish blends everything). Pics below:

-
This reply was modified 6 years, 3 months ago by
ParticipantGo with your heart, but I my advice is that lighter colors will make for a cooler camper (no pun intended). The fan is good, but no sense it making it work harder than it has to.
I will add that it doesn’t matter what color scheme you choose. You’re going to generate all sorts of interest on the road.
ParticipantWe read @faithie999’s post about the 3M 77 from several months ago, and it was very informative. We debated long about the best solution for us. I will say the 3M would absolutely be the most cost effective. We ultimately went with the Velcro because we intend to cover each panel with some sort of cloth to hide any nicks or scratches that will inevitably happen. There isn’t a timeline for that add-on, so we erred on the side of caution for an absolutely removable option.
As for a sunny day melting the adhesive, it could be possible but I’m not convinced (yet – although I admit my local temps are currently in the teens). The adhesive is very strong as it is marketed to hold tools, presumably in an outside shed which would be subjected to the same temp changes as the camper.
In the end, if it does melt off… then I get a second shot at it as will probably go with 3M.
January 2, 2018 at 6:33 pm in reply to: spring/fall camping: keeping warm OUTSIDE the teardrop #1532ParticipantThanks to the internet, I found this little gem of an idea…it works great!
Save all your drier lint, used candles, and paper egg cartons (trust me, this will make sense). Stuff each egg compartment with lint. Melt and pour the used candle wax into each compartment, soaking the lint and paper container. Once dried overnight, cut into 12 individual fire-starters.
The wax keeps it water-resistant and keeps it slow-burn, the carton provides airflow, and the lint is the tinder. Place it under a pile of sticks and light a match. Take all precautions when melting/pouring wax… it can be very messy.
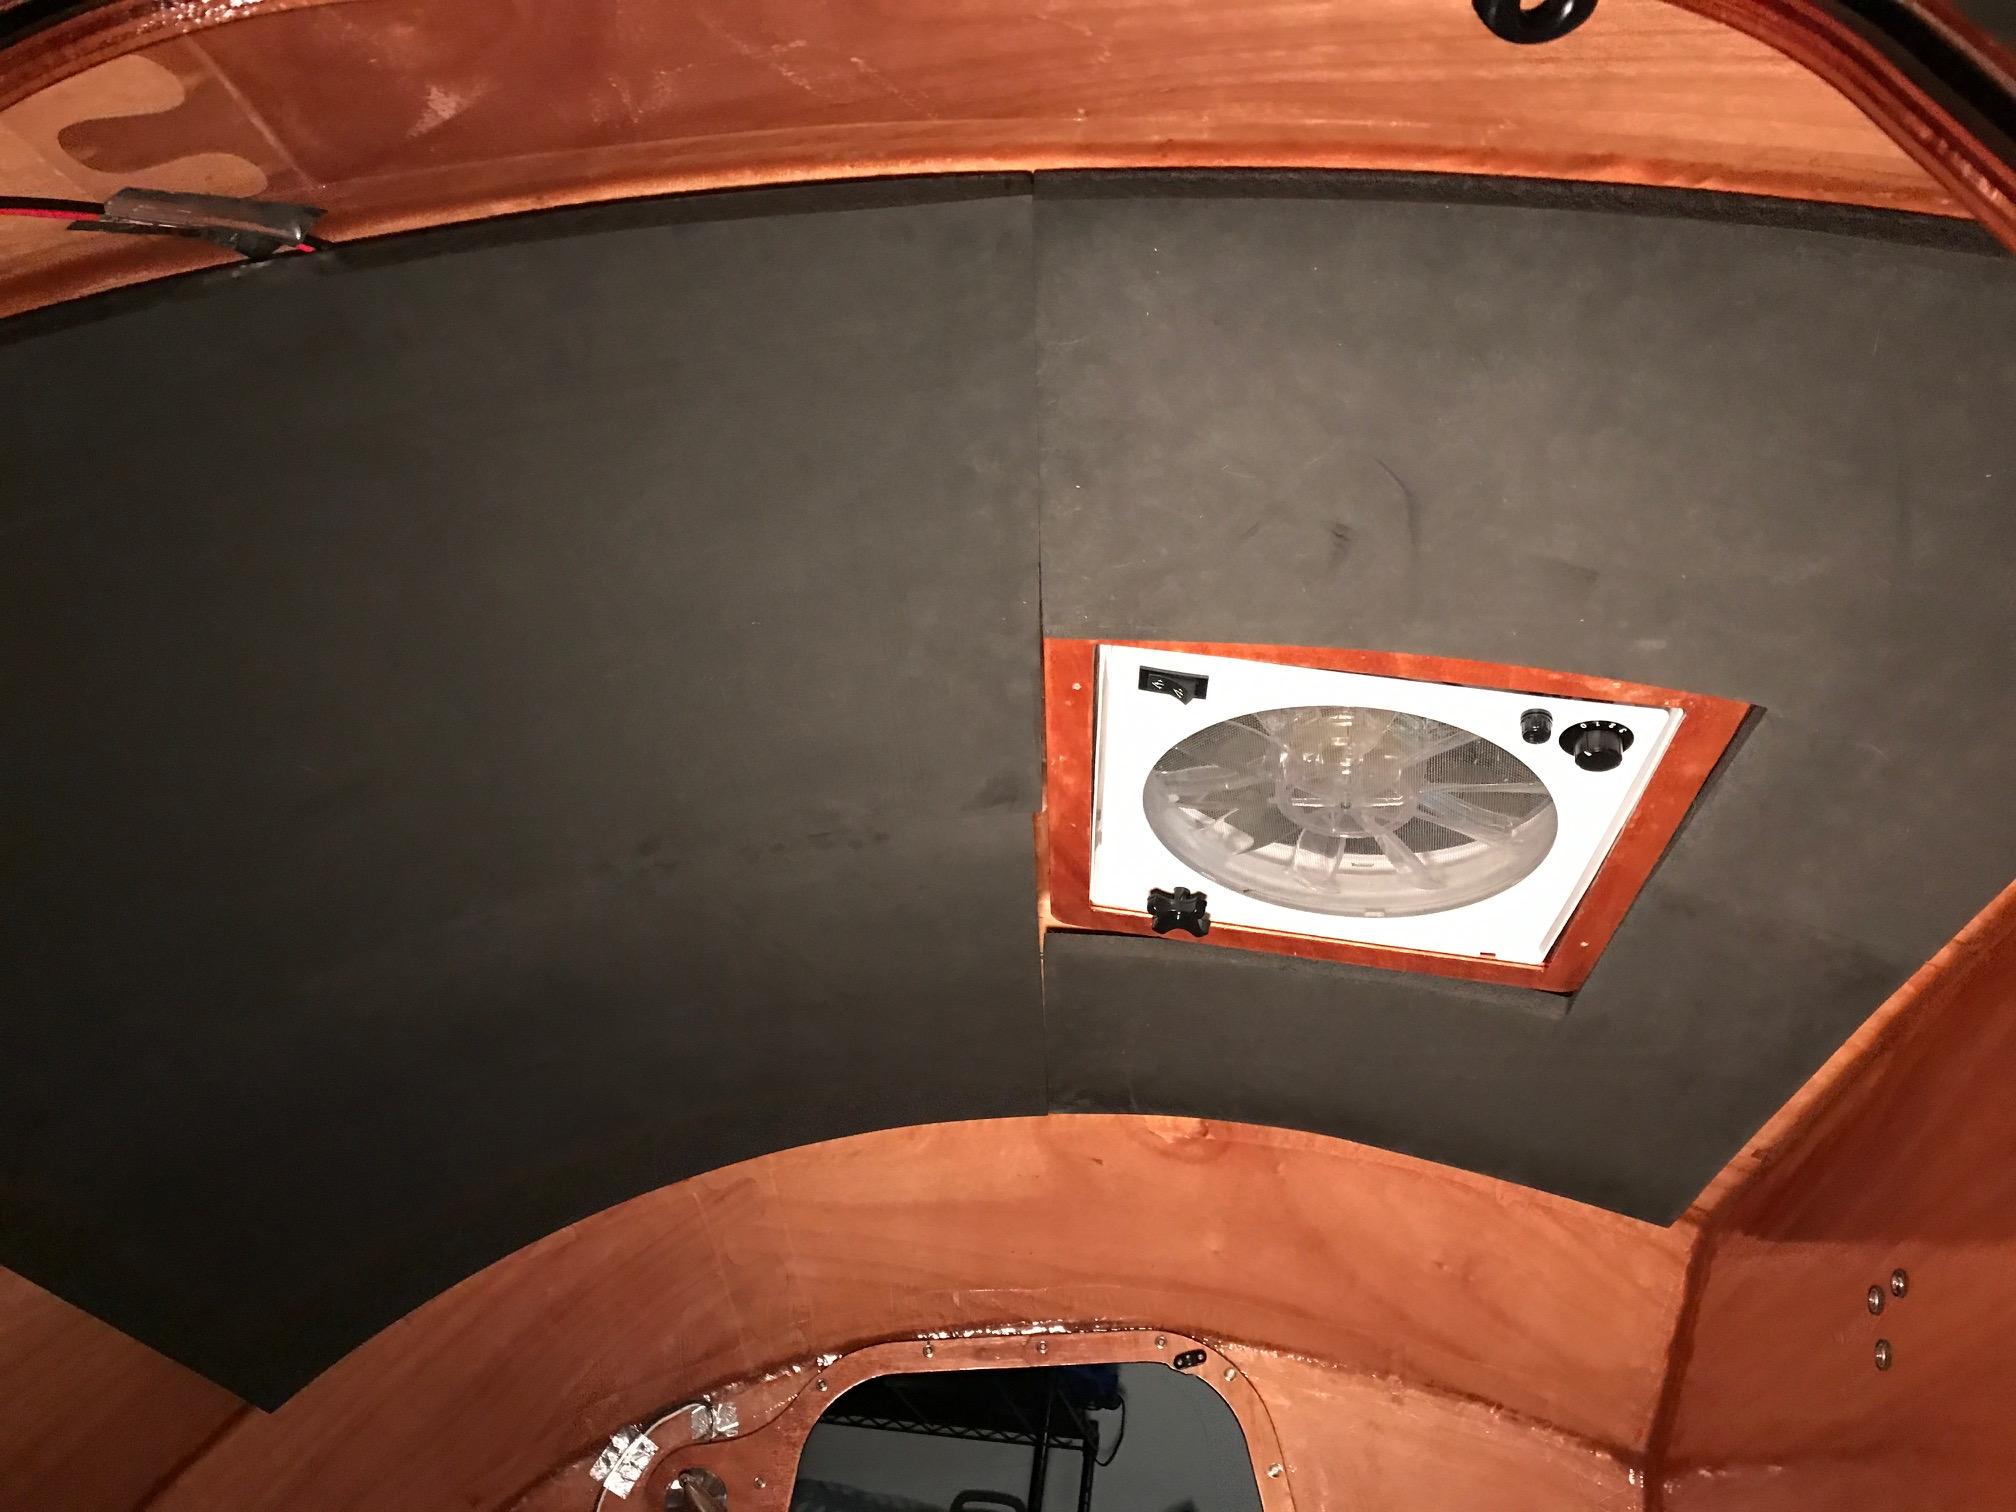
ParticipantSince I started this thread on the headliner, I thought I should give an update on our own headliner installation, given that I was overly optimistic on how close we were to install (by only about 7 months!). Hopefully this writing will help some other builders with information to make a decision (pictures at bottom).
With all the solutions discussed, we opted to attach the headliner with heavy duty Velcro (Lowes 15’x2″ black self adhesive 10lb hold, ~$28/roll). After inspecting the headliner and getting a feel for how it behaves, we were not ready to commit to a permanent adhesive solution (my complete thoughts on the headliner material I’ll post in a different thread). In addition to possible electrical expansion, we chose the Velcro option for these reasons:
1) the headliner seems to scuff and scratch VERY easily (it also arrived with gouges out of the box). Given that camp life can be dusty and dirty, often including unusual pointed objects, I’m not sure how anyone can hope to keep the headliner clean without damaging it. Any installation requires extreme care to avoid anything with a sharp edge – especially hidden dried epoxy boogers!
2) the CLC Hymnal purports the MiniCell is used in $100,000 sports cars. I’m sure this is true – but I’m confident it is also covered by some sort of upholstery to prevent damage. To avoid the complications described above, we will eventually find some material to stretch over each panel. Black speaker utility fabric (Joanne’s) is a leading candidate but there are other options. Thus, we need to be able to remove each panel in order to attach the fabric. We also figure we may eventually replace the headliner if it gets too damaged.
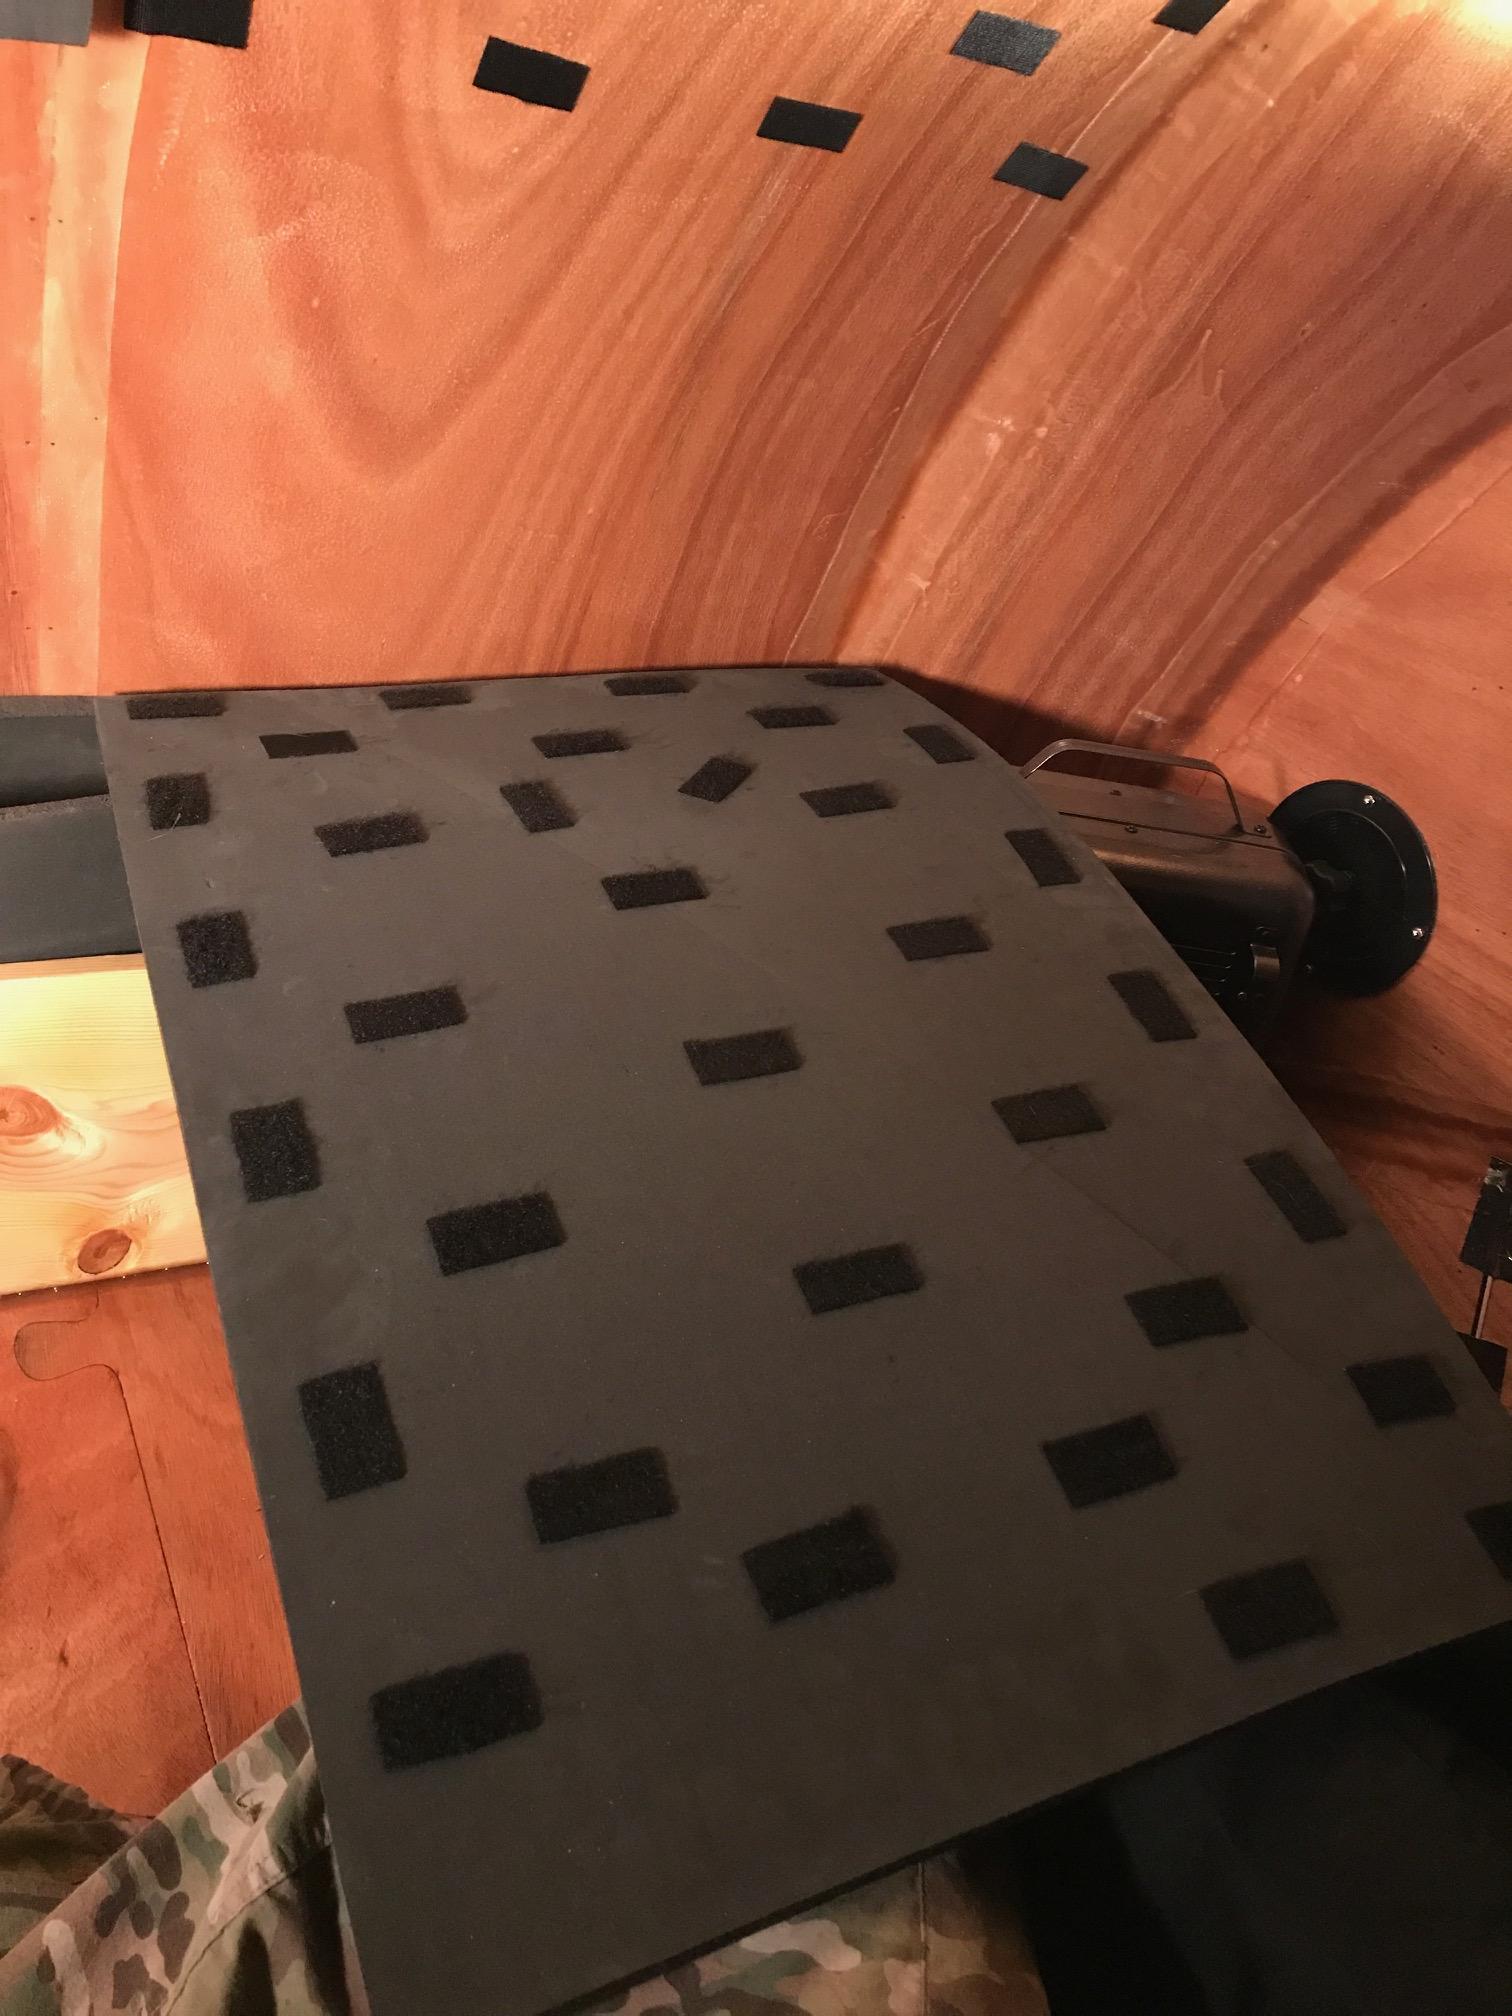
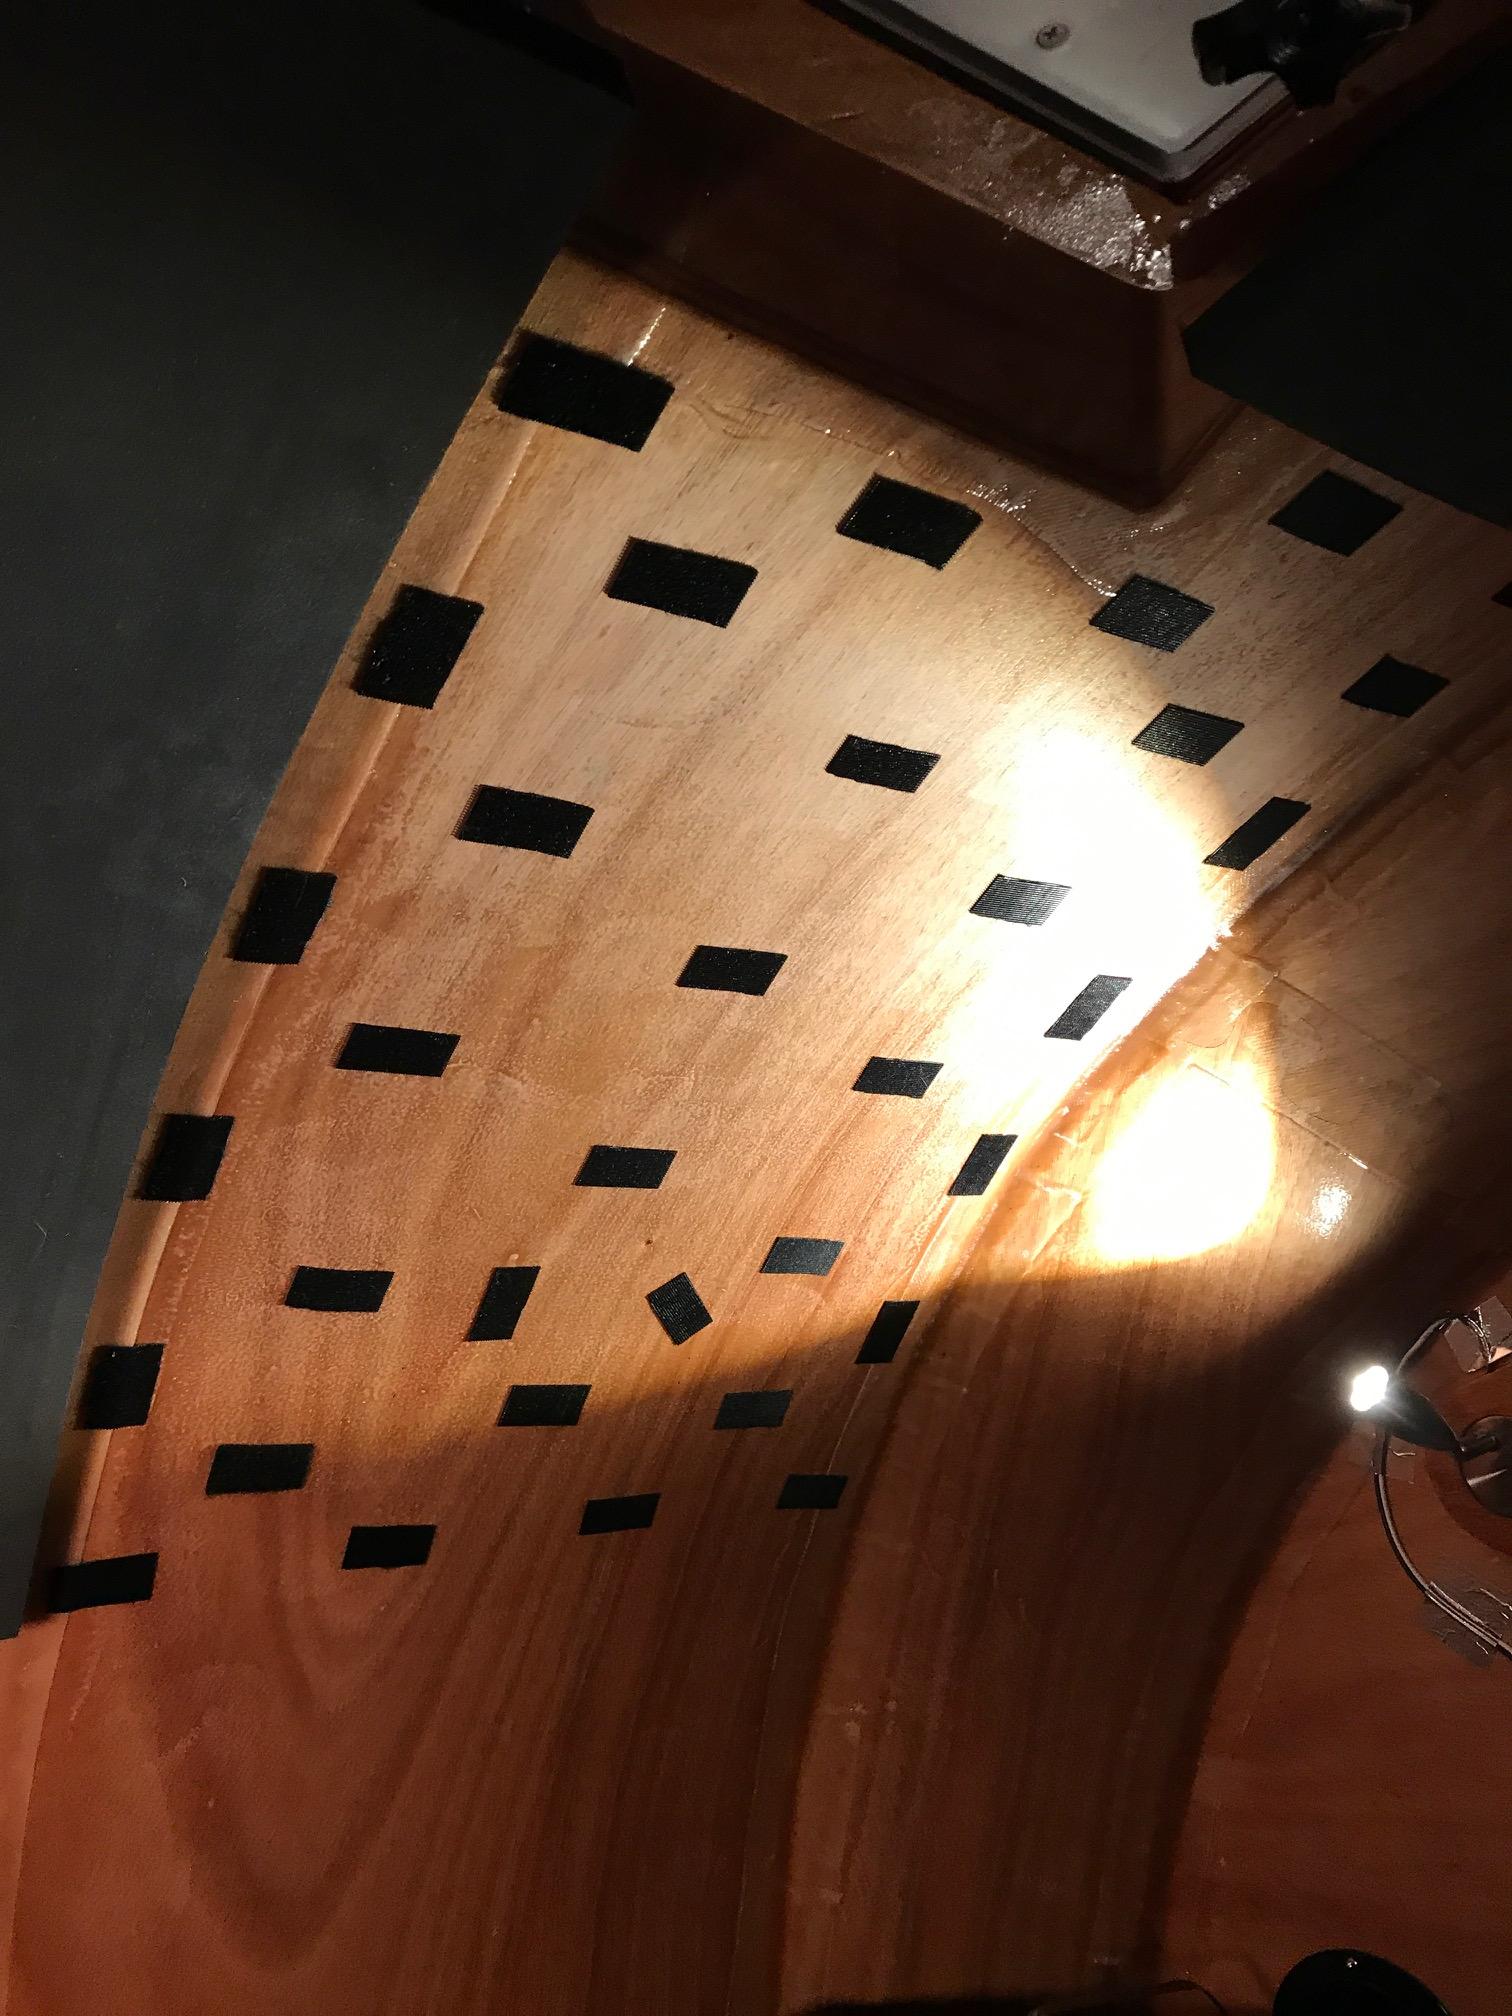
For our installation, we cut the tape into 1″x2″ rectangles oriented about 3″ from each other. Based on our progress, we estimate it will take about three rolls to achieve adequate coverage on all panels, although I’m sure you could stretch two rolls. We’re about 1/3 done as of this writing and very pleased with the results. The Velcro tape glue is more than adequate to hold the lightweight panels, and it does stick very well to the interior shell (we had epoxied and sanded the interior). Most importantly, we can remove the panels easily exactly as intended (see pictures).
During installation, we have noticed an added benefit to the Velcro… it is more forgiving than contact cement (provided you adhere it to the correct side and dry fit your panels beforehand). We found we can “slide” adjust panels using the hook/loop connections to push panels together, resulting in more attractive seams between panels (if we don’t get it the first time).
As for the concern of condensation: the Velcro does add about a 1/8″ gap between the headliner and the shell; however, we think this is no reason to discount this solution. It may actually aid in the insulating effect without condensation, as condensation is formed when warm moisture laden air (from the occupants) contacts a cooler surface (the shell). If the headliner prevents this air contact, then no condensation forms on the shell. To my understanding, the effect any insulation provides is achieved by creating an air barrier, like vacuum sealed doubled-pane windows. The air pocket created by Velcro then acts as a temperature barrier. (I’m not an engineer or steeped in physics, so please double check my work).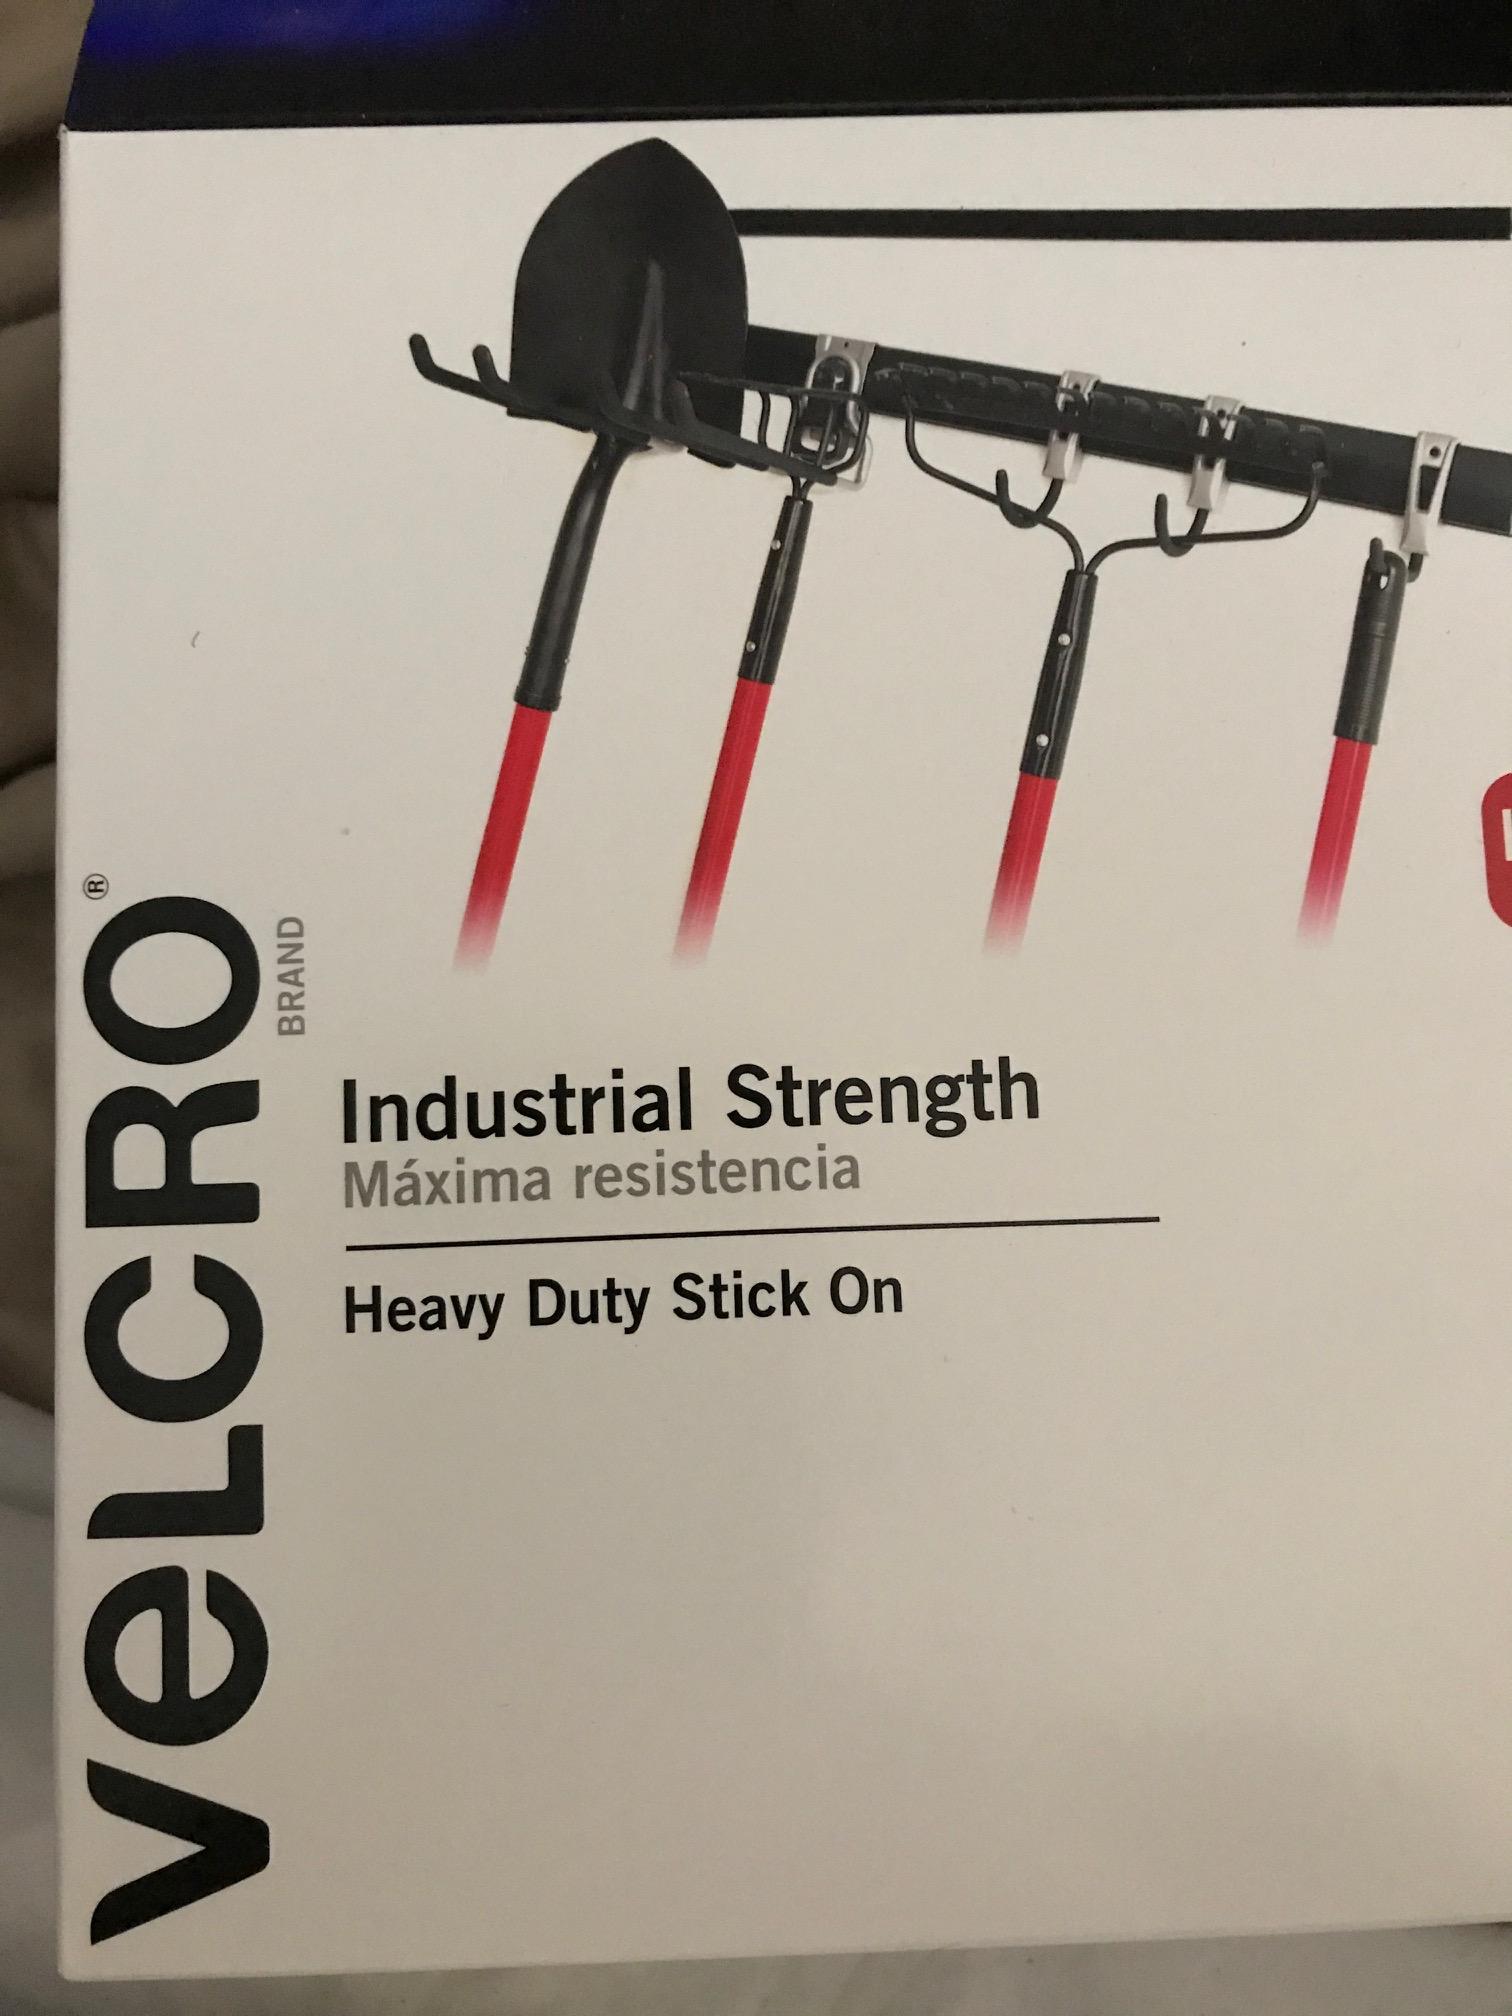

 Participant
I also have a solar setup. I found this two-pin connector with integrated hull-thru on Amazon.
The connection is the same as both my charge controller and panels (I have one mobile to find sun while parked, and another permanently mounted to the toolbox for underway charging). At 40″ it is long enough to connect to the battery and to the exterior shell.
ParticipantOur personal record is 34 degrees with a bare shell and we did not have any significant comfort issues. We used a 4″ memory foam mattress we found on overstock.com and did not have the headliner or any active heating system at the time, but we woke to significant condensation (which the headliner addresses). Our plan is to use 12V/USB heated blankets if we were to camp below freezing for more than a few nights in a row.
Participantpsgramps, thanks for the posts on the sink/water. I have just finished my electrical wiring, and will definitely add a PVC riser for the reasons you stated (too busy having fun to consider water in the galley 🙂
We are still undecided on the addition of a sink. We were able to salvage a sink from an old travel trailer and are considering installation. It has a handpump, so it would not be as complex as your setup.
Would you mind posting some pictures of the guts of your system? Specifically, some interior shots of the tubing underneath, how you mounted the blue and runs into the gray water tanks, and how the fill system works. I’d like to get an appreciation for the complexity.
ParticipantForgot to mention: the reason we didn’t reverse it was due to the lock placement. Figured it would flop around too much on bumpy roads and bang against the hatch. We’ve padded the lock with extra door foam, but at least on the bottom it is able to hang free.
ParticipantMike, we have noticed a little bit of extra weight caused by the clasp on the hatch, but nothing that is really inconvenient. The pistons may not go all the way up on their own, but with a hand assist they hold upright just fine. Still happy with this solution.
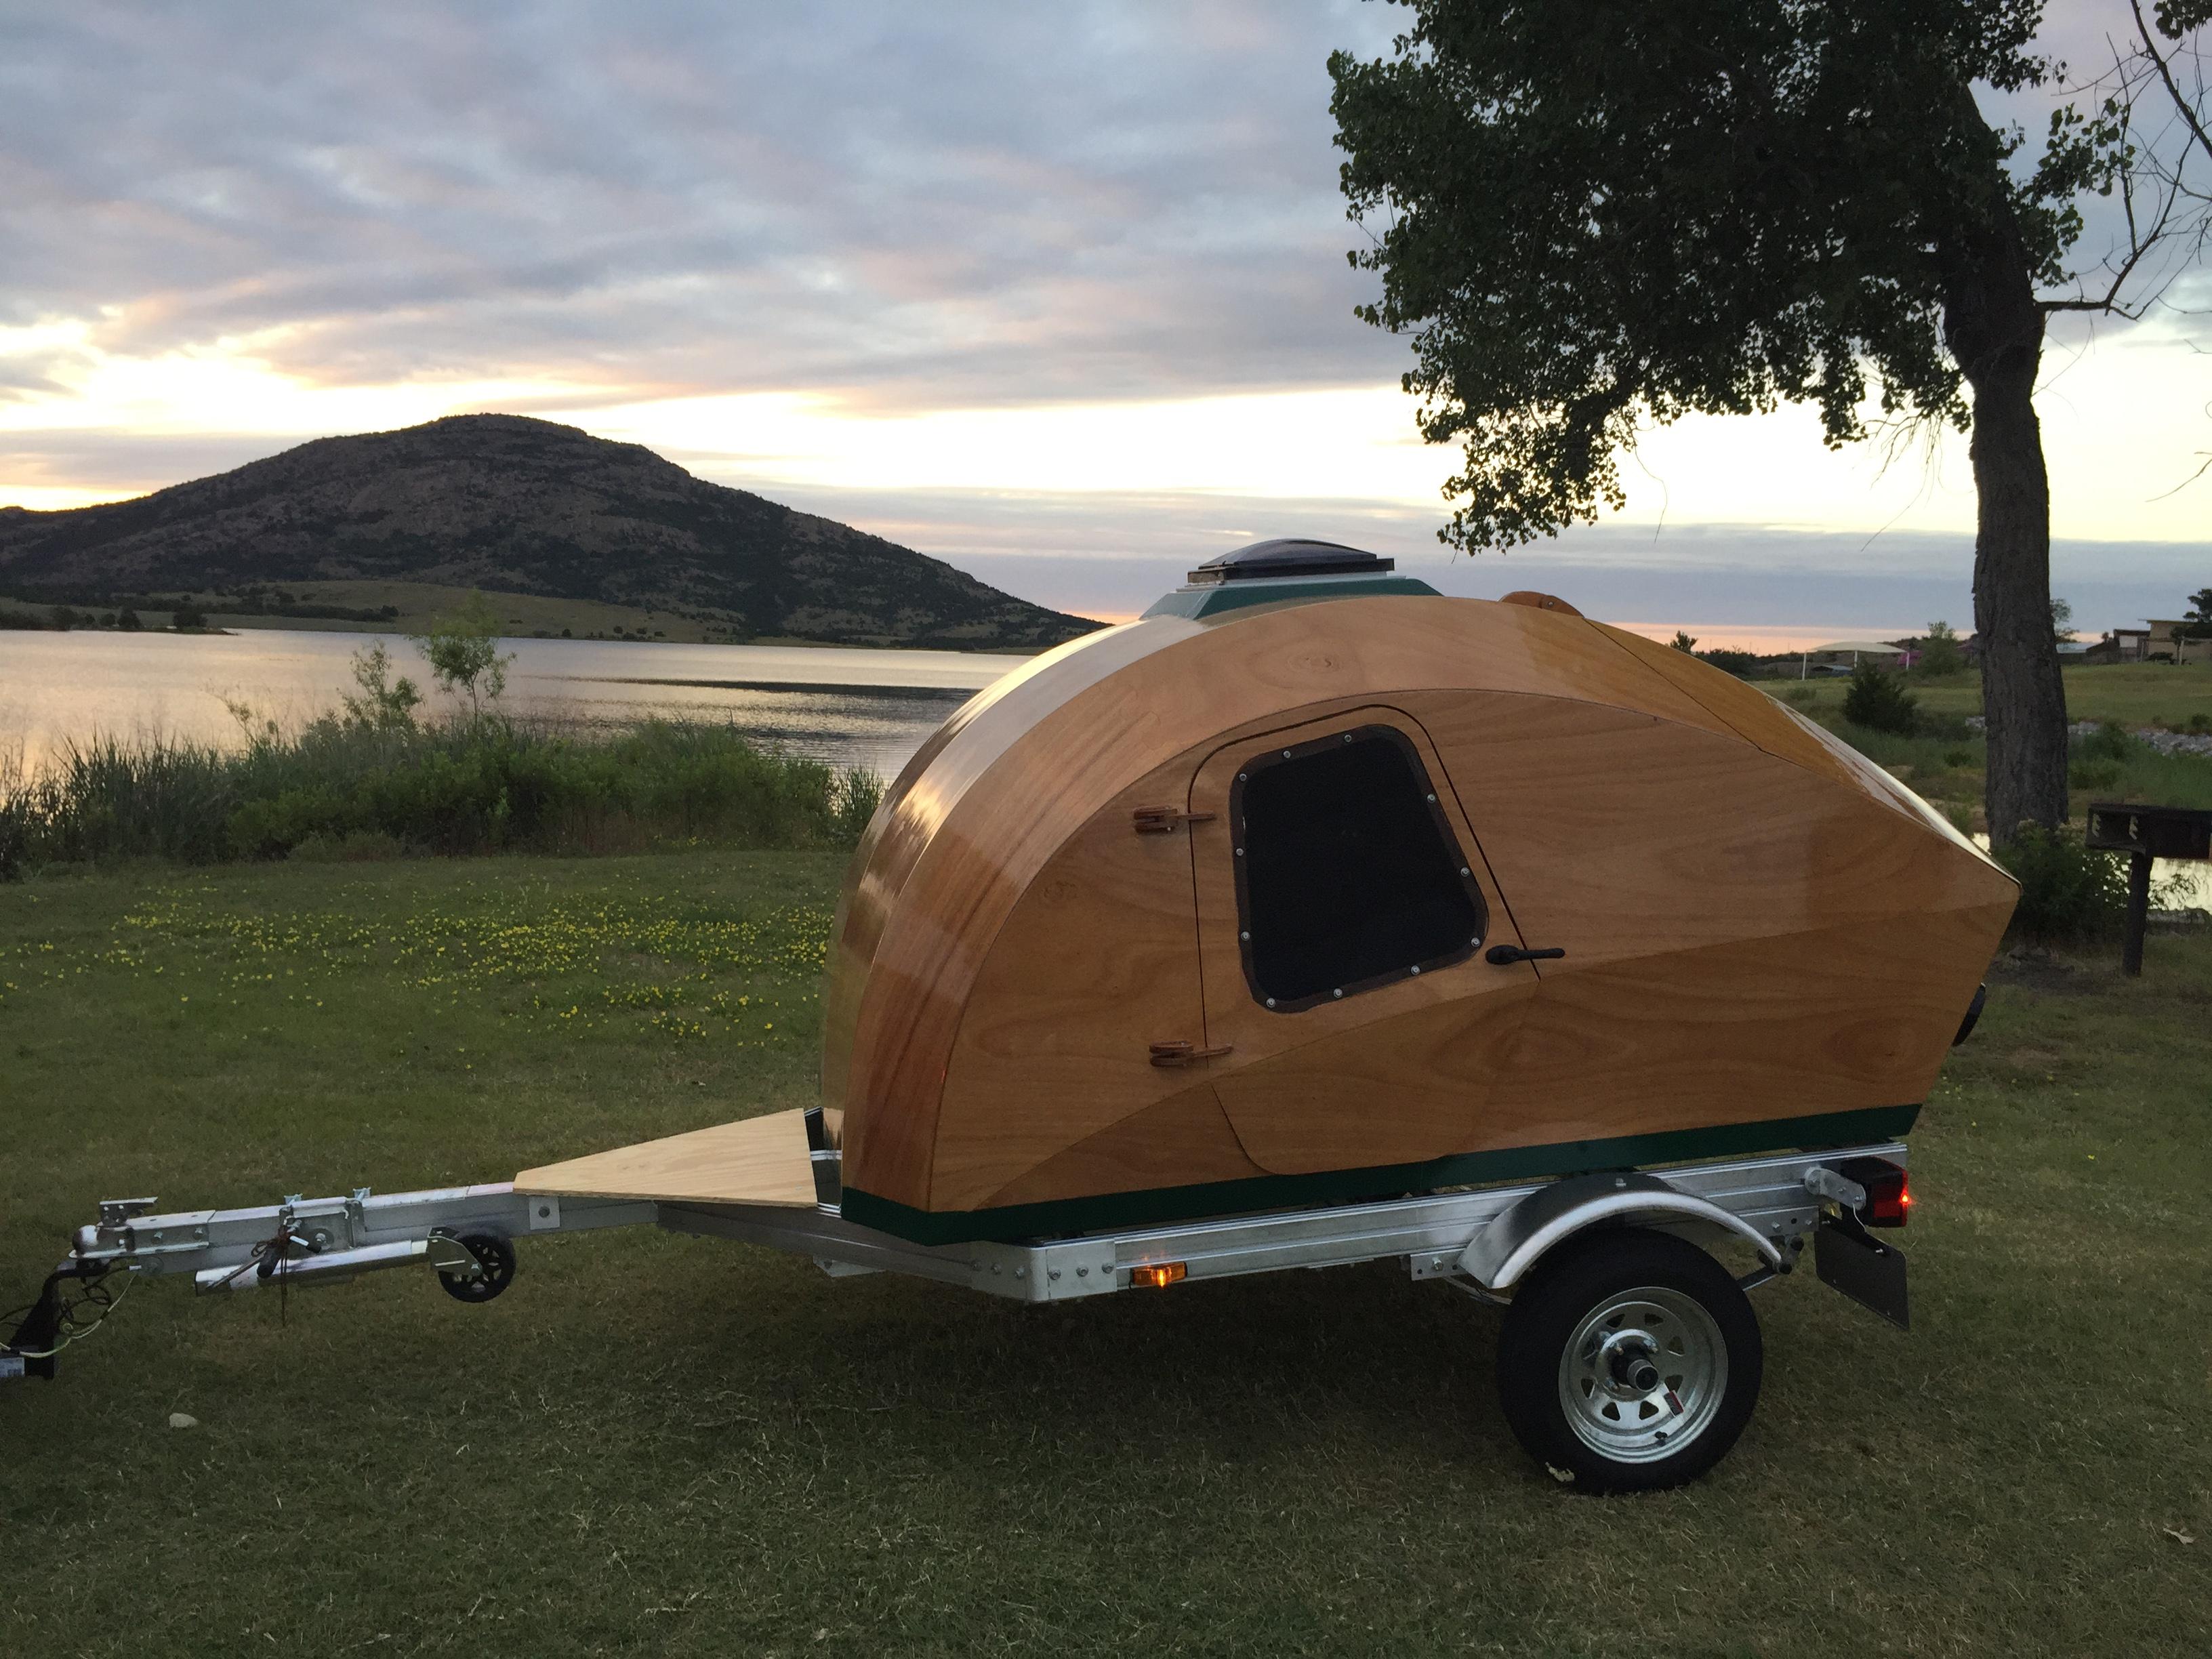
ParticipantCompleted approximately May/June 2017! Still some finishing touches to go, but it is road worthy! We have since added a silver aluminum cargo box.

-
This reply was modified 5 years, 8 months ago by
-
AuthorPosts